Category Archives: AO3 Record Ideas

Filters

Author:
Category:

Photoshoot-2

Starting point: taking inspiration from Mari Mahr i decided to interpret her work creating similar concepts. Her work is deeply personal and autobiographical so my plan was to take personal objects from my life and photograph them. This idea links into the theme of secrets and conventions:  secrets as they are objects from my life and show history and conventions as some of the objects are domestic objects used around the house. I first gathered the objects which i have displayed below which i took in a studio setup with artificial lighting. I also wanted to take inspiration from the artist Giorgio Morandi in this photoshoot, incorporating object with simple backgrounds and to experiment using artificial lighting an natural lighting,
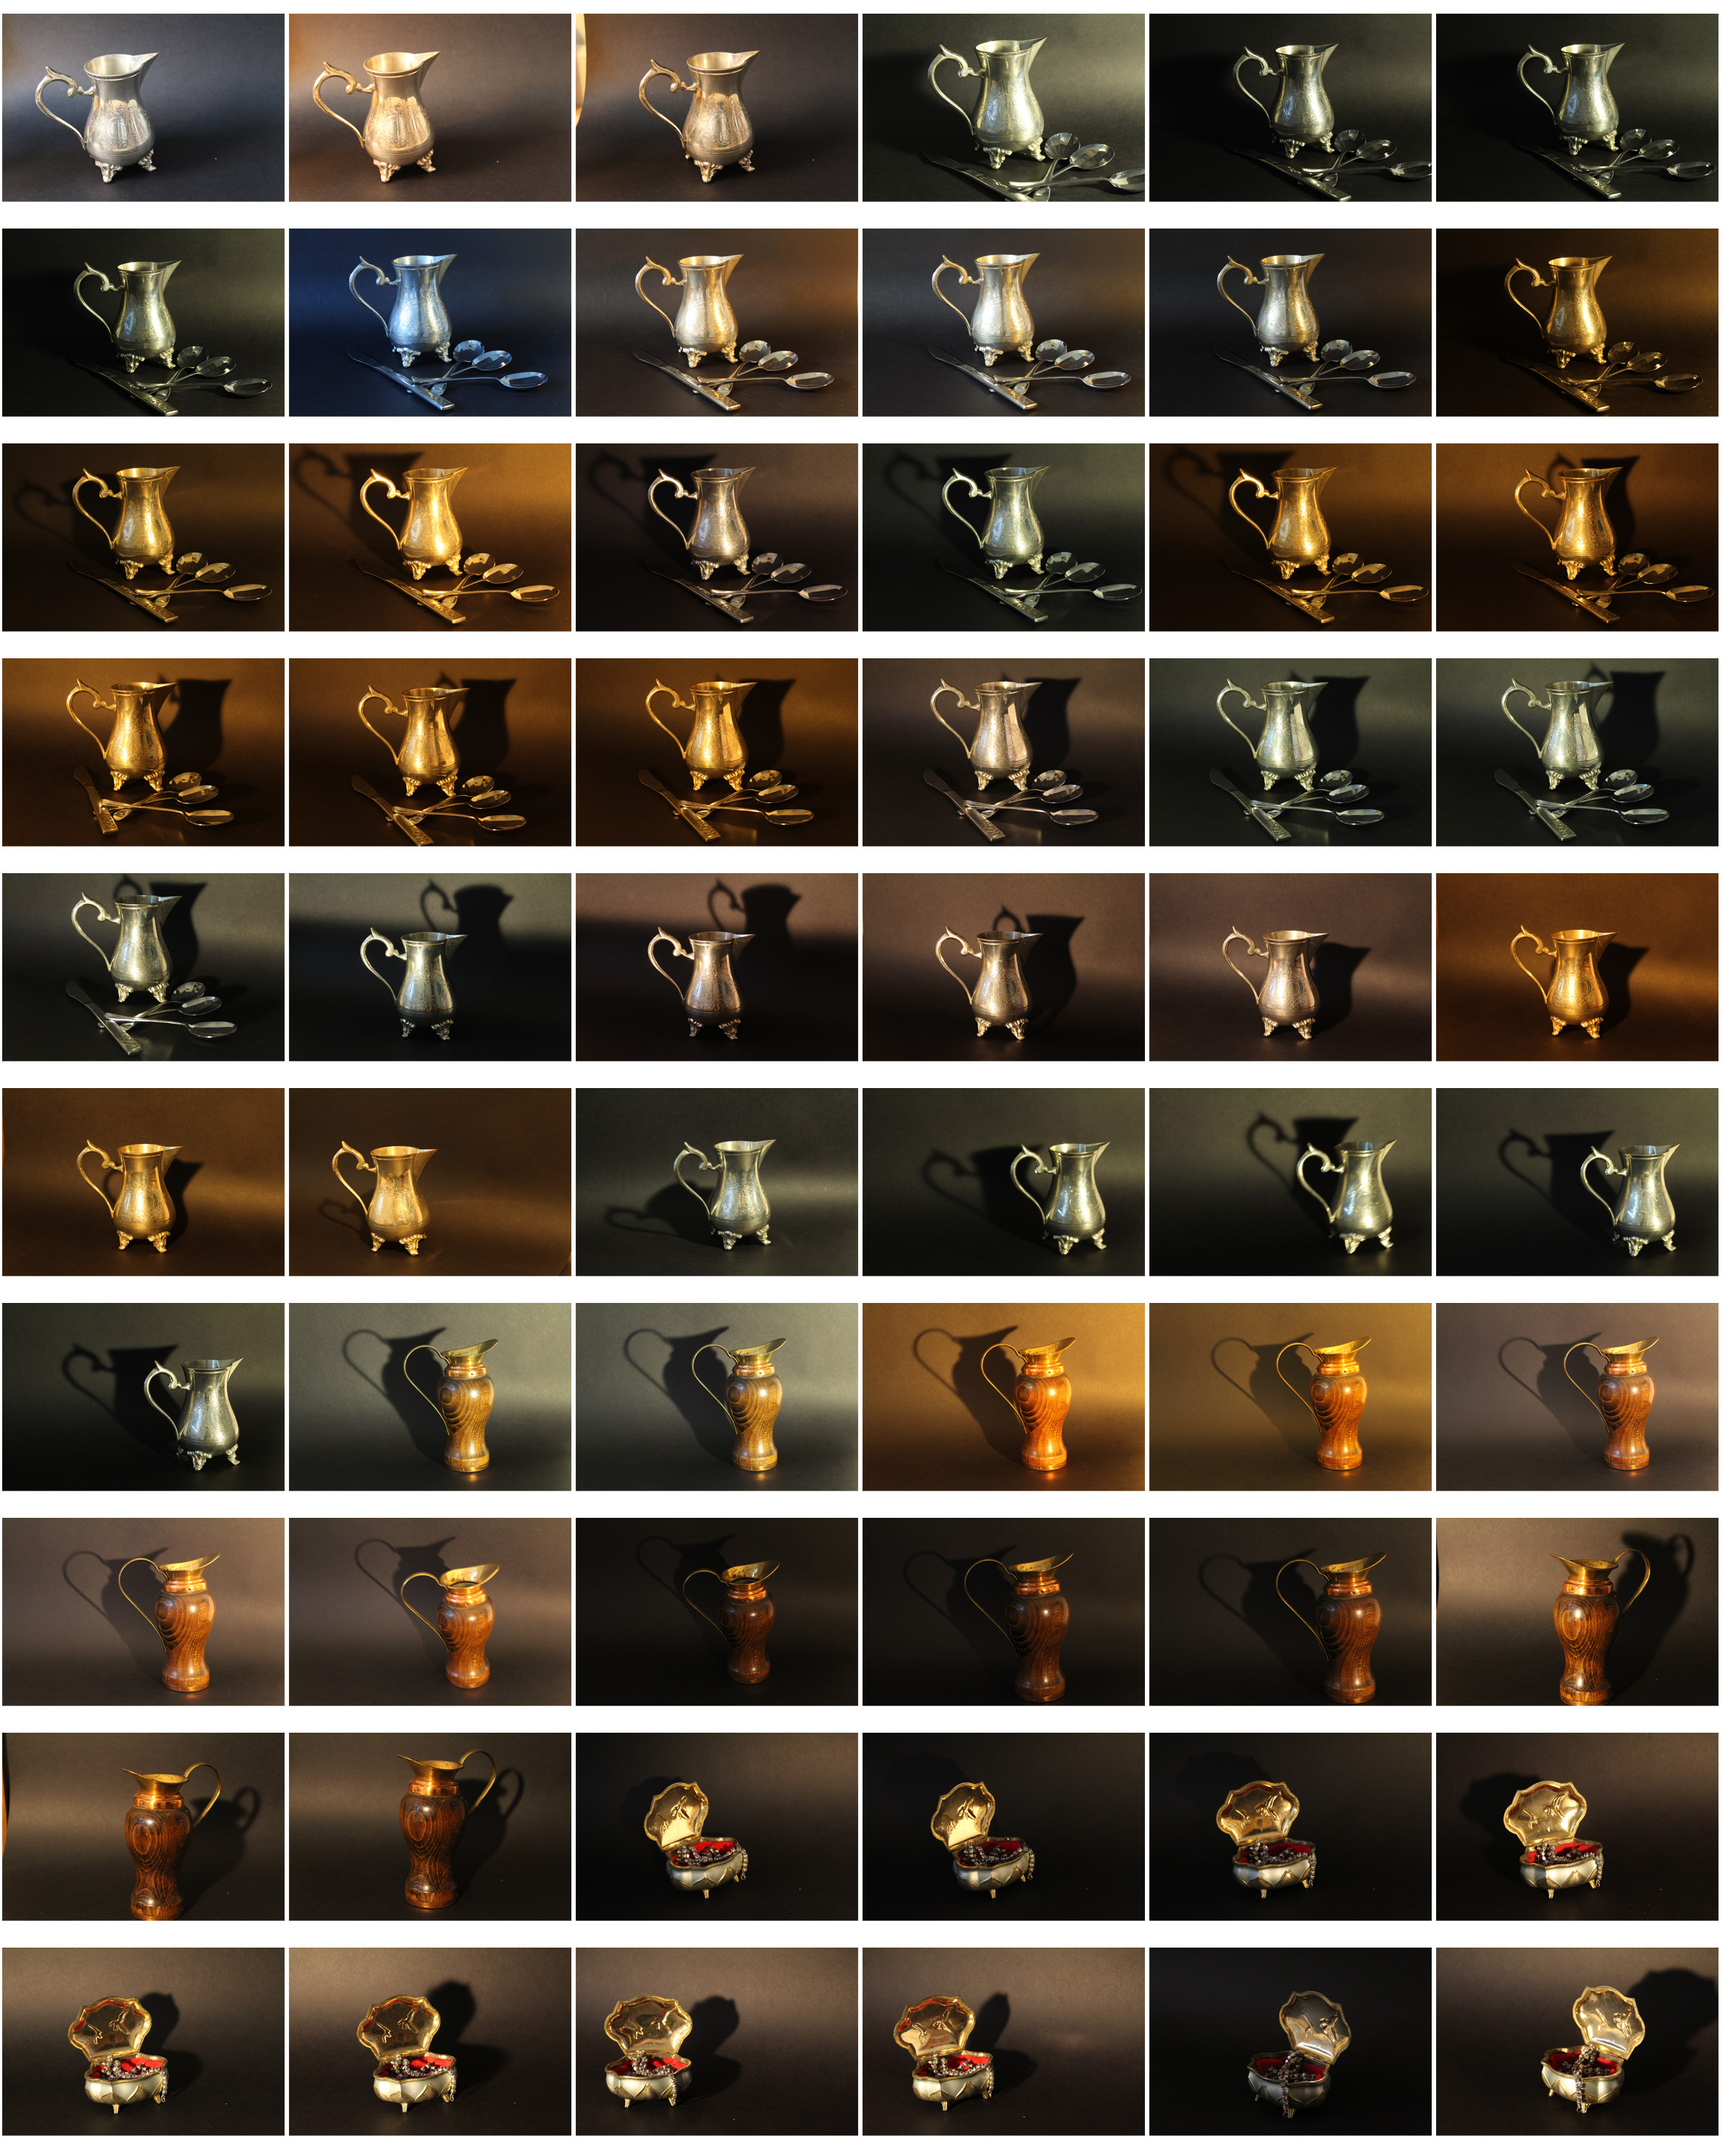
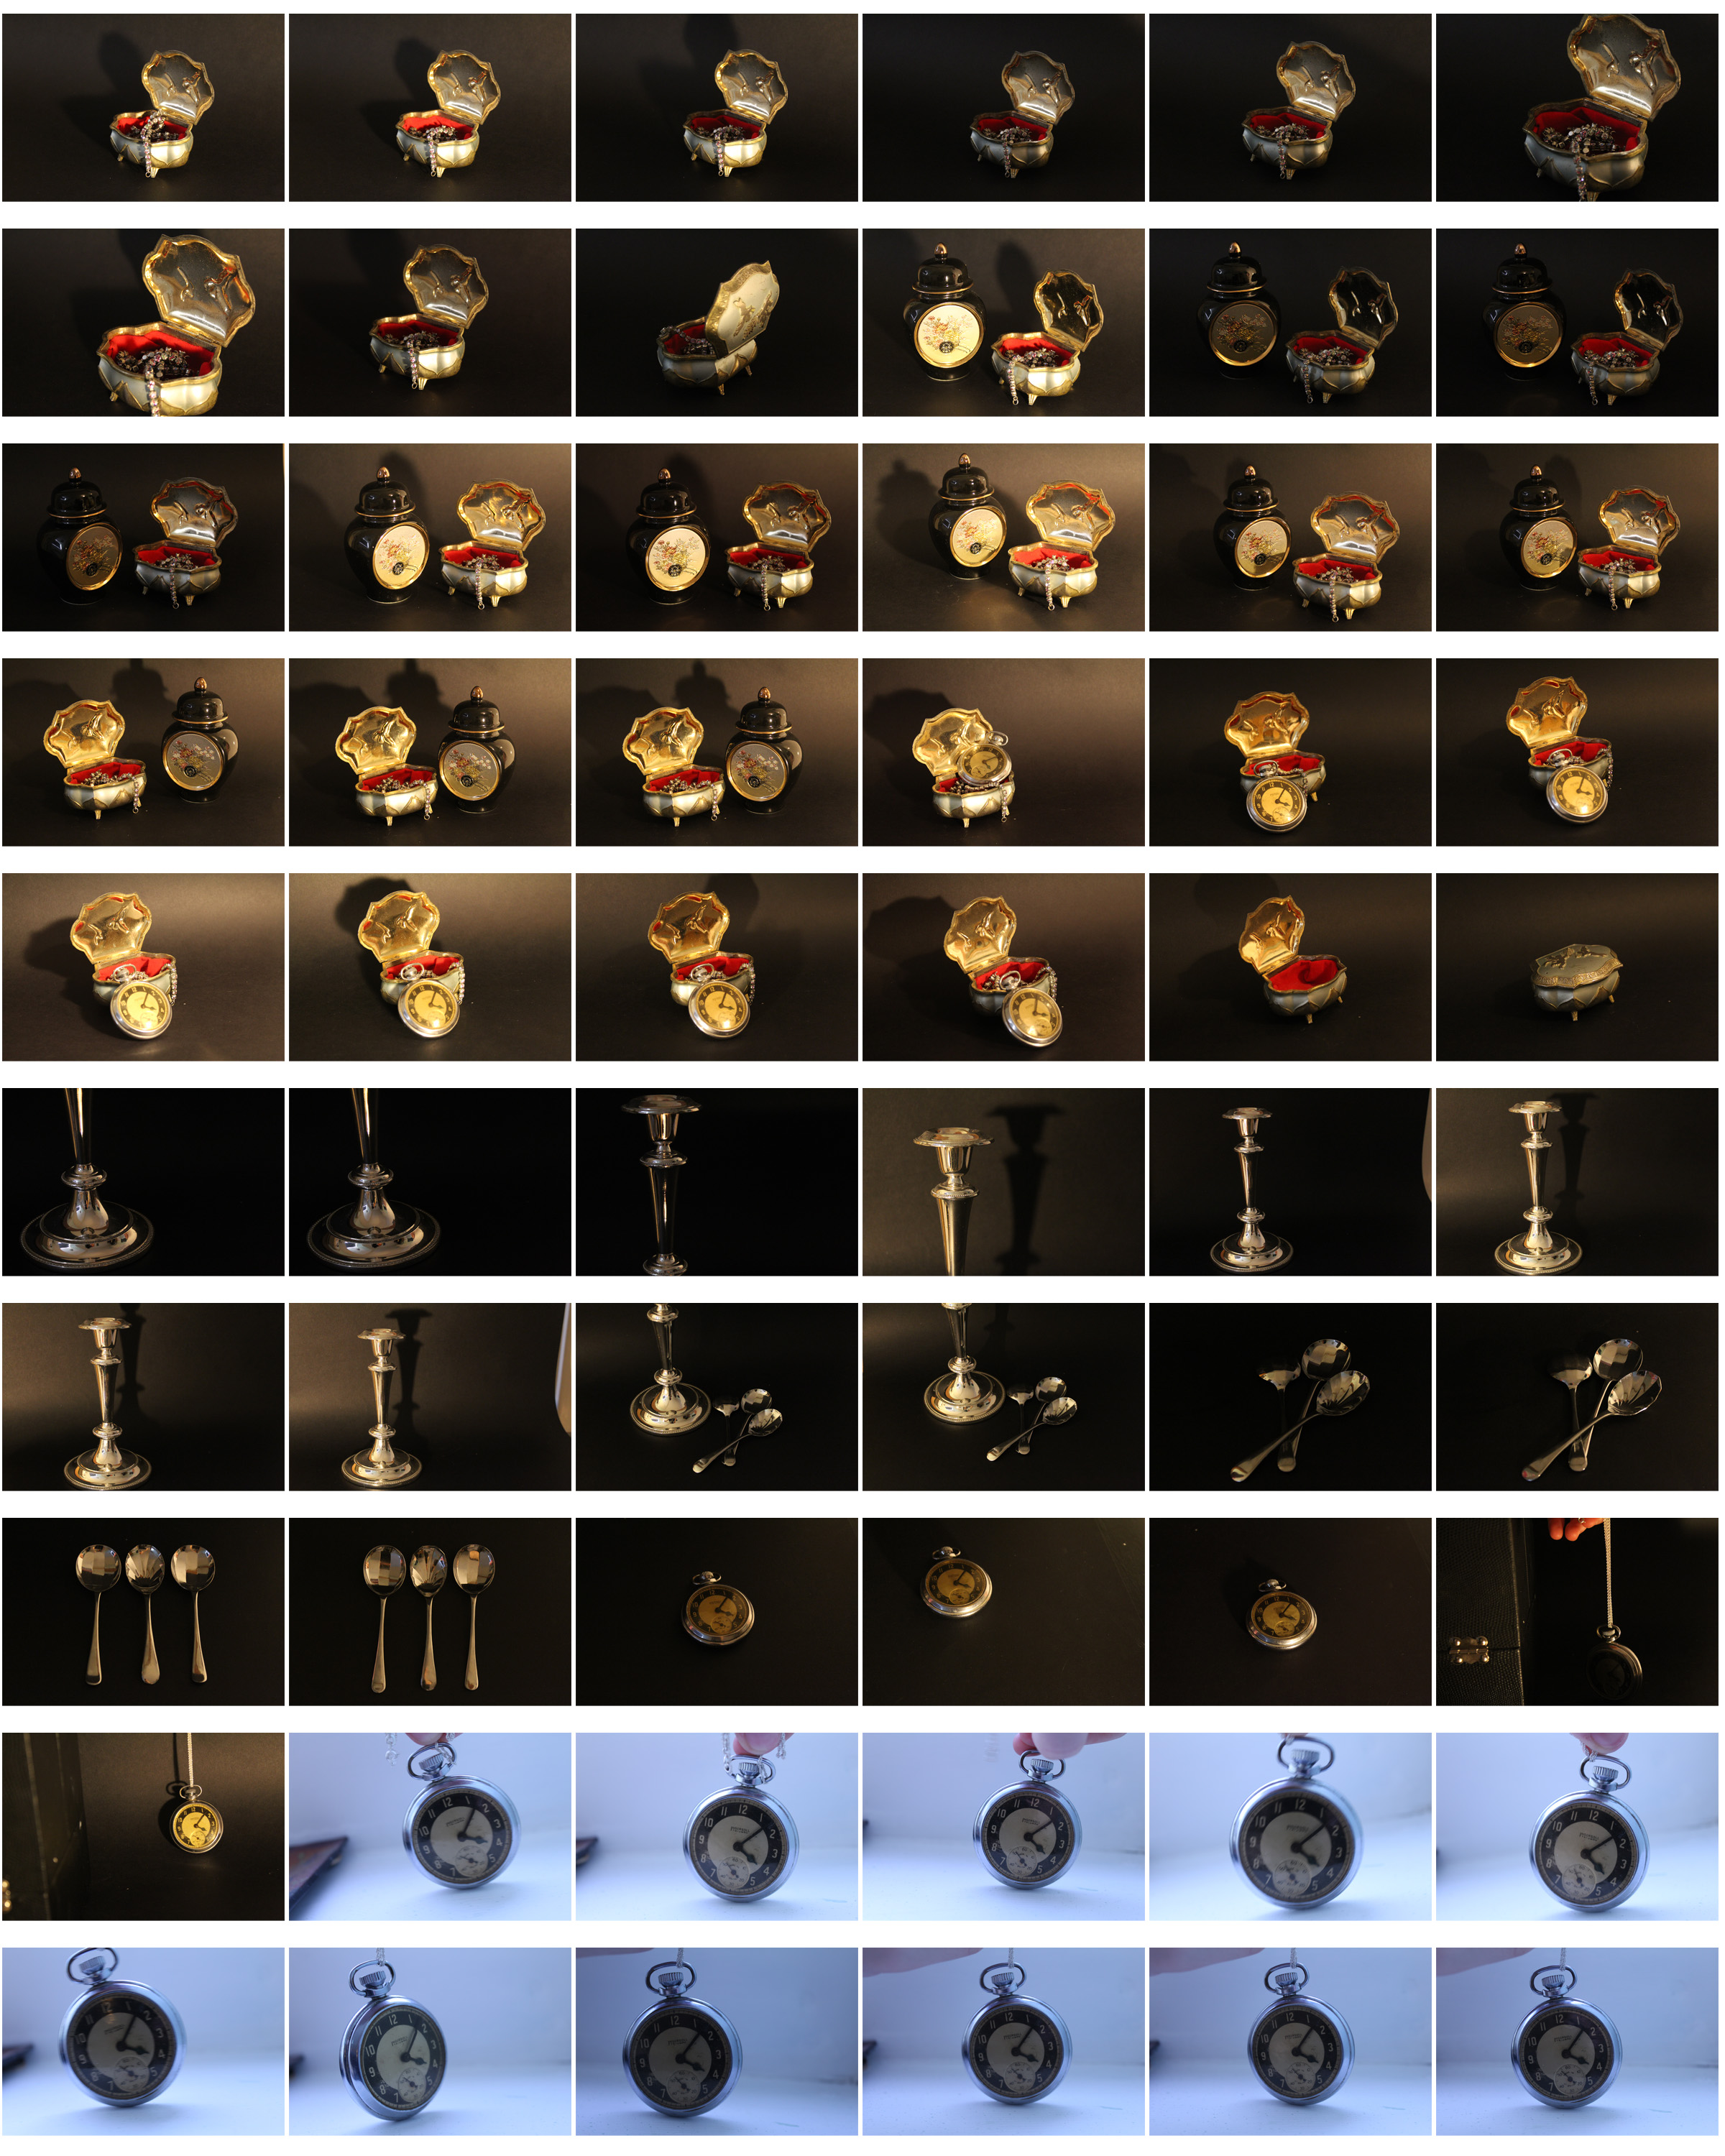
For this first part of the photoshoot I used artificial lighting with a plain black background for most of the photos. I used this to emphasise the tones and colours of the objects i was using. In some images I used single objects and focused emphasising that one objects, and for others I used multiple objects in a image (e.g silver cutlery,  silver candle sticks, jewellery boxes, pocket watch).
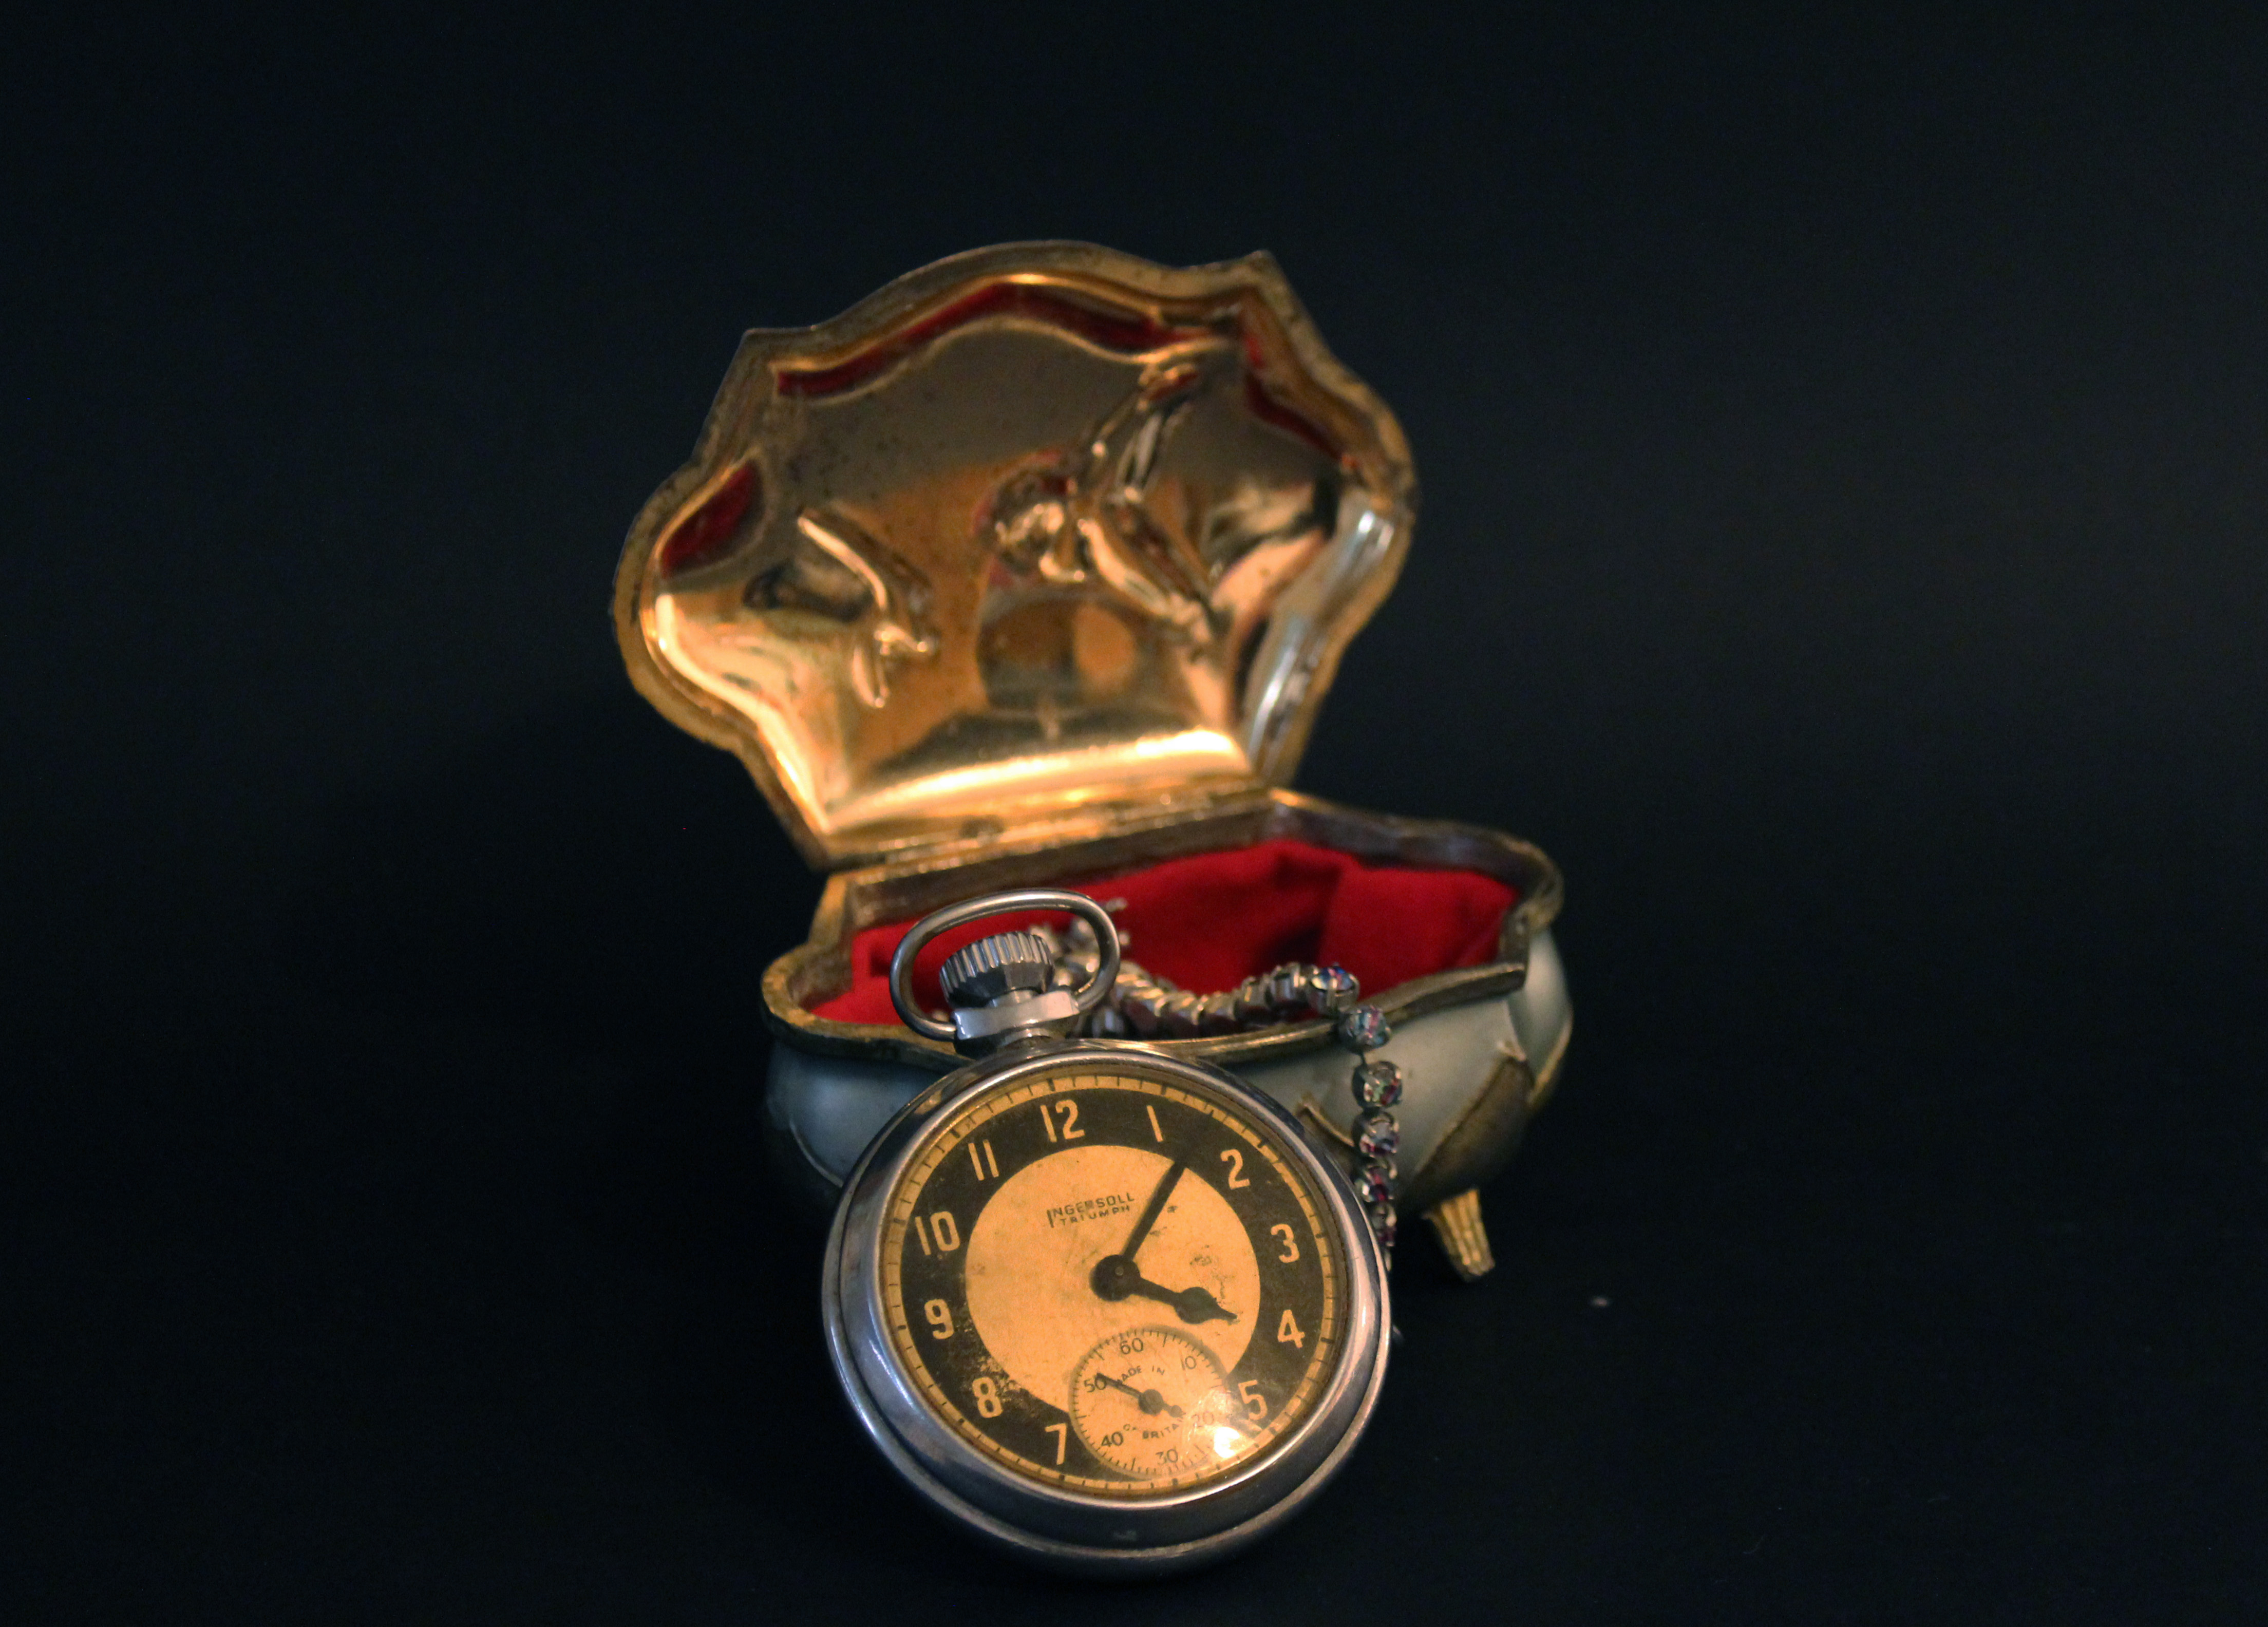
I like this image from the photoshoot as the reflection on the jewellery box from the lights creates gold and brown undertones making the objects look old and antique. The black background I created draw the attention to the objects centered in the middle of the image and creates negative space around it. To improve this image I would add a more interesting back drop to create a different aspect to my image. The reason i didn’t do this in this photoshoot is because Giorgio Morandi’s paintings all have simple block colour backgrounds and waned to incorporate that element in my photography. The difference being that I used a dark colour whereas Giorgio Morandi used lighter colours, but I think the black brings more emphasis the the gold tones than a white background would.

For the second part of this photoshoot i decided to interpret Giorgio Morandi using simple black colour backgrounds with multiple objects in the foreground. Everything in the image being neutral.I wanted to develop from the first part of my photoshoot by being in more neural colours to the background, rather than solid black. I used yellow, orange and white backdrops to see the comparison. I prefer the lighter backdrop as it gives the images a more natural look and makes the images seem less manipulated. I also used natural lighting in this part of the photoshoot to compare to the artificial lighting and found I prefer the natural as it looks less intense and more like Giorgio Morandi’ paintings.
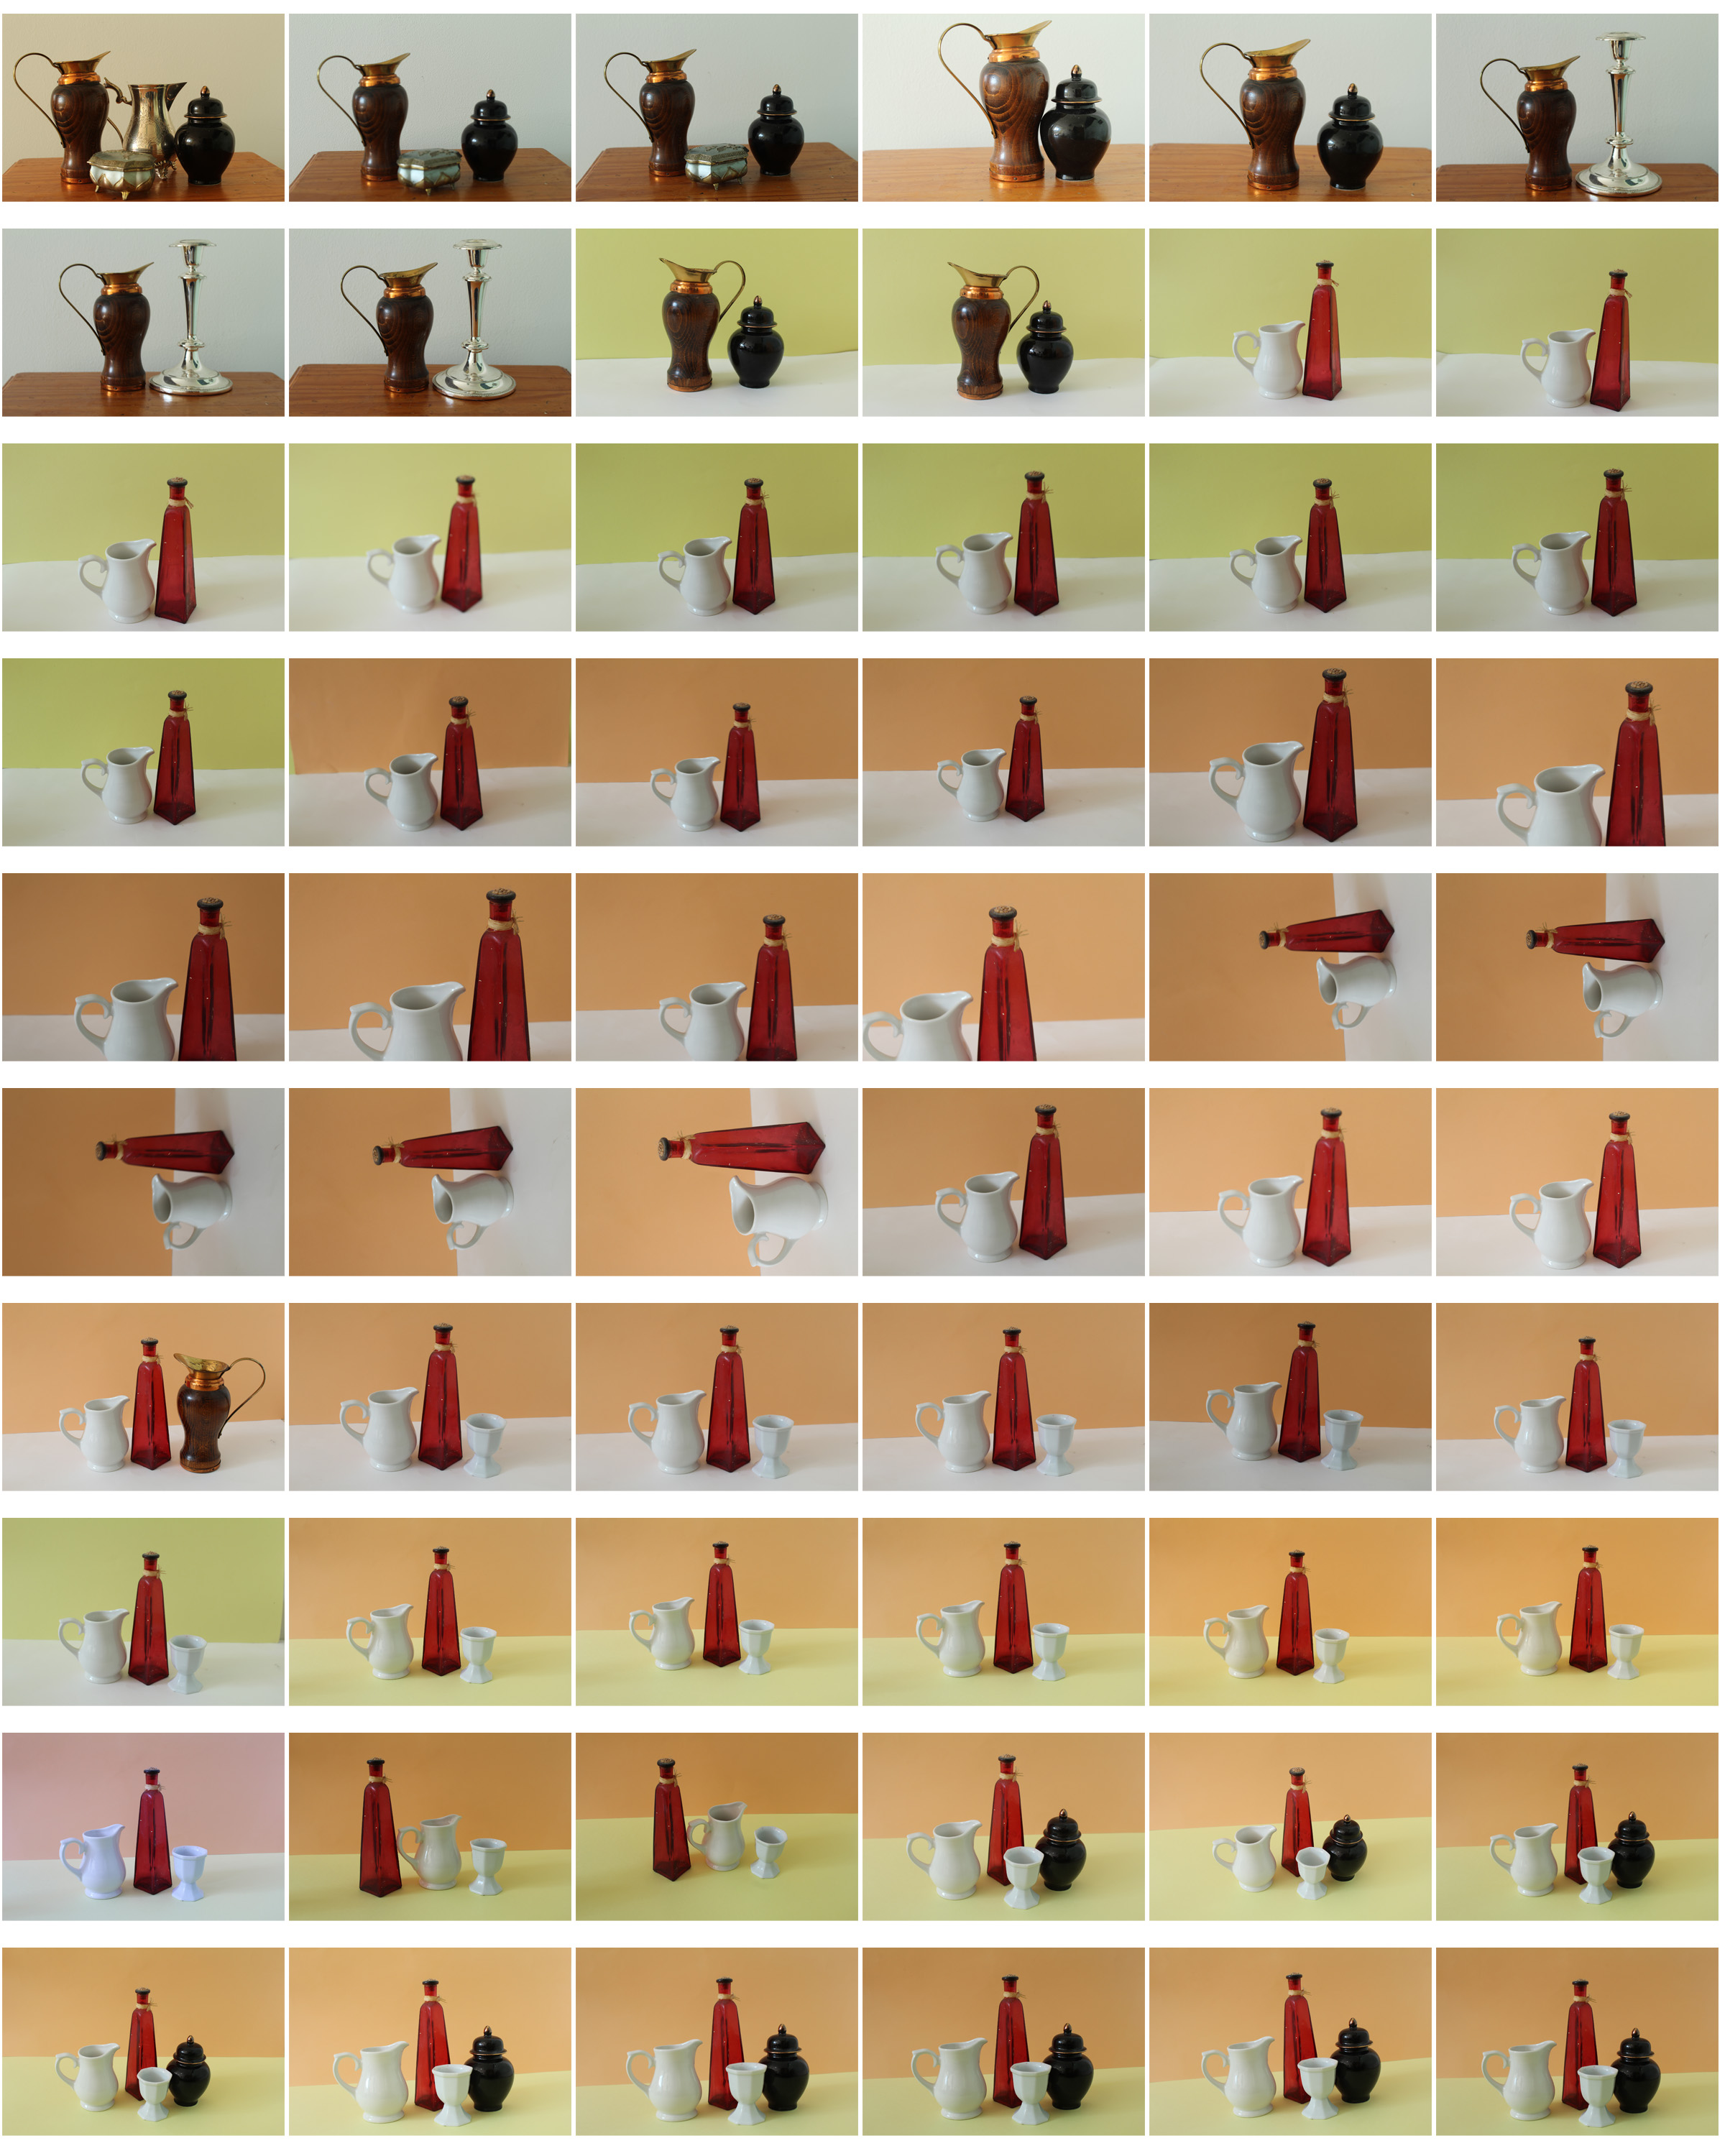
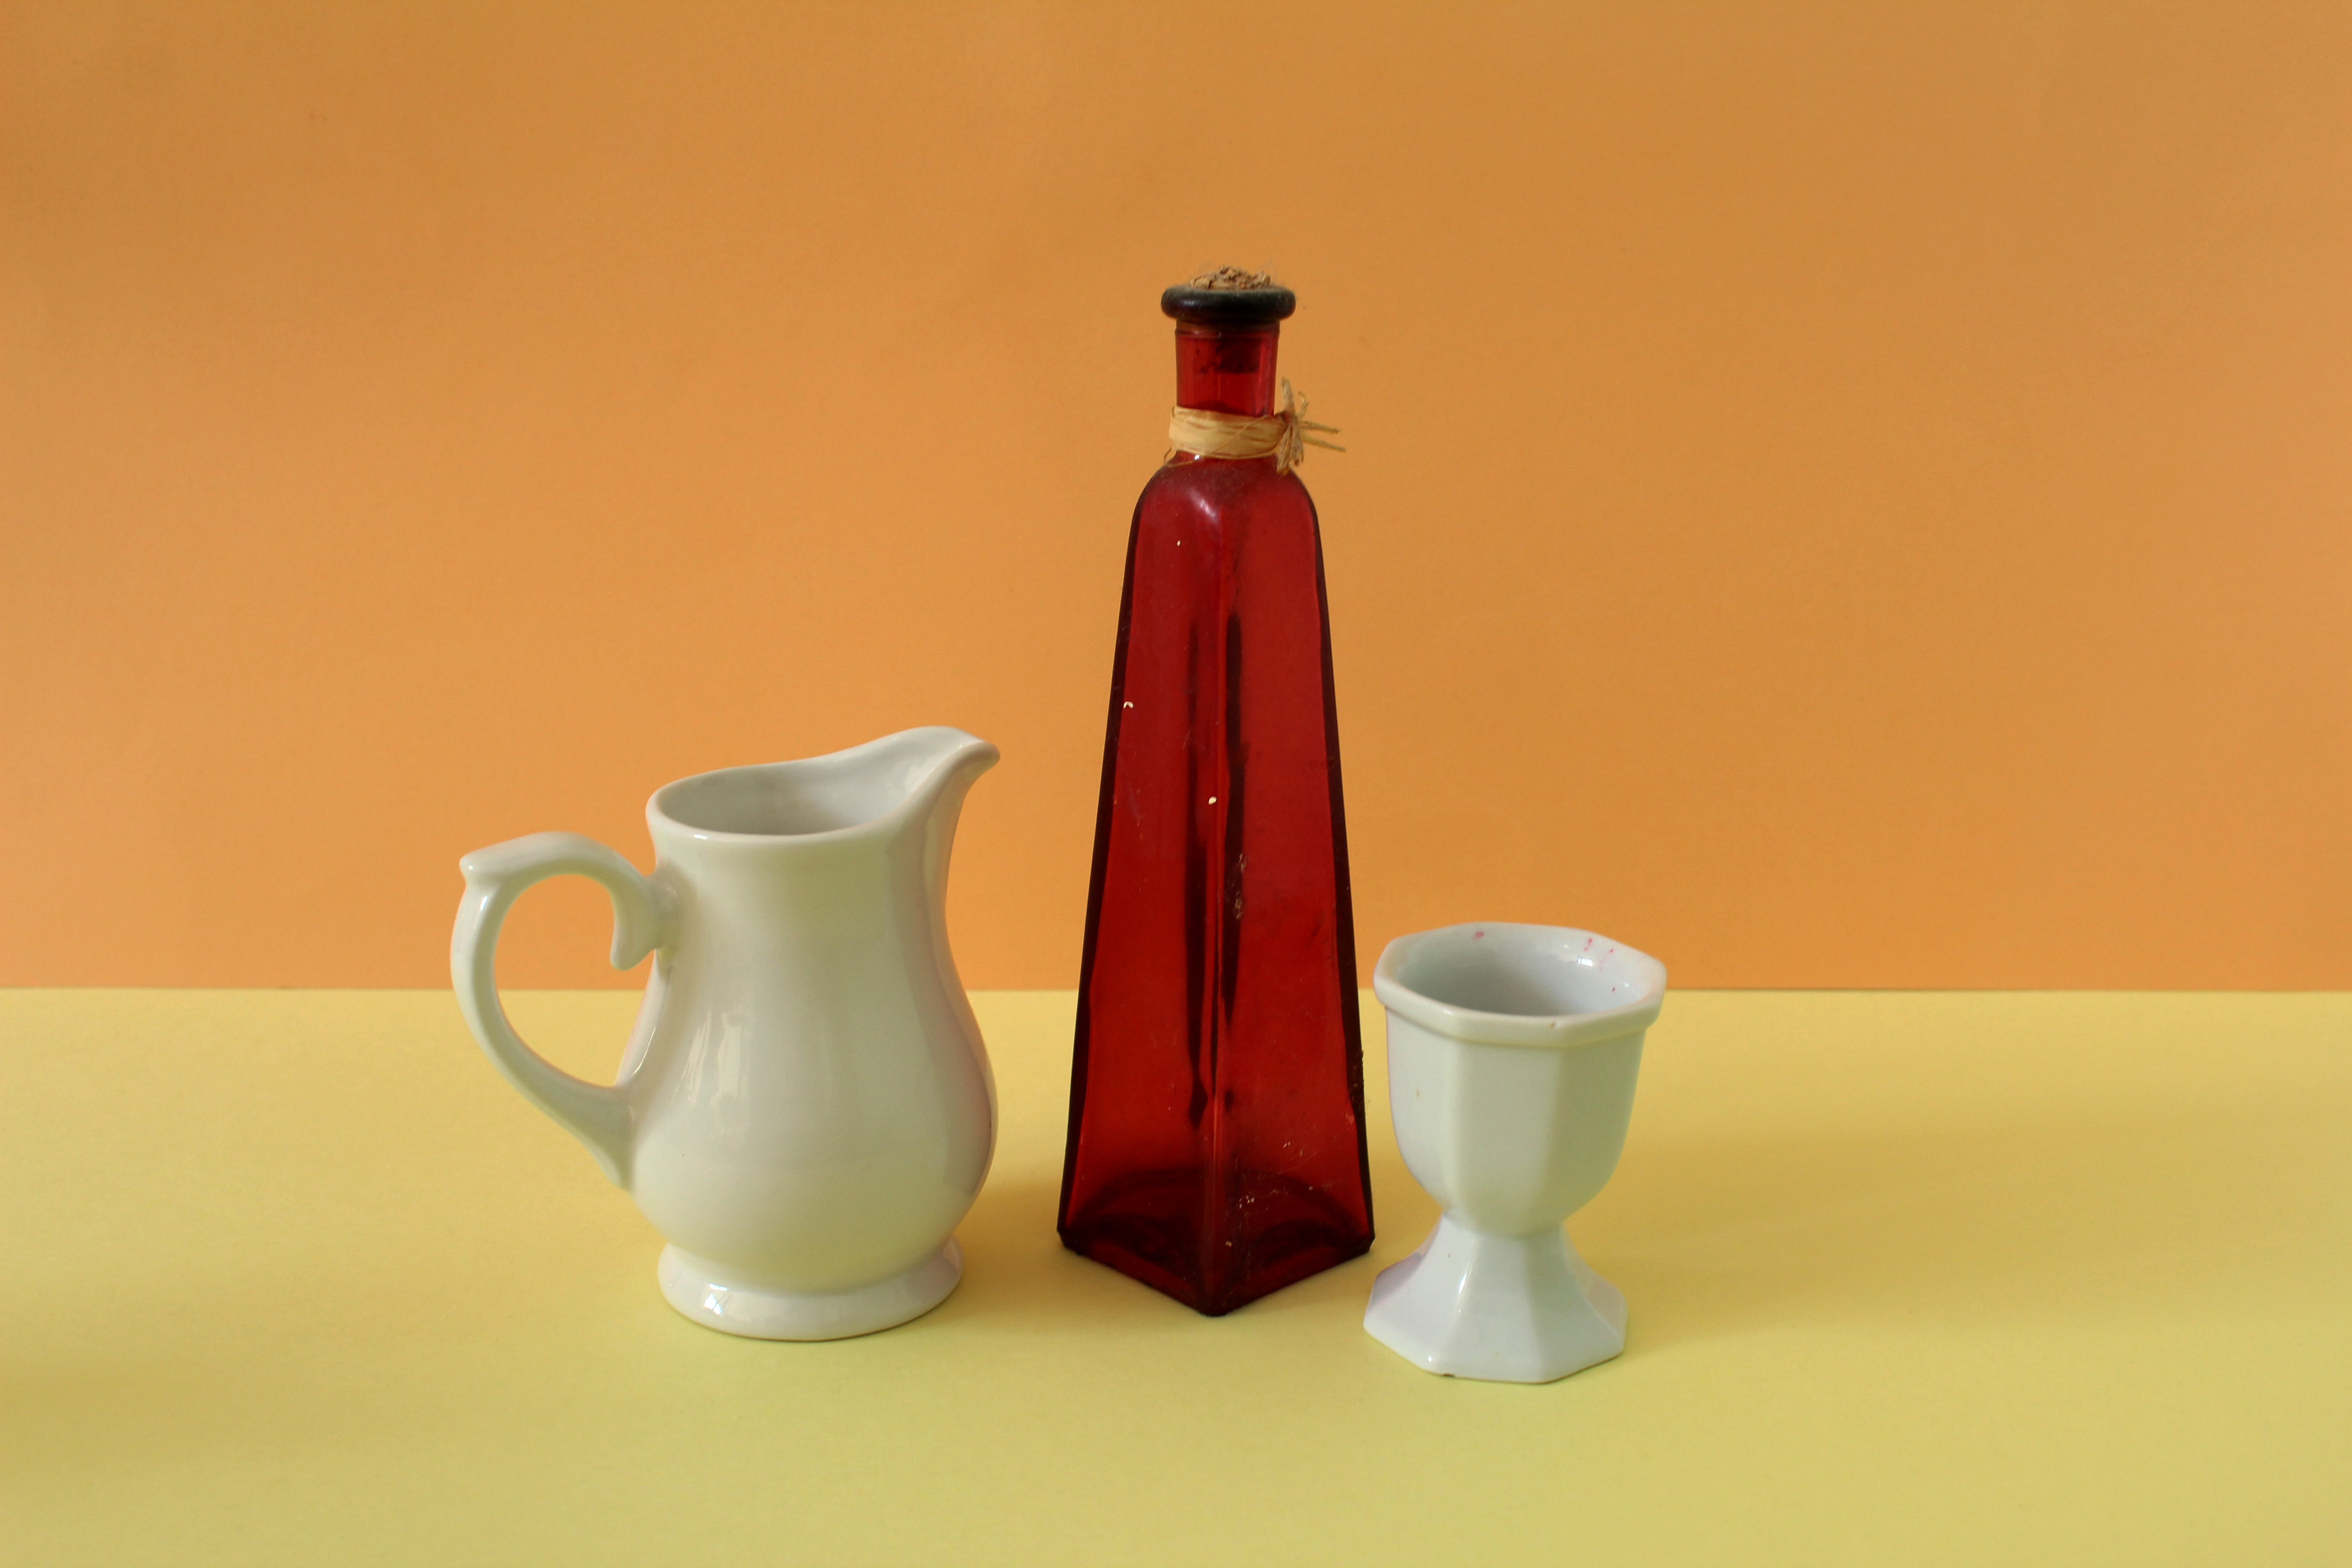
I prefer my second part of this photoshoot as it looks at a more abstract approach, using bold colours. I used to different coloured card for each image creating a division in the middle of the image like Giorgio Morandi did in his painting. For this image i decided to use a orange and yellow background as i thought it contrasted with the red vase in the center of the image in an aesthetically pleasing way. The lighting used in this image is artificial so the whole of the image is lit up, rather than a certain section where the natural light in coming from. Using artificial lighting helped me emphasise the bright colours within the image. I think i successfully recreated Giorgio Morandi’s painting style in a photograph, which is influential for its close study of unremarkable elements of daily life, imbuing them with implications of deeper significance by emphasizing their painterly beauty and simplicity. He normally displays multiple domestic objects on a table or surface, normally having a horizontal line through the middle creating a division.

Secrets, Codes and Conventions – First Shoot

Planning

Task – Take 150-200 photos exploring the theme of tunnels/caves under the key work ‘secrets’

Props – I will mainly be using only the tunnel/cave and its contents as the subjects but there may be people that feature in the photographs.

Camera Settings – Due to the extremely dark nature of the tunnel I will have to use flash in most of my photographs in order to illuminate the subjects enough. I will be using this with an ISO of 100 and a shutter speed of 1/40.

Lighting – I will be using strong torches, flash from the camera or natural daylight in order to capture my photographs.

Location – Jersey War Tunnels

Context – I am looking at the theme of exploration which includes caves and tunnels for my AS level externally set assignment.

Concept – I hope to take photographs of secrets within these tunnels that would not usually be seen whilst taking inspiration from both Robbie Shone and Gregory Berg.

My Response

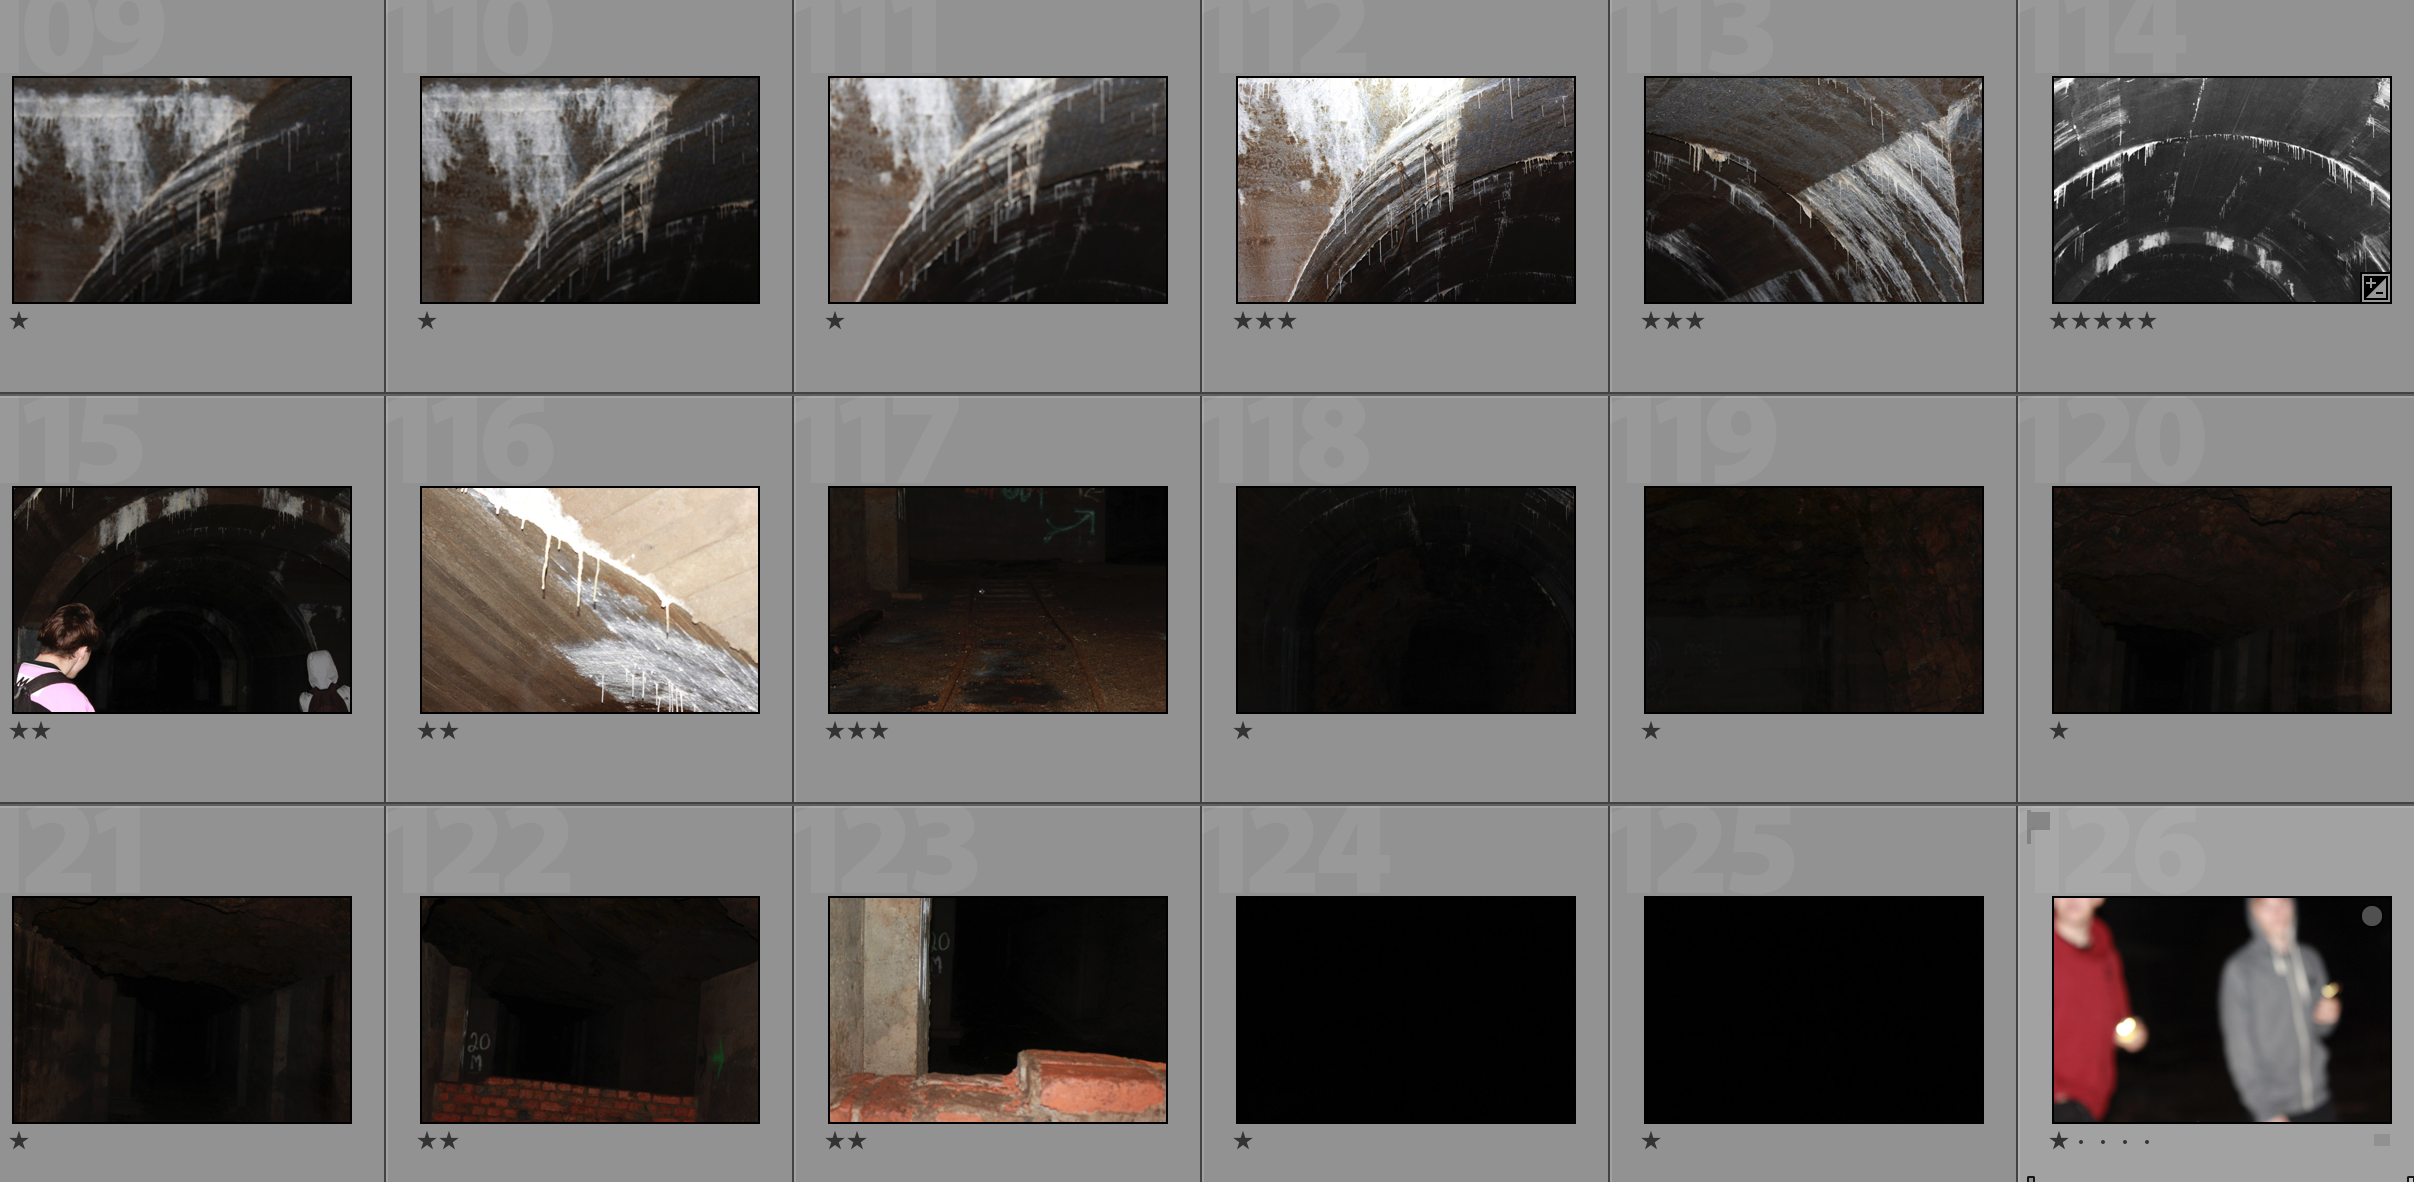
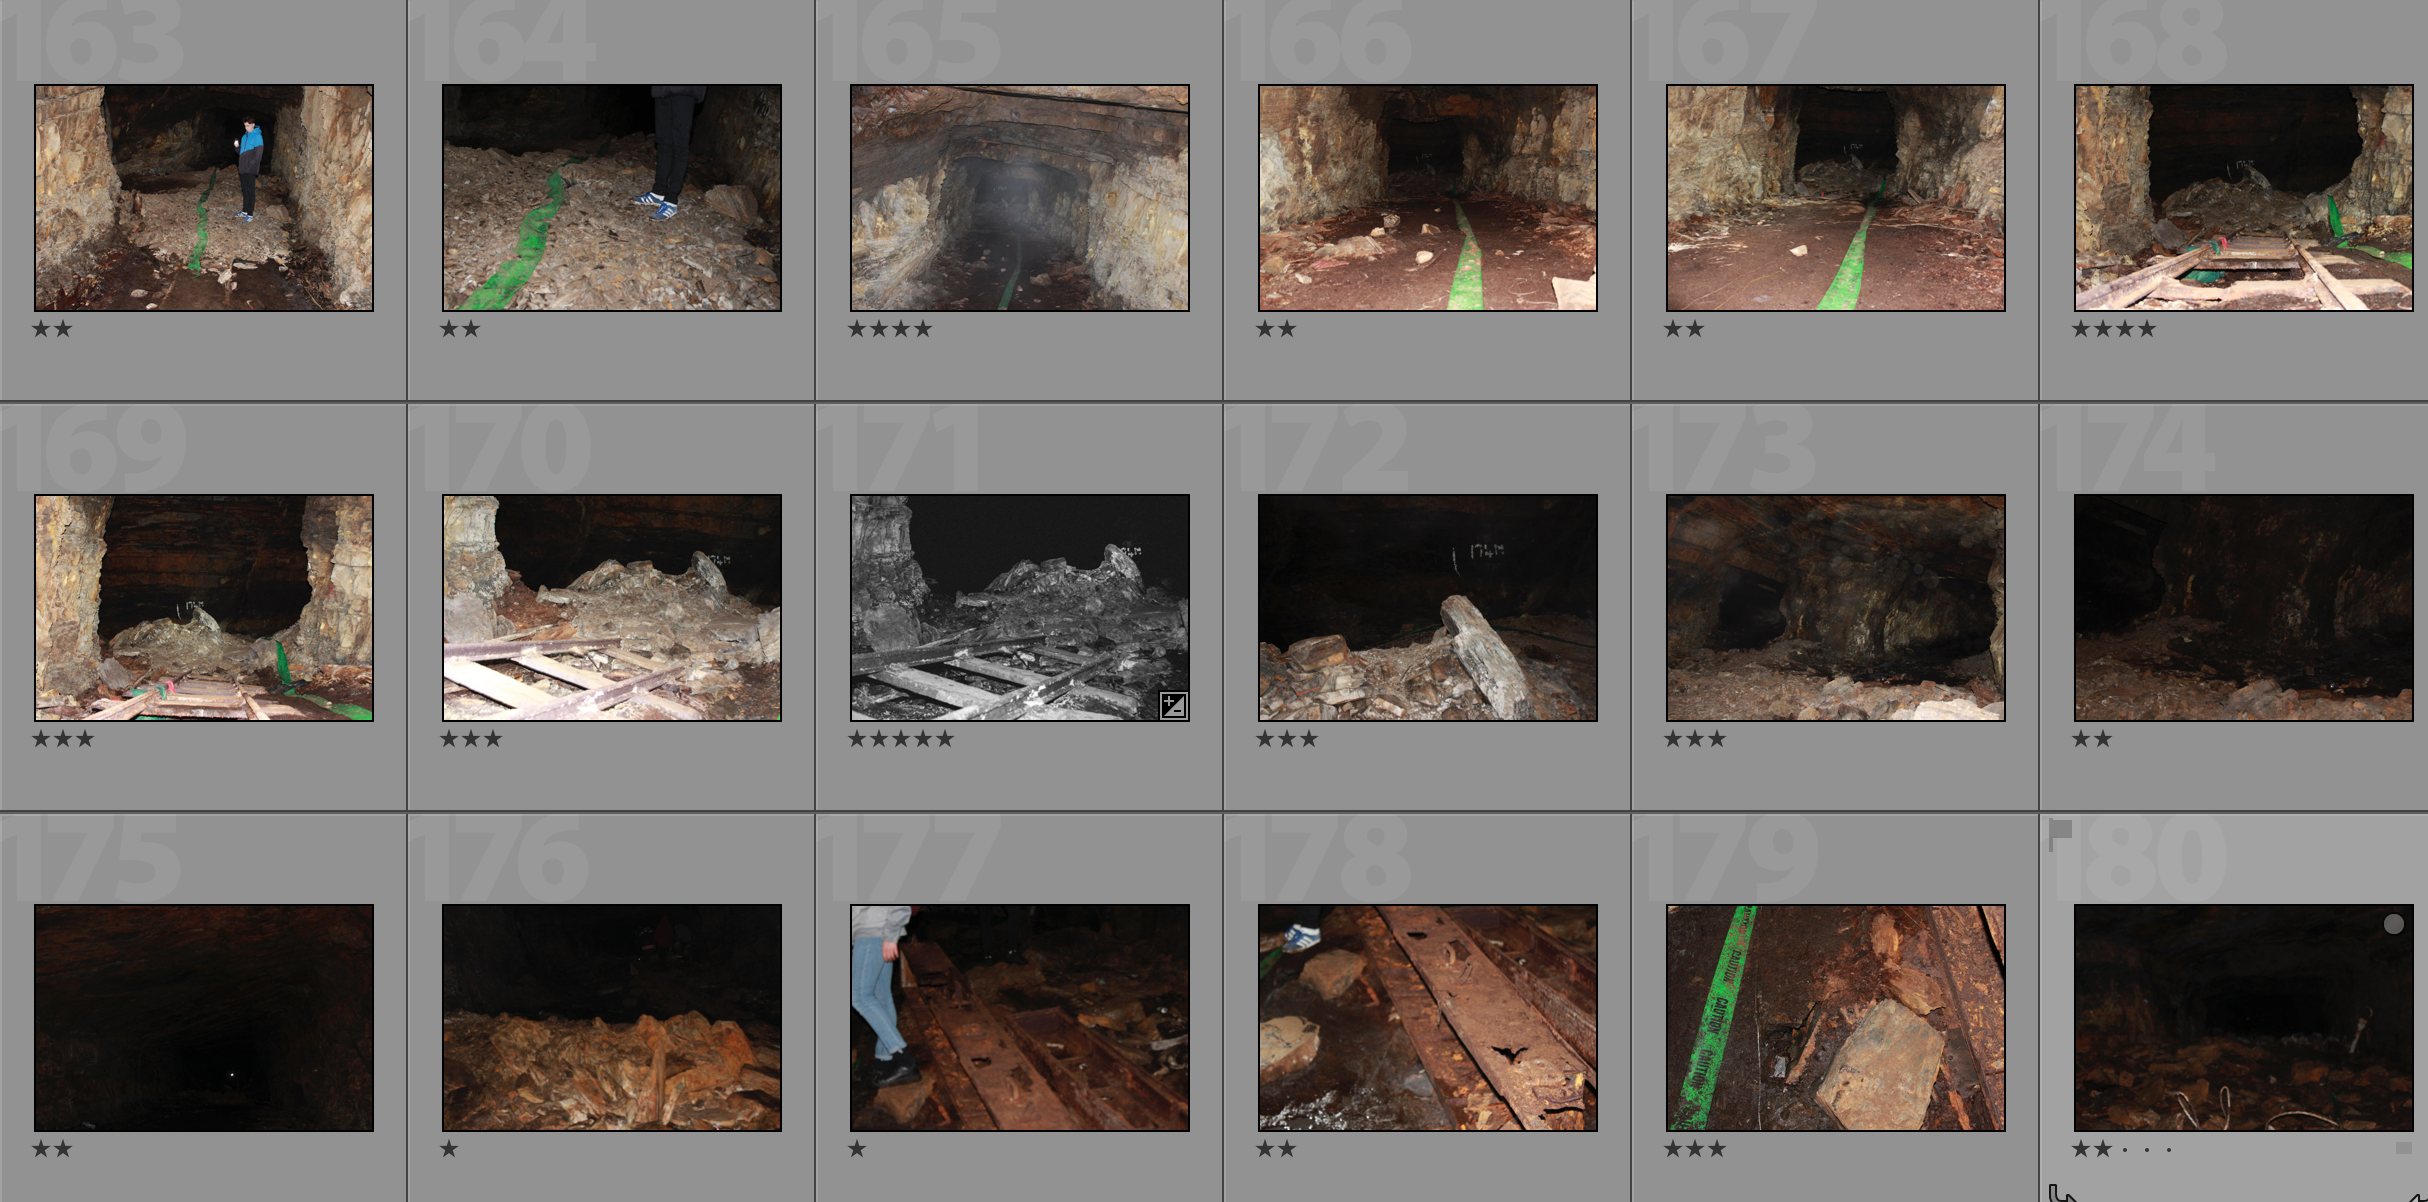
Contact Sheet

My Edits/Top 5

My Favourite Photograph

In this photograph I used flash lighting in order to illuminate the dark tunnel. The use of flash helped to bring out the highlights in the photograph but also create contrasting shadows within the photograph. A deep depth of field was used to capture this photograph as the whole of the photograph is in focus even the subjects in the far background. A shutter speed of 1/40 was used along with an ISO of 100 which allowed the photograph to best the best quality that it possibly could be.

I used a black and white filter for this photograph as I felt that it brought out the shadows and contrast within the photograph more. It is also more suitable for the theme of mystery and exploration. There is a very wide tonal range within this photograph which creates a more dramatic and interesting image. The texture of the dirt and rust on the subjects can be seen which makes the photograph seem more contextual and shows how forgotten the subjects are. It is quite a 3D photograph and there is a clear distinction between subjects in the foreground and the background.

This photograph was taken inside one of the tunnels that was made by the Nazi’s during the occupation of Jersey. This particular tunnel was intended to be used as a munitions storage and never reached the finished stage. This photograph shows the ruined state that the tunnel was left in and the railway system that they would use to transport materials.

From this set of photographs I am trying to look at the unexplored areas of Jersey that people would not usually see. This photograph contains old secrets of Jersey that have remained untouched and it shows that there are many of these secrets around the island that people are not aware of.

Photoshoot-1

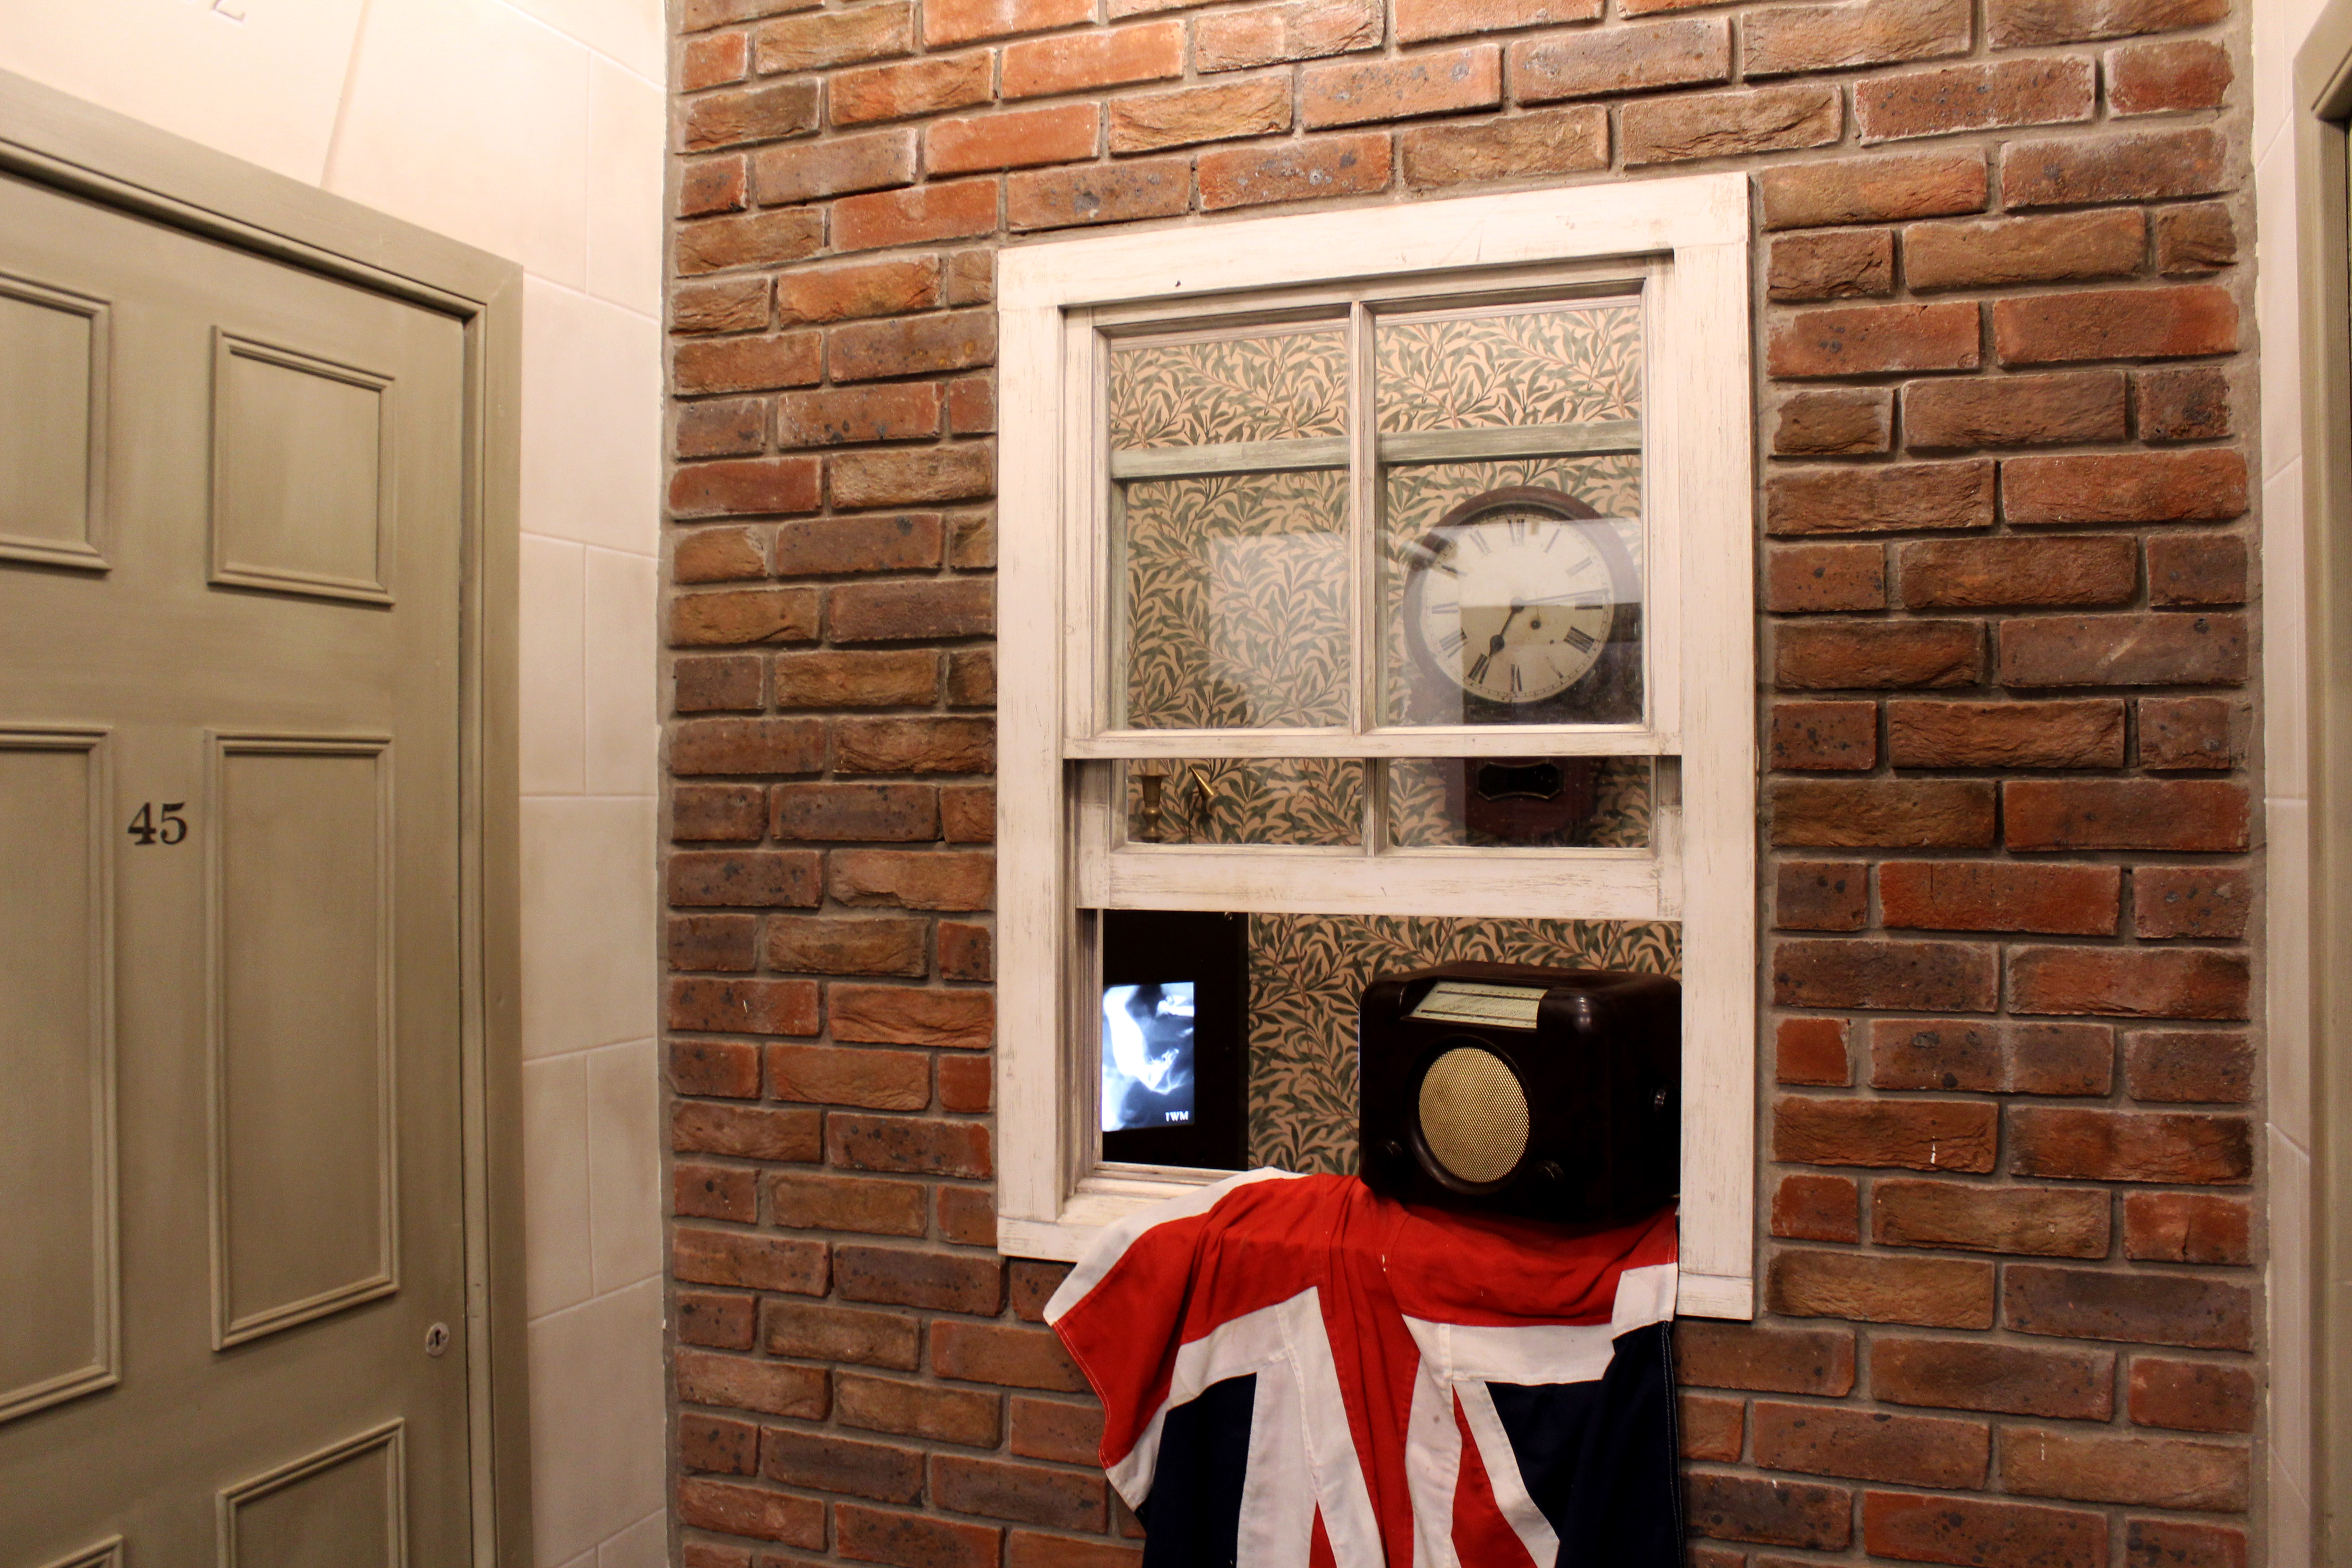
For my first photoshoot I decided to go to the Jersey War Tunnels to look into the history side of photography and to see if any conventional objects where displayed from the past. Many of the displays were settings e.g. dining rooms and kitchens, linking into the theme of conventions and secrets.

In 2001, a permanent exhibit called “Captive Island” was unveiled in the tunnel complex, detailing everyday life for civilians in Jersey before, during and after the occupation of Jersey.

As restrictions and shortages increased, daily life for islanders became more difficult. The image below show the recreation of a Jersey home during the occupation gives an insight into the make do and mend mentality that kept residents going throughout these dark years.

I decided to display these images as a set of three as they present the recreation of a Jersey home from different angles. My favourite image out of the three is the third one as its the most natural looking one and doesn’t look like a artificial set. I also prefer this composition to the others as it has a main focus (the chair) and still represents the atmosphere of the room from a closer perspective. It focuses on the details of the objects in the corner rather than the room as a whole, like the details of the chair and the patterns within the image (the wallpaper etc) showing the historic side. The warm colours of the chair and fireplace contrast with the cold colours in the wallpaper creating an interesting juxtaposition, the blue colours emphasising the main focus of the image which is the furniture. The lighting in this image is artificial and is too harsh on the right side of the wallpaper, to fix this I will edit the image further to creating an aesthetically pleasing image that looks natural. The overall concept of the image is to represent daily life for islanders during the occupation and the idea that history and memories can be represented though conventional objects.

Picture below taken from https://www.jerseywartunnels.com/history-stories/spreading-the-news/

For those who listened to their hidden wireless sets in secret, repeating any thing they had heard was dangerous.  Words could be whispered in open spaces where there was no risk of being overheard, but some people went a step further in their efforts to spread the latest news, putting themselves at great risk of imprisonment and probable deportation.

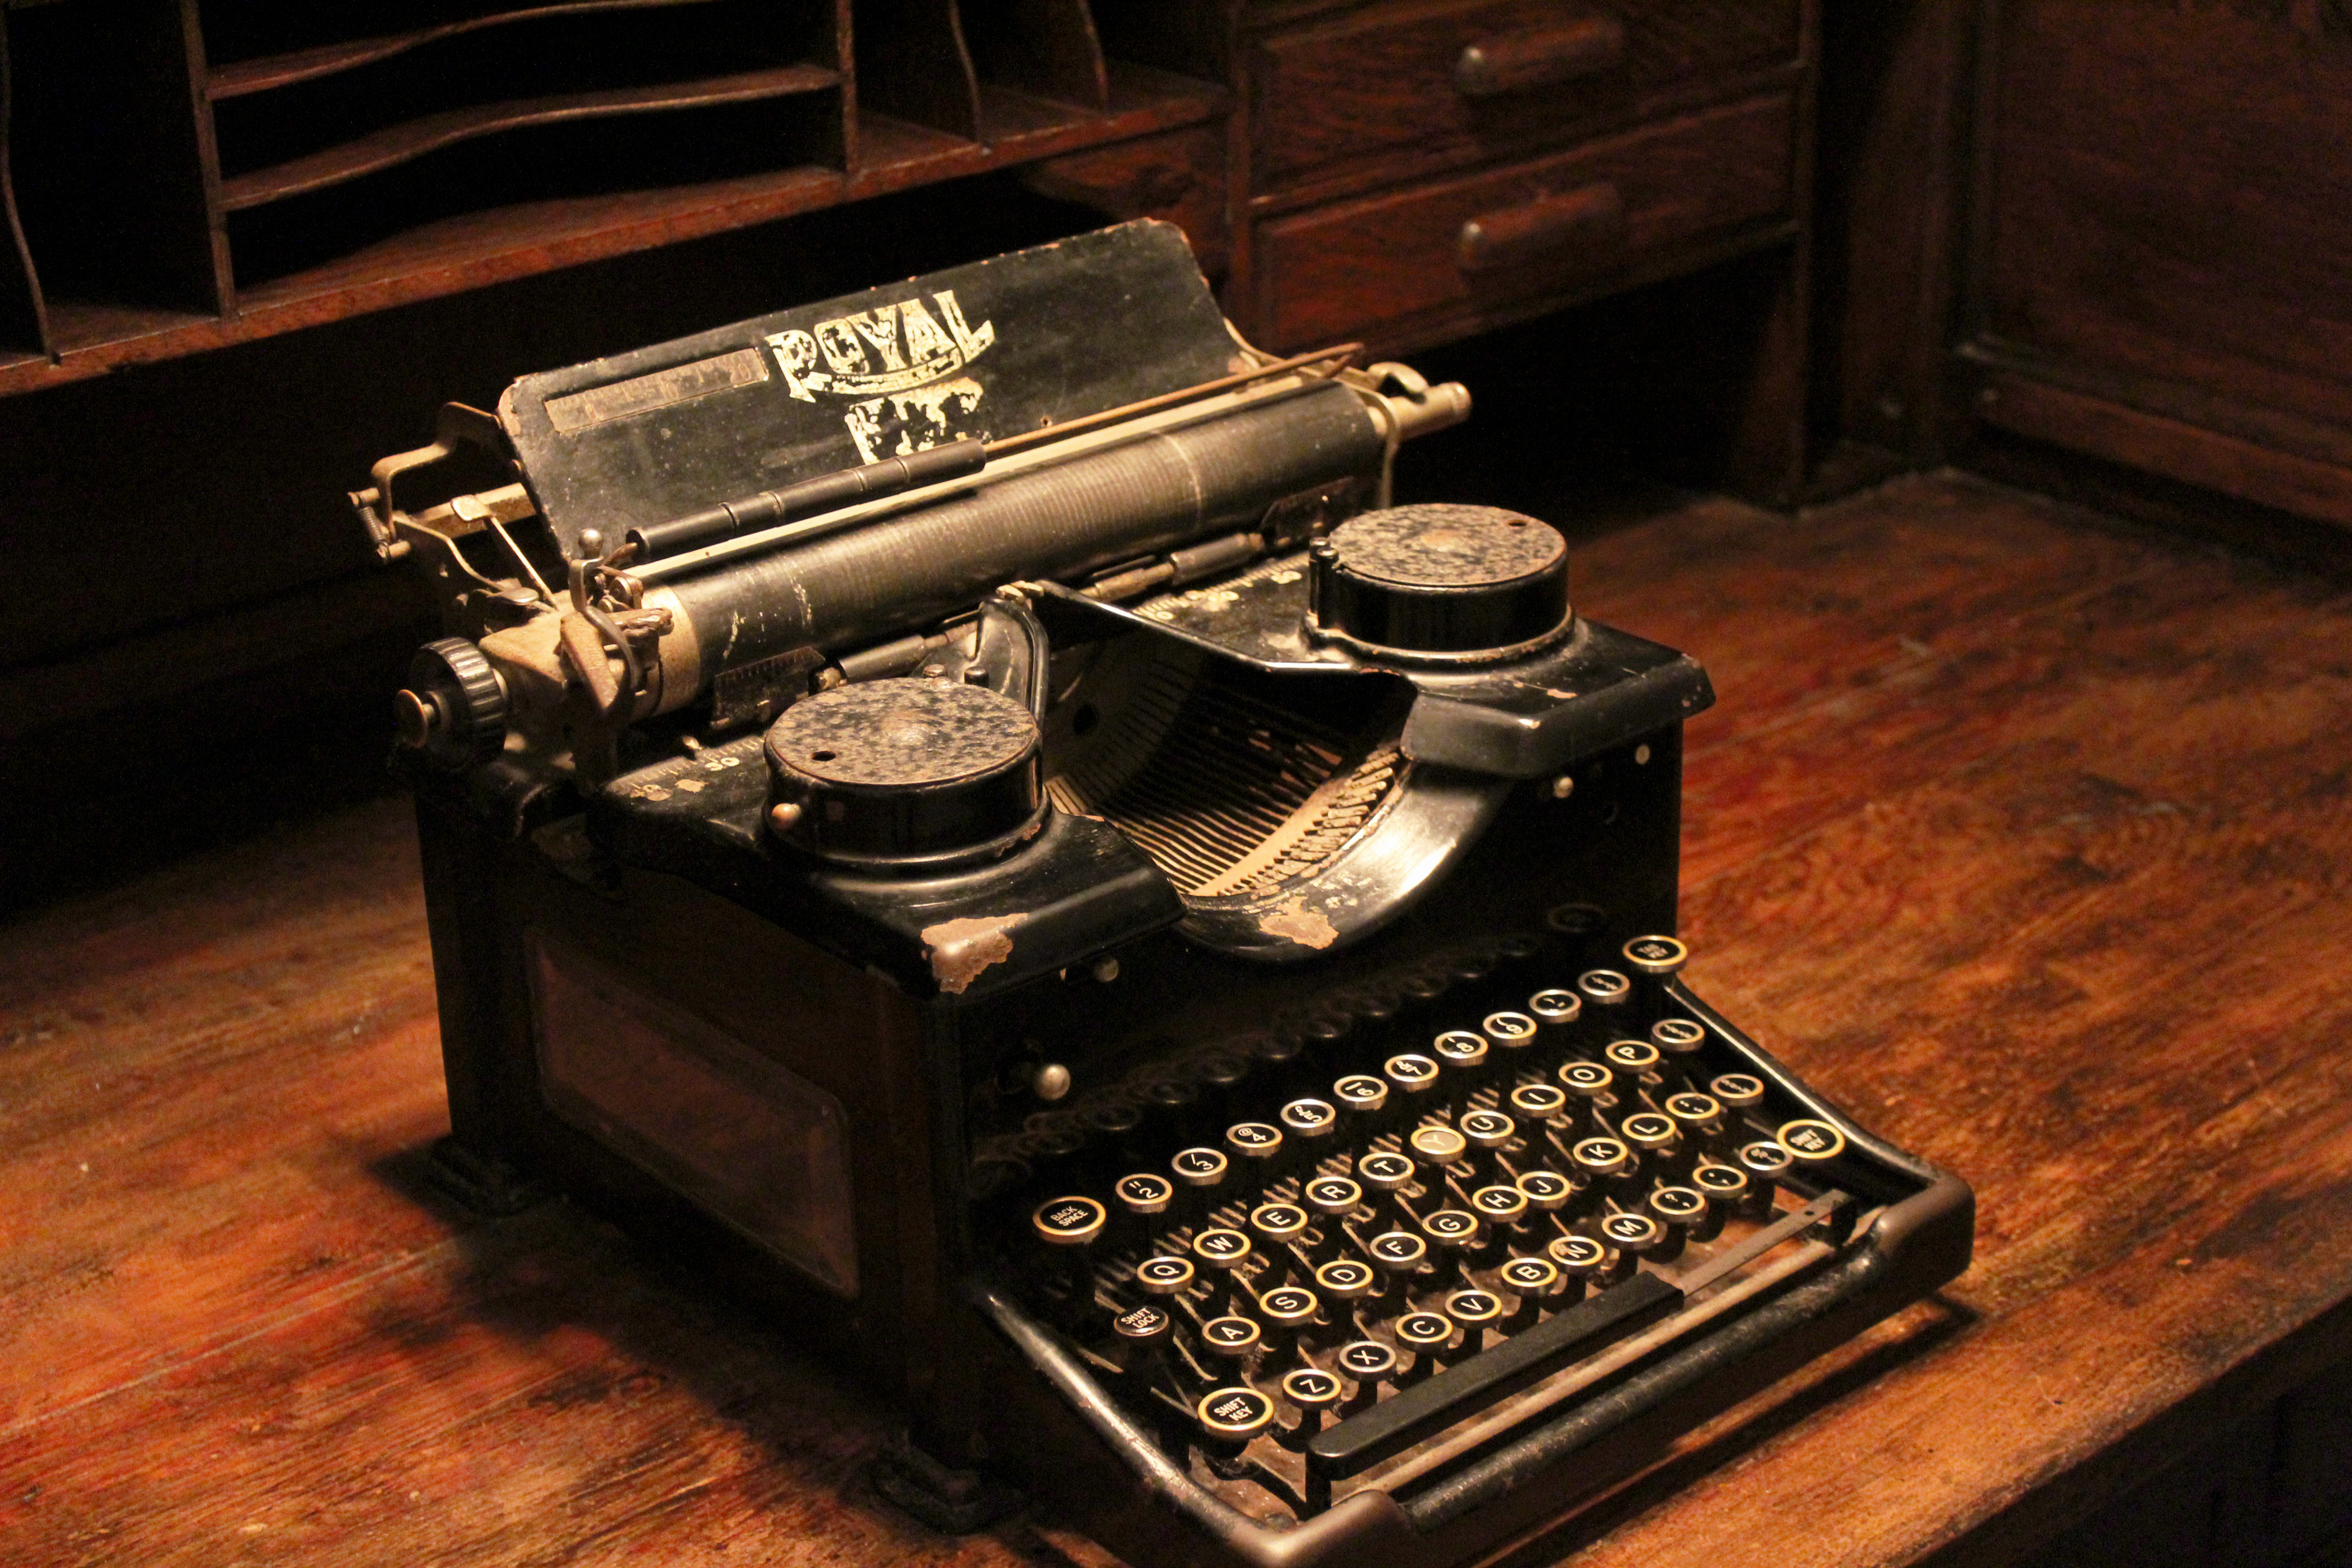
A local schoolmaster was able to note down BBC news bulletins and type out a summary, making copies on an old duplicating machine. If the news concerned Allied positions overseas, he would trace a map from a school atlas and make copies of that too, ready for distribution to a favoured, trusted few.

Below I have displayed some conventional objects that would be found around a home in the occupation.

In the final months of Liberation, Islanders became desperate. Food shortages were acute and with no knowledge of when the war would end, the Island entered its darkest times.

A farmer's widow

One day during the Occupation, a farmer’s widow living in the country went to her shed to collect potatoes for a family meal, but was startled by an intruder. A thin, dirty man appeared out of the gloom, and looked at her imploringly, miming the act of eating - for he was starving. One of the many enslaved workers, he was clad in ragged clothes, topped with an old army overcoat.

Feeling slightly nervous, she shouted at him and indicated with hand gestures that he should stay in the shed whilst she went to fetch a piece of bread - all that she could spare. When she returned, he uttered thanks in his own language, whilst stuffing the food hungrily in his mouth.

With compassion she watched him eat, then with words he did not understand, and gestures, made it clear that he should go, fearful the Germans would discover her helping him.

A few days later the man returned and knocked on her door. Again she gave him a little food, and he smiled at her. She was once again afraid - if discovered she would be in serious trouble. She indicated that he should leave, but he stood his ground, carefully removing a needle he had concealed in his coat collar. Grinning, he gave it to her - the only possession he had.

Although these images do not contain people it is easy to imagine families using these conventional objects and living in settings like the recreation of the living room. The fact their is no evidence of people in these photographs adds to the effect of the image like the objects have been abandoned.

9 May 1945. After five years of occupation, British forces arrived to free the Channel Islands. Scenes of happiness and relief characterised this most wonderful of days, which is still marked by a public holiday and celebrations today.

Doing a photoshoot at the War Tunnels has made me realised how the stories of those who lived around that time link a lot more into the themes secrets and conventions than i originally thought. For example, those who listened to secret wireless sets were in danger if they repeated what they heard and could only do so discretely, but some people went a step further in their efforts to spread the latest news, putting themselves at great risk of imprisonment and probable deportation. Linking to the theme of secrets as people were willing to risk their lives to spread information to others that they had discovered in secret. It also links to the theme conventions as I got to see many everyday objects that were used in homes and how  many have history and stories behind them that may not be obvious at first. Also how islanders became desperate as food shortages were acute and with no knowledge of when the war would end and how they were deprived of conventions they were normal to them before.

Final Outcomes/Presentation

For my final outcomes I gathered my favorite images from each shoot together to analyse and compare them. At the same time I had sent some of these images to be printed so that I could present them in a few different ways rather than just the image online. From this it would allow me to explore the use of composition and presentation of each image, creating a more aesthetically pleasing result as a result. These were my top 5 images I had selected throughout the course topic of ‘Landscapes’:

Mock Exam Final Piece

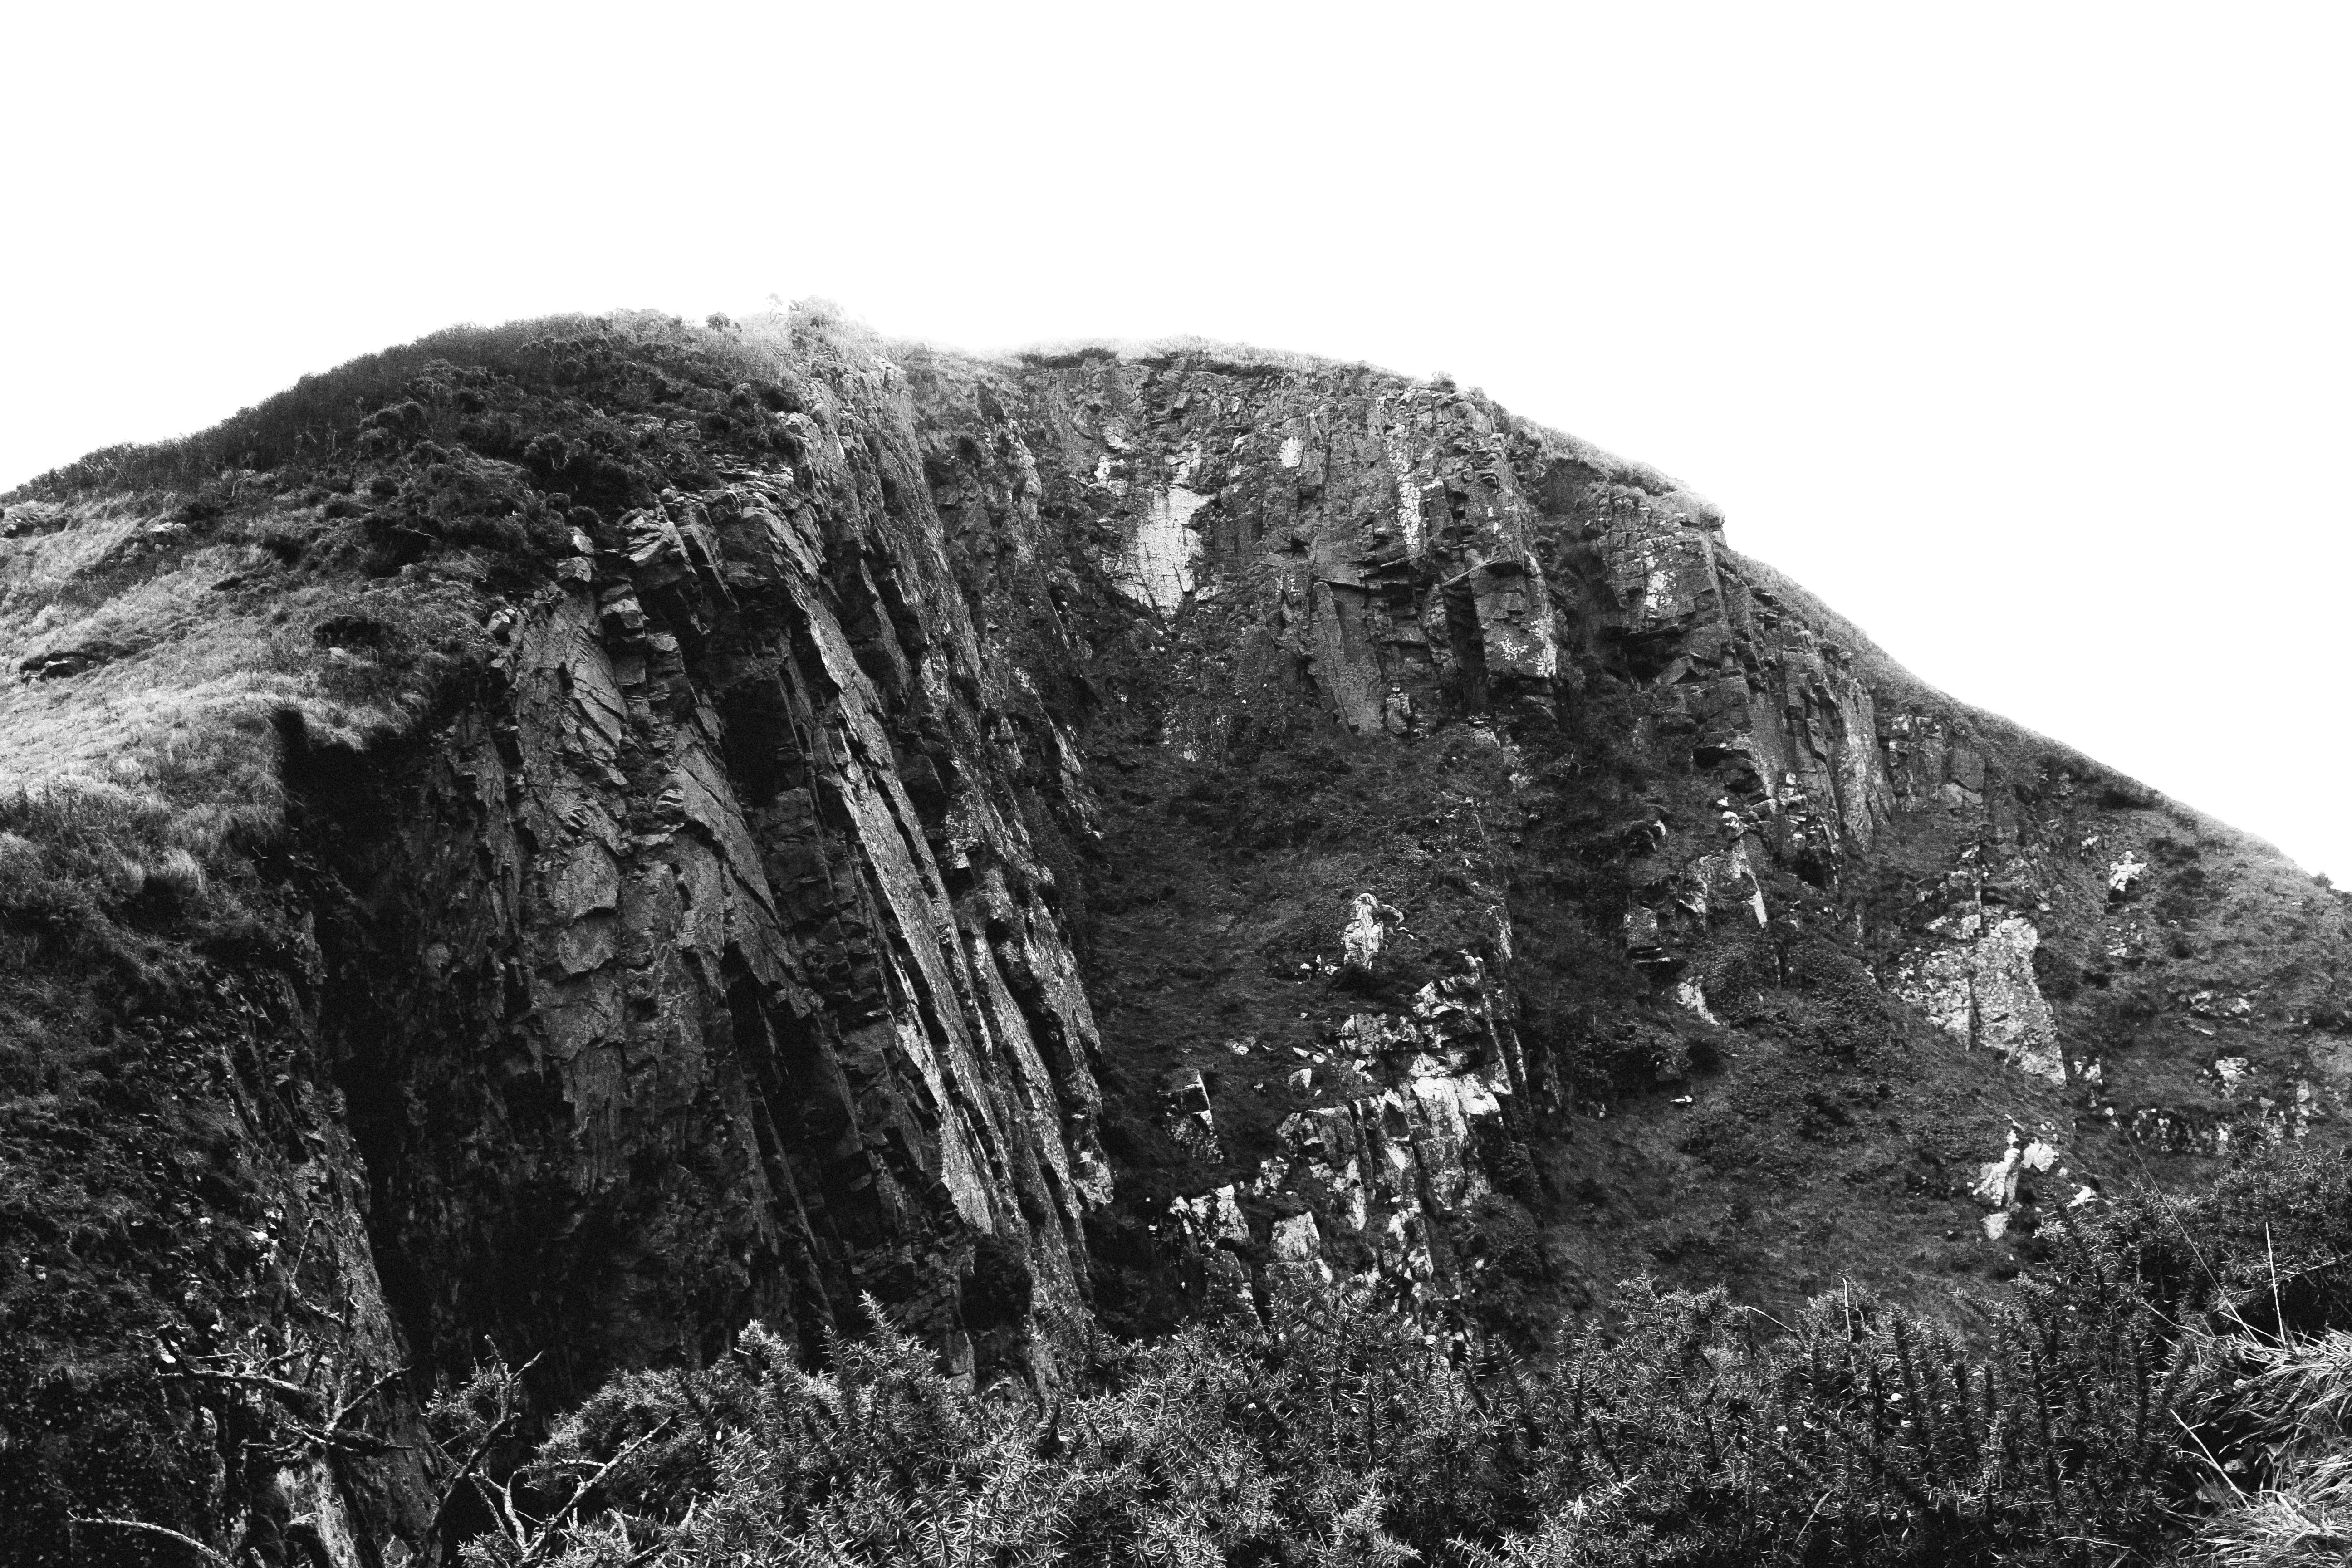
For my mock exam final piece I will be using this photograph:

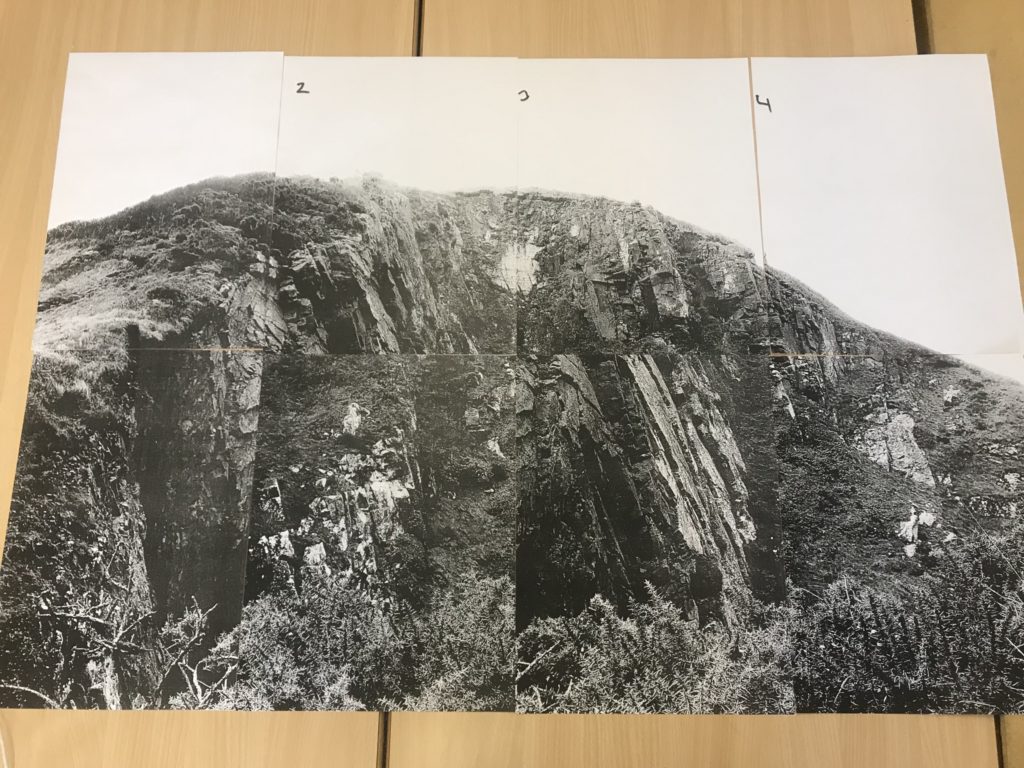
I plan to divide the photograph into 8 equal A5 sections and then use these 8 different photographs to create one big photograph as shown below. This will hopefully emphasise the size of the subject in the photograph and therefore create a more dramatic and impressive photograph.

Final Ideas/Presentation

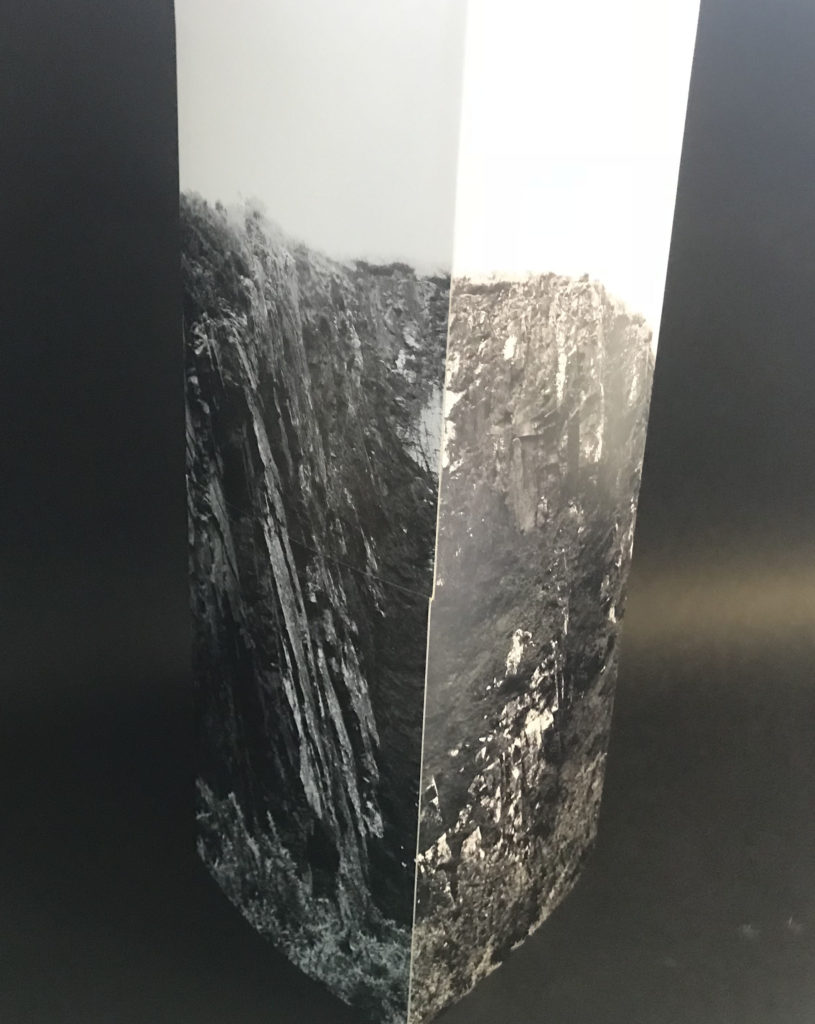
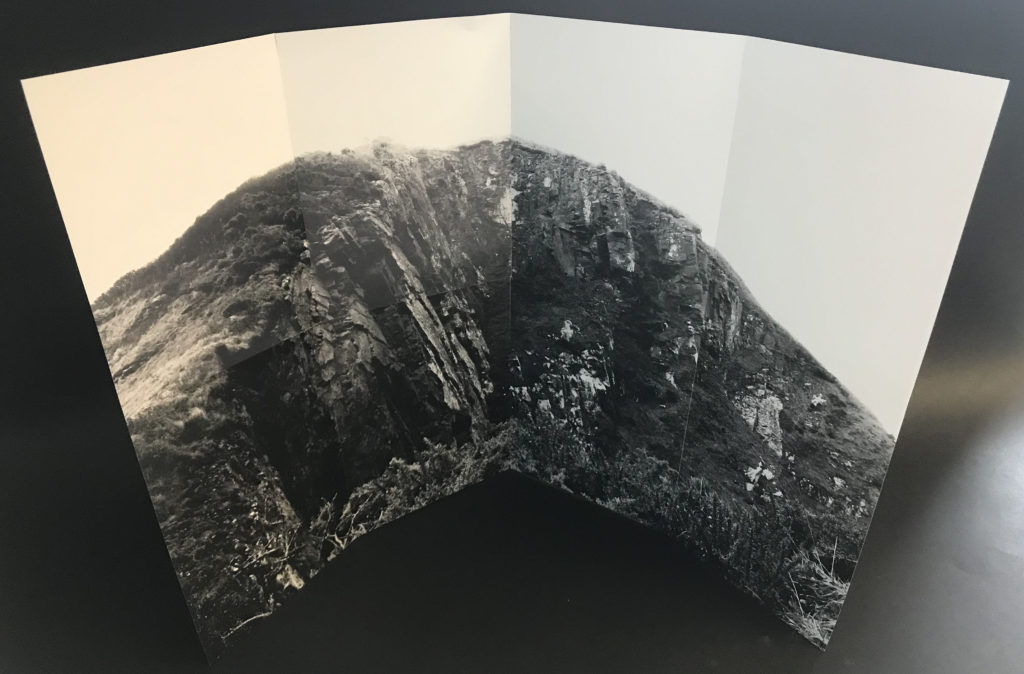
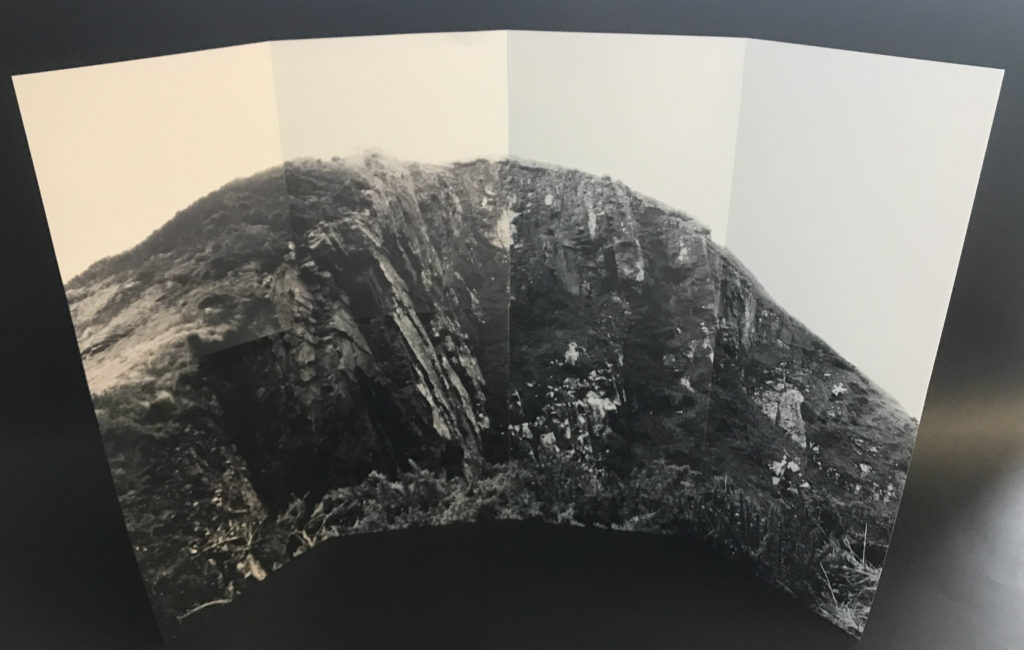
In my final piece I started by taping all of the smaller photographs together to make the full photograph. I then started to experiment different ways to present the photograph in a 3D form by using the creases between the smaller photographs.

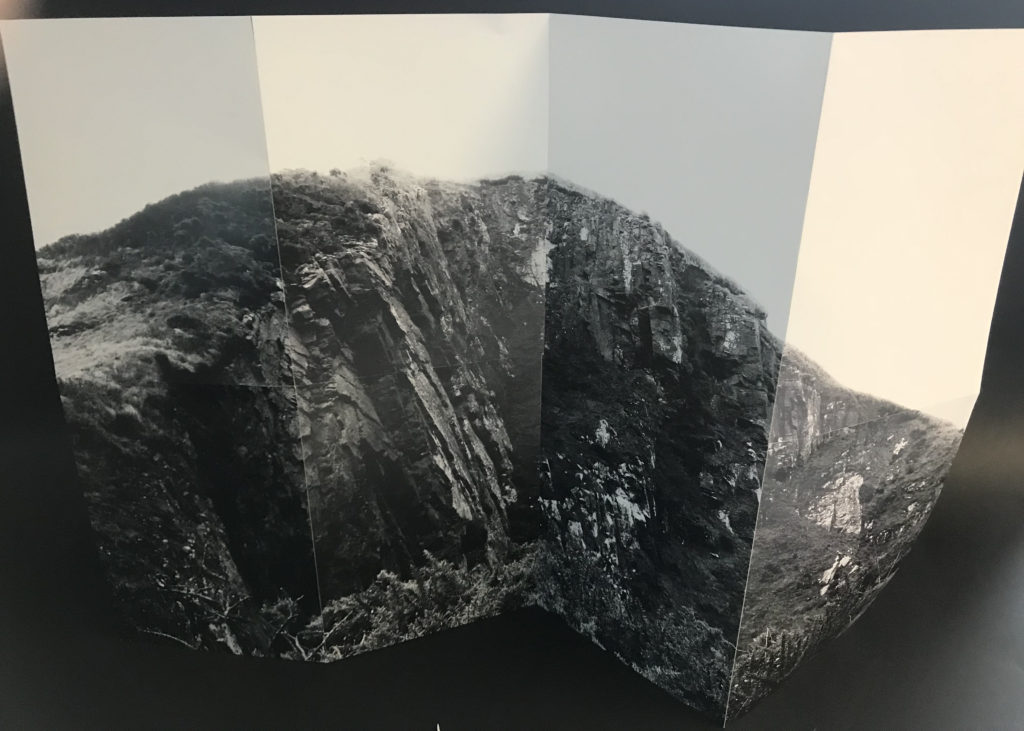
In the below ideas I have folded the photograph in different ways in order to find which would be most successful. I looked at making it into a sculpture image in which you would have to walk around to see the whole photograph.


I decided to present the photograph as below; the middle two quarters are flat and the first and fourth quarters are folded forward to be closer to the viewer. I stuck the photograph onto foam board using three different pieces to create the 3D photograph. If I was to repeat this project I would try to create the photograph on a larger scale by printing it off myself and then attempt to make a more intricate presentation.

Final Presentation Ideas

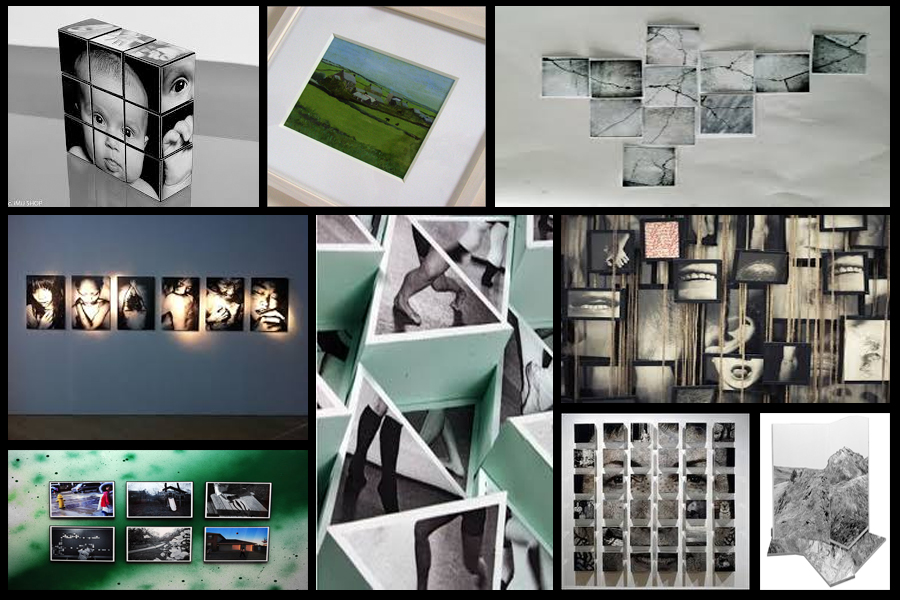
When presenting my imagery I wanted to experiment ways of which I could visually present my images differently to the standard style. A way in which I could do this was through Photoshop where I could manipulate images into the style of presentation I desired. Before I got to this stage however I thought it was necessary to come up with a mood board on my ideas regarding the presentation of the final pieces, this was my result:After looking over these images I decided I should trial run a few of them by manipulating the photos within Photoshop to get the effect needed. I Ideas I settled on were 3D presentation of the landscape and objects due to how through this method it allowed me to choose the focus of interest I wished the view to focus on, whilst creating a more realistic and abstract result. The second idea was the simple image between two black sheet with a white border, I chose this one because I loved the simplicity of the outcome as I thought it emphasized and complimented the entire piece.
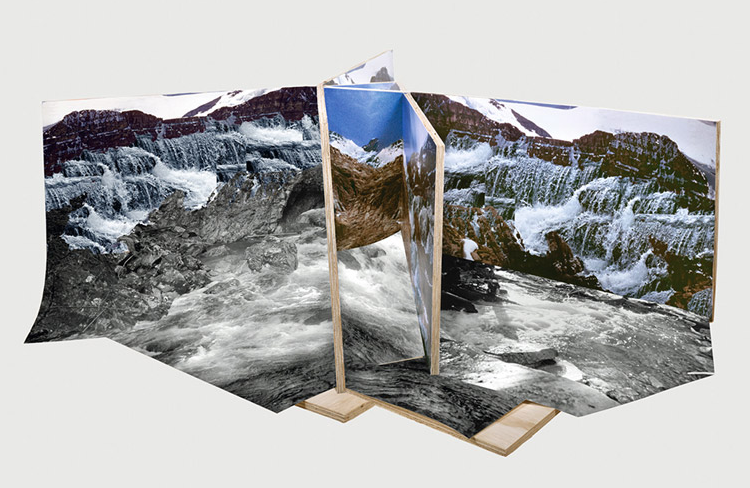
I firstly focused on the 3D design with this being my desired effect:To create this I stitched images of building I had taken together, with me adding edges digitally it made the 3D effect I wanted, this was my outcome:
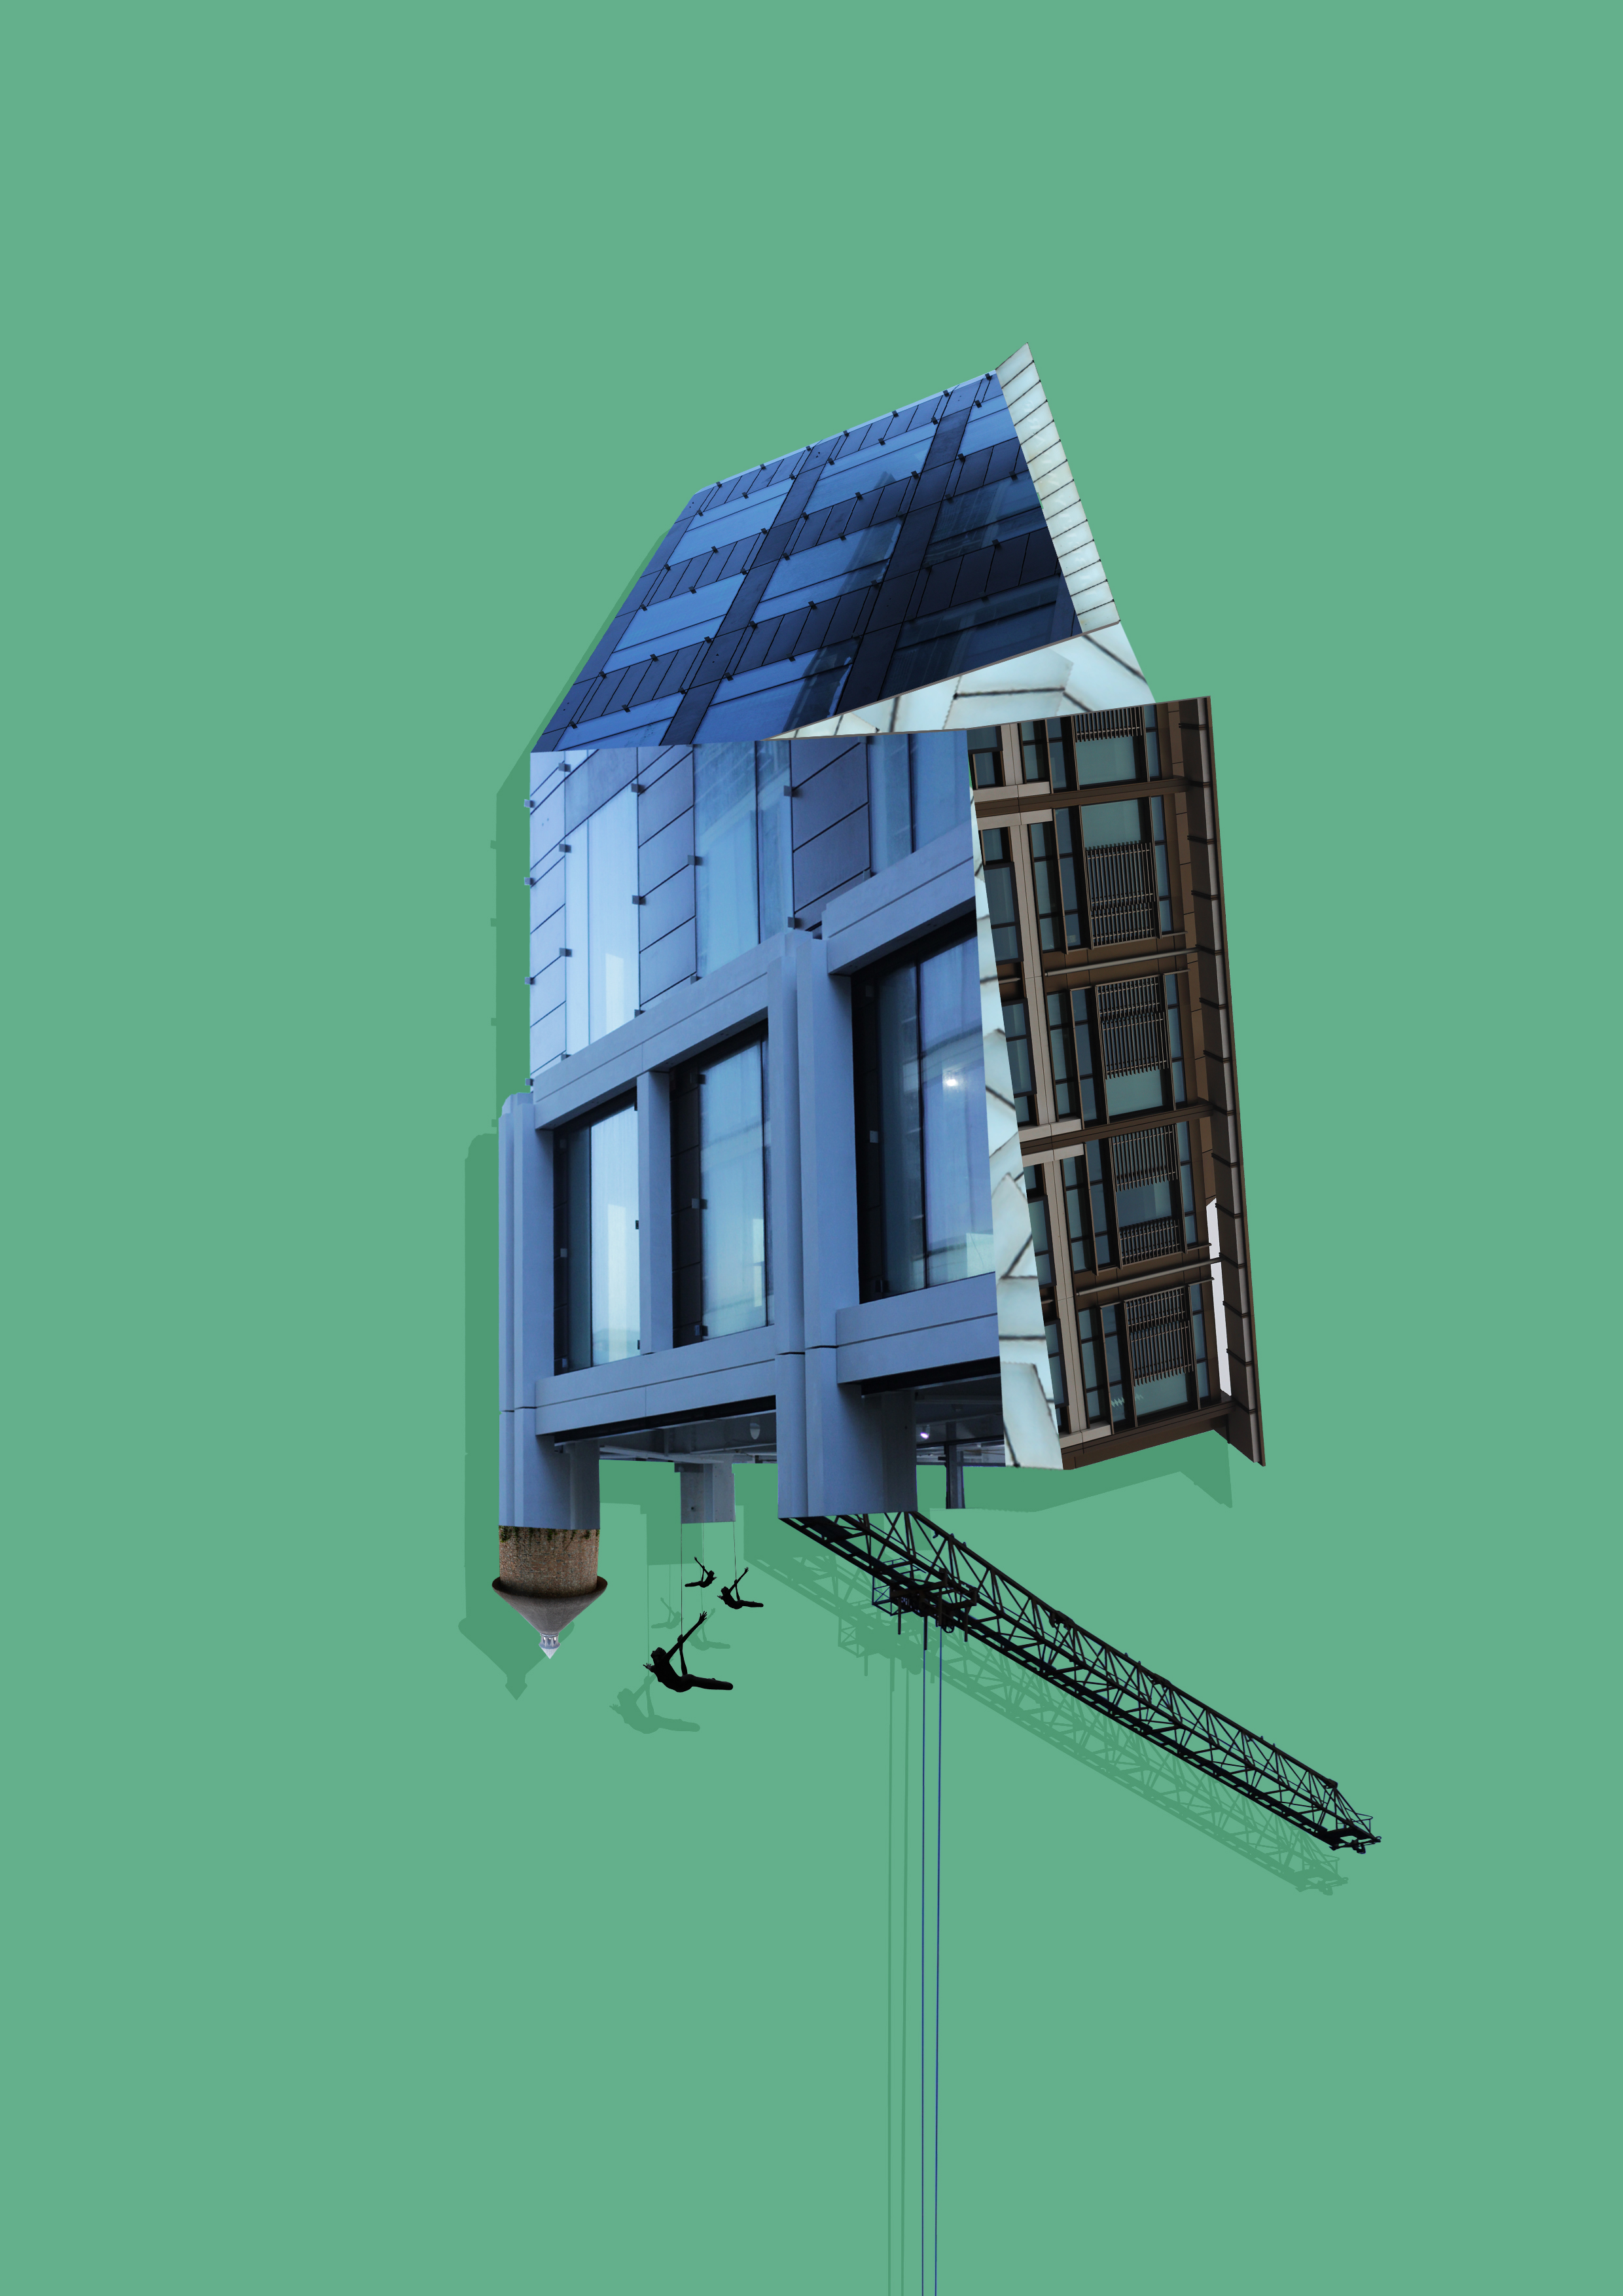
Whilst making this design I found that by adding a shadow to the piece created the effect as if it was mounted upon a wall, emphasizing the 3D aspects even more.
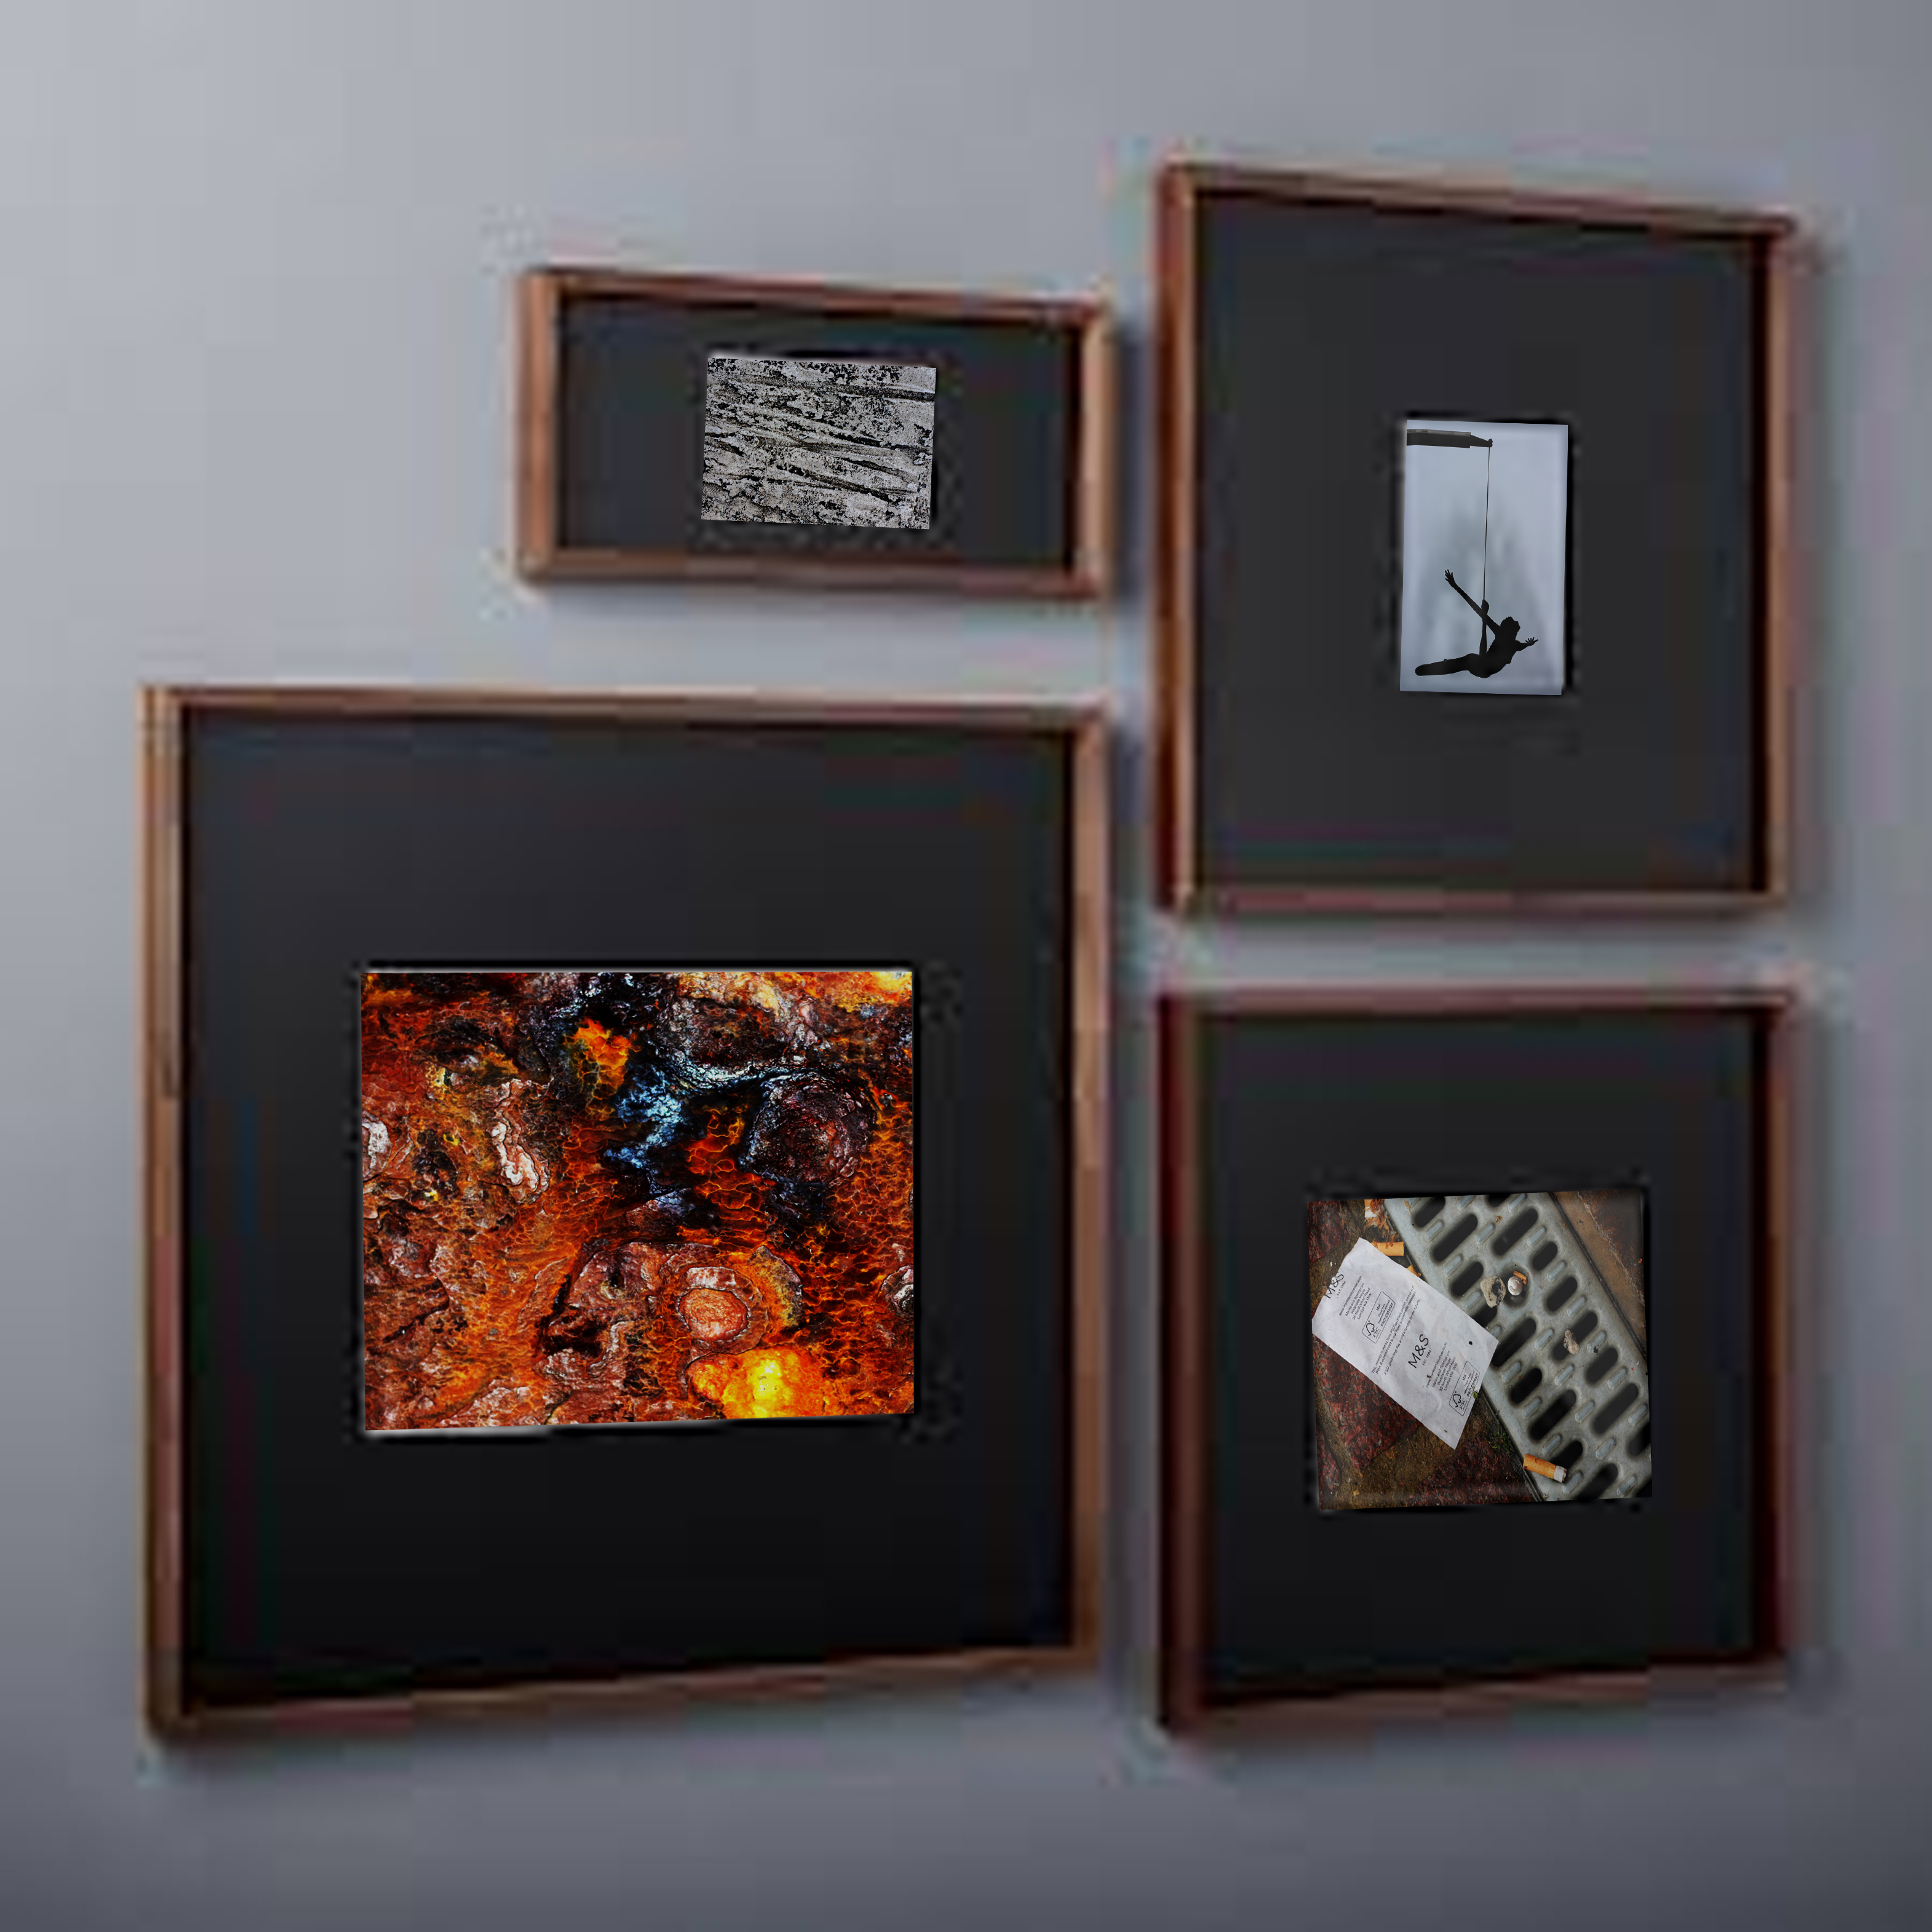
Once completed I moved onto the design of a plain black mounted image to present my images in. To do this I used simple shapes to create the imagery adding texture to them by using overlay, this was my result:

Image result for Diagram of framing a pictureWhen editing the images I found that when displayed together the pieces looked more aesthetically pleasing to the eye. This allowed me to come to the conclusion that I would display three of the images together to created this effect.

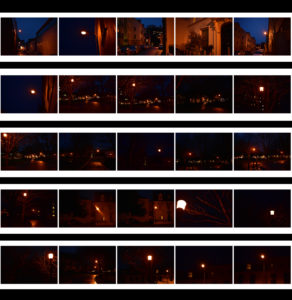
Night Photography

Artist Research – Edgar Martins

Edgar Martins (born 1977, Évora, Portugal) grew up in Macau, moving to London in 1996, where he completed an MA in Photography and Fine Arts at the Royal College of Art.
Landscape, place, space, and architecture have established themselves as the predominant themes in Martins’ photographic imagery. Martins uses photography to develop a philosophical, quasi-scientific investigation, examining various minimalist concepts of the contemporary urban landscape. Moving between the factual and fictional, between the concrete and the metaphorical, the artist operates within a landscape of uncertainty, permanent flux, transition and opposition.

My Contact Sheets

Edited Pieces Selected From Above Photographs


editing process,presntion ideas, contrasting to chosen photographer.

Editing process

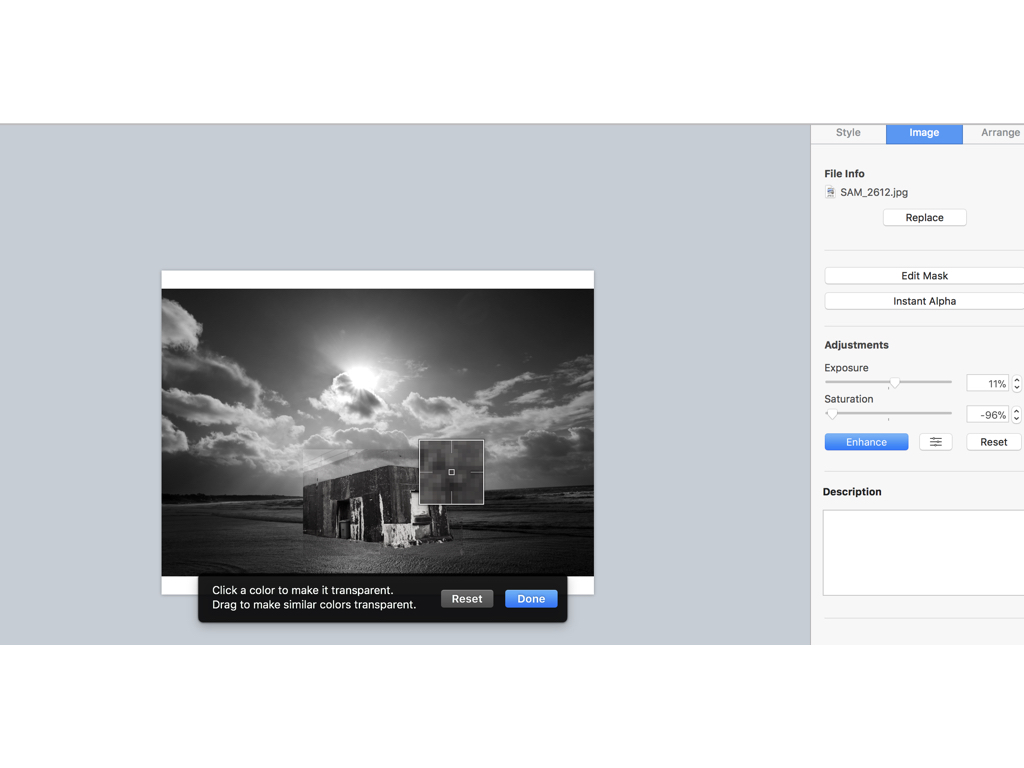
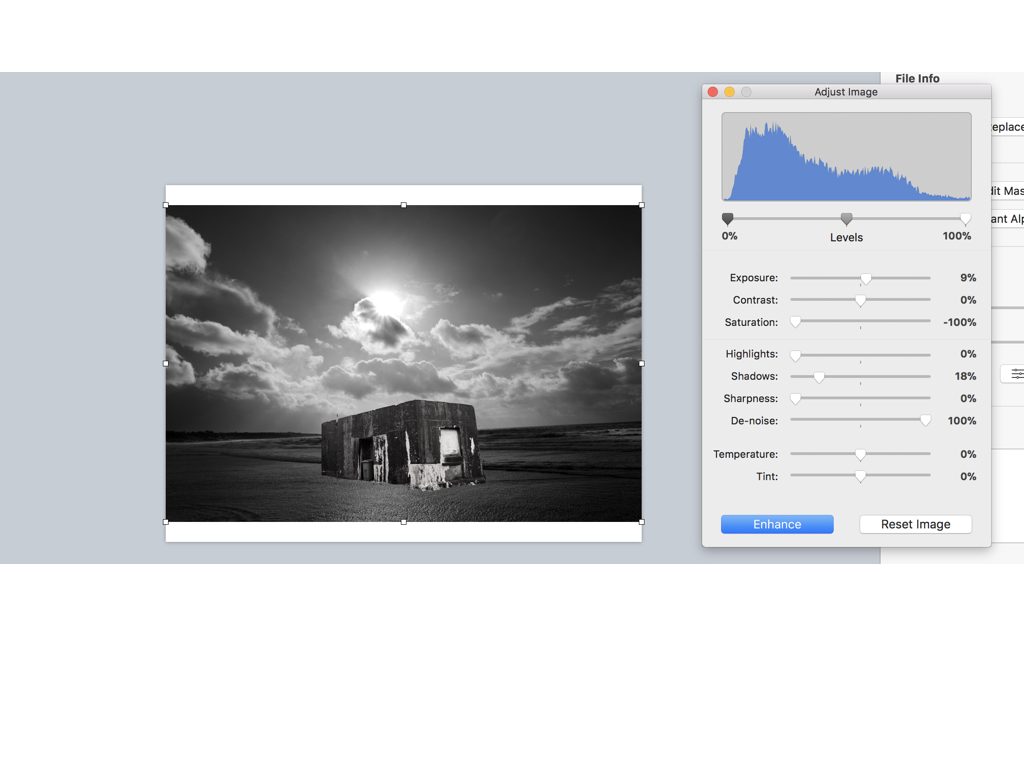
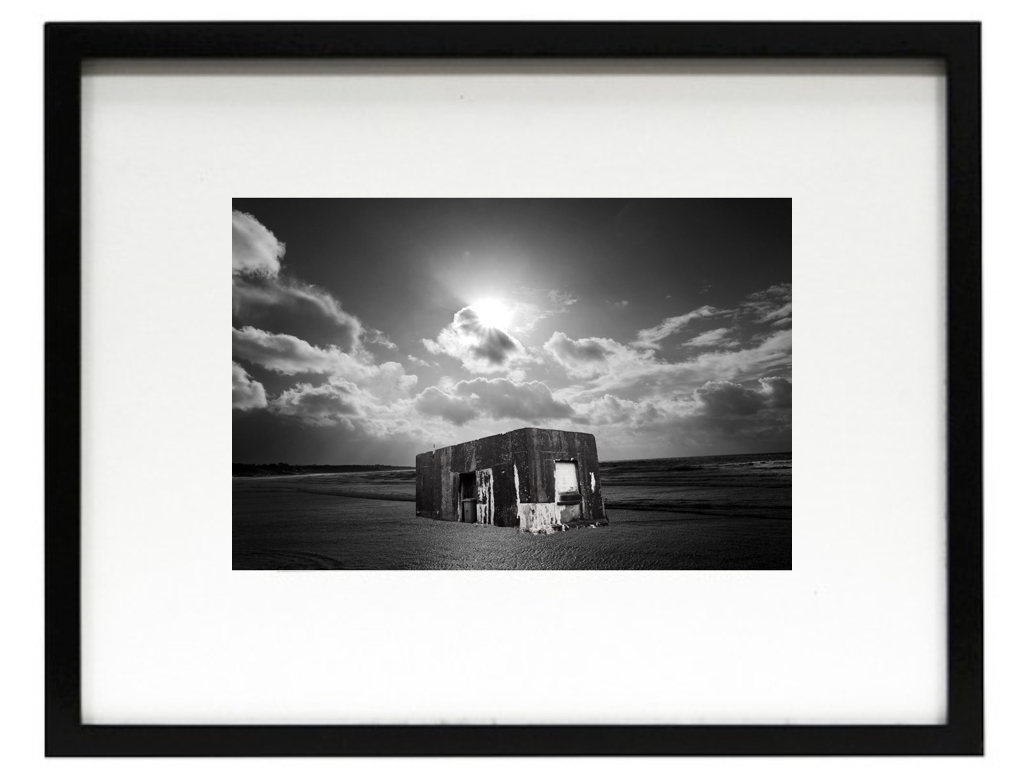
firstly when editing I went through all my shoots in order to find two images in which I think could make a successful overall composition,to do so I would line them up and think of a composition in which I could make.When I decided on the images I focused on the structural images and used an instant Alpha editing technique in order to remove the background and only use the part of the building that from a three dimensional shape and also has strong hold to its shape.I then layered the image in order to place the structure on top and arrange it in the composition middle so it looks effective on the light itself,Furthermore I edited the tonal qualities on both images lowering the saturation making the images both the same tones but creating a lighter exposure on the stature as it has a more realistic  feel to the light shining on top of it.

Here are the settings before I edited the images I found it important to find the same level of structure and the sea and lower half of the bulling so it looks realistic and also have surrealism within the image due to the believability.

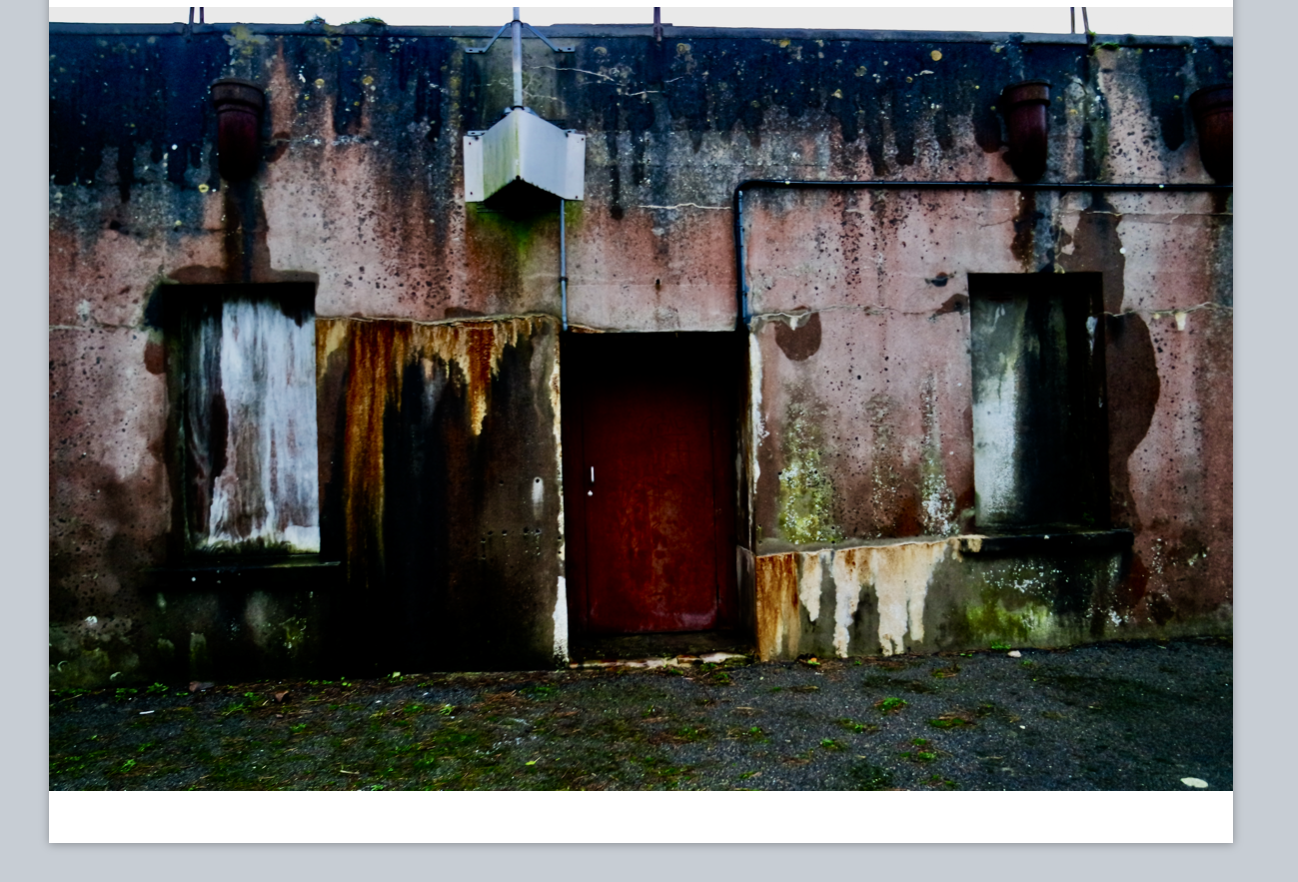
This was there original images of the houses I wanted to capture this due to all the lectures seen wihtin the building and an old sense of abandonment wihtin the image,furthermore I thought the shape and cut would work well when repeating the image due to the straight lines and form.

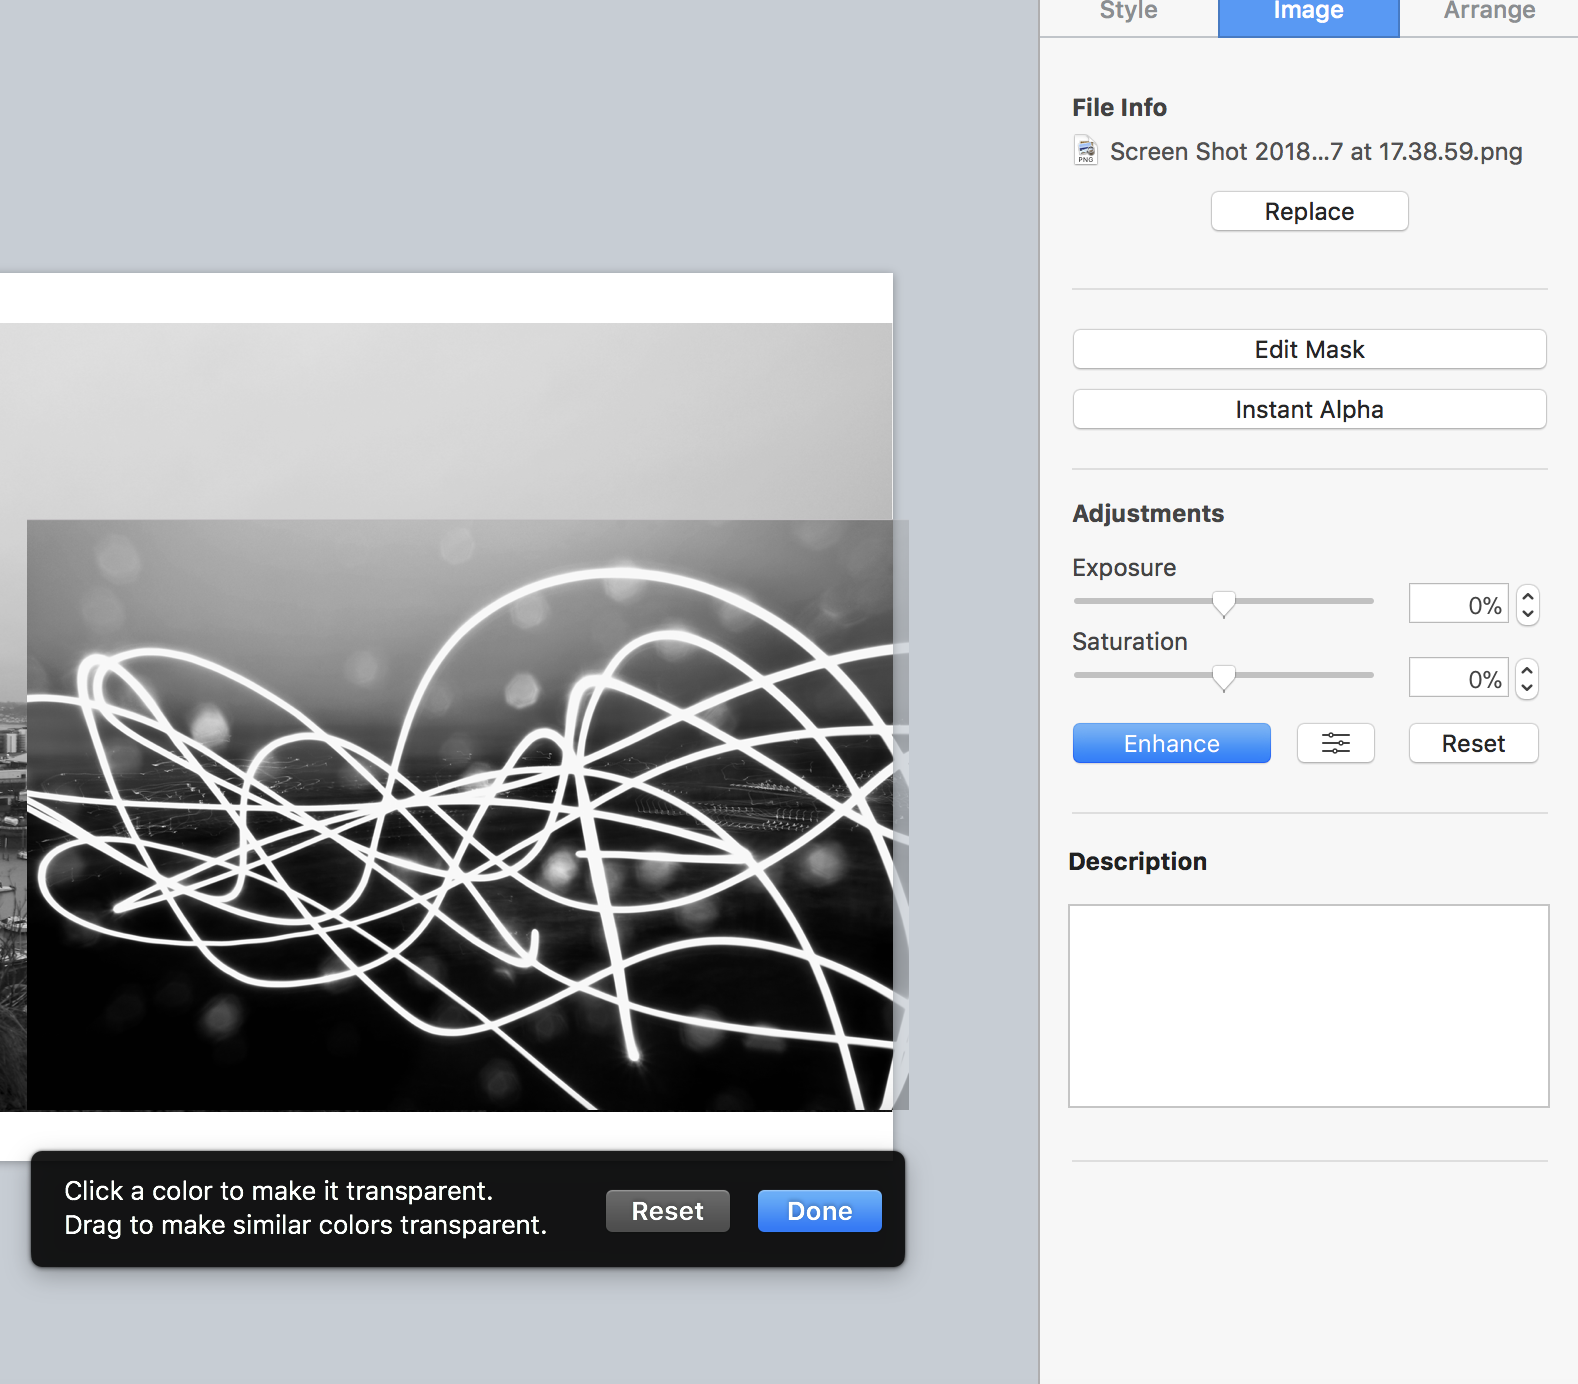
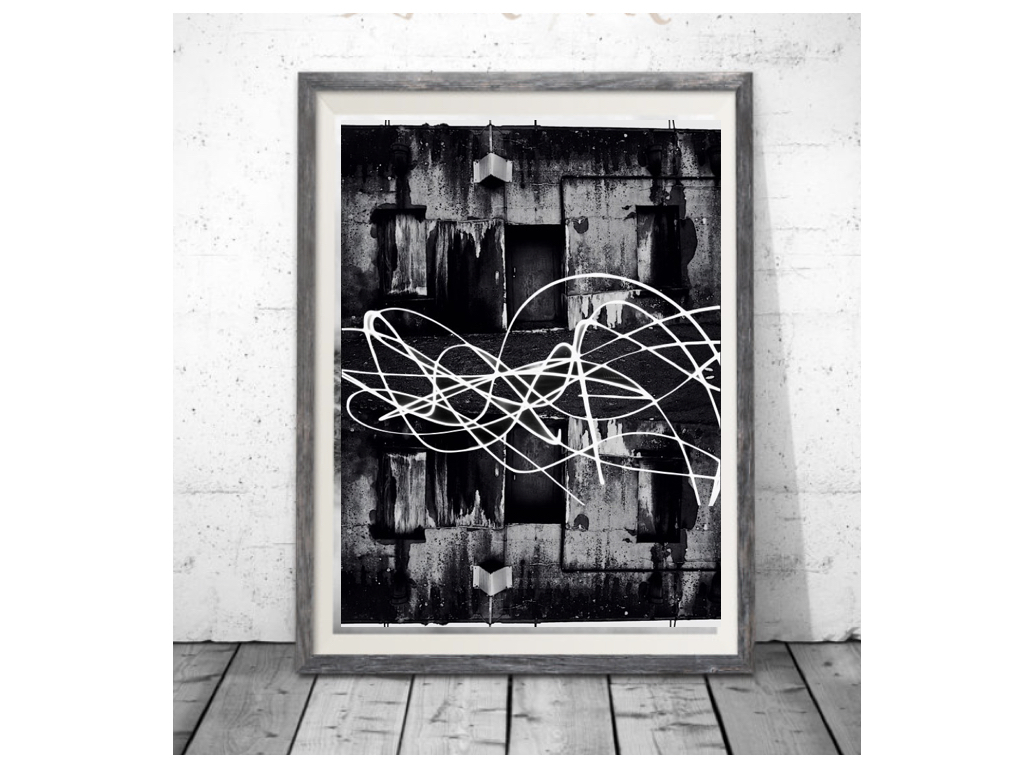
For this image I wasted to capture a slow shutter exposure on the light and show a movement over a city shaped thought it had strong abstract qualities but would look affective when layering an image.
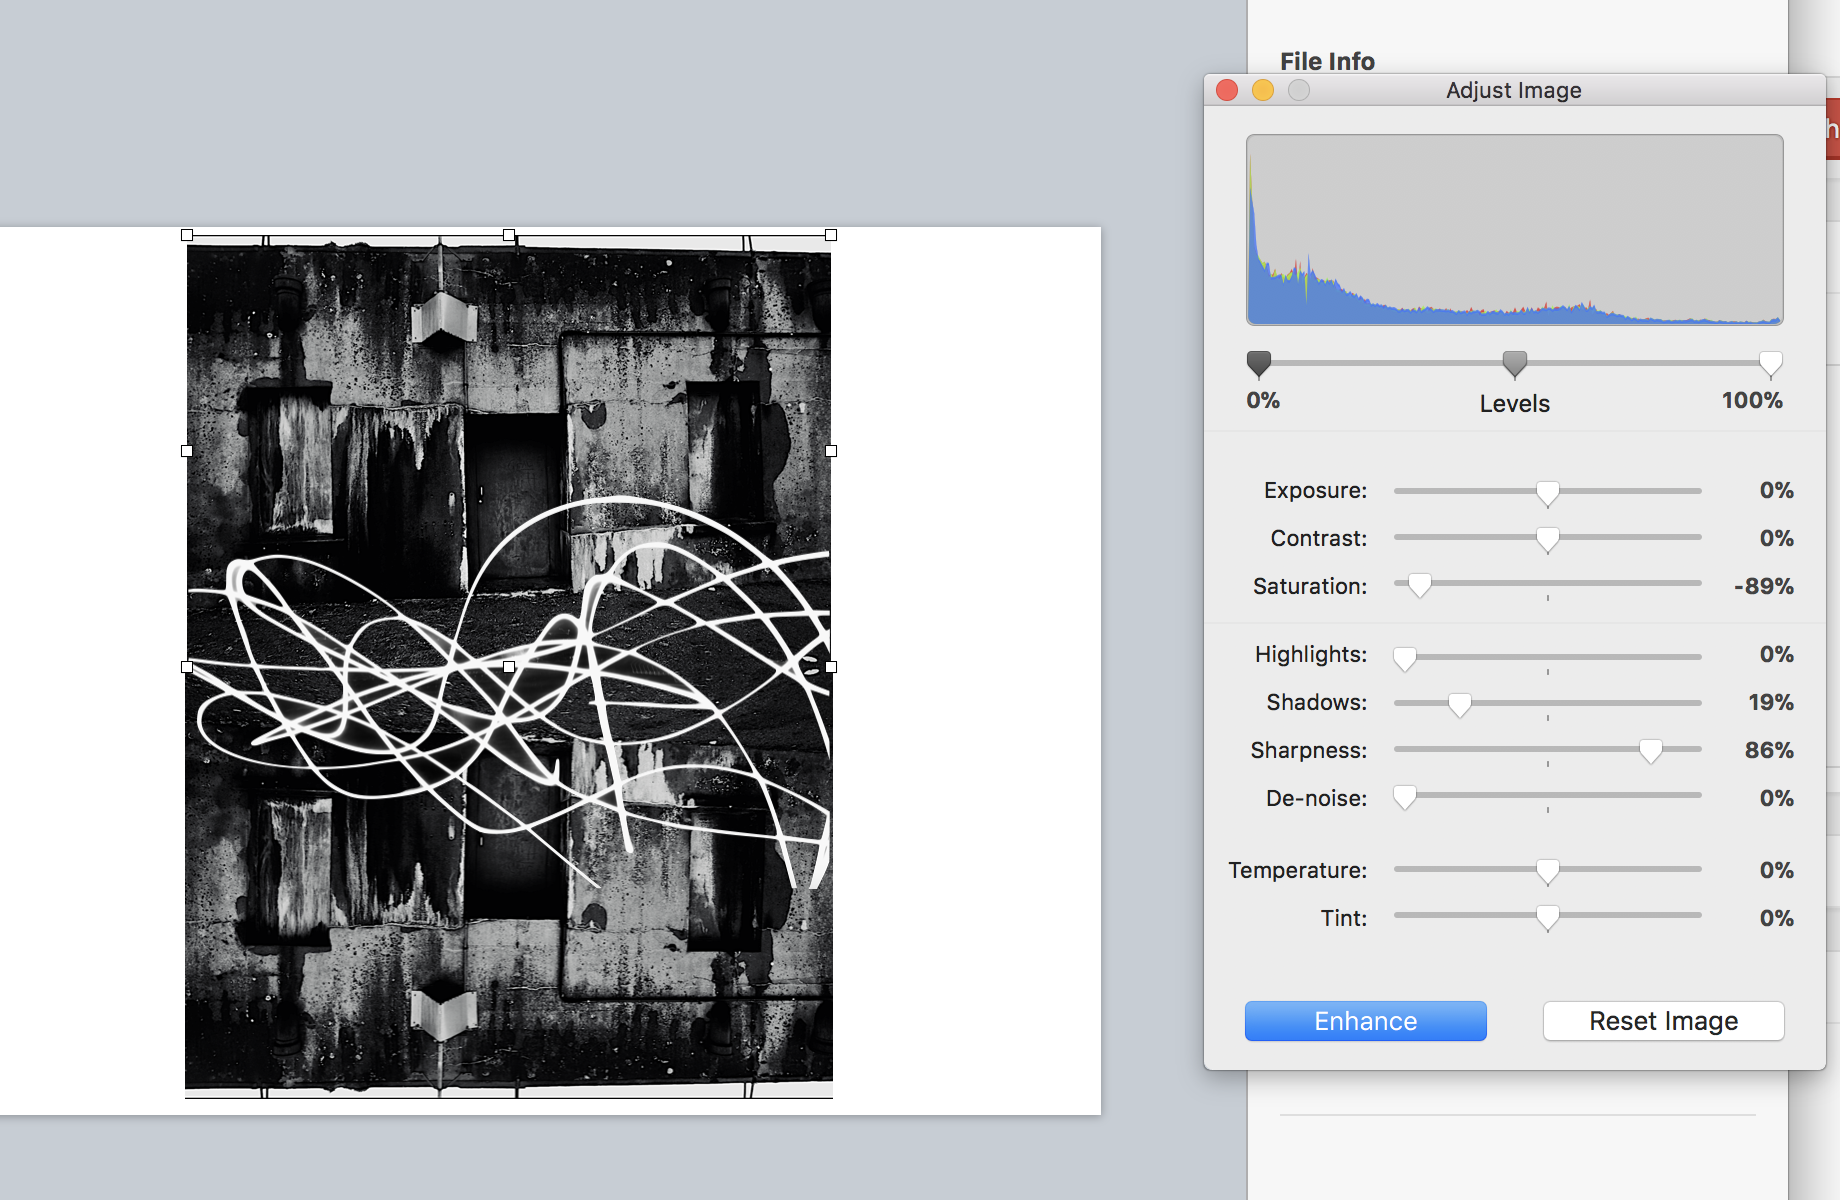
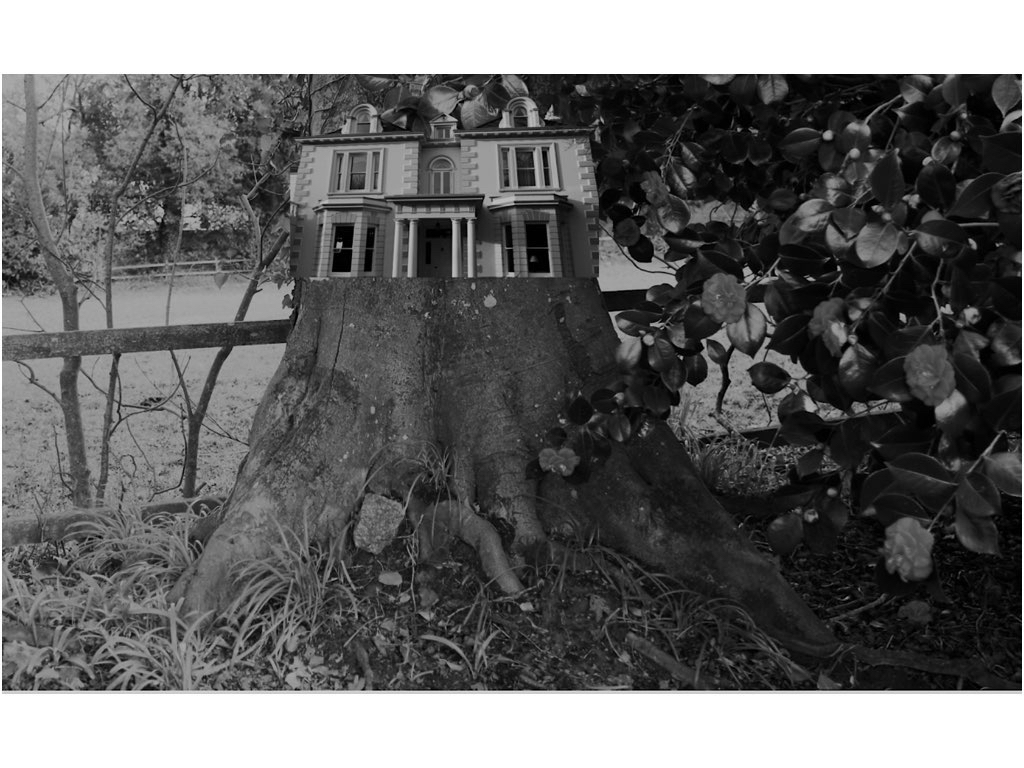
Finally I flipped and repeated the house images and adjusted the tones as above, I then used alpha once again to remove the black from surrounding the light exposure and then applied that to the image over the top structure in order to show an effective strand throughout the piece and an equal sizing.

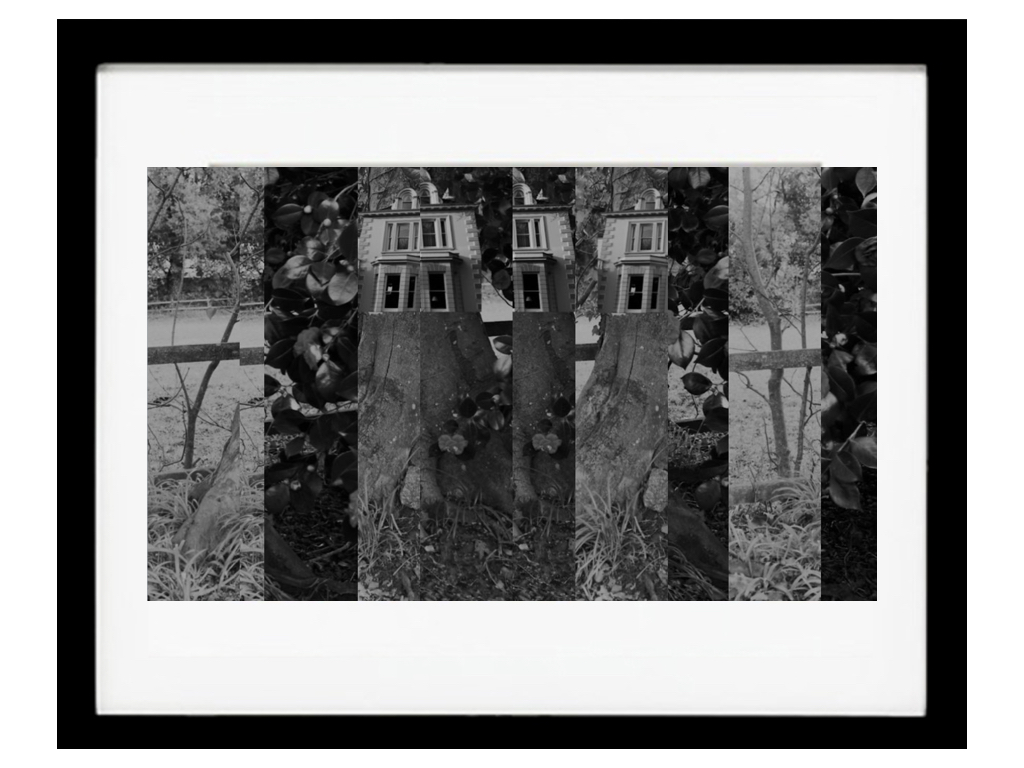
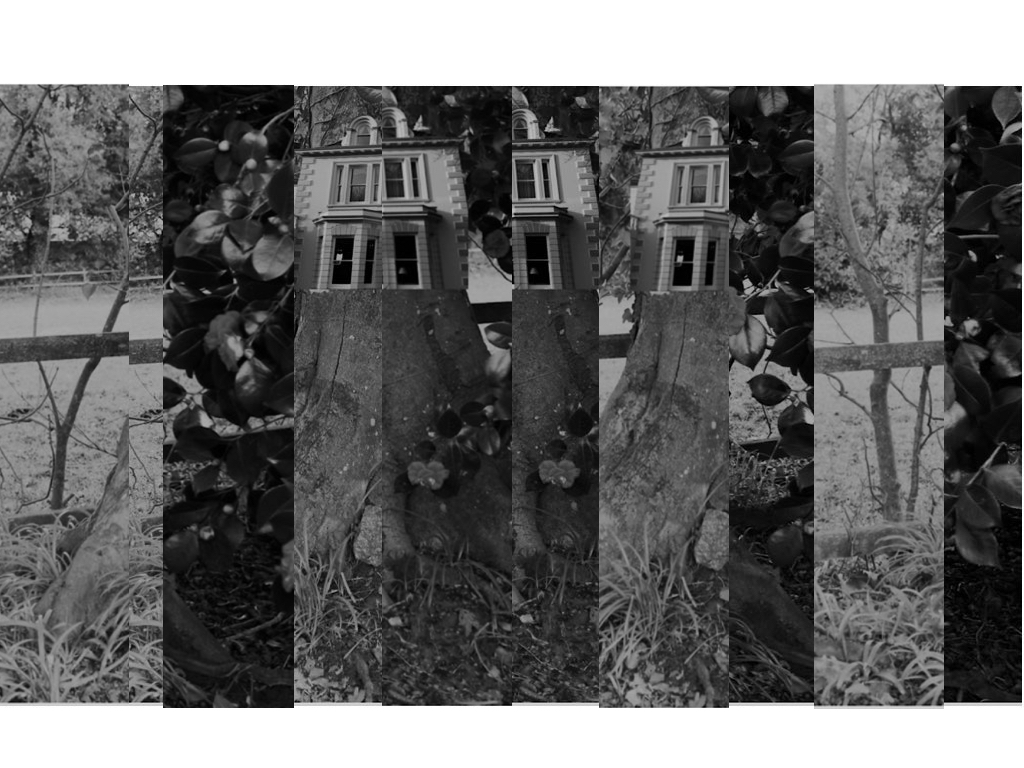
To edit this image once again I was separating the house for the surrounding background and using the dame tones to attach the images to each other,Although It was mostly important to capture the size and insure it was equal to the size of the tree itself.I wanted to additionally experiment within how I can change the lines and overall image by cutting and resizing with them into separate sections of the piece,this can be shown here:it shows different sections and different tones yet you are still Able to see the original piece itself.

Presentation ideas / printing solutions

For presentation I think I want separate ideas but for all of them to compliment the individuality of the image itself:for the first image due to its simplicity and power to speak for itself I think a black frame with a white boarder would be effective in a large print out ,when doing this I thought due to the dark tones to all the images they would all look best in black frames wihtin different cuts and sizes of frame and inside displays.

My idea was somewhat based off of this, using different sized and thickness of frames to enhance the I ages themselves but I would also include a white inner boarder to the images, as I think this looks effective.

Compare and contrast to your chosen photographer

Noemie Goudal

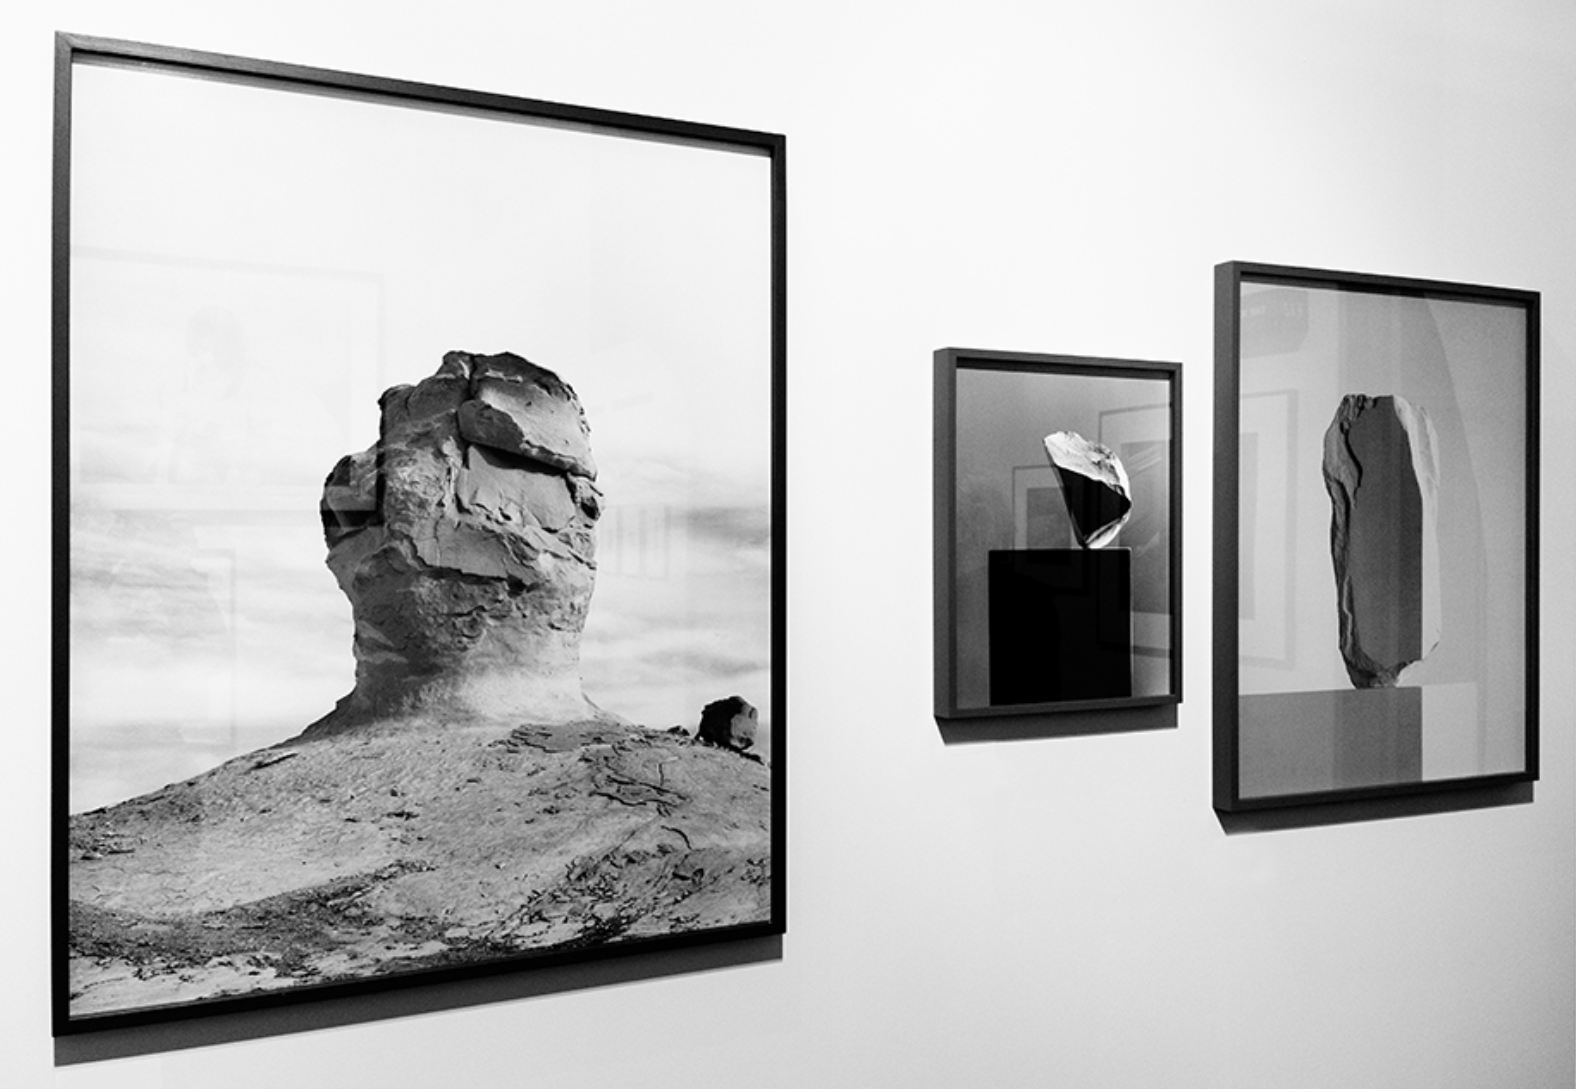
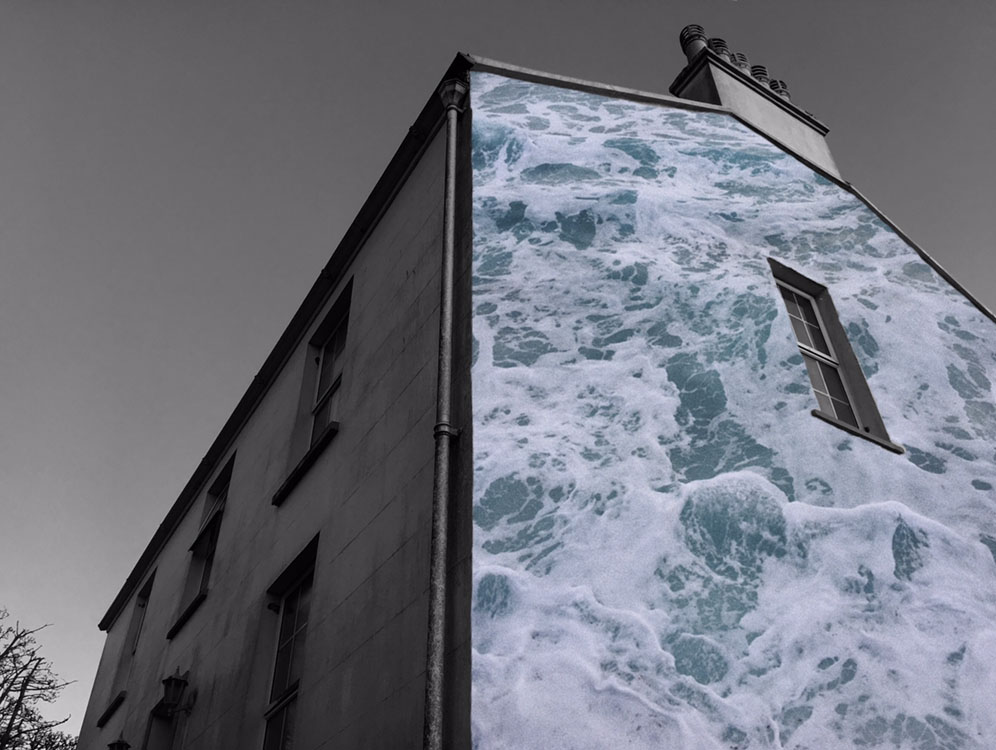
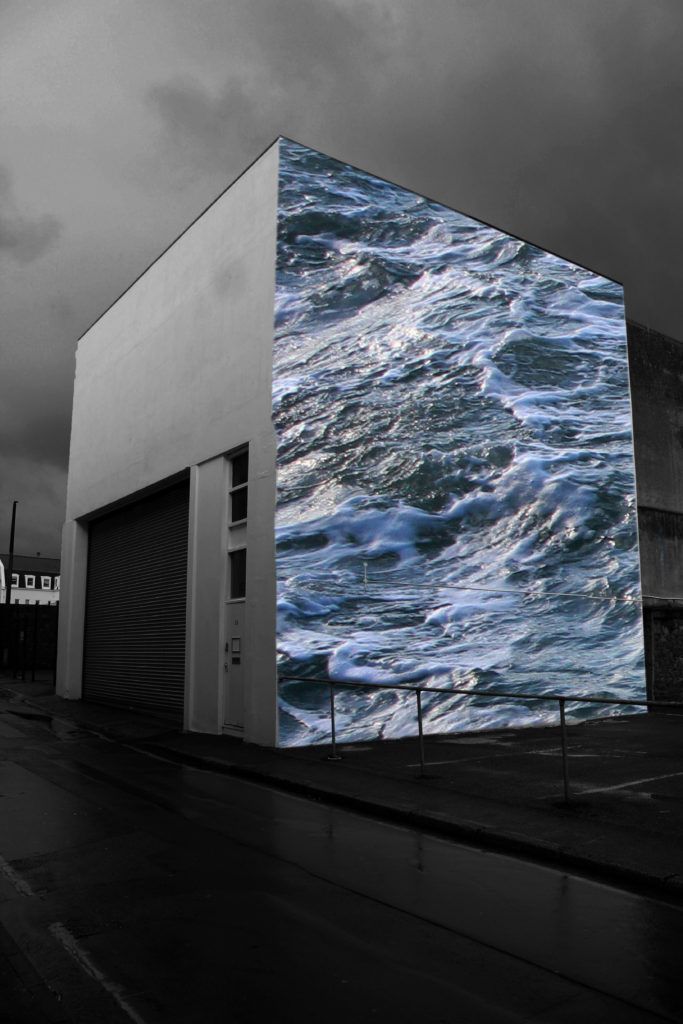
Her work has a clear connection to my response of hers, showing structures  being on water and showing themes of surrealism and mirroring techniques such as she does in water,I was too able to show a opposition of their natural equal, wether that be sea and a man made mould or a manner and a tree, and or be a city scape conflicting with an urban building,I used her sense of  dimensions throughout my pieces and my final also using many different angles of interest.I think I have successful shown a sense of her ideas and format of nature  though my work and through a  comparison you will be able to see the same theme continuing through.

Final shoot and editing

To create the edits for my final artist study I took photos of buildings around town which show of the urban landscapes and show the industrial side to the island. I tried to capture areas that are not always in the public eye, for example i took pictures down side roads rather than on main roads that are seen by everyone.

I also took some black and white minimal pictures of houses around the island, I made sure that the buildings  looked like they stood out in their surroundings to reflect the work of my artist reference.

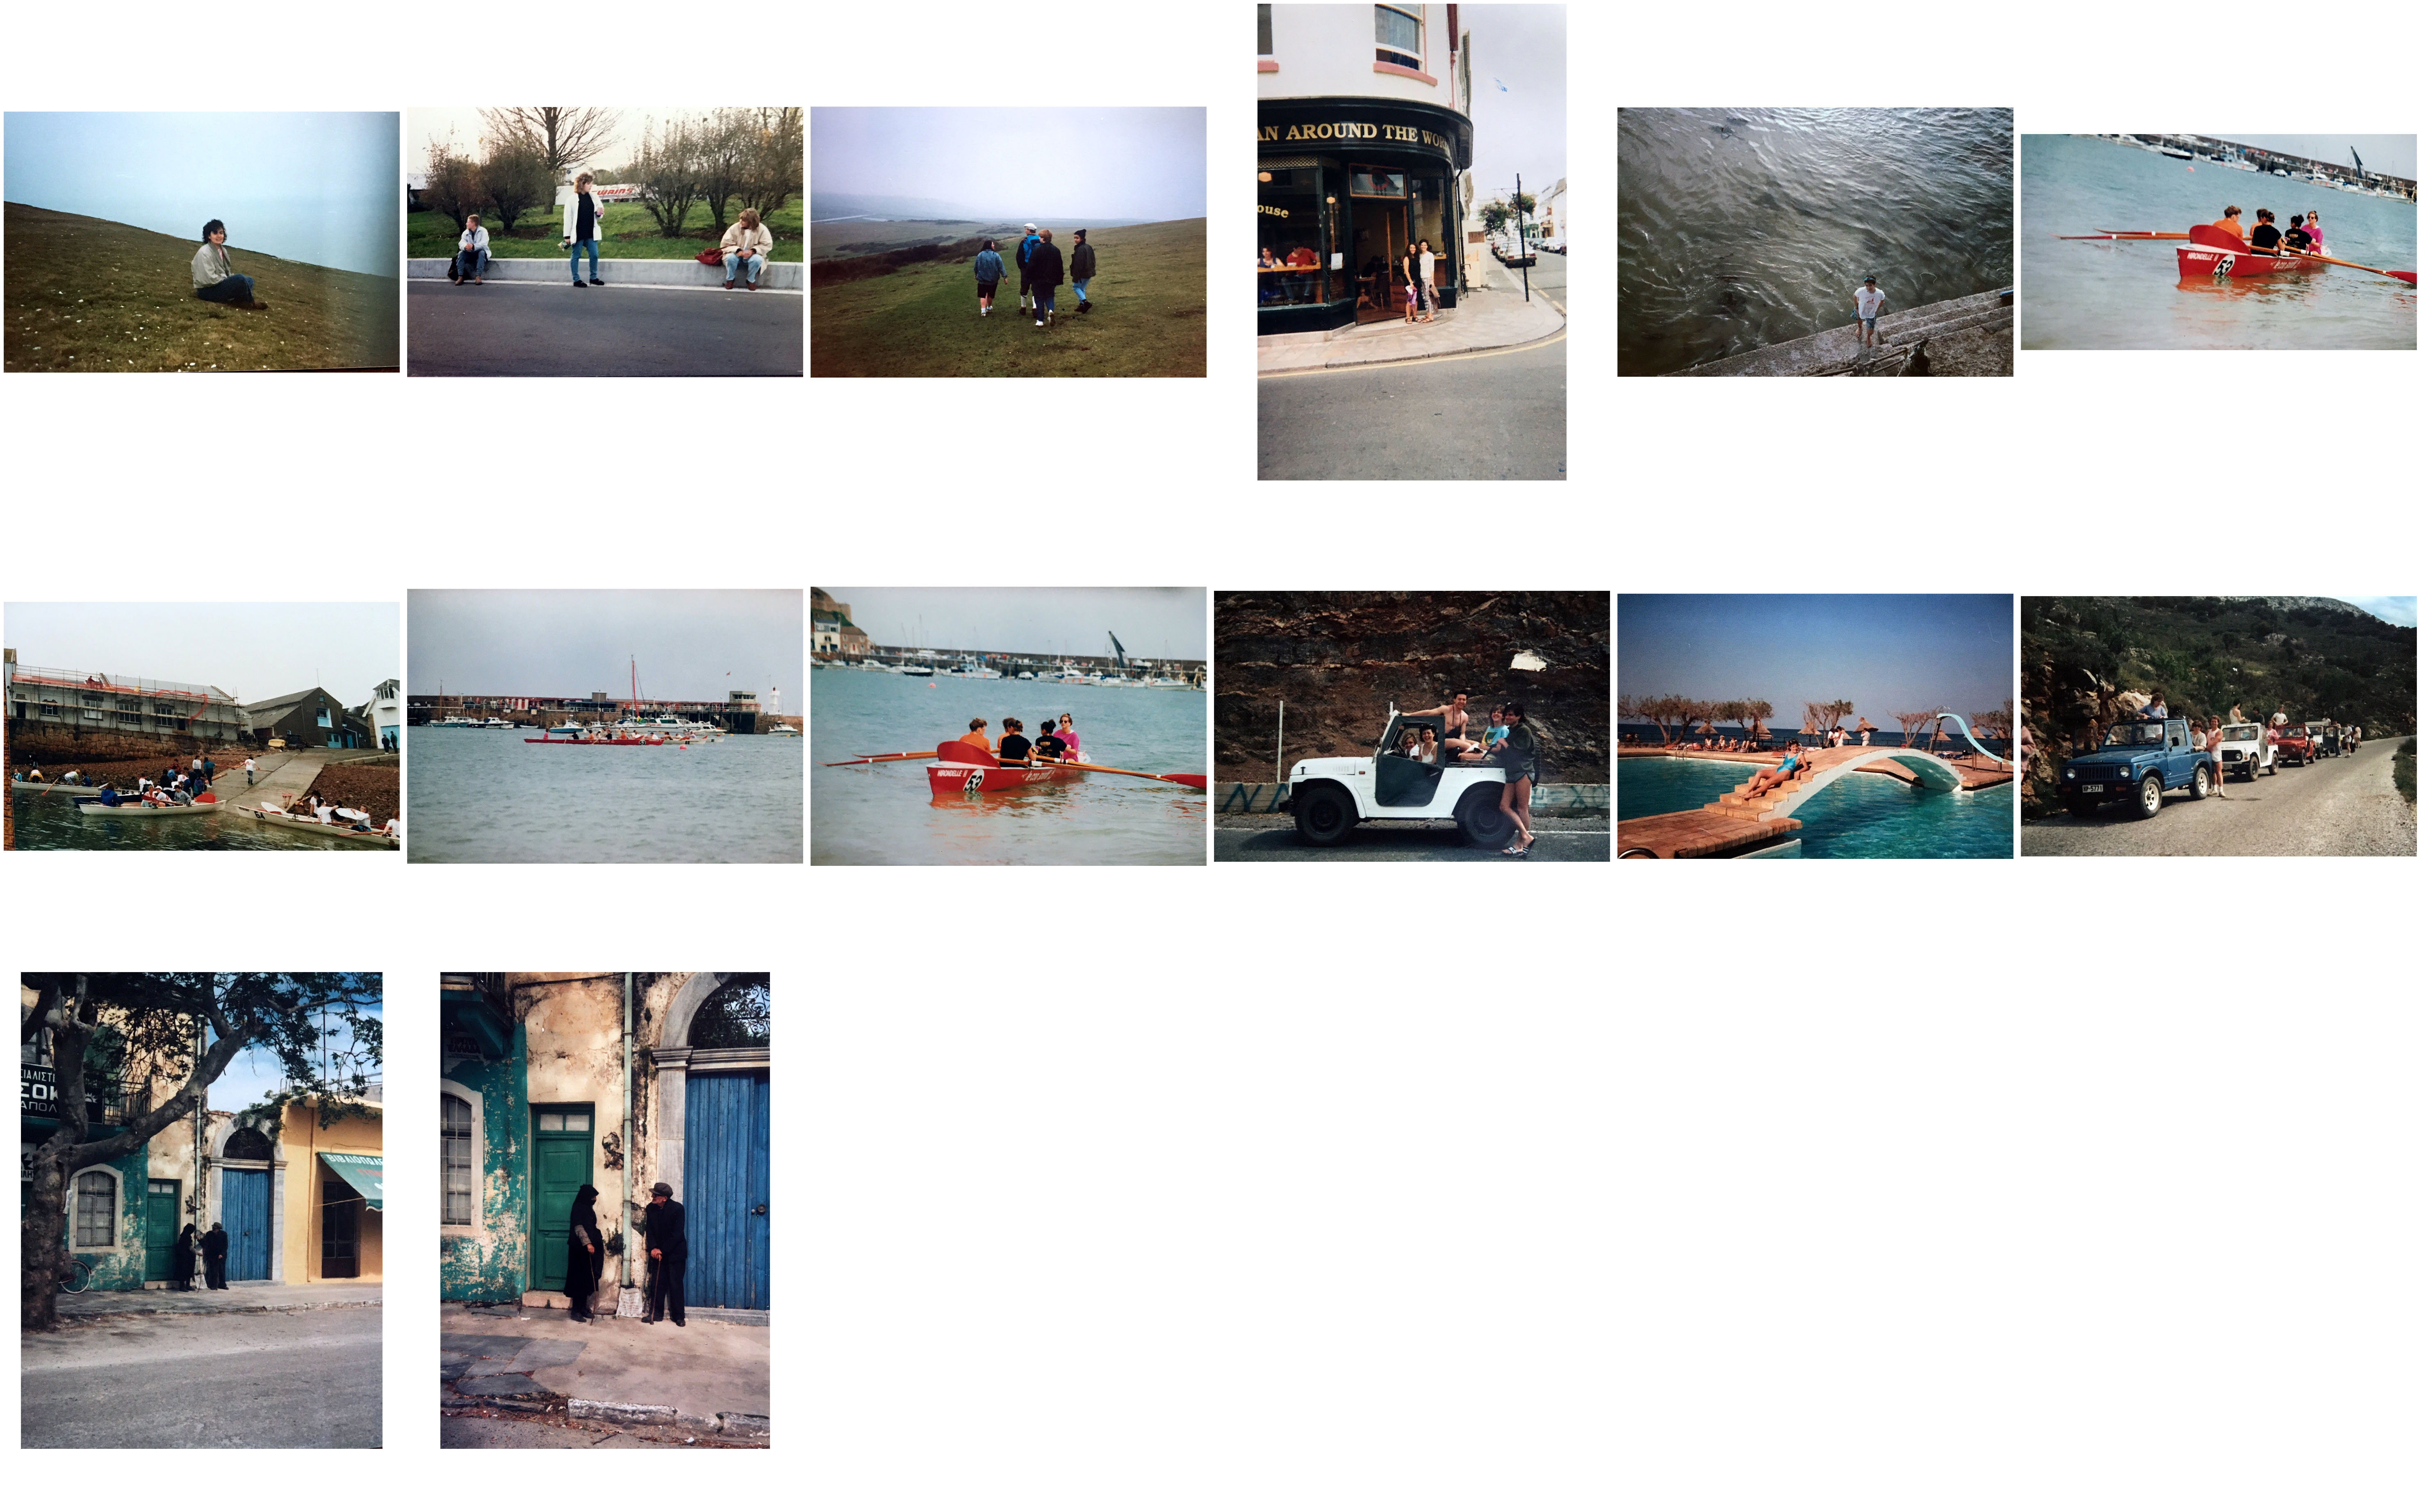
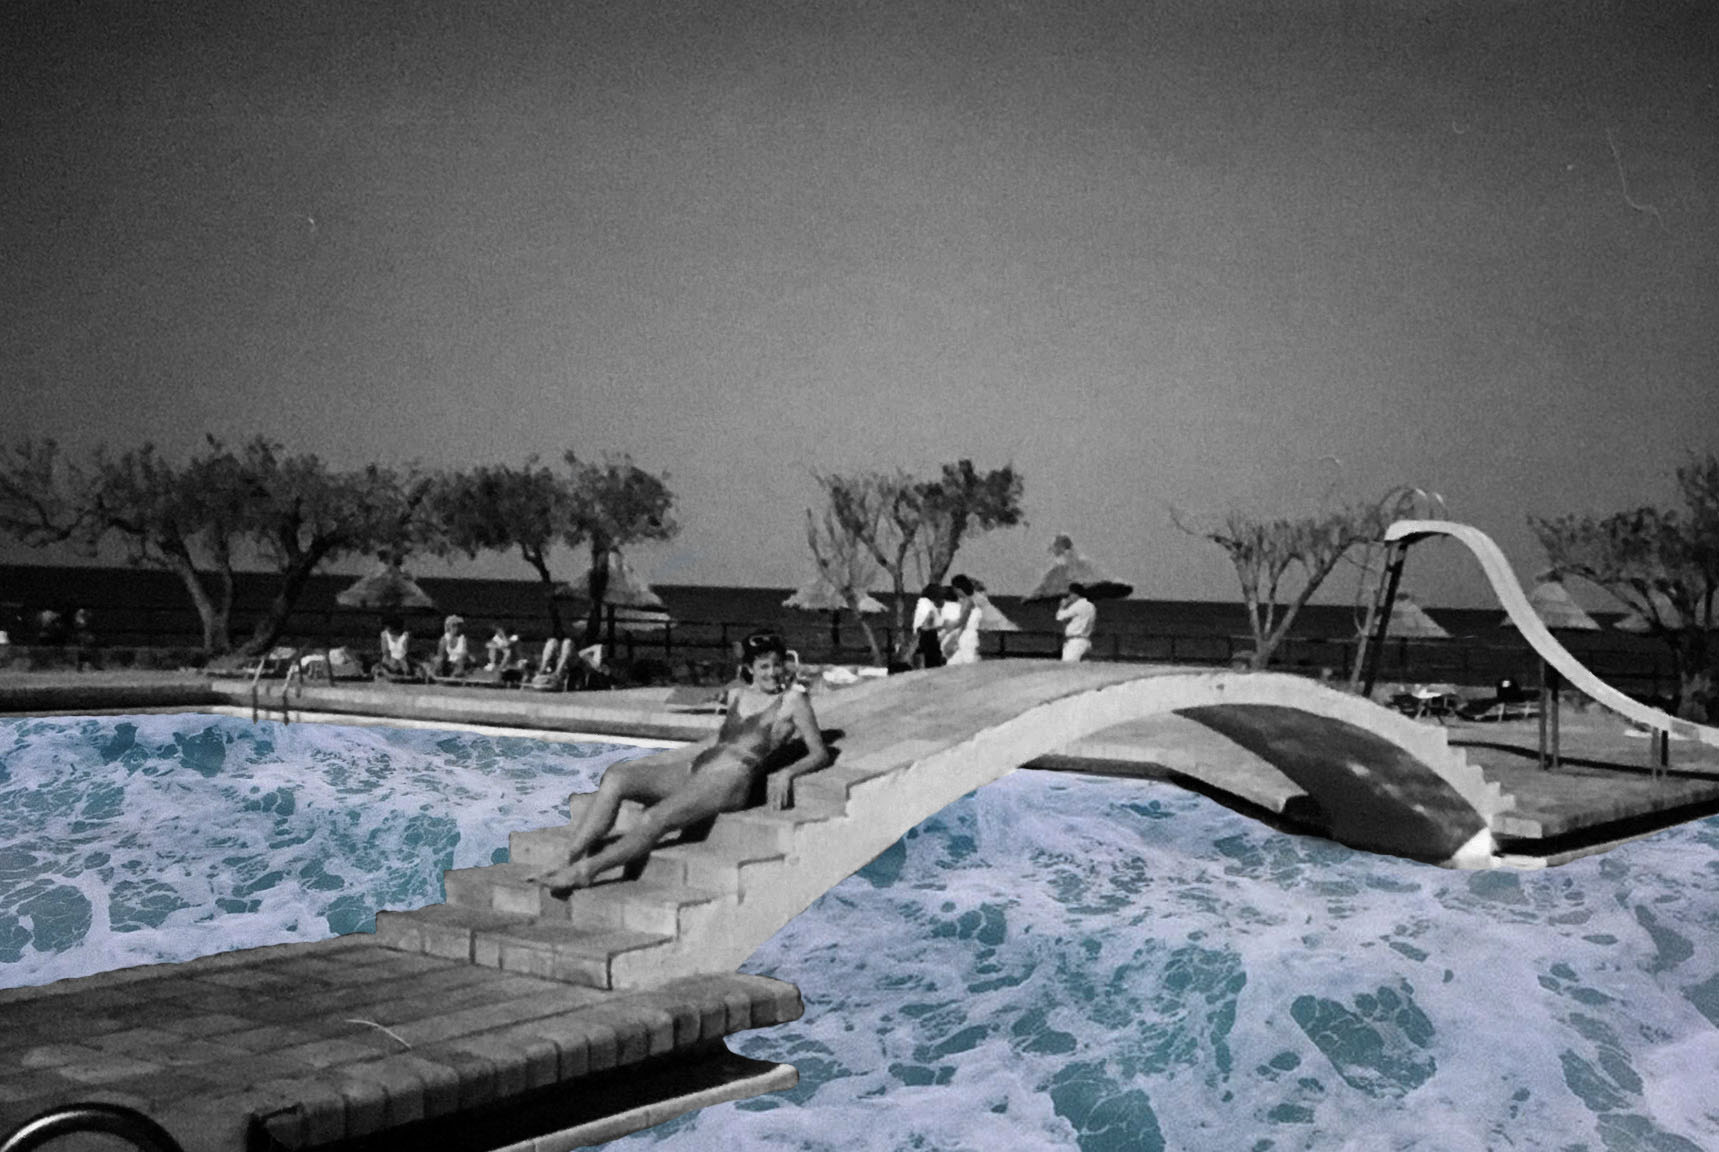
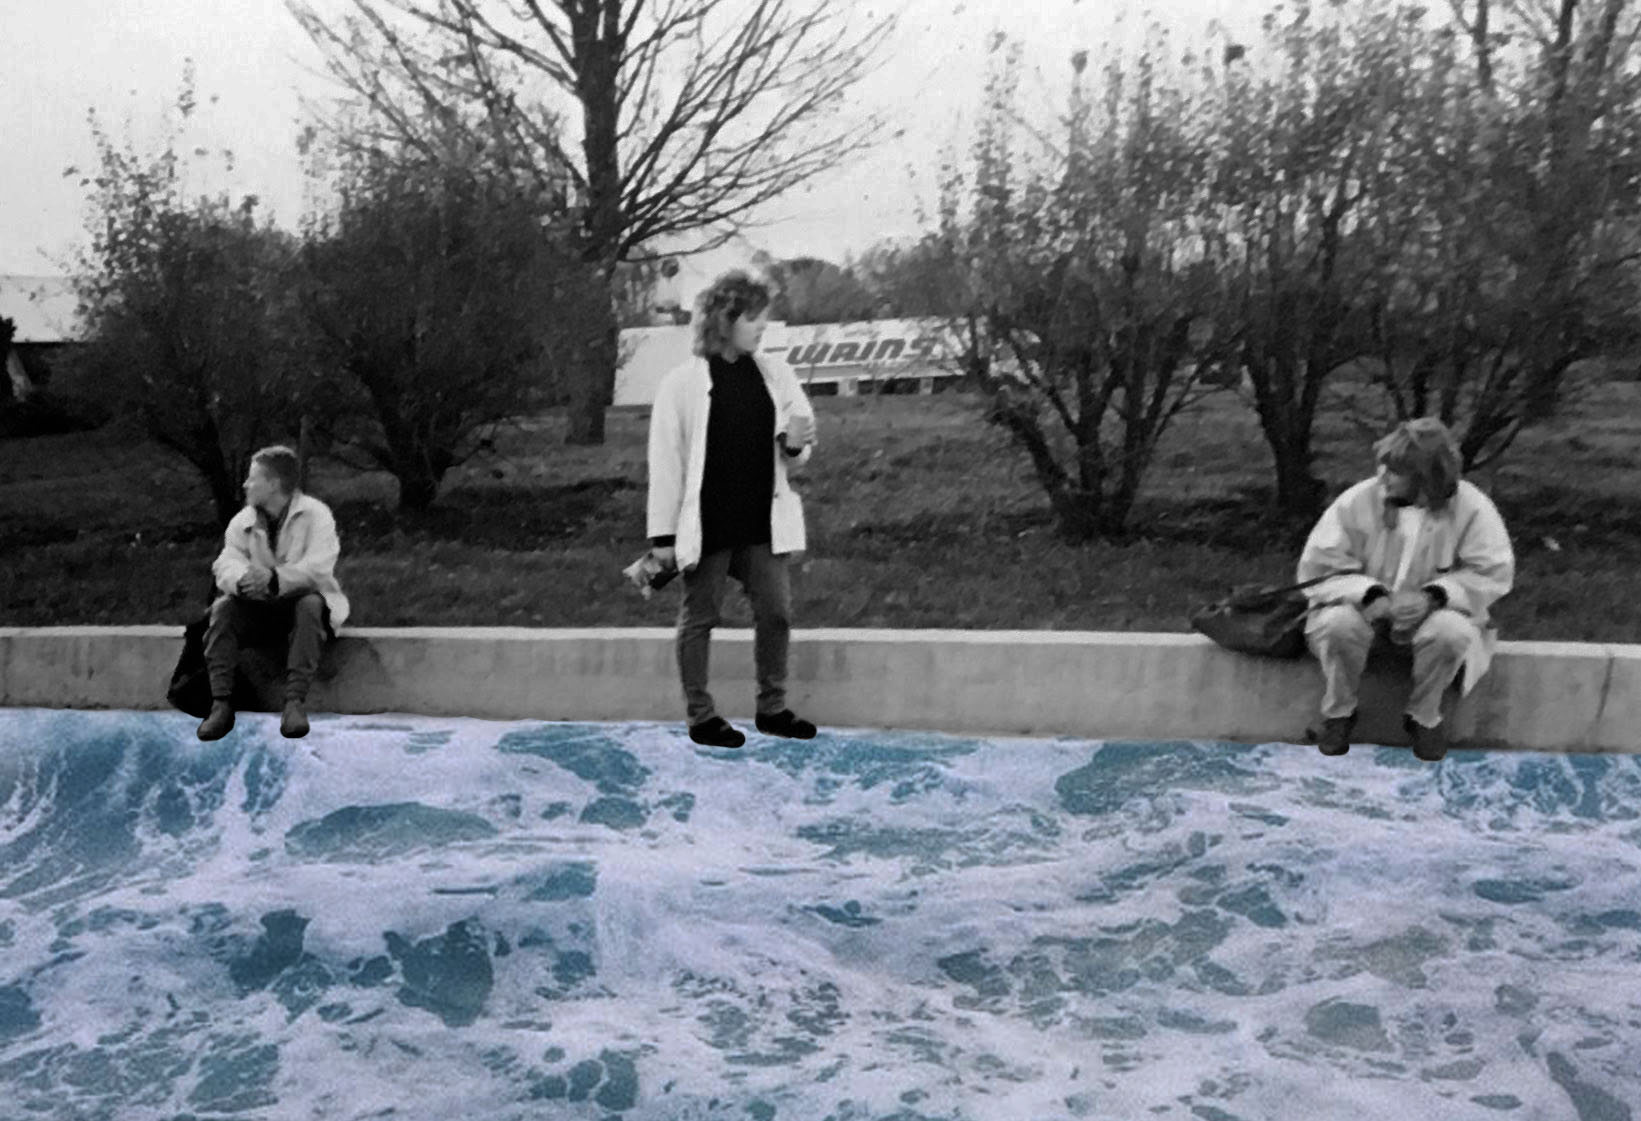
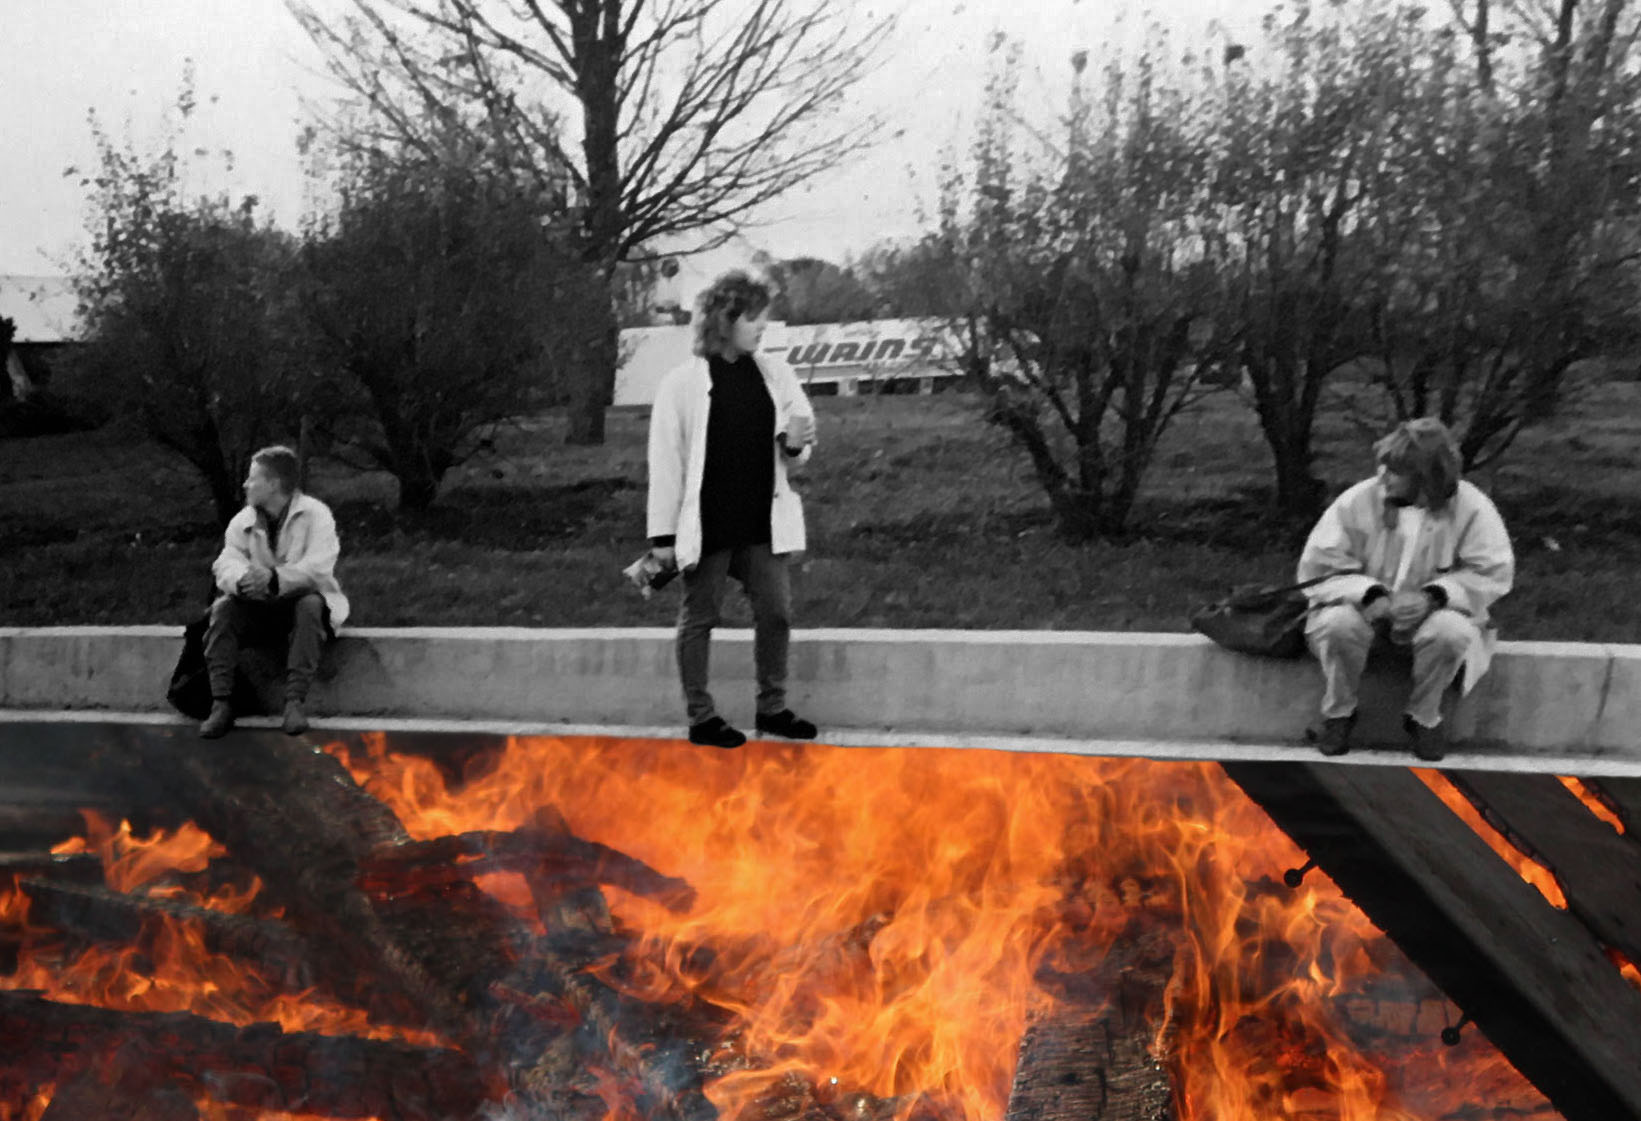
My artist reference uses old images and incorporates them with new images to create collages combining two worlds. I looked through my mum’s old pictures to find the perfect images which I could edit in the same style as  Used

First shoot(out of five):Sea Shoot

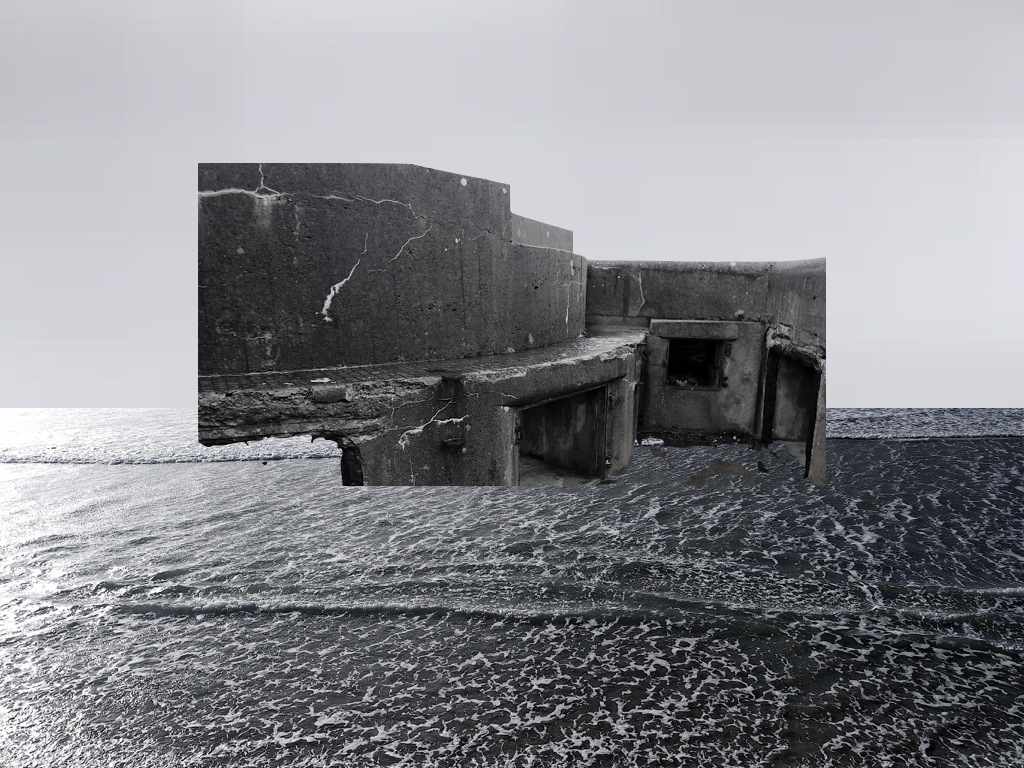
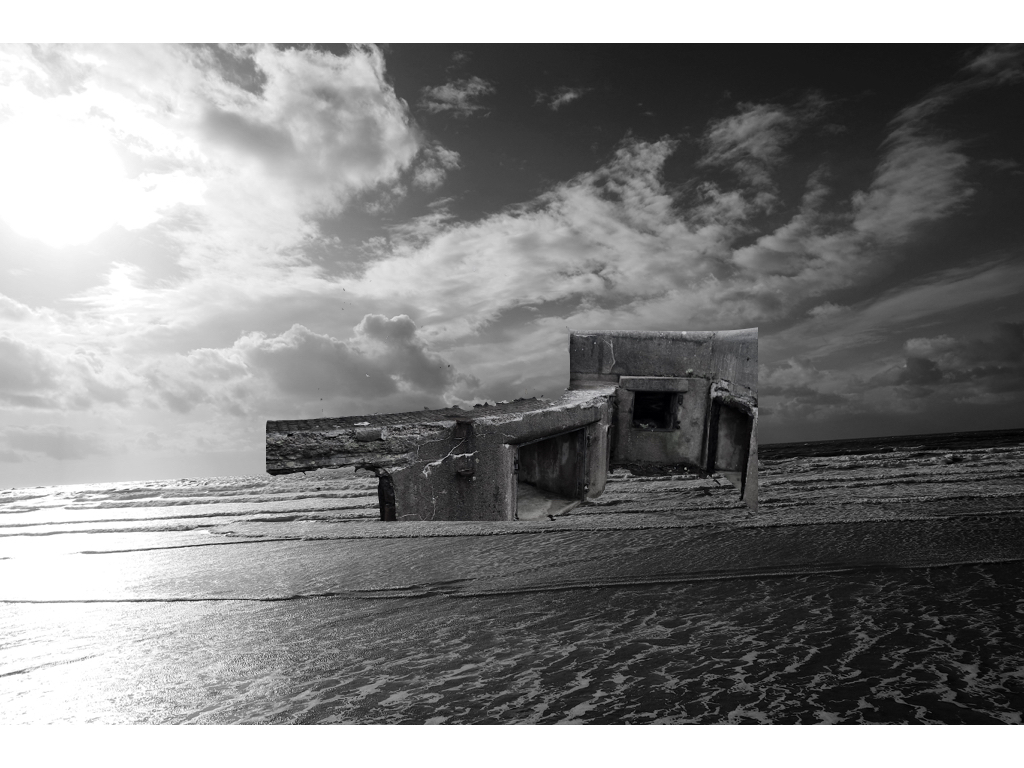
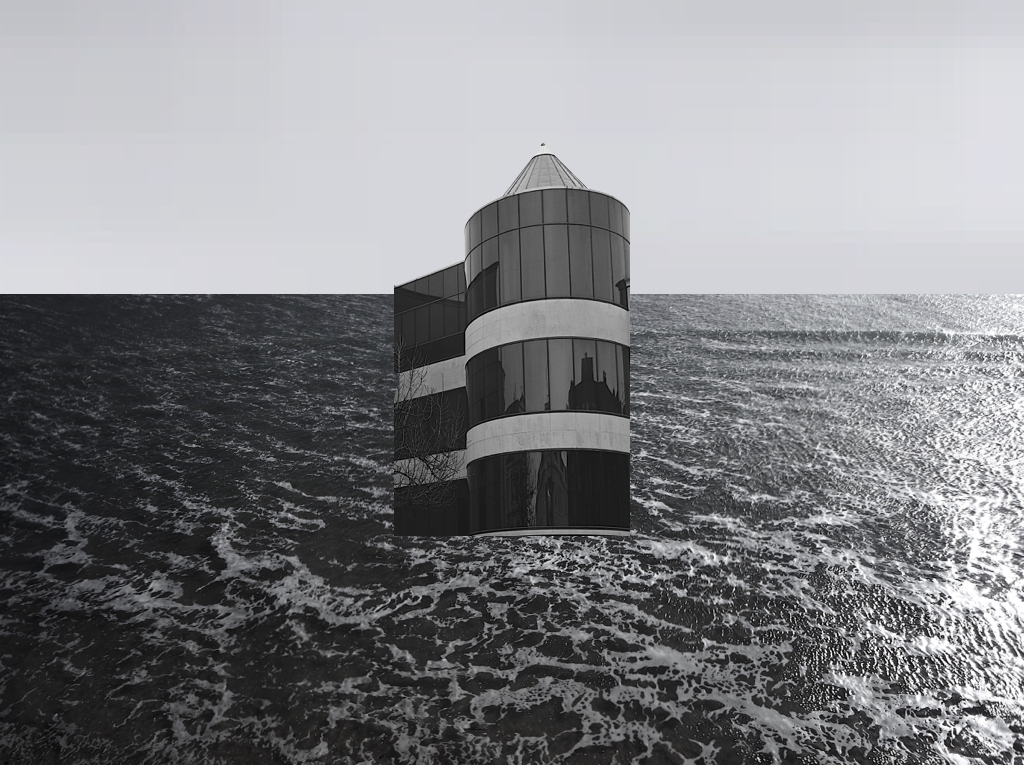
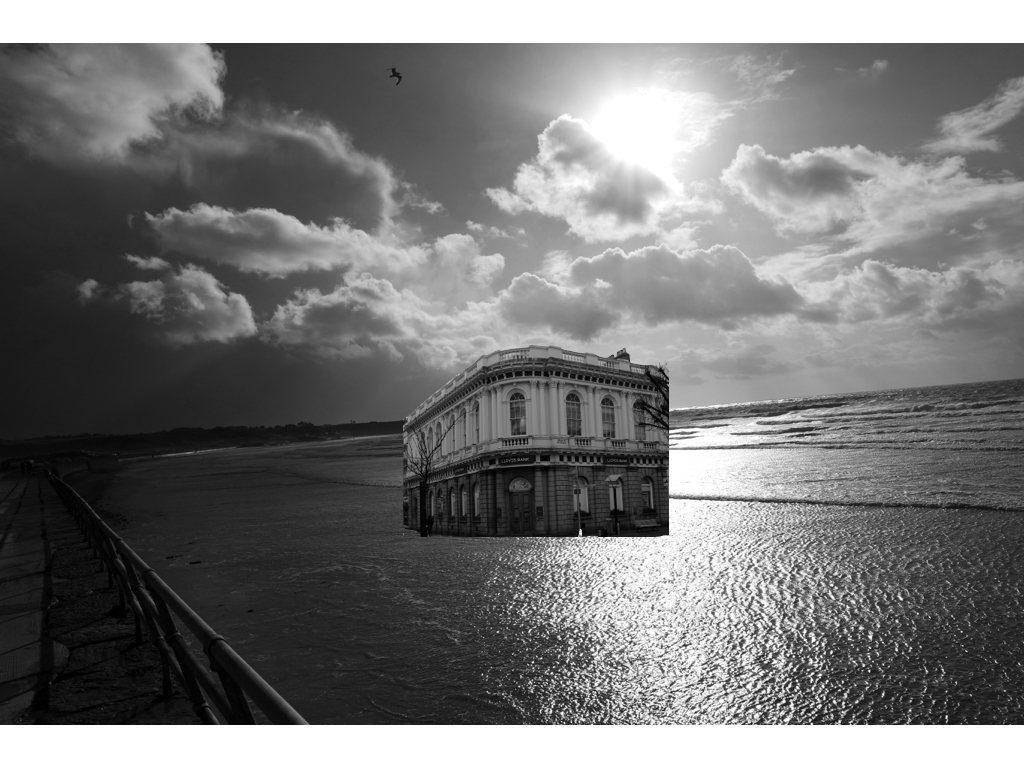
I have taken a sea shoot developing on many different surfaces of water and line which I have further experimented and attached some previous images of buildings  and created an altered aspect of surrealism and tonal editing.

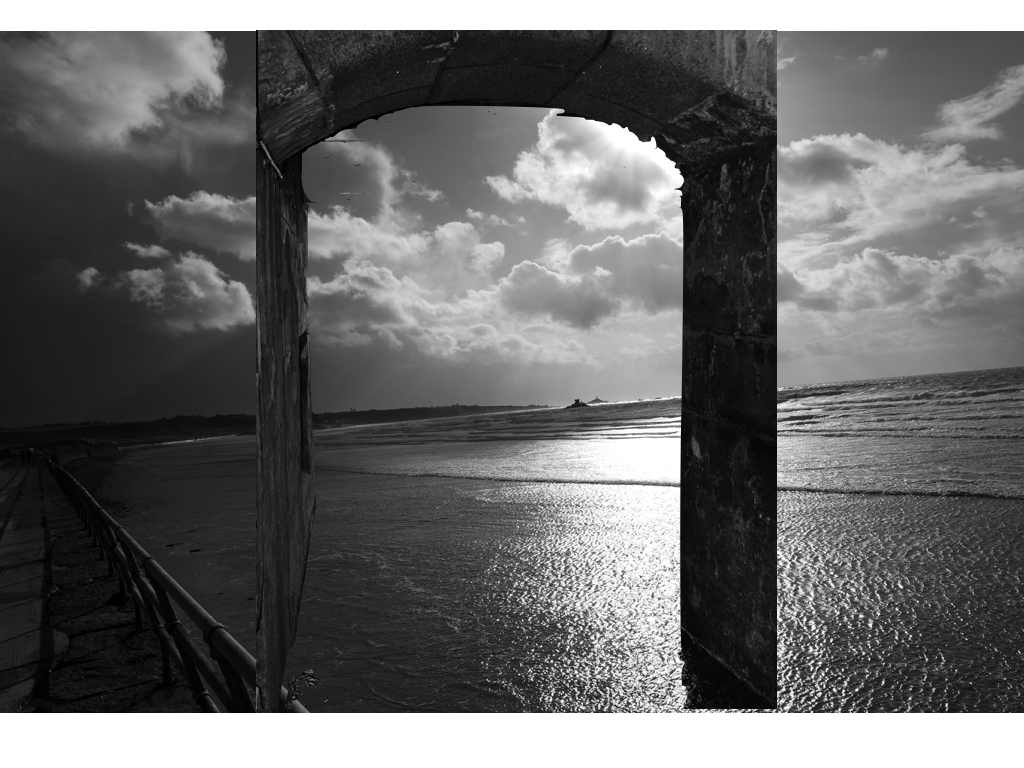
This is my favourite experimental piece so far,I wanted to capture the tones of the sea to be very calm and have a contrasting representation to what water should look like, furthermore the light allowed a direct centre view and also showed a diversity of tones throughout the piece.I then decided to add this building as the tonal range brings about a harmony to the piece and also the buildings angle itself shows a three dimensional angle creating an overall successful affect.

within this piece and one other I took a sample from the sea and sued this for the sky to have a same interconnecting tonal range but also a calmness to the scenario.

Within the rest of these images I again did the same technique of editing the original images to have the same tonal range inspired by my artist and also having an interesting strong juxtaposing industrial piece in the middle of the piece. 

These images above are pulley romanticised sea images and originals from the shoot itself, this portrays the scene previously to how it was altered.

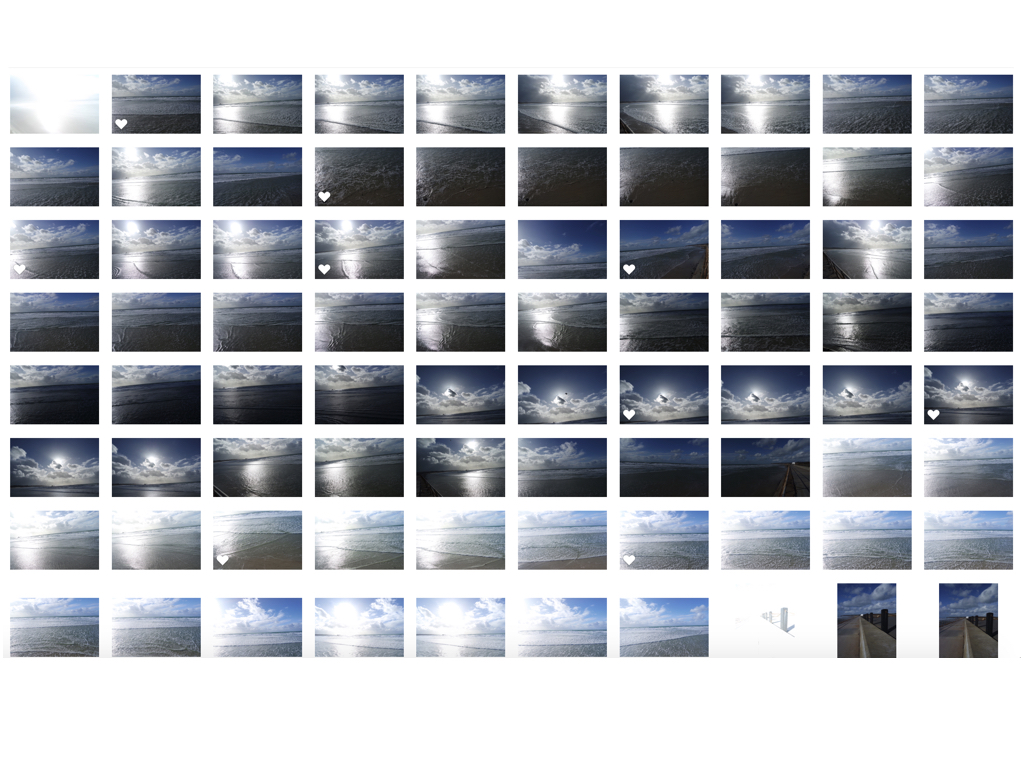
contact sheets