
What is street photography? Street photography is about documenting everyday life and society. However street photography does not have to be taken in the streets. You can shoot at the airport, at the market, at the beach, at the park, in the bus or harbor, in the doctor’s office, in the grocery store, or in any other public places. Some examples of street photography are:From this mood board I chose the two images I thought were most effective.
These images highlight everyday life in certain parts of cities and countries. What I think makes them both so effective, is that in the top one taken in a construction site, has a clear pattern which leads to the central figure, where the eye is drawn. This use of using everyday sites to create pattern through contrast etc, allow for a more visually pleasing style of street photography. However the image beneath that image, focuses on a completely different aspect, as instead it chooses to focus on a poorer place in which sites like that are common. What makes it so effective is that there is a clear contrast between the blue wood, and the white dog, where the photographer uses the bike as a golden ratio to draw the eye to the head of the dog.
All posts by Stanley Lucas
Filters
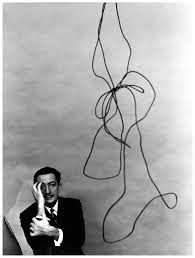
Henri Cartier-Bresson
Who is Henri Cartier-Bresson? Henri Cartier-Bresson was born in Chanteloup-en-Brie, Seine-et-Marne, France. He was the oldest of five children, with his father being a wealthy textile manufacturer. His mother's family were cotton merchants and landowners from Normandy, where Henri spent part of his childhood. His parents supported him financially so Henri could pursue photography more freely than his contemporaries. Henri took holiday snapshots with a Box Brownie; he later experimented with a 3×4 inch view camera. His father assumed that his son would take up the family business, but Henri also feared this prospect. Returning to France, Cartier-Bresson deepened his relationship with the Surrealists. He became inspired by a 1930 photograph by Hungarian photojournalist Martin Munkacsi showing three naked young African boys, caught in near-silhouette, running into the surf of Lake Tanganyika. Titled Three Boys at Lake Tanganyika, this captured the freedom and grace of their movement and their joy at being alive. That photograph inspired him to stop painting and to take up photography seriously. Some of the work he started to produce consisted of: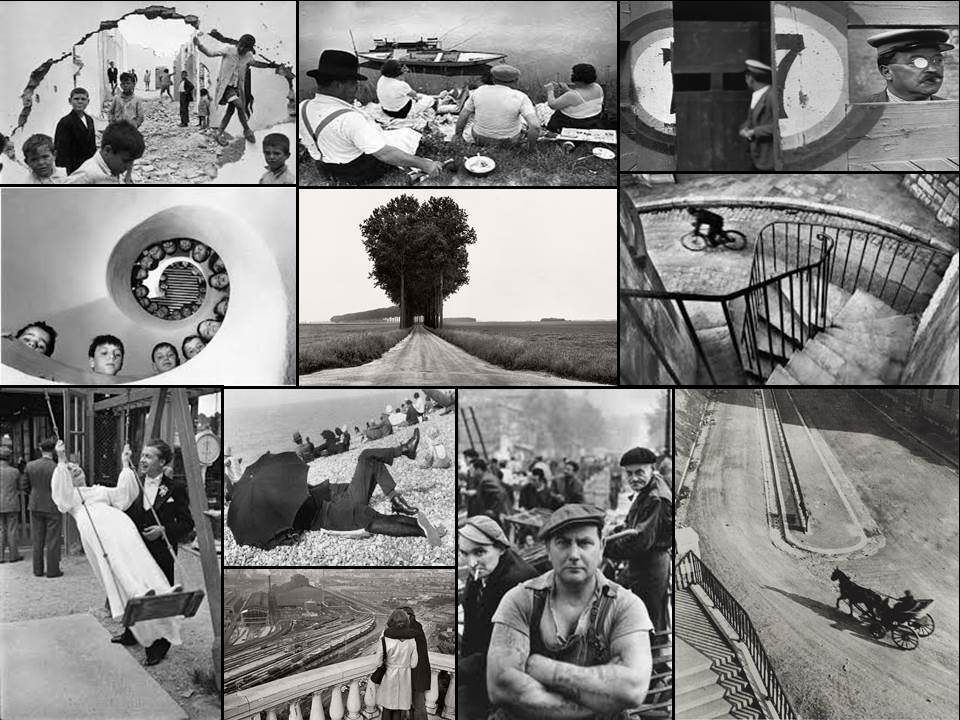
From this selection of a few of his images, I found that my eye was drawn to the picture of the wall crumbled in.
The contrast between the subjects within and the white crumbling wall, which in a way frames the image, allows the photograph to really define the faces of the individual children. From this it allows us to see the different expressions of each child, some seem to be captivated by this photographer taking the picture, whilst others are completely oblivious to it. Allowing the photographer to capture the playfulness but also the curiosity that is seen within each child. The fact that some of the children are playing on rubble, shows how that even in the worst scenarios, kids always make the best out of what they have, showing that innocence within.
Environmental Portraits
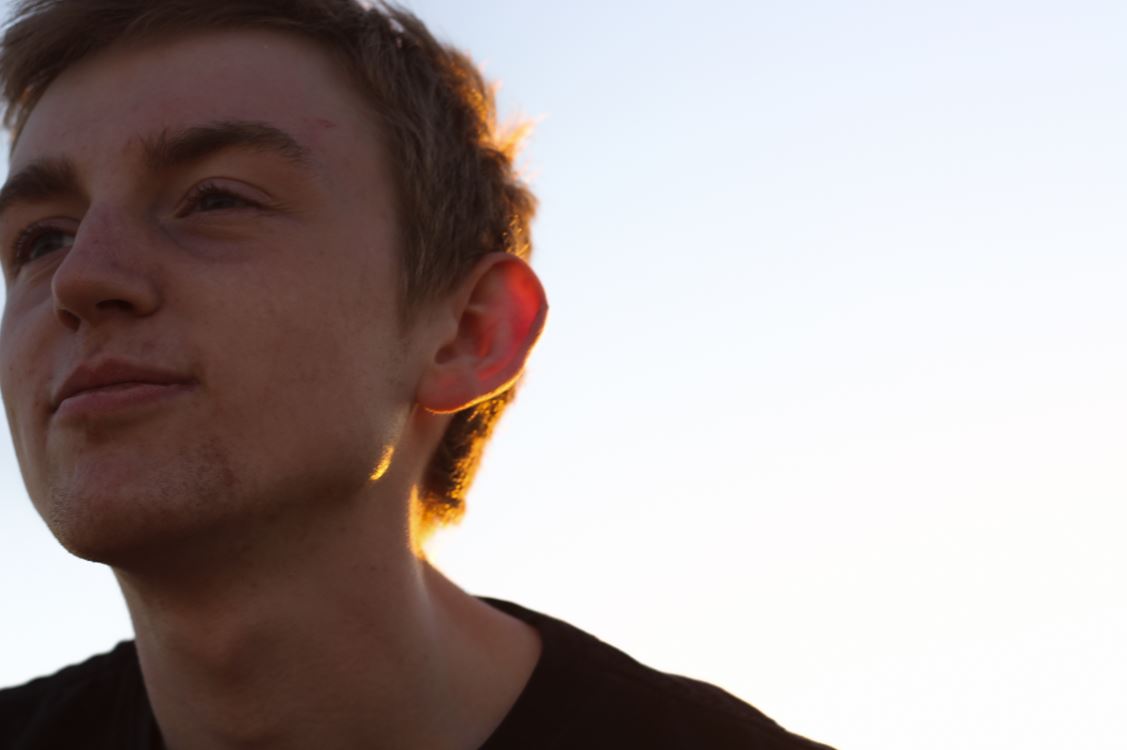
In this shoot I focused on environmental portraits. I wanted to capture the calmness of a person's facial expression, in order to make an impact within the picture itself. When taking the shoot I tried to make sure that the subjects facial expression was expressionless, so that it could make the viewer interpret more about the person's personality themselves. I used a variety of subjects to really explore the different expression of different people, and which ones would impact the most from them all.
Once I had completed the shoot, I decided to try to limit the images down into my top ten photographs, from there it would allow me to decide which picture I found the most effective from the overall shoot. I chose the image that I thought had the biggest impact of all, so took into account the rule of thirds, symmetry and lighting. These were my results:

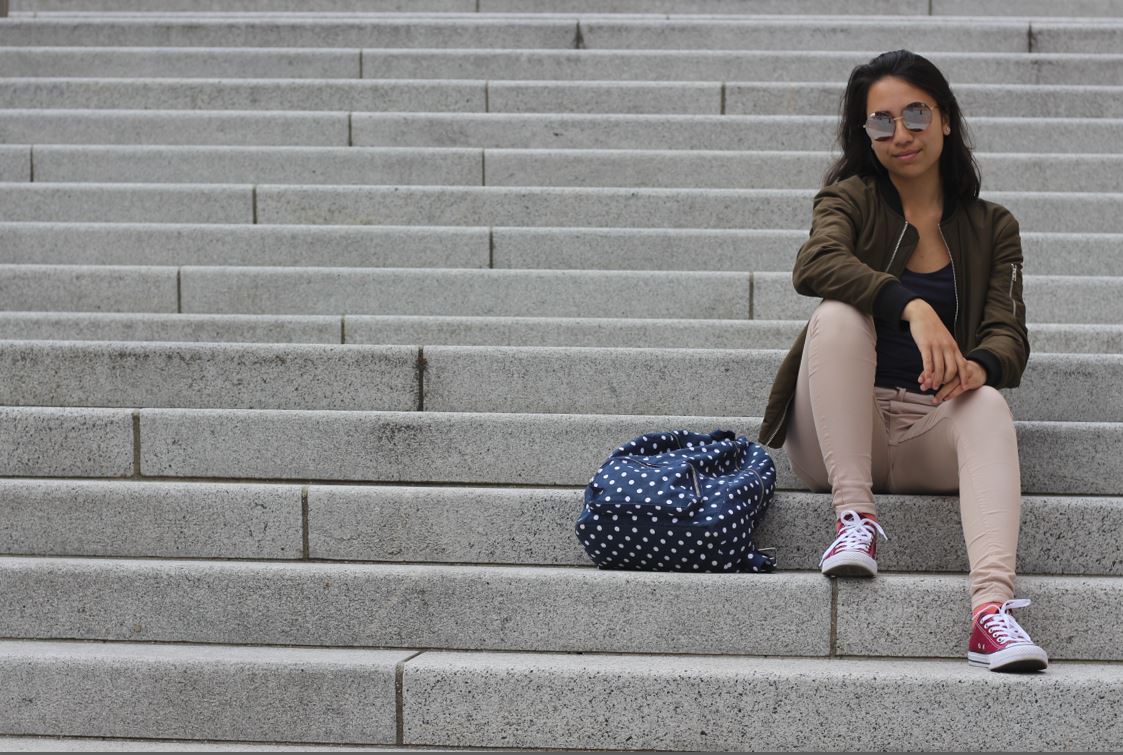
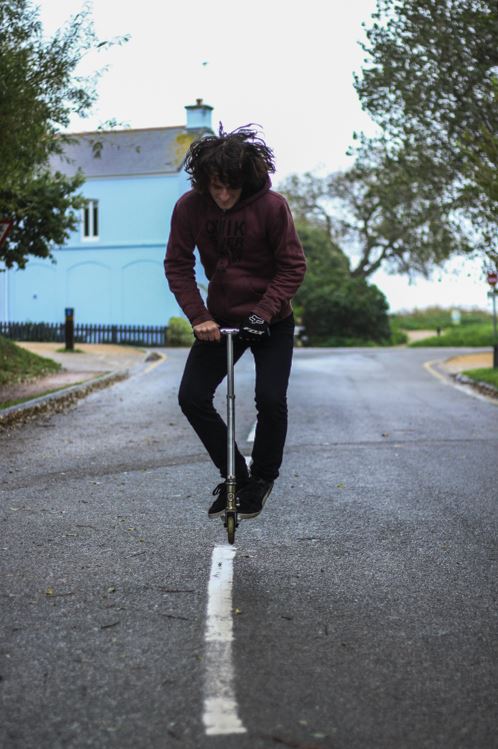
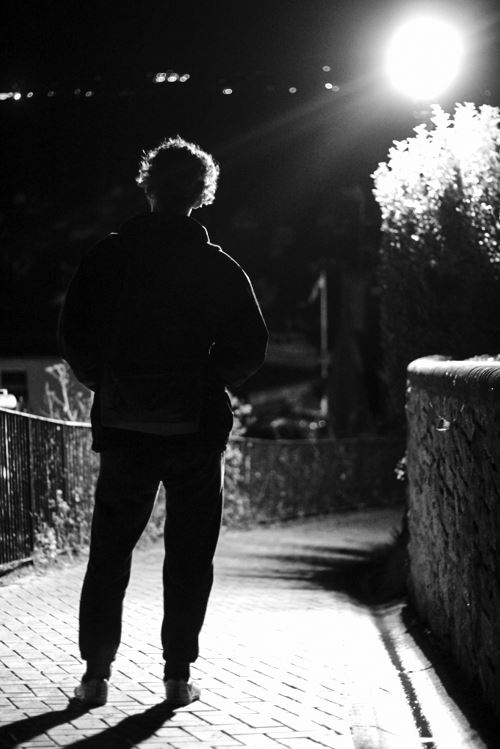
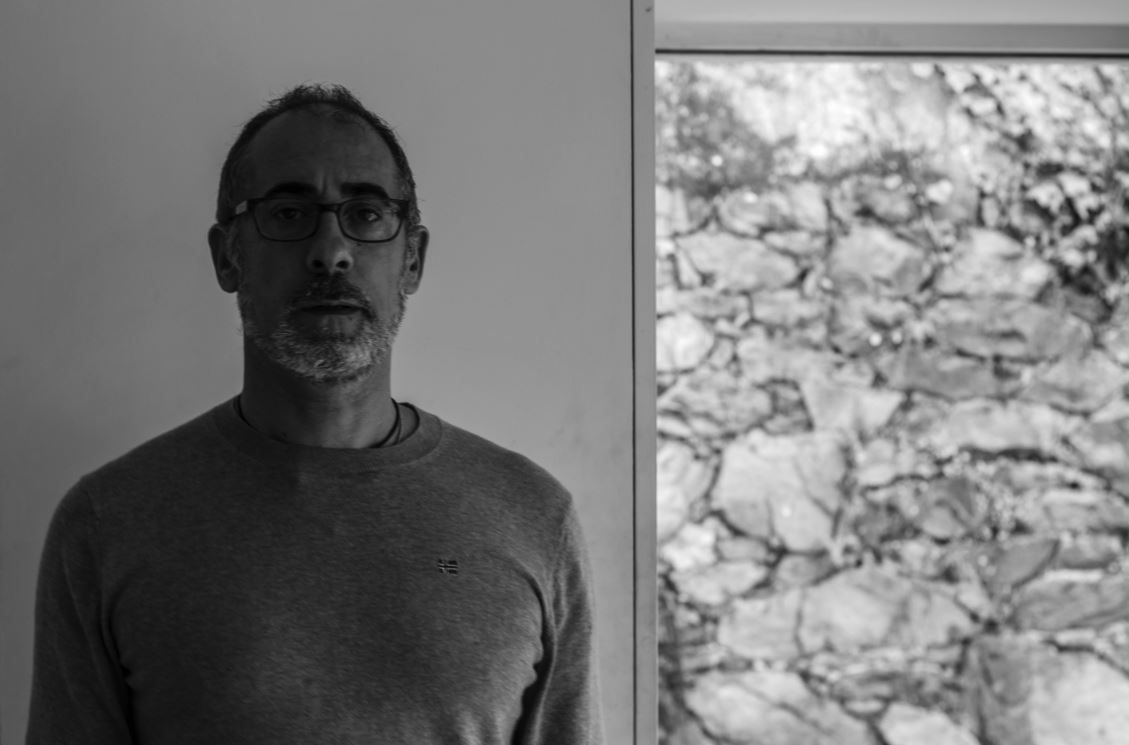
Once again I then decided to limit my top ten photographs into a top five. From these it would make it easier for me to figure out what I thought was the best image out of the entire shoot, by using software like Adobe Lightroom to edit my pictures and make each one stand out against the rest. These were my final results: I chose this image because I loved how the subject was exactly on the middle line of the road. From this it created a look of symmetry within the picture, and with the trees and paths in the backdrop with the same composition, it to me made the picture aesthetically pleasing. What I also liked about the image was how the blue house in the background, in a way neutralized the image, and to me made it easy to look upon.I chose this picture because I liked the expressionless face of the subject against a white plain backdrop. This to me created effect within, as the backdrop broke up to a messy brick wall on the right hand side, allows for more focus on the subject rather than what is around them, due to how the contrast on their face stands out from the exposed wall.
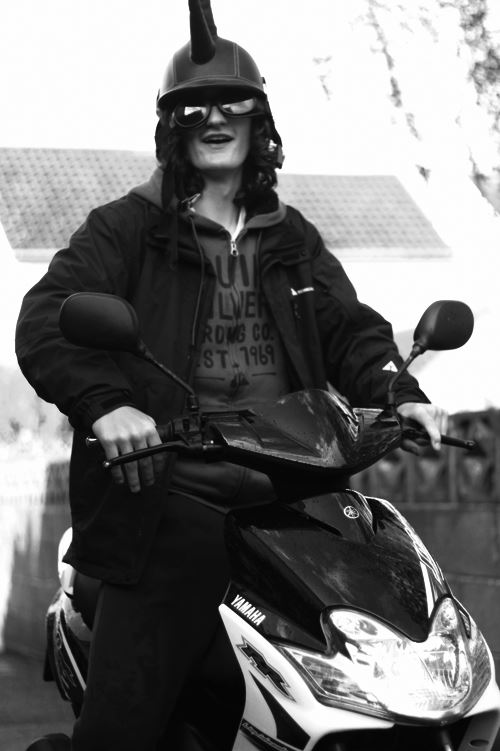
The reason I chose this image was because I loved the contrast between the overly exposed background and the darkness of the subjects clothes. This creates a dramatic effect, whilst highlighting the points I wished for the viewer to look upon, like the head up. I found that the character being centered slightly to the middle of the picture made it an overall aesthetically pleasing piece.
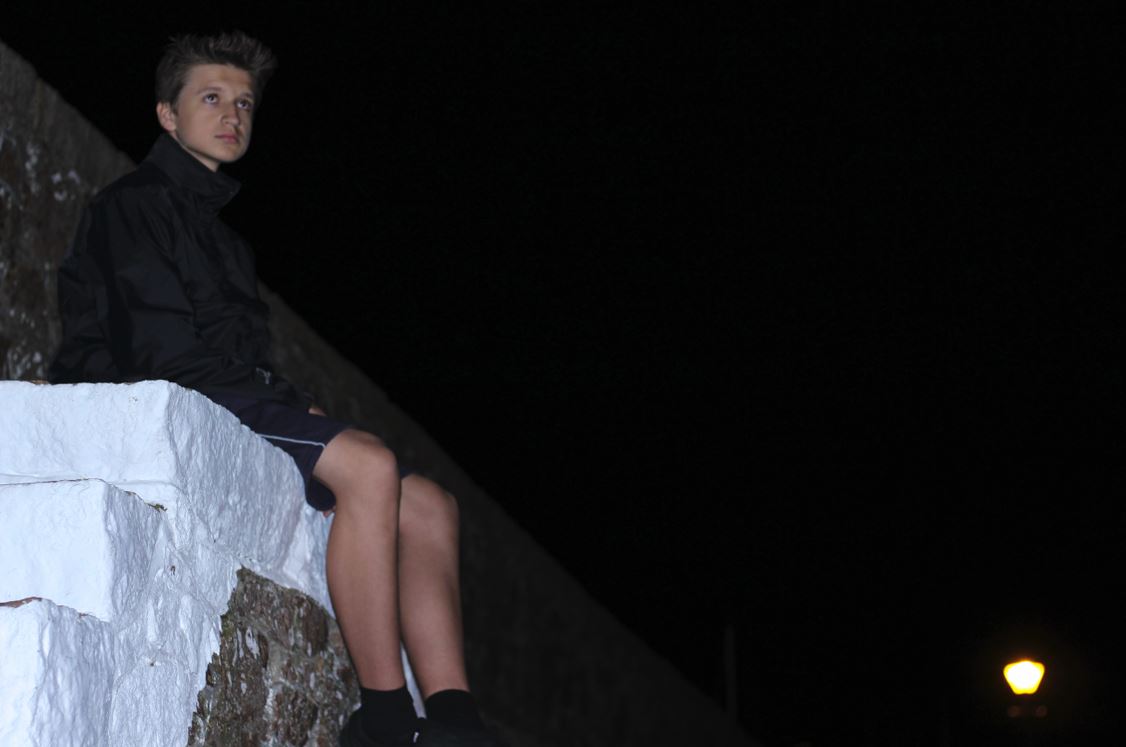
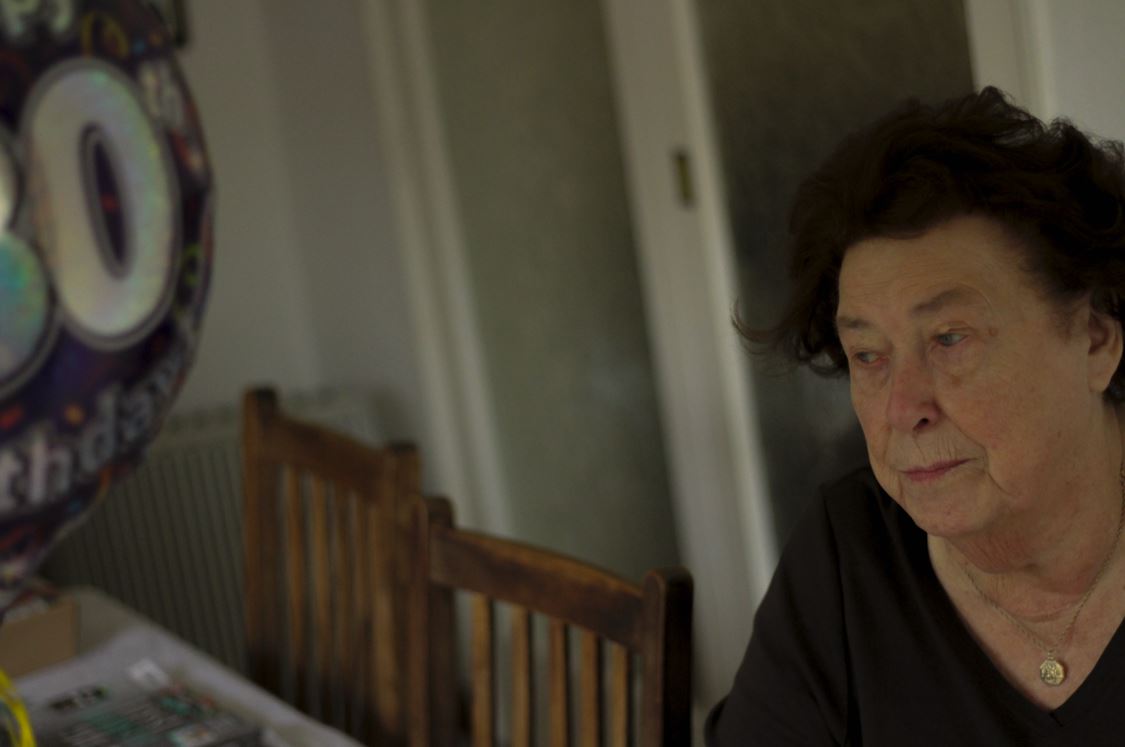
Finally I chose this image because I found that it captured the calmness and thoughtfulness, of the subjects face at a significant time in their life. This makes the image aesthetically pleasing because of how there is symmetry between the subjects face, and that of the birthday balloon, which cancel each other out making the picture very balanced.
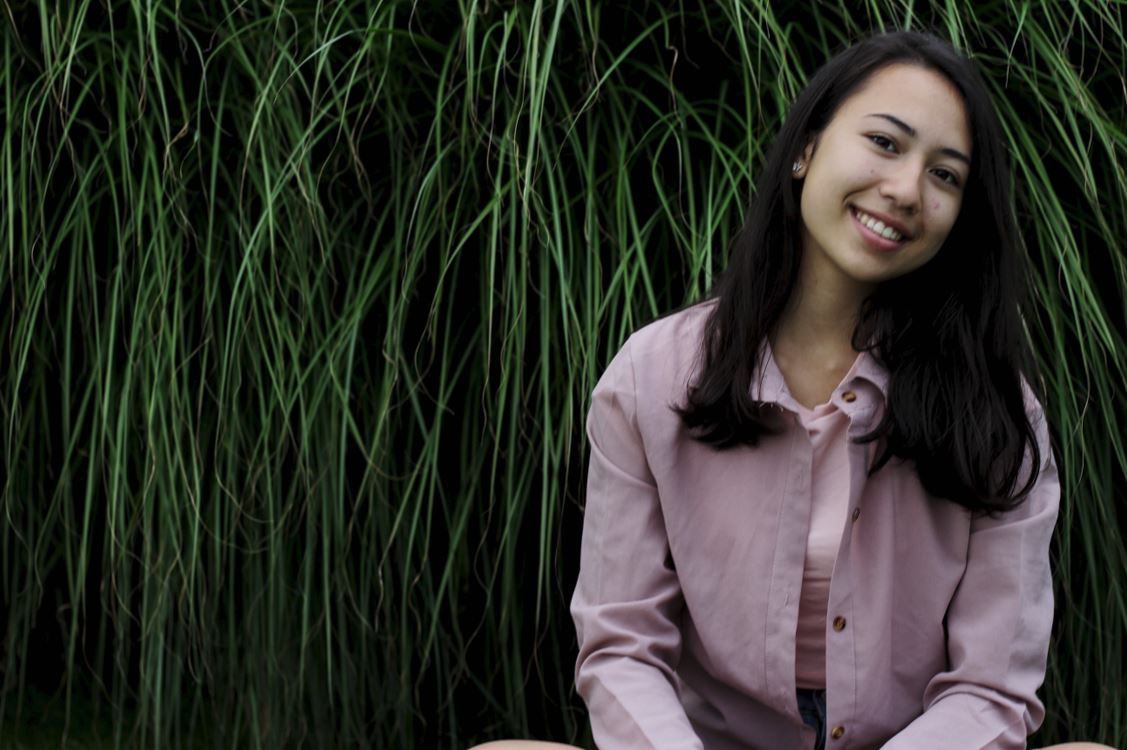
The reason I chose this image was because I really liked the contrast between the darkness of the backdrop of a bush, and the brightly colored outfit of the subject. This instantly draws the viewer's eye to the subject due to the clear definition between her clothes and the bush, whilst making it visually pleasing to the eye as the pattern of the bush behind is broken up.
FINAL IMAGE
Arnold Newman
Who is Arnold Newman? Arnold Newman was born March 3, 1918 in New York City. He studied art under a scholarship at the University of Miami, Coral Gables, from 1936 to 1938. However he died in New York City on June 6, 2006. Generally acknowledged as the pioneer of the environmental portrait, he is also known for his still life and abstract photography, and he is considered as one of the most influential photographers of the 20th Century.Newman began his career in photography in 1938 through working at chain portrait studios in Philadelphia, Baltimore, and West Palm Beach, and immediately began working in abstract and documentary photography on his own. In June of 1941, Beaumont Newhall of the Museum of Modern Art and Alfred Stieglitz “discovered” him, and he was given an exhibit with Ben Rose at the A.D. Gallery in September. There he began working on experimental portraiture, developing an approach that is widely influential in portrait photography today. In 1945 his Philadelphia Museum of Art one-man exhibit, “Artists Look Like This,” attracted nationwide attention. Well established, he moved to New York in 1946 and opened his studio and became a member of the American Society of Magazine Photographers, Newman’s new approach to portraiture began its influence through key publications in America and abroad. In 1949, he married Augusta Rubenstein, and they had two sons, Eric, born 1950, and David, 1952. His wife died in 2009.
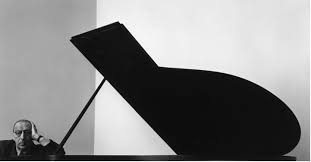


I decided to analyse one of the images taken by Arnold, to see what made them so effective.
Environmental Portraits
What is an environmental portrait? An environmental portrait is a portrait of someone who has been taken in their place of work, which is the subject's usual environment. This can be their home or workplace, but usually within the image, it reflects and illuminates the person's personal life, seen through the surrounding objects within the picture itself. One photographer who does this is Sally Mann, as seen in her photos like the one below called 'Candy Cigarette'.Within environmental portraits the subject tends to have a relaxed and calm face, in order to create an effect inside the image itself, whilst allowing the image to be emphasized due to its dramatic characteristics. Sally Mann tended to focus on a individual face within her images, to really make out the backgrounds of the character within, allowing us to see the conditions many of the subjects were brought up in.
Presenting And Evaluating Final Images


Tamara Lorenz Inspired Photoshoot
Within this photo shoot I will be focusing on the effect of layering in an image when taking photographs. I will also explore the use of colors to create a more dramatic effect to these pictures and really pull the photo together as a whole. One of the photographers that I have been inspired within this shoot are called Tamara Lorenz. German artist Tamara Lorenz creates various constructions which she then photographs to exploit their abstract properties. The addition of strong planes of color provide another source of contrast in addition to those of line, shape, tone and texture. Rather than photographs of things, each image seems to create its own reality. Consequently, the viewer is unable to recognize a conventional subject and is occupied with the business of looking. As seen below:I wanted to incorporate this effect into many of my photos taken, and do decided to do this through corners of color paintings and instruments to mimic this style.
I used this mind map as my basis for the shoot, where I would occasionally use this to find what I needed to focus on most importantly. From this these were my results in the shoot:

From here I decided it would be best to cut the shoot down into ten images, through this it would make it easier for me to identify the photo I think is best in the shoot. These are my top ten images of the shoot:


From these images taken from corners of paper, I wanted to cut it down once again, to my top five images to single out the best one. These were the photos I selected:


I chose these images because of their composition, color balance and patterns. I thought that these images stood out against the rest and so finally decided to edit these down to my top image of the shoot. This was the image I chose:I chose this image as my final photo, as I thought it best matched with the style of photography I wanted. Which incorporated an element of graphic design into the imagery, making it simple but visually pleasing to the eye.

Cut Tear And Shape
When photographing paper and card, you are able to cut, tear and shape the individual pieces to create abstract effects when taking photos. As seen below:This enables a clear definition between the lights and darks to the photo, whilst it being very simplistic at heart, the scrunched effect makes an almost complicated look to the image. This allows us to experiment as a photographer with not only composition but in a way our artistic creativity as well, due to how we are able to warp the materials given to form structures which we are able to use to our advantage.
Frank Hallam-Day Inspired Photoshoot
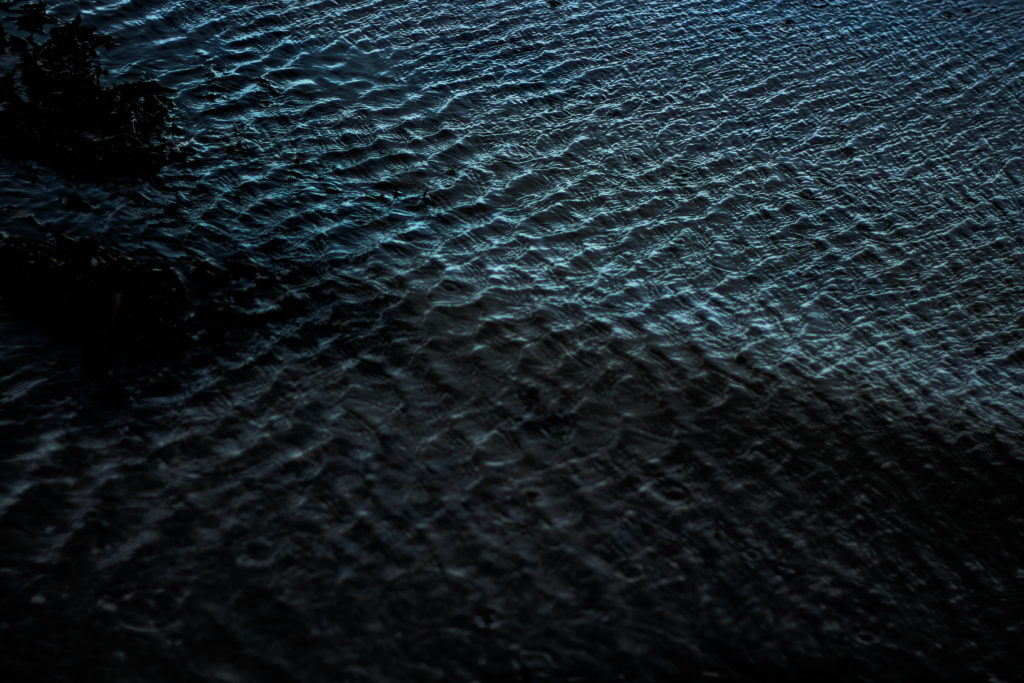
Within this photo shoot I will be focusing on surfaces, textures and pattern. To do this I will be focusing on walls, metallic objects etc, from this it will enable me focus on specific details like peeling, cracks, and bumps to allow for maximum effect.

One photographer that has inspired me to do this shoot is Frank Hallam-Day. Washington, DC-based photographer Frank Day is a versatile artist shooting in both black and white and color film. Traveling the world to remote destinations, Day is able to capture the rich beauty of pattern, color and texture of the open-air markets, isolated landscapes, busy harbors and everyday lives of diverse cultures. Day has also mastered the landscapes and cityscapes of the world, shooting the angular architecture of cities such as Berlin, New York, and Baltimore, as well as the beautiful softness of Washington, DC’s cherry blossoms.As much as I liked his work, I decided to mainly focus on reflections made by the water, and since I lived next to the beach I thought this would be an ideal idea to do.

I used this as a basis for my shoot, so when taking the pictures would know what to specify on.

From these images taken, I chose the top ten out of the shoot, to narrow down and edit which one overall I think should be my final picture.


From these top 10 photos taken when walking on the beach, I wanted to once again whittle it down to 5 images, so that I would once again have a clear insight on what to have as my final picture.


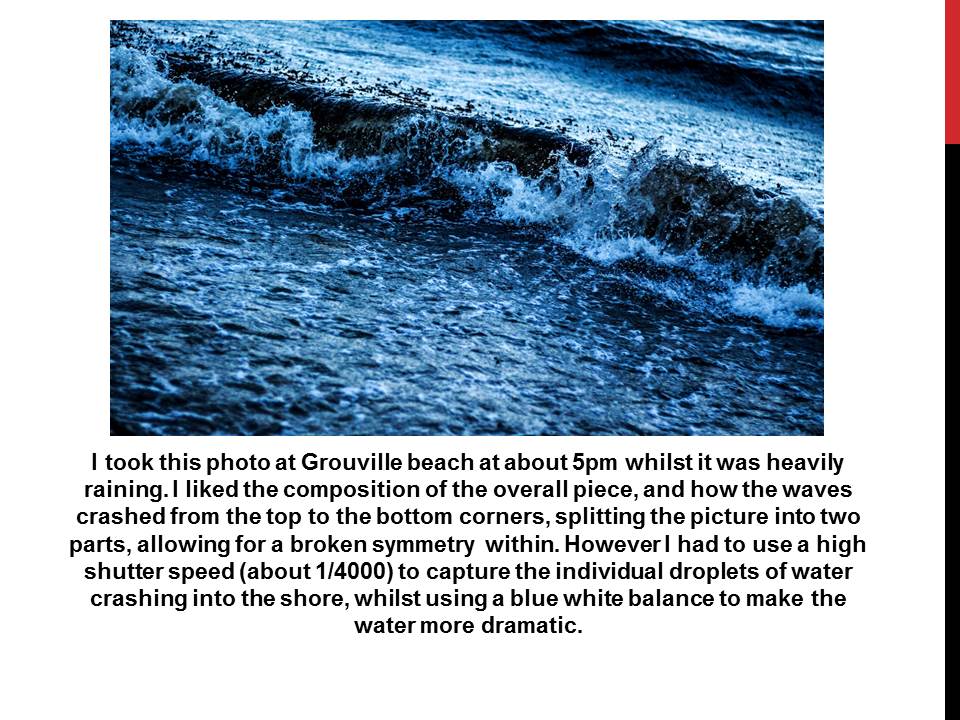
Finally from here I was able to decide on which image would be my final photo. This was my result:I chose this image because I loved the detail within the crashing wave on the shoreline, whilst the contrast between the darkness of the wave and the foam in my opinion make a dramatic effect. I also loved how the composition of the wave slanted across the frame, creating an almost abstract effect to it all.

Textures And Surfaces
When working on textures and surfaces it is important to take into account the composition, light and depth. This is because texture is all about pattern, colors and depth, where every single detail plays a significant role in the overall perception of the photo taken. To capture this you need to remember intricate details, interesting patterns, vibrant colors and good depth. For example:1) Find a texture - Finding textures is easy, you can find them in almost anything around you that catches your eye.
2) Equipment - You will want to keep your aperture at about f/8, as you don't want to introduce shutter shake, which is what you want to avoid the most.
3) Light - You should mainly use natural light like the sun to take pictures like these, as the rays of light will hit the texture at an angle creating an effect. Whereas inside you obviously need a off-camera light, which can imitate sunlight.
4) Depth of field - By messing with the depth of field, you are able to create a seemless effect within the image, to perfectly blend a pattern into a backdrop.
5) Mix - By mixing contrasting colours together, it is able to create an effect which is visually pleasing to the eye, due to an introduced twist.
6) Unity - When taking pictures of textures and surfaces, sometimes it is best to take pictures of smart orderly patterns, as the way they are laid out are visually satisfying to the human eye.
