

All posts by Sky Ayling-Phillip
Filters
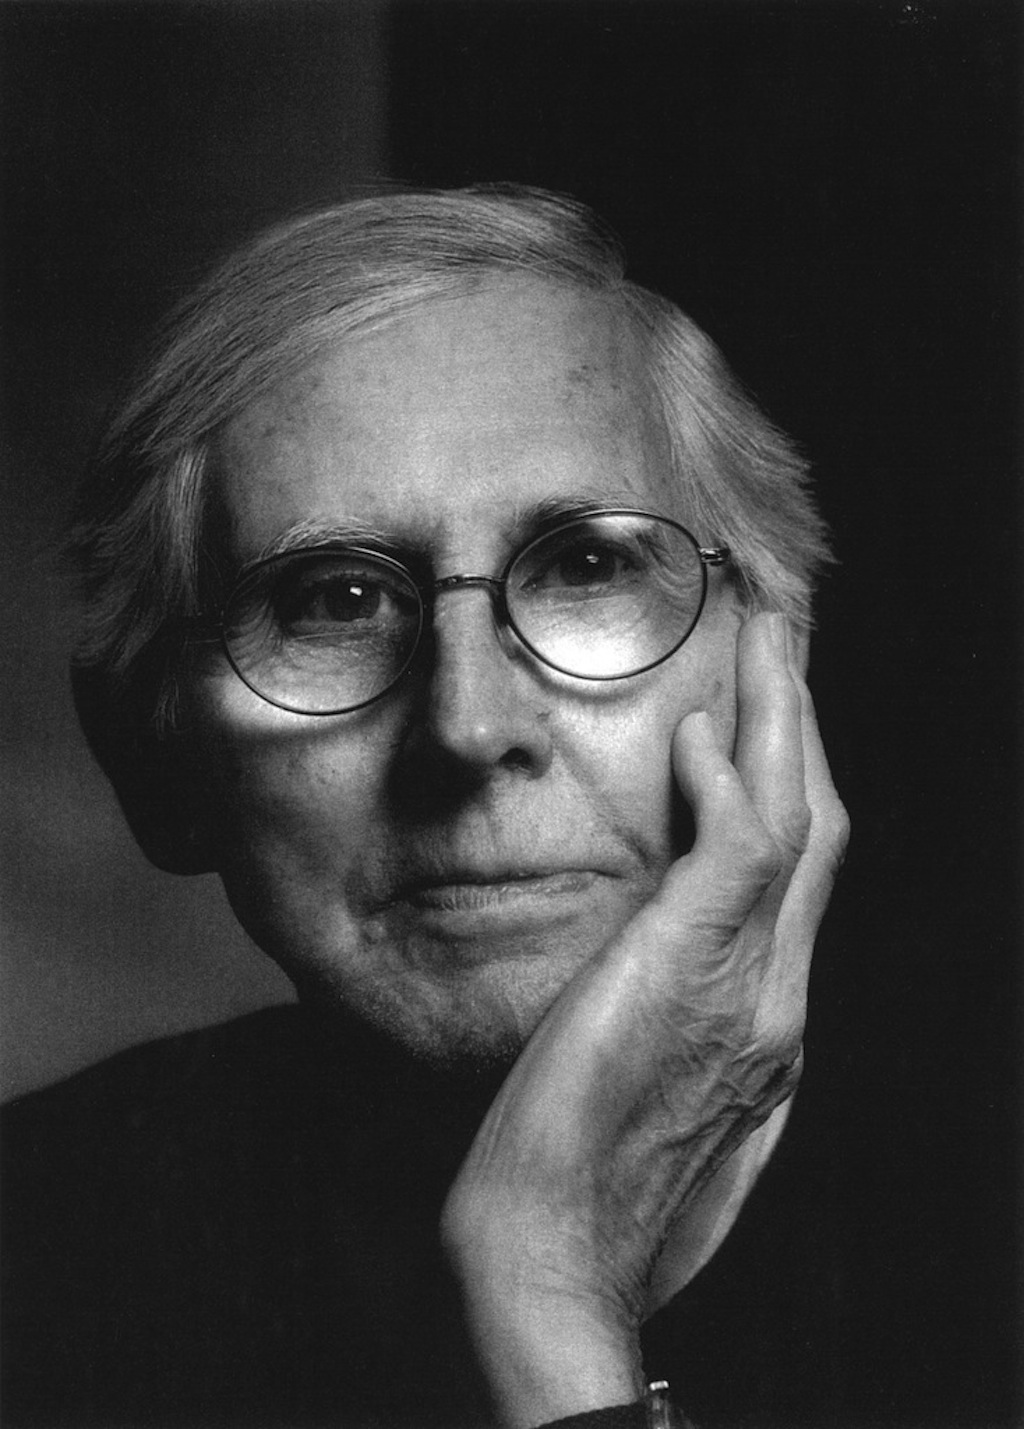
Keld Helmer-Petersen
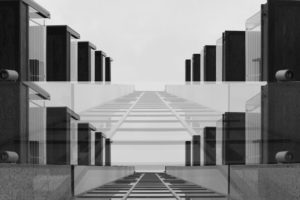
Keld Helmer-Petersen born the 20 August 1920  was a Danish photographer who got his breakthrough in the photogrpahy world when he published 122 Farvefotografier/122 Colour Photographs, this was a collection of experiments with shapes inspired by the work of Albert Renger-Patzsch and Neue Sachlichkeit. In the book was a collection of photos that he thought would only work in colour and not black and white.
Keld Helmer-Petersen was born and grew up in the Østerbro quarter of Copenhagen. He started taking photographs in 1938, when he received a Leica camera as a graduation present.[1] At an early stage, he became aware of the trends in international photography; in the 1940s he subscribed to the US Camera Annual and in this period became familiar with German inter-war photography, which had developed at the Bauhaus and in the Neue Sachlichkeit (The New Objectivity) movement. In his later life he released a series of other books which focused on a different light to other work in colour, as the books only contained black and white images.

Rule Of Thirds

The rule of thirds or “rule of thumb” is guideline used in photography which applies to the process of composing visual images into nine different sections so that each sections can have a greater focus on.The main focus of an image should be in the center square or touching or be on the line of the cornersof the center square. Some photographers say that by aligning a subject with these points creates more tension, energy and interest in the composition than simply centering the subject.
The photograph to the above demonstrates the application of the rule of thirds. The horizon sits at the horizontal line dividing the lower third of the photo from the upper two-thirds
Motion Blur

In this image I have edited the reflection in the mirror to be un-blurred it is in focus and is the center point/focus of the image.
To create this effect you;
Open Photoshop – Duplicate Layer – Mask Layer – Filter – Blur – Motion Blur – Then selected how blurred you want the image to be – Selected the Eraser tool – Erase the section that you want to be in focus – Than you have the final image.
Using free transformation

This effect is achieved by :
CTRL J > move tool > add a vector mask > paintbrush > size > opacity > blend
You can blend through your image giving it a ghostly appearance due to its opacity like the image above.
Robert Frank

Robert Frank was a Swiss American documentary/Street photographer, who documented the life in 1950’s America. His most famous work would be his 1958 book tilted ‘The American’ which consitsed of 83 photos. He began in photography as using it as way to escape the horror of World War ll and express his emotions. In 1047 he moved to America, however he did not settle there he went traveling in South America and Europe he then came back to the USA in 1950. Although he was excited for what he was going to experience in the USA this excitement quickly tuned into disappointment as he found the American lifestyle as a fast paced and overemphasis on money. He found the country to be bleak, lonely and disappointing which he expressed in he documentary photography of the country.
The image shown above is a famous image from his series ‘The Americans’ which is entitled ‘Trolley’ the image can be broken down in to different sections.
Technical
The image has lot of visual technical features that makes the image, one of them being the use of rue of thirds. as the image is clearly dived up into three sections it helps to that the onlooker can take more time into looking into the detail and texture of the image. The use of symmetry can also be classed in the rule of third as it helps to make the image more effective as the use of repetition is very pleasing to the eye. Another technique that is used in the image whether it was intentional r not it has been used in the image is the use of Anansel Adams Zone system, the darkest tones are in the space within the trolley are the lightest part is in the bars on the outside,
Contextual
This image highlights the struggle ans segregation in at the time. In the image the people on the trolley are very clearly separated into sections; White men, White woman, White children. Black man and finally Black woman. The image shows the struggle that black people would be facing having to give up there seats for others, being forced to sit at the back and having to be sectioned because there was something ‘wrong’ with them. So this image has a lot of contextual meaning to it.
Visual
The one of the visual feature of the image is the use of black and with and within that the high levels of contrast and highlights as it makes the image more dramatic. One of the natural feature tat has formed in the image is the frame like types of windows as it helps to break the image up into different sections.
Conceptual
One of the conceptual features is the meaning of the bars. Which can also be seen as prison bars which could have a symbolic meaning that the people are trapped in society beliefs in what they are/worth based on there appearance, which helps to bring a structure of the segregation in the society at the time.
Colour Overlay
This effect is called colour overlaying, achieved by:
- Selecting an area of your image that you want to adapt
- Add a colour overlay from your layers panel
- Reducing the opacity to the appropriate amount or using the blending options
- Finally, using Free Transform (CTRL T) to rotate, move or change the shape of your new overlay

Focus and Focus Points
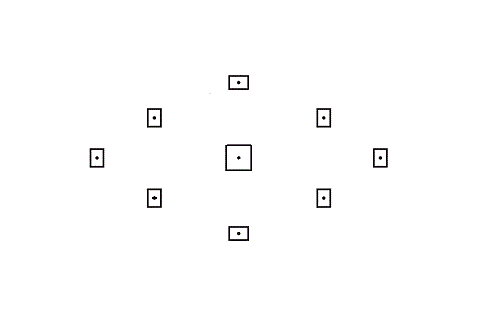
How to use Focus Points.
To get your images to be crisp, or to allow the camera and lens work together to change the distance of the lens from the sensor or film in order to control where the captured light converges.
There are many different types of focus points, you can change these focus points on your camera with a button or by selecting them on the screen, the image below will come up on the camera, this shows the range of points in which you can focus your camera on.

Focal Length
The focal length of the lens is the distance between the lens and the image sensor when the subject is in focus, usually stated in millimeters eg. 28 mm, 50 mm, or 100 mm). In the case of zoom lenses, both the minimum and maximum focal lengths are stated, for example 18–55 mm

How do you know when to use focal length ?
Focal length is how far in/out the lens on the camera is zoomed. It crops part of an image out so it isn’t in the final product/image.
| Lens Type | Focal Length | Best Use |
| Wide Angle | 28mm or lower | Landscapes and Interiors |
| Standard | Anything from 35mm to 85mm | Portraits |
| Telephoto | Anything from 100mm to 300mm | Portraits and Sports |
| Super-Telephoto | 300mm or higher | Wildlife and Sports |
Bokeh Photography
In photography, bokeh is the aesthetic quality of the blur produced in the out-of-focus parts of an image produced by a lens .Bokeh has been defined as “the way the lens renders out-of-focus points of light”. Differences in lens aberrations and aperture shape cause some lens designs to blur the image in a way that is pleasing to the eye, while others produce blurring that is unpleasant or distracting—”good” and “bad” bokeh, respectively.
Bokeh occurs for parts of the scene that lie outside the depth of field. Photographers sometimes deliberately use a shallow focus technique to create images with prominent out-of-focus regions.
They way that bokeh is created is by focusing the camera on an object in the fore ground of the image and having lights in the back ground of the image, by focusing the camera in the foreground image it creates as shallow depth of filed thus causing the lights in the background to blur creating the bokeh.
