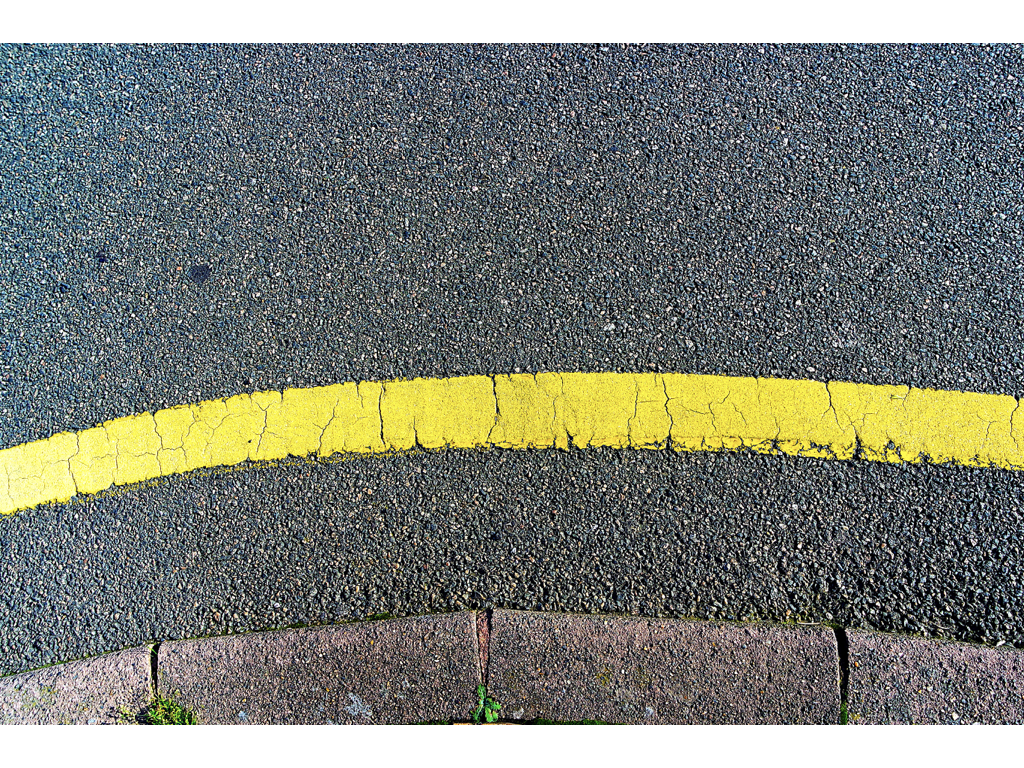


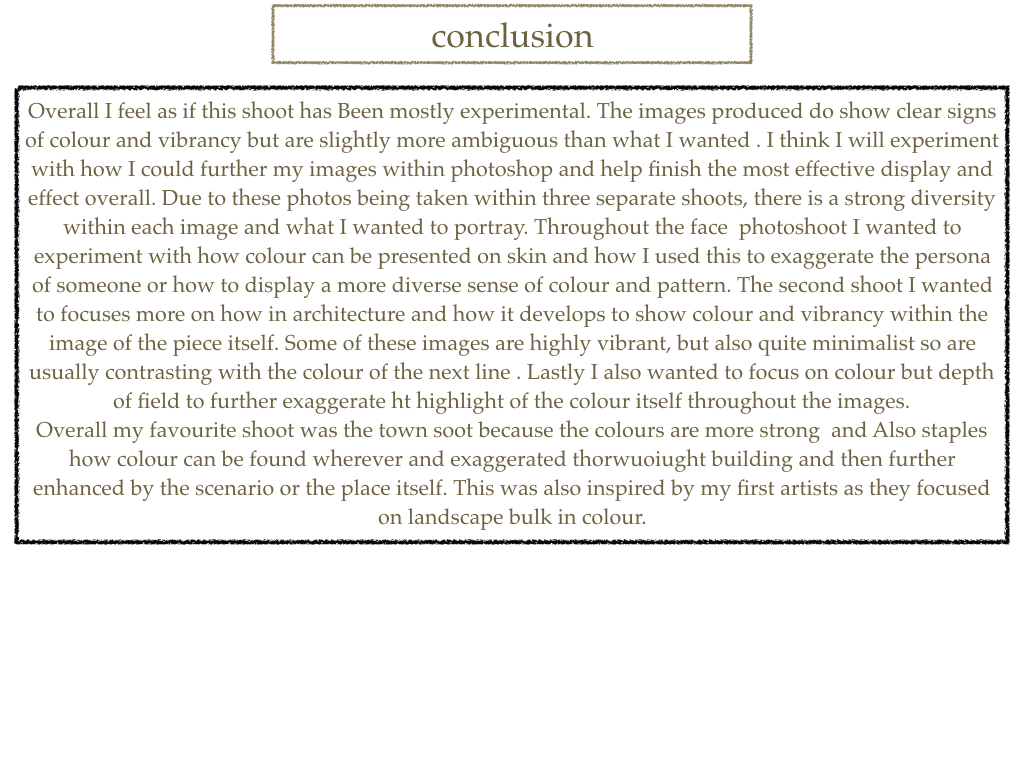

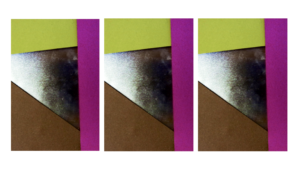
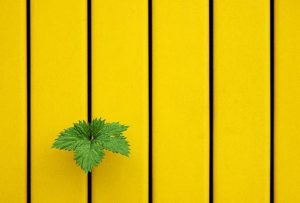
This was my image originally,I chose this image because it has a lines of symmetry throughout the middle and due to the colour being vibrant. I also thought that all the lines of detail would compliment the composition of the piece when experimenting with the layout .
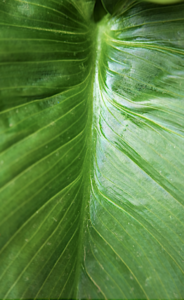
For my first edited I simply repeated these images in lines exactly the same as before,with the the lines throughout it is more obvious and appealing to see and it also portrays the highlights throughout very well.
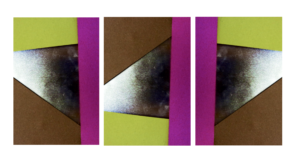
next I flipped these images to all be different,this creates a more abstract feel and a less fuller sense as to what the leaf really is and also shows the tones in different interesting experimental methods.
I then proceeded to put my images into a squared again continued these are different angles within th images and again have flipped images within the squares.

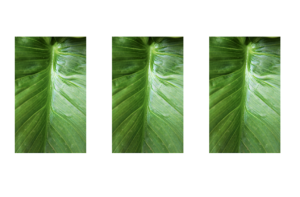
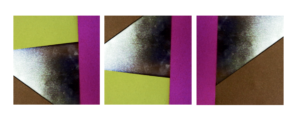
The next image is interesting because I wanted to shows a somewhat continuation of the lines through the second image which is also at a different angle so creates a center point and allows the image to become more dynamic and interesting. 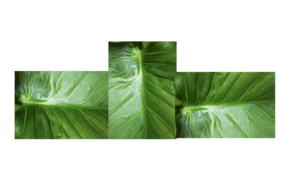
For This image I was again inspired by my previous experiment of the layout of the piece itself is making it so every center point is facing out of the middle. I still have point from the two opposite leaves.
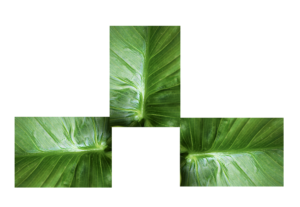
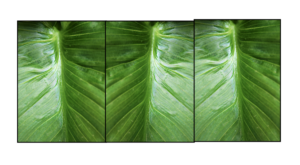
within this last image I want to form a mirror limes and. a sense os symmetry to the pieces also added a boarder so aswell as forming the piece it also breaks the form into specific piece of the text.This piece is also divided into darks and lights within the division.
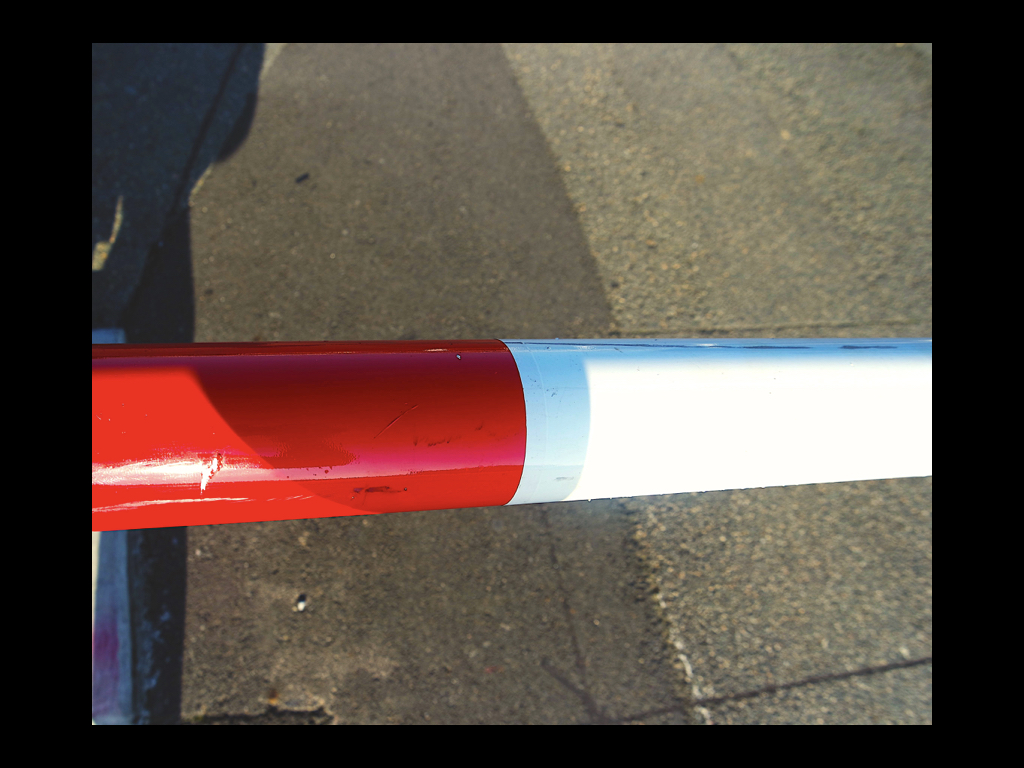
For these next images I wanted to focus more on the actual development of colour, this was in order to again experiment with form and how I can develop the different angles of the paper too.
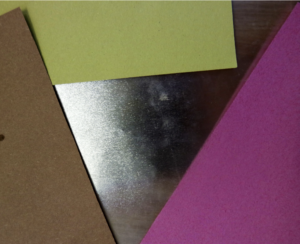
These images are both slightly different angles of the colour itself. but I want to further this image to more of circular and line patterns .
Here I wanted to show a repeated pattern of the lines within the image but still showing the fragments of colour at the same time. I also exaggerated the colour in order to further exaggerate the vibrancy if the piece.
Within the two outside images are facing out in order to show a clear cohesion within the piece and symmetry too.But the middle image is the direct line as it is different to all the other images.
Here I also furthered the image into a squares and again flipped the image itself around too.

And lastly within this range you can see my lines of symmetry but a continuation of the line too.


what is minimalism?
Minimalism is a modern idea within the 20th century,it is about specific components such as color,shape,line and texture.It is highly subjective as artwork itself. leaving interpretation and meaning up to the viewers perception of the work.Some photographers use this in order to tell a story of a act of photojournalism but in a easily presented manner to the audience.
the best aspects are surrounding the openness and embracing the freedom of interpretation.There is no real direction to minimalism but photographers can still focus on issues or a specific subject matter. Some other photographers would argue it is about simplicity and the audience creating their own feel or interpretation of the image itself. Some techniques are consistently used to employ and enhance the impact of the work.There should be a consistent notion that is wanting to be captured.
It can be seen within this piece in order to direct attention to a specific point of view,possibly because this kids the most detail or it is aimed to promote a certain aim of development within the image itself. The images are developed through a certain line within the mage,a certain single aspect of the image,or a texture.
My experiment within minimalism:
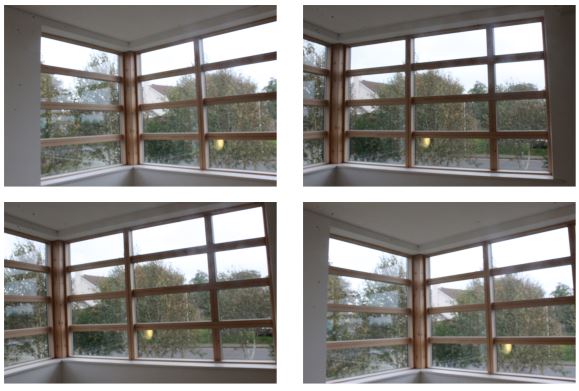
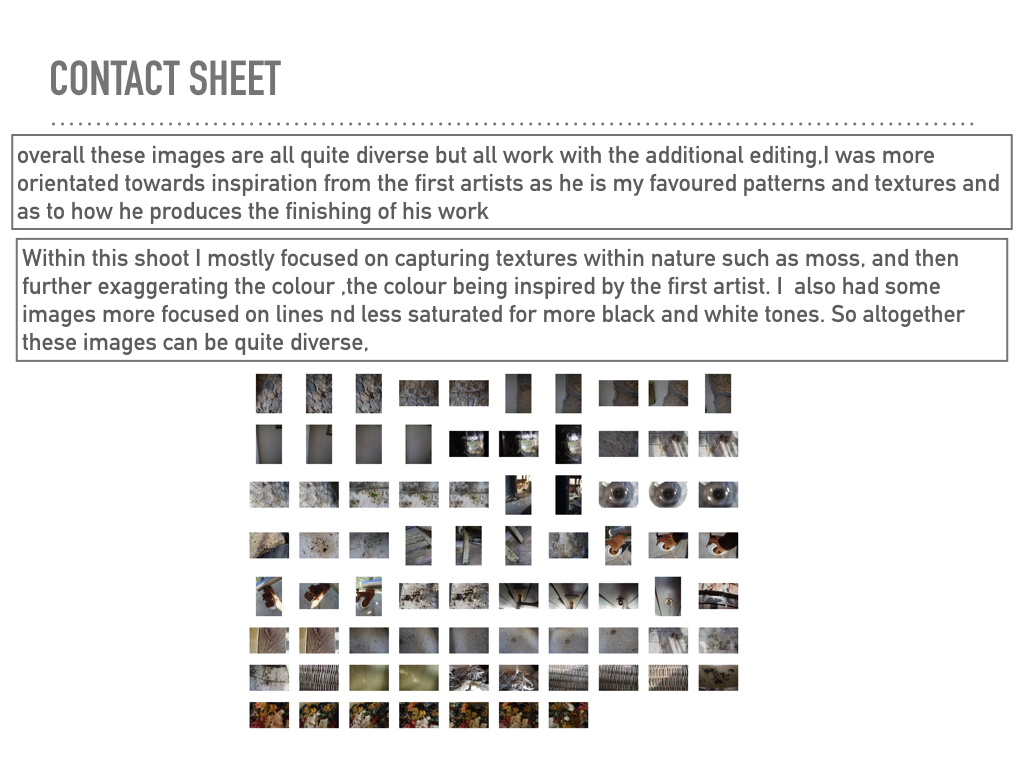
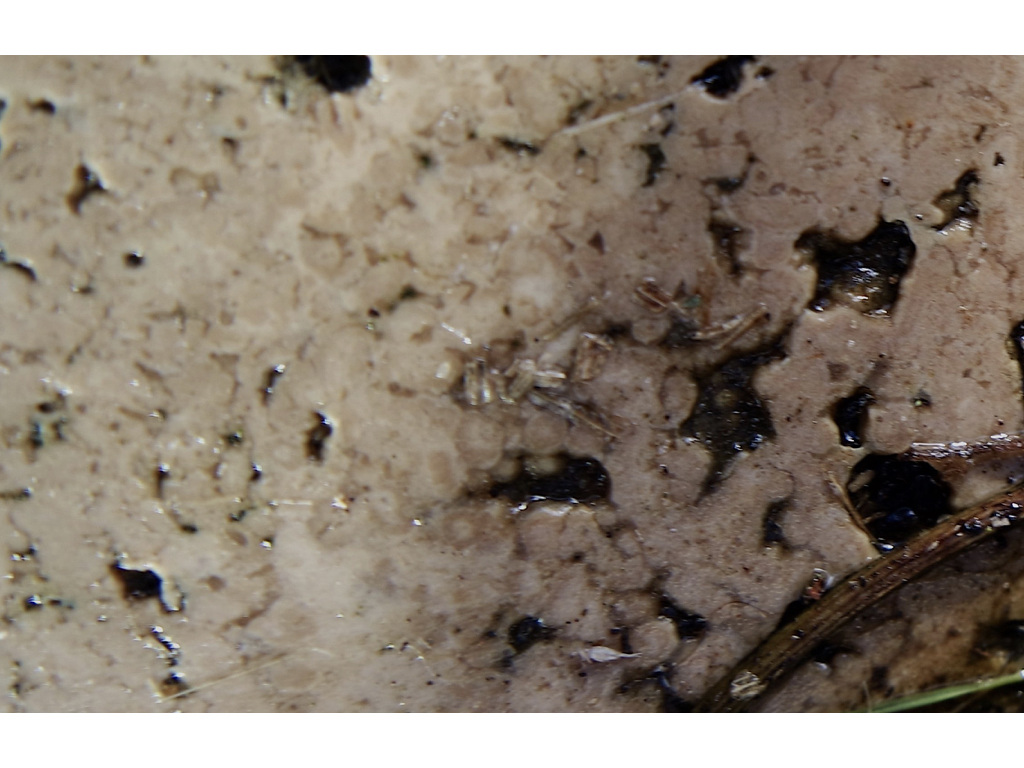
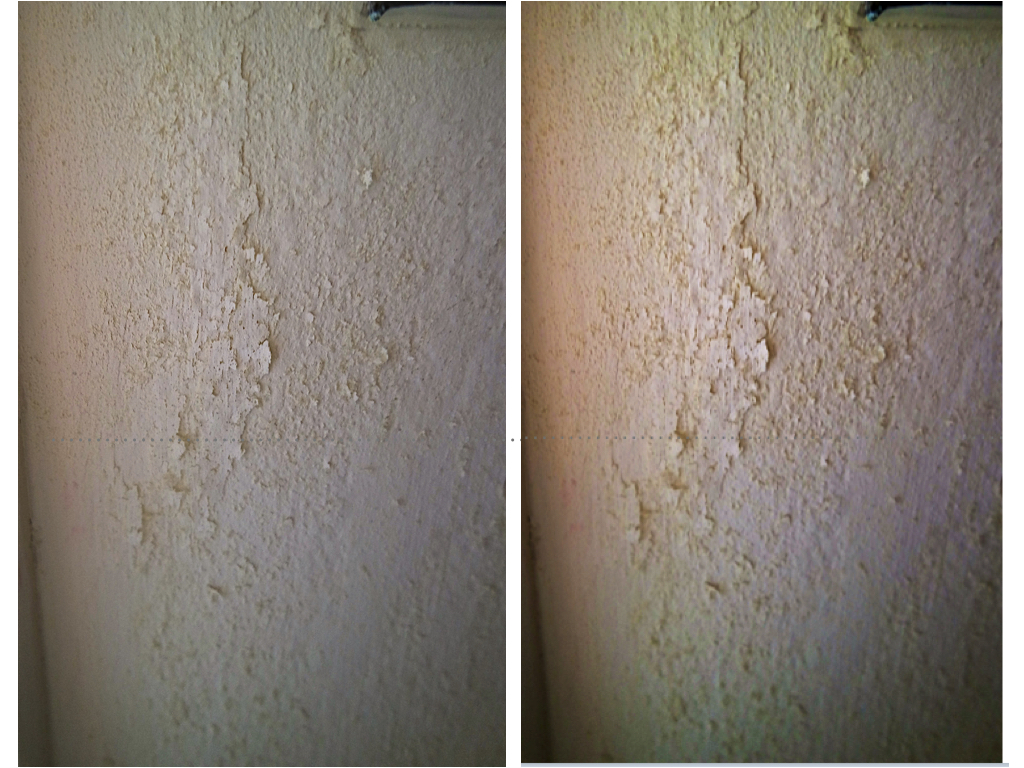
within these photos I simply wanted to capture the lines and highlights within the piece itself. I then decided to further edit these images to create more of a colour impact to the piece itself.
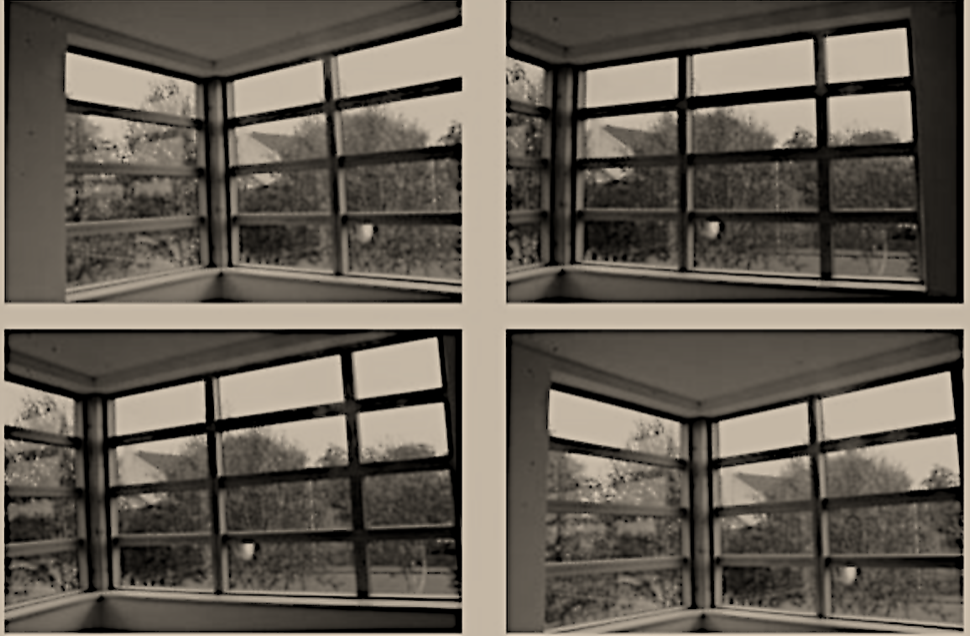
here you can see the final edited image that I have lowered the saturation for and also developed the thickness and how dark the lines are to give a greater focus on the minimalist dimensions of the piece itself.
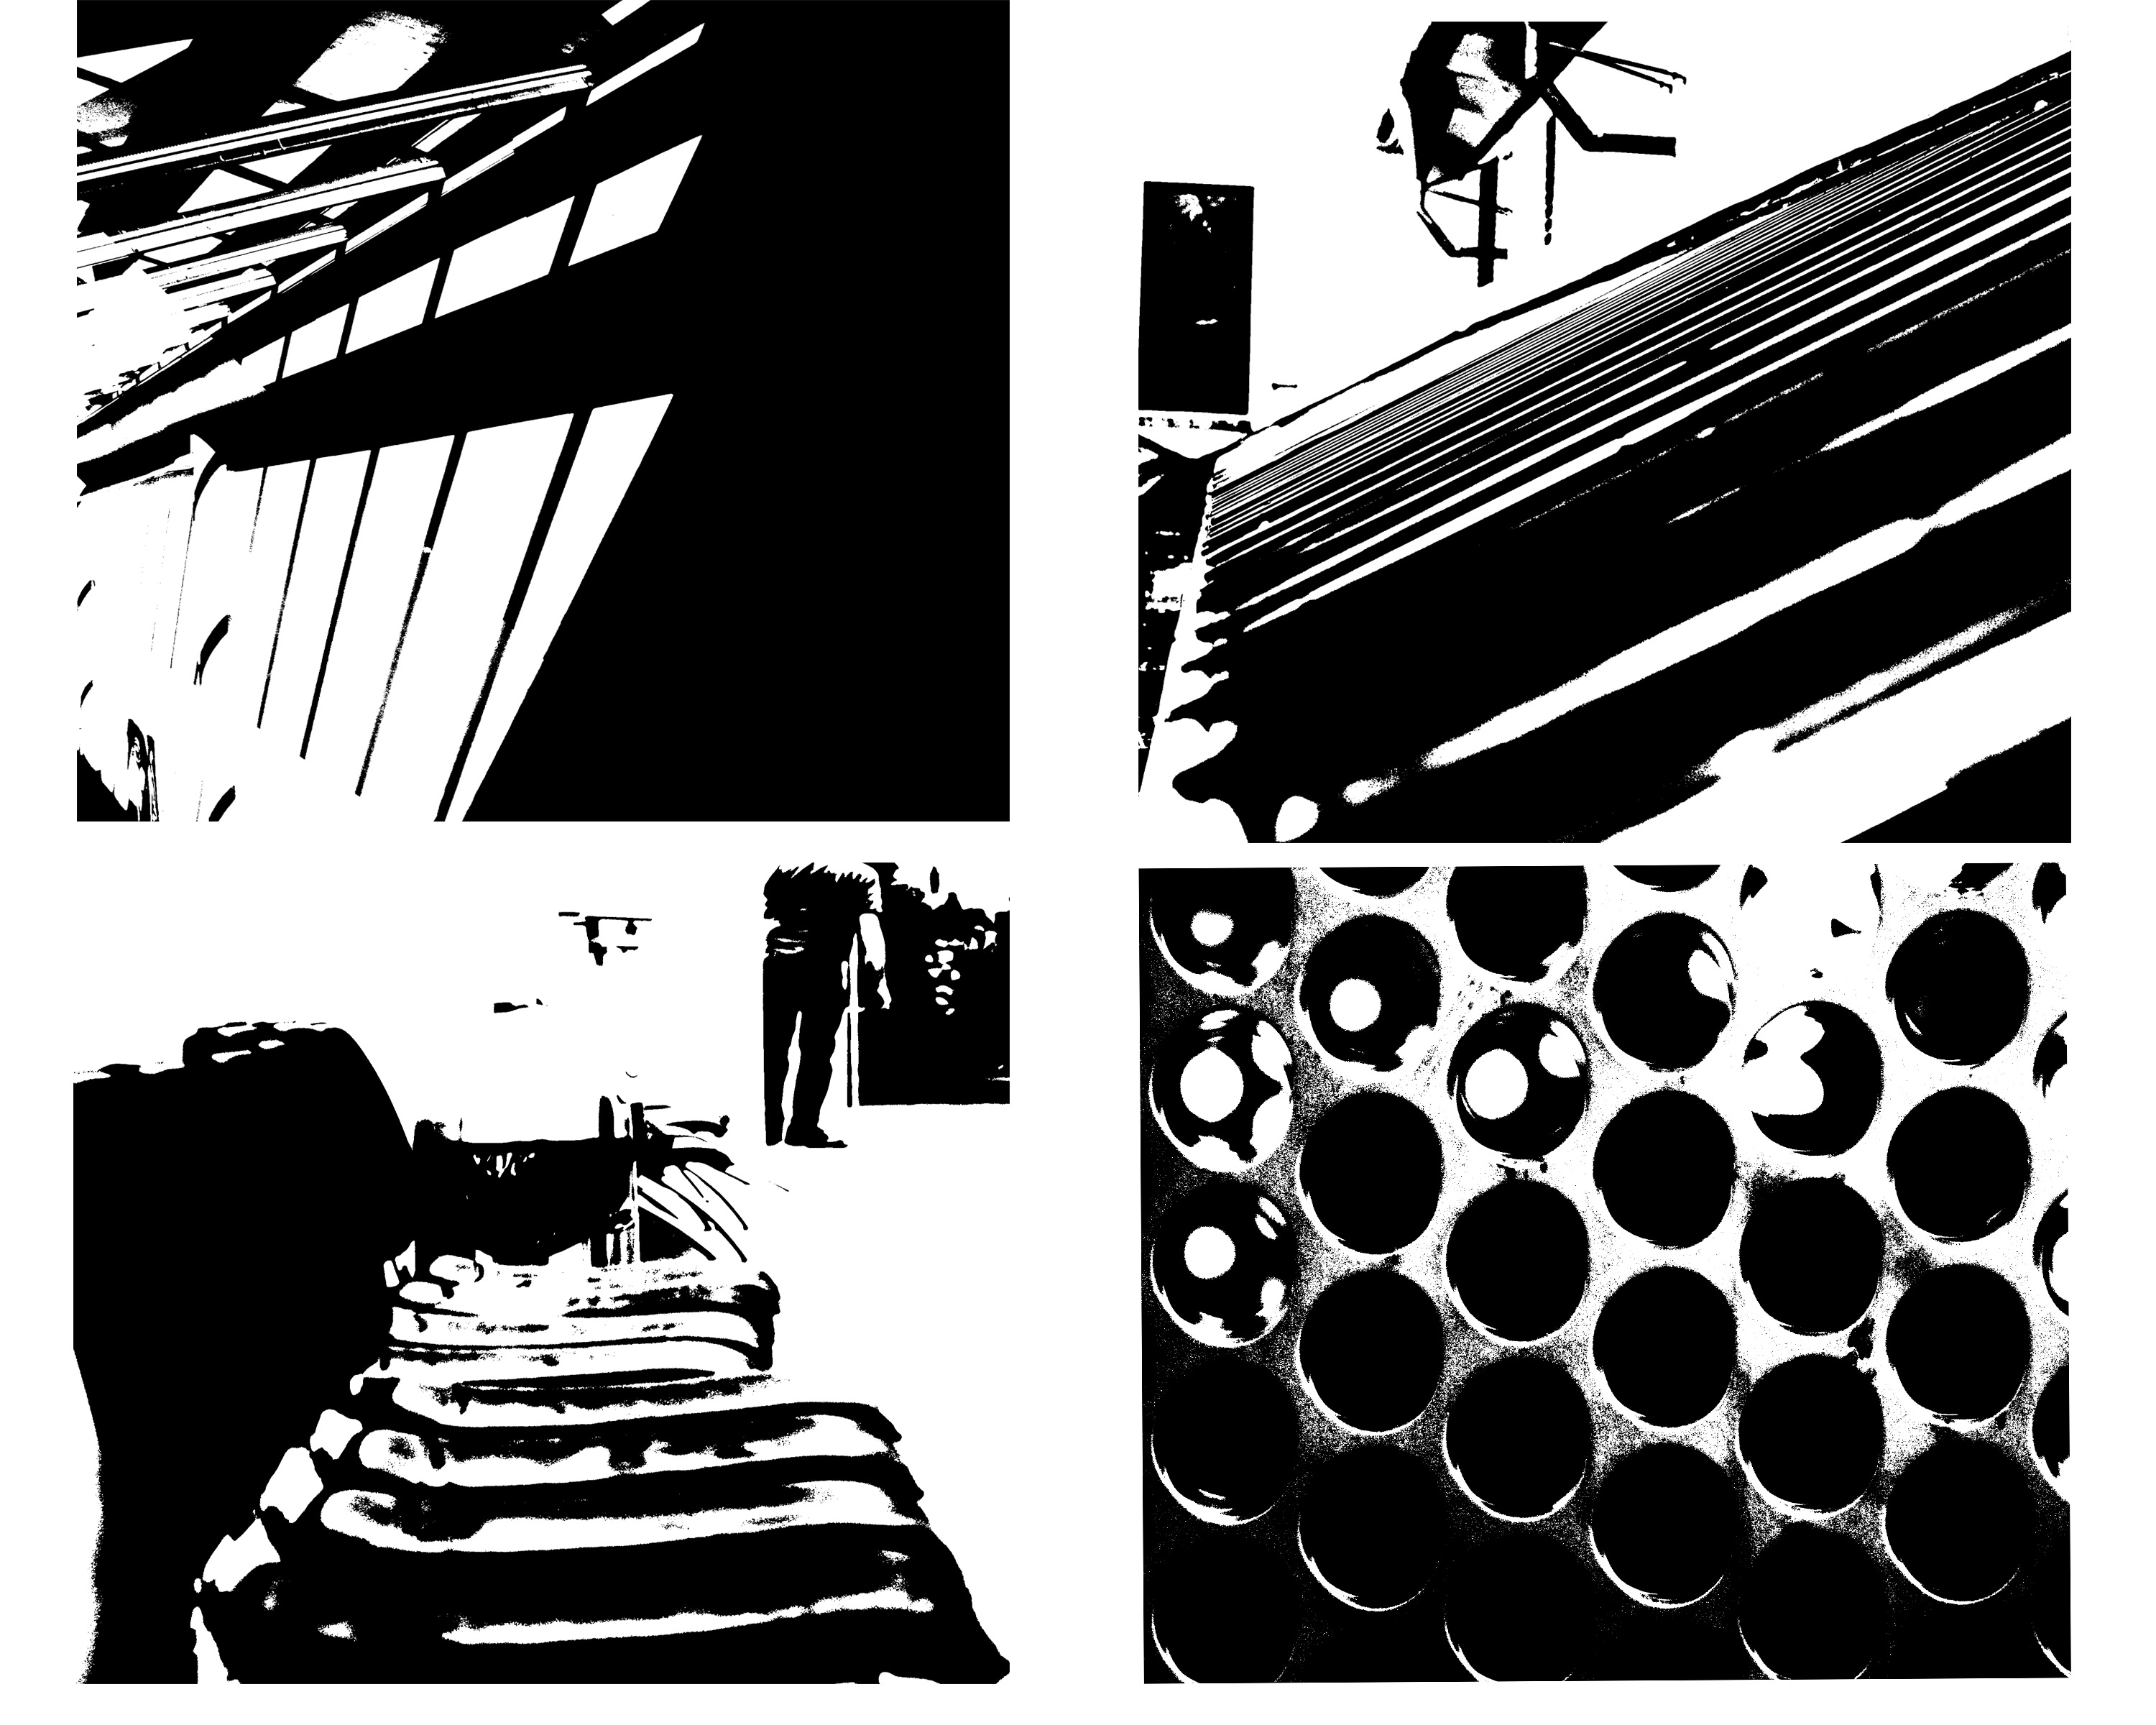
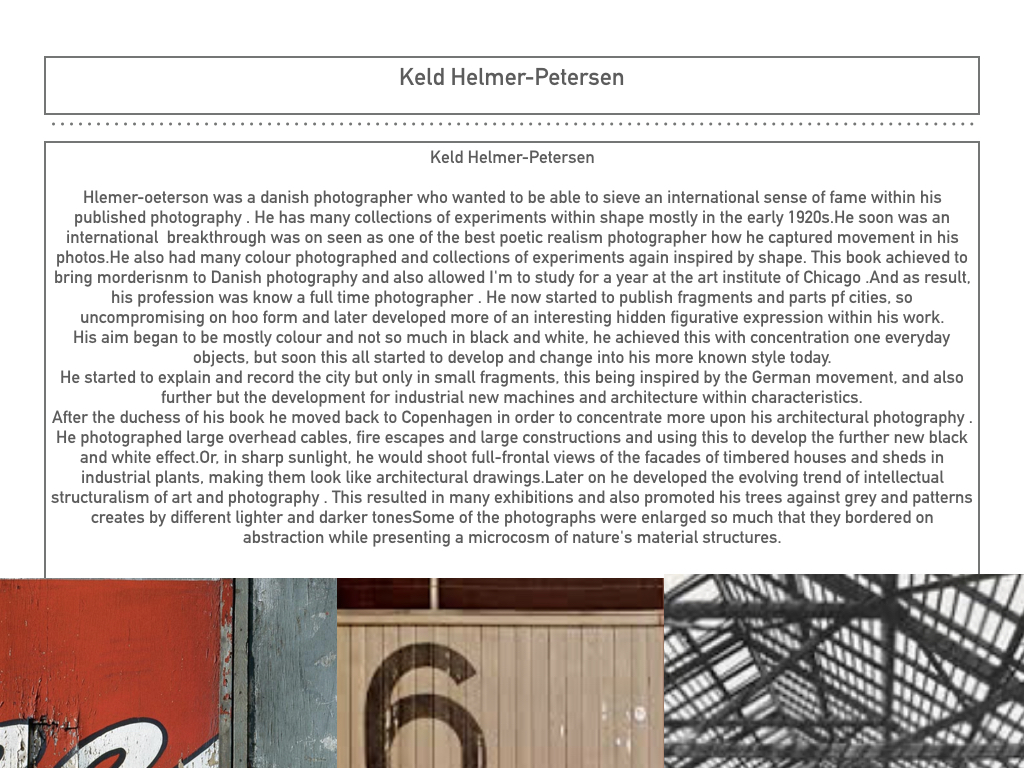
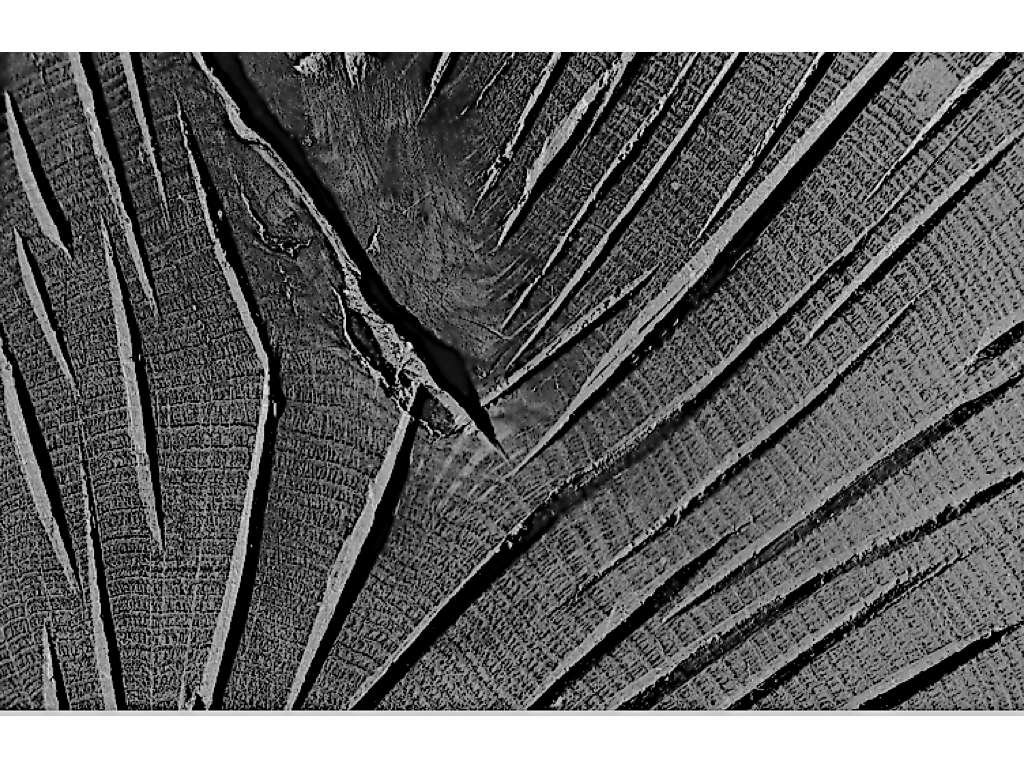
within this image it is edited to show black light within high saturated edits,then also turned into squares for an even overall finish.I was inspired by the artists Keld Helmer Petersen who wanted to achieve an international collection of experimentation shapes inspired by ranger patsch. He also developed poetic realism within his work and modernism within photography.
He eventually adapted and developed the intellectual structuralism to art and photography,he liked to capture leafs and trees against grey light and patterns created within nature.He started to become more abstract within the enlarging of his images focusing on the microcosm of nature.
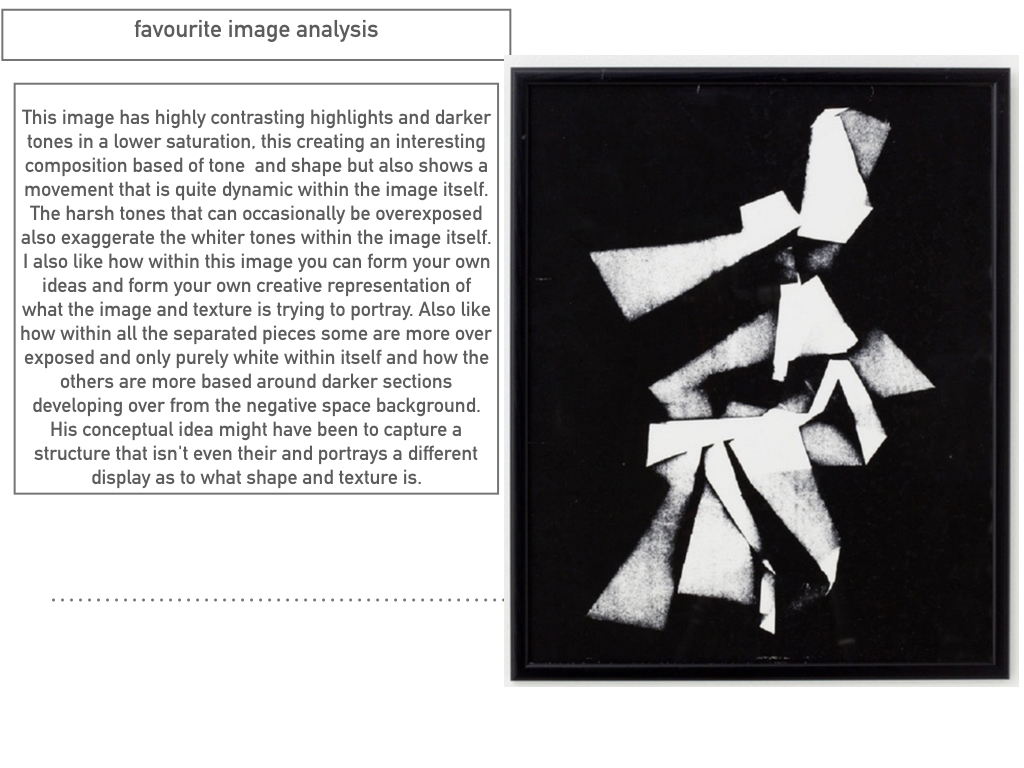
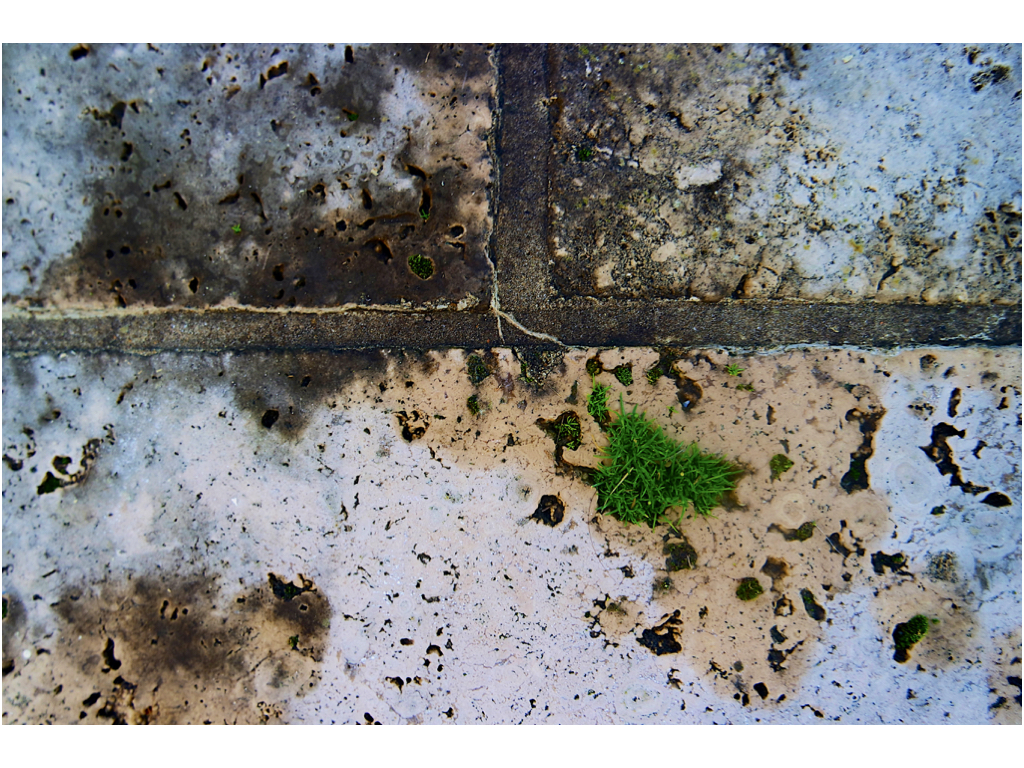
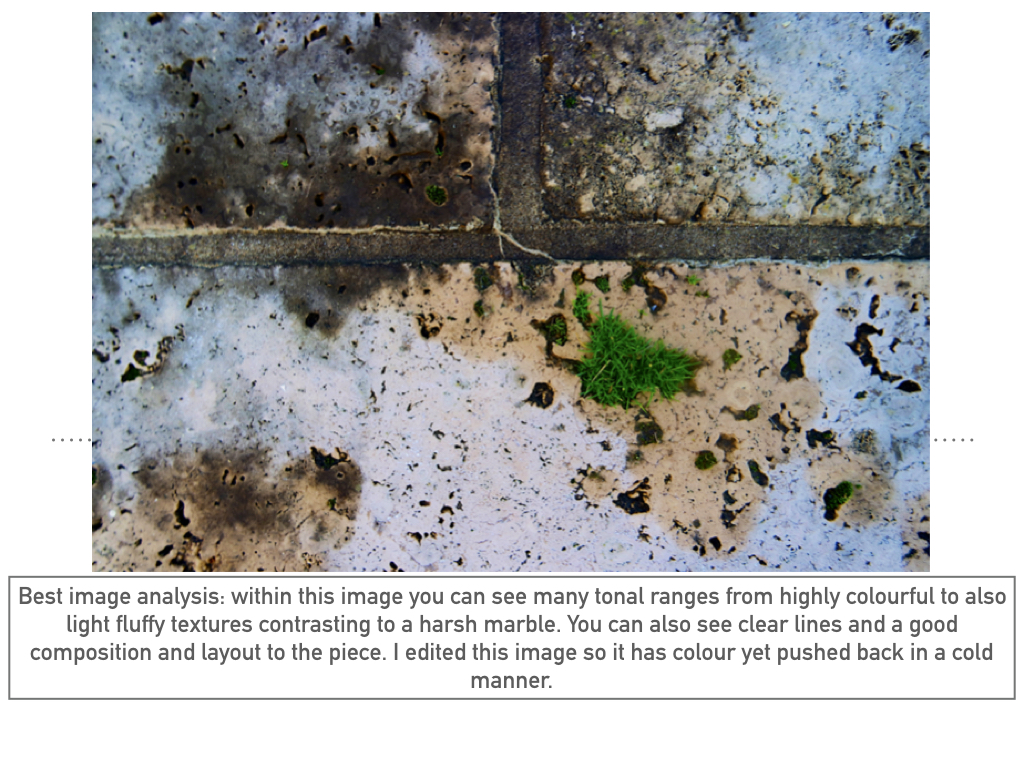
I chose these images due to their defined lines and shape within the pieces. I thought the compositions of the pieces where also quite interesting as there are many dimensions and angles to the piece themselves.
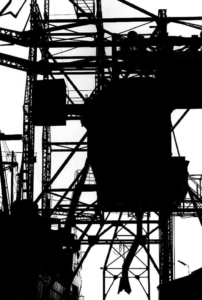
this is a clear example of his work and how he different from using more simplistic images to more complex lines but overall still achieved the same tonal range and detailed effect of the image.
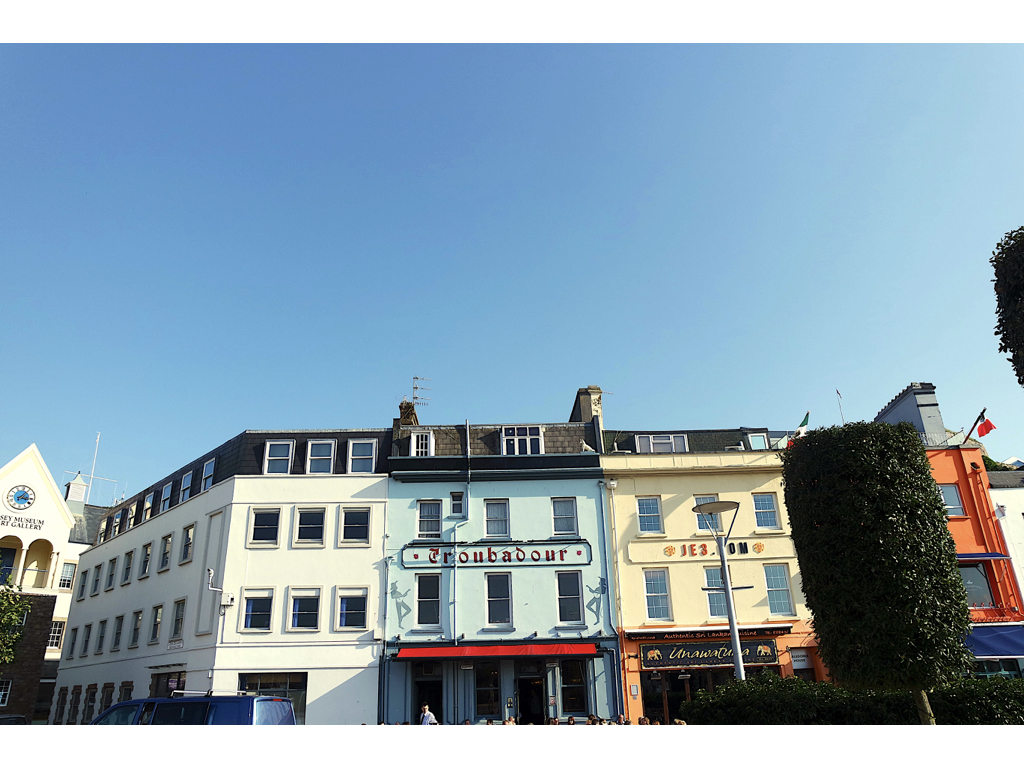
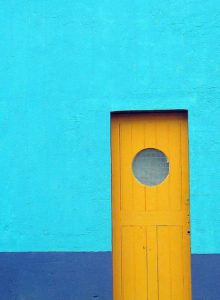
rule of thirds is applied by aligning a subject with the guide lines and their intersection points, placing the horizon on the top or bottom line, or allowing linear features in the image to flow from section to section.This is on order to create a successful and visually pleasing formatted composition. It can allow a direct view of a subject or the type of depth you would like to capture. It can also exaggerate editing within blurring and also subjects such as ISO.
The rule of thirds is applied by aligning a subject with the guide lines and their intersection points, placing the horizon on the top or bottom line, or allowing linear features in the image to flow from section to section.It can be used by using a visual of tow lines formatted at each angle on the screen or possibly within dots for slight dissidence as to where to place the main subject of the image.
The rule of thirds was written by John Thomas Smith,this was written back in 1797 in order to find the perfect way in how to capture rural scenery,
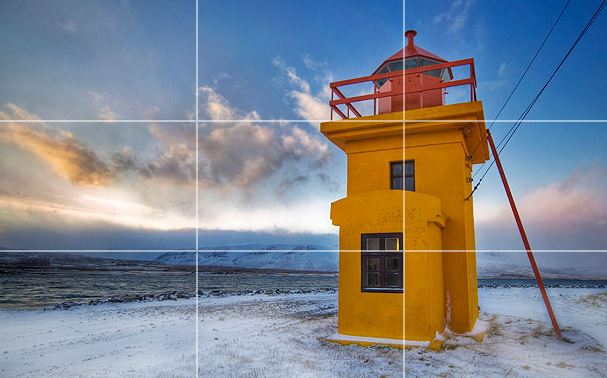
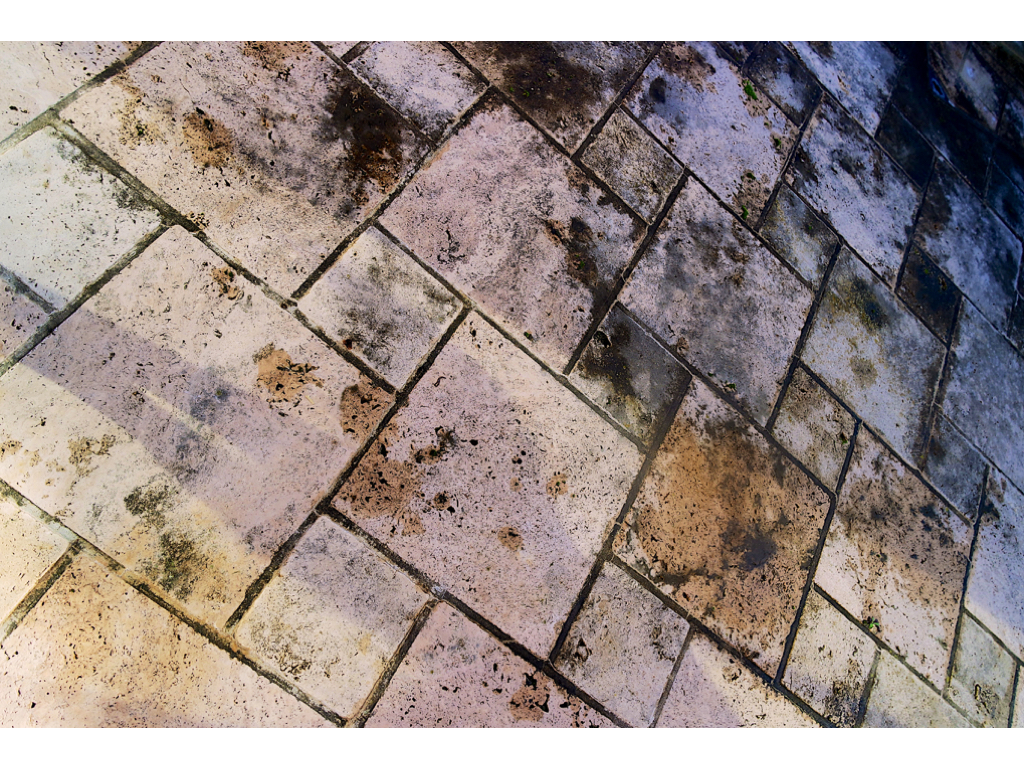
You can clearly see the horizon and how it sits equally in the middle throughout the lines.,this divides the image into thirds of the lower two sections. The tower is the point of interest directly in the middle of the second line.The sky also develops with color over the horizon.
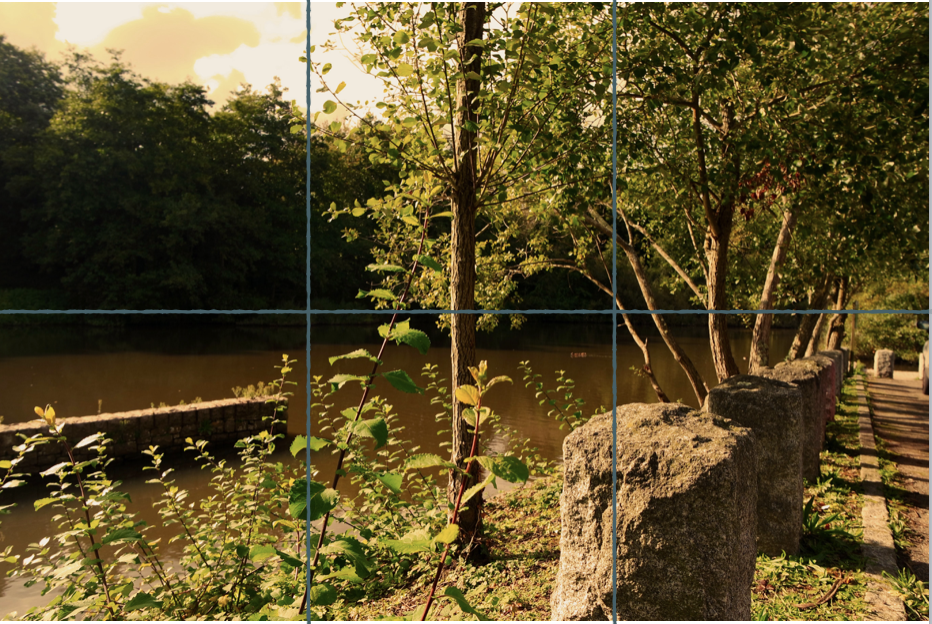
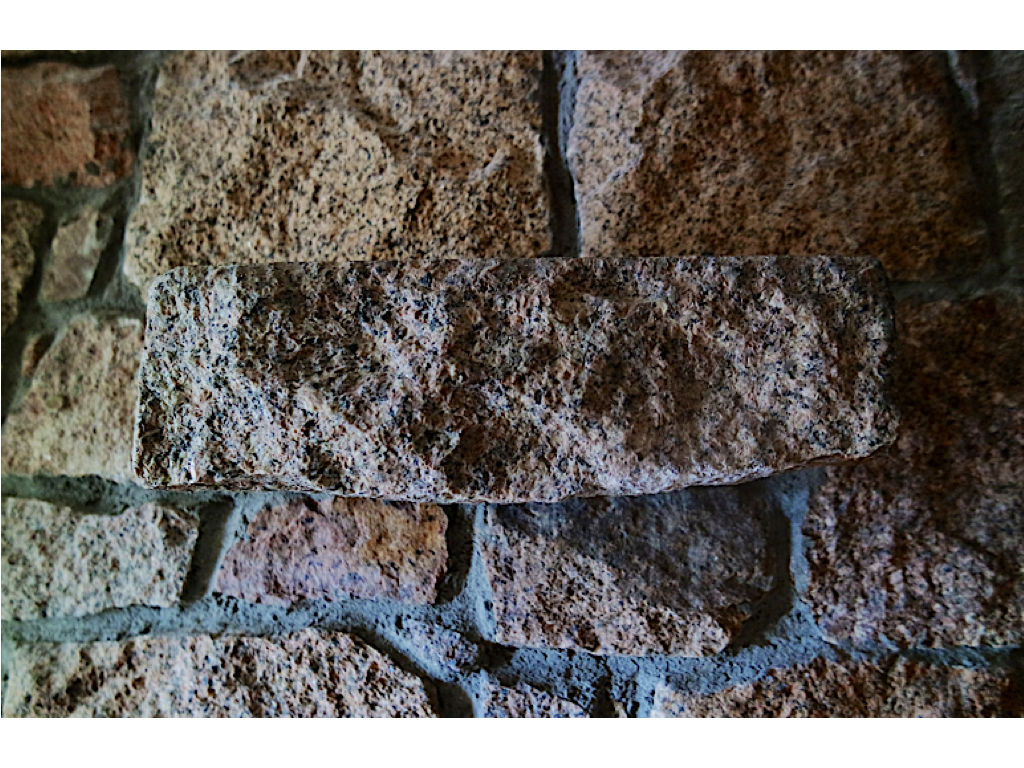
within this image you can see the rule of thirds of how the rock is alined within the first line with the rest entering back to become equal with the second horizontal line.There is also a tree centre and this achieves an even overall effect.
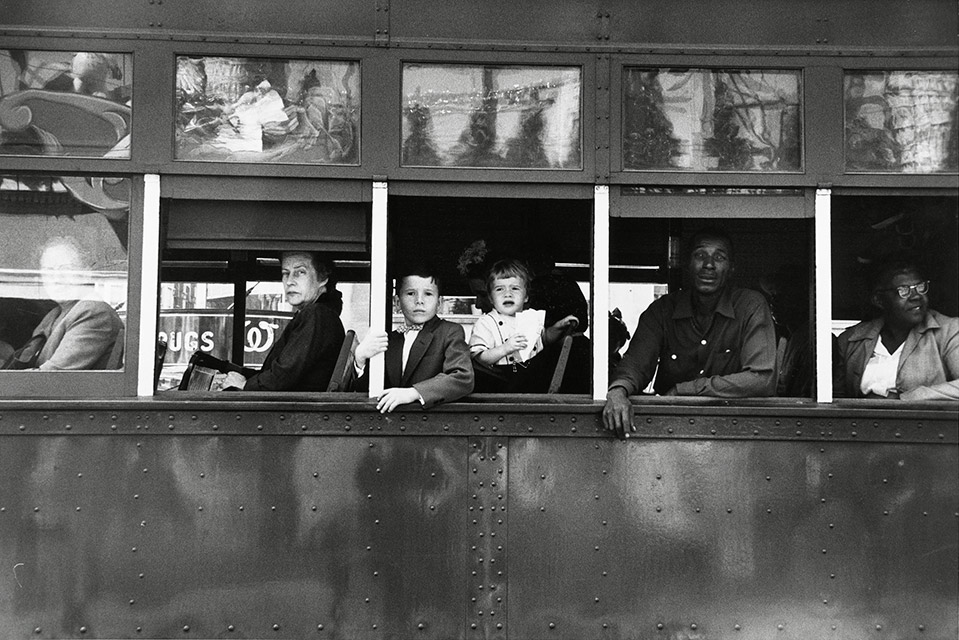
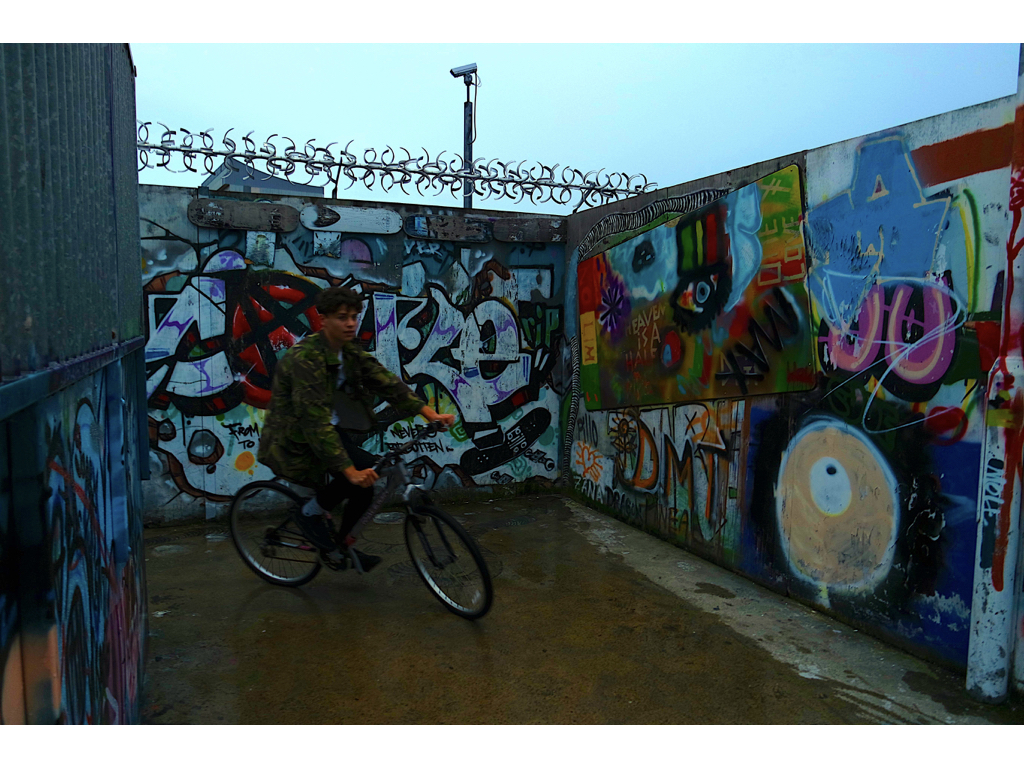
The type and style of genre of his work: this is photojournalism and street photography in order to demonstrate and develop how Americas is presented throughout time and his own view that is conceptualized by race and other cultures within america that created a large impact within the time. He is highly evolutionary and has loaded meaning and metaphorical advances within the piece itself.
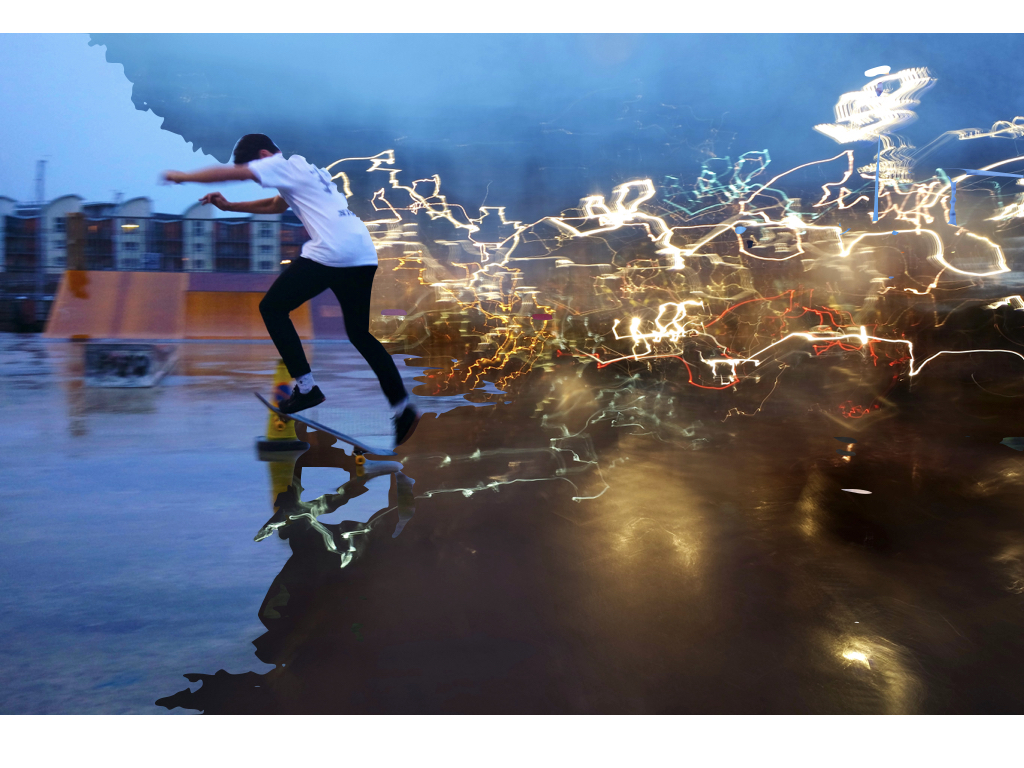
Throughout this image there is an array of tonal and developed lighting within tone.He is highly creative within the composition using many reinfections to mimic and mirror the effects of images and personality within the pieces. you can see that this piece was taken with a fast shutter speed due tot ht movement of the bus and also a low iso to create all the detail and realism within the piece itself. There is also a large depth of field within the sharp focused image,this is possibly in order to produce an accurate representation of the time and as a metaphoric device to be able to see the whole image itself. He has also successfully captured and interesting composition of rule of thirds within this image as you can see clear lines and levels within the bus itself,this almost accentuates the man leaning out and the detail and main couscous on him and possibly the emotions he is going through.
This image again has a significant historical factor,of that of racial segregation and the development of how black people were detained for their own rights they were seen as lesser.The positioning of the black man towards the back also emphasized how he has less authority then the white man positioned throughout the front. The man looks also most desperate and the direct address to the camera almost demonstrates his need for help and his non understanding for why this is an occurrence of race and lack of opportunities. The is lso a very industrial inspired image,perhaps this has strong connotations to the neighborhood and the time period they are in and how this portrays poverty but perhaps only within the black areas of town,This also shows how the deteriation of the bus shows that again the movement going backwards is a continuation of fewer rights. The young also are a metaphor for how they could be raised differently to ignore race and not be ignorant like the former generation and that this exposure does not have to be a negative experience for the young.
you can see a continuous pattern throughout the visual effects of lines and reflection and again how this is attached to that of the segregation of race and perhaps it shows a balance within the tones and also the display of the overall composition of the pieces itself Again this demonstrates how it follows the zone system and also how the light follows a specialty and how it is also a reflection of the piece itself. There is also a sense of naturalism and nature of how it was a coincidental image again suggesting his more journalistic theme and how if it accourance in front of him it is an accurate representation of america and the people within it.
once again this shows the divide between race and the significance that this ouccre within america. The whiter people abuse there privilege within this image almost turning their heads up as if better than the photographer and due to their positioning in the front of the bus,again portraying the social significance and demand of authority. It shows that this is not the american dream,there is rebellion and suffrage and in a state of change and confusion within america,and this is his way of capturing the image and he is documenting this as he is face to face and to portray that america is not an idealistic journey in a juxtaposition in how it is represented,This image also portrays how society treat each other.
from a more modern perspective we would what to expect these standards of living to be completely different,but it is not.There is still a accurate continuation of suffering and also a demand of violence and it still has a harsh light of day that is still captured within photographers works today.
In order to demonstrator a sharpness to an image,and allow and intention to focus and not. The works also together in order to change the distance of lenses,from the sensor and or the filming order to control the way in which light is captured.This is also done by how the light coverage’s precisely a point within the plane of the film or a DSLR sensor,this means the image will become more in focus .
when looking through a viewfinder of any DSLR camera and you will see several dots, or squares, that represent individual points at which the camera is capable of focusing. This is in order to clearly view the focusing points ,even if this might seem obvious. but not all of them are created equal. When you press the shutter button halfway, some of these points will light up, indicating that everything at that specific spot is crystal clear and your photo will be nice and sharp.
this is an example of cross focus points to hep with ensuring the positioning of the camera.
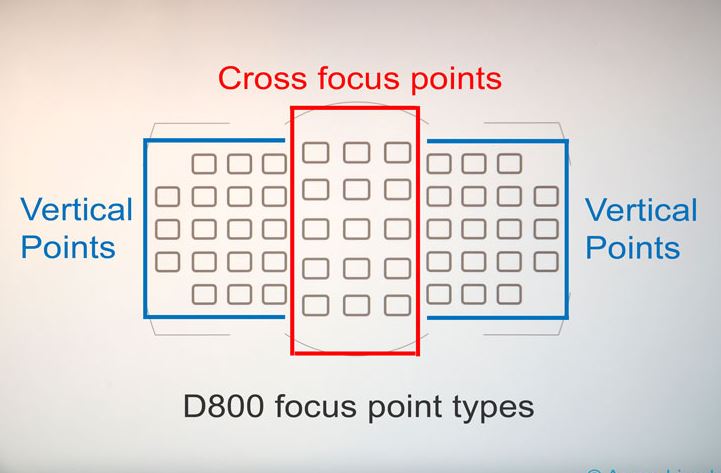
However, the speed at which your camera can focus on one of the points, as well as how accurate the focus will be, depends greatly on whether the individual focusing point is a single or cross-type. Understanding the differences in how they operate can help you decide which ones to use to take better photos.This is a further example :
there are also many ranges within focus points,this can develop of change the point within your camera with a button,and will be brought up upon the screen,showing the range of points.

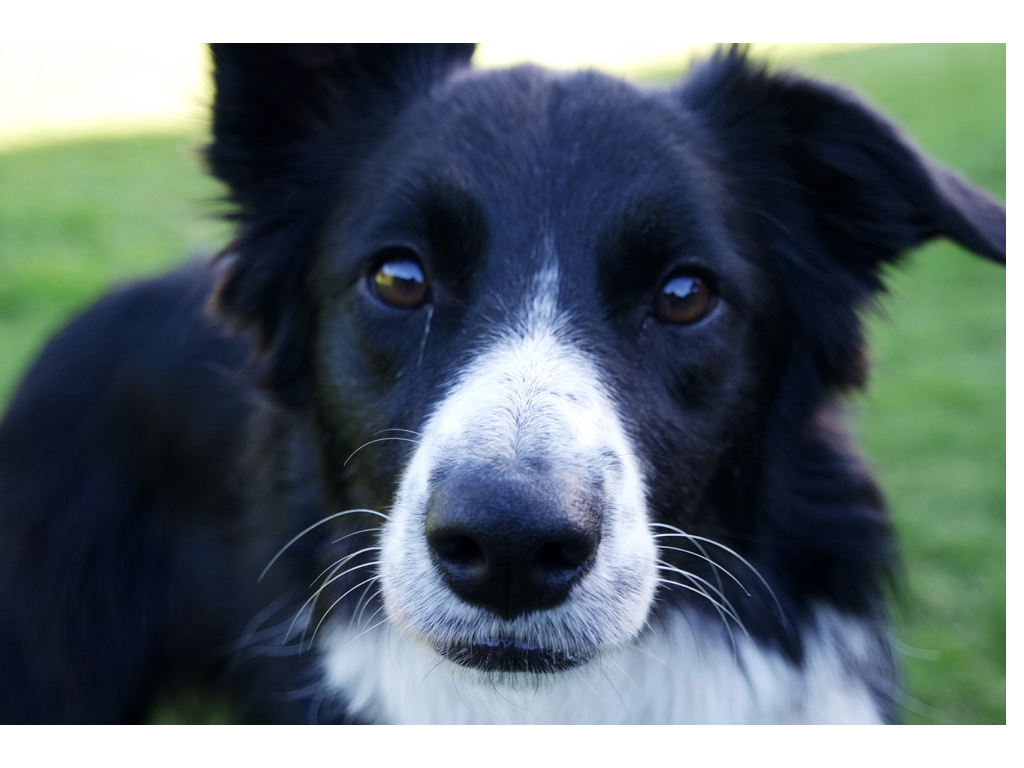
below you can see my development of capturing the same focus point within a dogs face too.
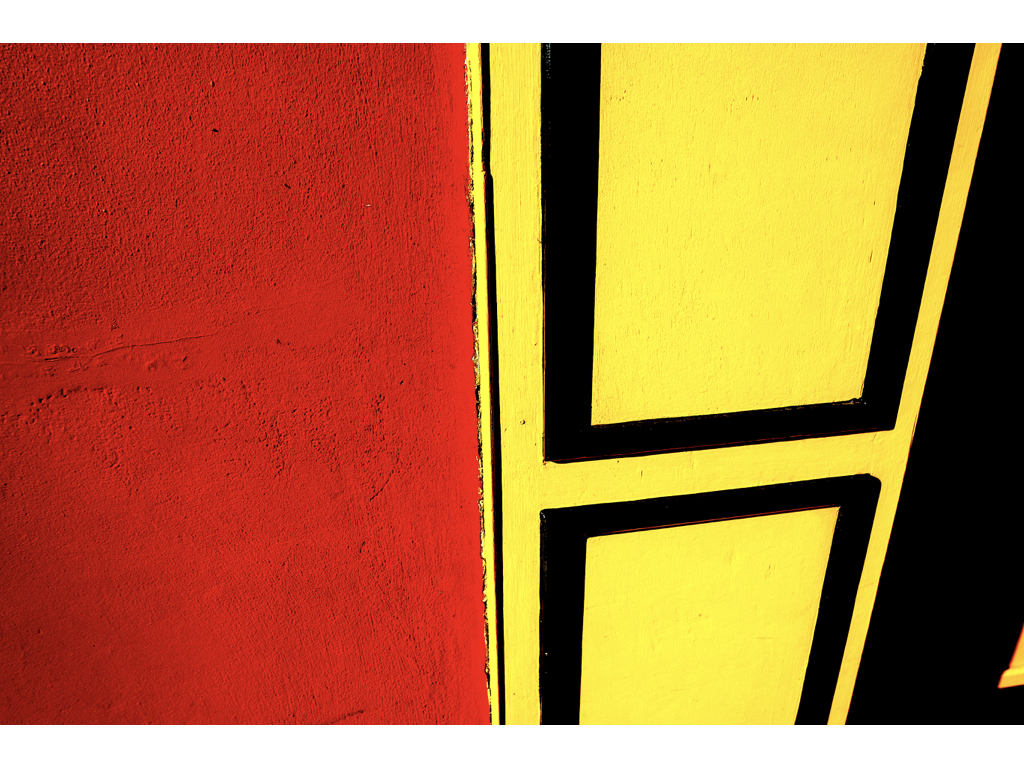
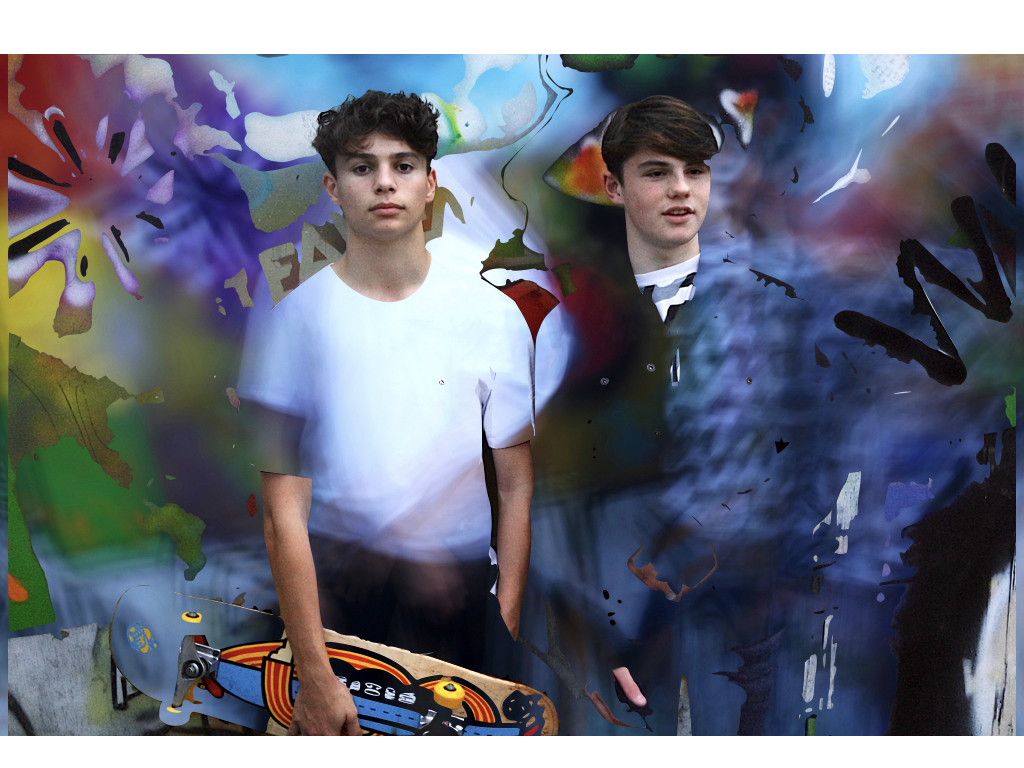
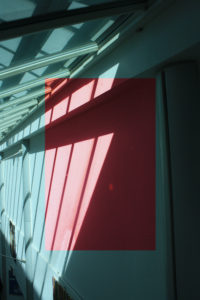
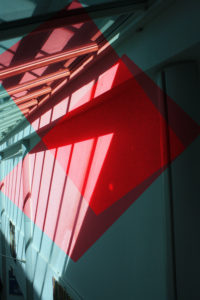
Within this piece I wanted to cut out two identical pieces and use this in order to develop an overlay and deepening of color over the highlights and cut out on the wall itself. I used red to contrast to the lighter blue tones of the underlay of the original image. I duplicated these layers and images so again the red is more significant and you can see this development throughout these images.
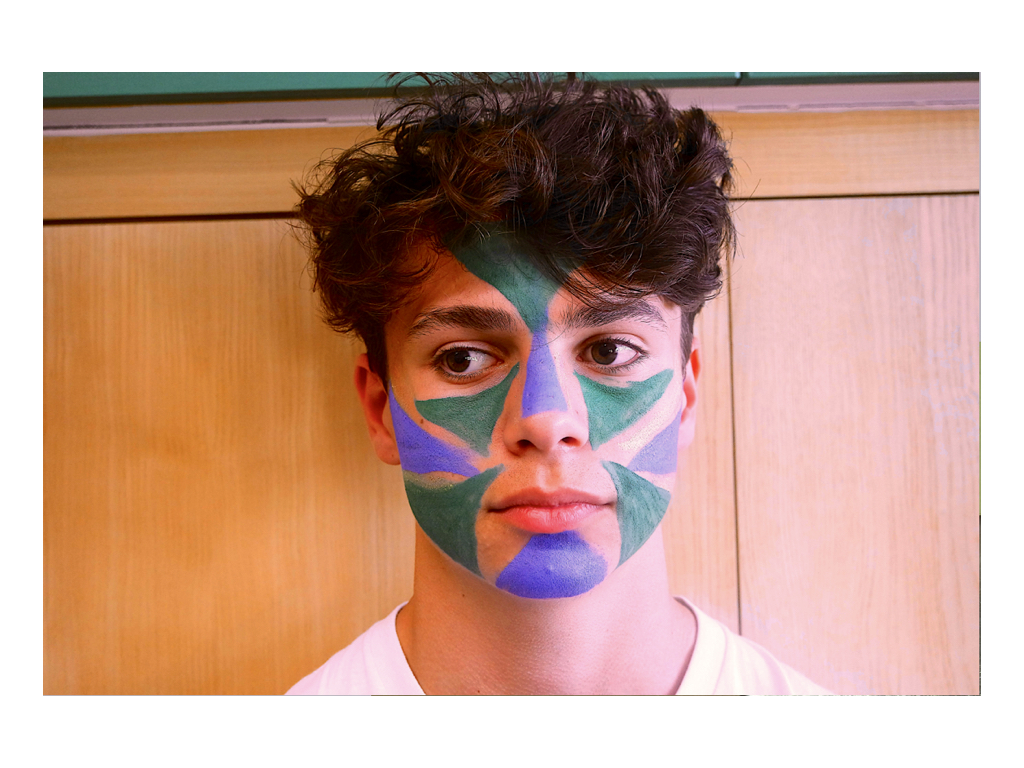
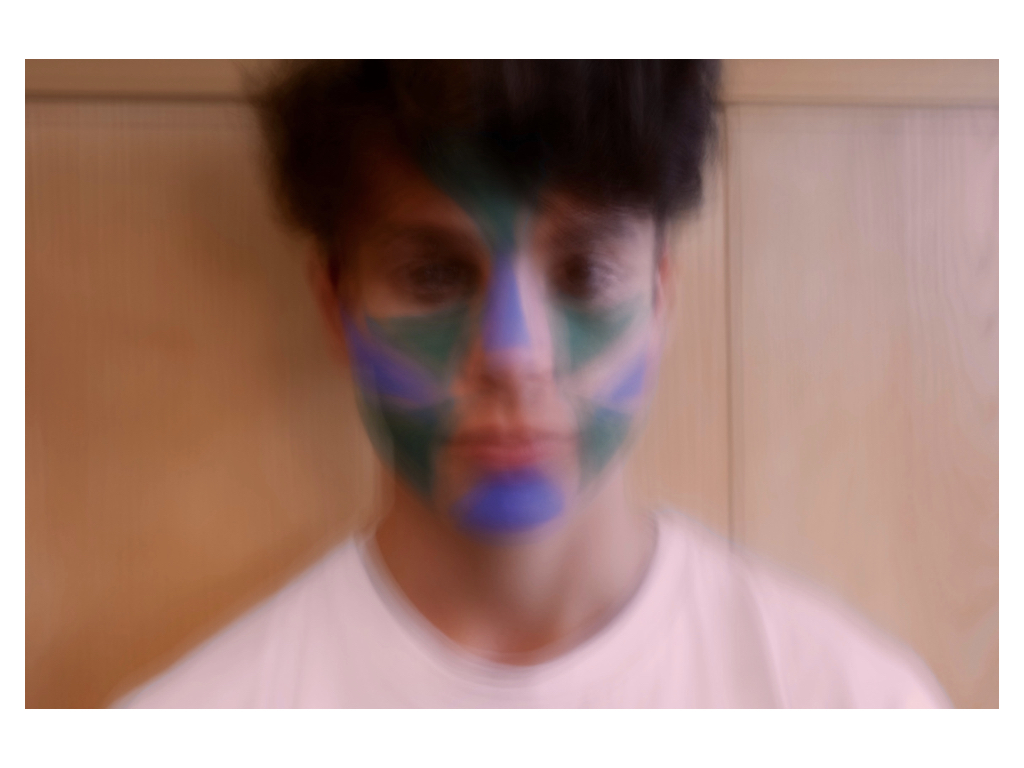
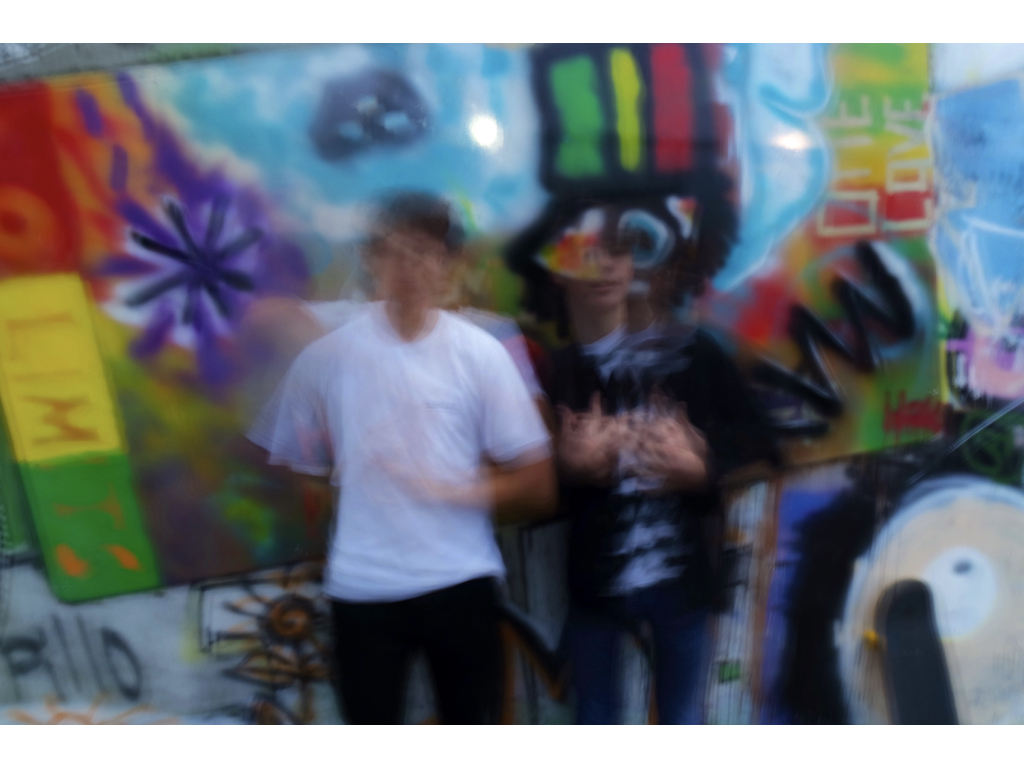
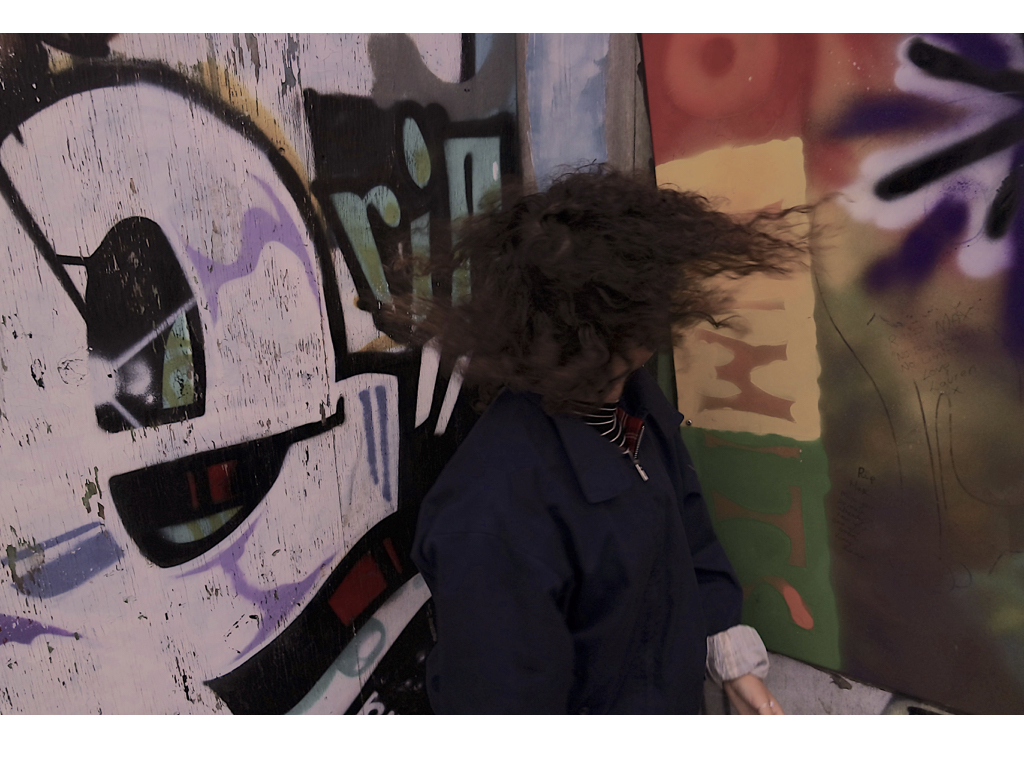
Blur Photoshop
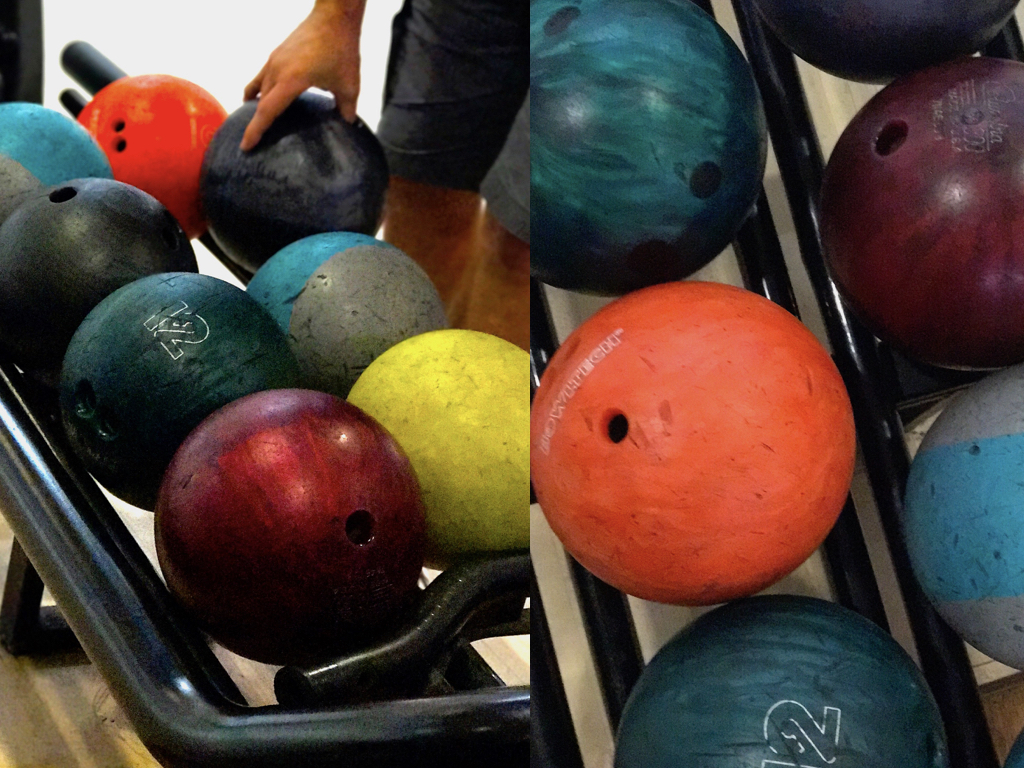
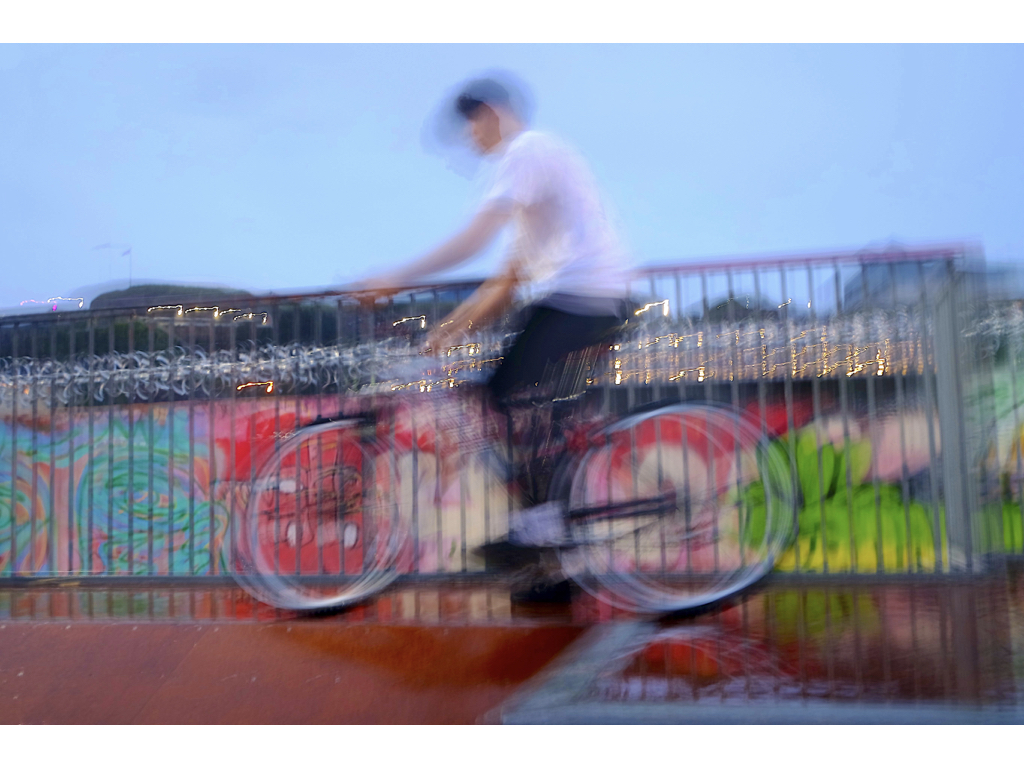
I edited this image within layering and adding a blur layers then went back into this piece. Within the first layer I used a rubber and the brackets to differentiate how big and small I want the rubber to be,again creates a depth of field of how I want the front to be. I focused on detail and have successful aspects of realism and only the back to so blurred which creates contrast. Then further edited this image in order to show better color such as darker tones to again exaggerate the image itself and not be distracted by off coloring’s creating a Batter finished effect.

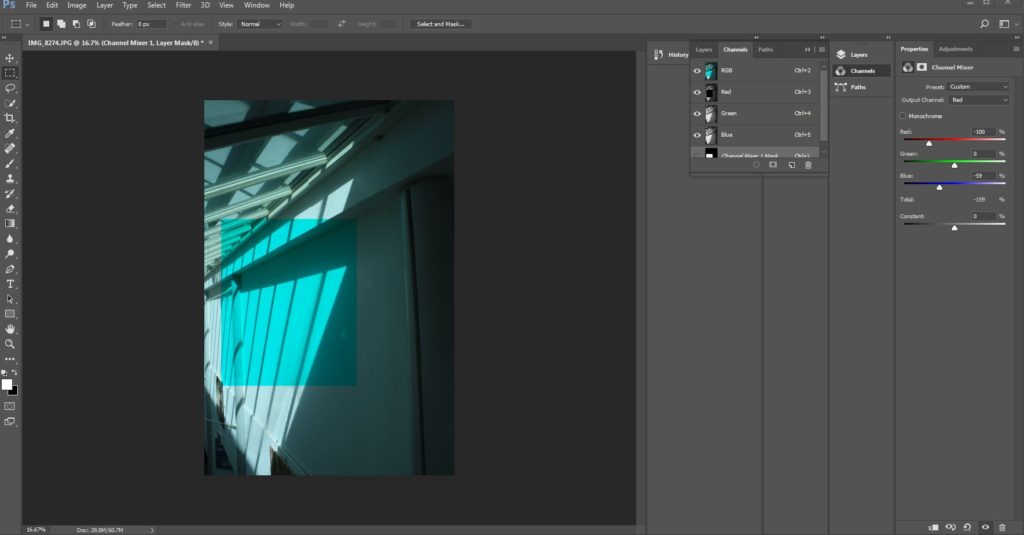
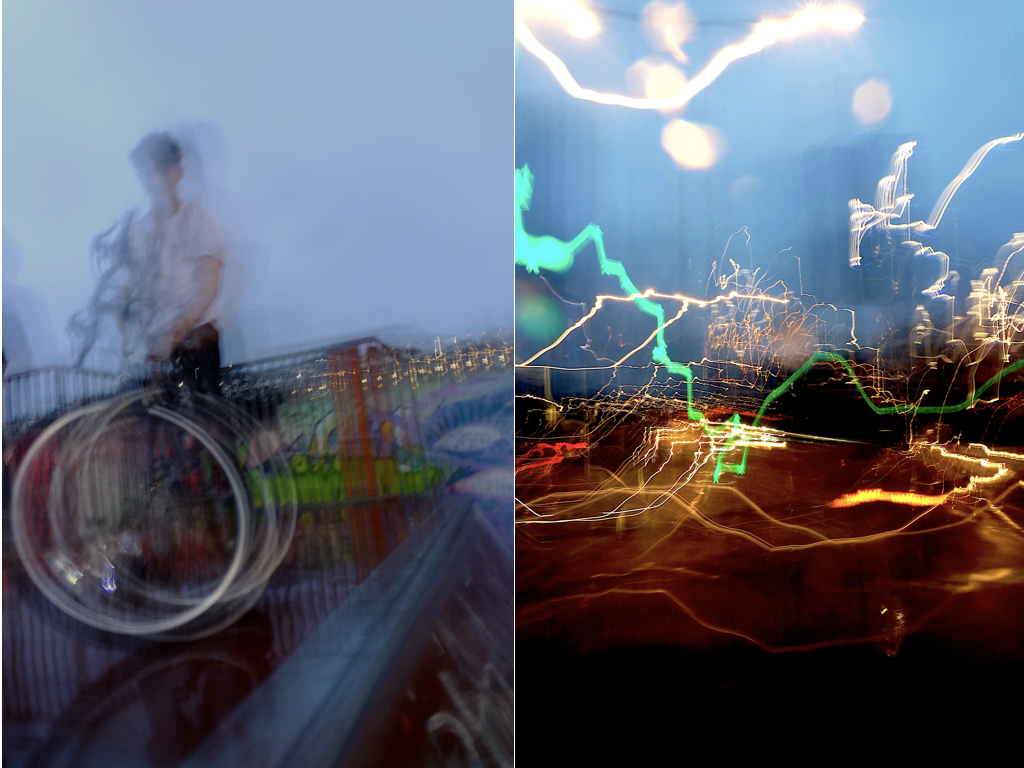
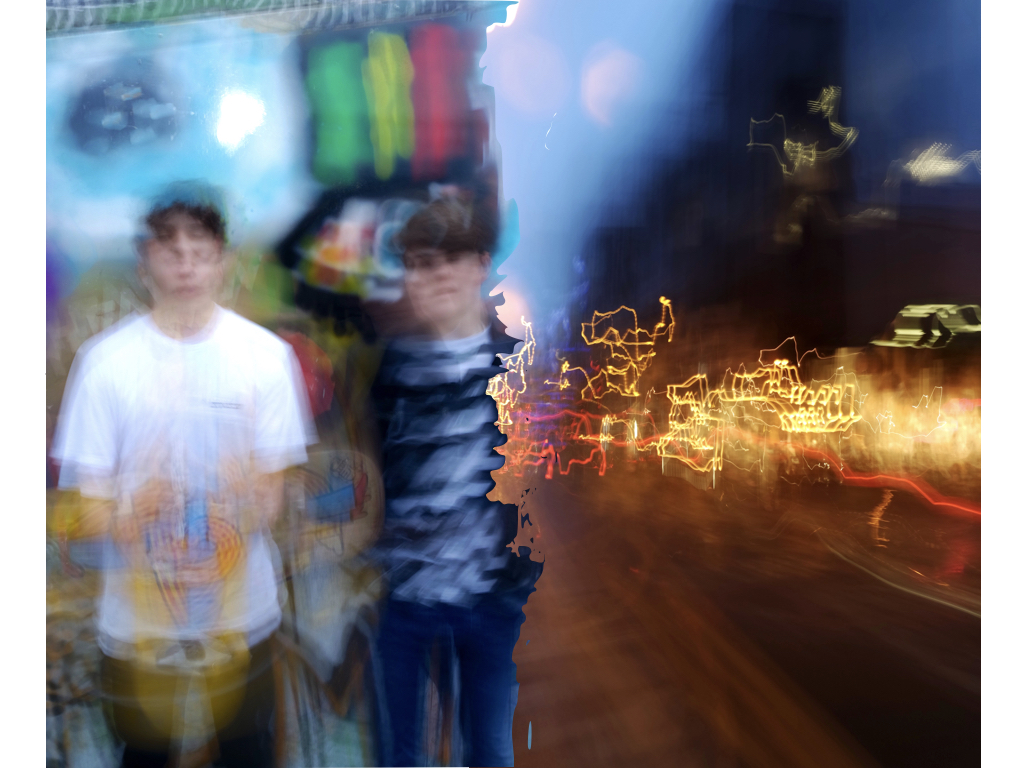
Here you can see my method of developing the color overlay,finally you duplicate the layer and attach the specific shape and placing that you feel would be the most effective,The throughout the half circle you can develop the colors and development of the square and further the potion and add additional shapes to deb then the color.
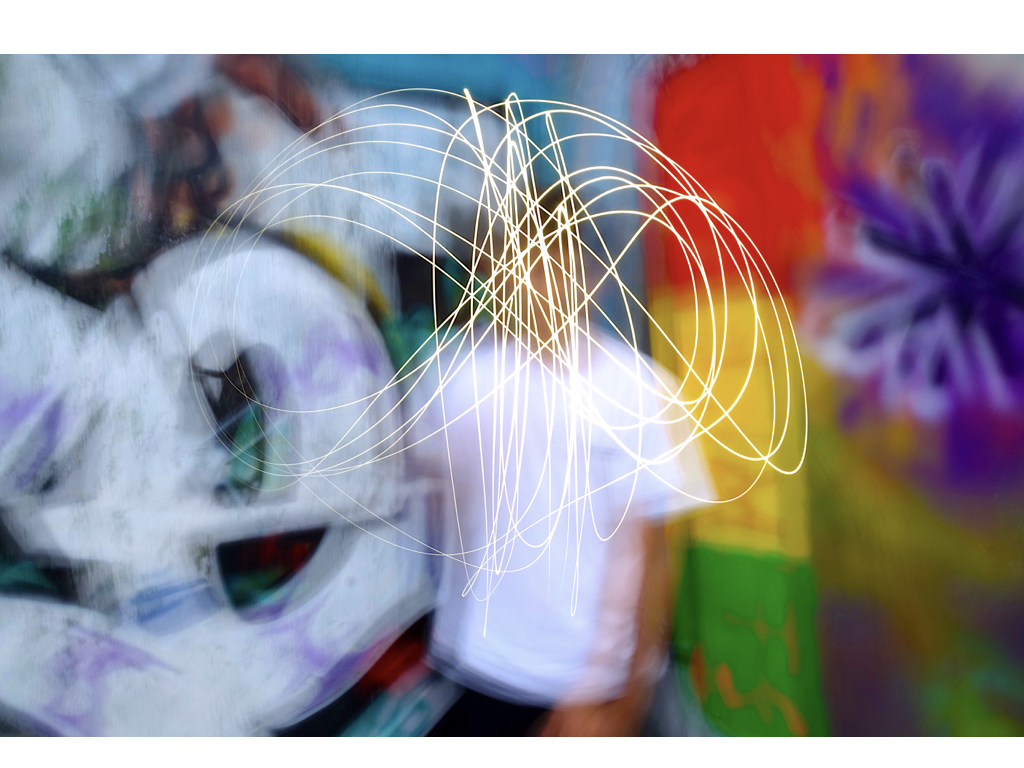
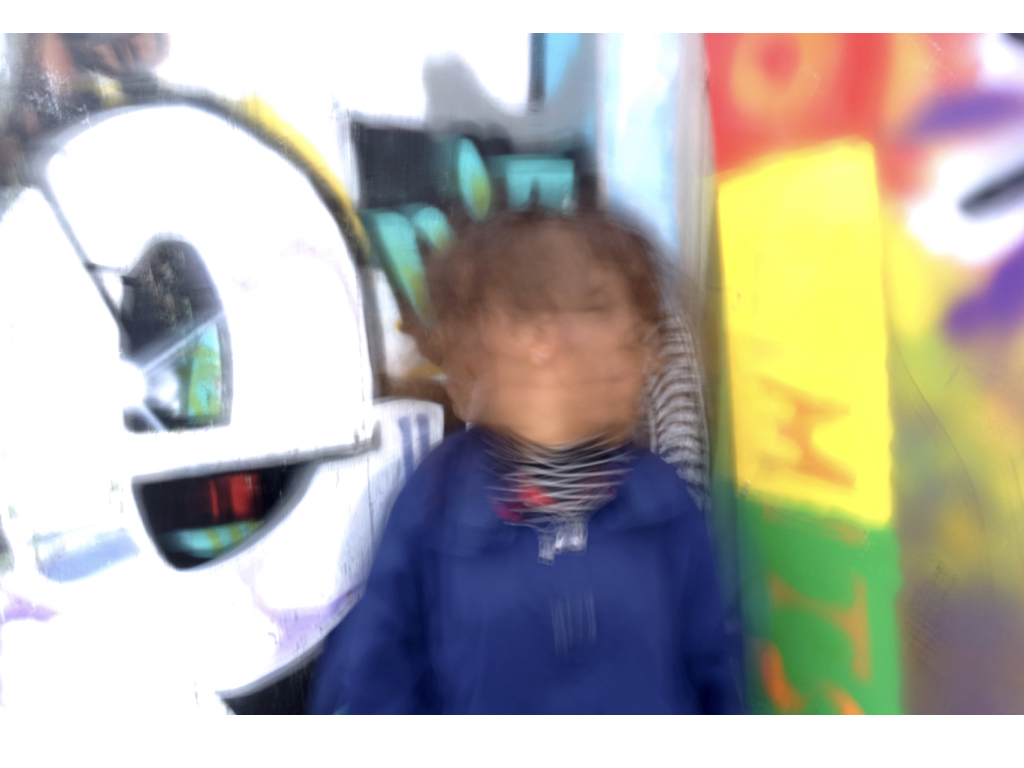
And to achieve the blur photo I Opened Photoshop then Duplicated the Layer added Mask Layer –,after this I added an additional Filter going to Blur then Motion Blur –and finally Then selected how blurred I wanted the image to be ,then to take away and add more reinvent I Selected the Eraser tool and followed to Erase the section that I don’t to be in focus ,producing the final image.
