All posts by Nicholas G
Filters
Bokeh
What is Bokeh?
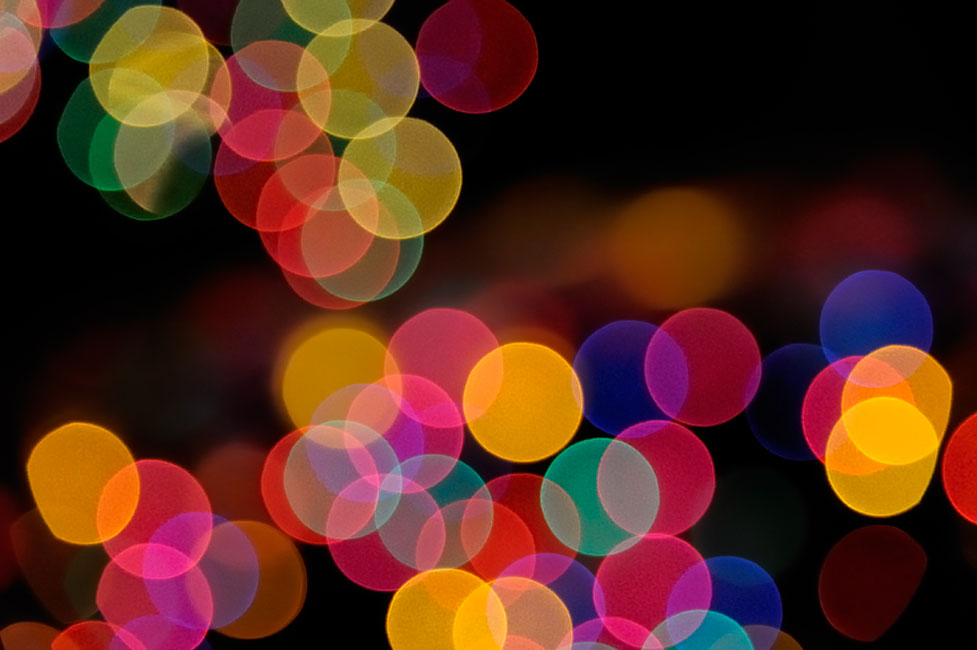
In photography, bokeh is the aesthetic quality of the blur produced in the out-of-focus parts of an image produced by a lens. Bokeh has been defined as “the way the lens renders out-of-focus points of light”.
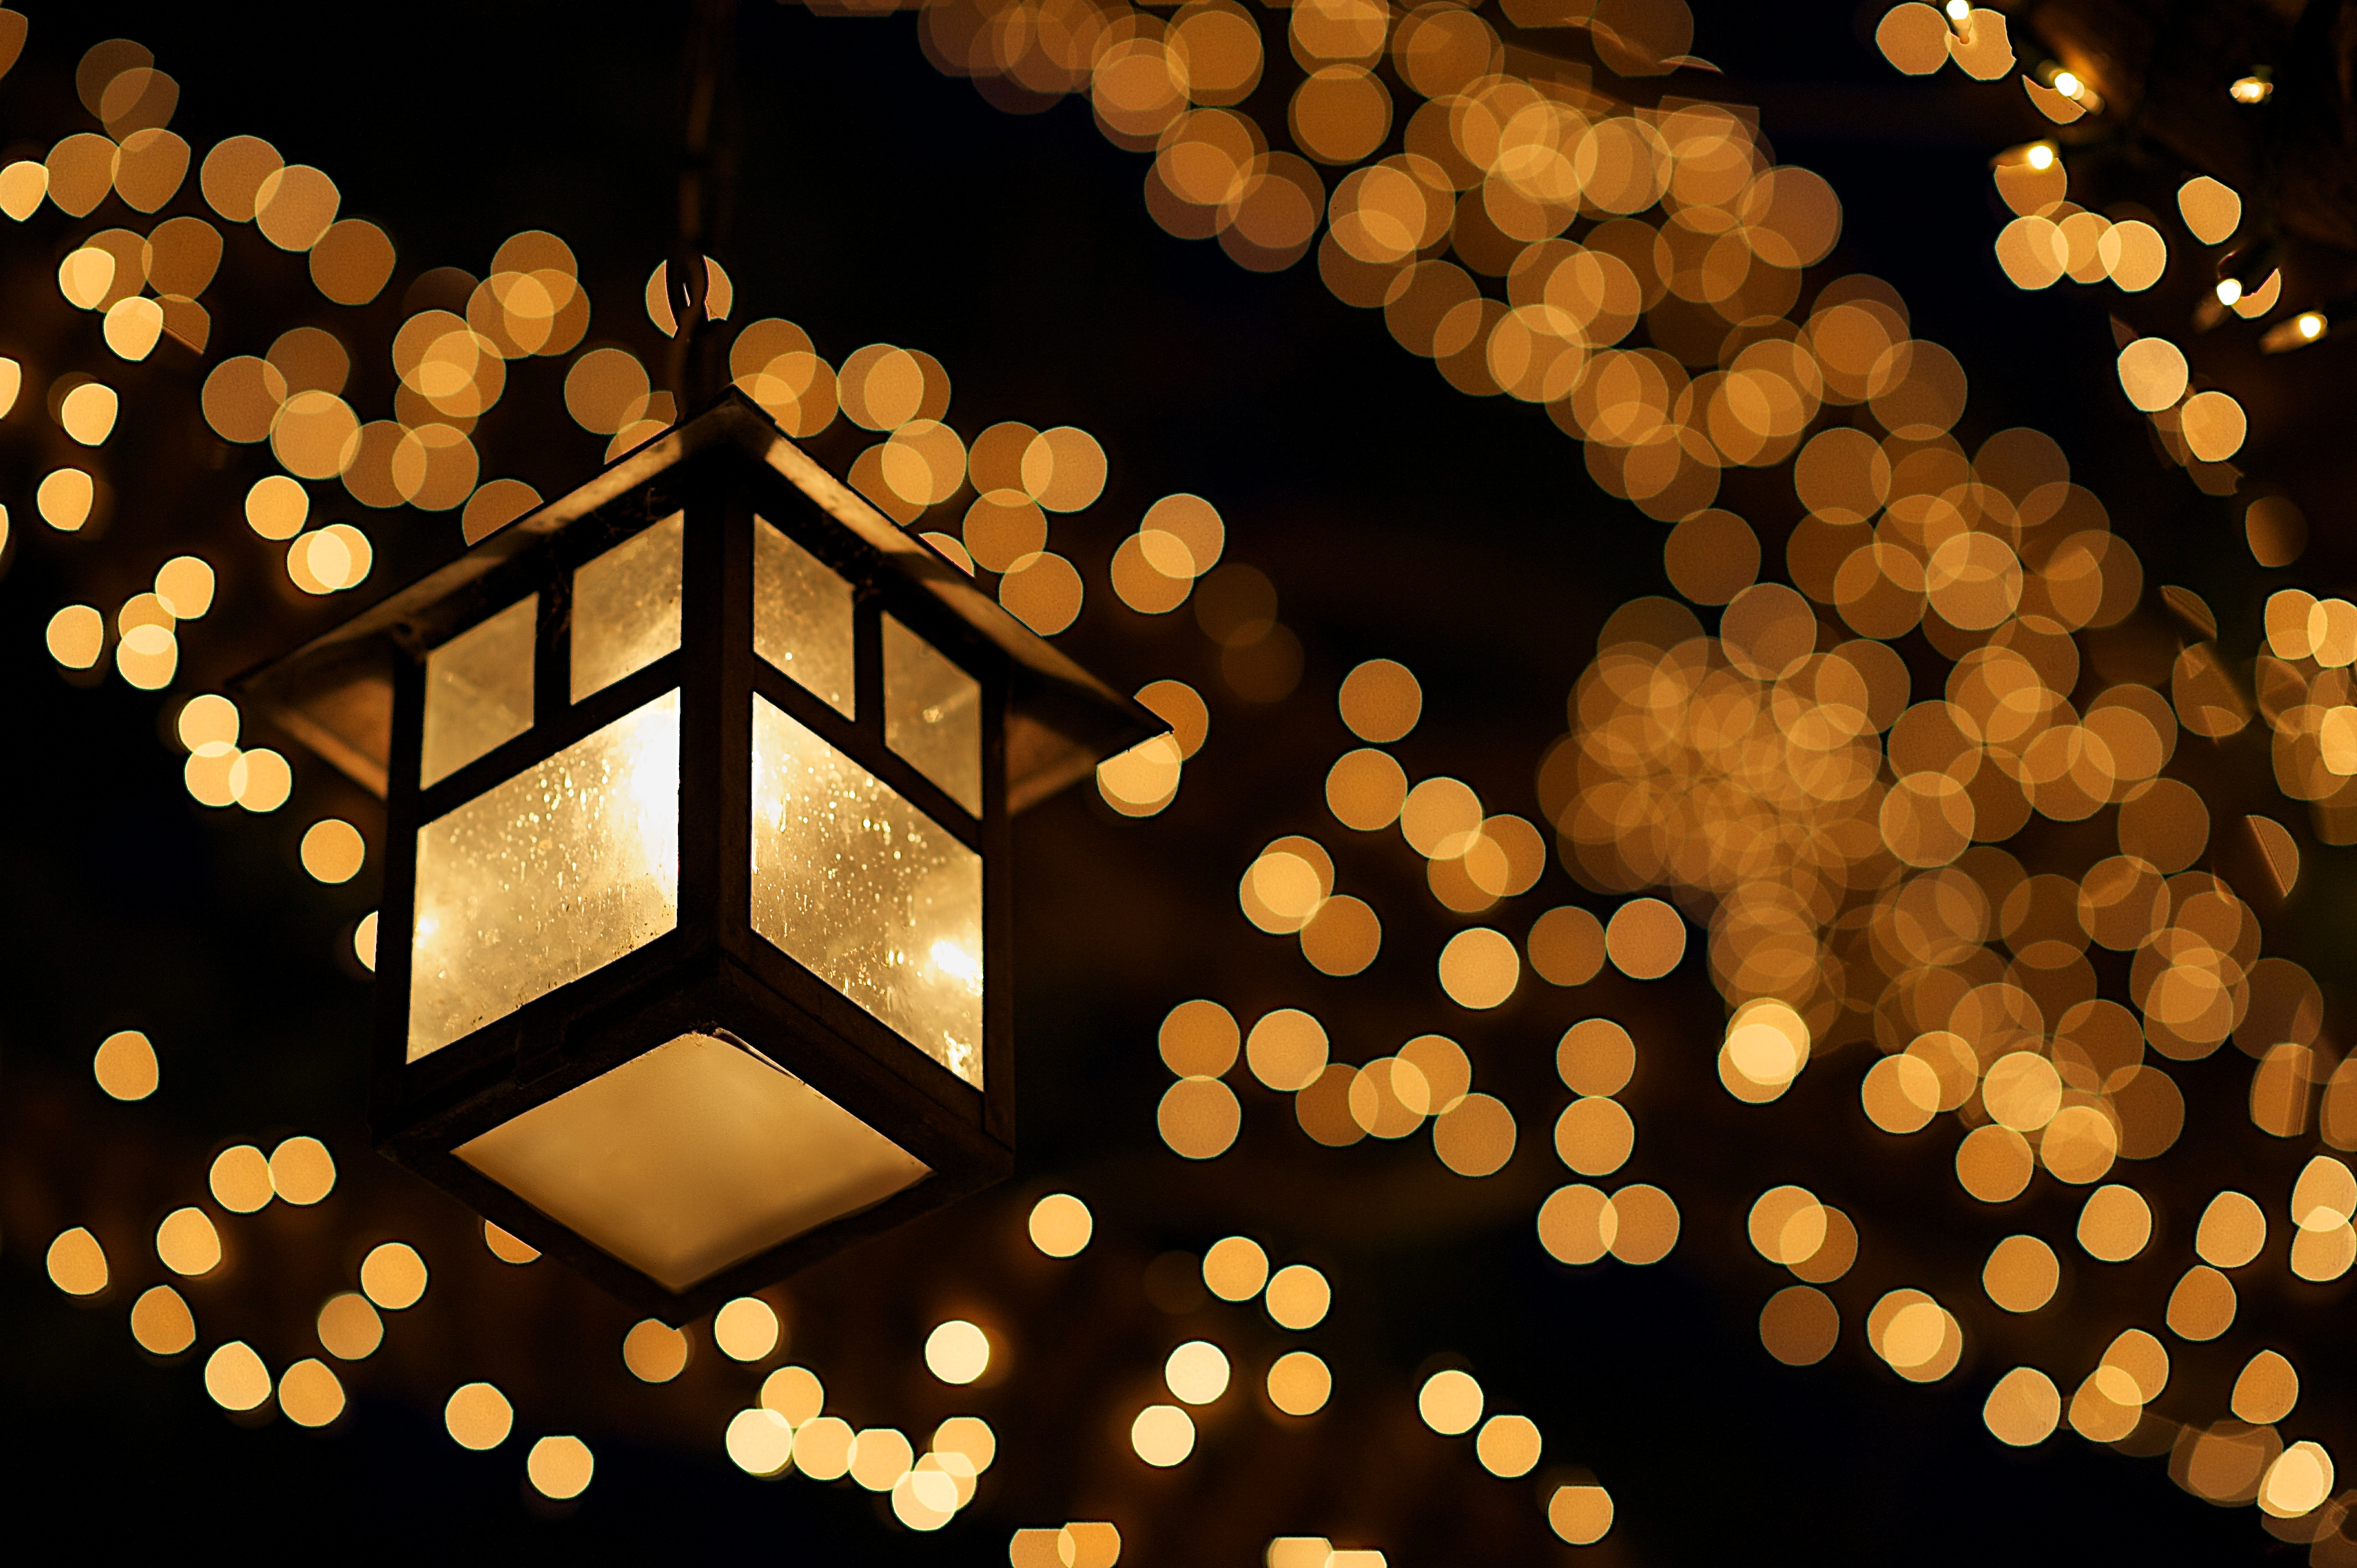
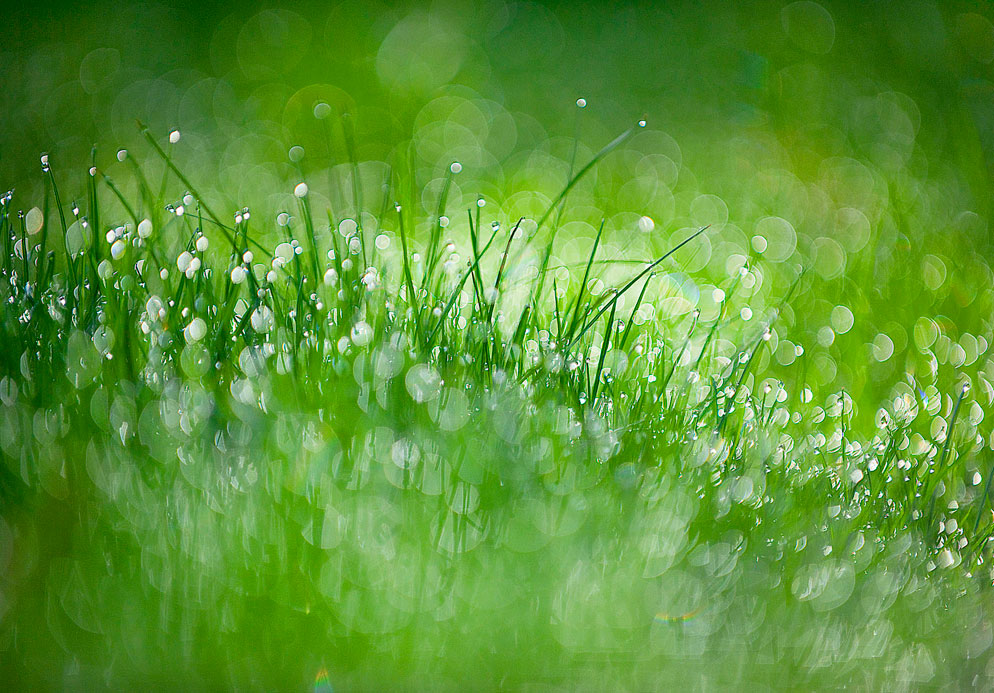
To achieve the Bokeh effect you should:
- Set your camera to Aperture Priority mode (A or Av on the program dial).
- Select the smallest possible aperture (f) number for your lens.
- Switch your camera to manual focus and manually adjust the focus to the closest setting.
- Zoom your lens to somewhere around 50mm.
- Take you photos, taking photos of light sources will work best.
Depth Of Field
What is Depth Of Field?
Depth of Field (DOF) is that amount of your shot that will be in focus. A large depth of field means that most of your image will be in focus whether it’s close to your camera or far away, whereas a small (or shallow) depth of field means that only part of the image will be in focus and the rest will be fuzzy
The size of the aperture has a direct impact on the depth of field. A large f-number such as f/32, (which means a smaller aperture) will bring all foreground and background objects in focus, while a small f-number such as f/1.4 will isolate the foreground from the background by making the foreground objects sharp and the background blurry.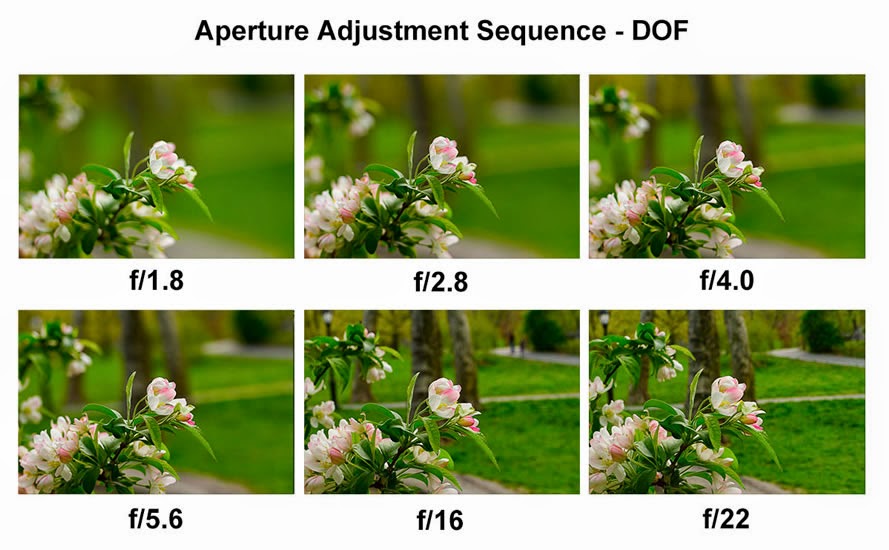
Aperture
What is Aperture?
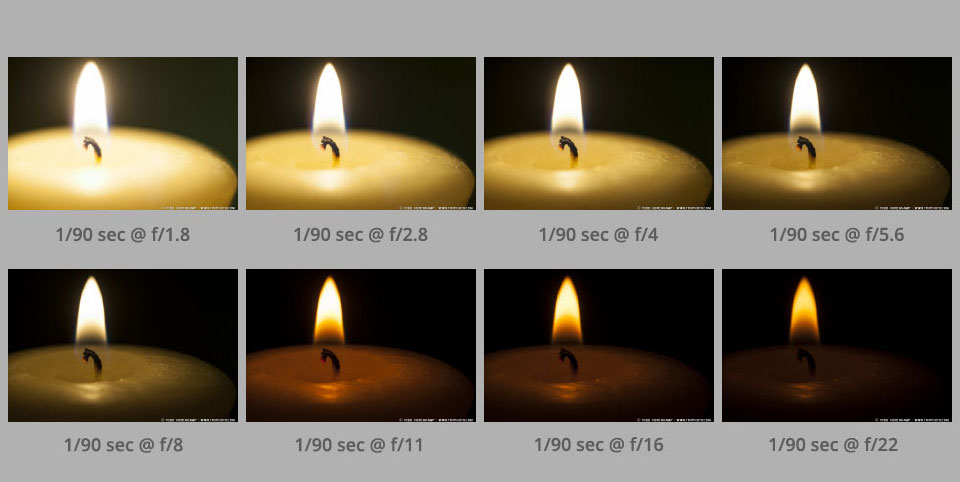
Aperture is ‘the opening in the lens’ to allow a certain amount of light in. The aperture that you set impacts the size of the hole in the lens. The larger the hole the more light that gets in – the smaller the hole the less light.
Aperture is measured in ‘f-stops’.
A smaller f-stop means a larger aperture, while a larger f-stop means a smaller aperture. For example, f/1.4 is larger than f/2.0 and much larger than f/8.0.
White Balance Photography
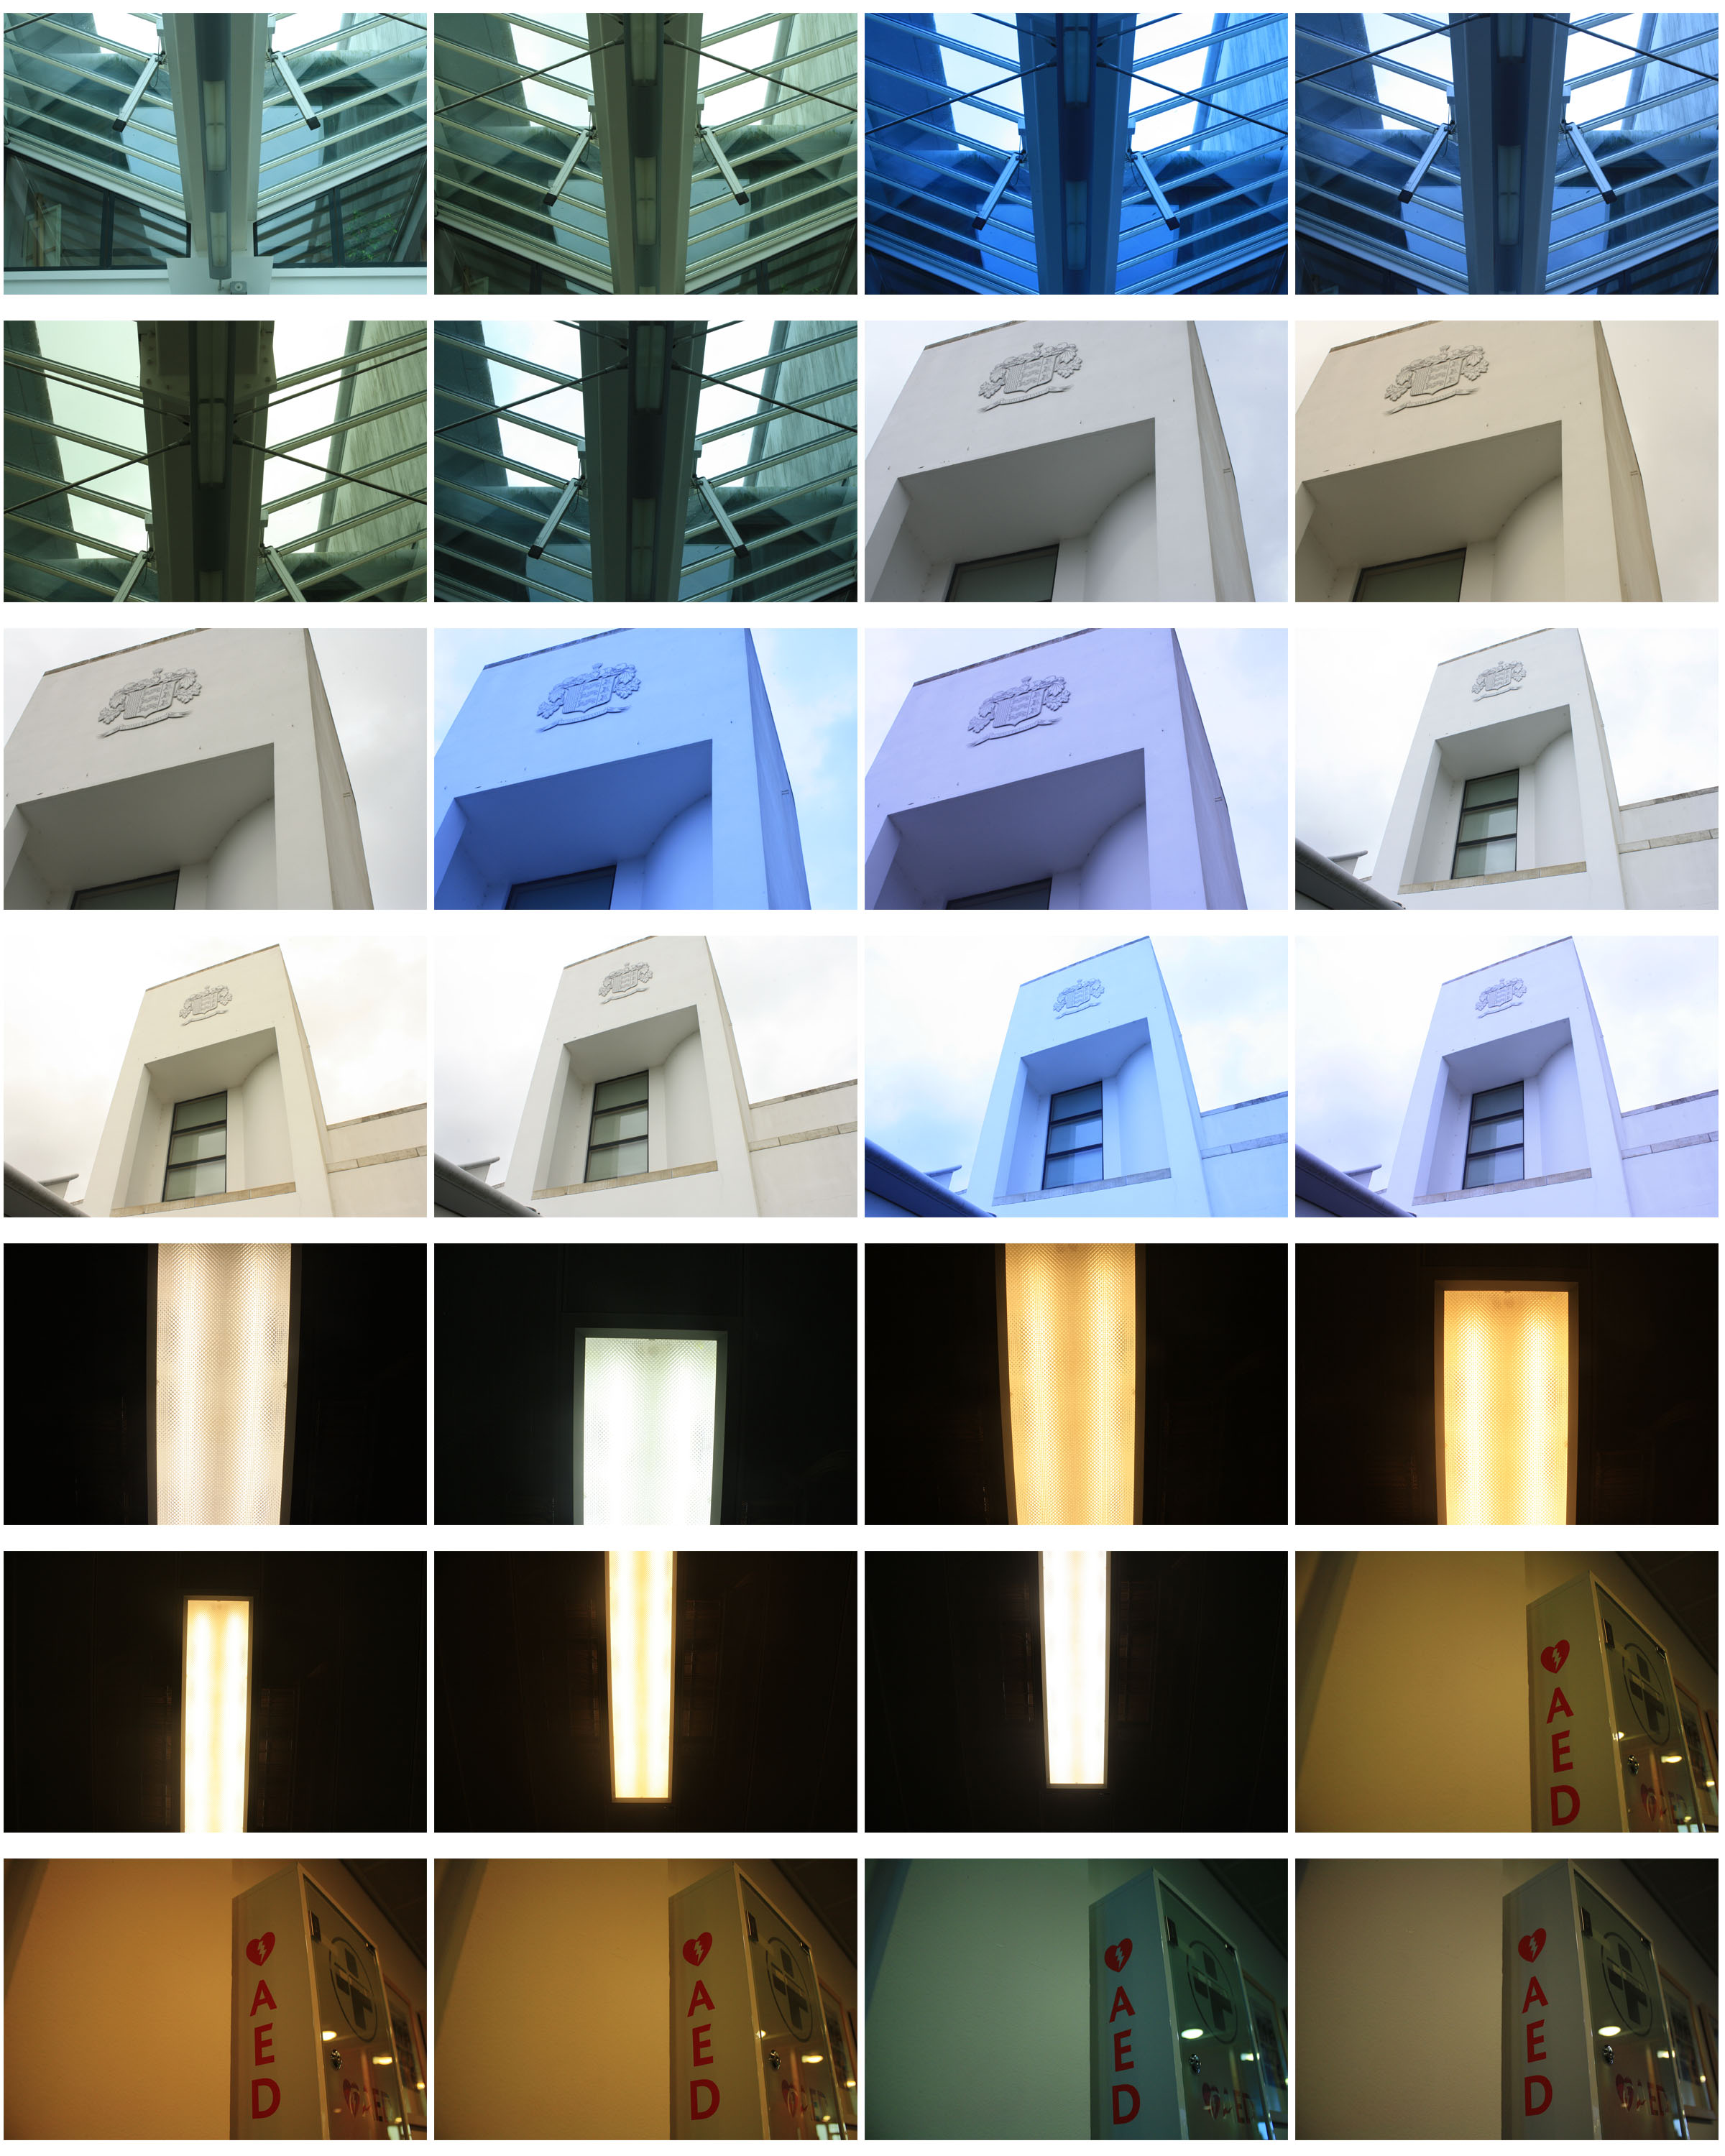
Different sources of light have a different ‘colour’ (or temperature) to them which can change the overall colour of an image. White Balance helps to get rid of of this and replace it with its more accurate temperature.
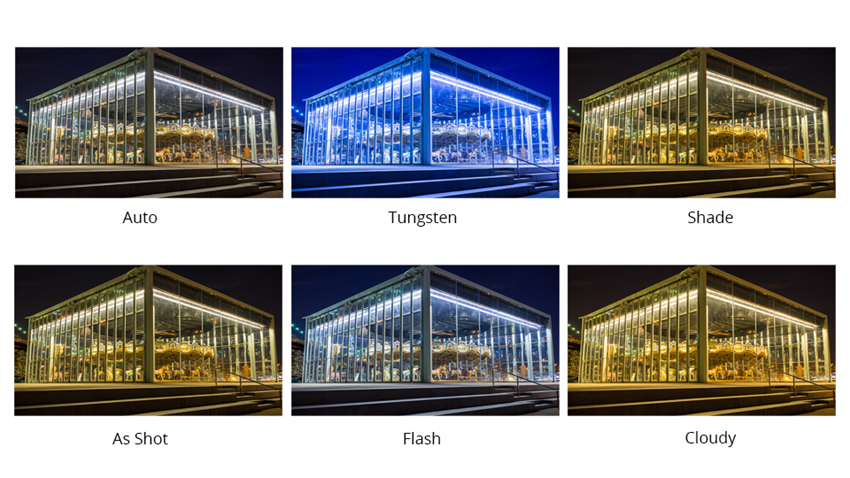
Here are some of the basic White Balance settings you’ll find on cameras:
- Auto – this is where the camera makes a best guess on a shot by shot basis. You’ll find it works in many situations but it’s worth venturing out of it for trickier lighting.
- Tungsten – this mode is usually symbolized with a little bulb and is for shooting indoors, especially under tungsten (incandescent) lighting (such as bulb lighting). It generally cools down the colors in photos.
- Fluorescent – this compensates for the ‘cool’ light of fluorescent light and will warm up your shots.
- Daylight/Sunny – not all cameras have this setting because it sets things as fairly ‘normal’ white balance settings.
- Cloudy – this setting generally warms things up a touch more than ‘daylight’ mode.
- Flash – the flash of a camera can be quite a cool light so in Flash WB mode you’ll find it warms up your shots a touch.
- Shade – the light in shade is generally cooler (bluer) than shooting in direct sunlight so this mode will warm things up a little.
The Exposure Triangle
Aperture, shutter speed, and ISO make up the three sides of the exposure triangle. They work together to gather the amount of light needed for a correctly exposed photograph. If one variable changes, at least one of the others must also change to maintain the correct exposure.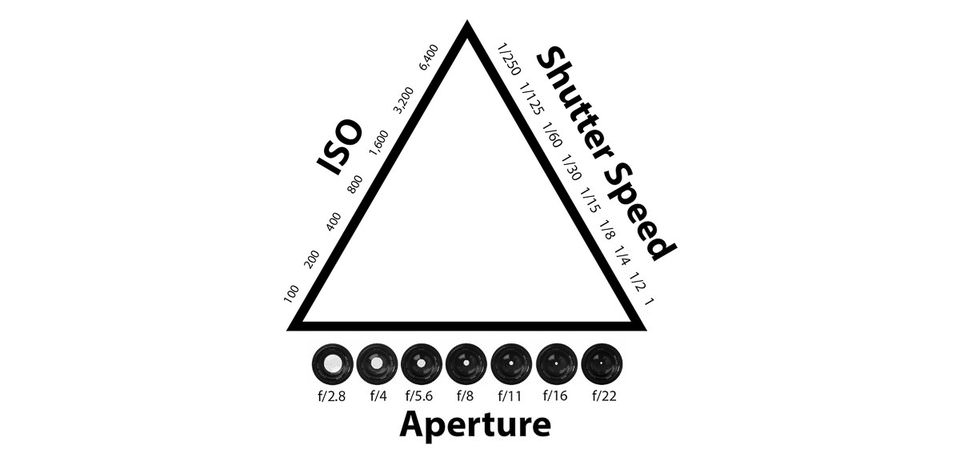
Keld Helmer-Petersen
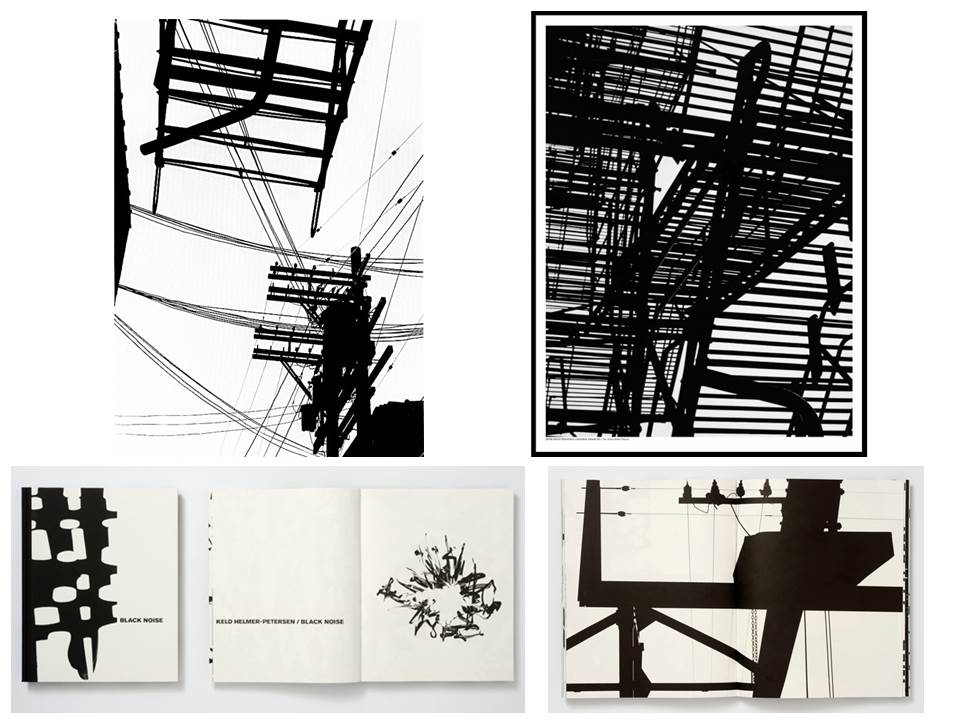
Keld Helmer-Petersen was a Danish photographer who used the technique of thresholding in his photography.
At the start of his career, his aim was to make pictures that would only work in colour, and not in black and white. When he began focusing on architectural photography, he then used the black and white effect .
The simplest thresholding methods replace each pixel in an image with a black pixel if the image intensity is less than some fixed constant or a white pixel if the image intensity is greater than that constant.
Threshold Editing
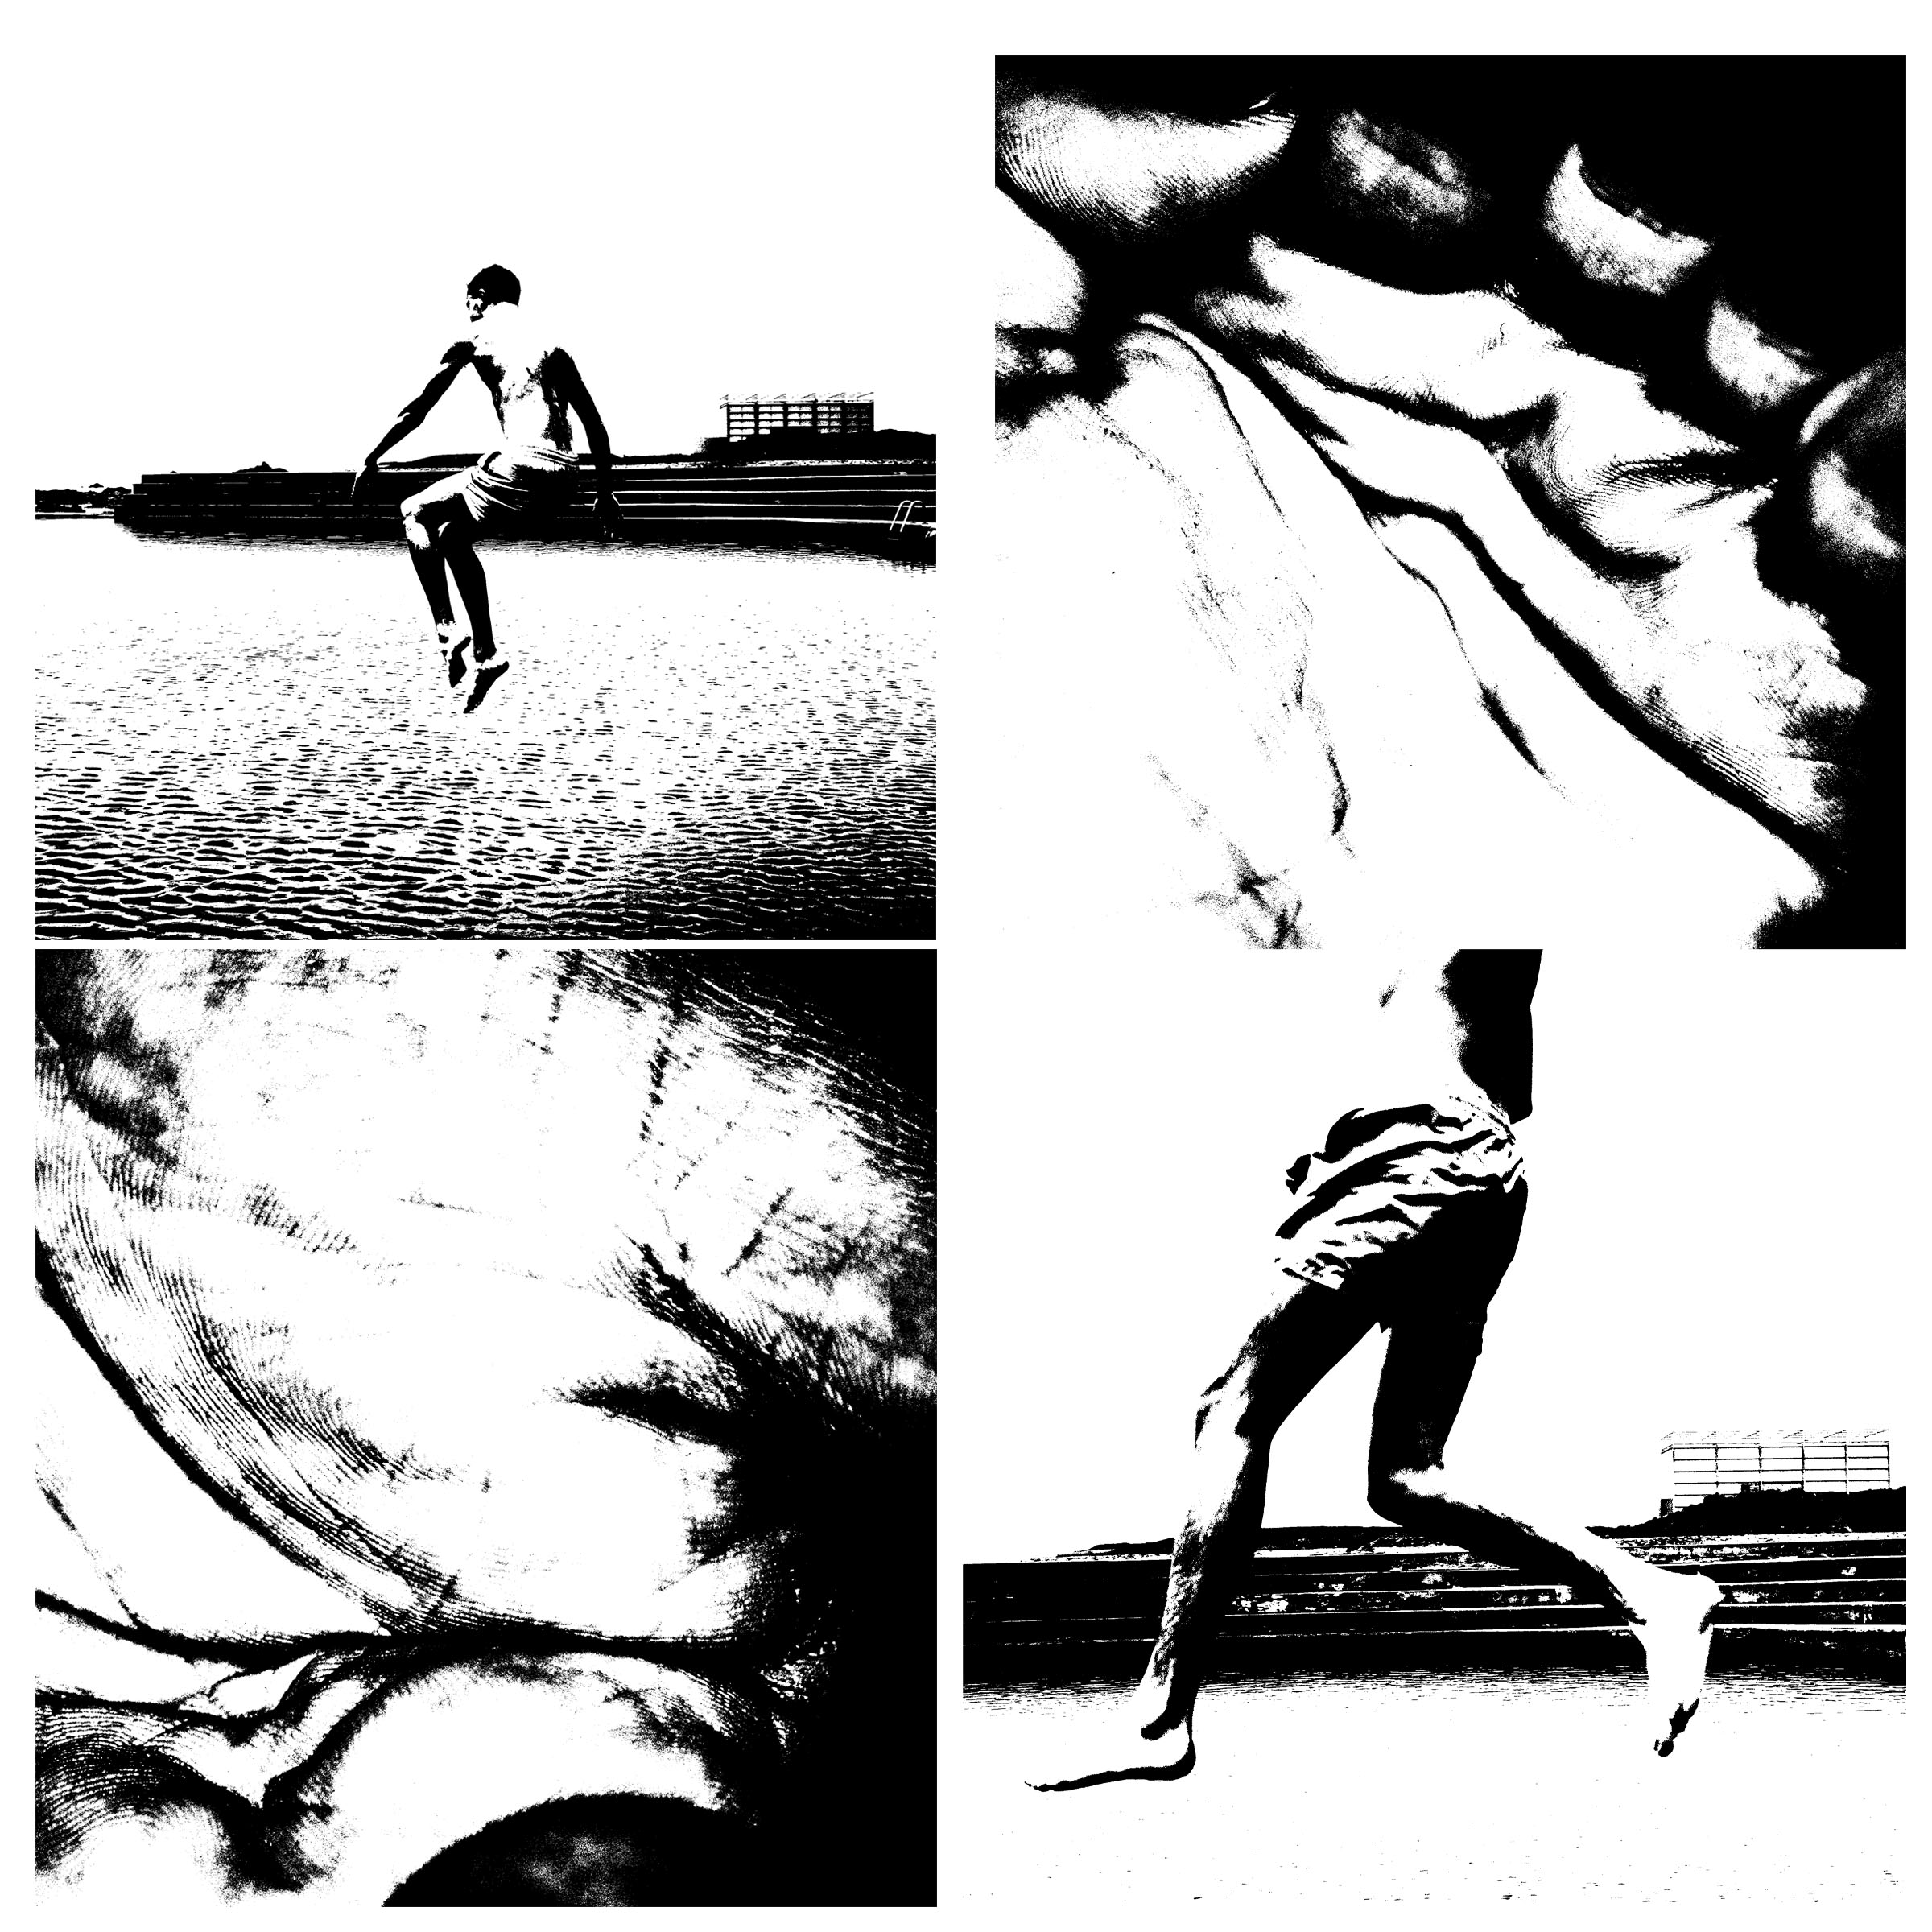
- Open the Images
- Image/Adjustments/Threshold
- Choose the level of threshold you find suitable for the image
- I chose these images of hands and people jumping in the sea and put them in a grid for comparison
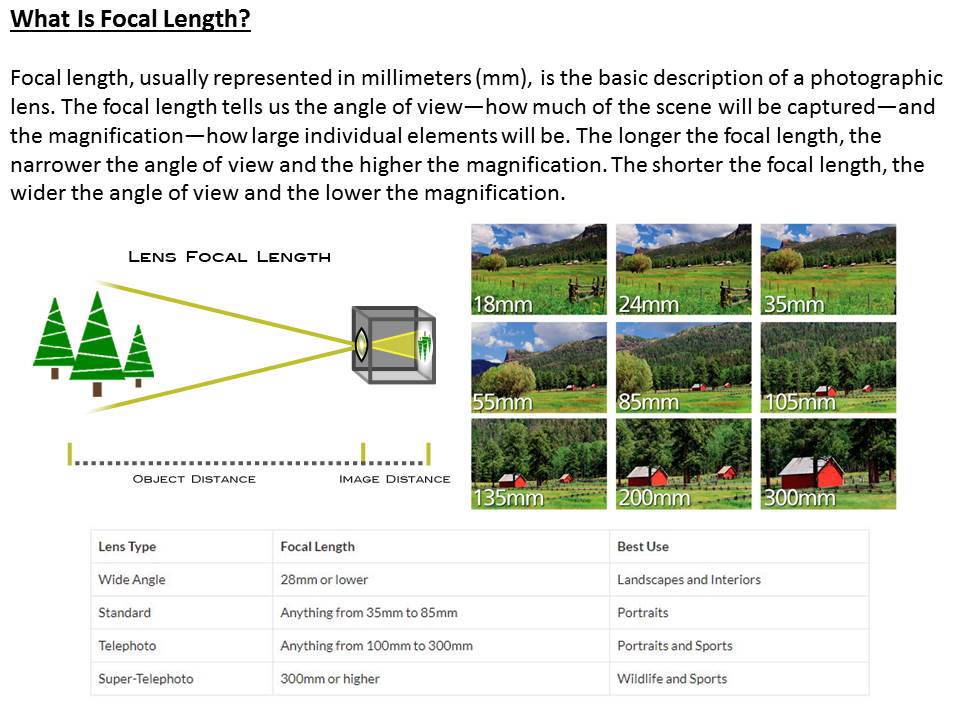
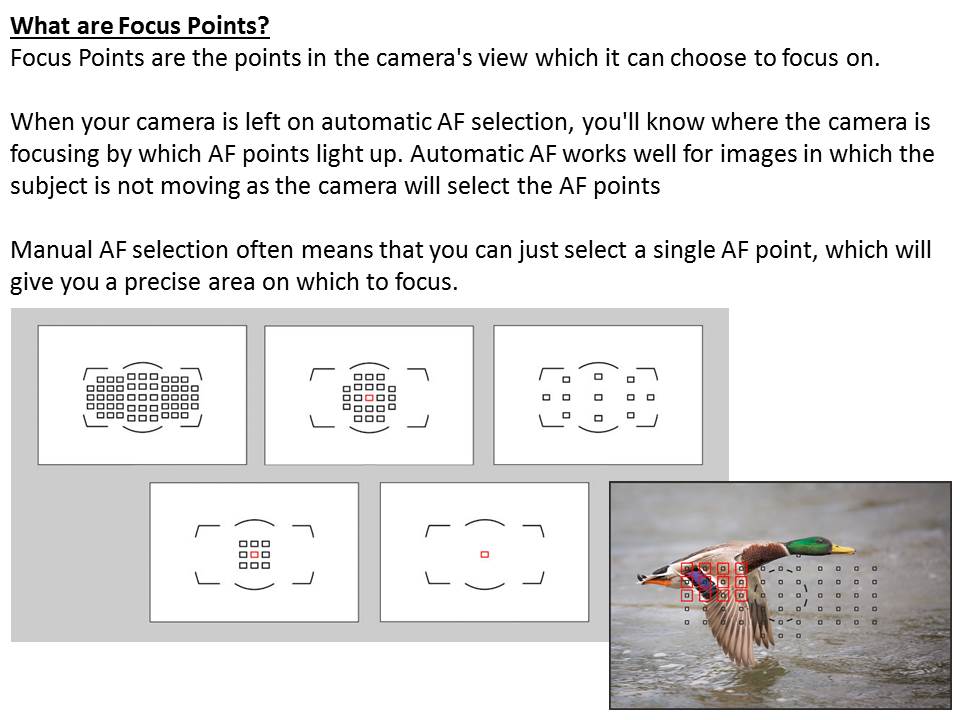
Focal Length and Focus Points
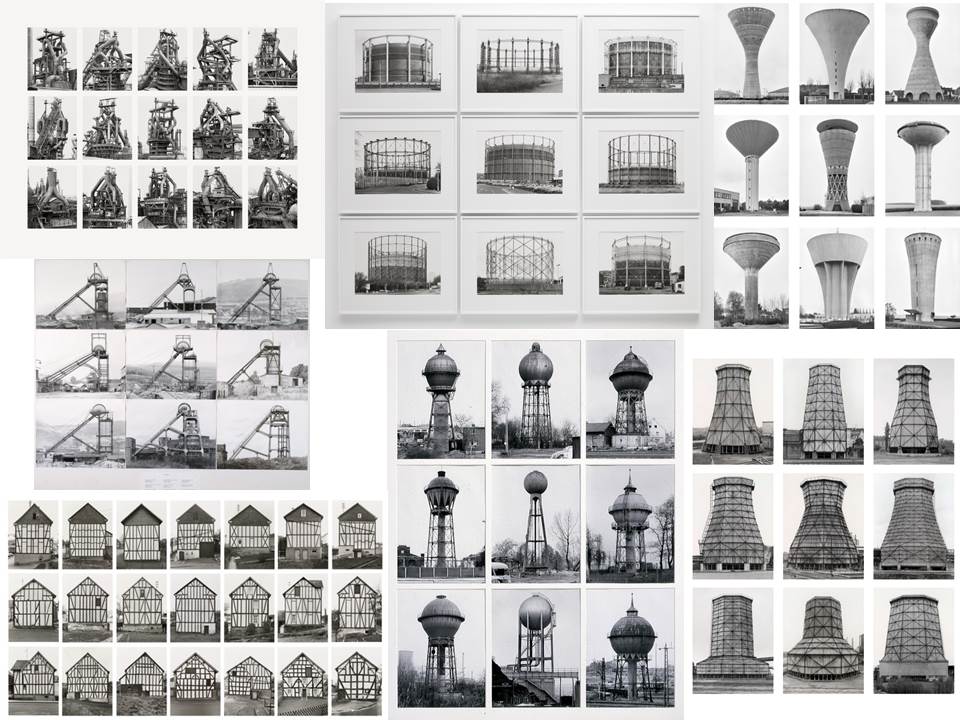
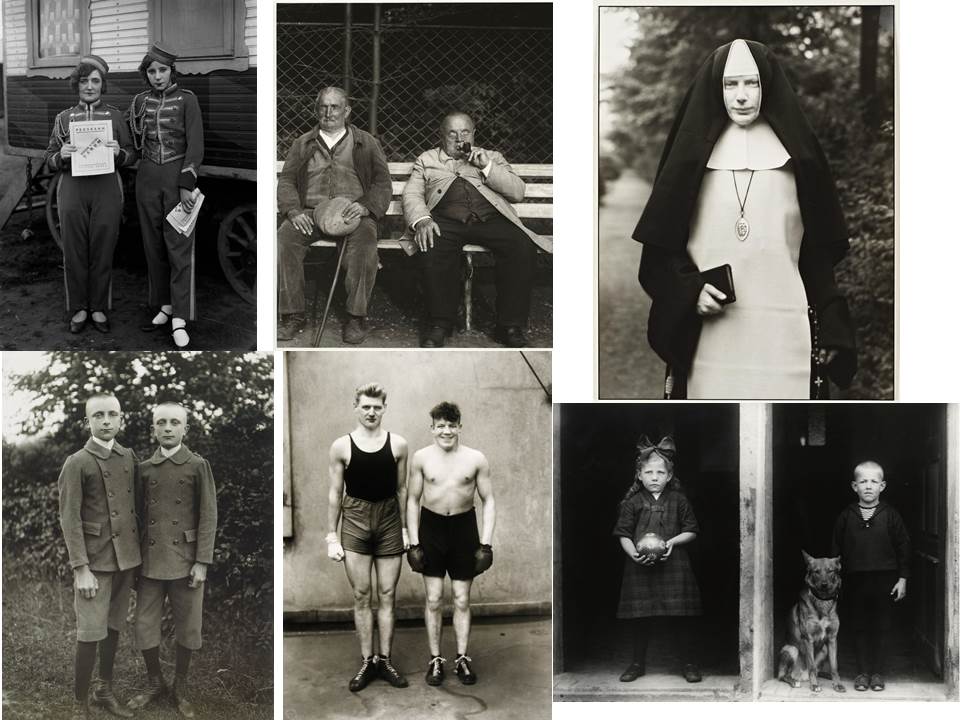
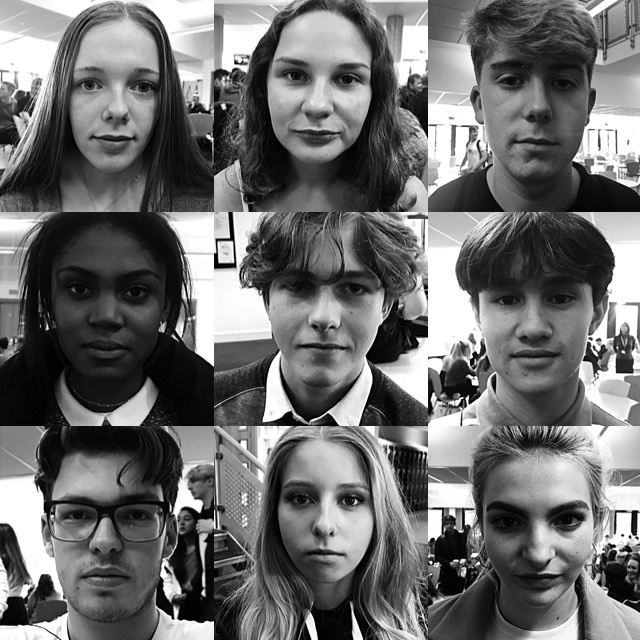
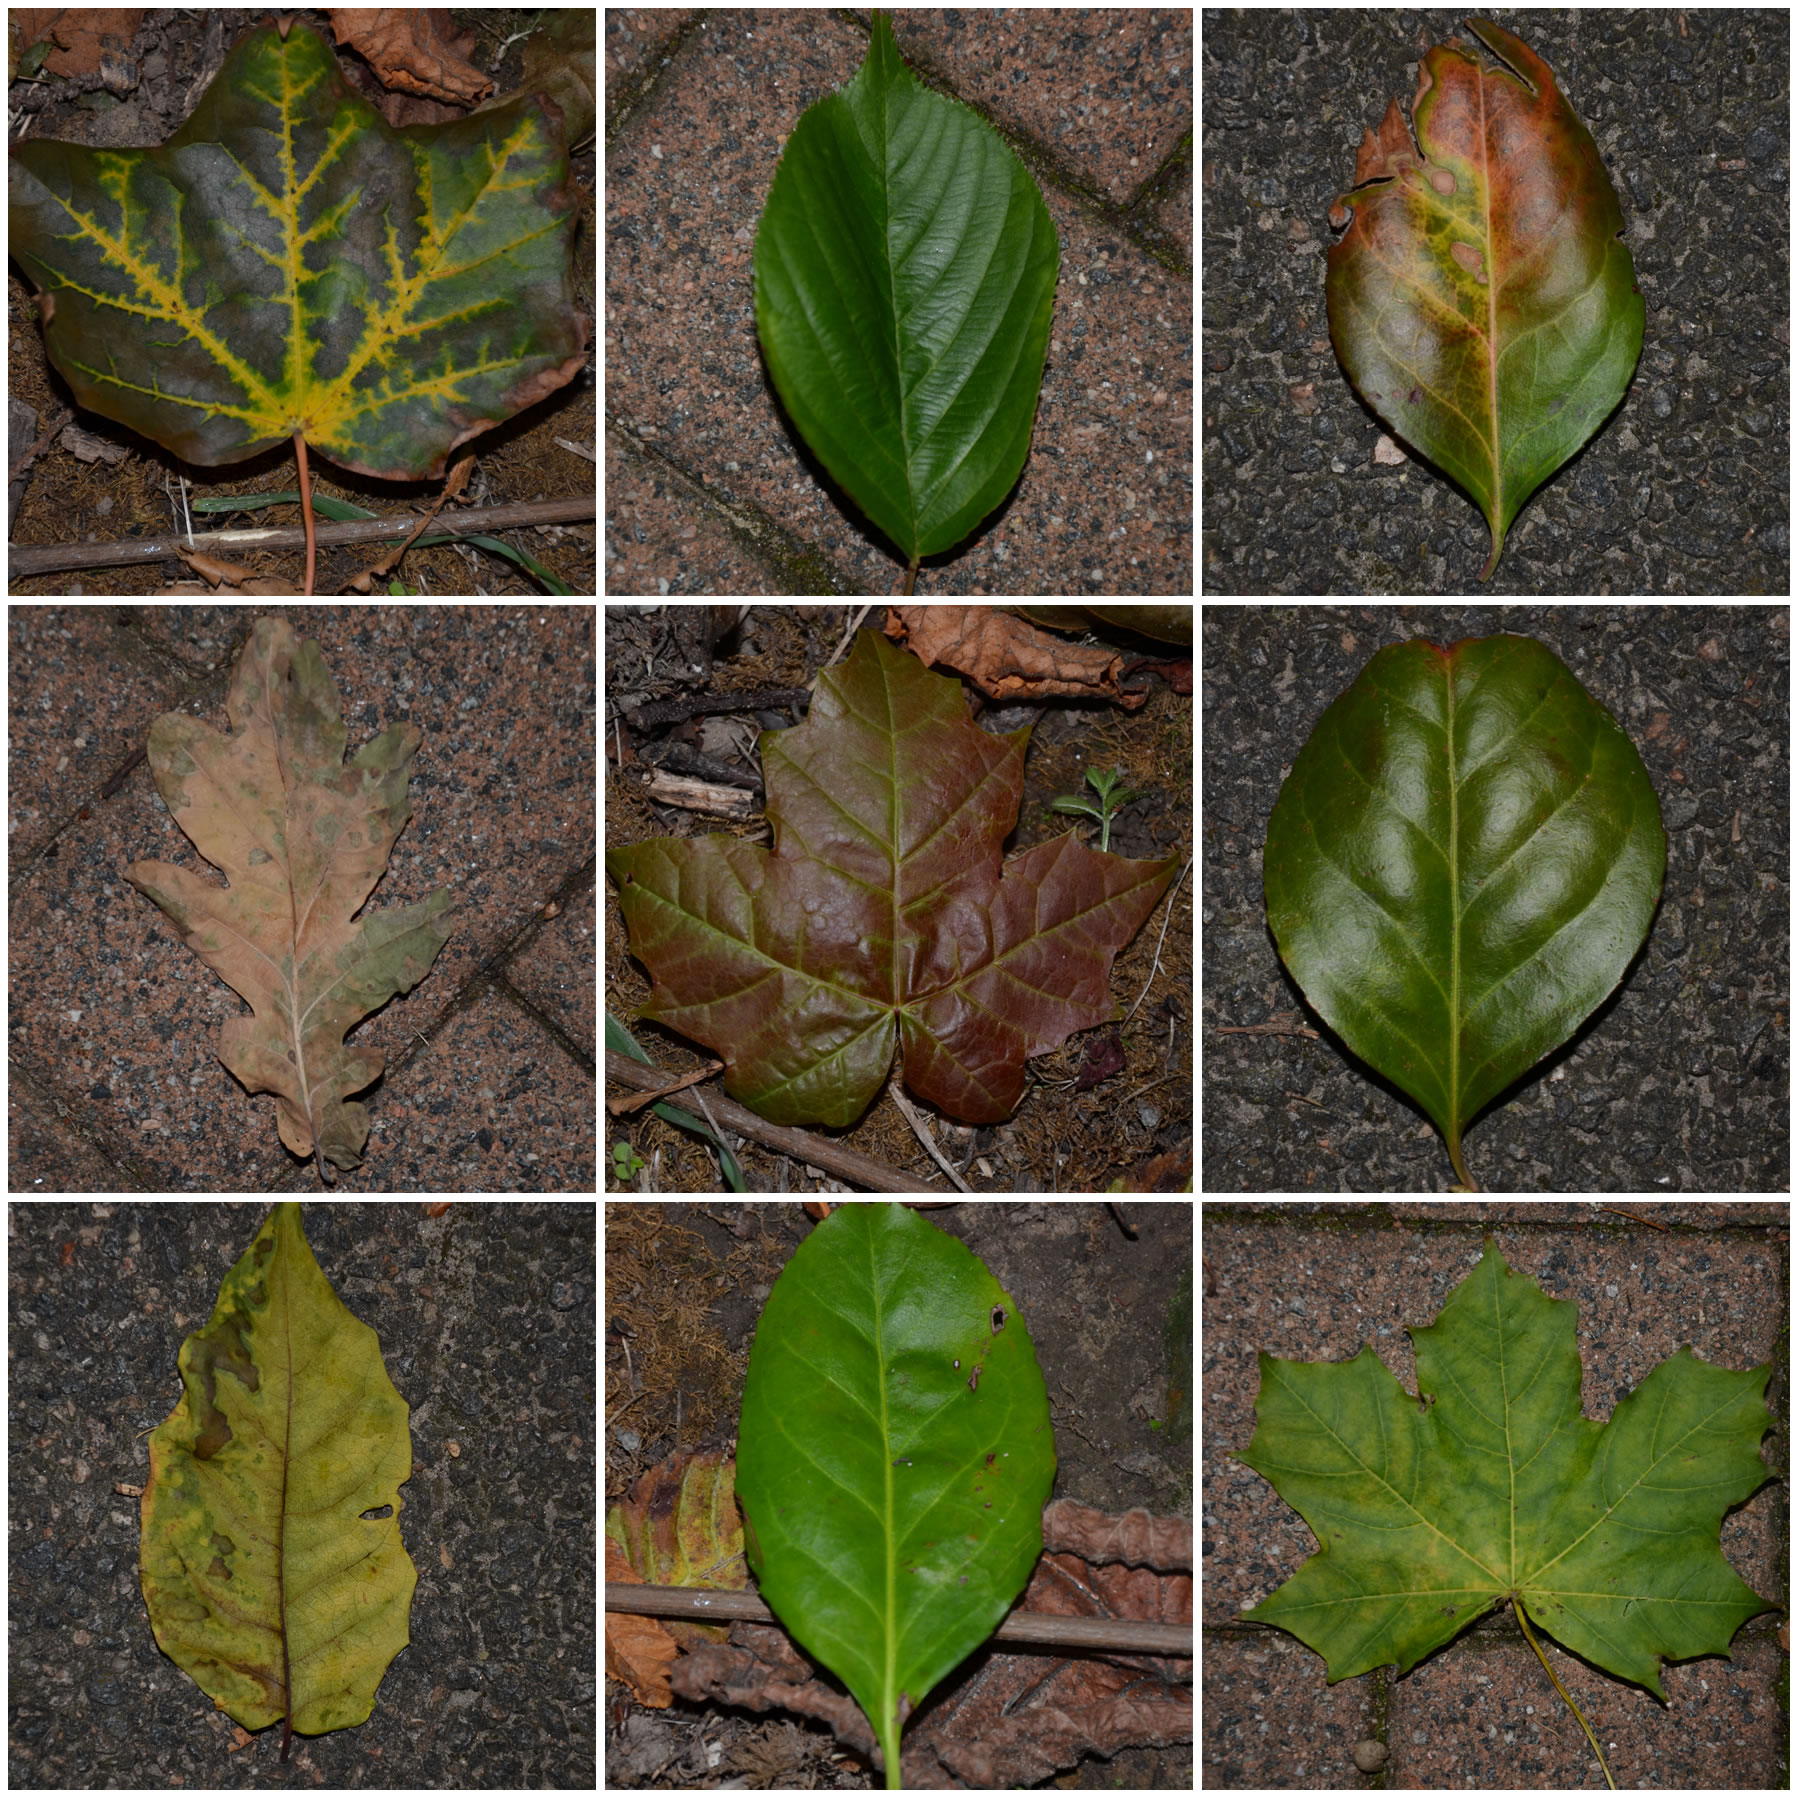
Typology – Bechers & Sanders
Bernd and Hilla Becher
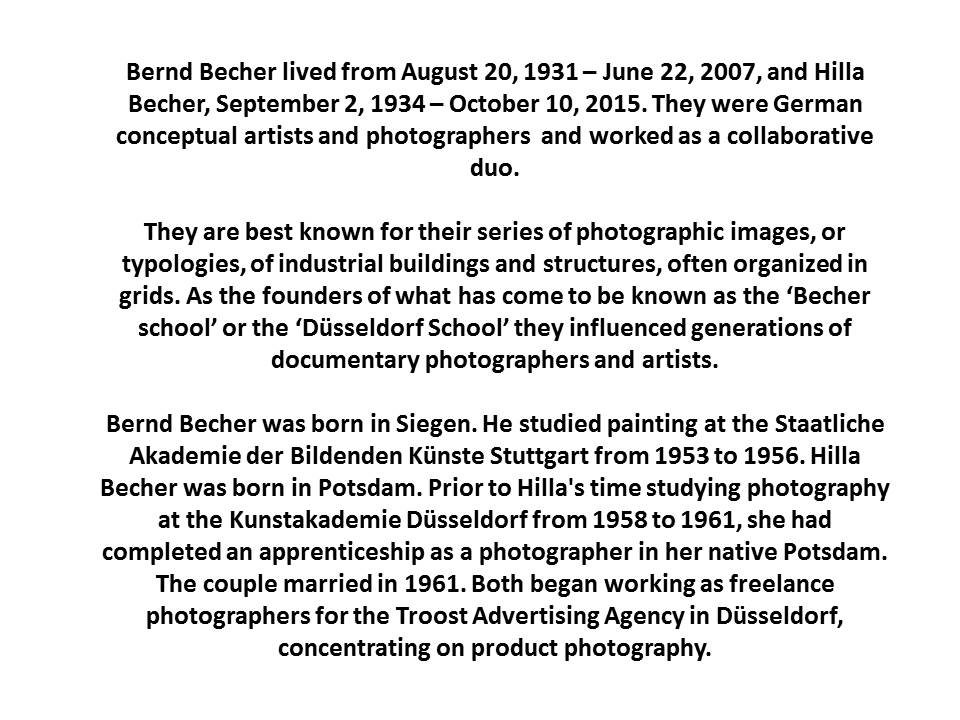
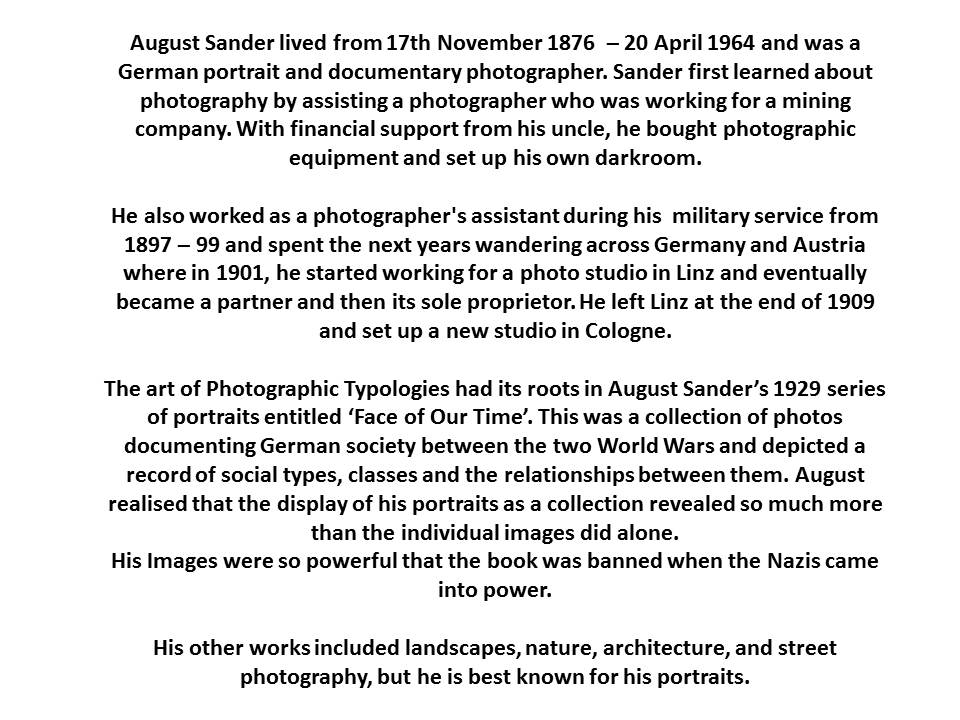
August Sander
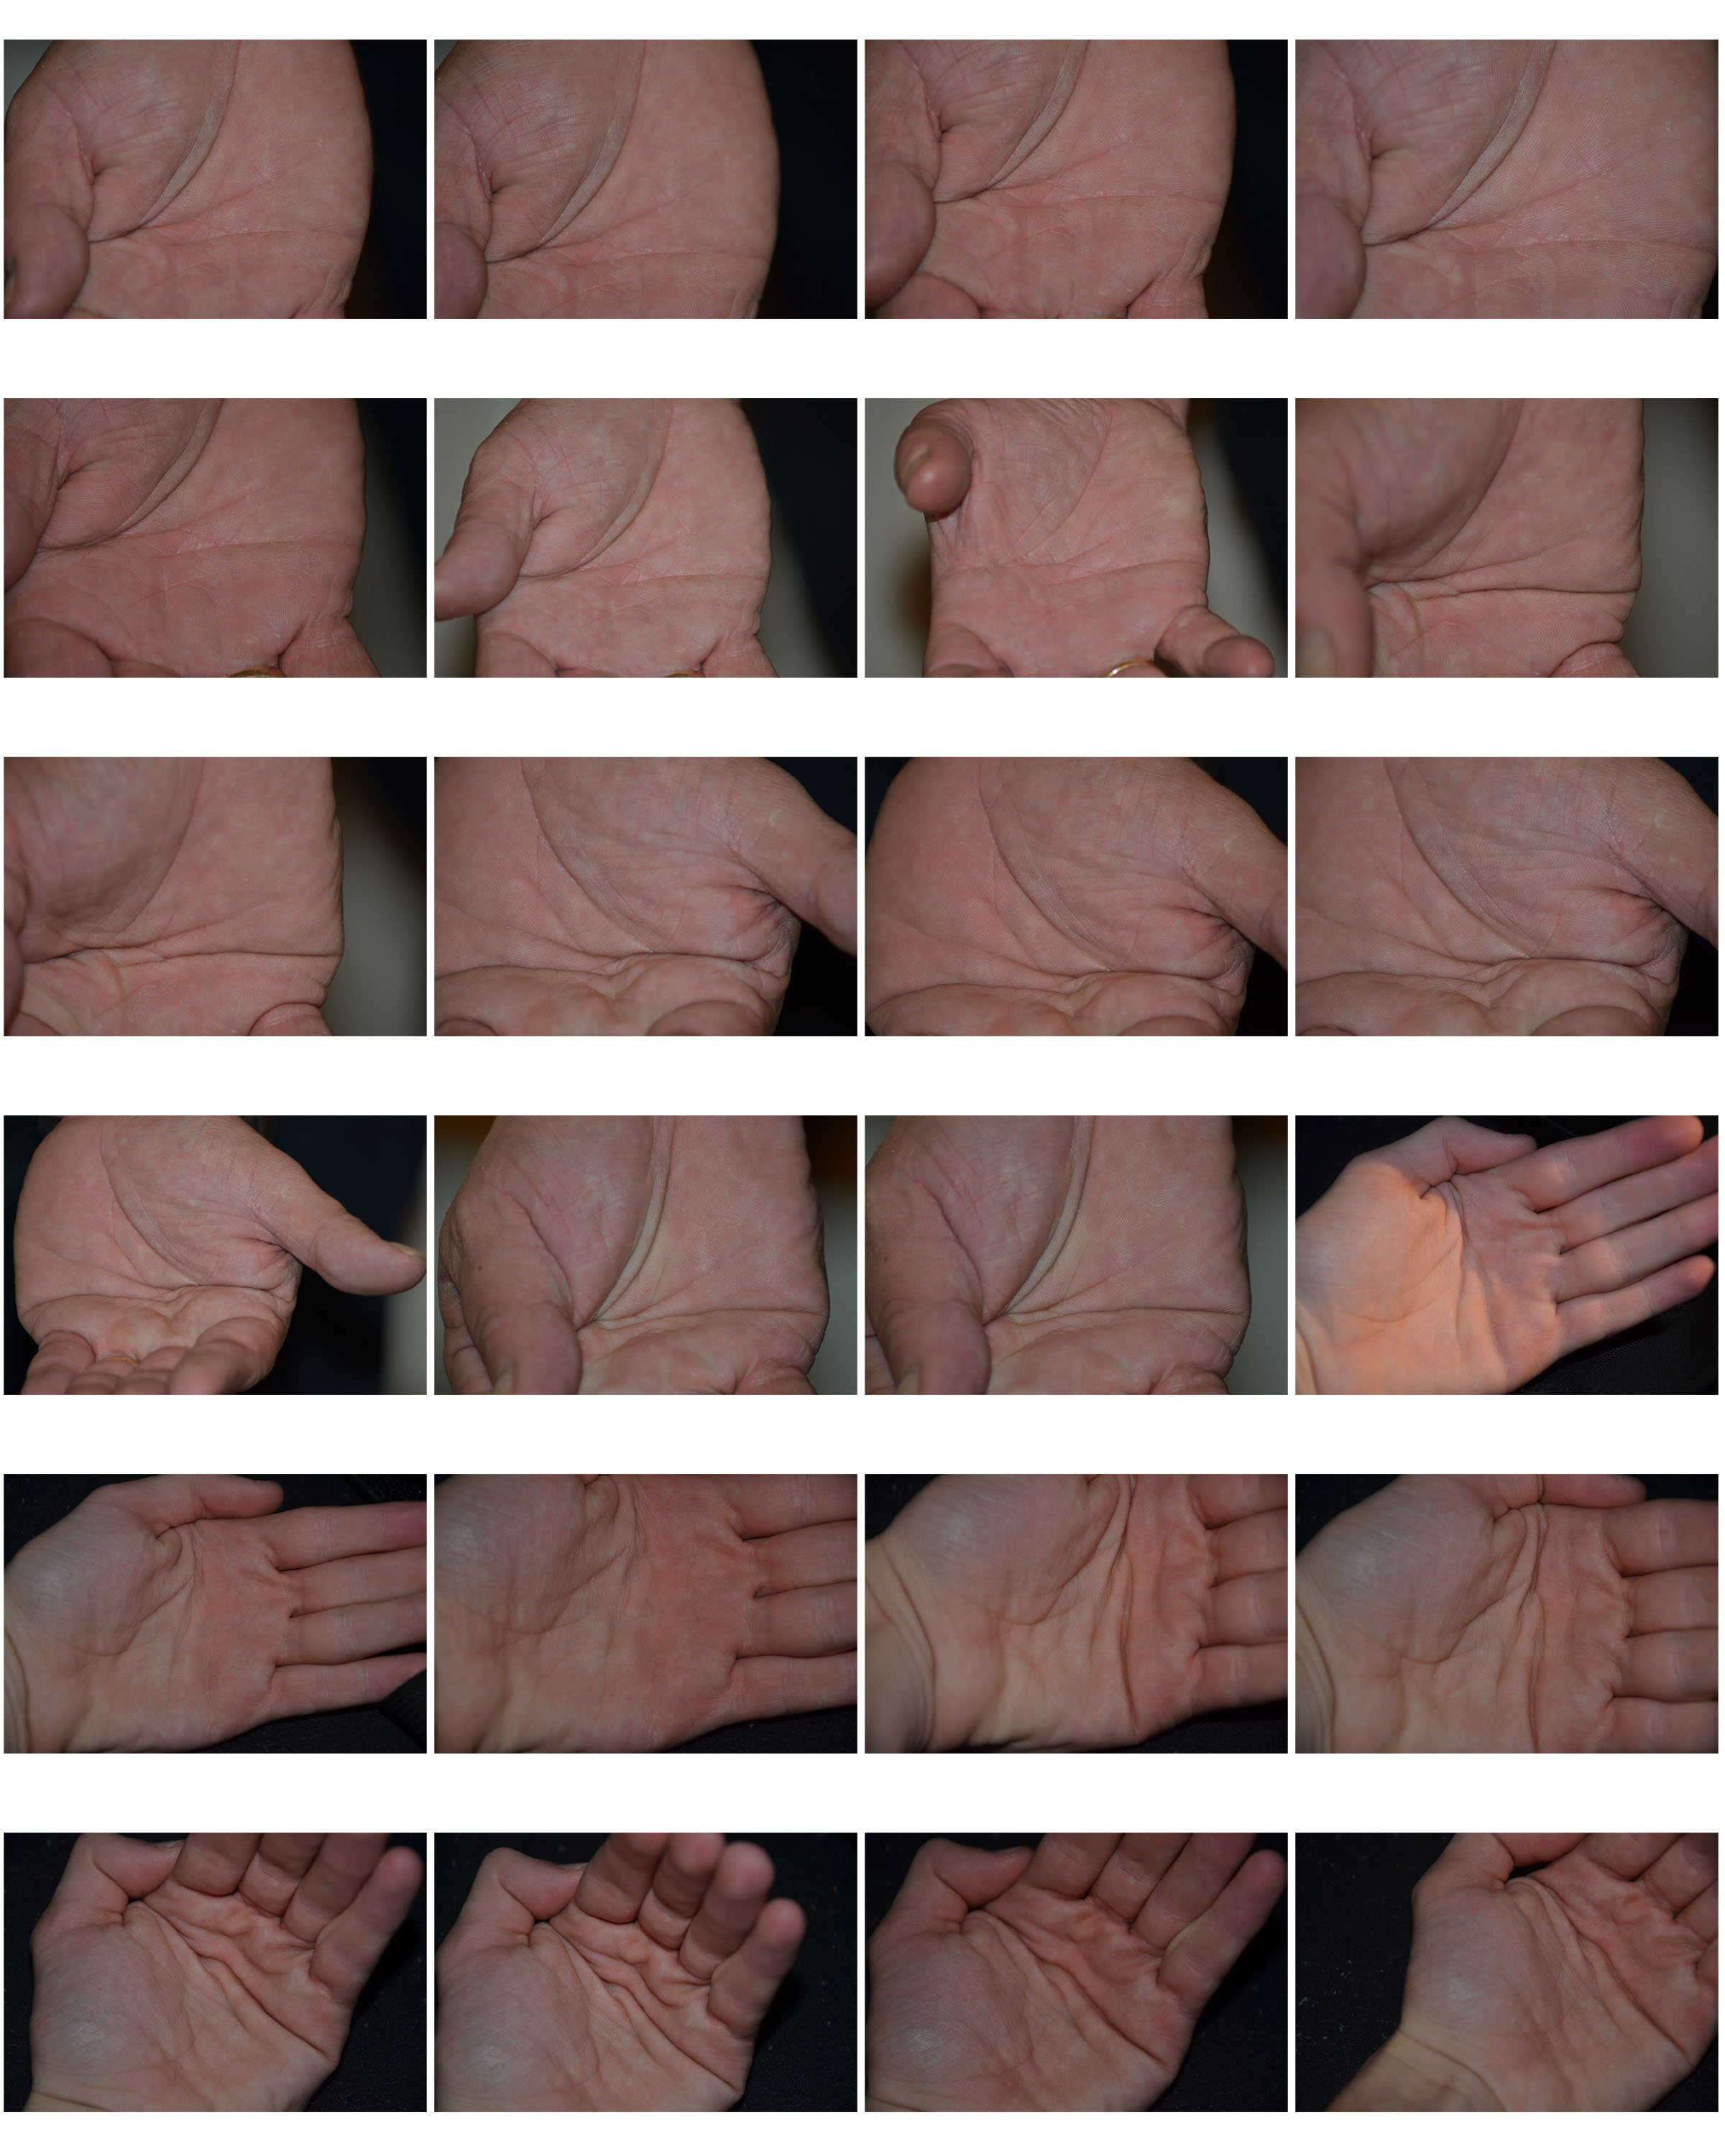
My Work
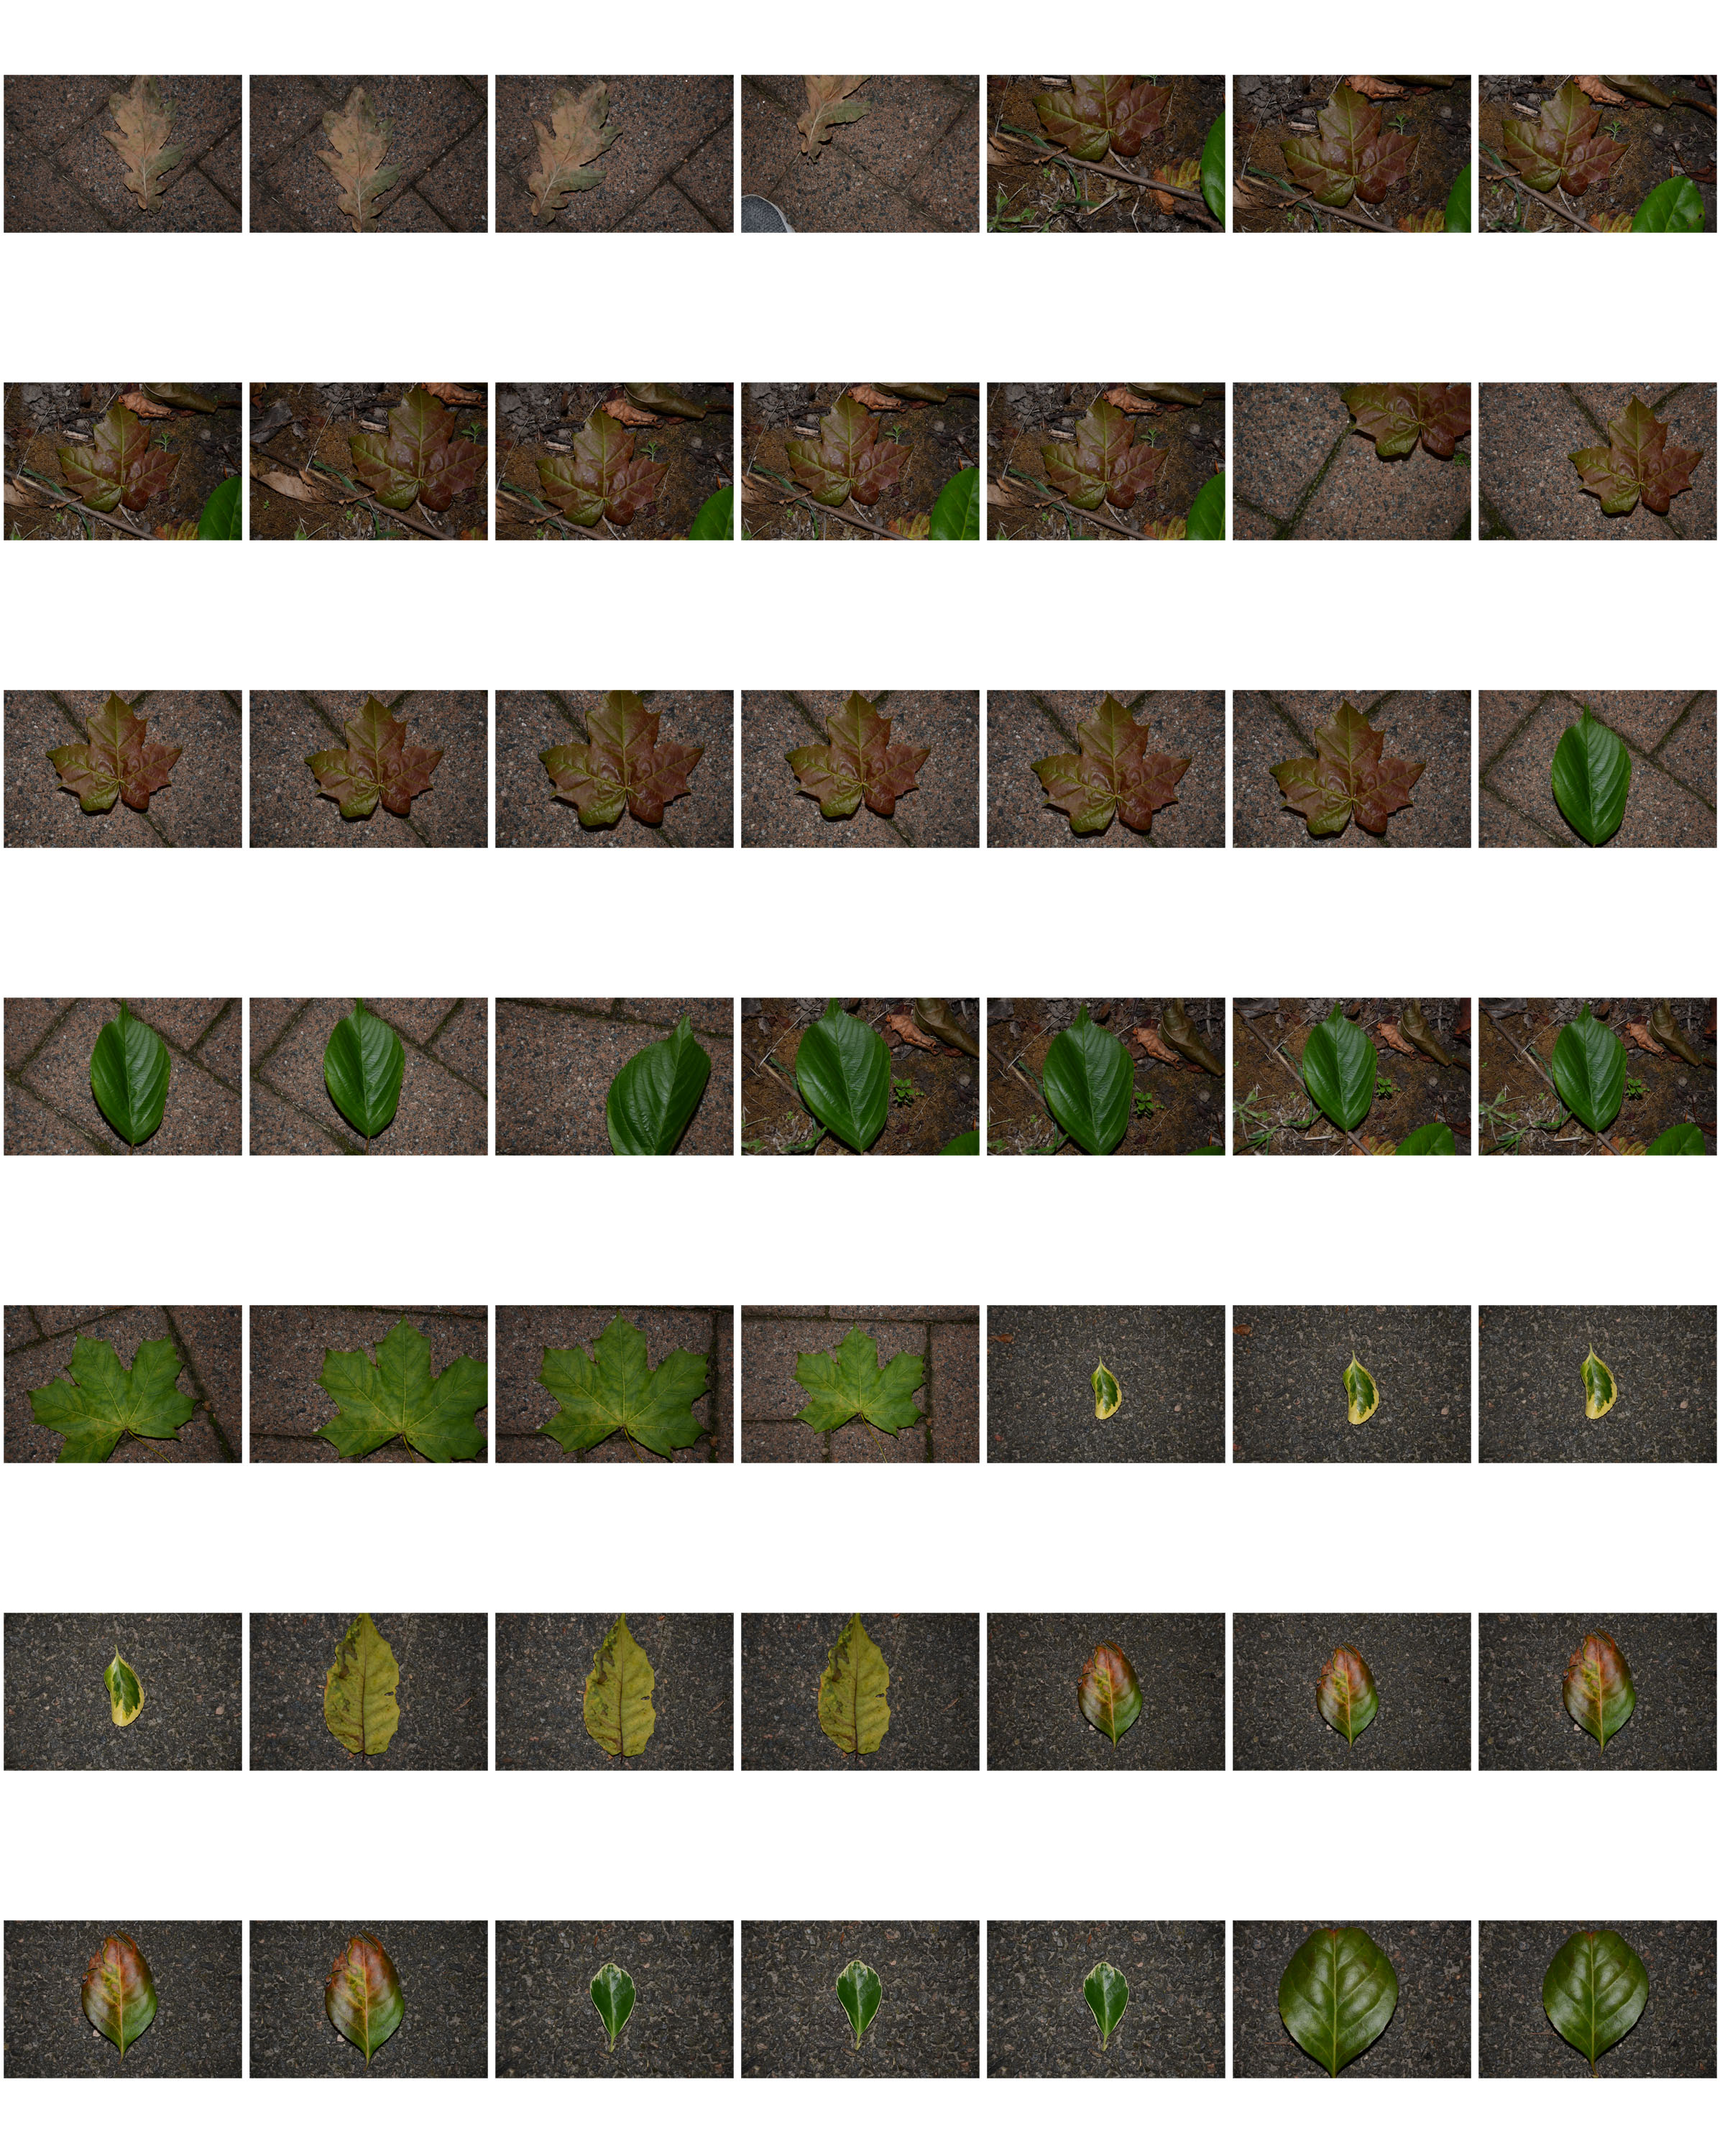
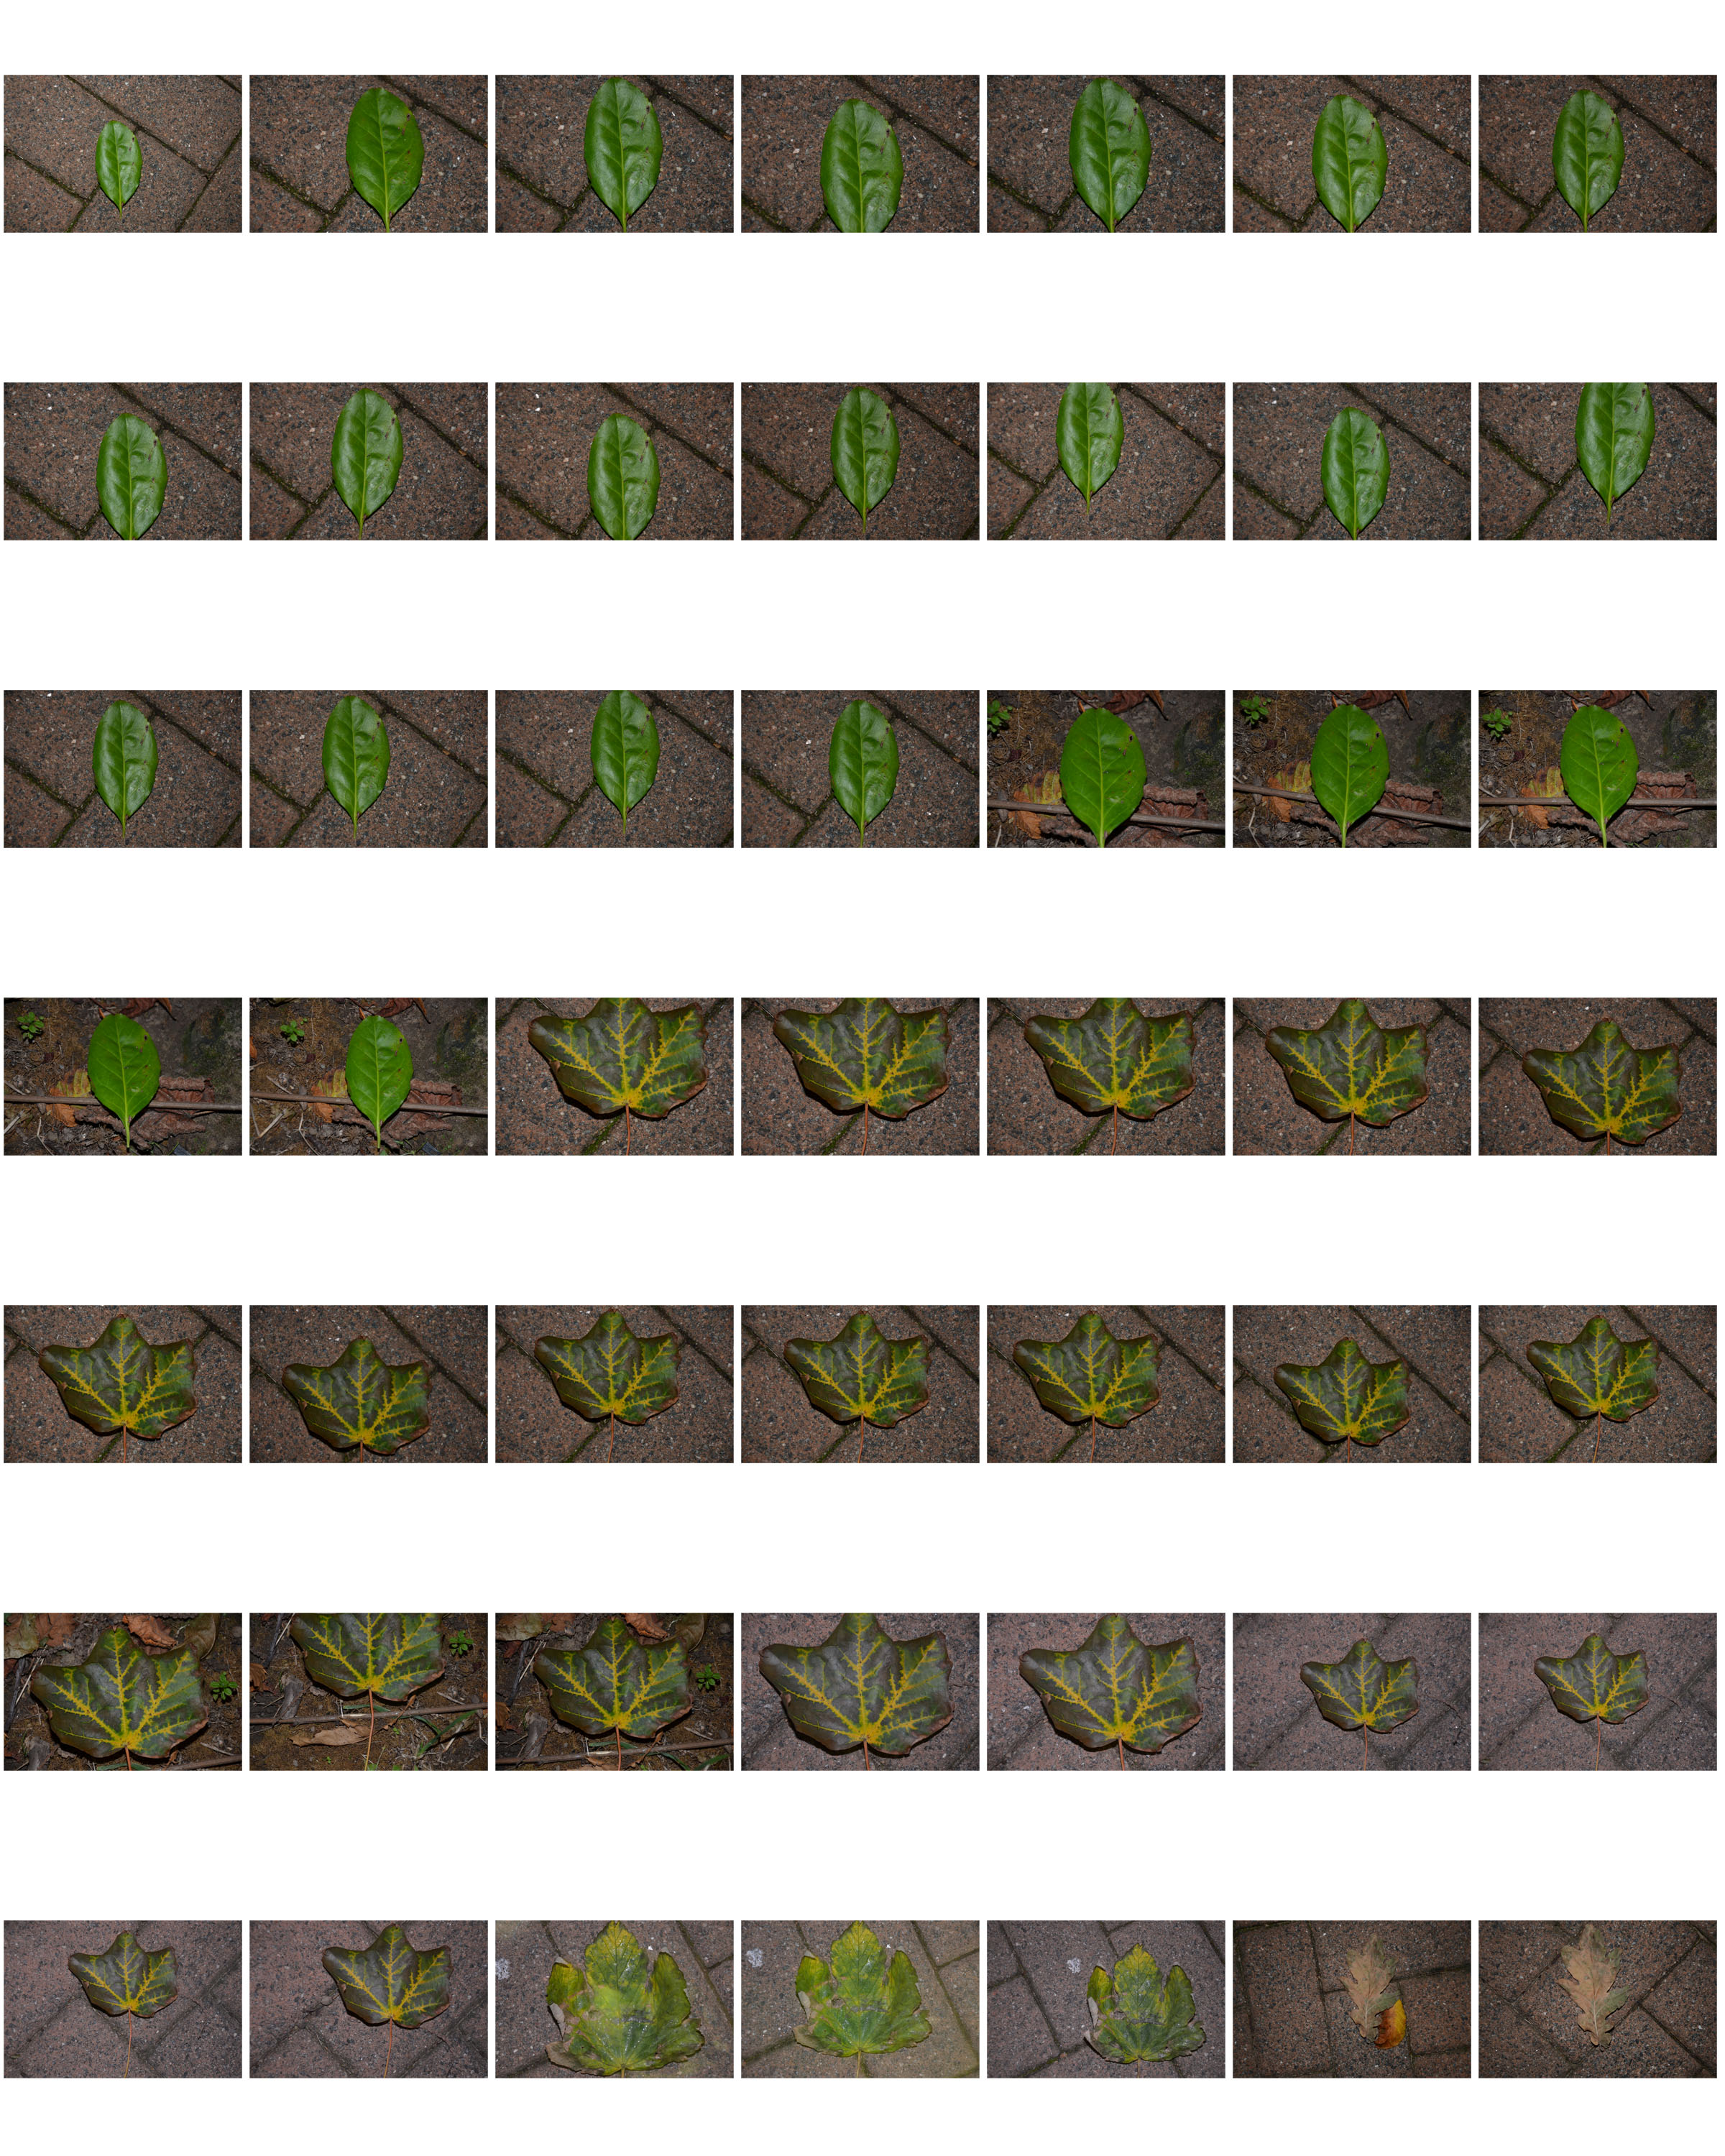
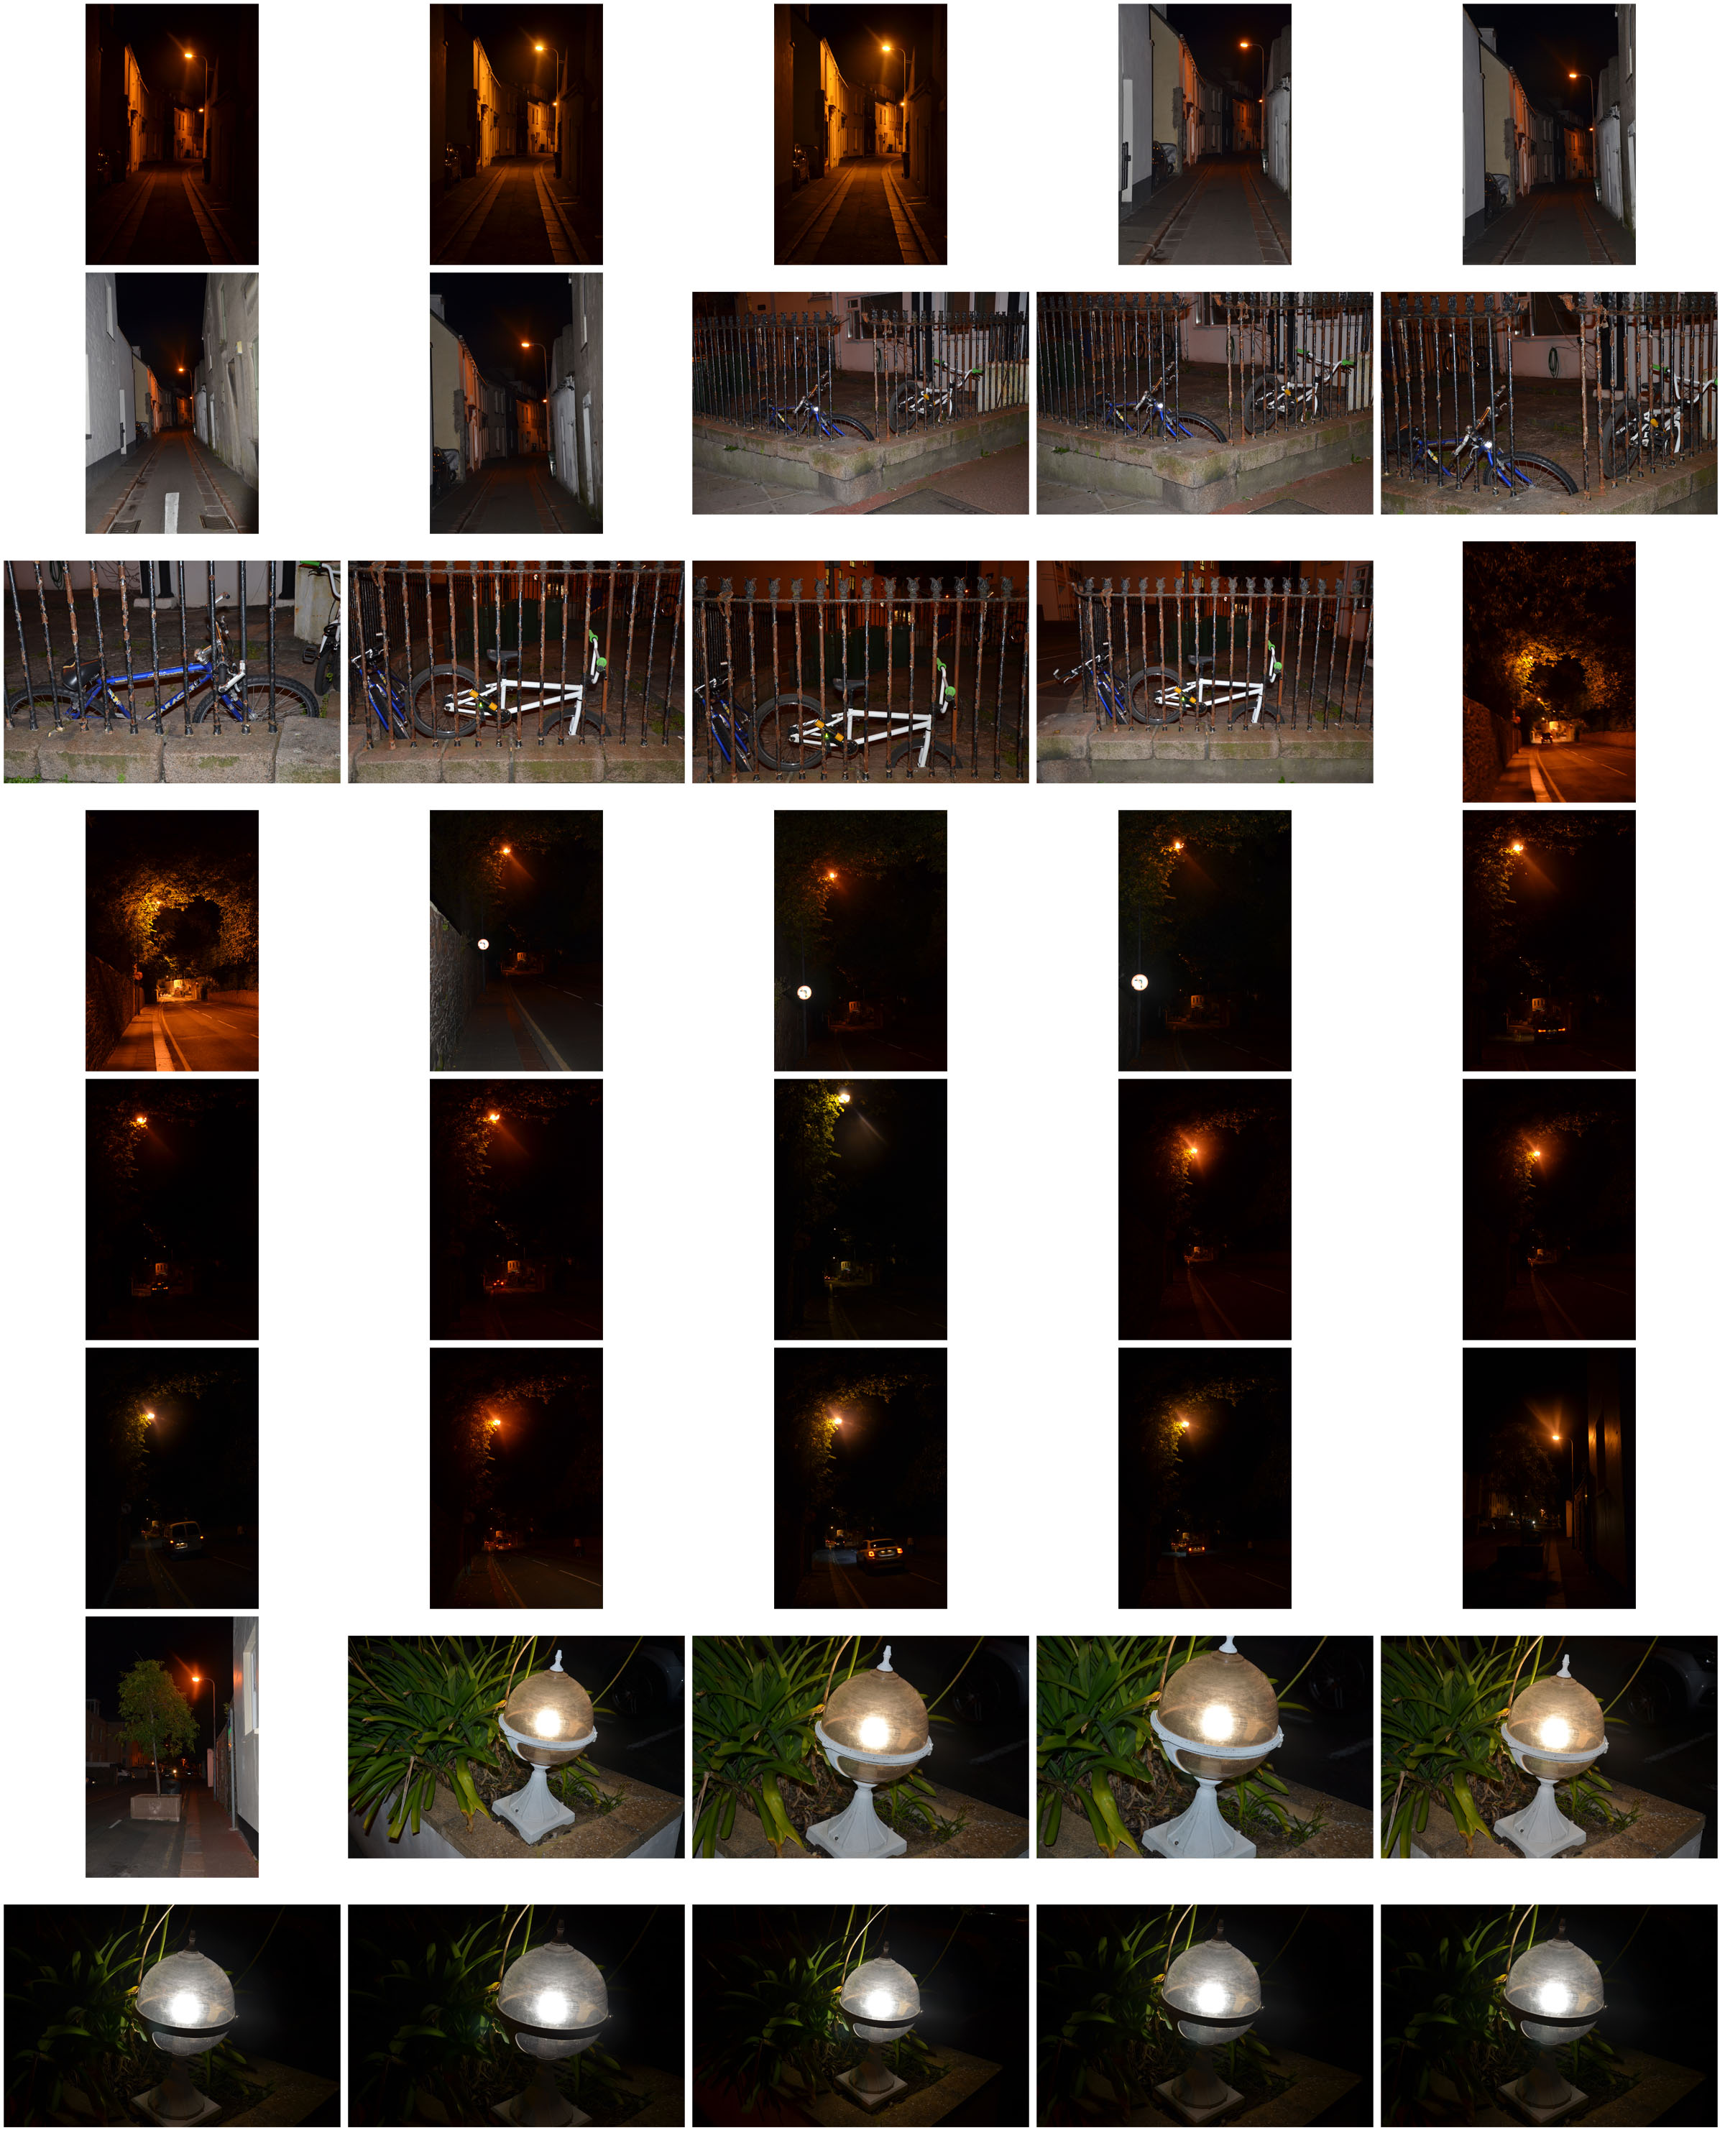
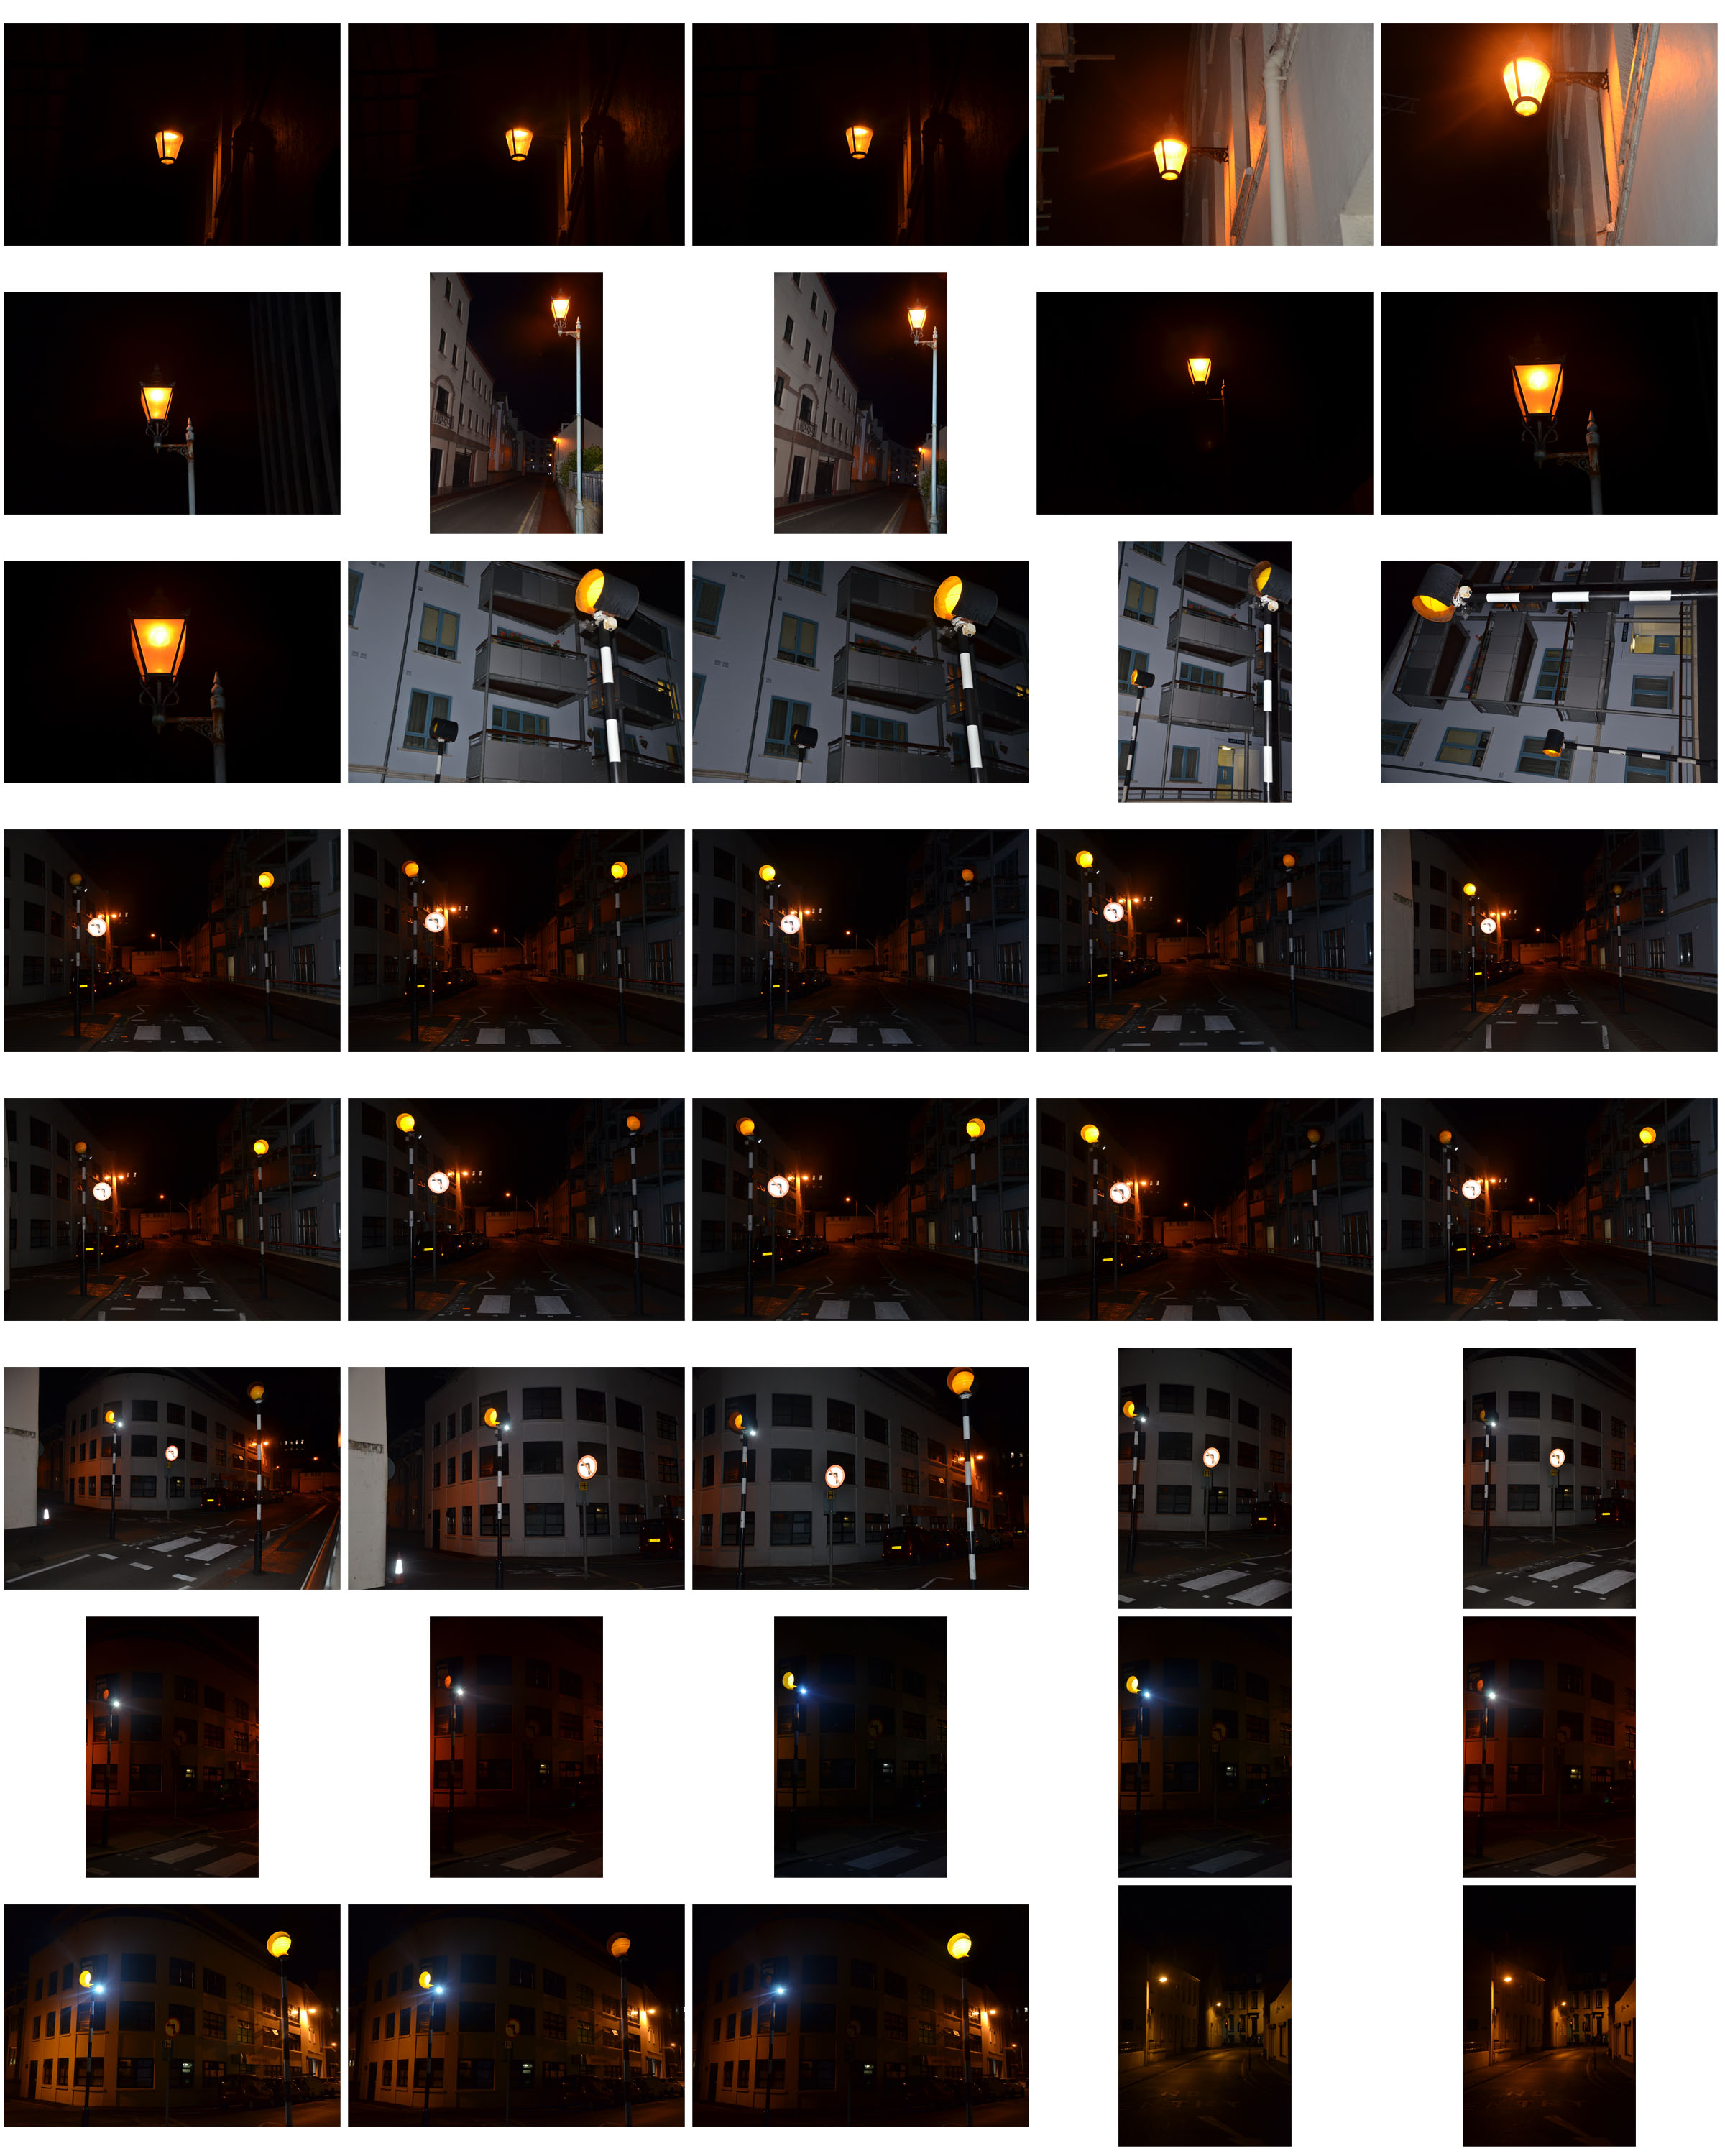
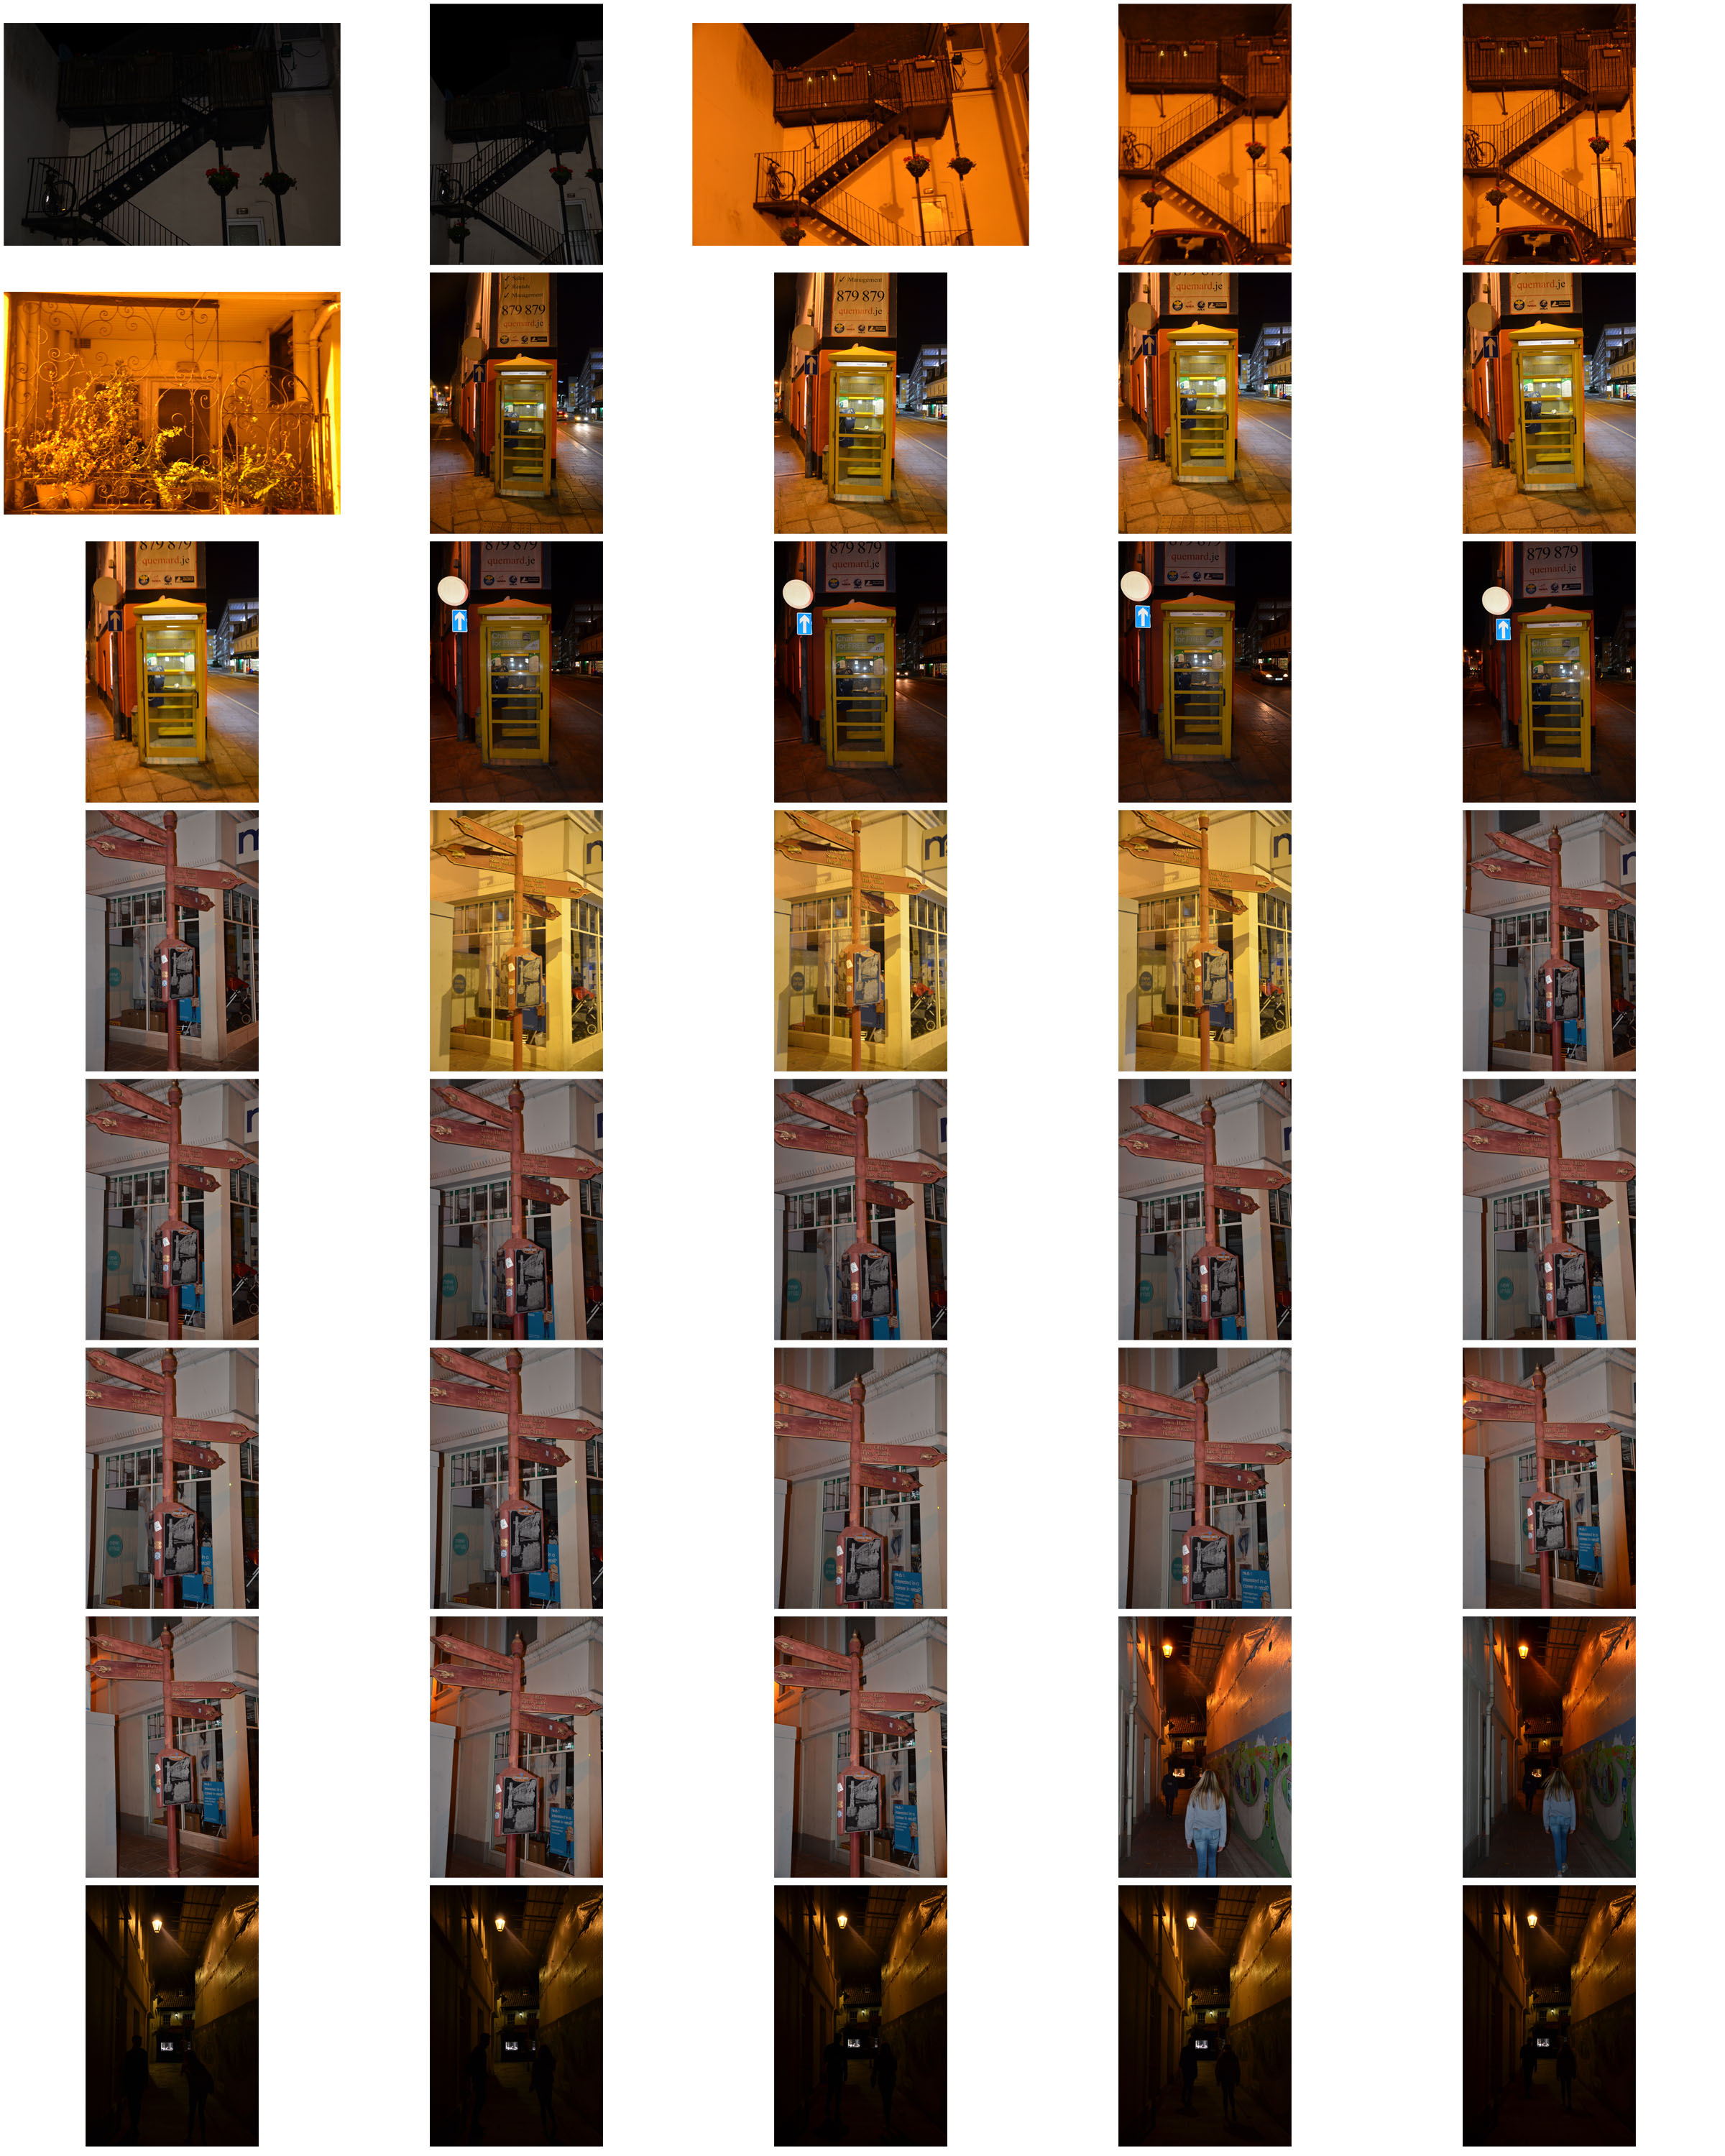
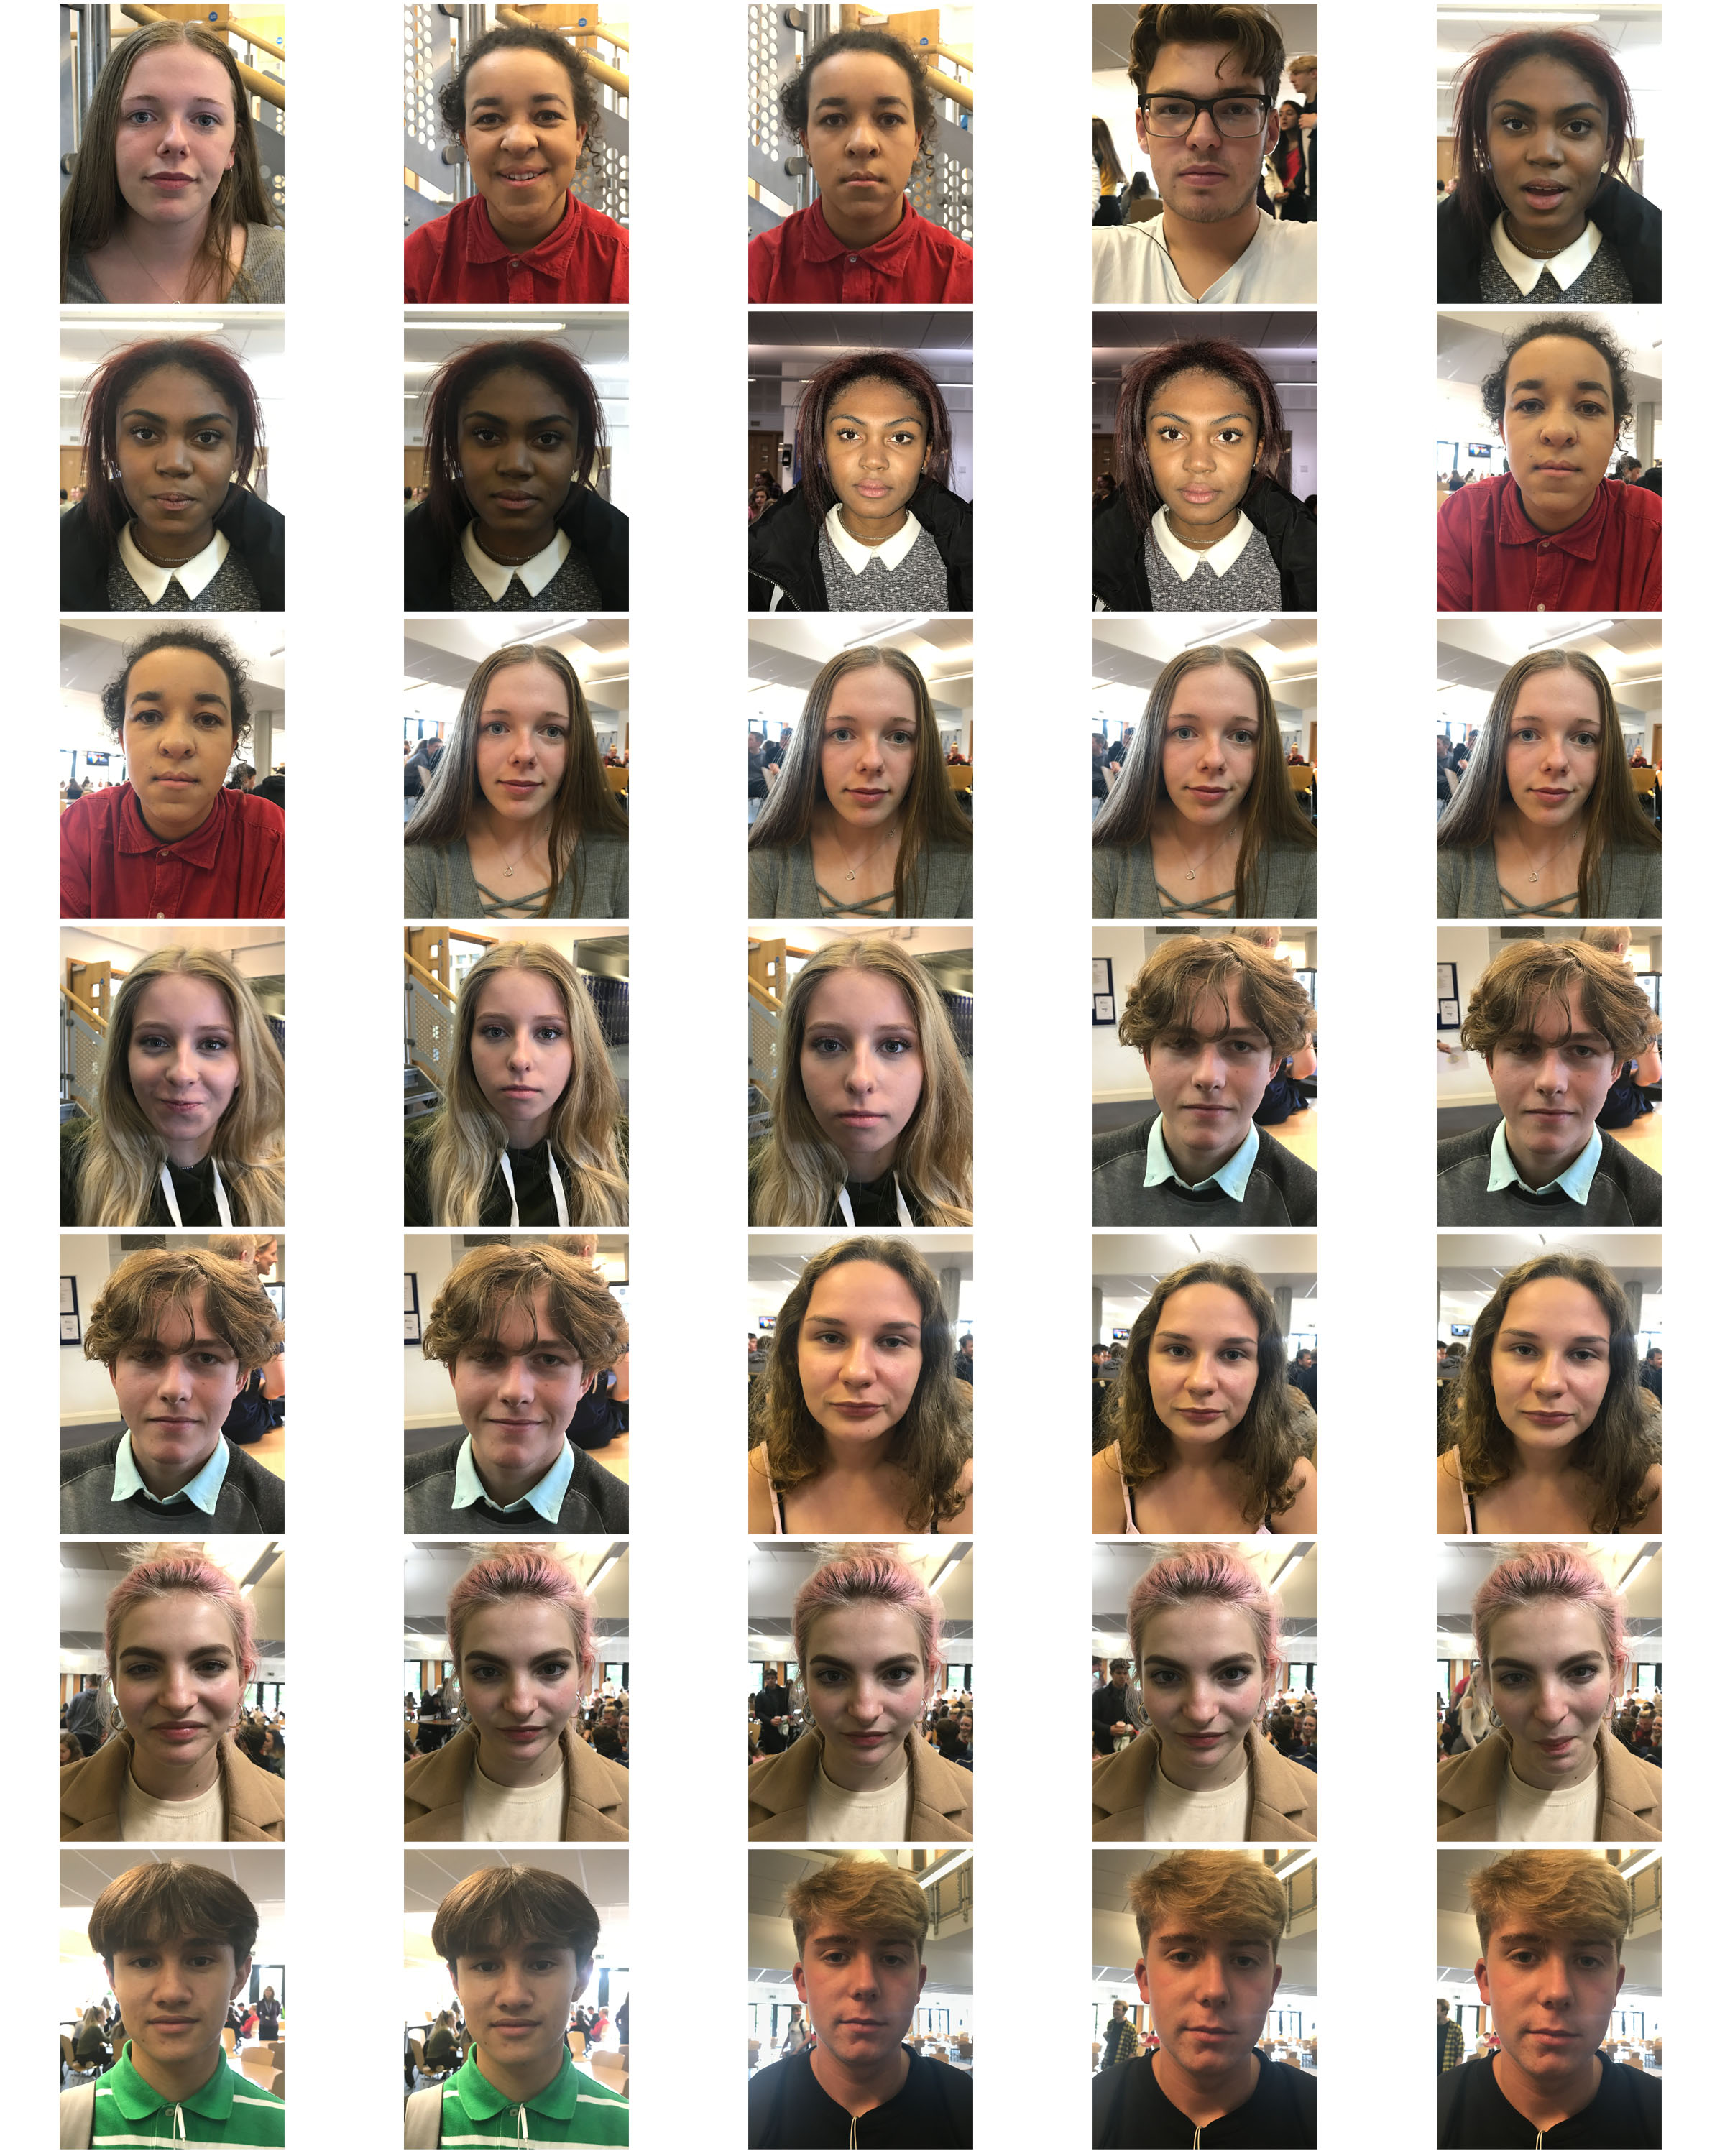
Edited Versions
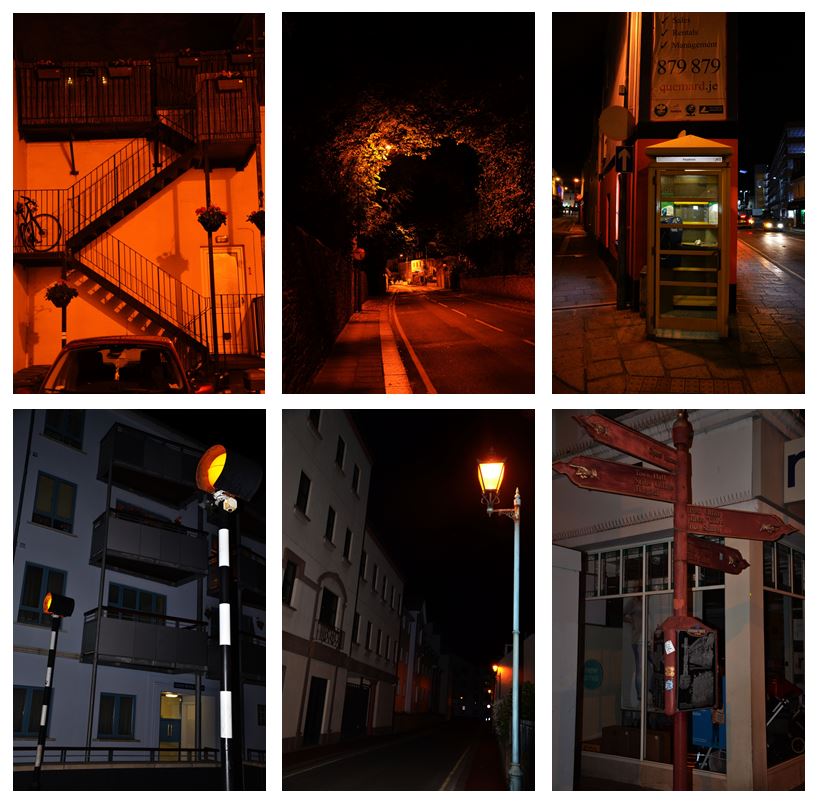
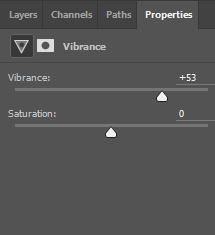
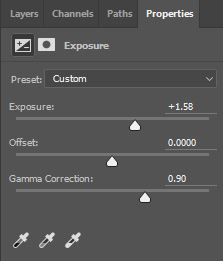
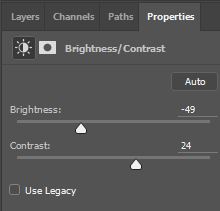
For the street photos, I increased the contrast and vibrancy to show off the orange light of the streets at night. This showed them off for their artificial appearance.
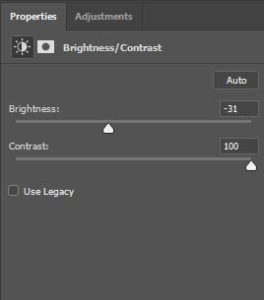
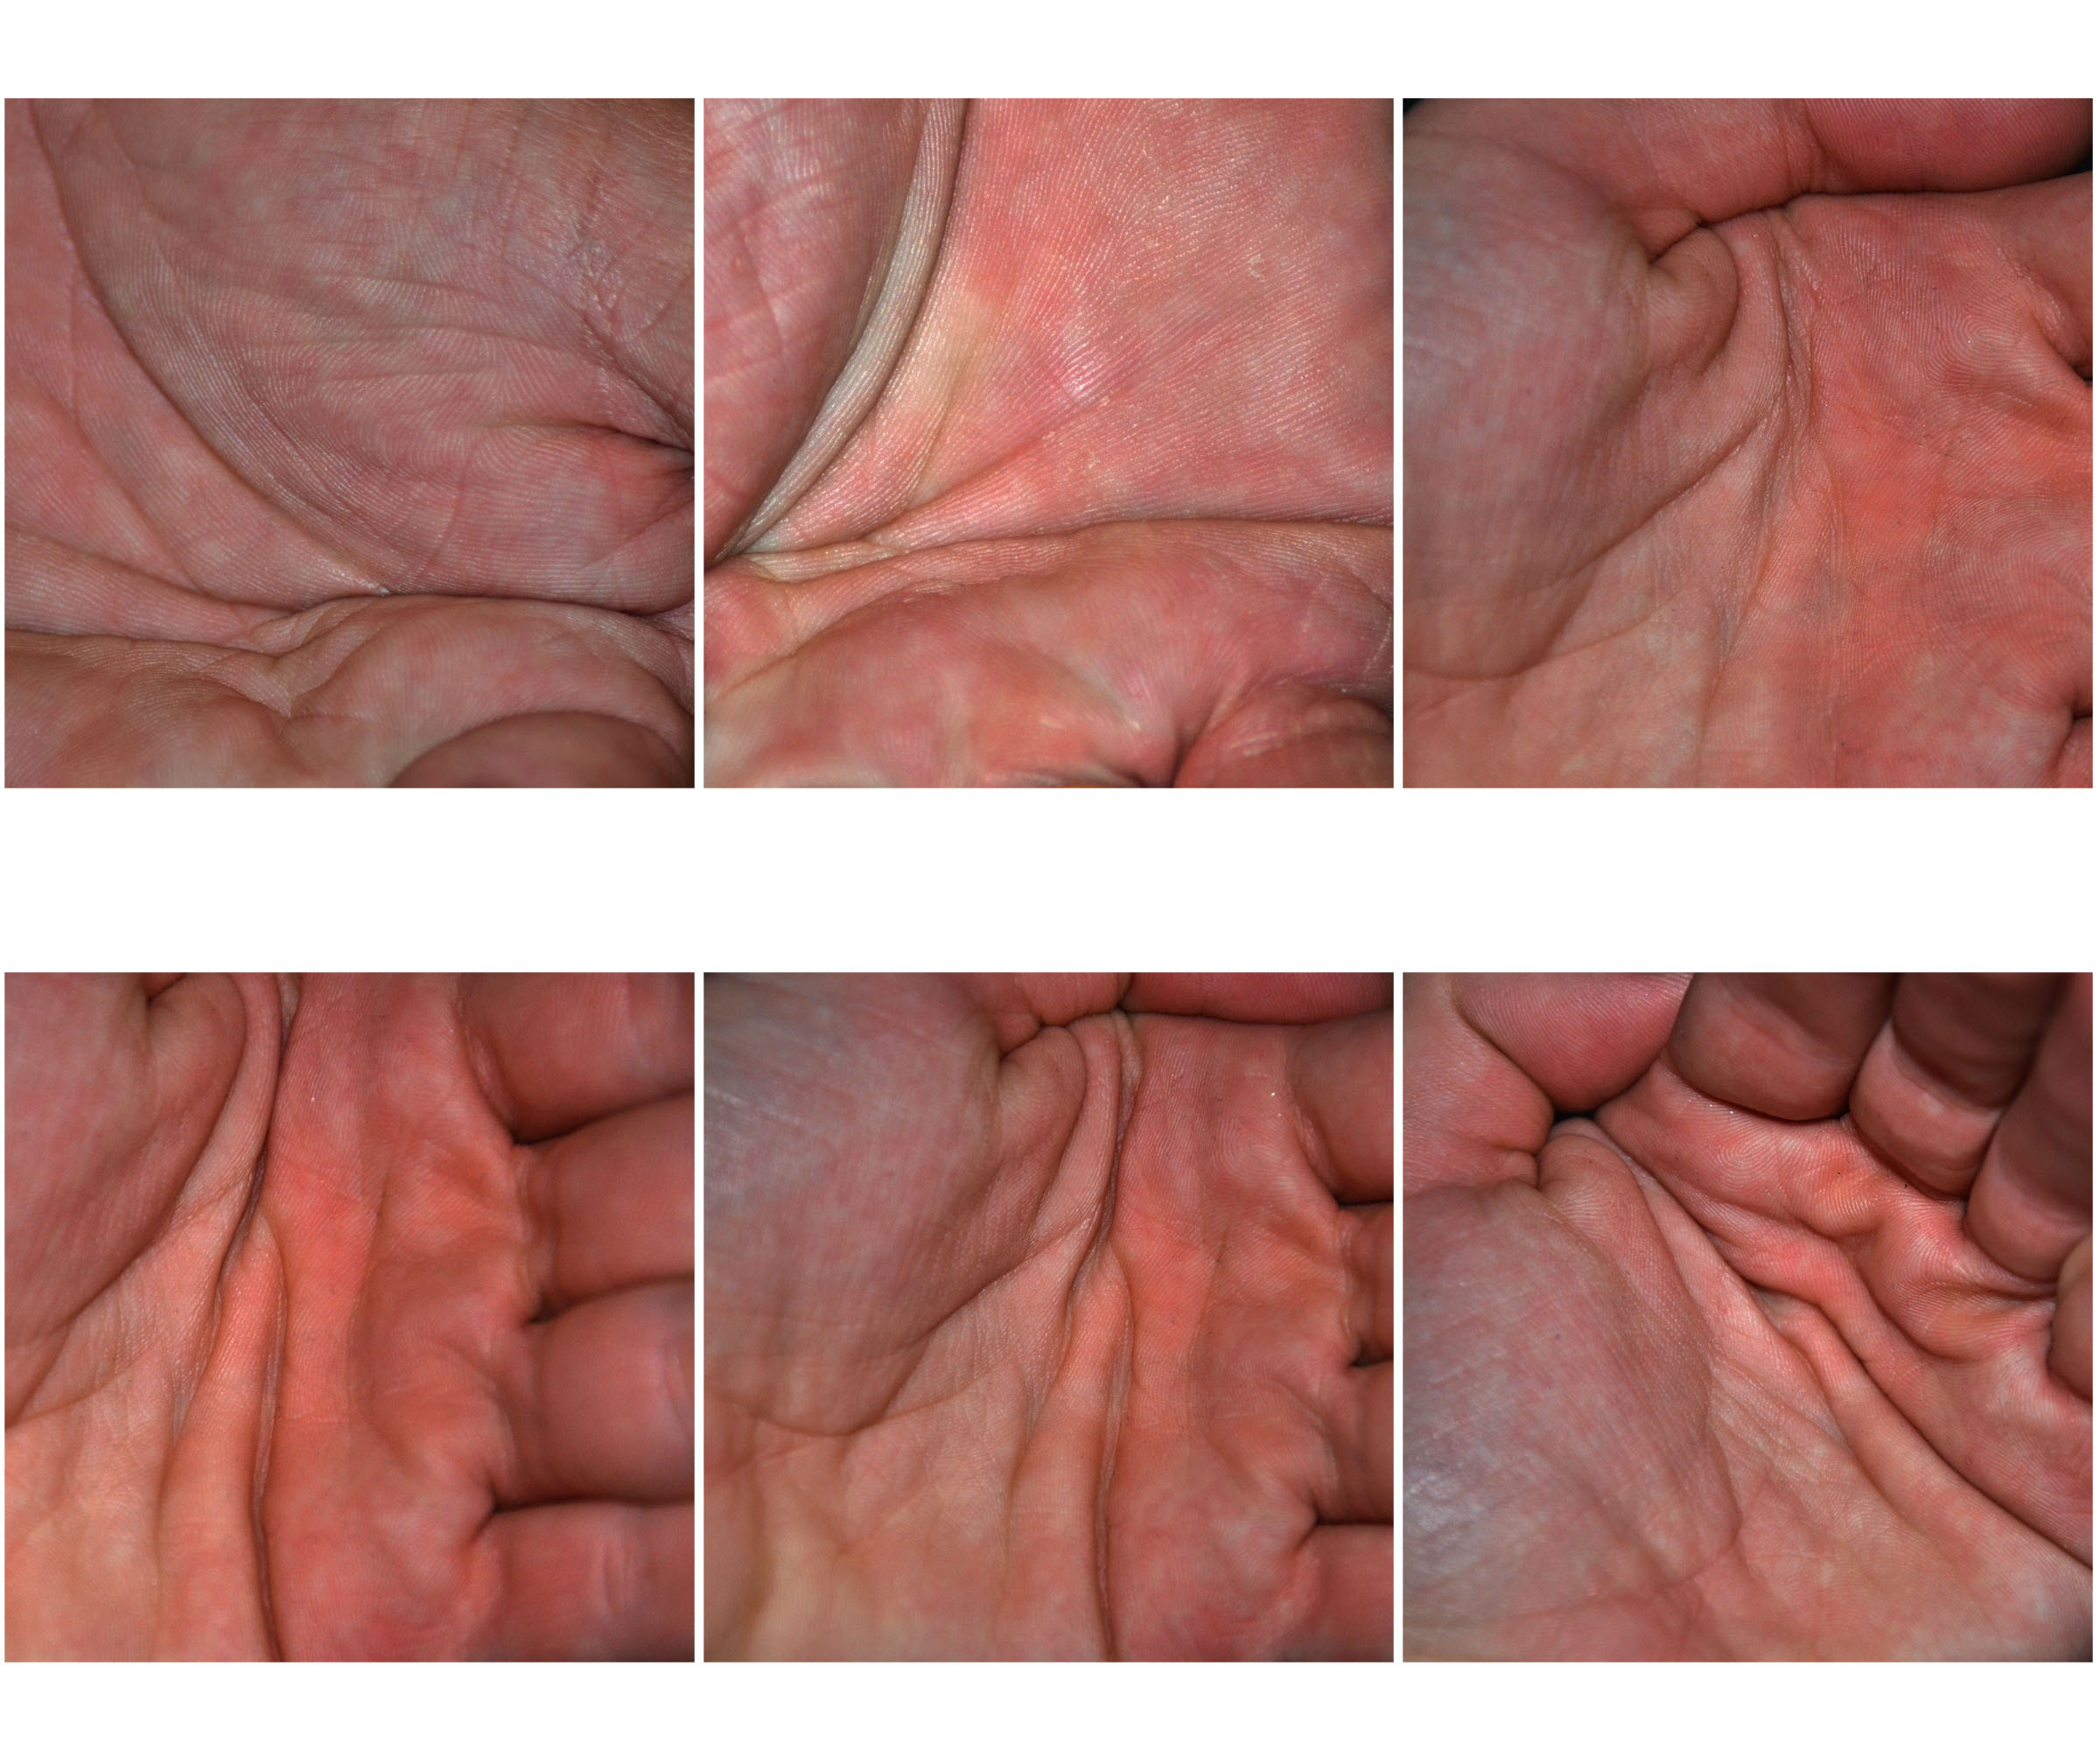
For the hand photos, I increased the contrast to emphasise the different folds and creases in the hands. I reduced the brightness to show off the different undertones of the hand.
