All posts by Megan Woolsgrove

Filters

Author:
Category:

Typologies- Homework 2

Photoshoot 1

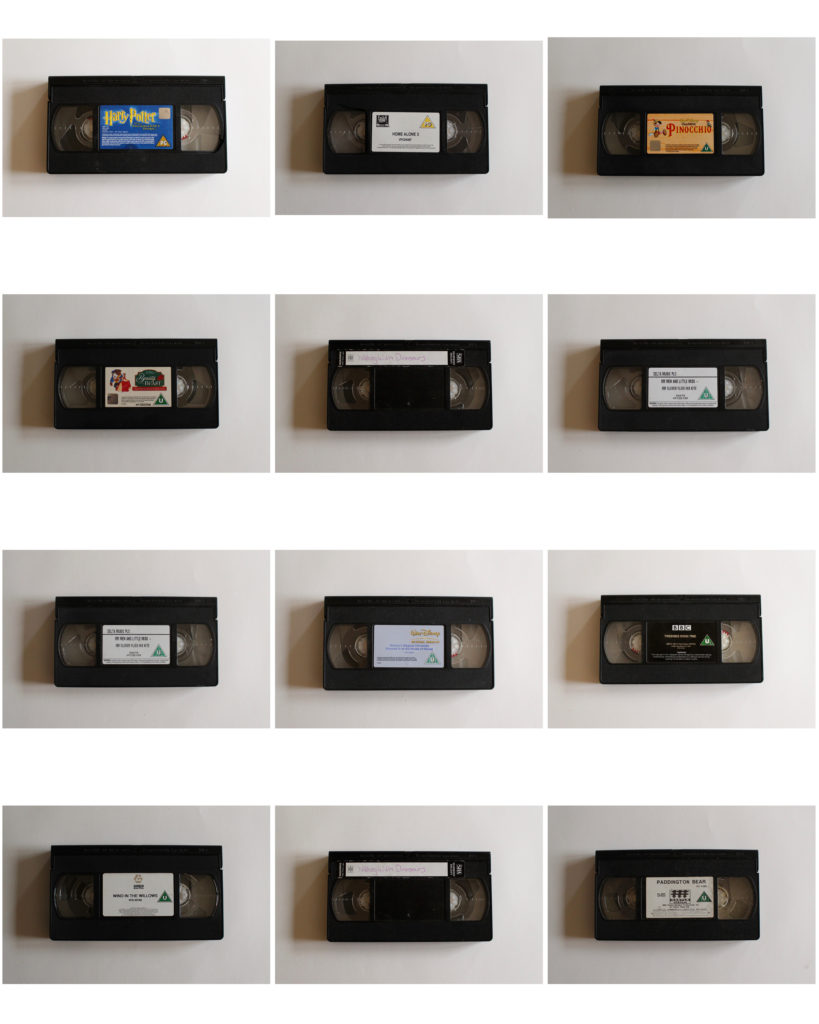
I used old video tapes to photograph as a typology because they all look similar but are slightly different. They all have different labels with different colours, and some have a greater antiquity then others. I placed a white piece of paper behind when taking my photographs as I wanted to emphasise the video tapes without any other distractions. I also like how the white paper showed the shadow from the light coming in on the right, giving the photo some depth and 3D qualities.

Photoshoot 2
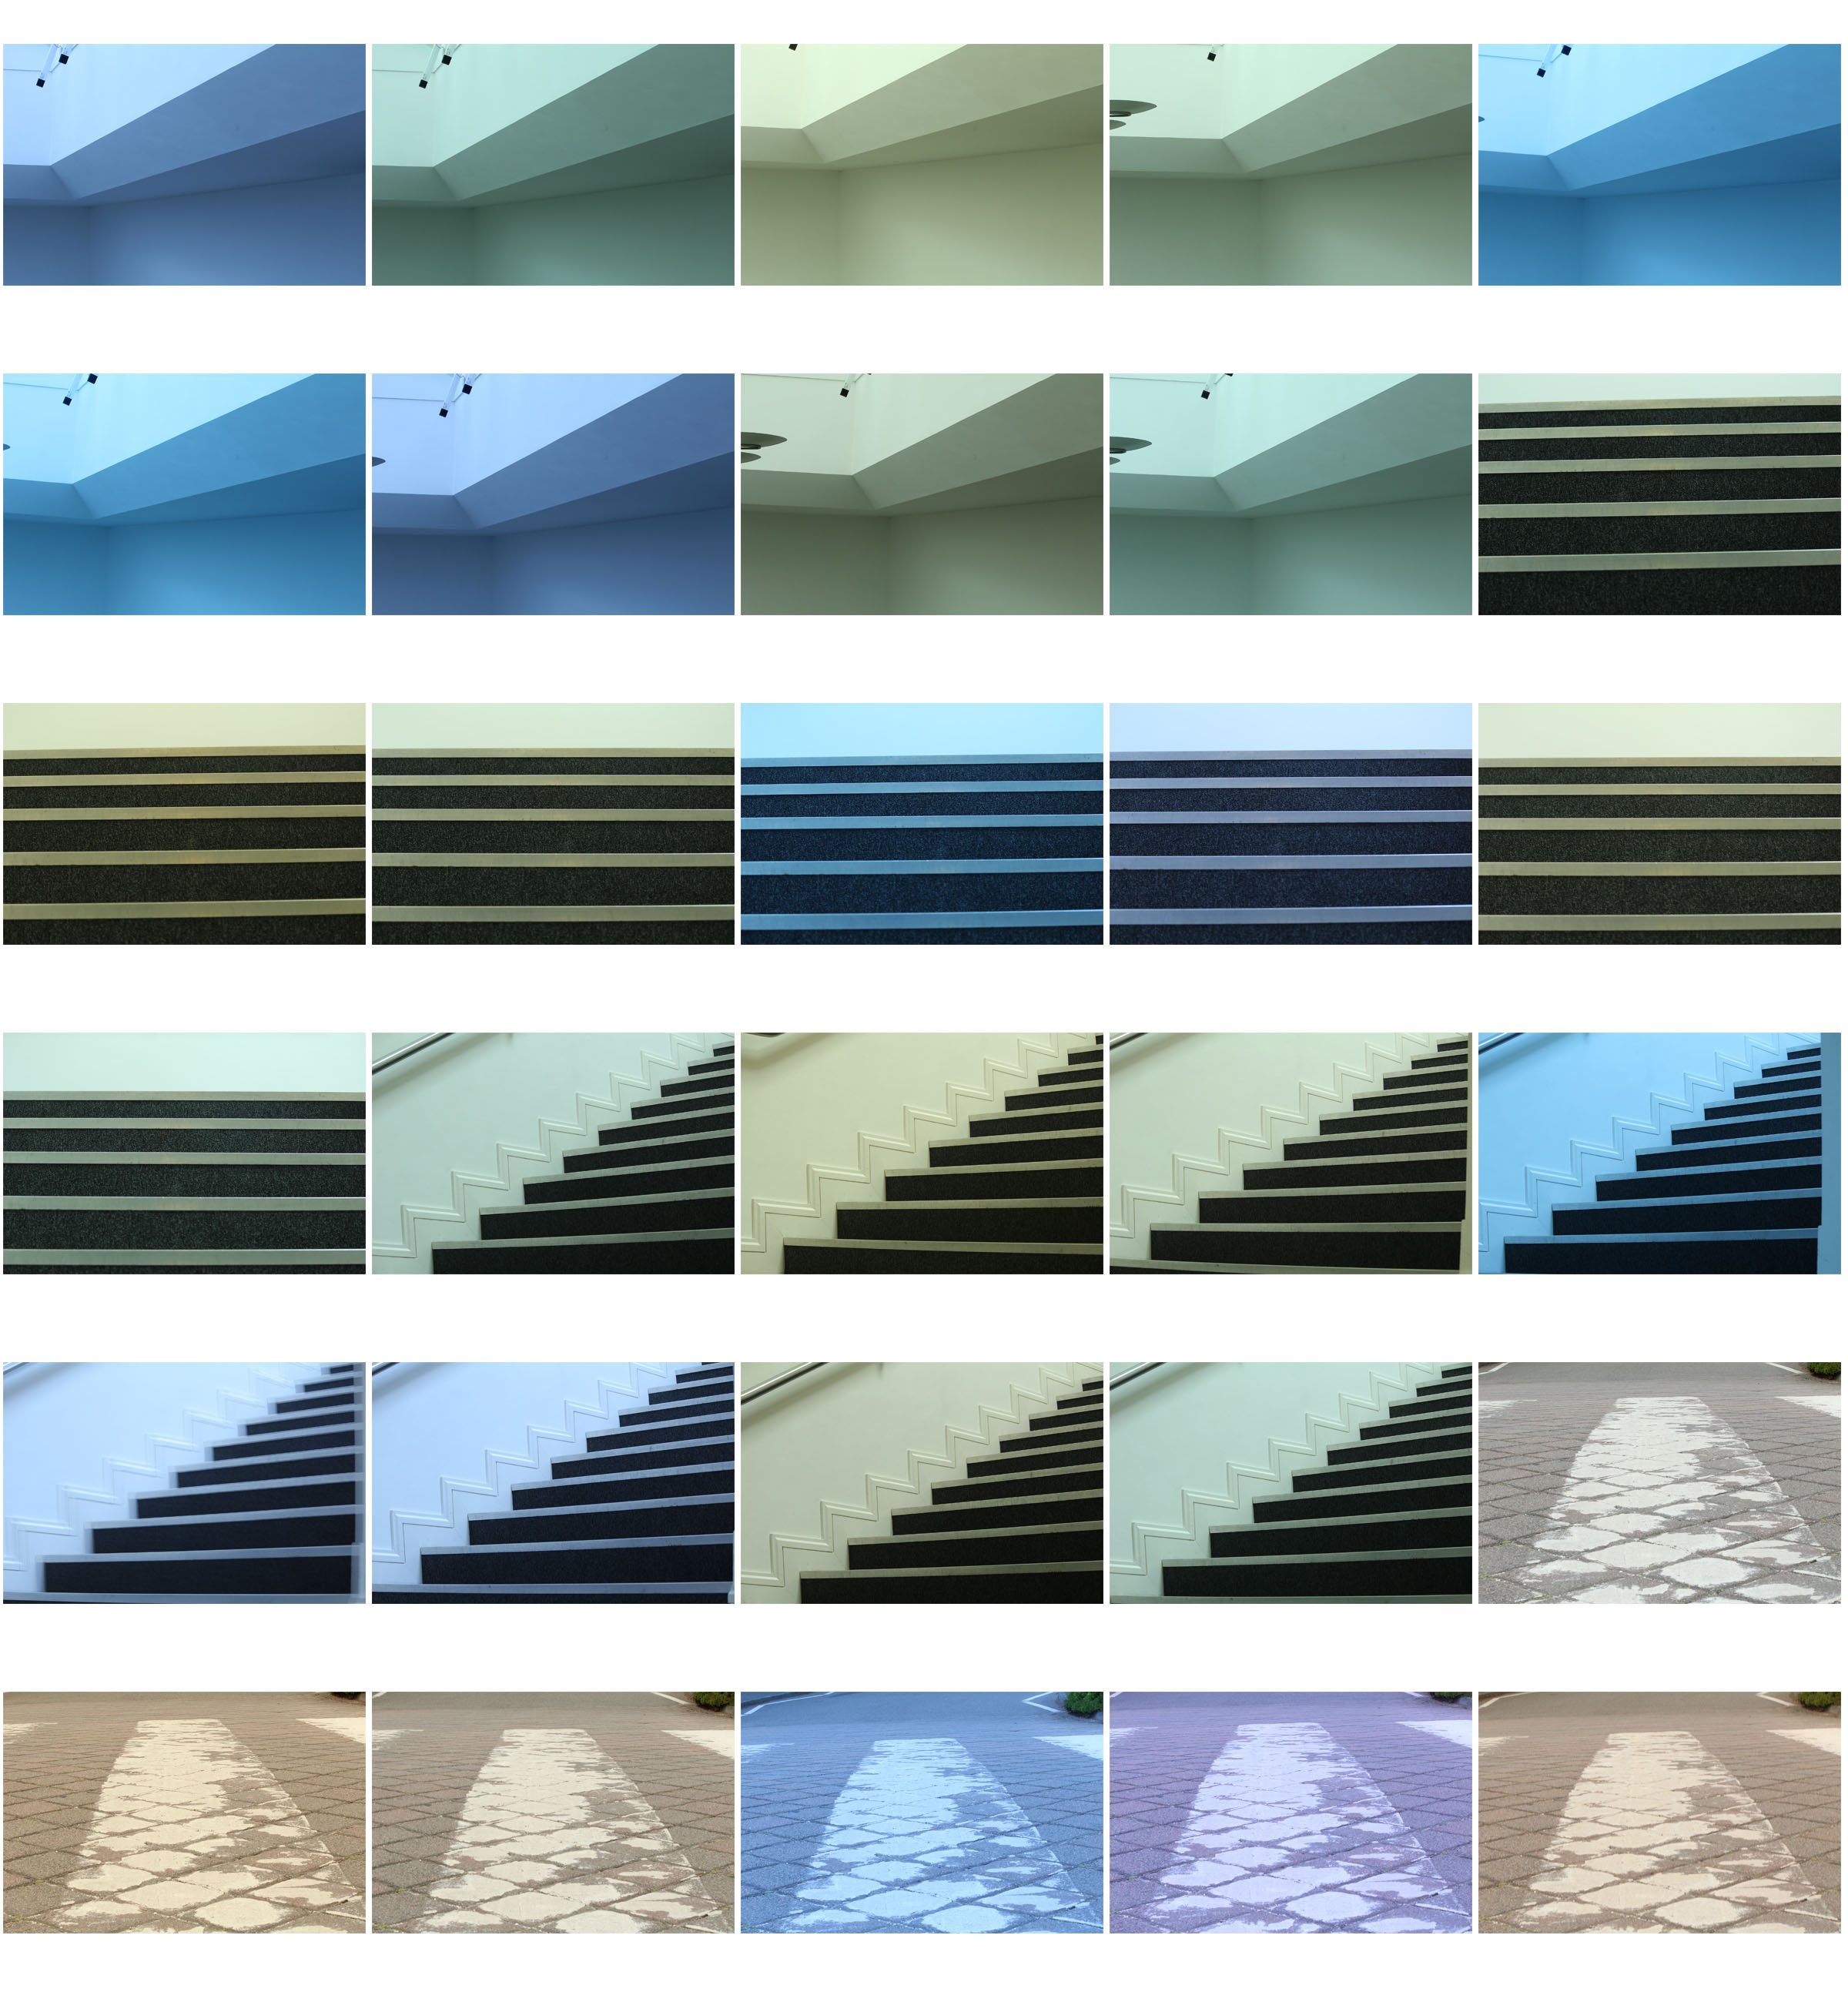
When photographing the different types of leaves I tried to make the backgrounds different for each individual photograph, making whole contact sheet more interesting and varied. I also tried to find a leaves with a range of different colours and different patterns and textures. I used natural light and had shadows in some photos creating a more natural effect.
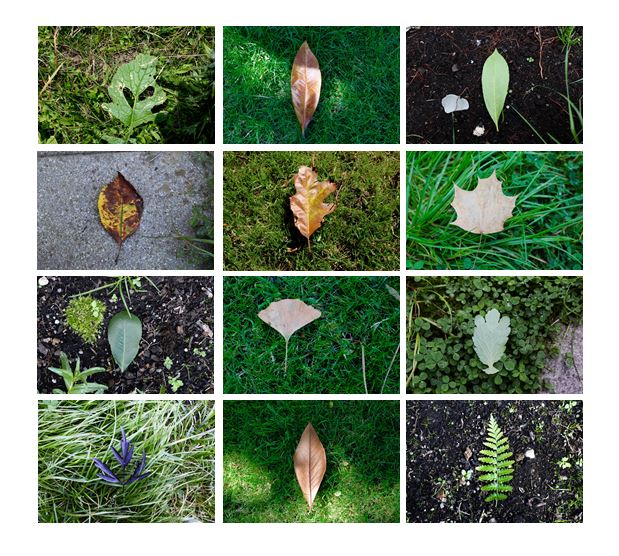
I selected the photos I thought worked better together and created a contact sheet displaying them. I made sure the order in which they are displayed, and the colours in which they have, complemented the other photos, making the overall contact sheet aesthetically pleasing.

Photoshoot 3
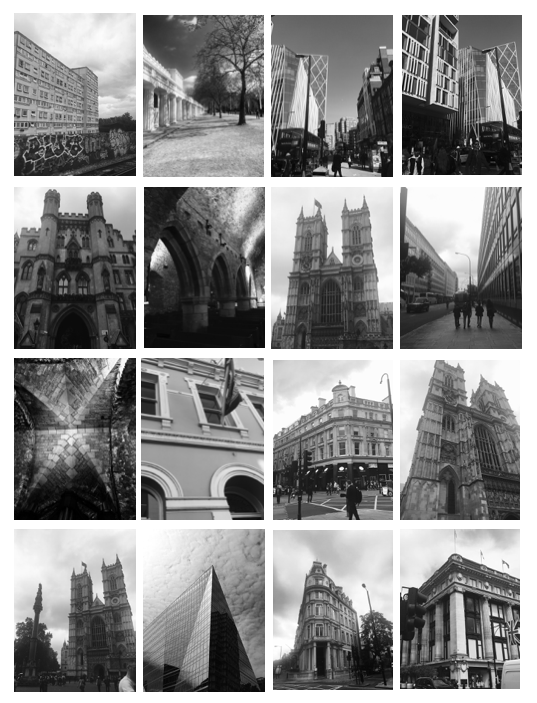
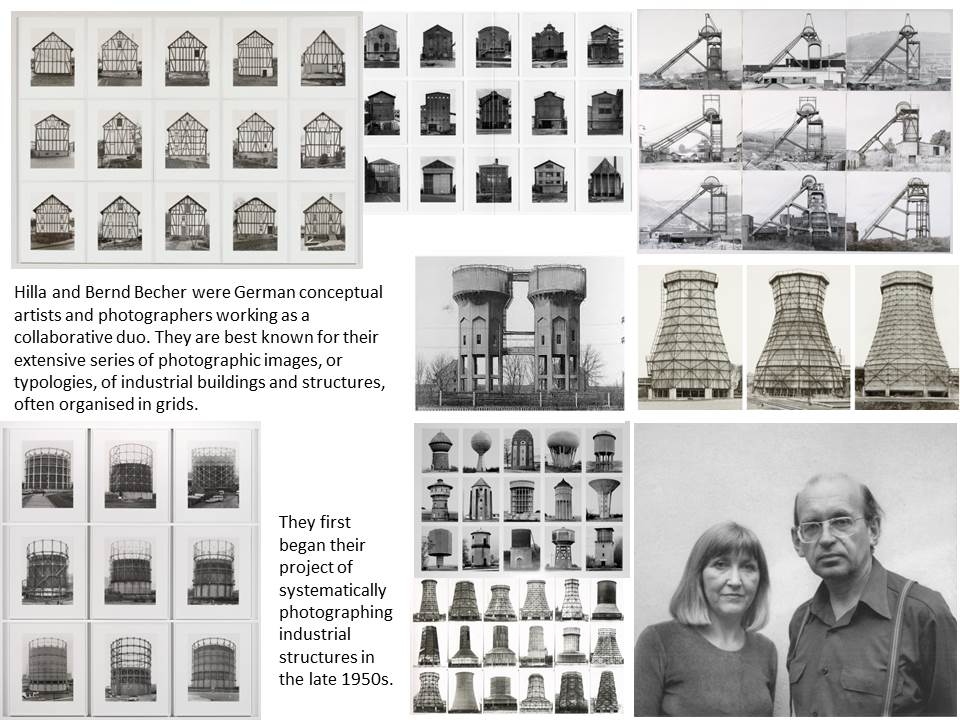
For this shoot tried to gather photos that are similar to Hilla and Bernd Becher and their structural photography. These photos are took in London and all show similar and different structural qualities. I chose to edit my photos to black and white, trying to recreate Hilla and Bernd Becher’s style. One improvement for this shoot would be for the buildings to be all the same size as some are closer up and some are at a further distance, so the overall effect of the contact sheet is not as strong and my other ones.

Overall i think i produced photos taking inspiration from Hilla and Bernd Becher well and tried to explore different sides to typology photography and took into consideration how they sized the object the same in every picture.

Shutter Speed

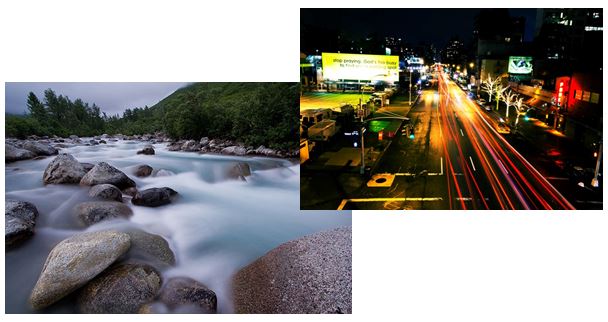
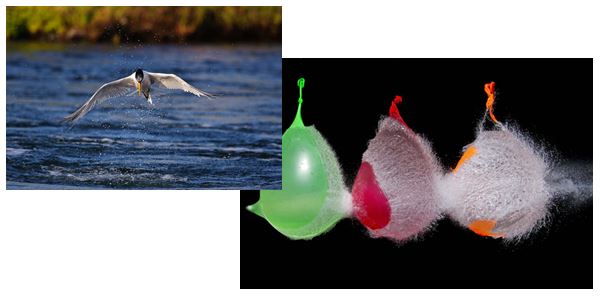
When the shutter opens, it exposes light from the exterior allowing a picture to be taken. The length of time that the shutter remains open is termed the shutter speed.

If you look at modern digital cameras, shutter speed is measured in seconds – or in most cases fractions of seconds. The bigger the denominator the faster the speed (e.g 1/1000 is much faster than 1/30).

How do you select the correct shutter speed when taking photos?

  1. Simply set the camera to automatic mode and take the picture. The cameras in-built auto exposure settings will take care of the shutter speed settings for you.
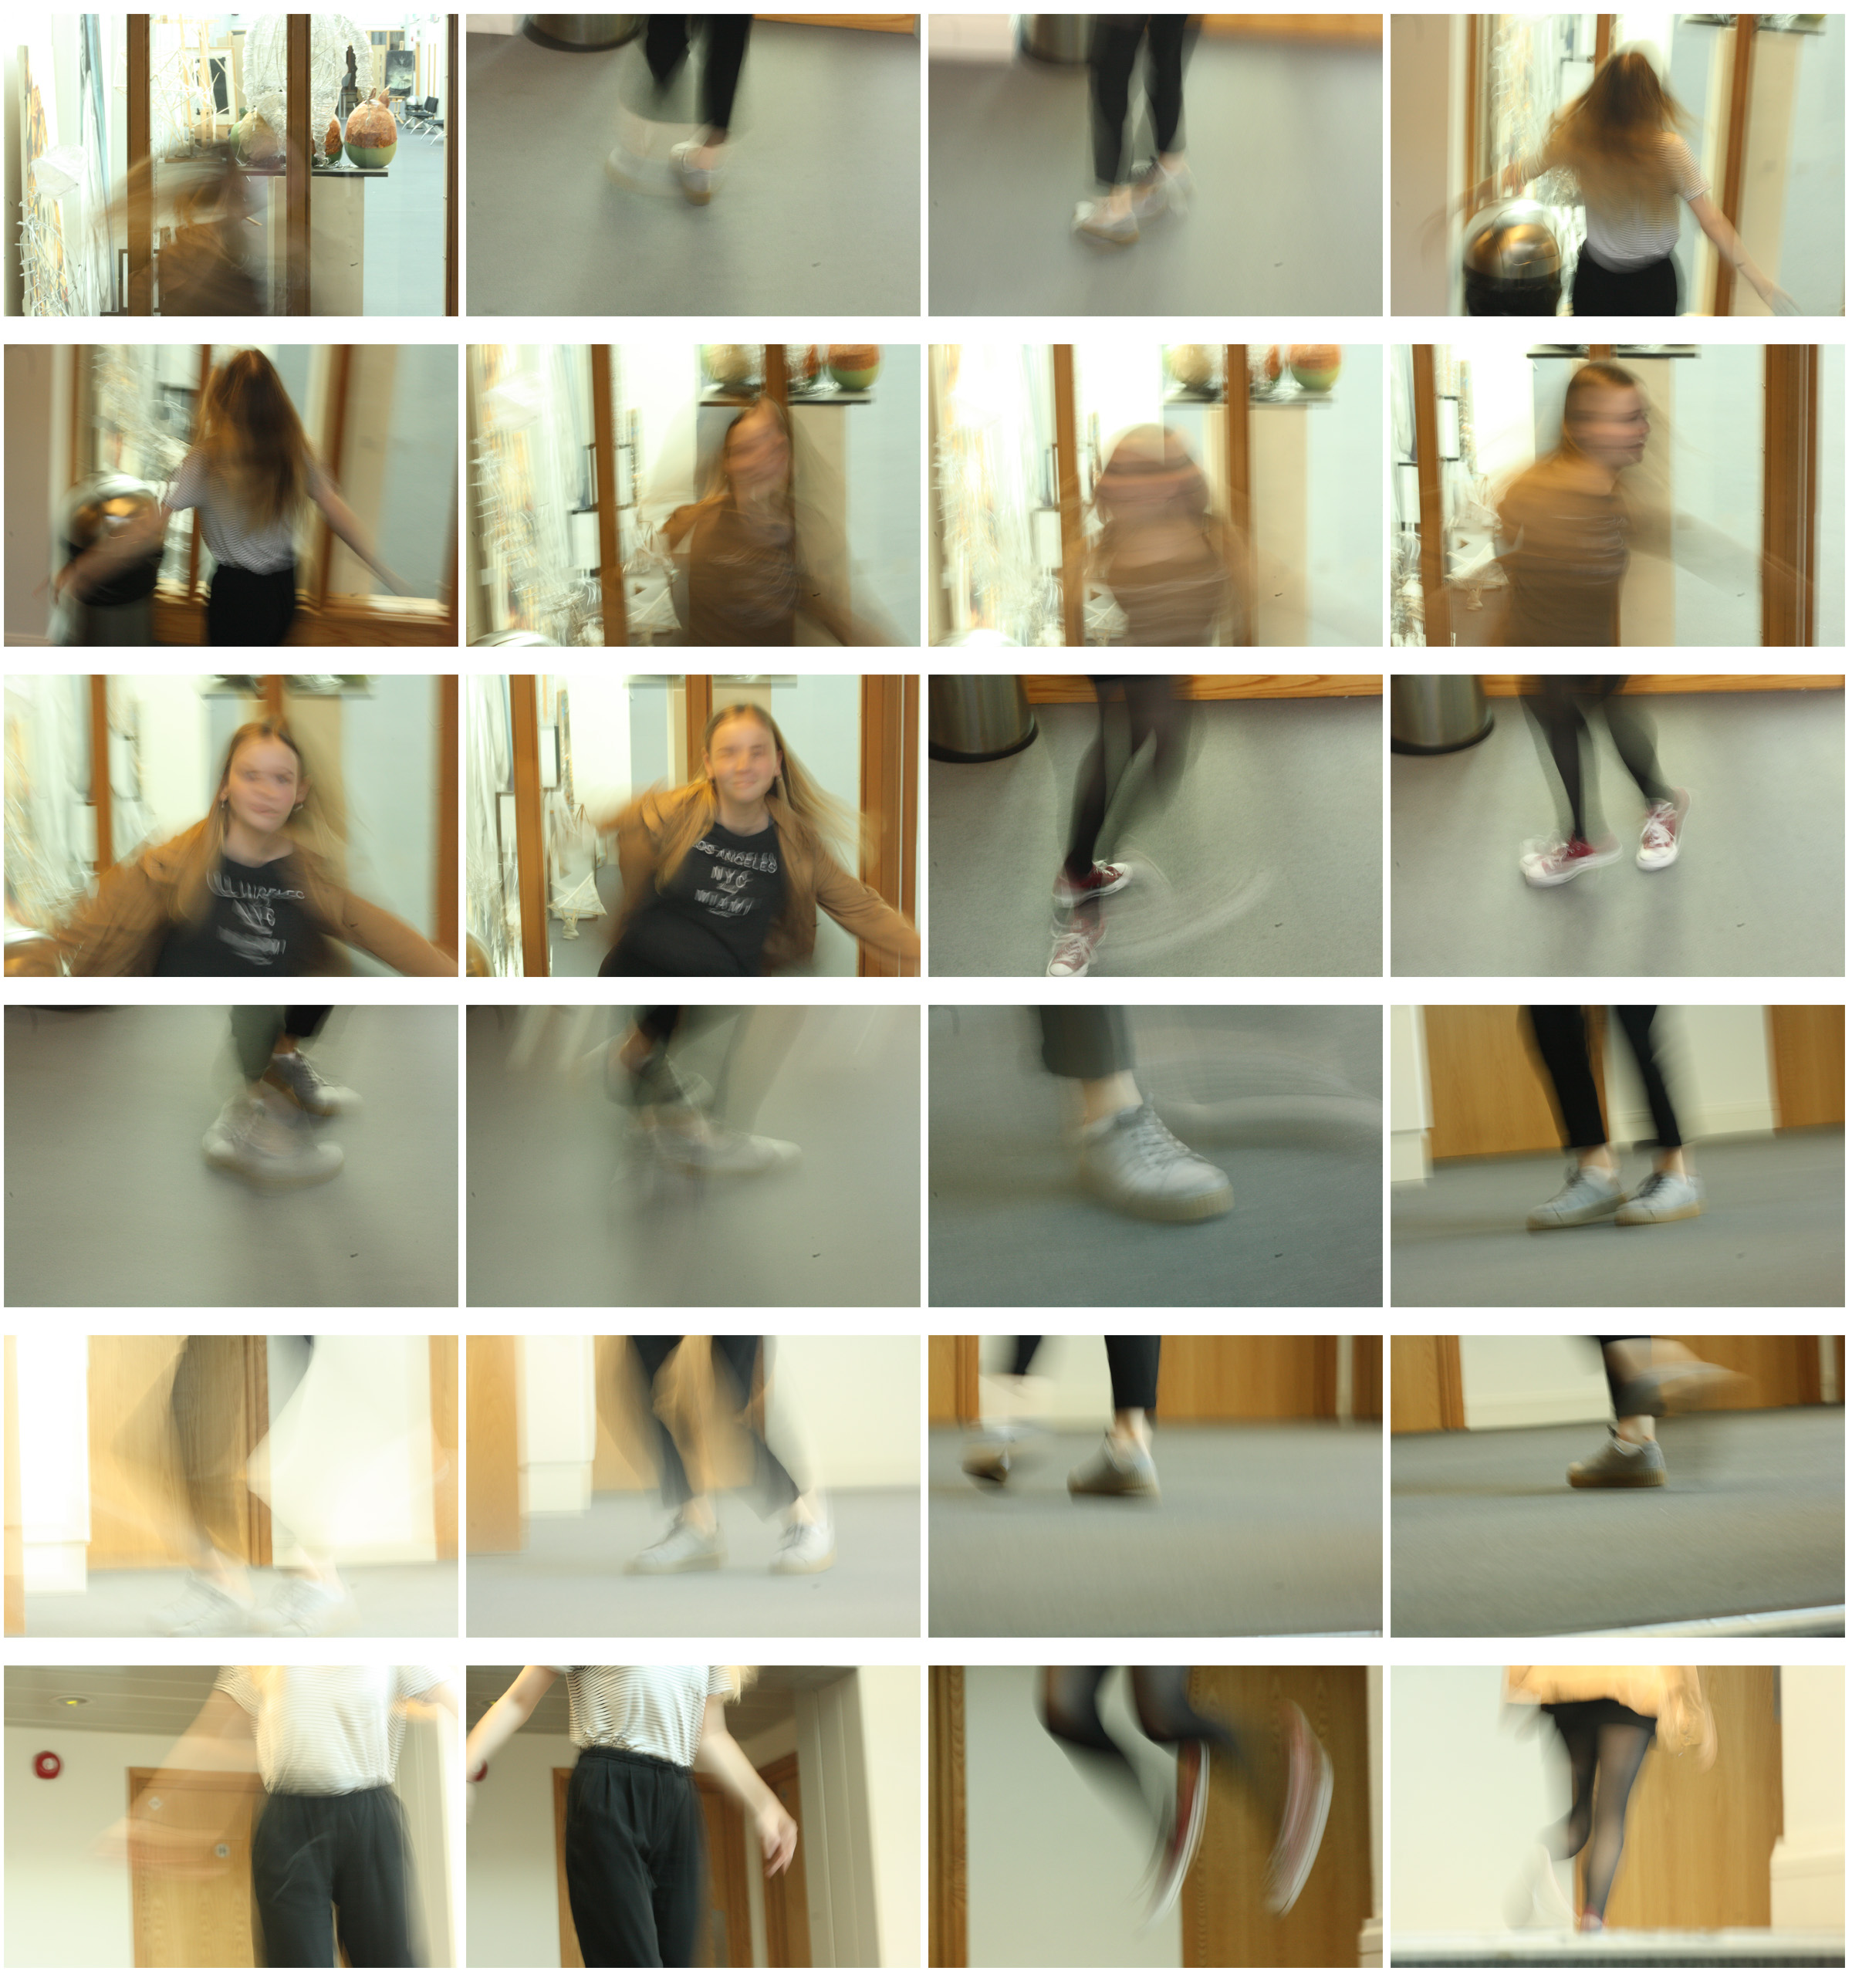
  2. Set the camera to manual settings. Use a slow shutter speed (1/60 or lower) if wanting to show some blur in the picture to display speed in the subject.

3.Use a fast shutter speed (1/125 or higher) if you need to capture a fast moving subject

My own examples:

Depth of Field

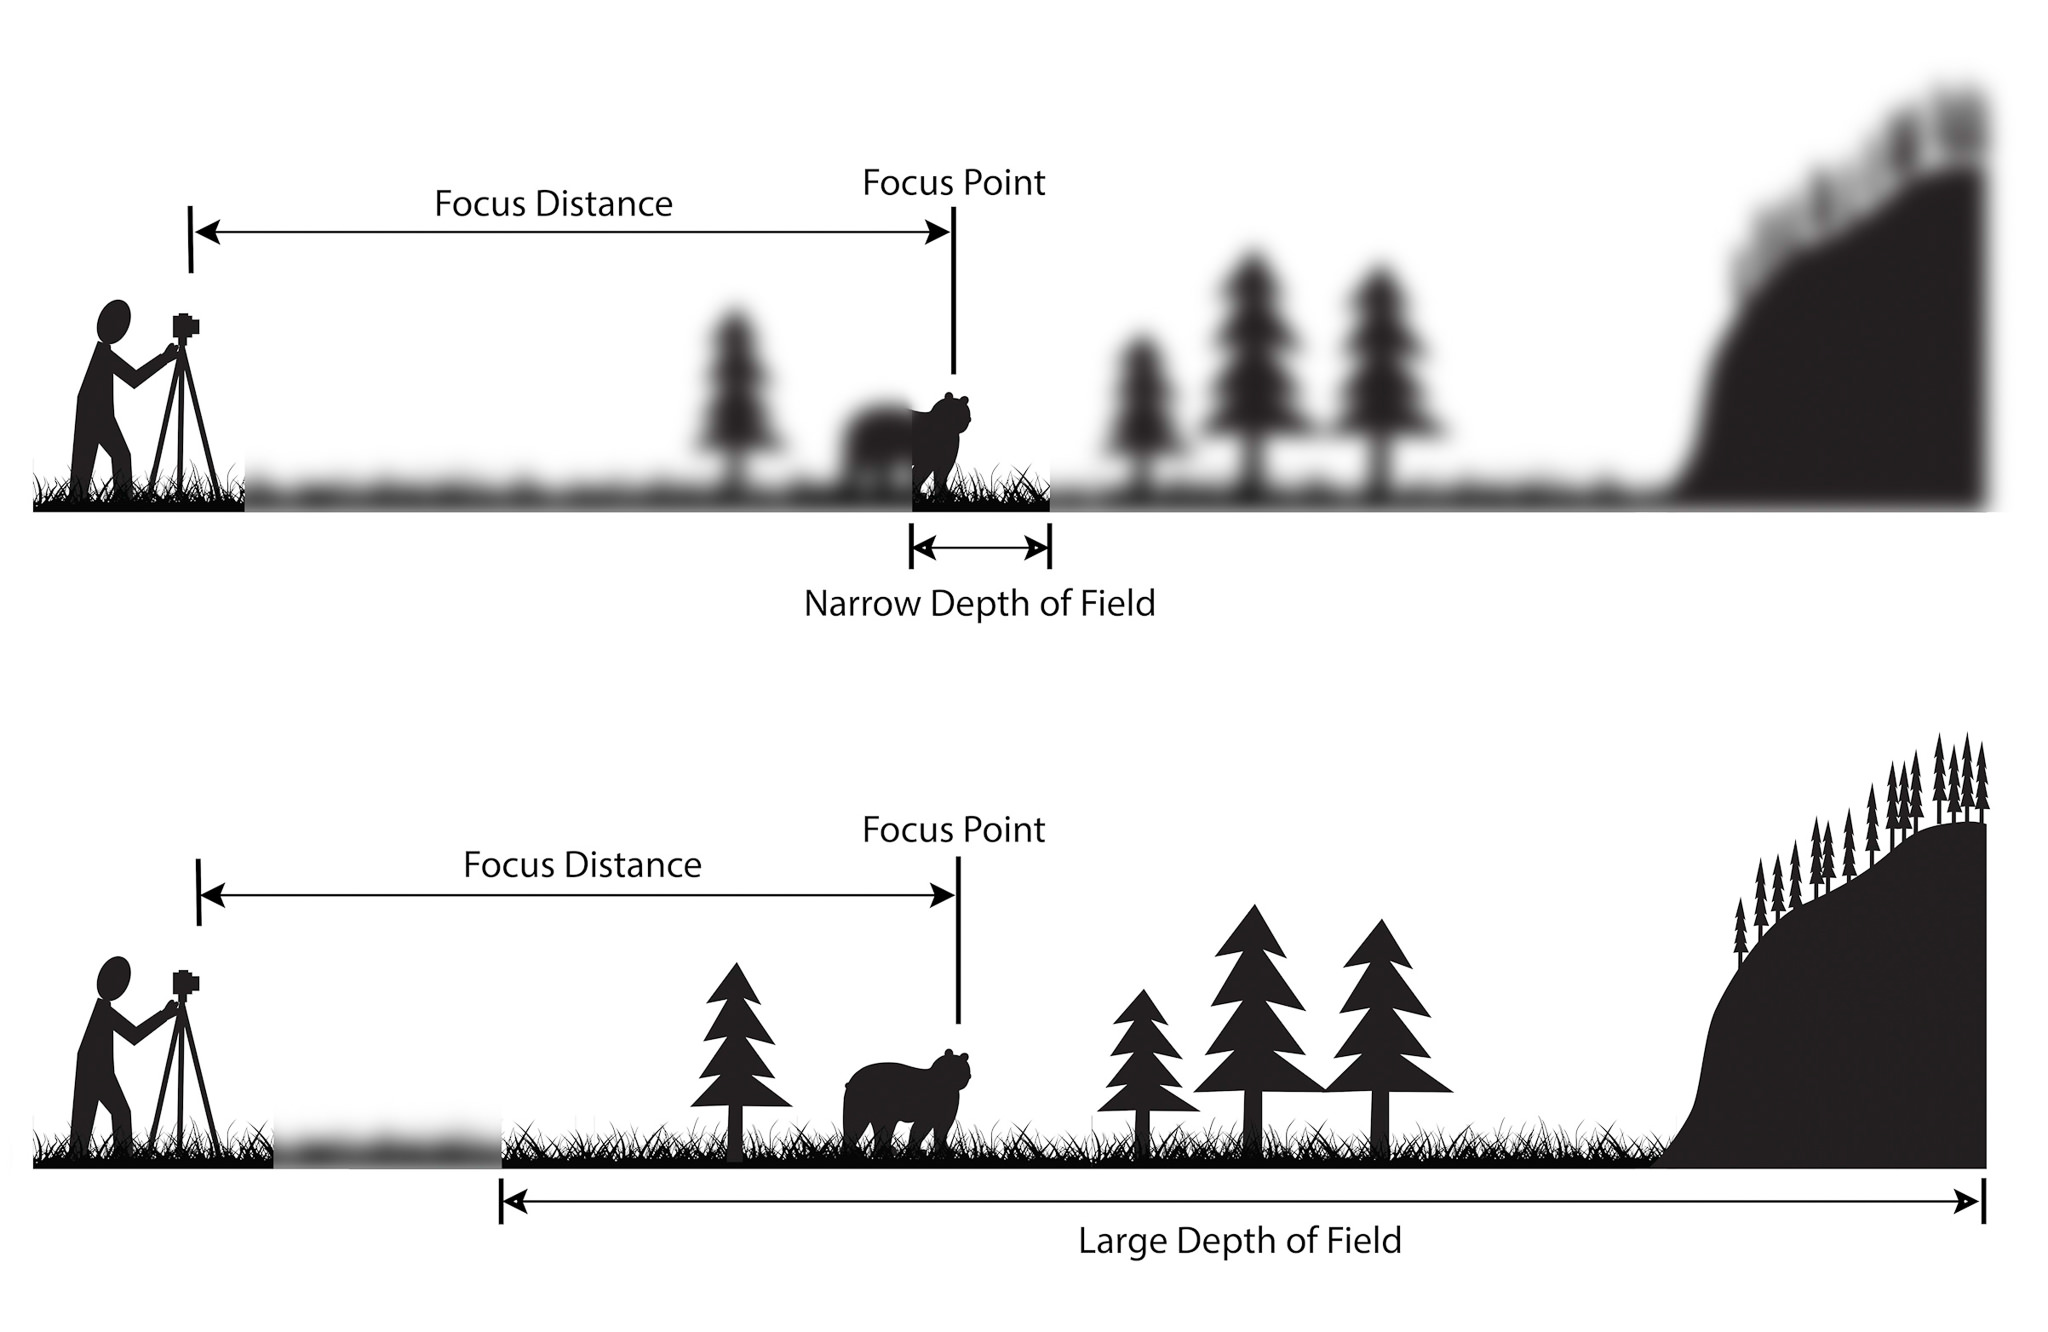
Depth of field is the zone of acceptable sharpness within a photo that will appear in focus. In every picture there is a certain area of your image in front of, and behind the subject that will appear in focus.Image result for depth of field

This zone will vary from photo to photo. Some images may have very small zones of focus which is called shallow depth of field. Others may have a very large zone of focus which is called deep depth of field.

Three main factors that will affect how you control the  depth of field:

  • aperture (f-stop),
  • distance from the subject to the camera
  • focal length of the lens on your camera.

Knowing how to make the parts of your image you want sharp and the parts you want to be out of focus, is a great artistic tool to create great images.

Image result for comparing depth of field

Shallow depth of field can be used in:

  • Wildlife photography- where you want the subject to stand out from its surroundings
  • Sports photography- where  you want to separate the athlete from the background to bring attention to them

Deeper depth of field can be used in:

  • Landscape photography- to get as much of the scene in focus as possible

Focal Length and Focusing

What is Focal Length?

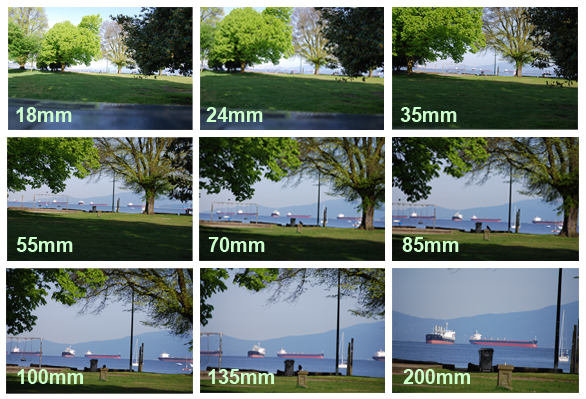
The focal length is the distance between the lens and the image sensor when the subject is in focus. The higher the number, the more zoomed your lens will be. The focal length measurement tells the photographer what the angle of view will be (how wide of an area is visible in the picture) and the magnification of far away objects in the photo.

For example:

Here is a website which explains the different focal lenses and what they are used for:

What Is Focal Length? (And Why It Matters in Photography)

How does manual focus differ from auto focus?

Autofocus is when the camera does the focusing for you based on the focal points you’ve chosen. If you are using full auto you won’t have much say in where your camera decides to focus.

When it comes to manual focus, no manipulation is necessary: The control is solely in the user’s hands.  It perhaps takes a little more patience, but if you like having total control over your images, it’s the better choice.

When can manual focus better than auto focus?

  • Macro work
  • Portraits
  • Shooting through glass or wire fence
  • Action
  • Low light

Switching to manual focus will give you complete control to enable this rather than having to line up the focusing points on your camera on the eyes prefocussing by pressing halfway down and then having to frame your shot.

http://www.peachpit.com/articles/article.aspx?p=2264647&seqNum=6

Zone System

The zone system is a technique formulated in the 1930s.

  • Capturing a correct exposure every time, even in the trickiest light or scene situations.
  • Having a precise evaluation of your scene’s tones and dynamic range prior to even making a shot.
  • Knowing when you need to use graduated neutral density filters.
  • Knowing exactly how far apart to take exposure bracketed shots for later blending.
  • Determining the situations where you need to use a fill flash to get a correct exposure.

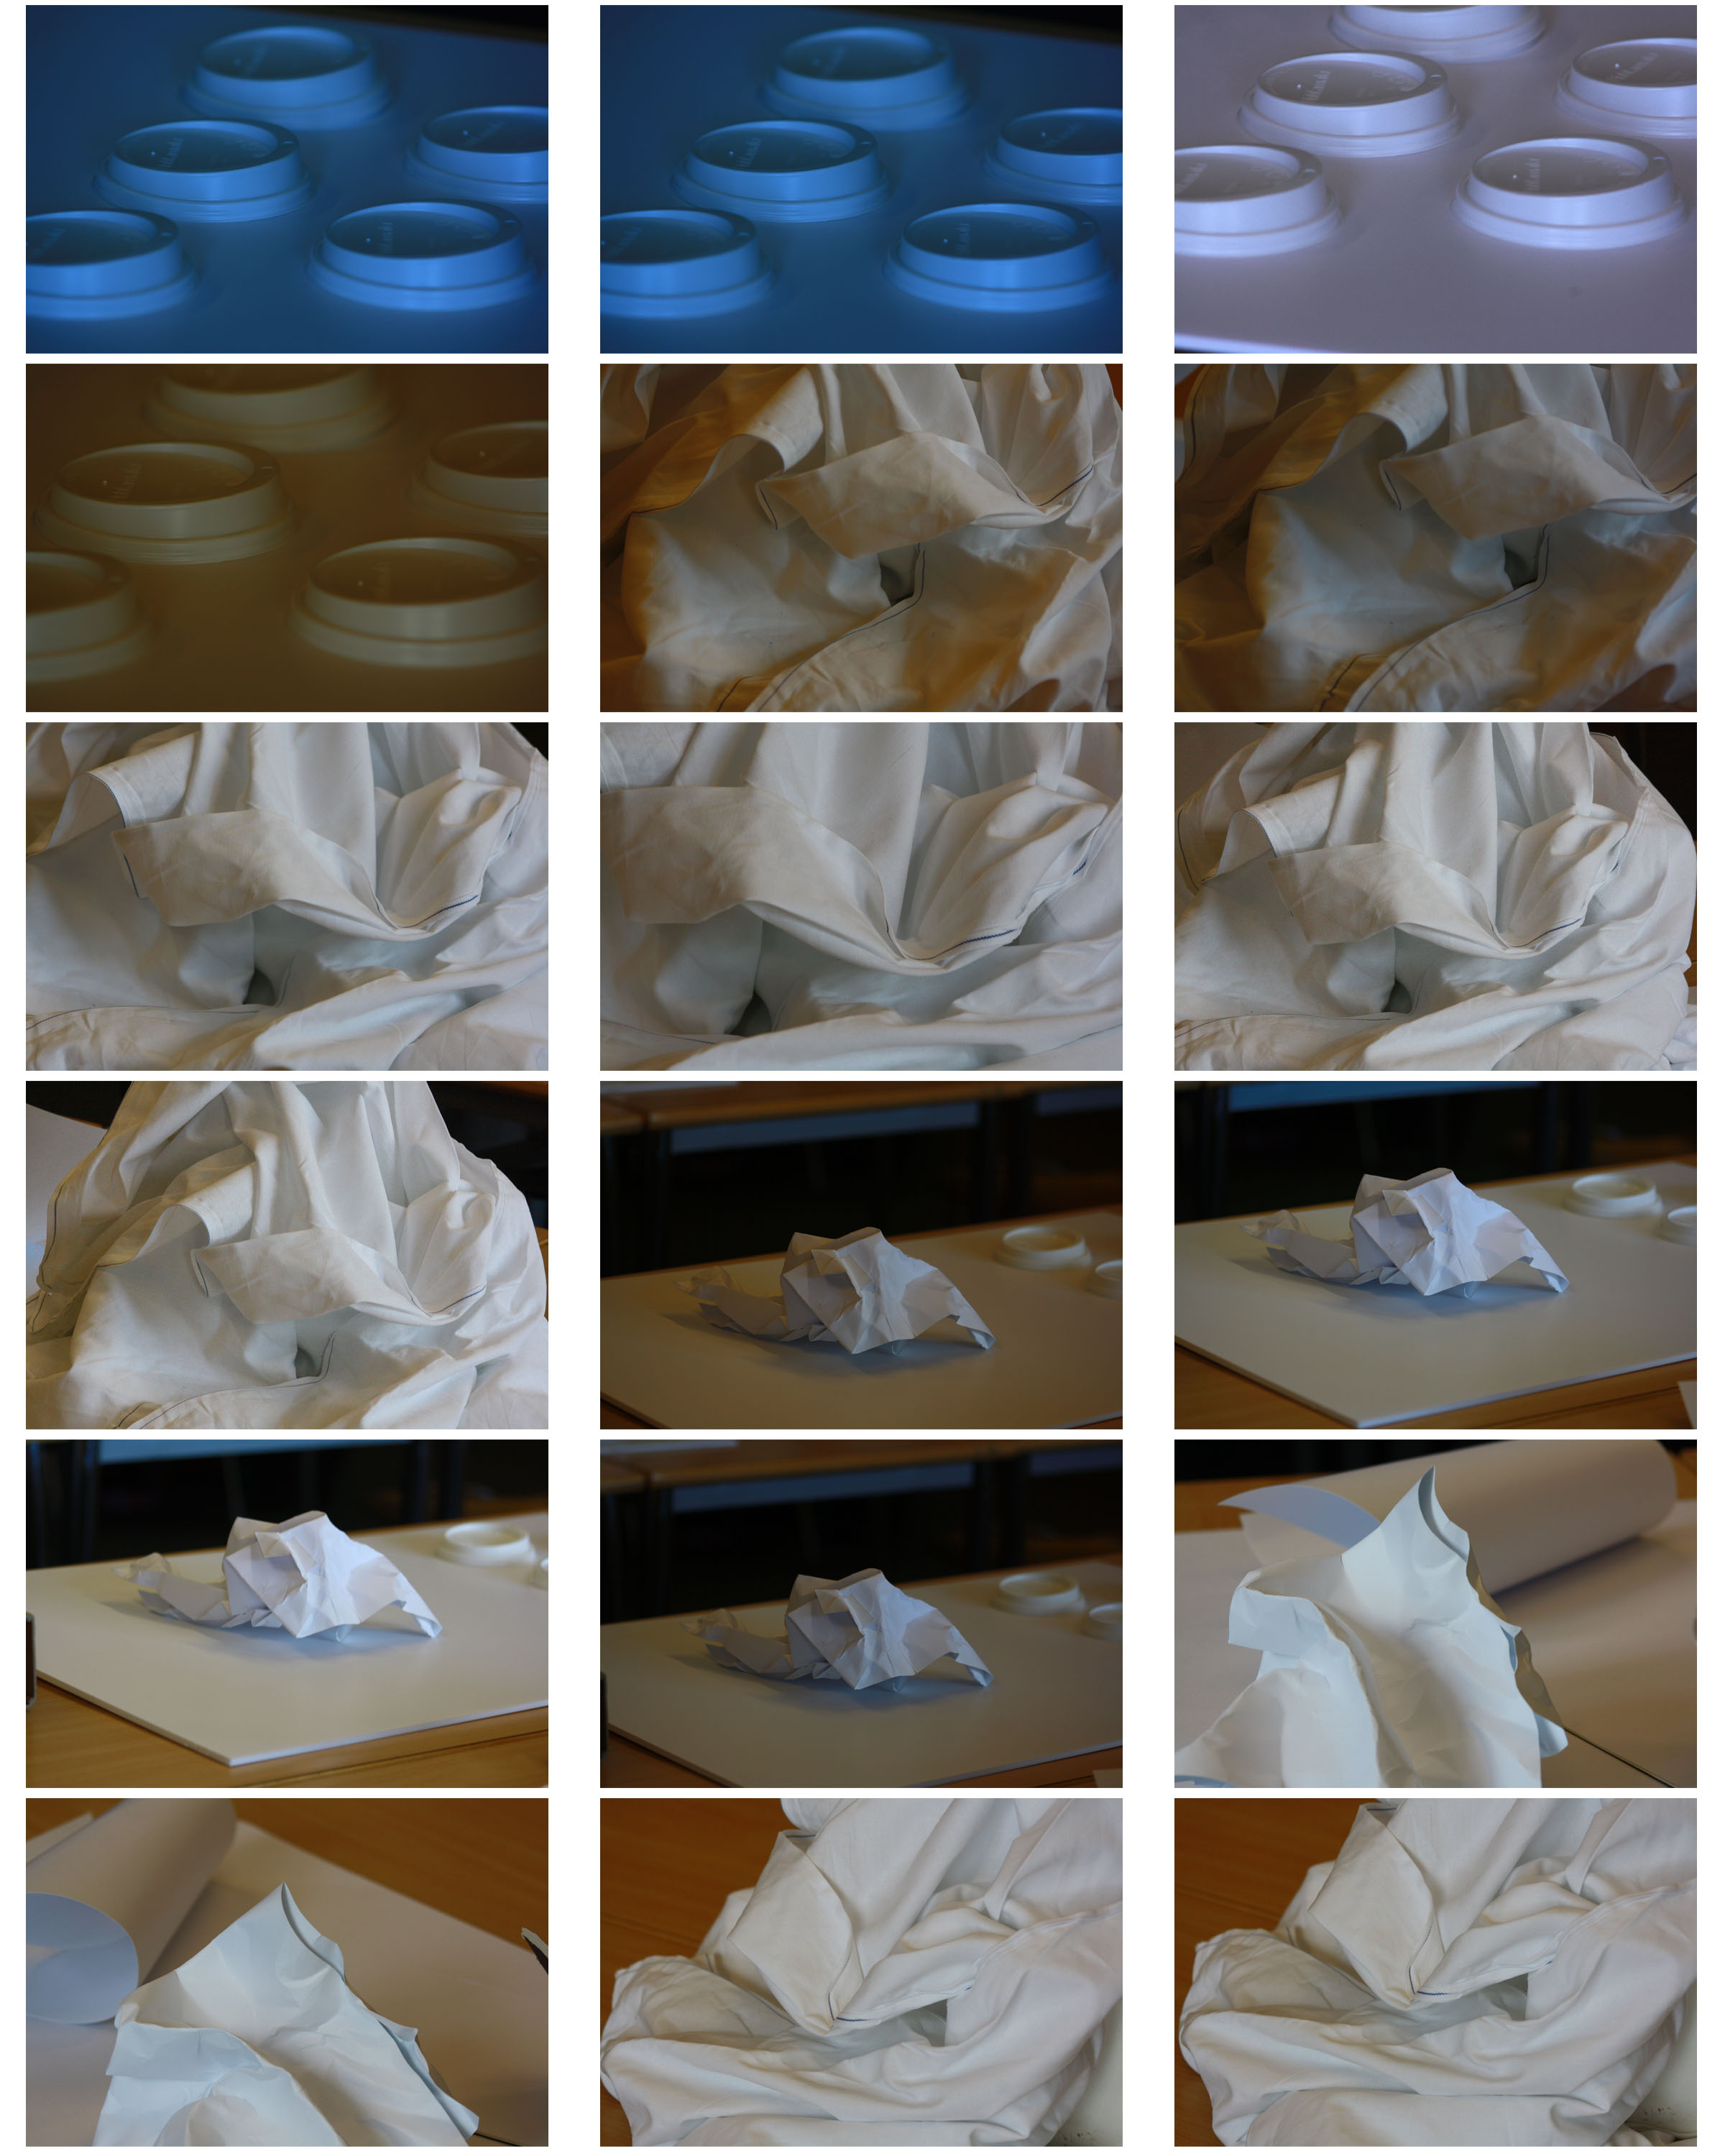
Taking inspiration off of Ansel Adams, I tried to I incorporate all the different tones, from the darkest to the lightest, to make the photograph more interesting. The darkest point of the photograph is the middle towards the front of the photograph, showing black, whereas the lightest point is the top of the creased paper facing the natural light.

Homework-1

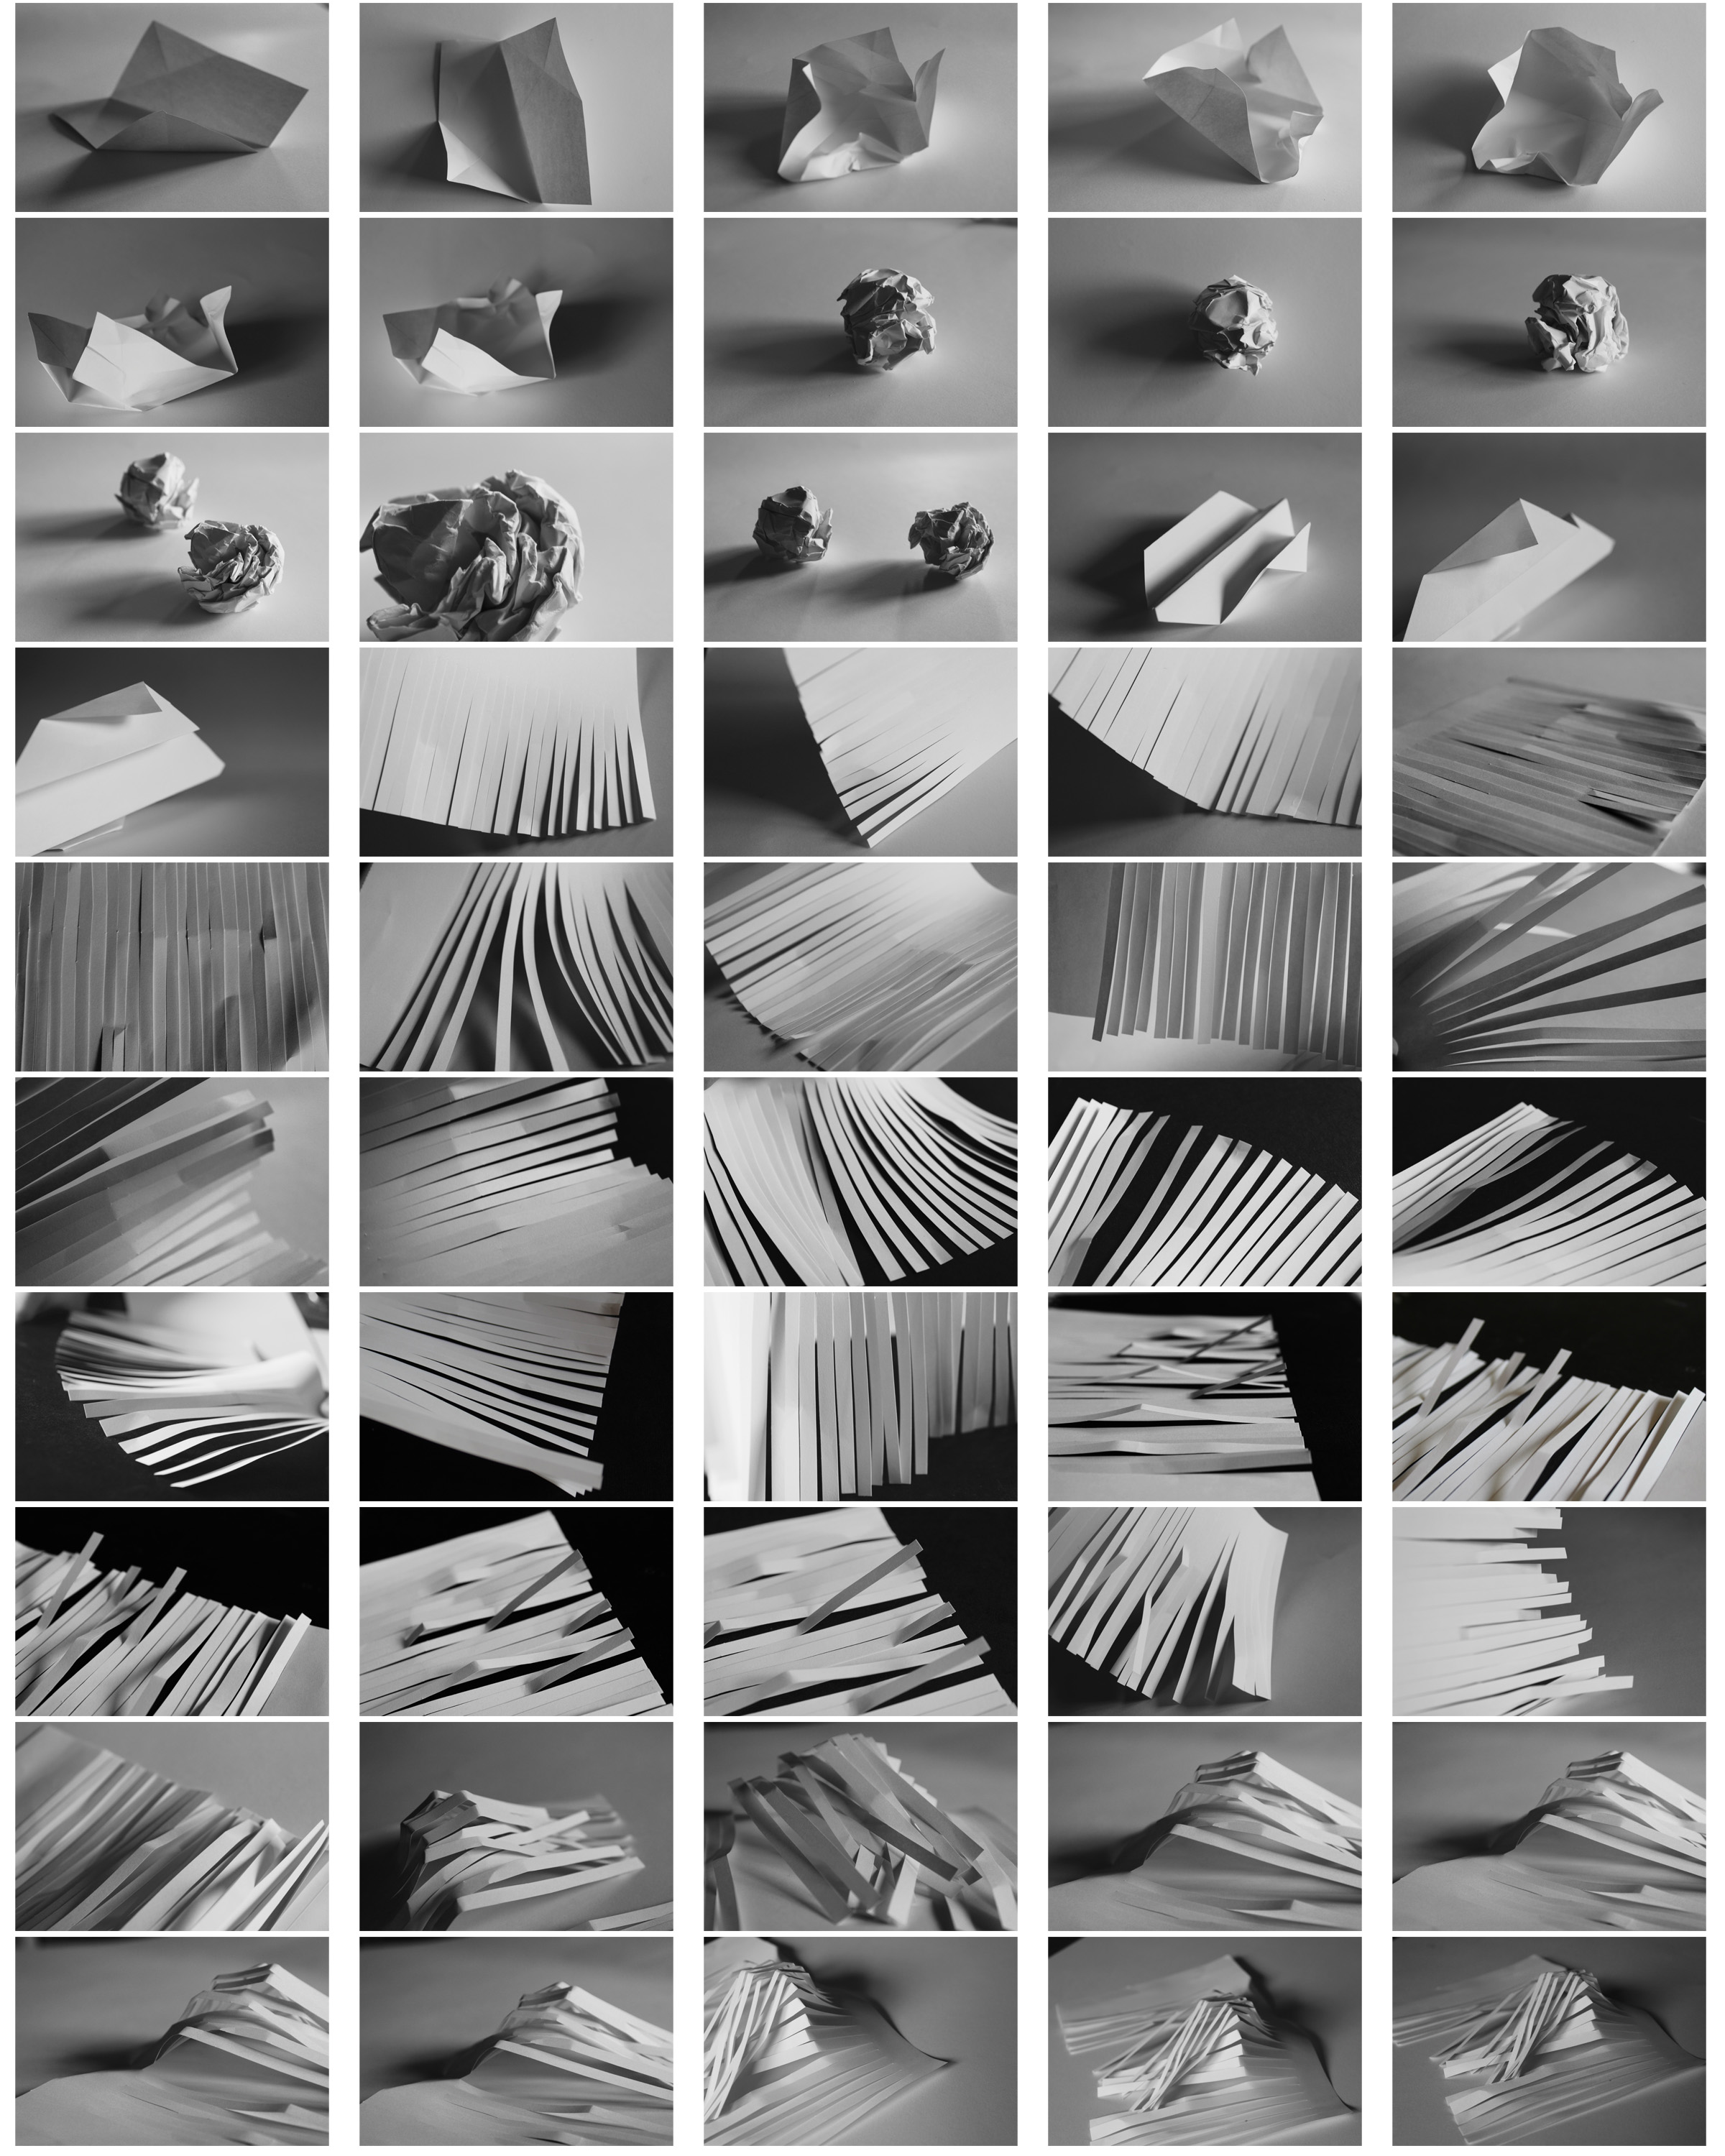
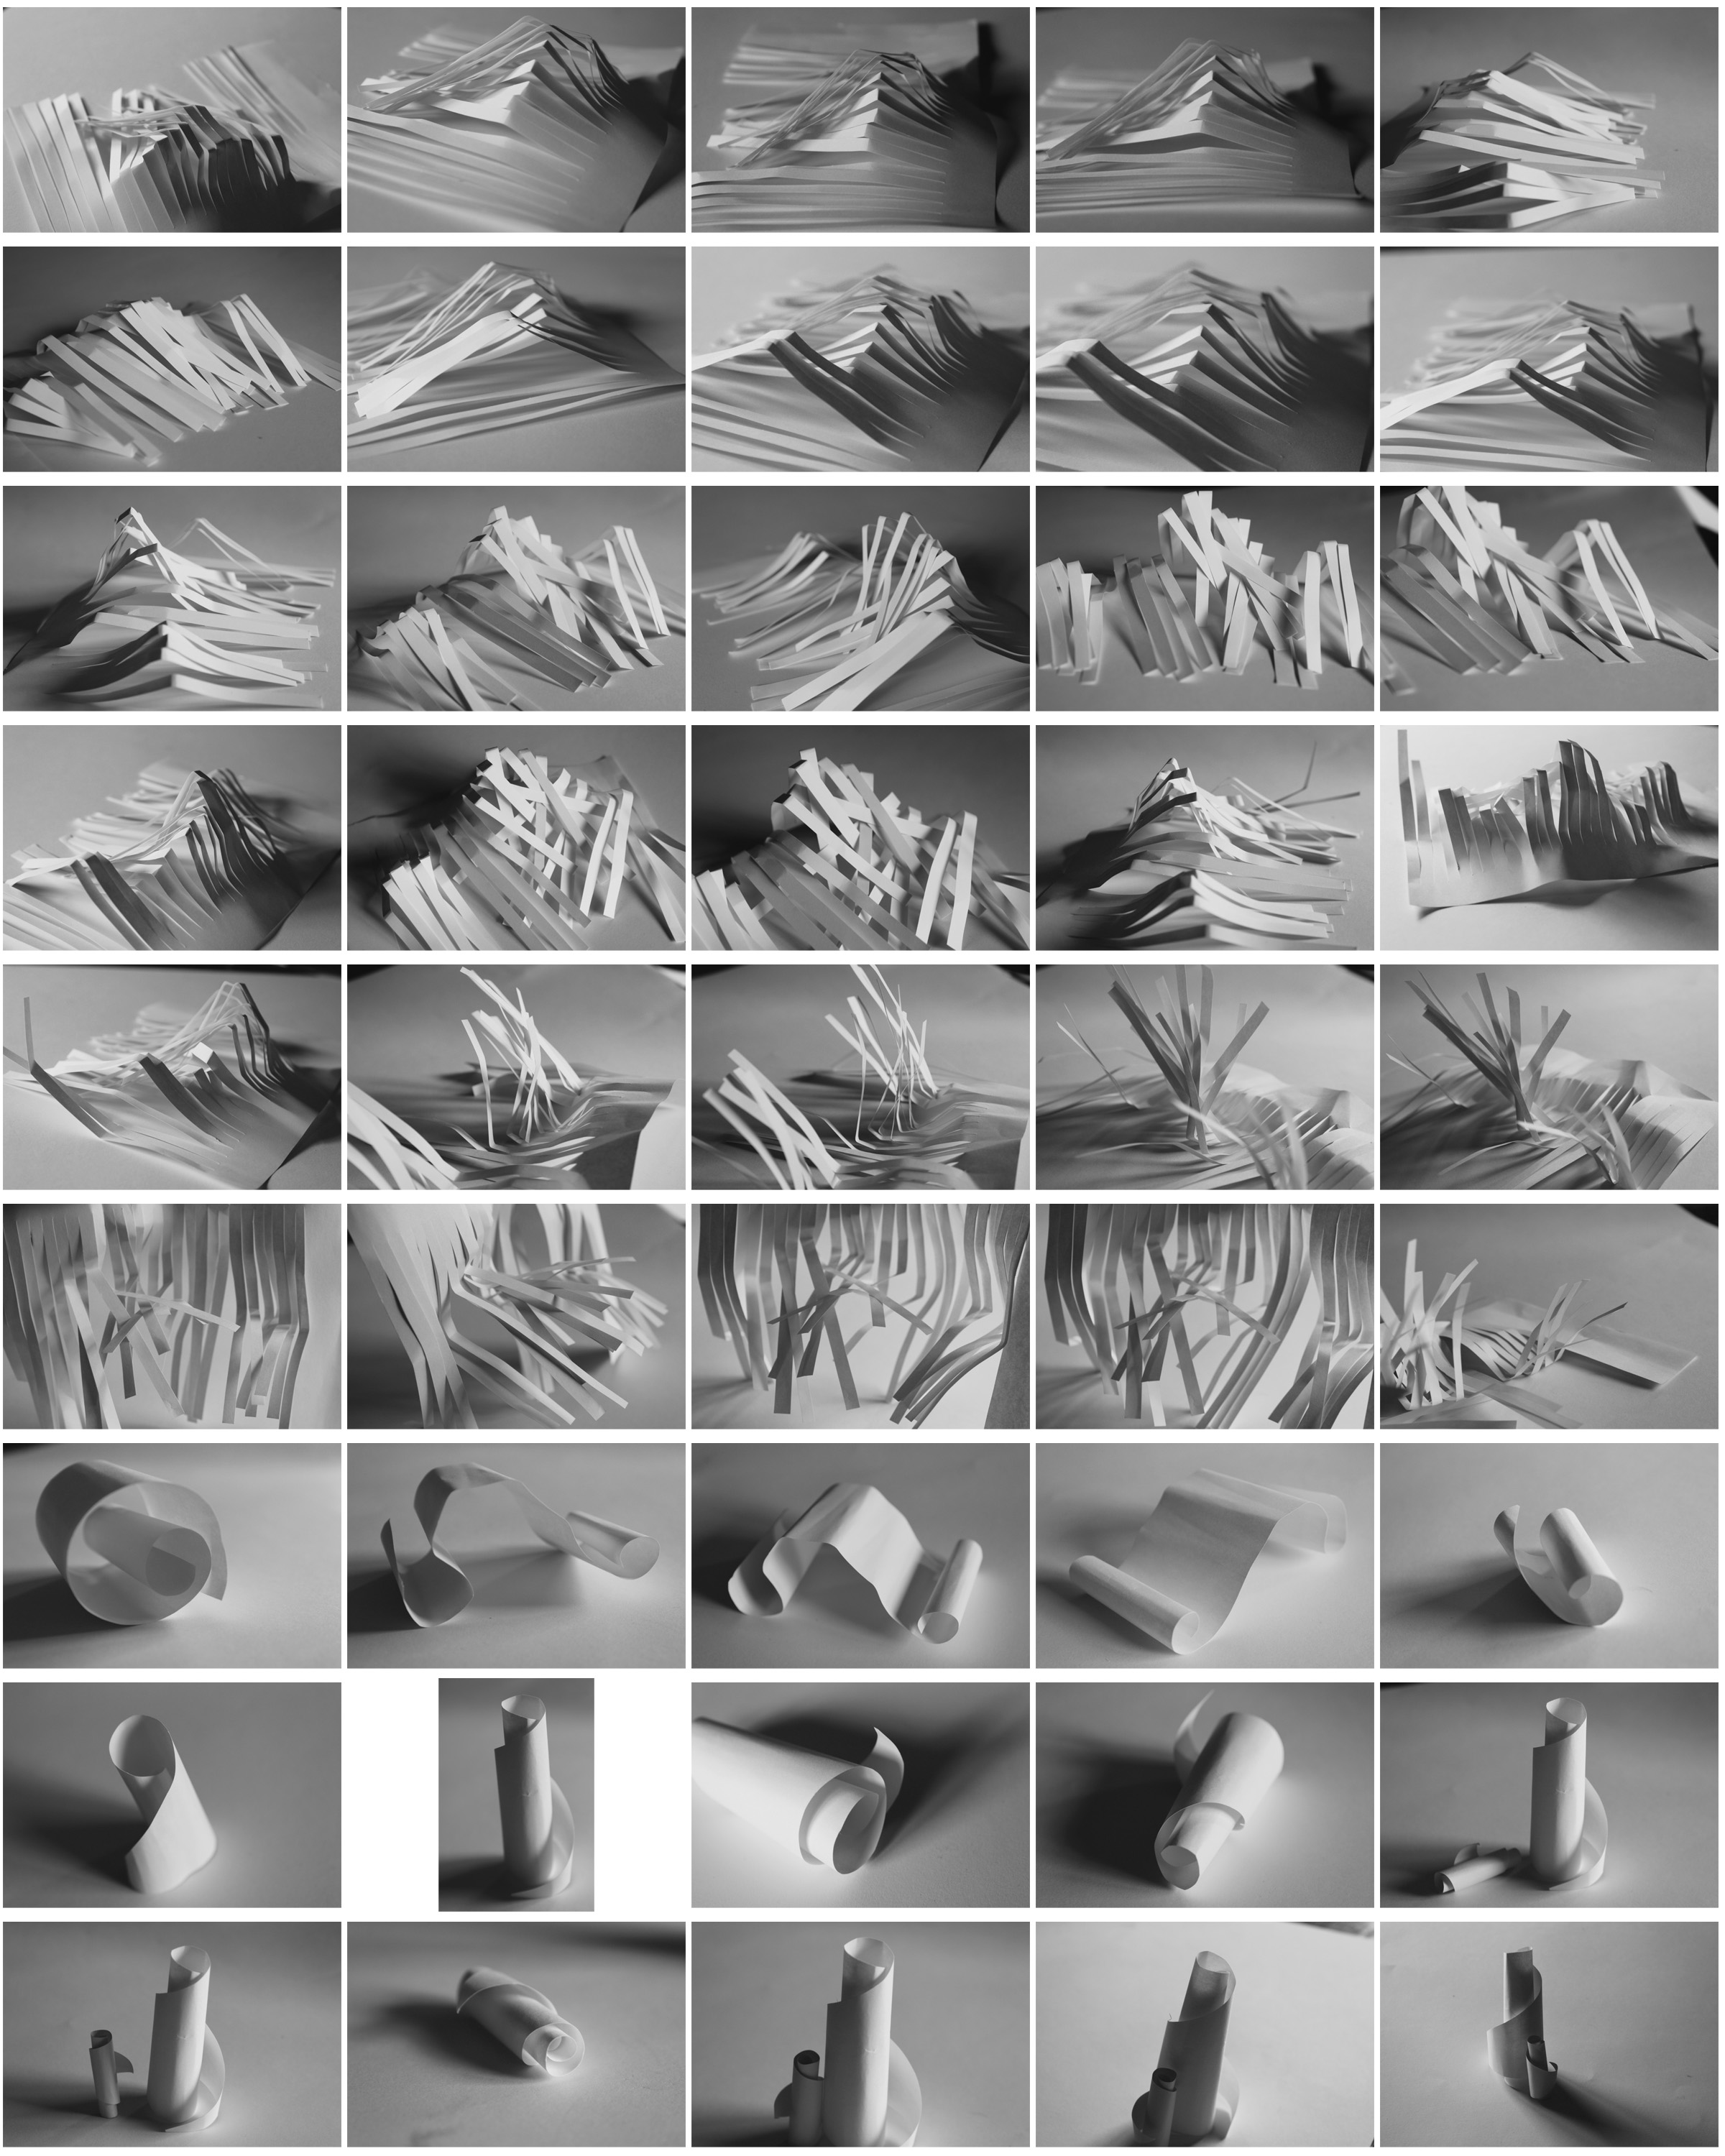
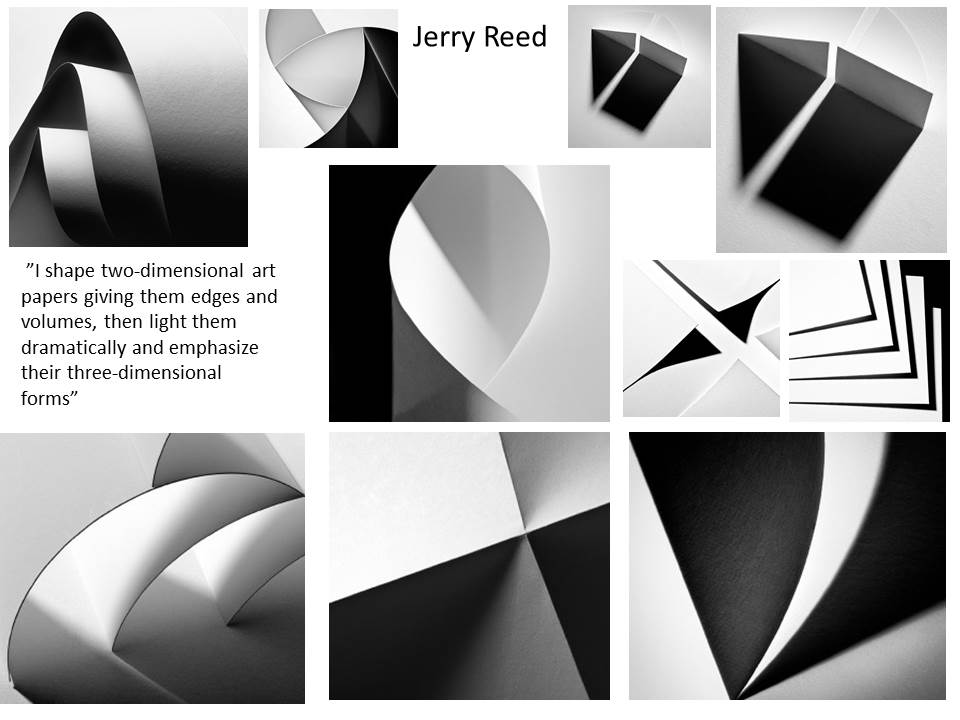
I have taken inspiration from Jerry Reed and Jaroslav Rössler as they show lines, repetition and tones  effectively. I used folded and cut paper to create shadows and effects like them.

I chose my favourite photo from the photoshoot:

I especially like this photograph out of the shoot as i think it demonstrates shadow, line and repetition well.  I cut the piece of paper into strips to show repetition and bent it to create edges to show shadows and tones. This photo is a good demonstration of Ansel Adams zone system. The middle right area has the darkest tones of grey and the bent paper at the top is the lightest as the natural light is coming in from the left side. I arranged the strips purposely in an uneven way to make the photograph more interesting to look at. The way it is arranged could be interpreted as resembling a mountain because of the irregular heights at which the pieces of paper are placed. The focus point of the photograph are the creases of the paper, that being the main subject of the photo. The photo gradually becomes more out of focus towards the outsides of the photo and the right middle side is so out of focus that it is blurred so you cannot see where the paper ends.


ISO

ISO measures the sensitivity of the light sensor,  which is responsible for gathering light and transforming it into an image. The lower the number the lower the sensitivity of the film and the finer the grain in the shots you’re taking. In darker situations a higher ISO setting is used to get fast shutter speeds.

ISO Speed Example:
ISO 100 – 1 second
ISO 200 – 1/2 of a second
ISO 400 – 1/4 of a second
ISO 800 – 1/8 of a second
ISO 1600 – 1/15 of a second
ISO 3200 – 1/30 of a second

The ISO sequence is: 100, 200, 400, 800, 1600, 3200, 6400 and etc. Each step between the numbers effectively doubles the sensitivity of the sensor.

Creating a Contact Sheet via Adobe Bridge

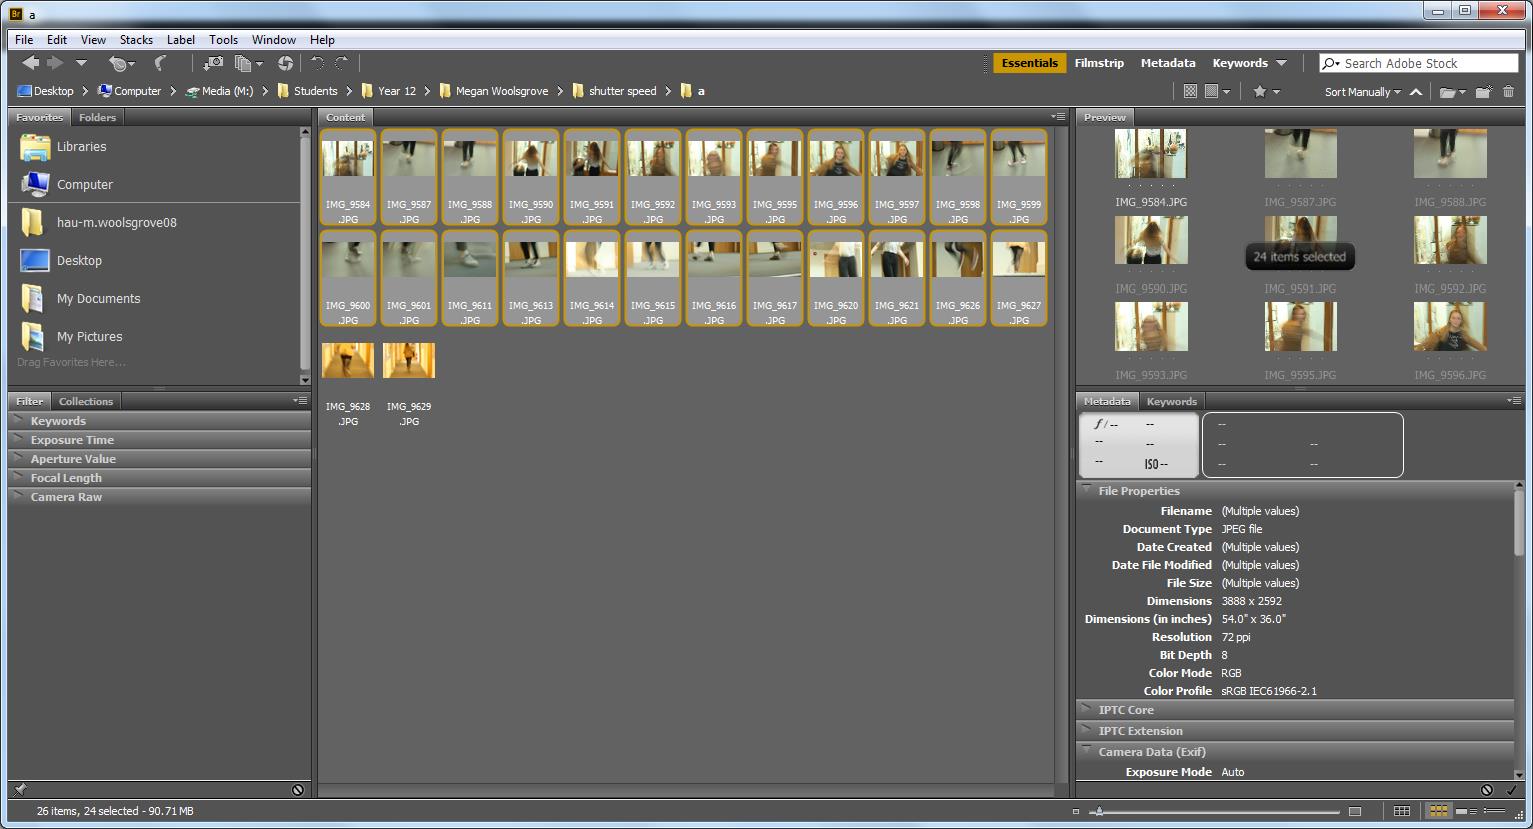
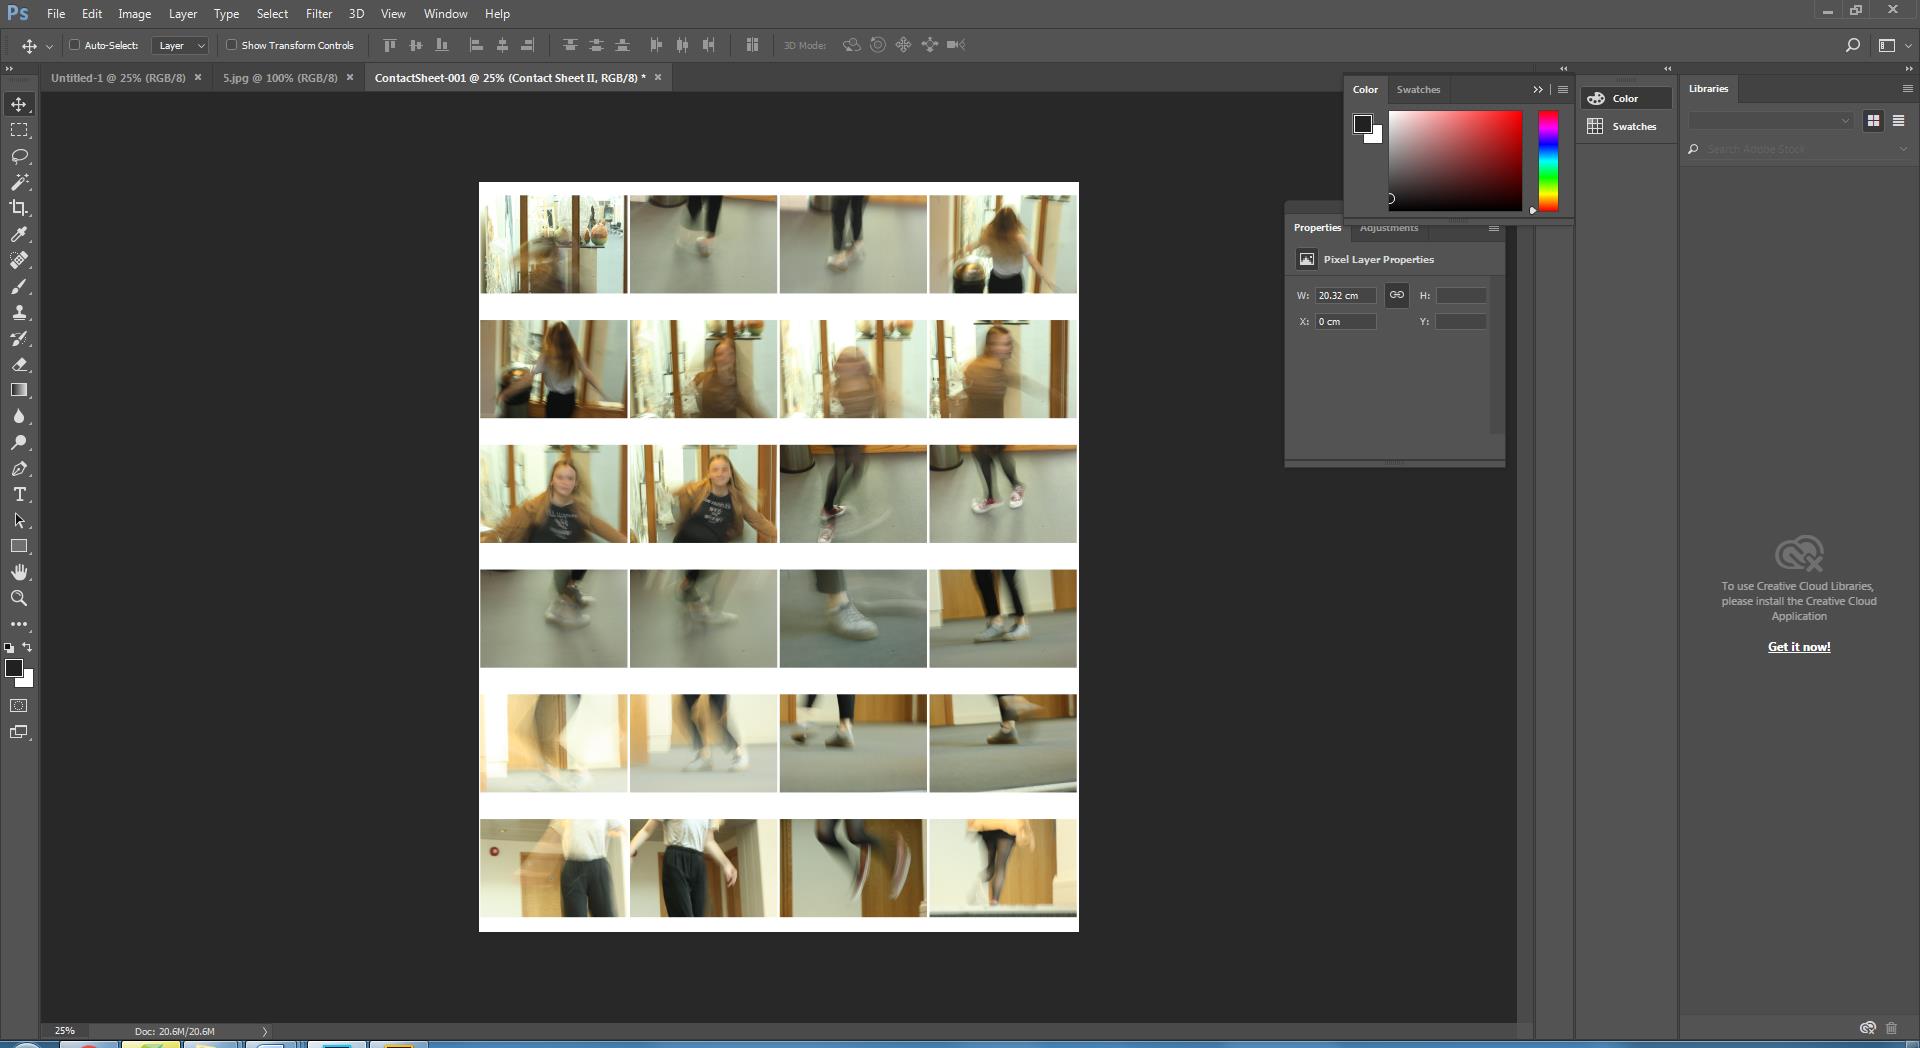
A contact sheets allows you to see all the photos from a shoot displayed together at once.  Its an arrangement of multiple, small, same size images on a single page. That allows you to see all images at the same time making it easy to identify the best photographs taken. Creating a contact sheet on a software like Adobe Bridge is easy as its a simple matter of selecting the images that you want to include and then transferring them to Photoshop. Then selecting a table with the correct number of rows and columns, depending on how many photos you have. The best advantage of a contact sheet is that it gives your clients an opportunity to look at the photos before they have ordered them.

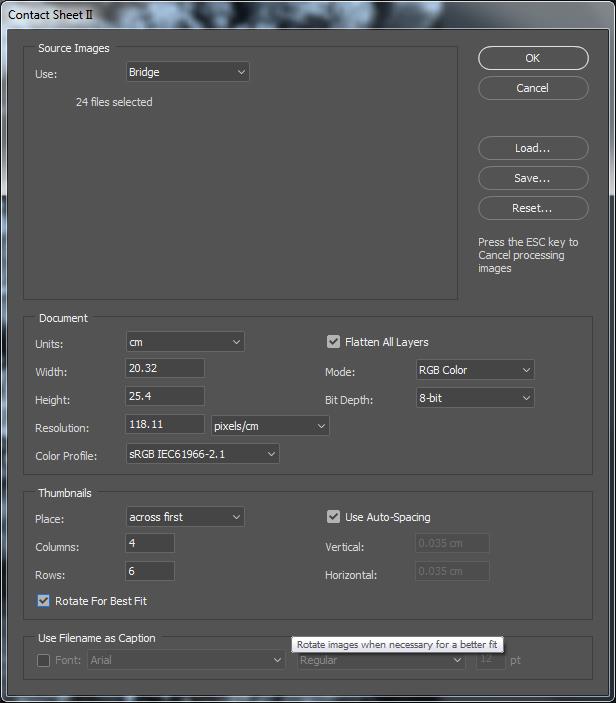
1.Select the photos you want to use in Adobe Bridge- Go to tools- Photoshop- Contact Sheet II

2. Select the number of columns and row you want

Your contact sheet is created in photoshop.