All posts by Julia L

Filters

Author:
Category:

The Exposure Triangle

The exposure triangle is a common way of associating the three variables that determine the exposure of a photograph: aperture, shutter speed, and ISO.

Aperture: the size of the opening in the lens when a photo is taken. The opening controls how much light can enter your camera at once.

Shutter speed: the amount of time that the shutter is open. This amount of time controls the amount of time that light is allowed to hit the sensor.

ISO: the sensitivity of the photographic medium to light. In film cameras, this refers to how sensitive the film is to light and in digital cameras, it refers to how sensitive your camera’s digital sensor is to light. More sensitivity to light means less light is needed for a good expose of a photograph.

These 3 elements are tightly related. A change in one of the elements will impact the other two.

This means that each of the 3 elements is dependent on one another in order to come up with the correct exposure. Your camera has a light sensitivity level that is set by the ISO setting. To get the correct exposure, the lens opening needs to be adjusted to control the volume of light entering the camera. Then the shutter is opened for a certain period of time to allow the light to hit the sensor and record the image. Coming up with the correct exposure means combining the right blend of aperture, shutter speed and ISO settings.

Depth Of Field

By changing the aperture in the lens, you can make the resulting picture have more of the picture in focus from near to far, or you can limit the picture’s focus in one place.

  • At ƒ1.8, the focus point will be much more defined with things in front of and behind the subject becoming softer looking further from the subject they are. This is a very nice way to bring attention to the subject.
  • At ƒ22, the focus will seem to be sharp from very close to the camera to pretty much infinity. This is great for giving a sense of the place you shot the image, or for including many people in the image and keeping everyone clearly in focus.
    f10
    f8

    f6

Adobe Bridge – Basic Image Adjustments

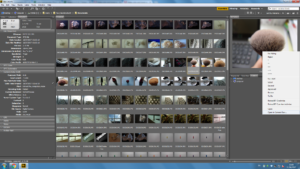
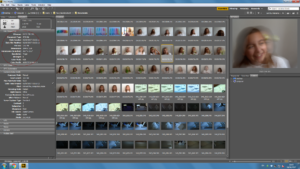
Adobe Bridge allows the user to quickly edit photos without the use of Photoshop, I’ll explain the functions and features of the process below.

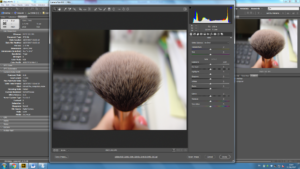
After choosing you desired photo, left click and select “Open In Raw Camera”.
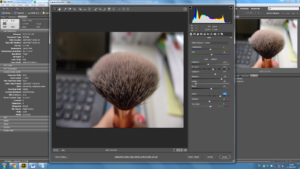
In the top right corner there is a histogram; a common way for adjusting an image is to spread out the pixel values more evenly from left to right on the histogram, instead of having them bunched up at one end or the other.
You can use the sliders to quickly adjust the different characteristic of the photograph, you can also manipulate the shape of the histogram – which corresponds to the different sliders. When you’re finished, simple press ‘save’.


Shutter Speed

What is it?

While Aperture is responsible for controlling how much amount of light passes through the lens, the Shutter Speed is responsible for controlling the length of time that the light is allowed to hit the camera’s sensor.

The shutter speed controls the amount of time that the shutter curtain is left open. The shutter speed gives you control over how motion is captured in your photograph.

Shutter speeds that are faster than your moving subject will create a photograph of the moving subject in a ‘frozen’ state. The photograph will come out with the subject being very sharp, in focus and seemingly in a stopped motion. You are basically capturing a split second image of the moving subject.

If, on the other hand, your shutter speed is slower than the moving subject then you will create a blurred image of your subject which generally represents a subject in motion.

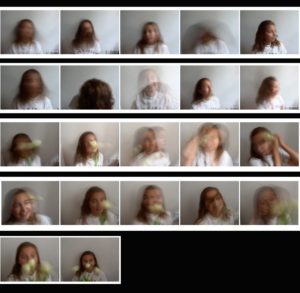
Experimenting with long shutter speed:


ISO / Lighting

What is ISO?

Generally, the ISO is the indication of how sensitive a camera is to the light around it.

It’s measured in numbers that are: 100, 200, 400.800 and 1600  (100 being the darkest outcome with the lowest amount of noise and 1600 being the brightest with larger amounts of noise/grain).

The lower the ISO number, the lower the sensitivity of the digital sensor to light (which means that more light needs to hit the digital sensor to get proper exposure). So, ISO 400 is twice as sensitive to light as ISO 200.

There are situations where the amount of lighting you are dealt with is not quite enough for your image. This is an indicator that you need to increase your ISO setting. Typical examples include:

  1. Low light conditions (indoors). In this case, the amount of natural light is not enough for your camera to get the correct exposure even with using the longest shutter speed and widest aperture without using a flash.
  2. Your subject is too far away for your camera’s flash to have any effect. To properly expose your photograph, you need to increase your ISO.
  3. Low light conditions (night). If you want to take photos at night, you will need to increase your ISO.

Experimenting With Different ISO:

White Balance

What is WB?

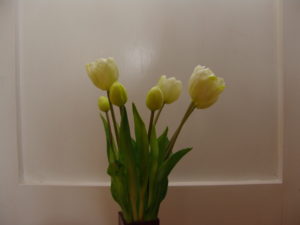
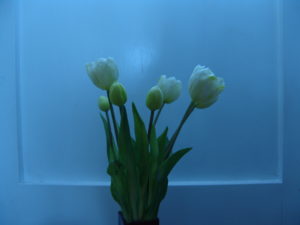
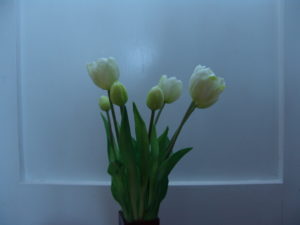
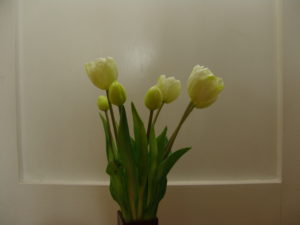
The White Balance (WB) determines how accurately the colors in your photos come out, specifically, it determines how ‘hot’ or ‘cold’ an image feels.

When do we need to adjust white balance?

Whenever you encounter a scenario where you wish to bring out certain colours or experiment with different hues and tones. Sometimes this process is automatic but not always satisfactory or pleasing to the eye.

Different types of White Balance:

Daylight

The camera adds warm tones to the sunlit subjects, it’s best for outdoor shots in normal sunlight.

Cloudy

As the name suggests, it is best used on a cloudy day, as you usually get more cool tones in the photos. This mode helps you achieve warmer tones in your photos.

Tungsten

This mode is used for light under a little bulb like tungsten, and it is often used while shooting indoors. The tungsten setting of the digital camera cools down the color temperature in photos.

Fluorescent

This mode is used for getting brighter and warmer shots while compensating for the cool shade of fluorescent light.

Shade

A shaded location generally produces cooler or bluer pictures, hence you need to warm up the surroundings while shooting shaded objects.


Auto

The Auto setting helps in adjusting the white balance automatically according to the different lighting conditions, but you can try other modes to get better results.


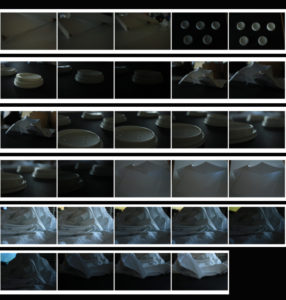
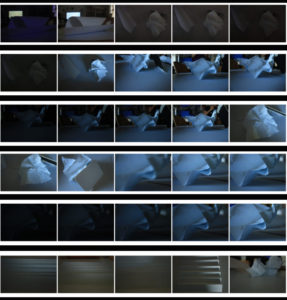
White Balance contact sheets:


Adobe Bridge – Metadata

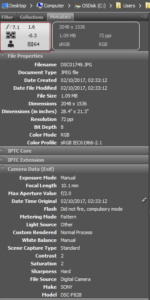
Metadata is a set of standardized information about a file, such as author name, resolution, color space, copyright, and keywords applied to it. For example, most digital cameras attach some basic information to an image file, such as height, width, file format, and time the image was taken. You can use metadata to streamline your workflow and organize your files.


Firstly the smaller white box refers to a quick overview of the selected photo; giving the user only the most important information about the selected photo, however, the panel below goes into more detail.

‘File Properties’ describes the characteristics of the file, including the size, creation date, and modification date.

IPTC Core displays editable metadata about the file.

  • The dimension of a digital photo  is expressed in terms of its pixels.
  • The resolution  of a digital photo is expressed in terms of “megapixels” which is total number of pixels in the photo.
  • We use the term ppi when referring to pixels on a digital camera or display device and dpi when referring to dots in printed output.
  • The focal length of the lens is the measure of how “zoomed in” your lens is.


Making Contact Sheets

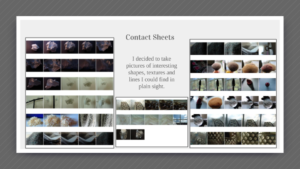
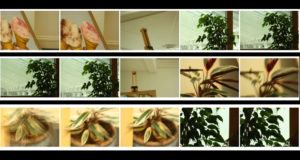
Contact sheets are a vital and visual way of showcasing the work done both in and out of lesson, they can be created and displayed in many ways; here is the way I find most appealing and suitable.

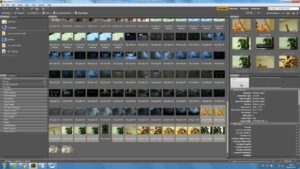
To begin, open up Adobe Bridge and import the desired photos into the ‘content’ section.
Select the photos you wish to use using Ctrl+Right Click On The Images then go to Tools<Photoshop<Contact Sheet II, this should open Adobe Photoshop in a new window.
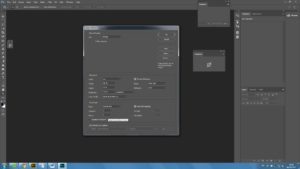
In Photoshop, you should be greeted with this window, from here you can adjust the amount of rows/columns desired and consequently, alter the final outcome.
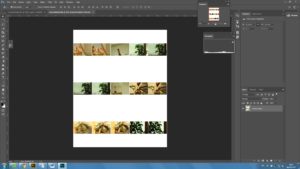
This is the outcome, I could choose to stop here and export the file as a png or jpeg or I could alter the background and spacing manually.
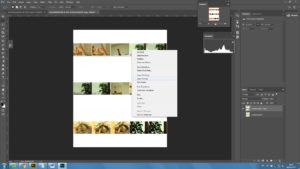
By using the Rectangular Marquee Tool, I select the row of photos and Layer Via Cut (what this essentially does is separate the rows into layers that I can alter and move). I repeat the process for the remaining two.
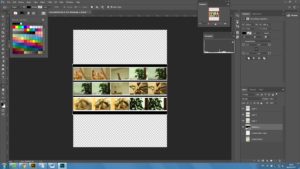
I then moved the layers closer and, using the Rectangle Tool, created a shape layer that serves as a black background.
This is the final product, although it’s not much different from the original contact sheet the colour of the images is much more vivid and they look much more presentable.

Normally, after contact sheets are created favourite photos are selected and taken to the next stage. Contact sheets are helpful with this since you can compare and discriminate between many images at a time.