


All posts by Julia L
Filters
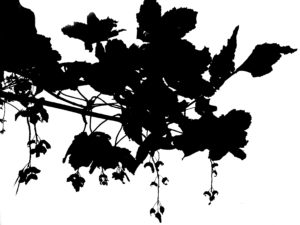
High Contrast Imagery (Threshold)
Keld Helmer-Petersen was born in 1920 and had died in 2013. He was a Danish photographer famous for his coloured photography work, he also created images in purely black & white that are included in his book “Black Noise”. Petersen used a very high contrast to achieve the unusual look. Often, the photos are so highly contrasted that the subject was hard to make out.
Below are some photos from Petersen’s “Black Noise” and “Back To Black”:
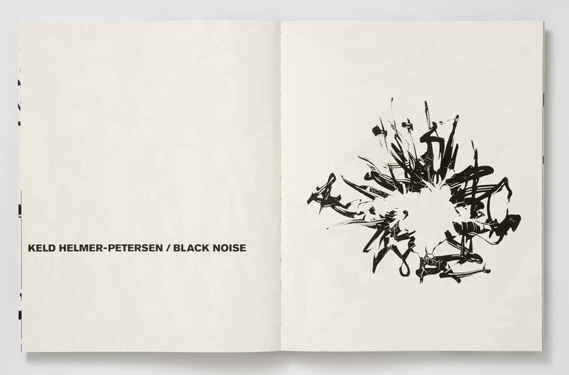
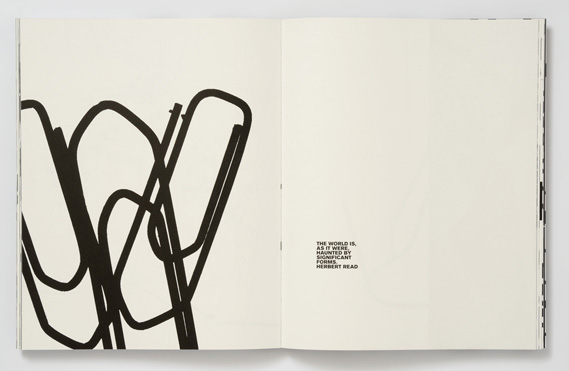
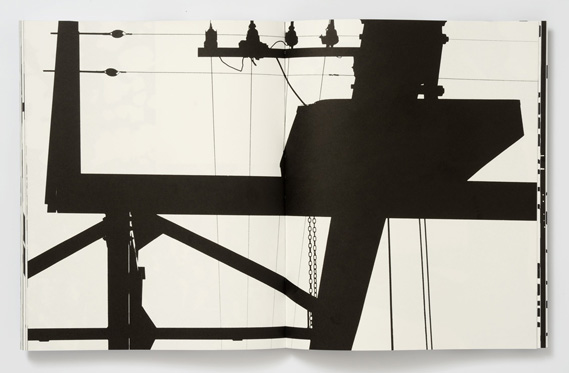
The photos are very minimal but are still able to capture the viewer’s attention; overall, they are highly successful in my opinion. The ability to tell what the subjects is differs in each photo; it’s a lot easier to guess what the original photo is of in the last image than the first. They are all pleasing to eye due to their simplistic nature and the lack of chaos creates an almost serene atmosphere.
Experimenting with High Contrast Black & White Photography:
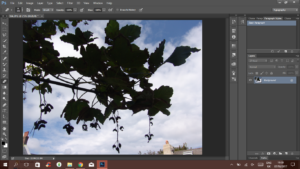
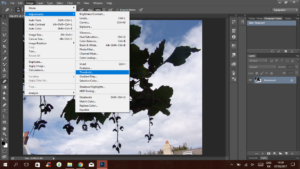
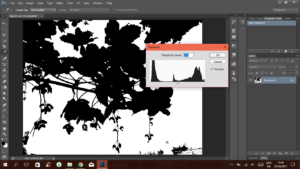
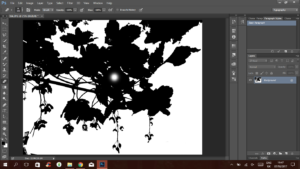
Side By Side Before vs After Image

Homework Task 04 – Texture


Formal Analysis
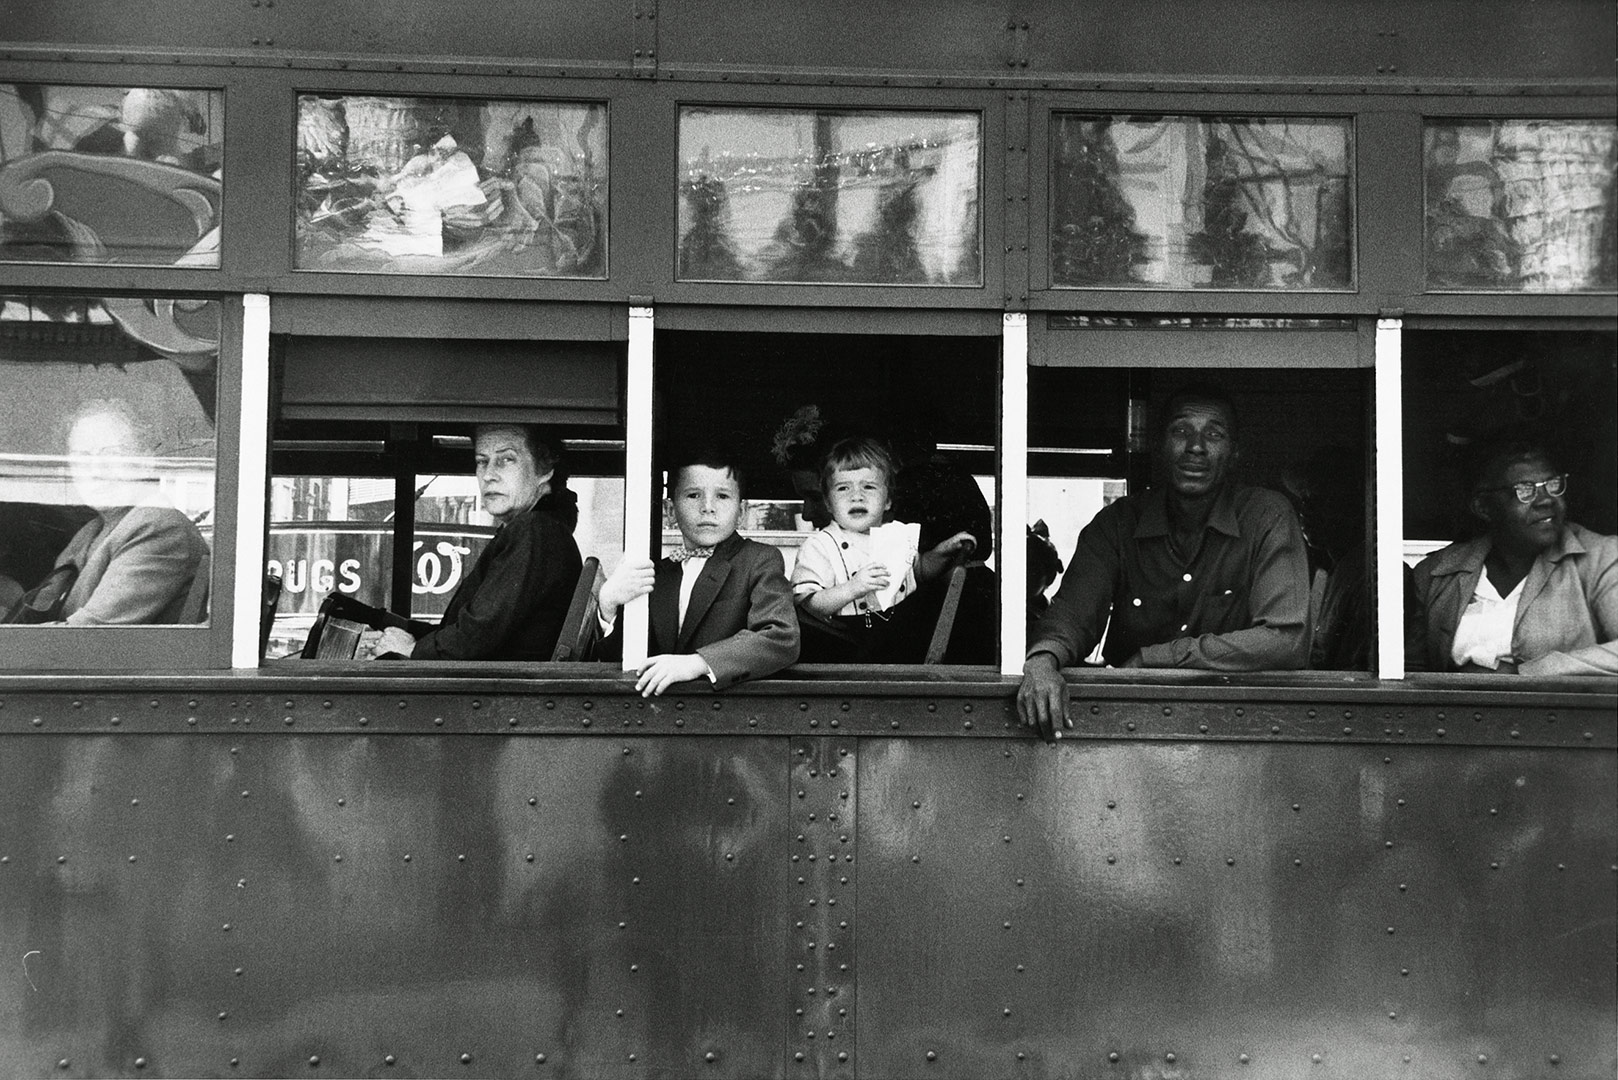
The genres for this photo are street photography, journalism, documentary photography and portrait.
Technical
The photo had a long exposure time and therefore this created a high contrast image. The lighting at the scene is predominately natural daylight. The shutter speed must have been fast in order to capture the moving trolley full of people- however, it’s possible that the trolley stopped for a period of time and therefore the shutter speed could have been longer. The image is black and white with a vast tonal range (Ansel Adams zone system) which supports both the darkest black [000000] and the whitest white [ffffff]. Finally, the image uses the rule of thirds and as a result of this, the eye is drawn into the centre most part of the image.
Visual
The image is naturally split into three sections due to the rule of thirds; the top, middle and the bottom third. The image is also naturally framed due to the background and white stripes. Although the image is tilted slightly it doesn’t lack the aspect of symmetry. The texture of the trolley is successfully portrayed in this image along with various patterns such as the bolts in the lower half of the image. Furthermore, the contrast between white and black in both the photo and the social situation is extremely vivid.
Contextual
This photograph explores the divide between black and white people in America at the time. It also shows the difference in classes and ages; the older woman looks as if she’s turning her nose up at the photographer whereas the kids look very interested, this could be due to the fact that they’ve never seen a photographer before and are fascinated by the equipment and concept of taking a photo. The photo was taken in 1955, the year of the African-American Civil Rights Movement (a movement that sought to challenge the views of society on people of colour and rebrand America as the land of equality).
Homework Task 03 – Abstract


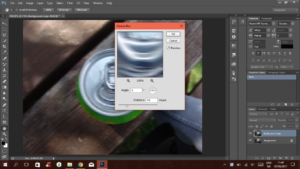
Motion Blur
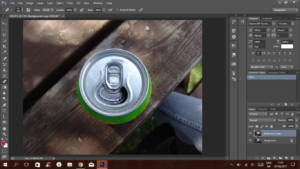
Motion blur can be adapted in many areas of photography; to create a sense of movement in the image or to blur out the background and bring the viewer’s attention to a certain part/detail of the image.
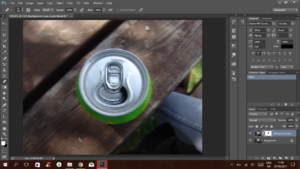
Side By Side Before vs After Image


Although I used Photoshop to create this image and effect, it’s possible to achieve this using the camera. A way to do this would be slowing down the shutter speed, using a small aperture and decreasing the ISO. These things combined would create a naturally blurred photo with a subject in focus.
Often, in Photography, motion blur adds movement and a lively atmosphere.
Overlays – Photoshop
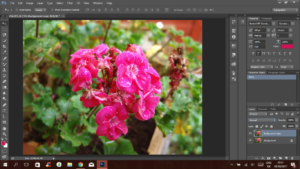
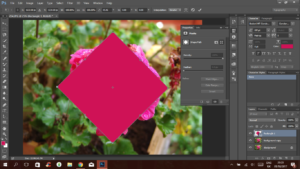
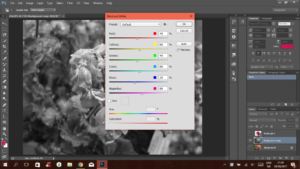
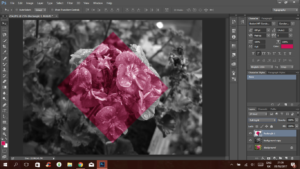
Overlays such as these, help bring out certain colours or aspects of a photograph. When combined with a black and white filter they enhance a particular colour that wouldn’t be visible otherwise.
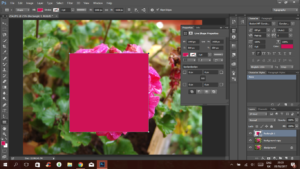
Side By Side Before vs After Image


I like the outcome of this photo, the addition of colour creates an aesthetically pleasing effect. It also gives the image more life; the black and white background feels much more lively and unique.
Bokeh
Bokeh comes from the Japanese word ‘boke’ (ボケ), which means “blur” or “haze”. Bokeh is also defined as “the effect of a soft out-of-focus background that you get when shooting a subject, using a fast lens, at the widest aperture, such as f/2.8 or wider.”
Simply put, bokeh is the pleasing or aesthetic aspect of the blur in a photograph.
Bokeh can add softness to an otherwise brightly lit photograph. Using this technique to separate your subject from the background can also allow you to utilize a not-so-photogenic background in your image (but because of its diffused blur, it helps to “highlight” the subject, not detract from it).
Experimenting with Bokeh:


Focal Length And Focusing
What is focal length?
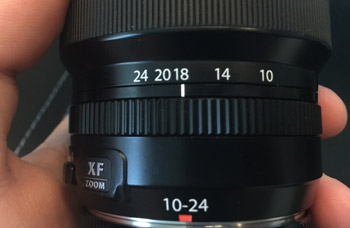
Focal Length means how much the image is apparently magnified (or not) when you take a picture.
Choosing the Correct Focal Length for Different Situations:
- Landscape photography (10mm to 18mm)
- Full body portrait of a person (24 to 45mm)
- Headshot (55 to 140mm)
- Night photography (10 to 18mm)
- Close-up photography or macro photography (70 to 150mm)
- Wildlife photography (200mm to 850mm)
- General lens for shooting family and kids (35 to 90mm)
- Outdoor sports photography (200 to 400mm)
The focal length of your lens essentially determines how zoomed in your photos are. The higher the number, the more zoomed your lens will be. The focal length measurement also tells the photographer what the angle of view will be. The angle of view means how wide of an area is visible in the picture.
Why is Depth of Field important?
When you are shooting, Depth of Field can play a large factor in how your image will be rendered and can change the meaning and intention of the image. You can choose to selectively isolate a subject from its background by having a narrow Depth of Field or alternatively you can make sure that everything from the foreground to infinity will be in focus, ensuring you have a sharp image throughout your image.
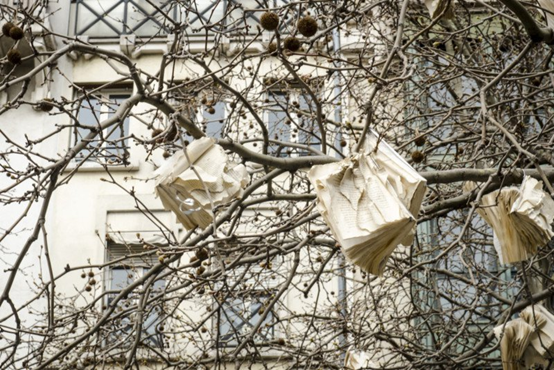
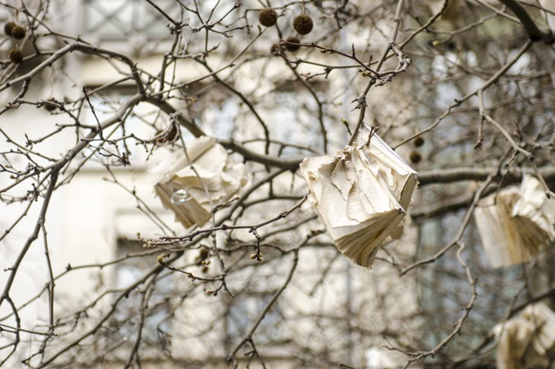
One of the most obvious factors to controlling Depth of Field is the aperture. When you have a smaller aperture (larger number) you will have a wide Depth of Field. In this instant, you will have a greater distance between the closest and furthest points in an image.
When you have a larger aperture (smaller number) you will have a narrower Depth of Field. The blurry parts that are not in focus are called Bokeh, and many people are quite a fan of the way it will render light.
Experimenting With Photoshop – Black And White Photography
“You don’t take a photograph, you make it”
-Ansel Adams
- Born on February 21st 1902, Ansel Adams was one of the greatest landscape photographers of all time.
- While other photographers concentrated on photojournalism, Adams was the first person to truly pioneer photography as an art form.
- Shooting almost exclusively in black and white, he worked primarily with large-format cameras to produce stunning high-resolution landscapes and pin-sharp textures.
The Zone System is a technique that was formulated by Ansel Adams and Fred Archer back in the 1930’s. It is an approach to a standardized way of working that guarantees a correct exposure in every situation. Tones in scenes and prints are divided into nine zones, numbered 1 through 9 from dark to light. Zone 5 is by definition middle gray. 
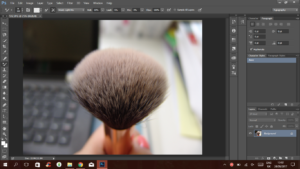
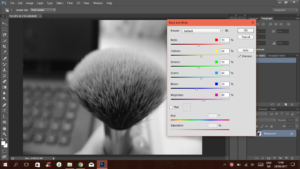
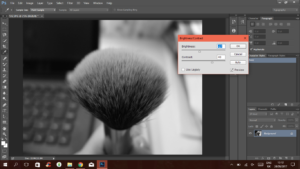
Side By Side Before vs After Image


