All posts by Conor H

Filters

Author:
Category:

J A Mortram

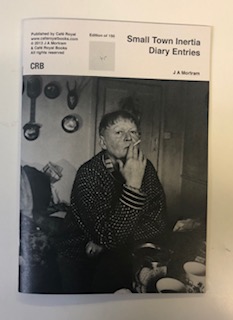
J A Mortram is a British social documentary photographer and writer. He is the photographer that produced the first zine in my previous post – the zine is from his ongoing project titled ‘Small Town Intertia’. Mortram records the lives of the disadvantaged and marginalised, making repeated visits with a number of people living within three miles of his home. The project tells stories of “isolation, poverty, drug abuse, homelesness, self-harm, mental illness, juvenile crime, and epilepsy”, that Mortram believes are otherwise under-reported.

I chose to study J A Mortram because he looks at individuals in the present tense but he also goes back and visits to see development and change, as we are doing in the ‘Future of St. Helier’ project.  His photographs appeal to me as they are very bold and look at sensitive subjects such as mental illness and drug abuse. The high contrast photographs all blend together well to create a strong collection of photographs.

Mood Board

Image result for J A mortram

Image result for J A mortram

Image result for J A mortram

Image result for J A mortram

Image result for J A mortram

Analysis

Image result for J A mortram

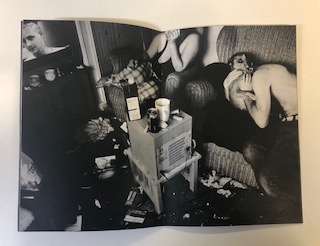
This photograph appears to use the dim natural lighting within the household in order to create a dark and contrasting atmosphere. This contrasting atmosphere creates some areas in the photograph where the subject is over-exposed such as the body of the man hugging the dog – this goes towards creating an even more dramatic feeling to the photograph. A short-medium depth of field seems to have been used as the photograph starts to fade out towards the edges – possibly due to the vignette effect. A quick shutter speed no slower than 1/60 appears to have been used as well due to the dark nature of the photograph, this dark nature may have further been emphasised by the use of a low ISO.

The photograph is also in black and white which creates an idea that there isn’t much happiness or positive energy in the subjects, it makes the setting seem very dark and draining. There is a very wide range of tones within the photograph as in parts it is nearly fully black where as in others it is bright white. There are many subjects in the photograph to lead the eye too but the initial subject that caught my eye was the table in the middle – possibly due to it being at the forefront of the photograph presenting the mess in the photograph. This gives the photograph a slightly 3D effect.

This photograph is from his zine titled ‘Diary Entries’ from his ongoing project ‘Small Town Intertia’ in which Mortram records the lives of the disadvantaged and marginalised, which can clearly be seen in this photograph as there is mess everywhere and it is obviously not a pleasant place to be living in.

I feel that Mortram is trying to shed some light on the disadvantaged and how they live by showing the rest of the world through his photographs and zines. Mortram says that these topics such as drug-abuse and homelessness are under-reported so this is his attempt to show people how privileged they are.

Image result for J A mortram

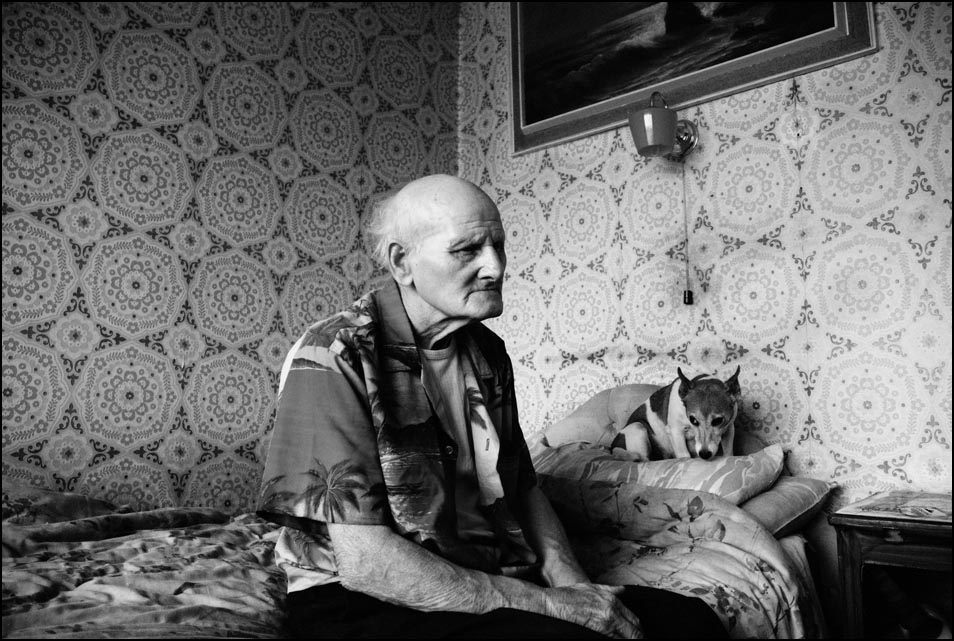
This photograph using natural lighting in order to convey the fact that this photograph is in the style of documentary street photography. The natural light ties in with the idea that these are just normal people living their lives and the photographs are not staged. It is quite a contrasting photograph in order to create a dark/glum atmosphere – which the setting in the background does itself. A deep depth of field has been used to take this photograph as the whole of the photograph is in focus. A quick shutter speed of around 1/60 will have been used to take this photograph due to the natural daylight. A low ISO has most likely been used here as the photograph is quite dark but not underexposed.

The photograph is also in black and white which shows how bleak and possibly hopeless the life of the subject it. There is a wide range of tones within the photograph due to the high contrast within it. The eye is lead straight away to the tattoos on the subjects back, which seem like a bad decision to most people and so further pushing the idea of what setting this is in. The photograph does not have many layers to it – only the man in the foreground and the walls in the background so there isn’t a major 3D effect within this photograph.

This photograph is another photograph from his ongoing project ‘Small Town Intertia’ in which Mortram records the lives of the disadvantaged and marginalised. Here Mortram shows someone that has made bad decisions and doesn’t seem to be in a pleasant setting to emphasise the idea that they are marginalised.

I feel that with this photograph Mortram is trying to show that everyone has their own unique properties and stories – he is emphasising that the marginalised and disadvantages are no different to the privileged in the sense that they make their own memories but in their own way.

Inspiration for my Zine Design

Zine 1

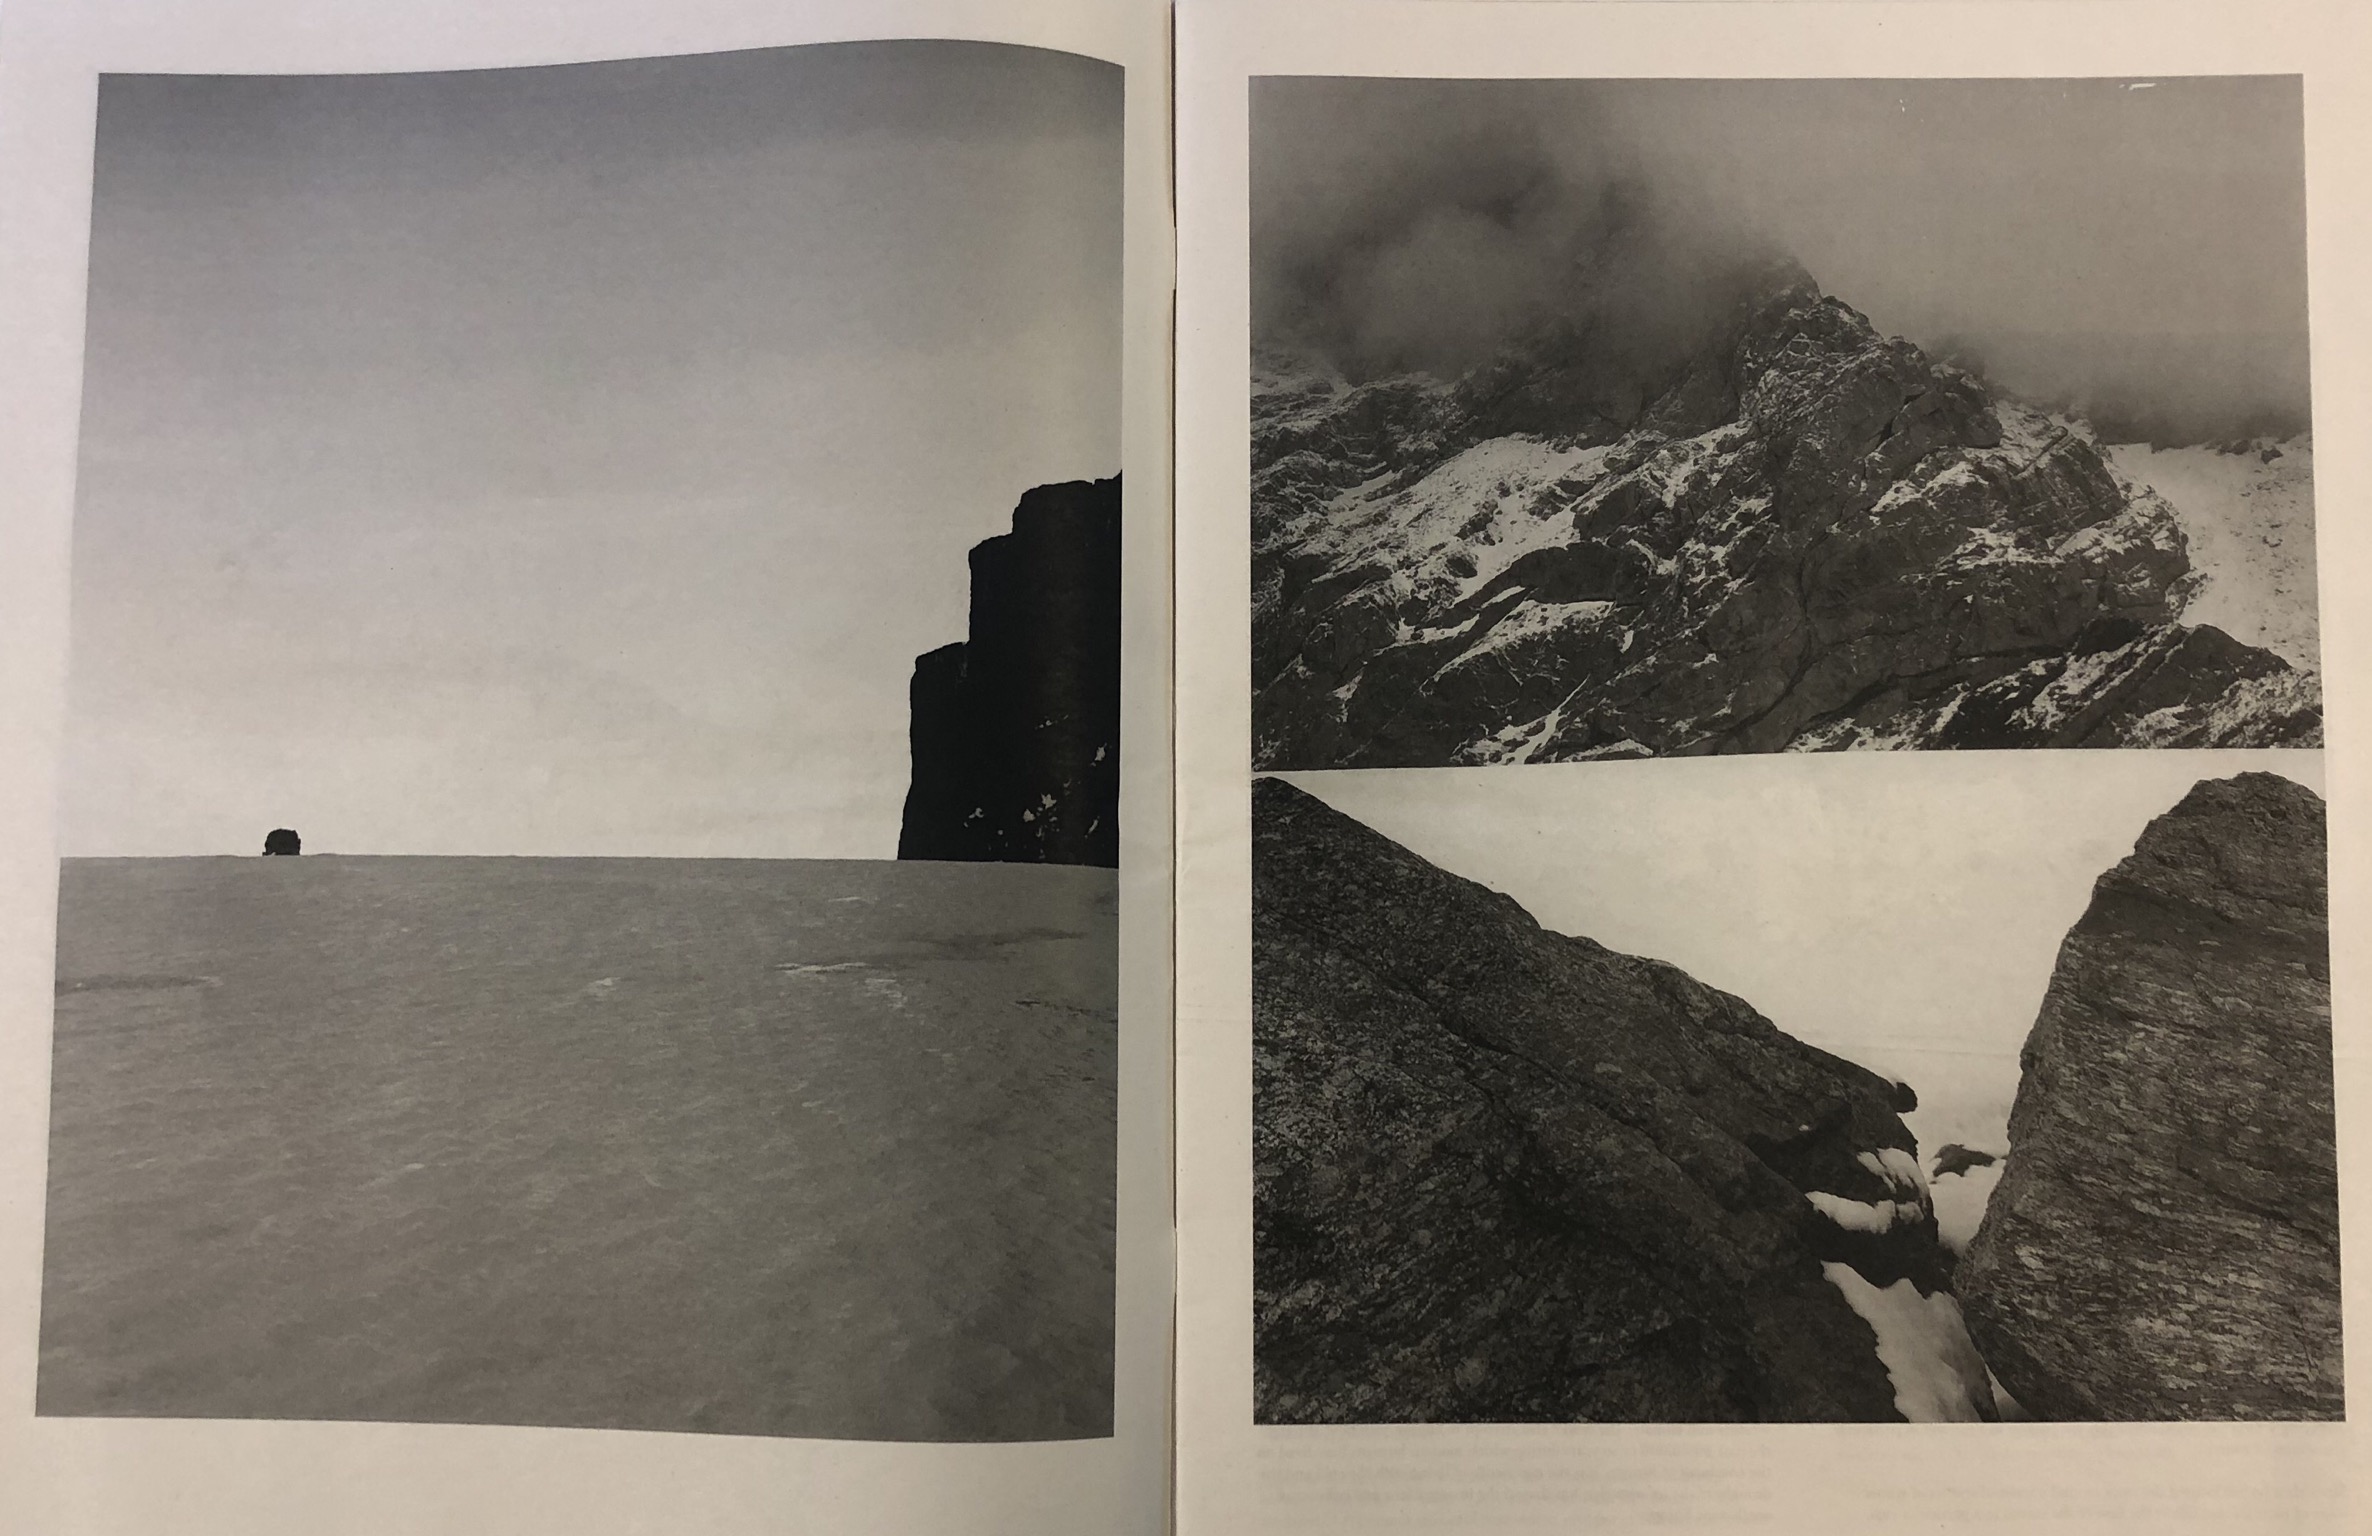
I chose to look at this zine because the dark and contrasting  full-bleed photographs appealed to me as I am using full-bleed photographs in my design. The design of this zine is very dark and simple which fits in with the dark theme very well. The full-bleed photographs help to convey the bold theme as it almost makes the photographs more invasive and in your face.


Zine 2

I found this zine very interesting as it has a strong theme as well as a message. Each double page consists of a symbol with a quote from the subject on the left side and then a portrait photograph of the subject with the face scratched out. This theme of identity carries on throughout the zine and is further pushed by the similarities between the cover and a passport. This simplistic design allows the message to be carried further and looks very aesthetically pleasing.


Zine 3

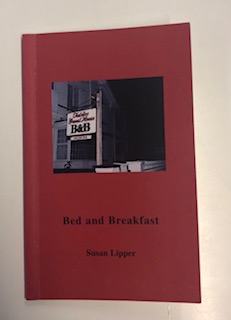
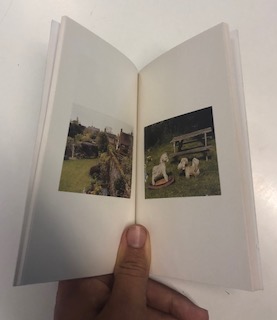
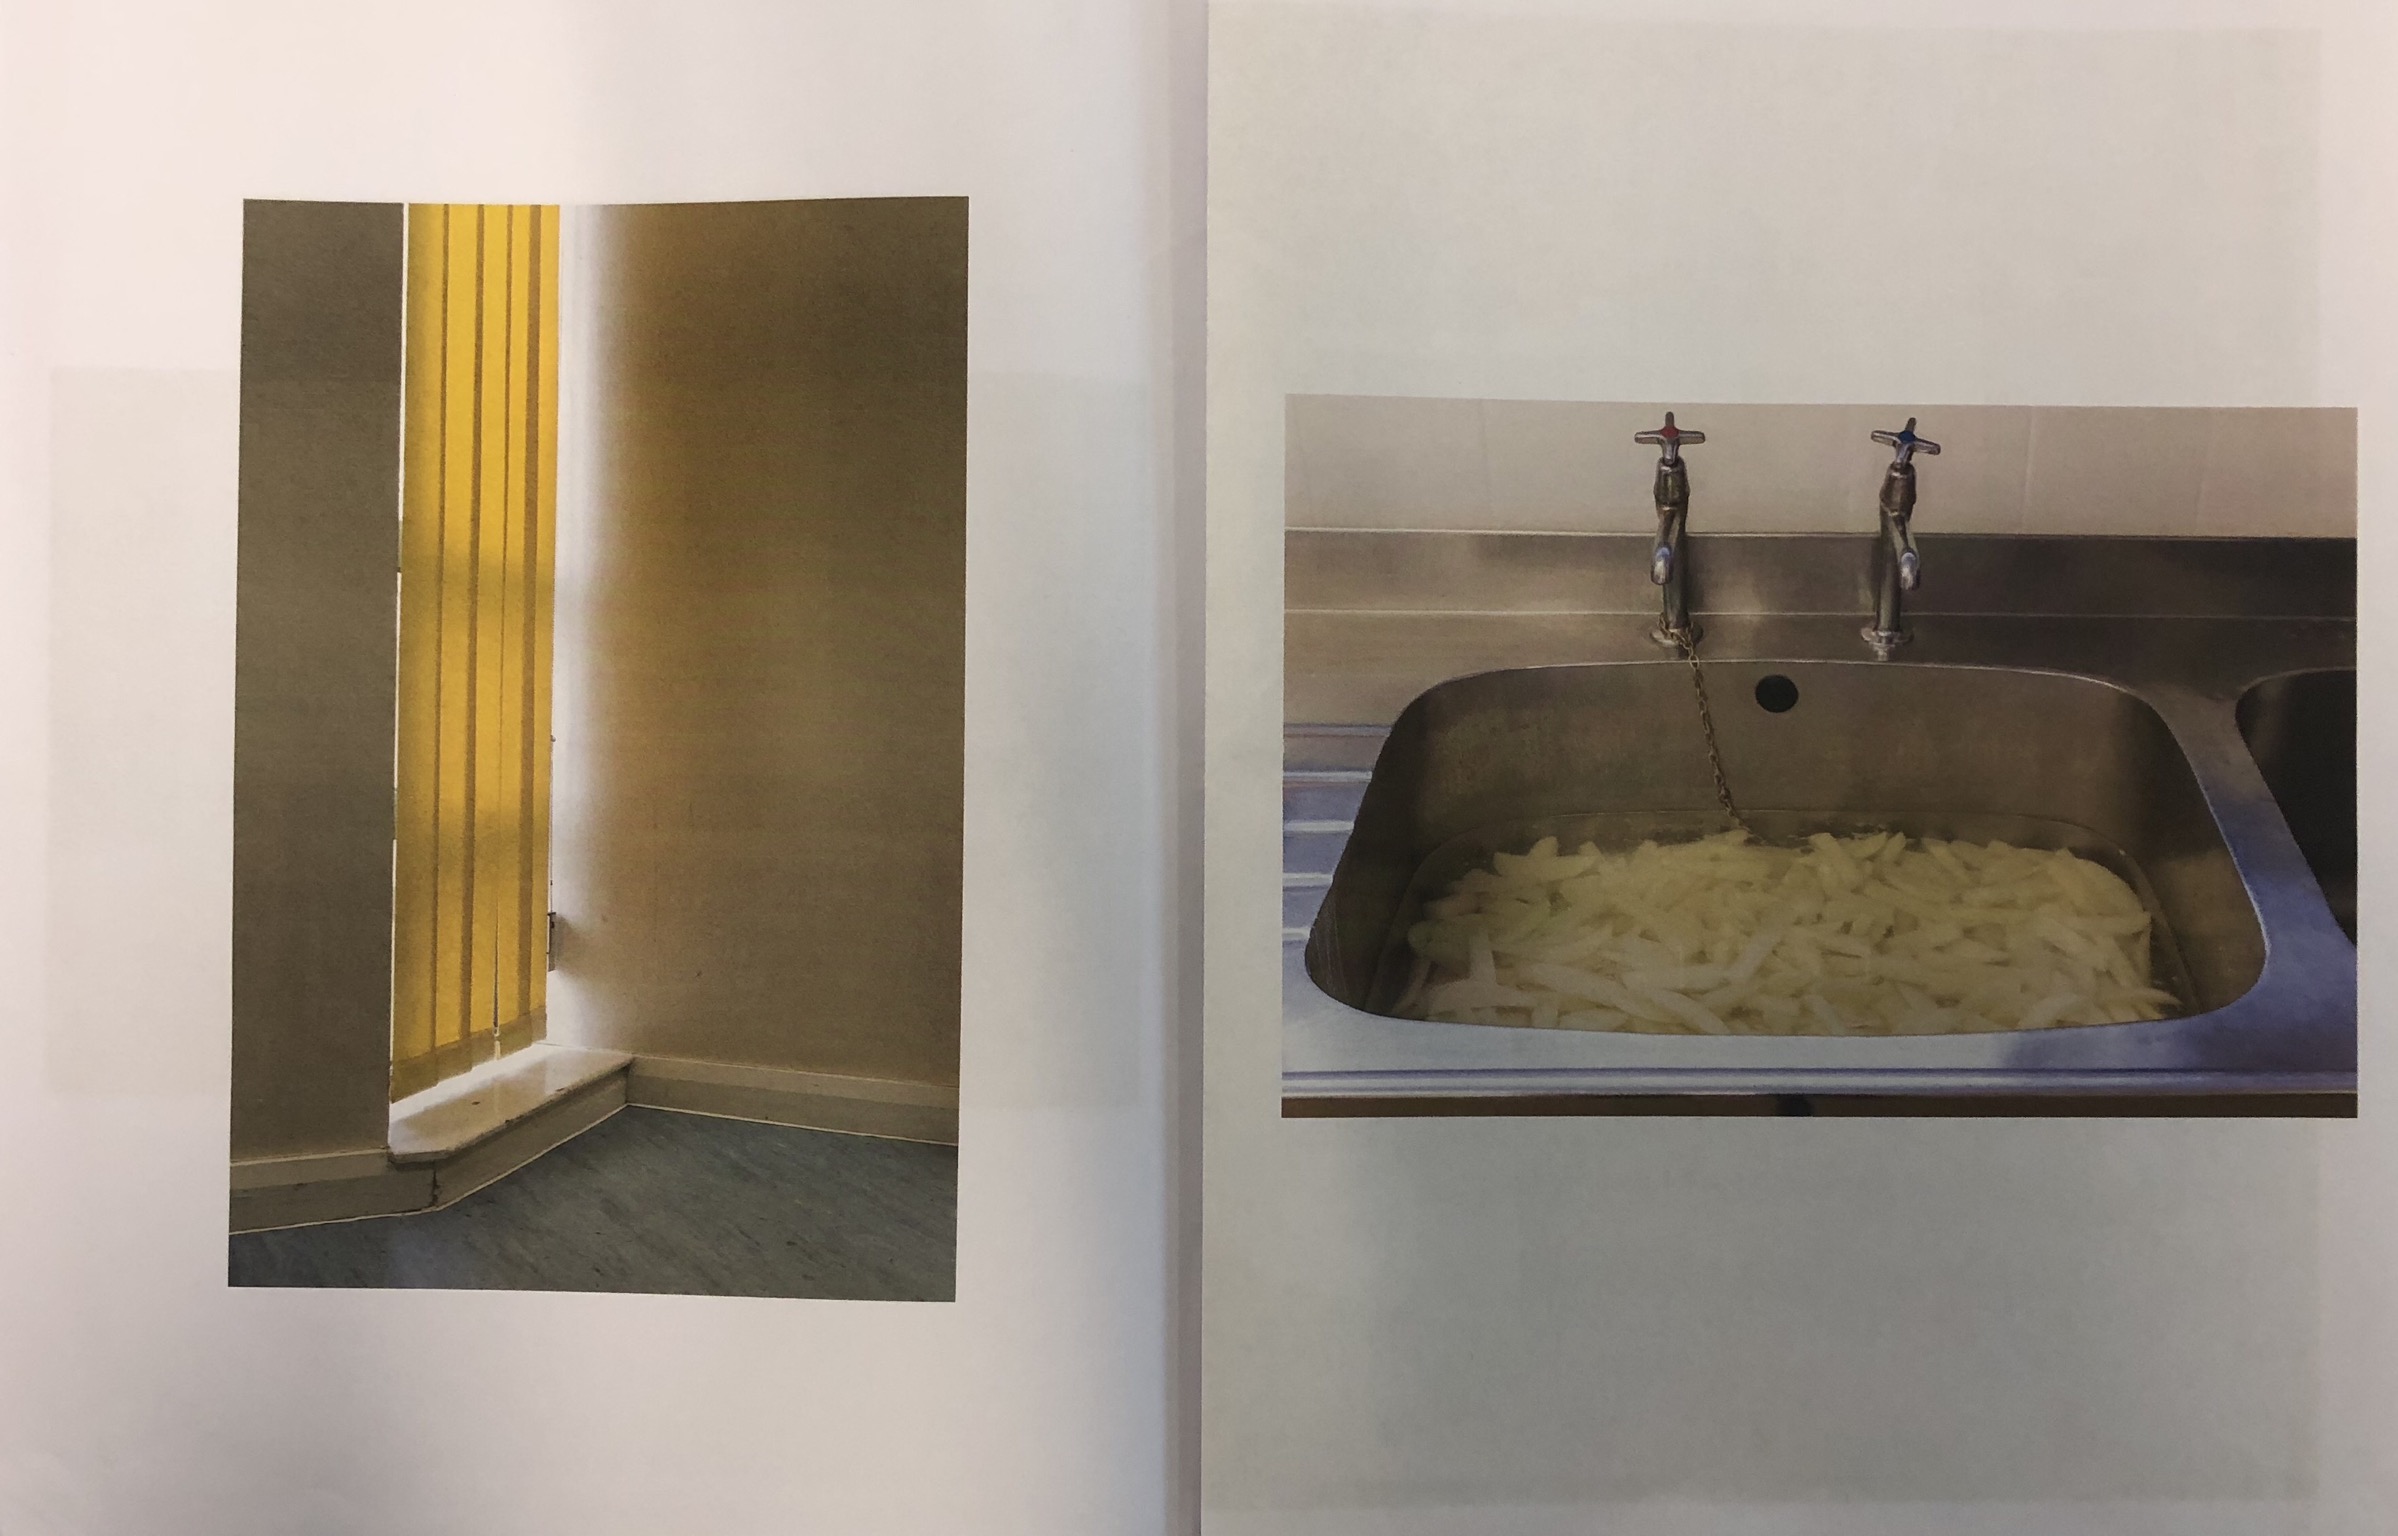
I chose to look at this zine as it has a more professional design to the booklet. It has a spine and is done through binding whereas the other zines are just stapled together. The design and placement of the photographs are very simplistic and minimalistic, there is one photograph per page with a wide border in order to allow the viewer to focus on that one photograph, which I think is very effective.

Zine 4
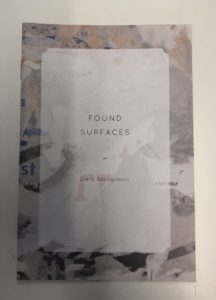
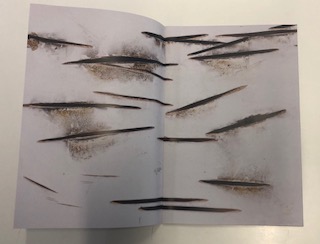
I looked at this zine because it has a busier and more abstract look than the other zines. The cover has a lot going on behind the title unlike the other zines and has an abstract look to it. This theme is carried on throughout the zine with full-bleed double page spreads of abstract photographs. This alternative approach is very eye catching.


Third Shoot in St. Helier

My Edits

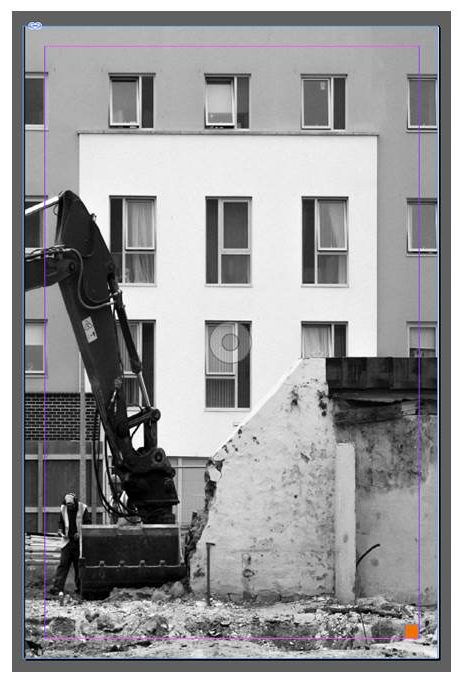
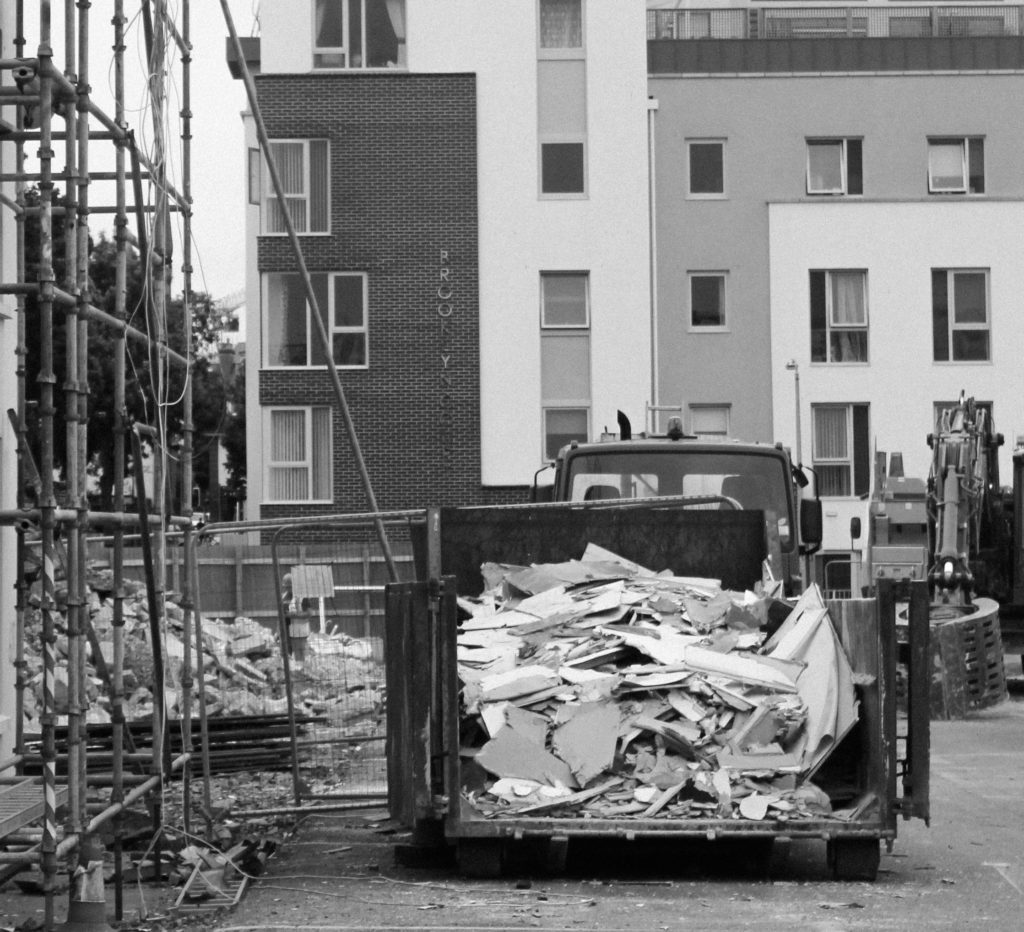
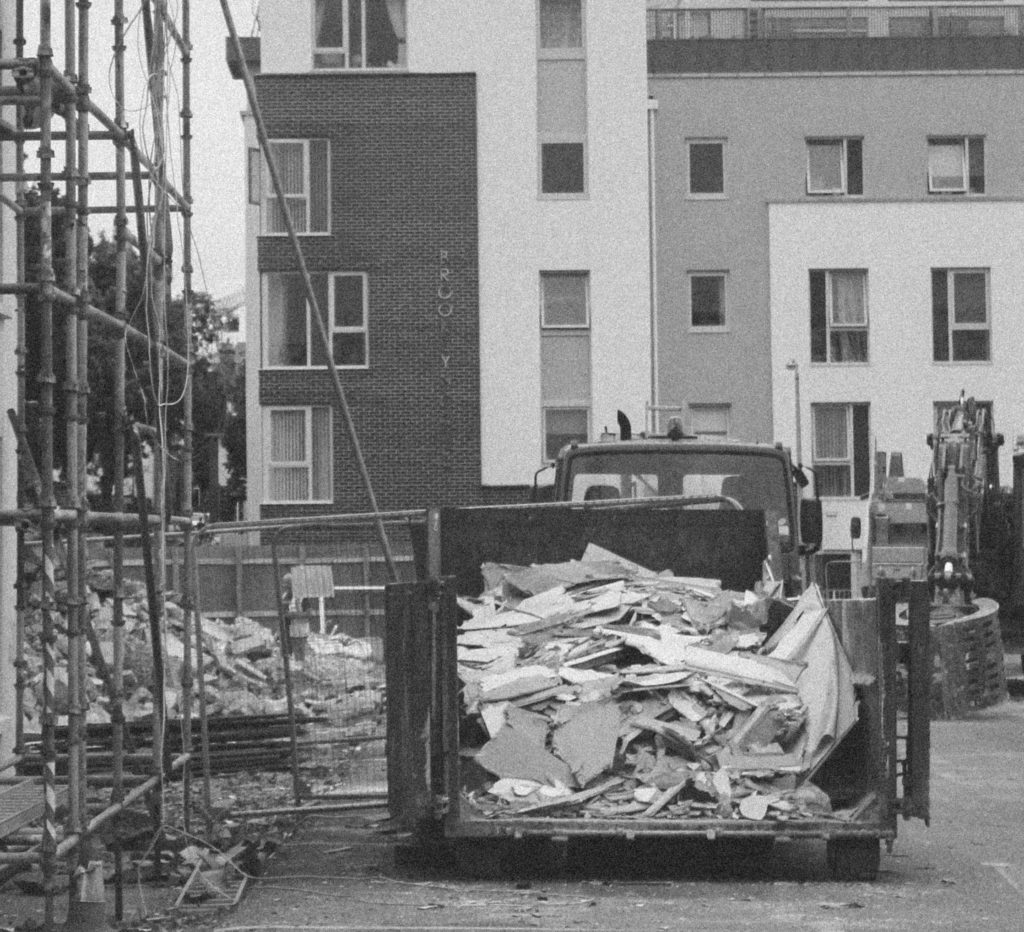
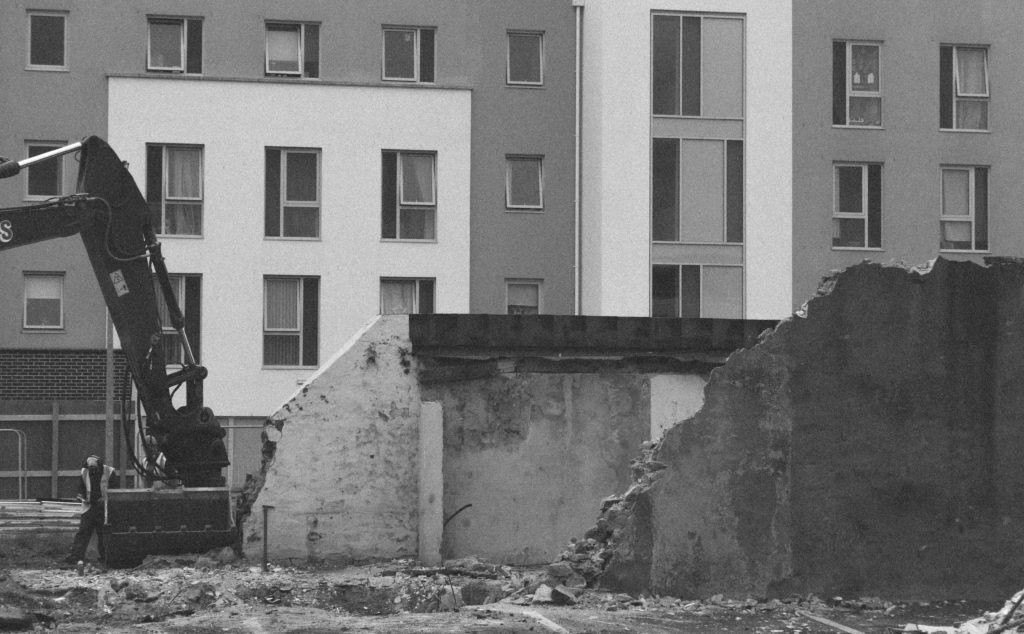
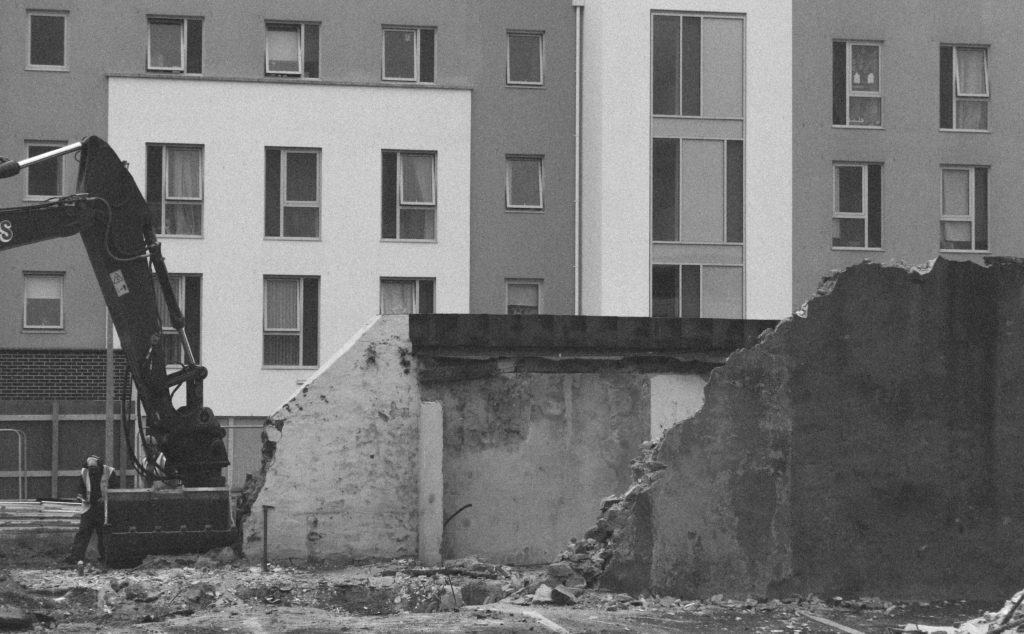
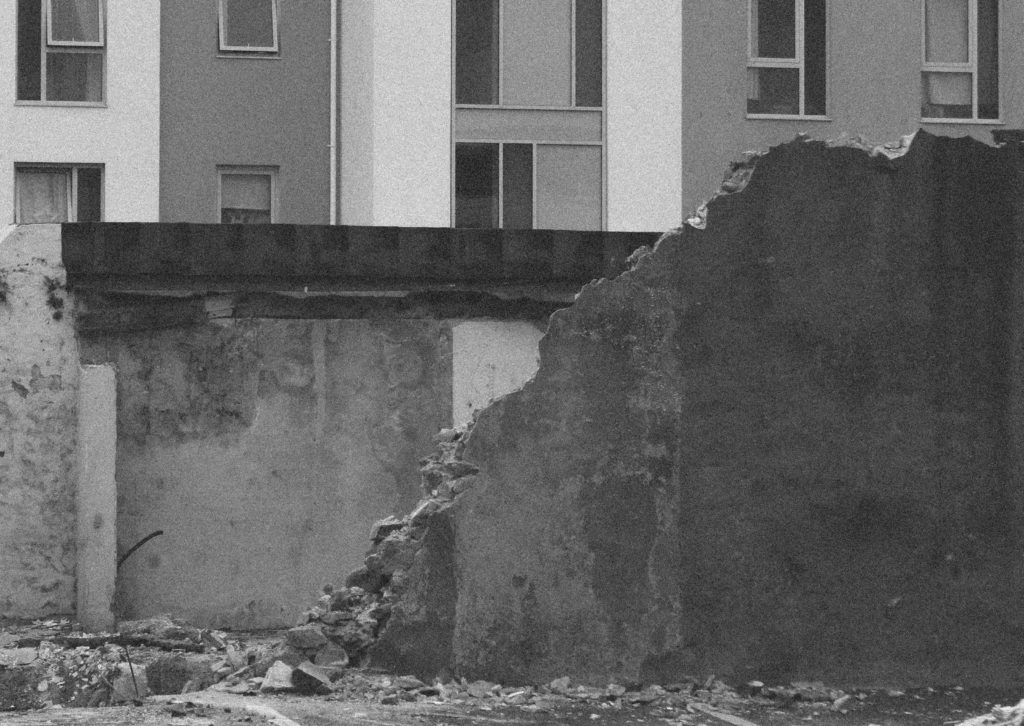
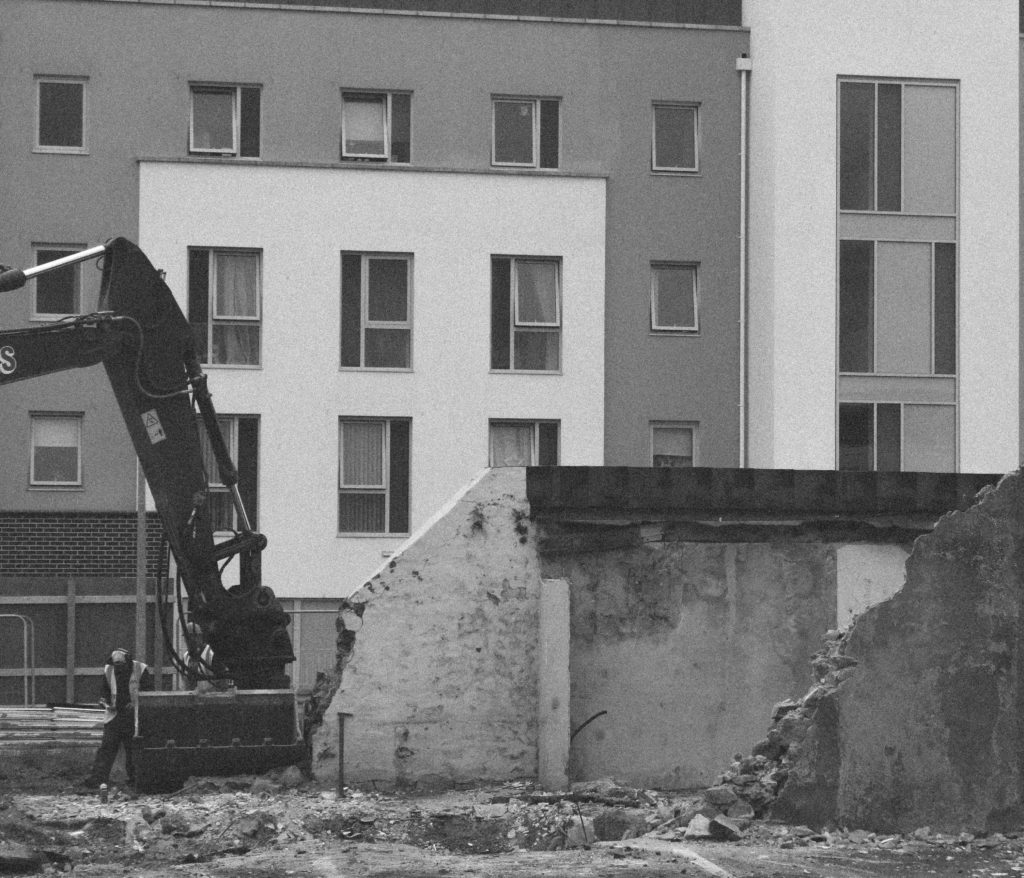
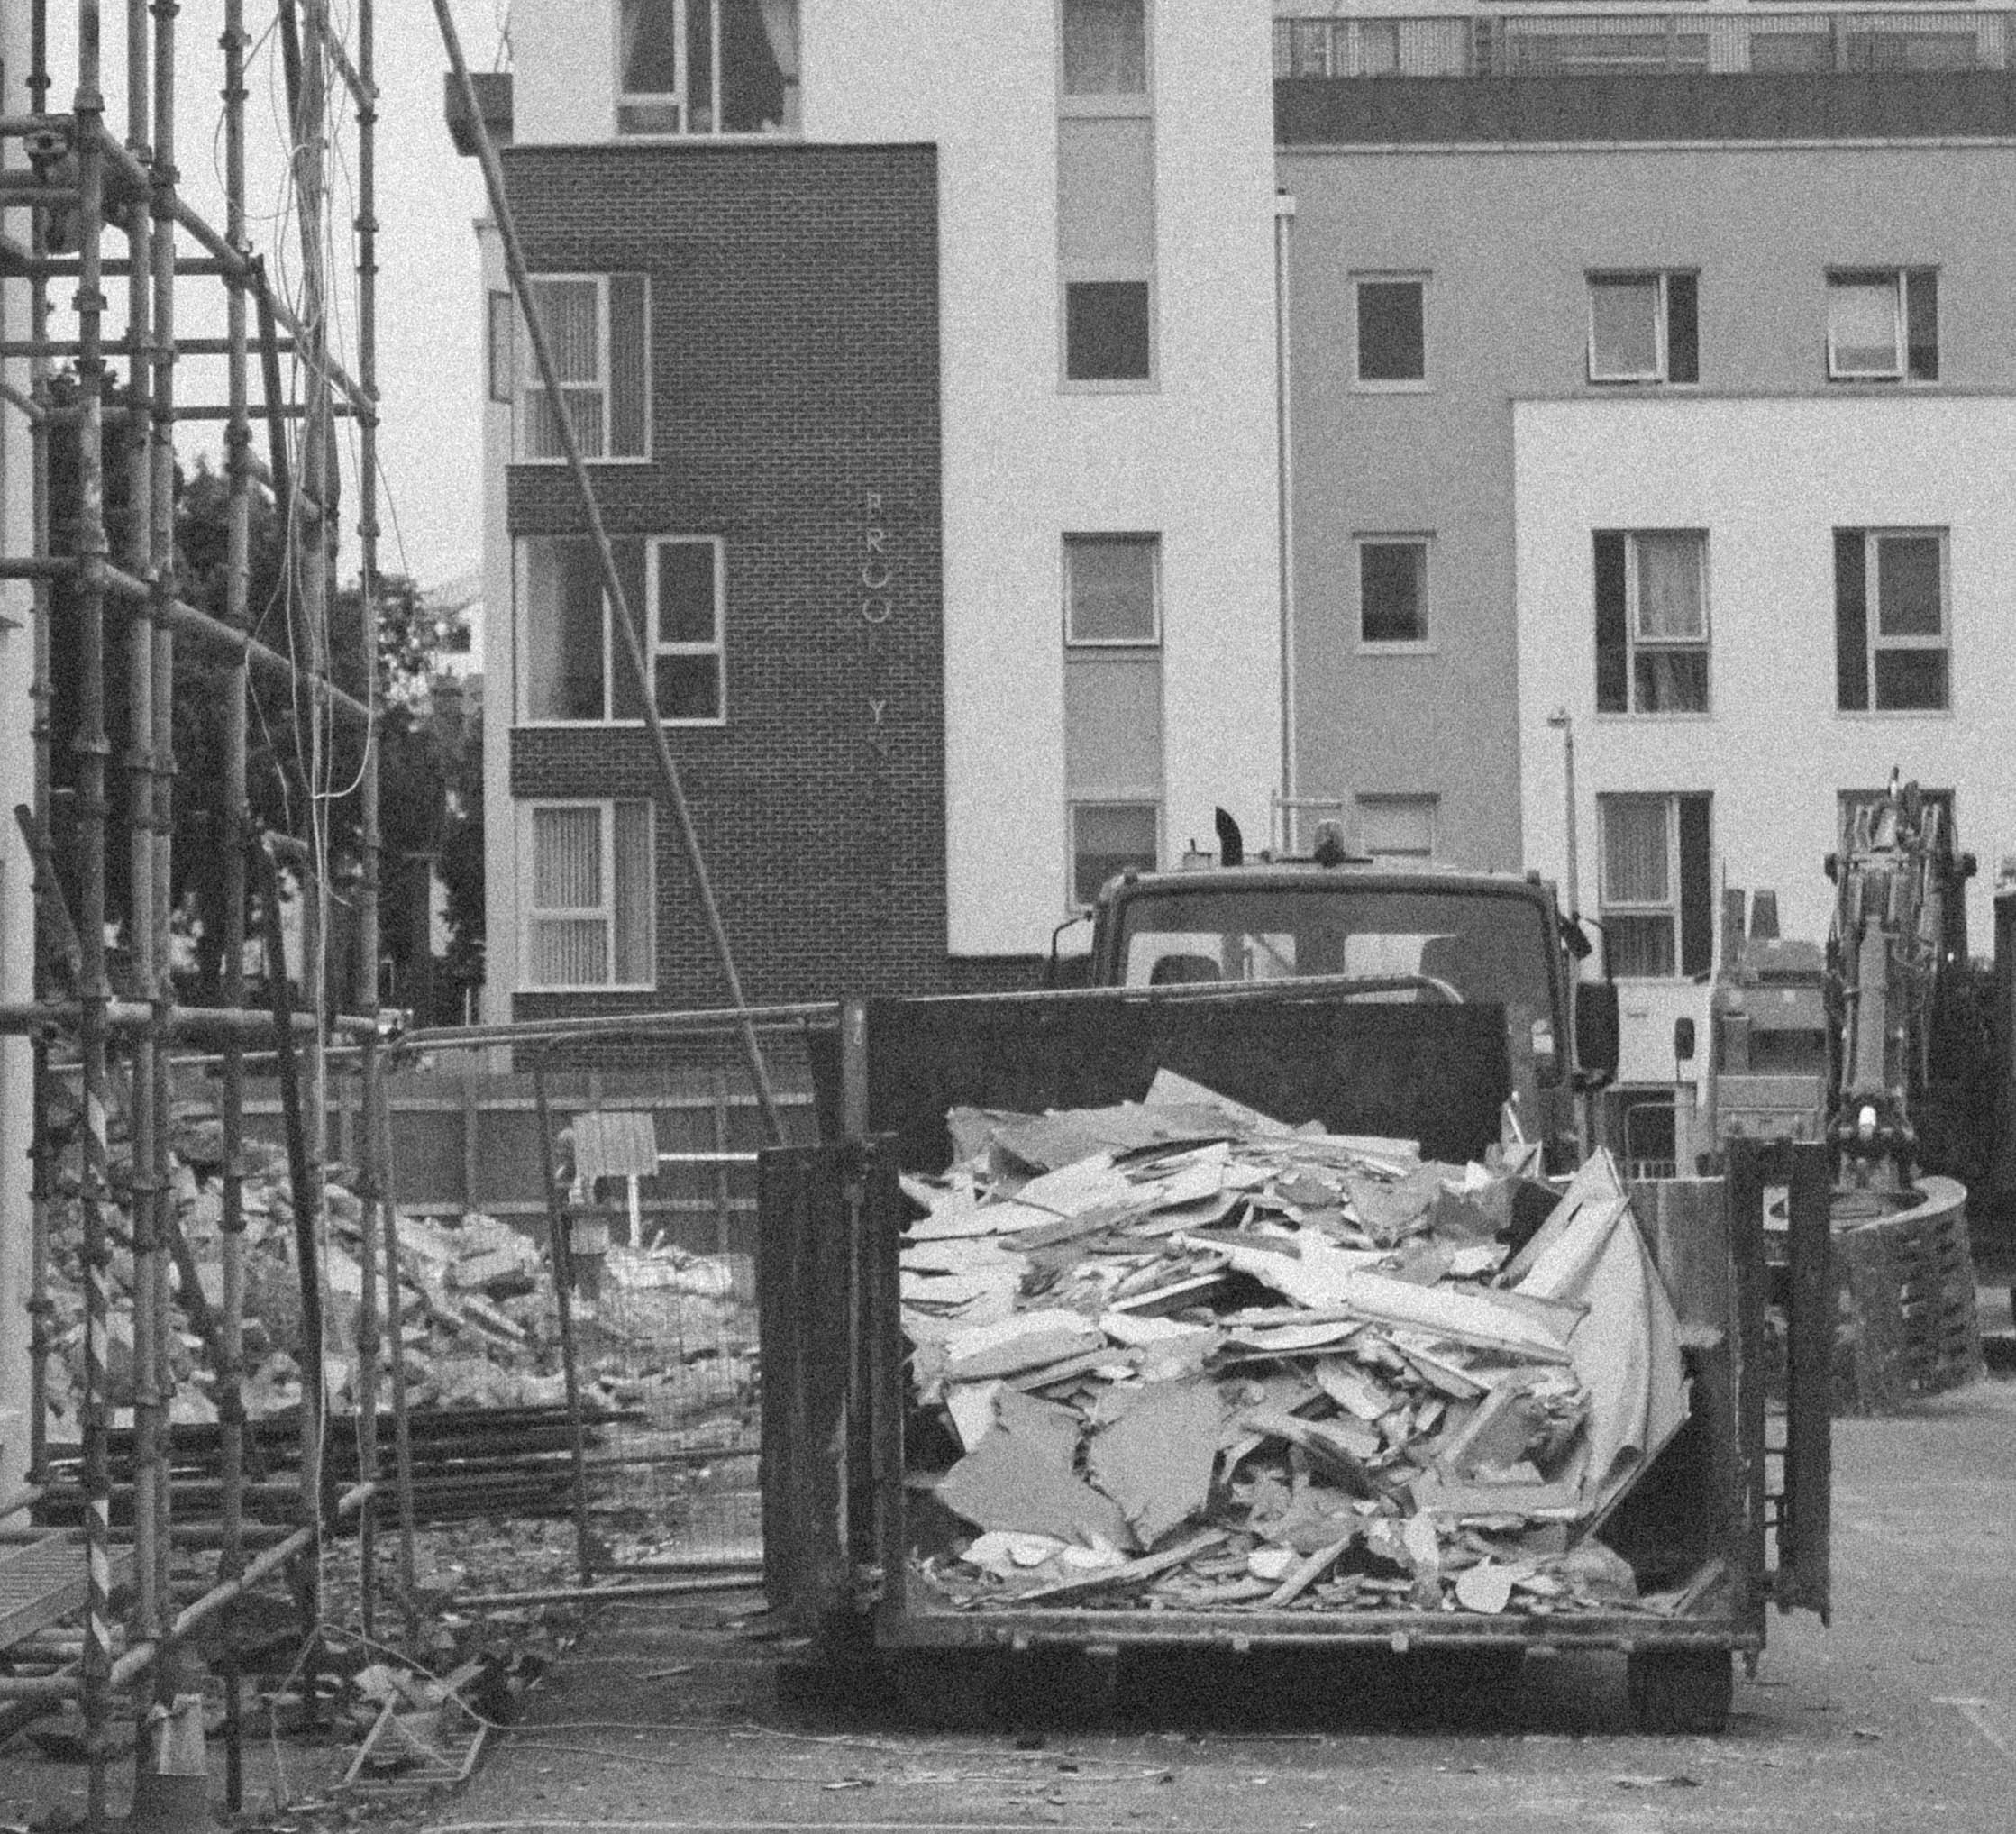
Below are my edits from my third shoot in St. Helier. In this shoot I focused more on the structures and greenery within the area to create a small selection of photographs. I have already selected my layout and my final photographs for this project but I felt that it was necessary to return to the area in order to see if there were any points of interest that I missed. I found upon returning to the area that my main point of interest – the building site – was demolished. The site for this is shown in the last photograph.

Final Design Layout

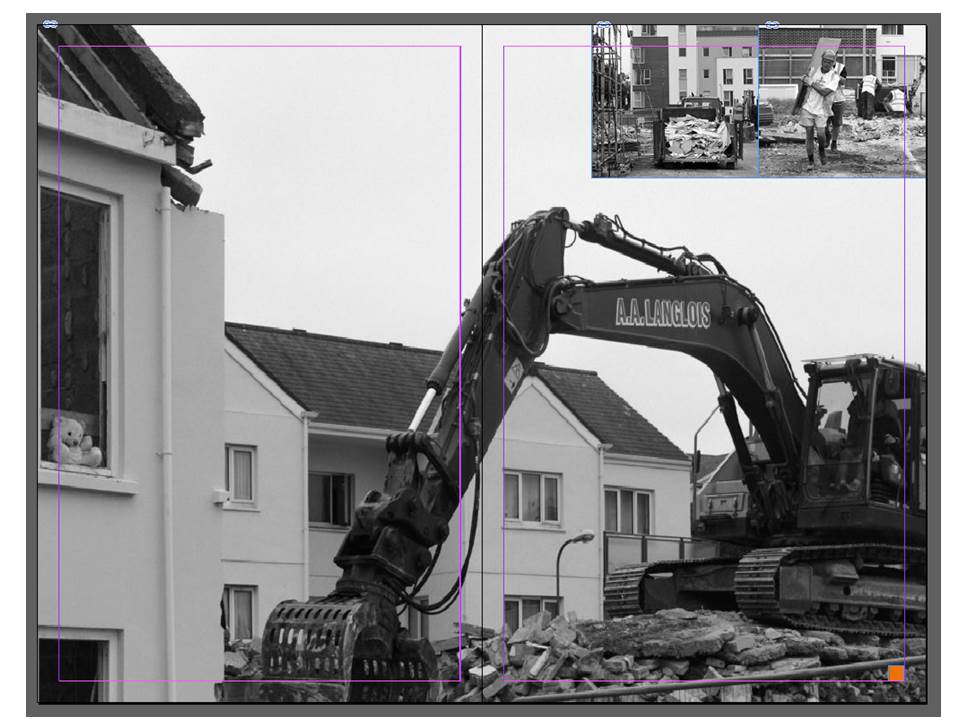
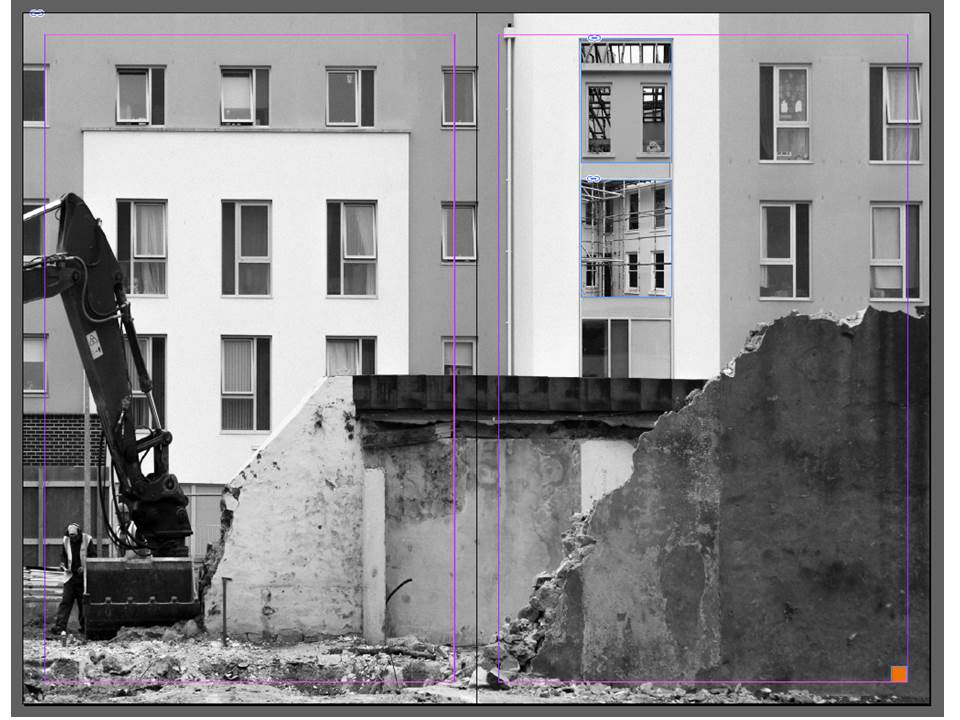
In this design layout I have looked at doing full bleed spreads along with images overlapping onto the full bleed spread. I think this composition is very effective as it makes the photograph more imposing and bold. The overlapping photographs are subtle but create an alternative look to the composition. I think that this composition emphasises the destruction within the photographs whilst showing the rebuilding going on in the background quite subtly. The constant black and white tone throughout the composition reflects the idea that St. Helier is just caught in a constant loop of construction and rebuilding in order to support the financial sector rather than supporting the tourism in the island that was so successful at a time.

The below design is my alternative design for my single page. It sticks to the full page bleed to emphasise the photograph but crops one of the photographs from the double page spread in half to suit the design.

Experimenting With Design Layout

Design Layout 1

In this design layout I have focused on using borders and keeping space between photographs in order to create a simple and tidy composition. I think that this composition is effective because the photos are large to show the detail within them and the style of the photographs means they compliment eachother.

On the below page, I have looked at filling white space by transforming the photograph. I flipped the photograph horizontally twice to create a confusing composition. I like the idea of this but I believe that it does not fit in with the rest of the composition due to its complexity.


Design Layout 2

In this design layout I have looked at doing full bleed spreads along with images overlapping onto the full bleed spread. I think this composition is very effective as it makes the photograph more imposing and bold. The overlapping photographs are subtle but create an alternative look to the composition.


Design Layout 3

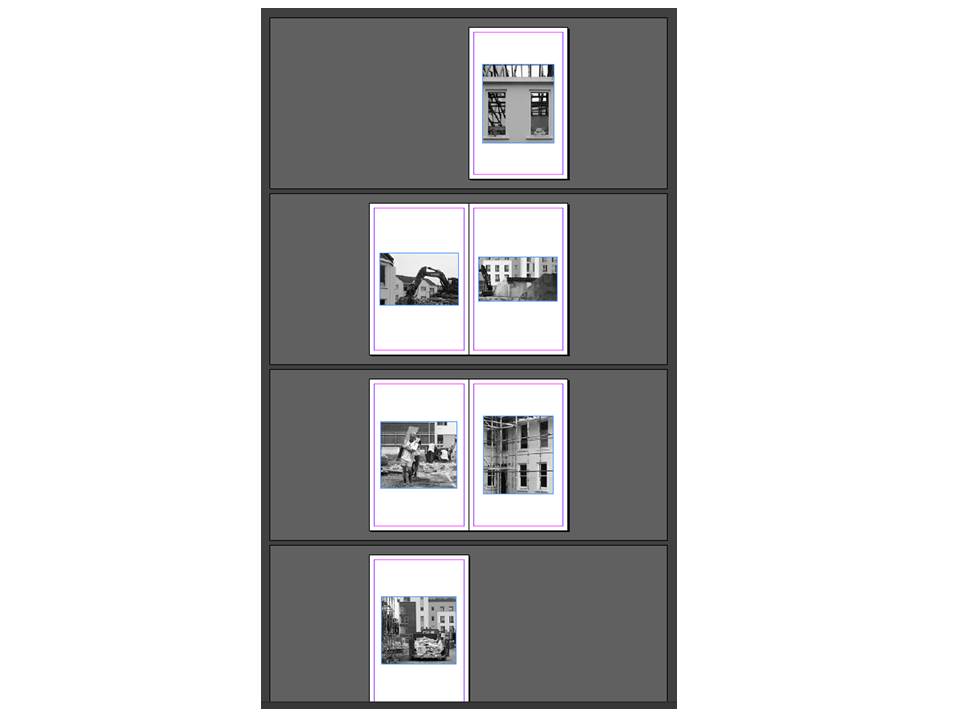
In this design layout I have stuck to one photograph per page. This created a simplistic and effective look due to the centralised photographs. I like this design as it is easy to look at and drags the viewers attention to individual photographs but I think that there is too much white space in this design.


Design Layout 4

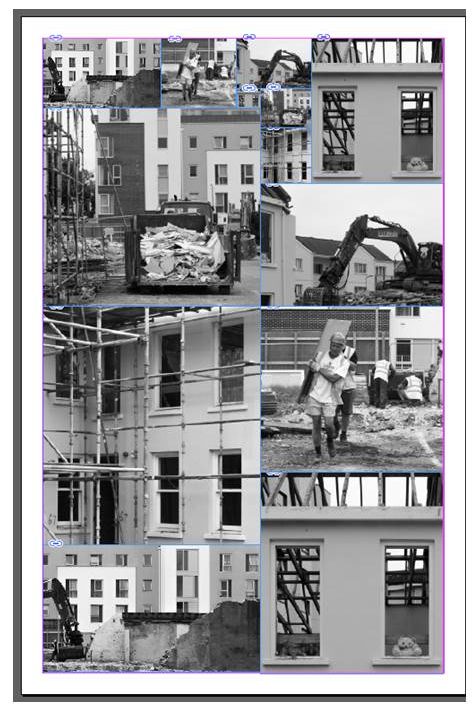
In this design I have looked at putting all of the photographs onto one page and using the photographs more than once to erase all white space. This has created a design that is quite abstract but also quite messy – I do not think that it is as effective as my other designs due to this.

Design Layout 5

This design is similar to the first design but it lays out the images in a way that is not conventional. It leaves white space rather than making an effort to fill it in. I think that this creates too much contrast between the background and the photographs that I have used.

Inspiration For My Newspaper Design

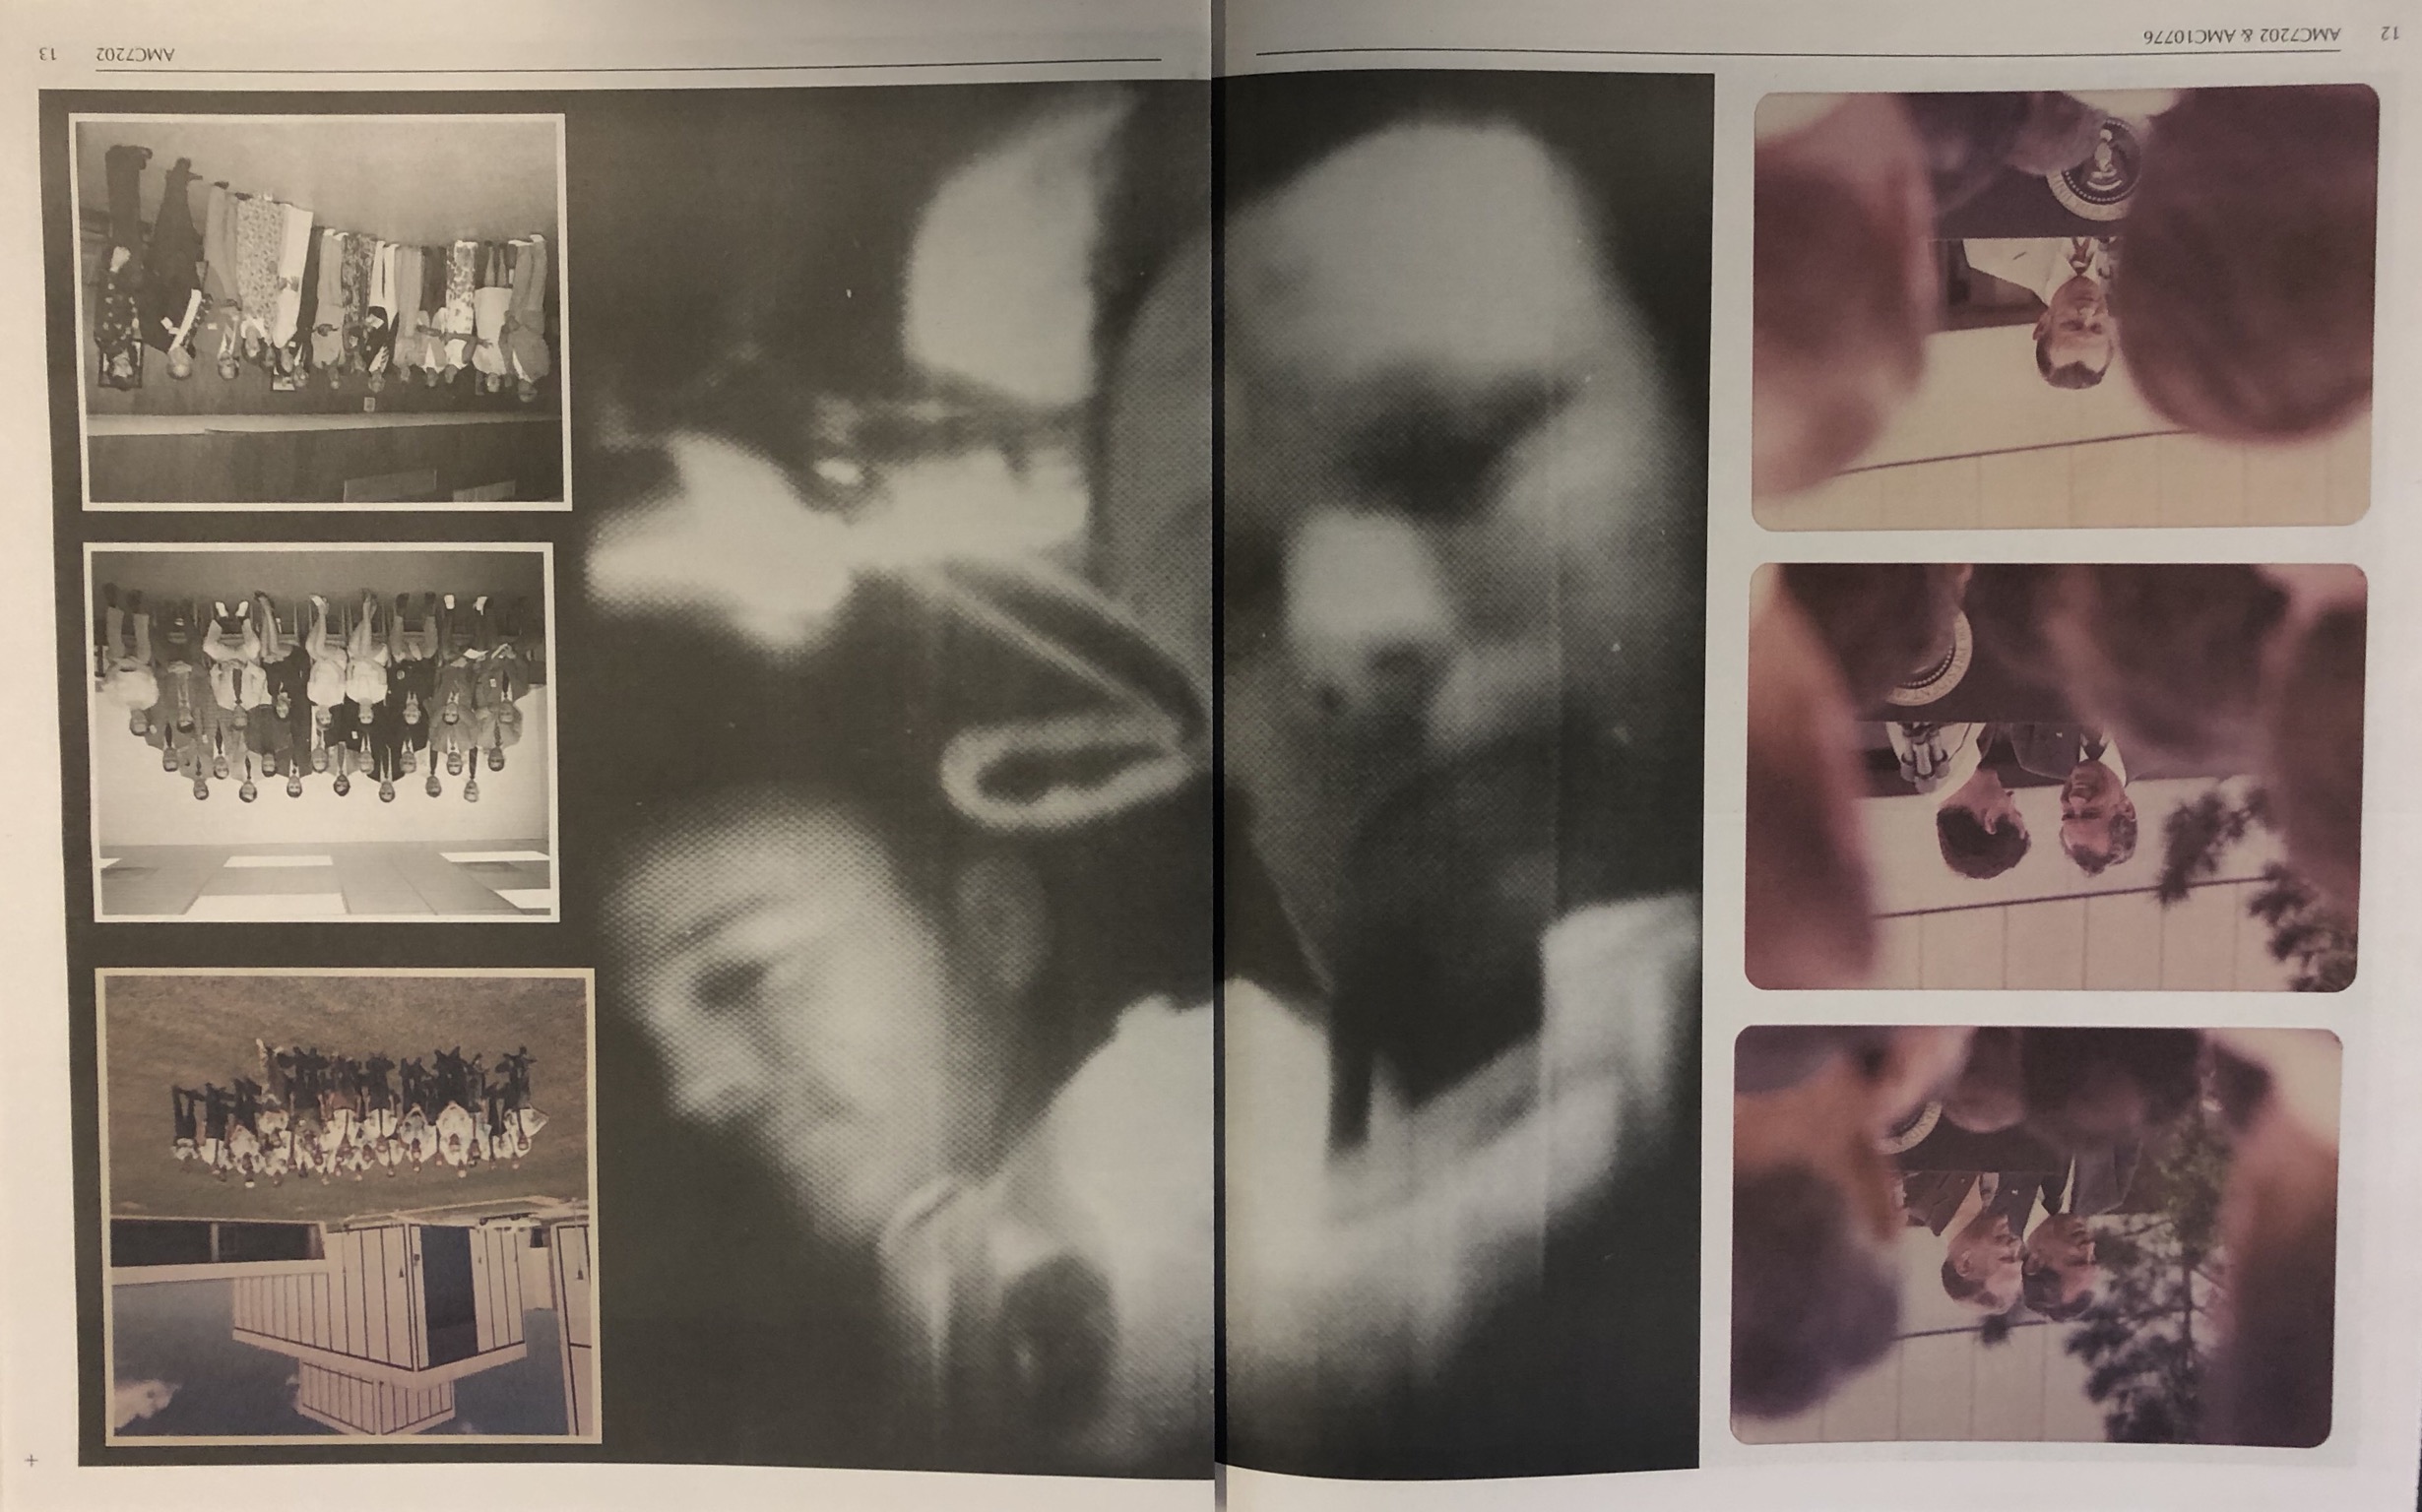
The below design layout is interesting because it uses one photograph over a double page spread which is against the conventions of design. The photograph also has multiple smaller photographs in front of the image to create a montage-style design whilst creating contrast between the colour and the black and white.


This design layout is more conventional and simple. I like this layout because of the clean borders around the photograph and how it uses larger, blockier designs to create more of an impact. This method helps the viewer to focus on the shapes and tonal ranges in the photographs by looking at the photographs individually.


This design layout is similar to the above design layout and has a similar, simplistic effect. The difference is that this layout restricts the design to one photograph to a page. As with the above layout, it creates a structured and effective layout.


This design layout is interesting because it organises lots of similar photographs – in a typographic style – to create an organised but busy design. The colours in the layout all mix well due to them mostly being primary colours. The structure within the design appeals to me.


This design layout is similar to design layout two and three in the sense that it uses borders and is simplistic, however this layout goes slightly against the conventions of typical design as the designs are not central, borders are not equal and the design does not seem to gel together well.

Final Edited Photograph Sequence

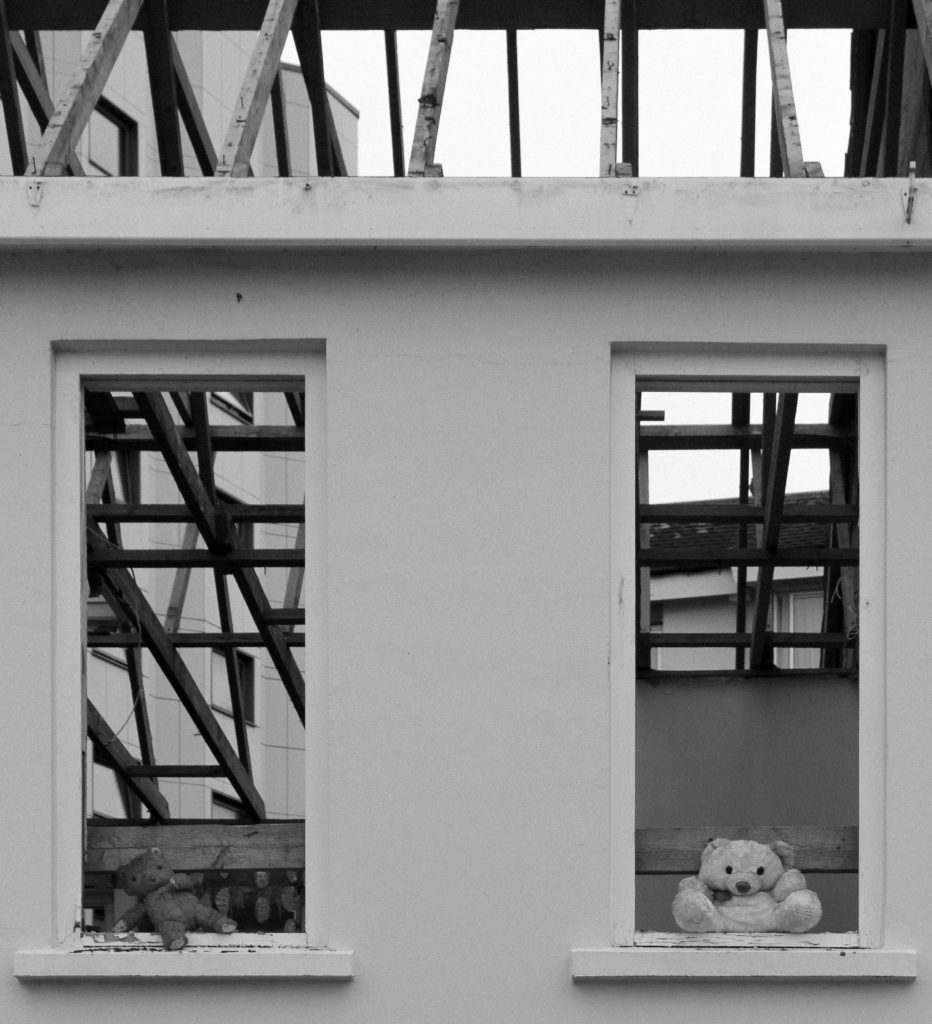
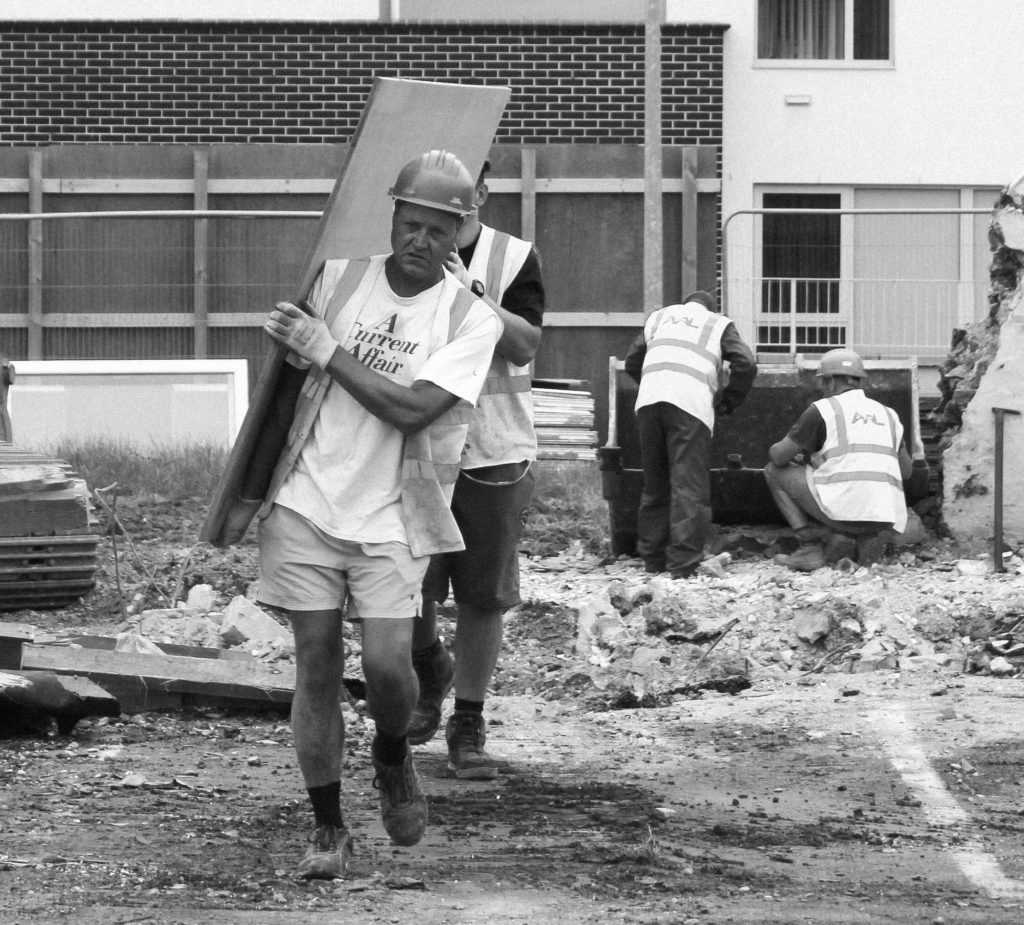
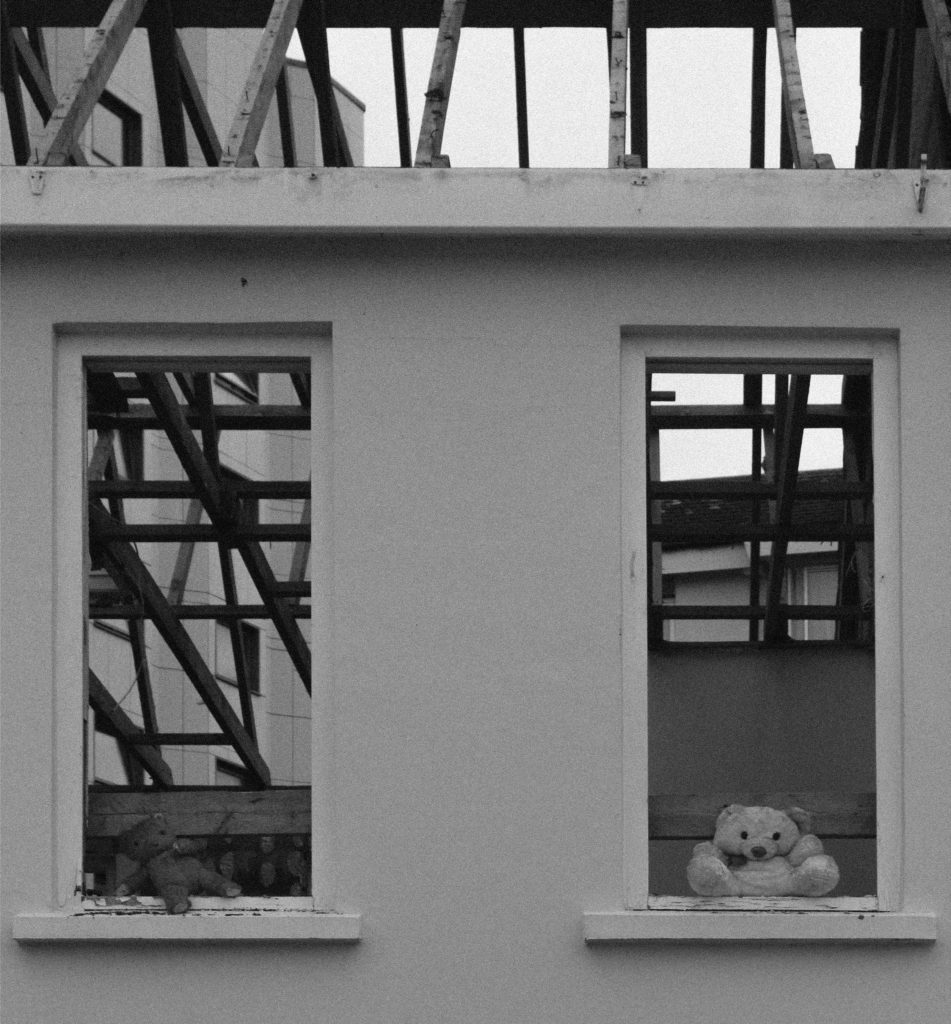
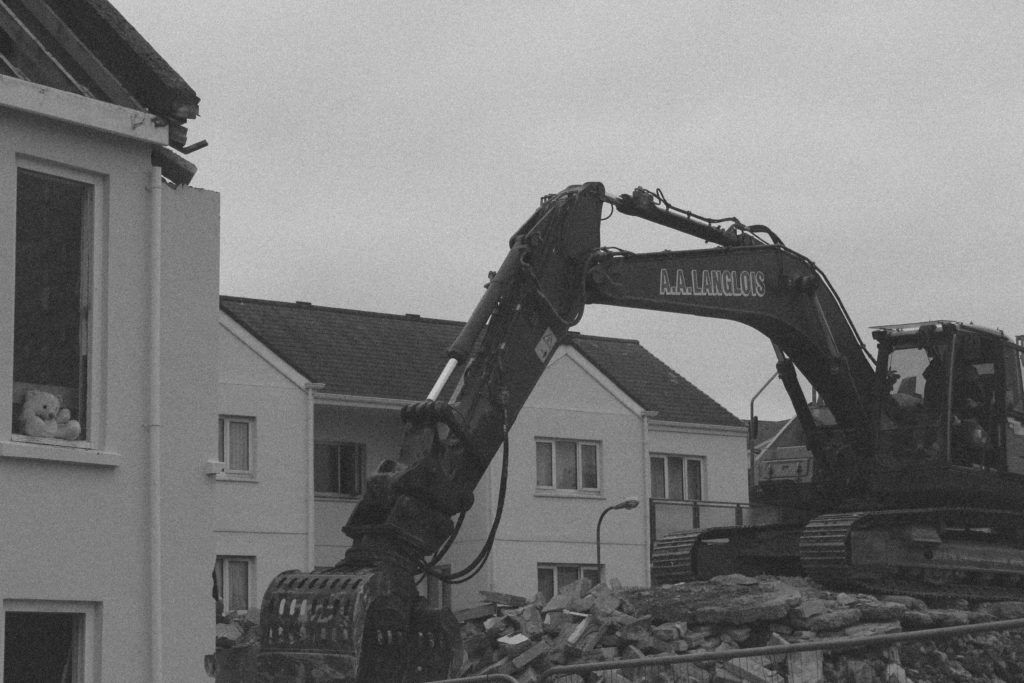
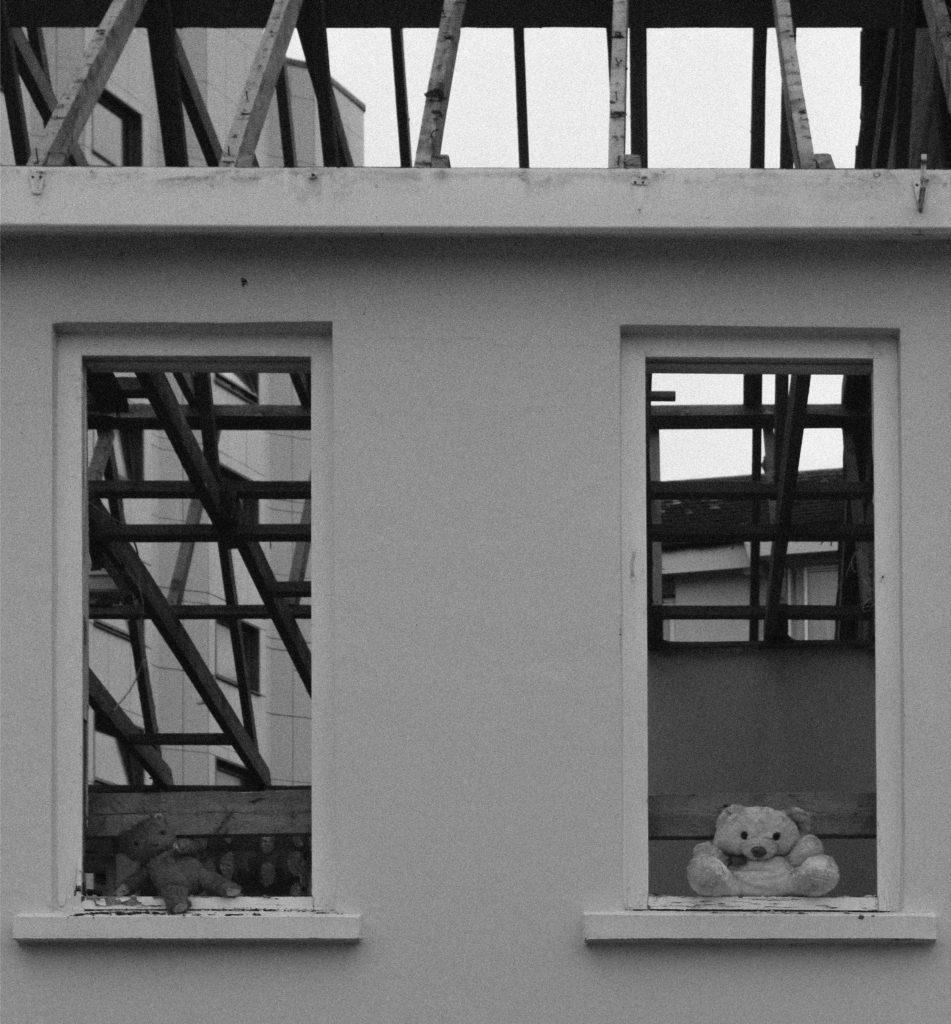
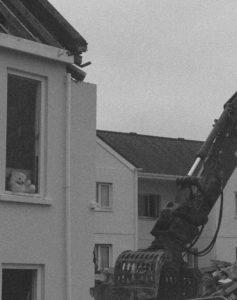
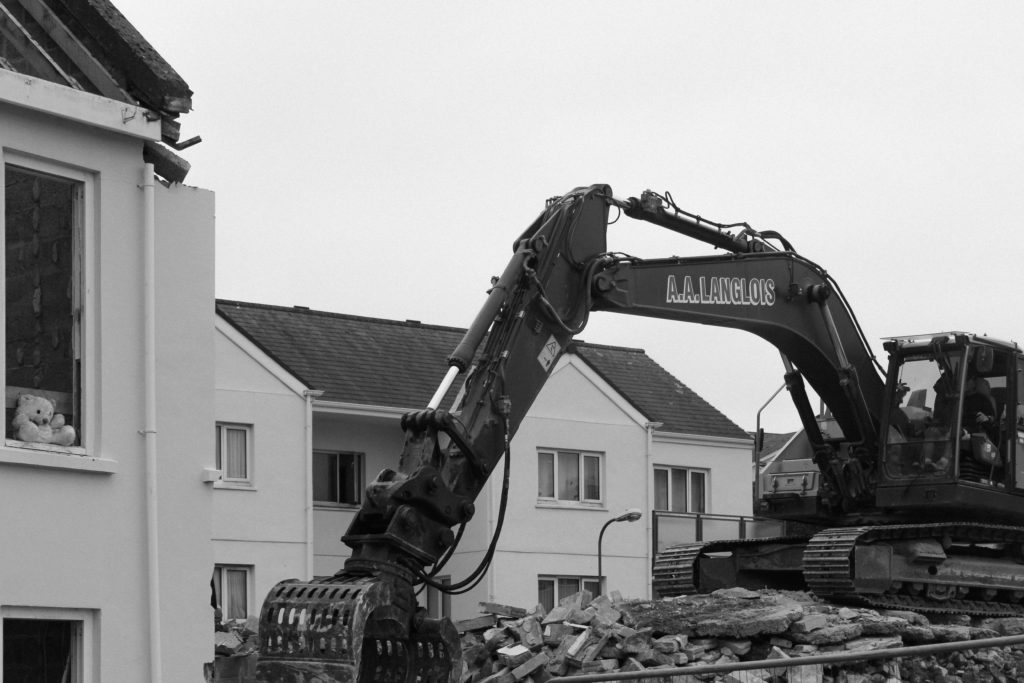
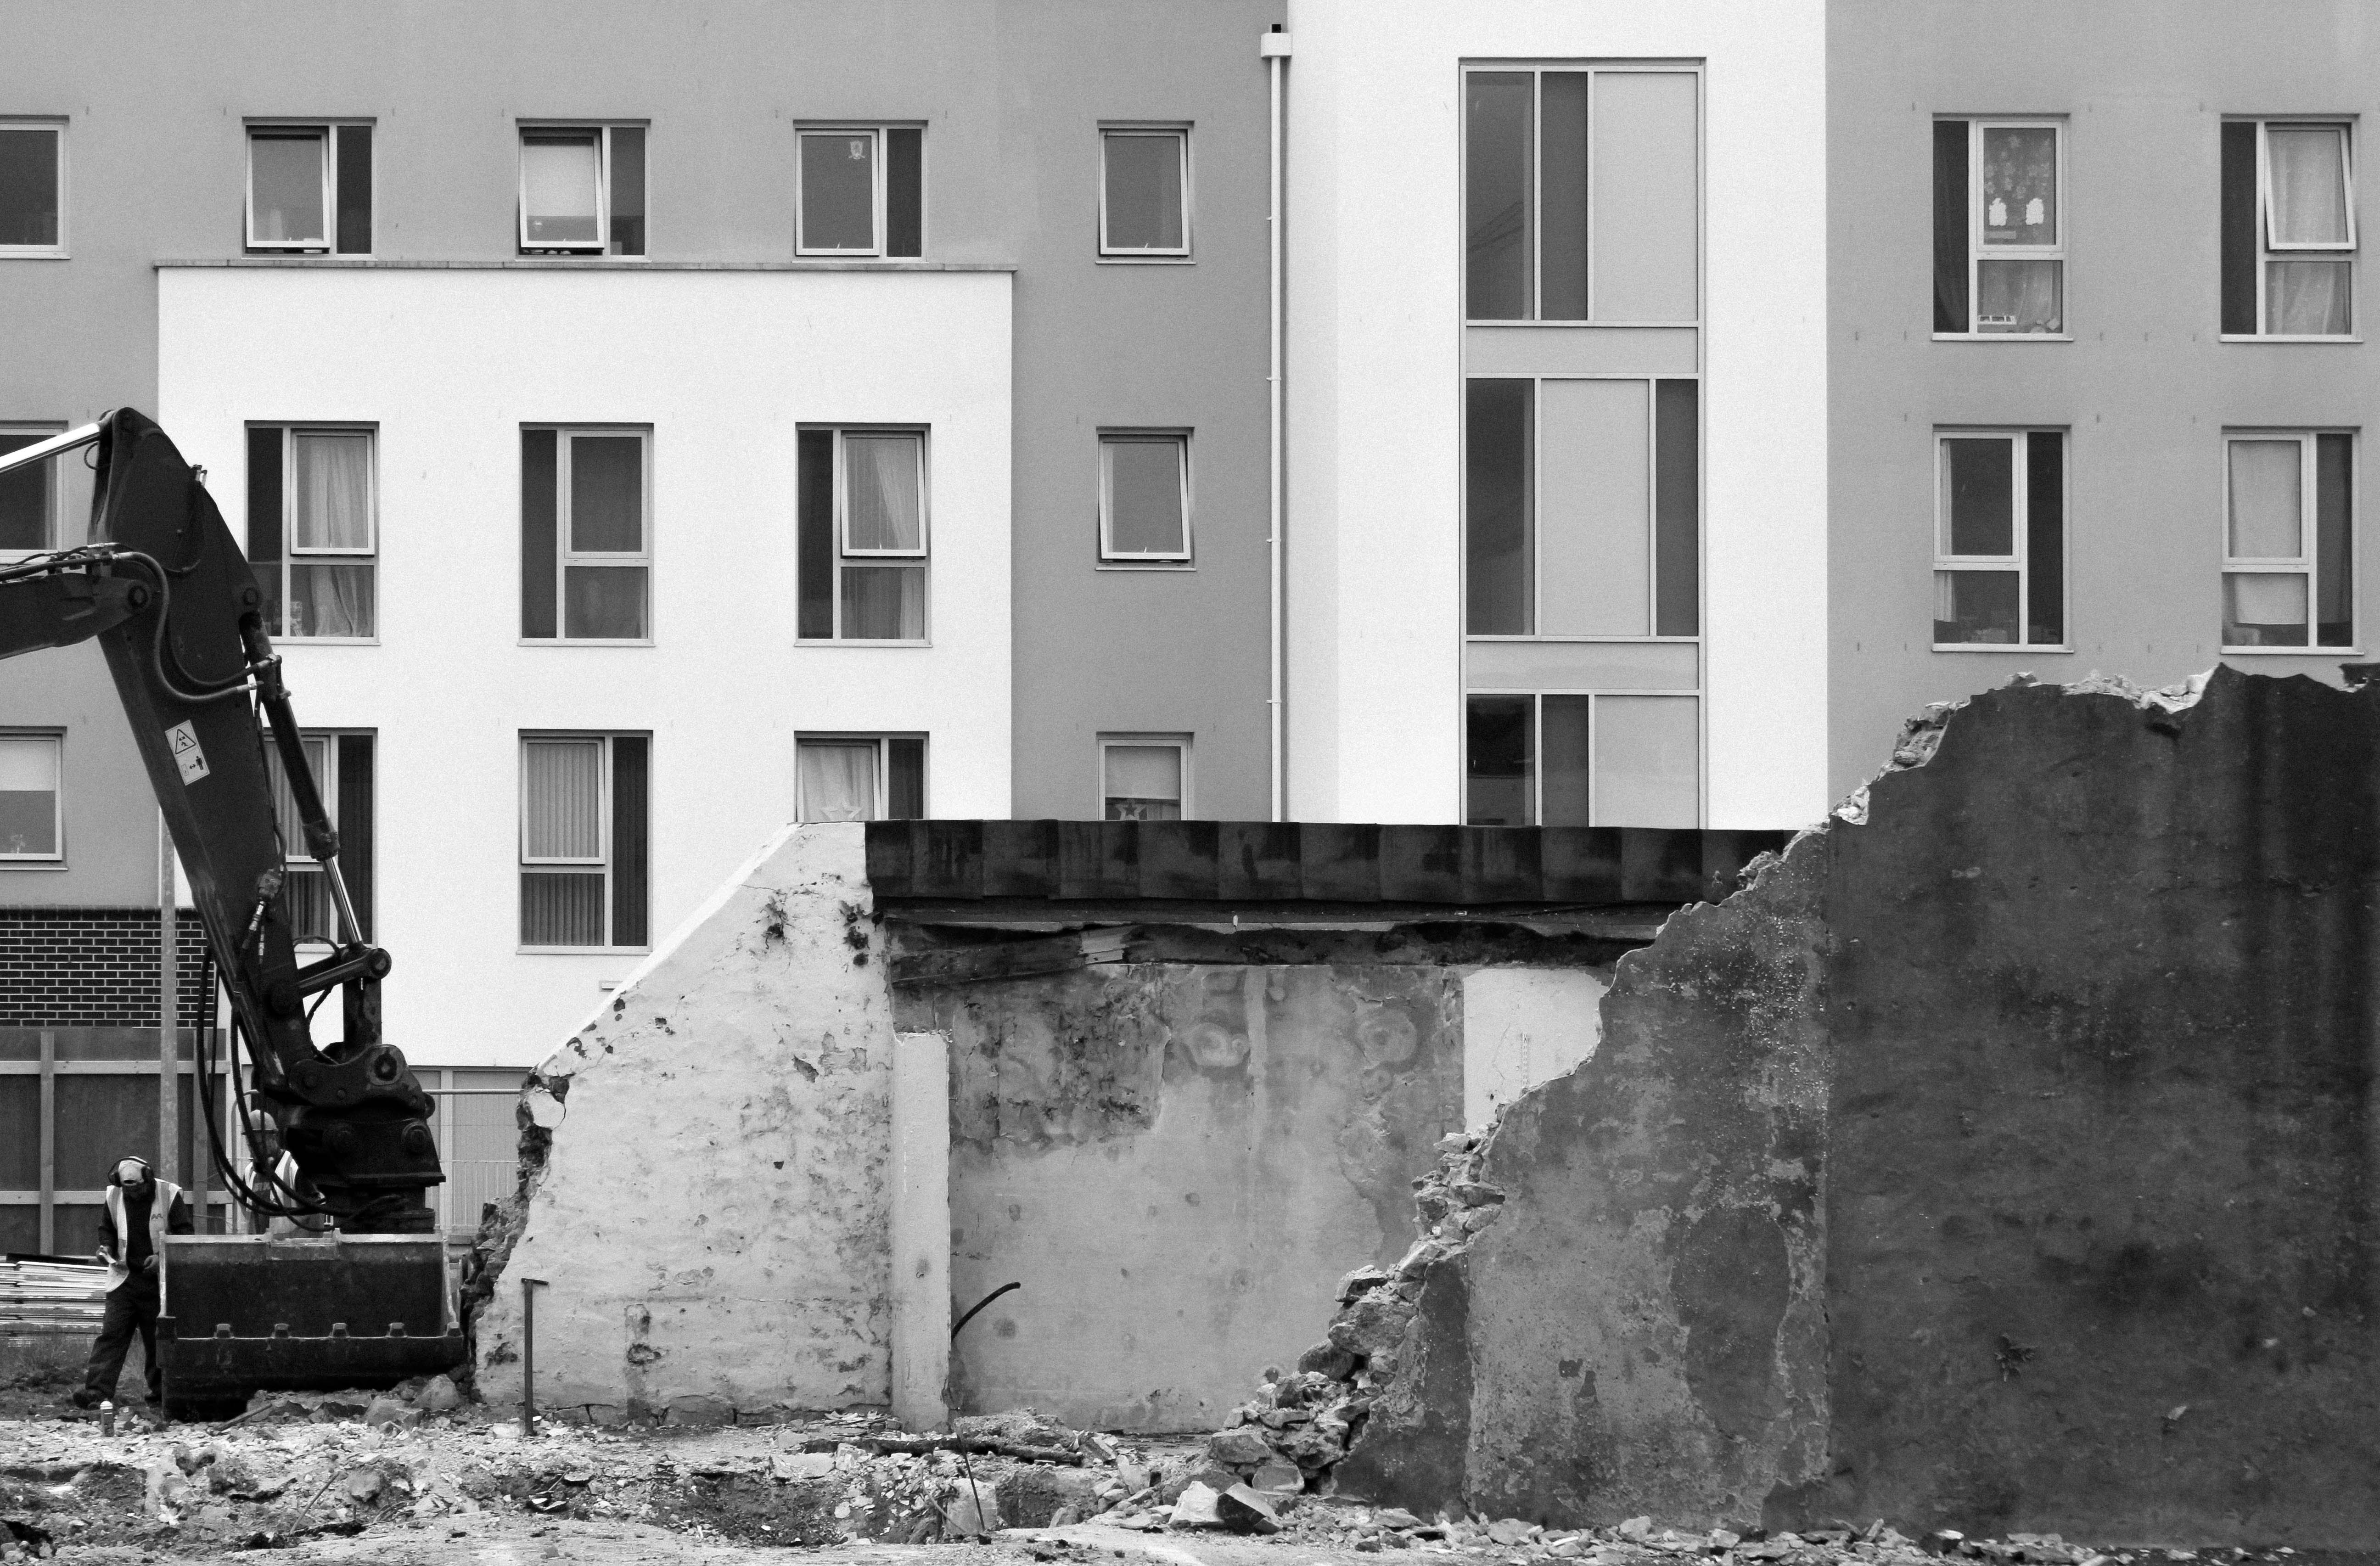
The below photographs are the final sequence that I will be using, I feel that the photographs all link into eachother and are edited in a way that strengthens this bond. The sequence starts off with a teddy bear in the shell of a house – this makes the viewer ask questions such as ‘what is the story behind this?’. The next photograph provides a bit more context; it shows that it’s on a building site and is about to be destroyed. The third photograph foreshadows what is to become of the destroyed building as you can see a similar project in the background. The fourth photograph shows the rebuilding of the site. The fifth and sixth photographs show progression throughout the building of the project.

I feel that this sequence of photographs shows the cycle of destruction and rebuilding that St. Helier is going through and shows that this is very much what the future of St. Helier is revolving around.

Experimenting With Montages

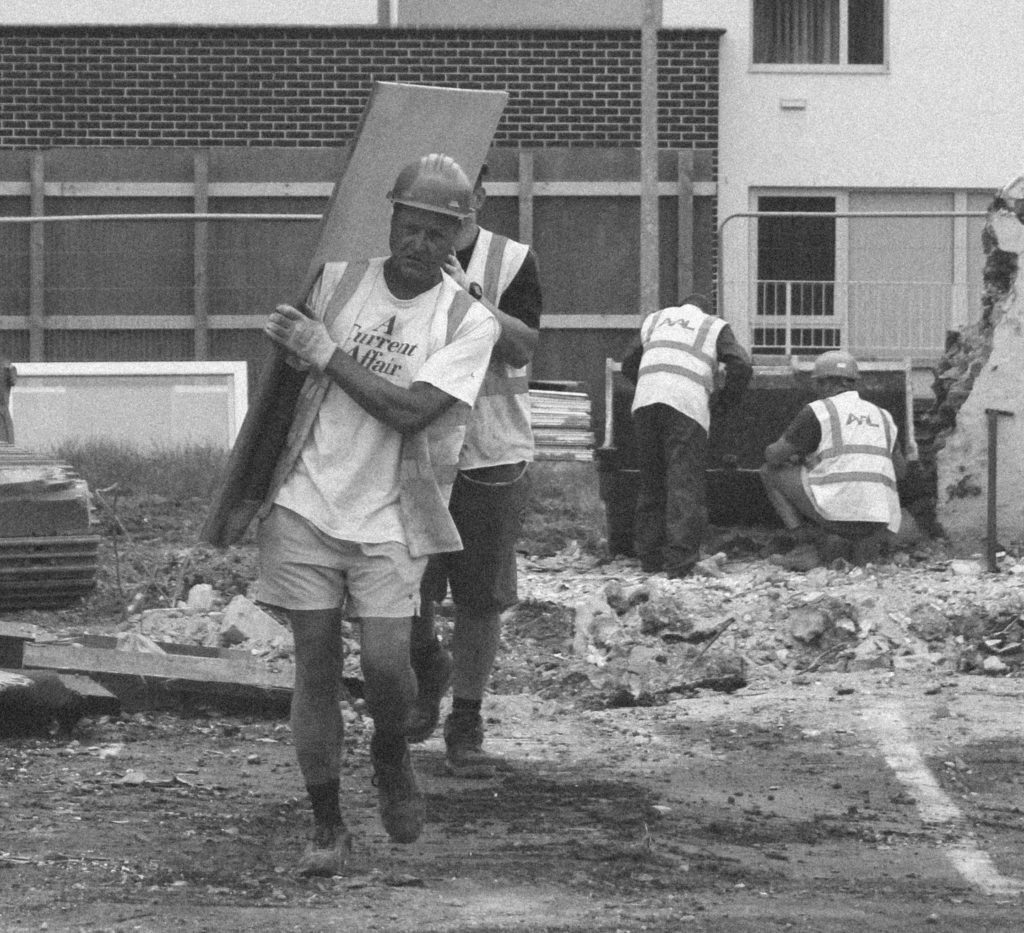
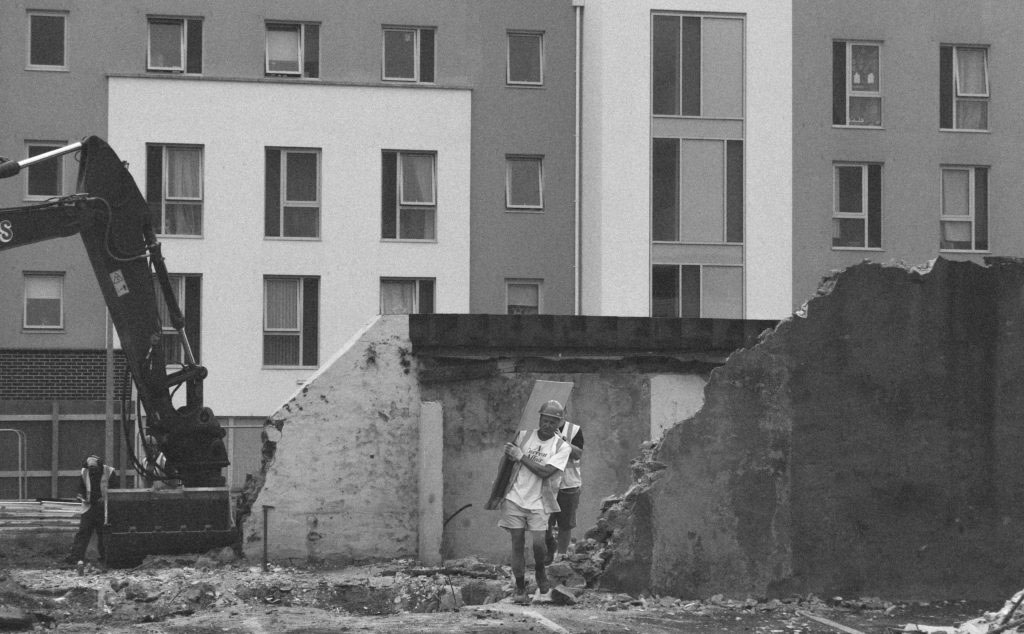
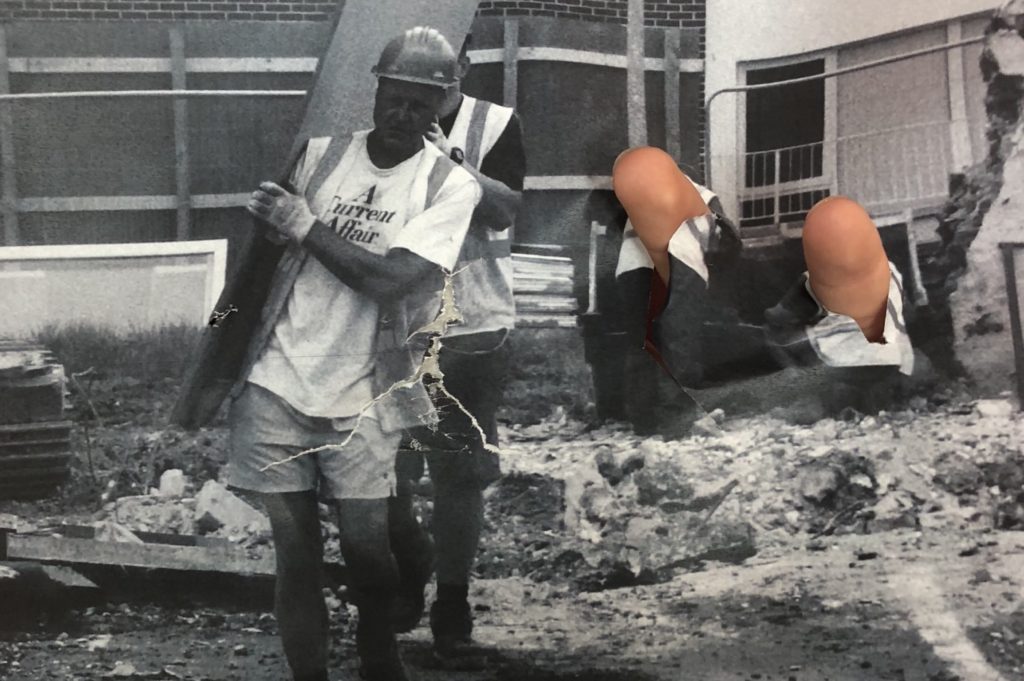
In the below montage I have edited in the two construction workers from another photograph. This creates another subject within the photograph.


In the below montages I have edited in the bear from another photograph in order to add to my story telling narrative within the sequence of photographs.

Cut and Paste Montages

In the below photographs I have manipulated the photograph with my hands and then taped the photograph back together then repeating the process in order to create a weathered look in the later on compositions. I think that this is a good experiment to explore as there is lots of shapes and creations that you can come up with but for this project I am enjoying photographing and editing to create documentary style sequences.


Experimenting With Cropping

Photograph 1

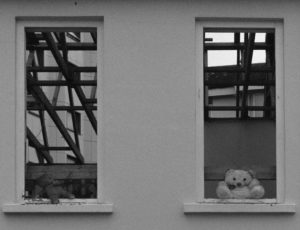
This cropping involves perspective cropping in order to create straight lines within the photograph for aesthetic effects. This cropping shows both of the bears in the photograph along with the two natural framings which are the windows. It also shows some context in the way that you can see the house is falling apart/being taken apart.


This cropping makes the white bear the focus of the photograph as it crops out everything else. I prefer the first cropping as it provided for context and interesting subjects for the photograph.


This cropping removes the skeleton of the house to allow the photograph to focus more on the two bears in the windows. I like the idea of focusing on the bears but I feel that the skeleton of the house is a vital part of the photograph in order to provide contrast between structures


This cropping is similar to the third cropping as it focuses on a similar bear. I feel that it does not have as much affect as the third cropping as this bear does not provide contrast through brighter tones.


The first cropping is the cropping that I will use for this photograph as I feel that it shows everything needed in the photograph including contrast, tonal ranges and interesting subjects – to the extent that cropping it anymore would mean taking away from the photograph.


Photograph 2

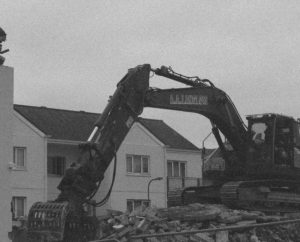
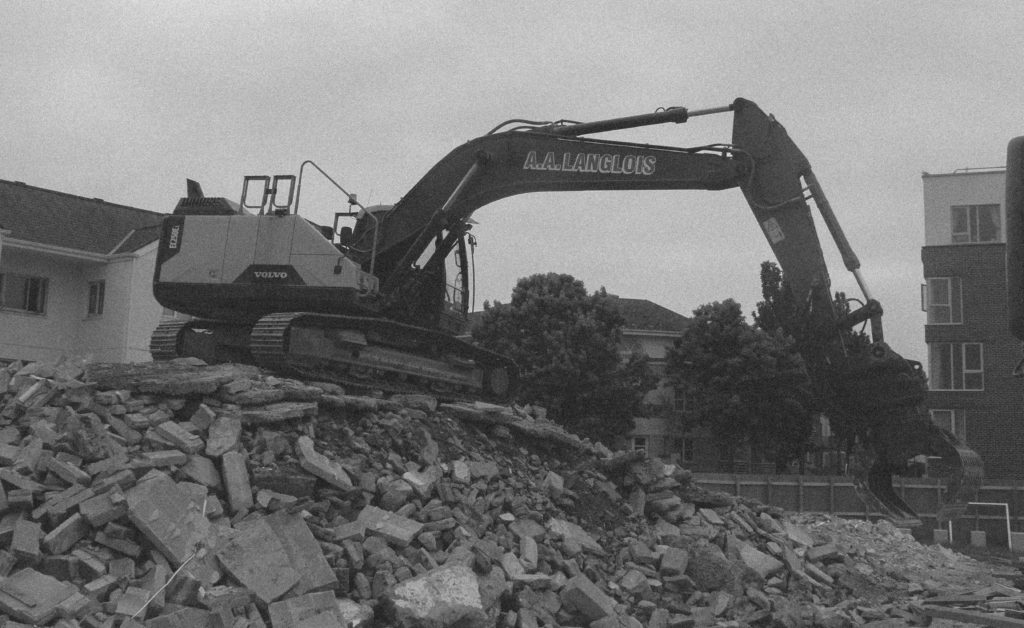
This cropping shows more context leading on from the first photograph – it shows where the bear is and what is going to happen to it. The contrast between the hard digger and the soft teddy bear creates an interesting photograph as it makes the viewer wonder about the bear’s story.


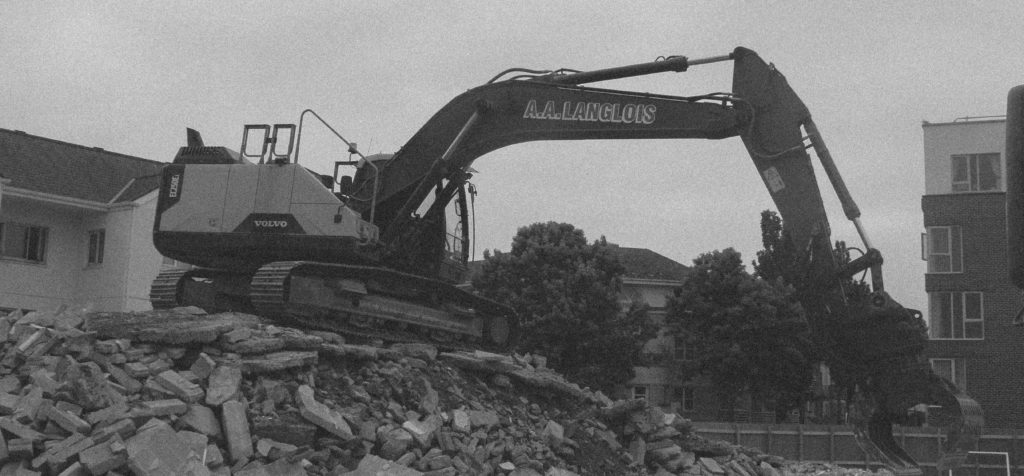
This cropping takes away the focus from the bear as it focuses on the digger on the mound of rubble. This creates a harsher image and it only shows destruction. I prefer the first cropping over this one as it provides a bit more context.


This cropping is the opposite of crop two – it focuses on the bear rather than the digger. This makes the viewer think a bit more about who the bear belonged to and why it has been left behind. I feel that this composition does not show enough of the harsh reality that is the digger.


This cropping focuses on the main body of the digger and the man controlling it. This helps to convey the message that it is the machine that does the destroying but it is only acting as a disguise for man.


I will be using the first cropping as I feel that it shows all the context within the photograph in order to make the viewer think about what has happened here and what is going to happen in the near future. It provides plenty of contrast and tonal ranges compared to the other compositions.


Photograph 3

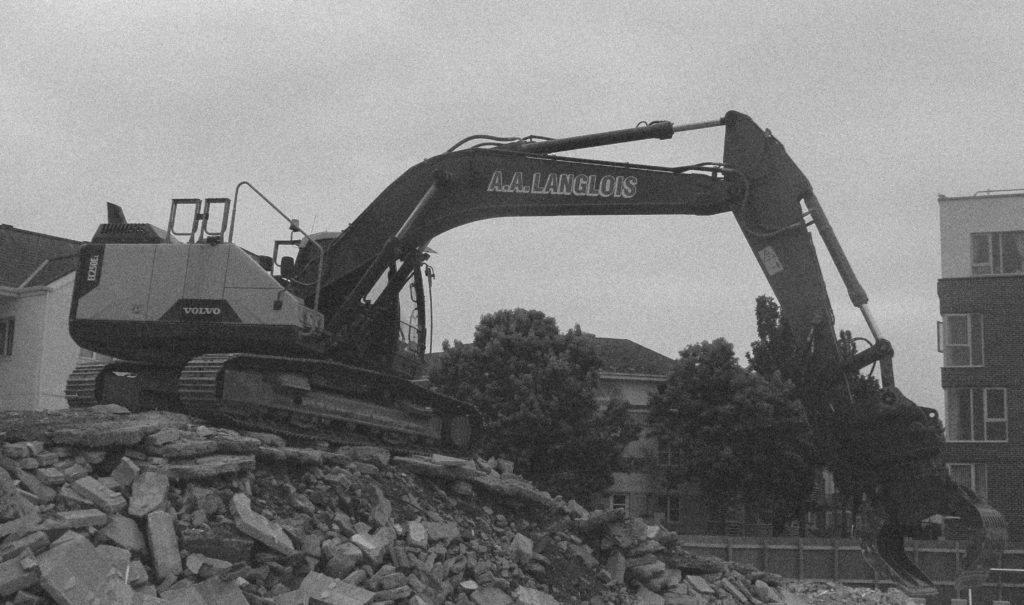
This cropping shows the digger from a different angle on top of the rubble, at an angle that makes the digger seem to have even more power. The trees and buildings in the background help to contrast with the destruction.


This crop takes away some of the rubble from composition one. This creates a composition more focused on the digger but I feel that it takes away from the superior feel given to the digger by the angle.


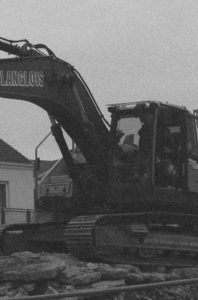
This cropping is similar to crop two but takes more height off of the image whilst keeping width. This keeps all of the context within the photograph as well as the wide photograph emphasising the length of the digger.


This cropping focuses on the main body of the digger and the man controlling it. This helps to convey the message that it is the machine that does the destroying but it is only acting as a disguise for man. I think that this crop takes out too much of the context and interesting subjects.


I will be using the third cropping as I feel that the wide composition emphasising the length of the digger is very effective and helps to convey the extent to which the digger can destroy.


Photograph 4

This cropping shows a building destroyed by the digger with a fully constructed building in the background. This creates contrast between the view of the destroyed and the view of the built.


This photograph focuses on the digger but takes away from the context and scale of the building, creating a less satisfying photograph.


This cropping is the opposite of crop two – if focuses on the destroyed building rather than what did it, meaning context has been taken away.
 

This cropping is similar to crop two in the sense that it takes away from the scale of the building, although it keeps some context by including the digger.


I will be using the first crop as I feel that it has well-placed subjects to create an aesthetically pleasing photograph whilst conveying the idea of destruction and rebuilding.


Photograph 5

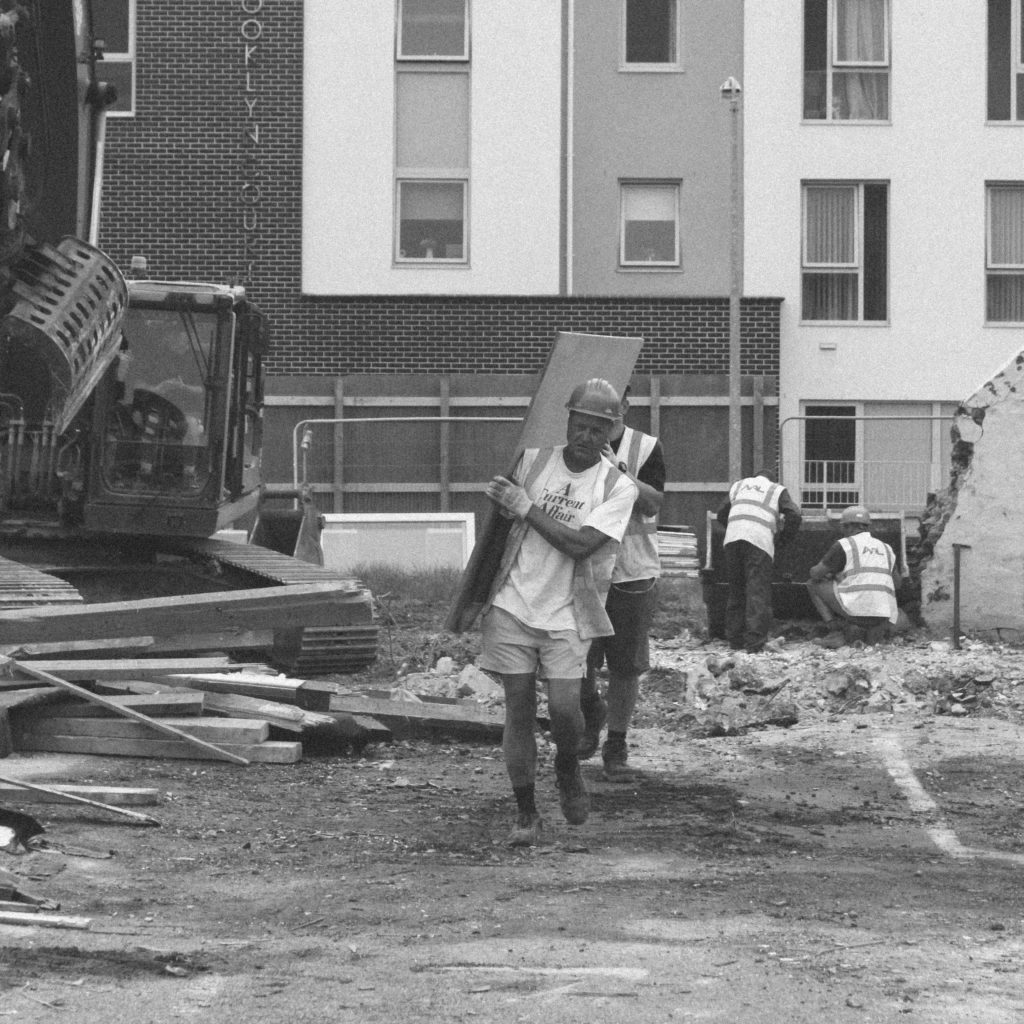
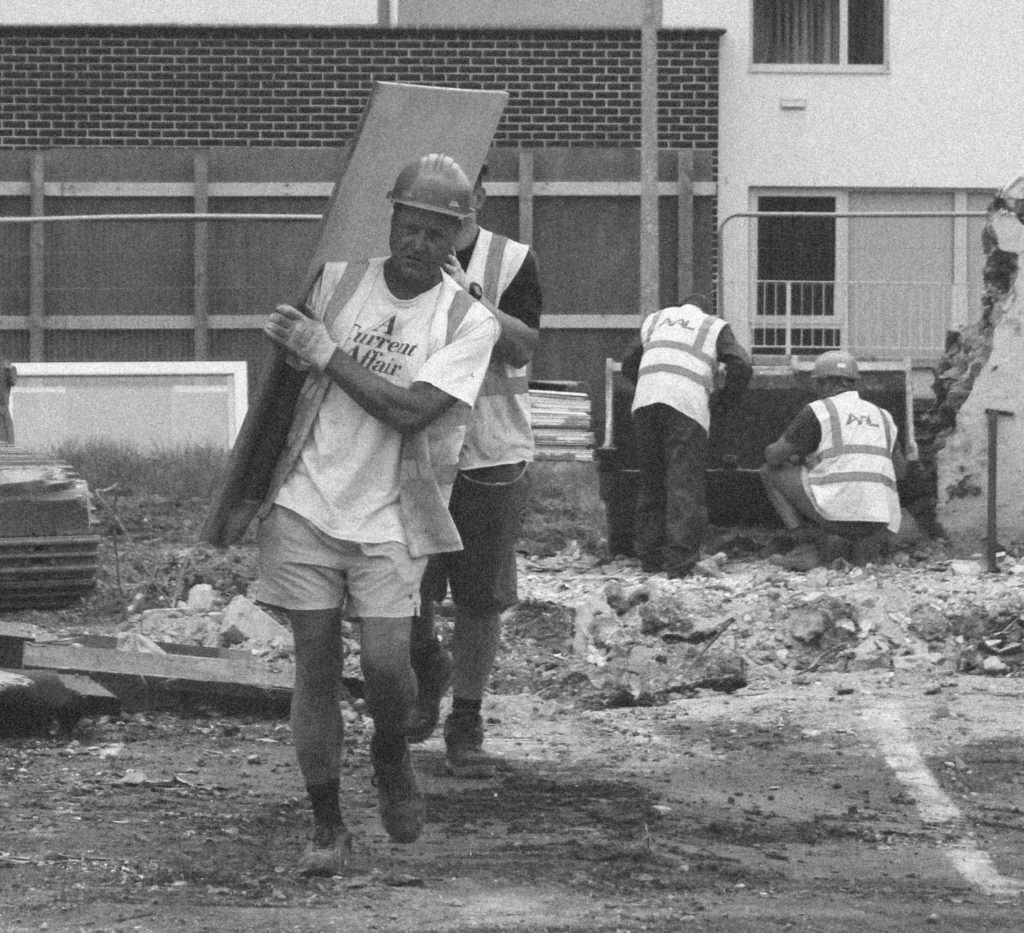
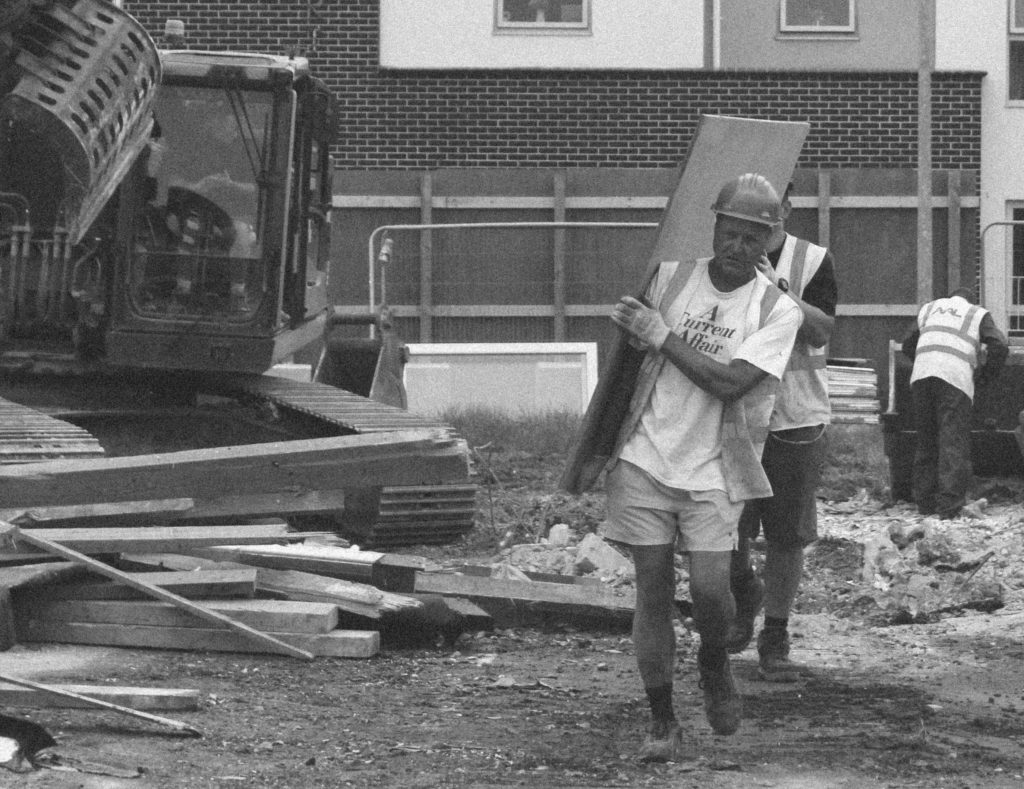
This cropping of the photograph sets the main subject in the centre in order to lead the eye to it straight away. This is effective as the people, machinery and building in the background are not instantly noticeable.
 

This crop focuses even more on the builders, it takes out any of the unnecessary subjects in the background to create a more effective composition.


This crop is similar to crop two but I think that too much of the background has been cropped out, which takes some of the interest out of the photograph


This crop is similar to crop two as it removes some of the background but I feel that this composition is not as strong as the background in this composition is slightly distracting.


I will be using the second composition as it shows all the context needed whilst keeping the photograph simple and effective to convey the message of rebuilding.


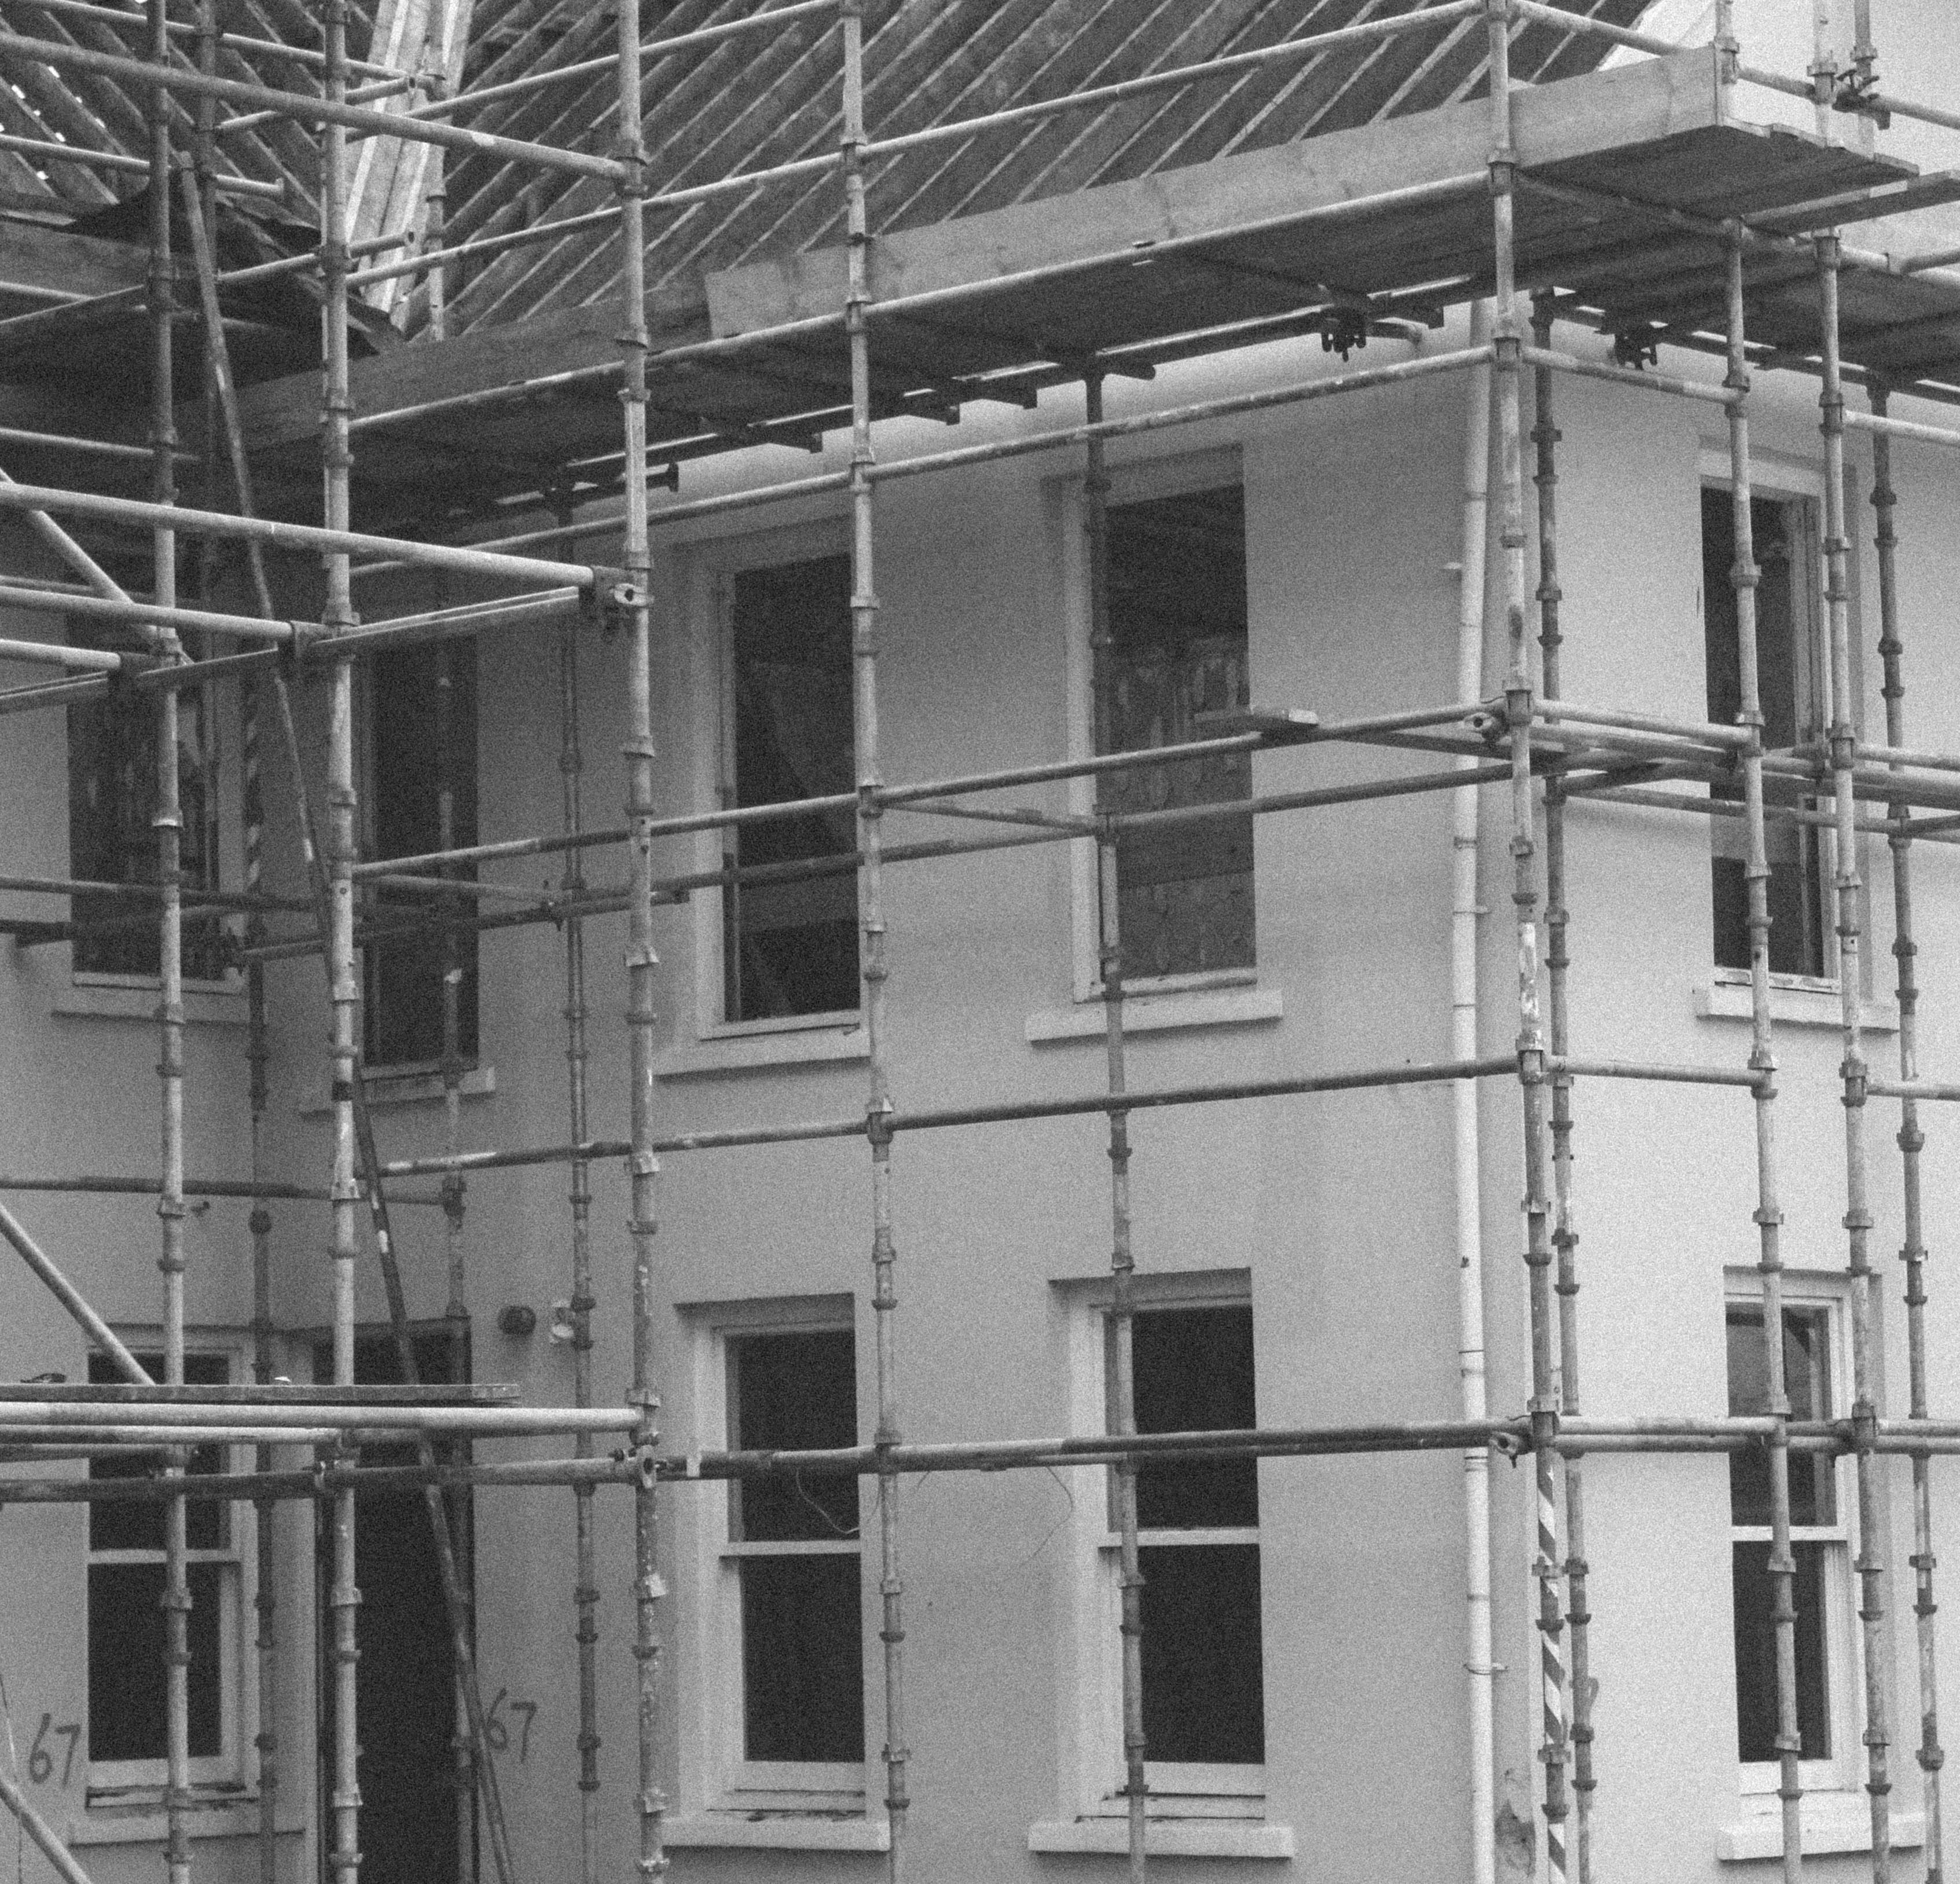
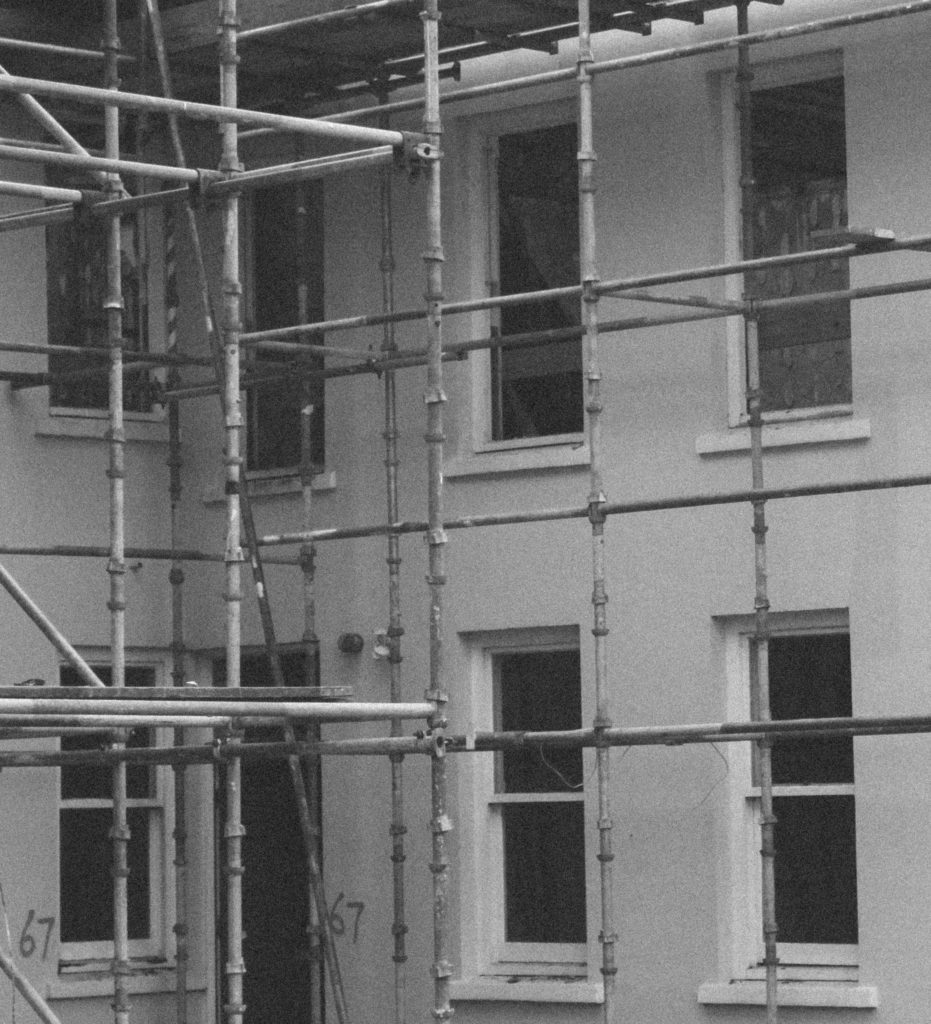
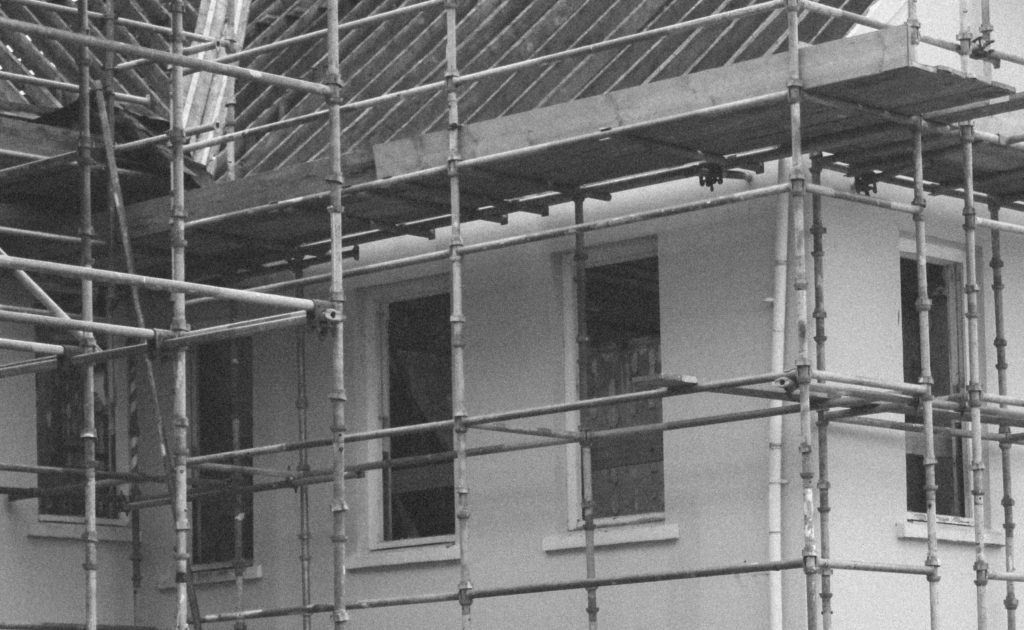
Photograph 6

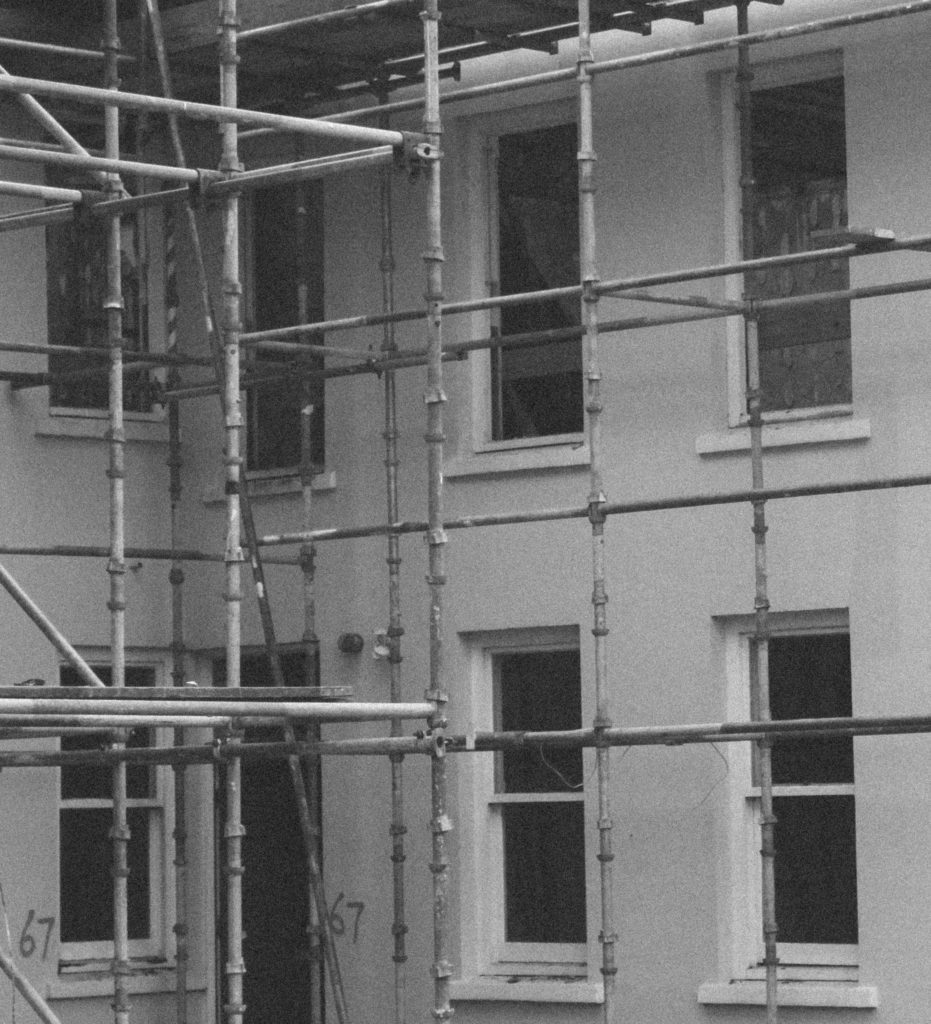
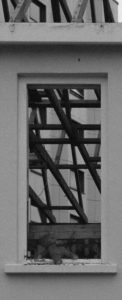
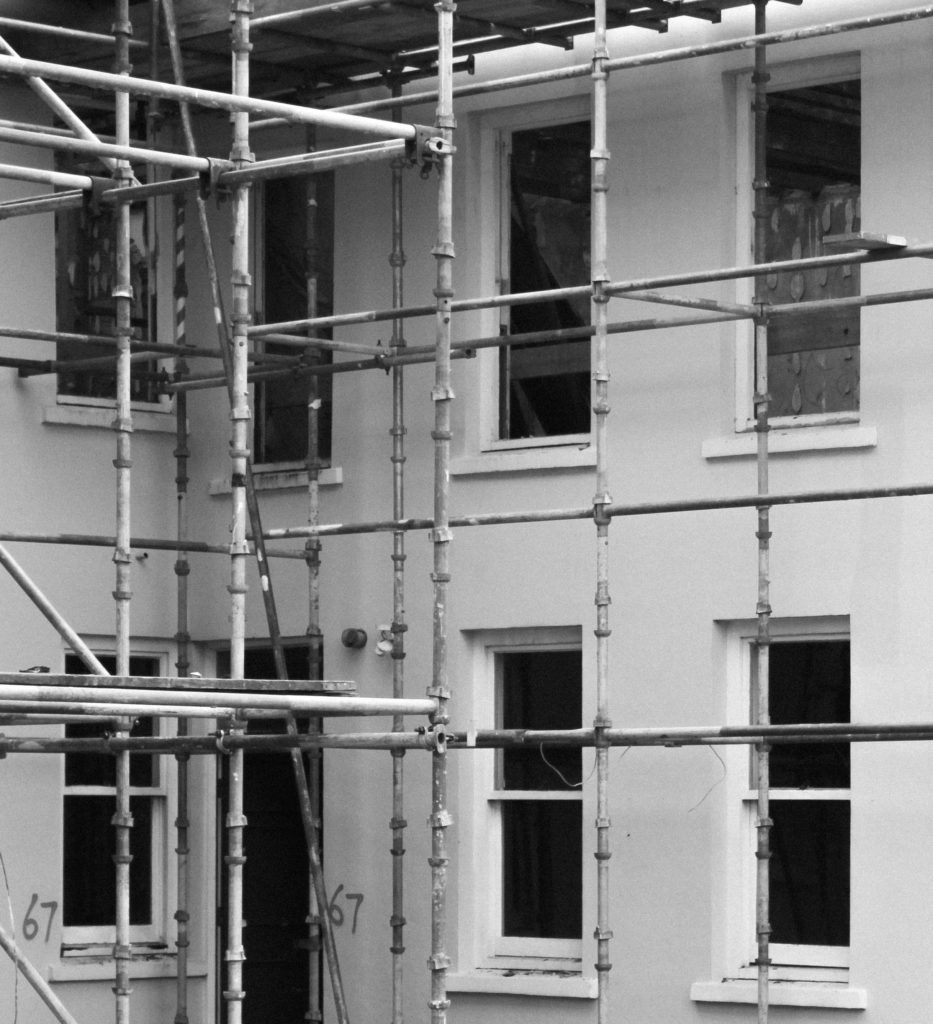
This cropping shows a house shell with just the scaffolding on it – it is effective as it shows the subject for what it is but could possibly be cropped more dramatically to create a more aesthetically pleasing photograph.


This crop takes all of the unnecessary parts of composition 1 out to create a more focuses and slightly abstract composition. It focuses more on the shapes within the photograph and the contrast between light and dark.


This photograph focuses on the top half of the house – to me there is too much unnecessary parts in this composition so is not as effective as crop two.


This composition crops out a lot of the photograph to create a focus on the linear scaffolding. I think that too much context has been taken out of the photograph in this composition.


I will use the second composition as it has an effective focus on shapes and contrast whilst removing any unneeded context.


Photograph 7

This composition shows contrast between the destruction on the building site and the clean architecture of the building in the background.


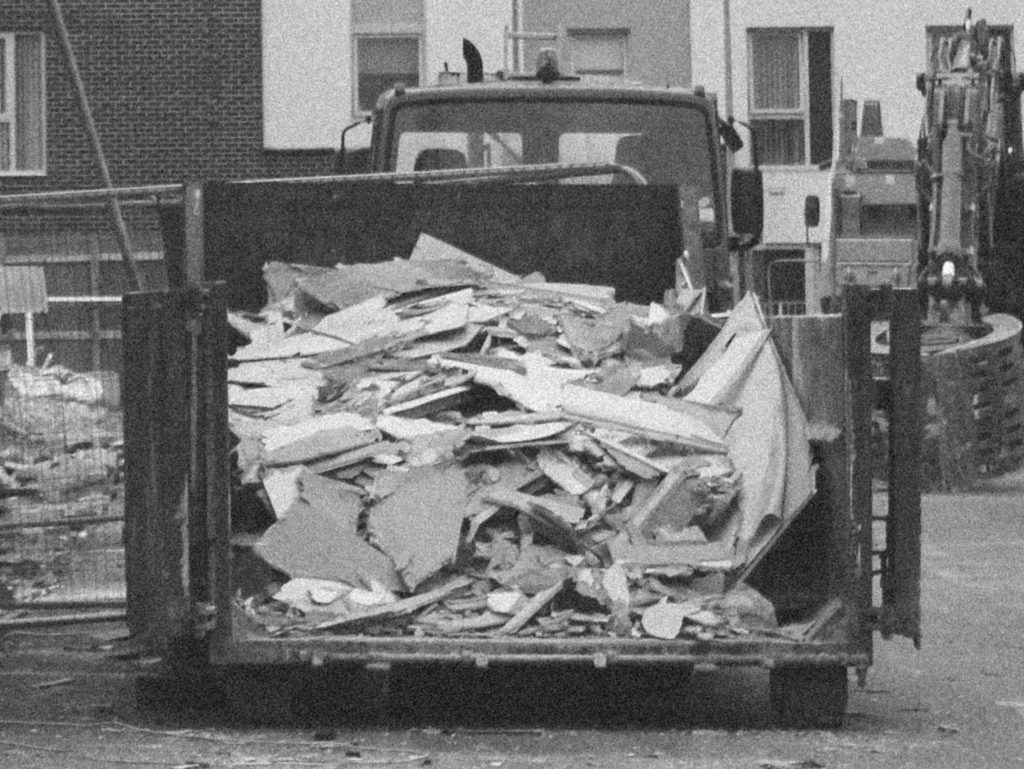
I feel that this composition takes away too much context by removing the view of the building in the background along with the scaffolding.


This composition focuses purely on the scaffolding of the building. I like the idea of focusing entirely on one area of the photograph but it doesn’t show enough to make the photograph interesting.


This crop focuses on the skip whilst keeping the context of the buildings in the background. It contains a lot of context but I feel that the scaffolding is a vital part of the photograph.


I will be using the first composition as I feel that there is plenty going on in the photograph, making it a very interesting photograph to look at.