All posts by Conor H

Filters

Author:
Category:

Focal Length

Focal Length

The focal length of the lens is the distance between the lens and the image sensor when the subject is in focus.

We use focal length to zoom in and out to create a photograph containing selected subjects. We change focal length by using the lens. It can change what is in the image as shown below.
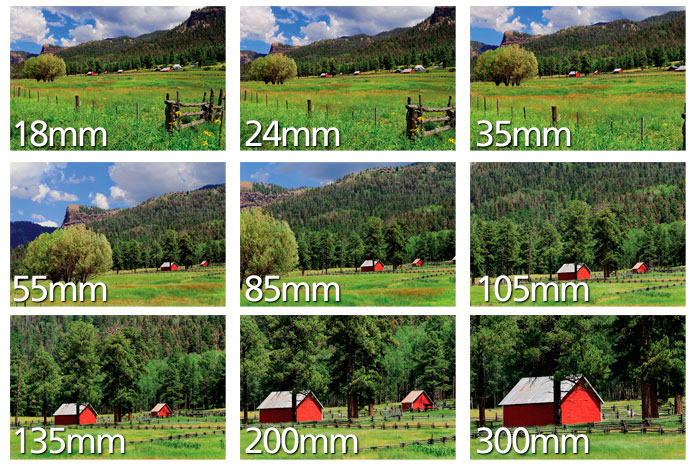
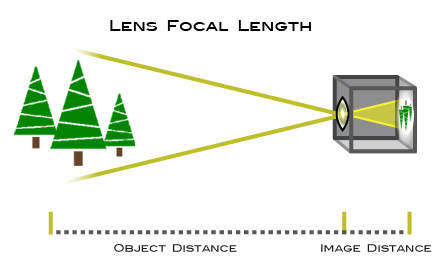
Image result for focal length

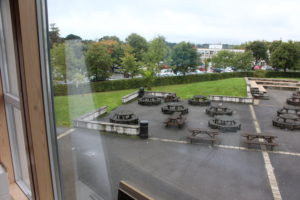
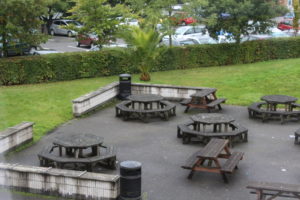
Below are some examples of how changing the focal length of the lens can change an image.
Homework assignment 2

Planning

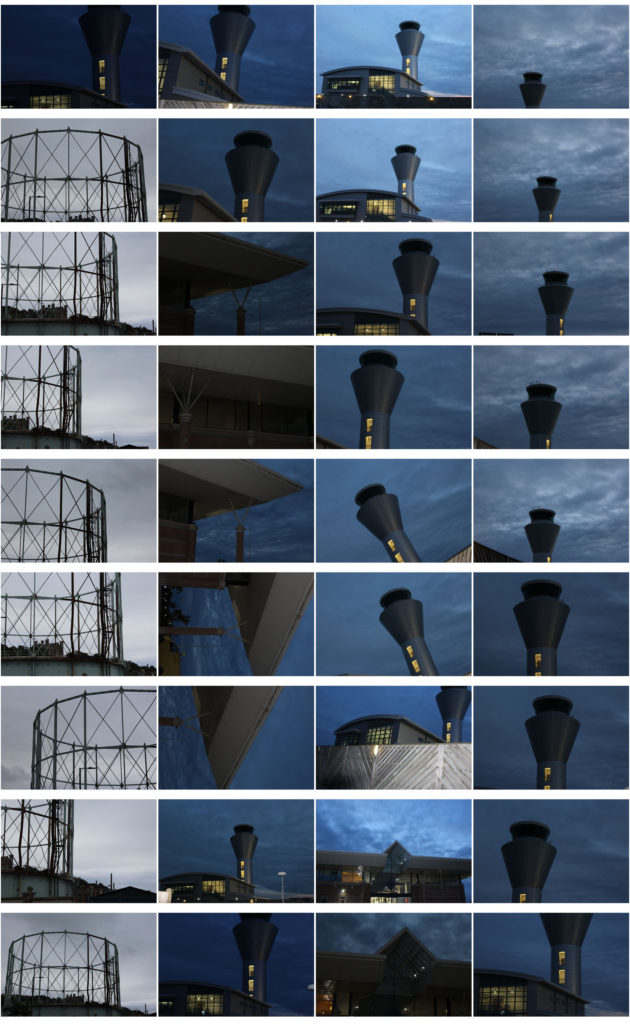
Task – take 100-200 photos of things e.g. objects, buildings, people.

Locations – airport, my house, jersey gas

Subjects: the gas tower, control tower, Josh

Camera settings: Handheld, ISO 800 due to dark setting, shutter speed 1/60, aperture high.

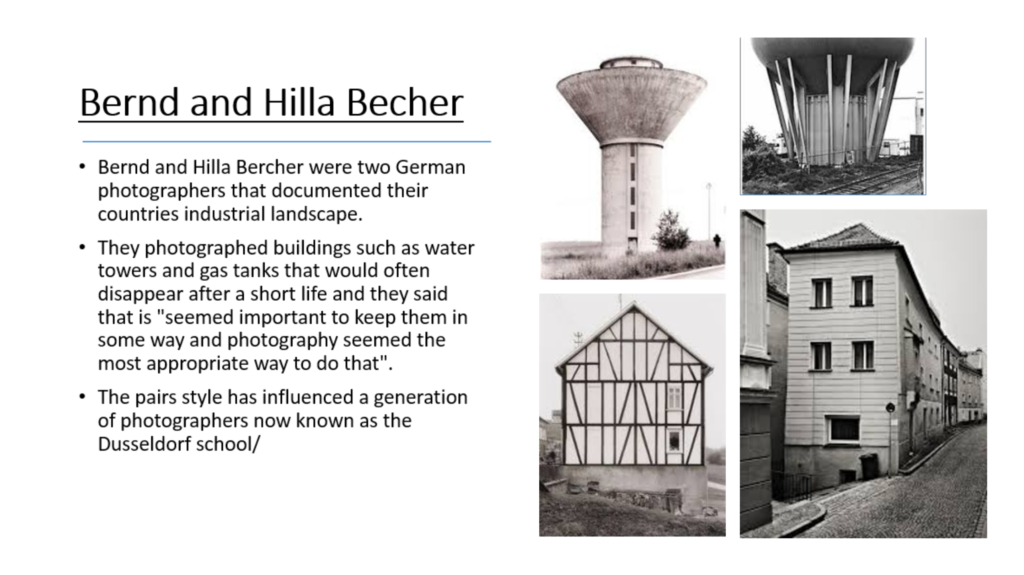
Concept: Capture images in the style of Sander and Bechers.

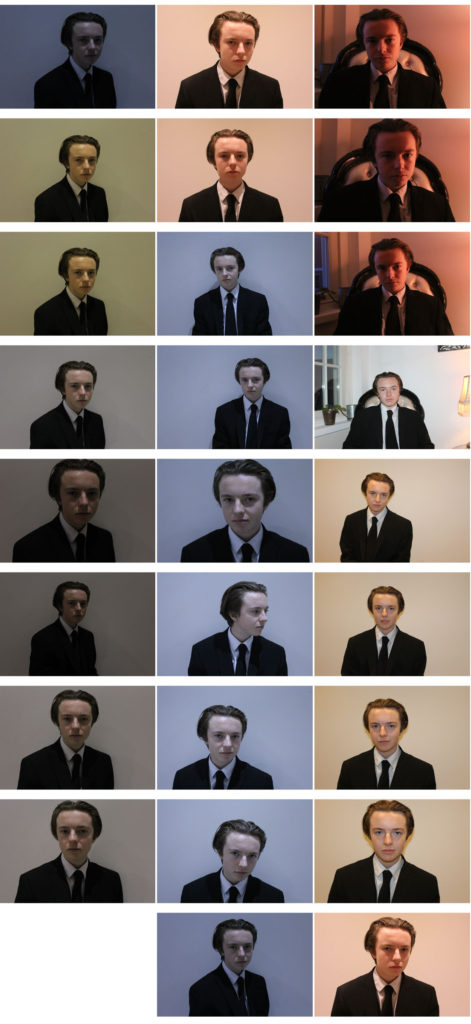
My Response to the Bechers and Sanders:
My Favourite Five Photos:

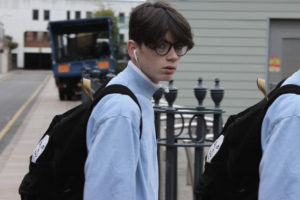
This photo is one of my favourites due to the fading of the black suit into the background. This blackness contrasts with the window frame and the subjects face causing a dramatic image.These images are some of my favourites due to the different tones throughout the picture. The darkness of the image creates an old-fashioned and serious image.
I chose this image out of all of the structural photographs because of the balance in it and the fact that it is more zoomed in – making it  a more mysterious image.
Using Free Transform and Blending

This image was created by duplicating the original image and using ‘control + t’ to transform the image and move it to the right.

After getting the image to the position that I wanted it in, I used both the paint brush tool and the eraser tool to reproduce a part of the photograph within the photograph. I used different opacity’s and sizes of brushes to remove all of the parts of the image that I didn’t want.

I like this image because at first it appears to be a normal image but on closer inspection it has repeated itself. The subtlety of the replication and blending makes it an interesting image for me.


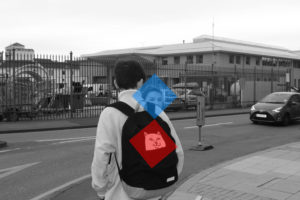
Colour Overlay

This image was created by taking the original image then adding a rectangle using the rectangular marquee tool.  After surrounding the area I wanted to use I then went to my layer options and selected ‘solid colour’. This allowed me to then pick a colour. After picking the colour I changed the opacity to allow the image to show and then rotated the shape.

After doing this with one shape, I repeated it with the other to create two bright contrasting colours on a black and white image.


Exploring Shutter Speed

  • Shutter speed is the time for which a shutter is open at  a given setting. It is also the length of time that a camera sensor is exposed to light.
  • A fast shutter speed can catch quick moving objects but a slow shutter speed can cause a motion blur.

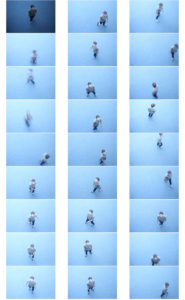
The shutter speed tends to be measured in fractions of a second, as shown below.Image result for shutter speedBelow, is a contact sheet of photos that we took with varying shutter speeds.
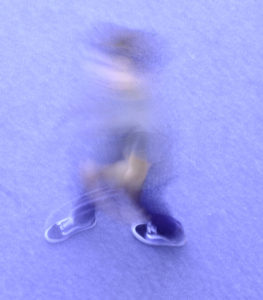
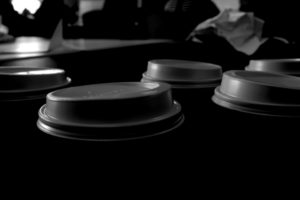
My favourite photo from the shoot is the one below, which I have added a purple hue to, to enhance the colours and separate the blur. This is my favourite due to the fact that starting at the feet, you can make out exactly what you are looking at but as you go further up the image it becomes more abstract and unpredictable.
Exploring Tone and Contrast

  • In this edit, I took the top image and added a black and white filter. I then added contrast and lowered brightness. Then, to make the image more dramatic, I increased the amount of black in the image using the zone system.
    • The zone system was created by Ansel Adam and is shown in the bottom picture.
    • The zone system shows the amount of white/black in a photo and allows us to adjust it to our liking. It lets us pick a correct amount of exposure every time.Image result for zone system

Camera Skills :Exploring exposure

  • In this shoot we used different white balance (shady) along with an ISO setting of 200 and a variety of shutter speeds in order to investigate what exposure does and how it affects a photograph.
  • An image taken with a  high shutter speed allows less light to enter the camera but an image taken with a low shutter speed allows more light to enter the cameImage result for shutter speedsra.

Camera Skills : Looking at the exposure triangle

The Exposure Triangle

  • The exposure triangle is a common way of linking th
  • Image result for what is the exposure trianglee three variables that determine the exposure of a photograph.
    • The three variables are aperture, shutter speed and 
      ISO.
    • Aperture is a measure of how open or closed the lens’ iris is.
    • Shutter speed is how long the shutter remains open and so how long the lens is exposed to light for.
  • The three variables in the triangle work together to give you the photograph that you want.

Exploring Light And Tone

  • The term ‘ISO’ stands for ‘International Organisation for Standardization.
  • ISO can be adjusted to change how sensitive the camera is to light.
    • If the ISO number is low, for example 100, it is less sensitive to the light.
      • A low ISO number would be used in an area with lots of light.
    • If the ISO number is high, for example 1600 then it is more sensitive to the light.
      • This would be used in an area with not much light.
      • A higher ISO number causes more noise in the photograph and so reduces the quality of it.


Image result for iso settings

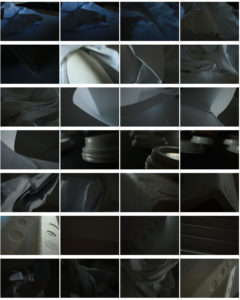
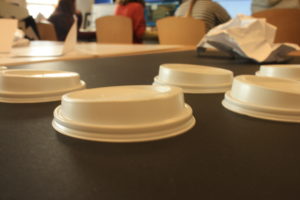
  • Below is my contact sheet of pictures taken of paper and other objects that can be easily shaped and manipulated.
    • A ISO number of 800 was used on the darker images to create a more dramatic photograph and an ISO number of 1600 was used on the brighter images to balance out the shoo
      t and show the difference that the ISO number makes.

Homework Assignment 1

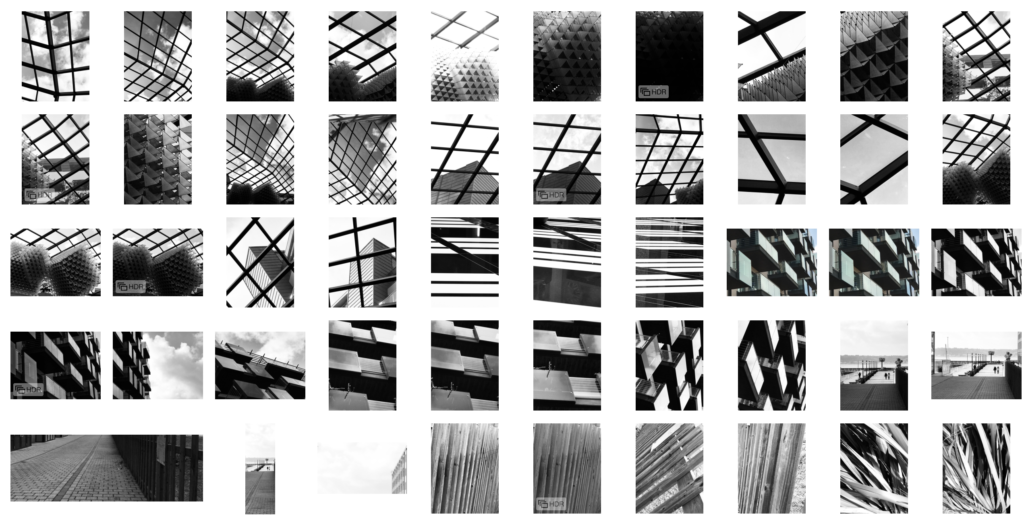
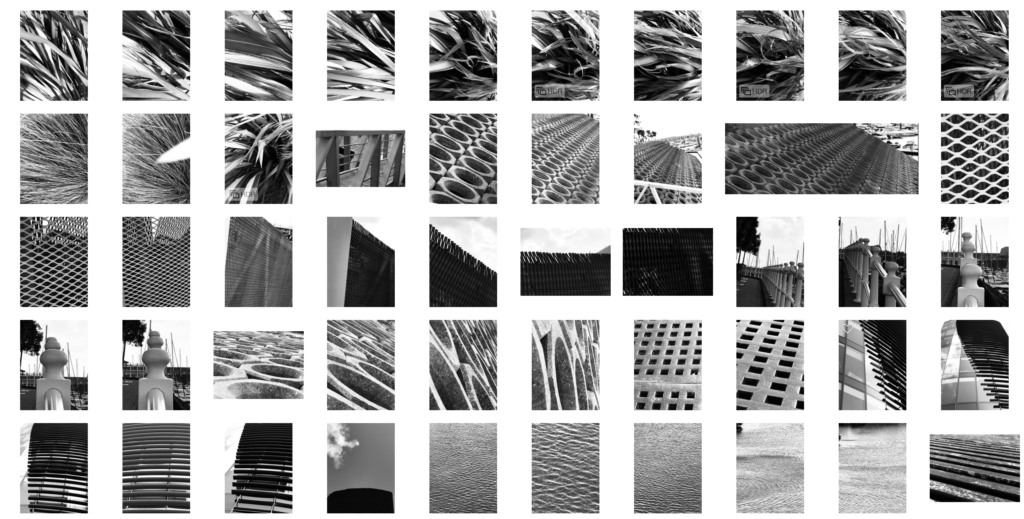
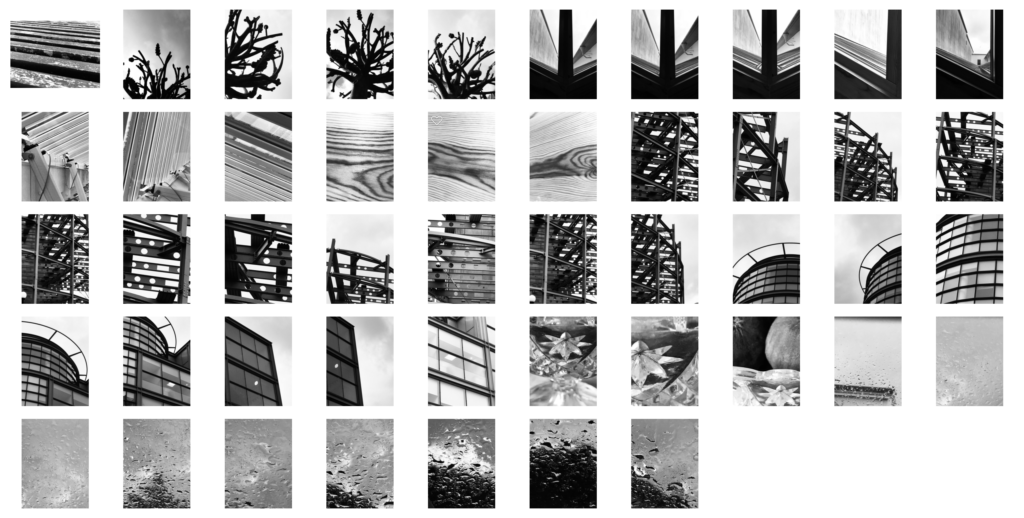
Task – Take 150-250 photos that explore shape, pattern, line, repetition, symmetry, shadow, tone, curves, angles, edges

Locations – Castle quay, around the harbour

Subjects – roof in castle quay, pattern of balconies of castle quay, any patterns/repetition around the harbour.

Lighting – natural light

Camera settings – Handheld, ISO 200-400, Shutter speed 1/60, Varying aperture depending on how close the subject is.

Concept – to capture patterns in everyday items and turn them into something interesting.