All posts by Conor H

Filters

Author:
Category:

Experimenting With Layout Composition

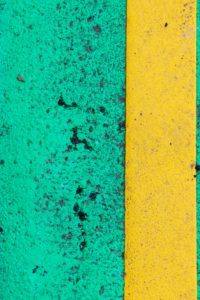
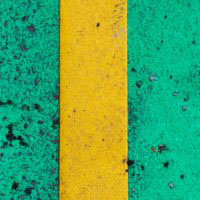
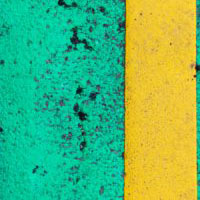
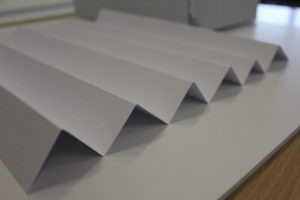
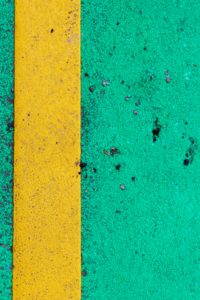
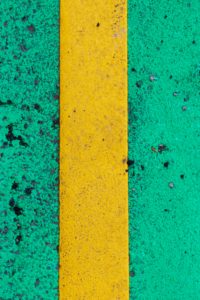
In this post I am looking at ways to present my final piece. Below are the three photographs that I am planning on presenting after deciding how I will present them. I am going to look at different ways of cropping and rotating them to find the most effective way of presenting them.
Square Cropping

Here I have taken each photo and cropped them to a square to see how it may look.
Circular Cropping

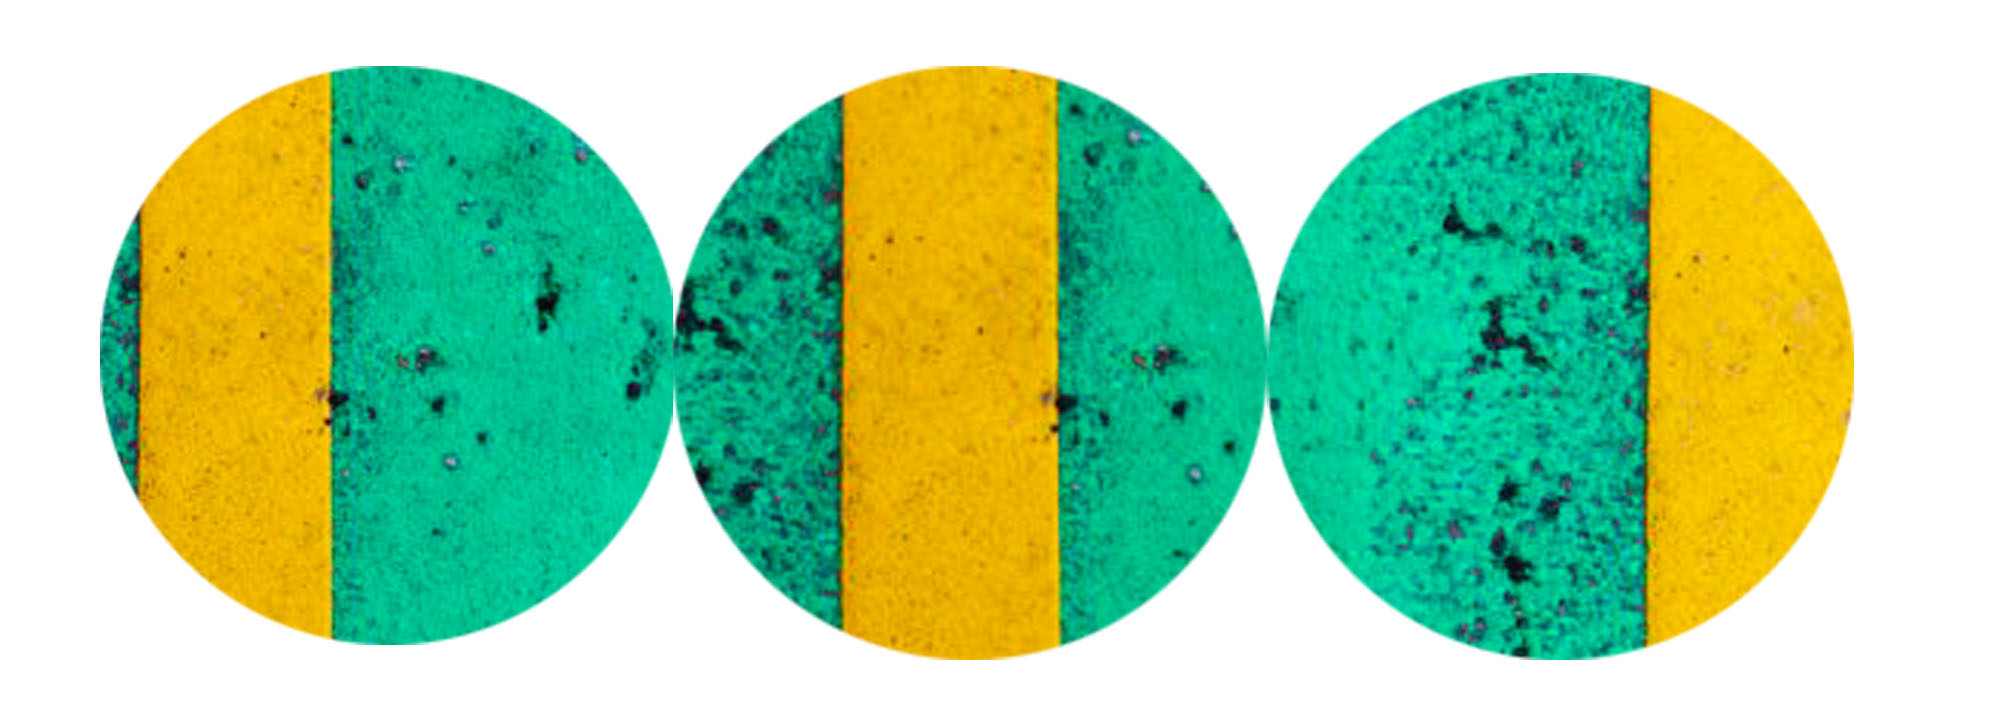
Here I have cropped the three images into circles to contrast the round edges of the circle with the sharp lines in the image.
Rotation

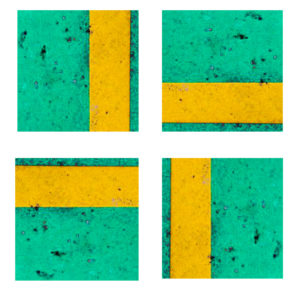
Here I have cropped the first image into a square and looked at the four possible ways of rotating it.
Below is the second image which i have cropped into a square and  explored rotating it to see the effects.
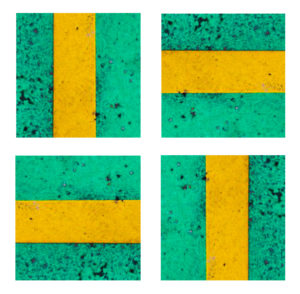
The set of images below show the third image cropped to a square and rotated, from these rotations I hope to gain an understanding of how I want to rotate it in my final piece.
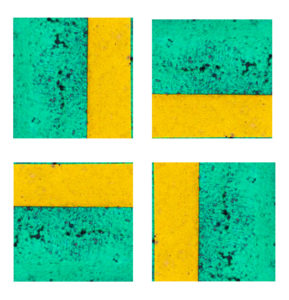
Here I have taken the first image and rotated it in four different ways to see which way works best.
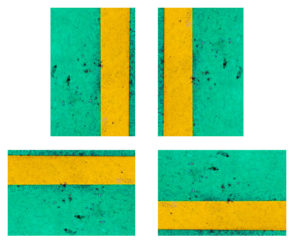
The below images are the second image which I have rotated in four different ways to find the most effective composition.
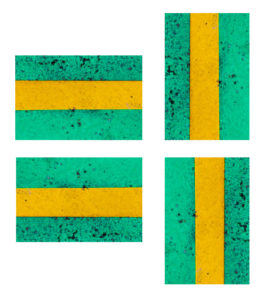
This is the third image rotated in different ways so I can decide which way will be most suitable for my final piece.
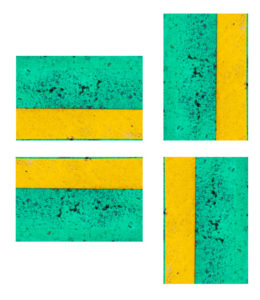
In these images I have cropped the image into a circle and rotated it in different ways to see the different effects.
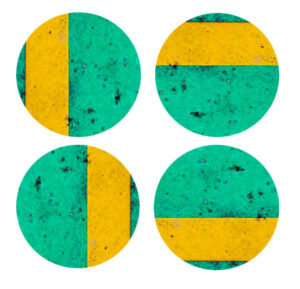
The below images show the second image rotated in different ways to help me decide which rotation I will use.
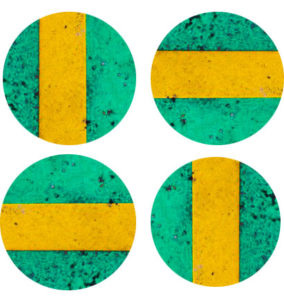
 

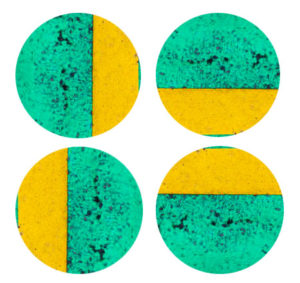
The below shows the third image cropped into a circle and rotated so that I can explore different styles of composition.
Composition

Composition 1

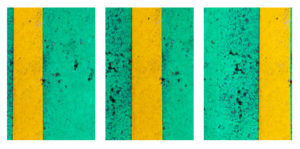
In this composition I took the three original images and lined them up horizontally so the lines were far apart to separate the images from each other.  I don’t like how separated the lines are, they appear too far apart.
Composition 2

In this composition, I swapped image one and three to bring the lines closer together to create a sense of togetherness and to link the images. Due to this link and closeness between the images, I like this composition more.
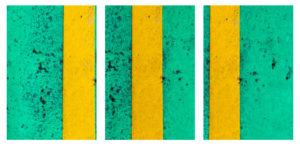
Composition 3

In this composition I pieced the images together to make a continuous line and bring the photos together to be one. In my opinion, this is one of my more creative compositions as it makes one image out of three images.
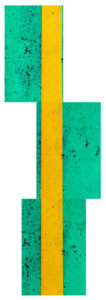
Composition 4

In this composition I rotated composition three to see the effects of the line going horizontally instead of vertically. I think that it looks better standing vertically as when standing vertically it looks less odd.
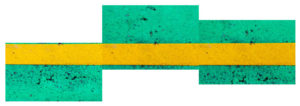
 

Composition 5

In this composition I rotated composition 2 to make the lines run horizontally to create a different effect. I like this composition because of the togetherness of the lines and the direction of them.
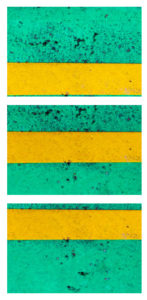
Composition 6

In this composition I rotated composition 1 to make the lines run horizontally to see what it would look like. As with composition 1, I do not like how far apart the lines are.
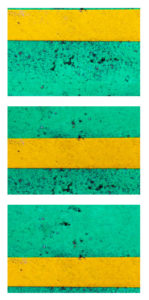
Composition 7

In this composition I have copied composition 1 but cropped the images to squares. I think it looks better in the original form than in square form
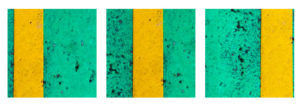
Composition 8

In this composition I have copied composition 2 but cropped the images to squares. In square form I cannot appreciate the togetherness of the lines as much as I believe the lines are cut too short.
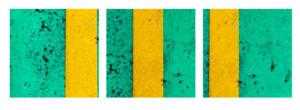
Composition 9

In this composition I have taken inspiration from  composition 3, I like the style of it but in my opinion it looks better with the original images as the line appears longer.
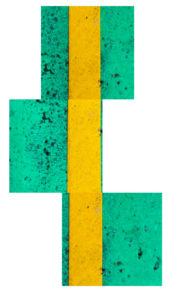
Composition 10

In this composition I have rotated composition 9 to make the line run horizontally. As I said about composition 4, I think the line looks better running vertically.
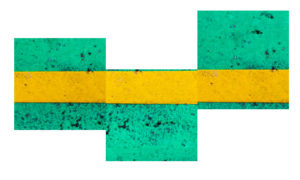
Composition 11

In this composition I have copied composition 5 but I have cropped it to a square. I still like the style but I think due to the square cropping, the lines do not appear longer enough.
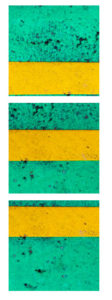
Composition 12

In this composition I have copied composition 6 but the images are cropped to squares. I do not think it works as the lines are too far apart and not long enough.
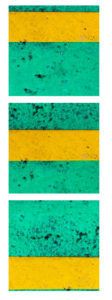
Composition 13

In this composition I have copied composition 1 but cropped the images into circles. I think this helps to reduce the problem with the lines appearing too far apart.

Composition 14

In this composition I have copied composition 2 but cropped the images into circles. I think this takes away from the image as the lines seem completely separated and due to the cropping in the first image, it is not obvious that it is a straight line.
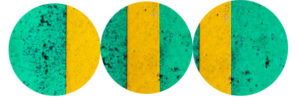
Composition 15

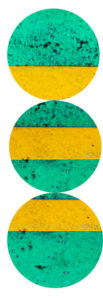
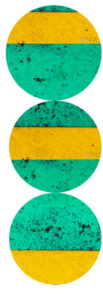
In this composition I have rotated composition 14 to make the lines run horizontally. I think this works better as the middle image is a clear focus point in this composition.
Composition 16

In this composition I have rotated composition 13 the make the lines run horizontally. I think that the images look too separated in this composition due to the cropping and positioning.
Composition 17

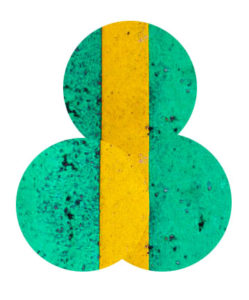
In this composition I have taken inspiration from composition 3 to bring all of the images together to create one image. I like the style of the composition but I think the outline of the shape is too abnormal.
Composition 18

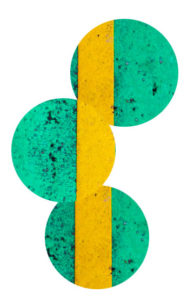
In this composition I have again taken inspiration from composition 3 but used circles instead of rectangles. In my opinion this type of composition works better with rectangles as it gives strong edges and shape whereas the circles don’t.
Exploring Minimalism

Minimalism is a style of photography/art that was introduced by many different 20th century artists. In minimalism,  the photo is kept simple with the minimum amount of colours, shapes and lines to create a simple but effective photo.

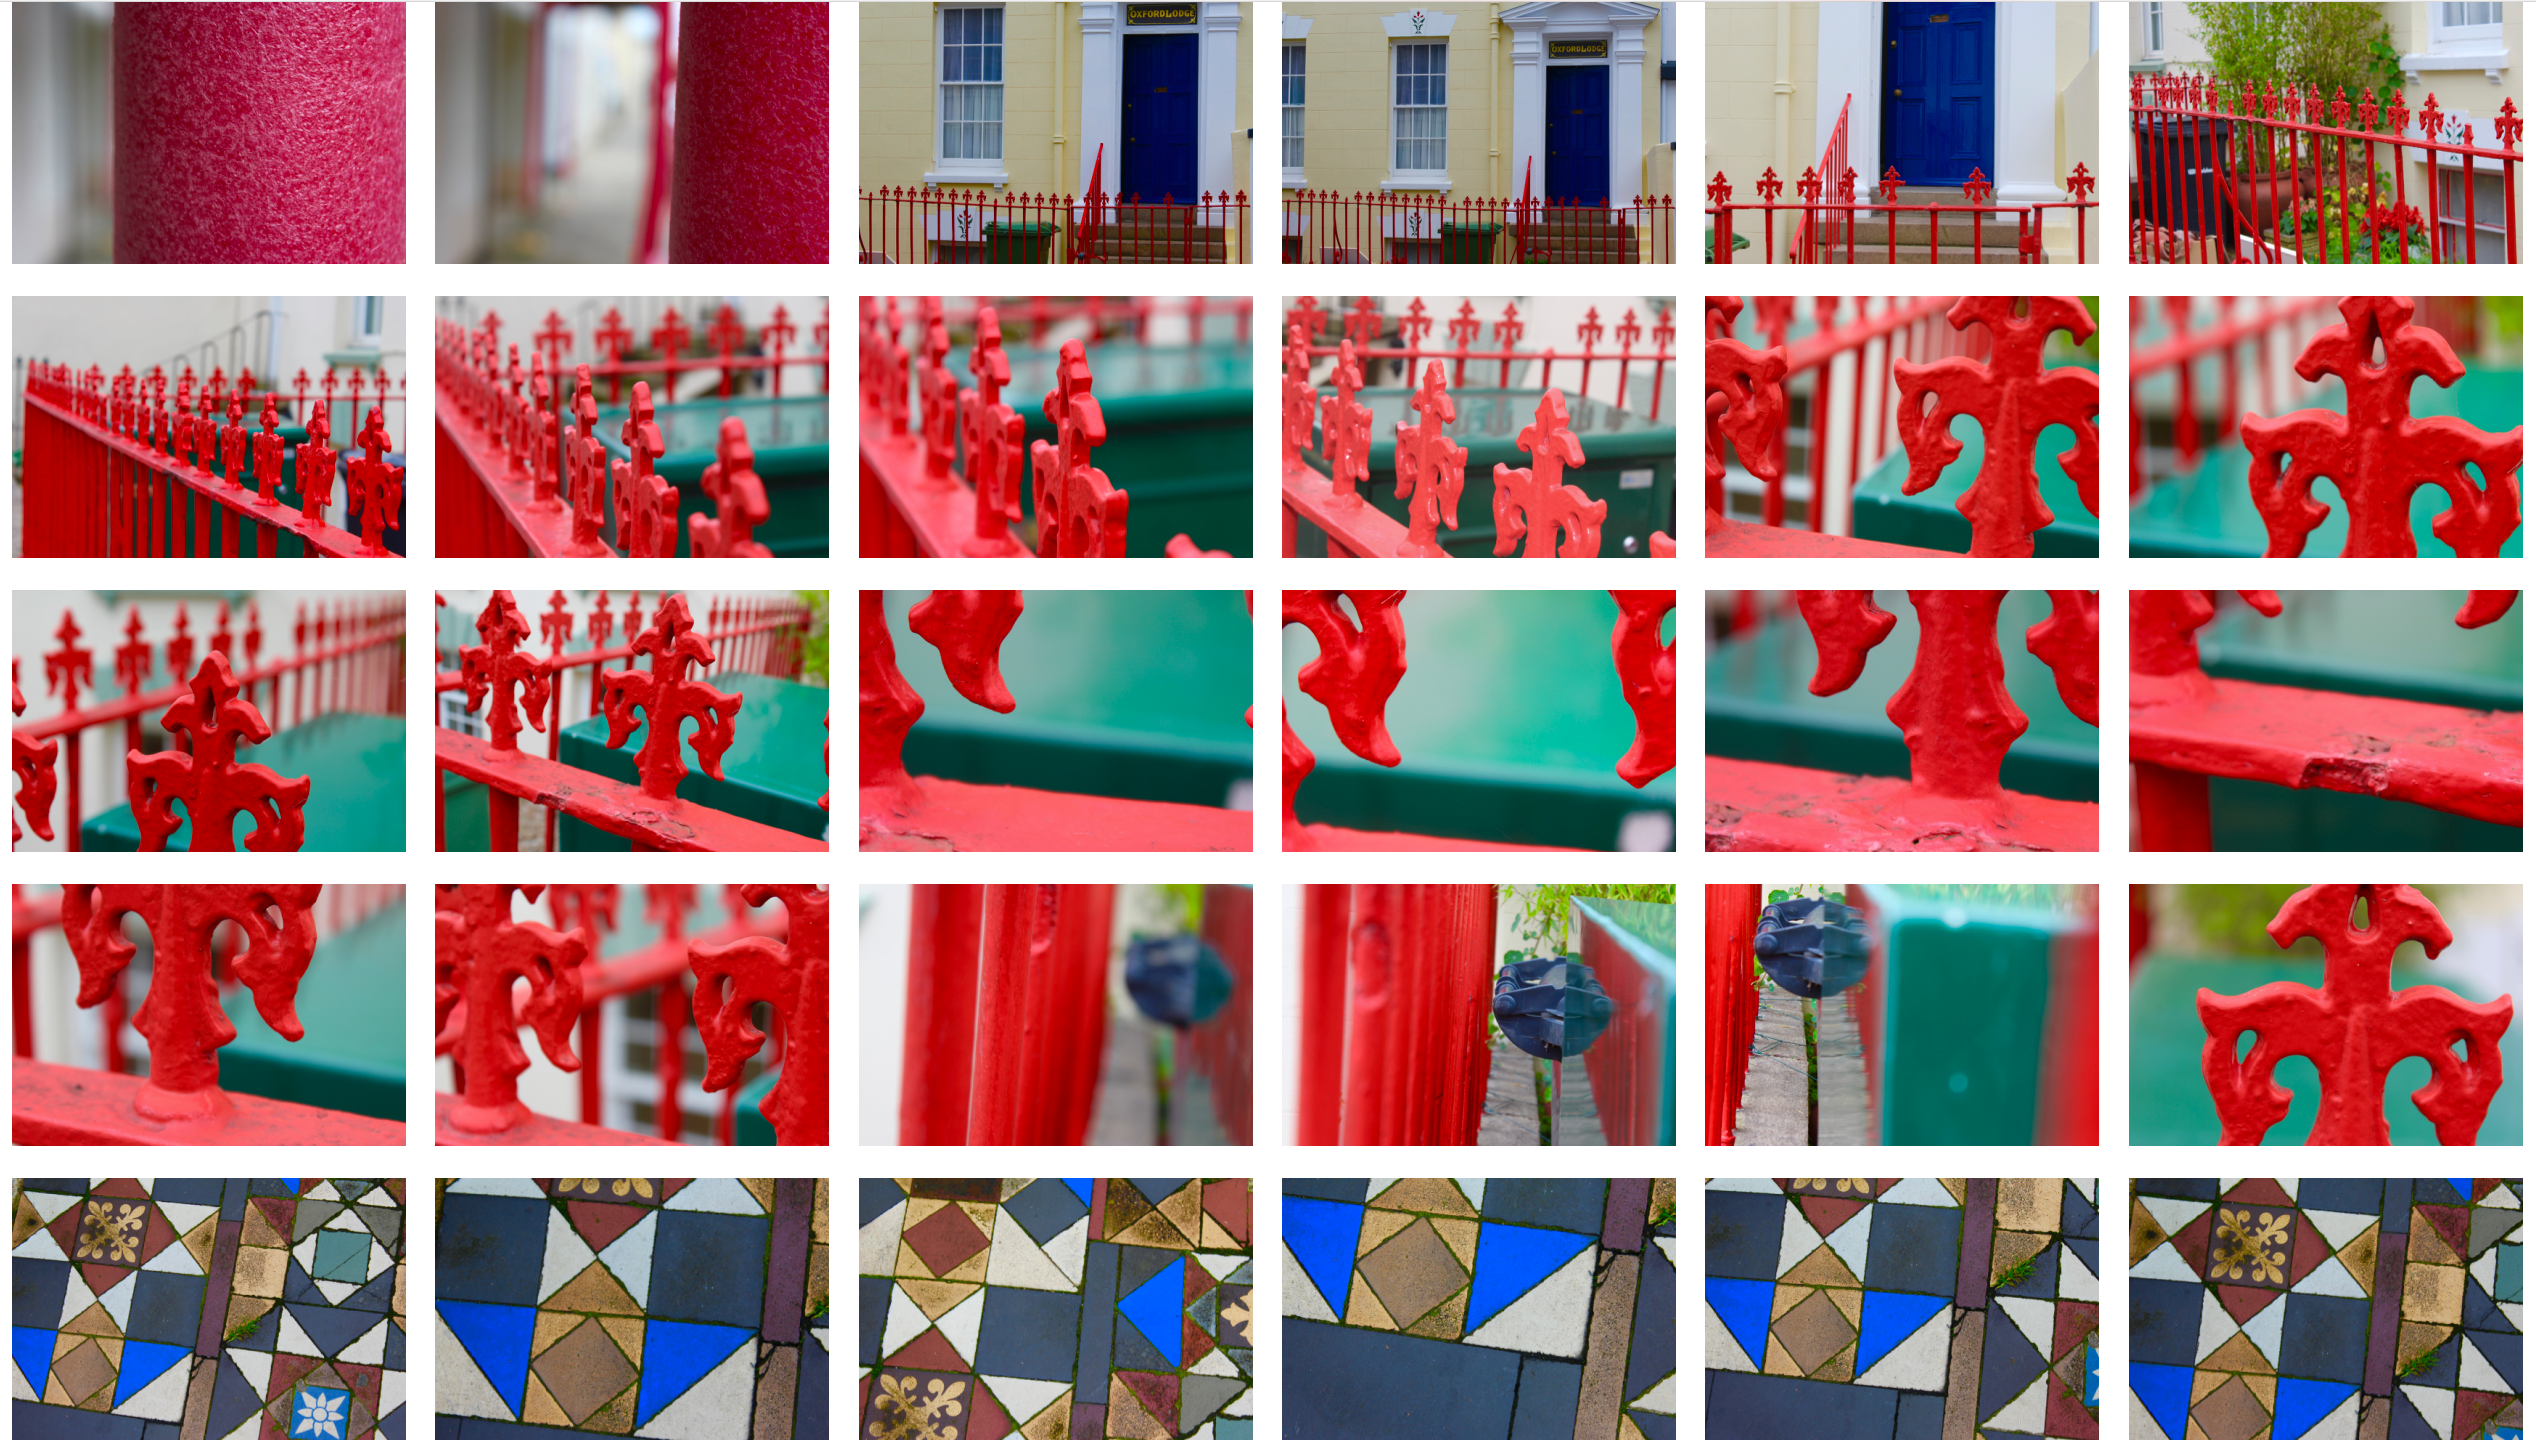
Below is an image that I took in a minimalist style; as you can see there is not much happening but it is bold and eye-catching. When taking this photo, I took inspiration from the strong colours and shapes that Franco Fontana uses.

Mark Rothko

Image result for mark rothko

Image result for mark rothko

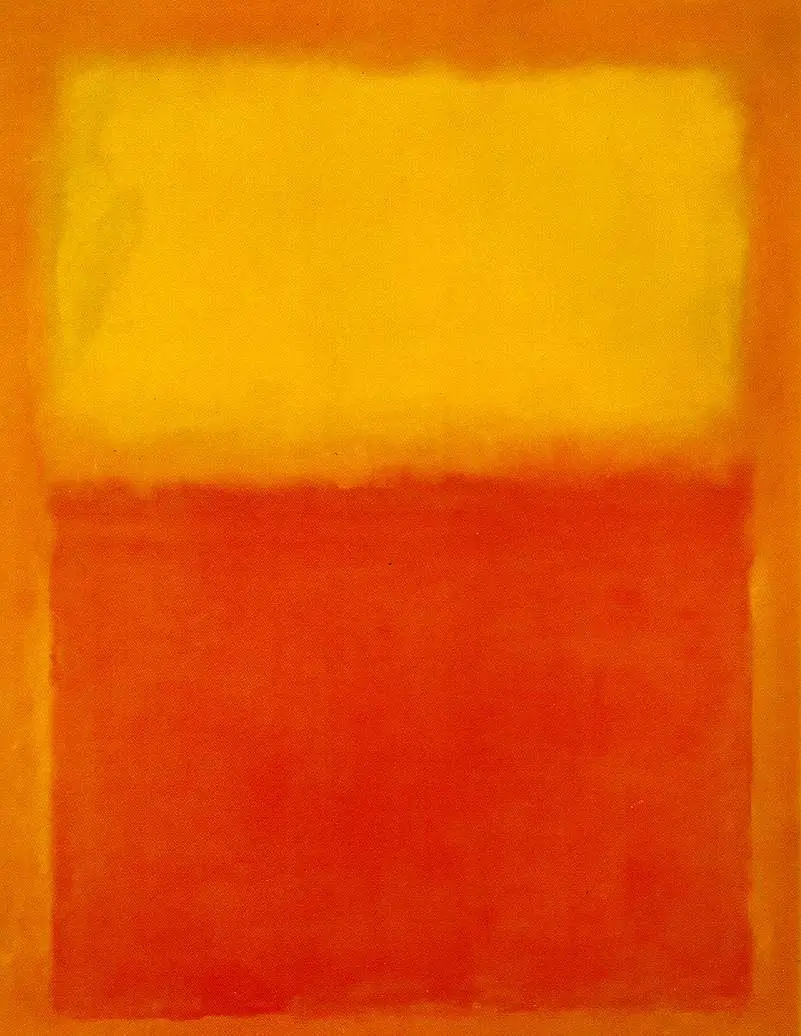
Mark Rothko was a Russian painter born in 1903. His family immigrated to the US in his childhood, here he became part of a circle of New York-based artists who were known as abstract expressionists. Rothko was most famous for his style of work shown above, they were large-scale rectangular paintings that used simplicity to evoke response.

Rothko is a brilliant example of a minimalist artist; his work shows simplicity and colour in the same way that mine does and I hope to reflect on his work in my final pieces.

Homework Assignment 5

Planning

Task – Produce 100-200 images that explore a colour, contrasting colours or colour harmonies

Locations – roads, items in the streets, doors, fences, buildings

Lighting – natural lighting

Camera settings – ISO 400, fast shutter speed – 1/60, deep depth of field therefore high aperture.

Concept – capture images of contrasting colours and make them appear abstract.

Franco Fontana

Franco Fontana (born 1933) is an Italian photographer, who is best known for his abstract colour landscapes and use of vibrant colours. Fontana looks at many different subjects including urban landscape, fashion and portraits. Fontanas work is in about 60 museums all over the world and he has taken part in over 400 exhibitions. His work has also been used for album cover art.

Image result for franco fontana

Image result for franco fontana

Franco Fontana Favourite Photo:

In this photo natural lighting is used to create contrast, shapes and shadows. The bright yellow/orange contrasts with the black of the shadows. A deep depth of field was used along with a quick shutter speed and an ISO of 400-800 due to the sharpness of the image and lack of noise. The yellow in the image with the blue background gives a warm image.

You can clearly see texture all over the image from the bricked walls to the texture of the yellow material. The image is also quite 3D as it has lots of layers to it but it has a confusing layout; due to how abstract it is, it appears to be an illusion.

Fontana was well known for his abstractness and the colour intensity in his images and this was one of the many examples of his excellent works that show how he can combine colour and contrast to create an eye-catching image.

I think that in this photo and the other colourful abstract photographs that Fontana takes, he is trying to emphasise how colour and contrast is all around us but we do not stop in our day-to-day lives to appreciate it. He is trying to show people everyday scenes from new angles to get them to appreciate it.
Image result for franco fontana

Cara Berer

Cara Berer turns books into art by sculpting and dying them then presenting them in a way in which they have not been seen before. Through her work she tries to  document books and raise questions about the frailness of books and their future.

Image result for cara barer

Image result for cara barer

Cara Berer Favourite Photo:

In the below photo, a fixed light is set up to illuminate the subject and help it to contrast with the black background. There is a wide tonal range in the folds of the pages, this creates a more dramatic image. A deep field of depth appears to have been used as all of the image is in focus, this could also be because a quick shutter speed was used with a medium ISO.

The splashes of colour in the pages contrast with the plain paper and the background to help bring the image to live. The curls of the paper give layers to the image and almost a 3D effect. There is lots of symmetry in this photo which makes it a lot more appealing for the viewer.

Cara Berer takes books then dyes them and makes interesting shapes out of them to get people to think about books and the way that they are treated. She believes books should be appreciated more and the fact that to produce them it ruins the environment should be thought about.

This image and the rest of the images in the series are Berer’s way of saying that the books that you have at home are not as useless as you think; they are interesting objects that can be turned into something eye-catching and complex.

Image result for cara barer

My Photos:

My Favourite Photo:

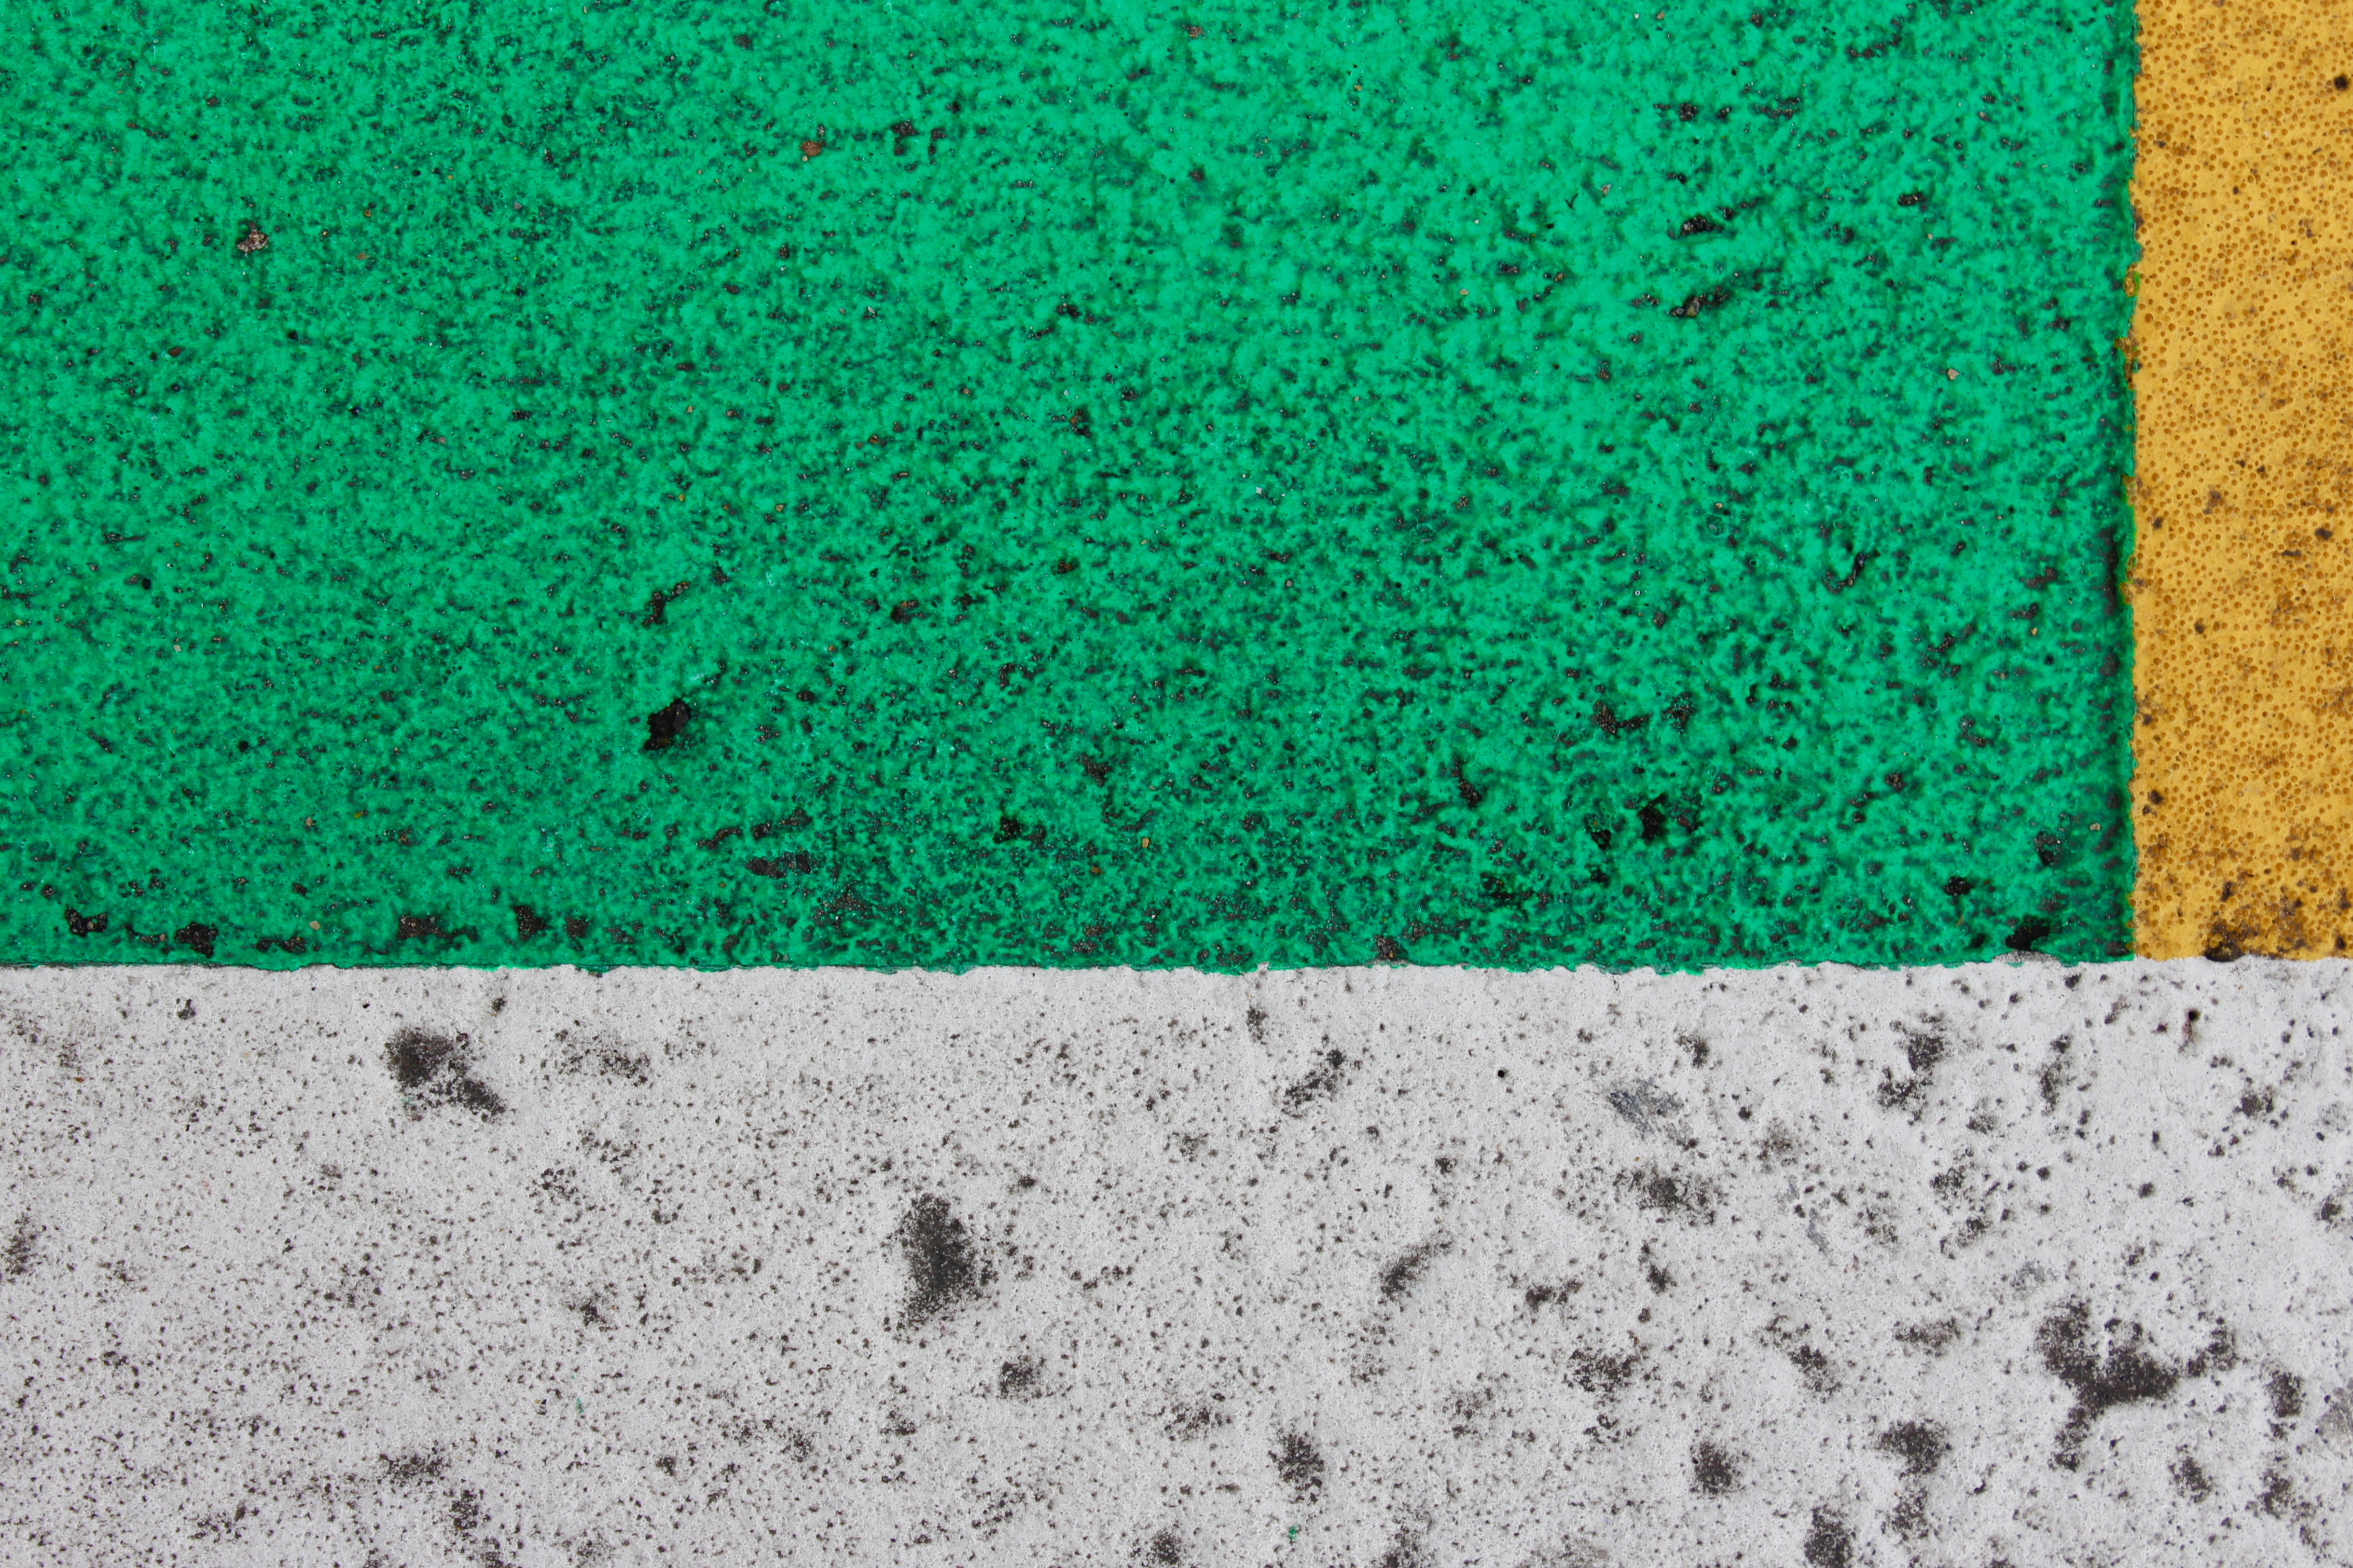
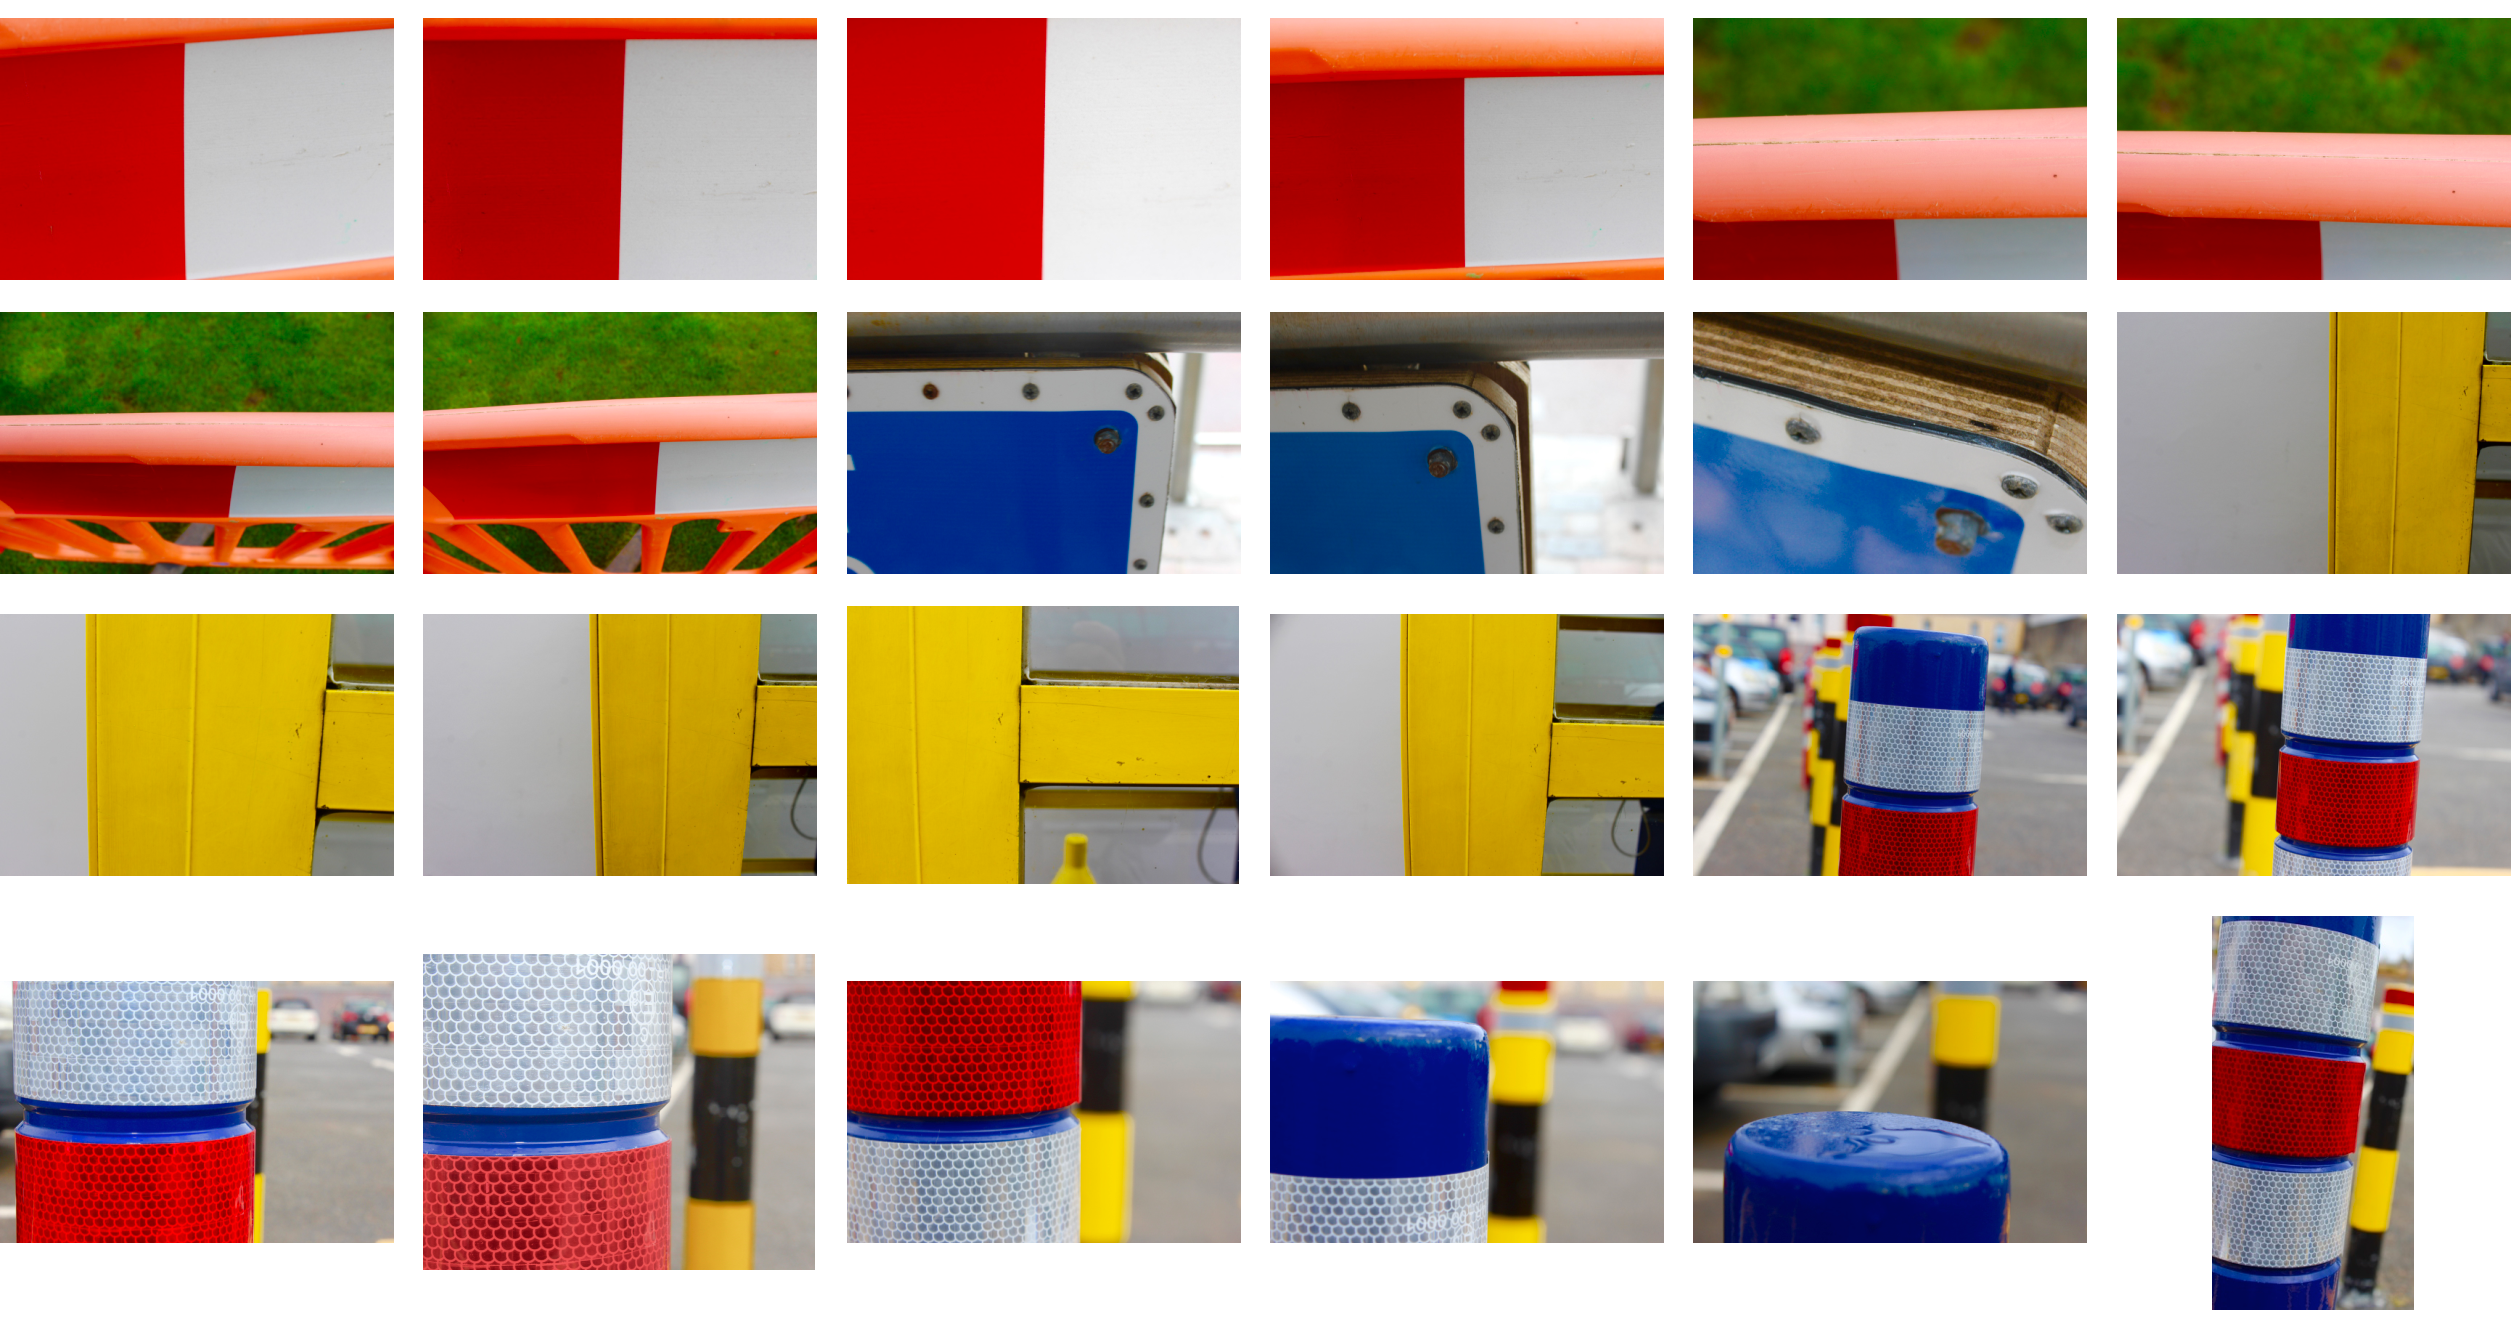
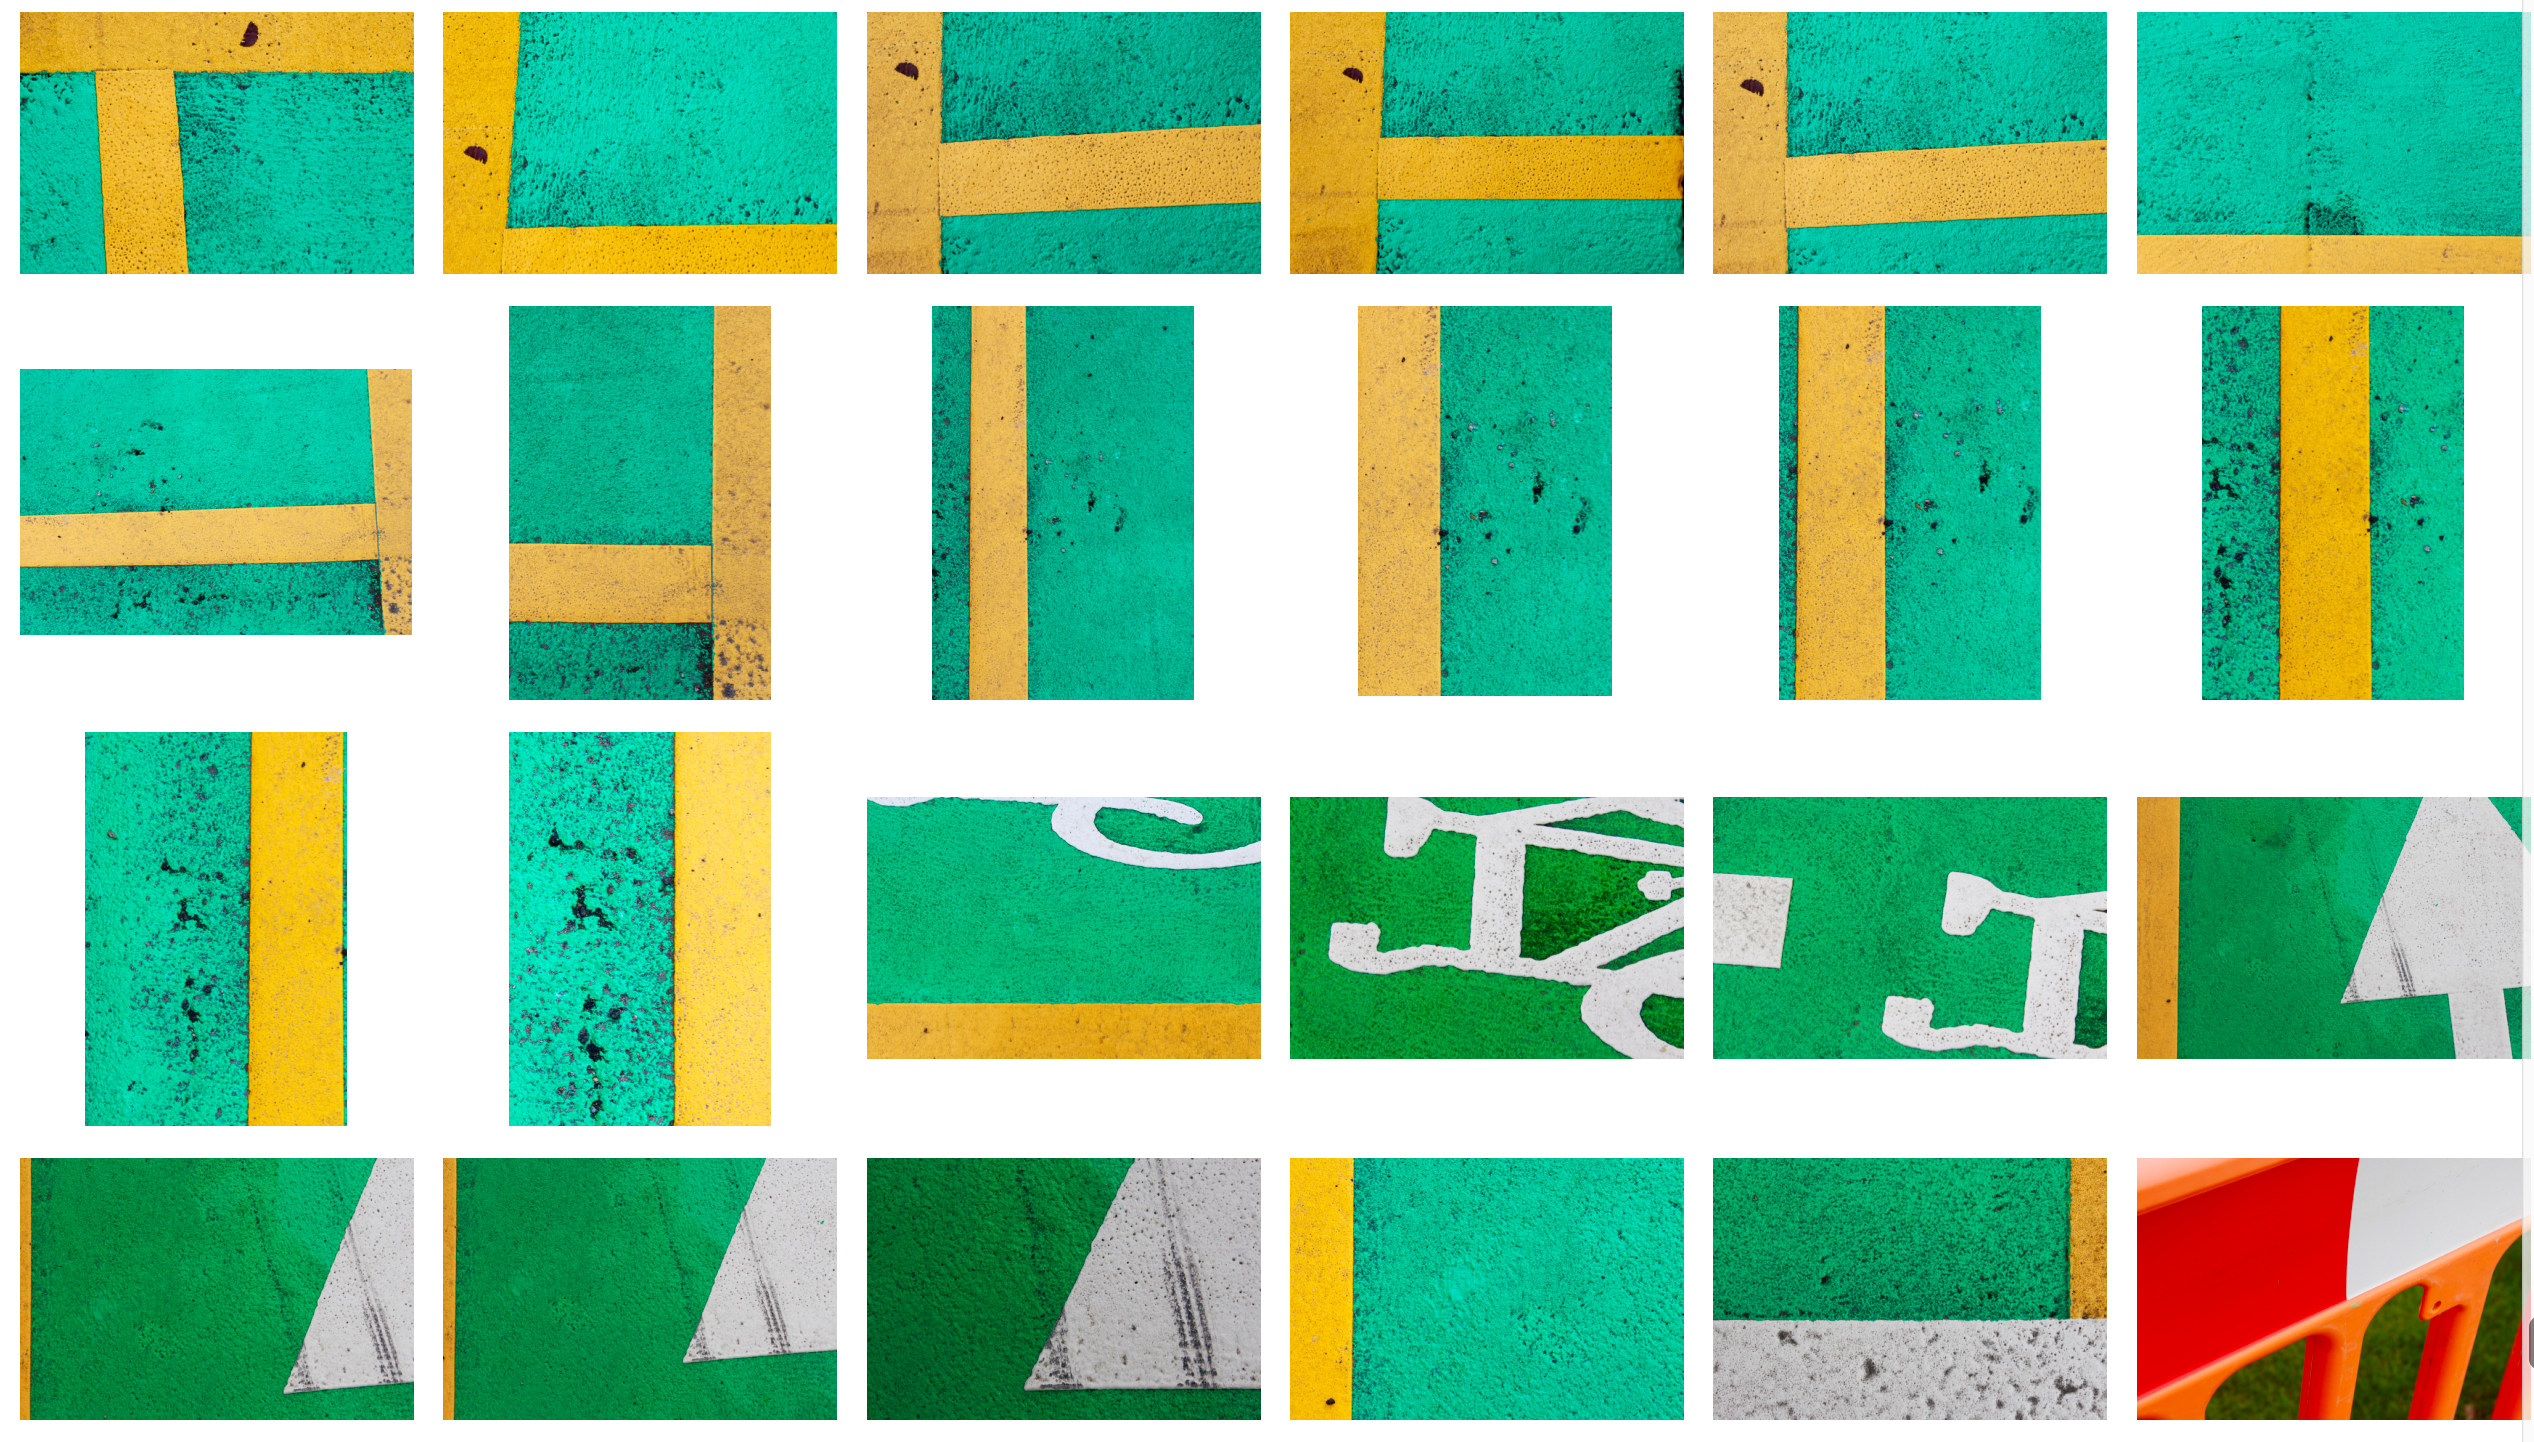
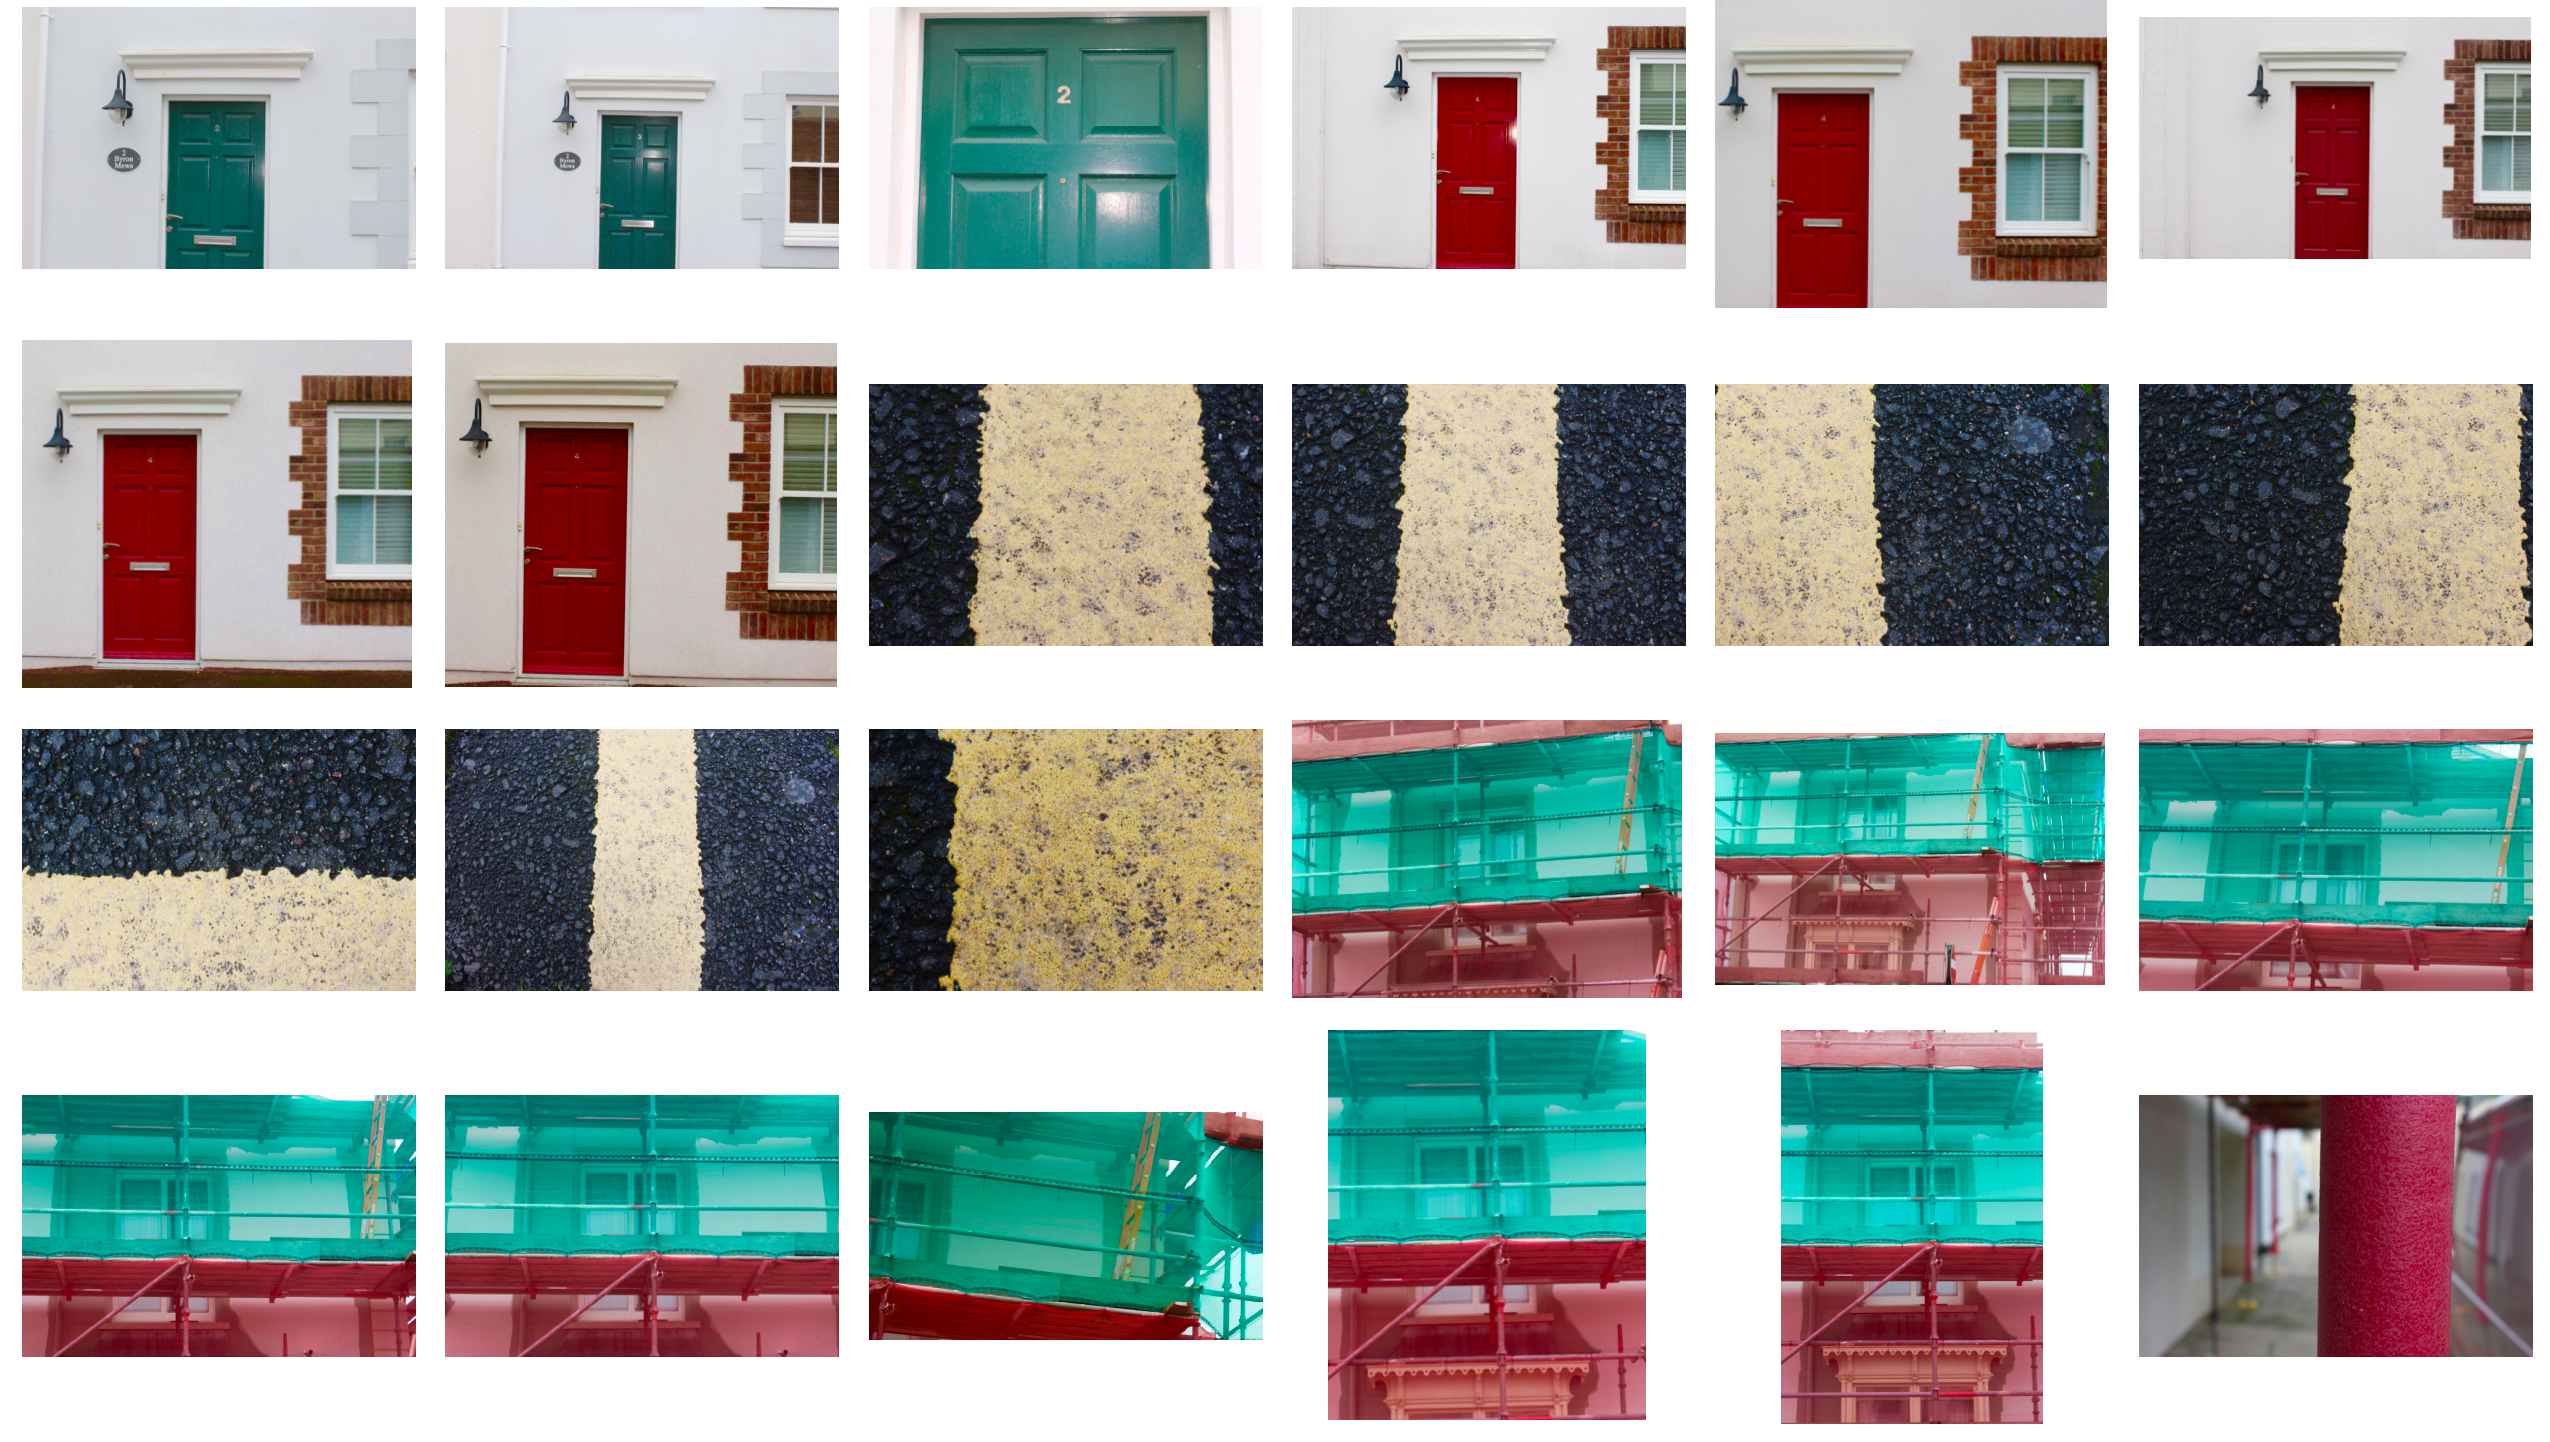
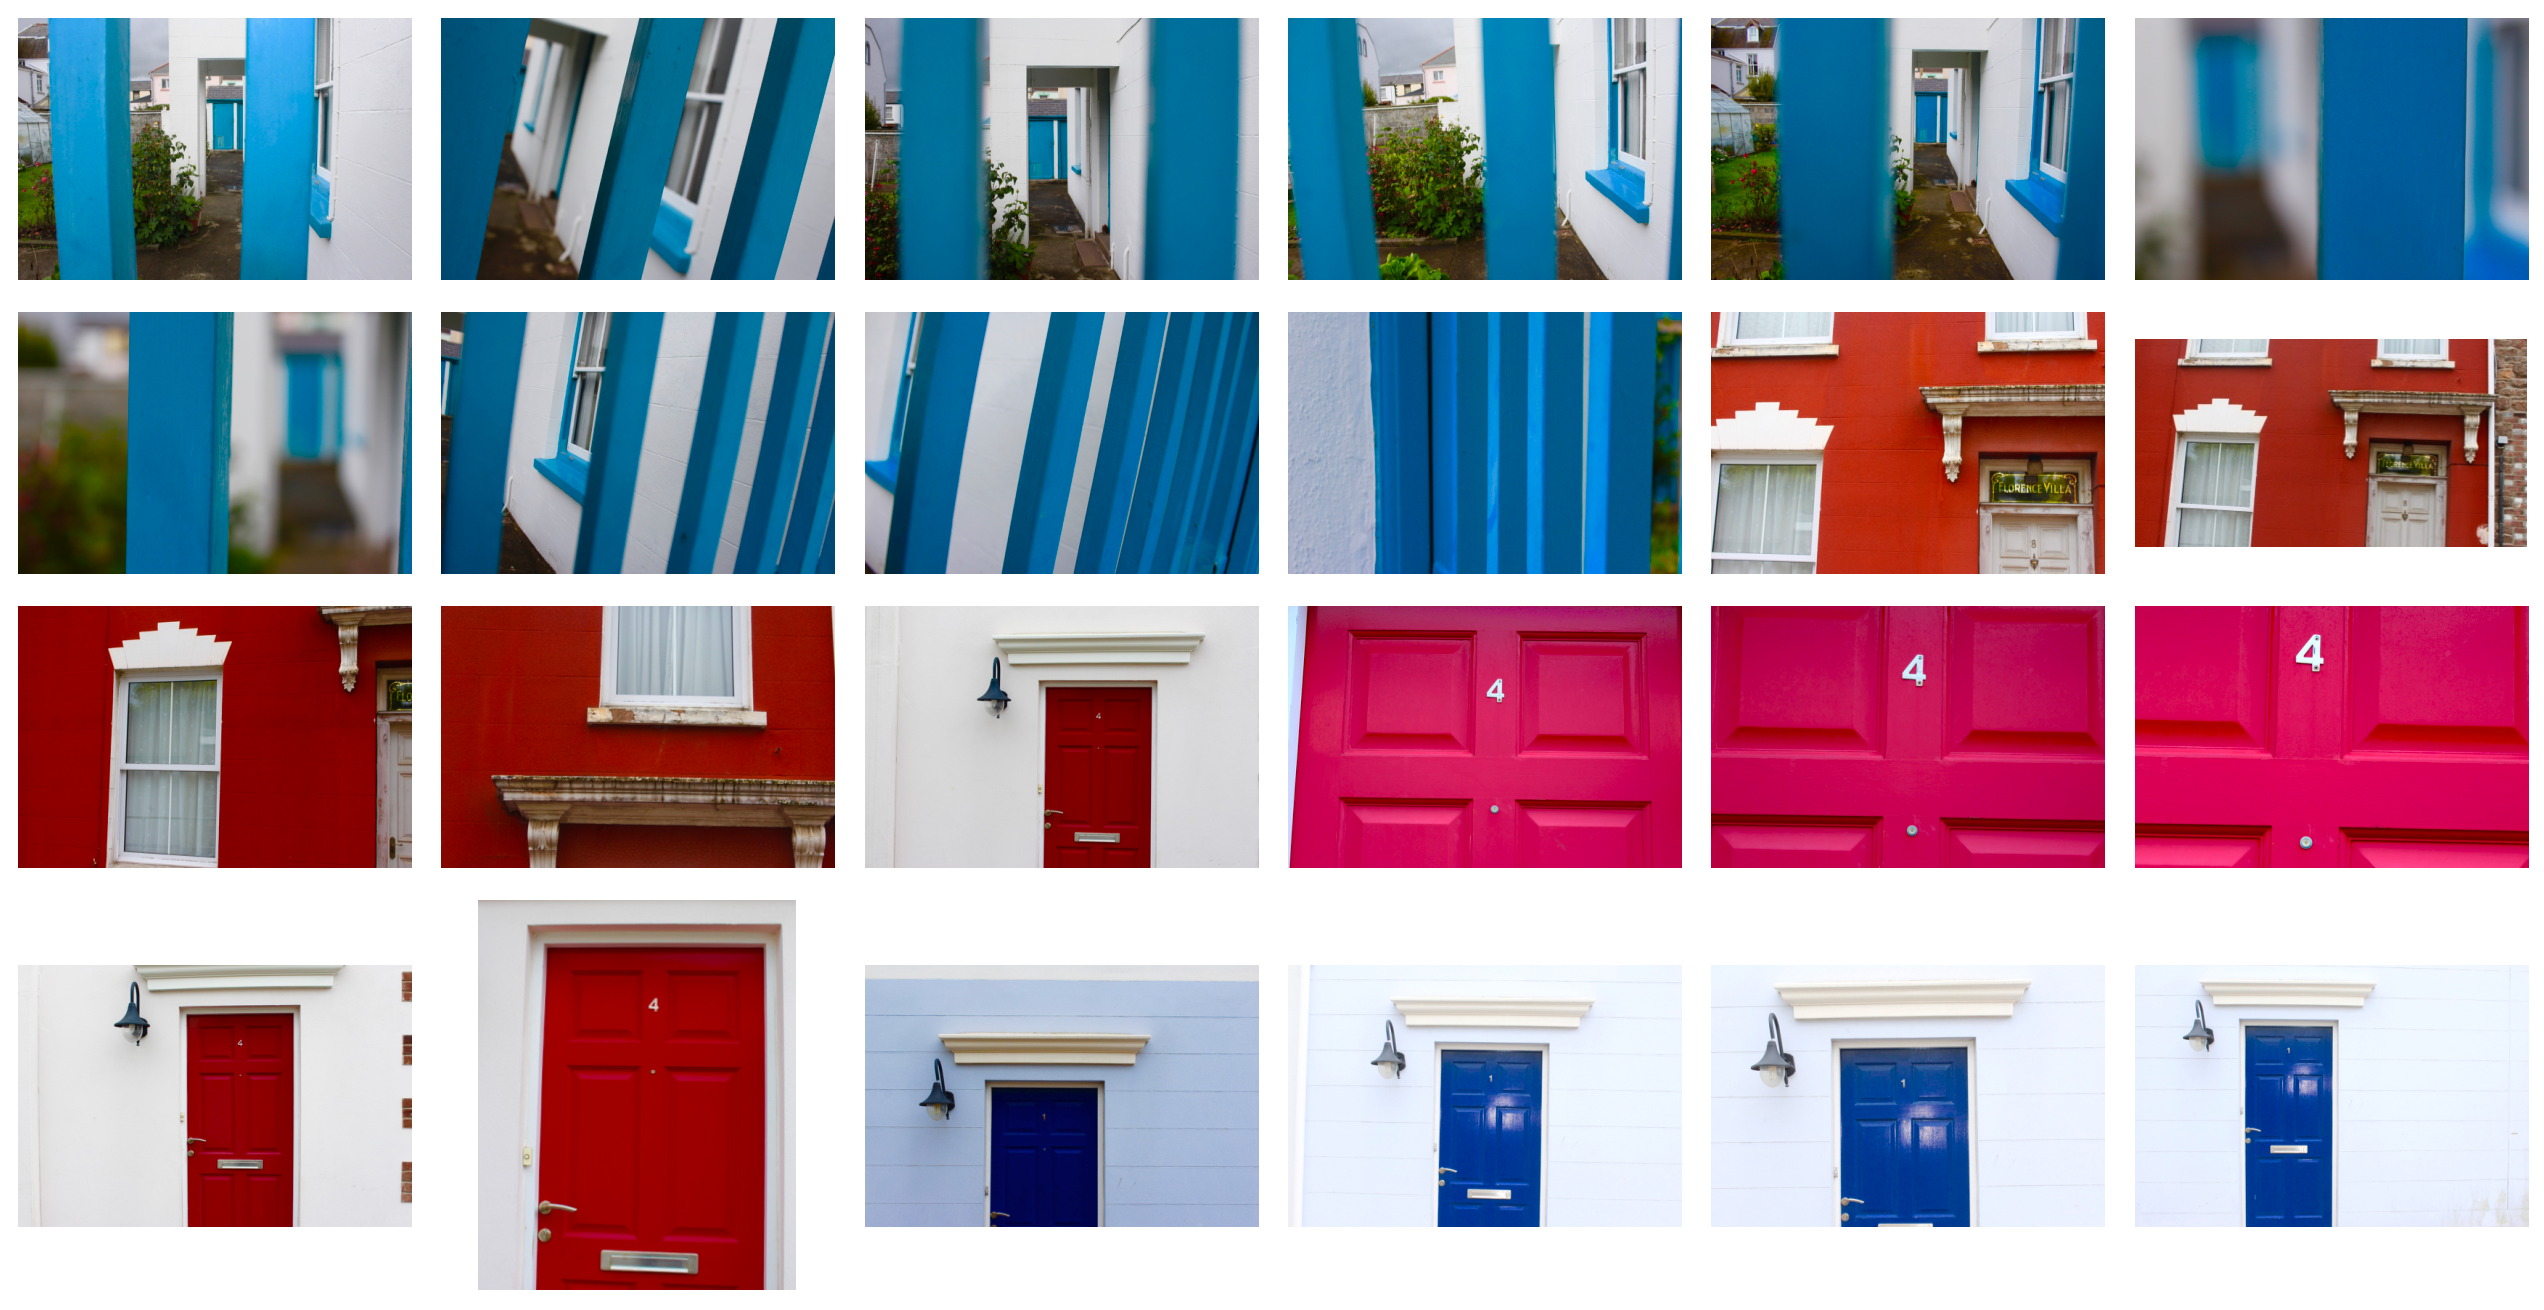
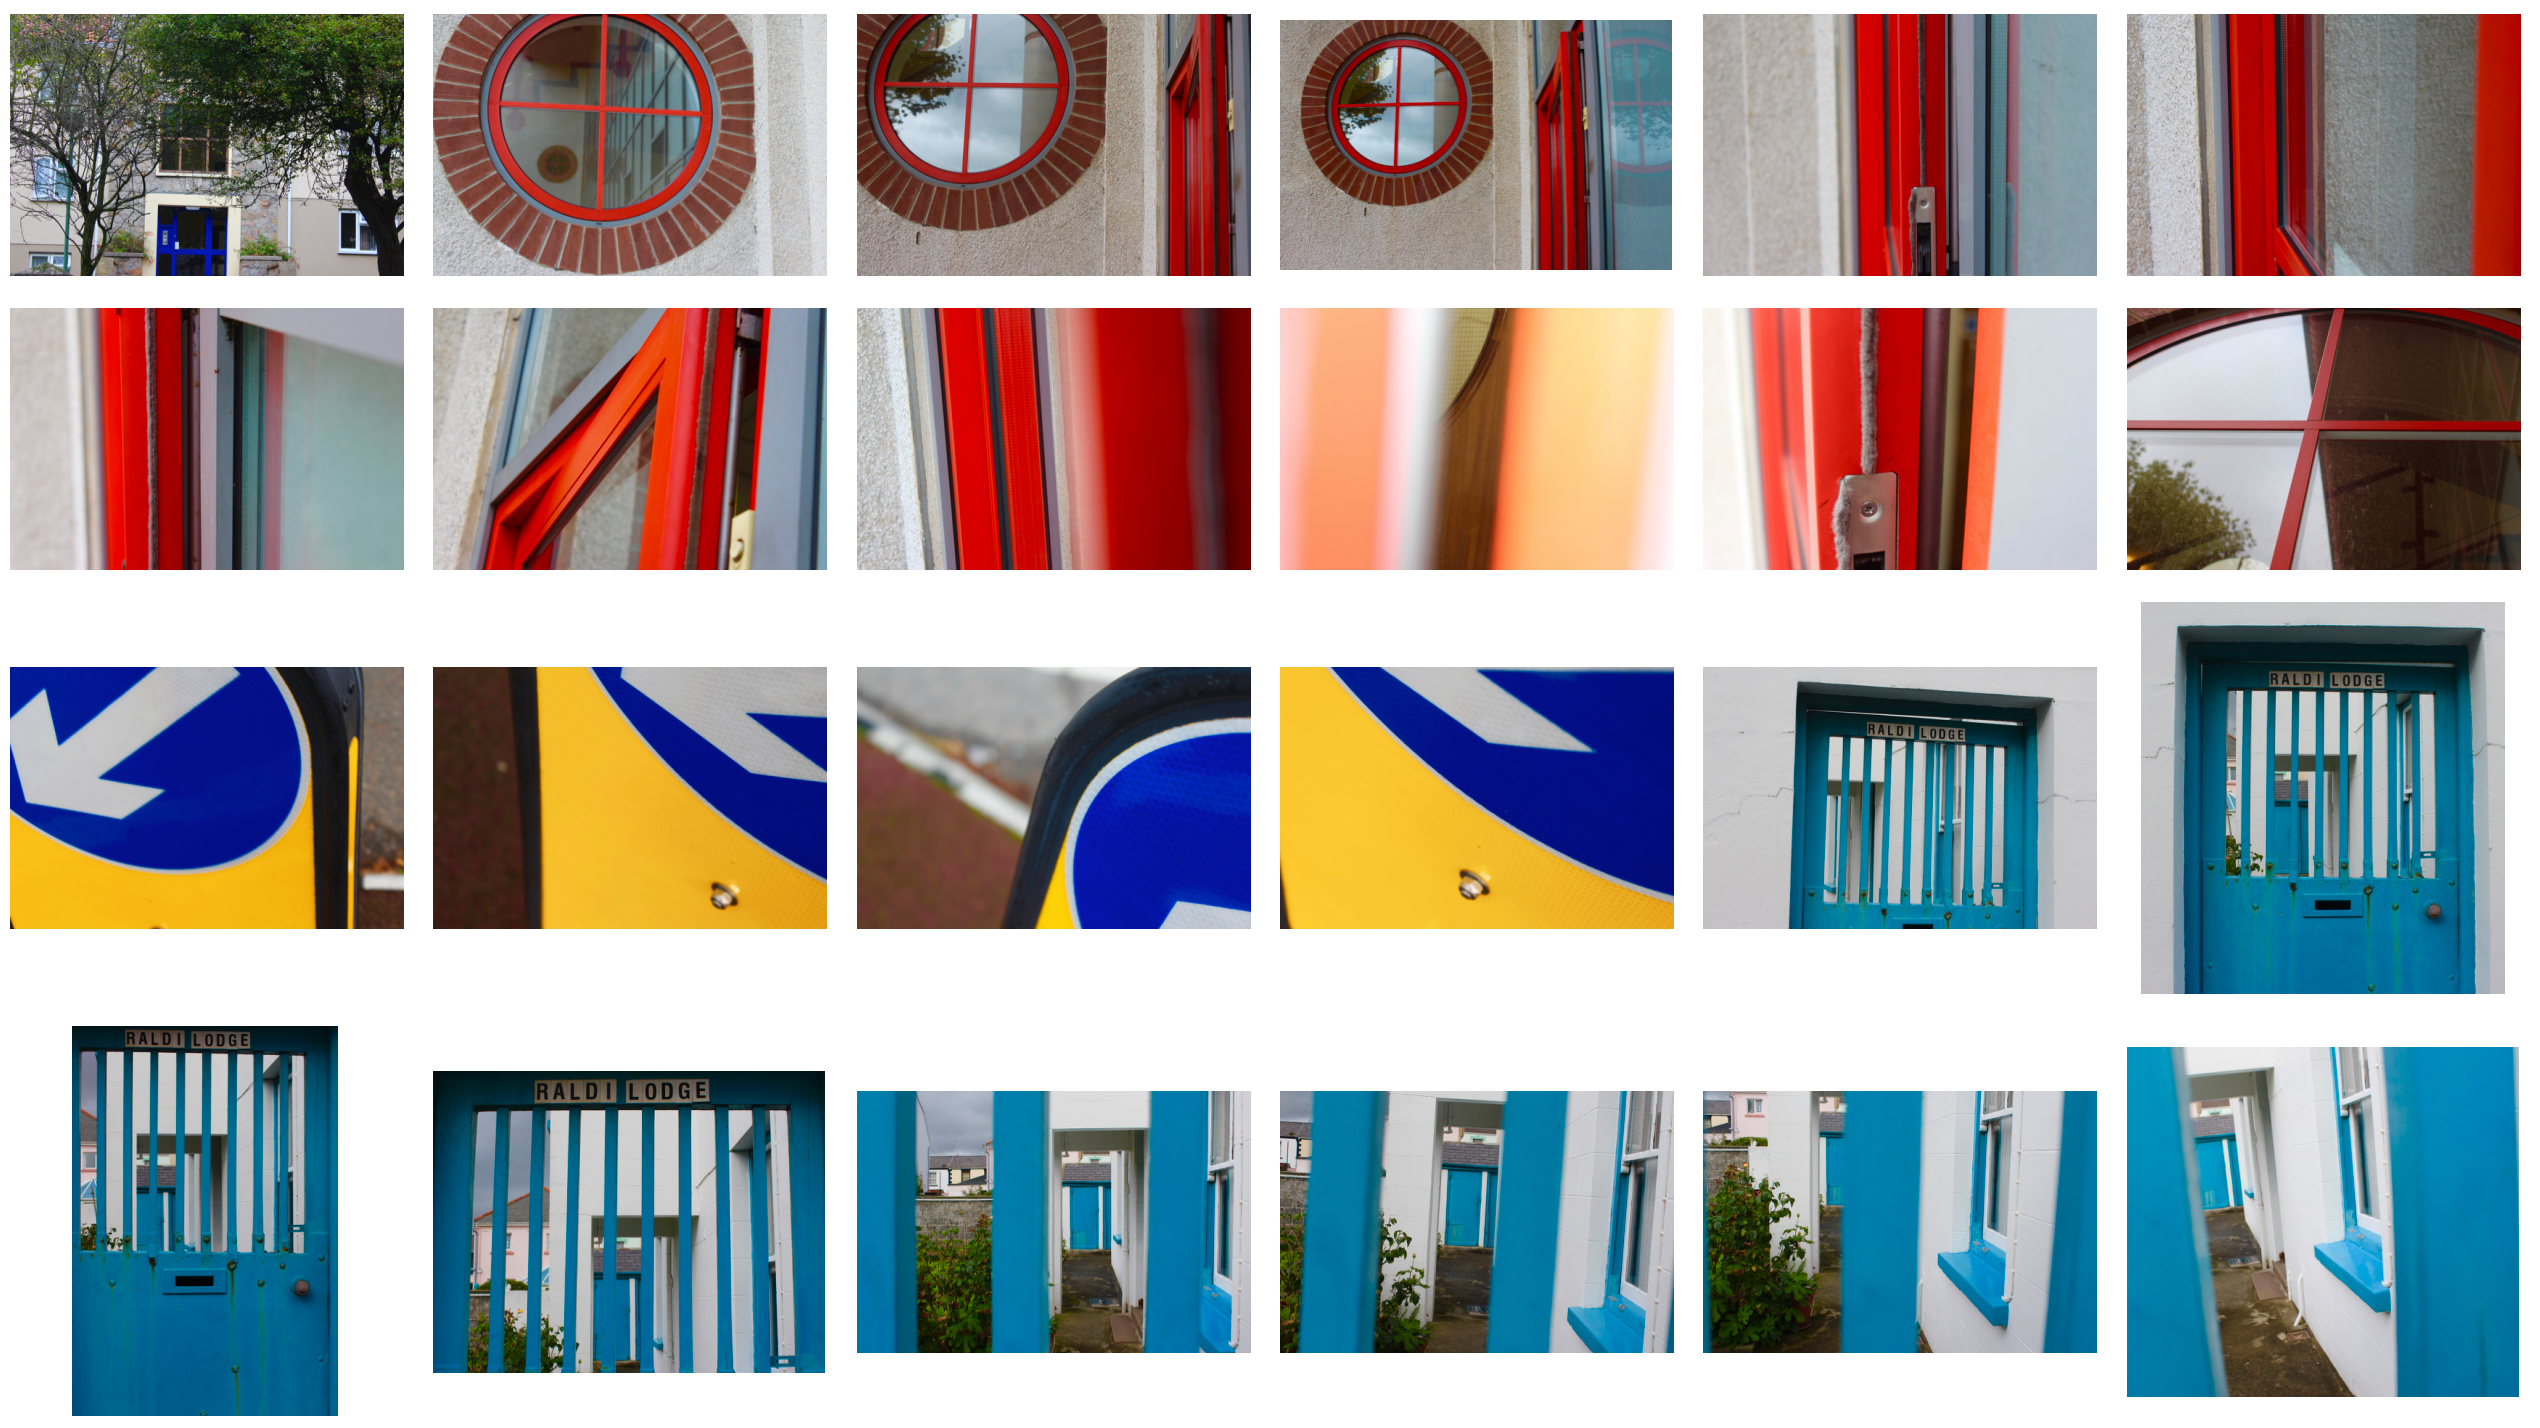
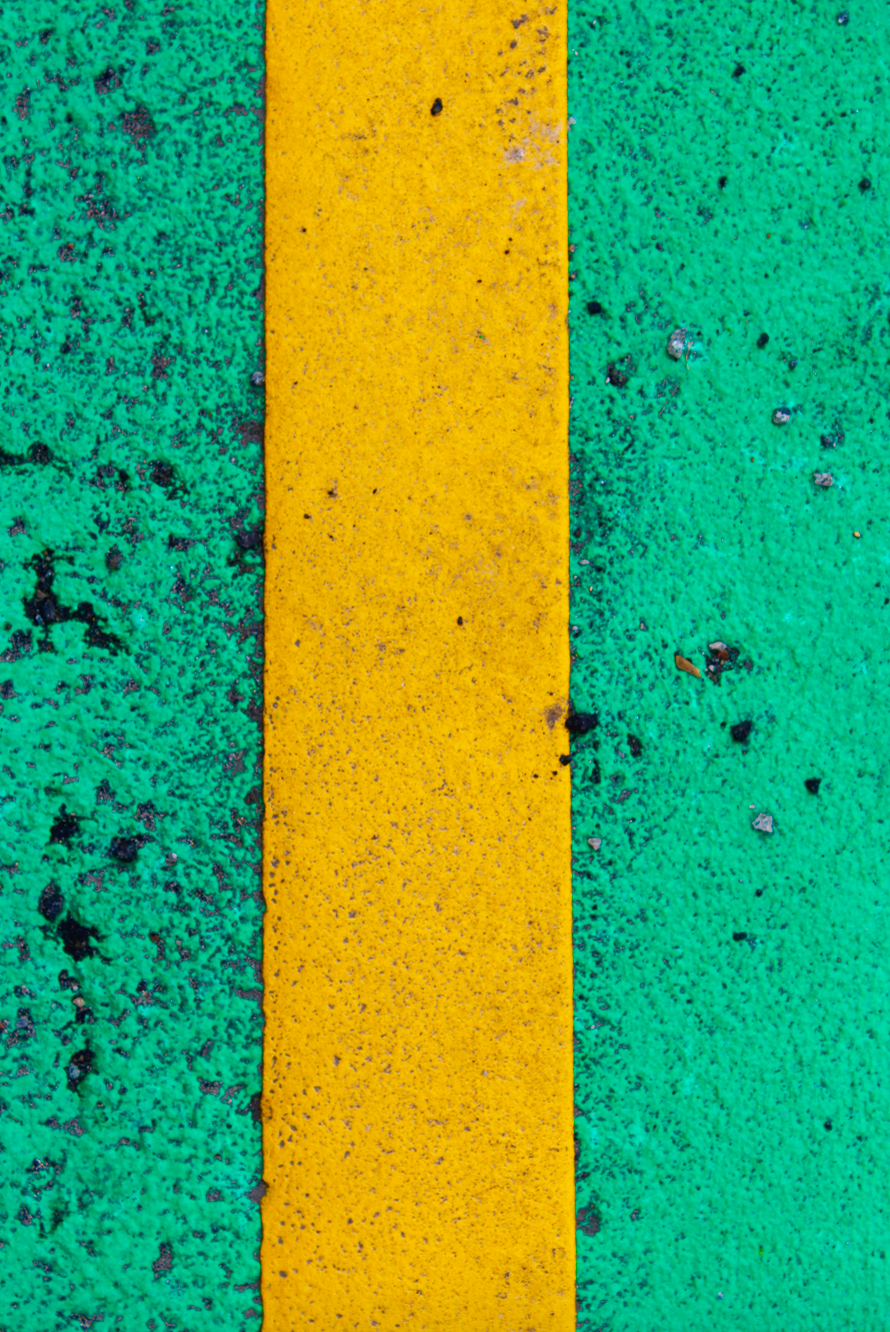
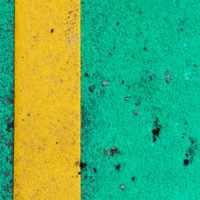
This photo is my favourite from the shoot. The natural daylight was used to capture this image. I used a deep depth of field to ensure that all of the image was in focus. I used a shutter speed of 1/100 to take this photo, I used a quick shutter speed to make sure that it was a clear image. A low ISO was used to take the image so that there was a minimal about of noise in the photo. You can see lots of texture in the surface of the subjects and even the dirt on top of it to give the photograph a more realistic feel. There is a large contrast between the two colours that you would not normally see together everyday, this makes the image more dramatic and interesting to me. One colour is warm and the other is cold, this makes the image even more contrasting.

The photo is full of vibrant colours to catch the viewers eye and make it a loud and interesting photograph. The photo is very close up and abstract so it adds mystery to it as the viewer will wonder what they are looking at. The two sides of the yellow line roughly line up with the two vertical lines on the rule of thirds grid to create an appealing photograph. I cropped this photograph to make it more abstract and mysterious.

Bokeh

Bokeh is the visual quality of the out-of-focus areas of a photographic image, especially as rendered by a particular lens.

Bokeh can be done by switching the lens to manual-focus and purposely making the light source out of focus. A shallow depth of field and a wide aperture tends to be used.

Image result for bokeh
An example of bokeh from the internet

Homework Assignment 4

Planning

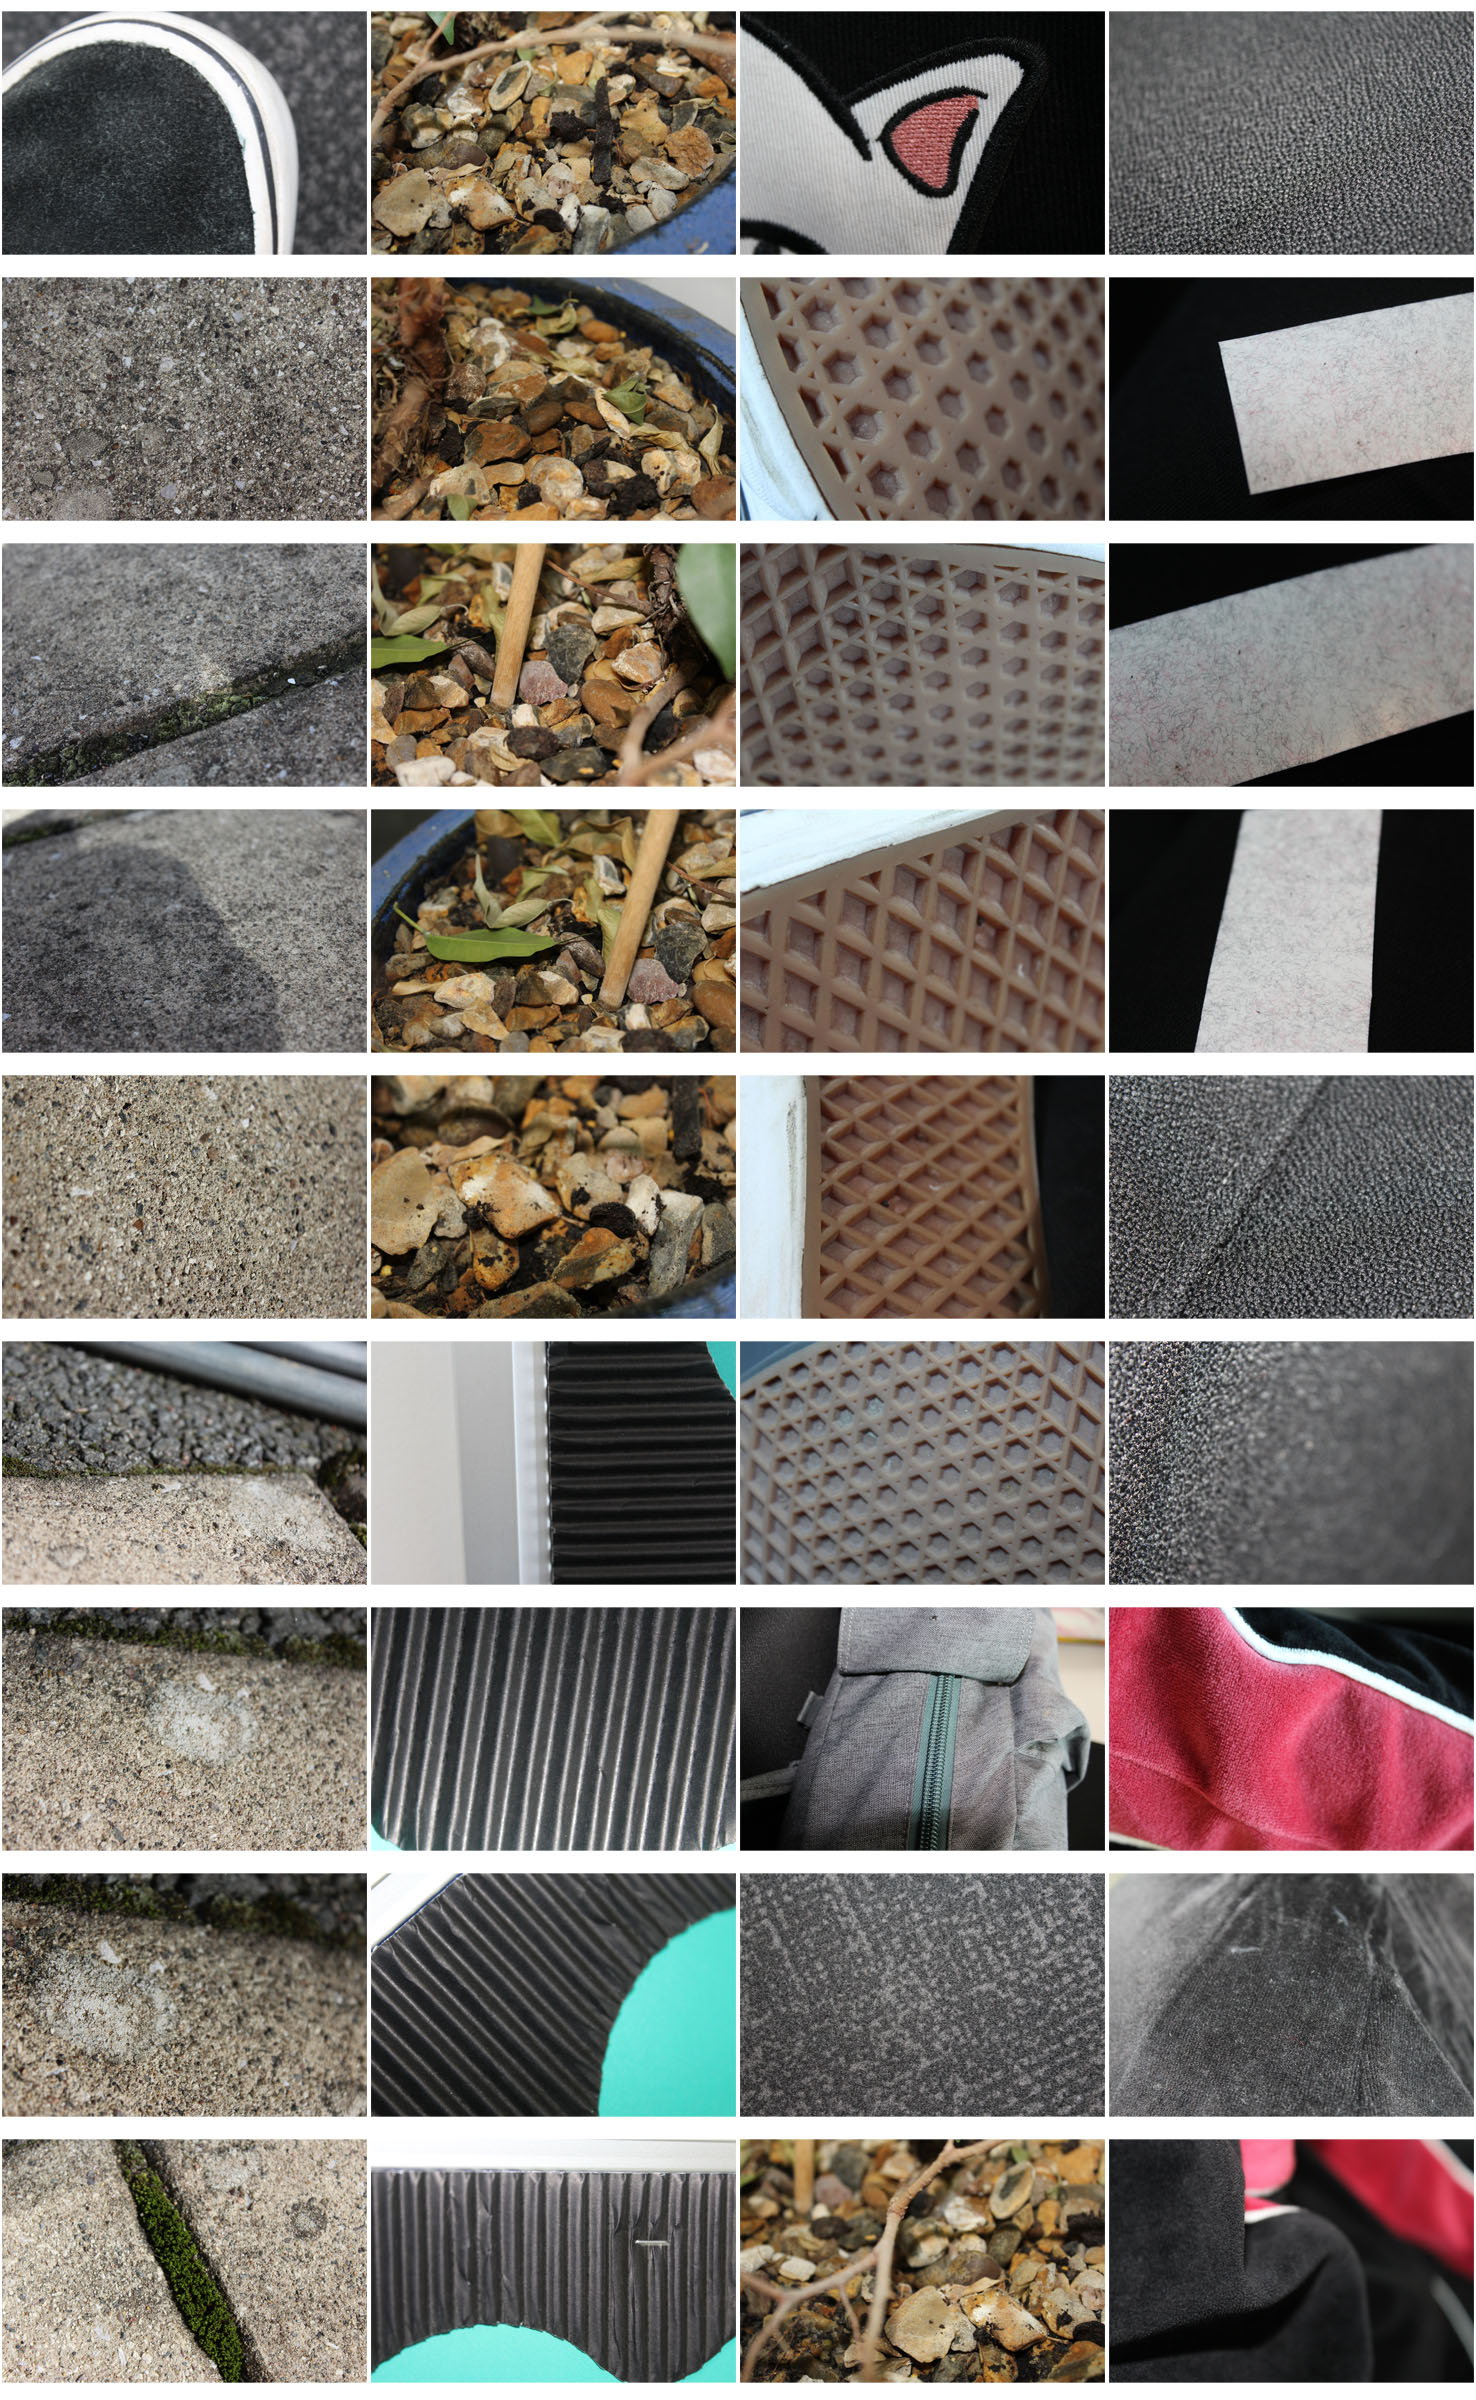
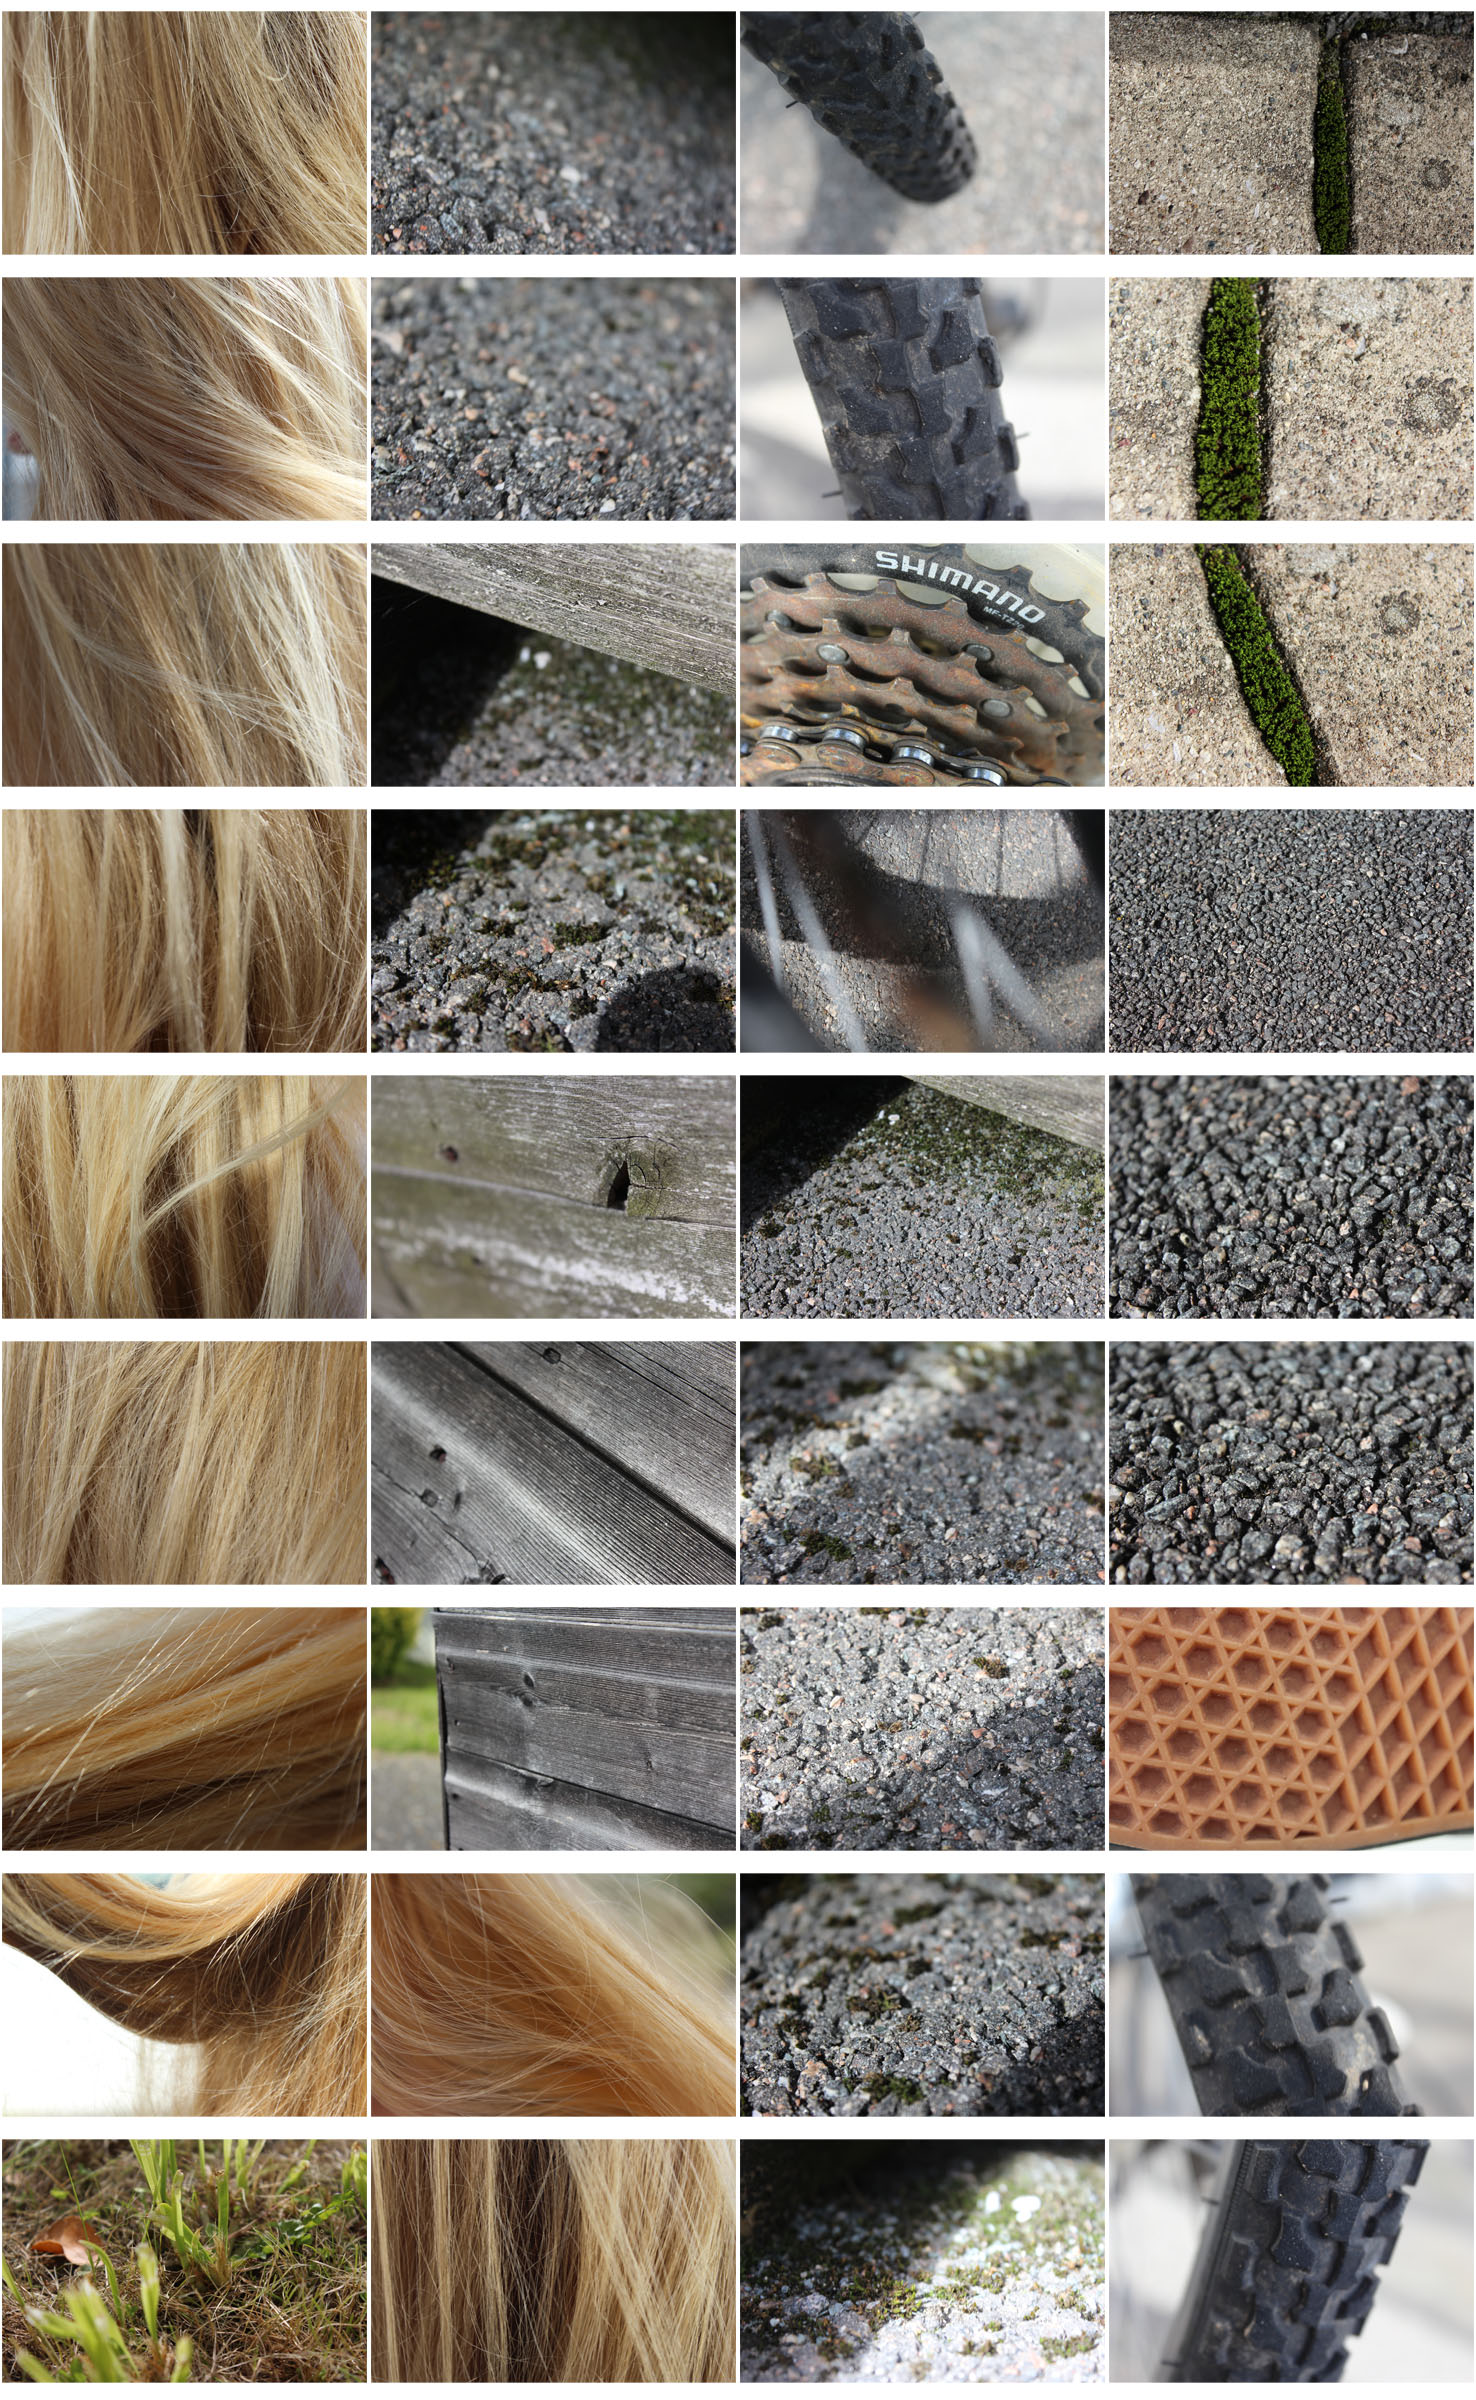
Task – Take 100-200 photos of different textures and surfaces eg rust, mould, rough , smooth , contrasting surfaces

Locations – Garage, garden, my house, school

Subjects – different types of flooring, hair, different textures on household objects, nature, clothes

Lighting – natural lighting to keep image natural

Camera settings – low depth of field so corners are blurred, quick shutter speed – 1/60 to 1/100, ISO 200.

Concept – to exploit different textures in household objects and show them in a way they are not usually seen.

Frank Hallam-Day

Image result for Frank hallam dayImage result for Frank hallam day

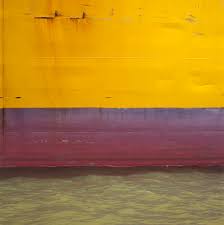
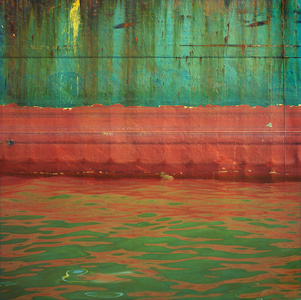
Frank Hallam-Day is a photographer based in Washington whose most notable work is his photographs of ship hulls. He described these images as “an afterthought to what I thought was a more interesting series; images of wrecked ships”. People were living on these shipwrecks when he was photographing them. He edited the colour balance of the sea to match the colour of the hull.

Hallam-day also teaches photography in several institutions in the US. He majored in social science at university and completed a masters in sociology.

Frank Hallam-Day Favourite Photo:

Image result for Frank hallam day

In this photograph, Hallam-Day uses natural lighting from the sun to capture a natural but abstract image. It is a very sharp and saturated photo that captures the texture and colours of the rusted hull. A fast shutter speed may have been used to capture this photograph – possibly 1/60 of a second as the photo is focussed. An ISO of 200/400 appears to have been used due to the brightness and clearness. It is a warm image with vibrant colours to catch the viewers eye.

Hallam-Day uses the rule of thirds in this photograph; the three layers of the image lie across the horizontal planes of the rule of thirds structure. The tone in the image is mostly light except for the contrasting dark rust. The eye is lead straight to the vibrant top two layers of the image. The pattern of layers makes for a better viewing. The cropping of the image makes it more abstract and therefore more interesting for the viewer. Due to the matching of the image to the rule of thirds, it appears to be almost 2D.

The original aim of this photoshoot was to picture shipping wrecks but an afterthought of this was to create abstract images photographing the typology of ship hulls. This work turned out to be one of his most famous pieces.

The way that the colours from the hull reflect on the water as if it was merging into the sea suggests that Hallam-Day is trying to show that the shipwrecks have been moulded into the sea.

Aaron Siskind

Image result for aaron siskind

Related image

Siskind is a photographer that identified with the ideas and styles of the abstract expressionist artists in New York in the 1940’s. He tends to emphasise texture and lines to create abstract images of the real world. He turned away from the social/political world-post world-war 2 and looked at seeking meaning in inanimate forms around him.

Aaron Siskind Favourite Photo:

Image result for aaron siskind

In this photograph, Siskind uses a dim lighting to create a dark and mysterious photograph. There is a wide tonal range – going from the darkness of the shadows to the brightness of the material. A short depth of field appears to have been used along with a quick shutter speed (possibly 1/60) and a low ISO because it is a dark, sharp image with a low amount of noise.

The grayscale colour and the cropping of the image creates an abstract image as you cannot tell what it is – especially without the colours. The texture of the image makes it appear to be of something that has been burnt or in a fire, which leaves the viewer to wonder what happened. There is some 3D elements in the photograph as you can see some pieces of material hanging off the wall and creating a shadow behind them. There is not a massive amount of contrast, balance or structure to this image which makes it even more abstract than it already is.

After researching further, I discovered that this image is called “Jerome, Arizona 21” and shows peeling paint from a decaying wall. Sisking would often take pictures of fragments of walls, architectural details and disintegrating signs and posters.

In this photograph, I believe that Siskind is trying to show that something considered ugly and discovered can be explored in detail and be considered intricate and intriguing.

Keld Helmer-Petersen

Image result for keld helmer petersenImage result for keld helmer petersen

Helmer-Petersen was a Danish photographer who looks at shapes similarly to Albert Renger-Patzch. His work, especially his book “122 Colour Photographs” brought modernism to Danish photography and earned him a grant for a years study at the Art Institute of Chicago. He looks at the natural shapes and pattern in the world around us and creates something attention-grabbing out of it.

Keld Helmer-Petersen Favourite Photo:

Image result for keld helmer petersen

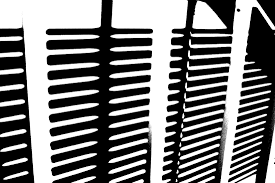
In this photograph there appears to be harsh lighting due to the editing but I believe that is it natural lighting. There is a large tonal range, ranging from the white of the posts to the black of the shade. This is a high contrast photograph as the spikes contrast with the background. It is a sharp, focused photo so it must have a fast shutter speed with a low ISO and a shallow depth of field.

It is quite a cold photograph due to the contrast along with the black and white. There is lots of repetition and patterns within this image; the spikes are repeated along with the shapes in the fence. The post sits along one of the vertical lines of the rule of thirds with the circle of the post being at the intersection of two lines. This means that Helmer-Petersen planned this to create an appealing image for the viewer.

I believe that in the image Helmer-Petersen is trying to exploit the beauty within things designed to keep people out. He looks at the patterns in the fences which are supposed to be menacing and he shows them off in a way in which they were not meant to be seen.

My Photographs:

My Favourite Photographs:

In this photo flash was used to introduce contrast into the photo to create a wider range of tones. The flash allowed the details of the material to be seen better. A macro setting was used to take this picture so that I could show the texture of the material. A low depth of field was used to create a blurred effect at the edge of the photo to emphasise the detail in the part that is in focus. A low shutter speed (1/60) was used to catch a sharp image. A low ISO was also used.

Both light and dark tones run throughout the photo, this allows the details of the material to be emphasised because of the contrast. A rough texture can be seen along each part of the photograph. The image has a slight 3D effect due to the low depth of field and the high contrast. The pattern of the material runs throughout the photo and creates an abstract image.

Because of how these techniques work so well together, this is one of my favourite photos from the shoot. One thing that especially stands out to me from the photograph is the texture and the 3D effect.

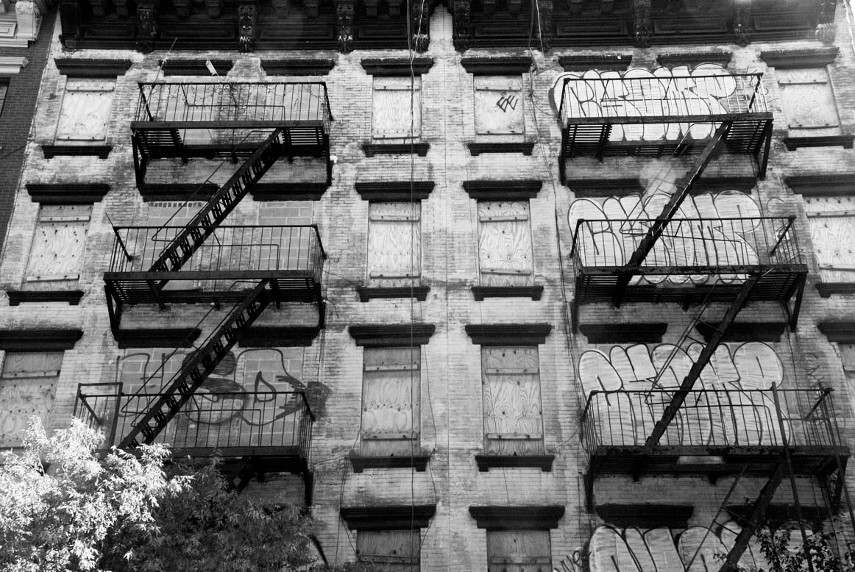
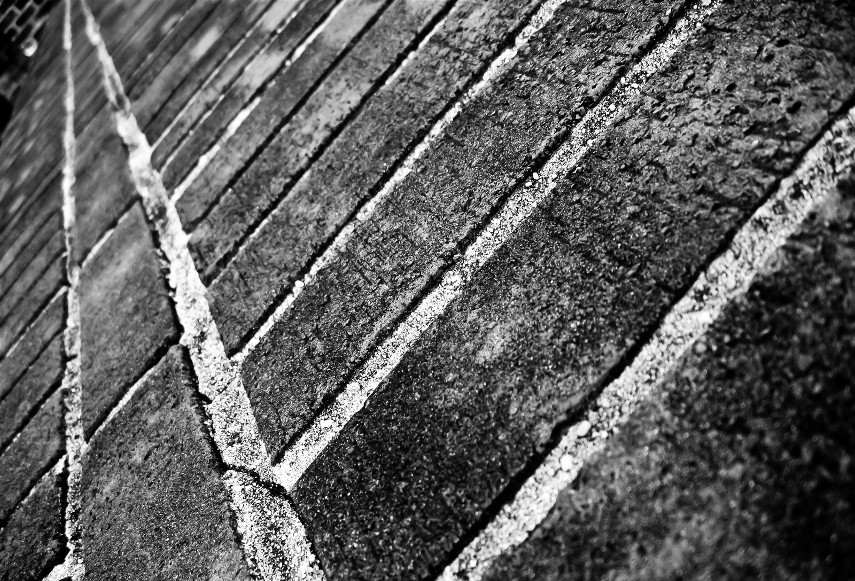
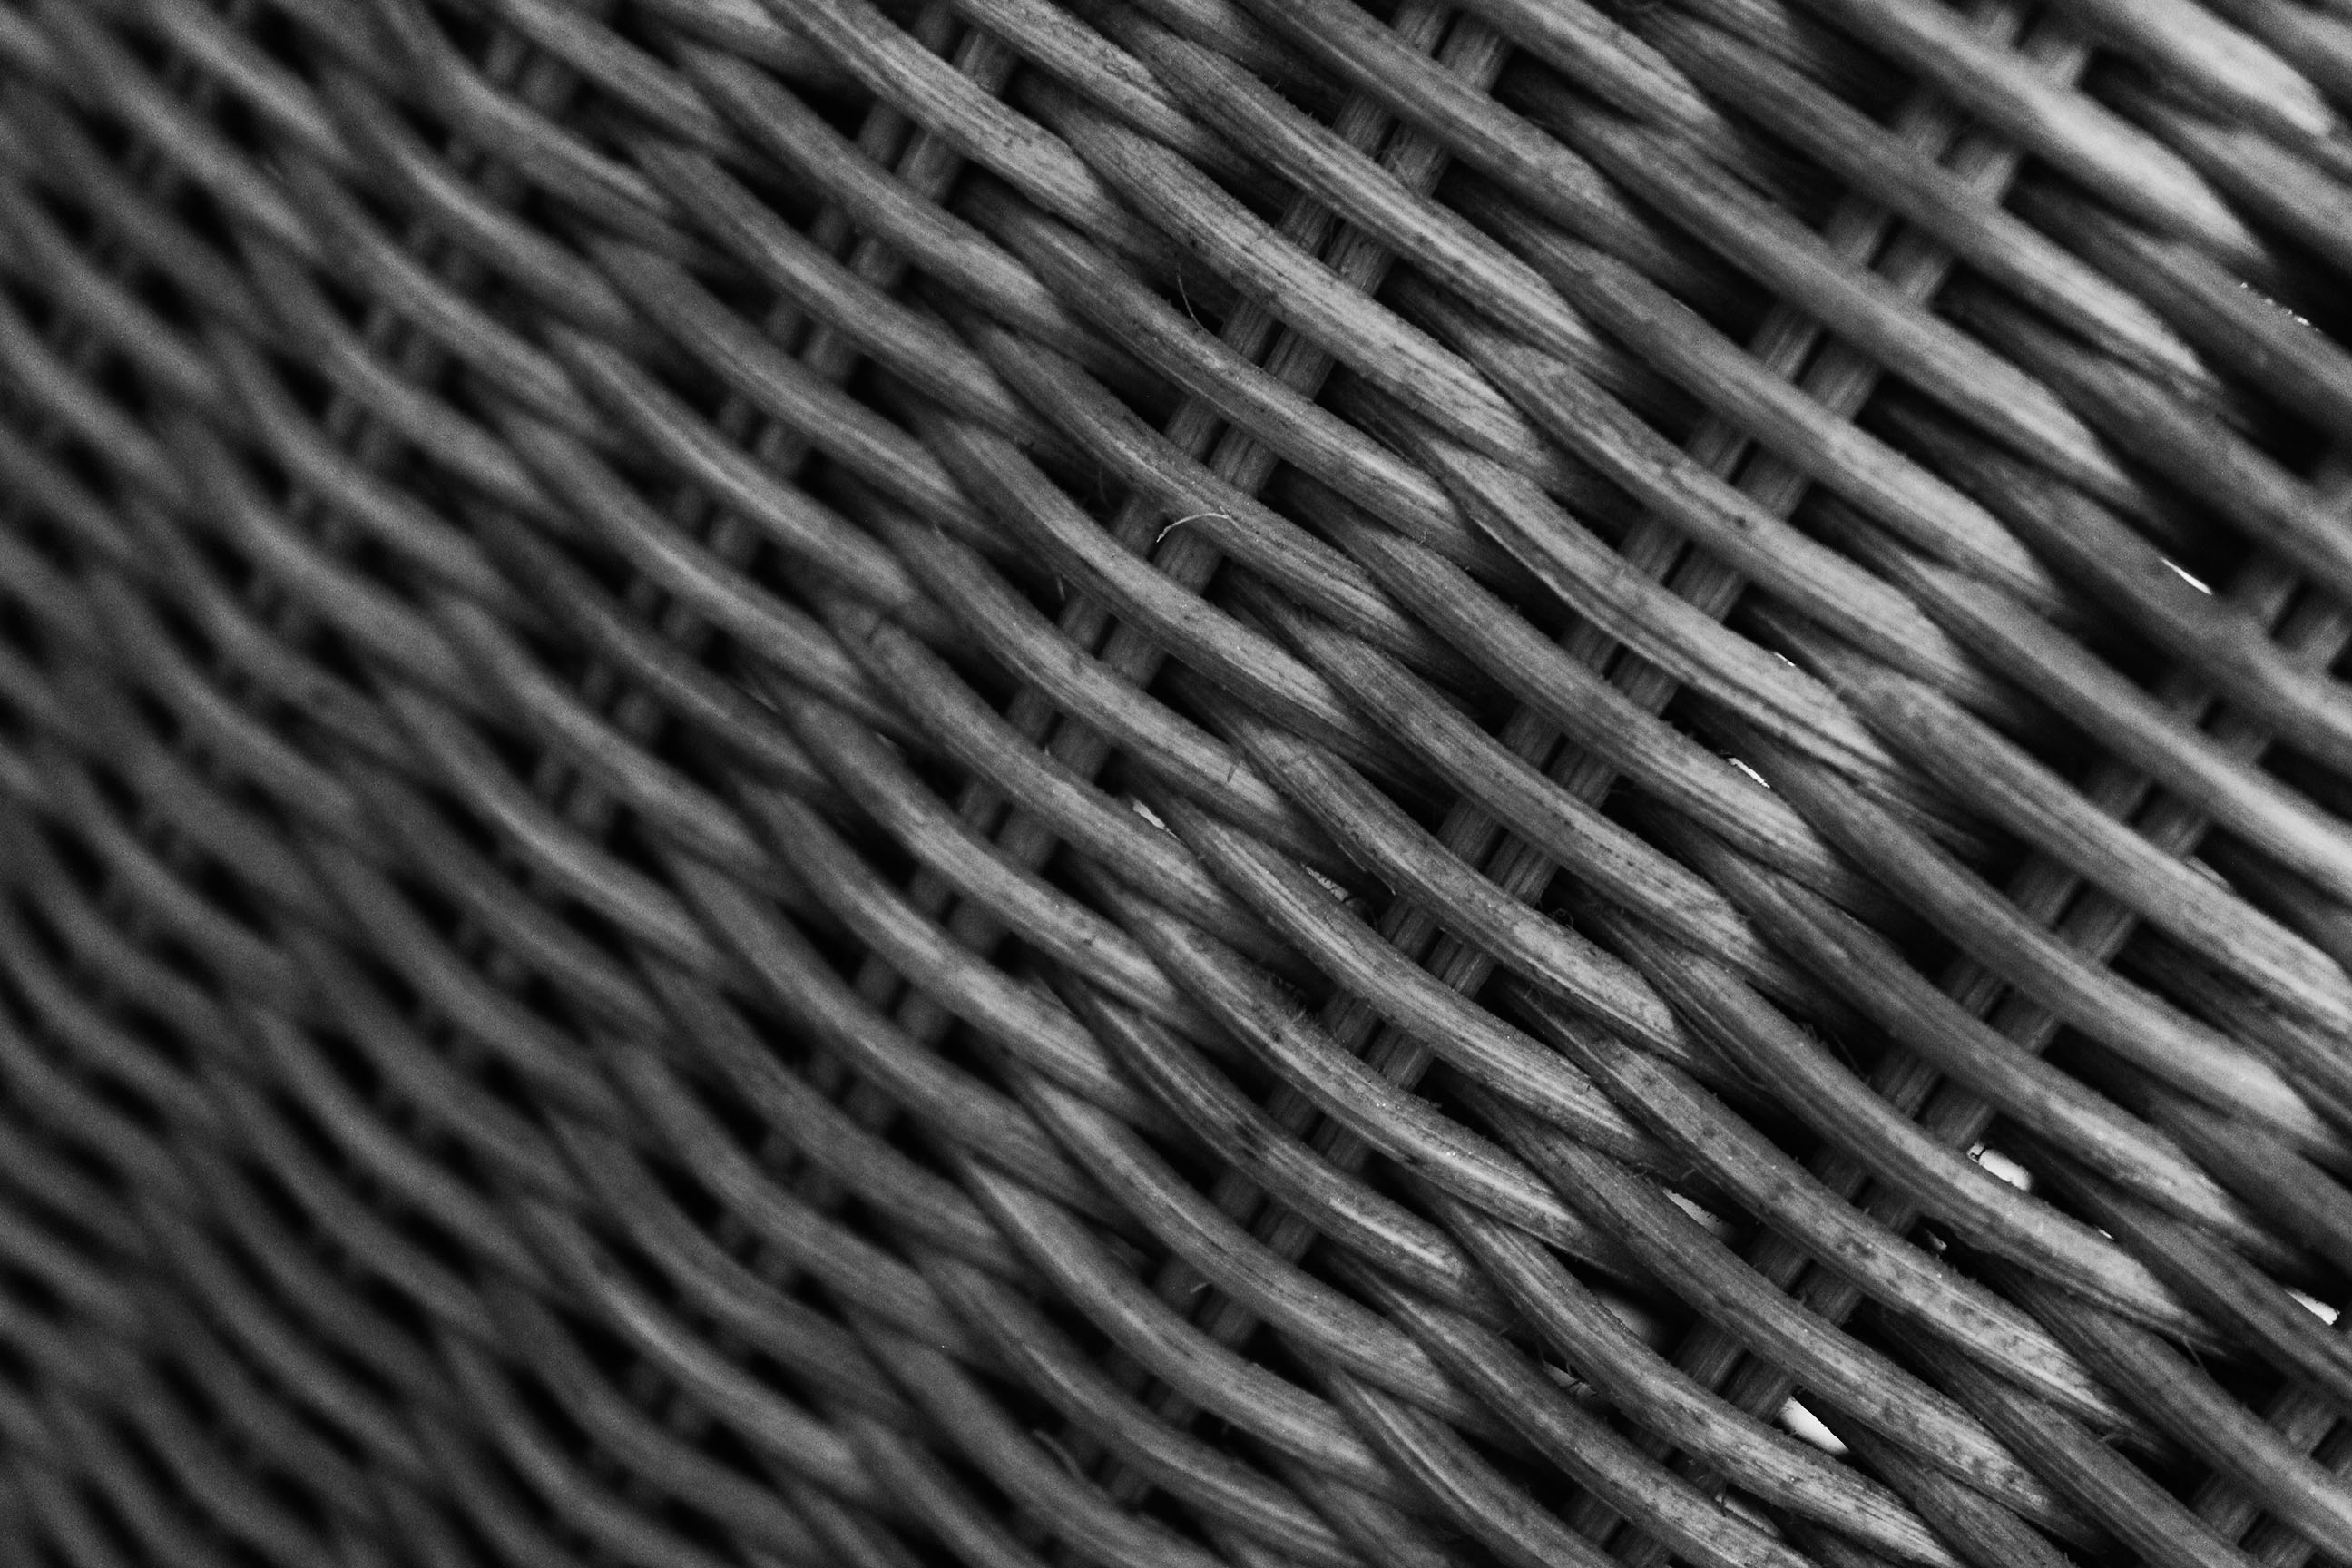
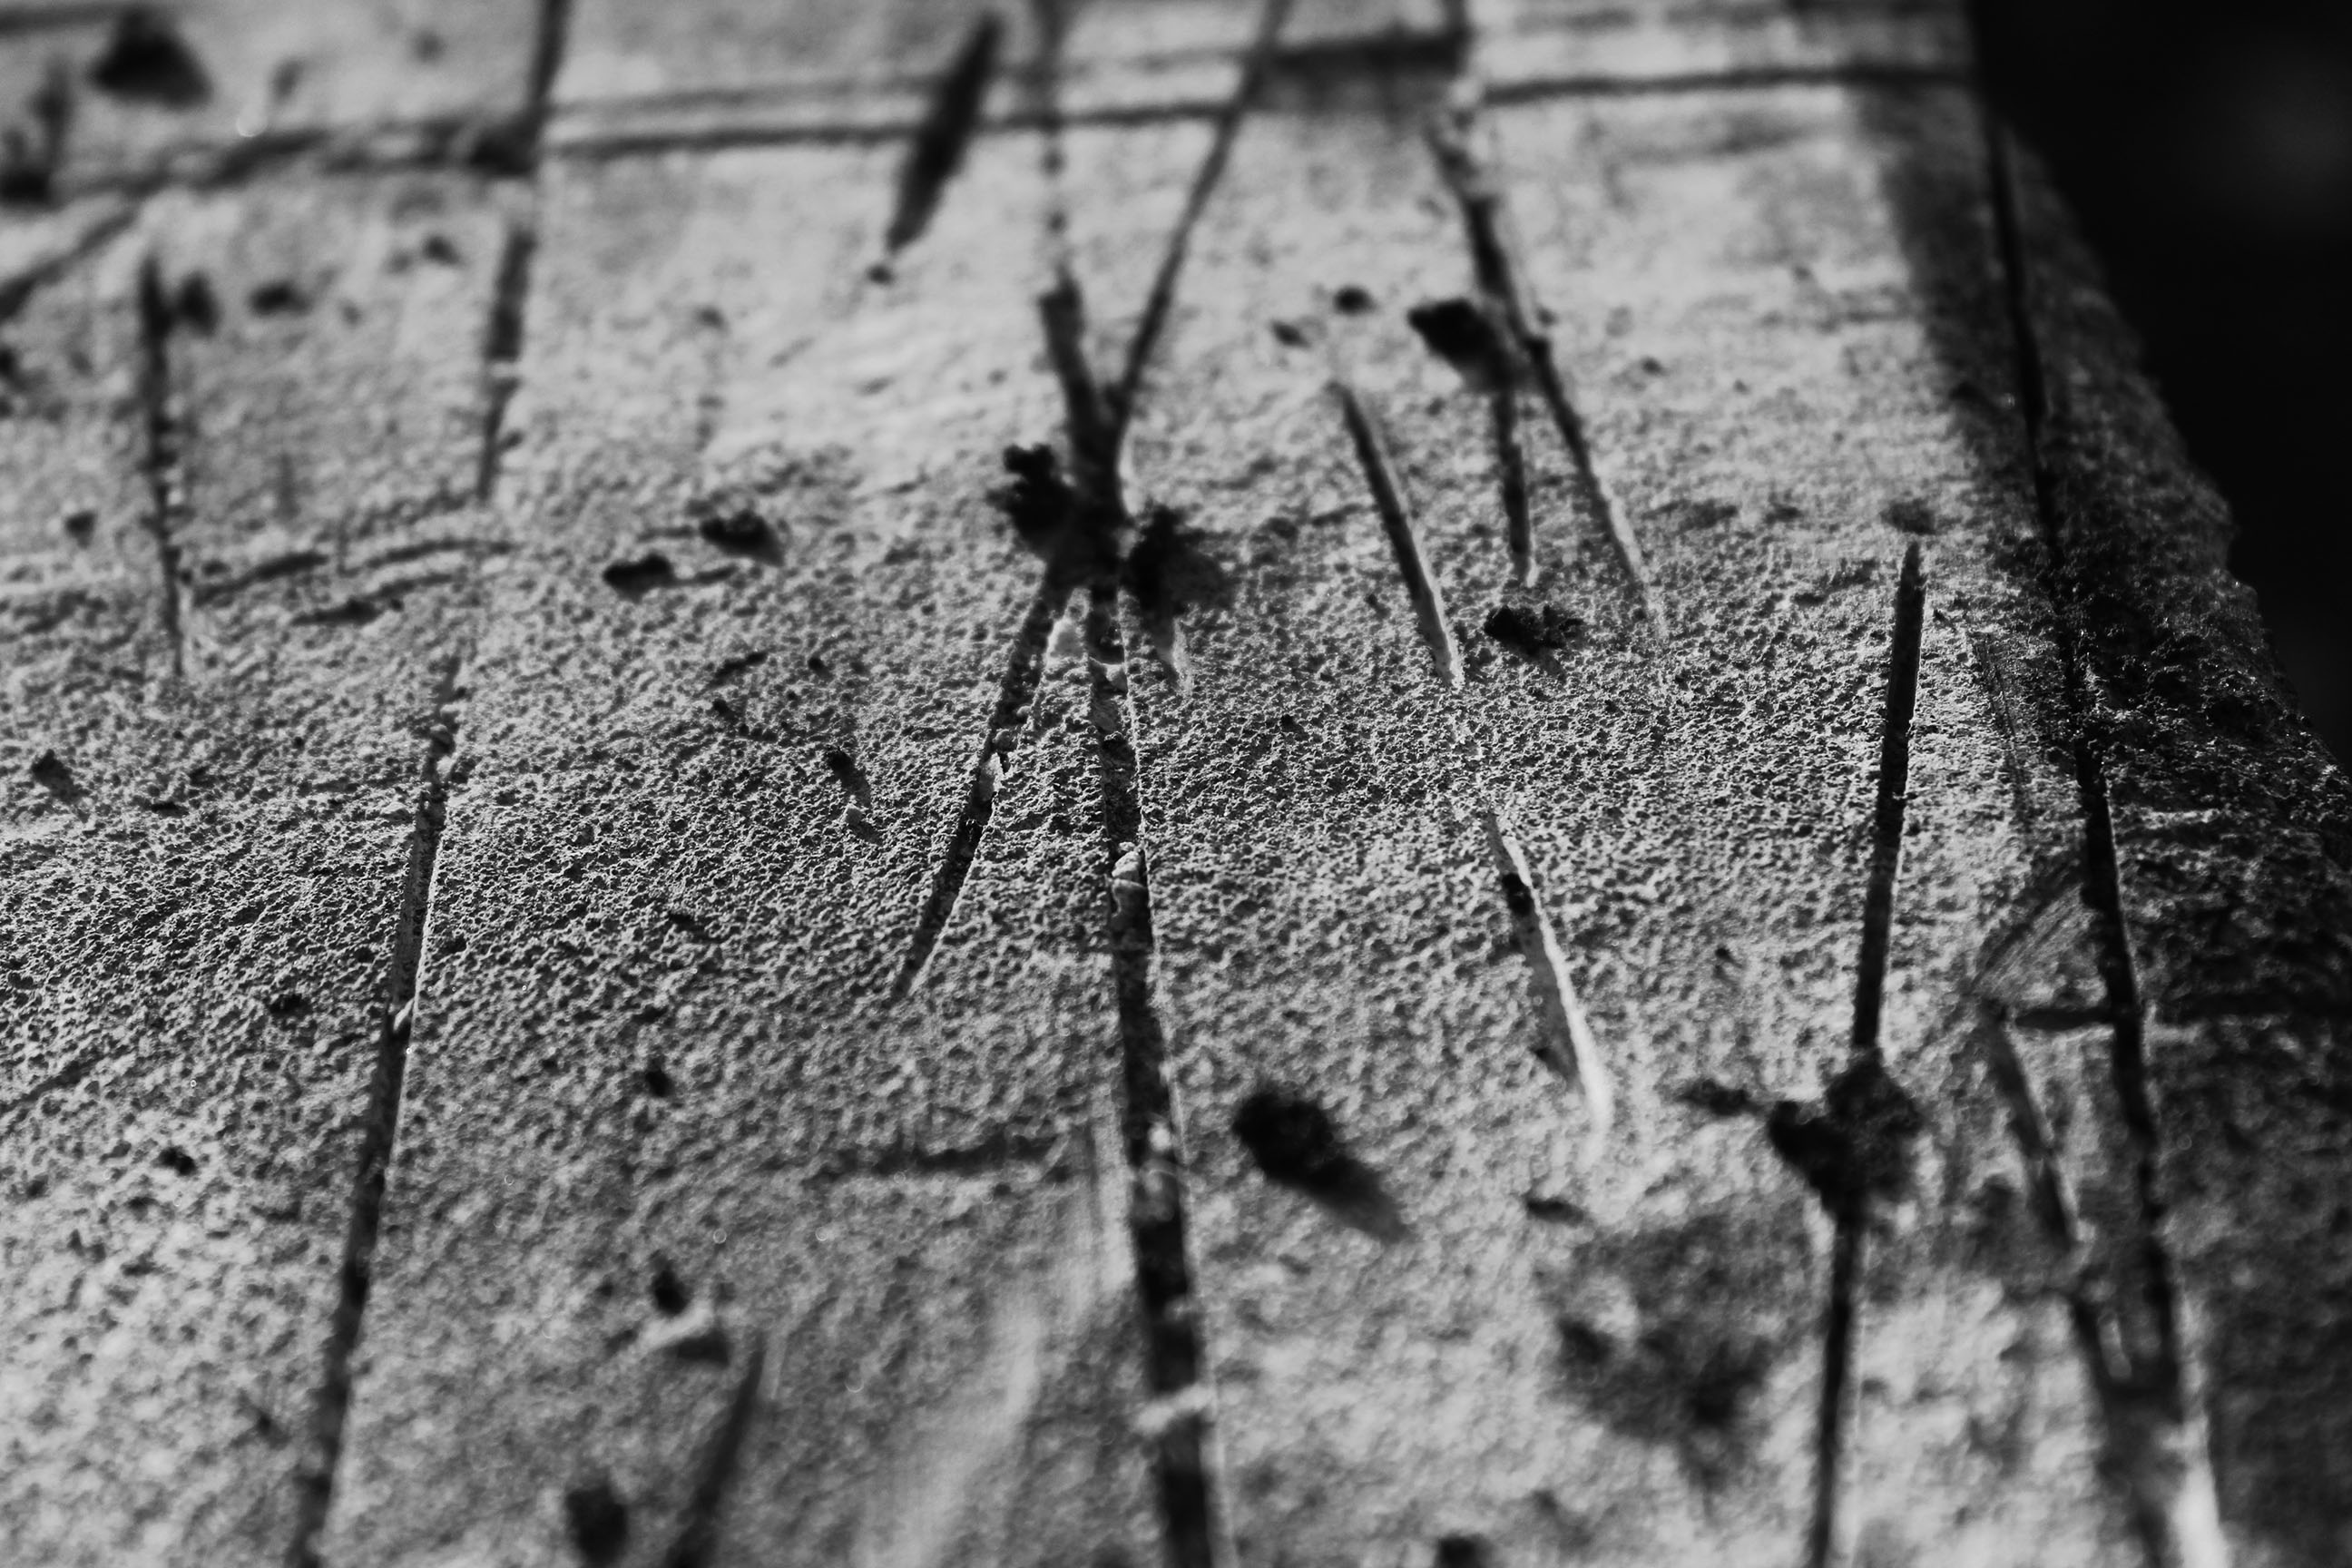
In the below photograph natural lighting was used to allow me to catch the natural shade of the subject. There is a wide range of tones between the surface and the cuts in it to create a dramatic and contrasting photo. A macro setting along with a low depth of field was used to create a blurred effect around the edge to allow the viewer to focus on the centre of the photo. A quick shutter speed was used to catch a sharp photograph. A low ISO was used to create a dark, dramatic image.

The black and white helps to increase the contrast in the image to make it stand out more. The cuts in the surface create a slight 3D effect in the photograph. The random cuts and lines contrast with my other favourite photo in which everything is a set pattern, this works well with the abstract theme..

For the above reasons, this is one of my favourite photographs from the shoot, especially because of its abstractness.

Exploring High Contrast Images With Helmer-Peterson

Helmer-Petersen

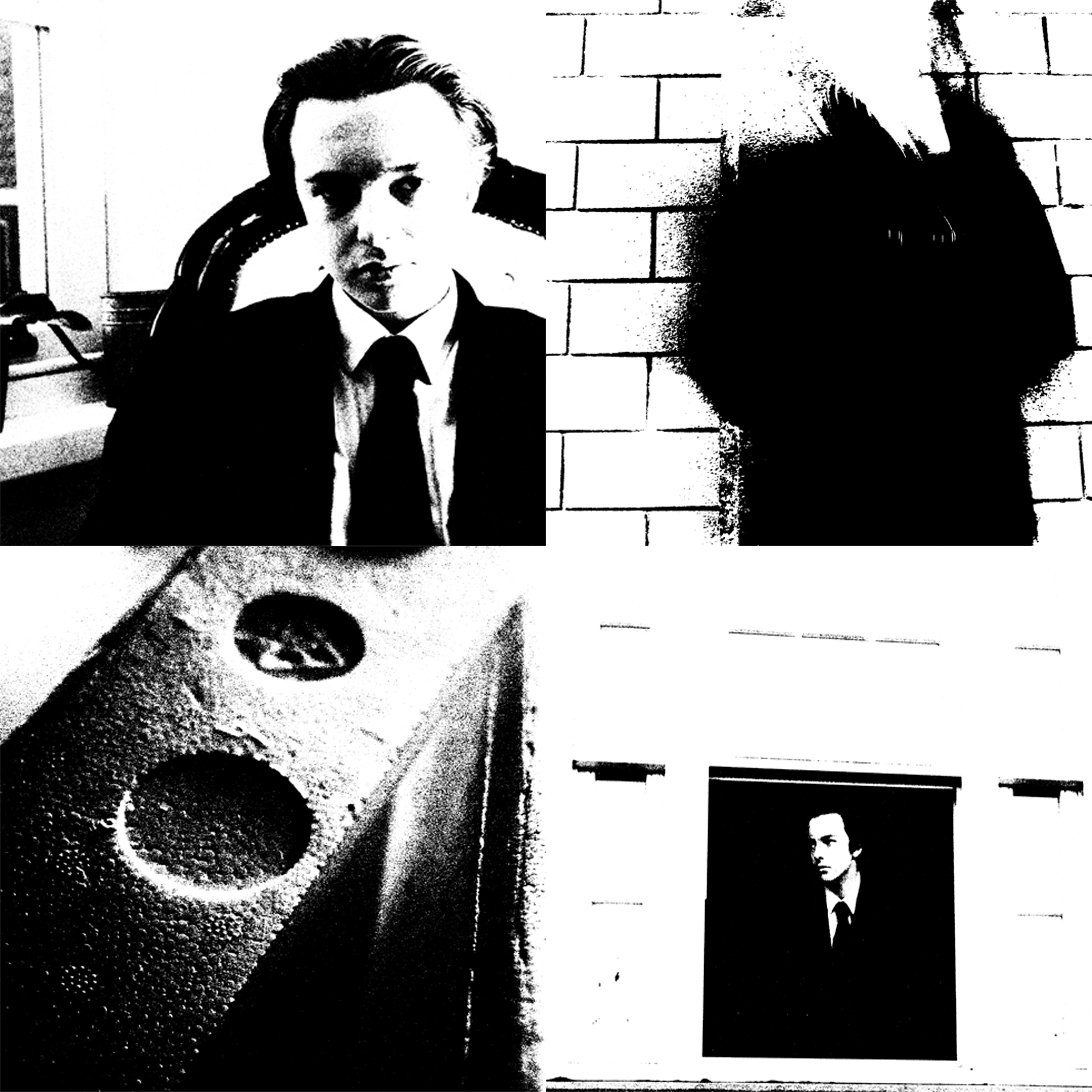
Image result for helmer petersenHelmer-Petersen was a Danish photographer who looks at shapes similarly to Albert Renger-Patzch. His work, especially his book “122 Colour Photographs” brought modernism to Danish photography and earned him a grant for a years study at the Art Institute of Chicago. He looks at the natural shapes and pattern in the world around us and creates something attention-grabbing out of it. A lot of the work he did was high-contrast and this below I have created some work in his style.

The Process

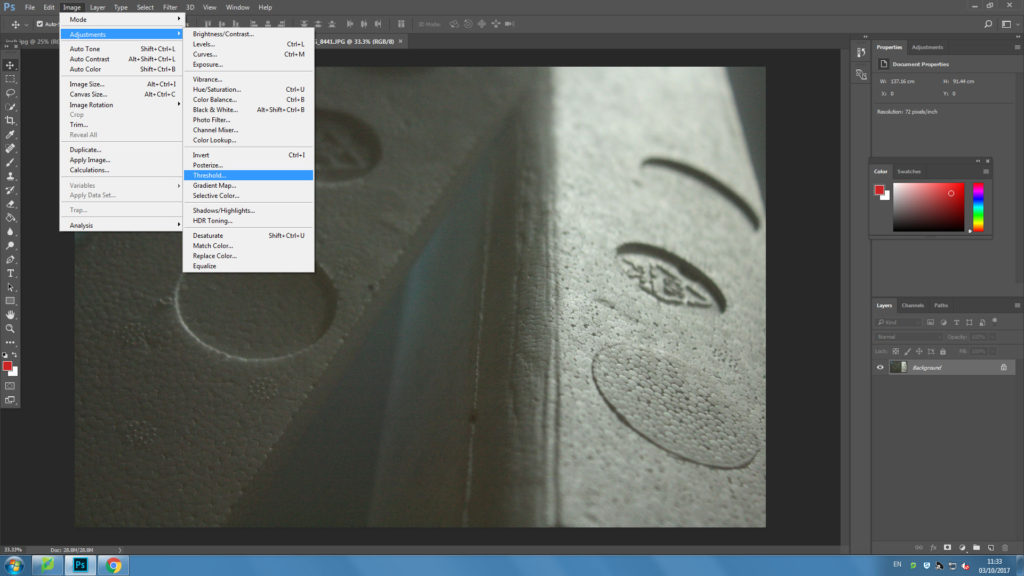
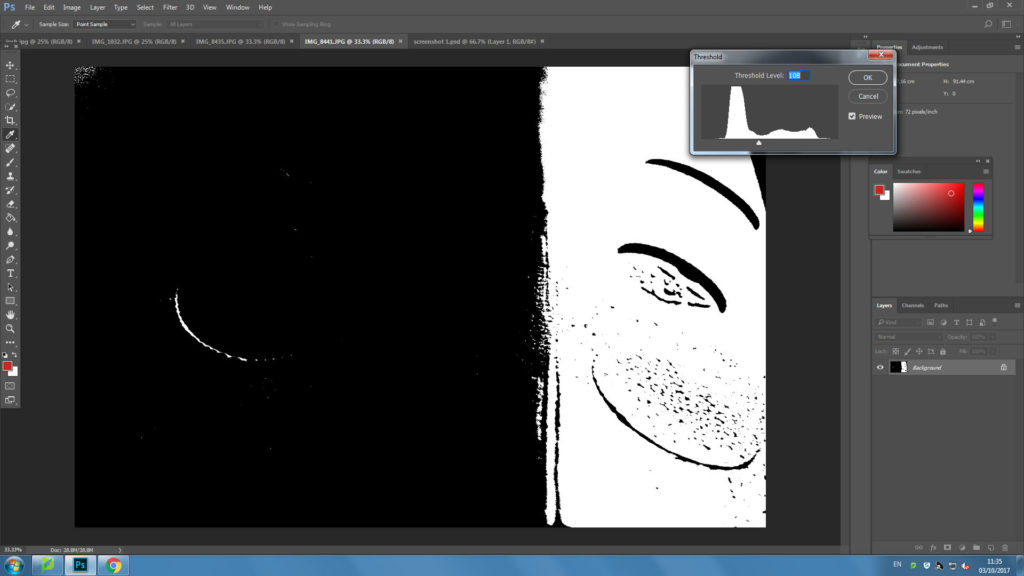
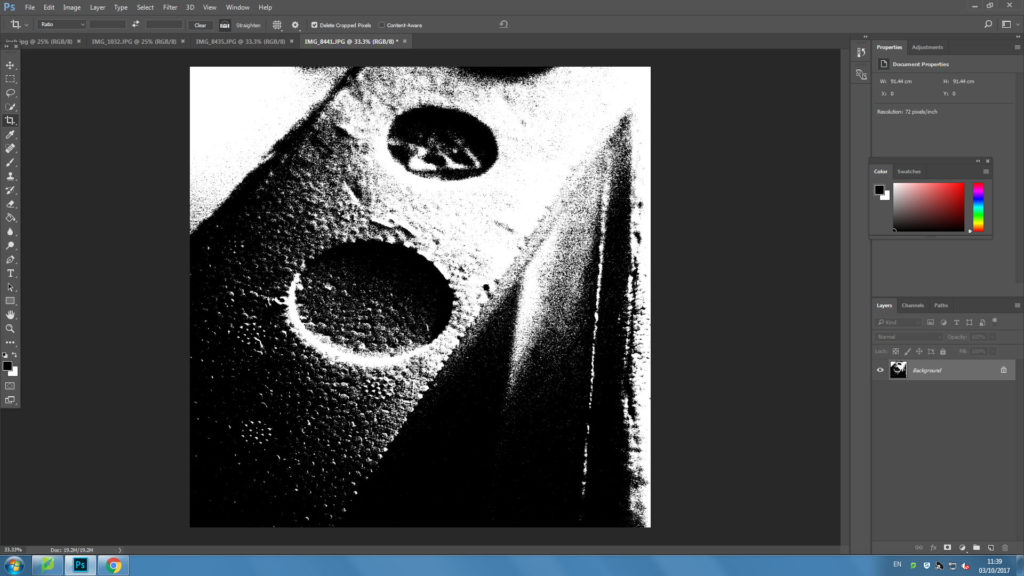
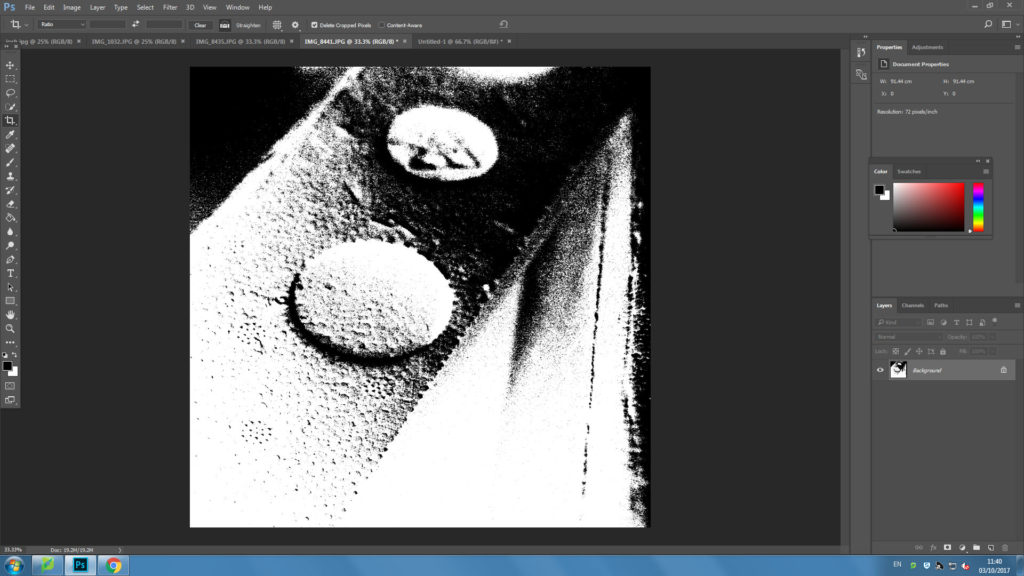
I edited the image in the style of Helmer-Petersen by firstly choosing the threshold option on photoshop.

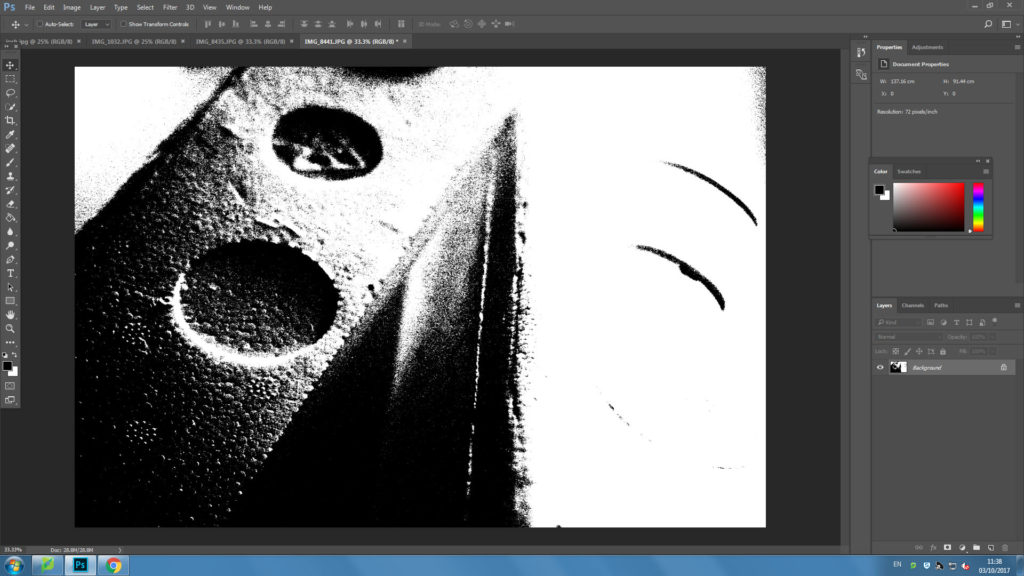
I then edited the white and black balance using the slider to create my ideal image.

I then cropped the image to produce a square so that I could present my images in one sheet.  

I looked at inverting the image to create something new but i decided not to.

I then put all four images into one page to showcase them.

Analysing Robert Franks Photography

Image result for robert frank the americans trolley
Robert Franks “Trolley” from his book “The Americans”

Robert Frank was a Swiss-American photographer and documentary filmmaker. His most famous work is his book “The Americans” in which he shows an outsiders view of American society in the 1950’s. His book consisted of 83 photographs.

Analysis

Technical

In this image, Robert Frank uses different techniques to create the photo that he wants. A fast shutter speed seems to be used due to the sharpness of the possibly moving trolley. Frank also uses a low ISO to create a darker image. The natural lighting of the sun also helps to create a natural looking image that captures Americas society in the middle of their day. A deep depth of field is used as well to keep the image sharp and focussed.

This image has lots of different settings working well together but the image is cleverly structured by Frank to use the rule of thirds. The bottom and top of the window run along the horizontal lines whilst the old lady and the coloured man are placed at the vertical lines. This makes the image seem instantly appealing and interesting to the human eye.

Visual

In the photograph a high contrast is used in the black and white image to create a more dramatic image. The contrast comes from the white bars which cleverly break up the image into different sections because of the natural frames. This influences the viewer to view the photograph in more detail. The wide variety of tones between the black man and the white people adds even more contrast and drama in the image.

Contextual

This photograph was taken in the 1950’s in New Orleans. It shows how the American society travels and the slight division of the whites and the blacks. As you can see, the white people are sat at the front and the black people are sat at the back, at this point in time the blacks did not have as equal rights as they do today so this documents the slow changes that have happened throughout history.

Conceptual

Racial segregation is shown in Frank’s photograph. There appears to be a social hierarchy from left to right. The white frames in the image segregate old people, white people, children and black people. On the left of the image you can see a white man partially hidden by a window; his separation and cover from the photograph represents how the whites were protected by society but the blacks weren’t.

Homework Assignment 3

Planning:

Task – Produce 100-200 images that show a response to abstract art and photography

Locations – Car park,  street

Subjects – Josh, cars, lights

Lighting – flash in the car park, natural lighting outside.

Camera settings – Low shutter speed (0.8 seconds) for blurred effect, ISO 800 due to dark settings, deep depth of field so high aperture.

Concept – capture and manipulate movement of light

Ernst Haas

Image result for Ernst Haas photographer

Image result for Ernst Haas photographerErnst Haas (1921-1986) was born in Vienna and took up photography after the war.
In 1953, LIFE magazine published his 24 page colour photo essay on New York city.

He received the Hasselblad award on the year of his death.He was a photojournalist and a pioneering colour photographer.

His book ‘The Creation’ was one of the most successful photography books ever.

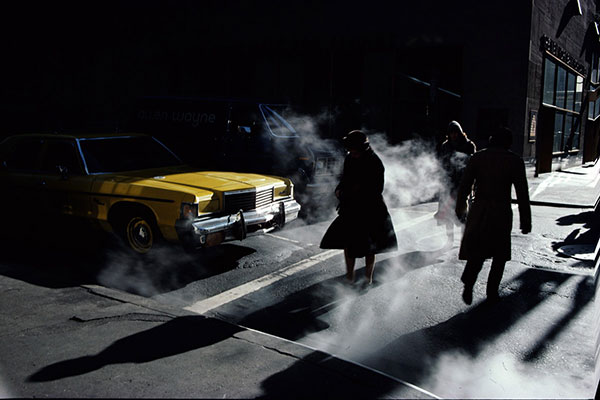
My favourite Ernst Haas photo:

This is my favourite photo by Ernst Haas because of the contrast and mystery behind it.

The yellow of the car contrasts very well with the dark, almost colourless, image. The shadows and silhouettes create a sinister and mysterious setting along with the smoke.

This could just be a photo he took in the middle of New York city but the shadows and smoke make it a very interesting and dramatic image.

Image result for Ernst Haas photographer

Lazlo Moholy-Nagy


Image result for moholy nagy photographyImage result for moholy nagy photographyMoholy-Nagy (1895-1946) was a Hungarian painter and photographer.
He was highly influenced by constructivism and helped to integrate technology and industry into the arts.

He believed that humanity could only defeat the experience of modernity if it harnessed the full potential of new technologies. He thought that artists should turn into designers.

My favourite Moholy-Nagy photo:

I like this photo because of the way he has used angles to create an image which the viewer has to figure out. At first the viewer is unsure what they are looking at when they see the contrasting white circles but after seeing the cleverly placed other worker, they realise what the image is showing.

This image shows well what Moholy-Nagy does – he integrates shapes and industrial work into his photographs. There are lots of different shapes in this photo which almost make it seem abstract.

Image result for moholy nagy photography

My Photos:


My Favourite Photos

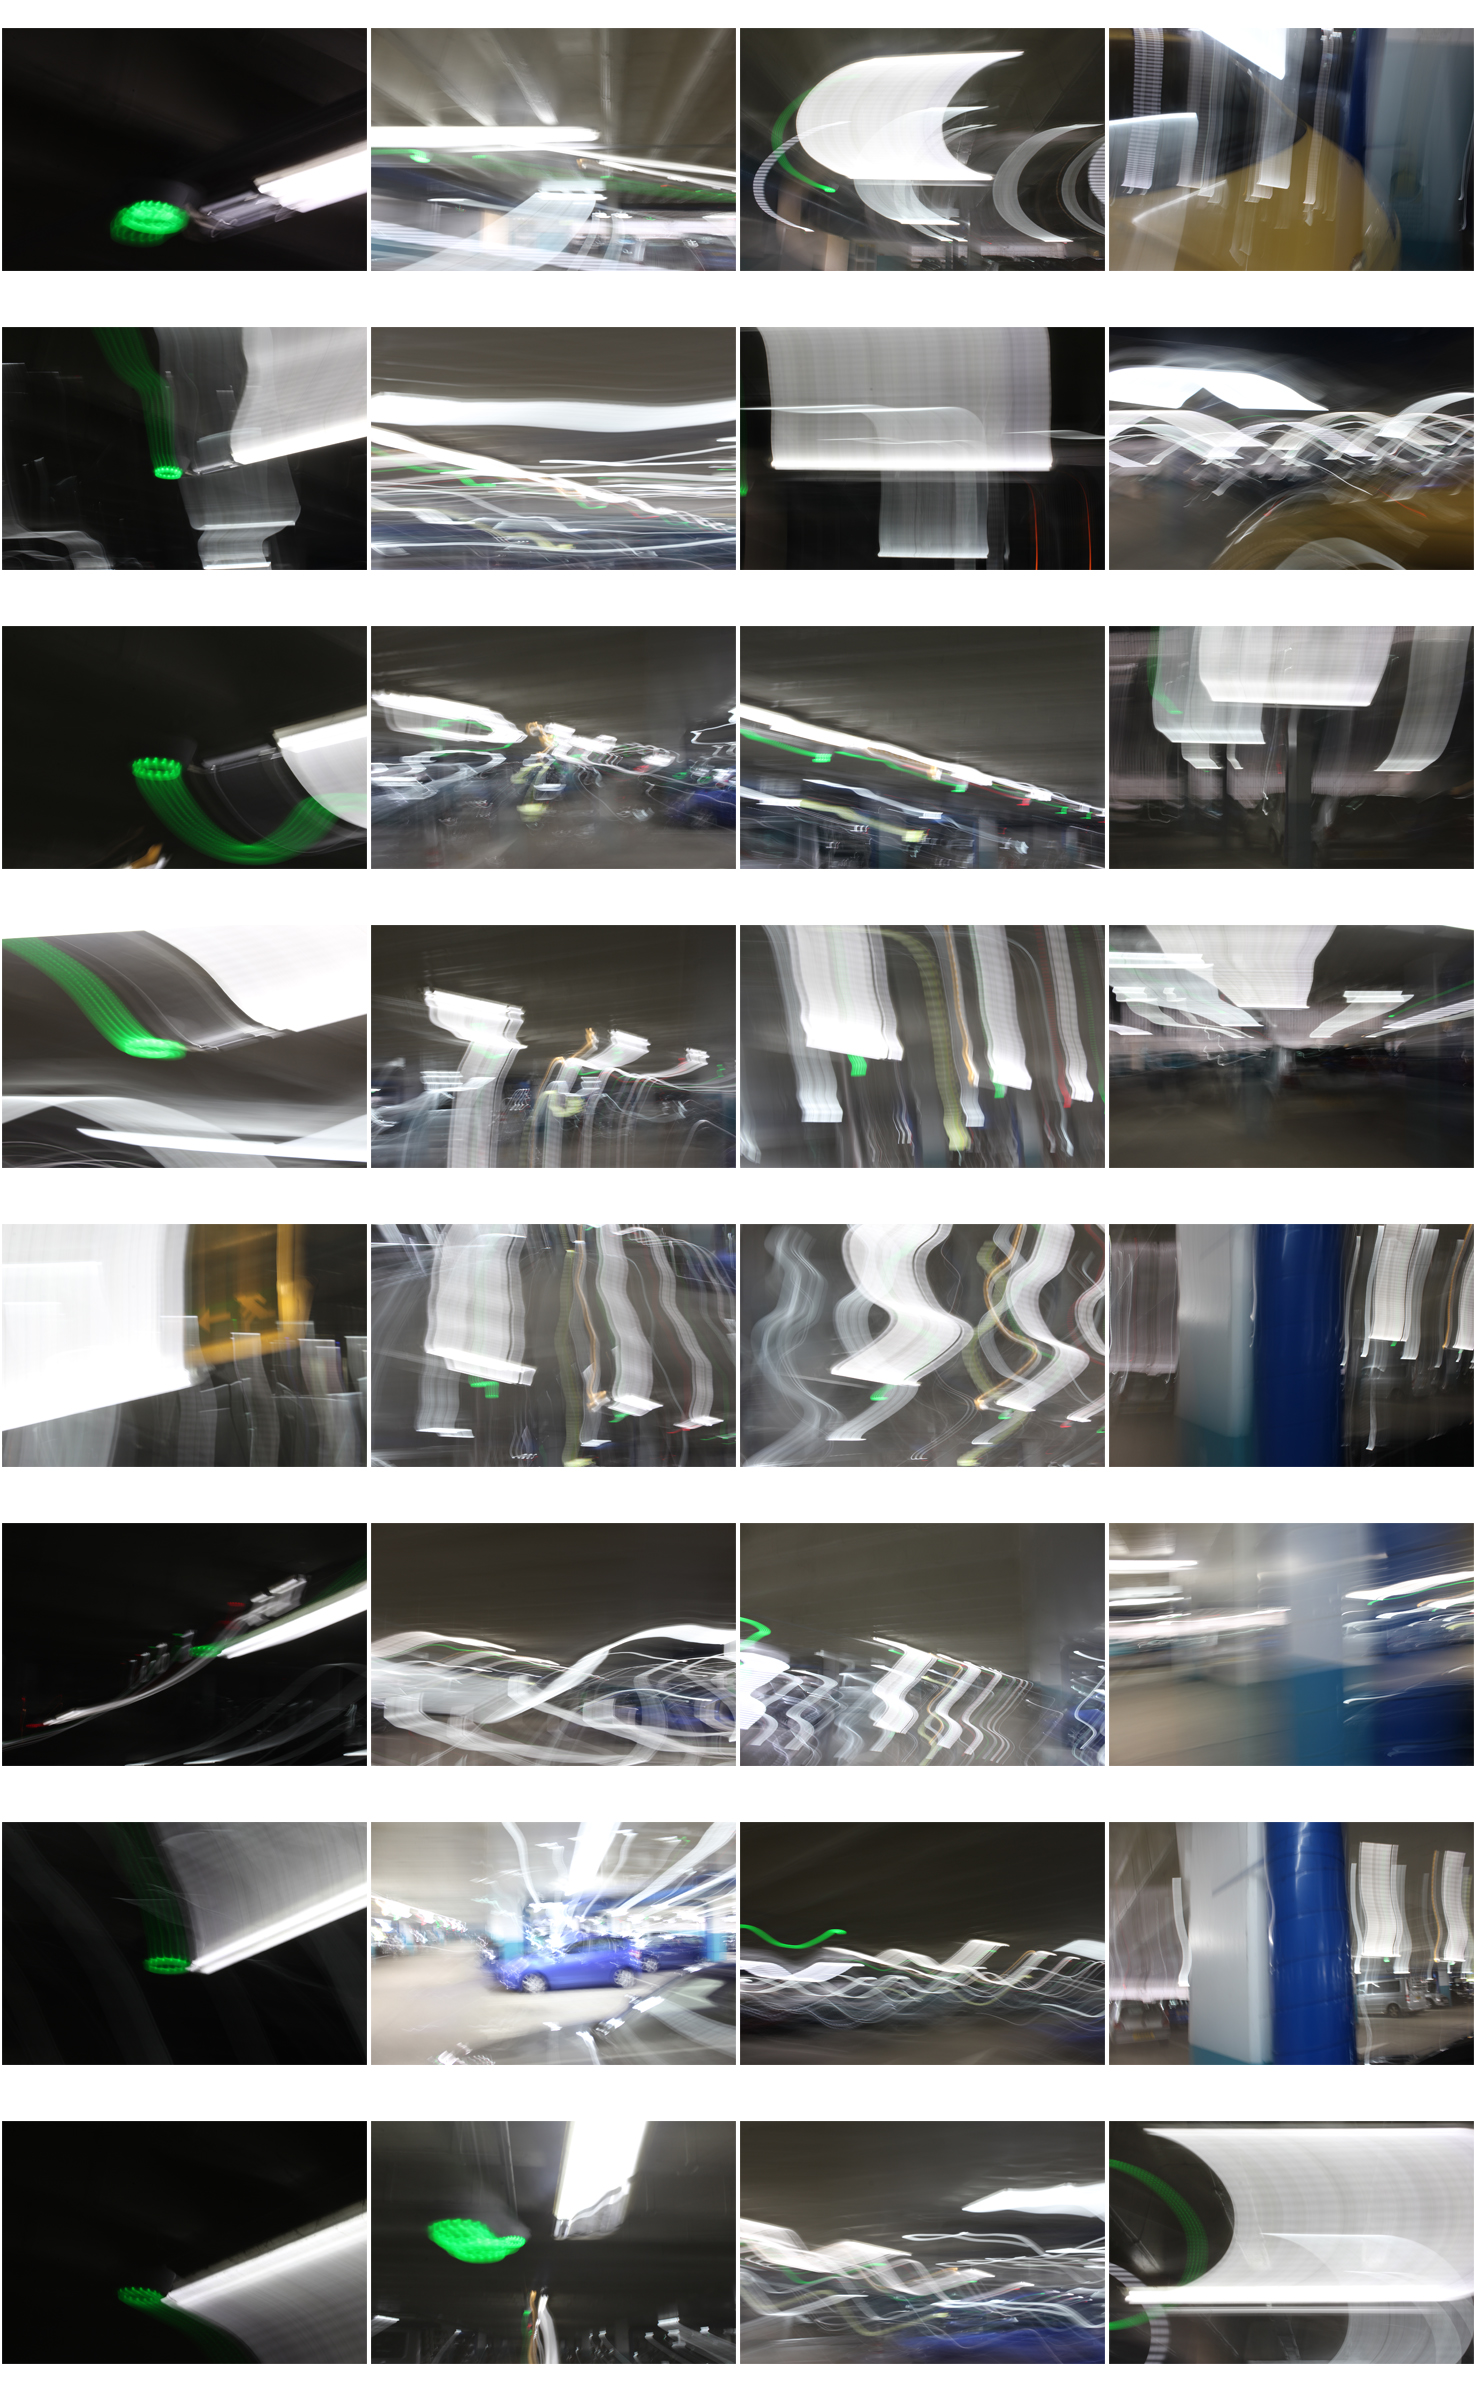
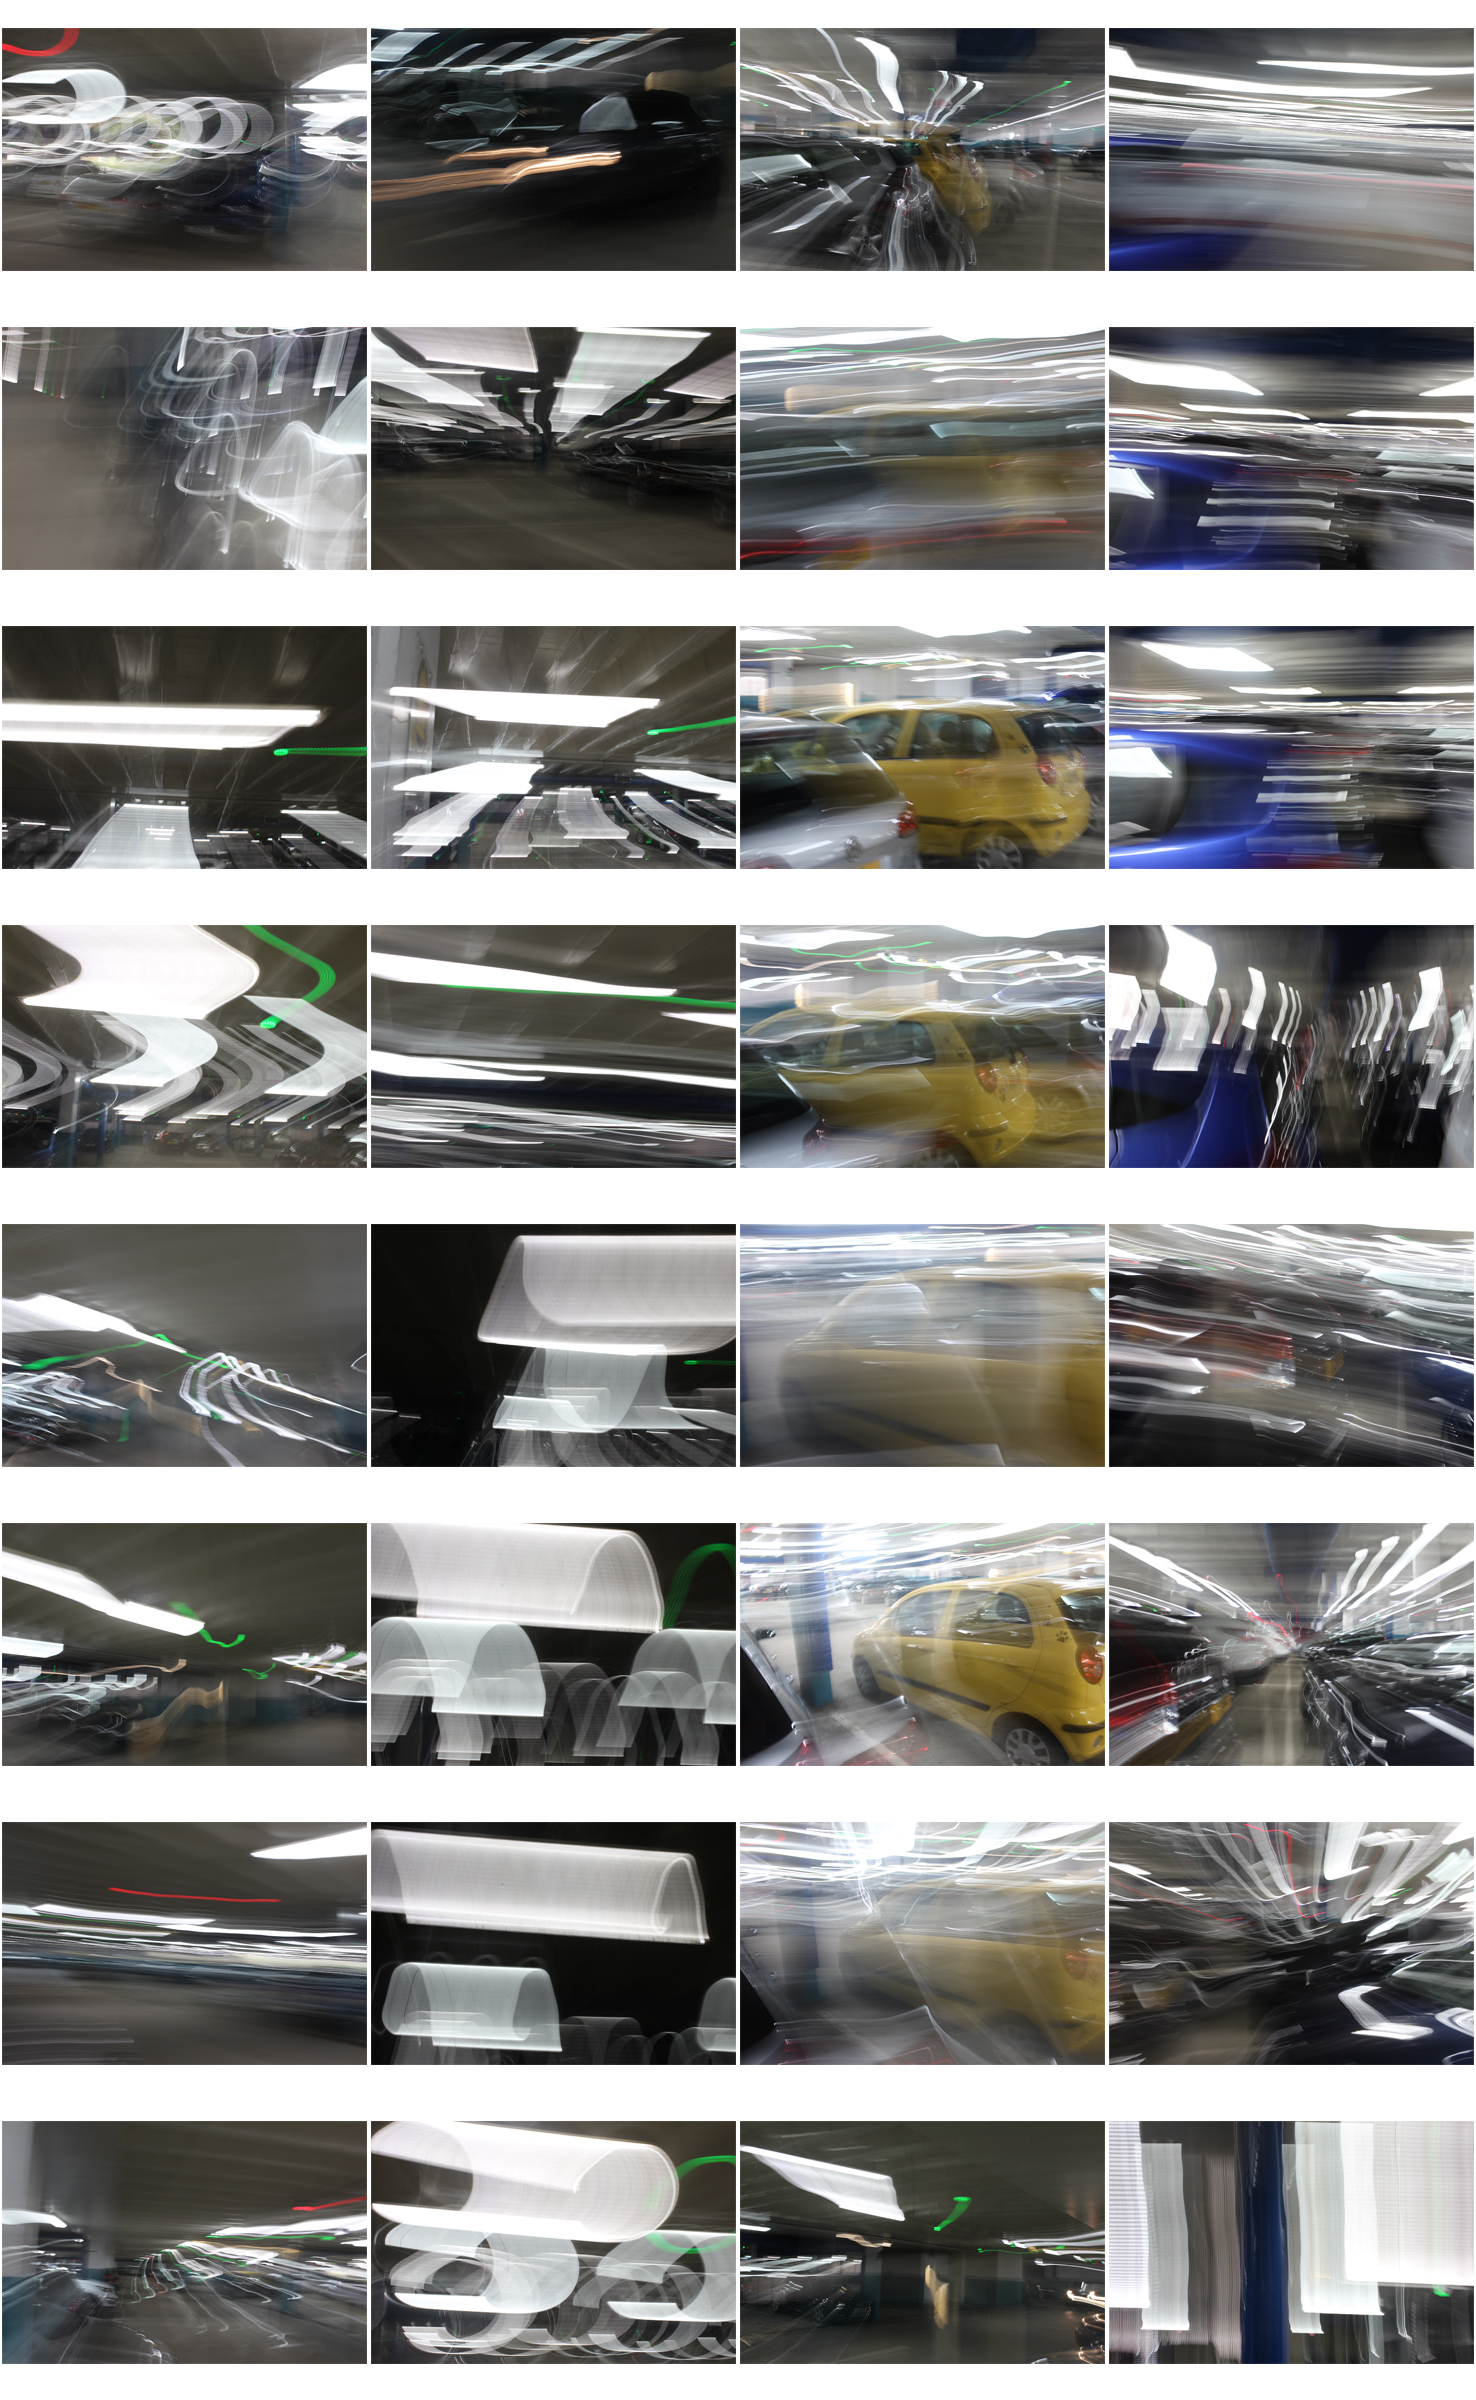
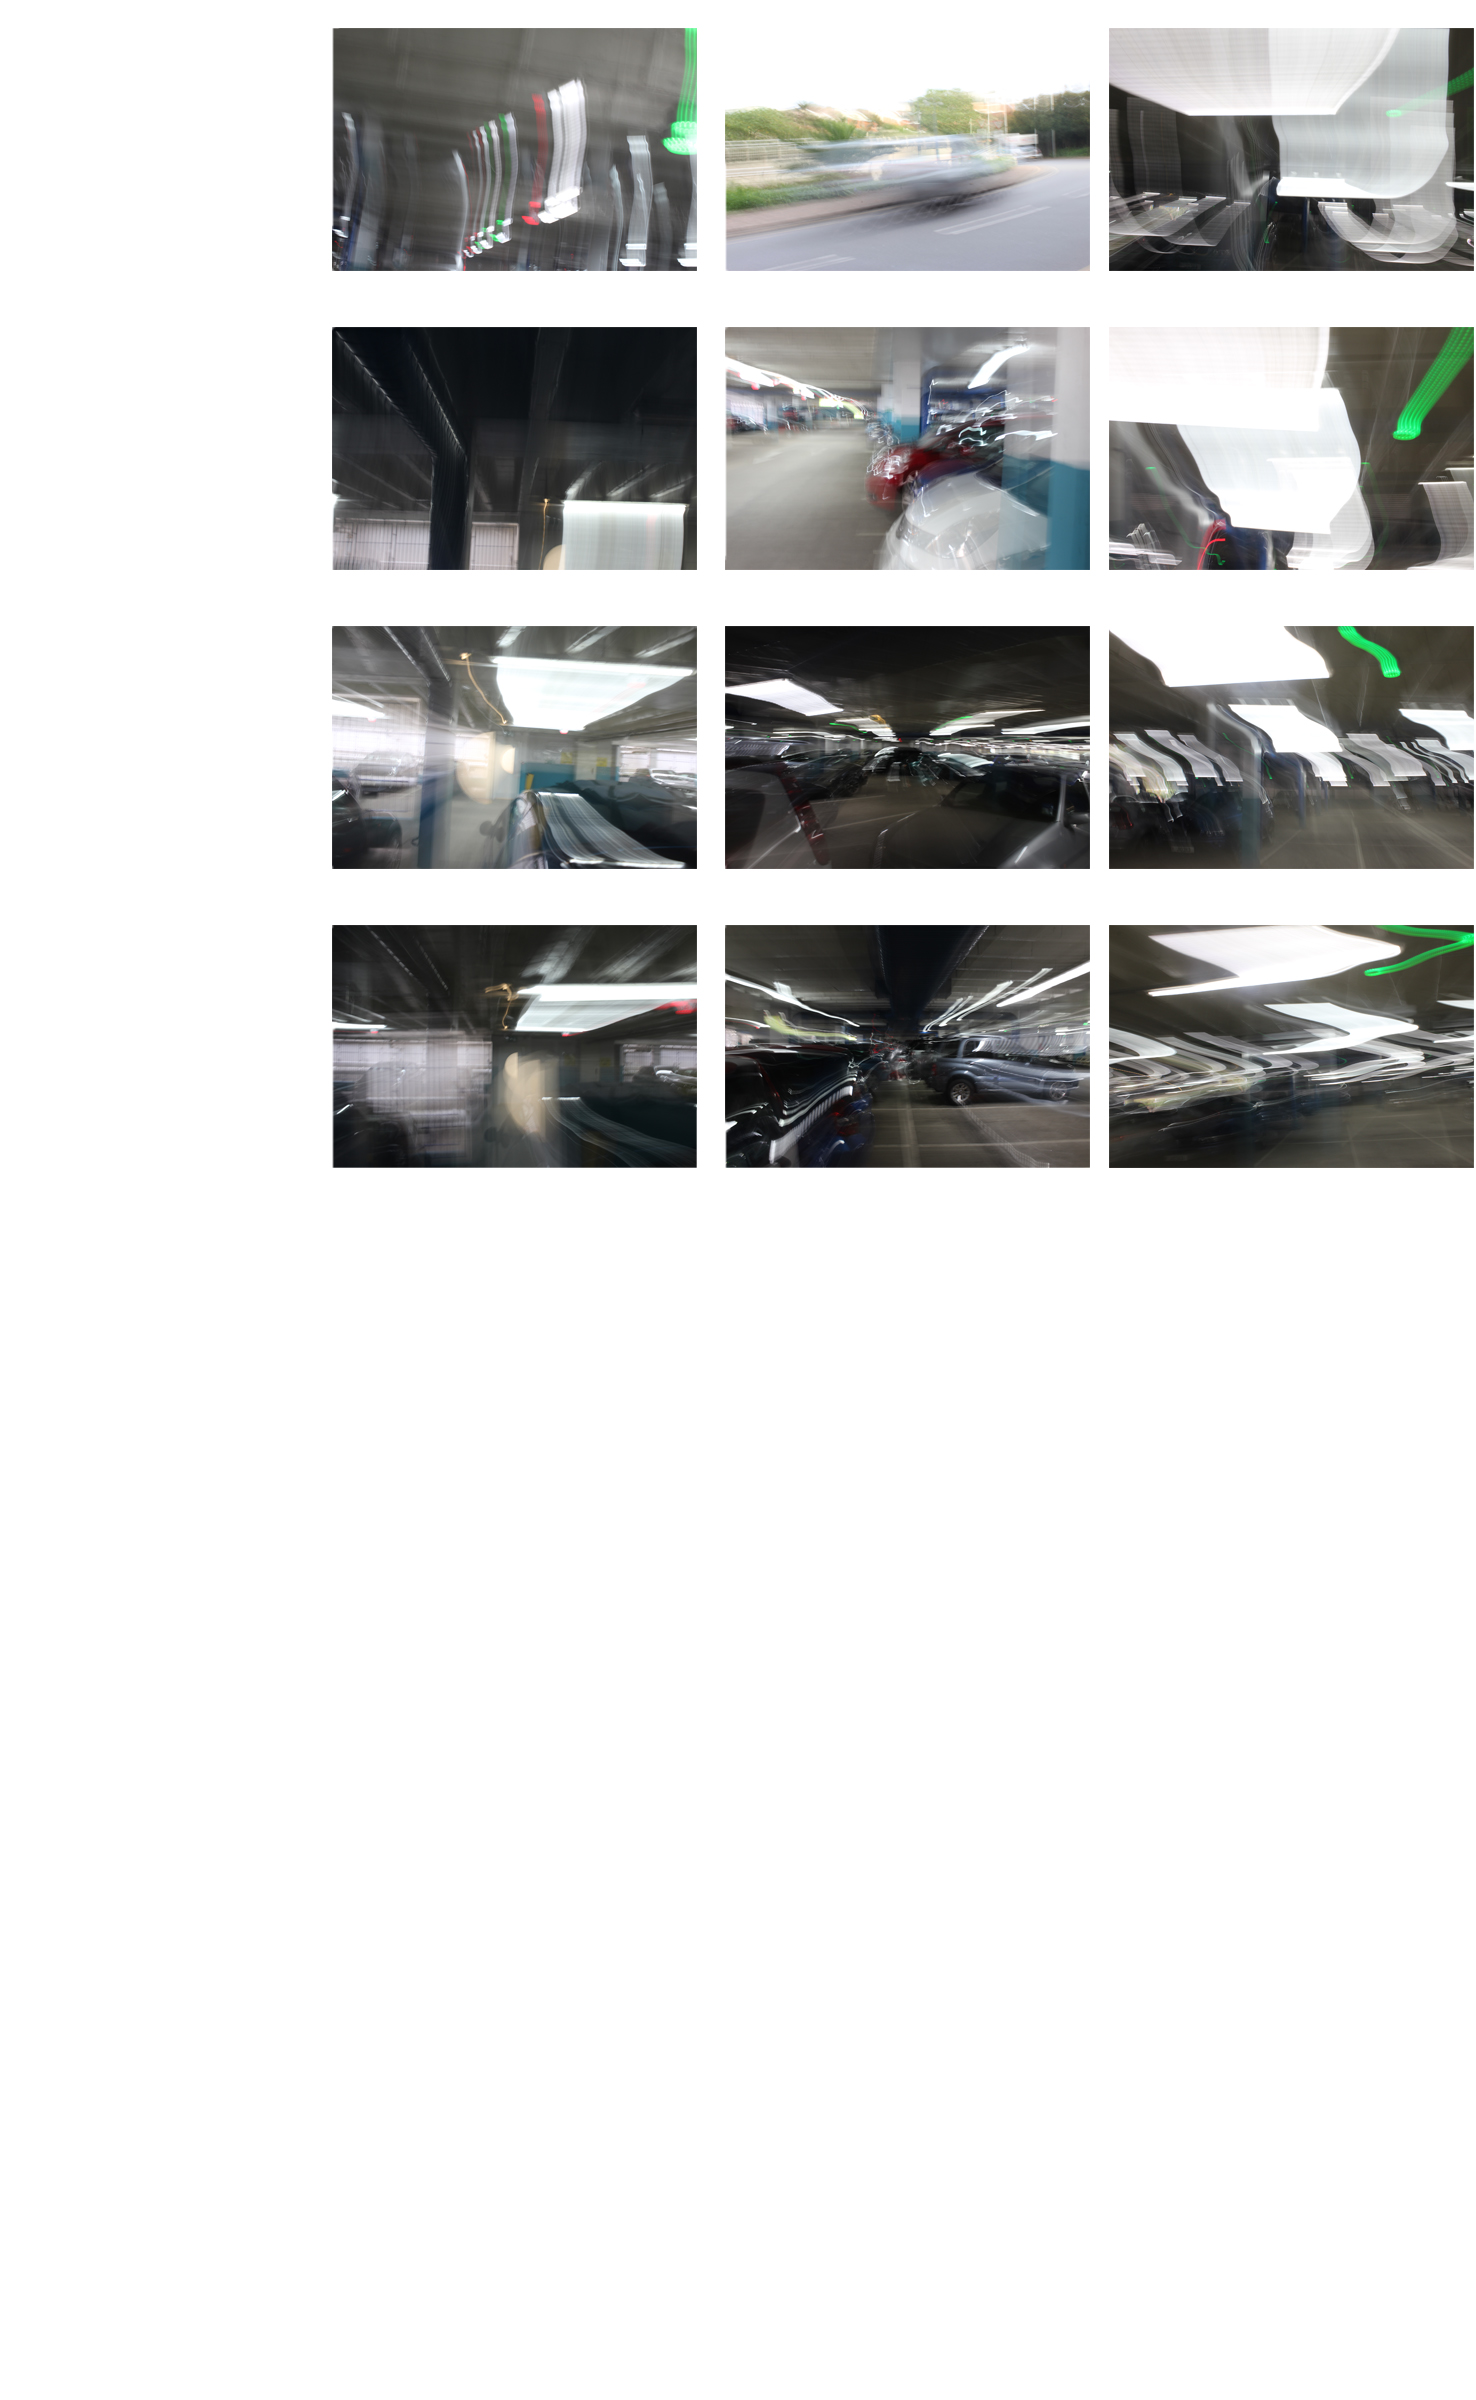
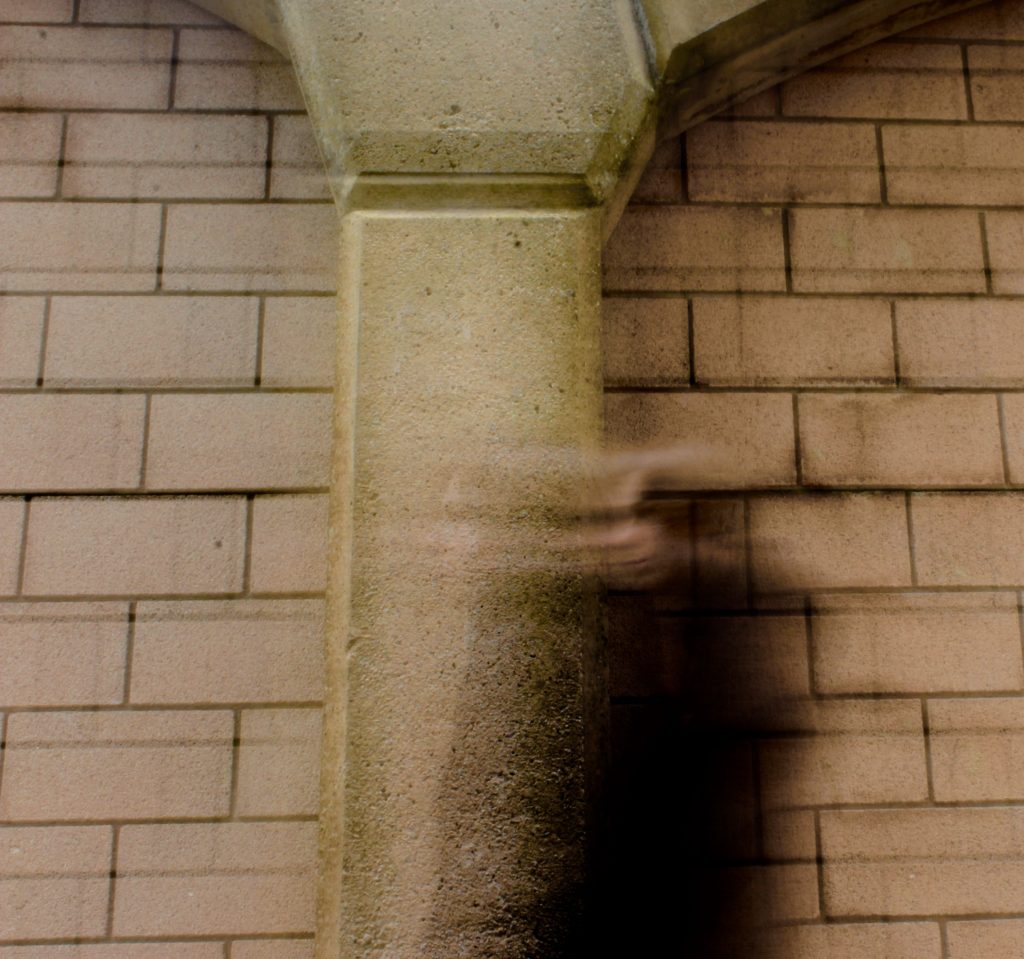
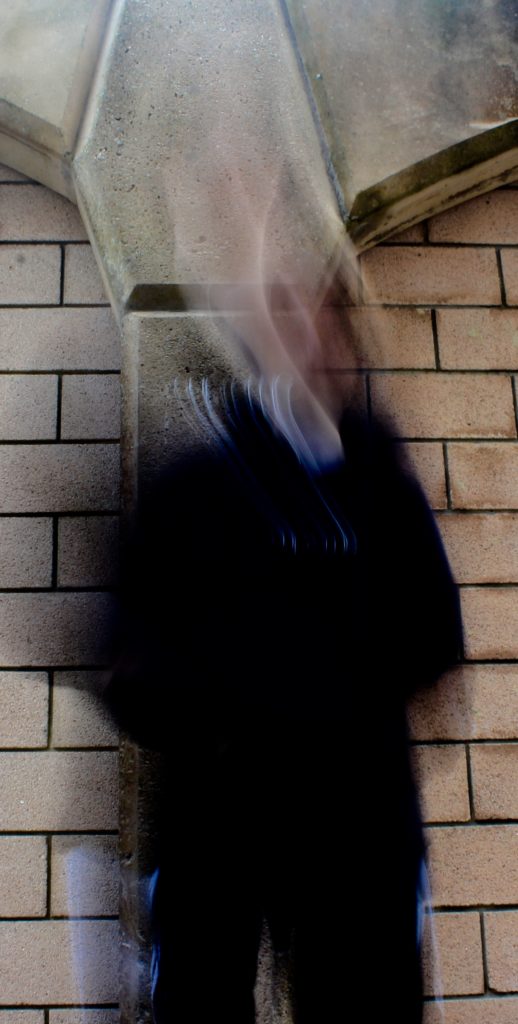
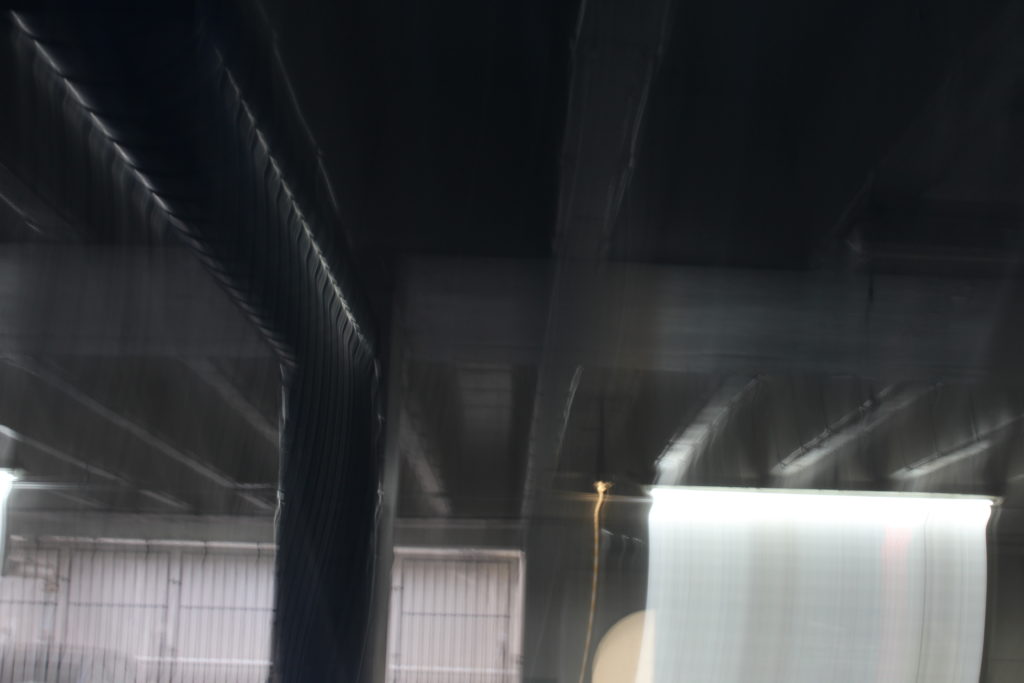
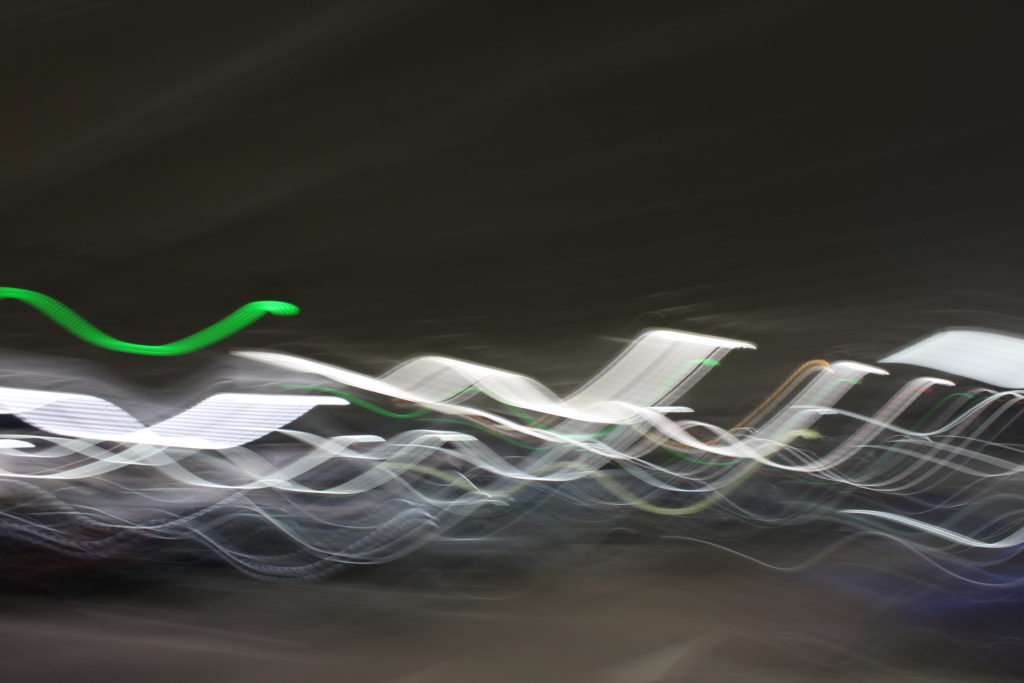
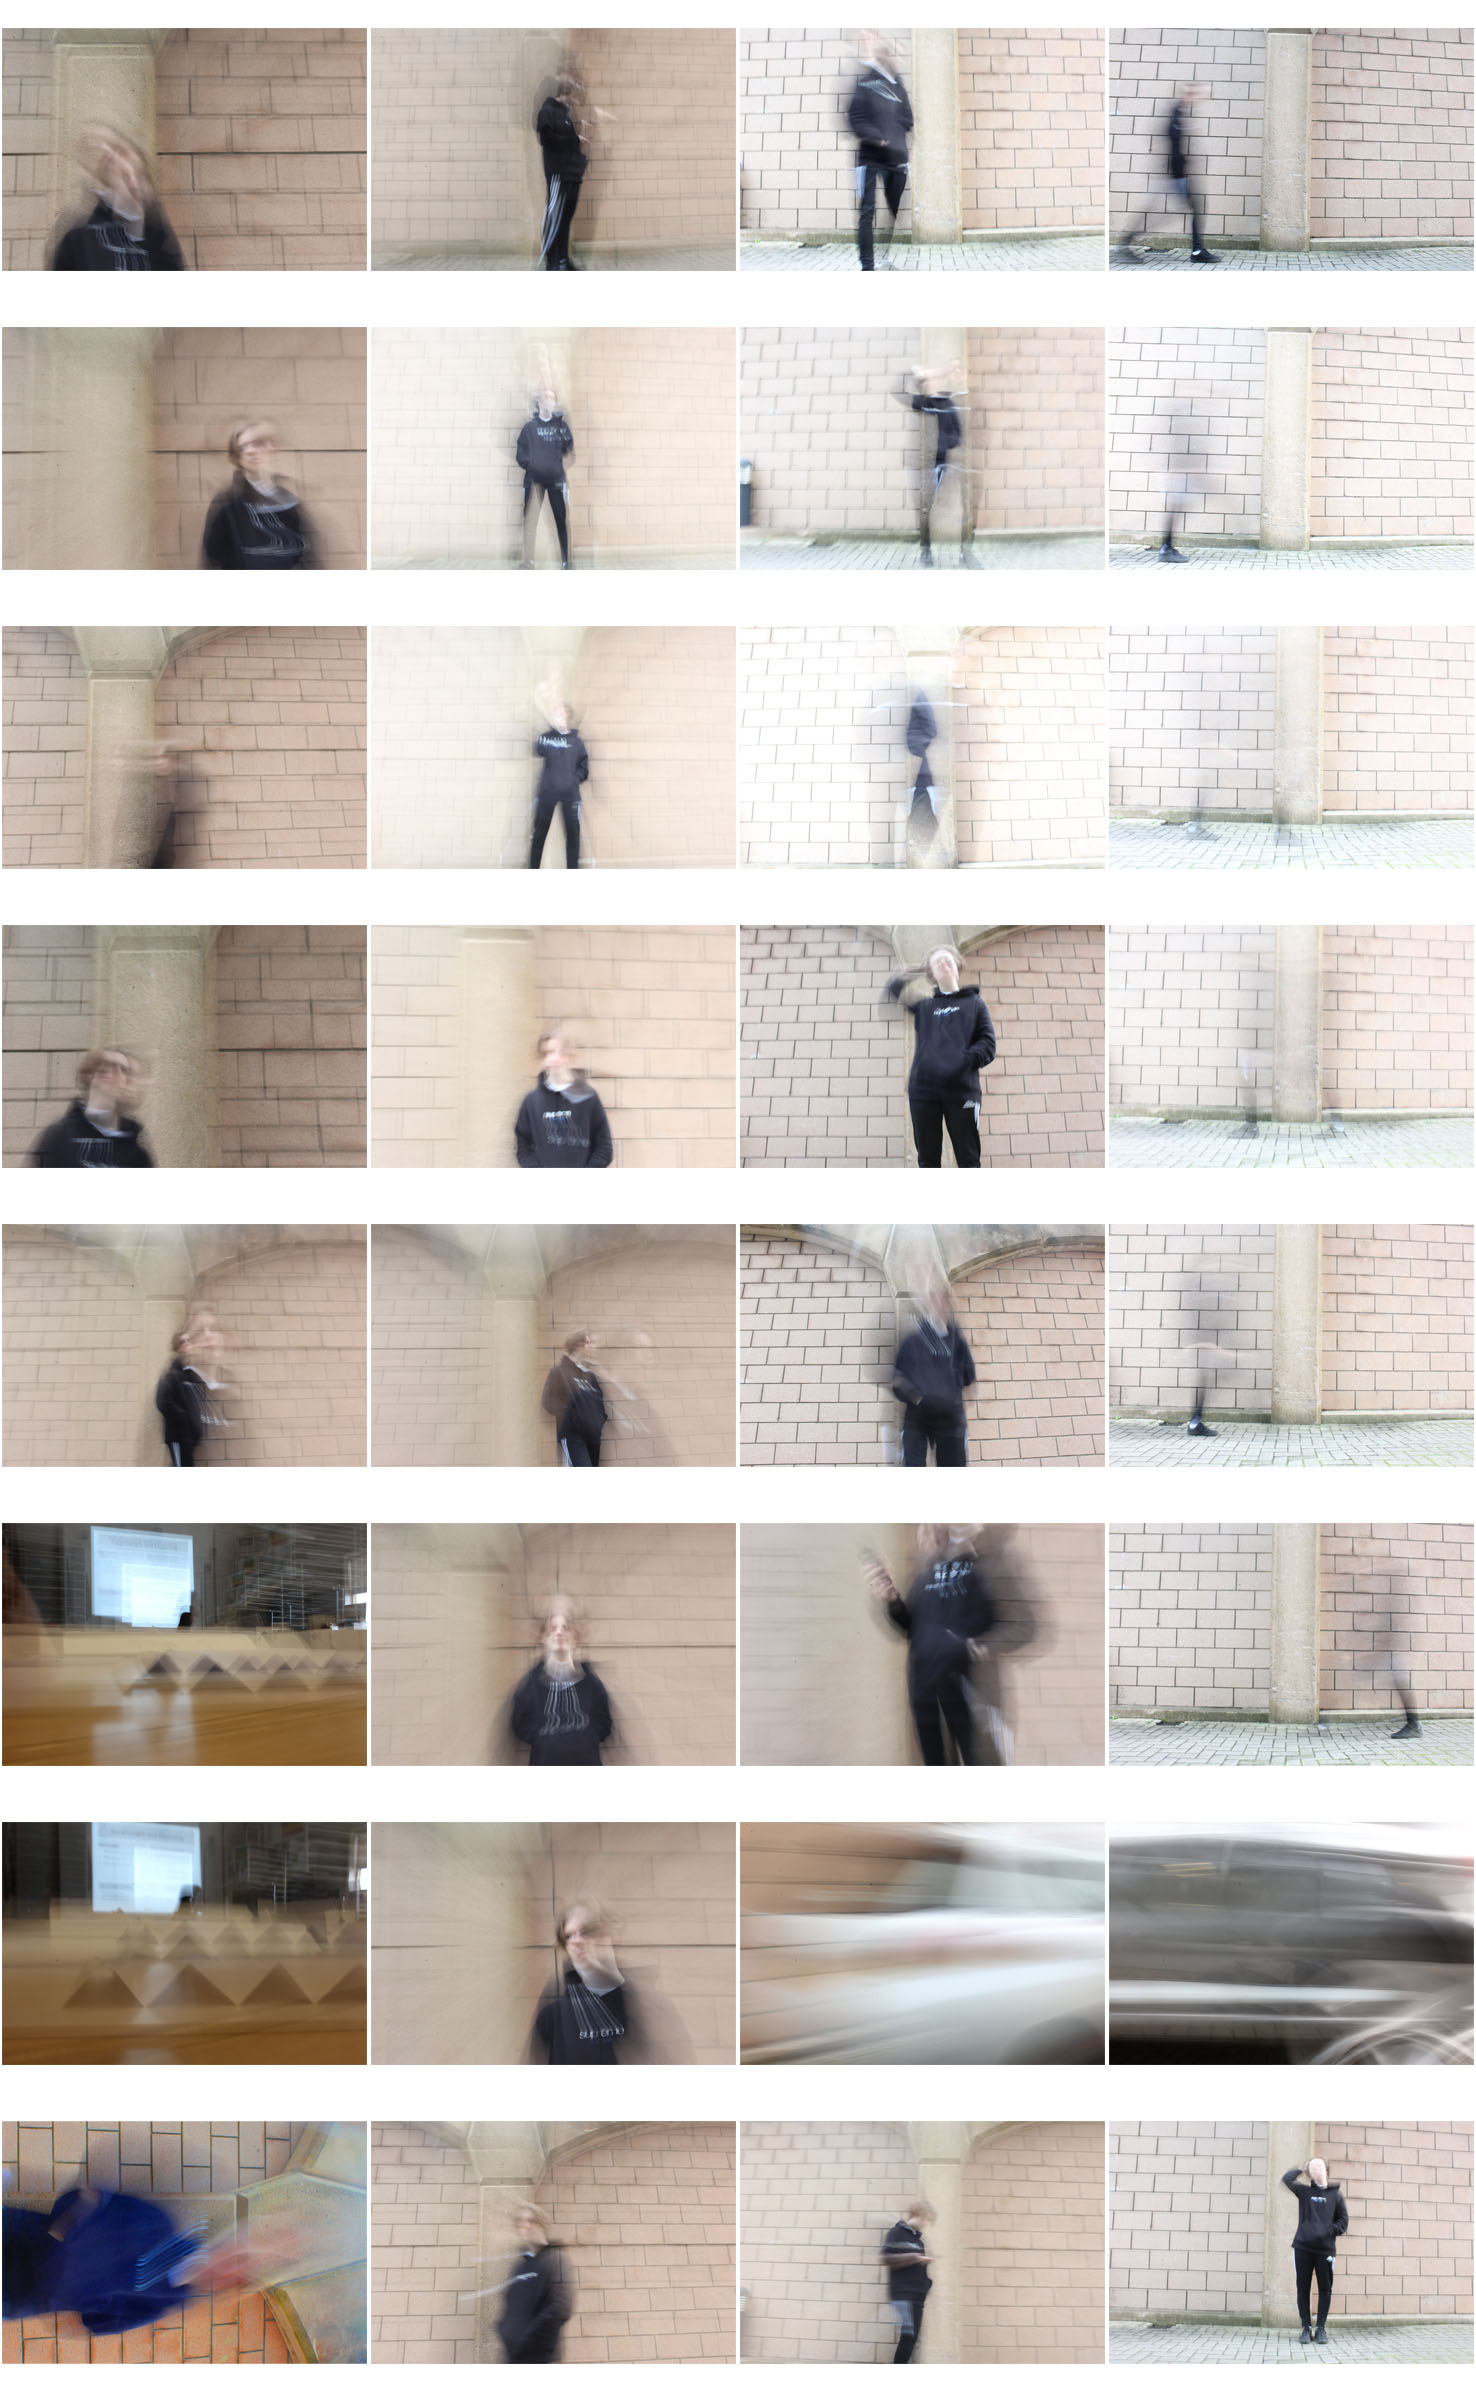
All of the below photographs were taken with a shutter speed of 1 second. In the first two photos I told the model to simply walk around to create movement but in the bottom three photos I moved the camera around in order to capture an abstract photograph.

In these photos I like how the black clothing of the blurred model almost blends into the background in places to create a more interesting image.

The below images create a gloomy and mysterious setting due to the contrast between the bright lights and the dark car park. To create an appealing image in the first photograph I have cropped it so that it fits the rule of thirds.

The abstractness of these images make them stand out to me because they look so out of the ordinary.

Focus and Focus Points

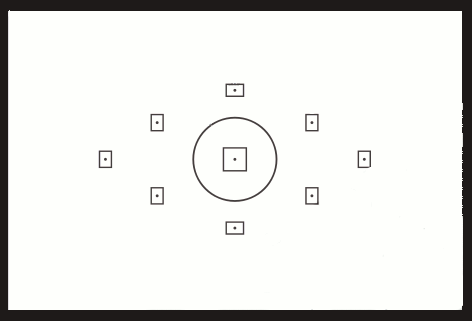
Using the settings on a camera, we can focus on different points of an image. These different focus points can change what the main subject of an image is.

You can use the nine focus points settings to choose where you want the camera to focus on when you take the photo.

Image result for focus points on a camera

By choosing the focus of an image, the photographer can choose where they want the viewer to look first.

Image result for sharp focus

On a camera, you can either use manual focus or auto focus. When using manual focus, you have to change the focus dial manually to focus the image but with auto focus, the camera does it for you.

Depth of Field

Depth of field refers to the range of distance that appears acceptably sharp.  Depth of field varies depending on aperture and focusing difference.

Depth of field allows us to choose what is going to be in focus and what isn’t in our photographs.

Image result for depth of field photo

Below are two photos I took with two different apertures. The top photo, taken with AF 3.5 shows the image around the sides becoming blurred. In the bottom image, taken with AF 22, everything is sharp.