Ernst Haas
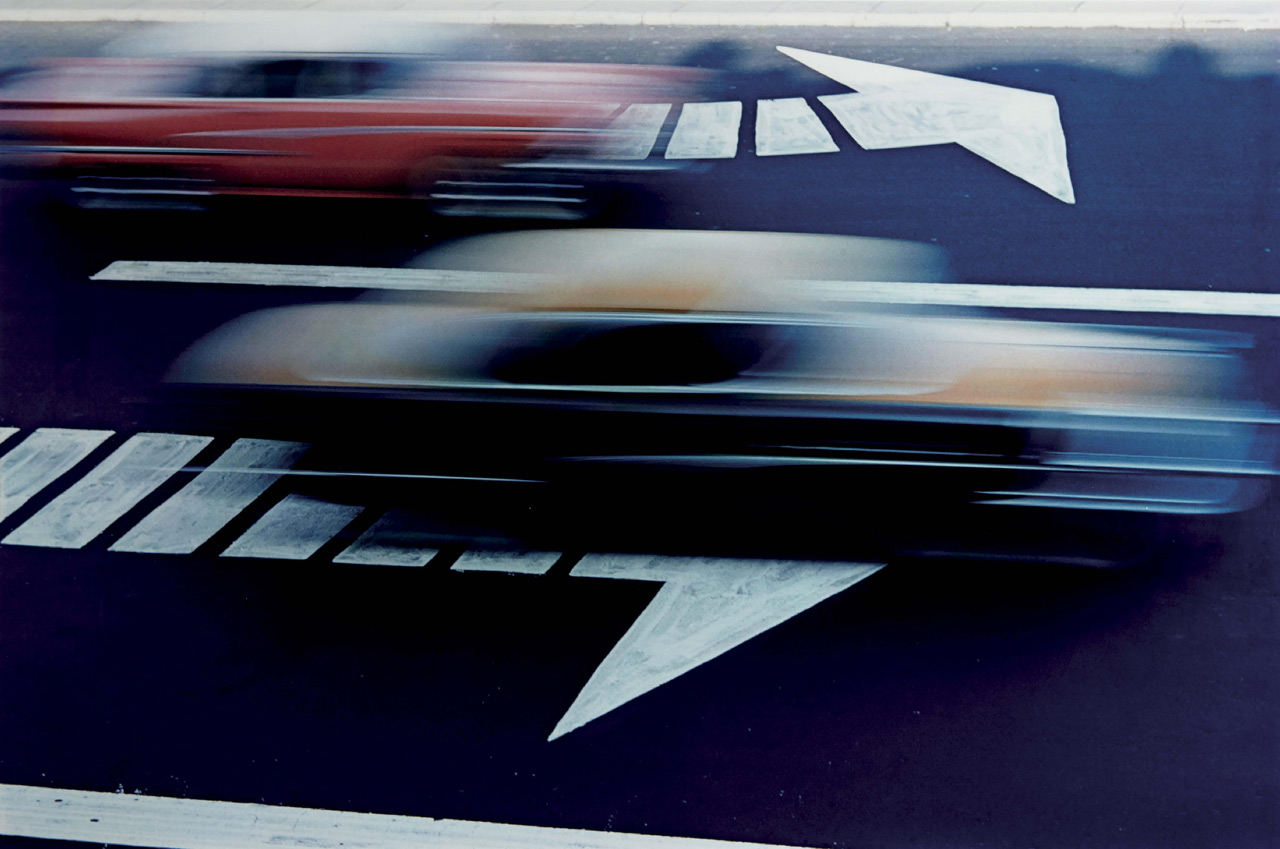
Ernst Haas was a photojournalist and a pioneering colour photographer. During his career, the artist bridged the gap between photojournalism and the use of photography as a medium for expression and creativity. In addition to his prolific coverage of events around the globe after World War II, Haas was an early innovator in colour photography. His images were widely disseminated by magazines like Life and Vogue and, in 1962, were the subject of the first single-artist exhibition of colour photography at New York’s Museum of Modern Art. He served as president of the cooperative Magnum Photos, and his book The Creation was one of the most successful photography books ever, selling 350,000 copies.

.jpg)
Photo analysis

This is a coloured blurred picture with a car in the center which is in focus. This image is very visually pleasing as it almost conveys the every day life being quick and blurred as the people in the foreground and background are blurred which makes everything look rushed which easily links to everyday life. The brightness in this image makes it looks like it was taken in the evening as the lighting isn’t crisp and you can clearly see lights being reflected of the front of the car. The main focus of this photograph is the car which follows the rule of thirds as the car is in the middle guide lines. There is also a sense of depth in this image as there are 3 layers to this image. Firstly, there are the blurred people in the foreground, the car which is in focus is in the middle of the image which then follows by the blurred lights and people in the background.
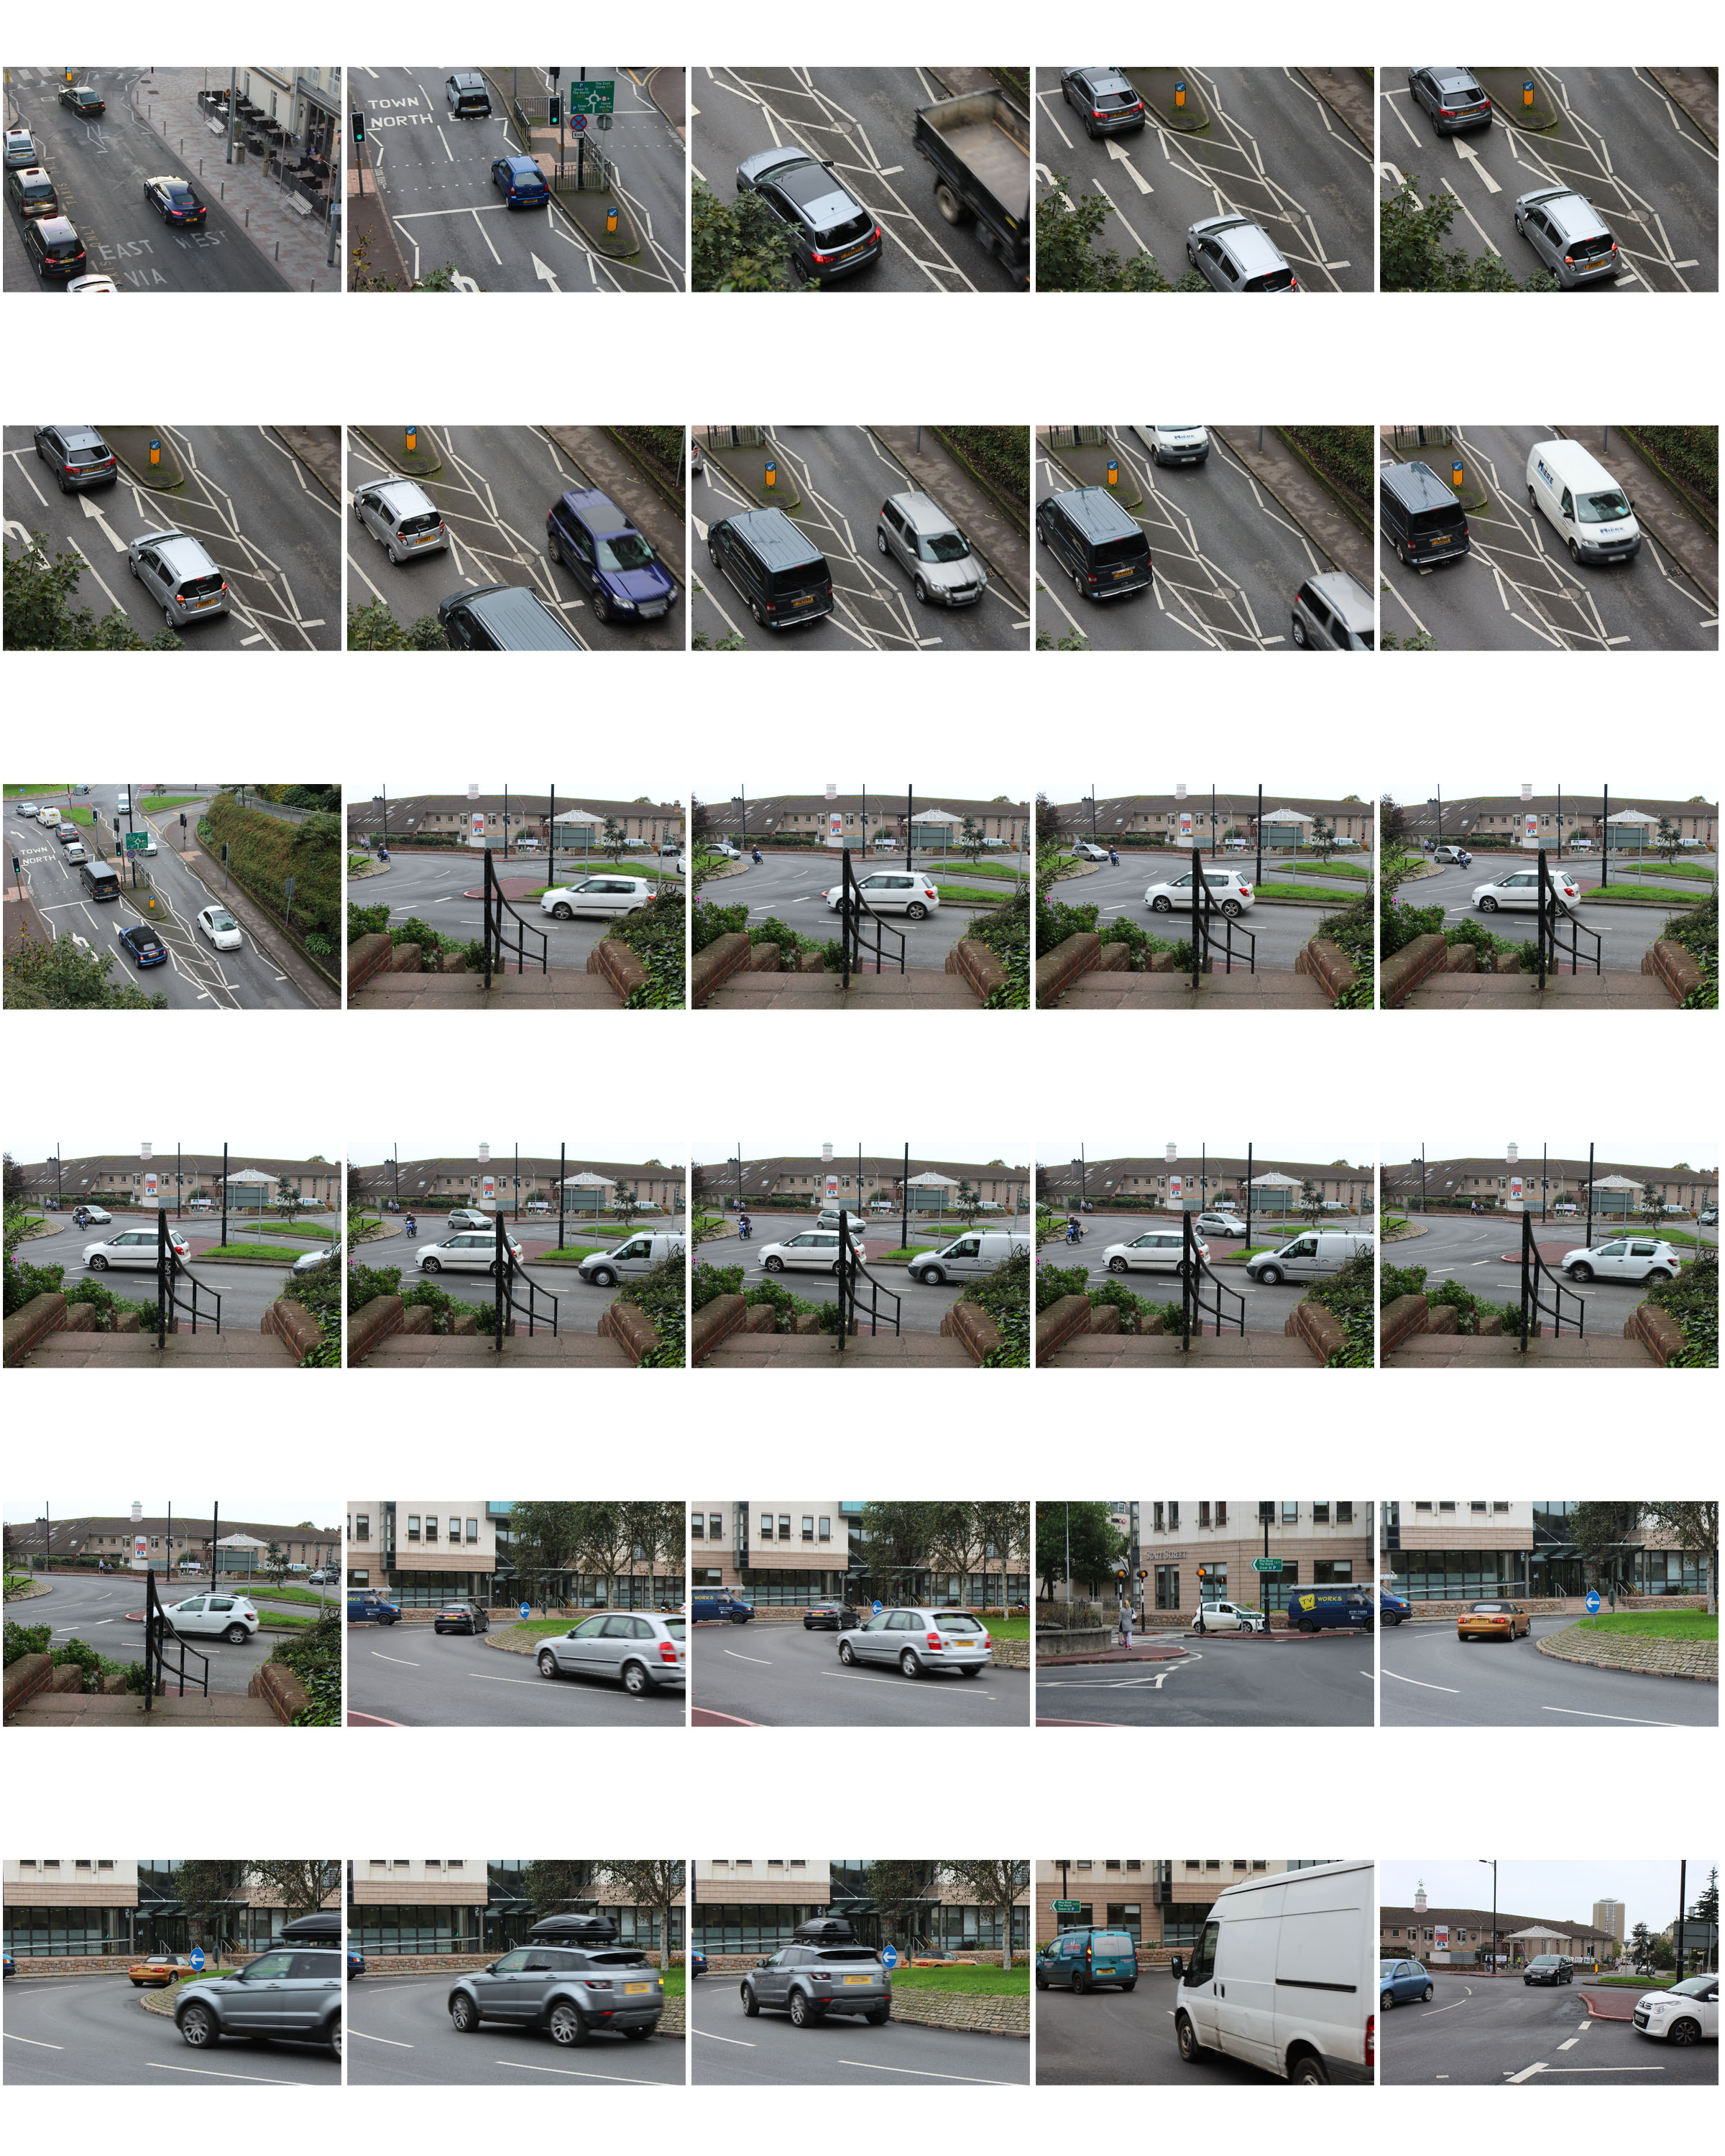
Contact sheets
My interpretations
How I edited my images in the style of Ernst Haas
This was the original image
Firstly, I uploaded the original image into Photoshop where I then went onto duplicating the layer.
Once I had duplicated the image I went to the filter option on the top tool bar where a drop down list came down where I clicked on the blur drop down where I then clicked on the motion blur option which blurred the top image.
Once I had decided on how much blur I wanted on the image I then used the eraser tool where I rubbed out the area I wanted the image not to have blur on it (the phone box’s).
This was my final image.


