Overview/Plan
For this experimentation I will use the photographs I’ve taken in the style of Sophie Calle; photographs that depict the journey’s of unknown strangers. I aim to edit these photographs in a way that merges the concept of stalking and invading that Sophie Calle explores in much detail, with this idea of surveillance that I have also began to explore in the earlier stages of this project. I want to find a way to age the photographs/lower their quality to mimic surveillance cameras and the footage that they produce. I also want to add dates and times to add character and realism to my ‘surveillance footage’. After the photographs are edited in a way that I like, I want to test different methods of presenting the images; try out grid formats – similar to ones used in typology (Bernd Becherand Hilla Becher) or perhaps try presenting the images in a row like a sequence or comic strip that will showcase the progression of events.
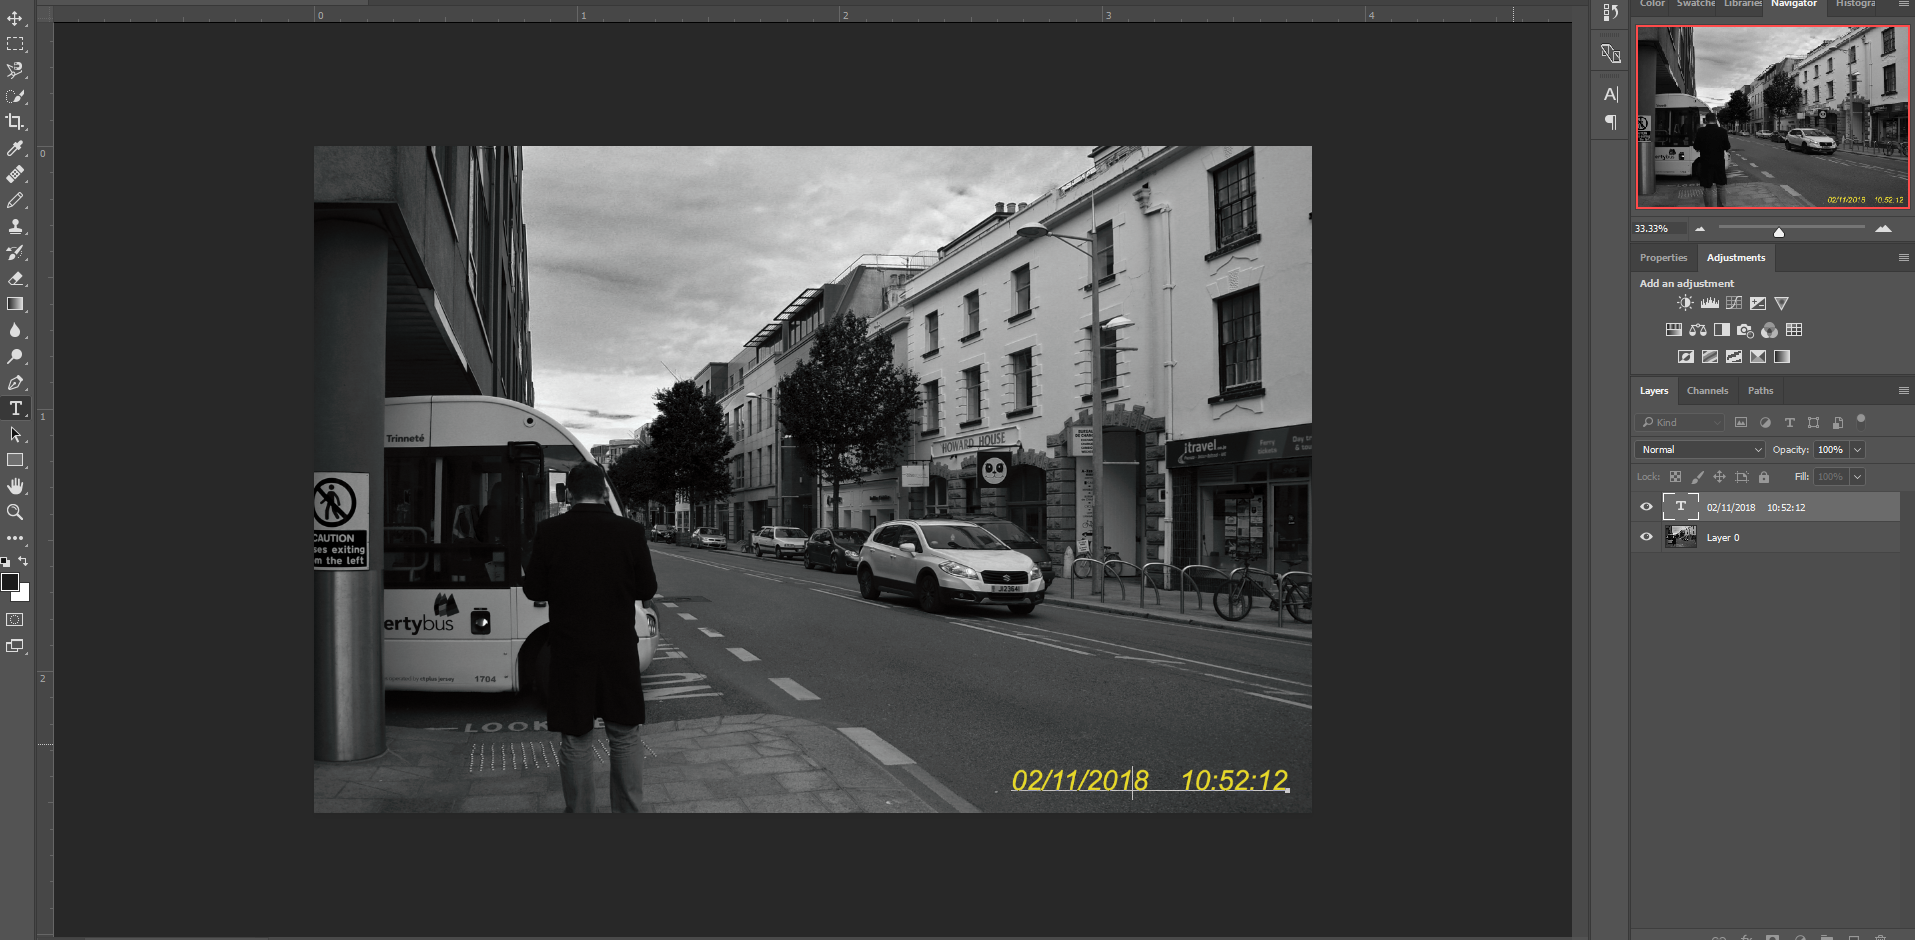
I started by inserting the image; unlocking the layer on the side so that I can make permanent changes to the image. I then went onto the details of my image by selecting ‘file’ and then ‘file info’ – this displayed the exact date and time the image was taken and I copied this value. After that, I selected the text tool and pressed paste; from here I experimented with the positioning of the text, the size, the colour and the font until I reached an equilibrium. I was aiming for something simple but also easy to replicate.
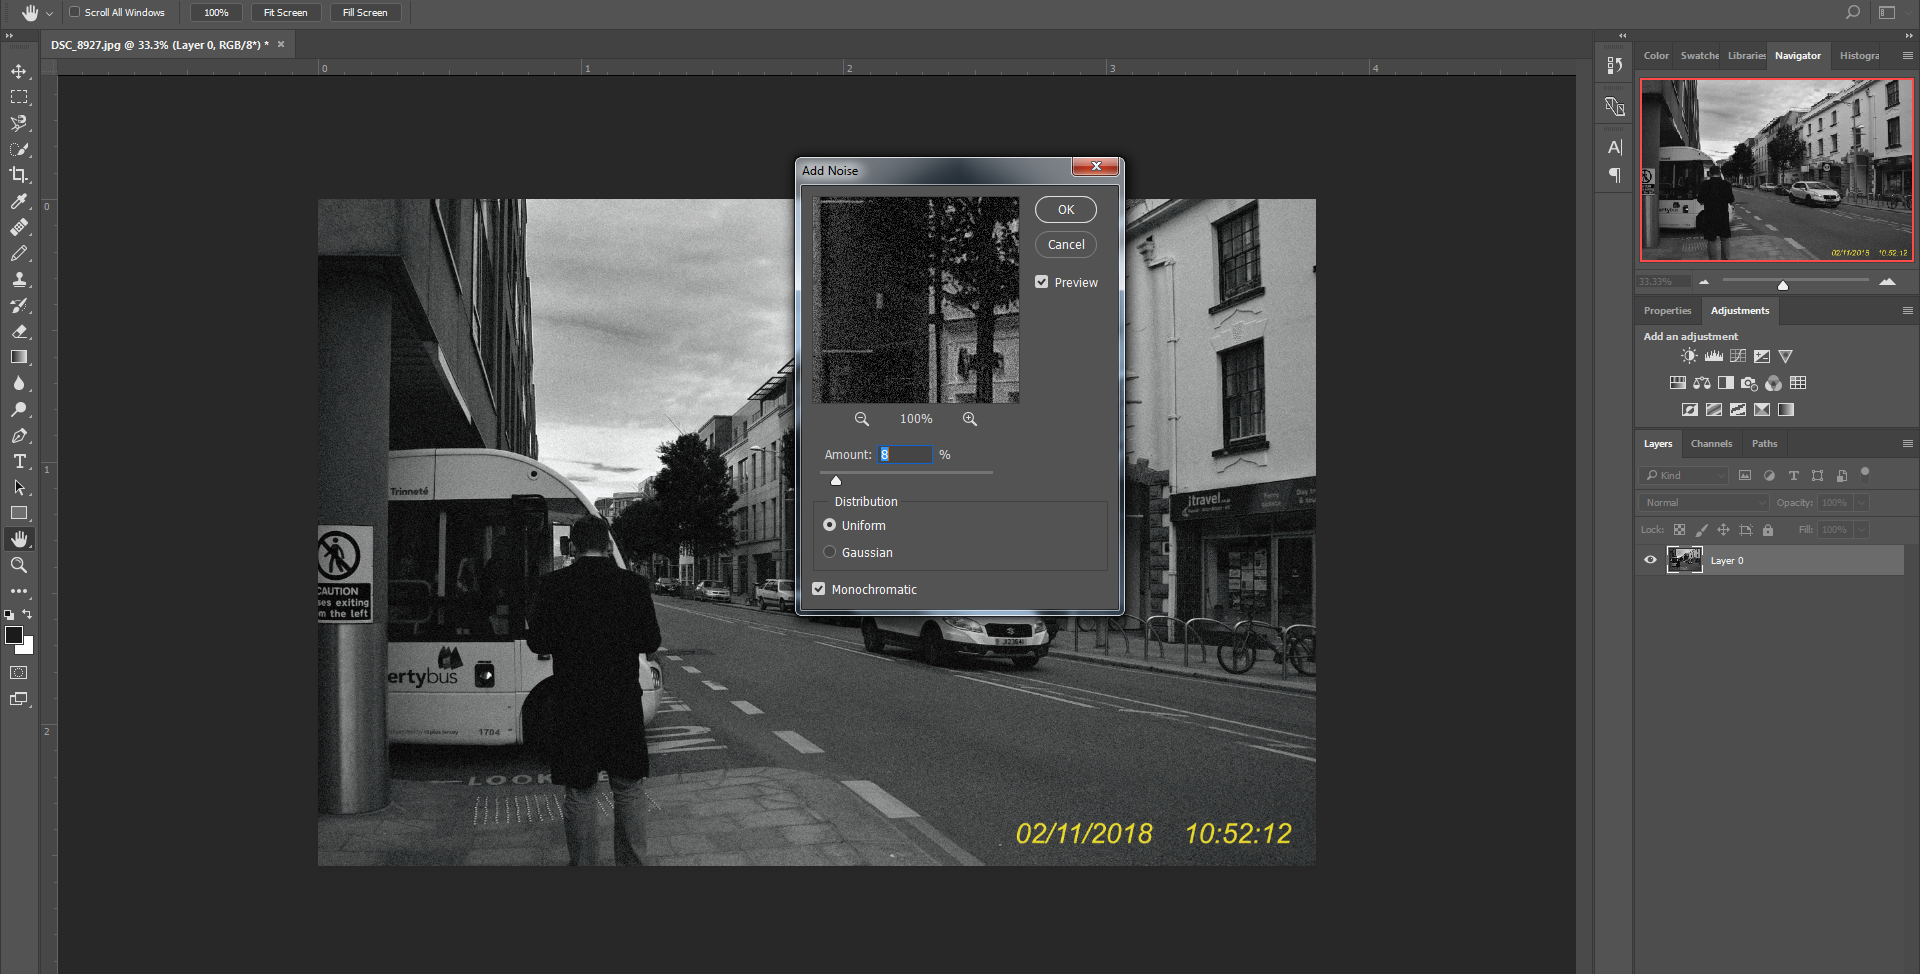
In order to process to the next step I needed to make the different layers one; I did this by converting the text layer into a smart object and merging it down onto the picture layer. Then, I went into ‘Filter’, ‘Noise’ and ‘Add Noise’ to reach this interface. I moved the slider around until I was satisfied and applied the said filter to my overall image.
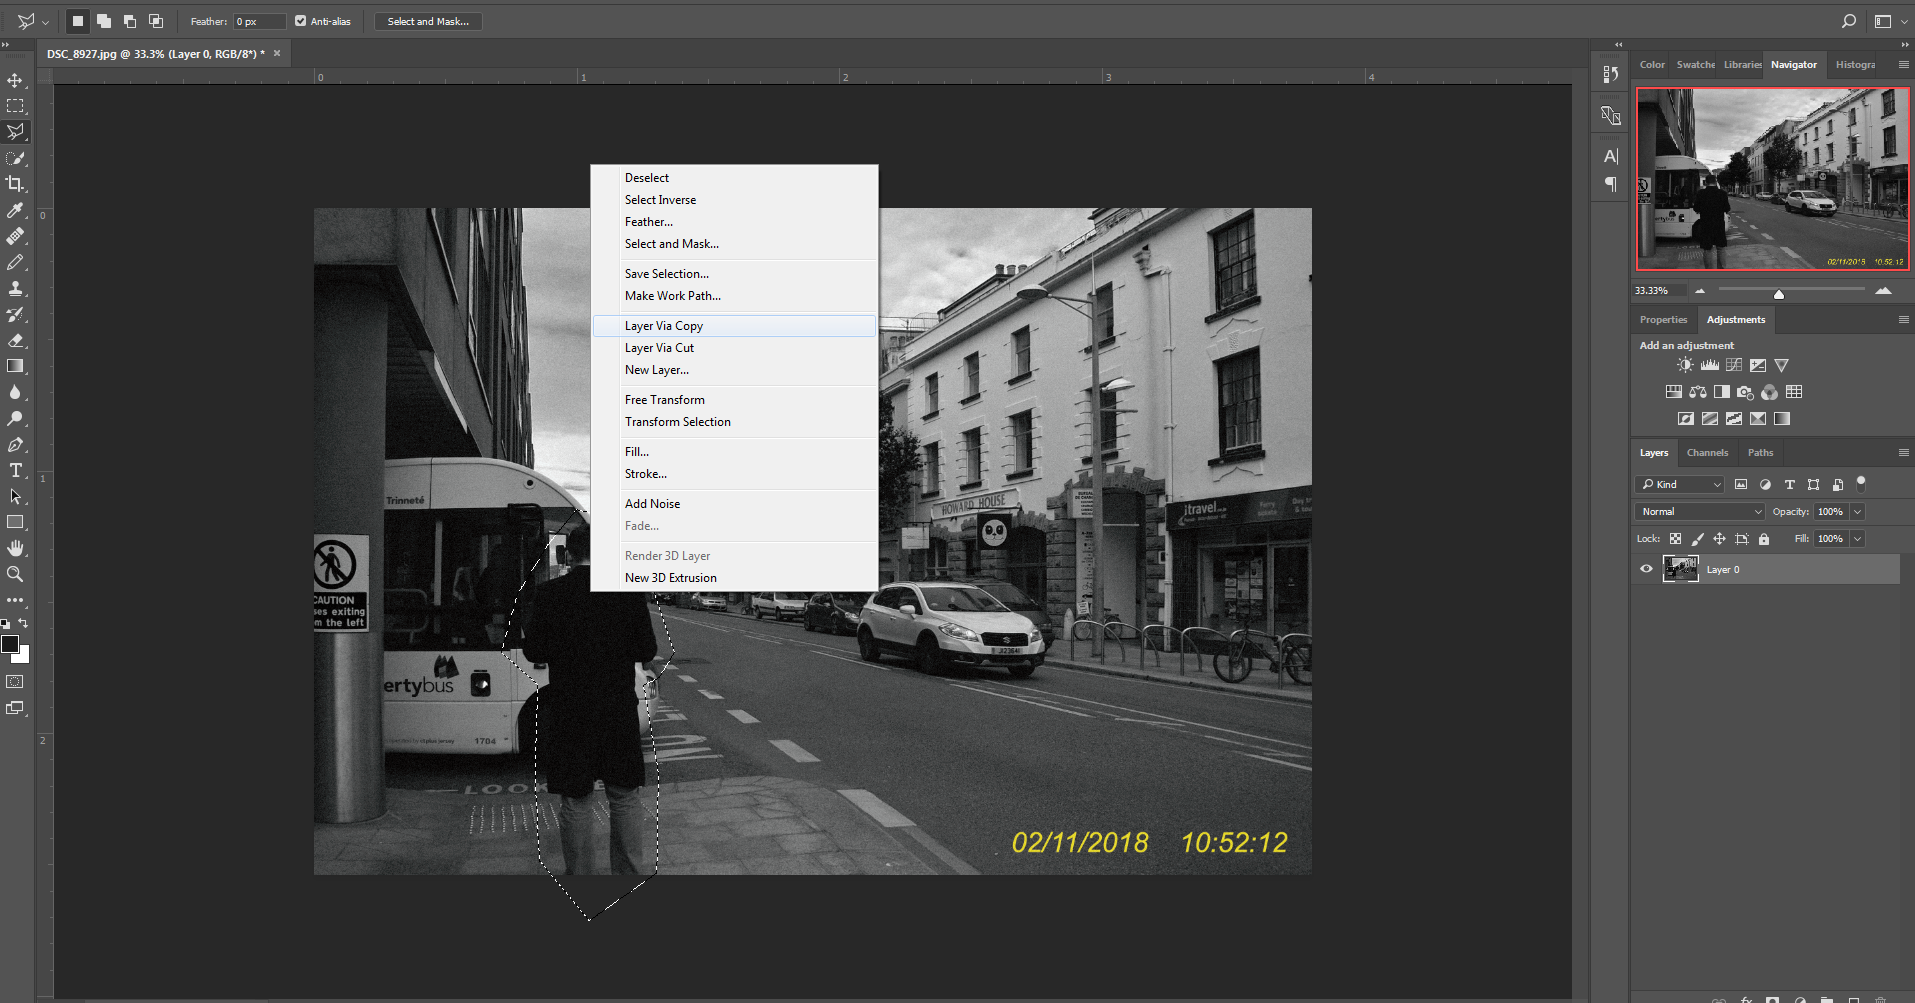
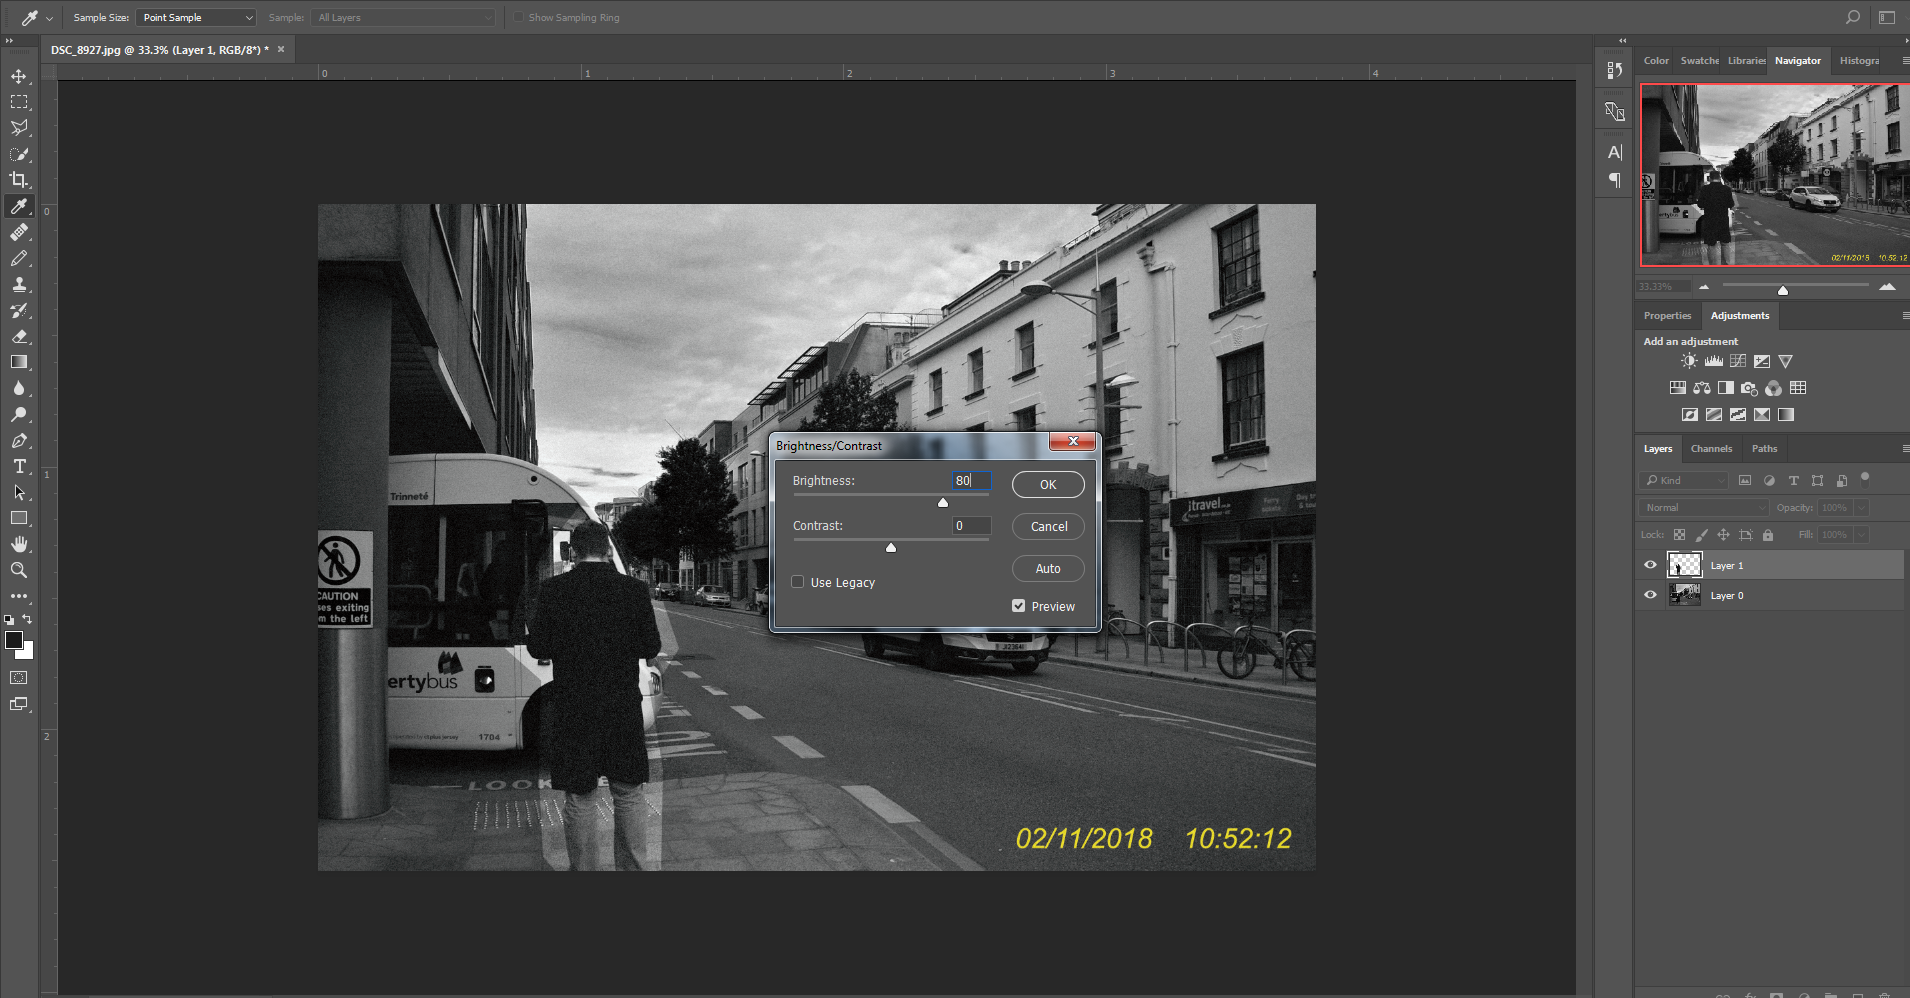
Using the Polygonal Lasso Tool, I traced around the man, I then right clicked and copied the image onto a new layer using ‘Layer Via Copy’. This transferred the area I highlighted onto a separate layer where I could make adjustments. I went into ‘adjustments’ and then ‘Brightness And Contrast’ and edited the brightness, creating a stark contrast and in a sense, highlighting the man from his surrounding.
Presentation
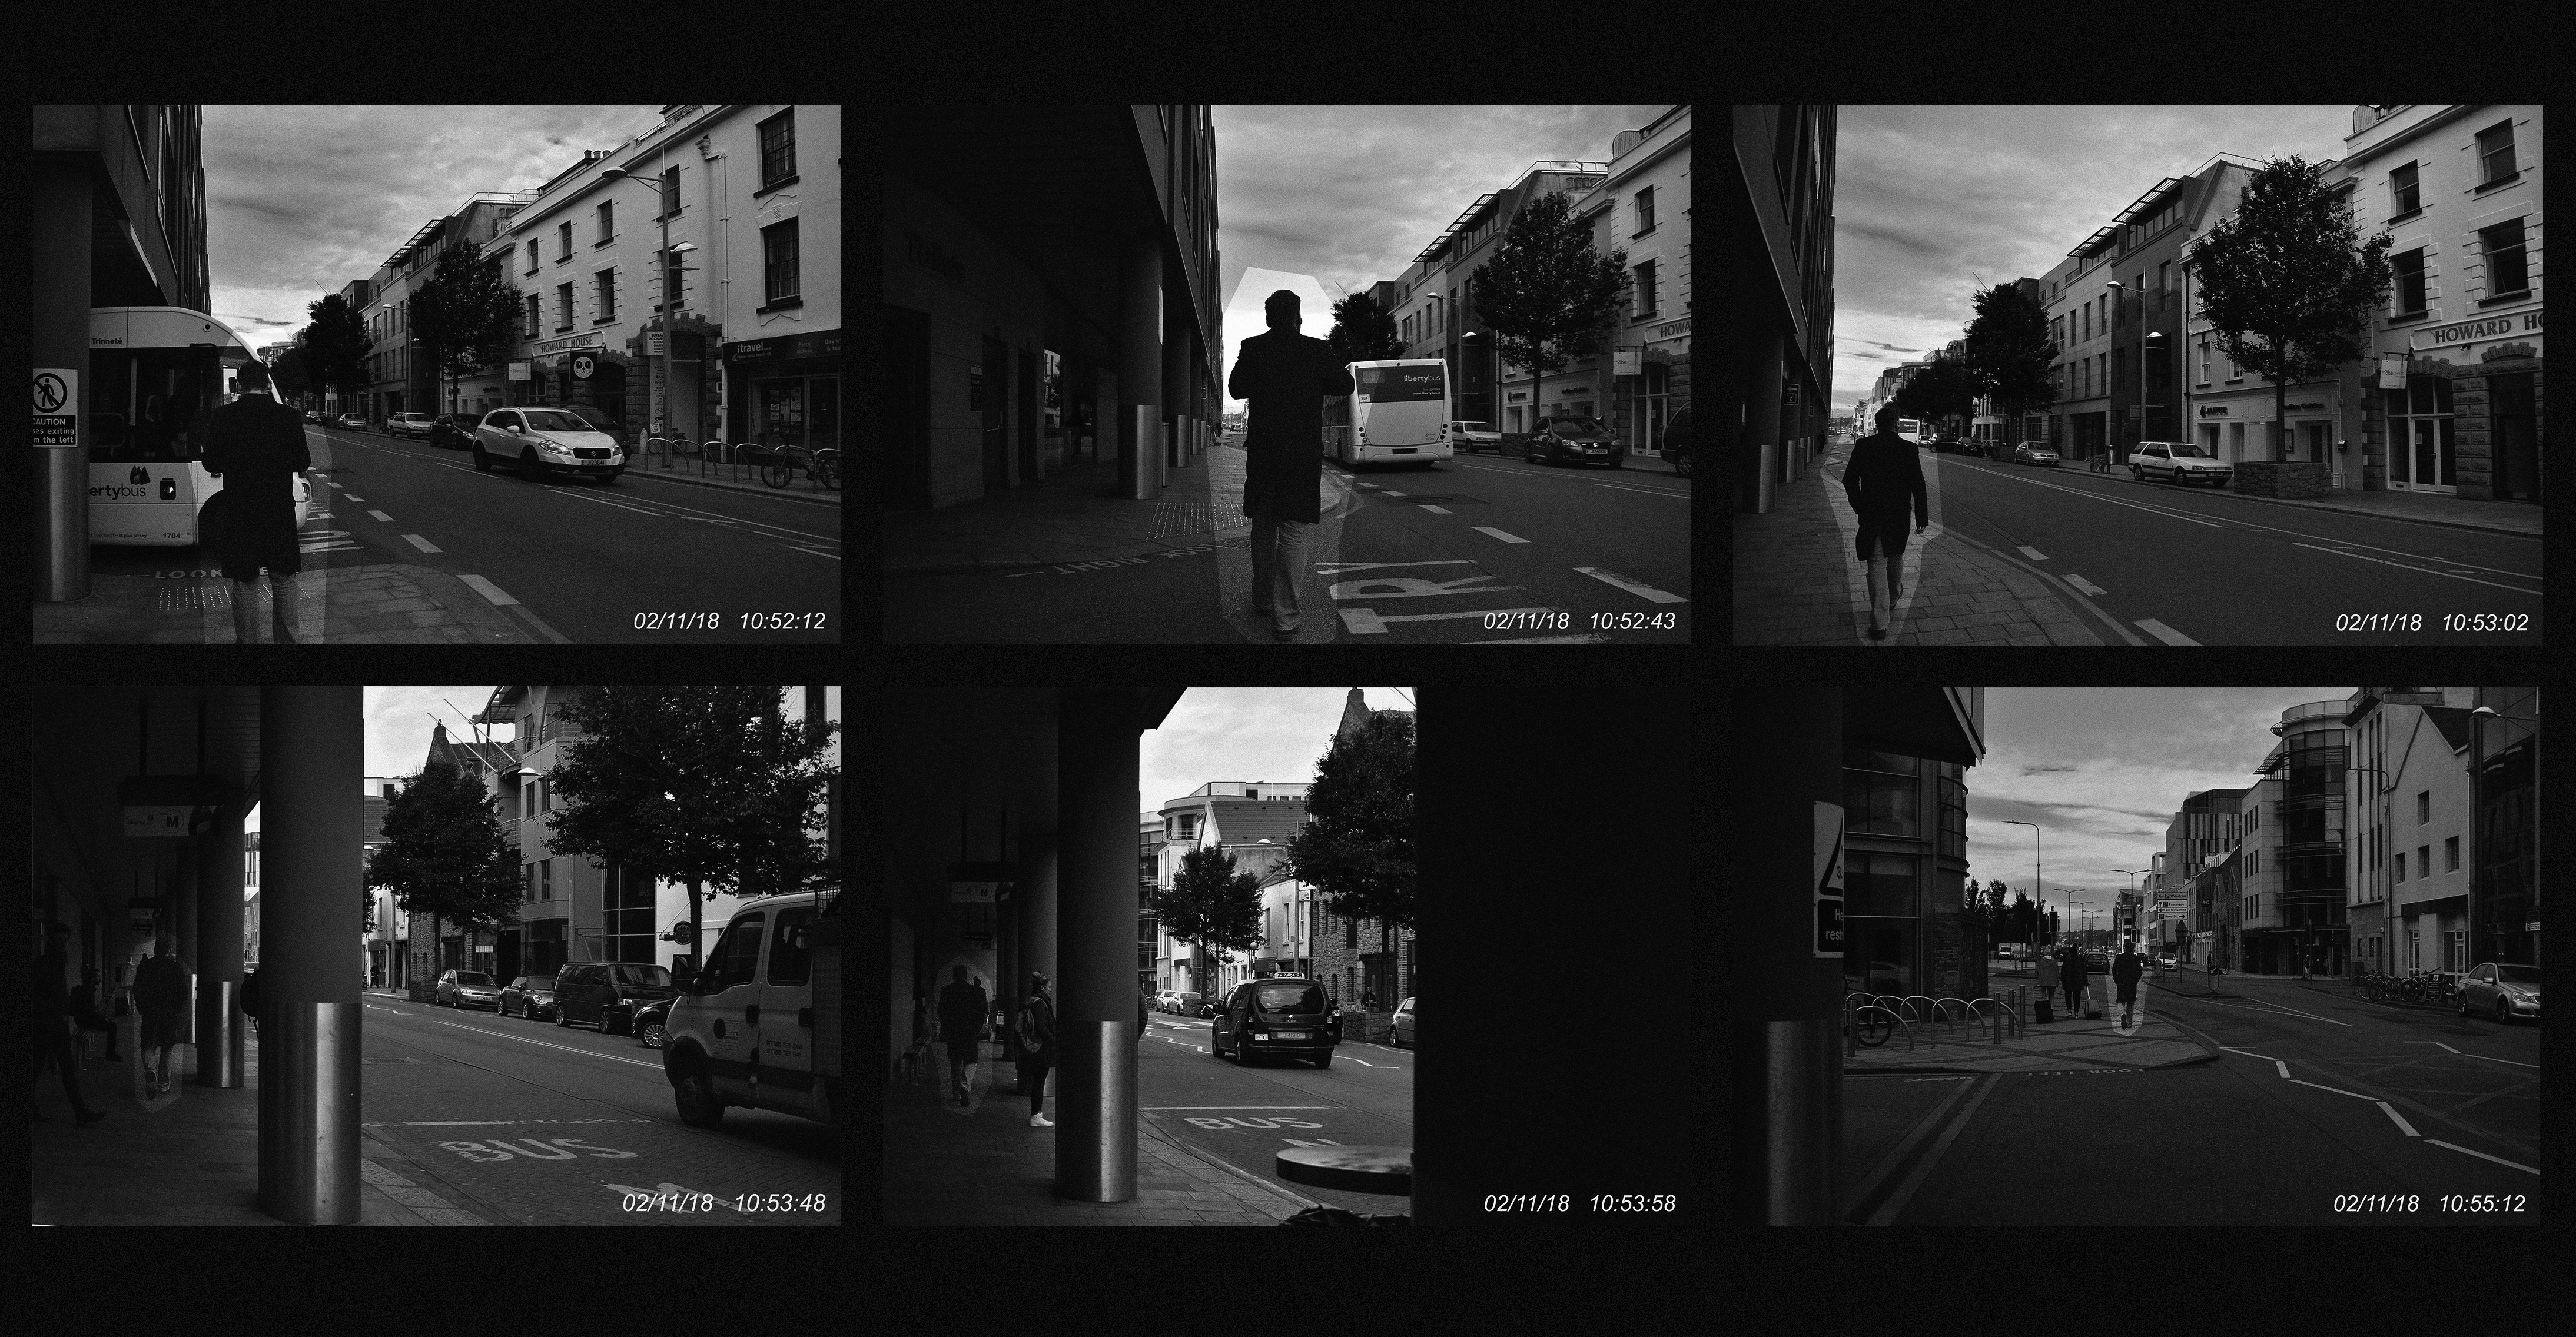
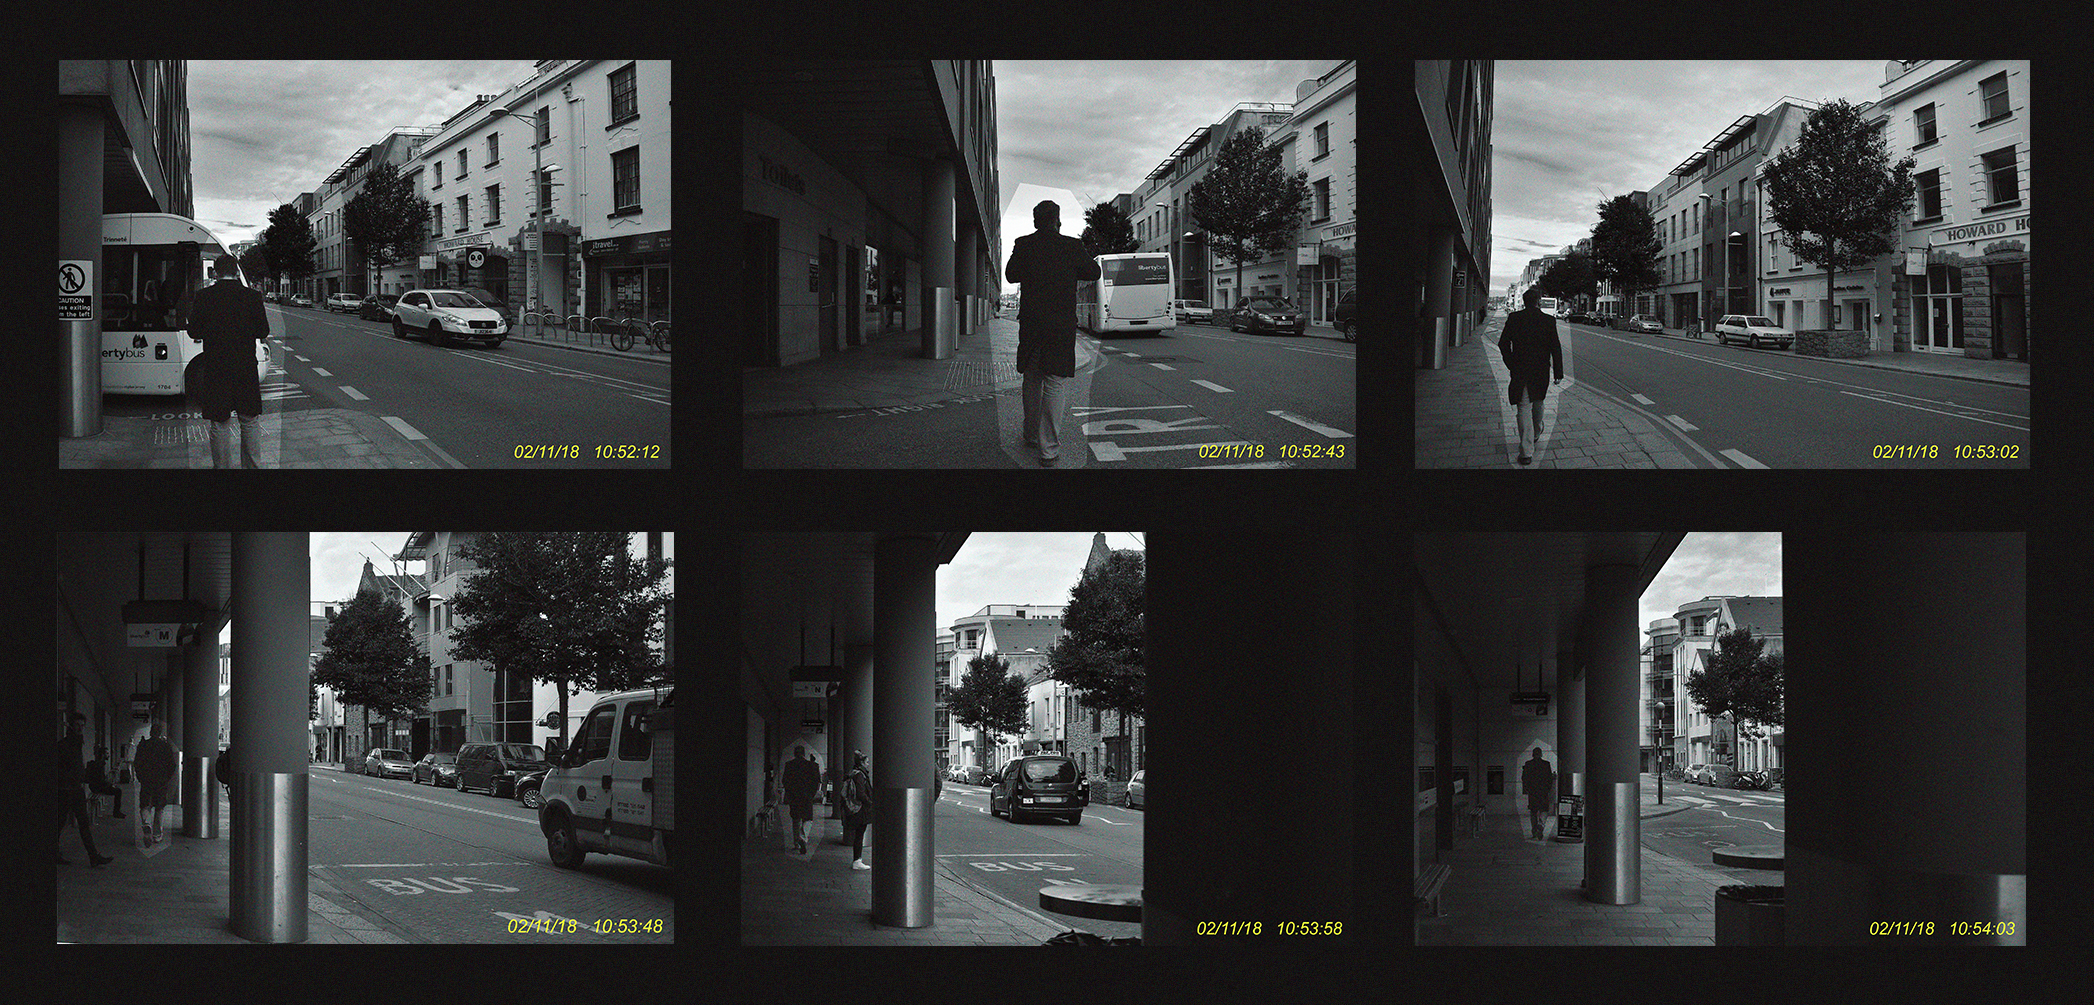
A wider layout; One the first image I added a black and white filter over the image to eradicate the blue/green hue that the photos contained. On the second I did the same steps but didn’t add a black and white filter and therefore keeping the hues.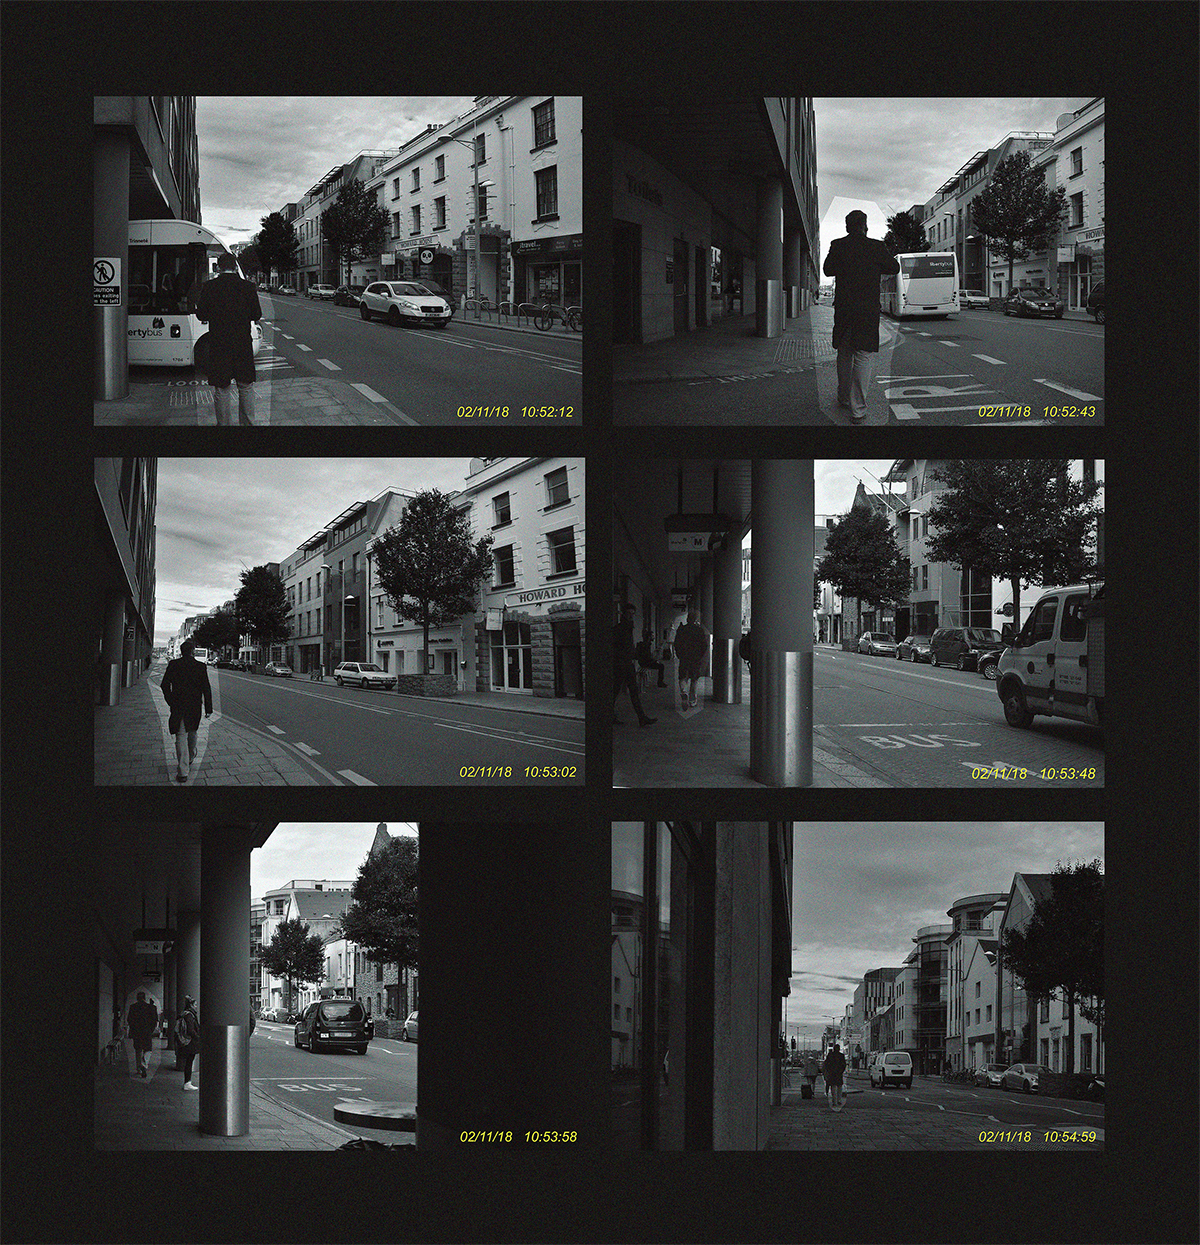
This photograph is longer vertically, I didn’t apply a black and white filter, this results in the photographs having a hue and the yellow text is much more prominent and visible in the image.
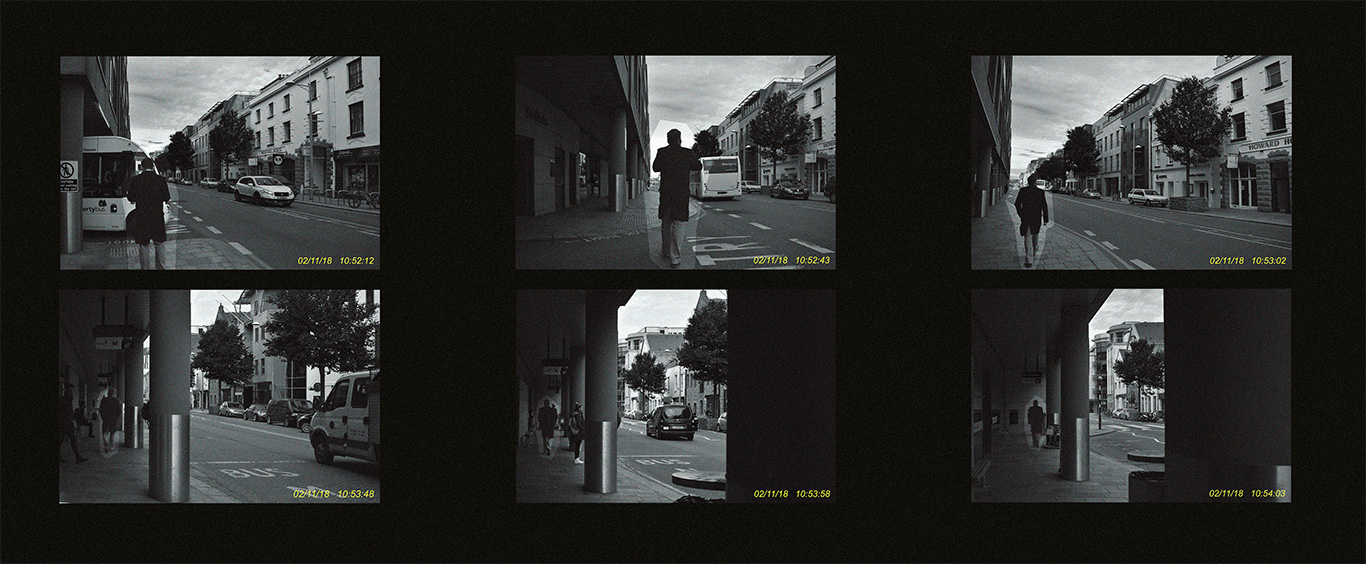
In this example, I opted for a much bigger space between the images; I also didn’t use the black and white filter and even made the background colour more brown to compliment and contrast the hues in the images.
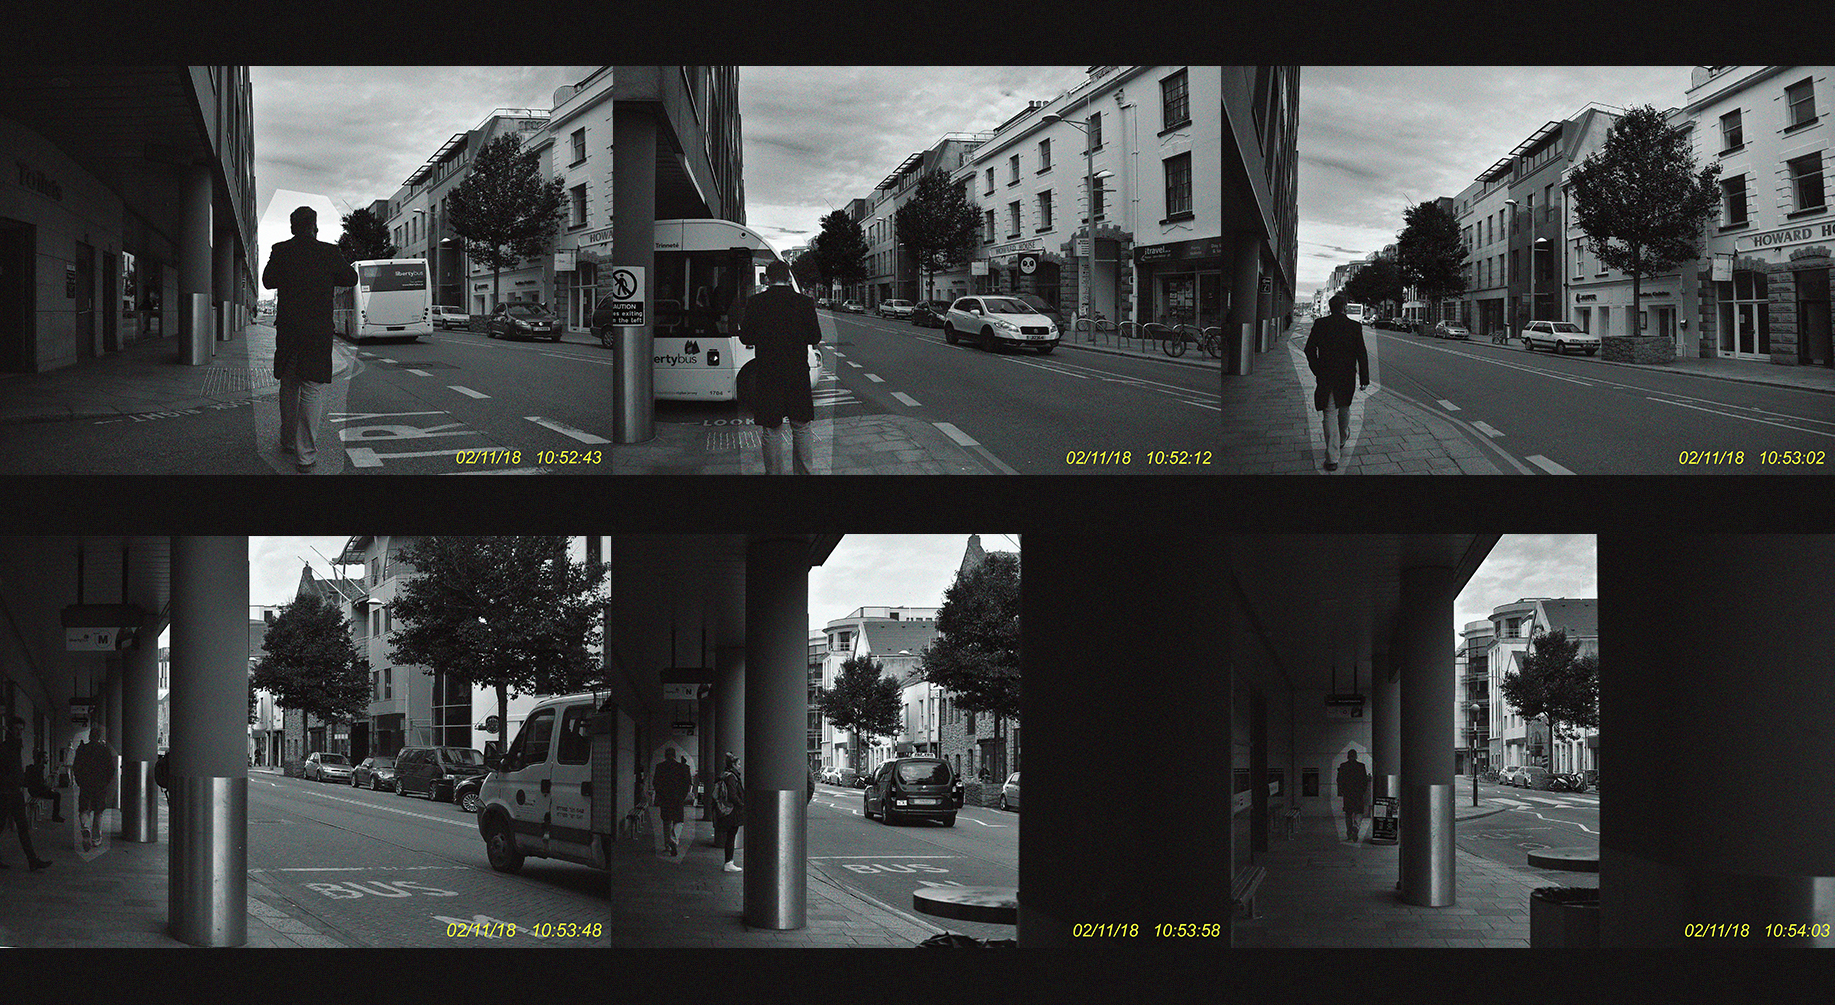
This experiment was the opposite of the one before; instead of leaving huge space between the images I left none.
