
Planning
In Sophie Calle’s publication called ‘Suite Venitienne’ she follows a man, a complete stranger to her, and photographs his journey. She records her observations in forms of photographs. As my response to her work, I plan to follow complete strangers for a fraction of their journey through town. I want to treat this as more of an experiment; explore and approach it in different ways. I don’t plan on following just a single individual – I’ll follow many characters and experiment with how close I can get to the subjects. I’ll start off with photographs from a safe distance before zooming in, adjusting lenses and getting closer to create a much more intimidating and risky photographs. The lighting and setting will be natural; I’ll be adjusting my camera settings on the scene to reach an equilibrium. I plan to edit the photographs heavily in the post production part – I’ll use Adobe Lightroom to turn all the photographs black and white with the same contrast, brightness and exposure settings throughout to maintain a very consistent theme in all the photos.
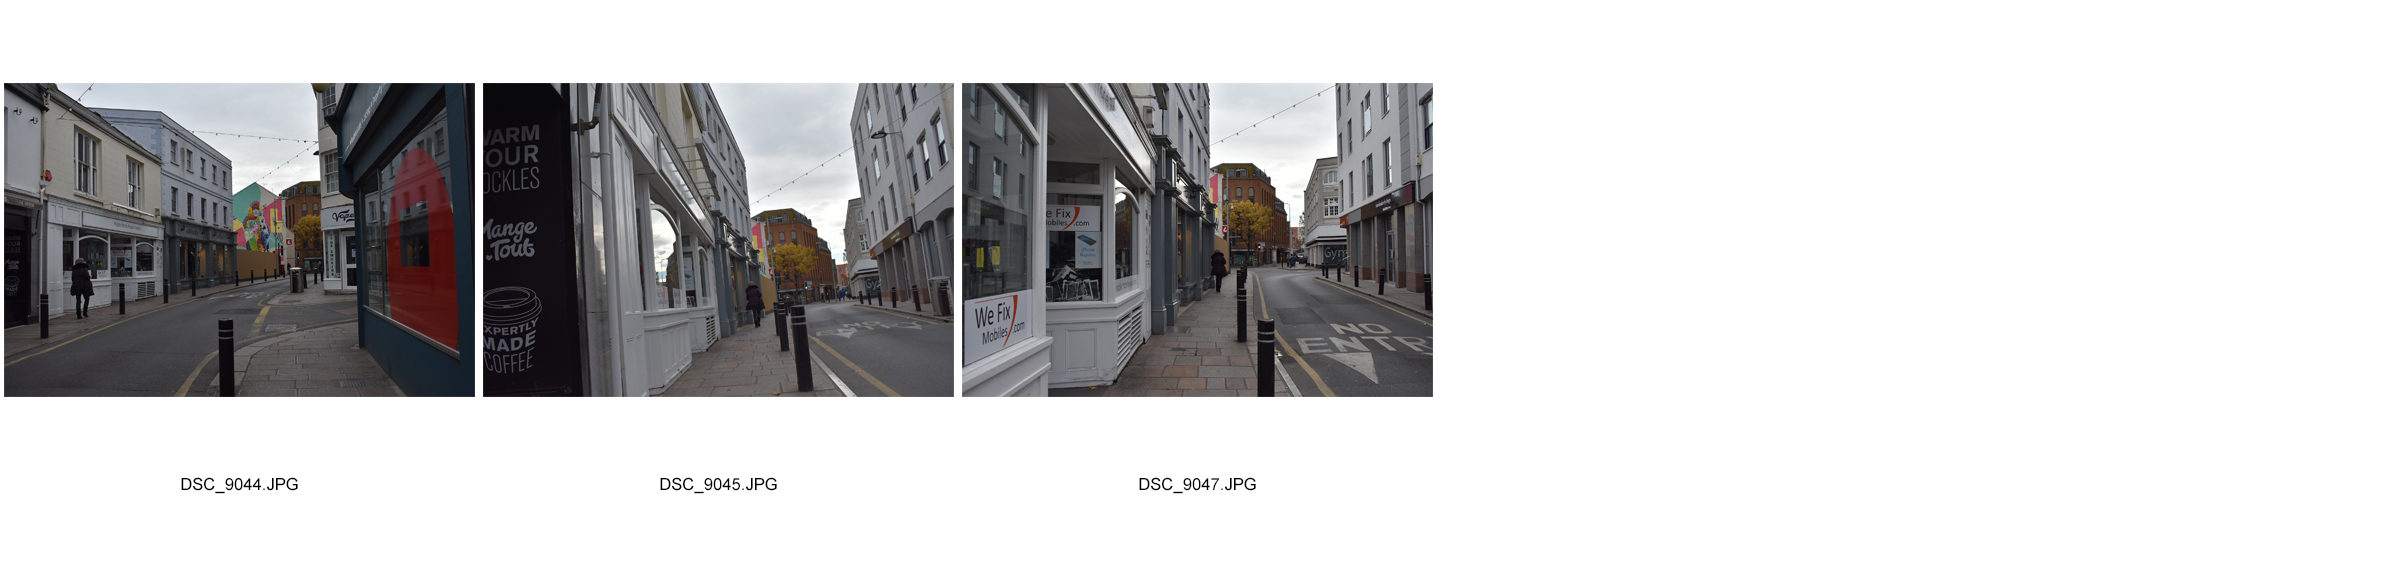
Contact Sheet


Adobe Lightroom Alterations
 I began by inserting all my photographs from this shoot into Adobe Lightroom. Then, using the function of flagging photographs, I picked out the images that I think are successful and that I want to use and edit in the later stages. I filtered out all the non-flagged images so that I was left with only the images that I chose and I went into the ‘develop mode’ where I edited the first photograph to my liking.

‘Develop Mode’ allows complete adjustment of images. I firstly changed the colours into black and white – Sophie Calle photographed in black and white to add mystery and focus much more on the subjects. I then transformed and cropped the image in a way so that the subject is in the direct center. I adjusted the colour sliders to make certain colours more darker while others more brighter so that they stand out more. Once happy with my alterations, I right click and went into ‘Metadata Presets’ and then I pressed ‘Copy Presets’, essentially what this does is copy all the exact changes I have made to this photo and make them transferable onto other photographs. This results in all my images having the same adjustments done on them without having to edit them individually making the whole process much simpler and less time consuming.

The final result was a collection of 41 photographs that I want to experiment on. They are now much more similar to Sophie Calle’s work. I will export all the photographs as TIFF files so that I can edit and experiment with them on Adobe Photoshop in the next section of this project.