
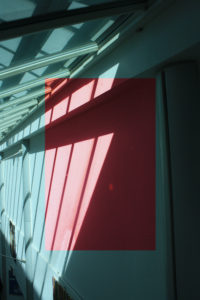
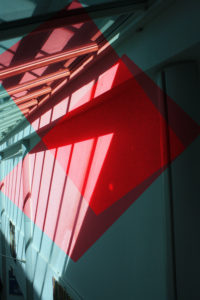
Within this piece I wanted to cut out two identical pieces and use this in order to develop an overlay and deepening of color over the highlights and cut out on the wall itself. I used red to contrast to the lighter blue tones of the underlay of the original image. I duplicated these layers and images so again the red is more significant and you can see this development throughout these images.
Blur Photoshop
I edited this image within layering and adding a blur layers then went back into this piece. Within the first layer I used a rubber and the brackets to differentiate how big and small I want the rubber to be,again creates a depth of field of how I want the front to be. I focused on detail and have successful aspects of realism and only the back to so blurred which creates contrast. Then further edited this image in order to show better color such as darker tones to again exaggerate the image itself and not be distracted by off coloring’s creating a Batter finished effect.

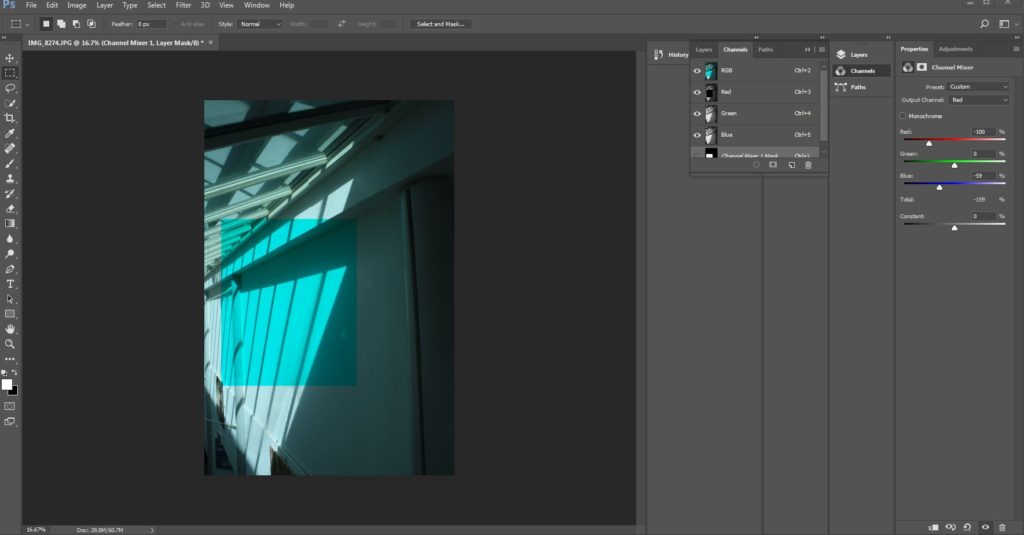
Here you can see my method of developing the color overlay,finally you duplicate the layer and attach the specific shape and placing that you feel would be the most effective,The throughout the half circle you can develop the colors and development of the square and further the potion and add additional shapes to deb then the color.
And to achieve the blur photo I Opened Photoshop then Duplicated the Layer added Mask Layer –,after this I added an additional Filter going to Blur then Motion Blur –and finally Then selected how blurred I wanted the image to be ,then to take away and add more reinvent I Selected the Eraser tool and followed to Erase the section that I don’t to be in focus ,producing the final image.
