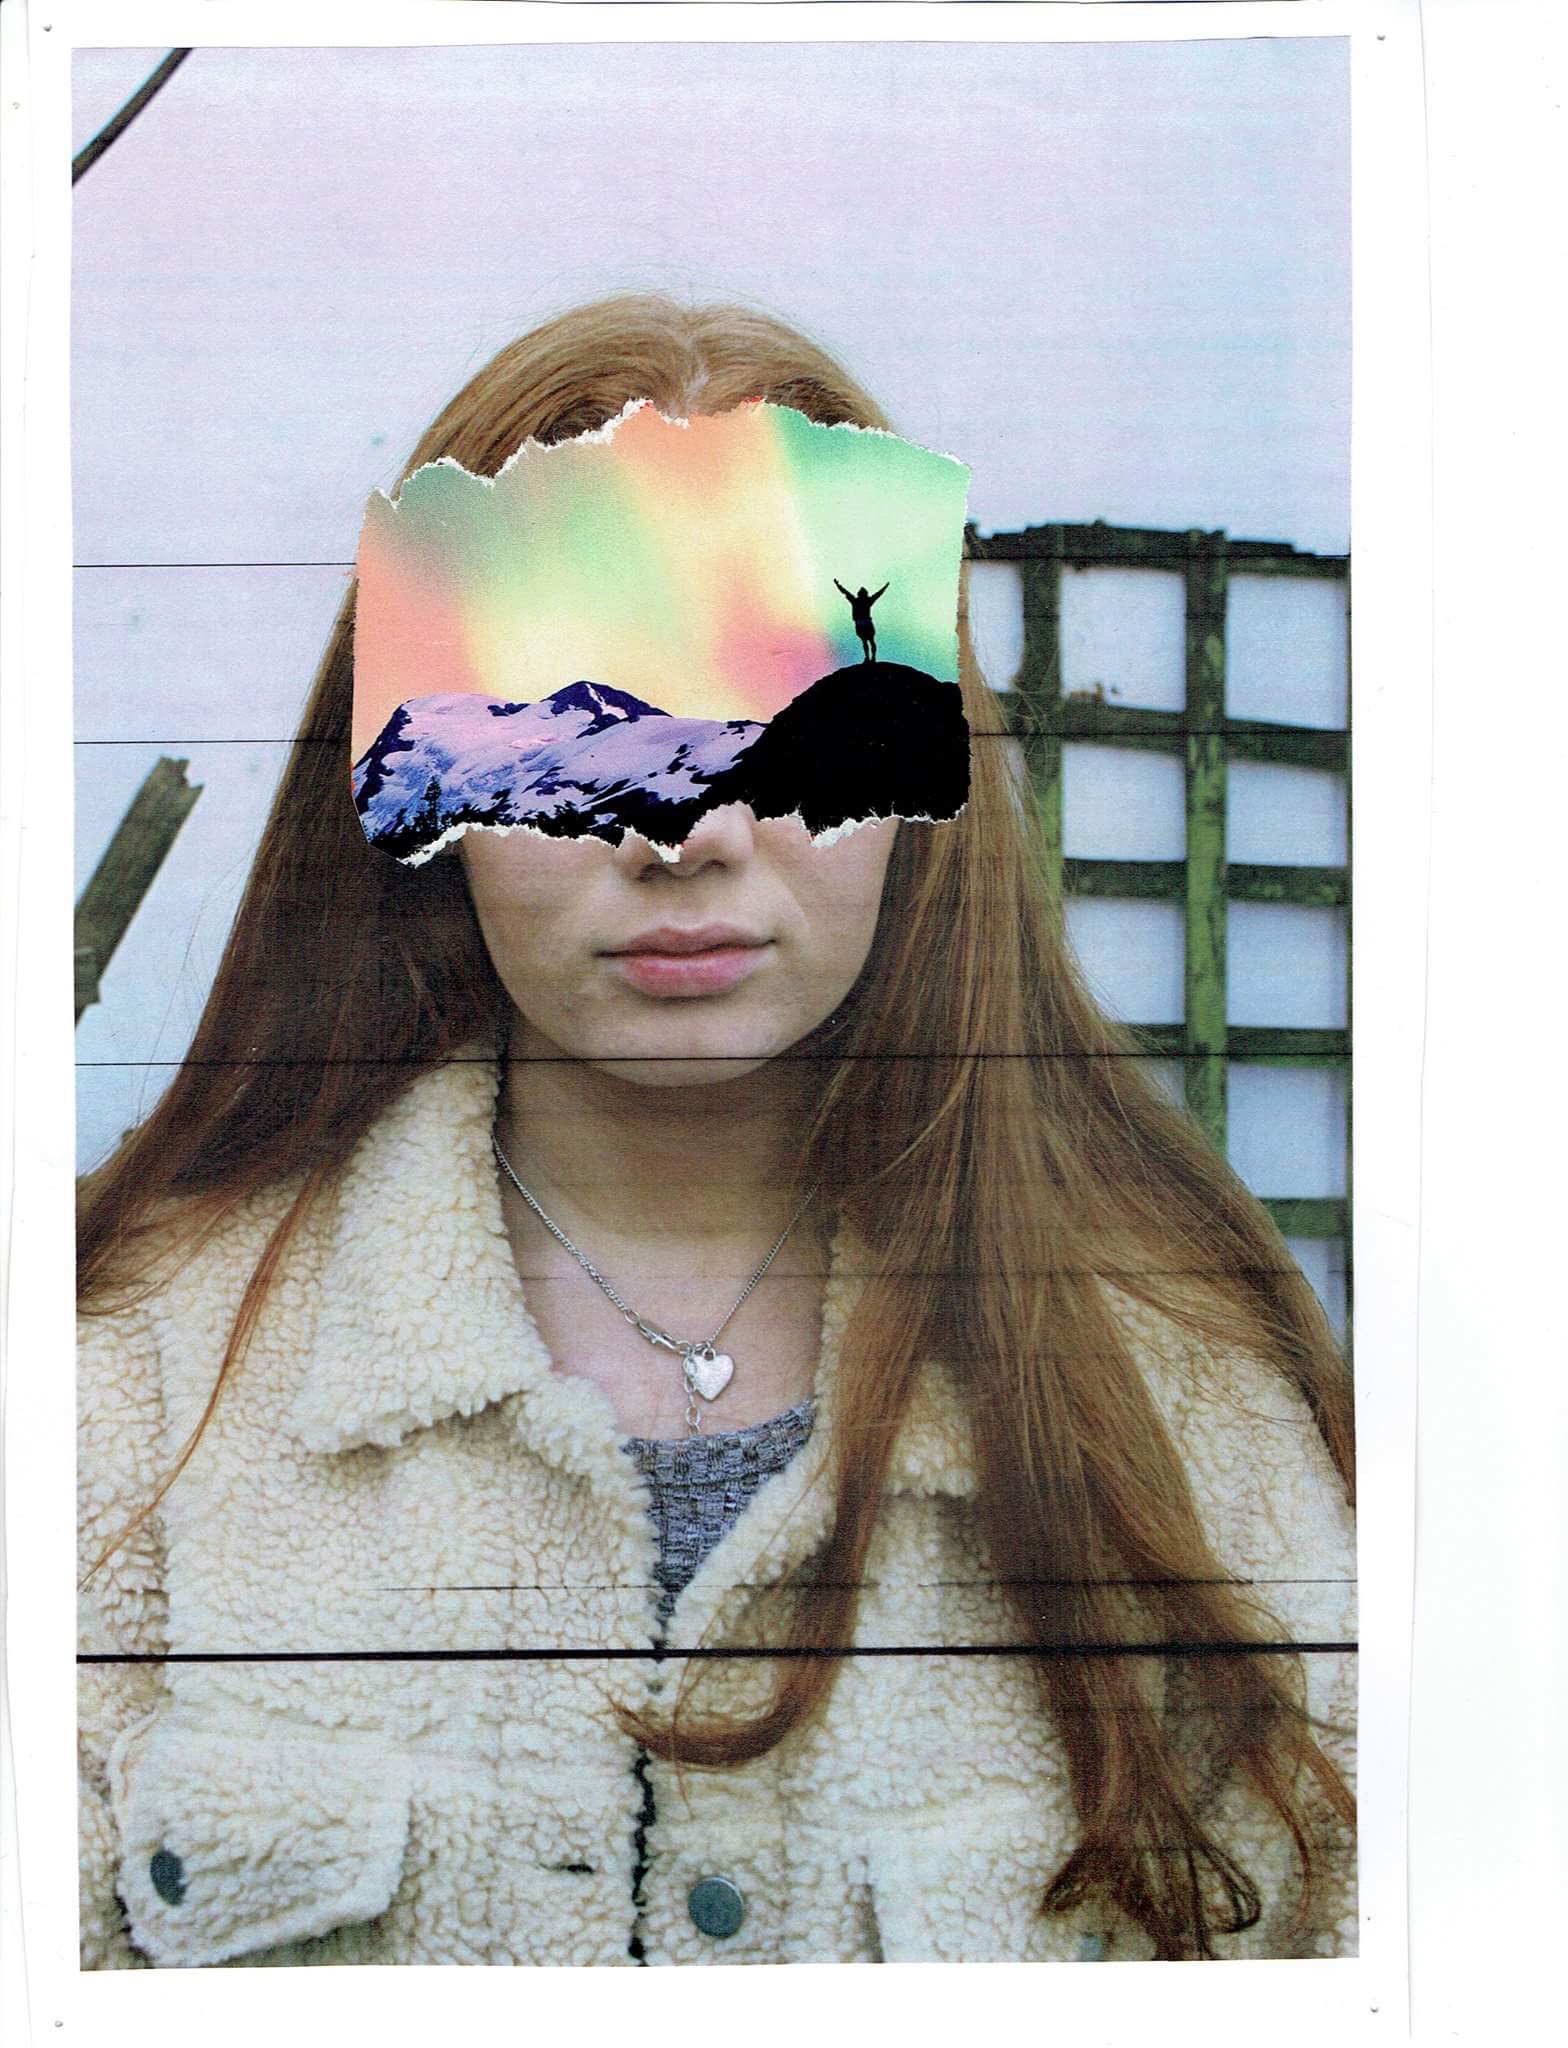

To make this image, I cut out a landscape image from a magazine and covered my subjects face, like John Stezaker’s work.
The pins in the orignal copy (which I took a photo of) added depth so I chose that version of the image over the scanned version. I knew that when presenting this image I could then add actual pins to further the effect.

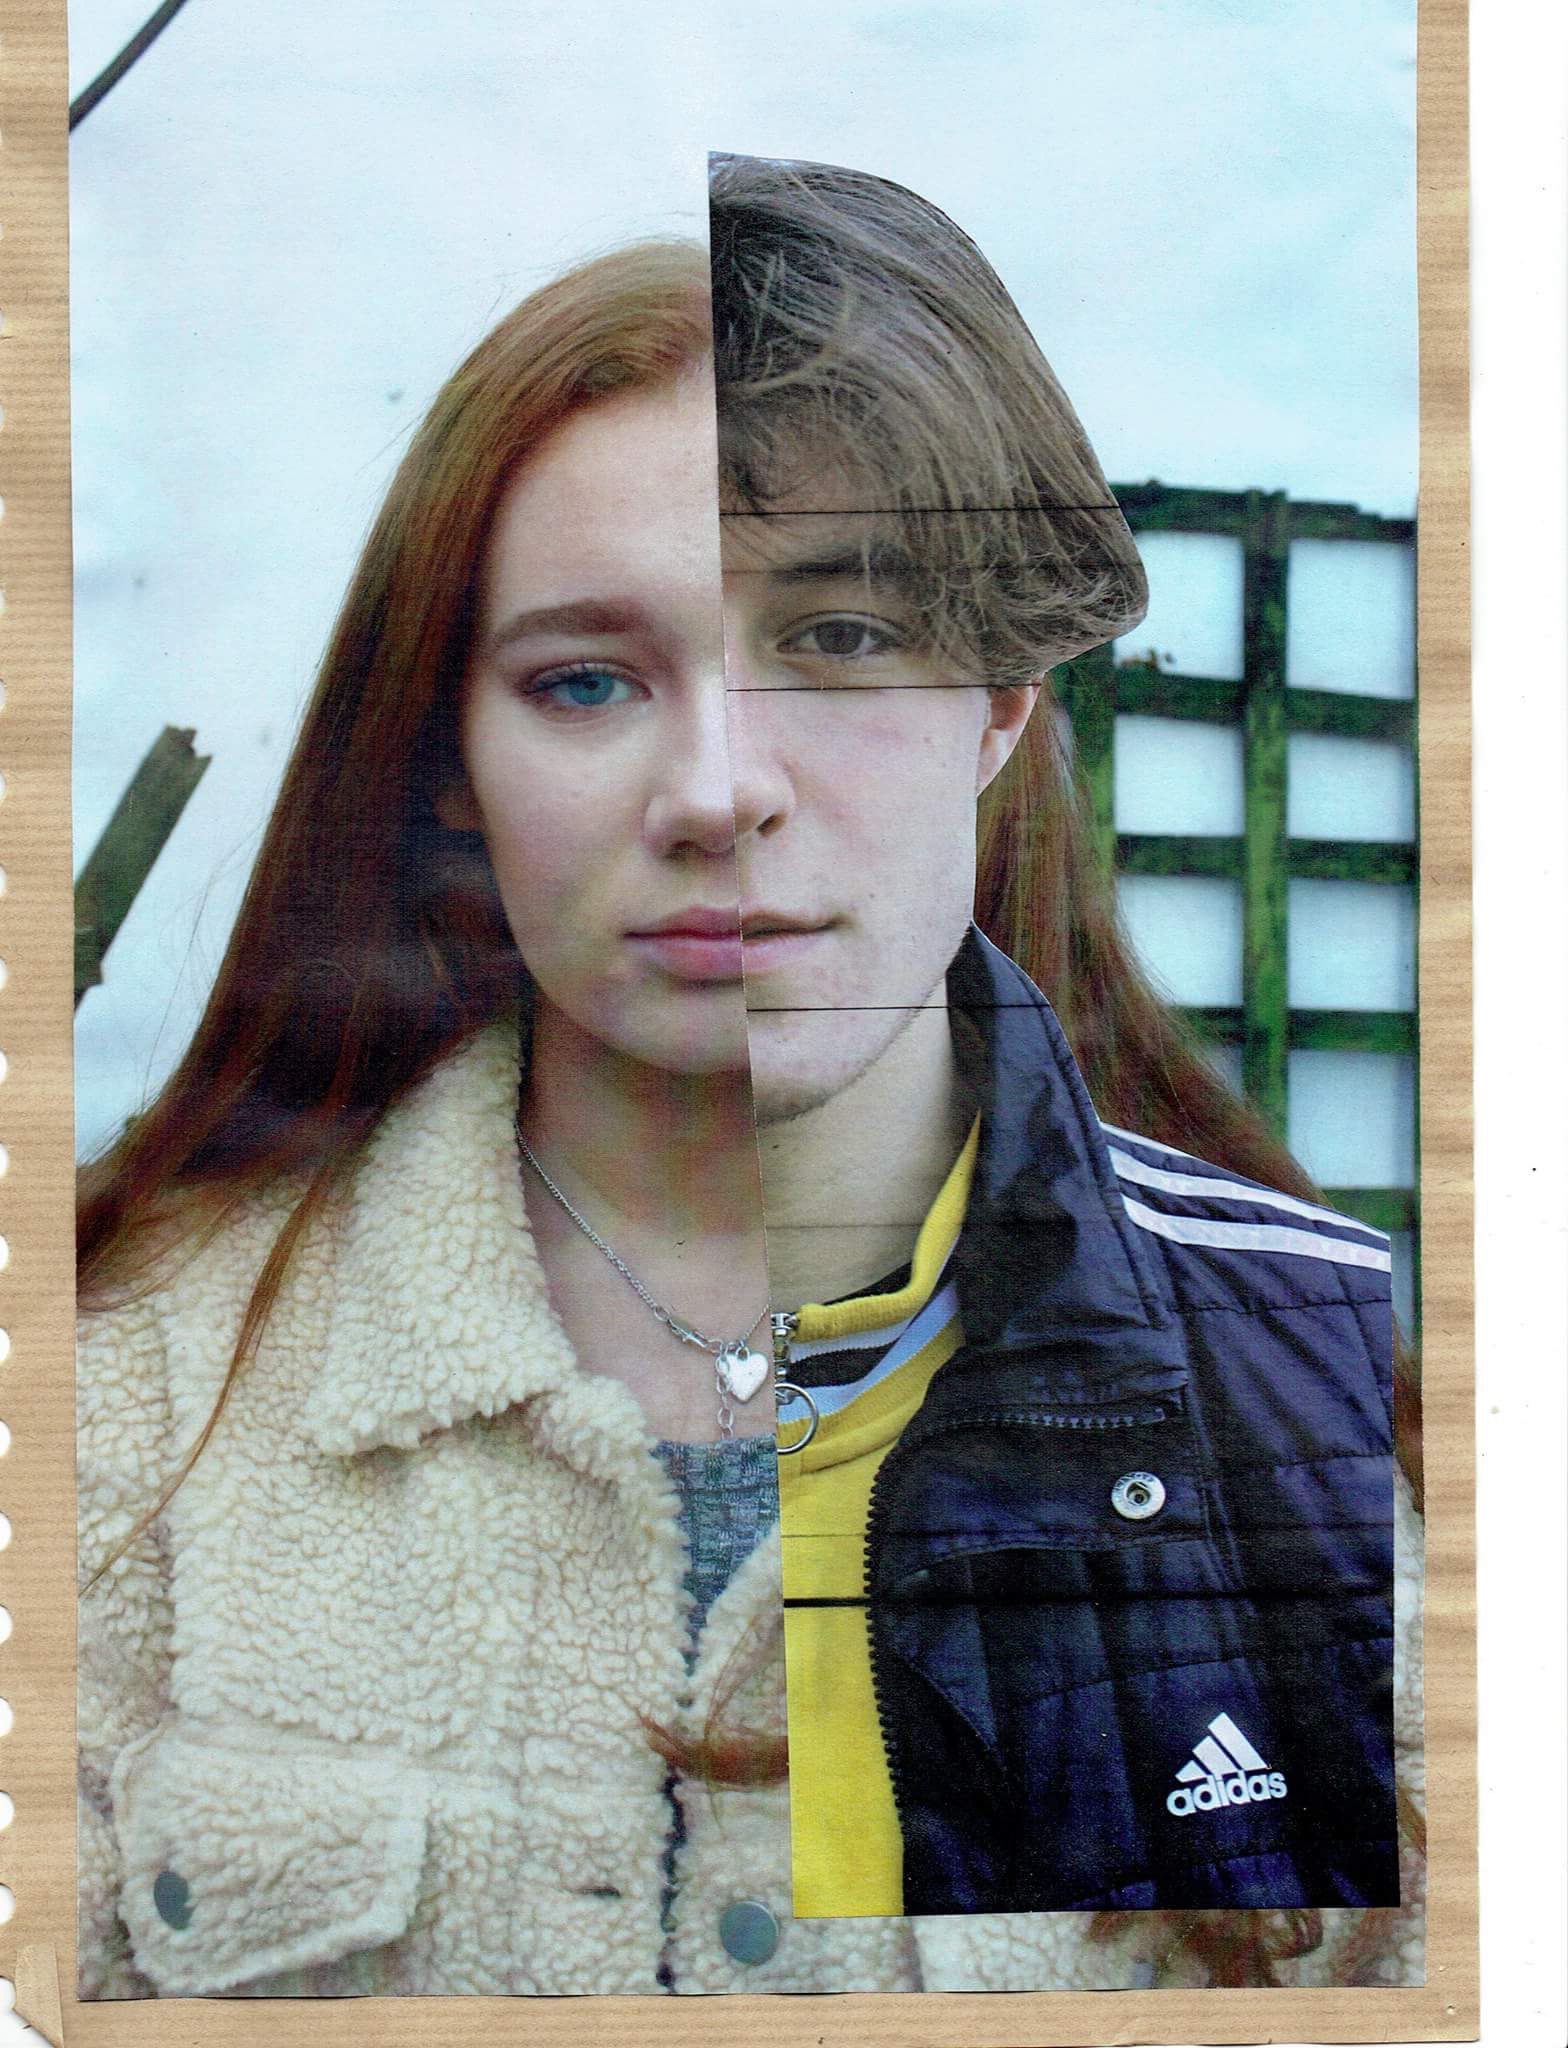
Like Stezaker’s work, I took two of my images and aligned them with eachother to present the differences and similarities in the two facial structures.



For the above two images, I looked at Hannah Hoch’s photomontage work and took images from online media and magazines of feminine and masculine looking things. I combined these with my own images which I had printed and cut out to collage.
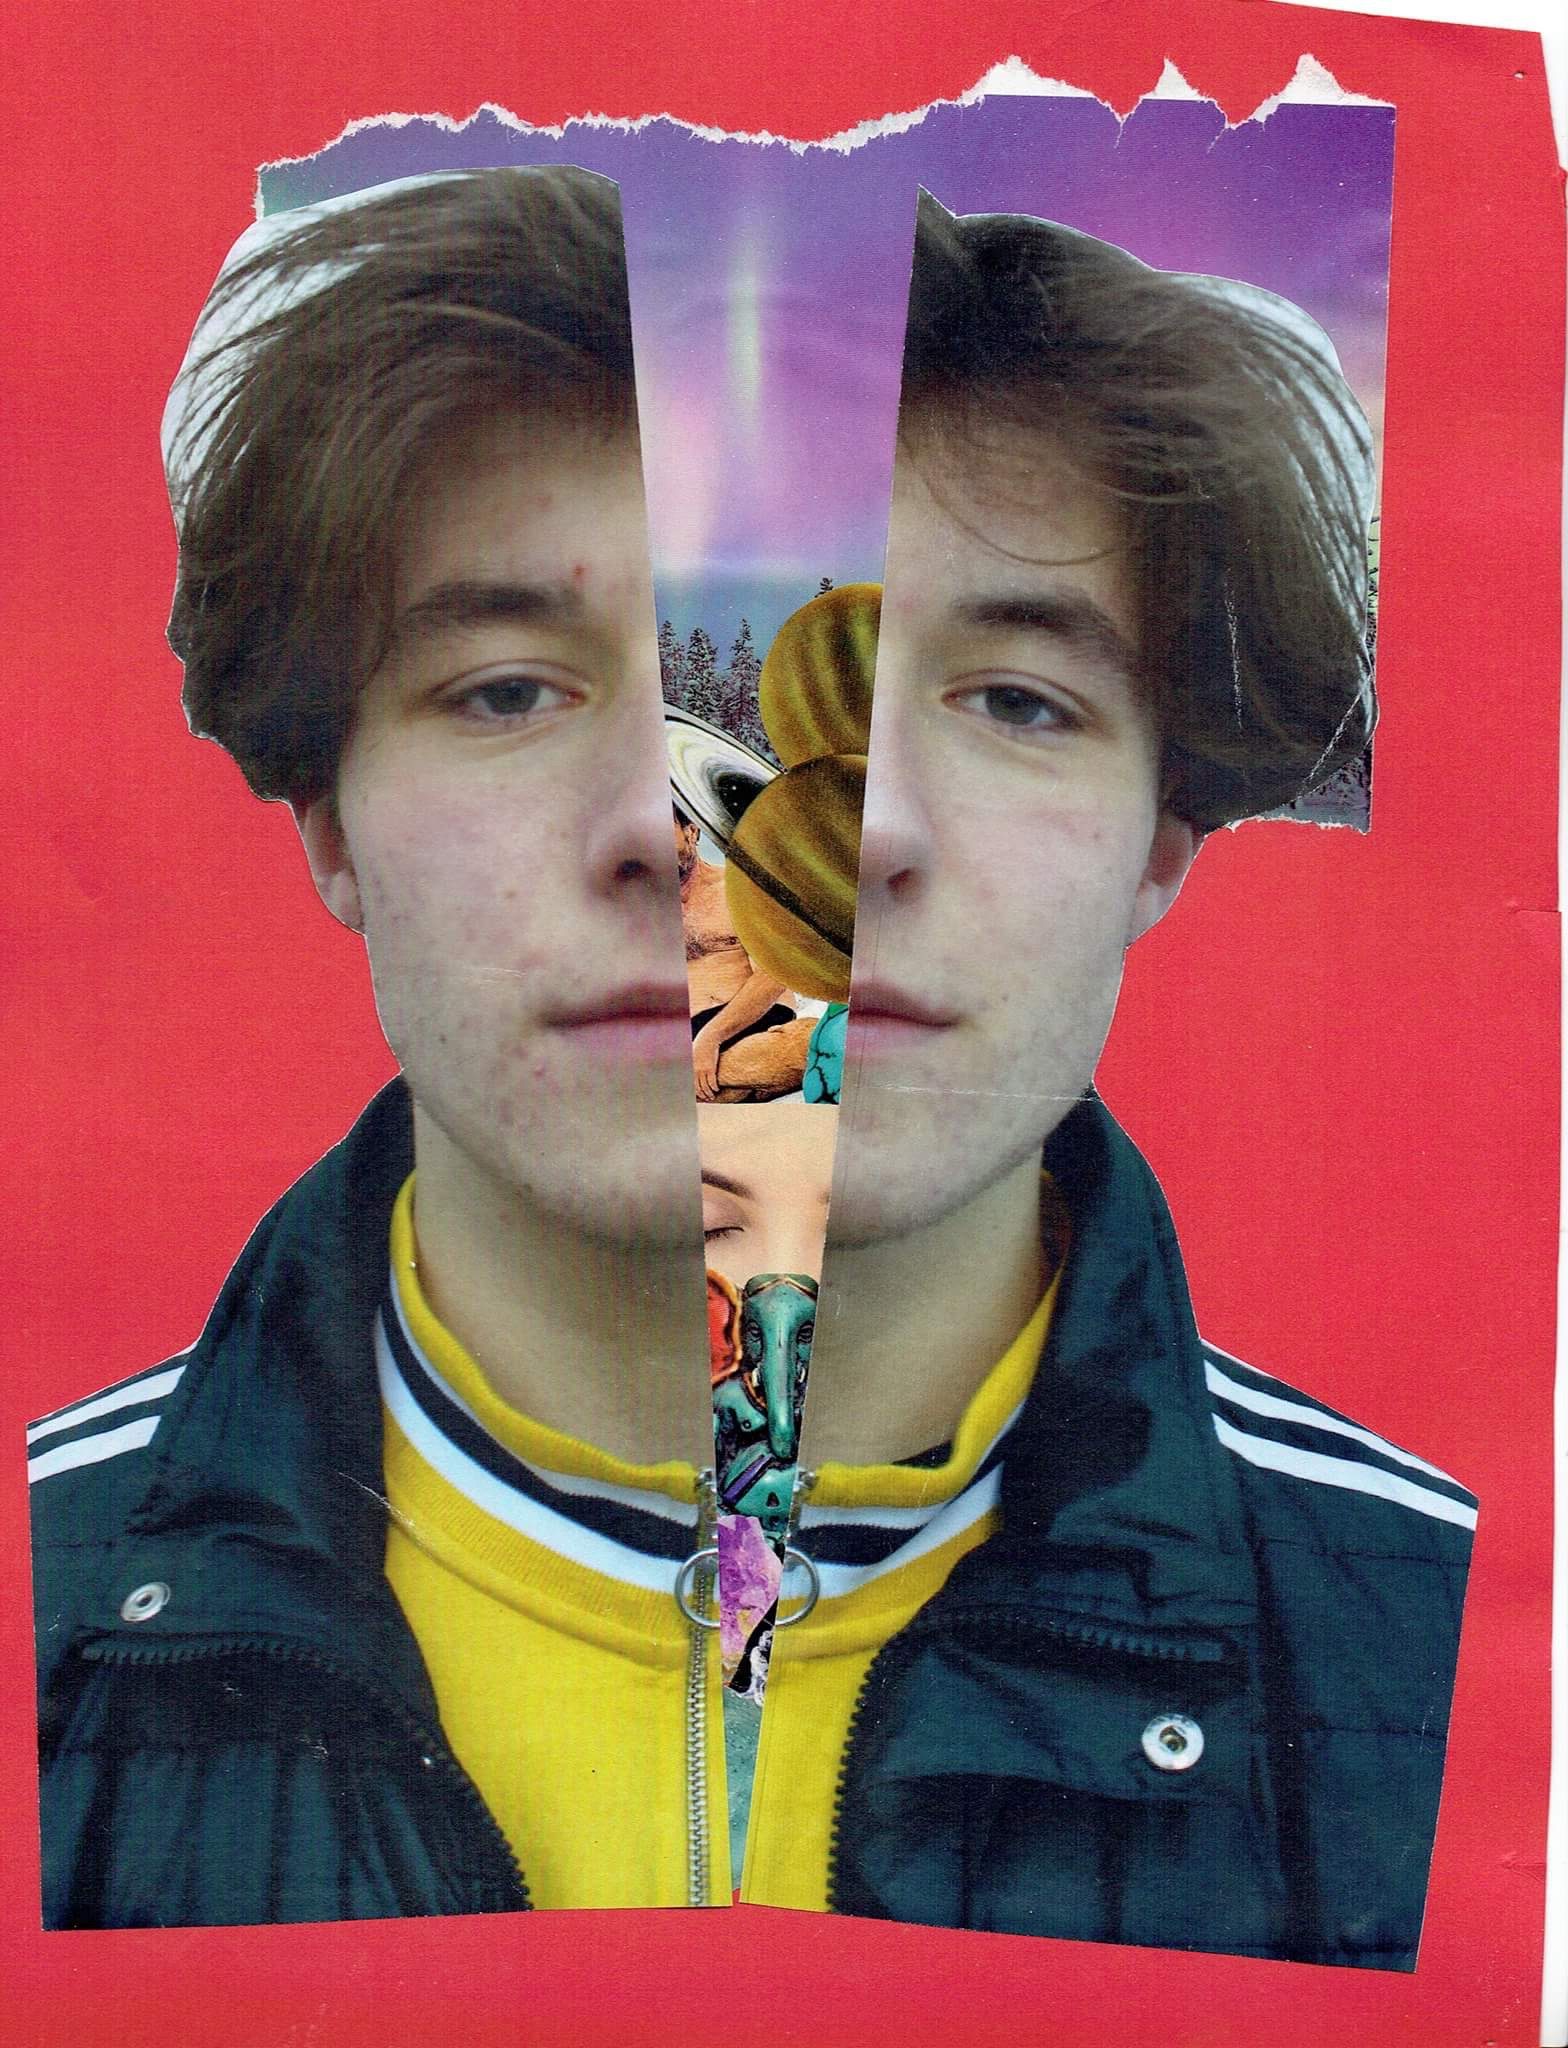

For this image, I used any leftover cut outs that I did not use. I cut out my portrait image and placed the cutouts underneith so as to imply what is going on inside his head.
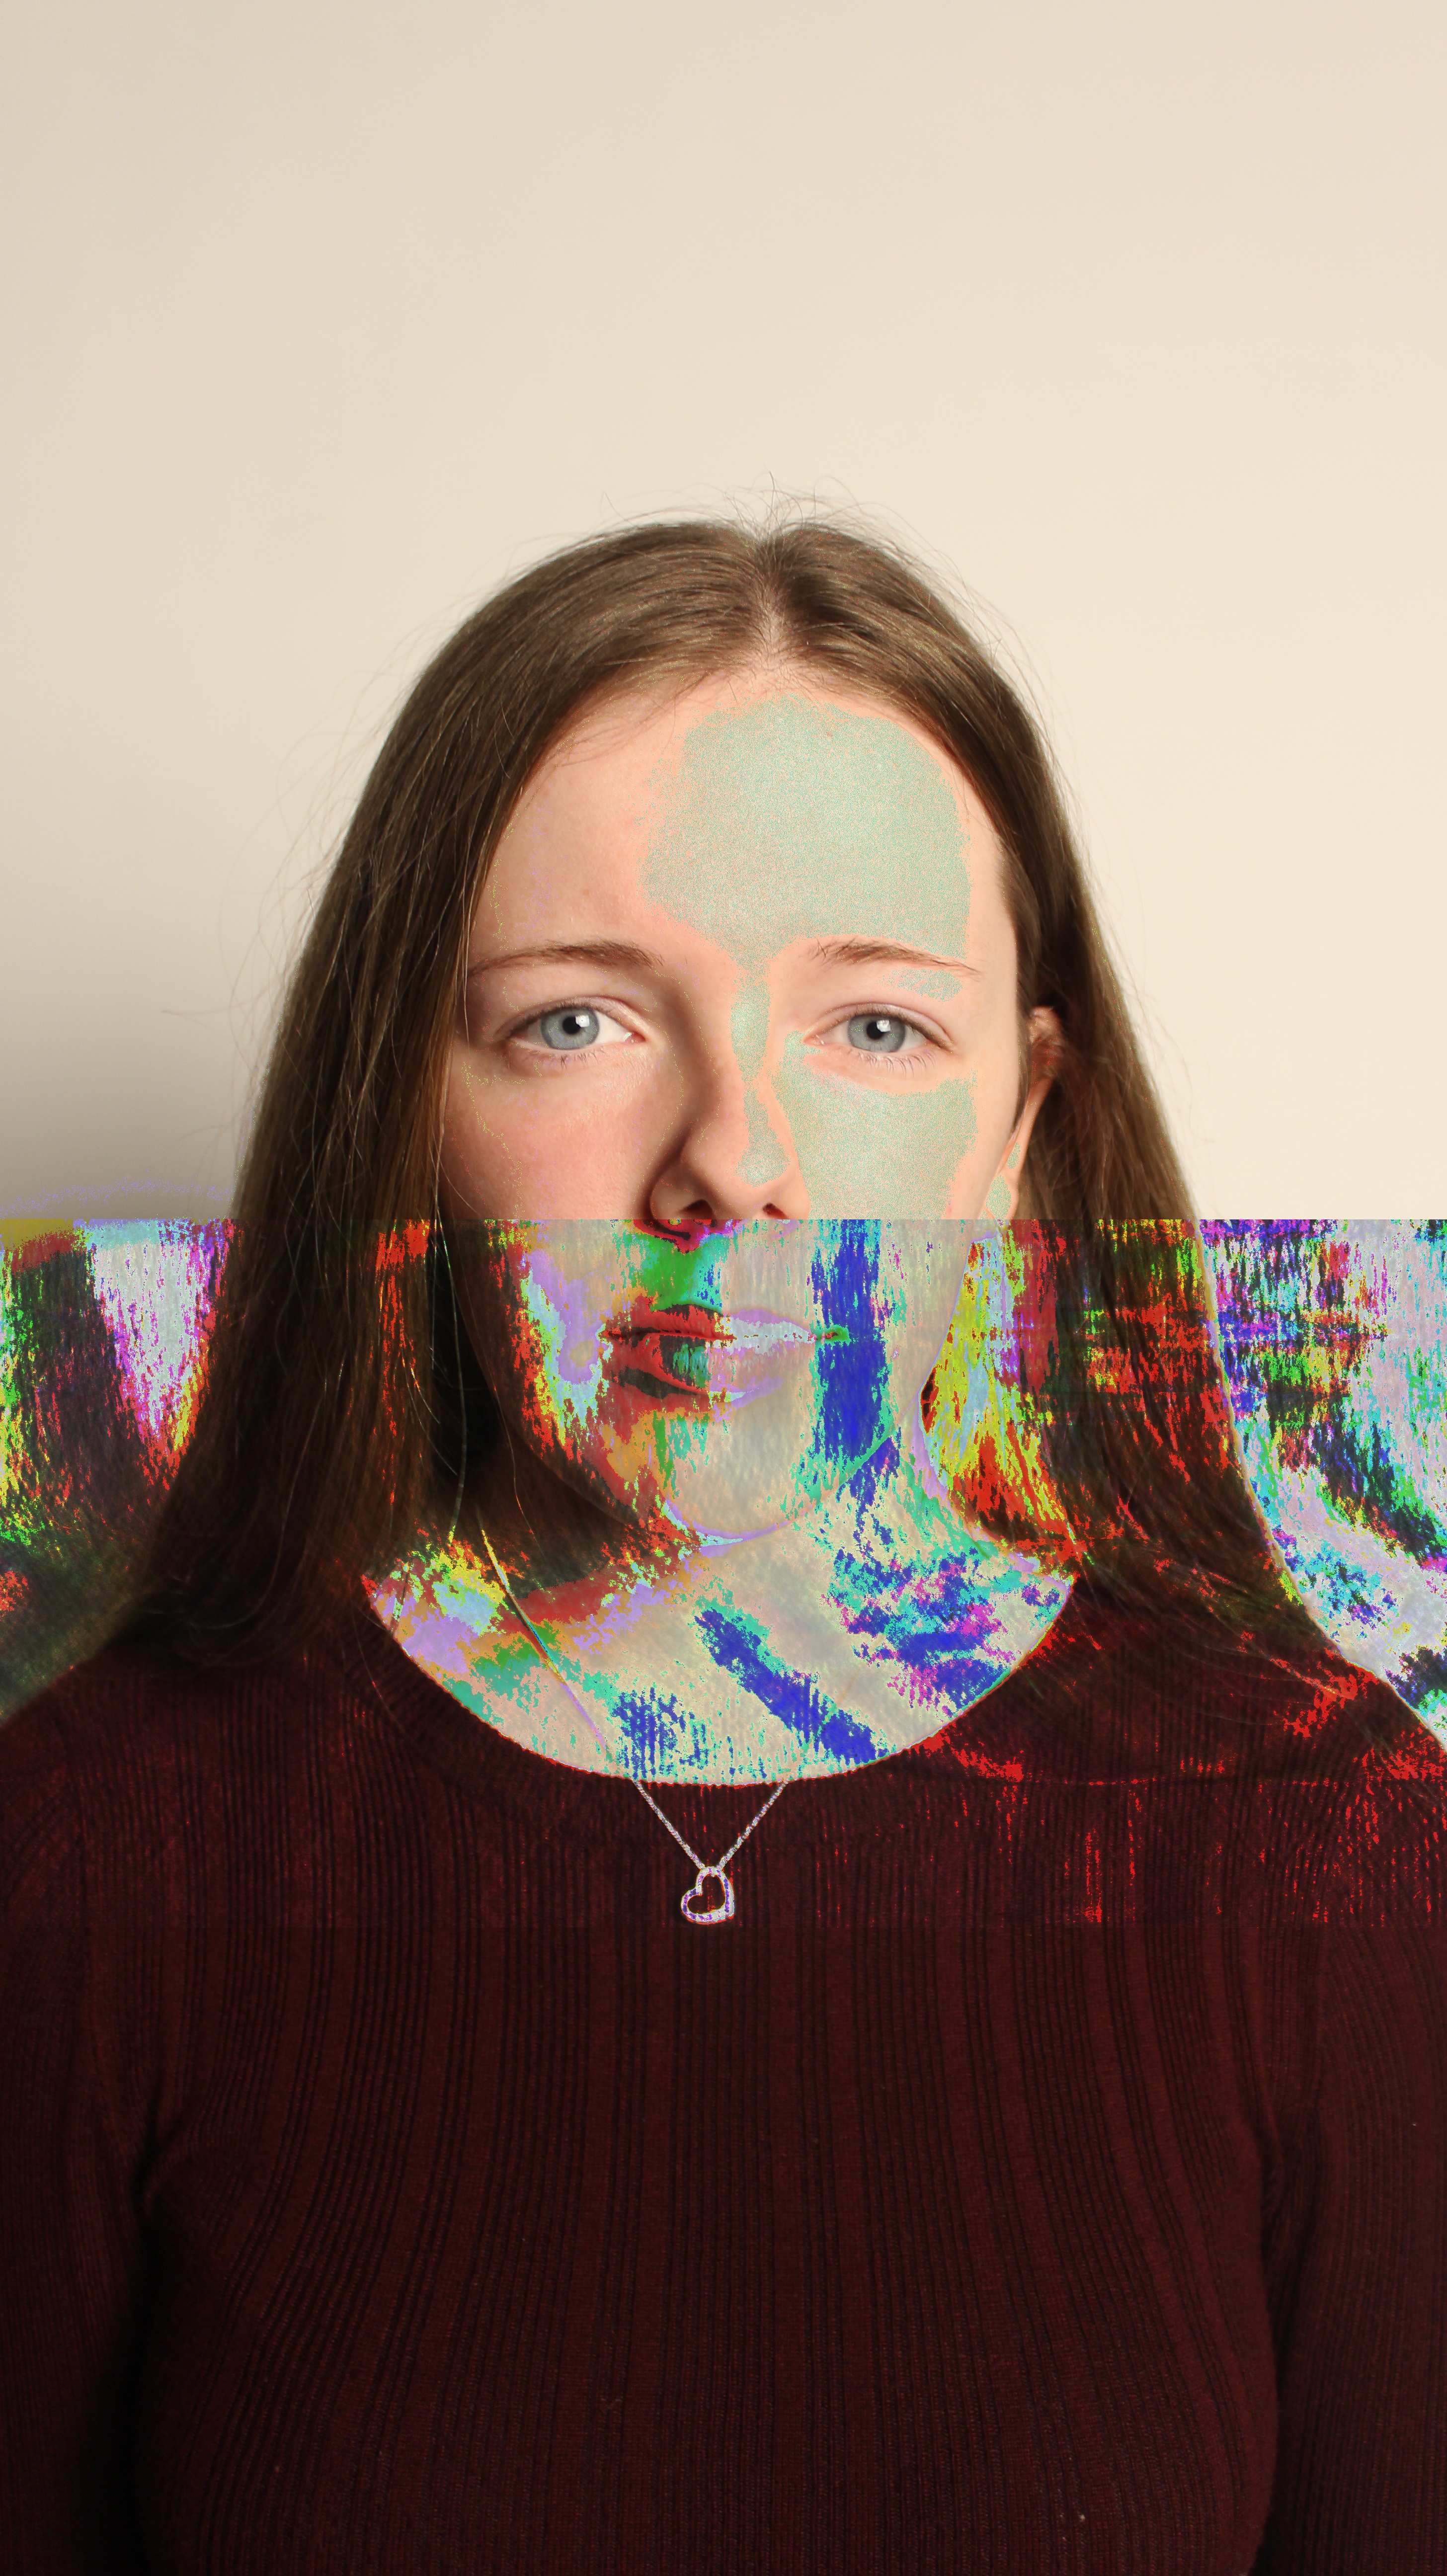
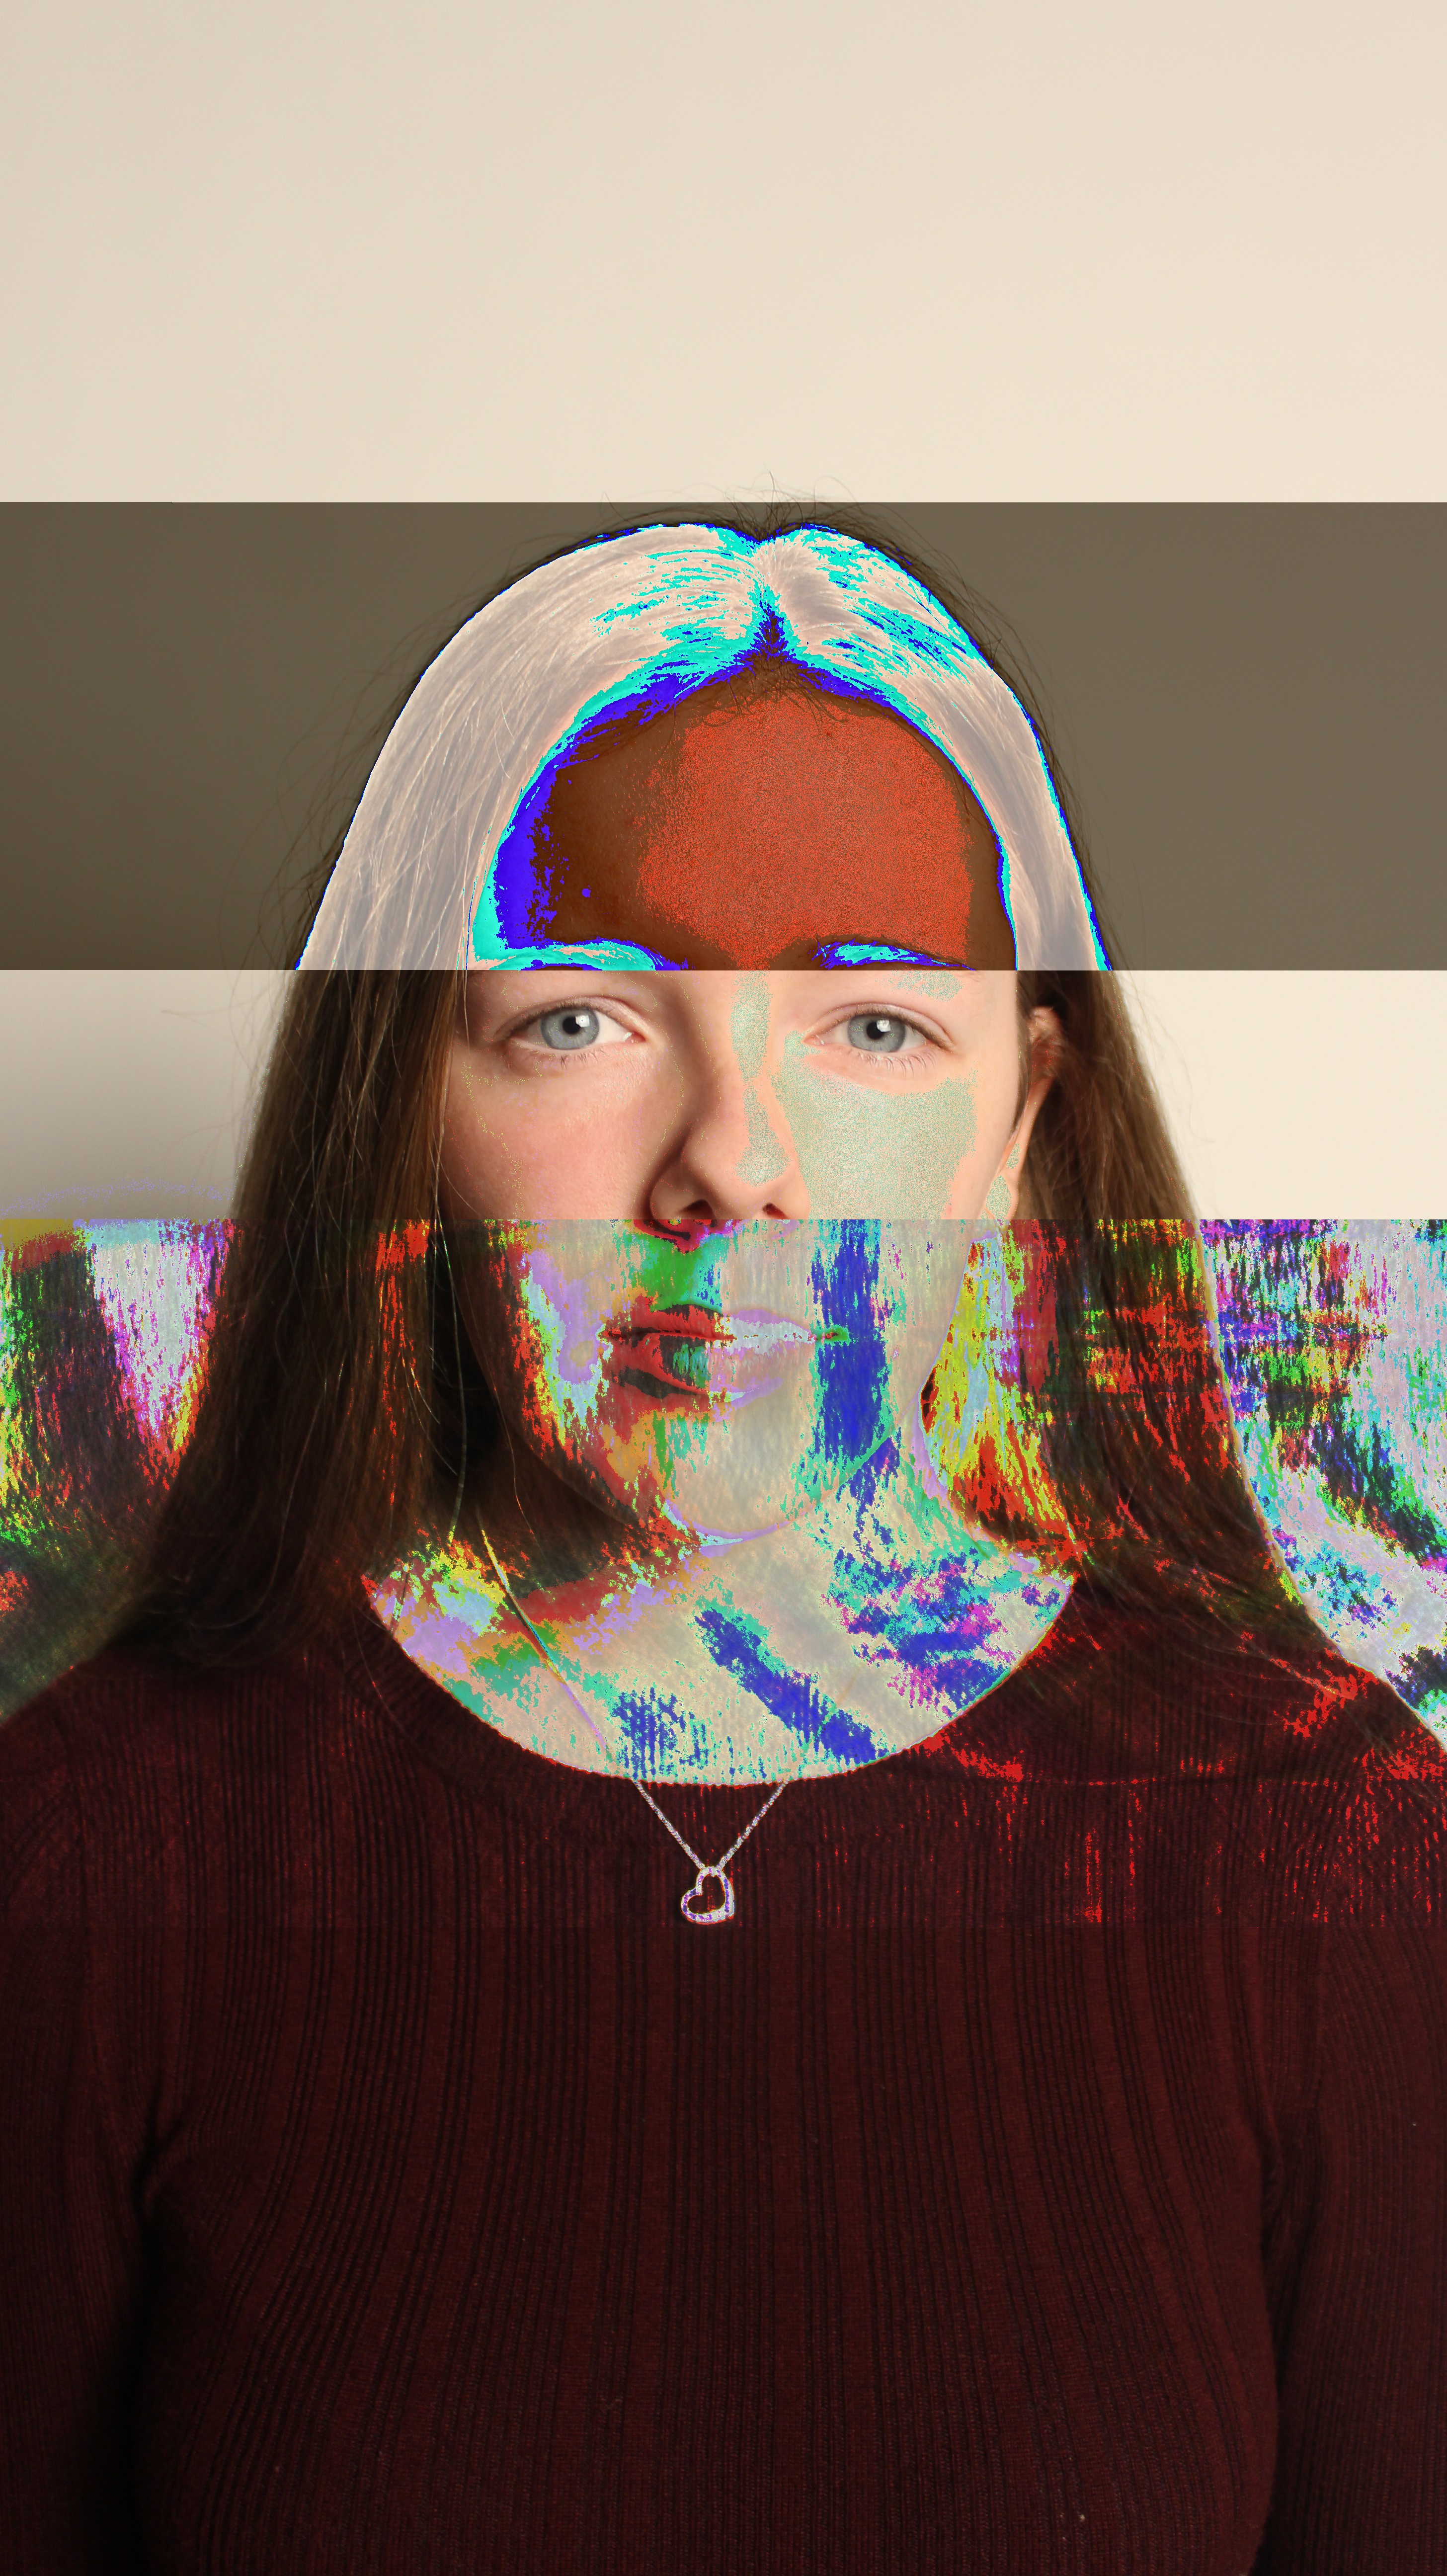
To make my glitch images like Heitor Magno’s, I converted my image files into audio files. Once I had done this, I added effects to the audio file such as amplitude. After doing this, I converted the audio file back to an image and I came out with the outcomes above.
http://datamoshing.com/2016/06/15/how-to-glitch-images-using-audio-editing-software/
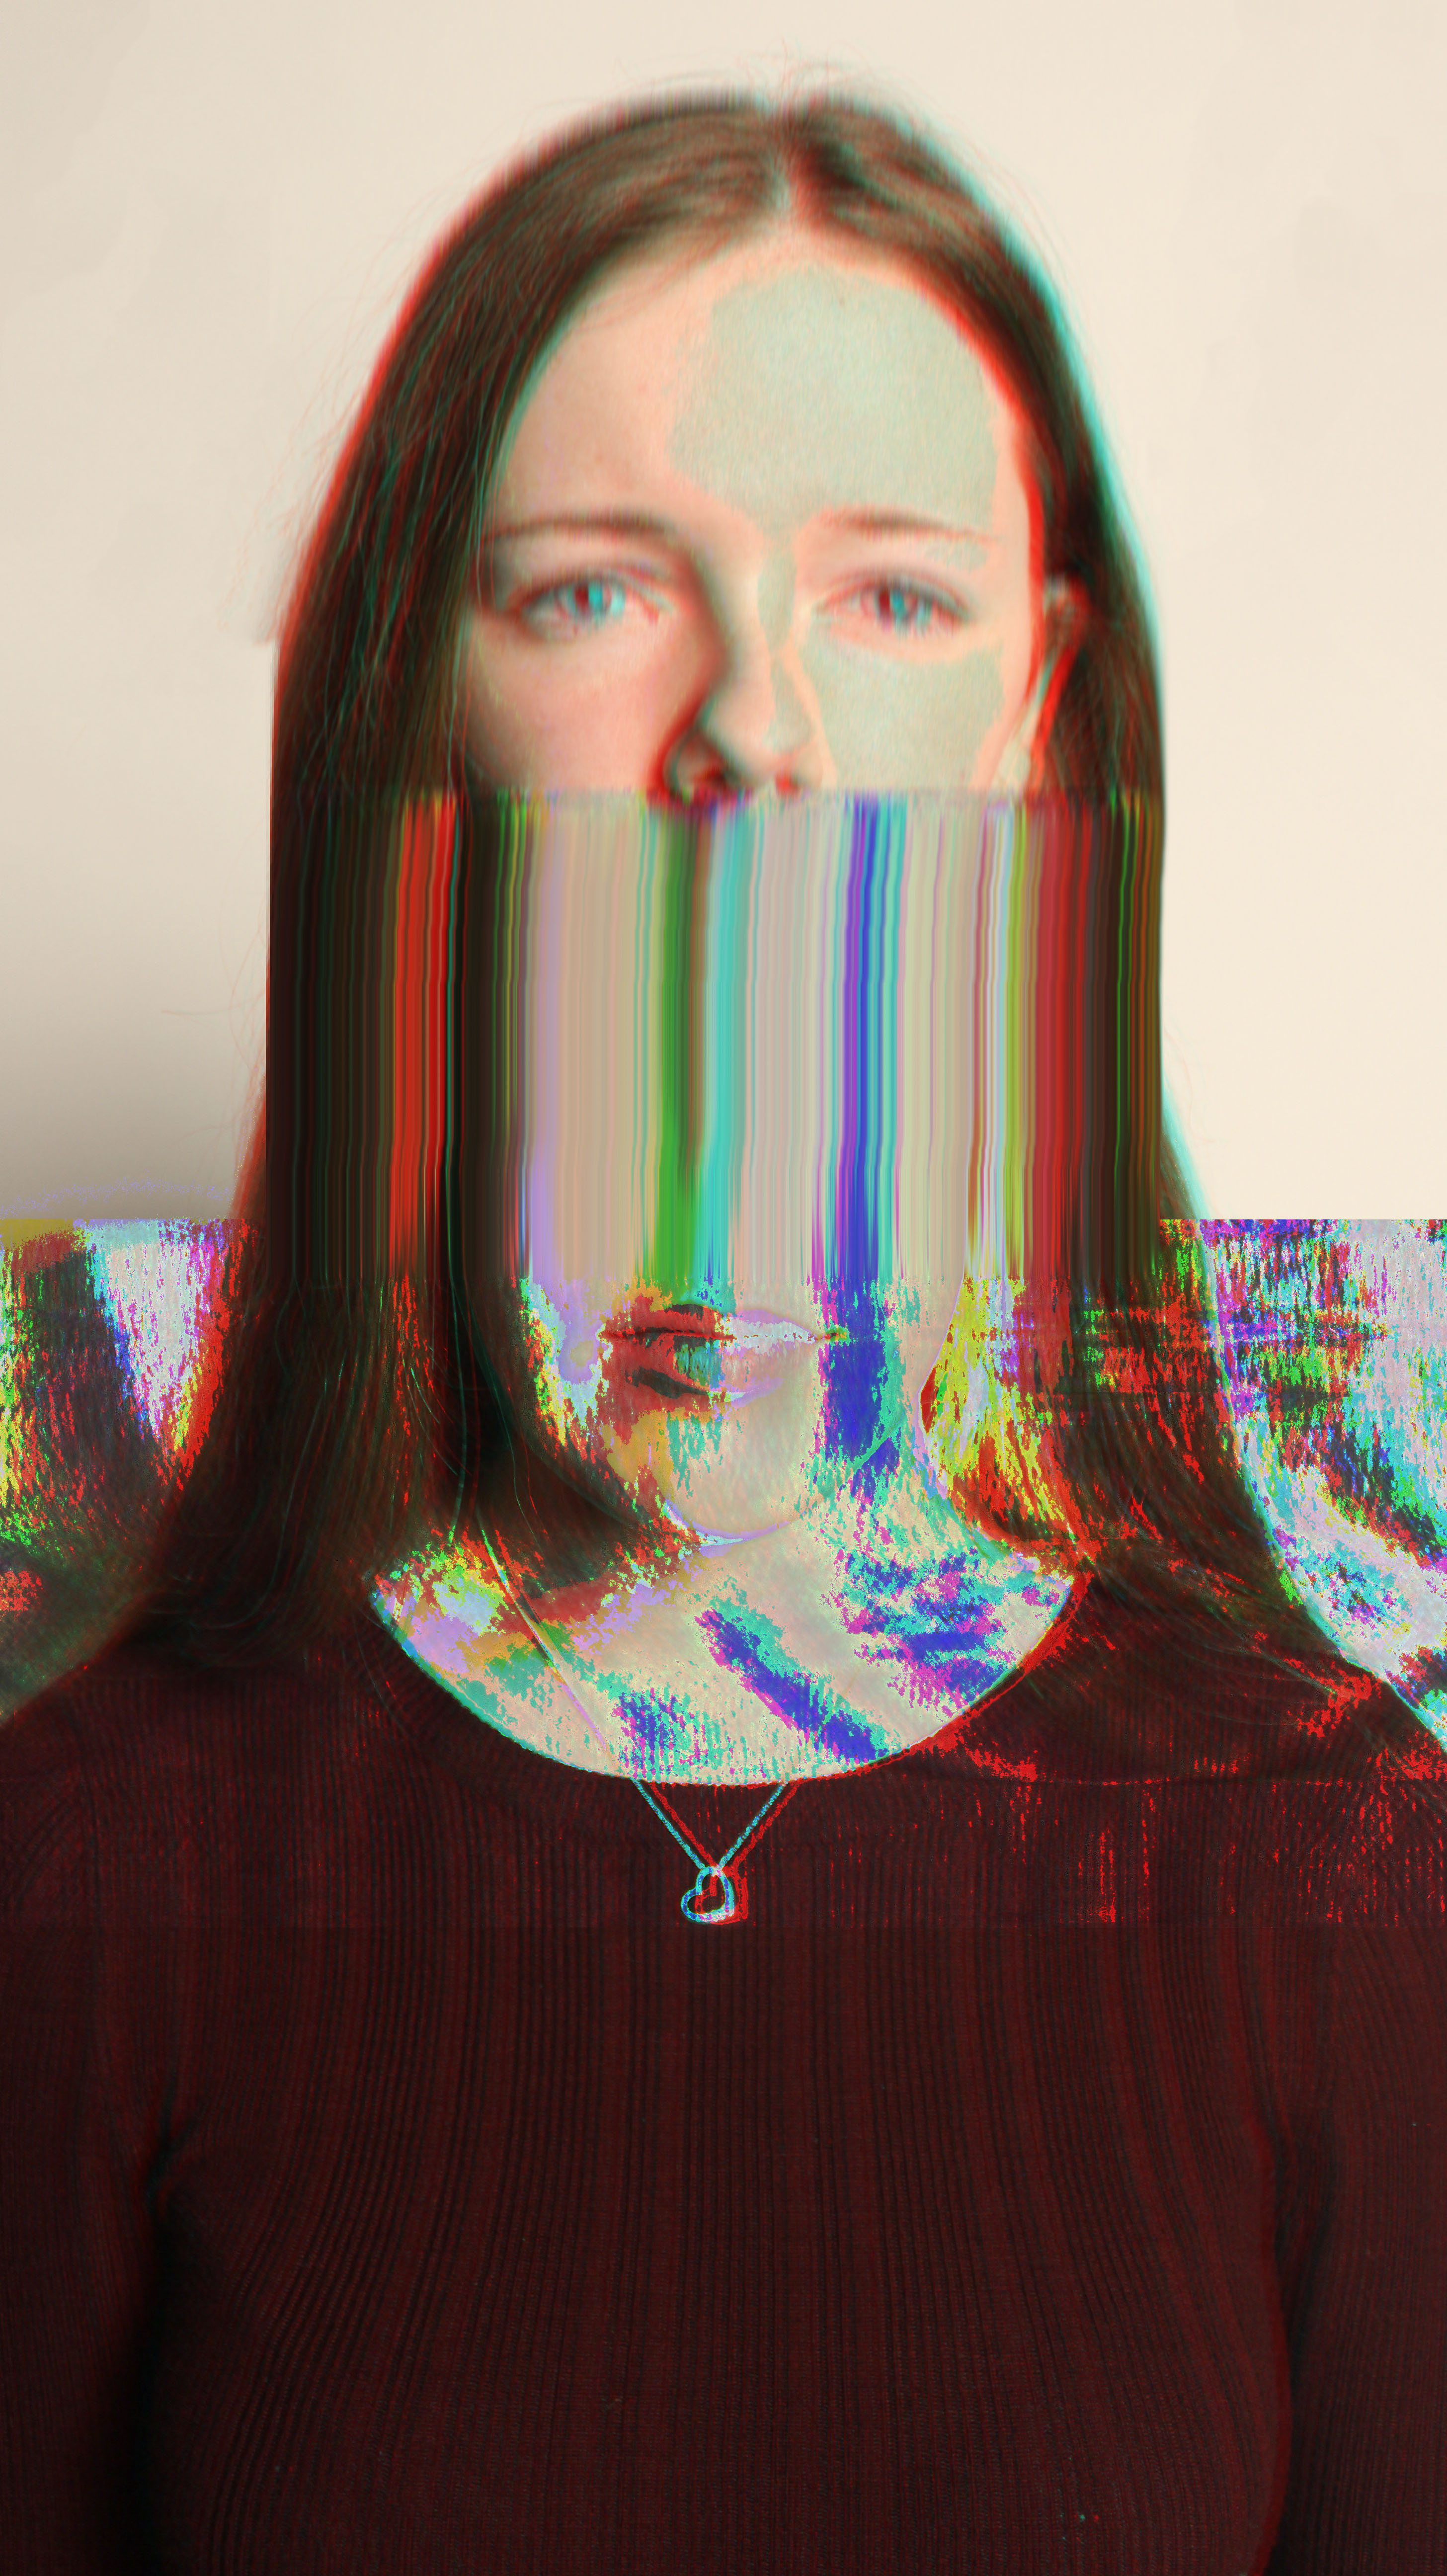
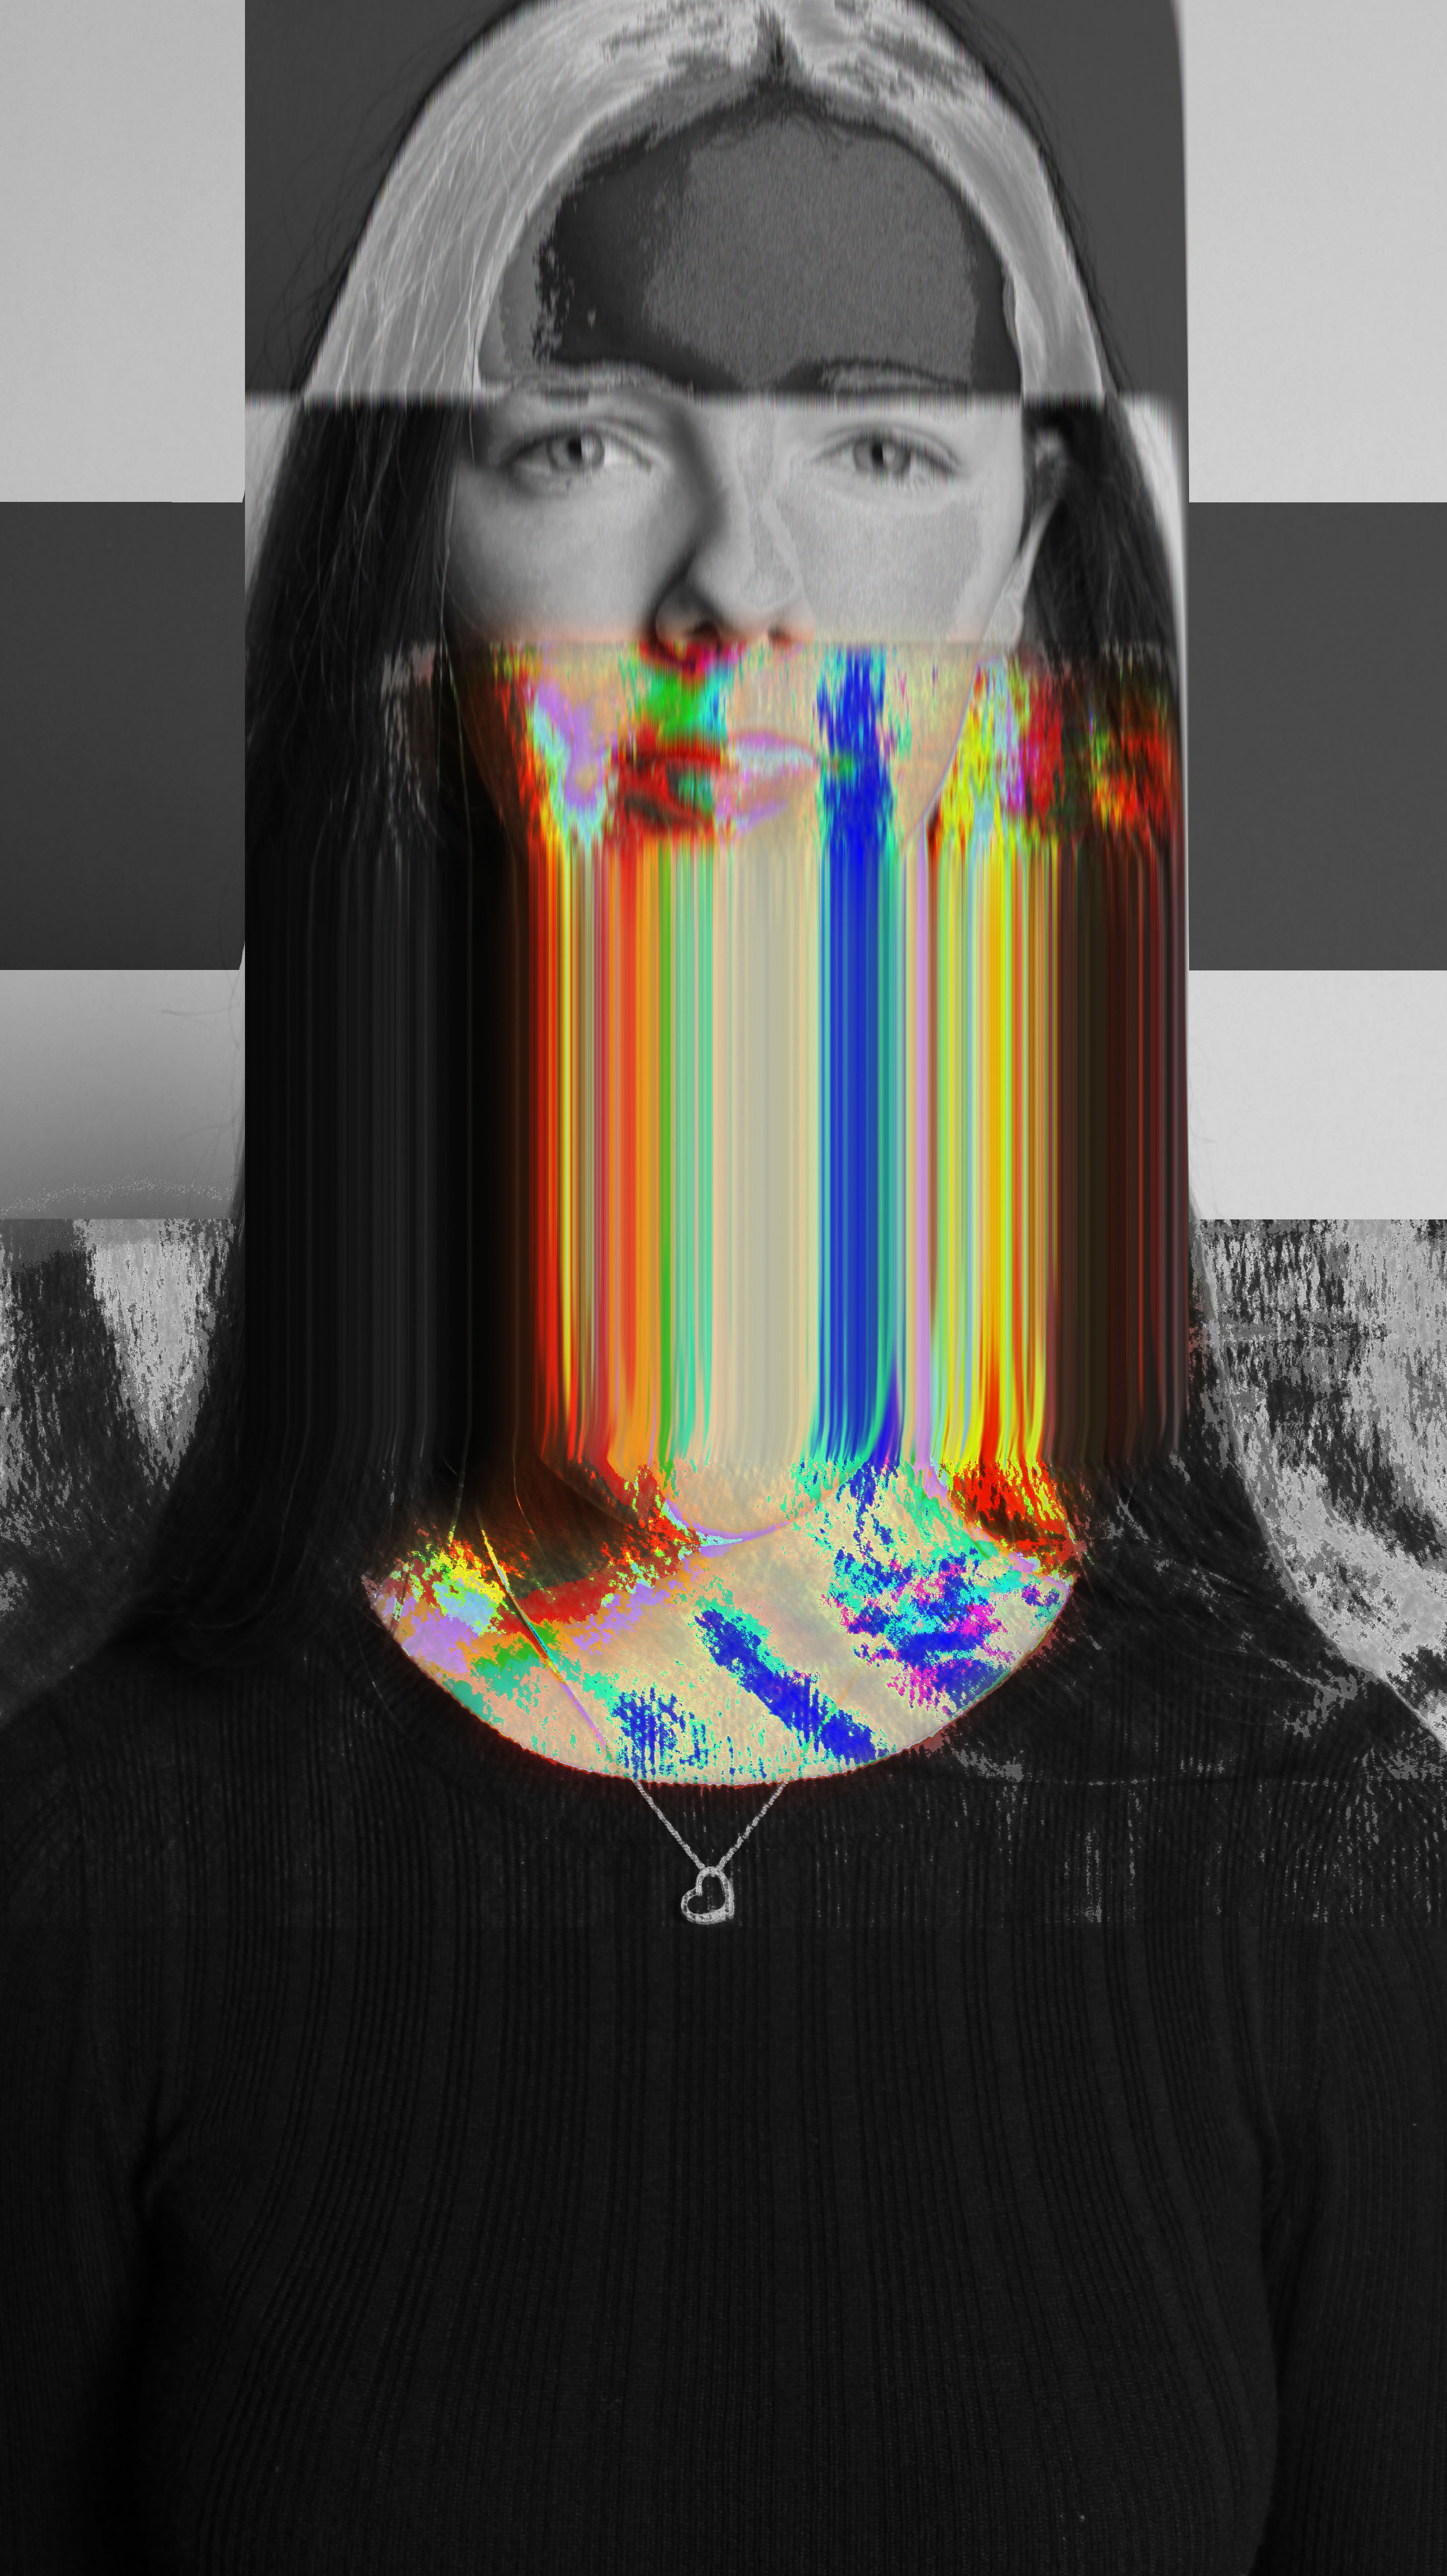
I took my already glitched images, and created another layer of the same image over it. I moved the top layer slightly and changed the channel to red to give the whole image a 3D looking effect. Next, I used the smudge tool over the head to drag out the colours in the glitch.
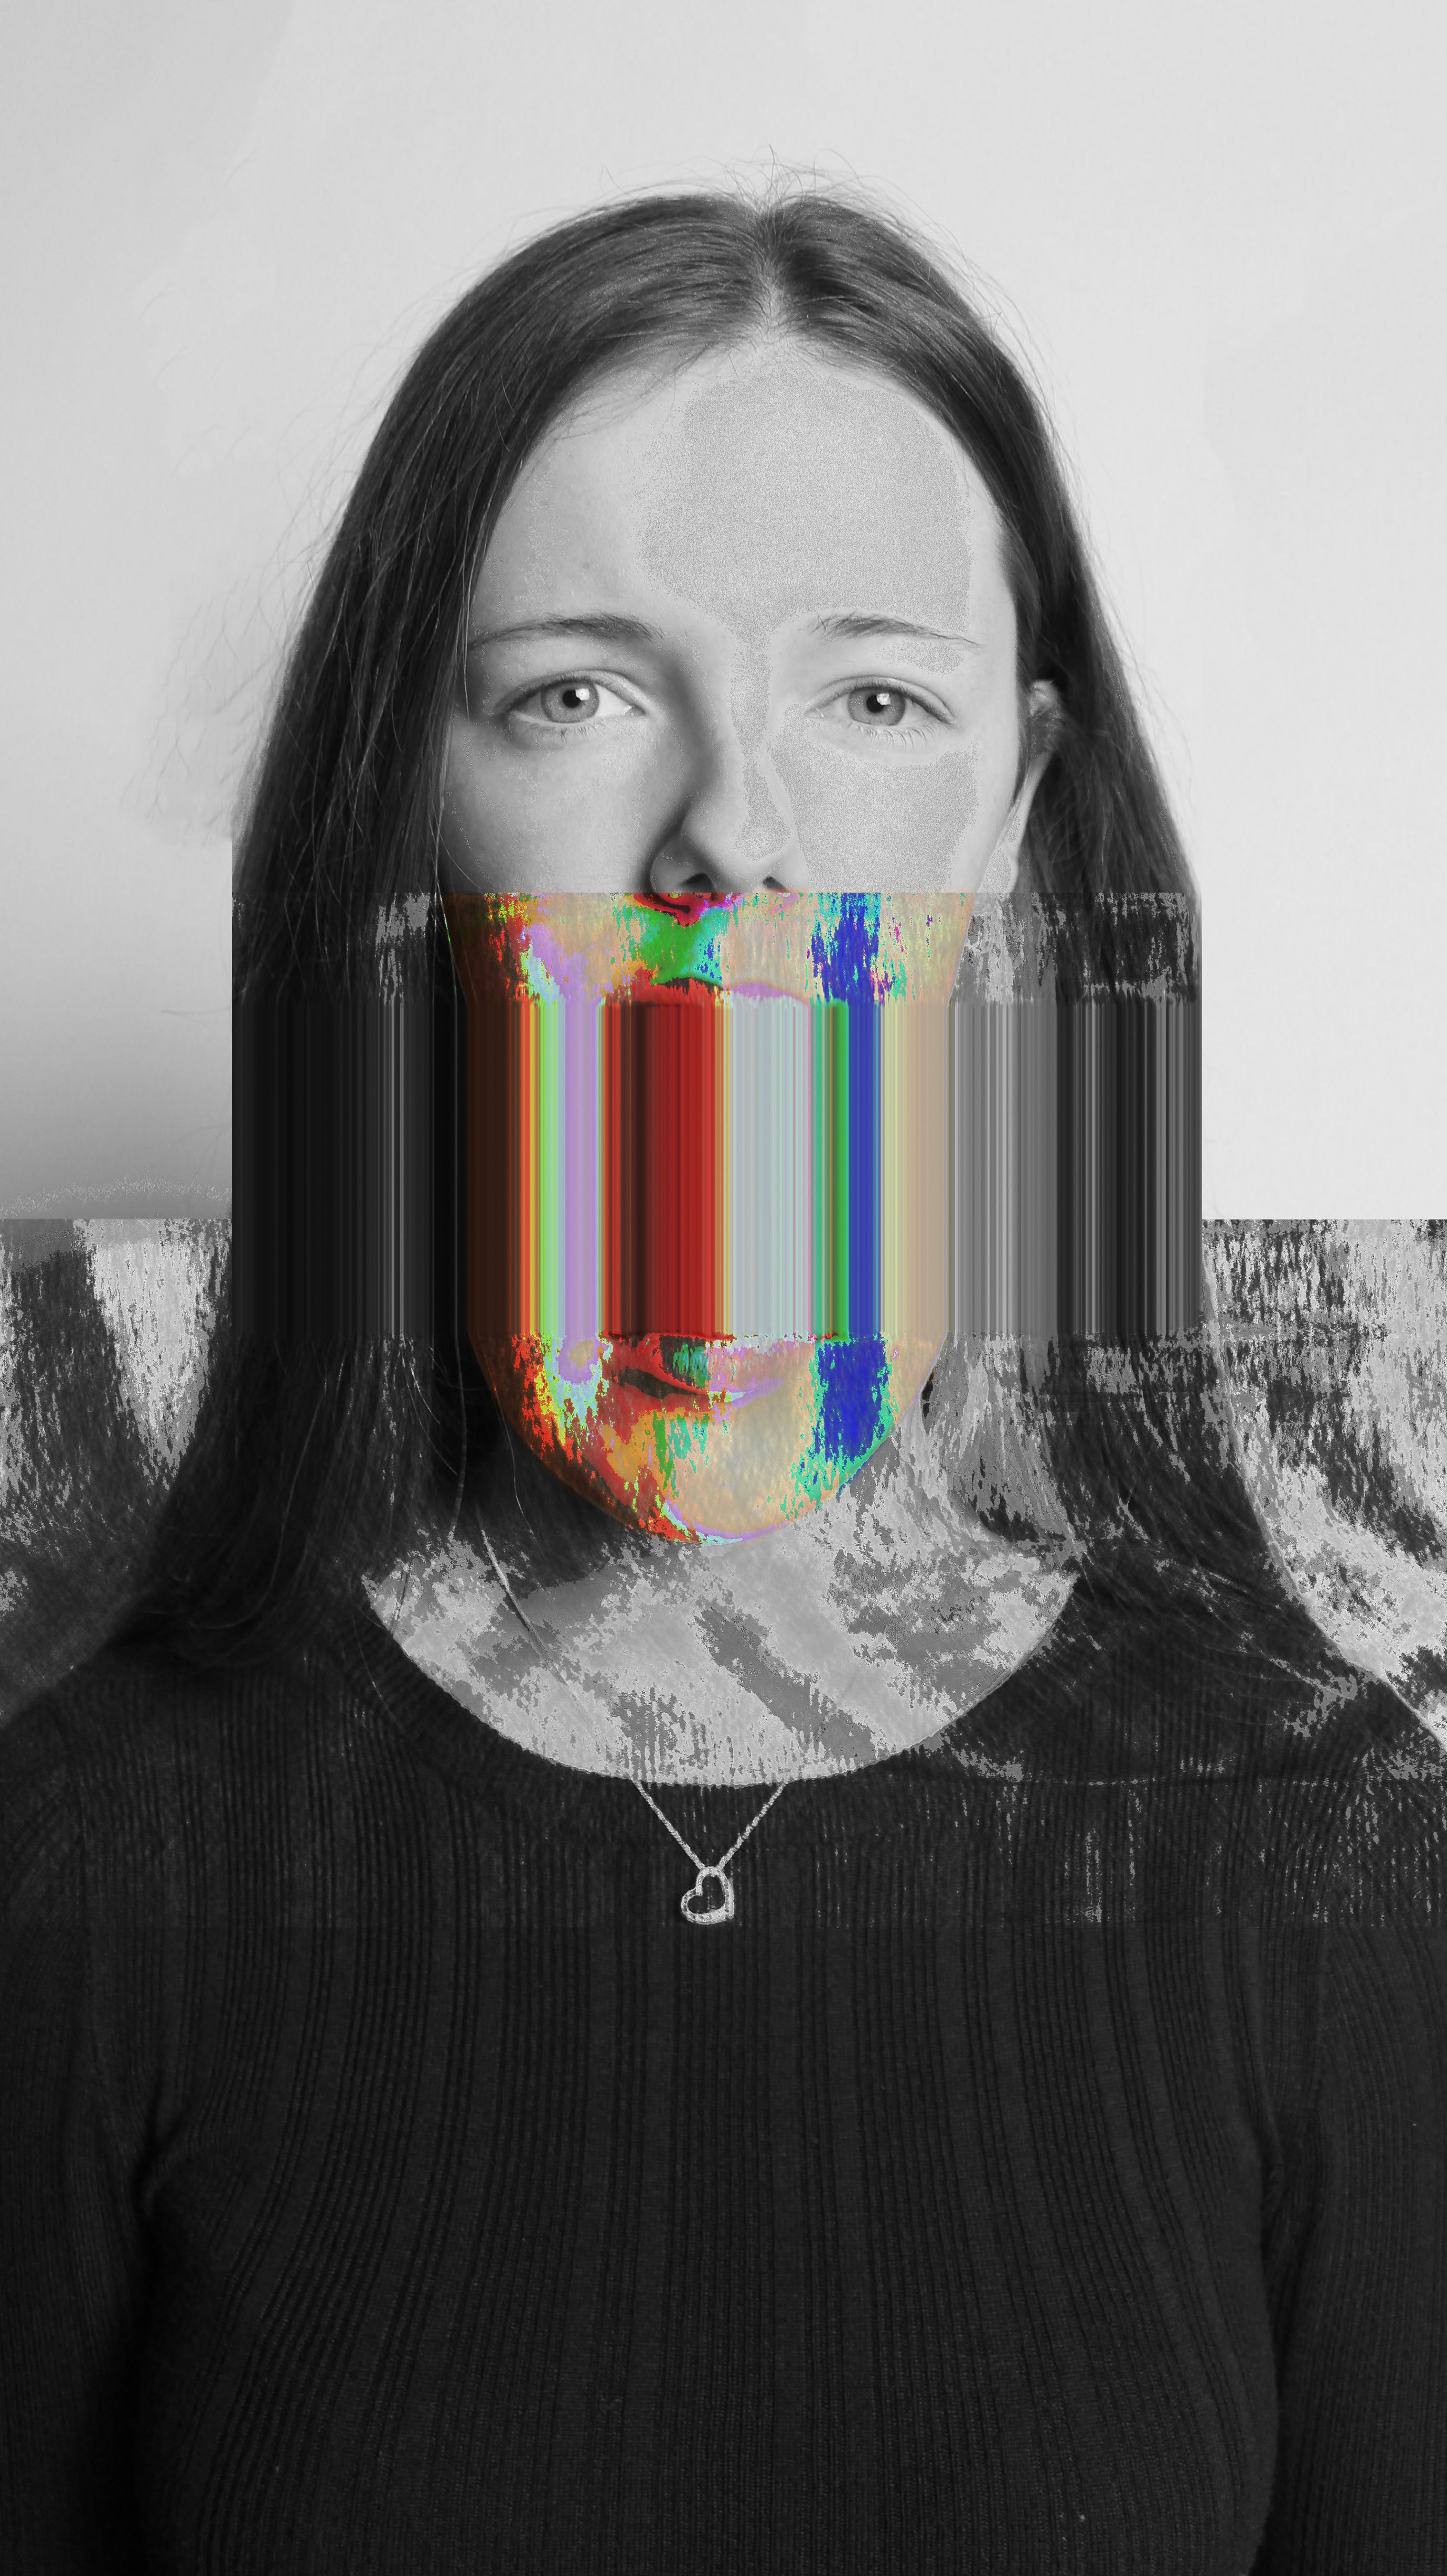
For the above image, I did not add the 3D effect as I thought it made the image hard to look at. However, I did create two layers of the image, where I made the top layer black and white and rubbed out the bits where there was colour. This gave my image an outcome that was more similar to Heitor Magno’s.

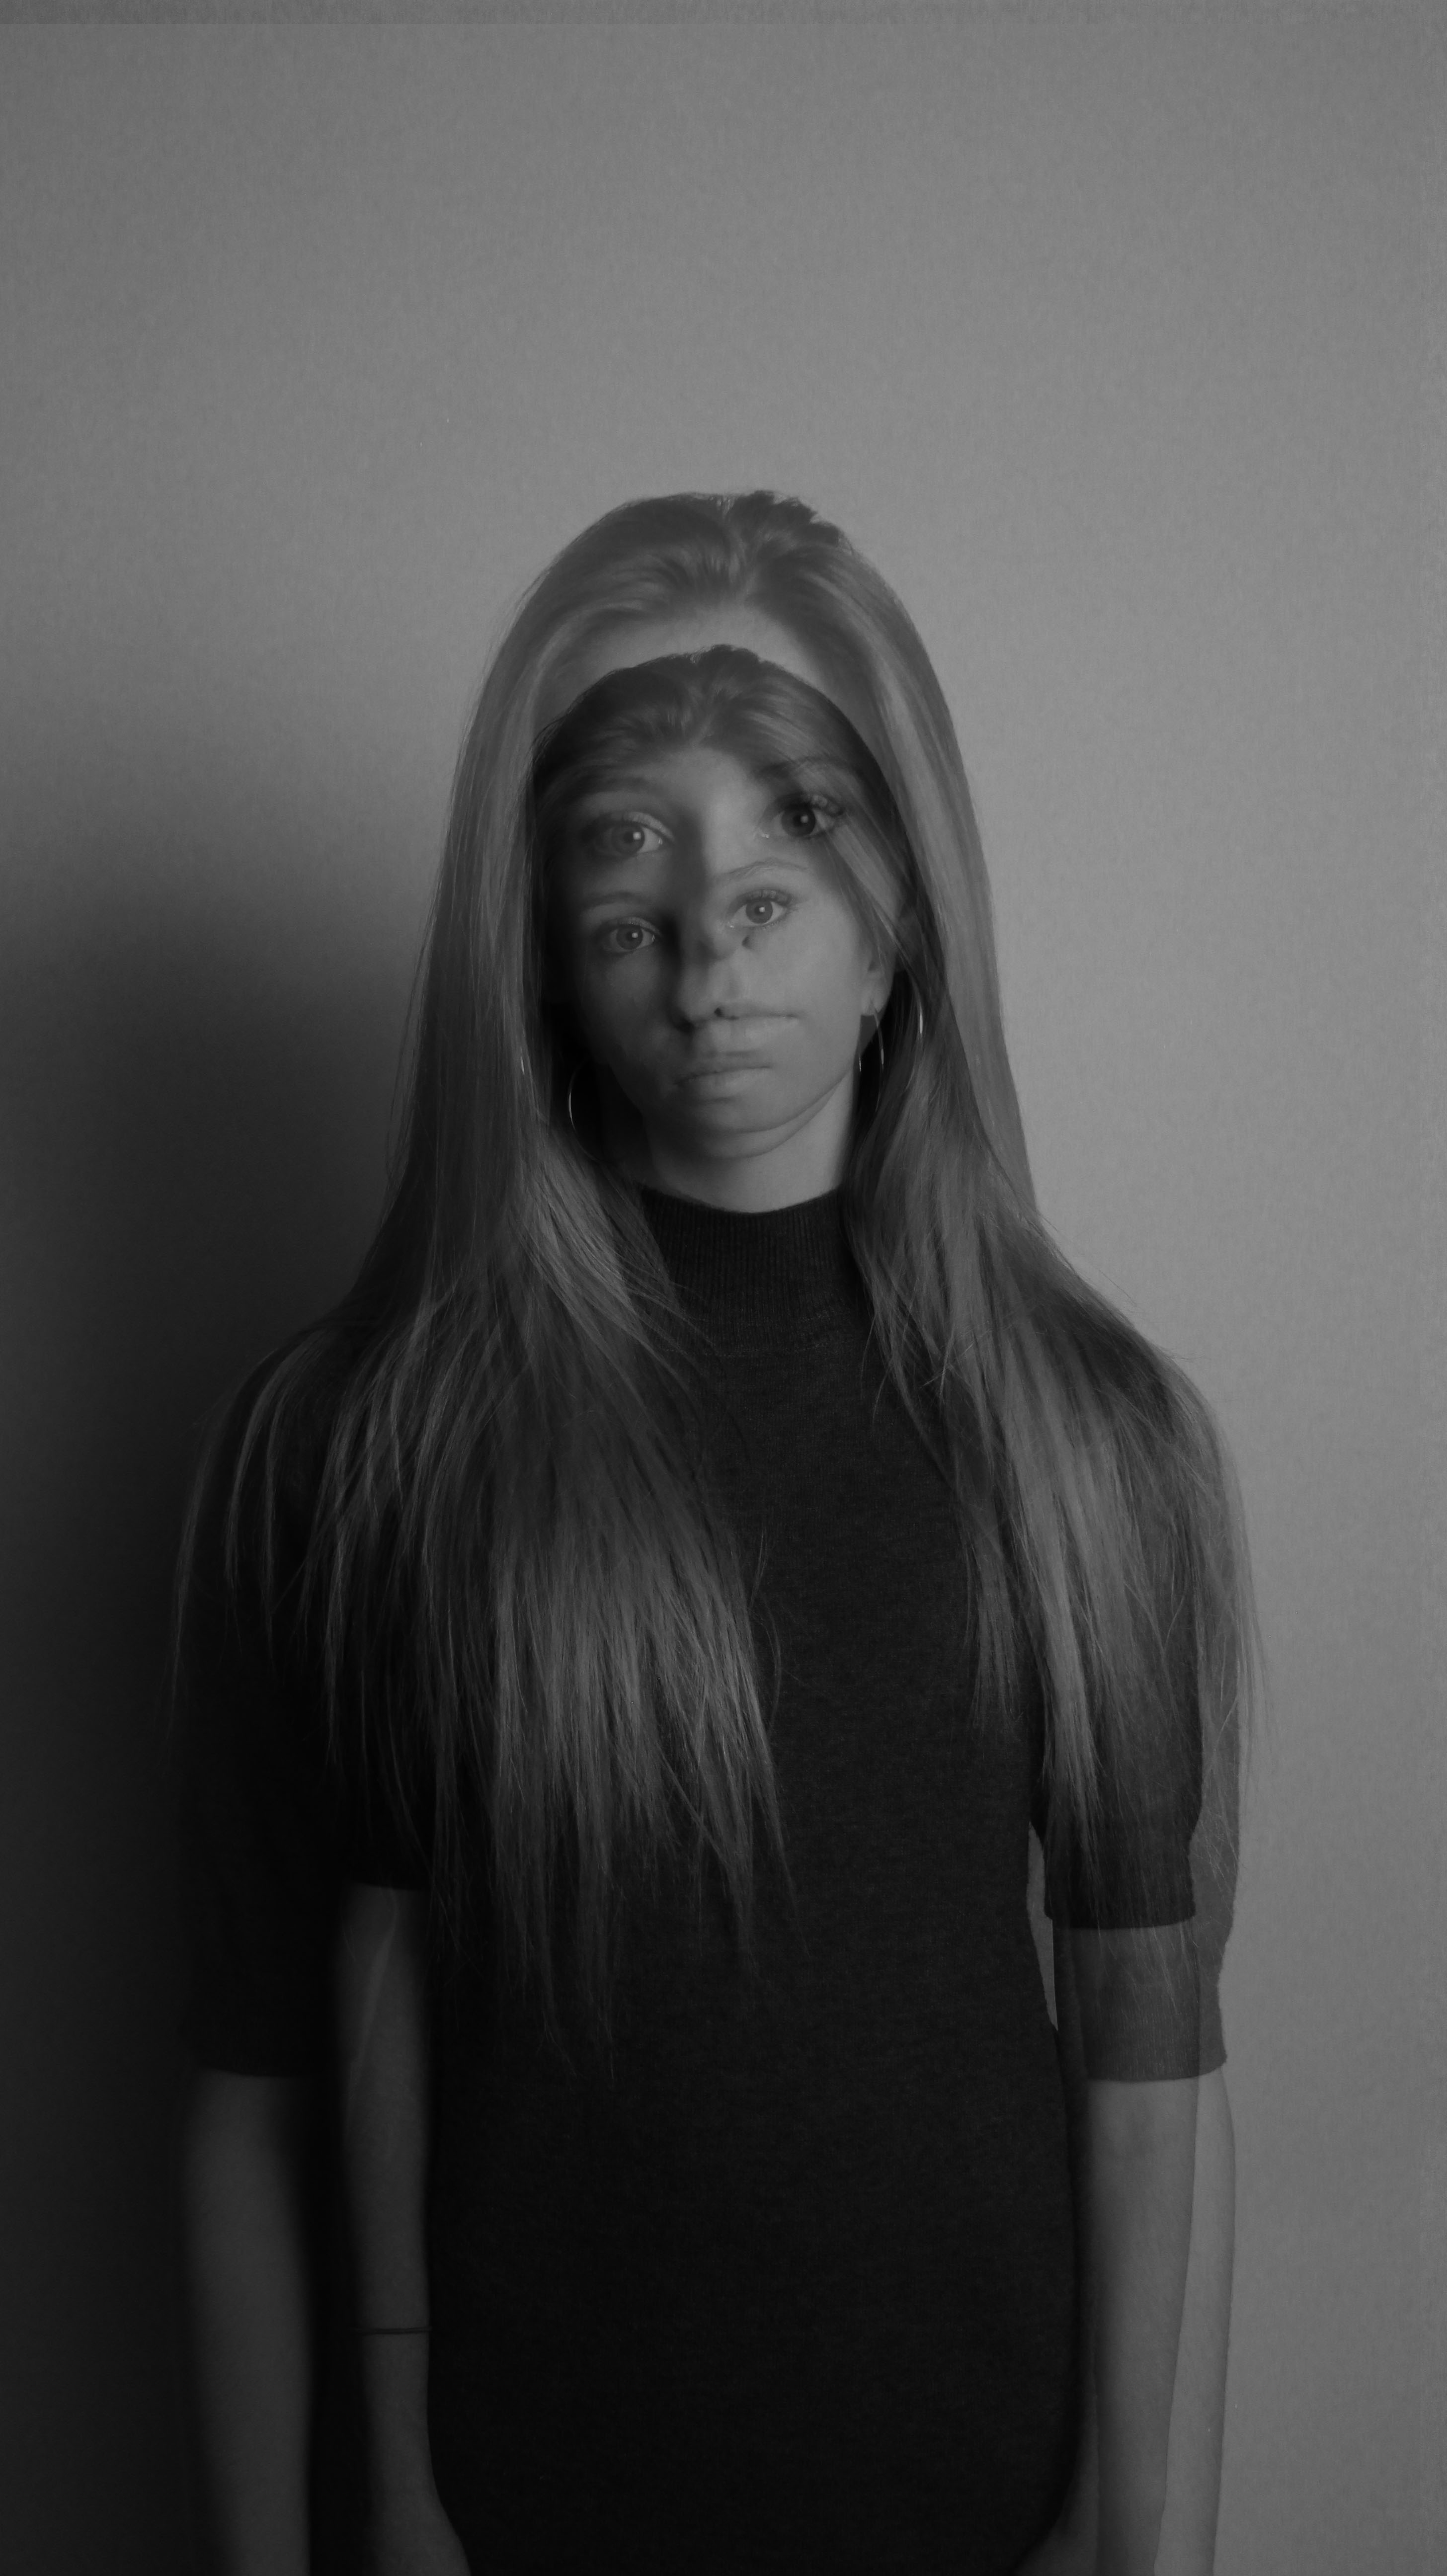
To recreate Adam Goldberg’s work, I took two similar images but with slightly different perspectives and placed one over the other, adjusting the opacity so that I could see both parts of the image. I converted the overall image to black and white and increased contrast to make the double exposure effect more dramatic.
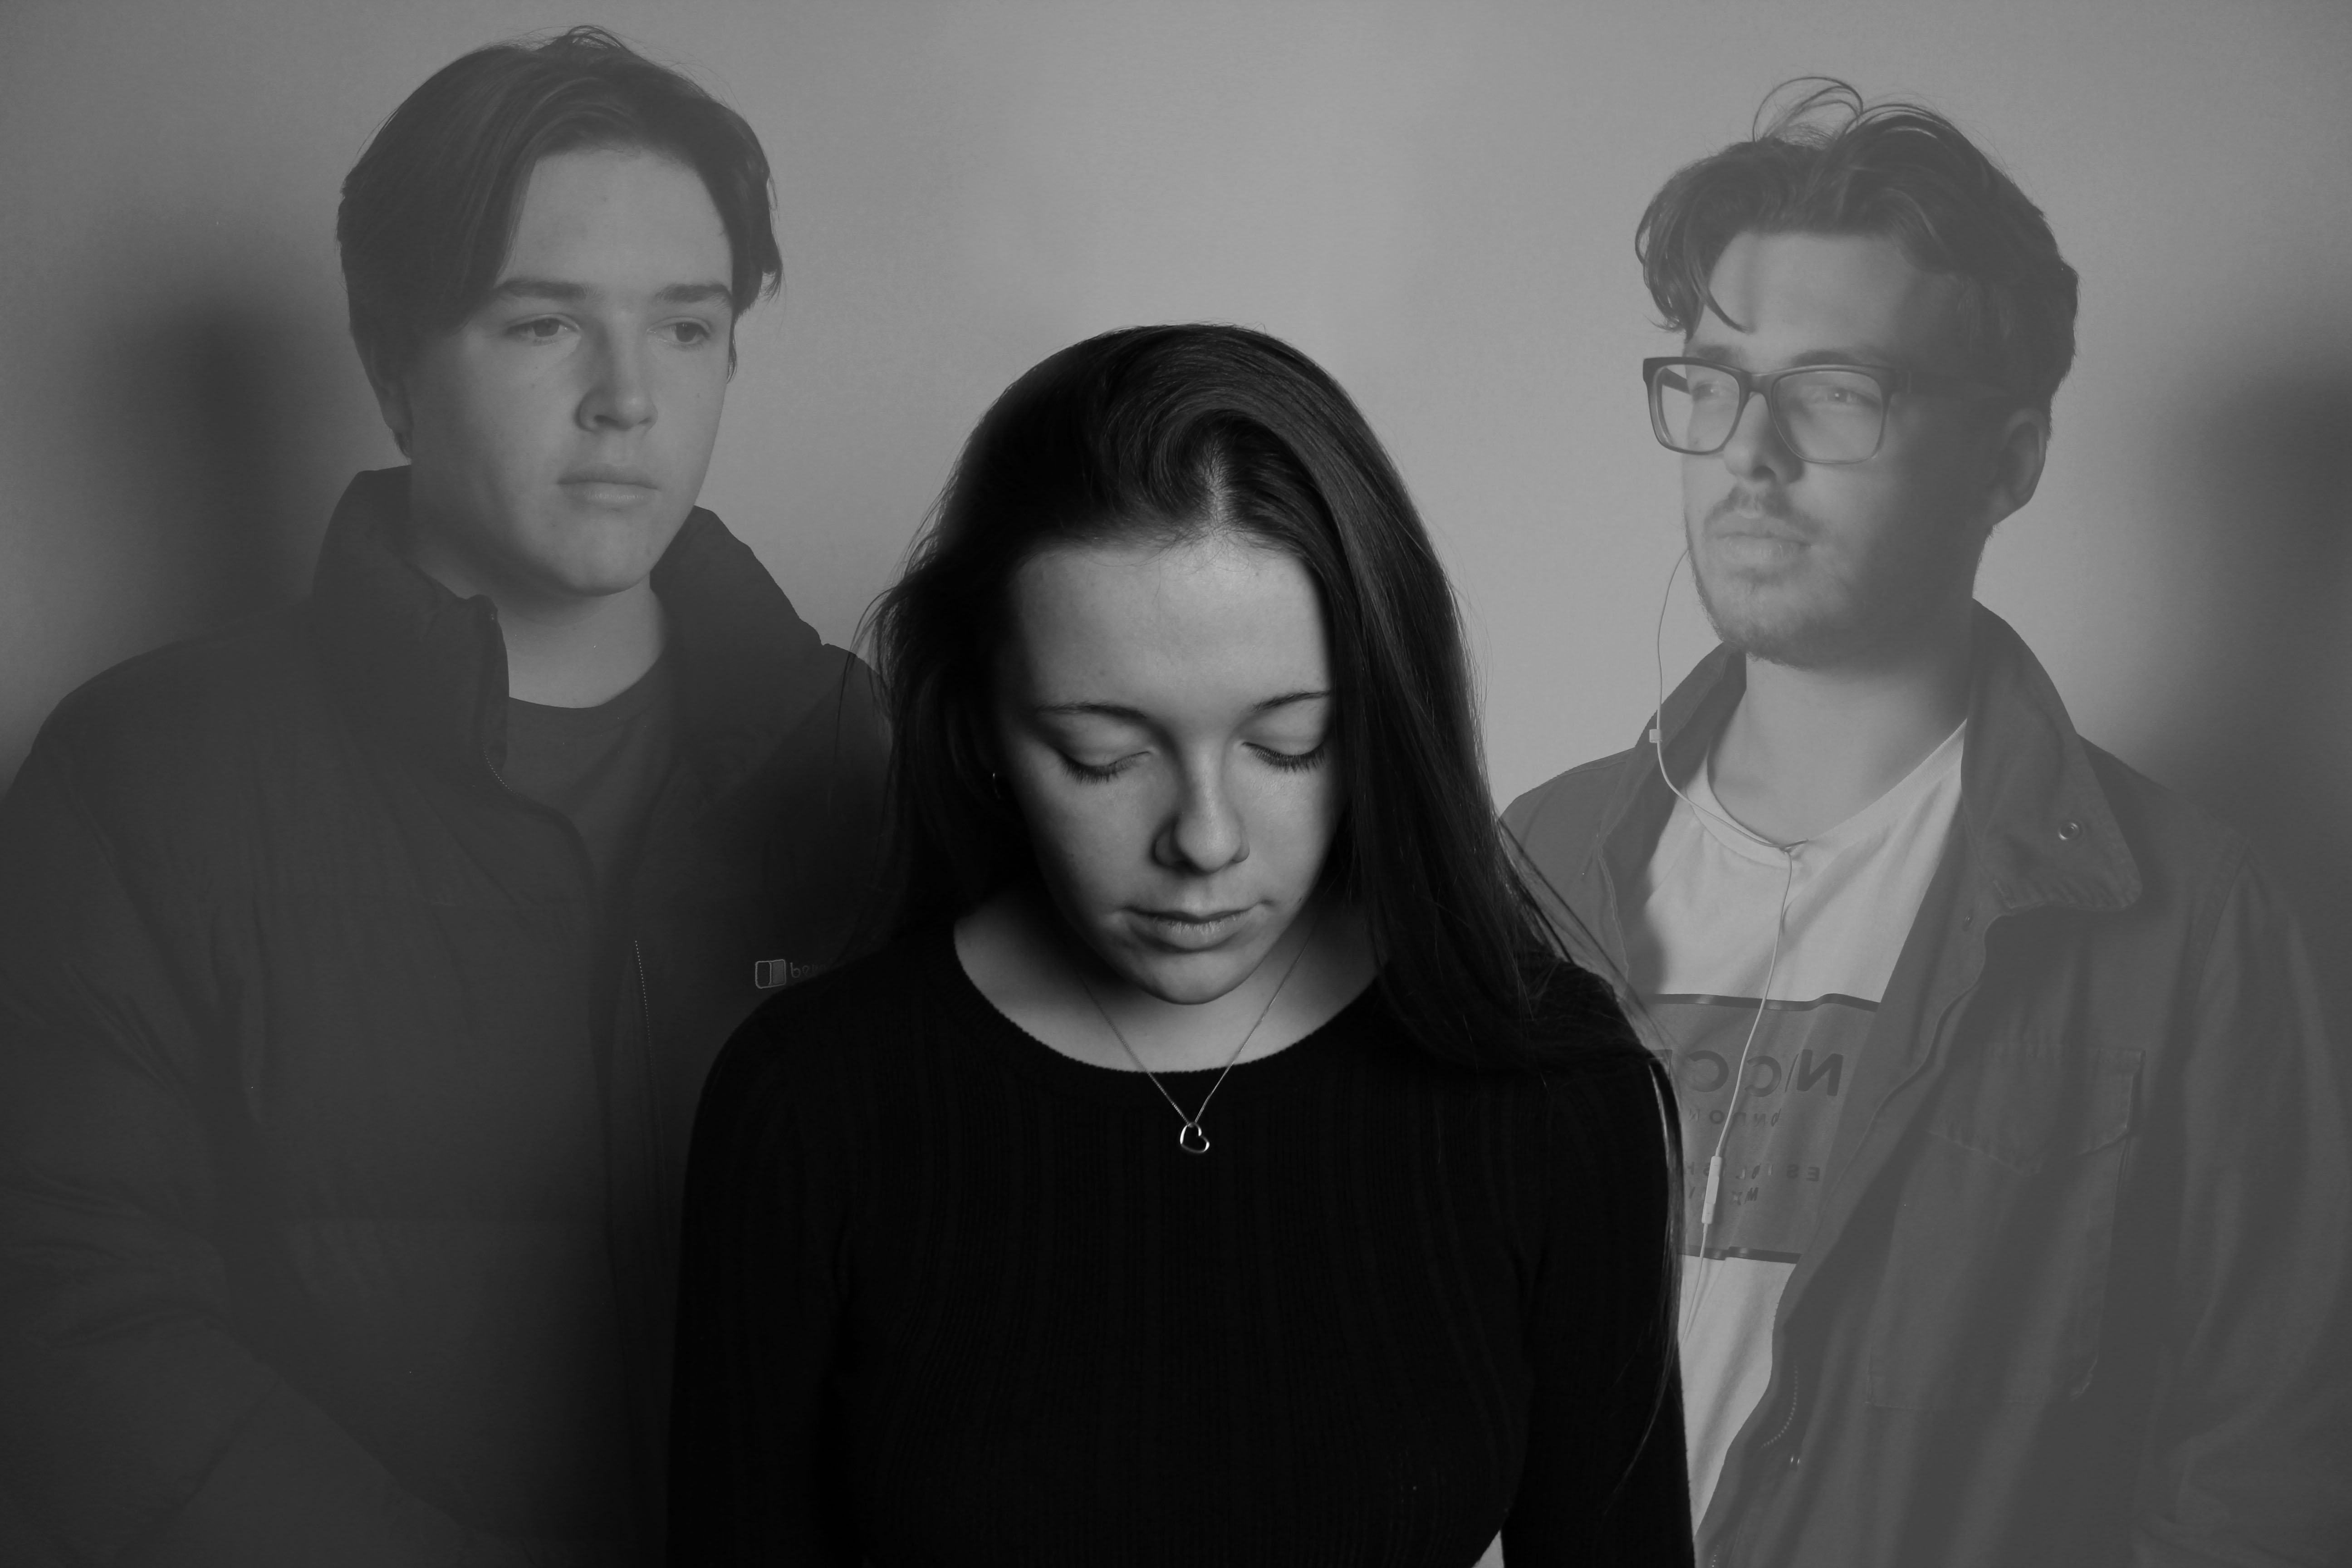
I added multiple photos but adjusted the opacity’s so that the person in the middle was the main focus. I liked this idea as it left it up to the viewer to figure out the story behind the image.
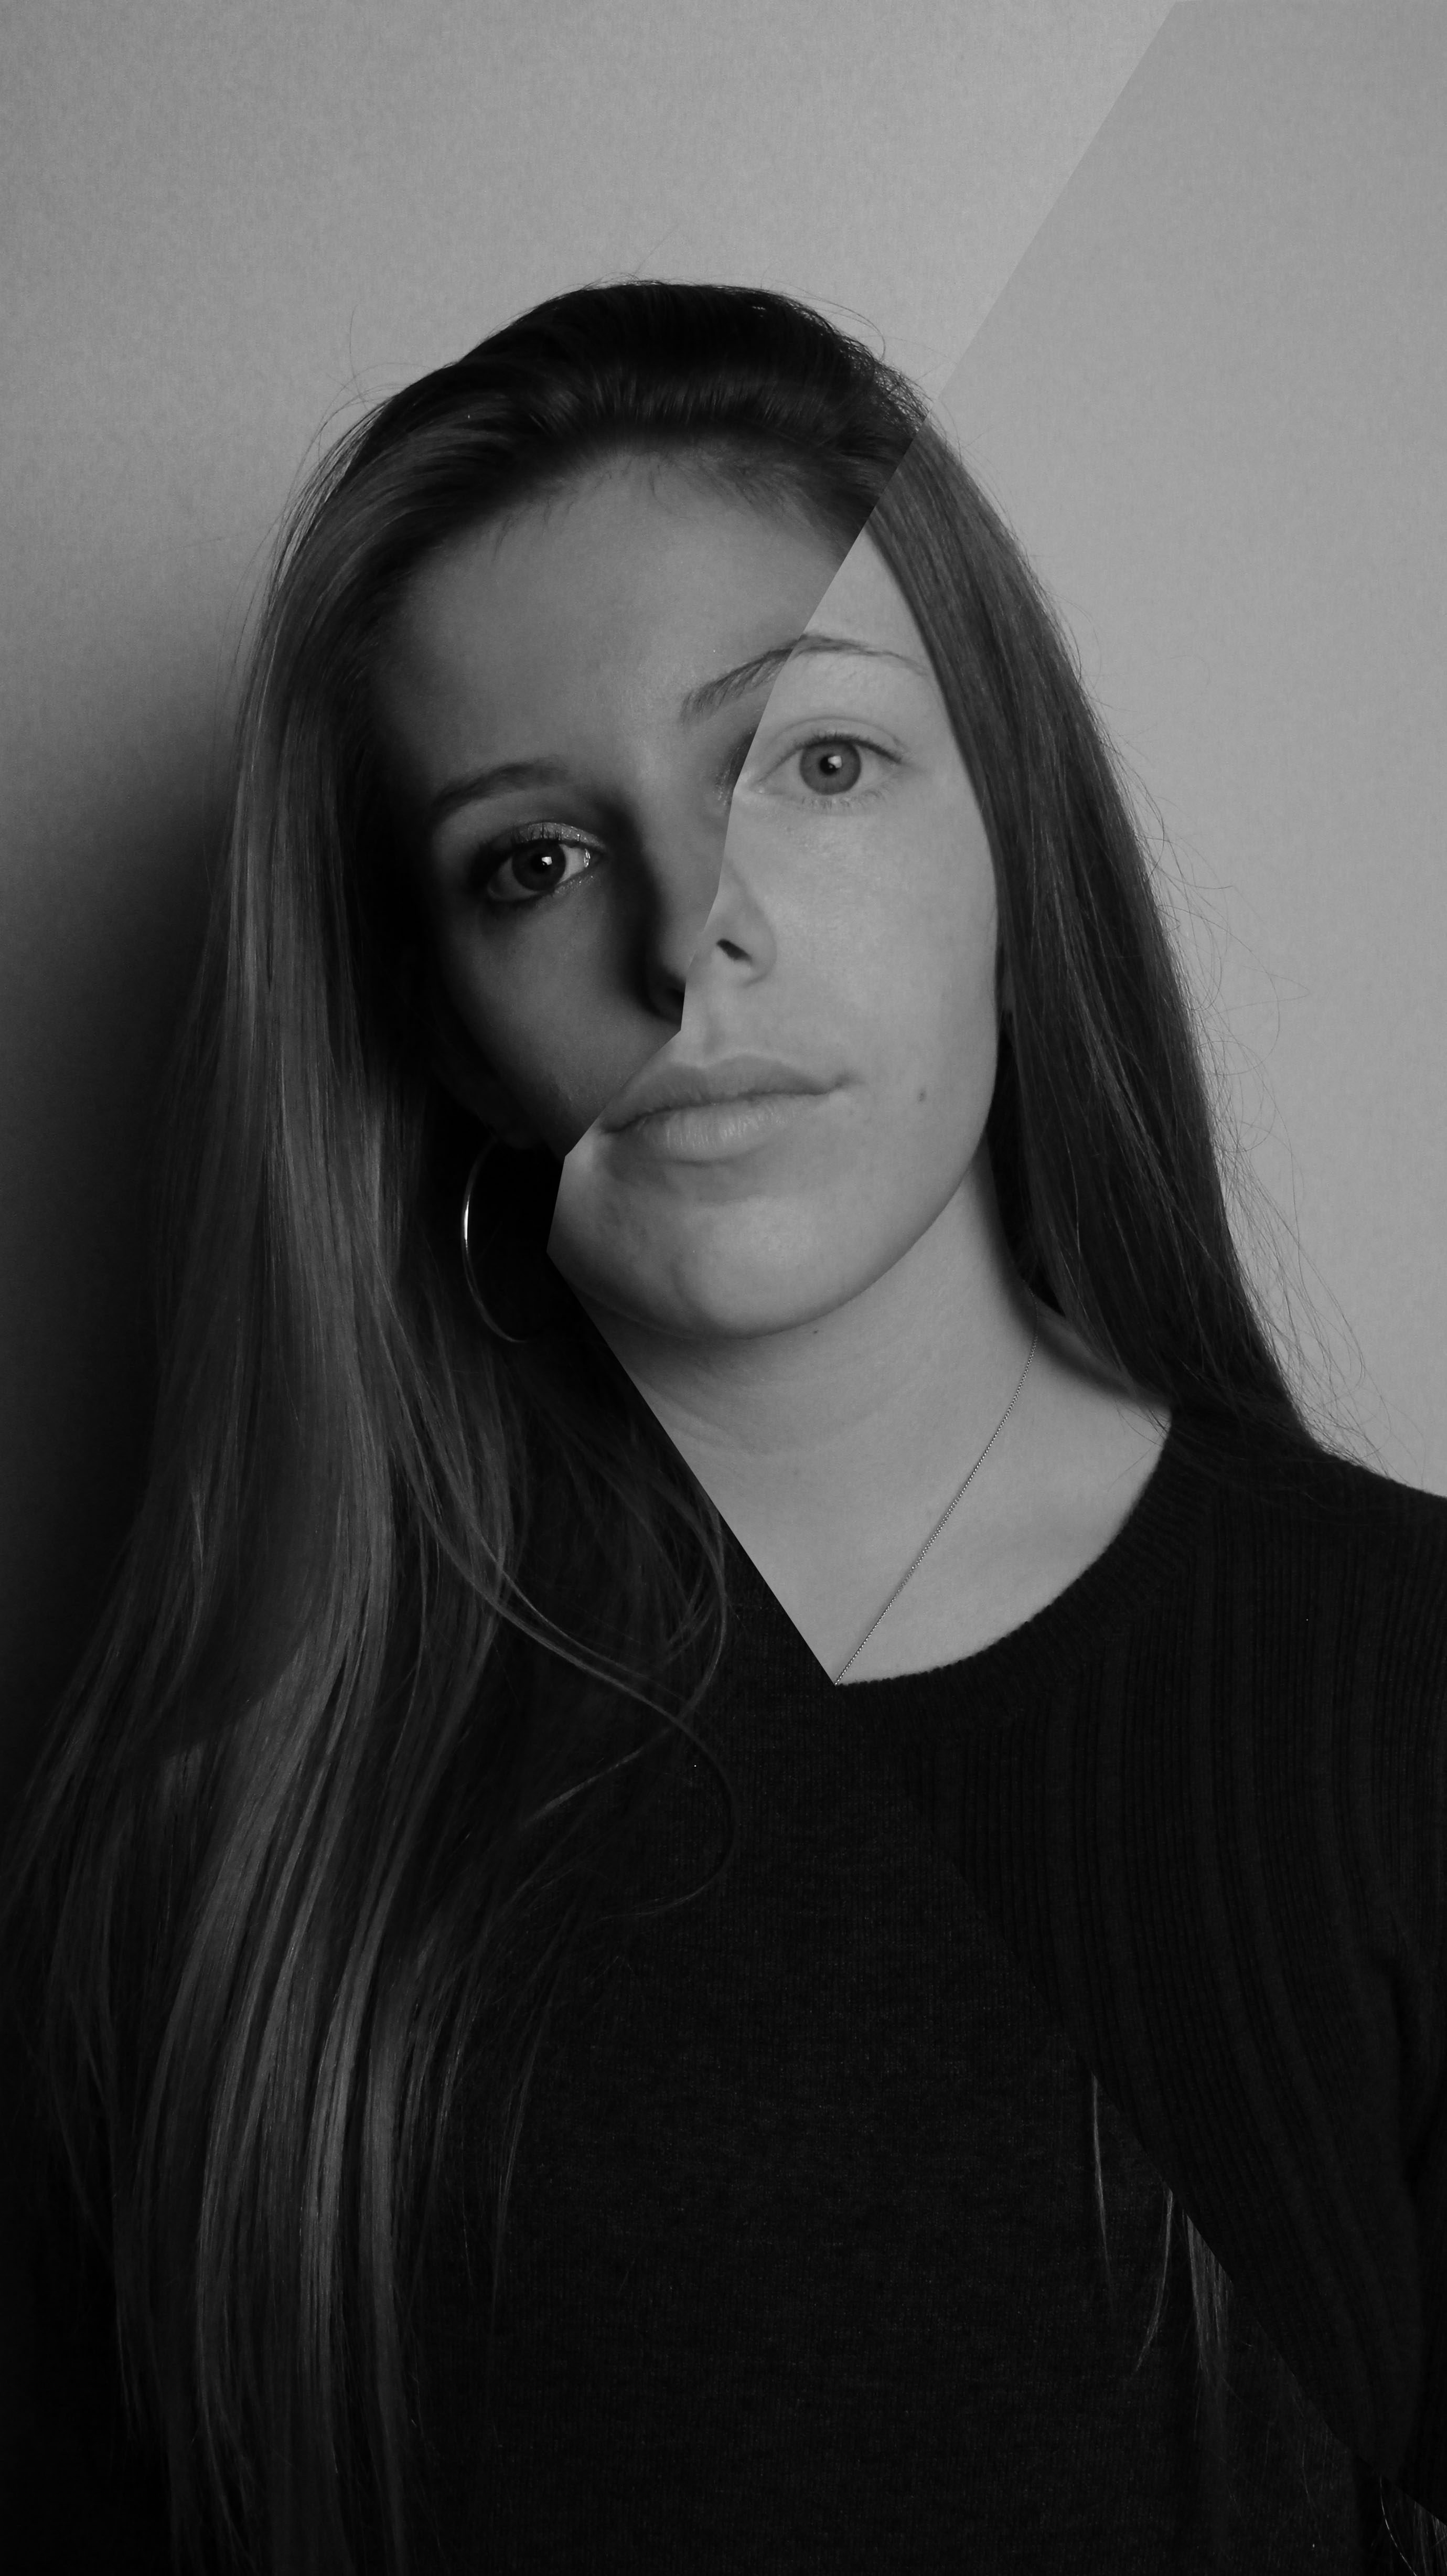
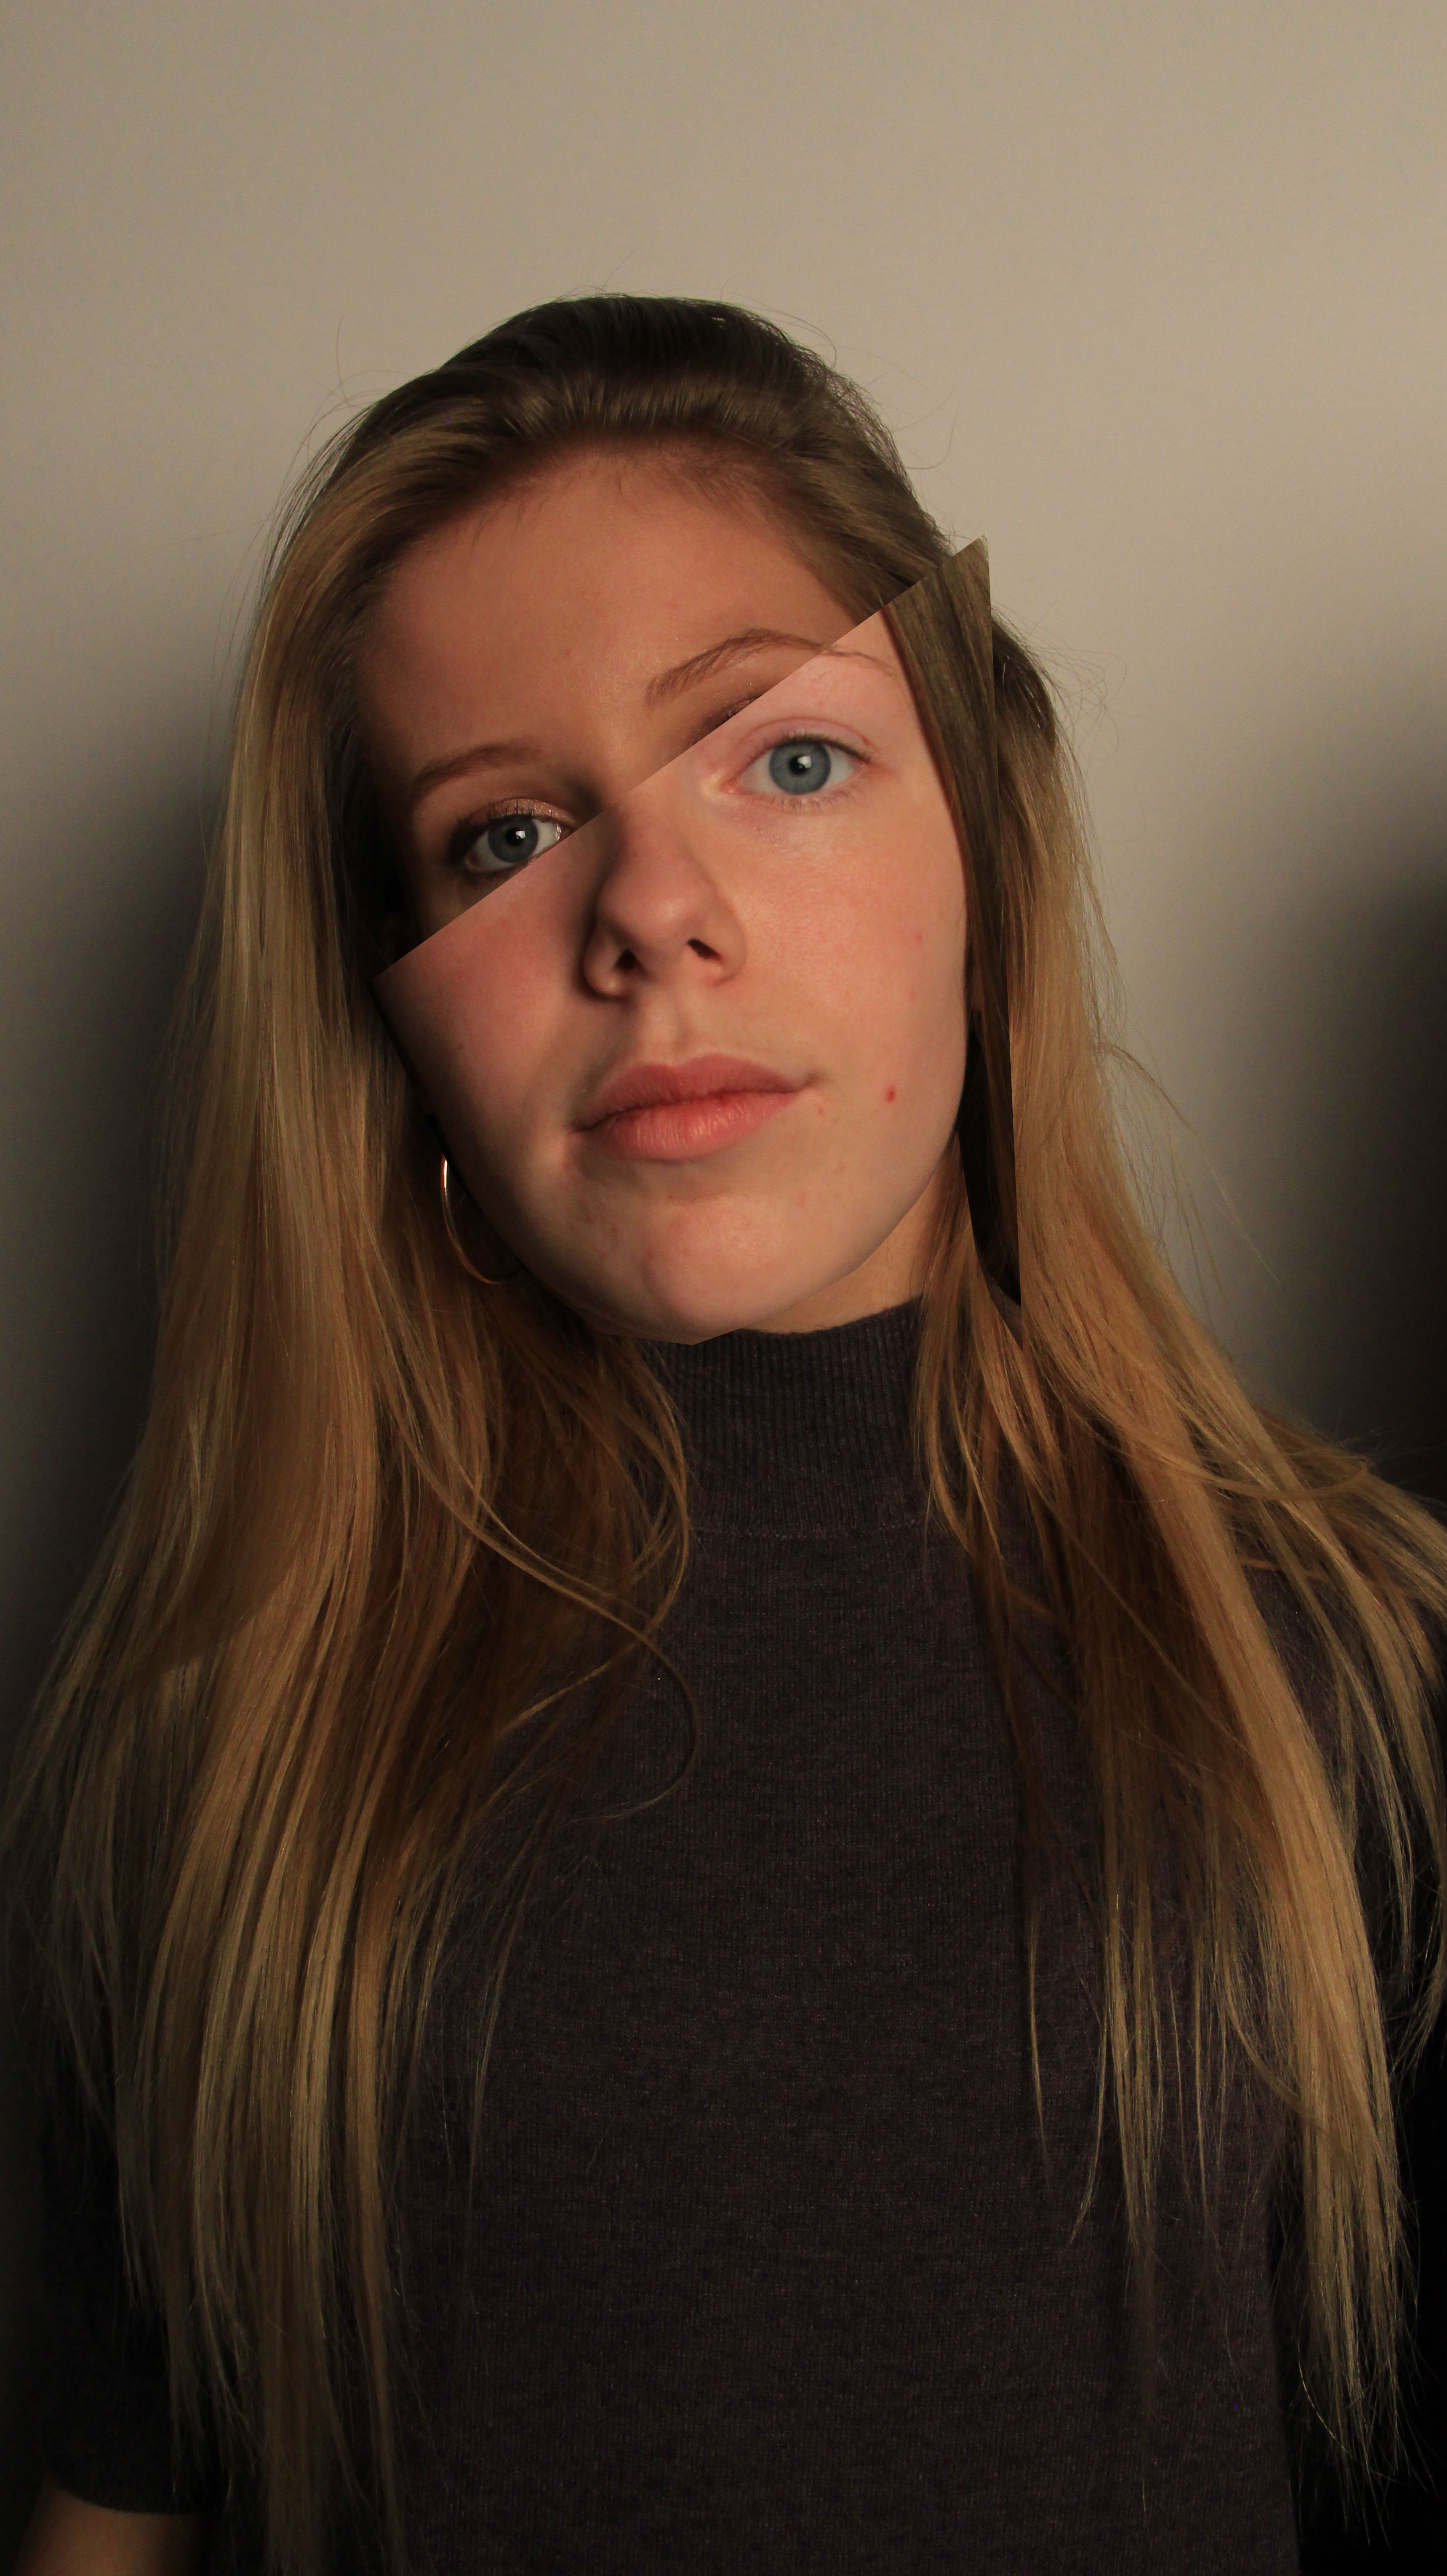
Again like Stezaker’s work, I took two images and cut them up on photoshop where I then positioned them on top of eachother so that the eyebrow, nose and hairline where in line. I converted one image to black and white to give it an older feel like Stezaker’s work

Creatively exciting ideas here…I think you should make a series of files that combine your photos, sound and even moving image (MP4 should work fine for uploading).
Some improvements needed here. Please publish all your draft posts now. Order the posts in a chronological order. Clearly show your presentation method(s). Complete and conclude the unit by adding analysis and evaluation. We should be able to see clearly your final image selections within your final blog post of the unit.