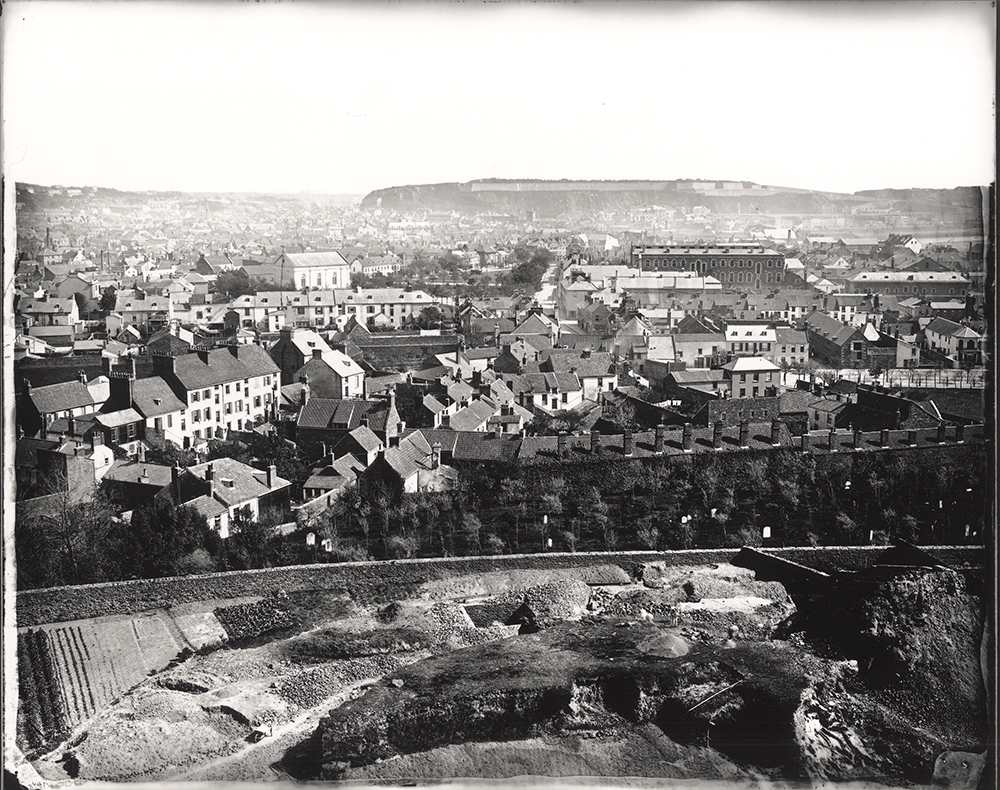
After WORKSHOP #3 with Lewis Bush on Narrative and Sequencing it is important that you develop your set of images and experiment with different photographic techniques, approaches and styles to create more visual material that you can edit from in your final sequence of images.
Essentially we want you to develop your own visual language and create a unique set of sequenced images that reflects on how you see the Future of St Helier.
Make following blogposts with good use of visuals/images, reference to hyperlinks and analysis/ evaluations
TASKS
EVALUATE AND REFLECT
Produce a blog post where you evaluate your first sequence of images, reflect on what story you are trying to communicate and what you discussed with Lewis in terms of how you can improve and develop your project from here.
Follow Lewis’ instructions here:
- Edit 6-10 images down to an ordered series of 6-10 images
- Thinks about start, middle and end images
- Think about your theme or subject
- What happens or changes over the series of images?
- Are you using your best images?
Next:
Share your series of images with someone else.
- Can they figure out what the images are about and what is happening over the course of the series?
- Do they have any suggestions to make things clearer?
- Do a further edit based on their comments
Here is Lewis Bush’ PPT on Hautlieu Editing_reduced
DEVELOP AND EXPERIMENT
On Thursday (28 June) and Friday (29 June) you are working in the class room independently. Produce one blog post for each experiment below
Export your sequence of 6-10 images from Lightroom in high-res tiff files (4000 pixles) and save in your EDIT folder
Experiment 1: CROPPING – complete by Fri 29 June
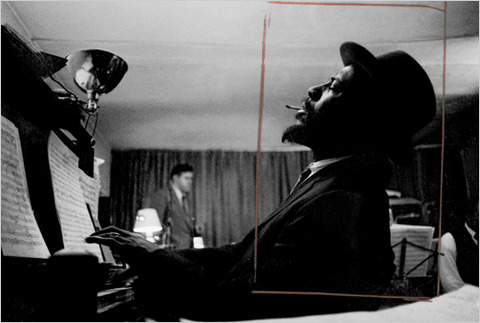
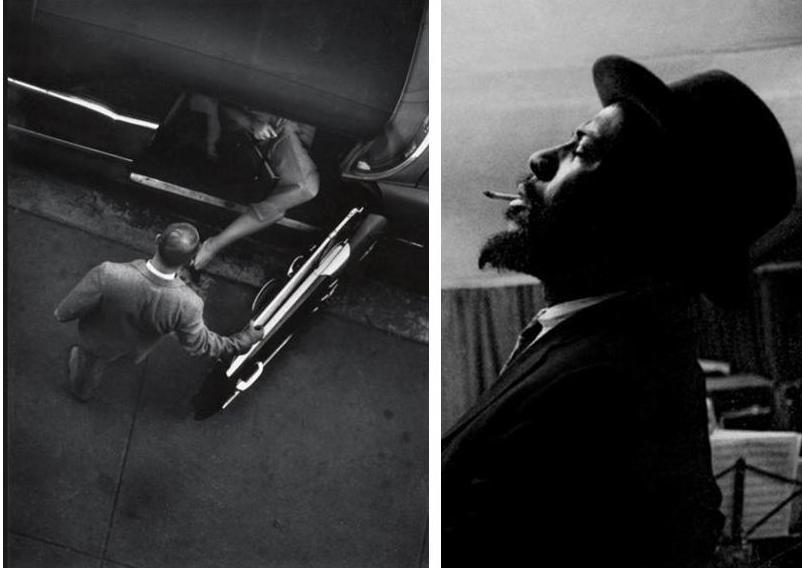
Using cropping tool only begin to make some radical changes by selecting areas of your images for a different visual impact. Produce at least 3 different crops for 6 images.
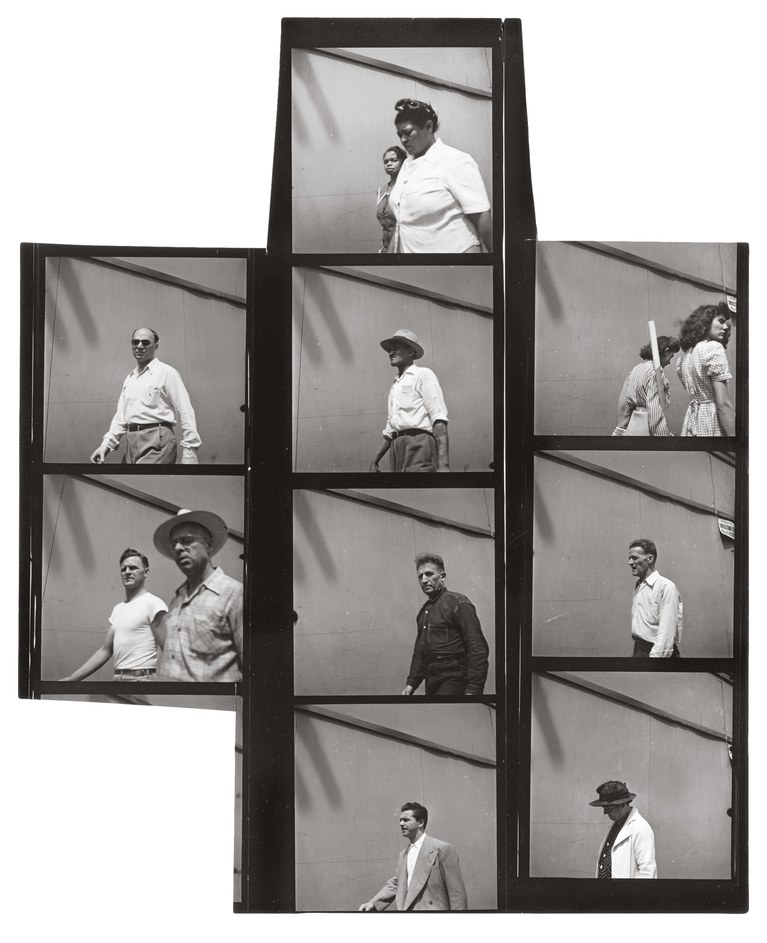
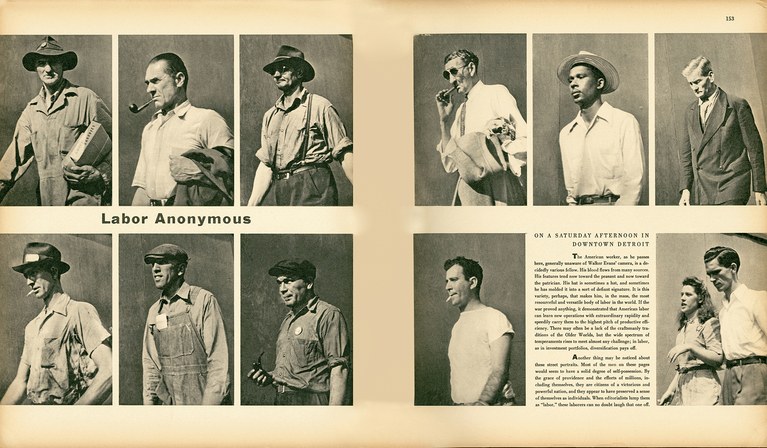
One of the founding fathers of Documentary Photography Walker Evans used cropping as part of his work. Another pioneer of the photo-essay, W. Eugene Smith also experimented with cropping is his picture-stories
Read more here on Walker Evans and his magazine work and his series Labour Anonymous here on W. Eugene Smith.
Experiment 2: COLOUR > B&W ADJUSTMENTS complete by Fri 29 June
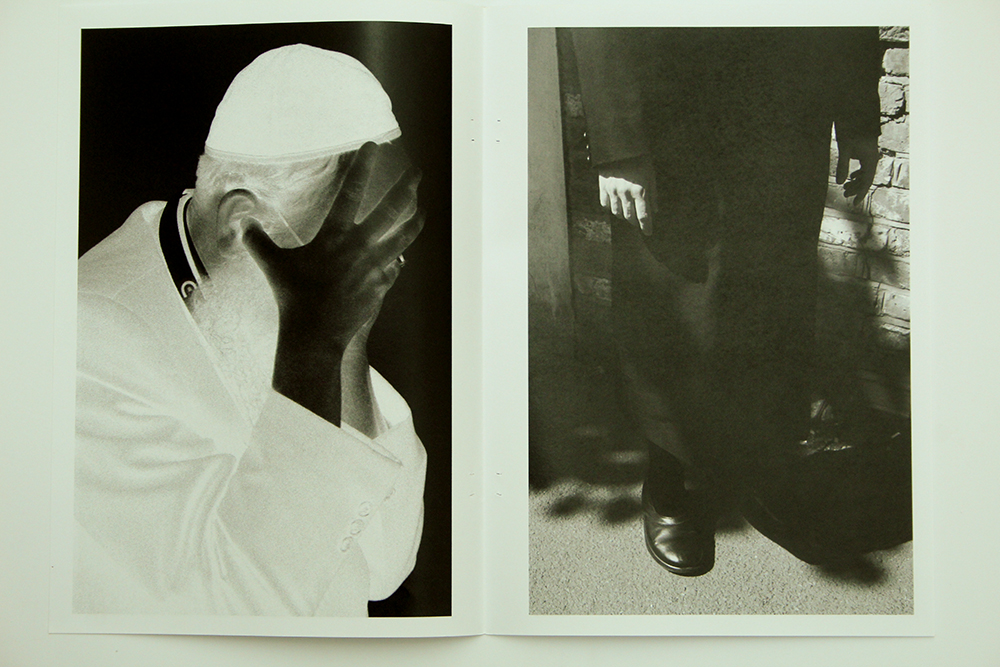
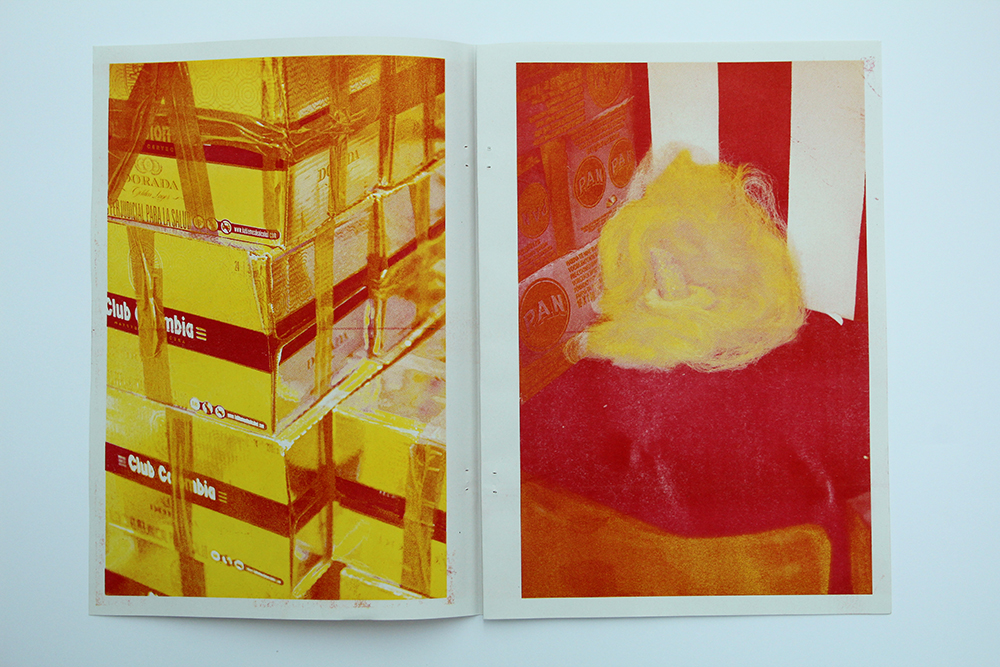
Using your tools such as White Balance / Exposure / Levels / Curves / Brightness /Contrasts / Colour Balance / Hue / Saturation / Colour overlay and make radical changes to the overall aesthetic of the images. Try and adjust images according to your visceral quality – relating to your deep inward feelings rather than how something looks! Produce 3 different adjustments with images
Look at the publication Global Market by students are ECAL for inspiration. Go to this folder for high-res images of the page-spreads.
Experiment 3: MONTAGE > COMPOSITE IMAGES complete by Wed 4 July
Using your skills in Photoshop that you learned at AS begin to work with different montage / collage / cut n past/ composite / Layers / Masks / Opacity / Blending modes / Brush techniques
1. Use your selected images and produce at least 3 different collages combining two or more images / people / landscapes / text / typography / colour / shapes / textures/
2. Combine your images with images from the Photo-Archive that relate to your area in town. Go to the folder below and choose at least 3 high-res images from selected photographers, Percival Dunham, Ernest Baudoux, Albert Smith and Francis Foot
M:\Departments\Photography\Students\Future of St Helier\SJ Photo-Archive
3. Print out 1 of your own images and 1 archive images on the Laserjet and manipulate the prints by destroying it in 5 different ways and re-configure using scissors / tape / cut-n-paste / glue. Try and manipulate the printed images using your body / hand/ face etc .
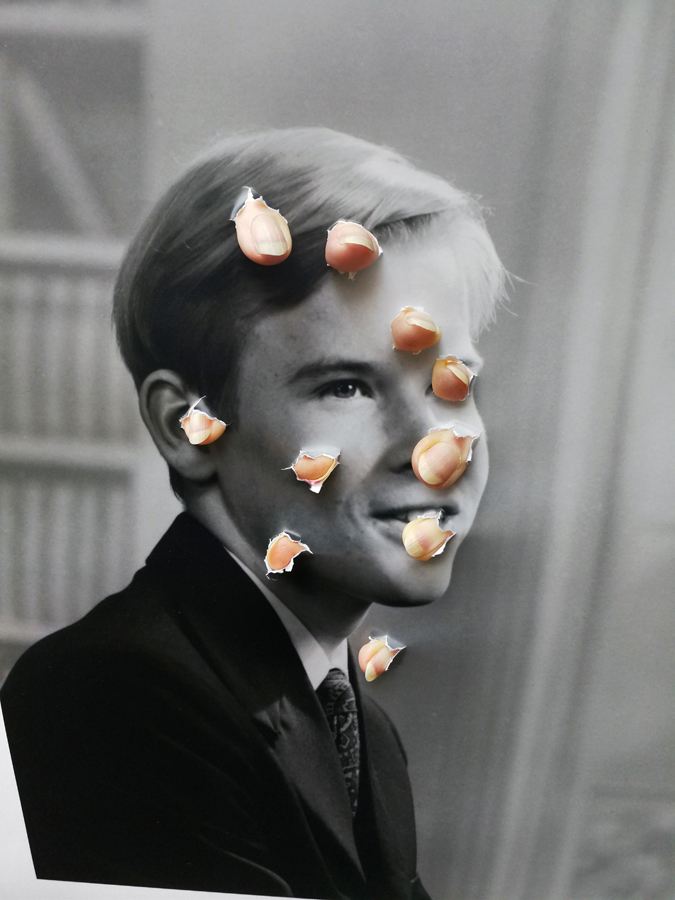
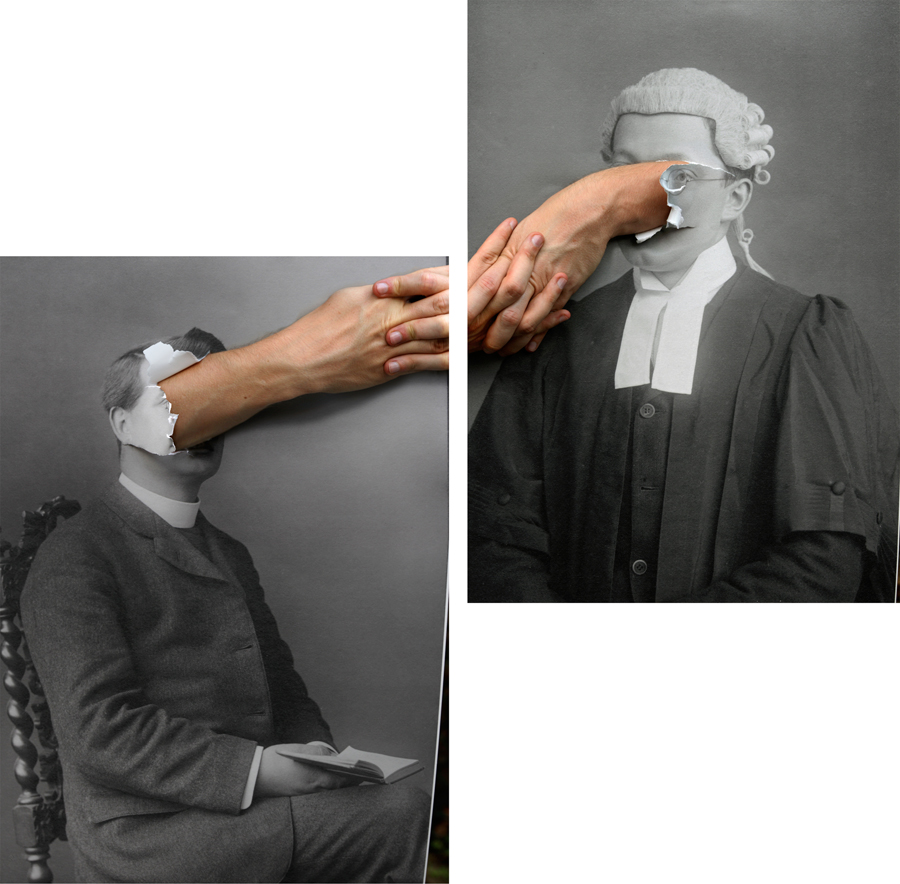
Look at Jonny Briggs for visual inspiration
Read more here
RE-VISIT AND RE-SHOOT – complete by Mon 2 July
Here are few things to consider for your second shoot
- Revisit location and make another shoot. Reflect on your current sequence of images and think about what is missing, or what you need to photograph to add value to the story you are trying to communicate.
- Collect ephemera / found objects and photograph them in-situ – how and where you found them and also re-photograph the objects as a still-life at home setting up up your own mini-studio or use Photo-studio in school.
Richard Wentworth 
Lorenzo Vitturi Dalston Anatomy Keith Arnatt, Canned Sunsets, 1990-91 - Record sounds or video as another visual layer / audio ambience that you could incorporate into your project e.g select individual frames from video and edit as a sequence in a time line. Use audio to record conversation with people you meet or use it as dictaphone to record your own feelings in a diary form.
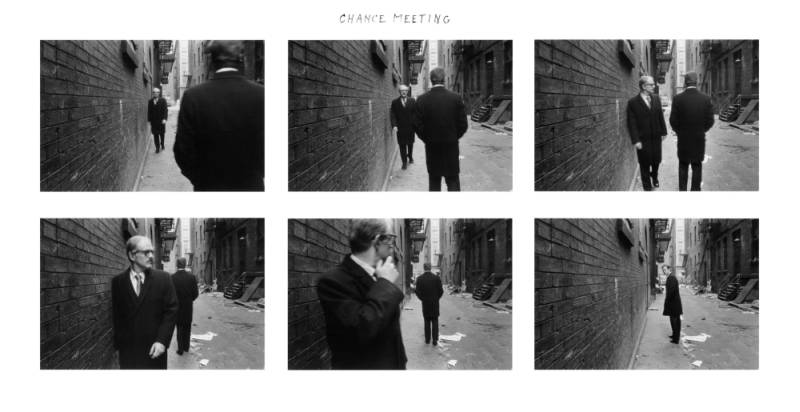
Duane Michaels 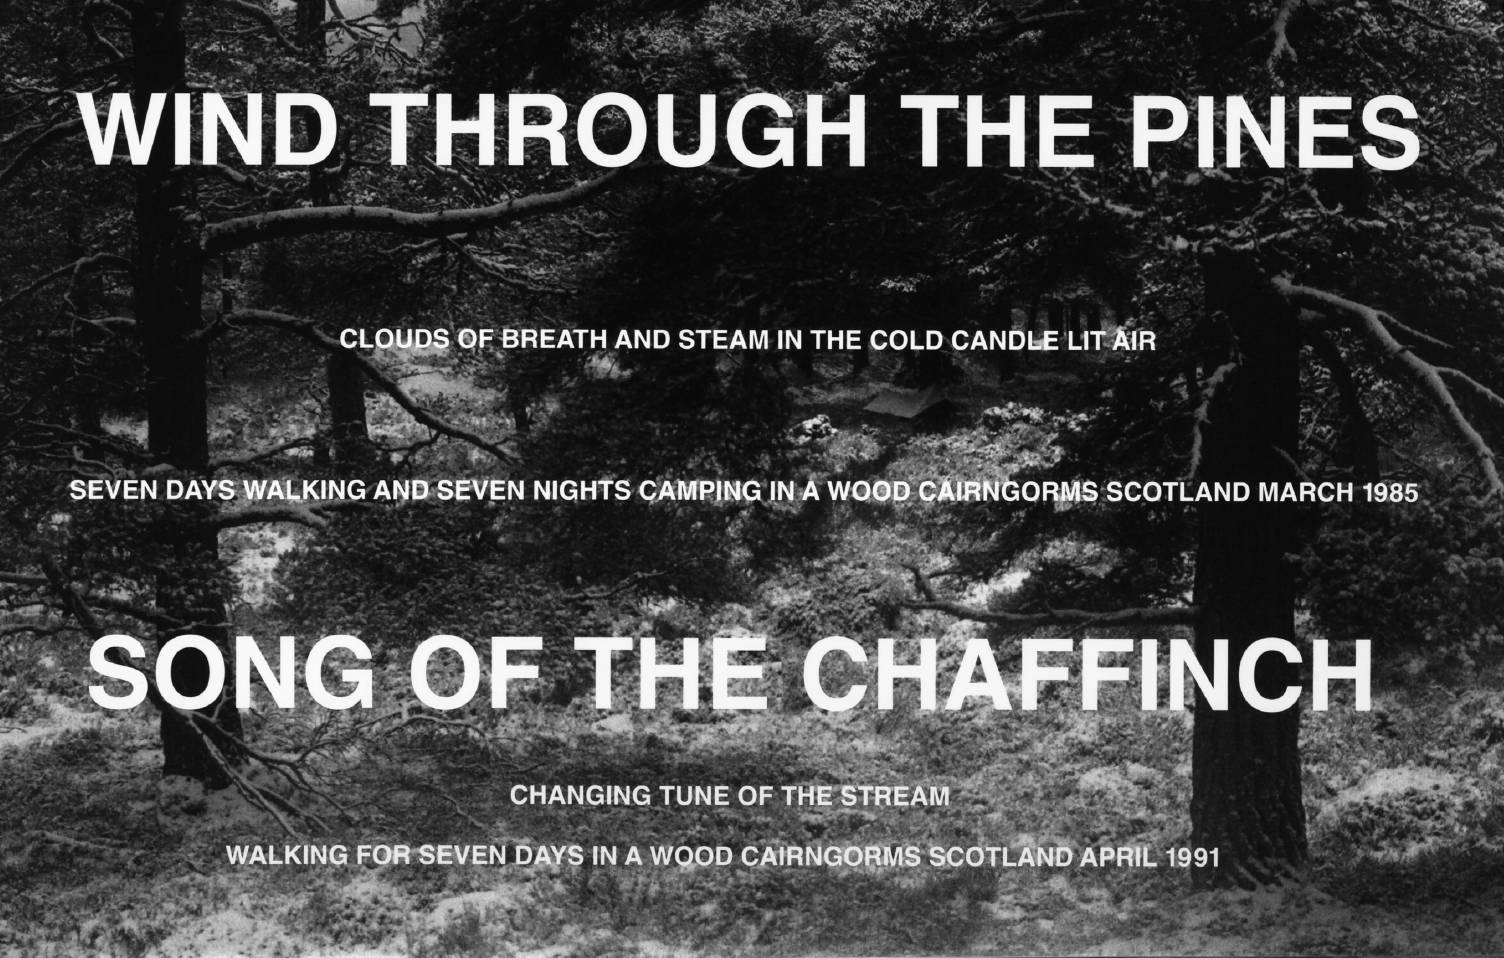
Wind through the Pines 1985, 1991 Hamish Fulton
Here is a few pointers – but not exclusive – please add your own thoughts/ ideas/ concepts/ brainstorm etc.
- Diverse communities / social groups
- Architecture / Housing
- Psycho-geography / dérive(urban drifting)
- Abstract visions…alternative, “wrong” photographs
- Formalism…line, shape, pattern, tone, colour etc
- Romanticism in the city…atmospherics
- People / 3 x types of portrait (observatinal , formal, environmental)
- Streets and capturing a momemt
- Objects | Ephemera (litter and debris)
- Make use of your senses : see , hear ,taste, smell, touch
- Old vs New vs Development
- Good vs bad…subjective approach
- Form vs function
- Gentrification vs dereliction
- Juxtaposition | contrasts | diversity
- Unconventional beauty
- Signage and facades
- Typography and graphics
- Movement / clutter
- Aerial Imagery / Satellite / Surveillance
- Angles | Viewpoints
- Environment / pollution
- Poetic / personal point of view
- roads / paths/ walkways
- Open space / Public realm
- Objects / Ephemera
However, it is important to allow for spontaneity and let you be inspired by the area you are photographing, or be inspired by people you meet in the community.
A sense of risk and an opportunity to go beyond the norm or unexpected is encouraged.


