Within this post I will be exploring the use of a black and white filter to emphasize or change the overall feel of individual images. By doing this I intend to highlight the lack of structure that its presented by the area of St Helier, as it will convert the images back into two shades whilst bringing an entirely new perspective of my original images. Using Lightroom, I will mess around with the exposure and contrast especially to see how they can pinpoint features of buildings that define the area or criticise it. Here is the process that I went through to convert each images, and the setting I used in each one to change the lighting along with the final results: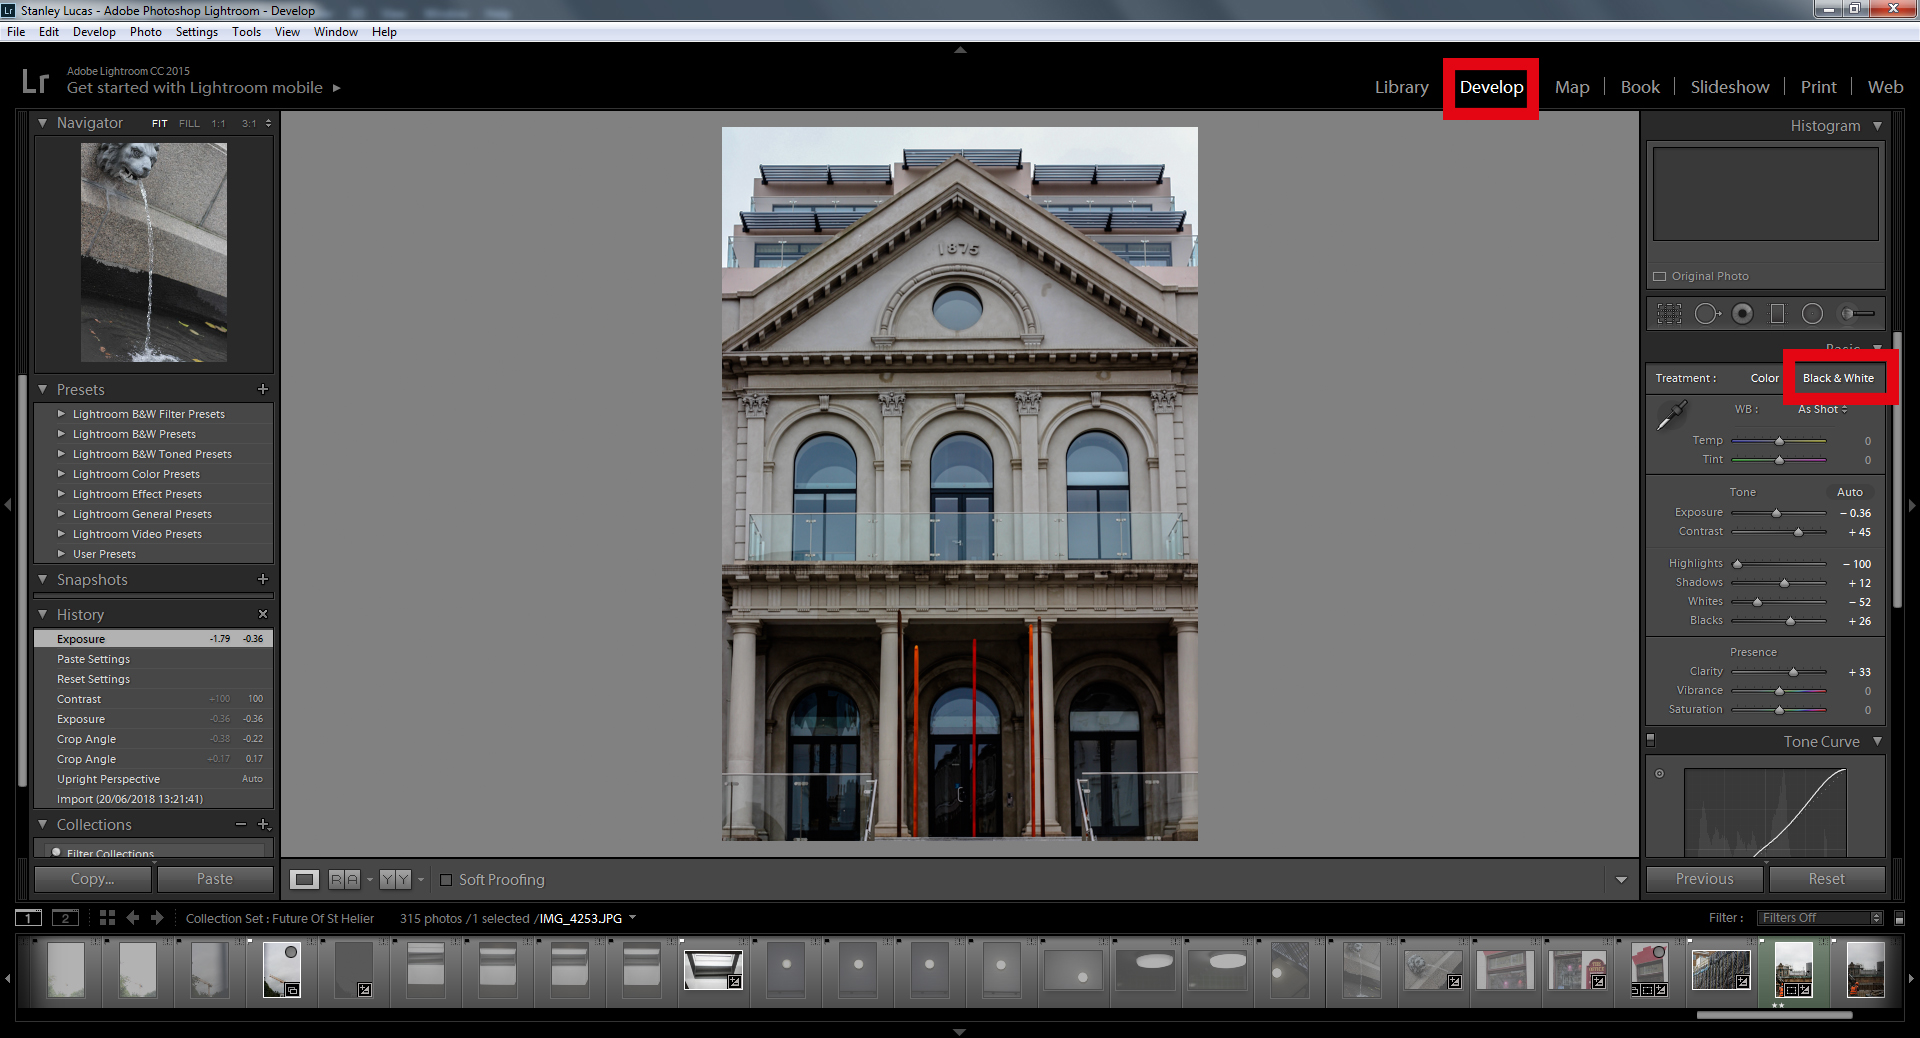 Firstly within Adobe Lightroom I would locate the image I wanted and select the develop tab in the top right. From here it would allow access to the black and white colour filter selection which would enable me to change the photo.
 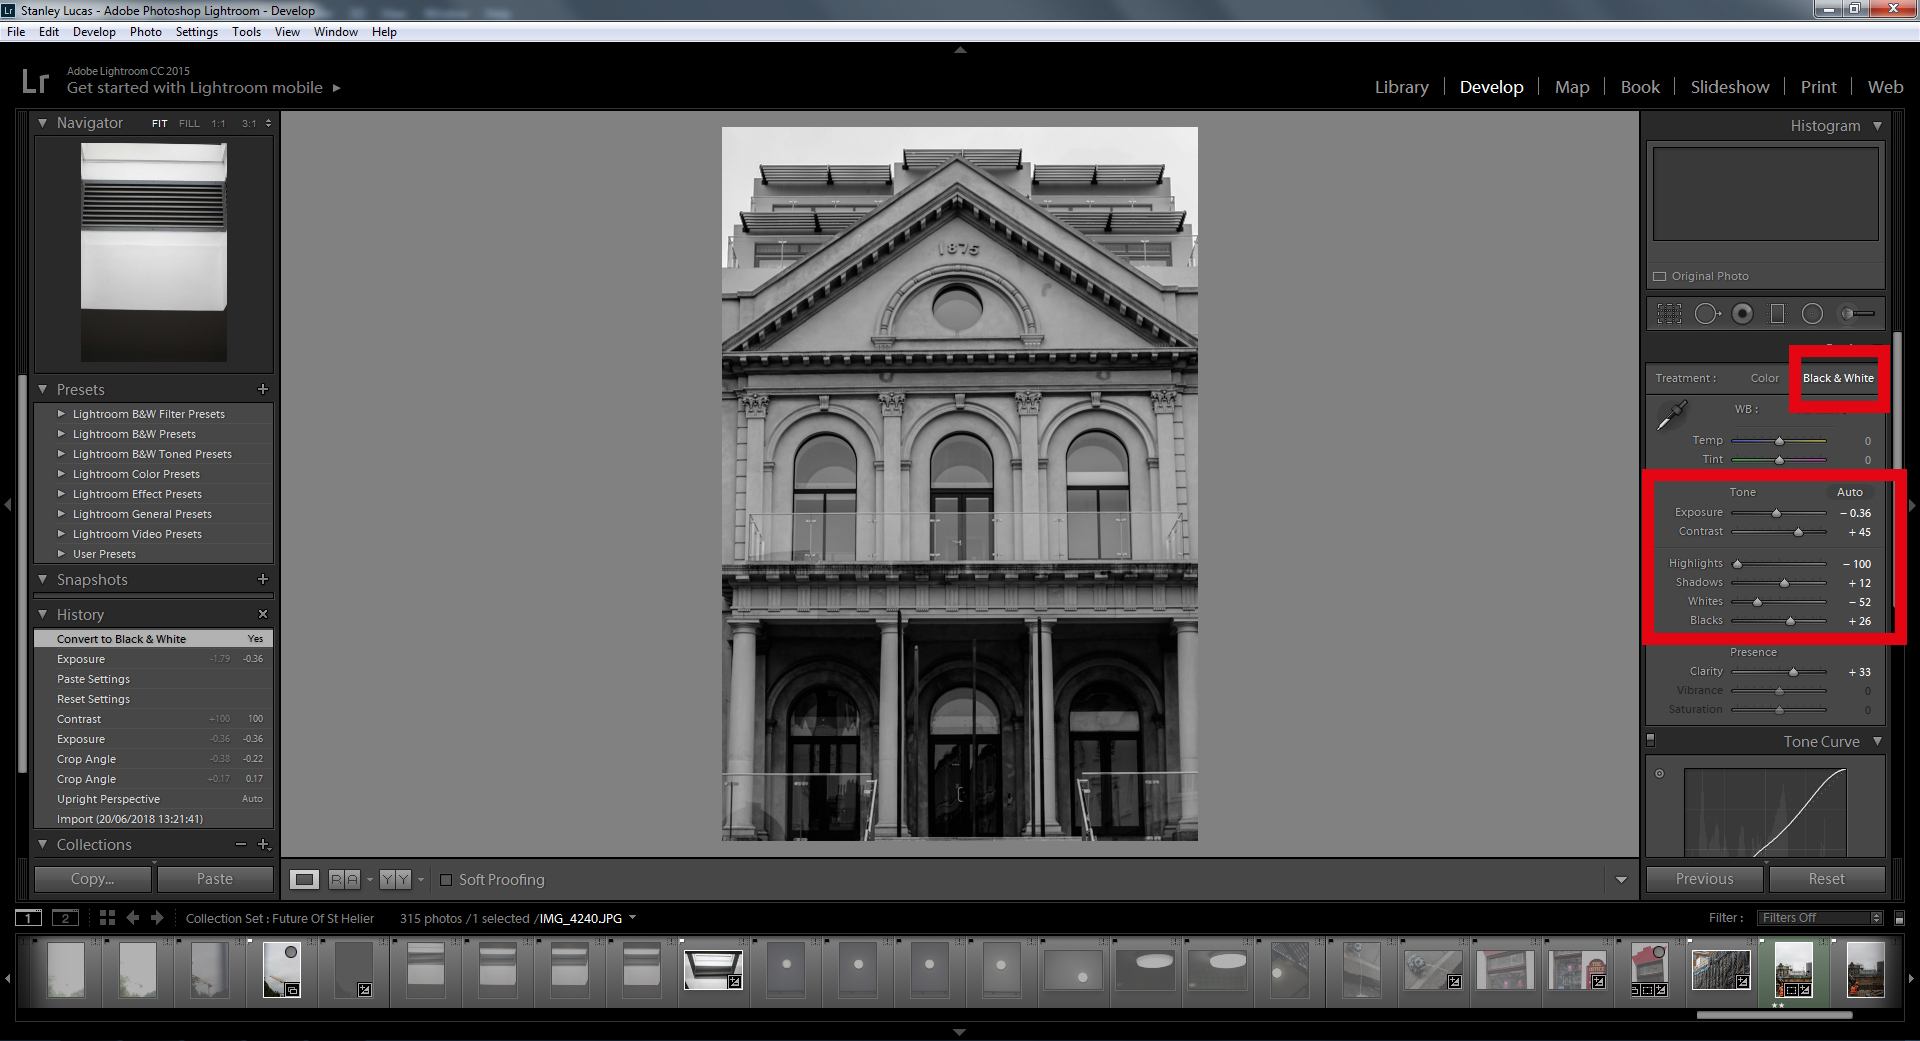 Once done I would mess around with the adjustments that the coloured selection would allow me, such as the contrast and brightness. By doing this the overall image is changed as certain features are highlighted more than they would have necessarily had if in colour.
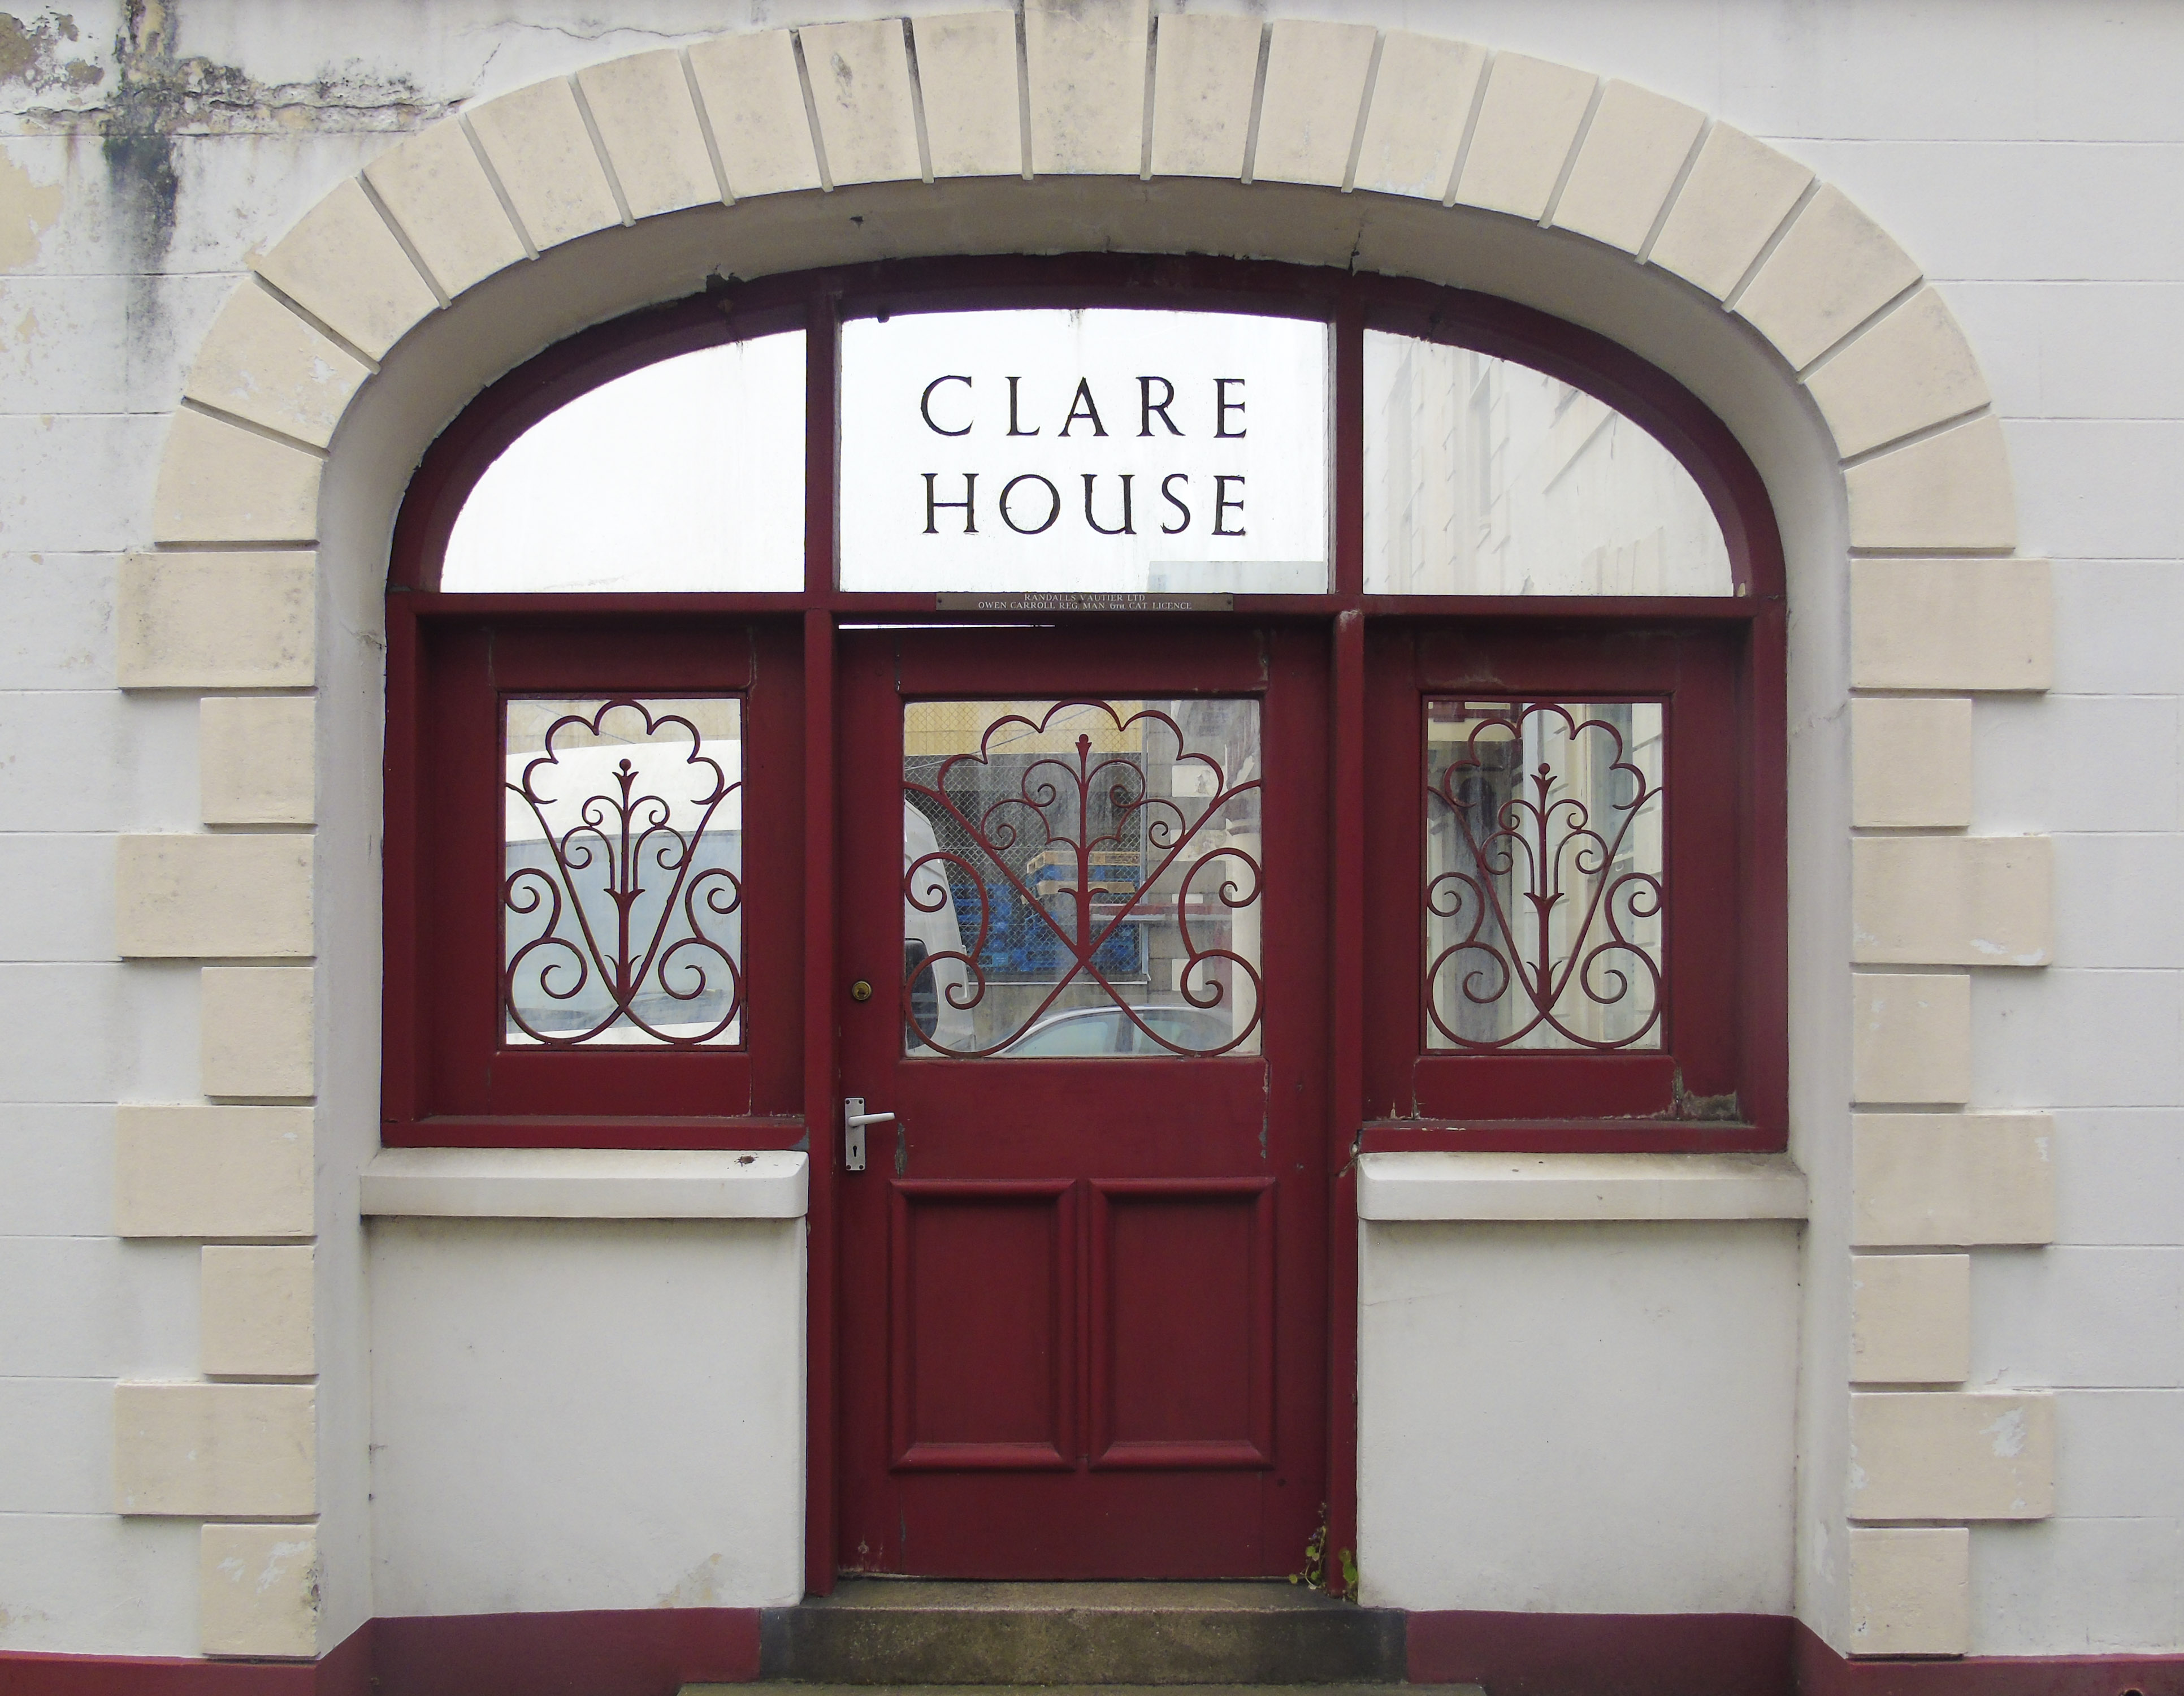
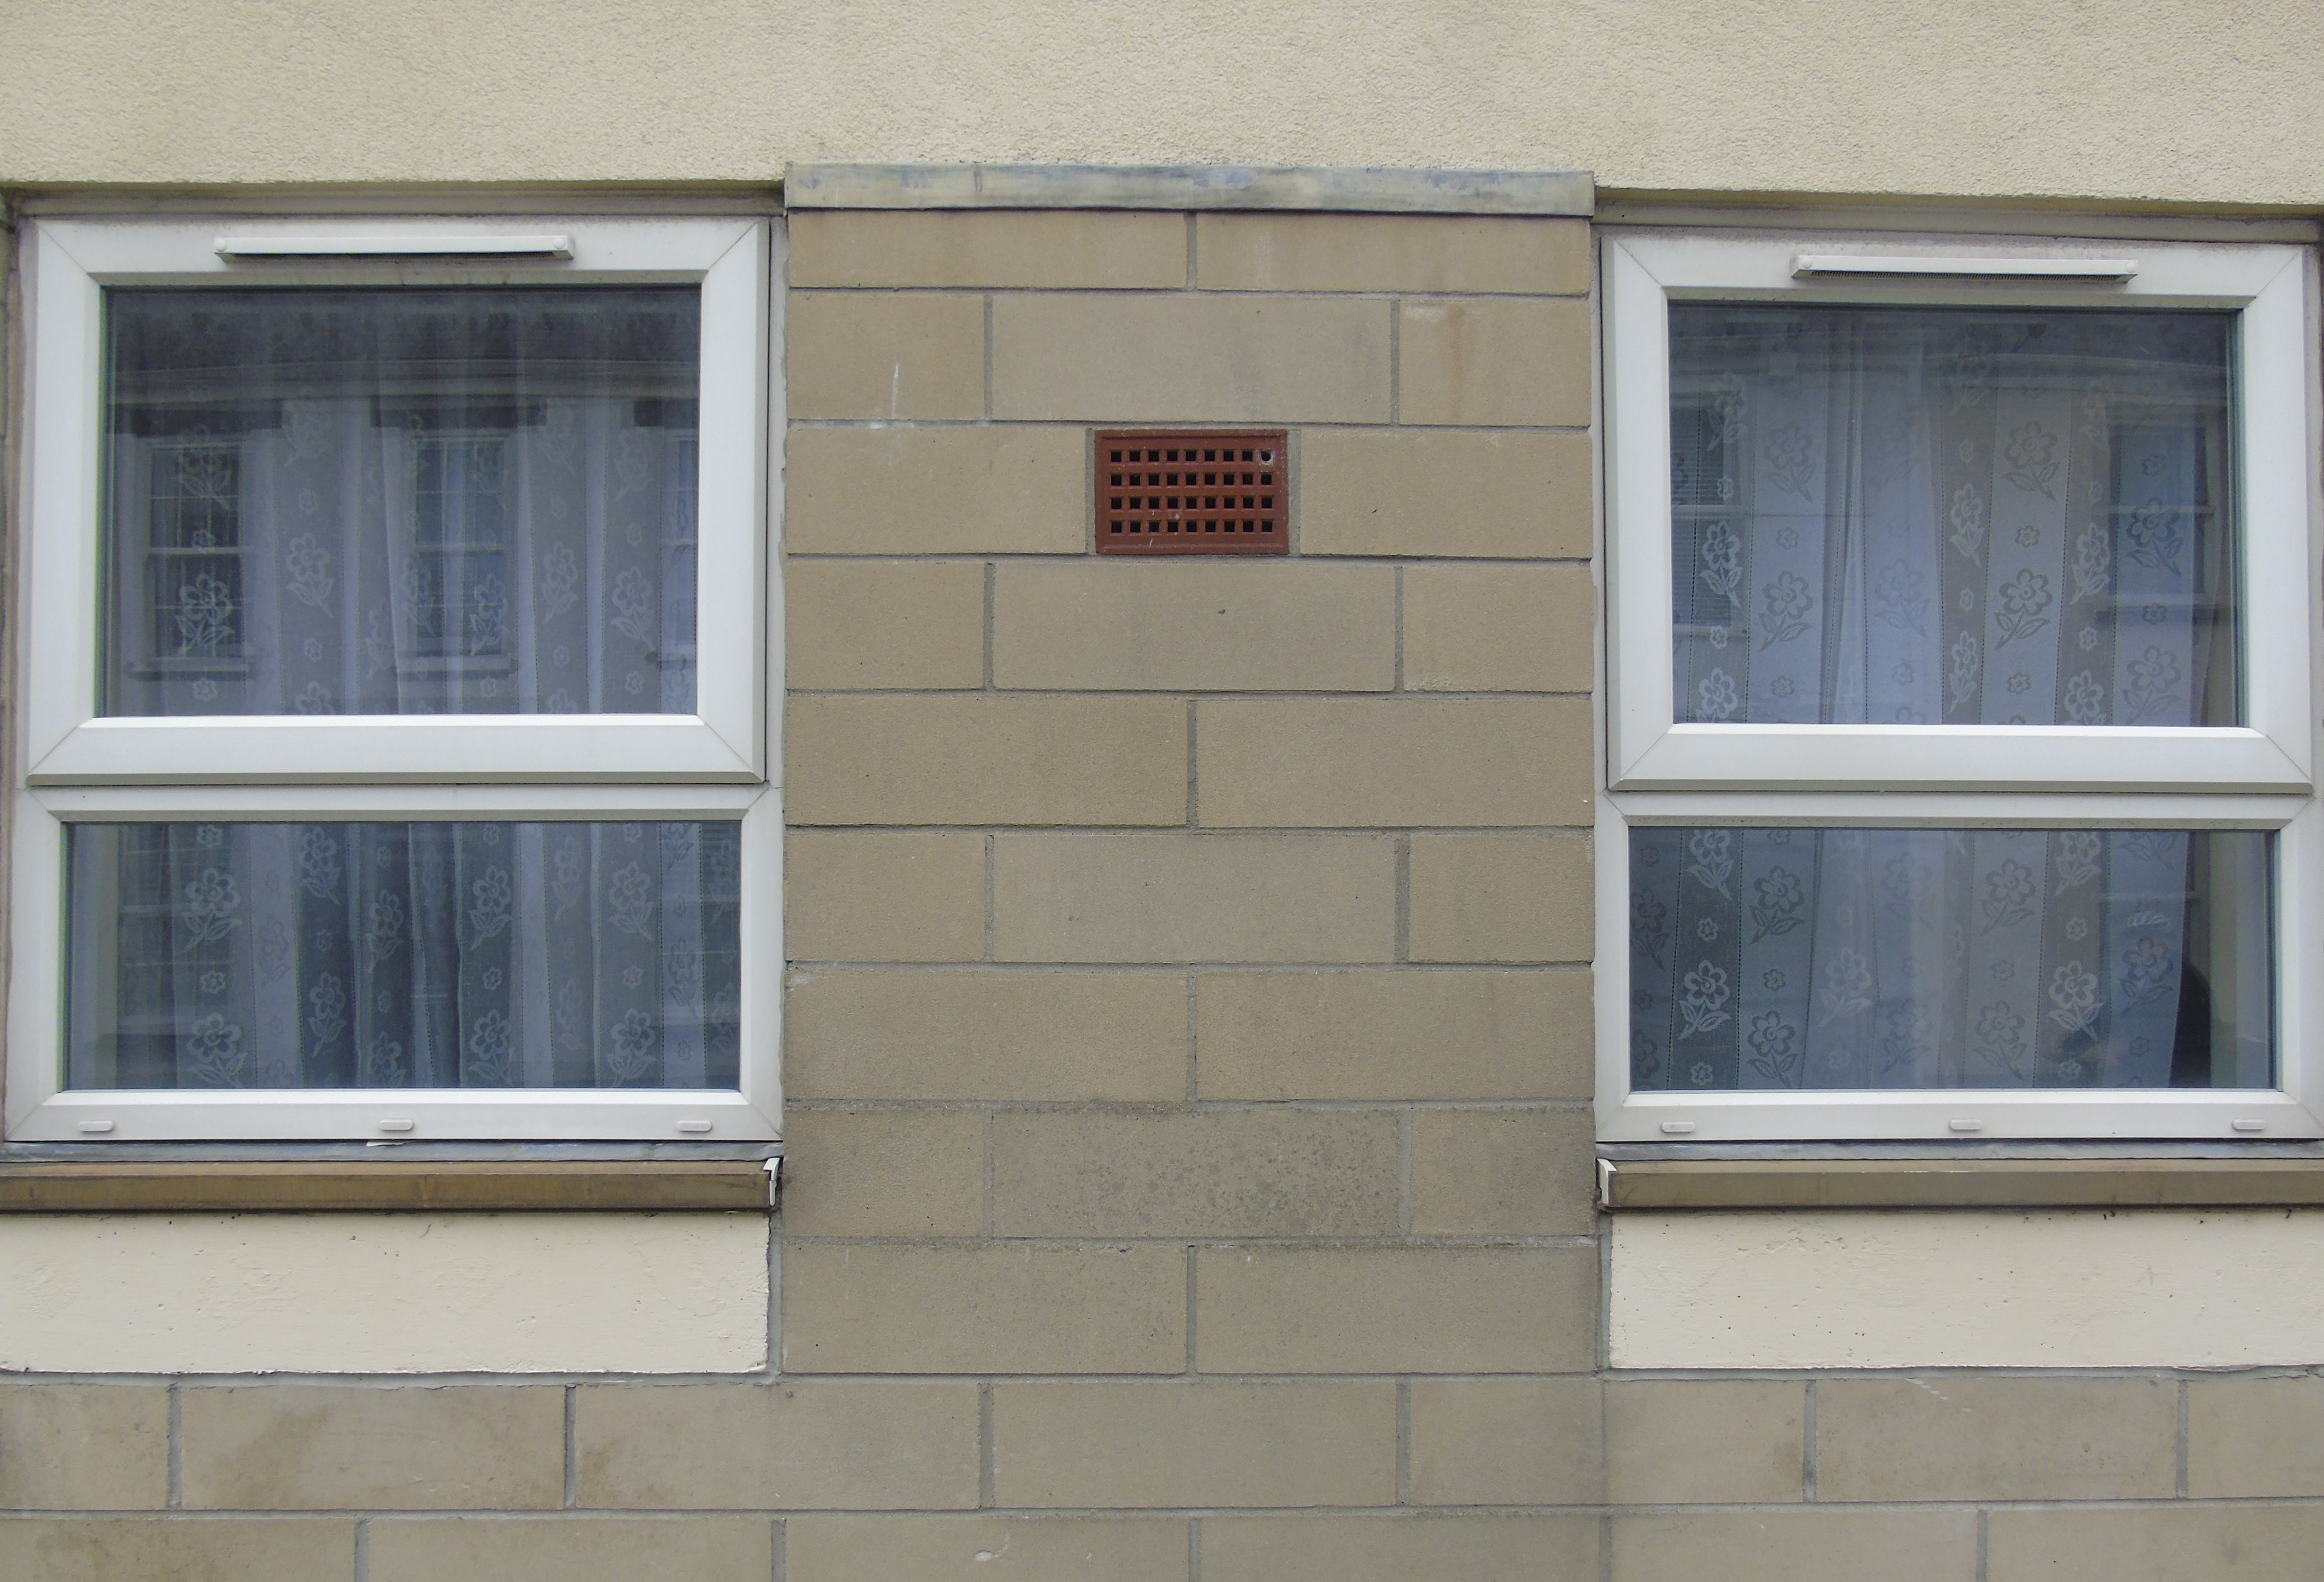
After I had explored the settings within the black and white adjustment area I decided to use a few more images to find how effective the results would be in contrast to the original coloured pictures.
Here are some of my results:
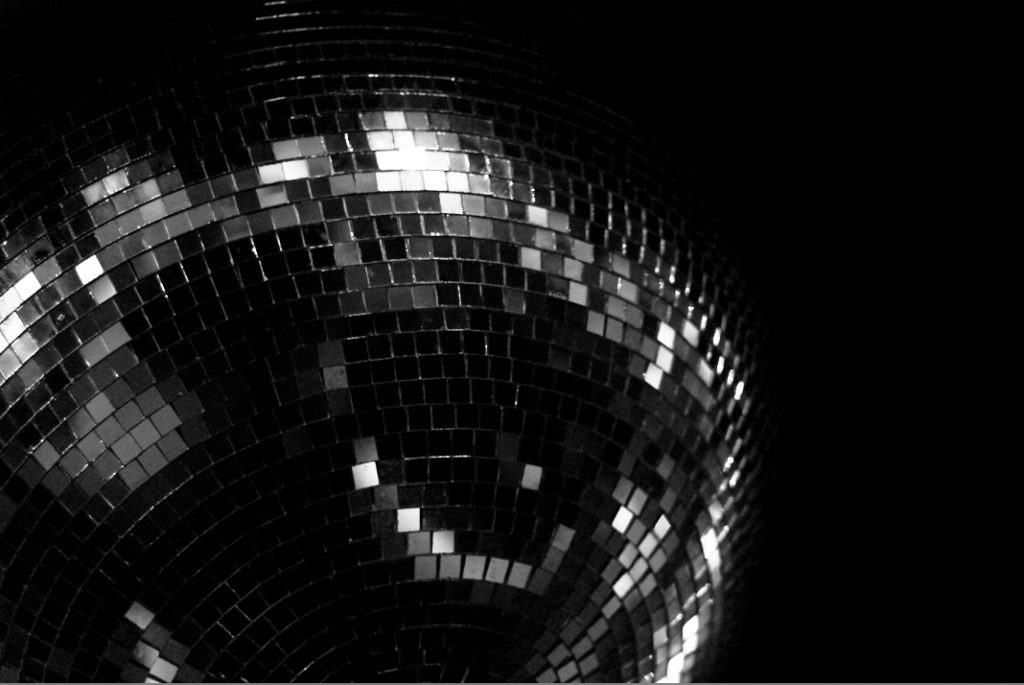
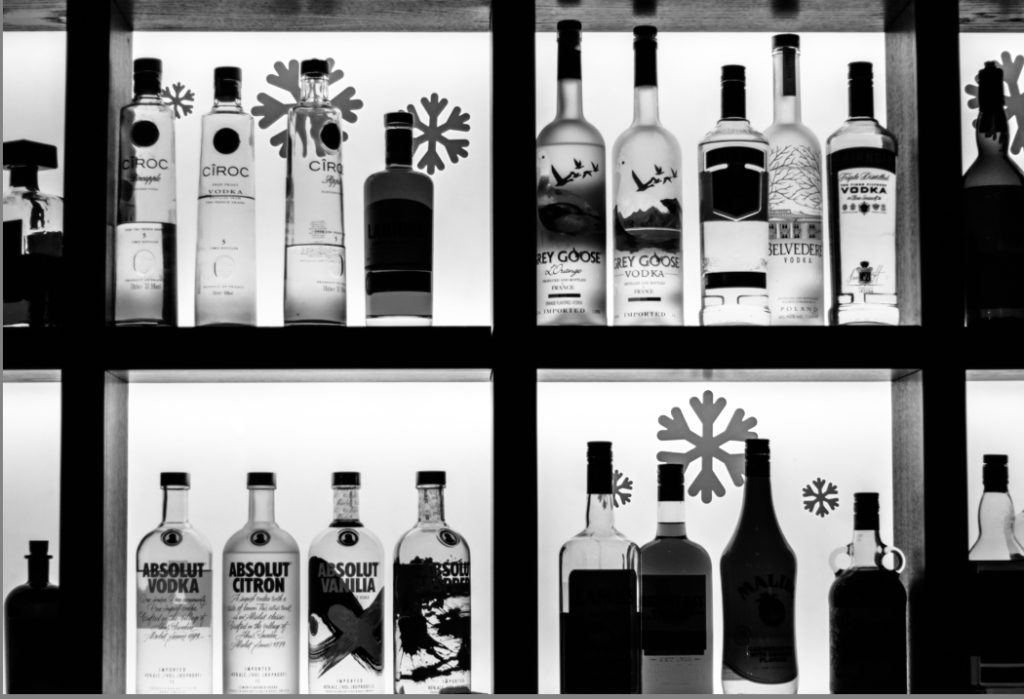
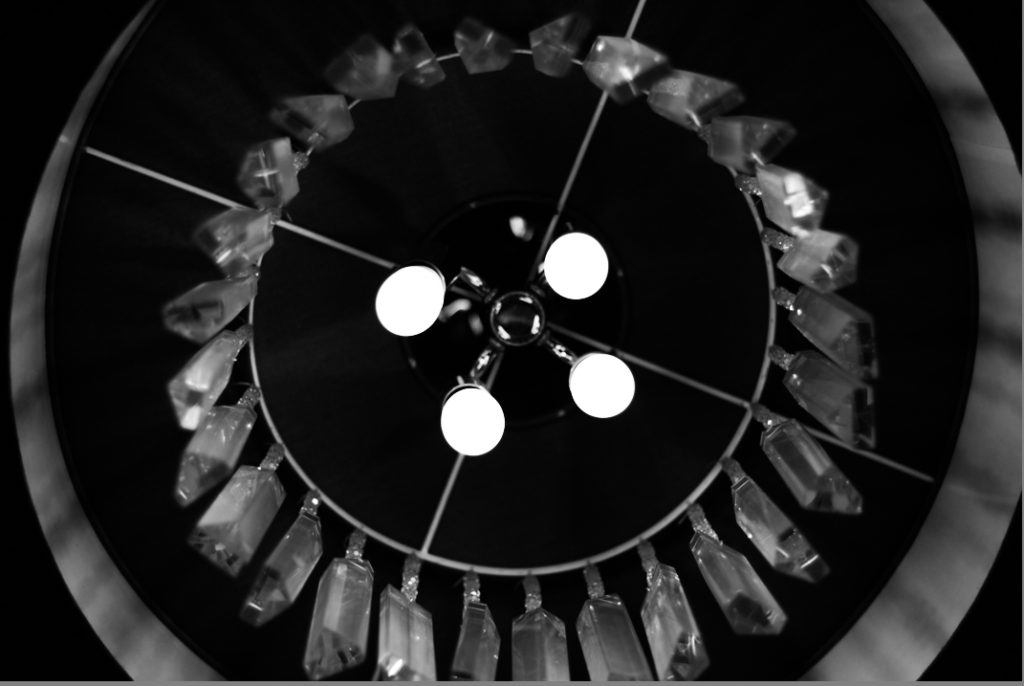
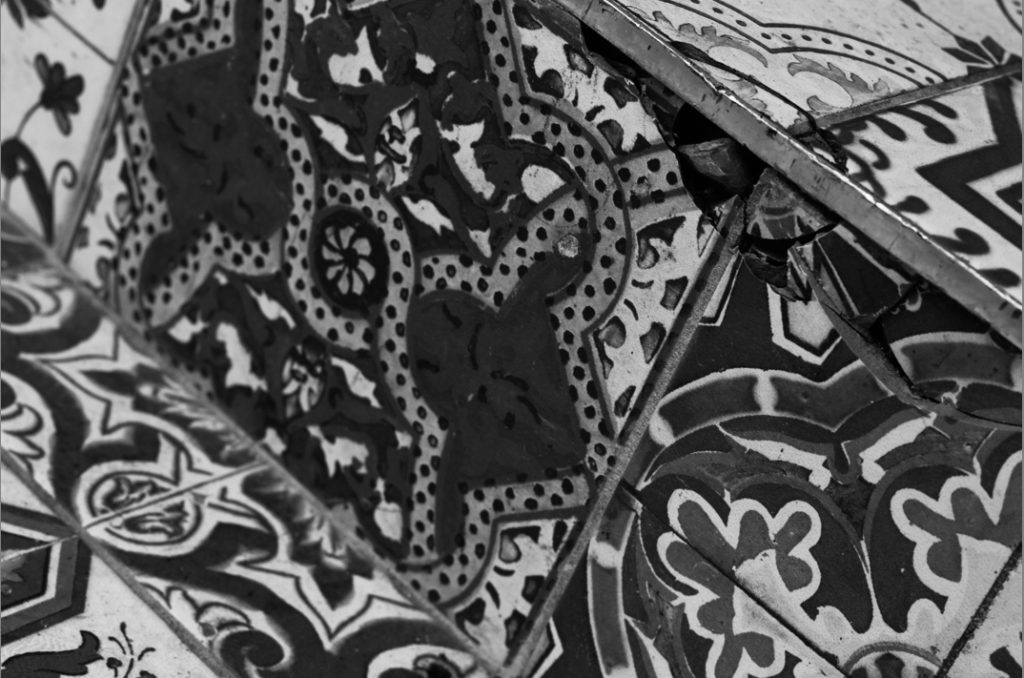
When editing each of the images I found that by using a black and white filter, it brings out the shades and highlights within each individual picture. It also balanced the images out as all overpowering colours were transformed into neutral shades.