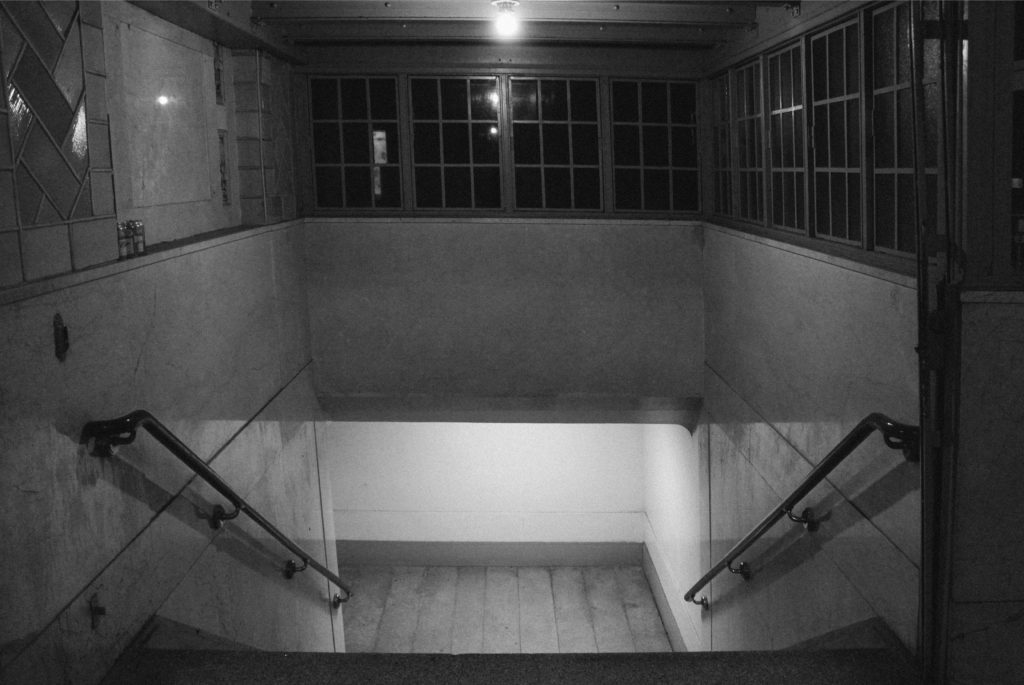
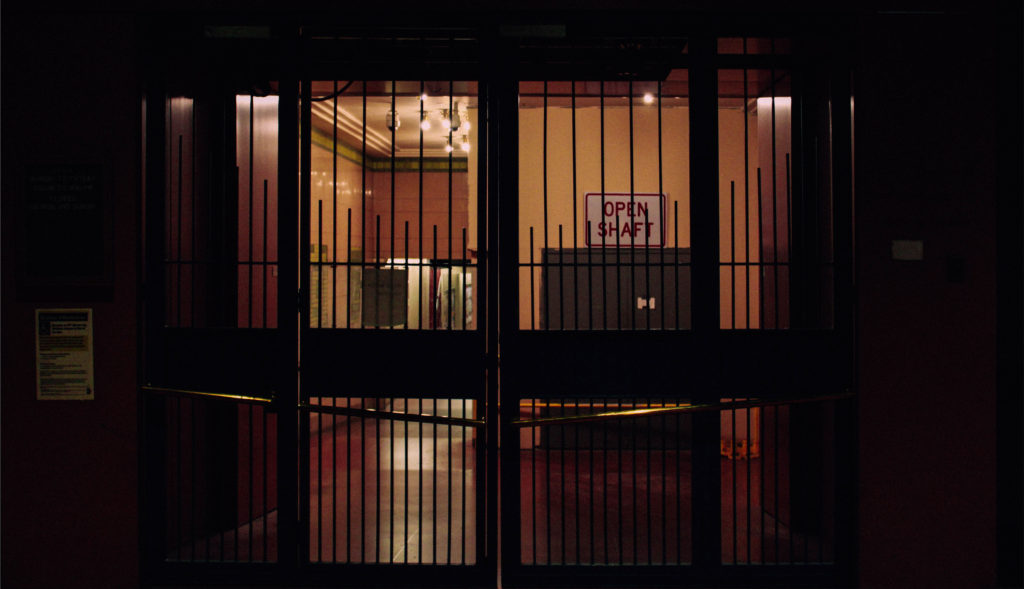
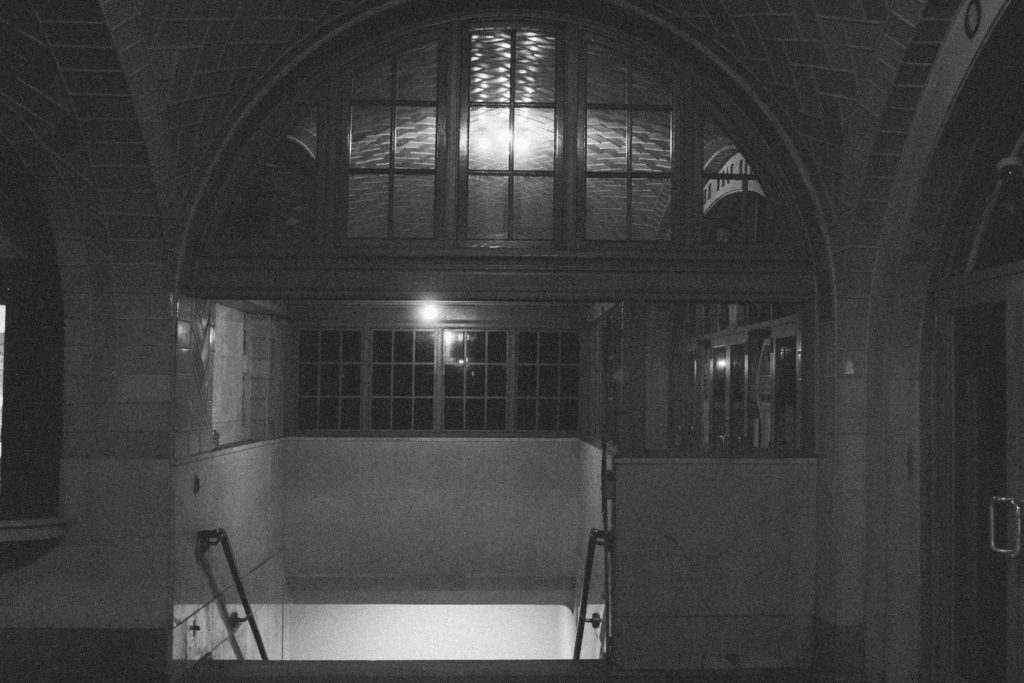
EDITING PROCESS
This post will be a step by step run-through of how I am Photoshopping the images…
The first part of the editing process can be approached in two ways, so I will run through both
Part 1-
Approach 1
1 – Open one object/photograph in Photoshop.
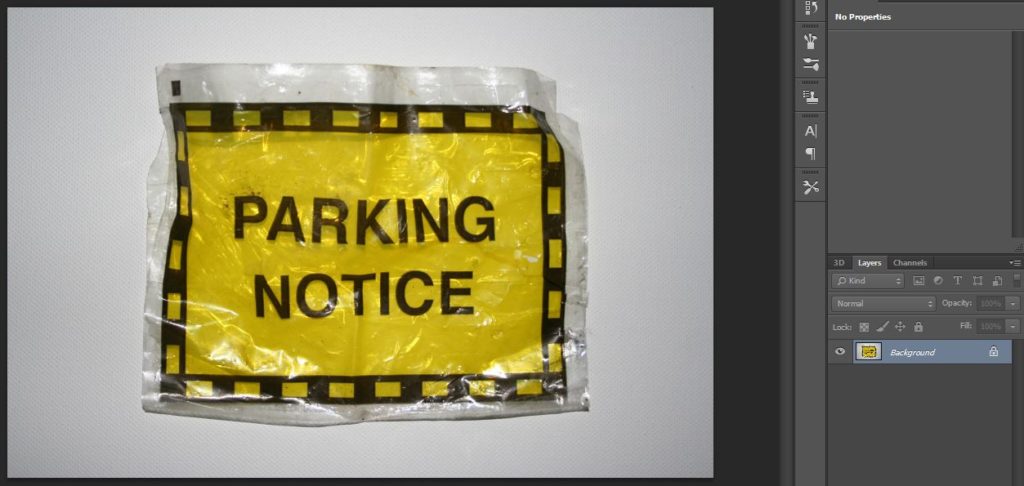
2 – Use the curves tool in order to invert the image.
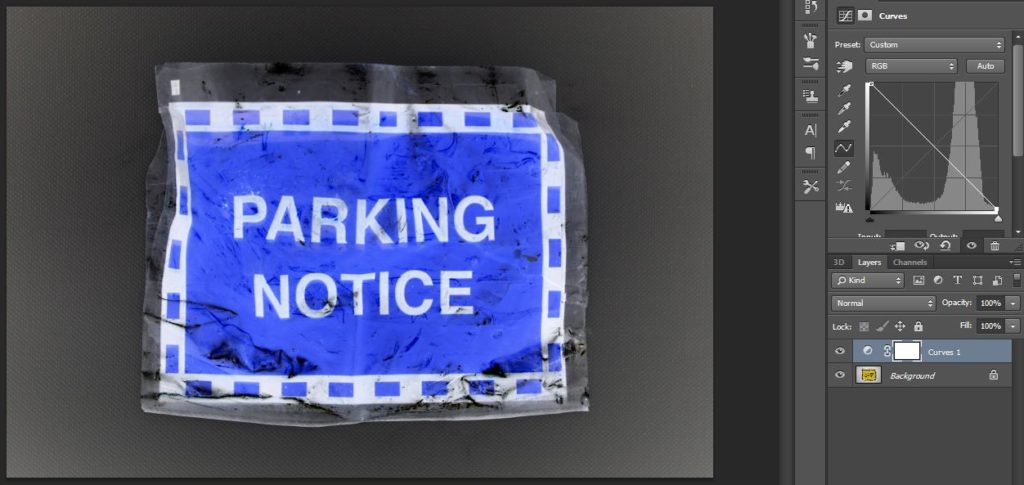
3 – Use the curves tool in order to get rid of any surrounding tones that aren’t black (as the black tones are removed later in the process when merging/overlapping the objects.)
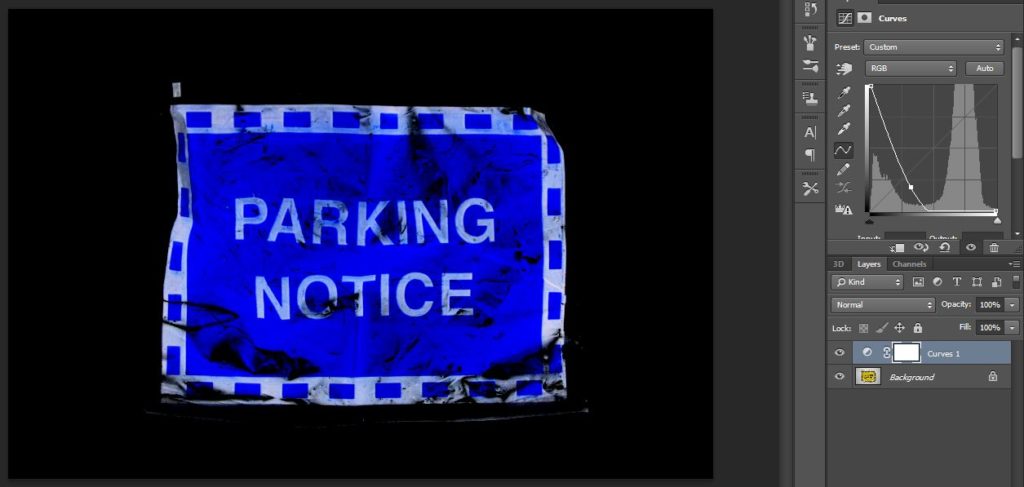
4 – Once it is only black surrounding the object, crop the image as close to the object without getting rid of any of the object.
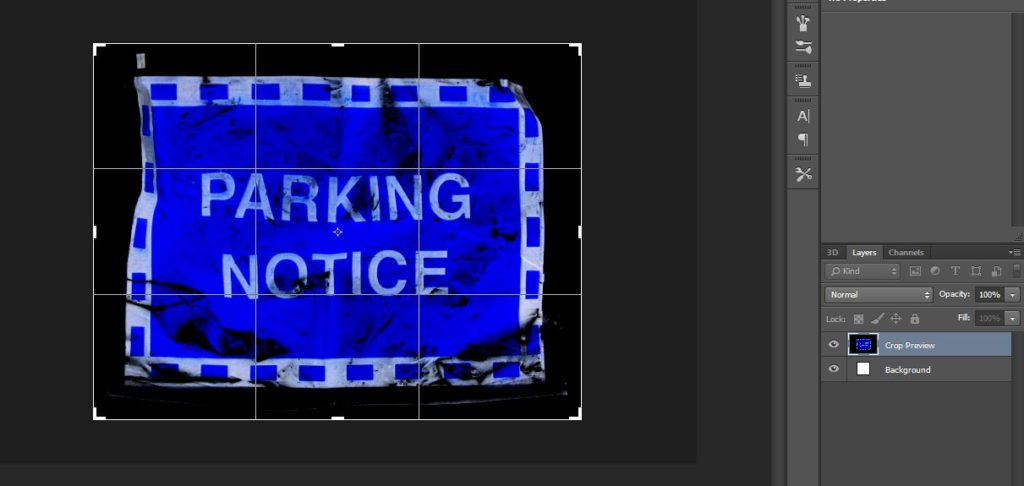
Approach 2
1 – Open object/photograph, and then crop close to the object.
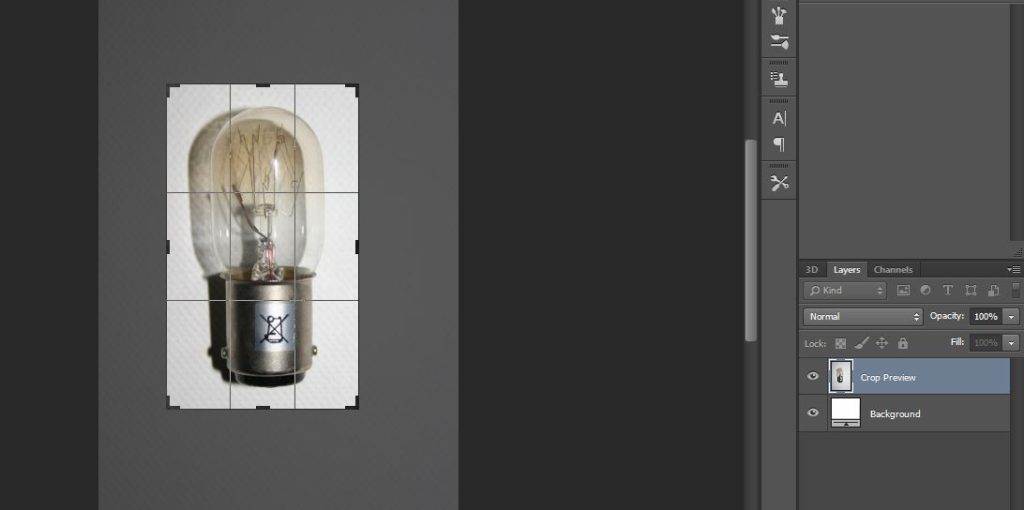
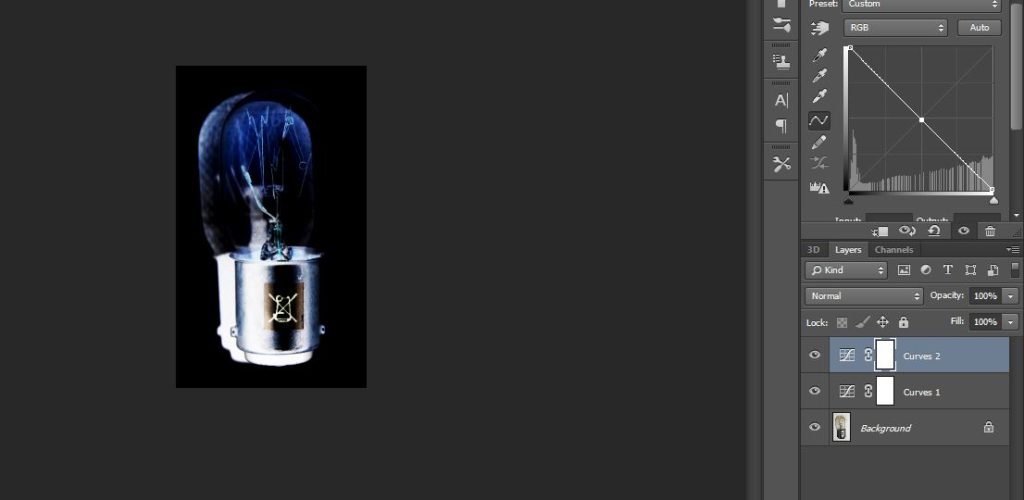
2 – Use the curves tool in order to remove any tones surrounding the subject that aren’t white.

3 – Then open a second curves tool in order to invert the image (as long as all tones around the subject were white before doing this, then once inverted all surrounding tones will be black.)
Part 2-
1 – By right clicking on the image layers flatten all images that you wish to compose.
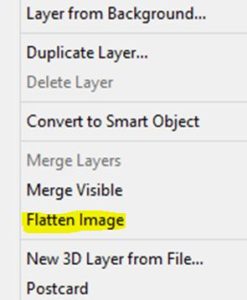
2 – Once the images are flattened, open up a new blank Photoshop file
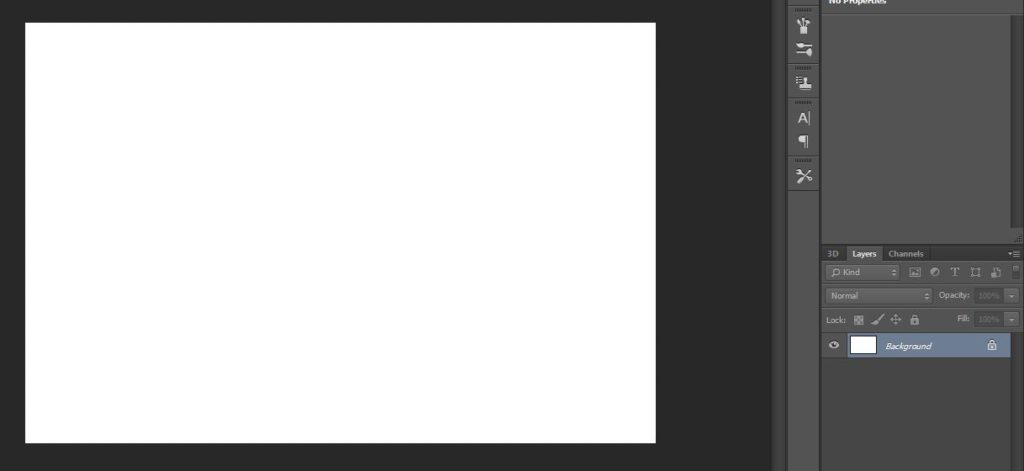
3 – Then use the invert tool to turn the image background black.
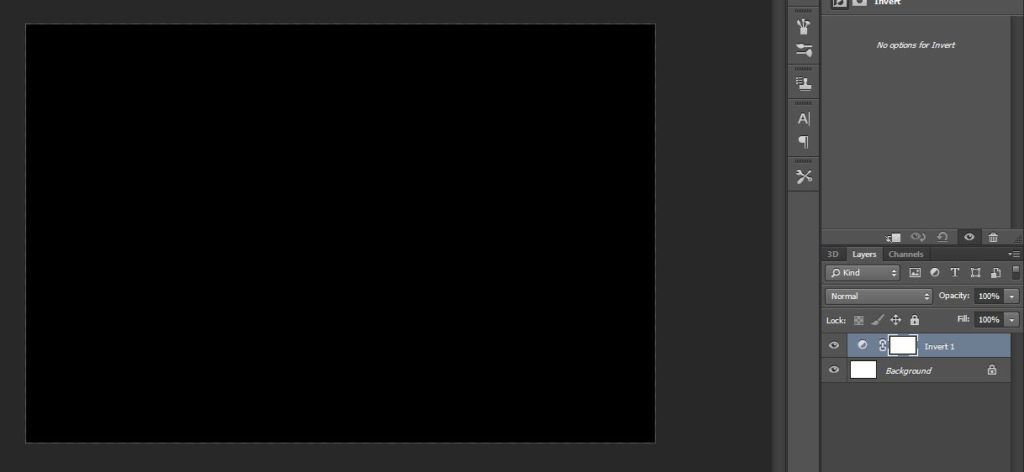
4 – Drag the flattened images into this piece.
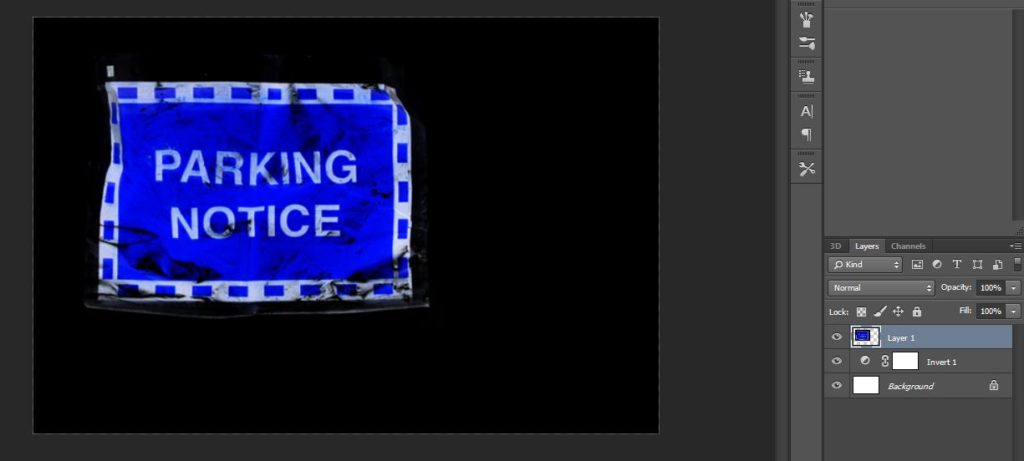
5 – Position the images as you wish (As you can see, the black of the images overlap…)
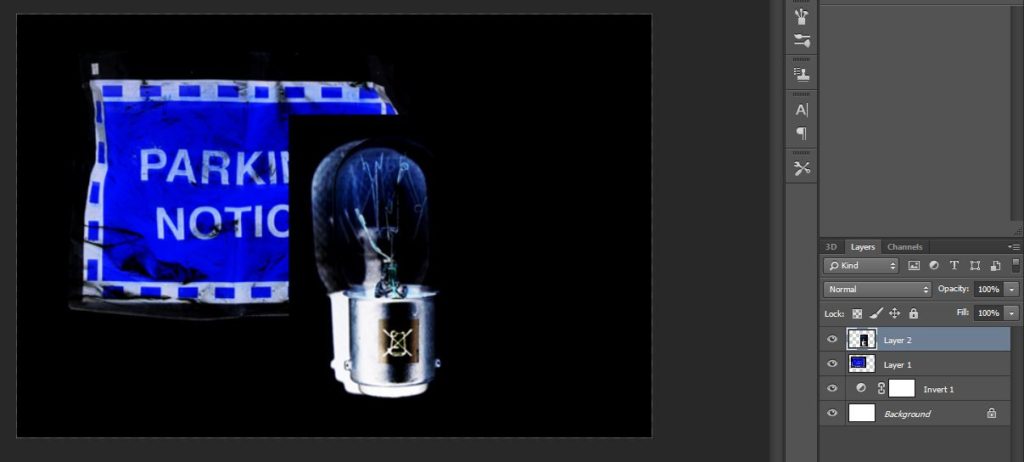
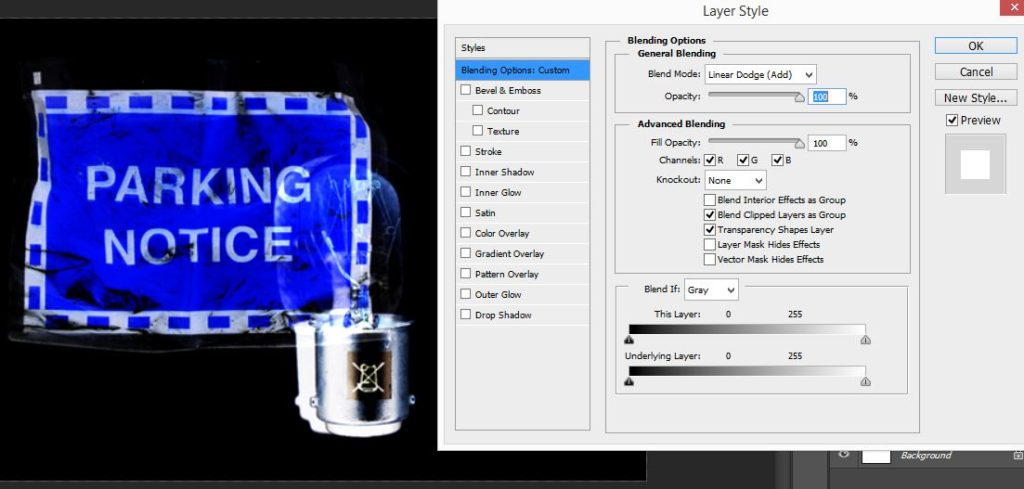
6 – In order to remove get rid of the black/ blend the images together, double click on the image layer to open up blending options, in which you can edit how images overlap due to the opacity of certain tones within each image.
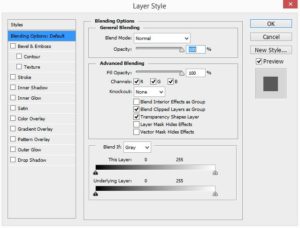
7 – In this case the black tones need to be removed from the images, therefore, using the blend mode drop down change ‘Normal’ to ‘Linear Dodge (Add)’ and leave the opacity at 100%. As you can see on the left of the image below, this removes any black tones of the image, but any necessary black in between is filled in by the black background.
