Plan Of Action 15/11/17
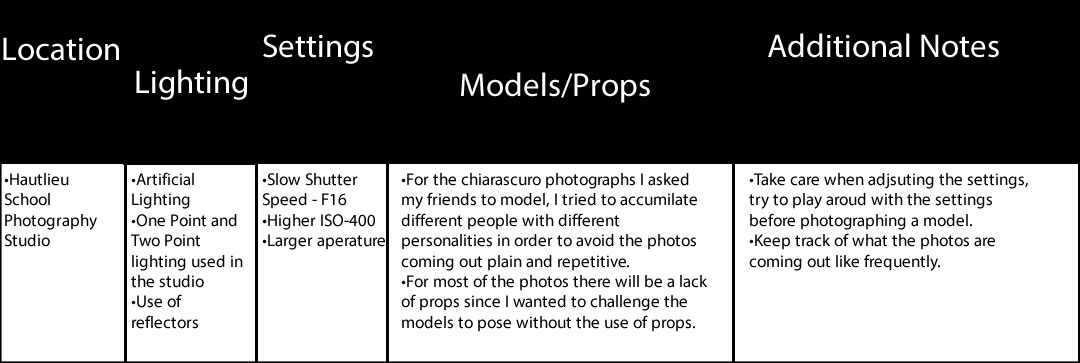
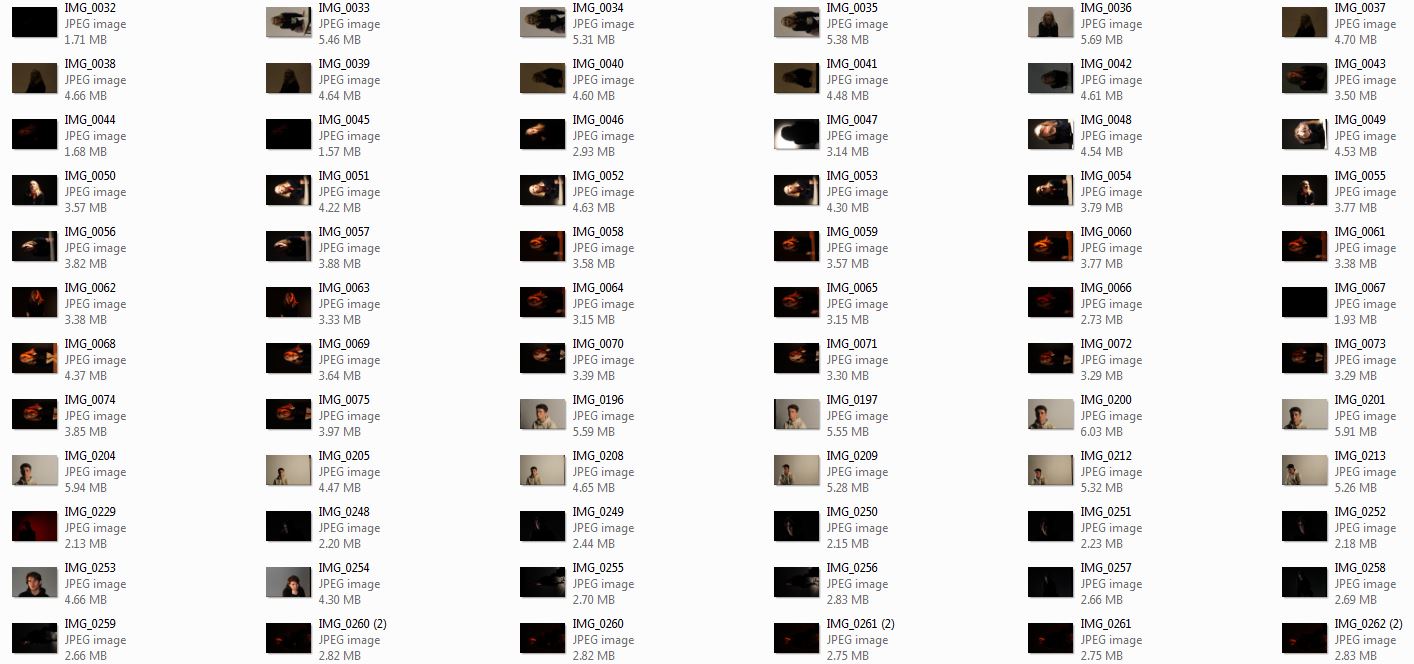
Contact Sheets


Editing Stage


Presentation Of Edited Photos


We use studio lighting when we want to control illumination, the subject as well as the camera and exposure settings.
Studio lighting (strobes, reflectors, diffusers etc.) offers us that control.

Shooting Mode:
Manual mode is often preferred once an initial exposure is established. If you’re shooting your camera in Manual Mode, and your flash in manual mode, you’ll also adjust flash intensities and then apertures. If your images are dark, you increase the intensity of your flash and/or use a smaller (higher) aperture. If your test images are overexposed, you decrease the intensity of your flash and/or use a larger (lower) aperture.

One Point Lighting
In many occasions, a single source of light creates a very natural, sometimes dramatic look that will draw people’s attention to the single lighted person or surface- a single source looks two dimensional or flat, and rarely hits people straight on, so it creates shadows.
Two point Lighting
When you want the subtleness of a single light source but want your people to stand out in 3D, two-point lighting can be a great way to add dimensionality without going overboard on your lighting.
Three point Lighting
The goal of three point lighting is to create the illusion of a three-dimensional subject in a two-dimensional image.

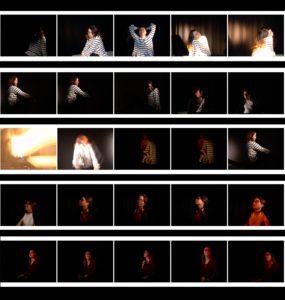
Chiarascuro is an oil painting technique, developed during the Renaissance, that uses strong tonal contrasts between light and dark to model three-dimensional forms, often to dramatic effect (it is a method of painting which imparts a sense of very directional light falling on the subject.) Artists known for developing the technique include Leonardo da Vinci, Caravaggio, and Rembrandt.
Some examples: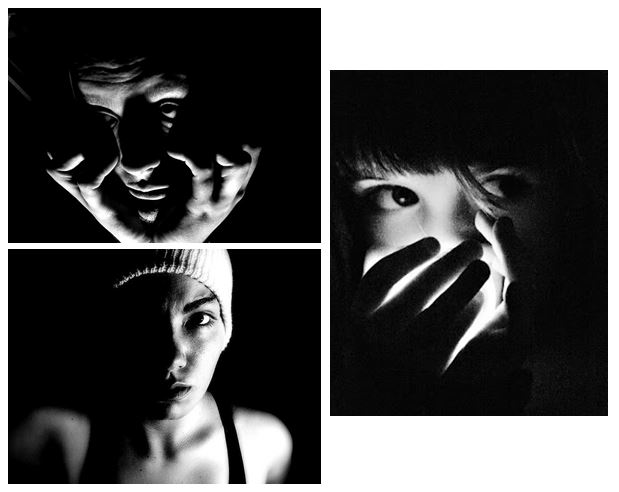
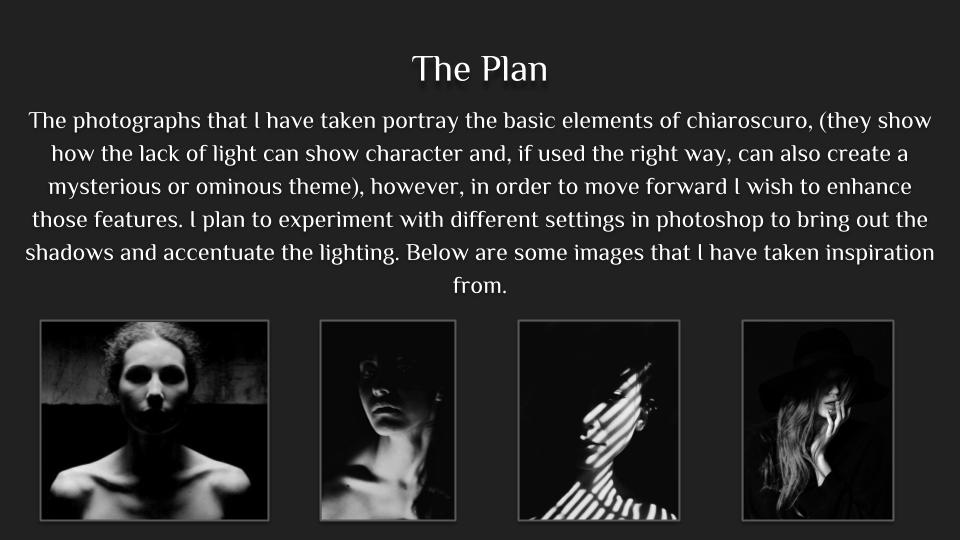
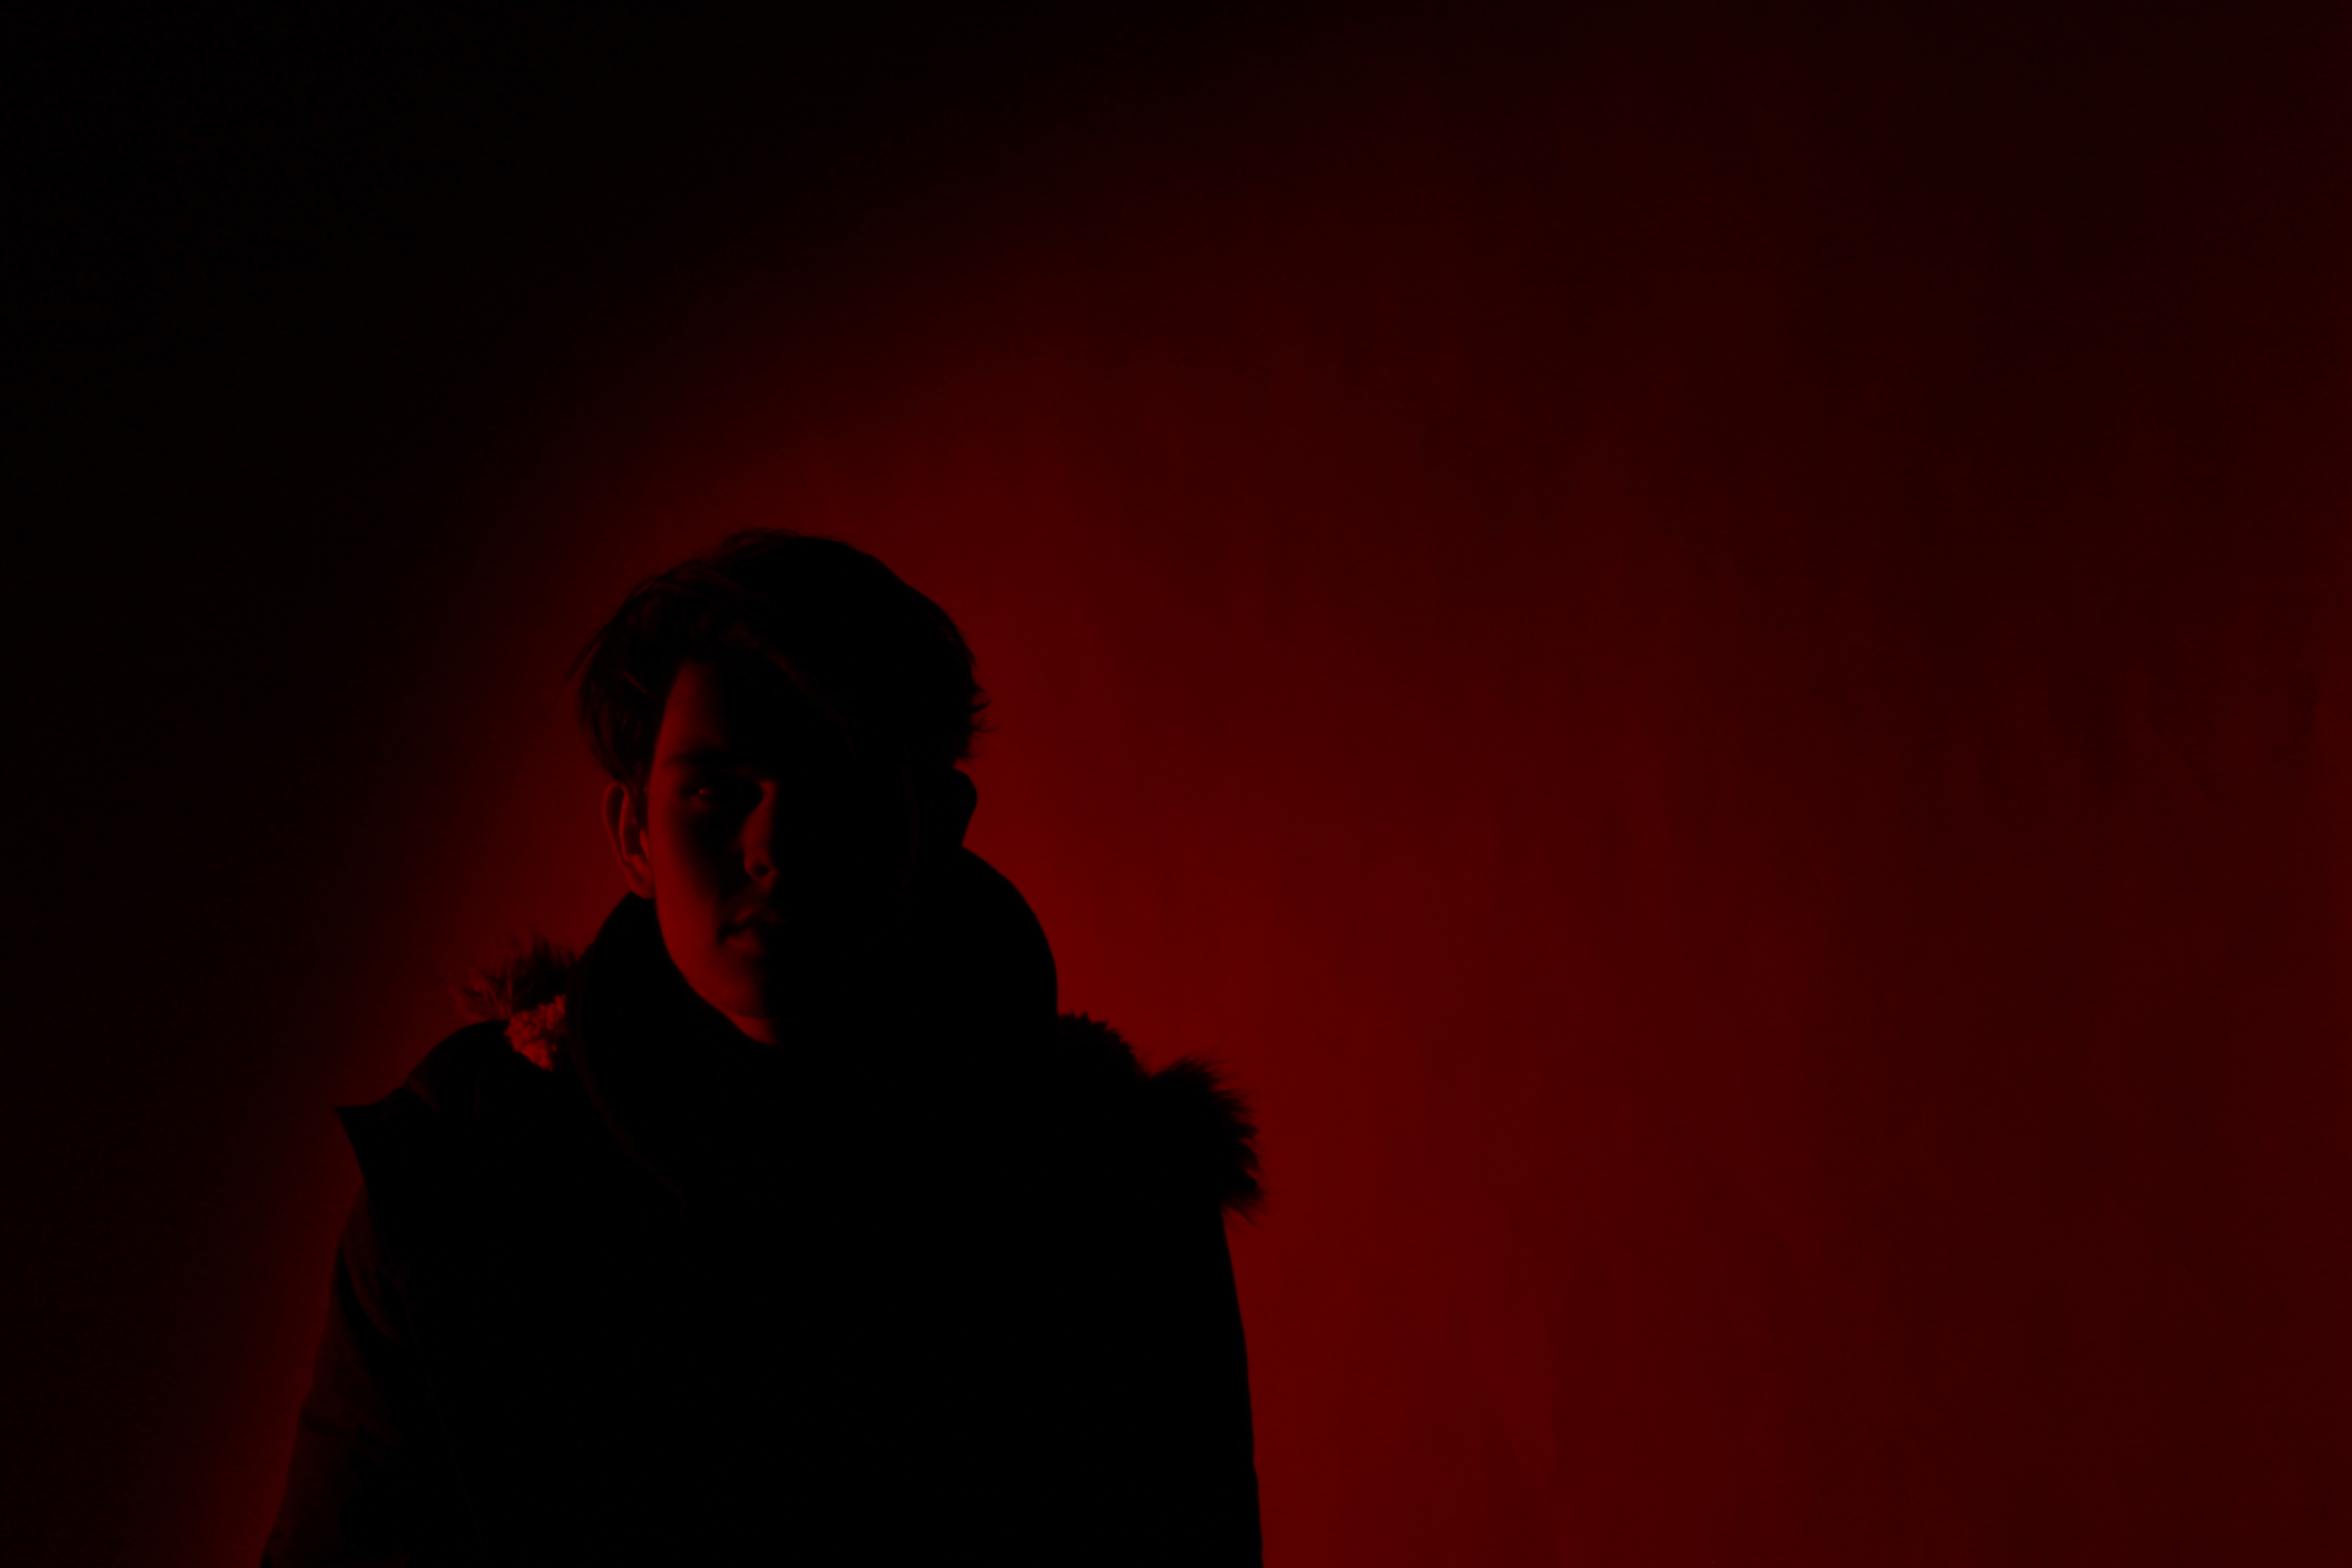
Why do we use studio lighting? We use studio lighting because it gives us more freedom to control the conditions that the subject is in. For example we can adjust the angle, brightness and color of the lights so that we can have the settings we desire to have the picture taken in. What is 3 point lighting? Three point lighting is split into three different points: Key lights, fill lights and back lights. Key lights: Usually the main and strongest light, with the most influence in the shoot, and is placed on one side of the camera so that the other has some shadow. Fill lights: The secondary light that is placed on the other side of the camera from the key light, to fill in some of the shadows using softer lighting. Back lights: This is placed behind the subject to provide some lighting from the back, with its purpose to provide definition and some highlights in the picture, which helps separate the subject from the backdrop.In this shoot I used the artificial lighting provided by the spotlights, to create a dramatic, almost black background, whilst using a red film to cast a reddish shadow onto the subjects face. I tried to position the subject's face using the rule of thirds, so that the eye was drawn to the face almost immediately, whilst blending in some of the subject's clothes into the darkness to create a smooth visually pleasing image. This was my response:
Final pictures:
I chose this image because I loved how the subject emerged from the darkness through the slow faint gradient of the red. This I found created a more dramatic effect to the overall image taken.
What I liked about this image was how not all of the subjects profile was shown, as there is a clear contrast between the light and dark side of the face. This created a more abstract effect where the body seemingly is materializing from the darkness.
I found that the clear definition between certain points of the subjects face, such as the neck and forehead allowed from a most striking and dramatic look from the individual.
What I really liked about this image was the use of the main light only being used. By doing so it created a circular spotlight illuminating only the top half of the subject's body, whilst making an imposing and strong contrasted image.
The use of the shadow in this image allows for a strong contrast created by the singular spotlight, to which the slight gradient around the edges makes the overall image more sinister.
Studio lighting offers a more sophisticated level of control. You can adjust the light in numerous ways to produce infinite outcomes.
The numbers refer to the amount of light sources at the scene of the shoot. Photographs taken with only 1 light will be a lot darker and ominous than the other. Images with 1 light tend to show only half of the subject’s face; this is because the intensity of the shadows allows the part of the face that isn’t illuminated to blend in with the darkness. 2 point lighting, however, is brighter than 1 and this allows the shadows to be a lot softer and more of the face to be revealed. 3 point lighting is much brighter than the other two, the subject is fully illuminated and shadows are not visible; the point of this is to erase any creases and create a whiter canvas.
It is any source of illumination that lightens (fills in) areas of shadow created by other lights. Most often,fill light is used to lighten the shadows created by the main light. Spill light, however, is the light that illuminates surfaces beyond the property line. An example would be the light on a bedroom wall coming through the window.
it is an Italian artistic term used to describe the dramatic effect of contrasting areas of light and dark in an artwork, particularly paintings. It comes from the combination of the Italian words for “light” and “dark.” It also applies to a far wider array of dramatic lighting effects, particularly in movies; anything dark and moody with great slashes of shadow.
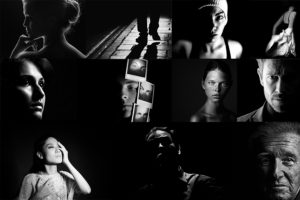
The images above portray chiaroscuro and showcase its main aspects. The lighting used is classed as ‘lowkey’ meaning that most images are creates in a ‘low’ light environment.
Contact sheet

Best Images


Overall Final images
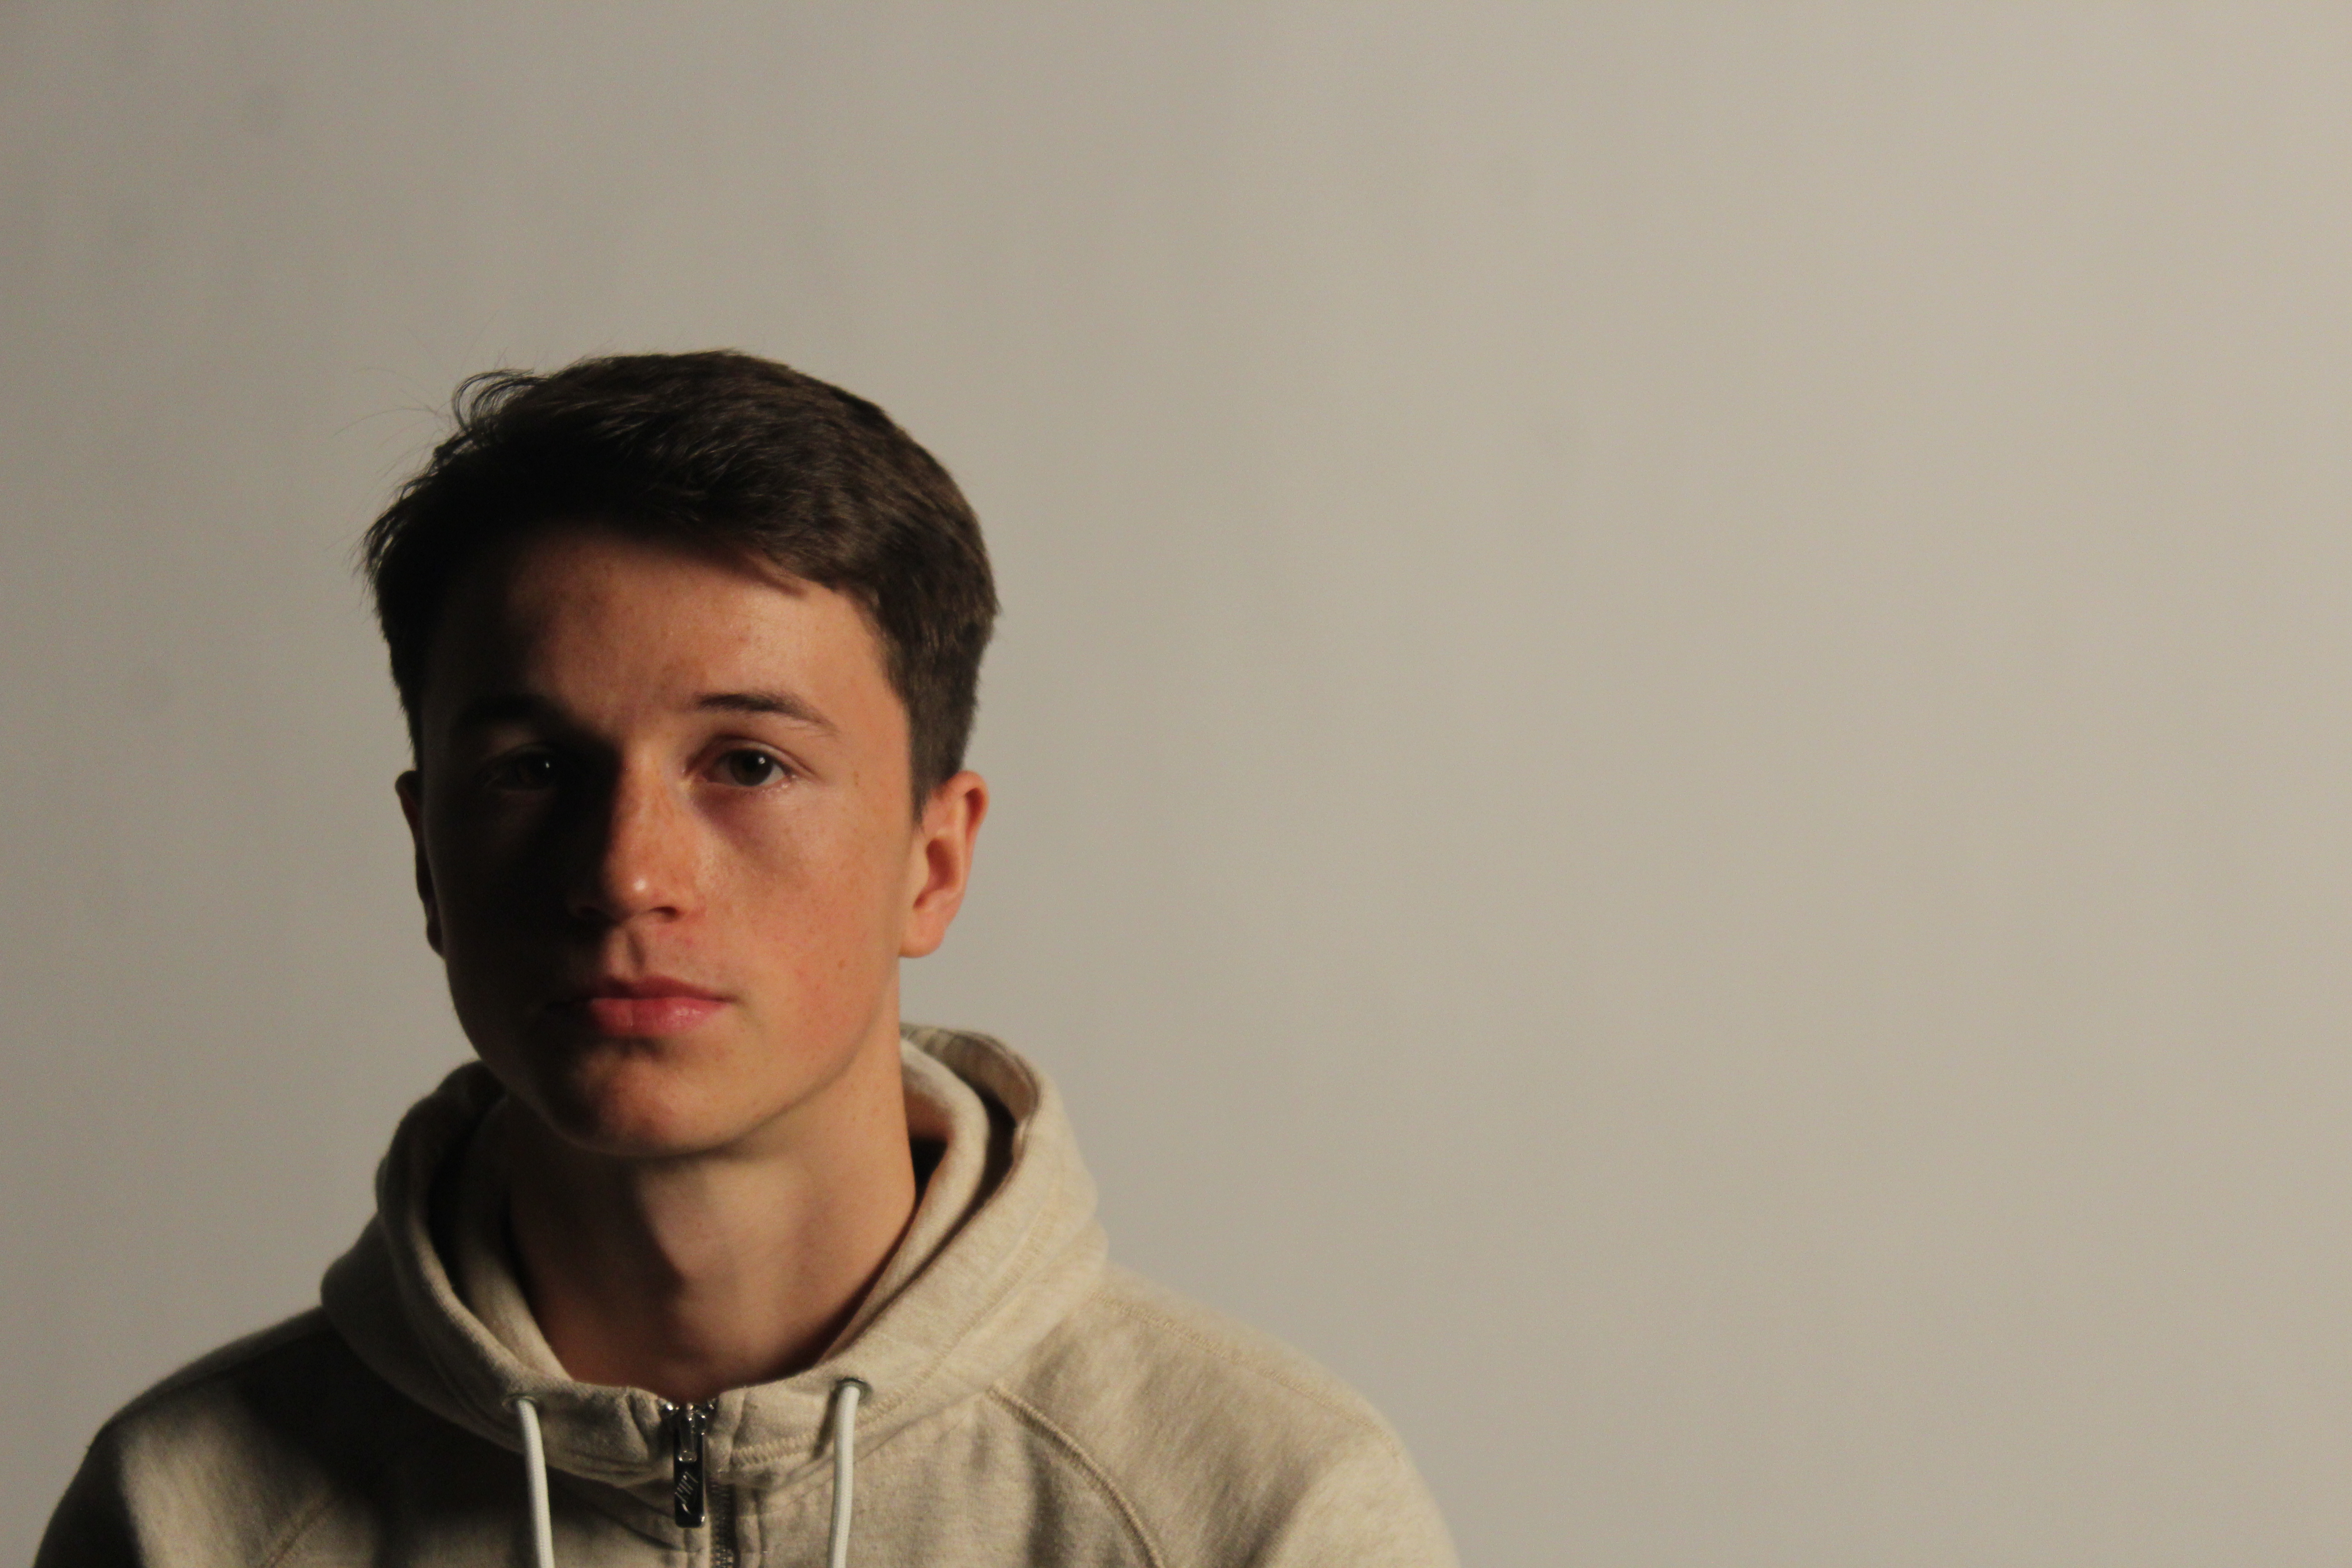
Best Image with Flash

In this image I used two different types of lighting, I used the red-head light to create the slightly warmer tones that you can see in the backdrop of the image, as well as the flash from my camera which has slightly cooler tones which when put together balance each other out.I took this image with an average shutter speed so that I could capture the light from the flash but to also to capture some of the darker tones in the image. One thing that I do that could be improved in the image would be if i would of used a back light to create a 3-point lighting set up as by not using that set up a shadows has been cased behind the model which effects the overall quality of the image I feel.
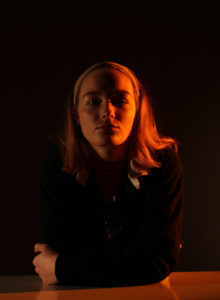
Best image using artificial lighting

To create this image I used artificial lighting, I used a single light on the right-hand side of the image, to cast a shadow over half of the models face so one side would be darker/in the shadows and the other illuminated with the orange light from the gel, which had been placed over the light to create a dramatic atmosphere. To set up the shoot for this image I had the spotlight further forward so that the white backdrop wasn’t heavily featured in the image, I also wanted the model to have an object to interact with but that would also look natural when being used, which I why I decided to a tabletop I also wanted the reflected of the model to reflected on to the top of the table which I think that has been achieved.I used a slightly slower shutter speed to allow more light into the image, but not so sow that the image became blurry, I also used a low ISO so lessen the grain within the image.