Overlays – Photoshop

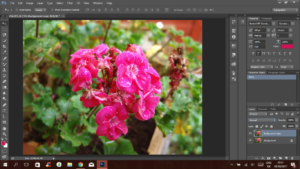
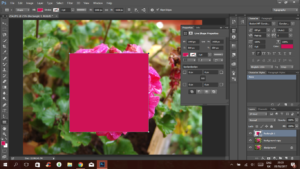
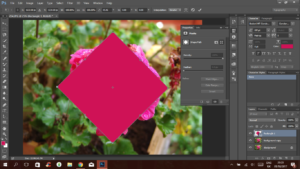
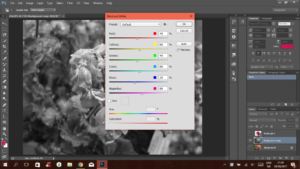
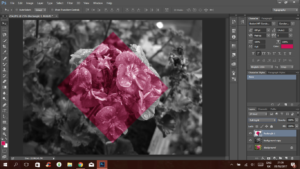
Overlays such as these, help bring out certain colours or aspects of a photograph. When combined with a black and white filter they enhance a particular colour that wouldn’t be visible otherwise.

Start by inserting your photo and duplicating the layer.
Select a desired colour and, using the rectangle tool, create a square.
Using free transform in Edit>Free Transform Path or using Ctrl+T rotate the square and apply.
OPTIONAL: hide the shape layer and go to image>adjustments>black&white and then adjust the brightness and contrast in the same settings
Using the opacity and blending options adjust the visibility and type to your liking.

Side By Side Before vs After Image 


I like the outcome of this photo, the addition of colour creates an aesthetically pleasing effect. It also gives the image more life; the black and white background feels much more lively and unique.

Leave a Reply

Your email address will not be published. Required fields are marked *