Monthly Archives: September 2017
Filters
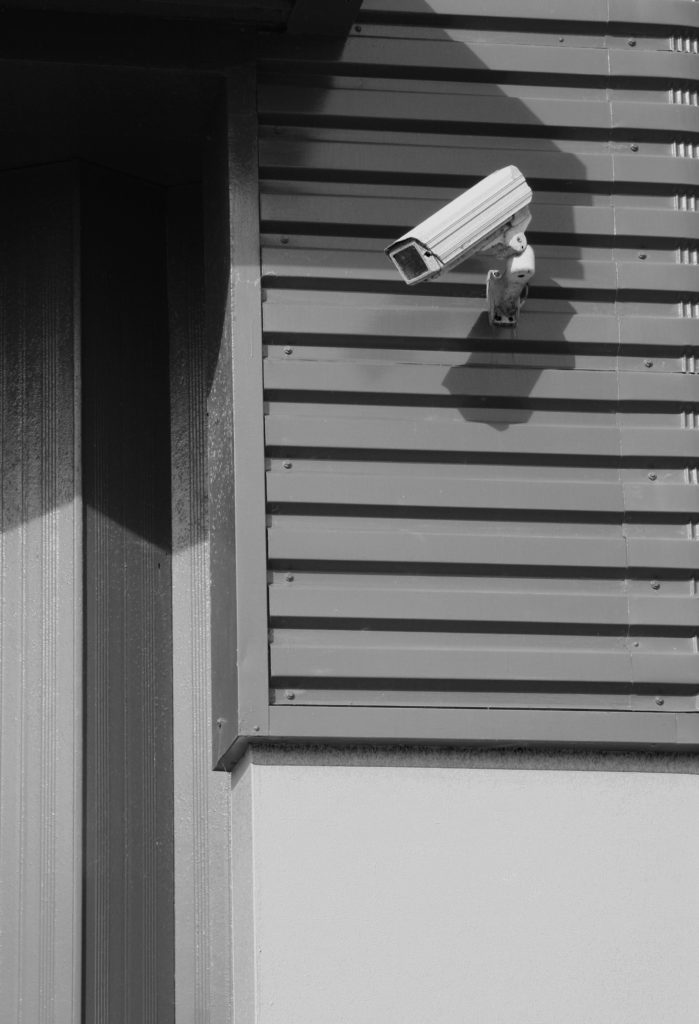
Black and white tone experimentation
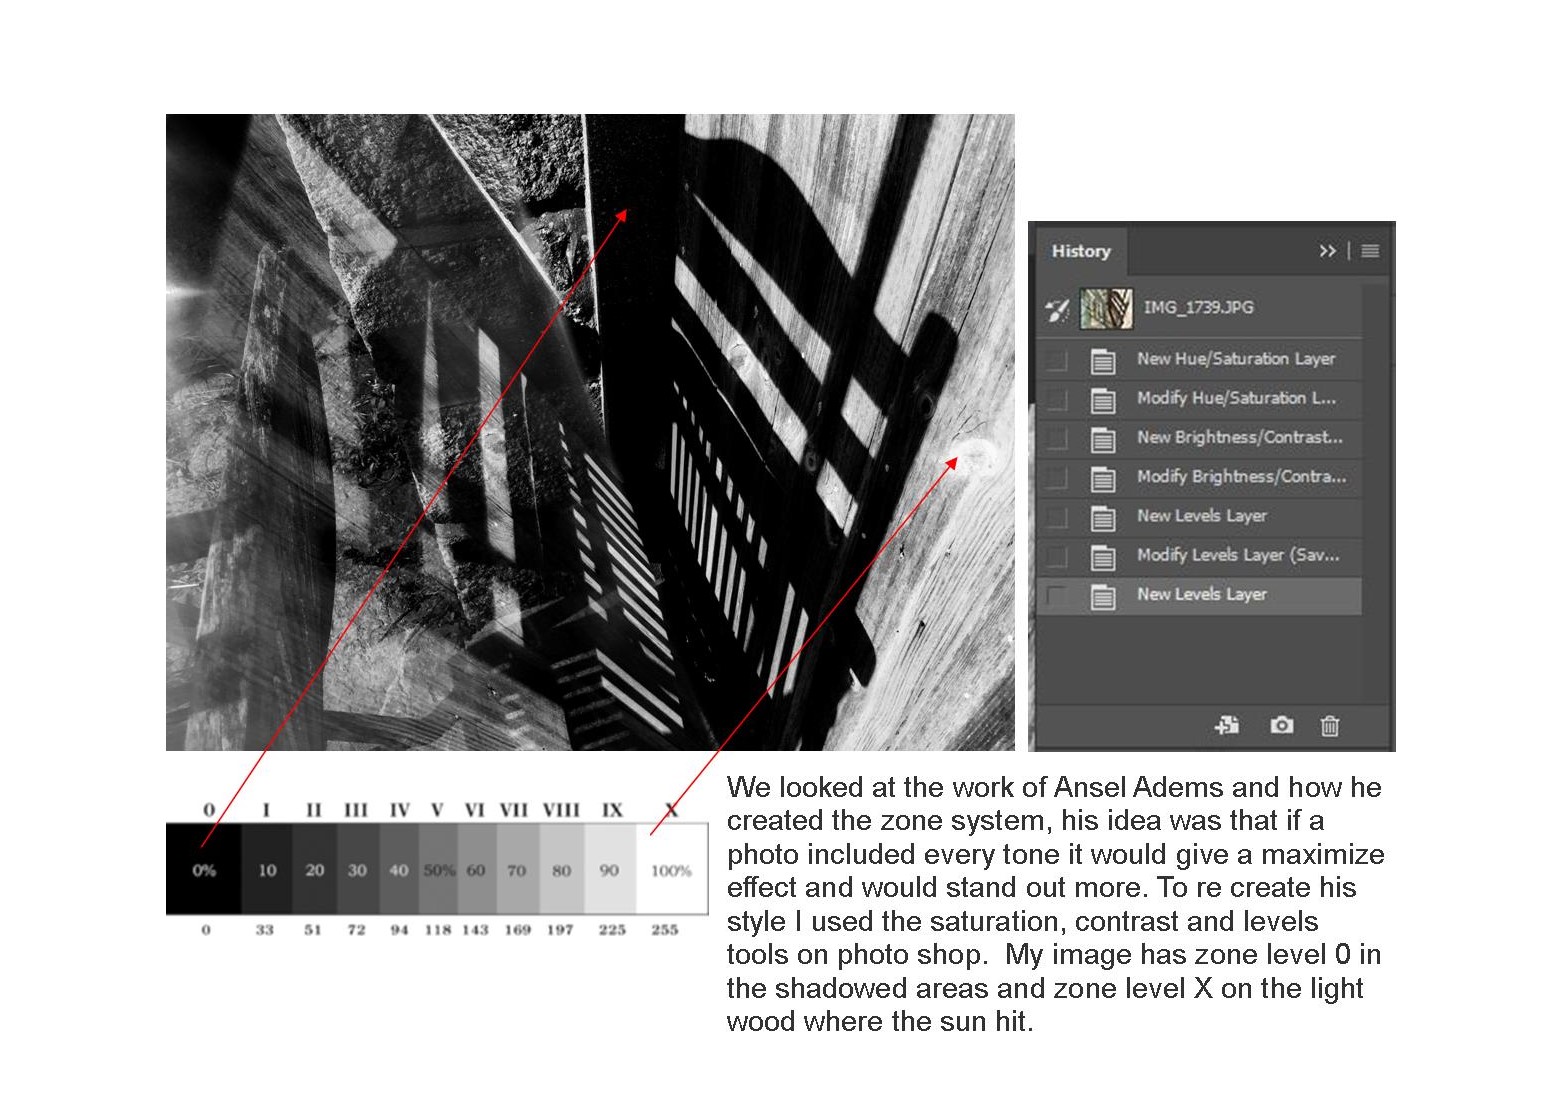
Ansel Adams zone system
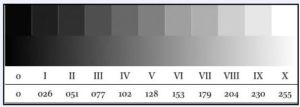
The Zone System, was a system of distinguishing between various black to white tones within an image. It provides photographers with a systematic method of precisely defining the relationship between the way they visualize the photographic subject and the final results.
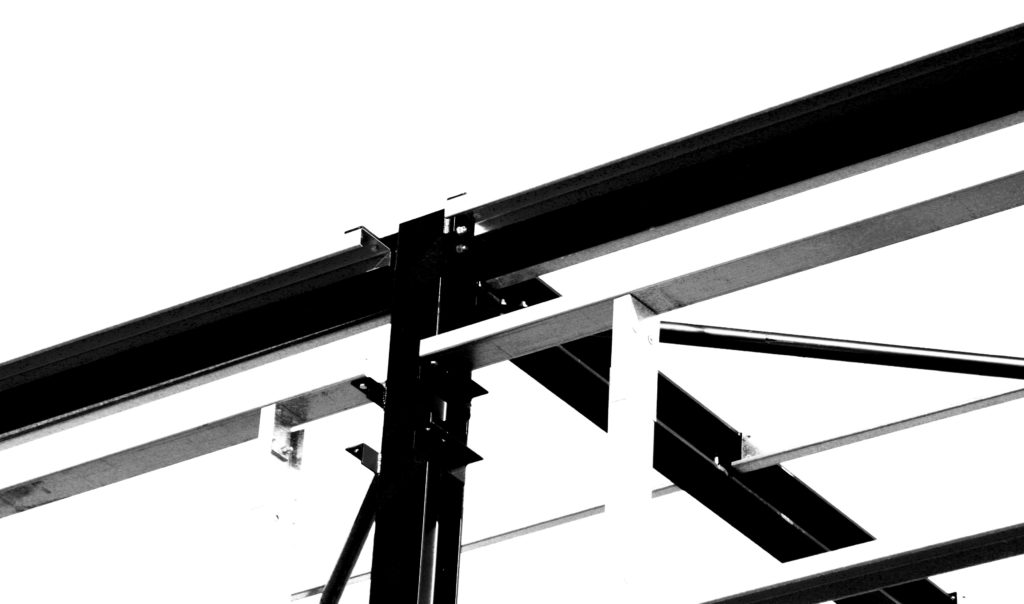
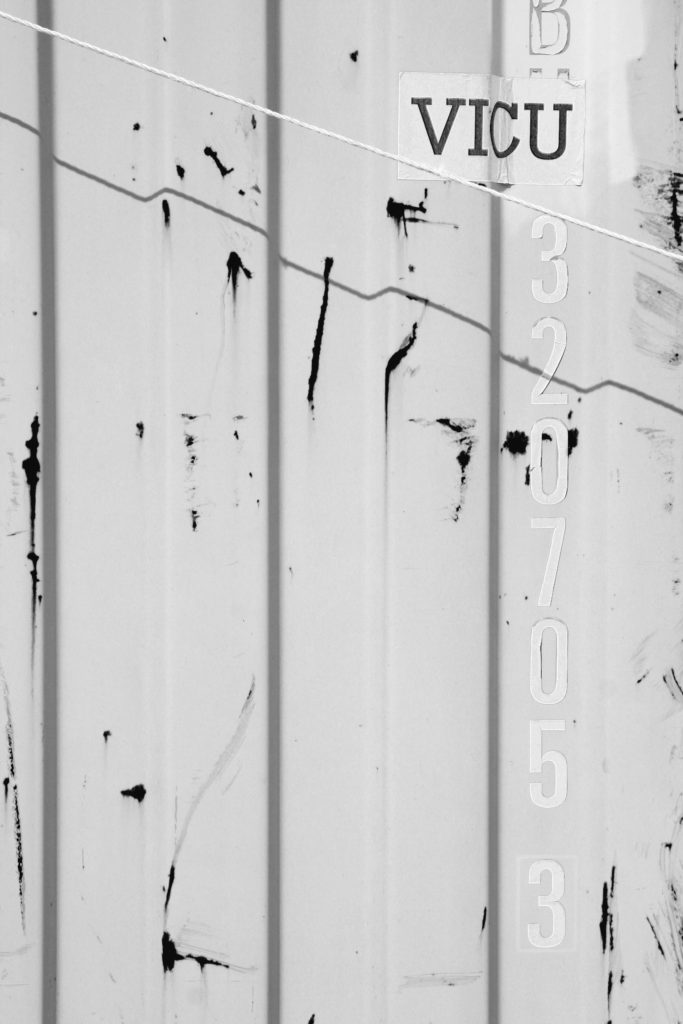
Here are some photographs I have edited in Adobe Photoshop with the Ansel Adams Zone tonal system in mind. 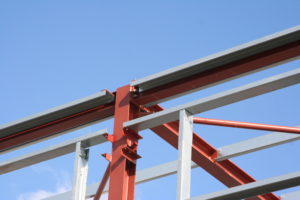

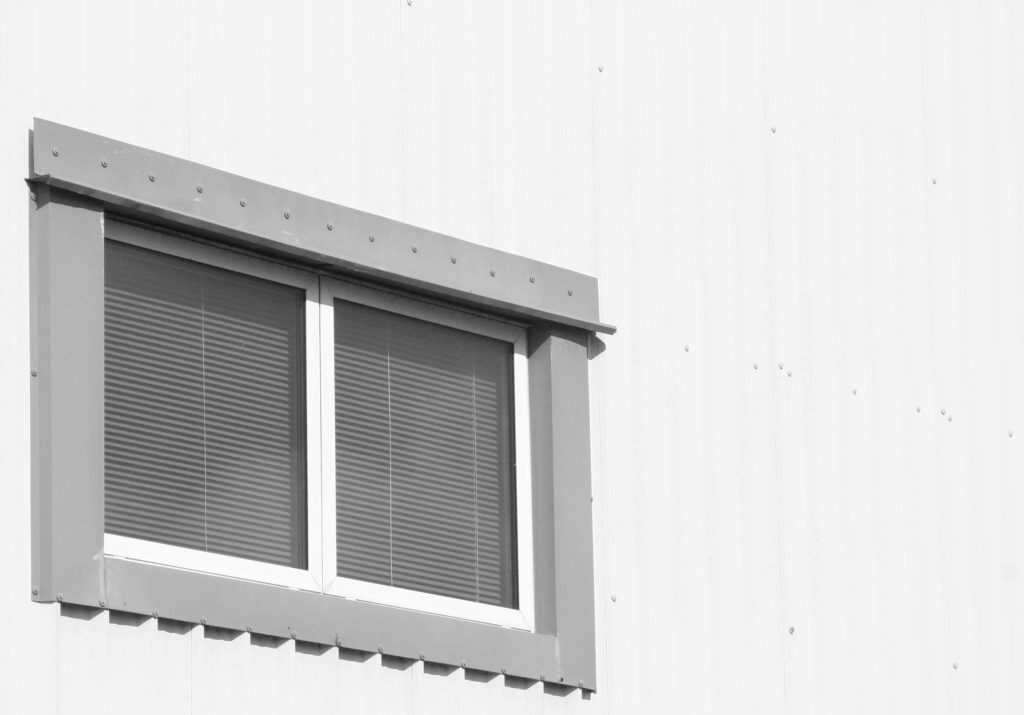
looking at formalism
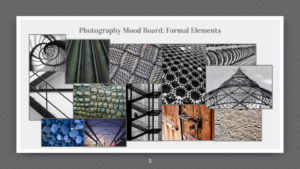
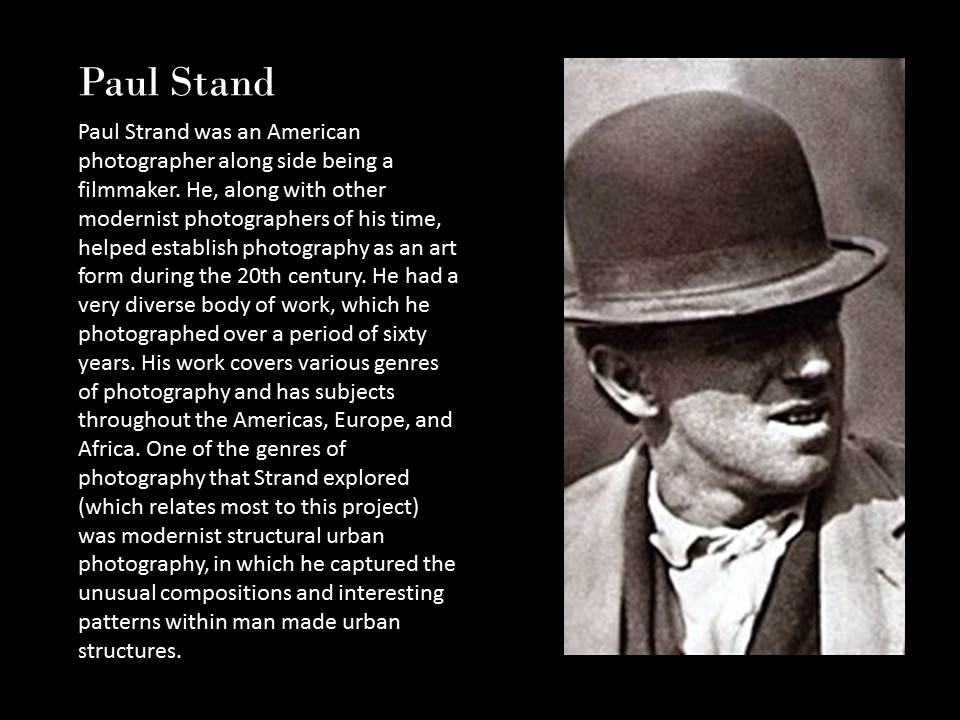
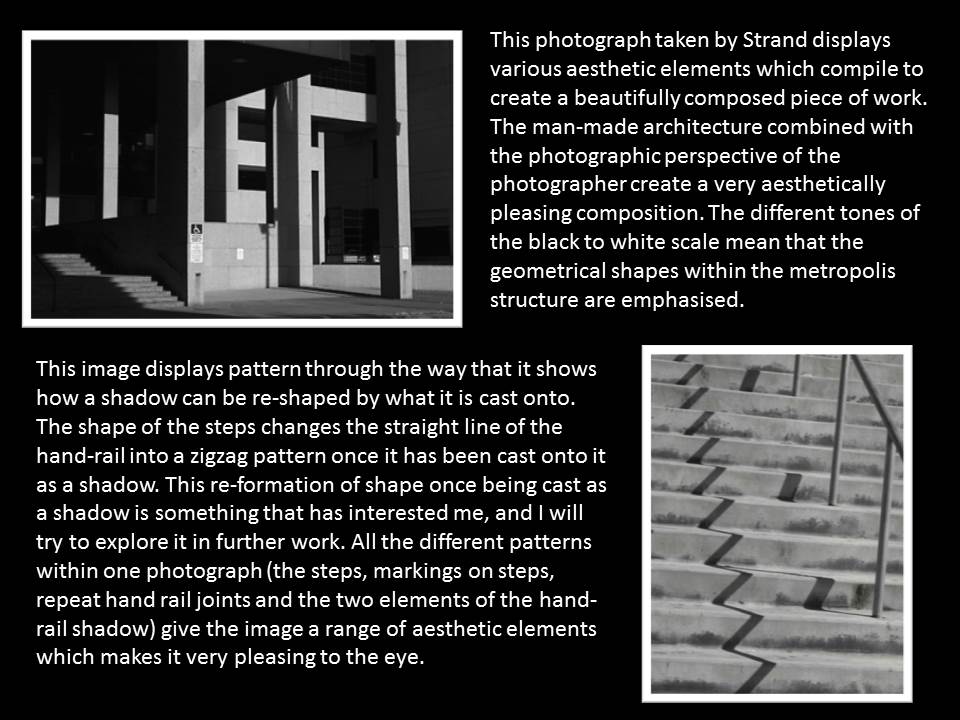
Paul Strand - was an American photographer and filmmaker who helped establish photography as an art in the 20th century. Although Strand's Photographs lack colour, they still contain a wide range of tones and shades and a great sense of depth, even in his simplest photos. I like these photographs because of the symmetry, pattern and shapes that are found in each of the images. These scenes are seen all the time in everyday life - each photo grants a satisfaction in the simple and basic shapes, set-ups and man-made structures. Each of these photos hold a sense of stillness in the frame and transmits a feeling of tranquility/content.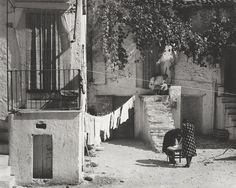
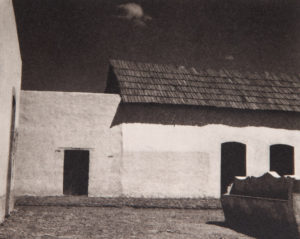
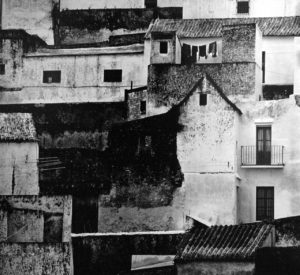
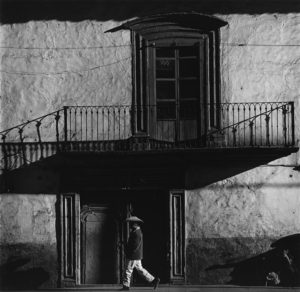
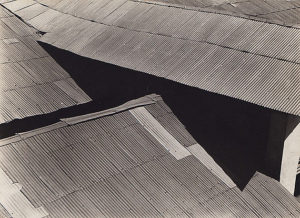
Brett Weston - Brett Weston was an American photographer. His work gives the same sense of stillness and focuses on natural/man-made shapes and forms - the second photograph's stillness is broken with the man passing the through the frame. Weston's photos are simple and complex - with complex shapes and layers. This first picture has a cluster of forms and rigid lines and demonstrates high contrasts between black and white. The last photograph has less in it - a simpler photo but also contains textures in the roof with its many ridges.
Plan - go out and take pictures of rigid shapes and forms in man made structures / simple pictures of everyday structures, look at buildings and pipes
my photographs -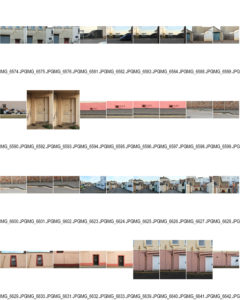
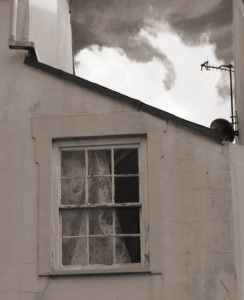
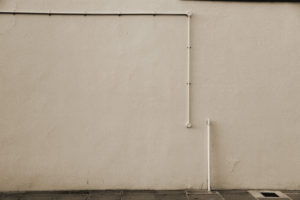
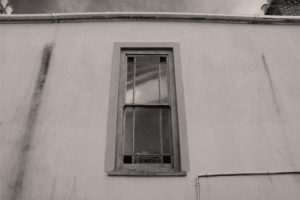
Best Photographs - I chose the simplest images because it helps to keep the focus on one point of the image. Each of these photographs are minimal which creates a sense of satisfaction. I chose to not have colour in the images so I could of focus on the tones in the image while still keeping the images basic and minimal.
ISO and Aperture Experimentation
The aperture of the camera is how focused separate elements of the image are from front to back (this links in with depth of field)
The ISO is the light sensitivity of the camera meaning a higher ISO lets more light into the camera and vice versa with a lower ISO

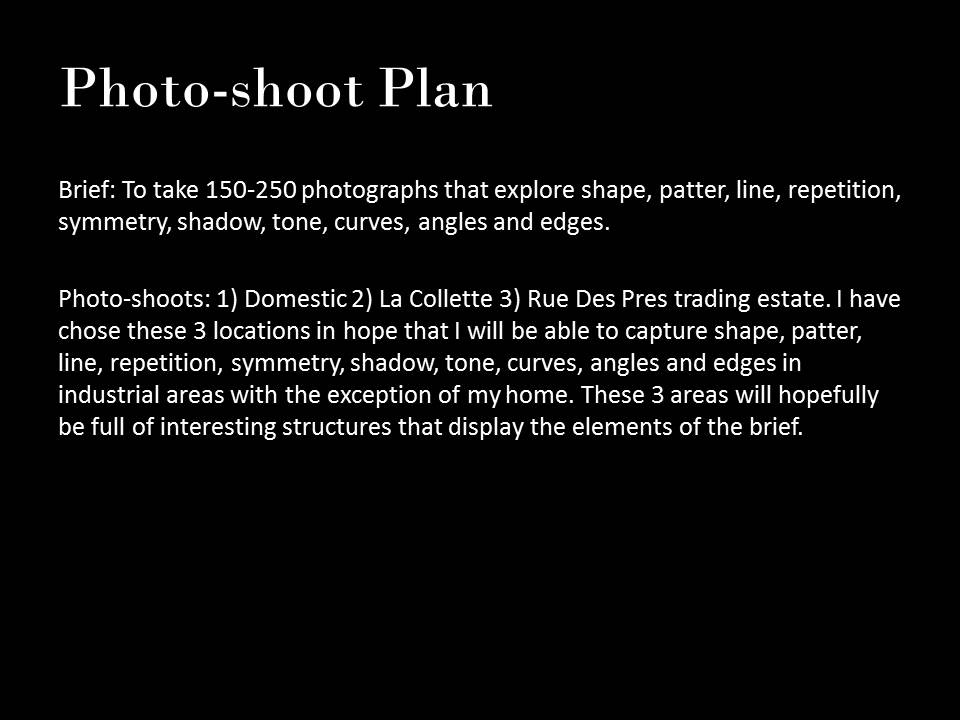
Week 3 Homework Task
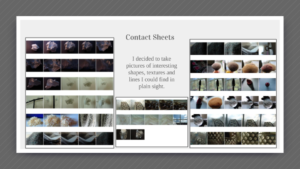
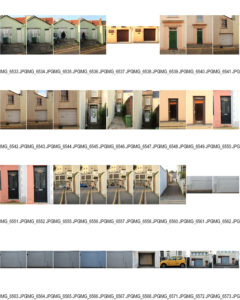
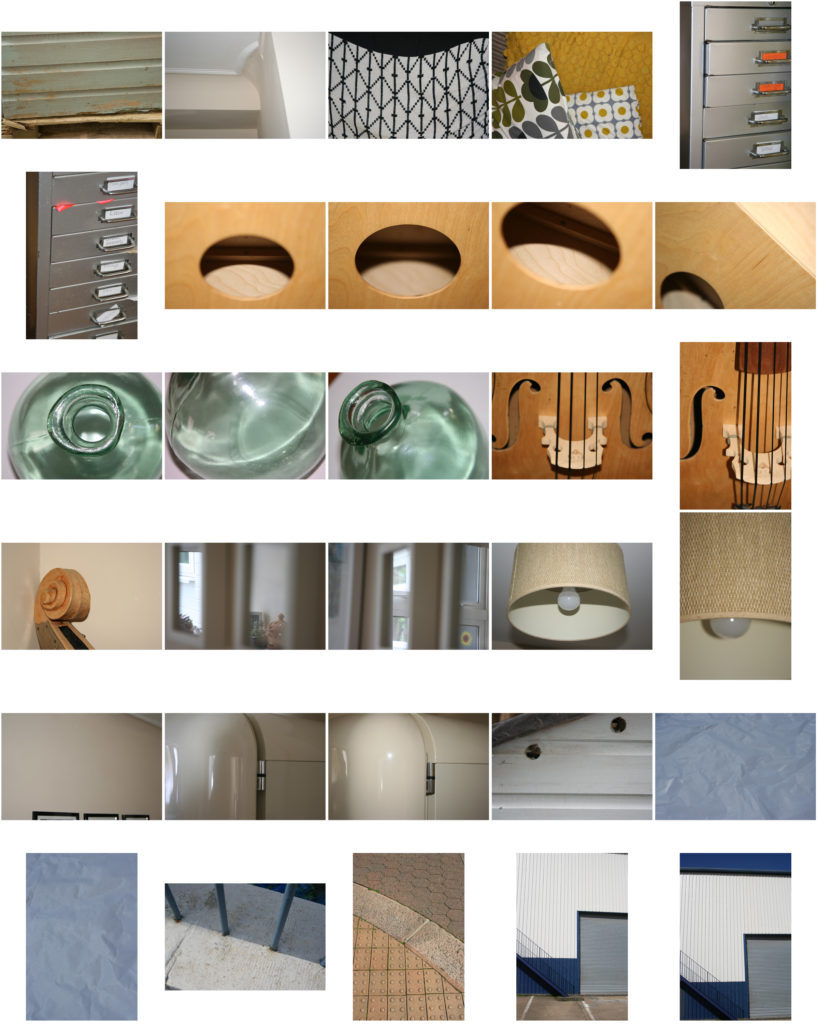
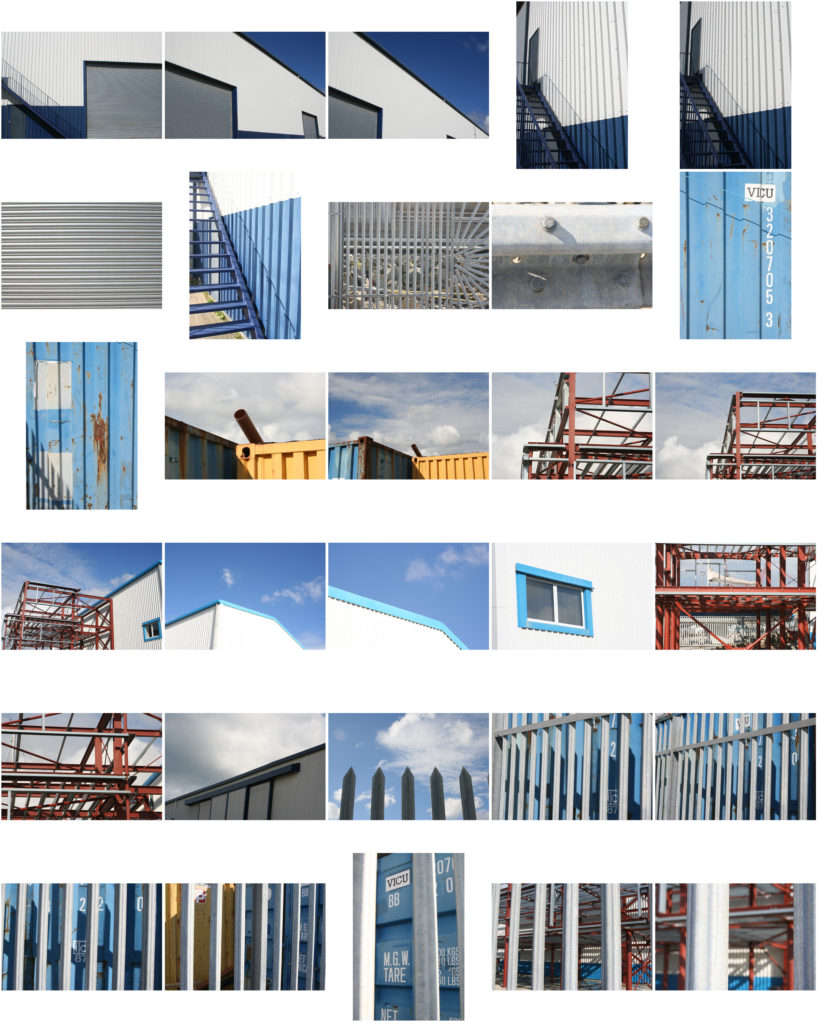
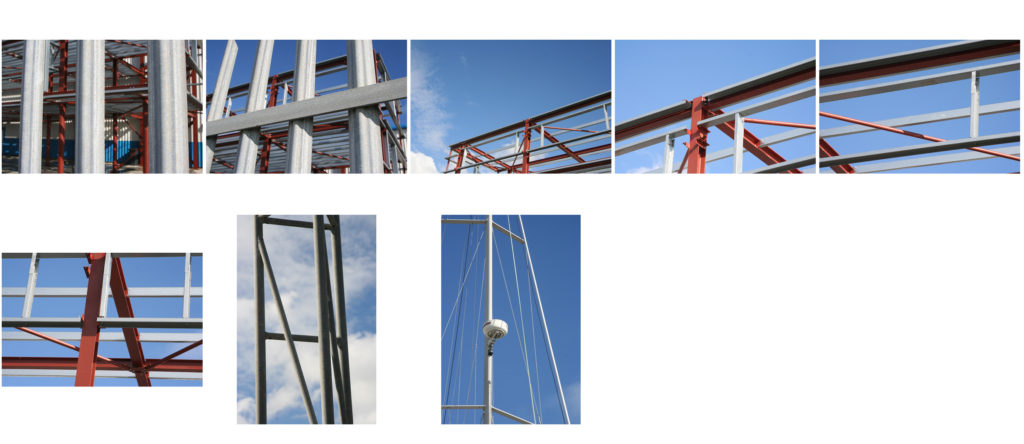
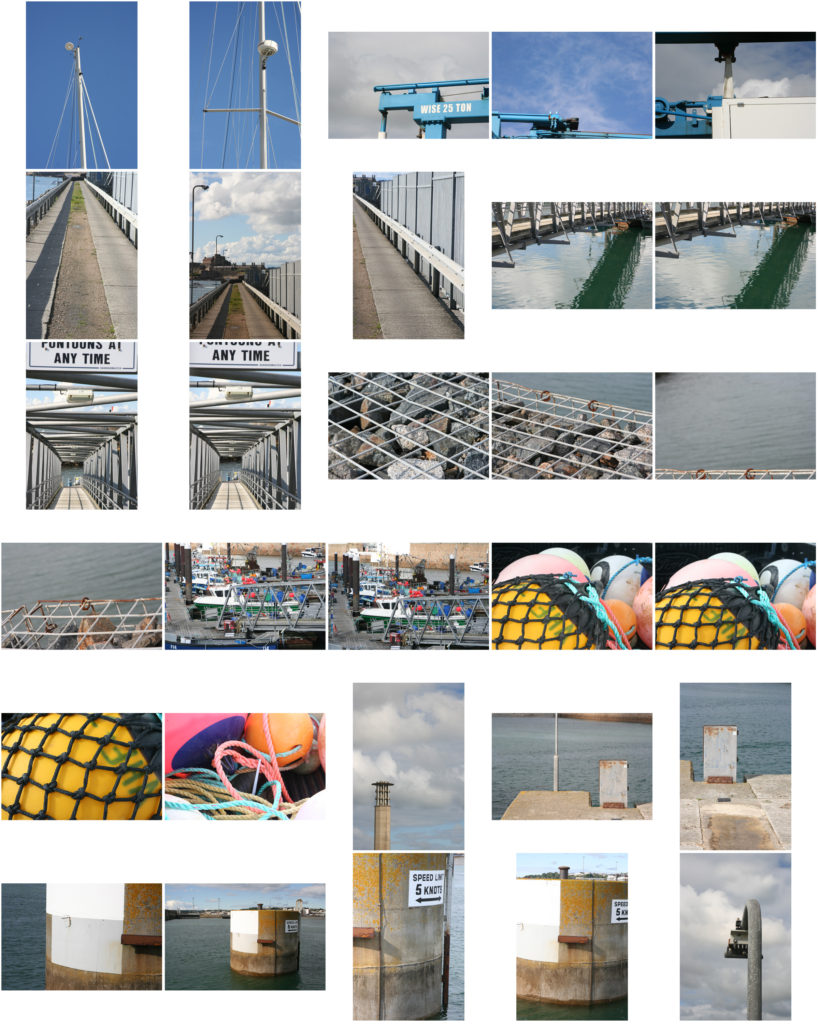
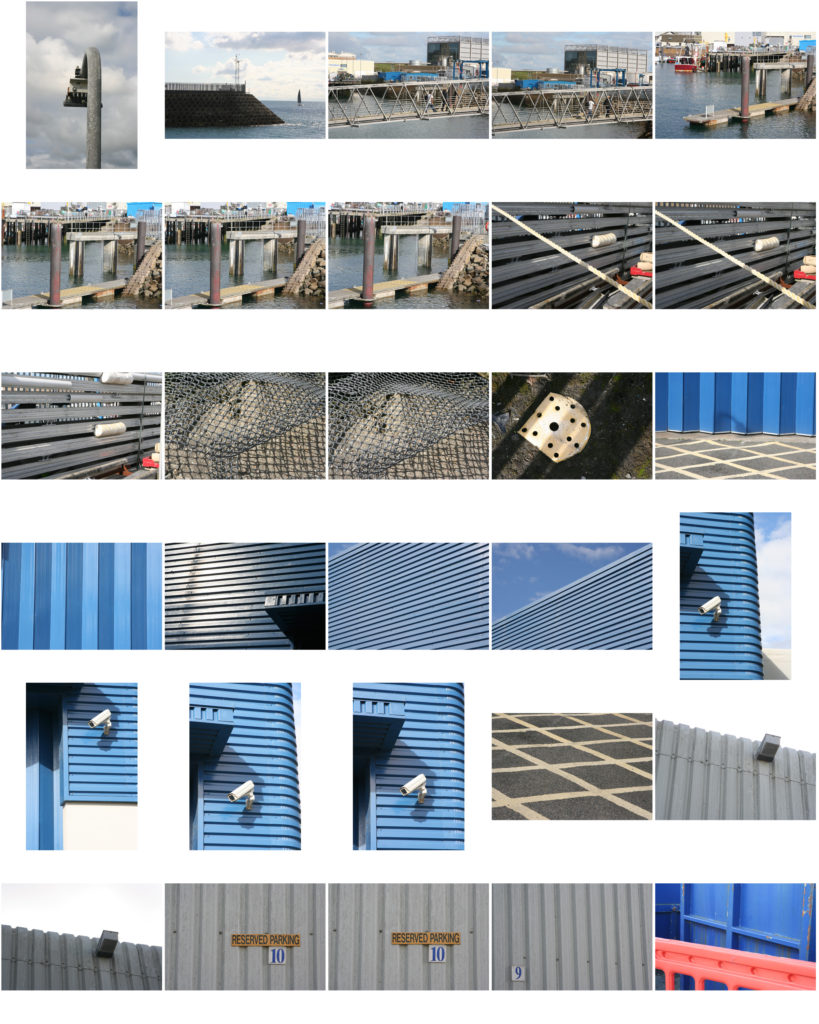
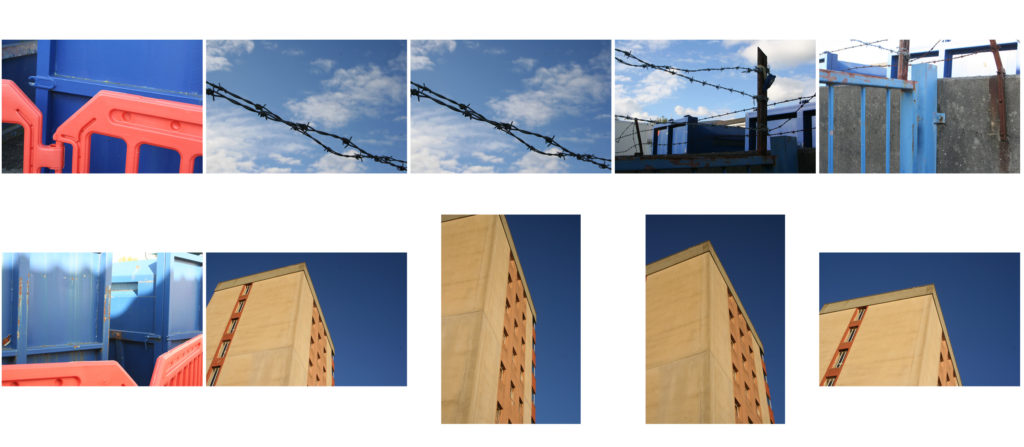
Photograph Contact Sheets (226 Images)
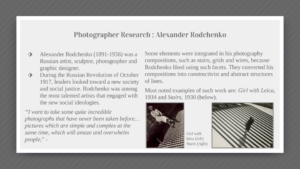
Photographer Research (1)
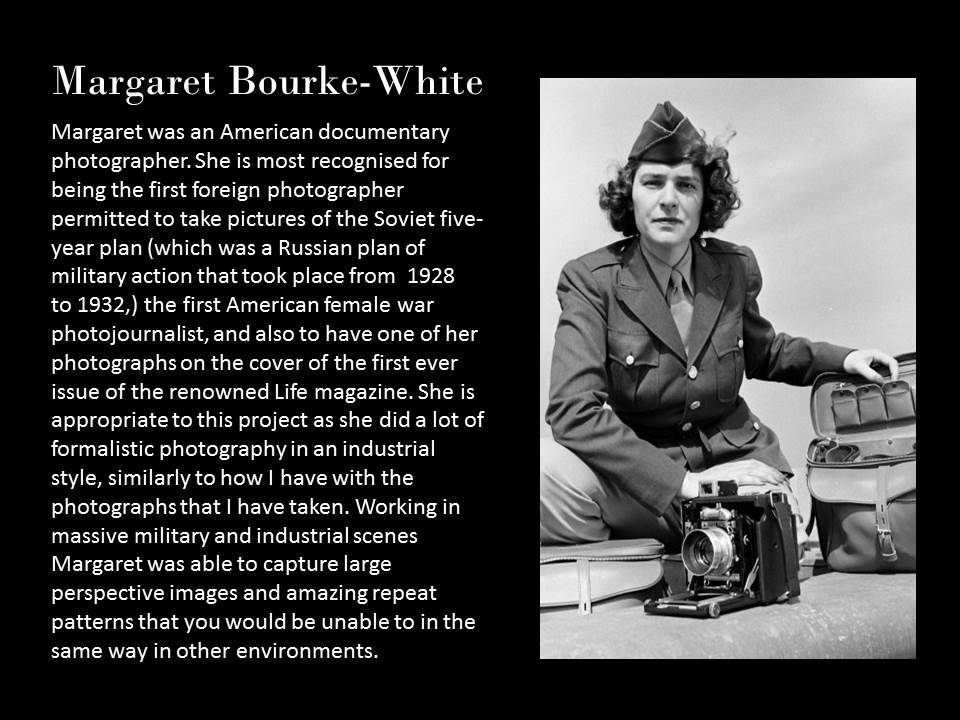
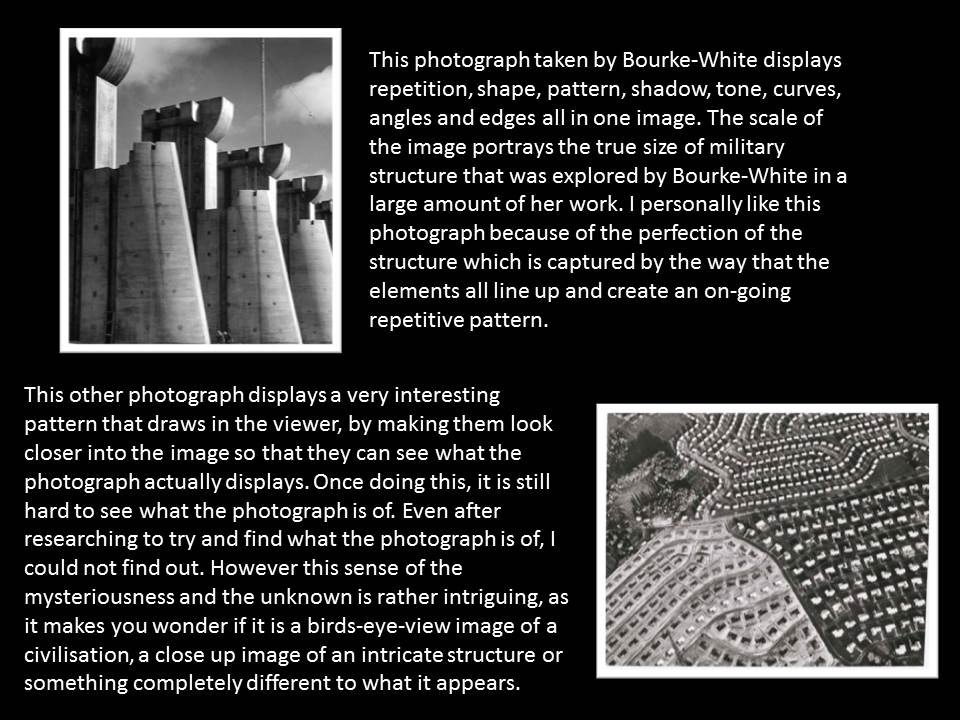
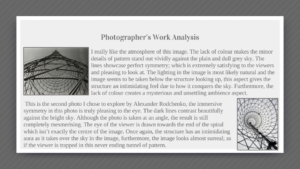
Phtotgrapher Research (2)
Camera Skills :Exploring exposure
- In this shoot we used different white balance (shady) along with an ISO setting of 200 and a variety of shutter speeds in order to investigate what exposure does and how it affects a photogra
 ph.
ph. - An image taken with a high shutter speed allows less light to enter the camera but an image taken with a low shutter speed allows more light to enter the came
 ra.
ra.
Camera Skills : Looking at the exposure triangle
The Exposure Triangle
- The exposure triangle is a common way of linking th
 e three variables that determine the exposure of a photograph.
- The three variables are aperture, shutter speed and
ISO. - Aperture is a measure of how open or closed the lens’ iris is.
- Shutter speed is how long the shutter remains open and so how long the lens is exposed to light for.
- The three variables are aperture, shutter speed and
- The three variables in the triangle work together to give you the photograph that you want.
what is exposure
Achieving the correct exposure is based upon that of the rate o flight is uncontrollable, three factors remain under your control:
1)the cameras(lens) width, 2)the duration you leave it in then(exposed to light),3)and the quantity of light you want to collect.
It is a necessity to make sure you collect the correct amount of light not underexposed but not overexposed levels. This is highly important due to the many different availabilities of width, time and quantity of light you wish to achieve.
For example,less amount go time in the light can work if you’re camera lens expands and is very wide.Alternatively for the same duration with a narrow lens can be used but you Will achieve less light.
EXPOSURE TRIANGLE: APERTURE, ISO & SHUTTER SPEED
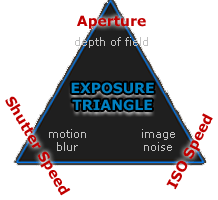
Each setting controls exposure differently:
Aperture: controls the area over which light can enter your camera
Shutter speed: controls the duration of the exposure
ISO speed: controls the sensitivity of your camera’s sensor to a given amount of light
although one section is able to use as many different combinations to achieve s certain style and technique. The key, however, is knowing which trade-offs to make, since each setting also influences other image properties.

ISO,aperture photo shoot
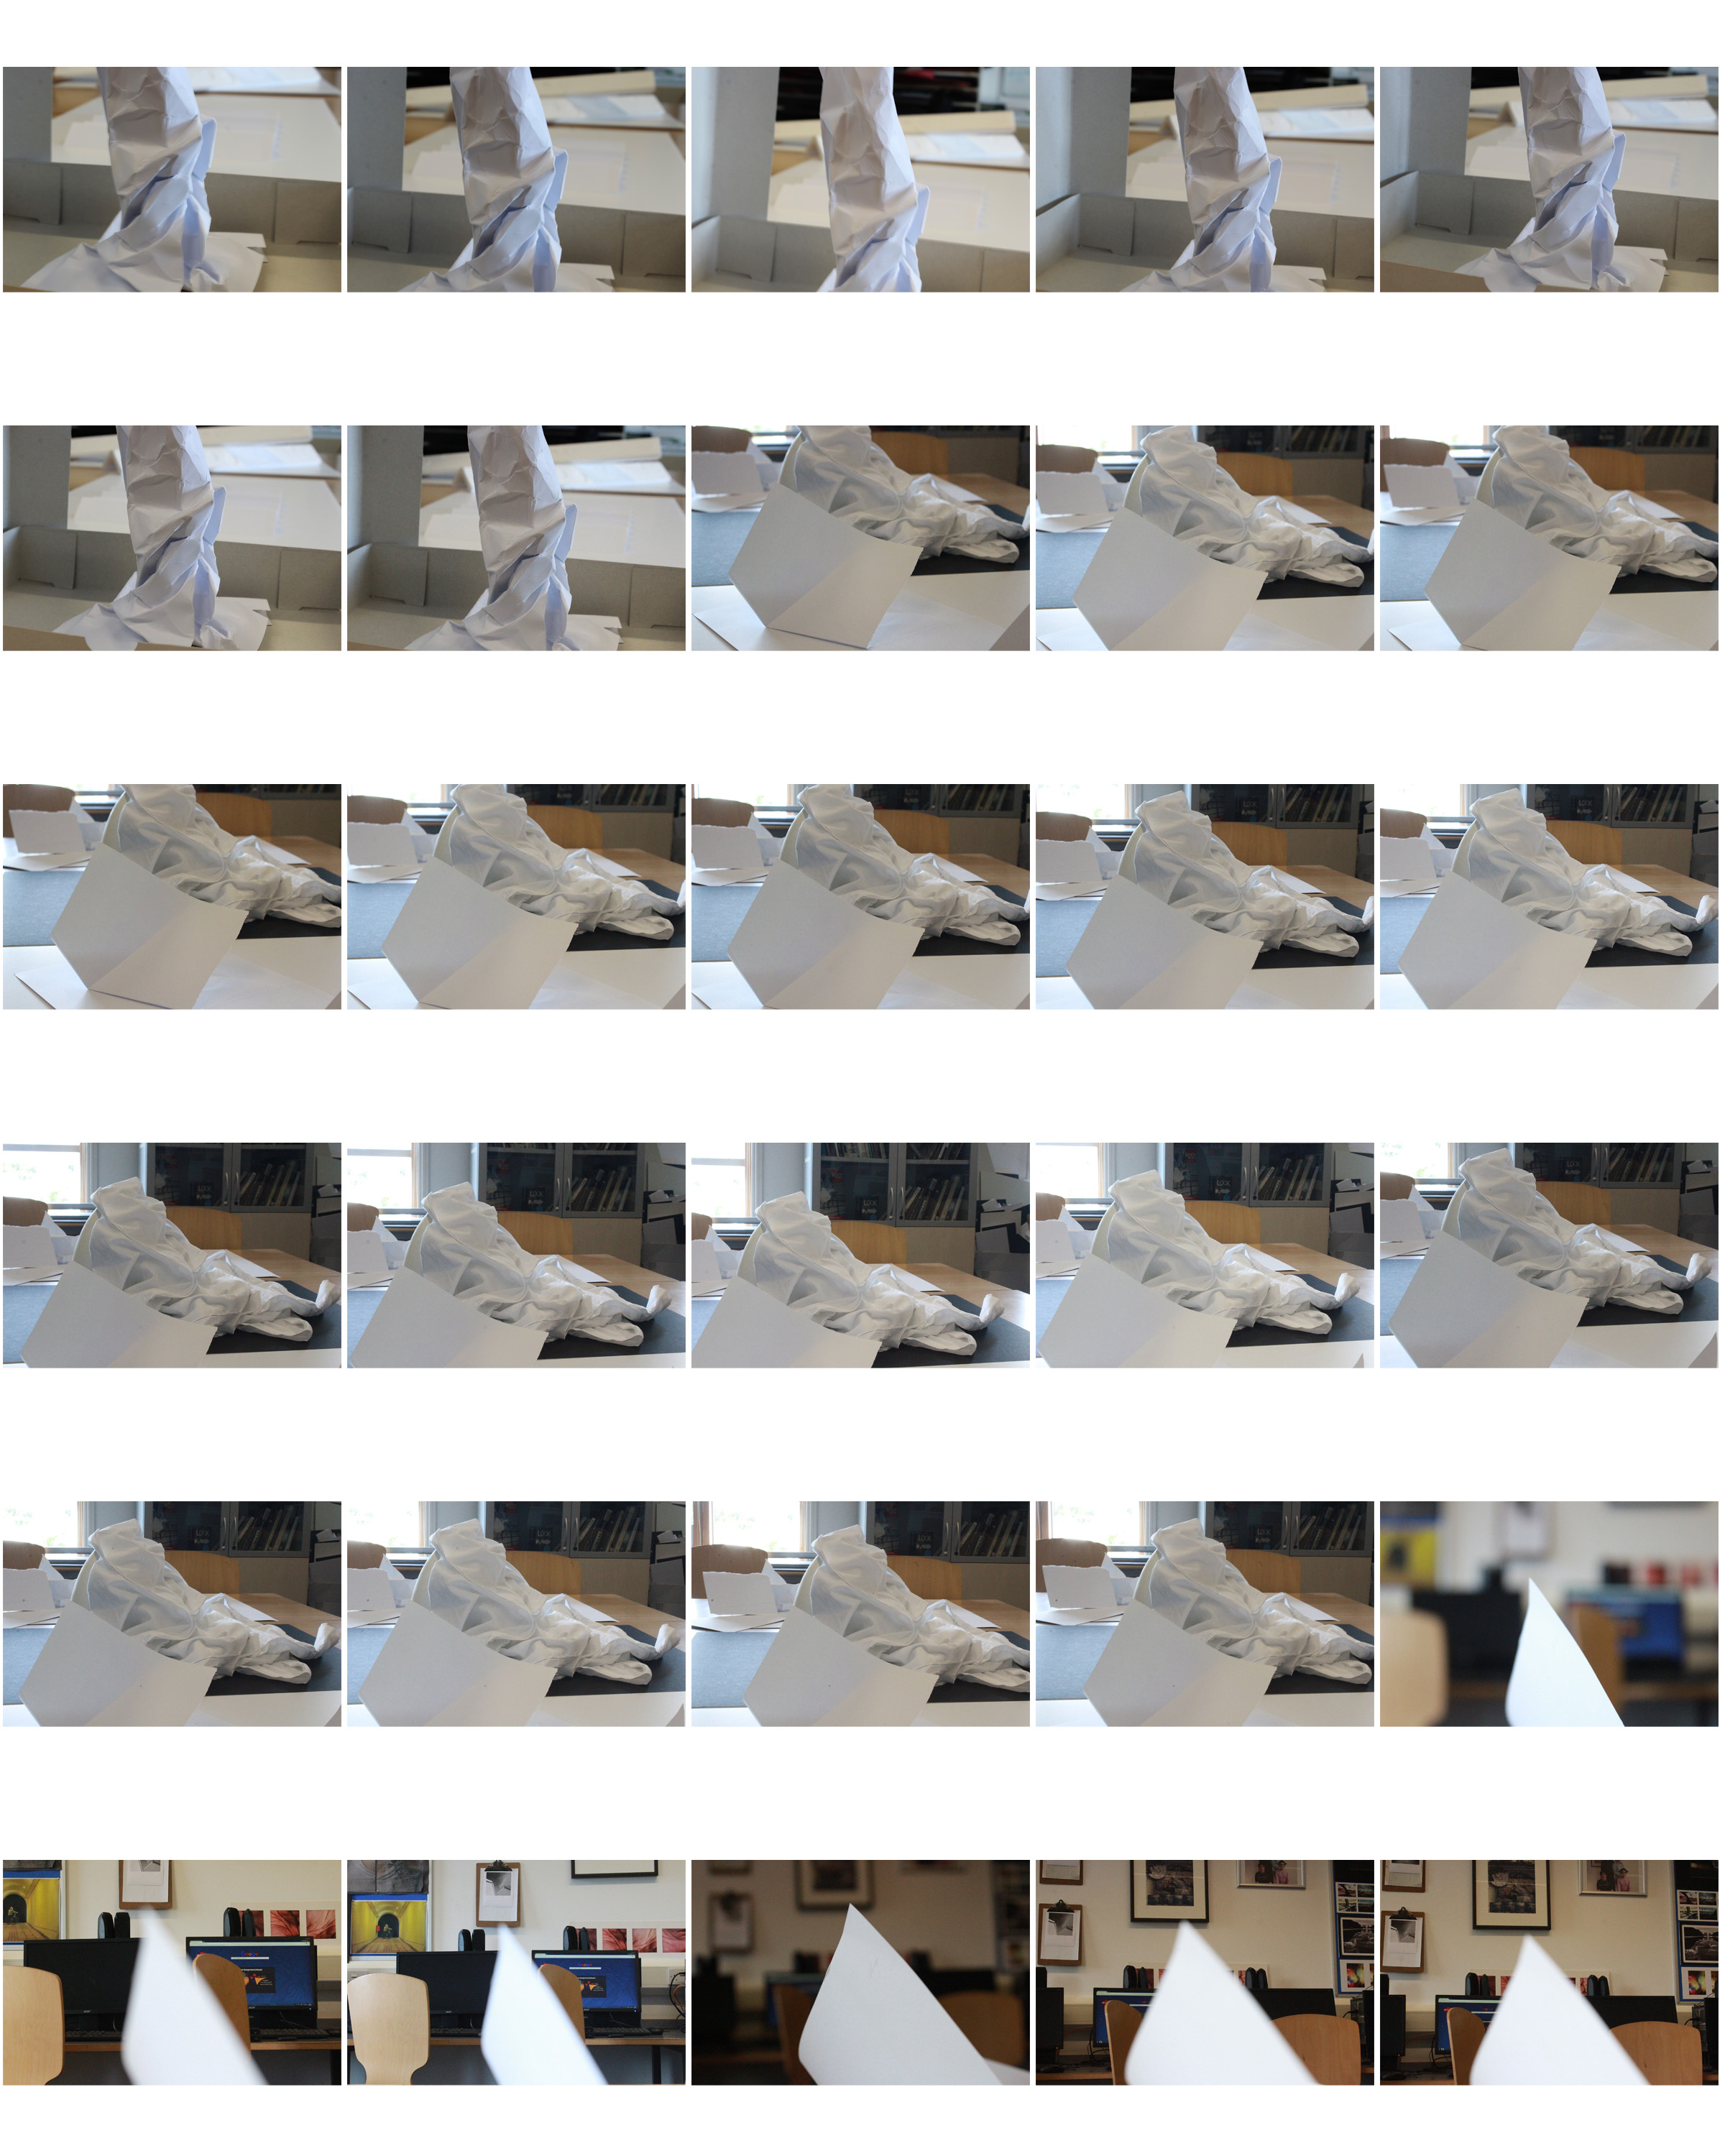
For this shoot I wanted to experiment the same shot and how it works ind developing detail, colour,and background when changing the ISO and Aperture settings.these photos devoted from 100 to 1600 doubling every time.
The ISO speed determines how sensitive the camera is to incoming light. Similar to shutter speed, it also correlates 1:1 with how much the exposure increases or decreases. However, unlike aperture and shutter speed, a lower ISO speed is almost always desirable. As a result, ISO speed is usually only increased from its minimum value if the desired aperture and shutter speed aren’t otherwise obtainable.This can cage depending to lighting or if it happens to be a very quick shutter speed to capture an action shot. With the first few images you can see the development of a lower to higher ISO level. It slowly looses the detail and becomes too exposed and is unable too capture the image; as seen before.The ghee exposure is available to ‘film grain” seen in traditional photography.
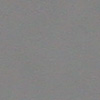 Low ISO Speed
(low image noise)
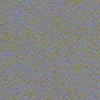 High ISO Speed
(high image noise)
Secondly I focused on Aperture. Aperture is when A camera’s setting controls the area over which light can pass through your camera lens,uch like exposure and alliance of light. It is specified in terms of an f-stop values. In photographer slang, when someone says they are “stopping down” or “opening up” their lens, they are referring to increasing and decreasing the f-stop value, respectively. this is the widening snd retraction of the lens to determine the amount of access to light they wish to capture. This is the second half of the photos and the development detail and focus within the images.
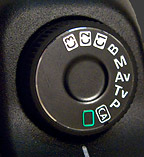
Homework Task 01

