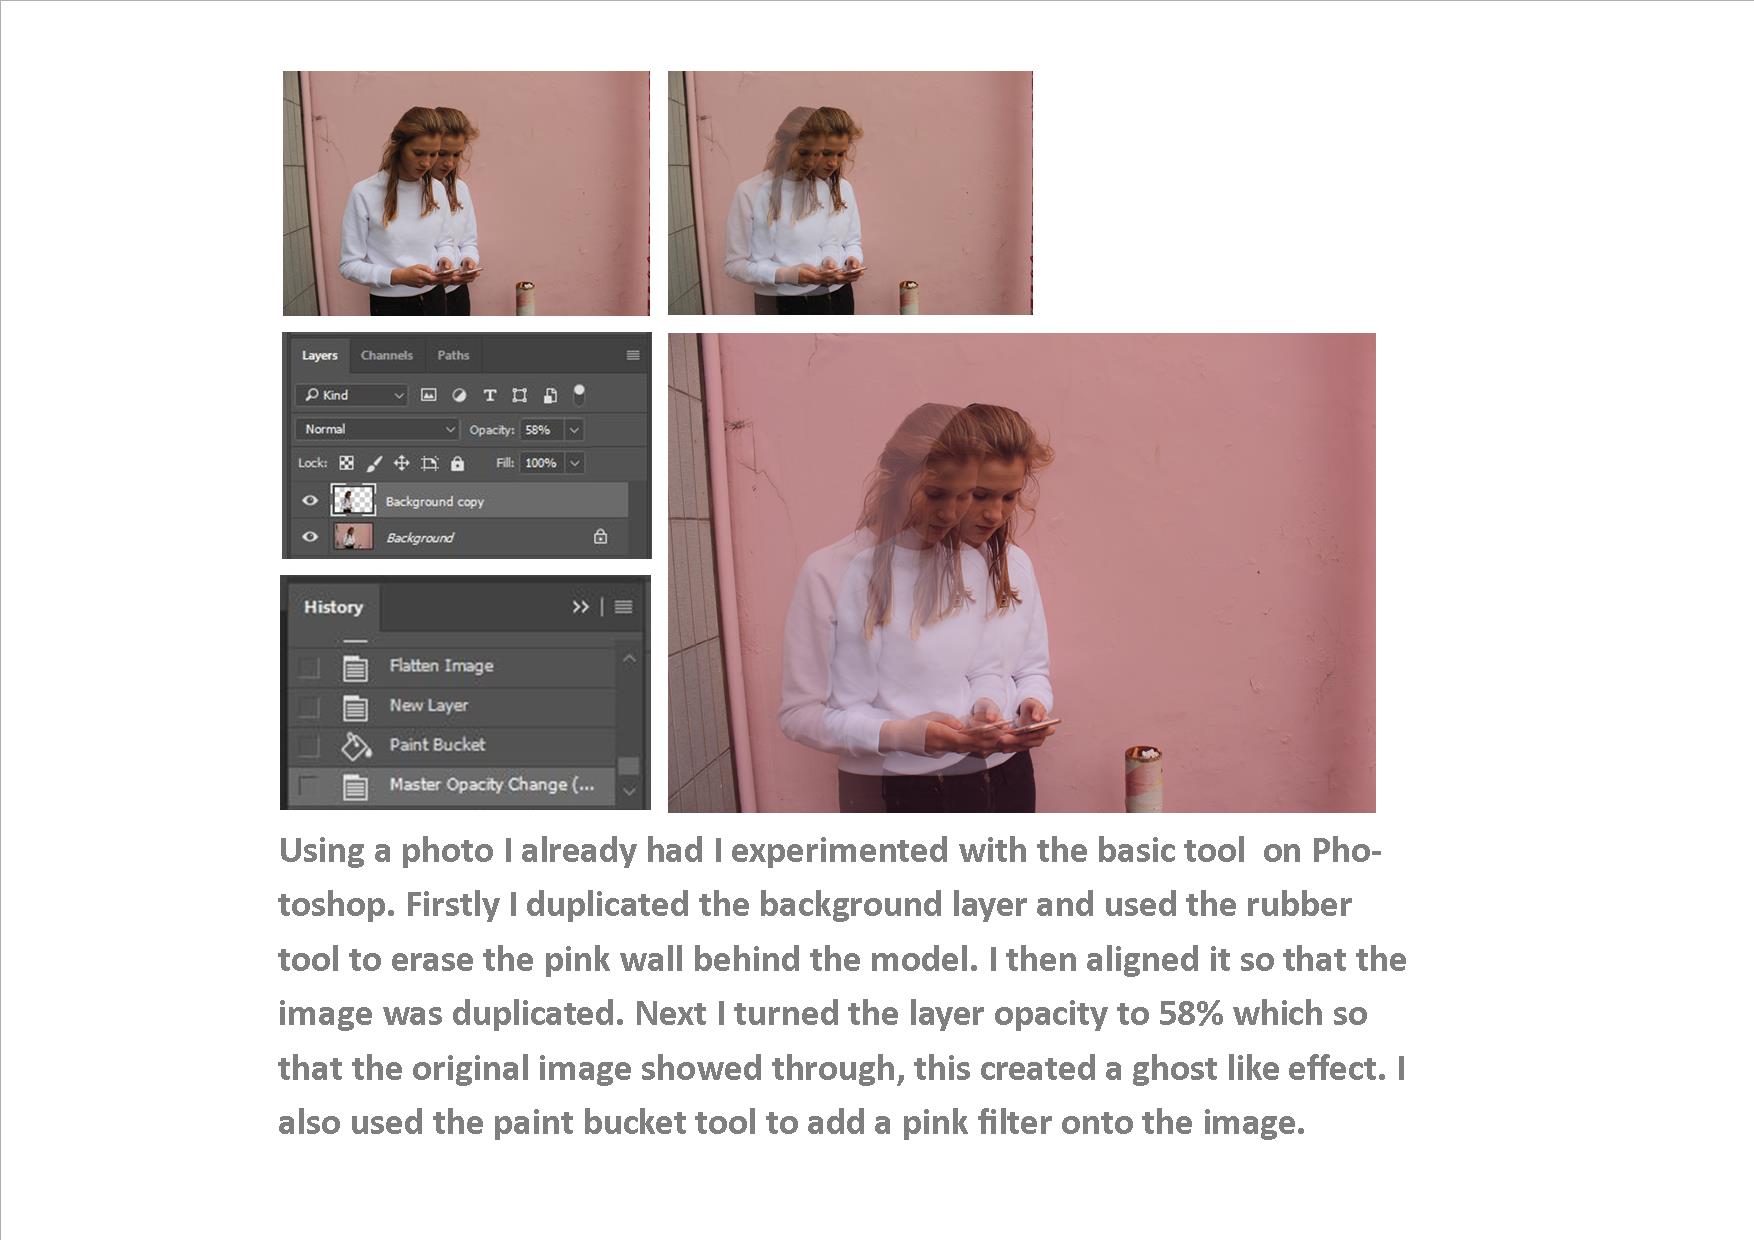
Adobe Bridge allows the user to quickly edit photos without the use of Photoshop, I’ll explain the functions and features of the process below.
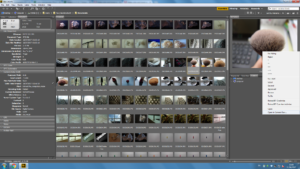
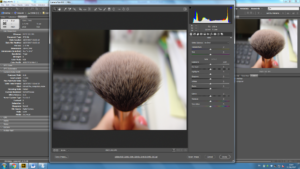
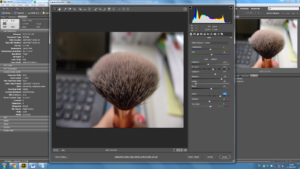
Adobe Bridge allows the user to quickly edit photos without the use of Photoshop, I’ll explain the functions and features of the process below.


The zone system is a technique formulated in the 1930s.
Taking inspiration off of Ansel Adams, I tried to I incorporate all the different tones, from the darkest to the lightest, to make the photograph more interesting. The darkest point of the photograph is the middle towards the front of the photograph, showing black, whereas the lightest point is the top of the creased paper facing the natural light.
In photography, shutter speed or exposure time is the length of time when the digital sensor inside the camera is exposed to light, also when a camera’s shutter is open when taking a photograph. A longer shutter speed will allow more light into the picture, which is better for dark subjects or places and short shutter speeds let in minimal amount of light however can capture fast paced moving subjects.
![]()
This simple diagram clearly shows how shutter speed works using a tripod. A fast shutter speed, for example 1/500 in this case is able to capture the man running in high quality detail. Whereas the slower shutter speed of 1/2 of a second cannot capture the man running quick enough therefore leaves a motion blur within the photo.
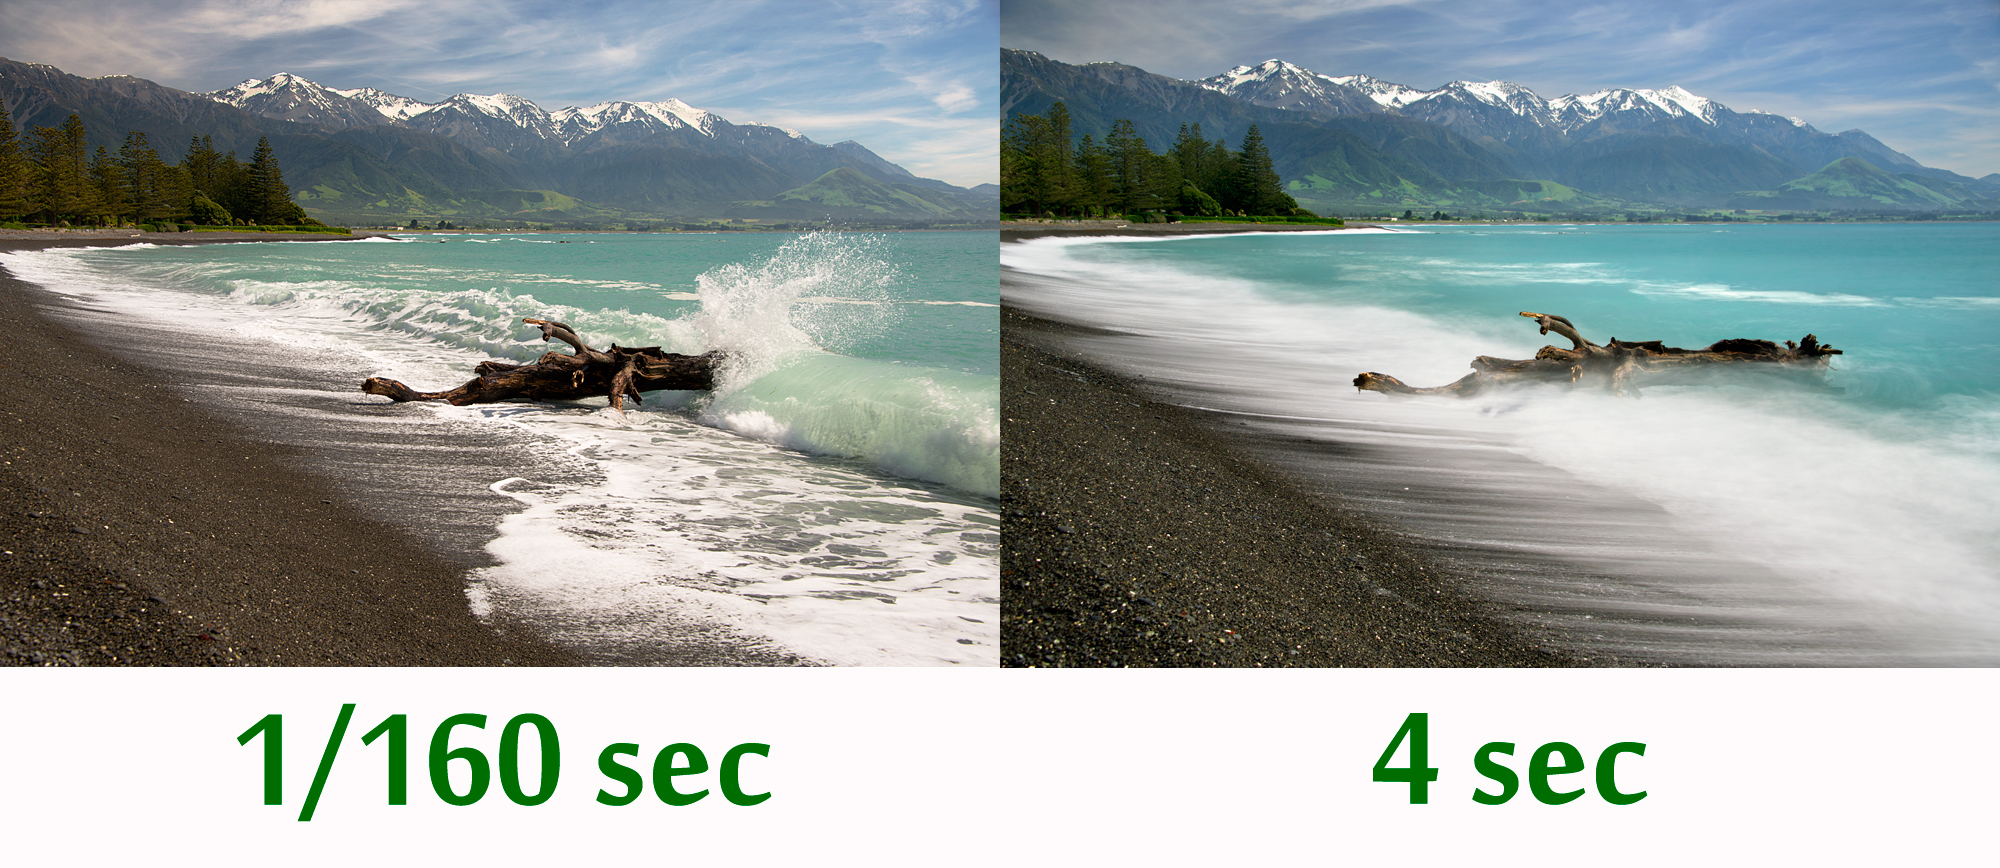
Clearly in the image above there is a clear difference when using different lengths of shutter speeds. I believe that the longer shutter speed photographs are extremely unique and can produce very interesting images like the water in the image above which looks silky. Following this, I intend to experiment shutter speed by using mainly slow shutter speeds to create these unrealistic and unique pictures.
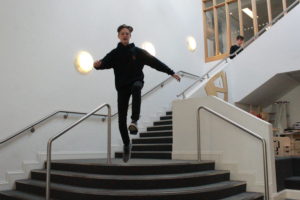
Below are some basic images in which I took around school exploring shutter speed.
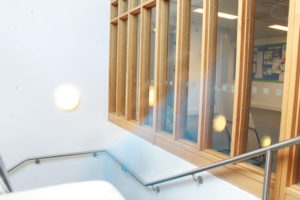
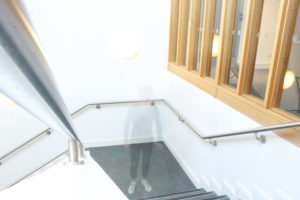
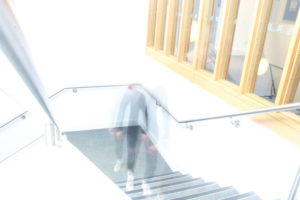

Typologies. Typology is the study of types, and a photographic typology is a suite of images or related forms, shot in a consistent, repetitive manner.
For my new photography project two I will go more in depth about typologies artists . typolog to me is a way of expressing and journalism of many topic project of person you want To discover more about.A technique I see a lot if the gradual movement in order to observe and capture every angle to relate to a person and reflect the person in which they are living themselves.

Many examples are more reflected around line and person of people and differences and development of architecture. Throughout the modern era, photography has been enlisted to classify the world and its people. Driven by a belief in the scientific objectivity of photographic evidence, this is everything that can be captured within typology. The logics utilized to classify photographs-in groups and categories or sequences of identically organized images-also shape our visual consciousness.

Ansel Easton Adams was born in February 20th 1902 and passed on April 22nd 1984,Adams was a highly influential American photogrhper and also an environmentalist which you can see throughout his very nature based images.He is most famous for his black and white landscapes he would hike and take in the American west, these are now widely produced as calendars and see through the Internet.Adams is probably most famous for his discovery and invention of ‘the zone system’ this is a way In which to determine proper exposure and how to adjust a contrast of a final print while taking the photo itself. This produces a proper exposure and a clear adjustment and depth within his character filled photos. His work was primary on a large format camera due to this is contributed towards his sharpness within the final print.
Adams was also a founded photographers as well known group of fellow photographers who also capture very landscape based pieces of art. Himself and his family were migrants form within England to follow a business of his fathers. He was Laos a lumberjack with is one of the persons that inspired himself to be very indulged in nature itself and preventing it to be cut down of forgotten.
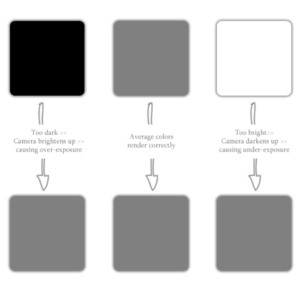
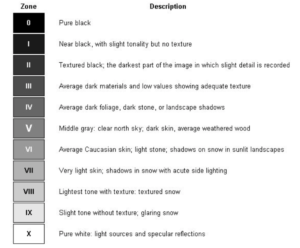
His work once agin inspired his development of ‘The zone system’ this is photograph technique to determine the optimal film exposure, it is the basis of the sensitometry system which develops who a scene should be processed t look in its best manner and come across in the most appealing light and texture. Adams described the Zone System as “not an invention of mine; it is a codification of the principles of sensitometry ,he is said to provide a relationship between the way a photographer is visual and the subject itself. its ids also applicable to film and also digital cameras of today time. The image below is how the tones are numbered and put into a systematic order of the development of all the colours around the image separately to create an effective composition.
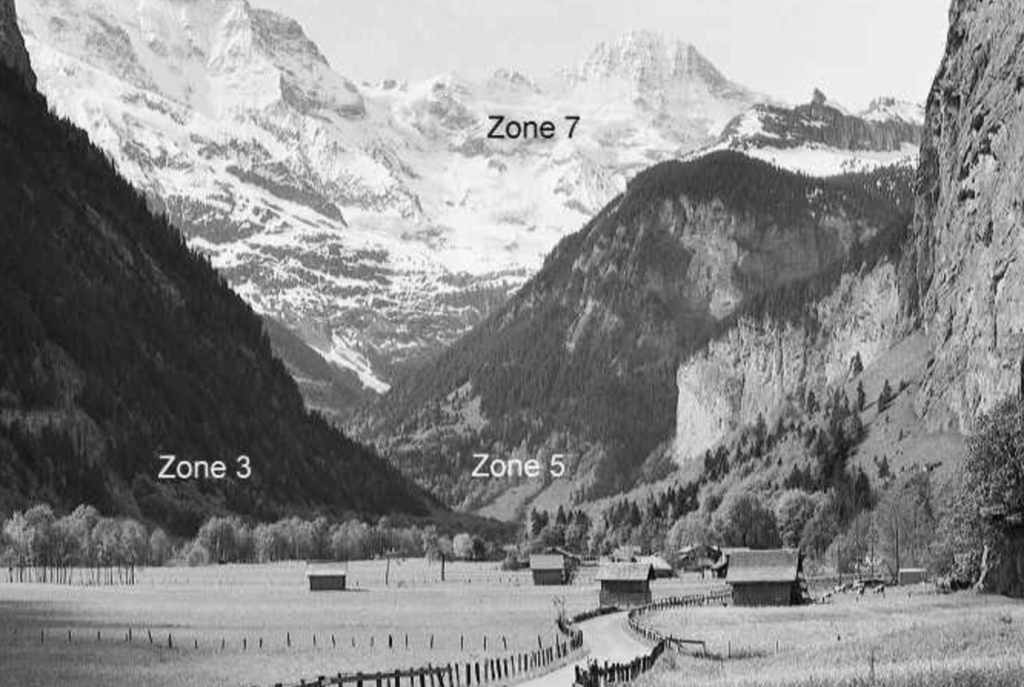
In this image you can clearly see his line of frame and all the difference within colour and tone to achieve all of the very lights to darks and accomplish a successful piece.
This is to alter (a photographic image) digitally using image-editing software.It is done to exaggerate or dramatic change an image to connote and exaggerate a feel that wants to be expressed or brought forward to the audience.
Firstly I started off by inserting the image into photoshop in order to deepen the saturation and develop a more grip feel and not use the colour as a distraction for the image and circulation with patterns and line within the piece itself. Using the Crop tool, you can trim edges, change the shape and size of a photo, and even straighten a crooked line or the shape within the leaf. Furthermore Enhanced the quality and Brighten the photo and make its quality and highlights pop using adjustment layers. After layering the image ignorer to edit different aspect to then eventually flatten this image. I went onto a bast in order to move the saturation and so developing the colour to deepen the effect. I wanted to still be able to see sources of colour to not completely inveterate the colour within the leaf.I then costume the colours in a grain setting so would be able to accurately develop the colours and cancel out all the extras vibrancy that I did not want in my image. Finally I Convert color to black and white, add an old-fashioned tinted look, and play with focus using the Tilt-Shift Blur filter.
You can see the tool bars here in which I dimmed the saturation and colour to depth the image but also allowing the tone range from very black inner leaf to a progressive lighter leaf. You can also see the layers through the photo and how the custom levels about to be set to green to develop a deeper tone relevant to the piece.
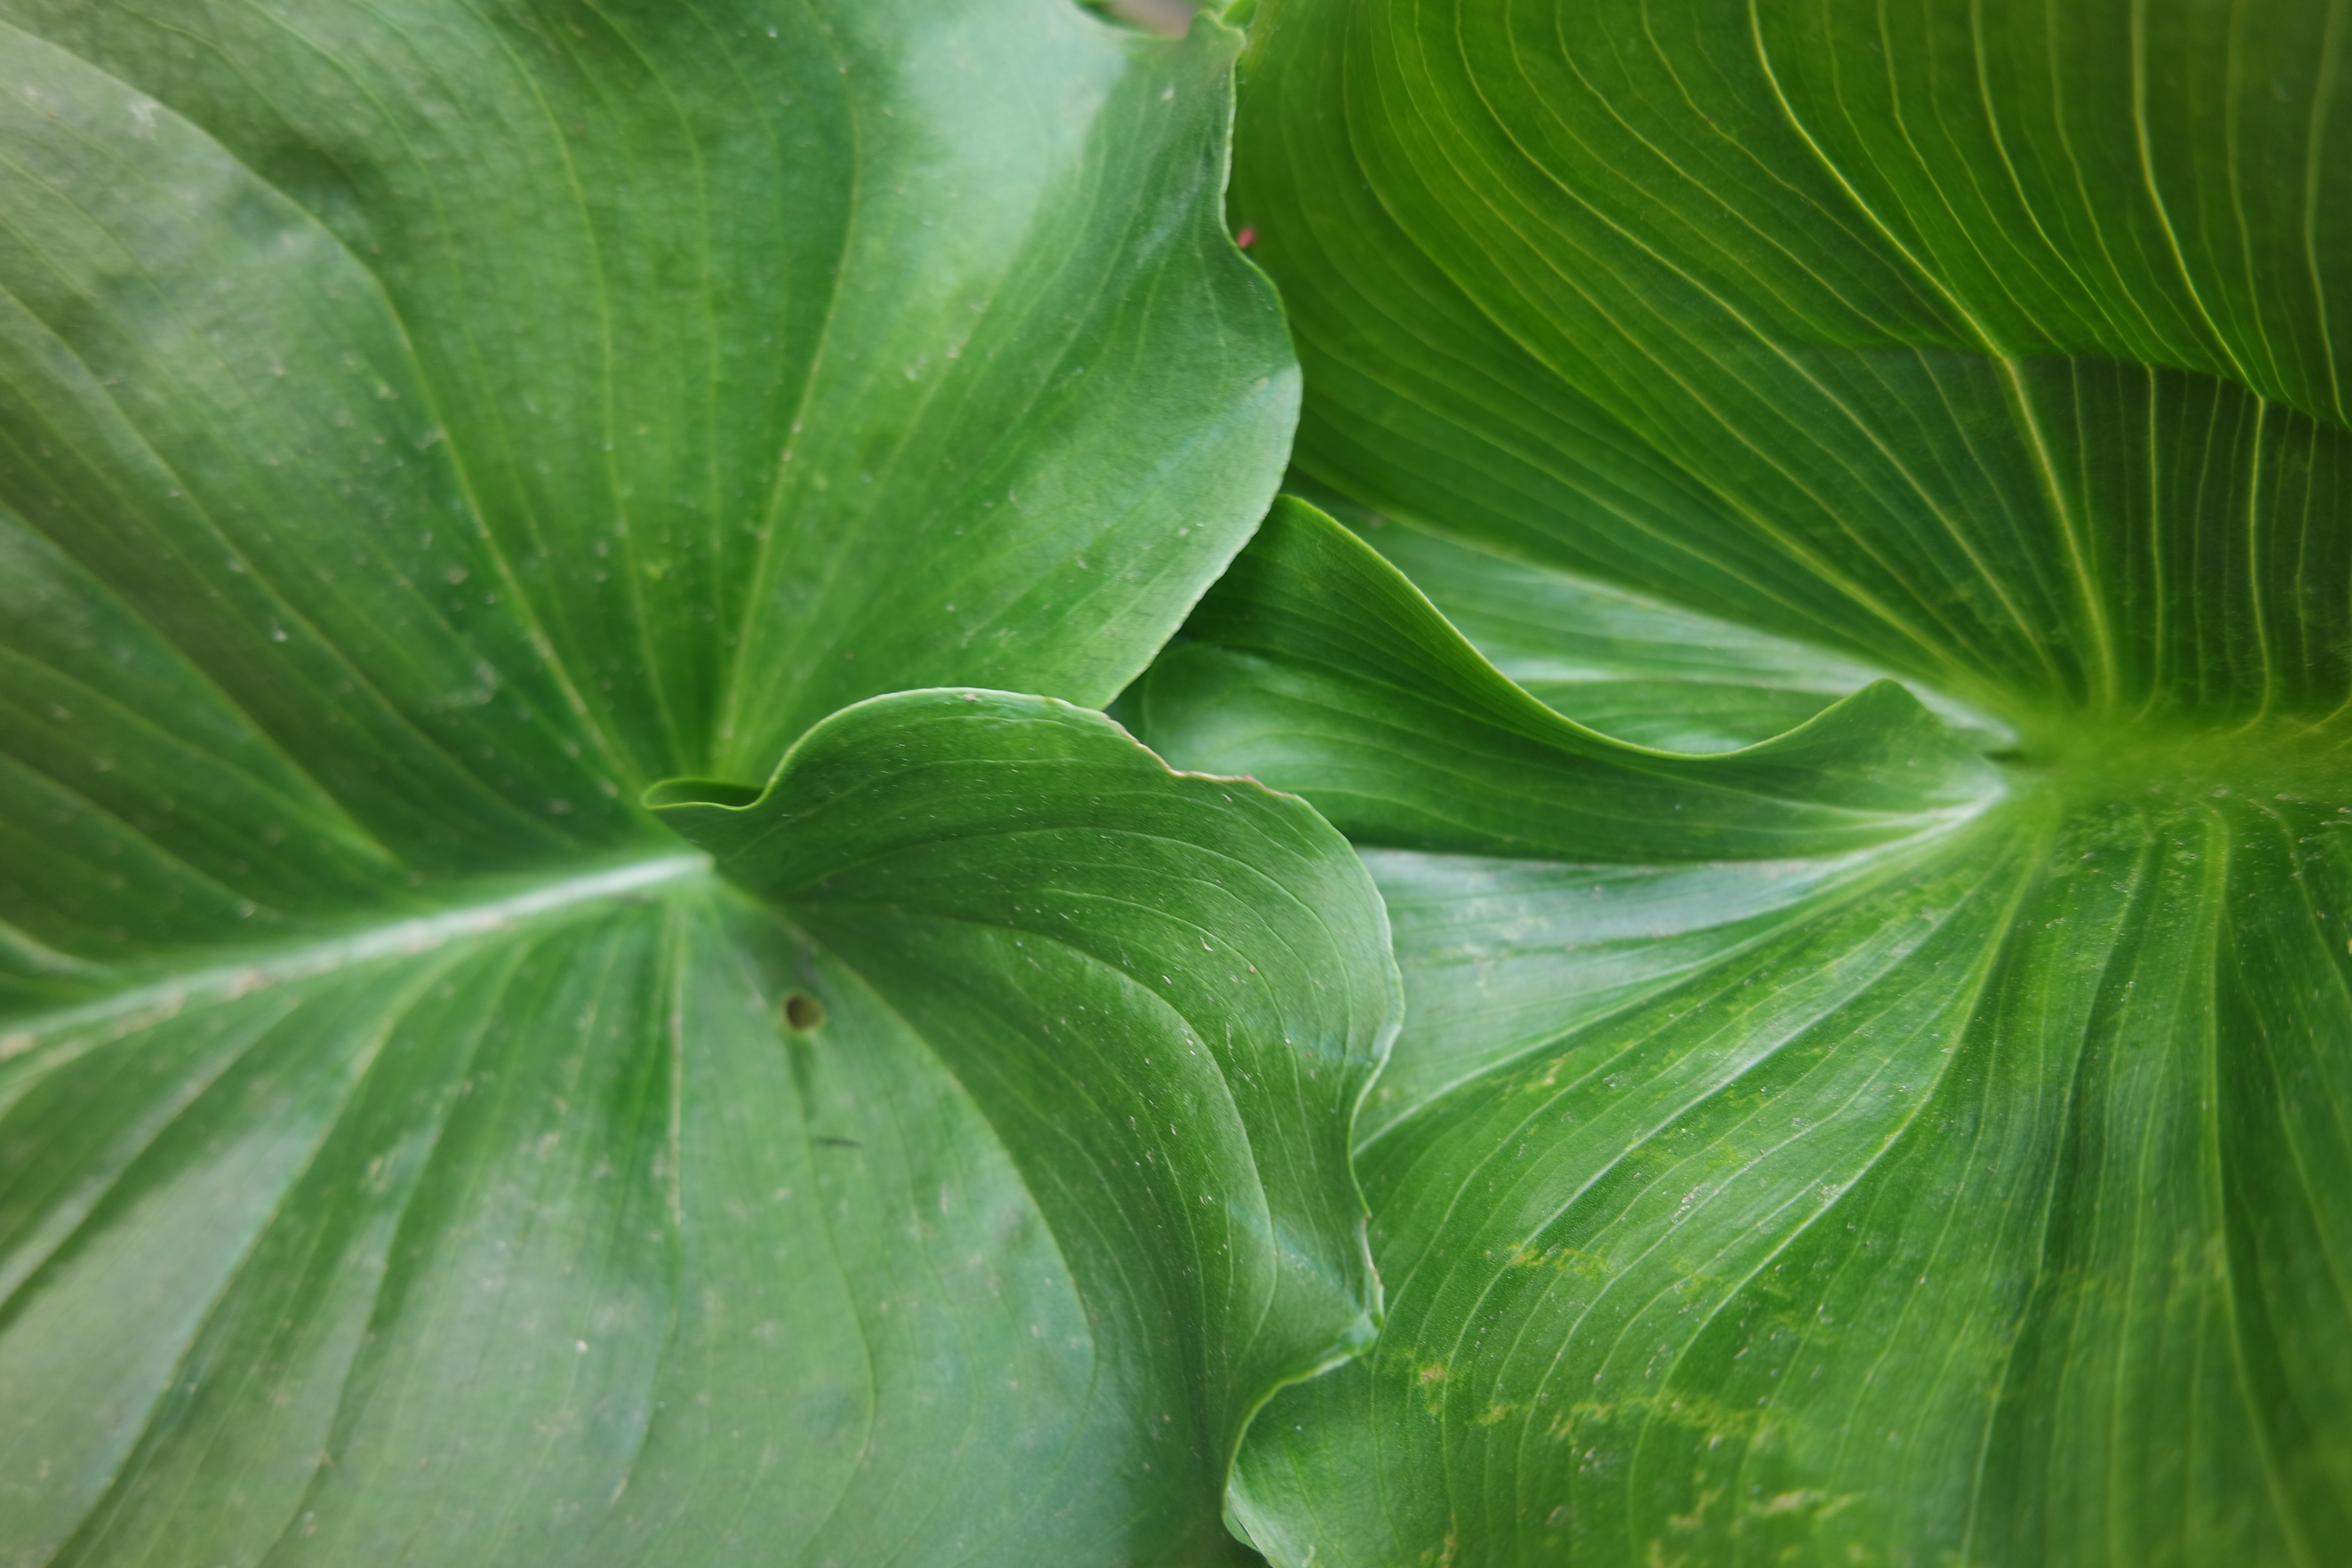
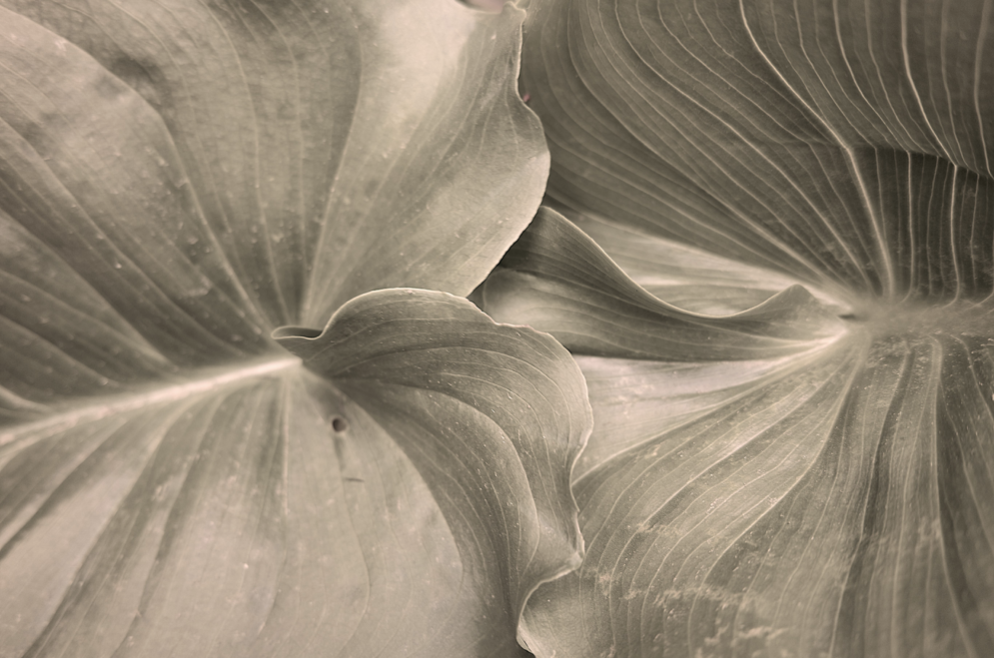
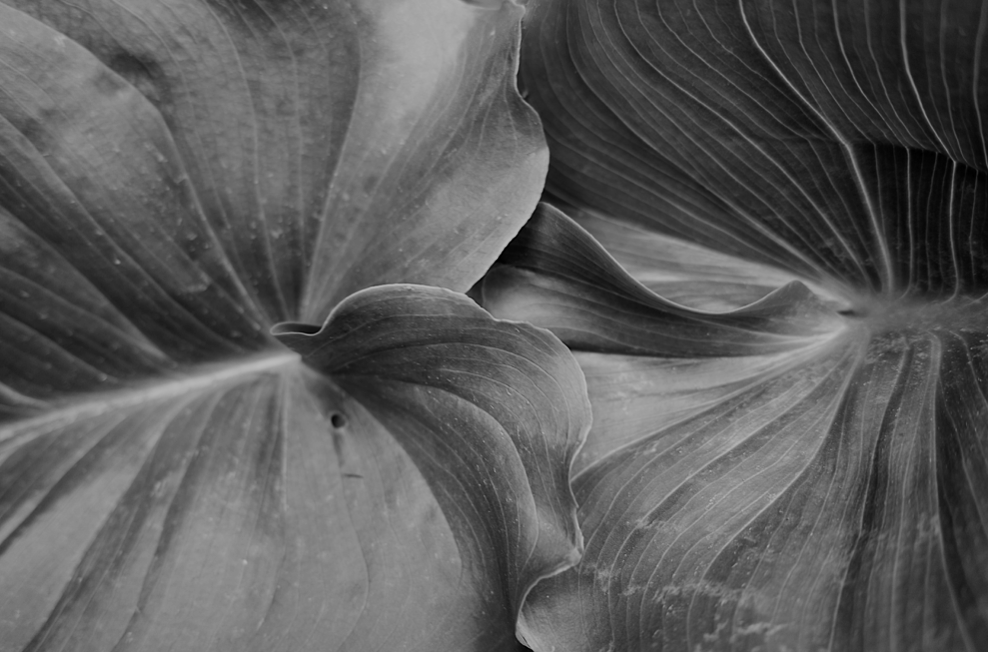
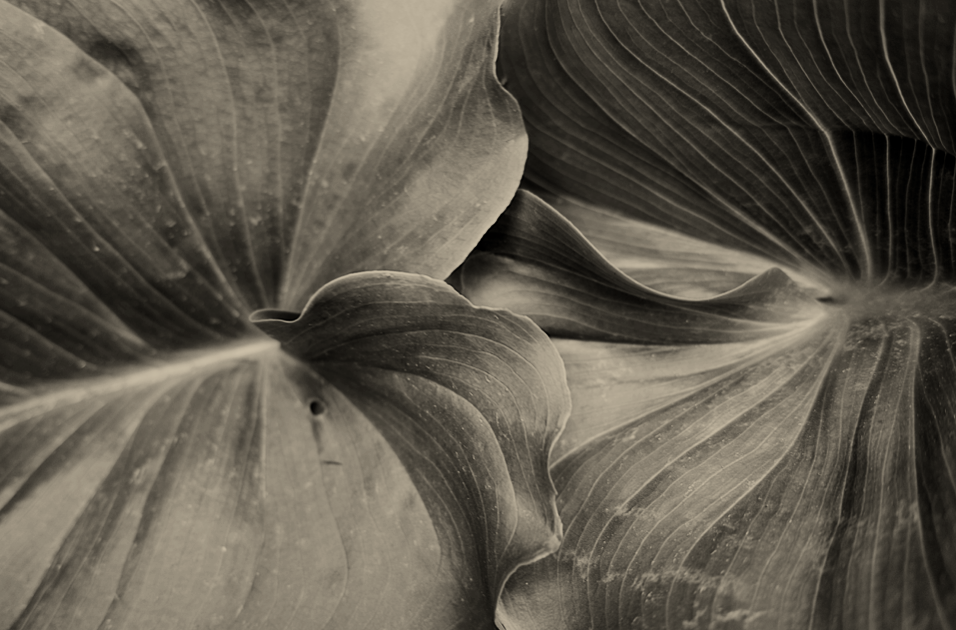
Overall this images now more effective as a whole and creates a better presence and does not direct form the image itself.It create s larger impact overall through the image and displays a larger impact of space and authority.
Contrast is a measure of the difference in brightness between light and dark areas in a scene. This reflects a scene with significant contrast , whereas narrow lens reflect less contrast and may appear flat or dull. This can be caused by any combination of subject matter and lighting conditions.The is a great importance due to colour will only work effectively due to a good contrast.However countless images have been seen in black and white using this is a tangible element of compostion
Tone may consist of shadings from white-to-gray-to-black, or it may consist of darks against lights with little or no grays. The use of dark areas against light areas is a common method of adding the feeling of a third dimension to a two-dimensional black-and-white picture.This is also highly significant to the tonal range within the tone system
Tone is lightness, brightness or value of a patch in a photo: dark tones correspond to shadows, light tones correspond to bright or highlight areas.
Contrast is something that photographers use to attract the viewers attention to their subject.
This is a photograph that I had already taken but thought it had a perfect range of colours in it for me to edit and play around with it a little. I began changing the Hue and saturation by making it black and white but I still thought it needed to be altered more. I then moved onto changing the brightness and contrast where it started to enjoy the image more but still wasn’t happy with it. I then moved onto the black and white adjustment tool where i slightly changed around some of the settings and the blacks and the white really began to stand out on the picture and where much bolder and was happy with the final edit.
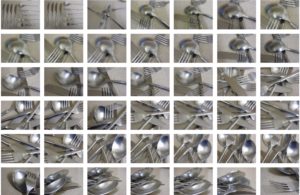
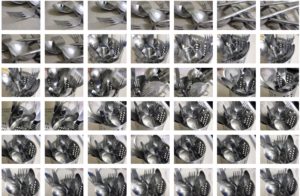
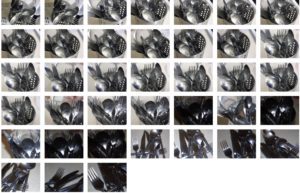
Jan Groover
Jan Groover was an American Photographer who was most acclaimed for her still life images but most of all for the image that she took of her kitchen skin with household items placed in it. Forks, Spatulas,Cake Pans, Whisks,Butter Knives ect. receive Bachelor if Fine Arts degree in 1965 from Pratt Institute, and a Master of Arts in 1970 from Ohio State University.jpg)
Groover was first noticed for her use of colour technology that was starting to come to light at the time. She died in 2012 in Montpon-Ménestérol
Brett Weston
Brett Weston was an American photographer, he began taking photographs in 1925 age 14 whist living in Mexico. He was first featured in an exhibition age only 17. At age 21 he had his own one man museum in San Francisco. His early images intuitive sophisticated sense of abstraction he copied some of the techniques used in abstract expressionists and painters like David Hockey.

