The Exposure Triangle

The exposure triangle is a common way of associating the three variables that determine the exposure of a photograph: aperture, shutter speed, and ISO.

Aperture: the size of the opening in the lens when a photo is taken. The opening controls how much light can enter your camera at once.

Shutter speed: the amount of time that the shutter is open. This amount of time controls the amount of time that light is allowed to hit the sensor.

ISO: the sensitivity of the photographic medium to light. In film cameras, this refers to how sensitive the film is to light and in digital cameras, it refers to how sensitive your camera’s digital sensor is to light. More sensitivity to light means less light is needed for a good expose of a photograph.

These 3 elements are tightly related. A change in one of the elements will impact the other two.

This means that each of the 3 elements is dependent on one another in order to come up with the correct exposure. Your camera has a light sensitivity level that is set by the ISO setting. To get the correct exposure, the lens opening needs to be adjusted to control the volume of light entering the camera. Then the shutter is opened for a certain period of time to allow the light to hit the sensor and record the image. Coming up with the correct exposure means combining the right blend of aperture, shutter speed and ISO settings.

Depth Of Field

By changing the aperture in the lens, you can make the resulting picture have more of the picture in focus from near to far, or you can limit the picture’s focus in one place.

  • At ƒ1.8, the focus point will be much more defined with things in front of and behind the subject becoming softer looking further from the subject they are. This is a very nice way to bring attention to the subject.
  • At ƒ22, the focus will seem to be sharp from very close to the camera to pretty much infinity. This is great for giving a sense of the place you shot the image, or for including many people in the image and keeping everyone clearly in focus.
    f10
    f8

    f6

Using Free Transform and Blending

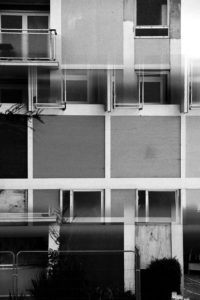
This image was created by duplicating the original image and using ‘control + t’ to transform the image and move it to the right.

After getting the image to the position that I wanted it in, I used both the paint brush tool and the eraser tool to reproduce a part of the photograph within the photograph. I used different opacity’s and sizes of brushes to remove all of the parts of the image that I didn’t want.

I like this image because at first it appears to be a normal image but on closer inspection it has repeated itself. The subtlety of the replication and blending makes it an interesting image for me.


Colour Overlay

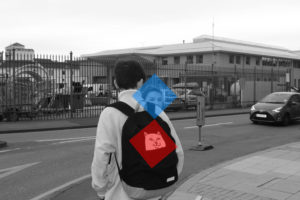
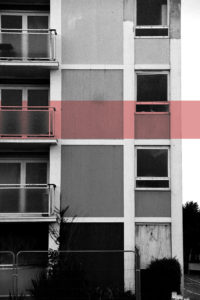
This image was created by taking the original image then adding a rectangle using the rectangular marquee tool.  After surrounding the area I wanted to use I then went to my layer options and selected ‘solid colour’. This allowed me to then pick a colour. After picking the colour I changed the opacity to allow the image to show and then rotated the shape.

After doing this with one shape, I repeated it with the other to create two bright contrasting colours on a black and white image.


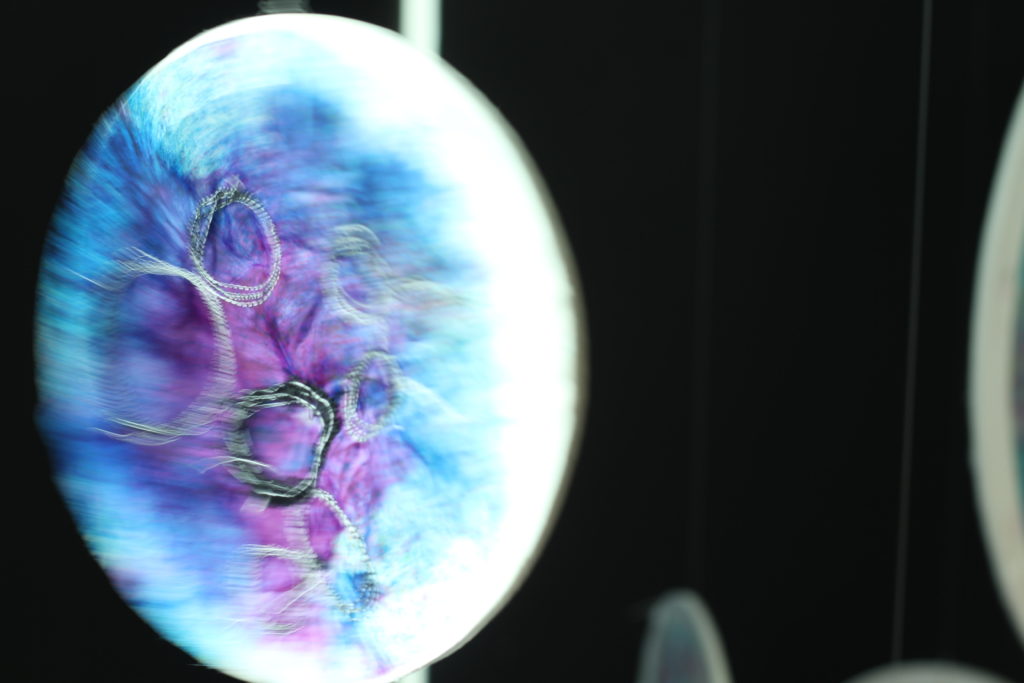
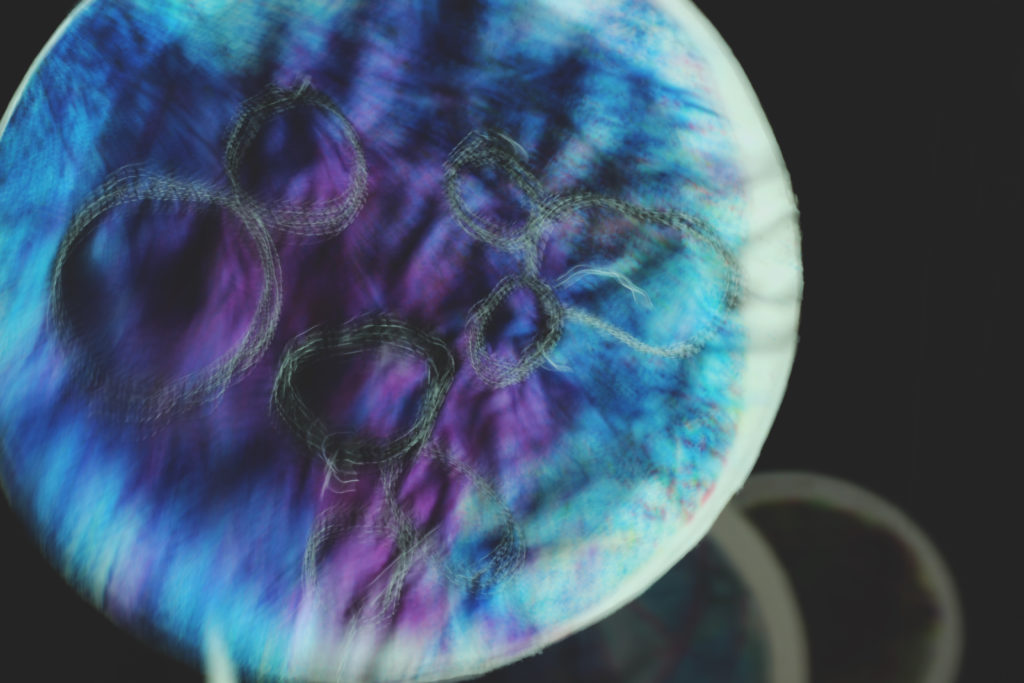
Exploring Shutter Speed

  • Shutter speed is the time for which a shutter is open at  a given setting. It is also the length of time that a camera sensor is exposed to light.
  • A fast shutter speed can catch quick moving objects but a slow shutter speed can cause a motion blur.

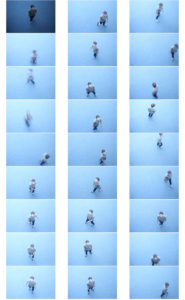
The shutter speed tends to be measured in fractions of a second, as shown below.Image result for shutter speedBelow, is a contact sheet of photos that we took with varying shutter speeds.
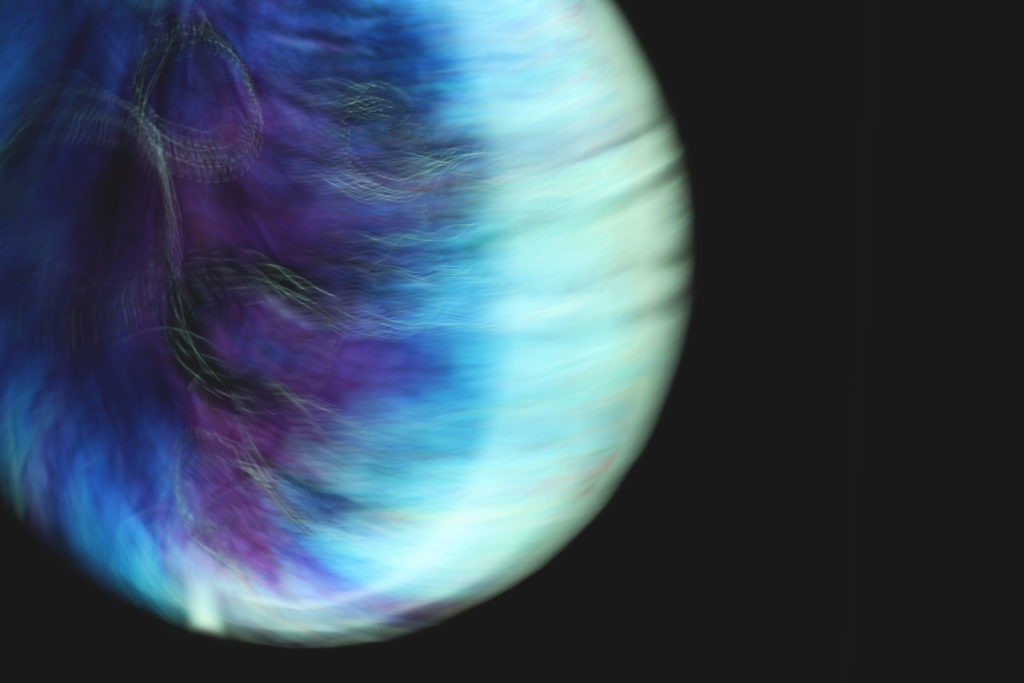
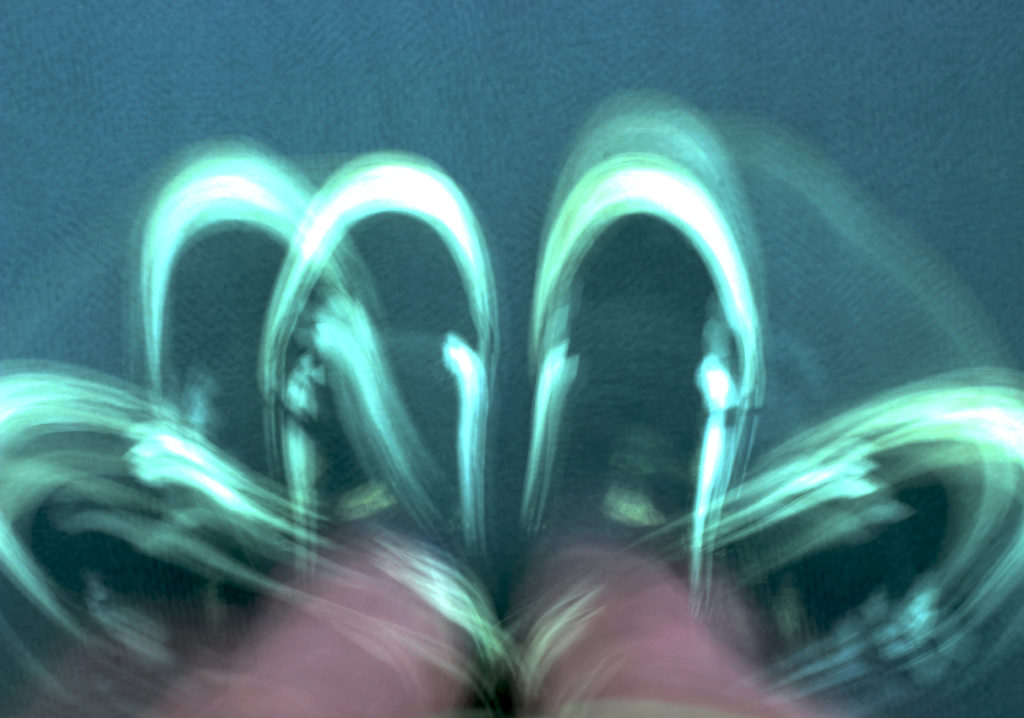
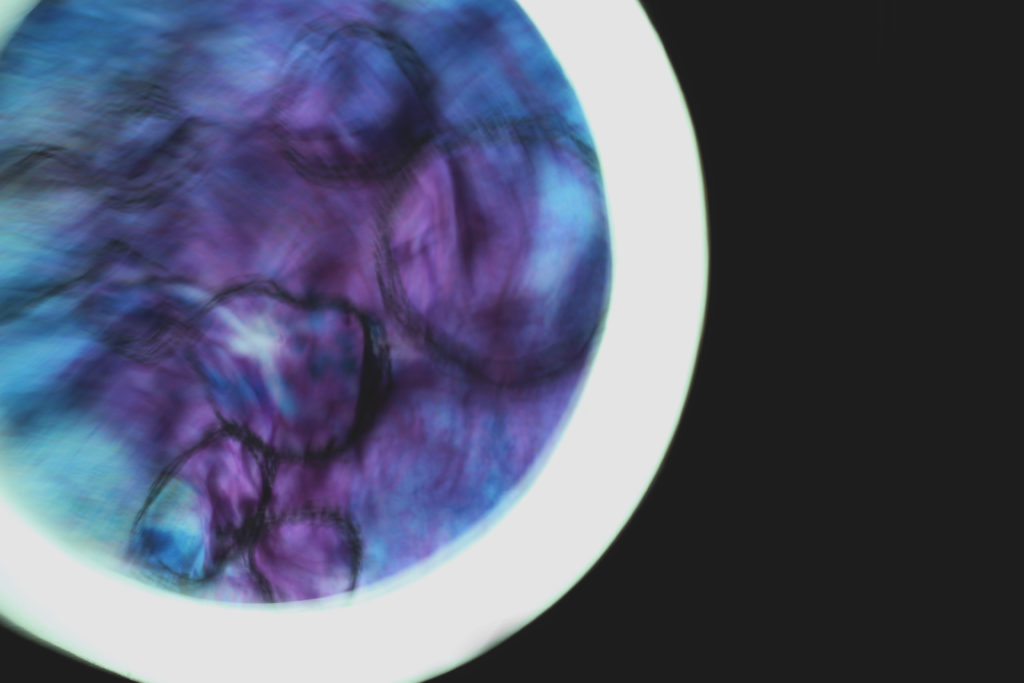
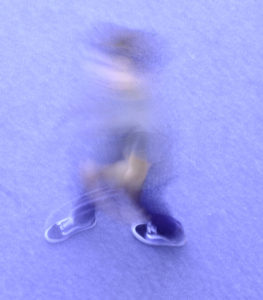
My favourite photo from the shoot is the one below, which I have added a purple hue to, to enhance the colours and separate the blur. This is my favourite due to the fact that starting at the feet, you can make out exactly what you are looking at but as you go further up the image it becomes more abstract and unpredictable.
Depth of Field

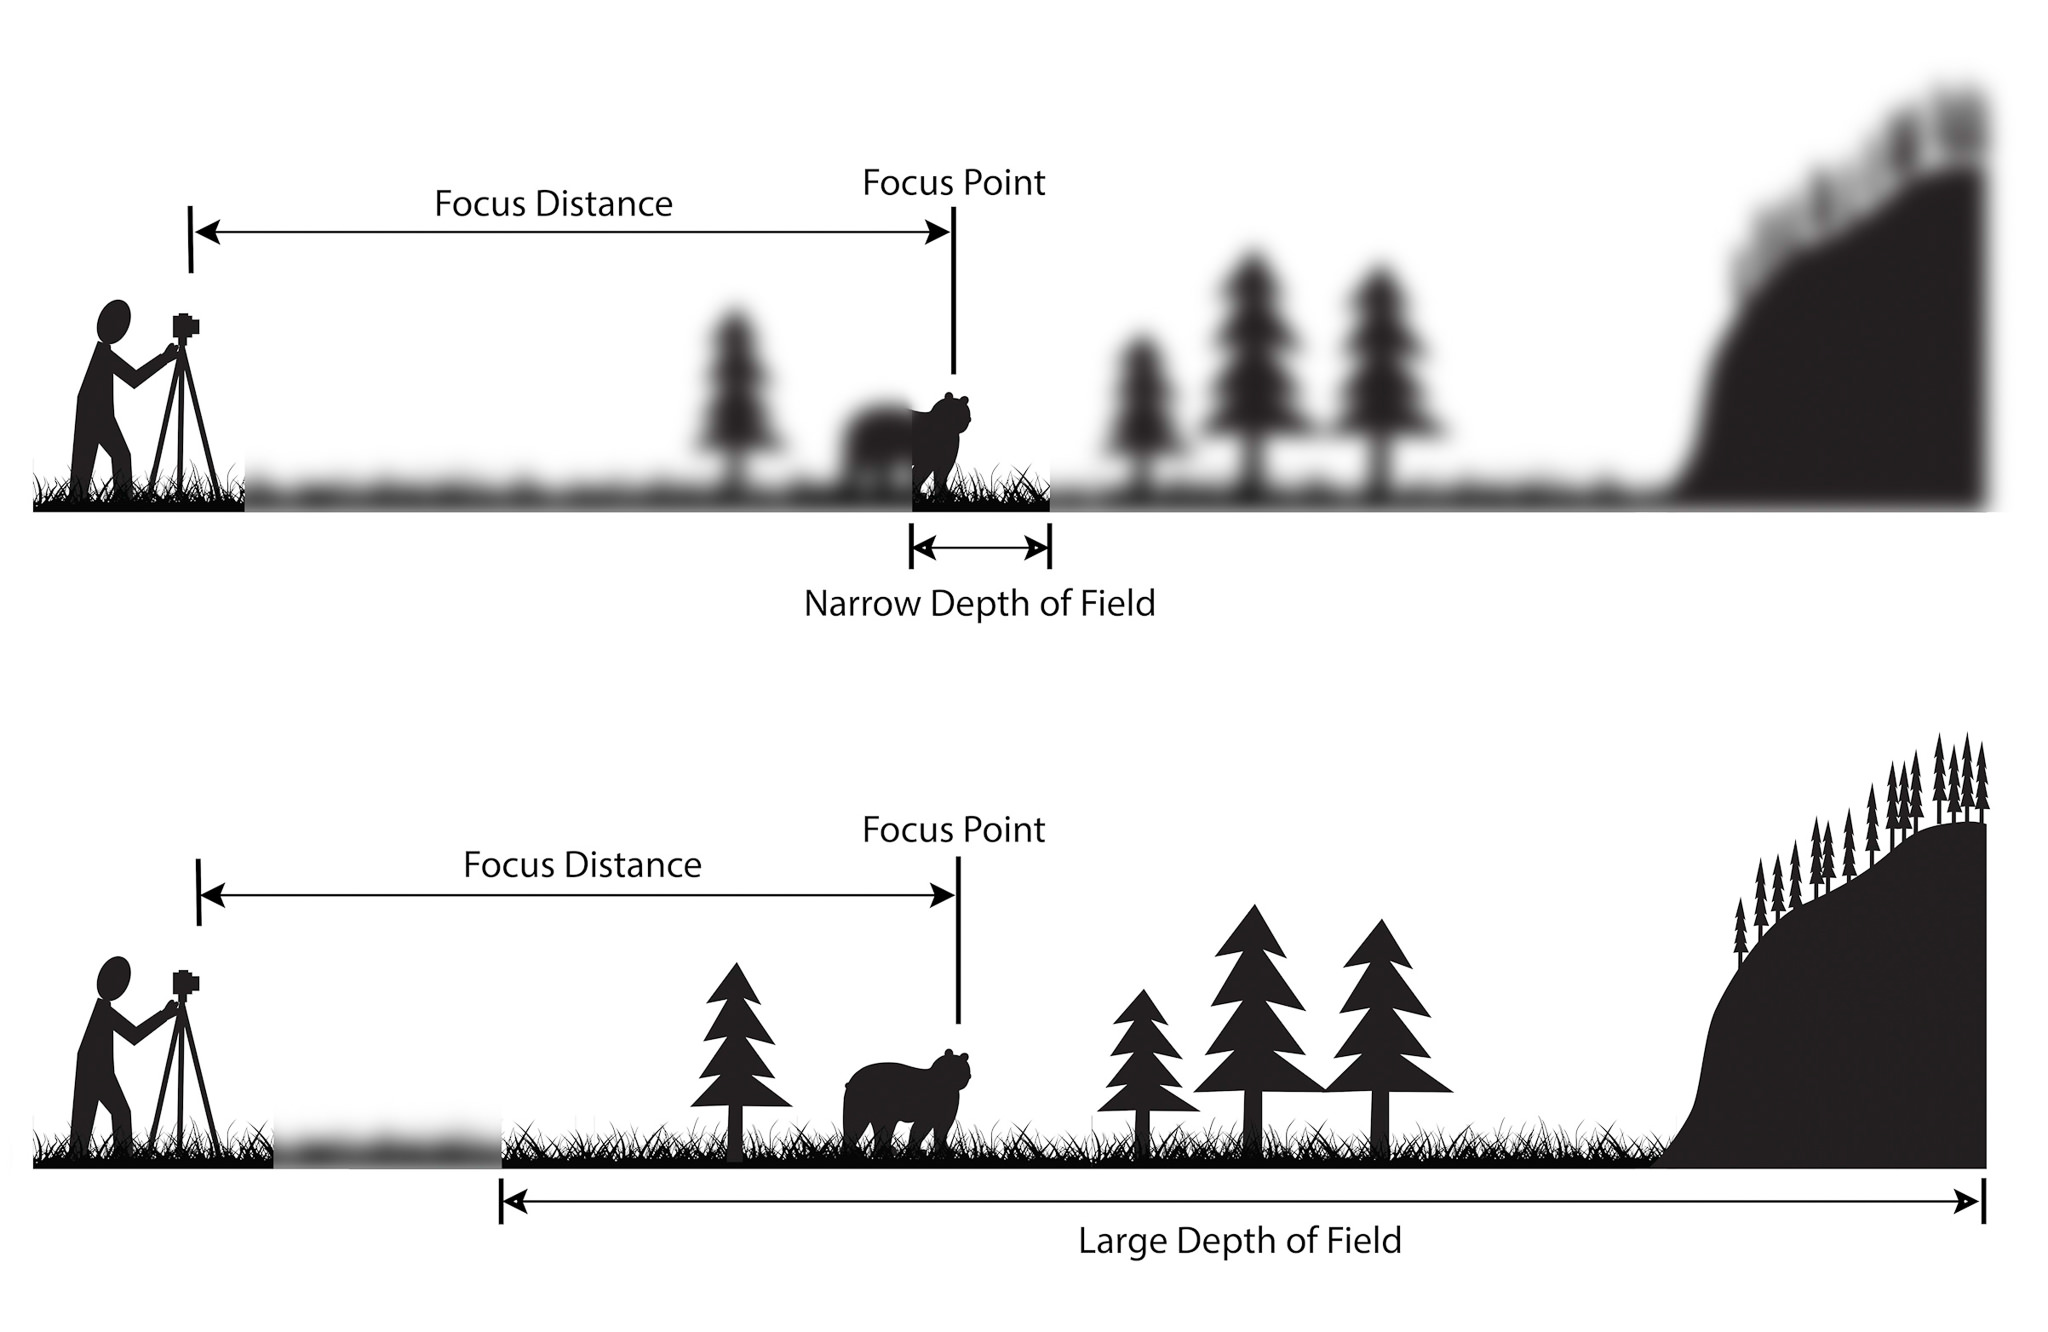
Depth of field is the zone of acceptable sharpness within a photo that will appear in focus. In every picture there is a certain area of your image in front of, and behind the subject that will appear in focus.Image result for depth of field

This zone will vary from photo to photo. Some images may have very small zones of focus which is called shallow depth of field. Others may have a very large zone of focus which is called deep depth of field.

Three main factors that will affect how you control the  depth of field:

  • aperture (f-stop),
  • distance from the subject to the camera
  • focal length of the lens on your camera.

Knowing how to make the parts of your image you want sharp and the parts you want to be out of focus, is a great artistic tool to create great images.

Image result for comparing depth of field

Shallow depth of field can be used in:

  • Wildlife photography- where you want the subject to stand out from its surroundings
  • Sports photography- where  you want to separate the athlete from the background to bring attention to them

Deeper depth of field can be used in:

  • Landscape photography- to get as much of the scene in focus as possible

Focal Length and Focusing

What is Focal Length?

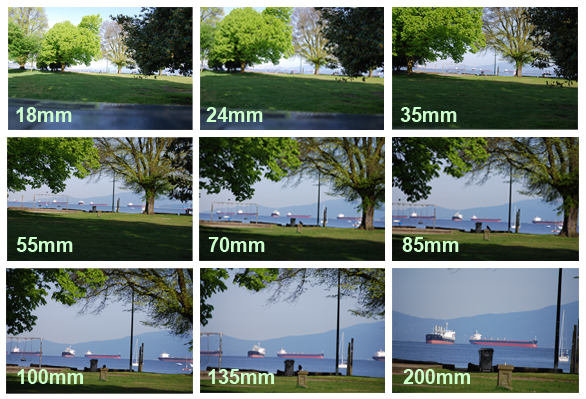
The focal length is the distance between the lens and the image sensor when the subject is in focus. The higher the number, the more zoomed your lens will be. The focal length measurement tells the photographer what the angle of view will be (how wide of an area is visible in the picture) and the magnification of far away objects in the photo.

For example:

Here is a website which explains the different focal lenses and what they are used for:

What Is Focal Length? (And Why It Matters in Photography)

How does manual focus differ from auto focus?

Autofocus is when the camera does the focusing for you based on the focal points you’ve chosen. If you are using full auto you won’t have much say in where your camera decides to focus.

When it comes to manual focus, no manipulation is necessary: The control is solely in the user’s hands.  It perhaps takes a little more patience, but if you like having total control over your images, it’s the better choice.

When can manual focus better than auto focus?

  • Macro work
  • Portraits
  • Shooting through glass or wire fence
  • Action
  • Low light

Switching to manual focus will give you complete control to enable this rather than having to line up the focusing points on your camera on the eyes prefocussing by pressing halfway down and then having to frame your shot.

http://www.peachpit.com/articles/article.aspx?p=2264647&seqNum=6

experimenting with photoshop


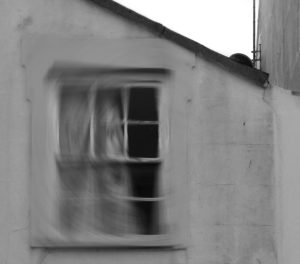
In the first edit I added a blur effect over the whole image as a layer, then removed what i wanted to be in focus and kept what I wanted to be blurred. 
In the second edit I created a rectangular shape and filled it with colour. This is a simple yet effective edit.
In the third edit I copied the image and rotated the image on its side. I then used the paintbrush to make the photograph seem like it is fading away.

Experimenting With Shutter-Speed

What is shutter-speed

Shutter speed (also known exposure time), stands for the length of time a camera shutter is open to expose light into the camera sensor. The faster the shutter speed, the easier it is to help freeze action completely, as seen by the picture of two birds.
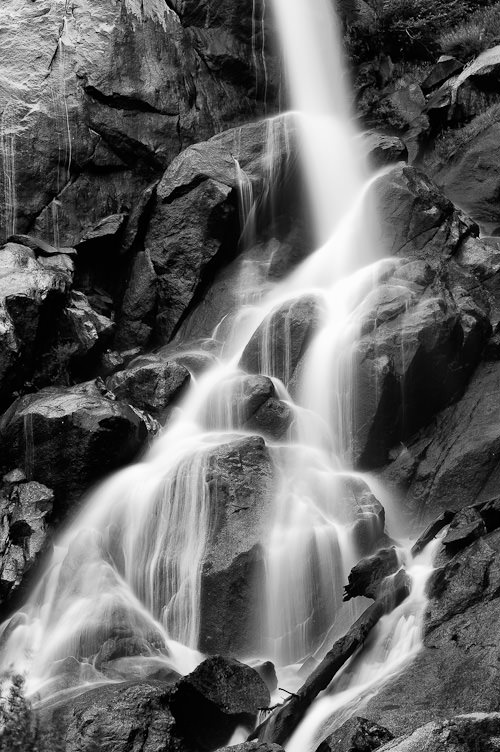
Photograph Flying Kiss 14 by Marco Redaelli on 500pxHowever if the shutter speed is slow, it can create an effect called motion blur, where moving objects appear blurred along the direction of the motion, and can be used in things like advertisements for cars, motorbikes and nature, as seen below of the water.
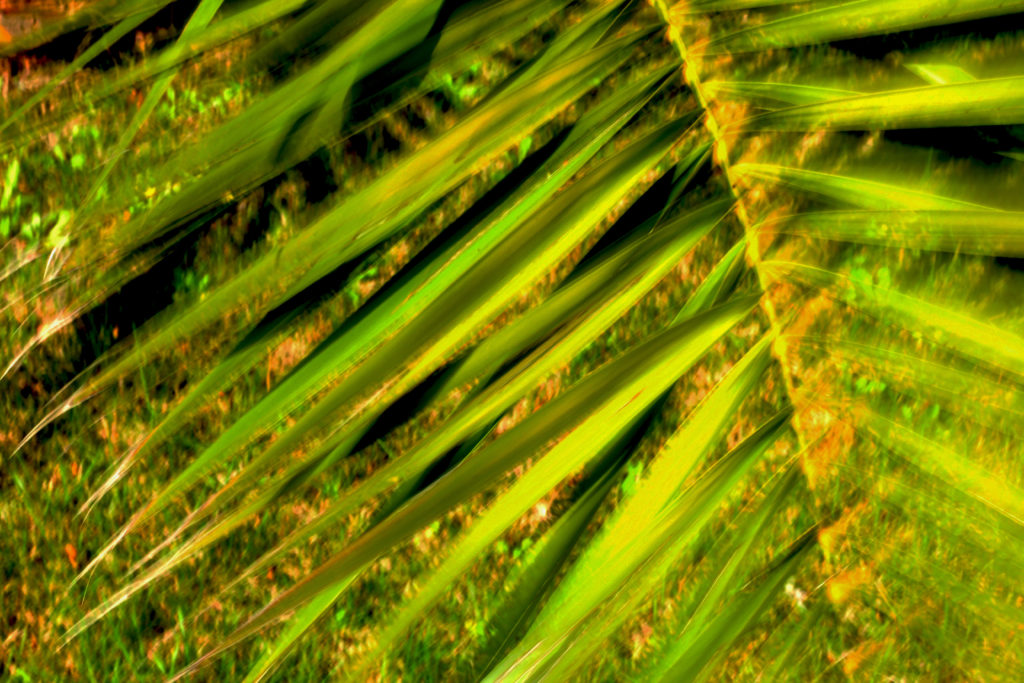
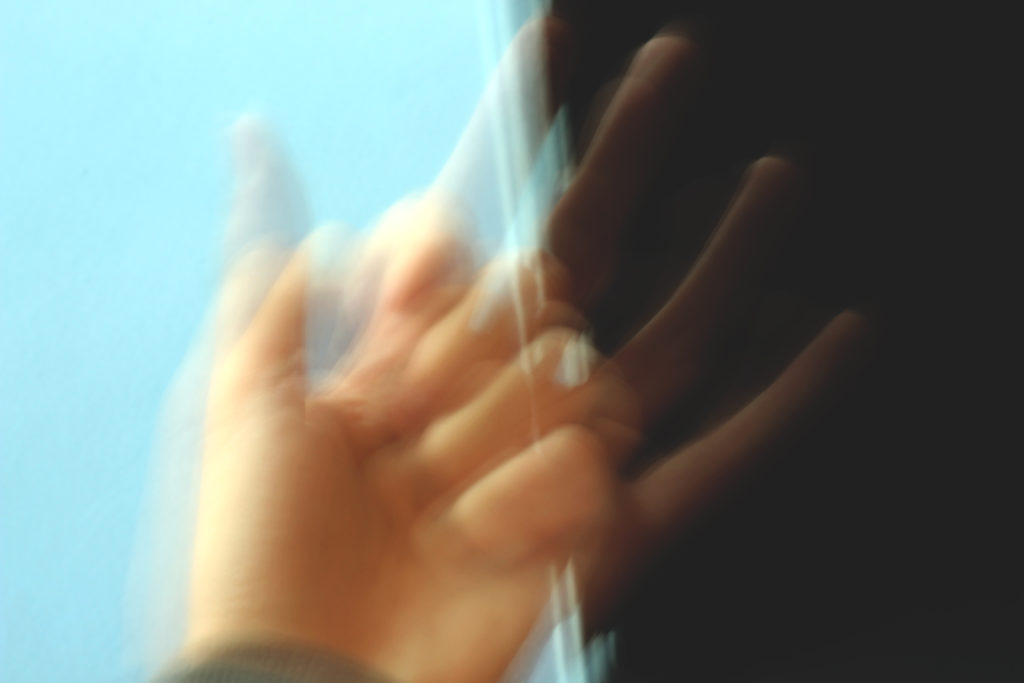
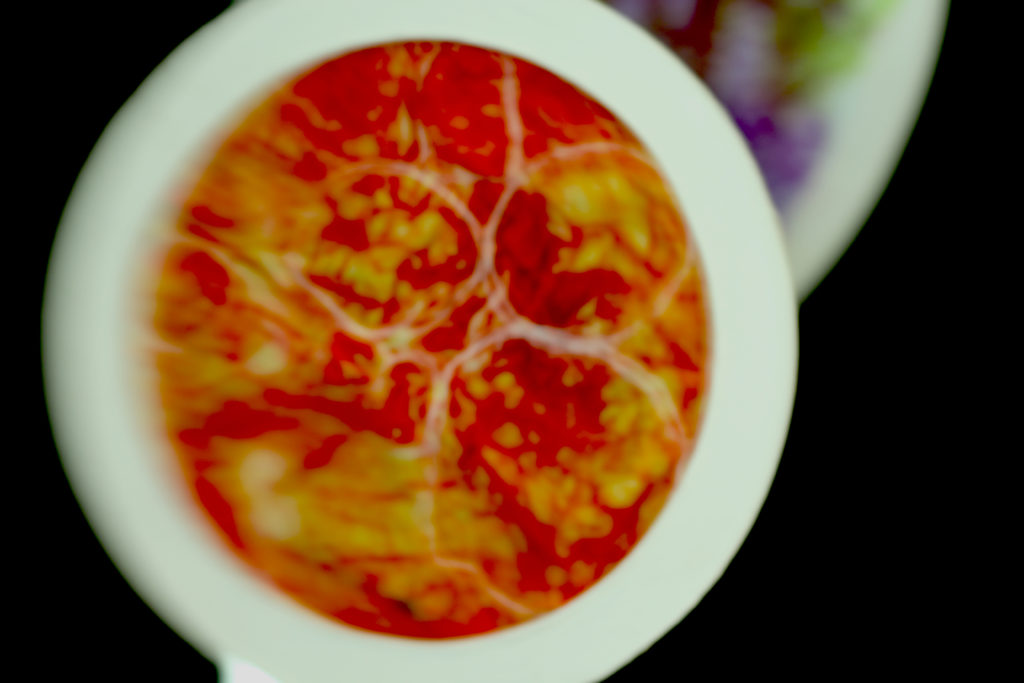
Waterfall - 5 Second Exposure (Shutter Speed)I experimented myself with this blurred effect within school and this was the outcome:
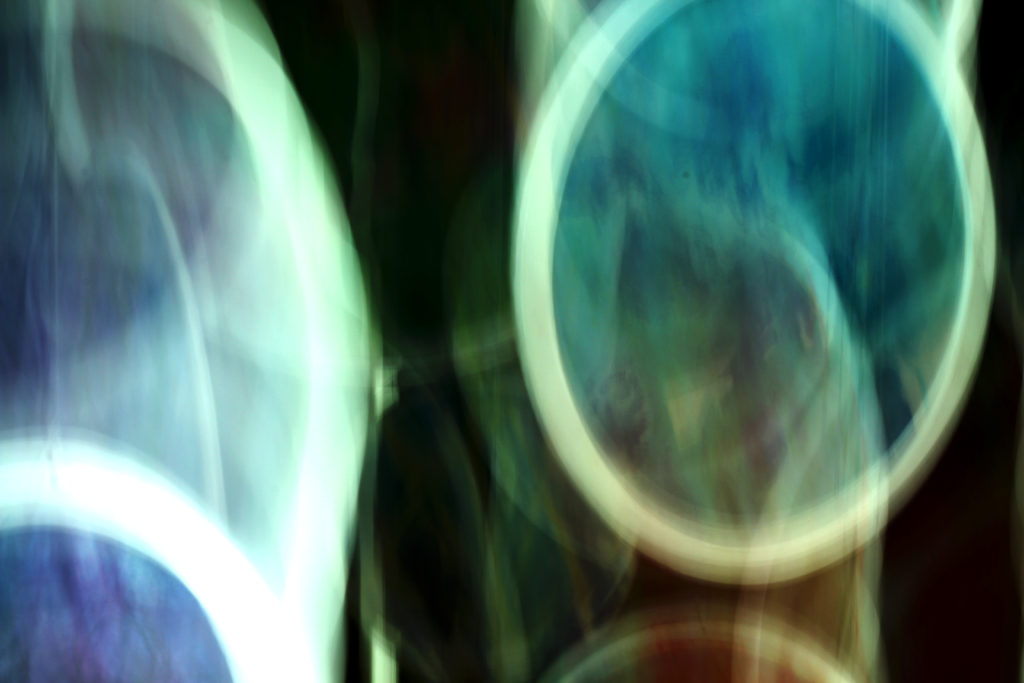
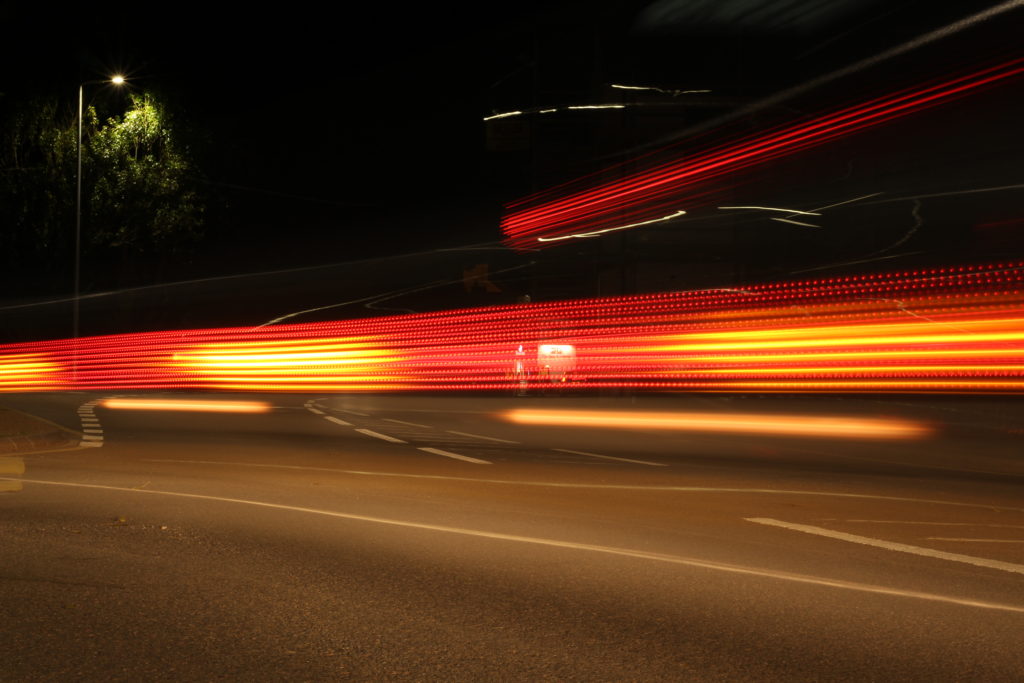
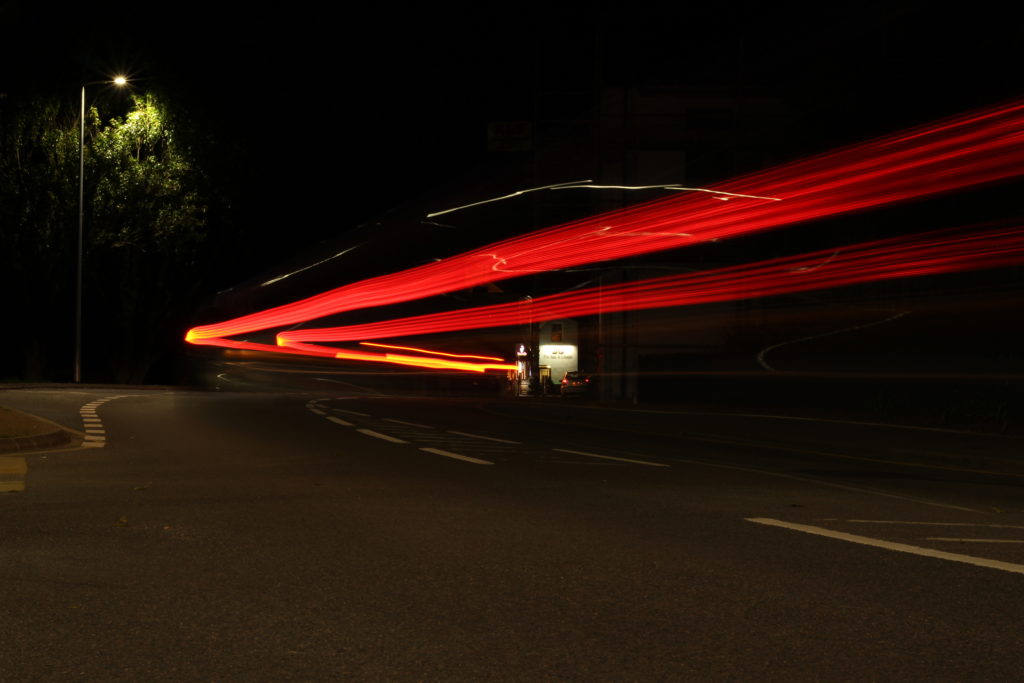
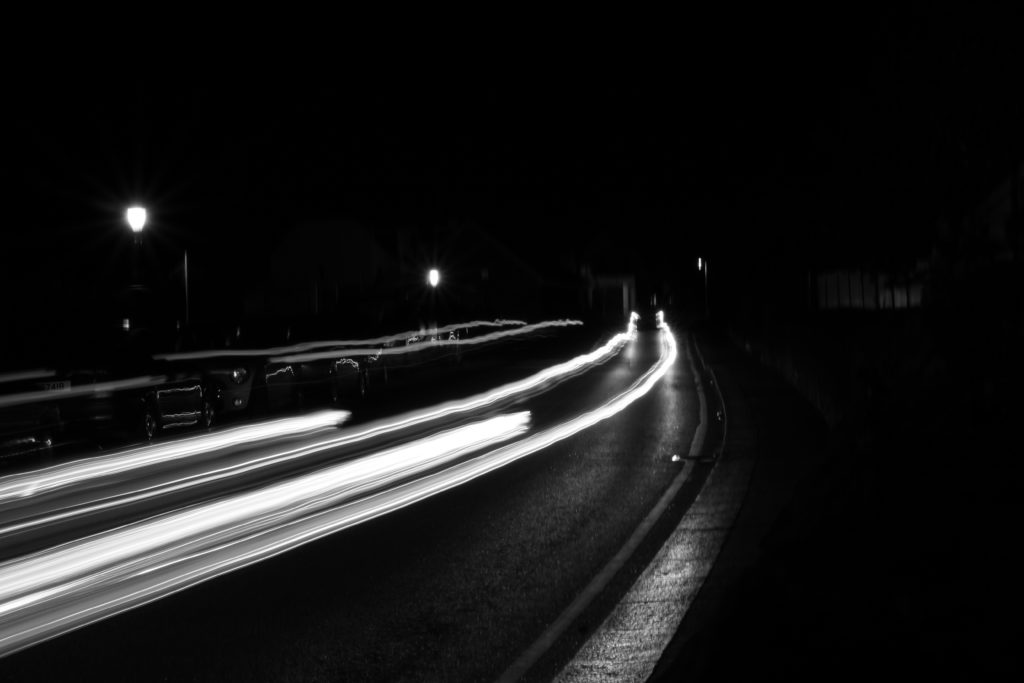
I later tried using a long shutter speed at night on the road, to capture the lights of cars to a greater affect, and really produce a contrast between the darkness and the light. These were my outcomes: