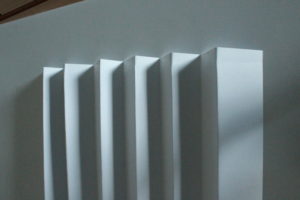



Exploring Light And Tone

  • The term ‘ISO’ stands for ‘International Organisation for Standardization.
  • ISO can be adjusted to change how sensitive the camera is to light.
    • If the ISO number is low, for example 100, it is less sensitive to the light.
      • A low ISO number would be used in an area with lots of light.
    • If the ISO number is high, for example 1600 then it is more sensitive to the light.
      • This would be used in an area with not much light.
      • A higher ISO number causes more noise in the photograph and so reduces the quality of it.


Image result for iso settings

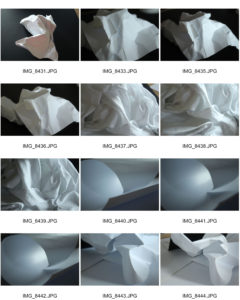
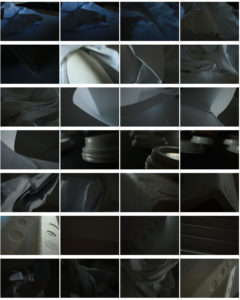
  • Below is my contact sheet of pictures taken of paper and other objects that can be easily shaped and manipulated.
    • A ISO number of 800 was used on the darker images to create a more dramatic photograph and an ISO number of 1600 was used on the brighter images to balance out the shoo
      t and show the difference that the ISO number makes.

ISO

ISO measures the sensitivity of the image sensor; this is measured in numbers [100,200,300]
Higher ISO settings are generally used in darker situations to get faster shutter speeds - however the higher the ISO the noisier the shots The lower the number the less sensitive the camera is to light and the finer the grain e.g a low IOS setting will be used when there is plenty of light and the subject is stationary Image result for iso camera settings

Exploring Light Tone and ISO

   Image result for What is ISO

ISO in regards to the way that it affects the camera is the amount of light that is available to your camera.ISO stands for the International Organization for Standardization, which is the governing body that sets the ratings for the sensitivity of a camera. The term was originally was brought over from film as it was known as; Film Speed’

The lower that the ISO number is the less sensitive it id to the light in the surrounding environment, the high higher the number is the greater the sense it is. It the most important part of the camera and if used correctly it can drastically affect the way that your image turns out. Higher ISO is normally should be used in low light situations where flash cannot be used to allow more light into the image, so when you have a higher ISO the camera is being more sensitive to light and it tries to get more into it.

However, the higher the ISO the greater the noise (Graininess) is increased in the image, which lowers the overall look of the image.

Having a lower ISO on your camera won’t only decrease the amount of noise in the image it will also help to produce a greater colour range show the greater shadows and highlights within the image.

ISO is also affected by shutter speed, for example, if you were shooting a fast-moving subject and  need to capture an image quickly you would use a higher ISO                                                                           ISO Speed Example: ISO

ISO 100 – 1 second                                                                                                        ISO 200 – 1/2 of a second                                                                                        ISO 400 – 1/4 of a second
ISO 800 – 1/8 of a second                                                                                           ISO 1600 – 1/15 of a second                                                                                        ISO 3200 – 1/30 of a second

As the ISO increases the sensitivity actually doubles so, ISO 200 is twice more sensitive than ISO 100, while ISO 400 is twice more

Related imagesensitive than ISO 200, which means that it takes less time to capture the image as less light is coming into the camera.

Homework Assignment 1

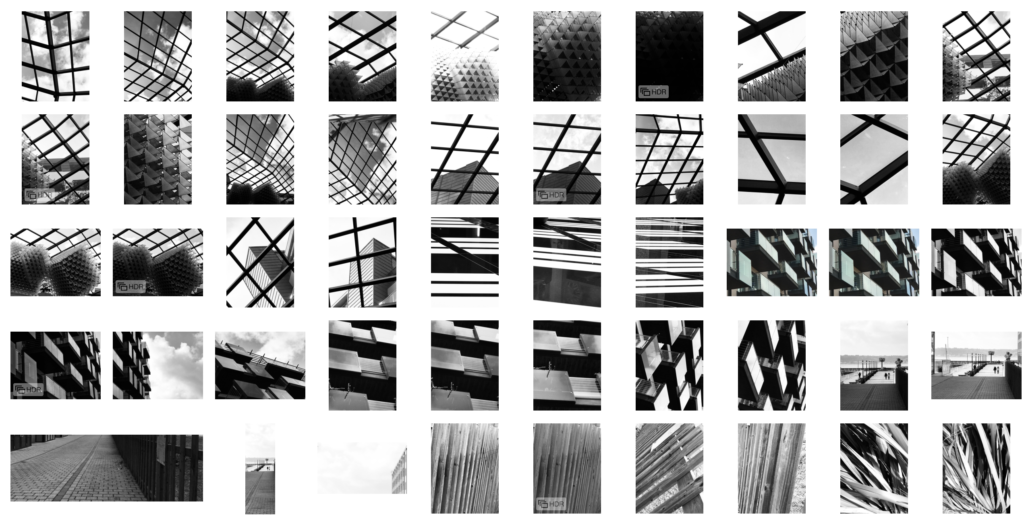
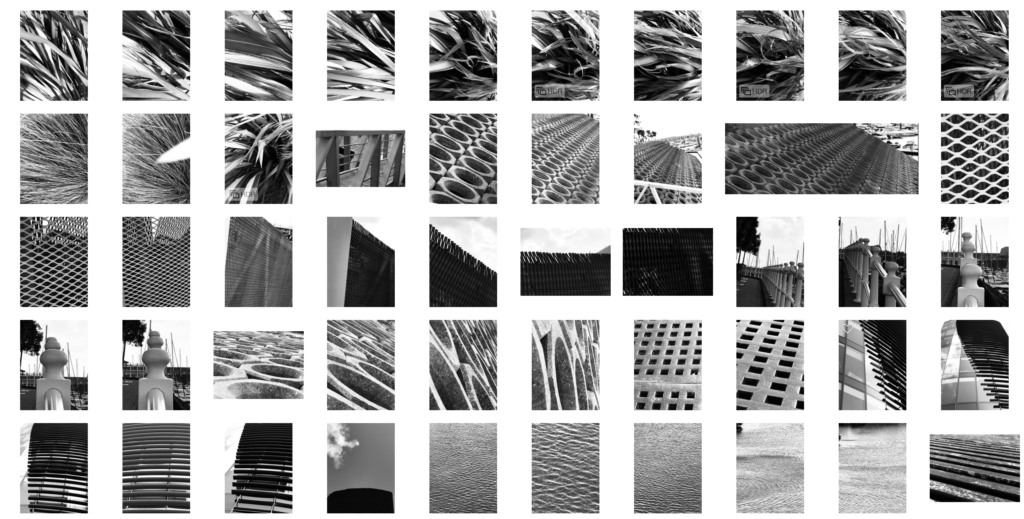
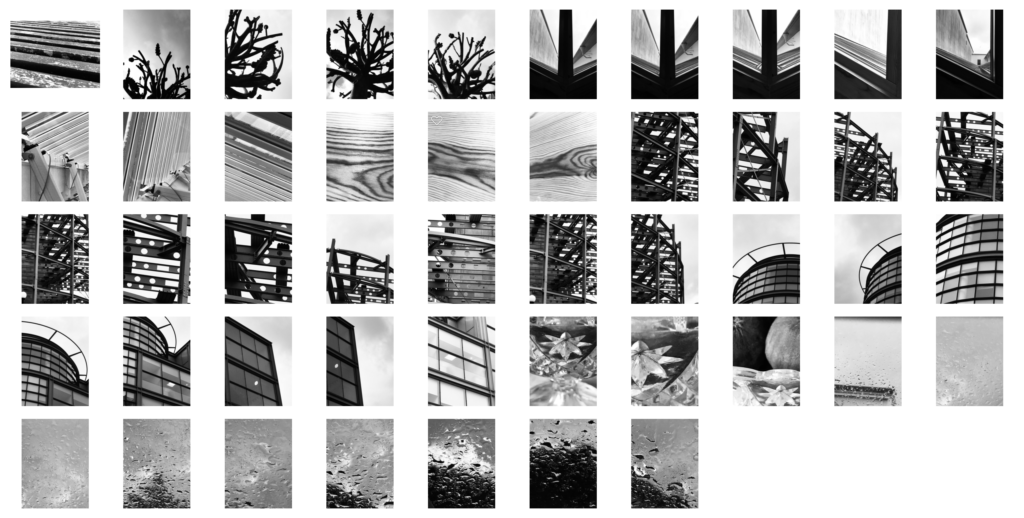
Task – Take 150-250 photos that explore shape, pattern, line, repetition, symmetry, shadow, tone, curves, angles, edges

Locations – Castle quay, around the harbour

Subjects – roof in castle quay, pattern of balconies of castle quay, any patterns/repetition around the harbour.

Lighting – natural light

Camera settings – Handheld, ISO 200-400, Shutter speed 1/60, Varying aperture depending on how close the subject is.

Concept – to capture patterns in everyday items and turn them into something interesting.

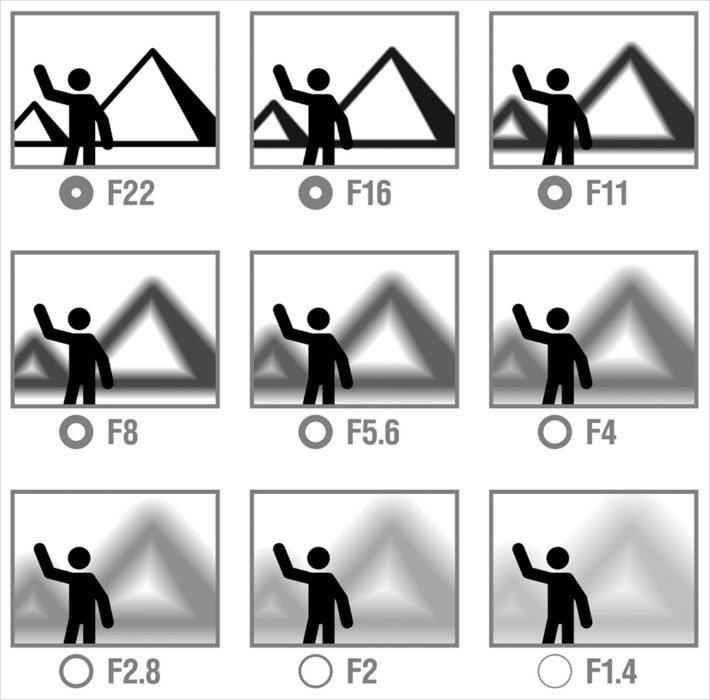
Aperture

Aperture refers to the size of the hole in which light travels through to get to the camera sensor. The larger the hole the more light is allowed in. The Aperture is a function of the lens rather than the camera body. The size of the hole in specific lenses is referred to as the F number, and it is measures in stops which is the halfing or doubling of light absorbed by the cameras sensor.  The lower the F number the larger the hole in the lens.

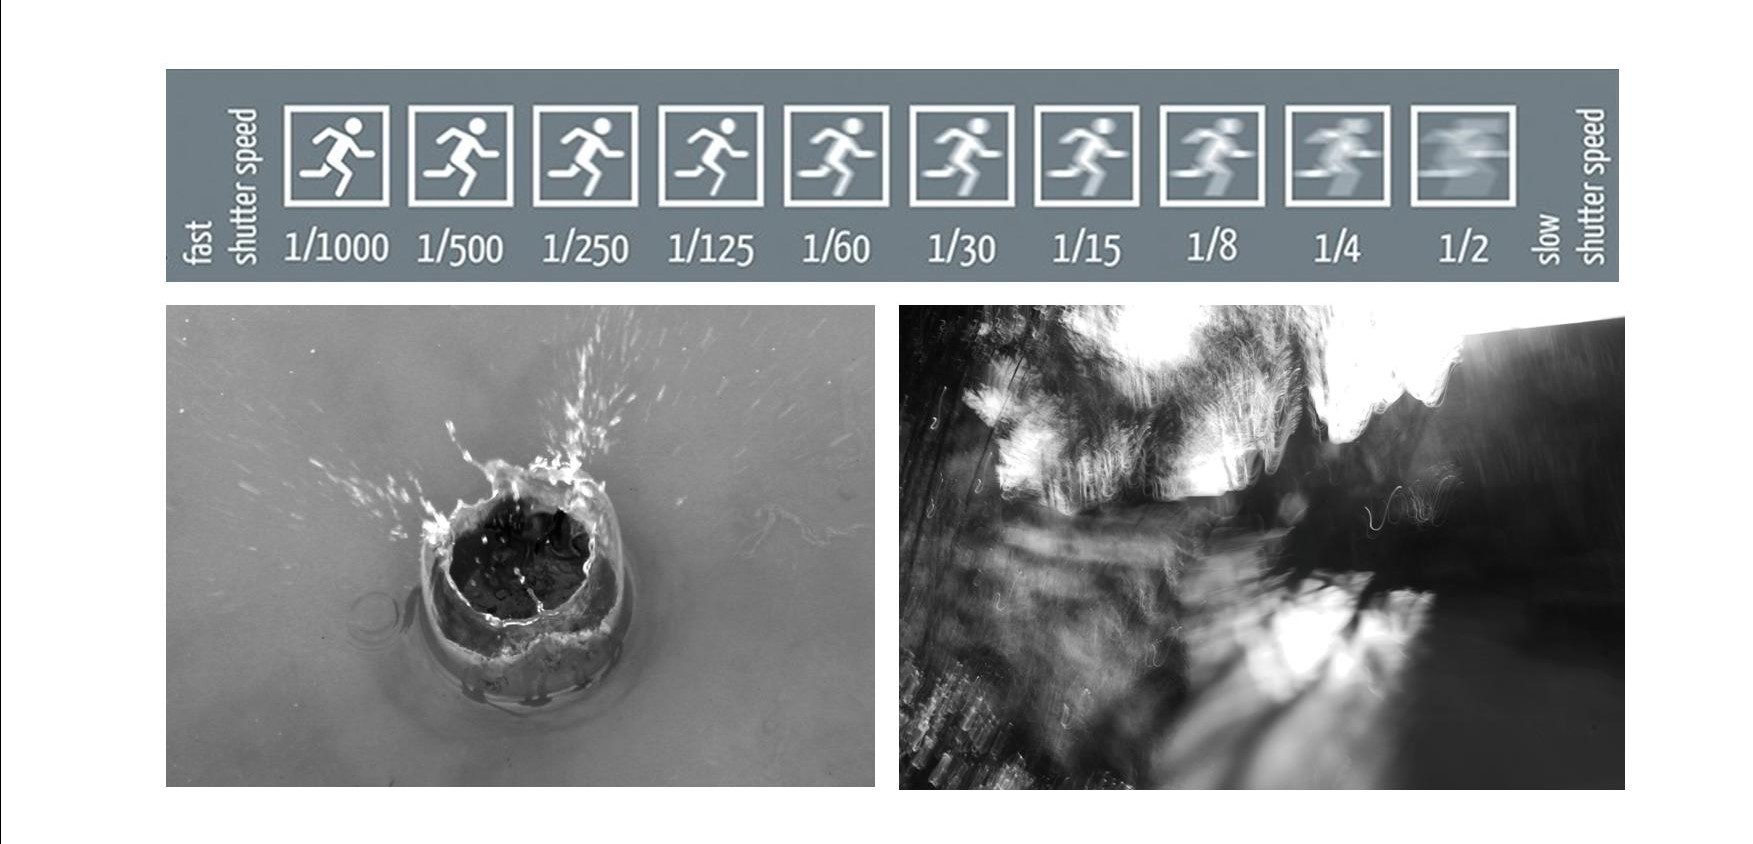
Shutter Speed

Shutter speed is the amount of time that the shutter is open for. Whilst the shutter is open light is being let into the camera to make a still image.  The shutter speed can be changed depending on the light quality in the scene, it can also be changed to create different artistic effects. Shutter speed is measured in fractions of a second, the smaller the fraction the faster the shutter speed. I took the two images above using different shutter speeds to show how it can be used in different situations. A fast shutter speed is useful for capturing moving objects as a frozen image, for example this water splash happened quickly therefore a fast shutter speed was needed to freeze the moment in time. A slow shutter speed can be used to enhance motion, for example in this image on the right I shook the camera creating a distorted effect.

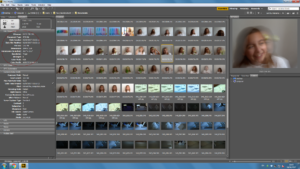
Adobe Bridge – Metadata

Metadata is a set of standardized information about a file, such as author name, resolution, color space, copyright, and keywords applied to it. For example, most digital cameras attach some basic information to an image file, such as height, width, file format, and time the image was taken. You can use metadata to streamline your workflow and organize your files.


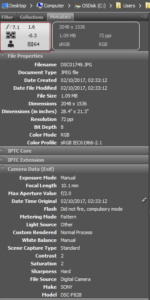
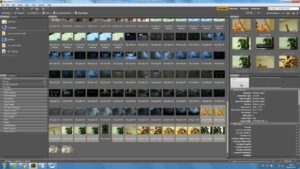
Firstly the smaller white box refers to a quick overview of the selected photo; giving the user only the most important information about the selected photo, however, the panel below goes into more detail.

‘File Properties’ describes the characteristics of the file, including the size, creation date, and modification date.

IPTC Core displays editable metadata about the file.

  • The dimension of a digital photo  is expressed in terms of its pixels.
  • The resolution  of a digital photo is expressed in terms of “megapixels” which is total number of pixels in the photo.
  • We use the term ppi when referring to pixels on a digital camera or display device and dpi when referring to dots in printed output.
  • The focal length of the lens is the measure of how “zoomed in” your lens is.


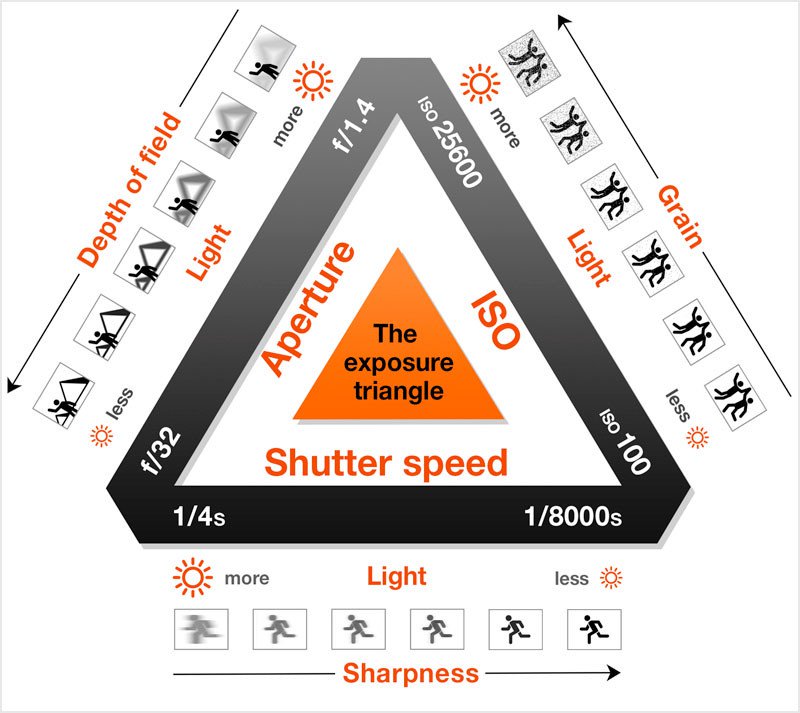
The Exposure Traingle

The exposure triangle is made up from the shutter speed, aperture and ISO of a camera, which all work together to give us a perfect exposure. The aperture is the size of the hole which light is passed through in the lens, the smaller the number the larger the opening. The shutter speed also allows us to august the amount of light coming into the camera, the longer the shutter speed the more light is allowed in. Finally ISO control the sensitivity of our camera to light, the lower the number the less sensitive therefore the less light. however the when more light is let in the image can become grainy, we call this noise. there is a meter in our camera that can automatically adjust one of these if you change another however this can change depending on the quality of light available. we usually set two of the three manually and the mere in the camera will change the other for us. we can chose which we would like to adjust depending on the type of photo we are taking.


Making Contact Sheets

Contact sheets are a vital and visual way of showcasing the work done both in and out of lesson, they can be created and displayed in many ways; here is the way I find most appealing and suitable.

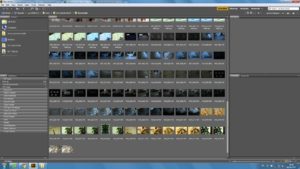
To begin, open up Adobe Bridge and import the desired photos into the ‘content’ section.
Select the photos you wish to use using Ctrl+Right Click On The Images then go to Tools<Photoshop<Contact Sheet II, this should open Adobe Photoshop in a new window.
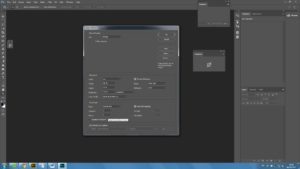
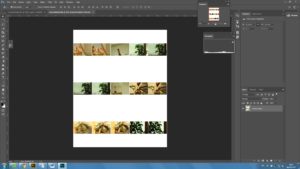
In Photoshop, you should be greeted with this window, from here you can adjust the amount of rows/columns desired and consequently, alter the final outcome.
This is the outcome, I could choose to stop here and export the file as a png or jpeg or I could alter the background and spacing manually.
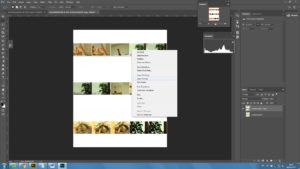
By using the Rectangular Marquee Tool, I select the row of photos and Layer Via Cut (what this essentially does is separate the rows into layers that I can alter and move). I repeat the process for the remaining two.
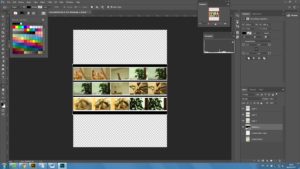
I then moved the layers closer and, using the Rectangle Tool, created a shape layer that serves as a black background.
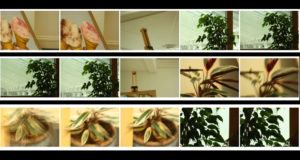
This is the final product, although it’s not much different from the original contact sheet the colour of the images is much more vivid and they look much more presentable.

Normally, after contact sheets are created favourite photos are selected and taken to the next stage. Contact sheets are helpful with this since you can compare and discriminate between many images at a time.


Contact Sheets

What are contact sheets?

A contact sheet is similar to a negative but in positive colors. Contact sheets contain thumbnail images of all the photos from a previous shoot. This makes it very easy to look at your favorite   photos that you have chosen and want to use and would possibly chose to develop or print out.

How do we use contact sheets?

You can make a contact sheet by opening Adobe Bridge and selecting the photos from your previous shoot. Once you have selected your photographs, you go to ‘Tools’ and then click ‘Photoshop’ where a drop down box will appear where you will need to click the ‘Contact Sheet 2’ option  which will then open Photoshop where all your selected photos  will be presented on the page in the options you have chosen.

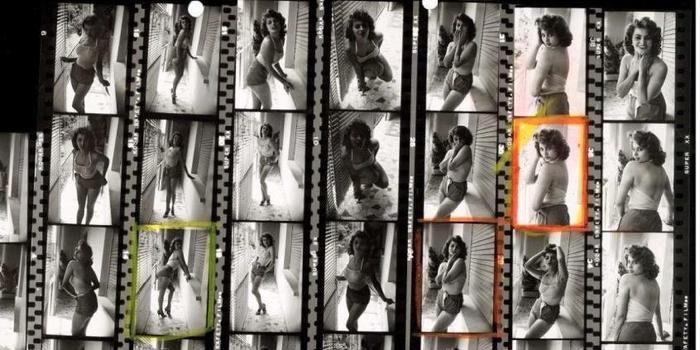
Magnum photographer Contact Sheets

Image result for magnum contact sheets

Image result for magnum contact sheets