Planning:
Task – Produce 100-200 images that show a response to abstract art and photography
Locations – Car park, street
Subjects – Josh, cars, lights
Lighting – flash in the car park, natural lighting outside.
Camera settings – Low shutter speed (0.8 seconds) for blurred effect, ISO 800 due to dark settings, deep depth of field so high aperture.
Concept – capture and manipulate movement of light
Ernst Haas

 Ernst Haas (1921-1986) was born in Vienna and took up photography after the war.
In 1953, LIFE magazine published his 24 page colour photo essay on New York city.
He received the Hasselblad award on the year of his death.He was a photojournalist and a pioneering colour photographer.
His book ‘The Creation’ was one of the most successful photography books ever.
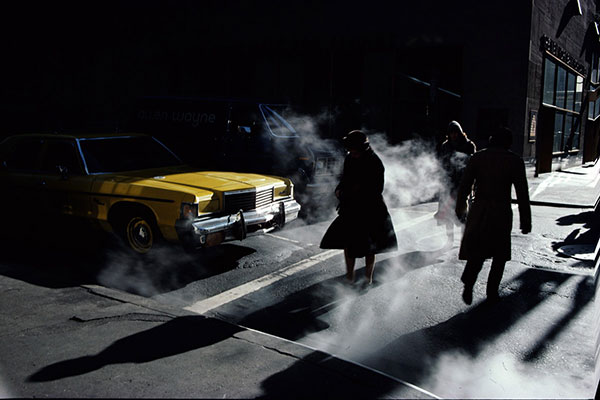
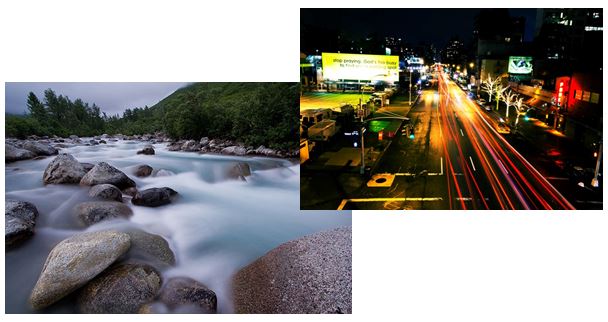
My favourite Ernst Haas photo:
This is my favourite photo by Ernst Haas because of the contrast and mystery behind it.
The yellow of the car contrasts very well with the dark, almost colourless, image. The shadows and silhouettes create a sinister and mysterious setting along with the smoke.
This could just be a photo he took in the middle of New York city but the shadows and smoke make it a very interesting and dramatic image.
Lazlo Moholy-Nagy

 Moholy-Nagy (1895-1946) was a Hungarian painter and photographer.
He was highly influenced by constructivism and helped to integrate technology and industry into the arts.
He believed that humanity could only defeat the experience of modernity if it harnessed the full potential of new technologies. He thought that artists should turn into designers.
My favourite Moholy-Nagy photo:
I like this photo because of the way he has used angles to create an image which the viewer has to figure out. At first the viewer is unsure what they are looking at when they see the contrasting white circles but after seeing the cleverly placed other worker, they realise what the image is showing.
This image shows well what Moholy-Nagy does – he integrates shapes and industrial work into his photographs. There are lots of different shapes in this photo which almost make it seem abstract.

My Photos:
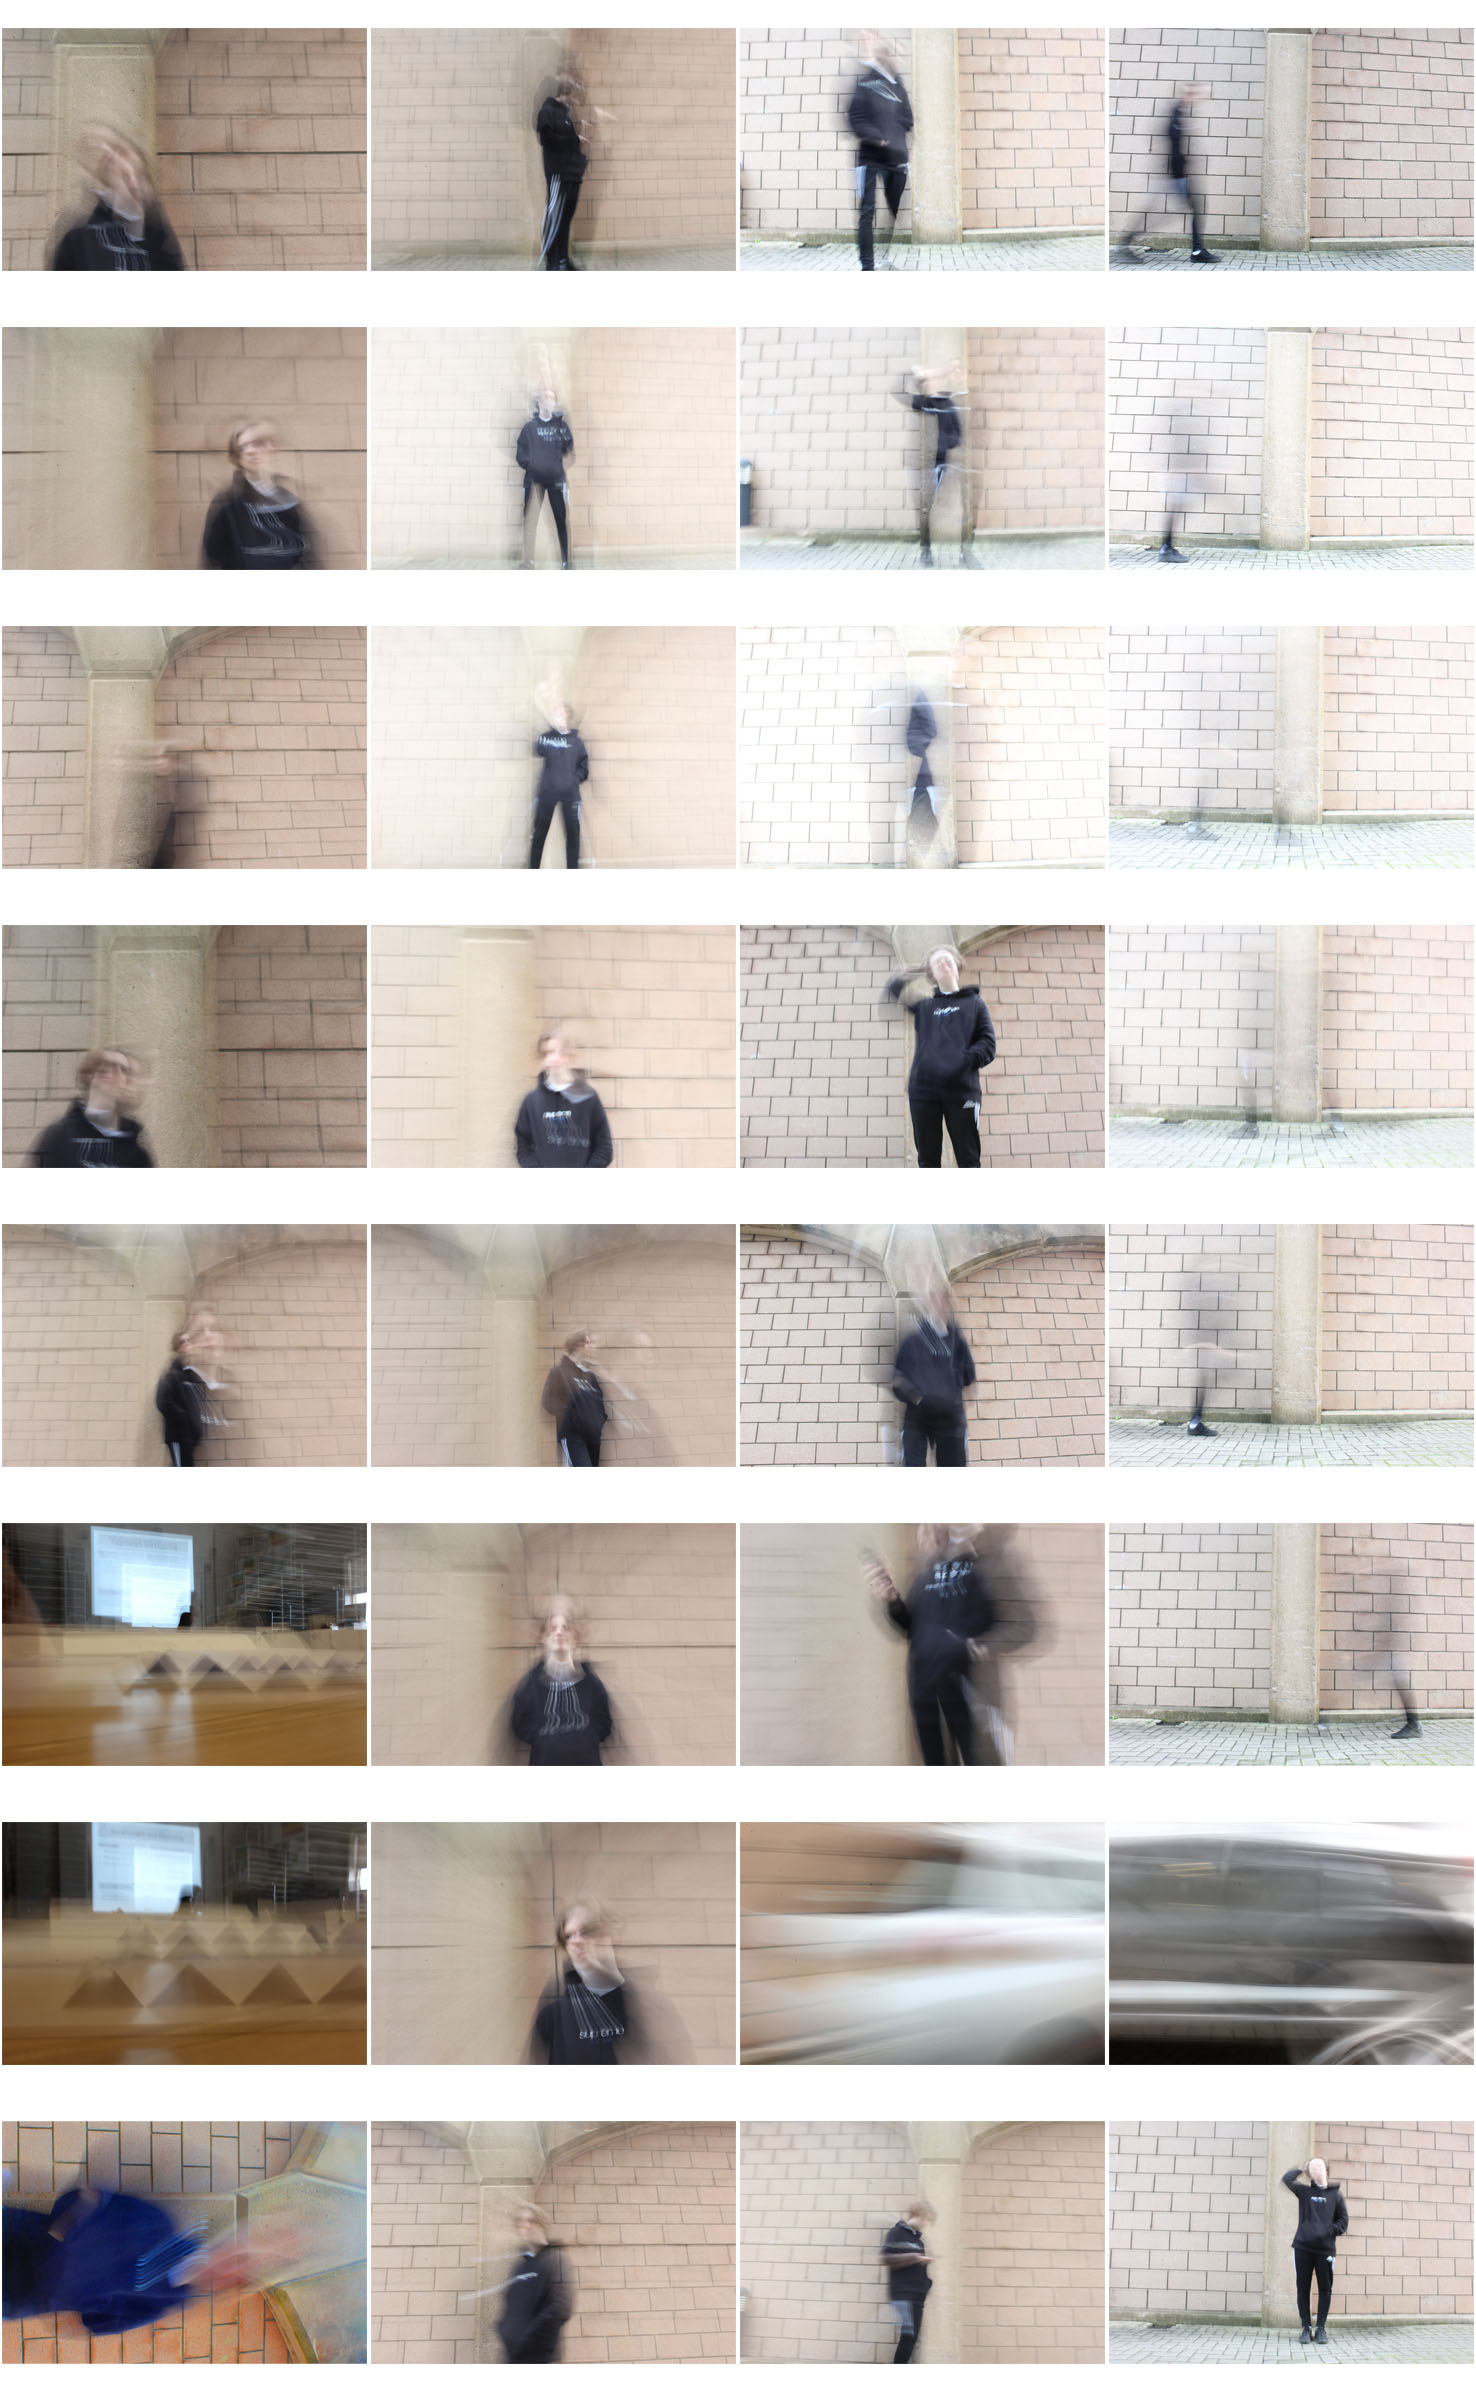
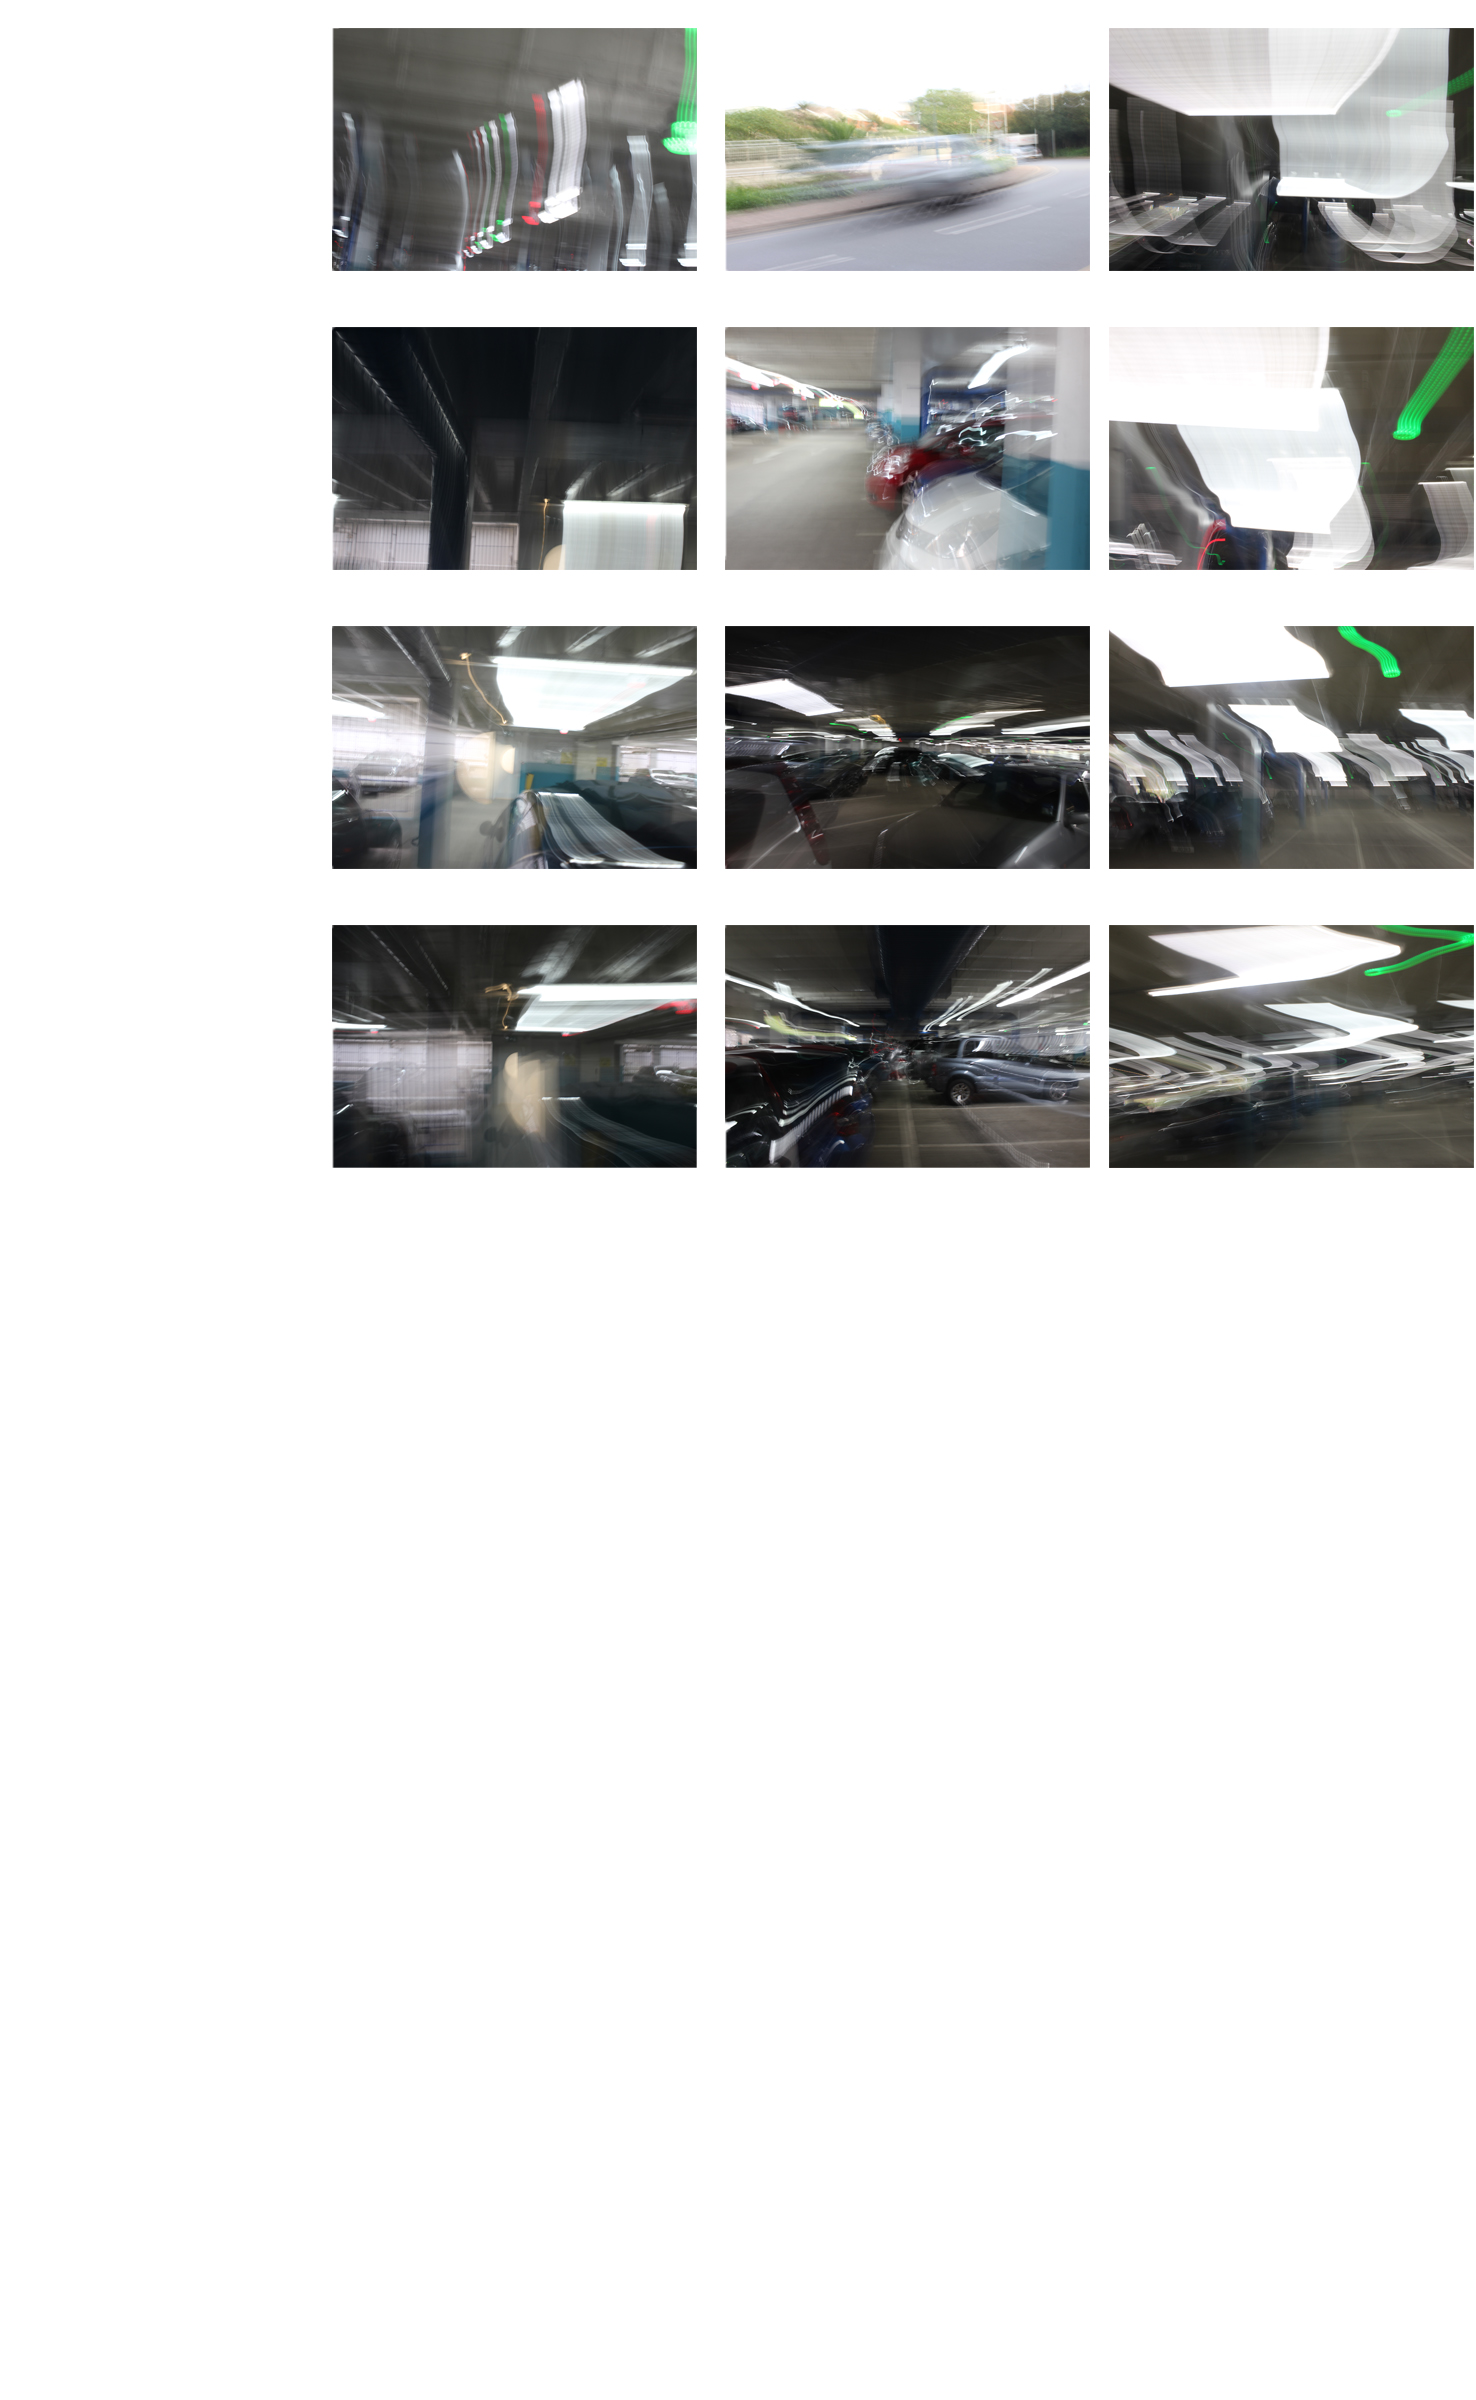
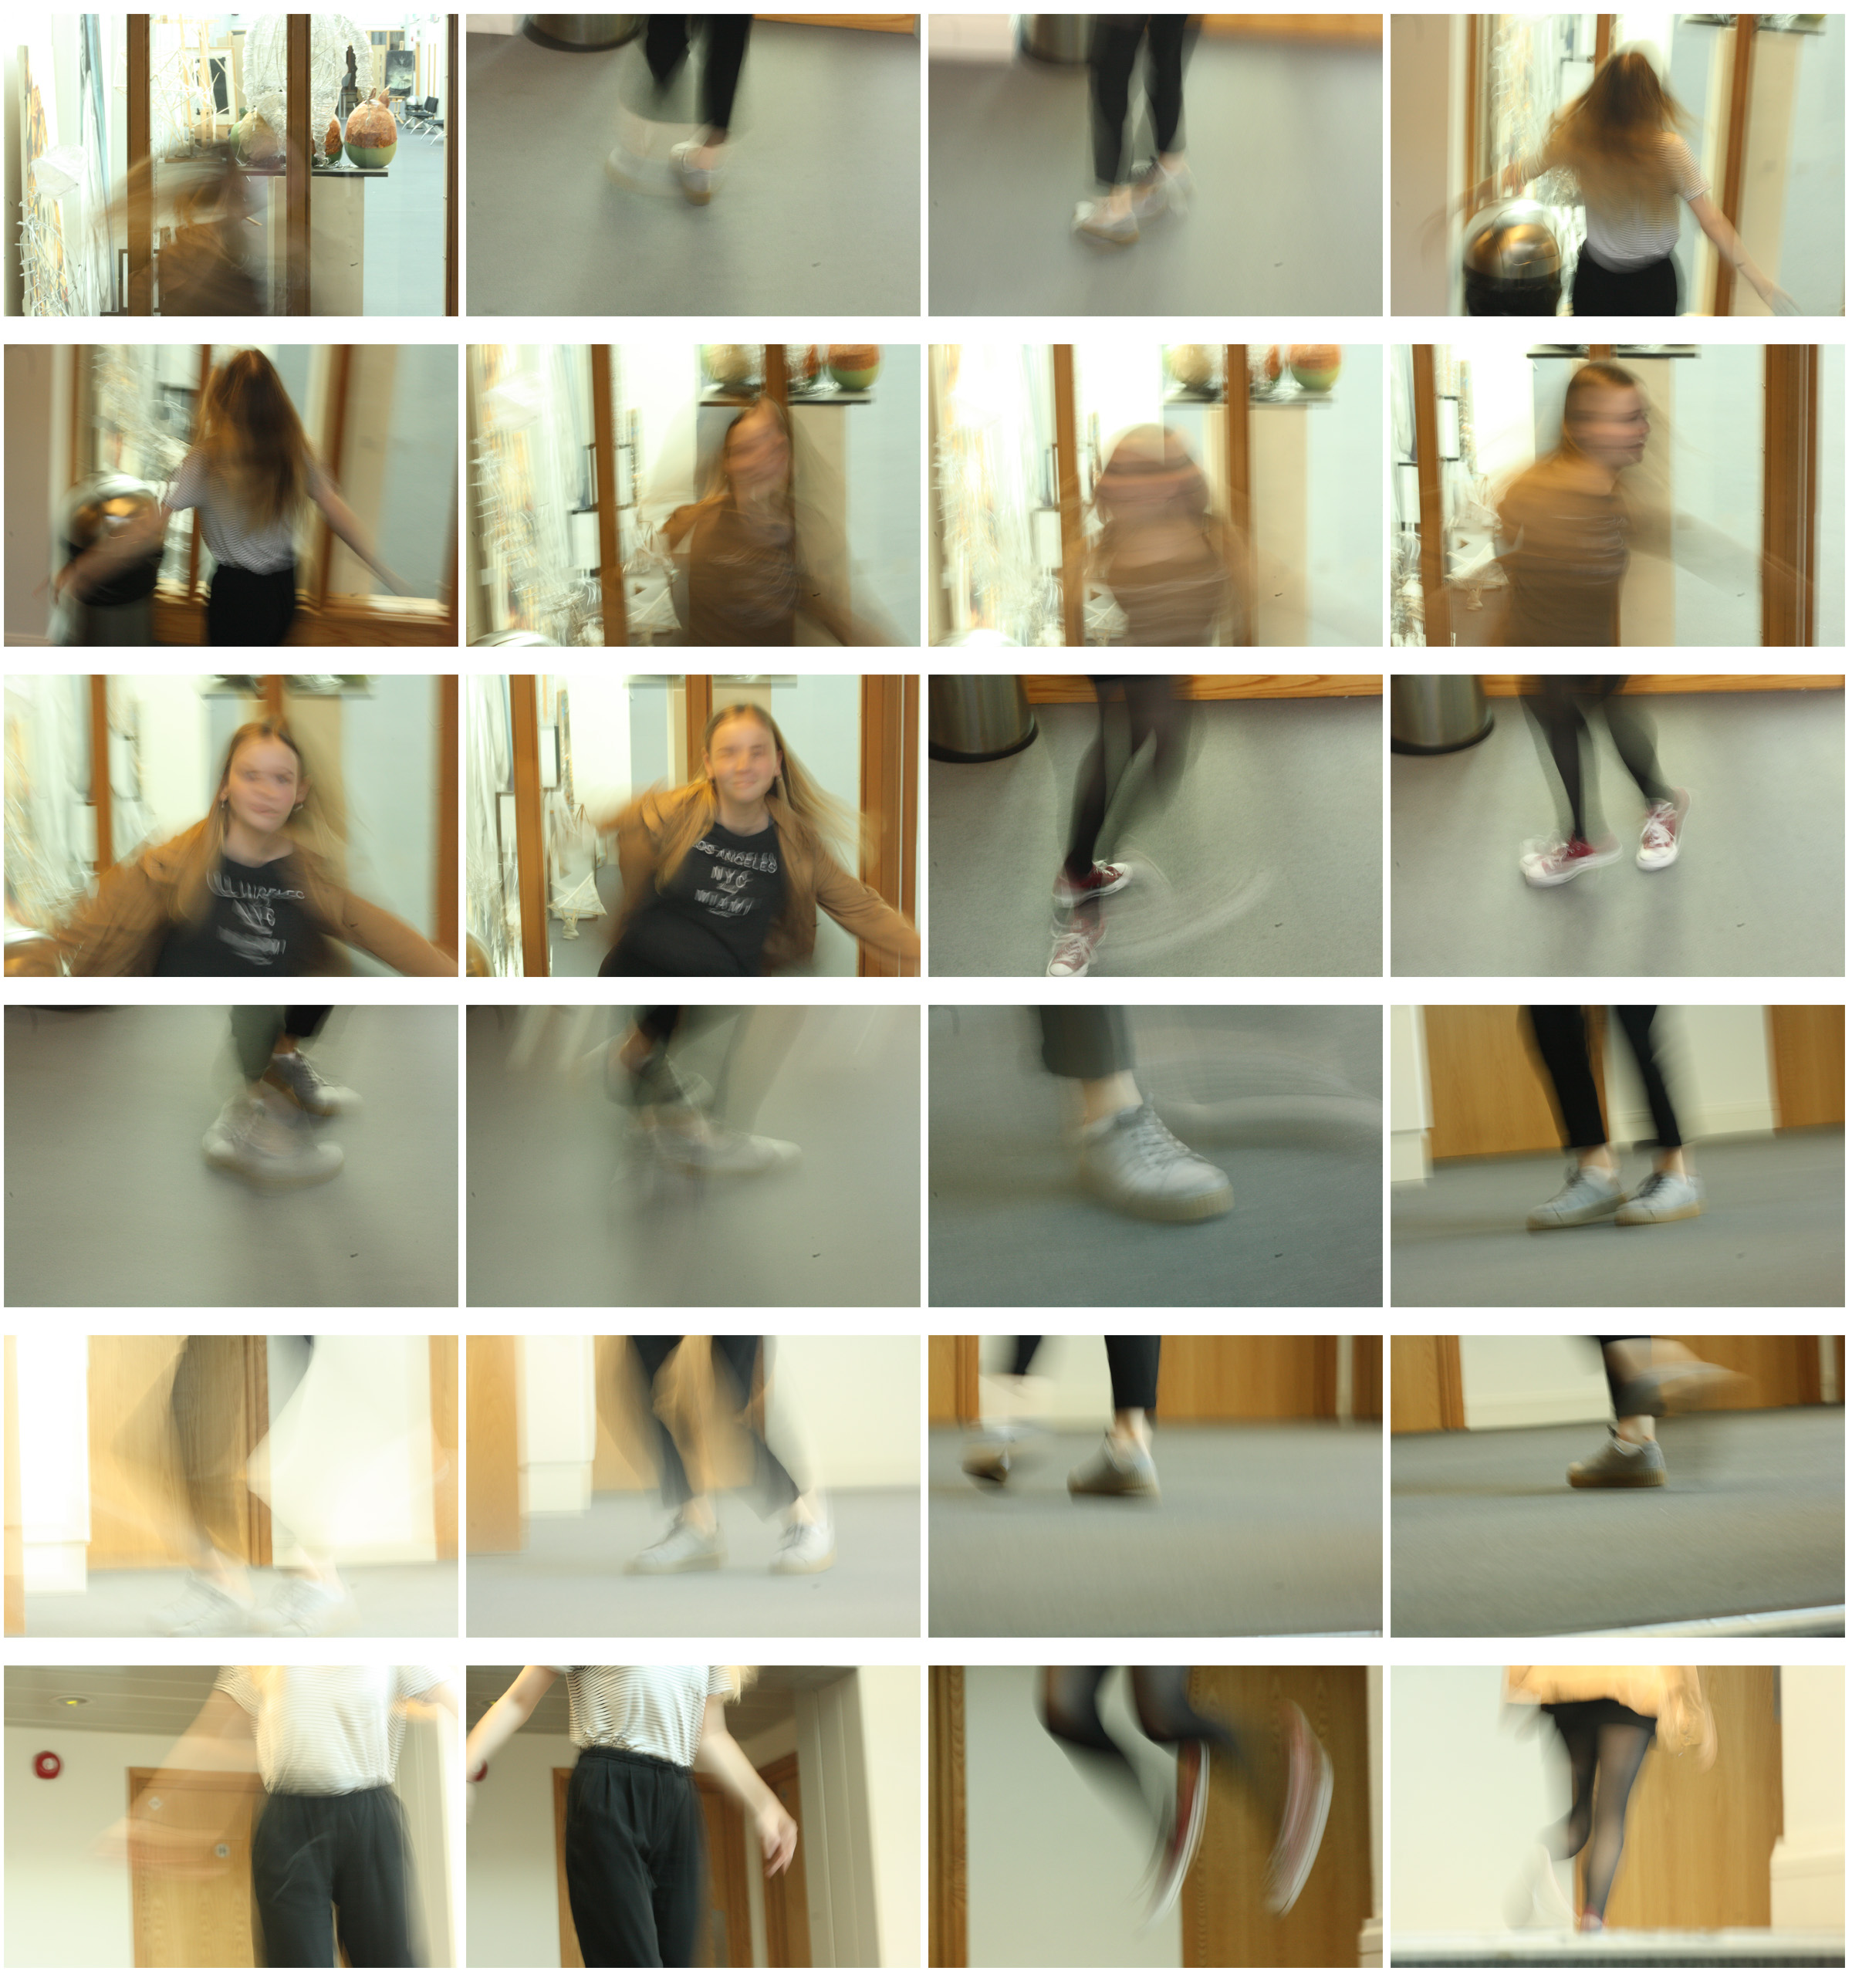
My Favourite Photos
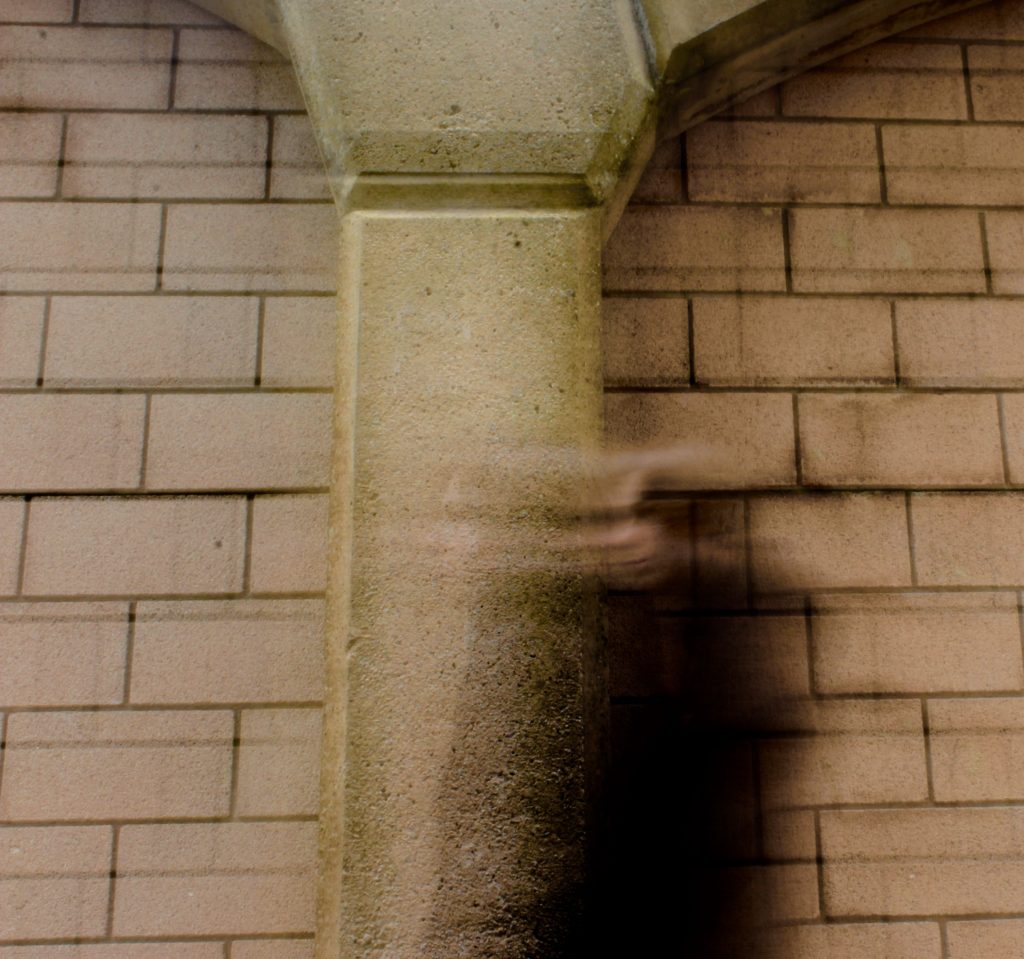
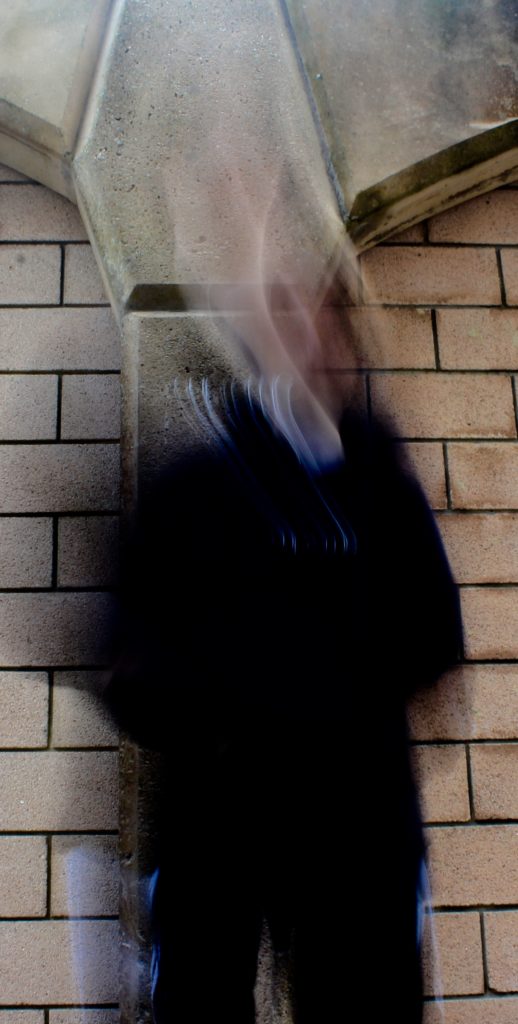
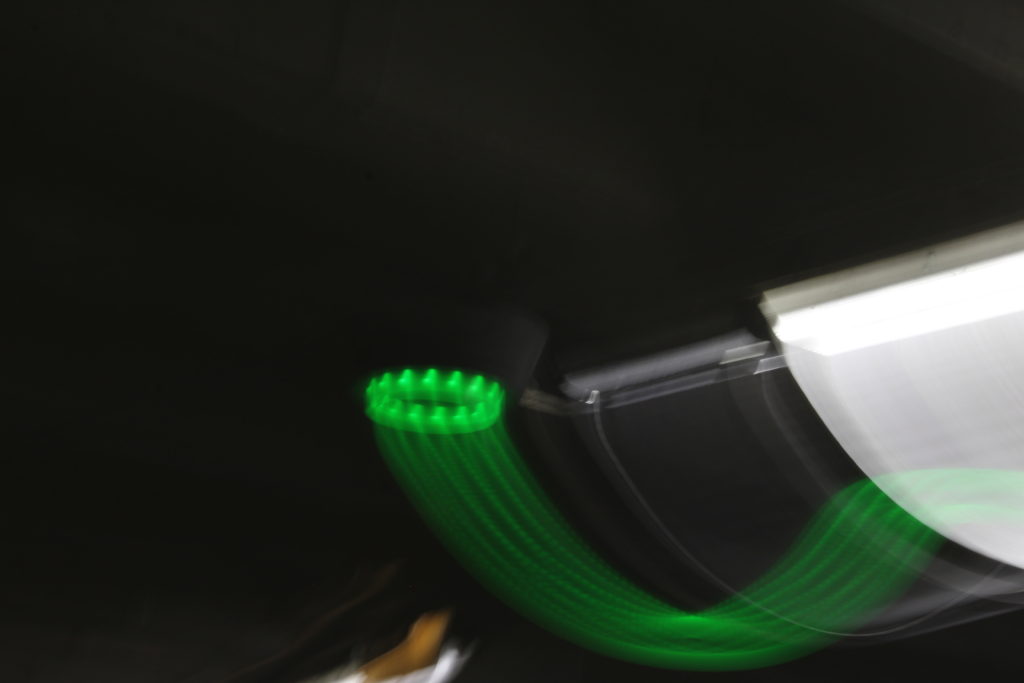
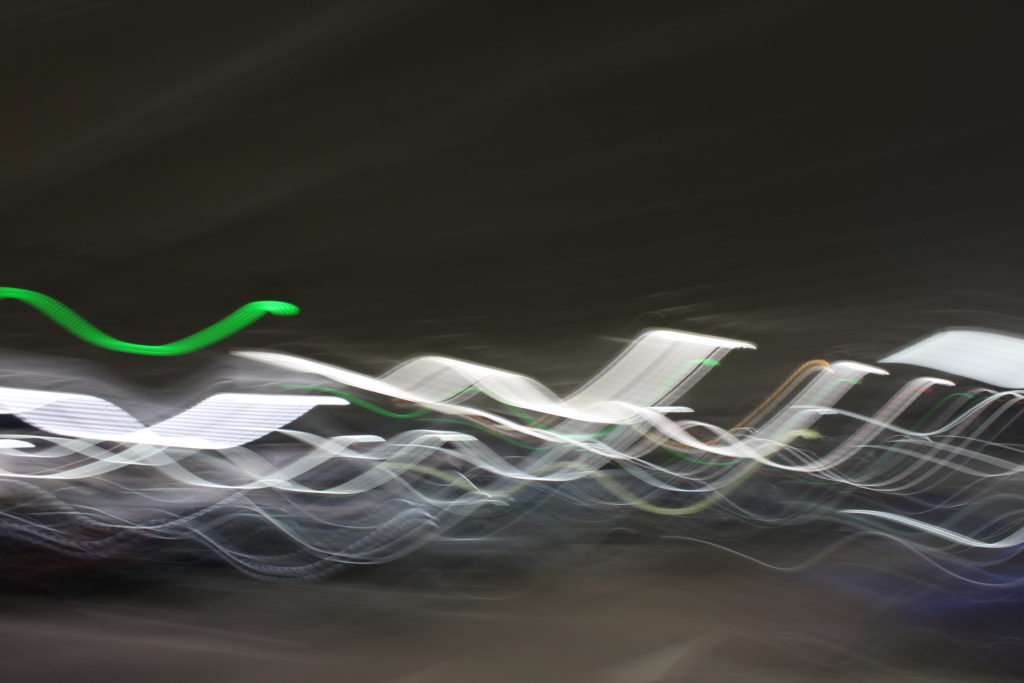
All of the below photographs were taken with a shutter speed of 1 second. In the first two photos I told the model to simply walk around to create movement but in the bottom three photos I moved the camera around in order to capture an abstract photograph.
In these photos I like how the black clothing of the blurred model almost blends into the background in places to create a more interesting image.
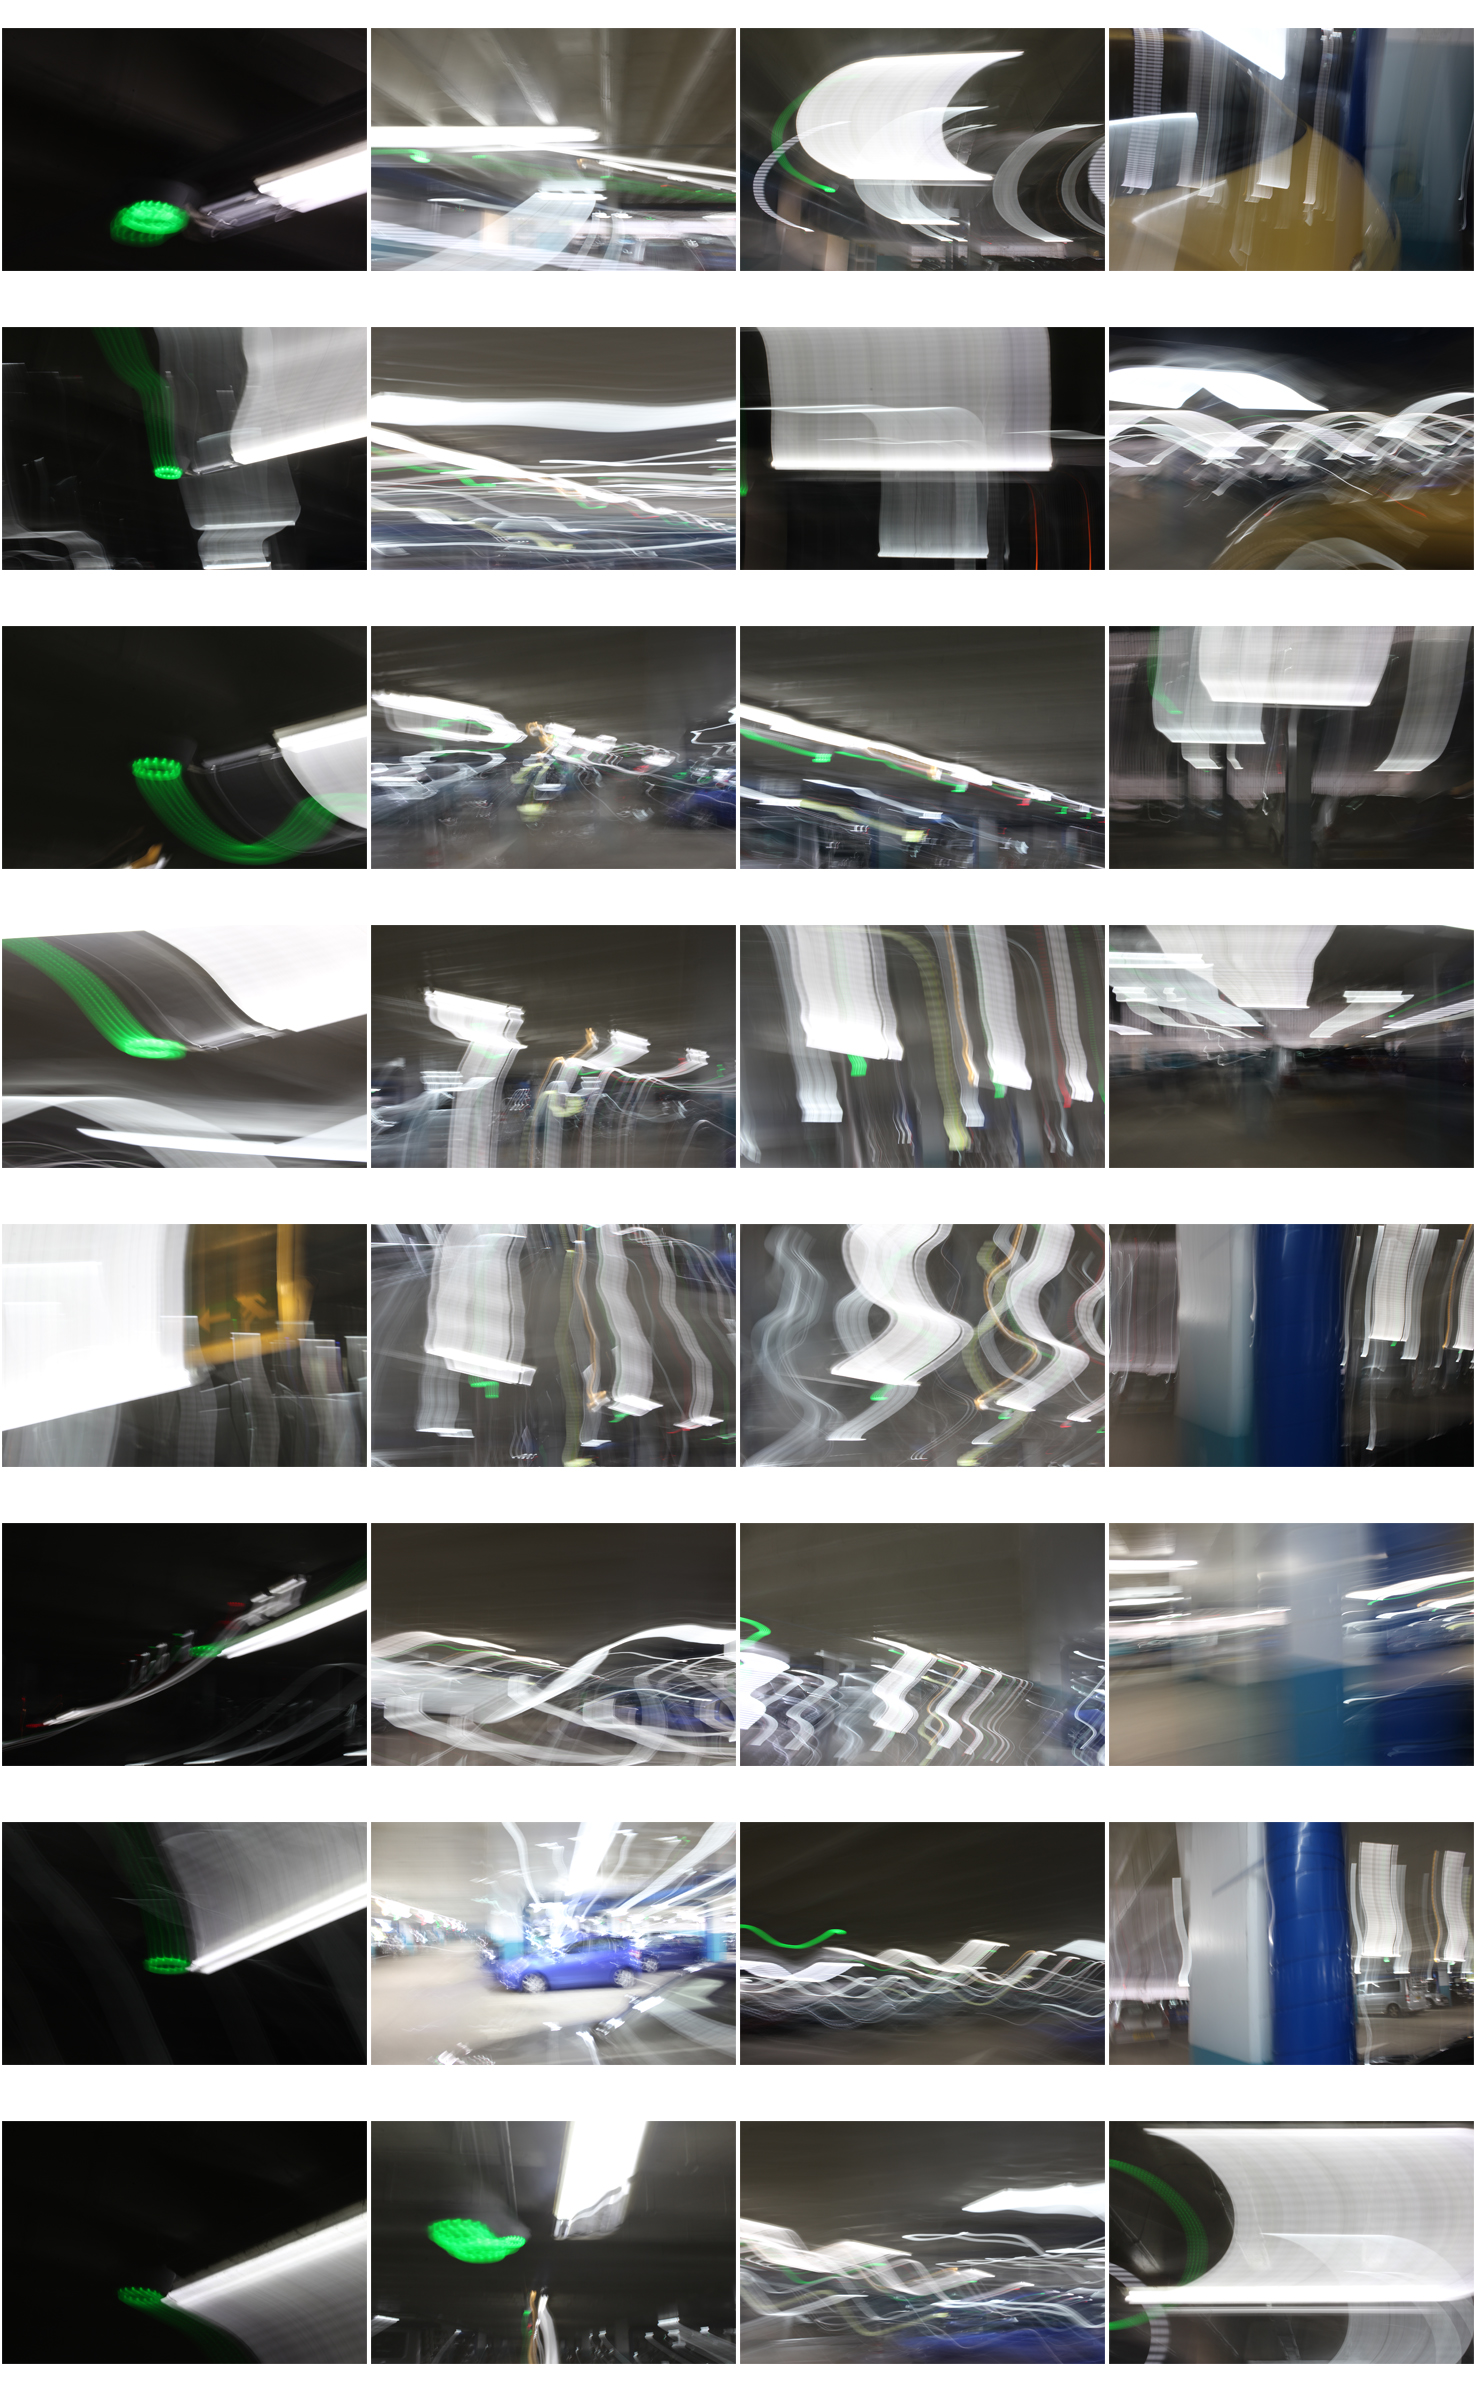
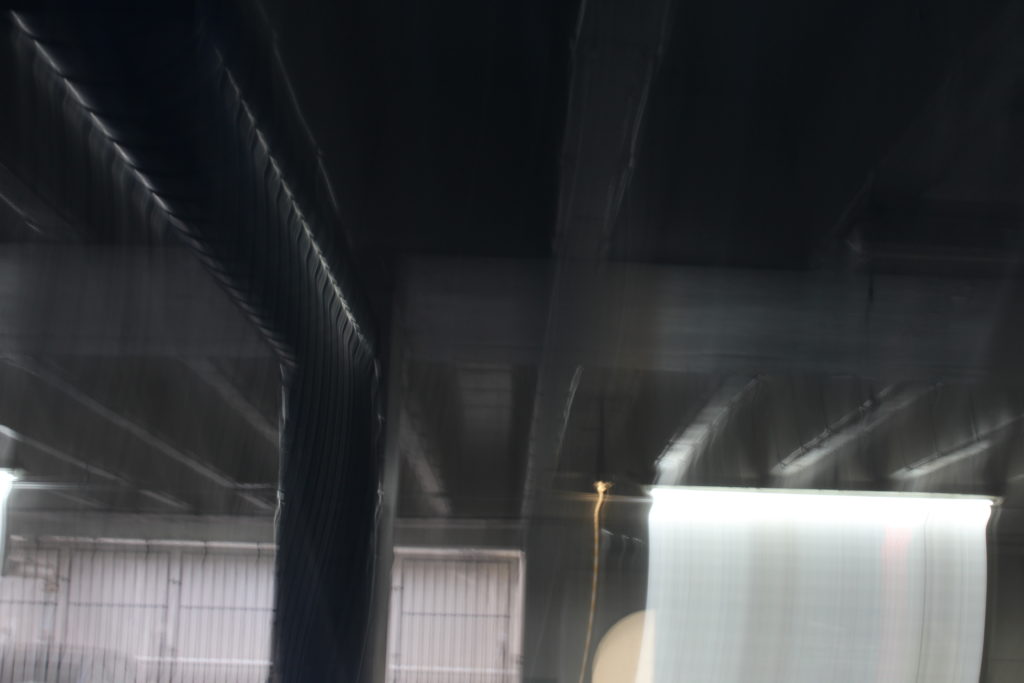
The below images create a gloomy and mysterious setting due to the contrast between the bright lights and the dark car park. To create an appealing image in the first photograph I have cropped it so that it fits the rule of thirds.
The abstractness of these images make them stand out to me because they look so out of the ordinary.


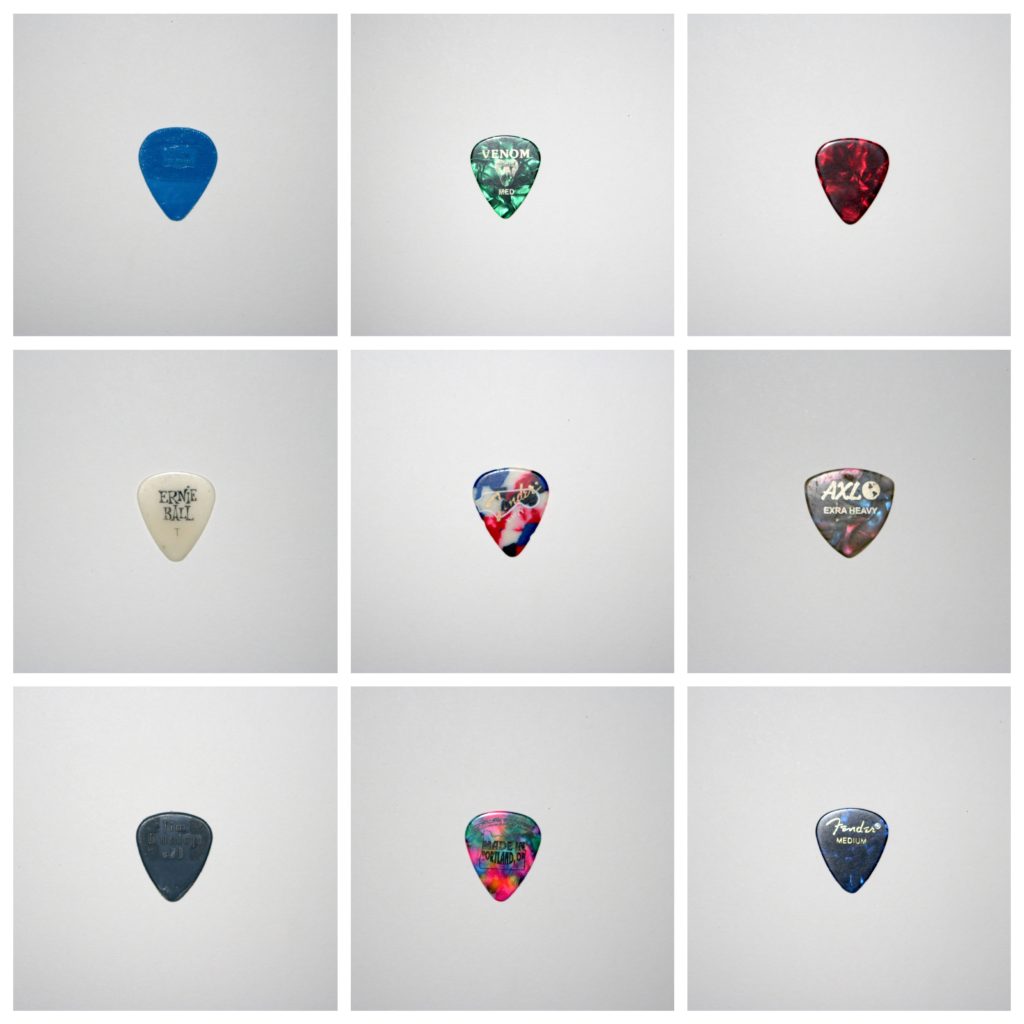

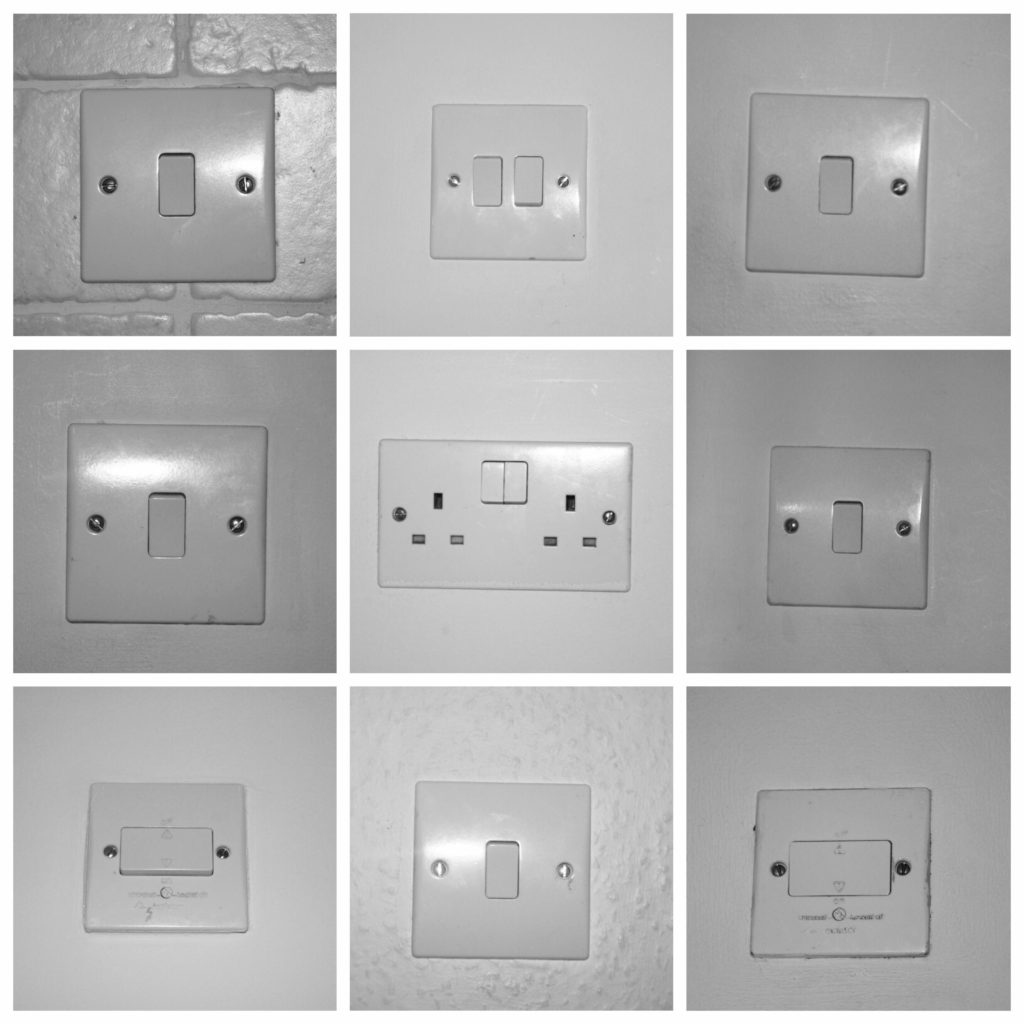
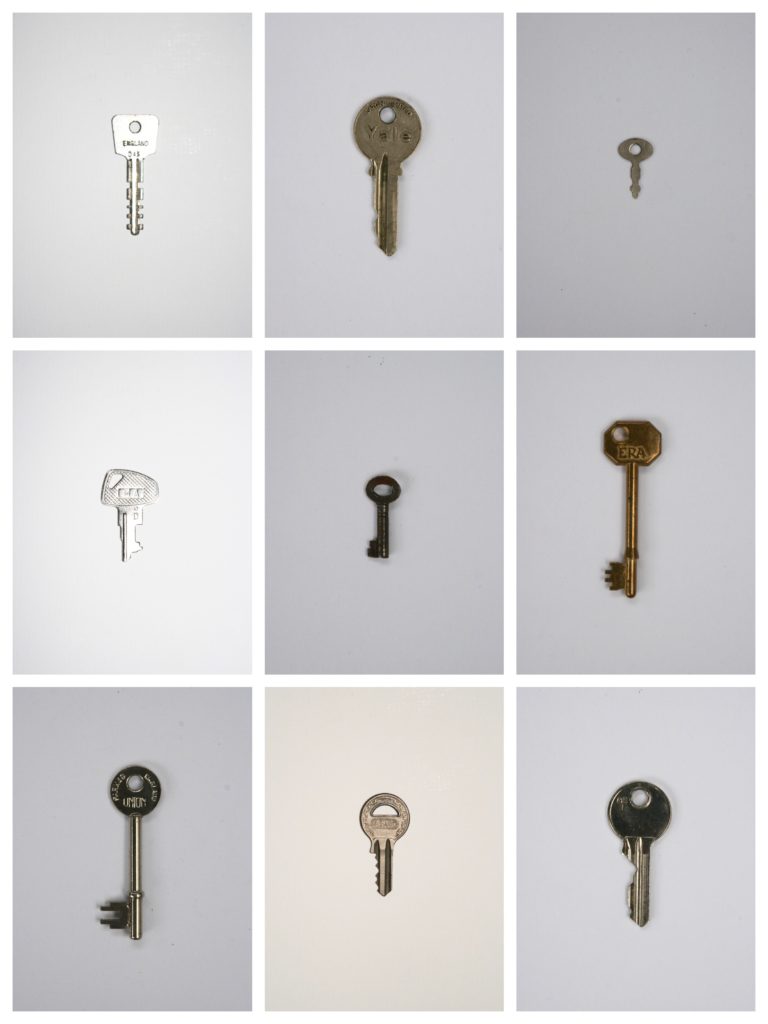
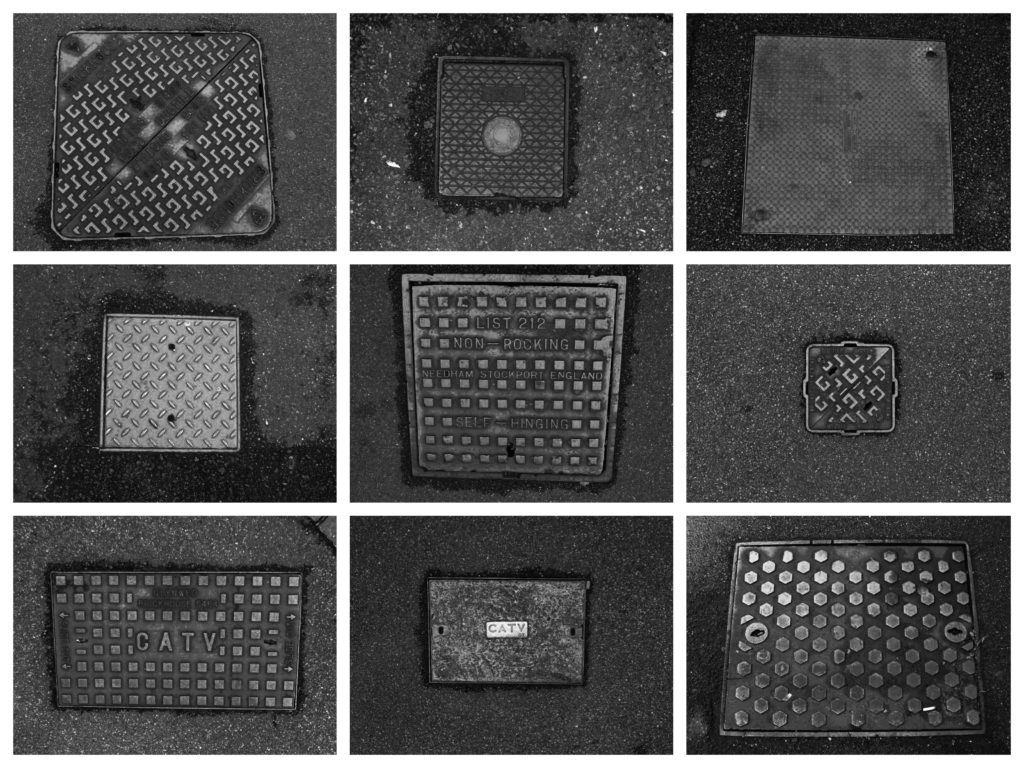
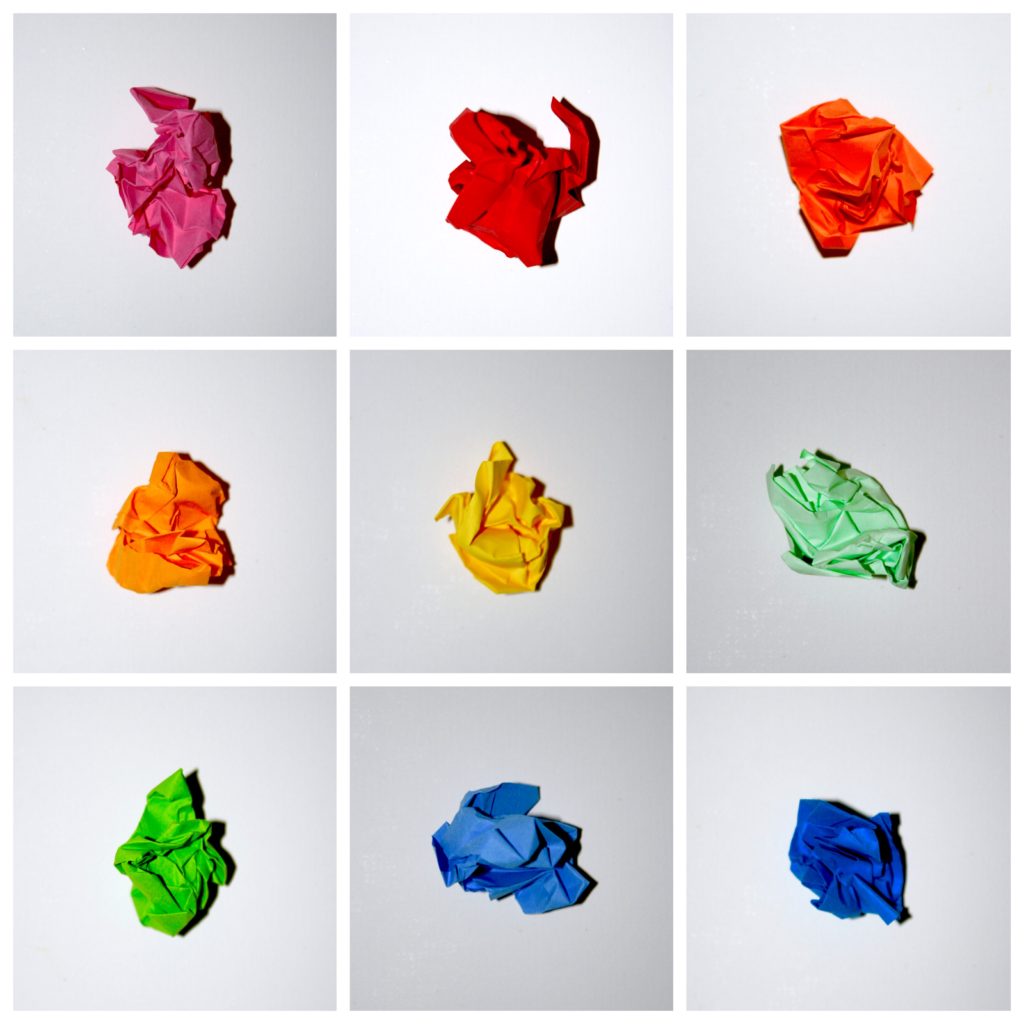
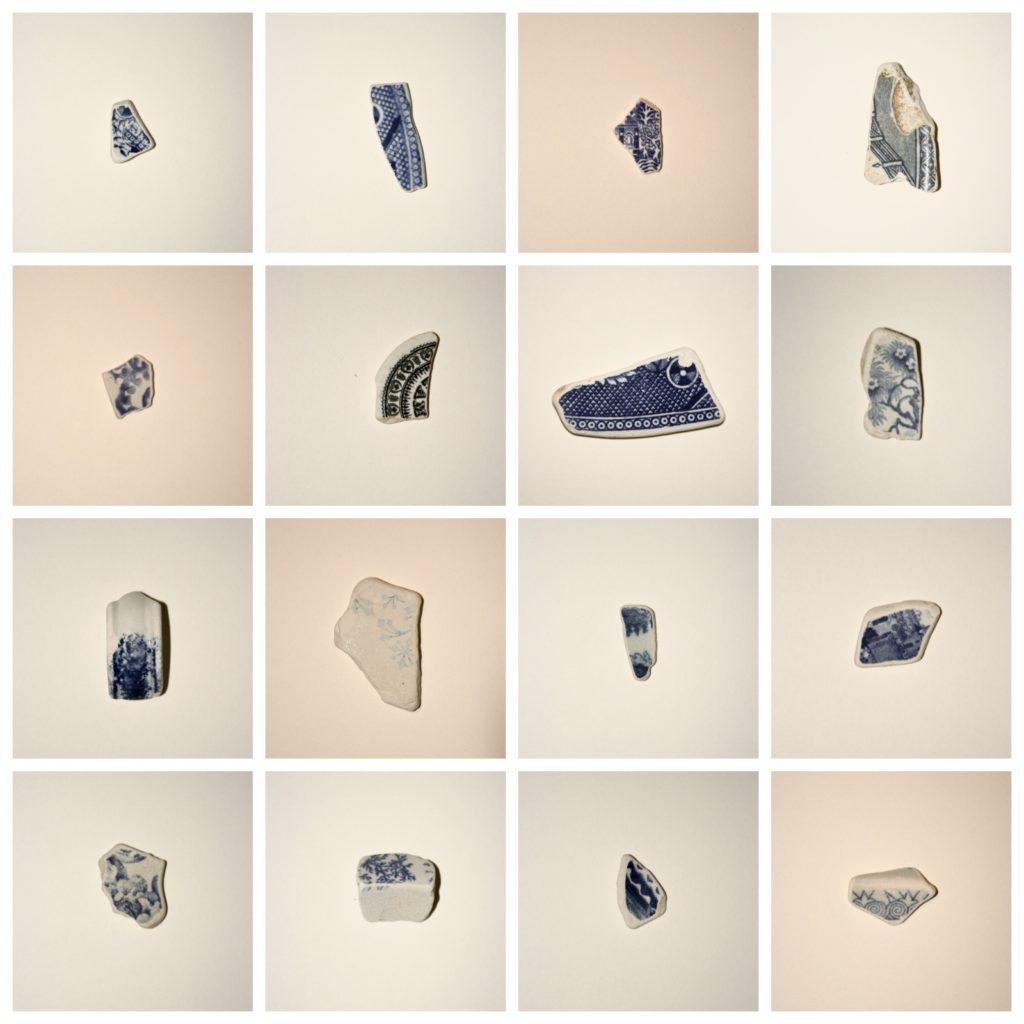

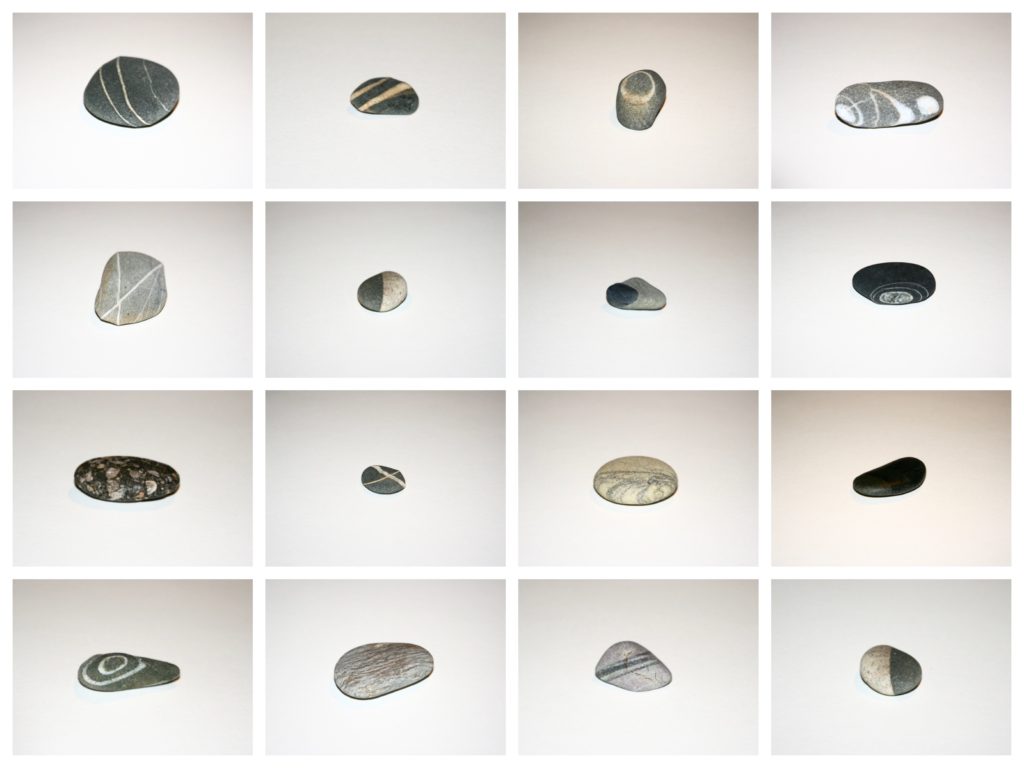

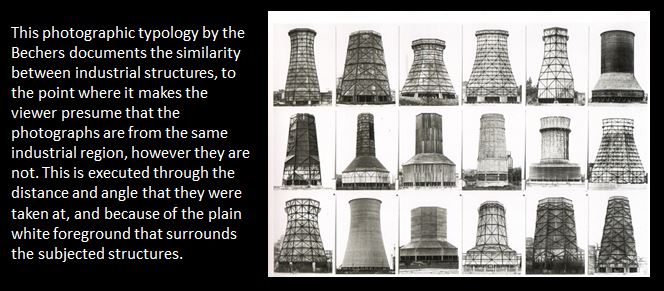
 Photographer Research Two (Bernd & Hilla Becher)
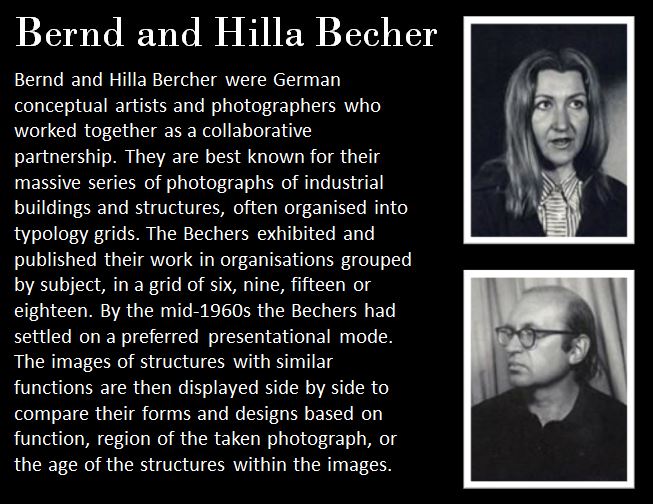
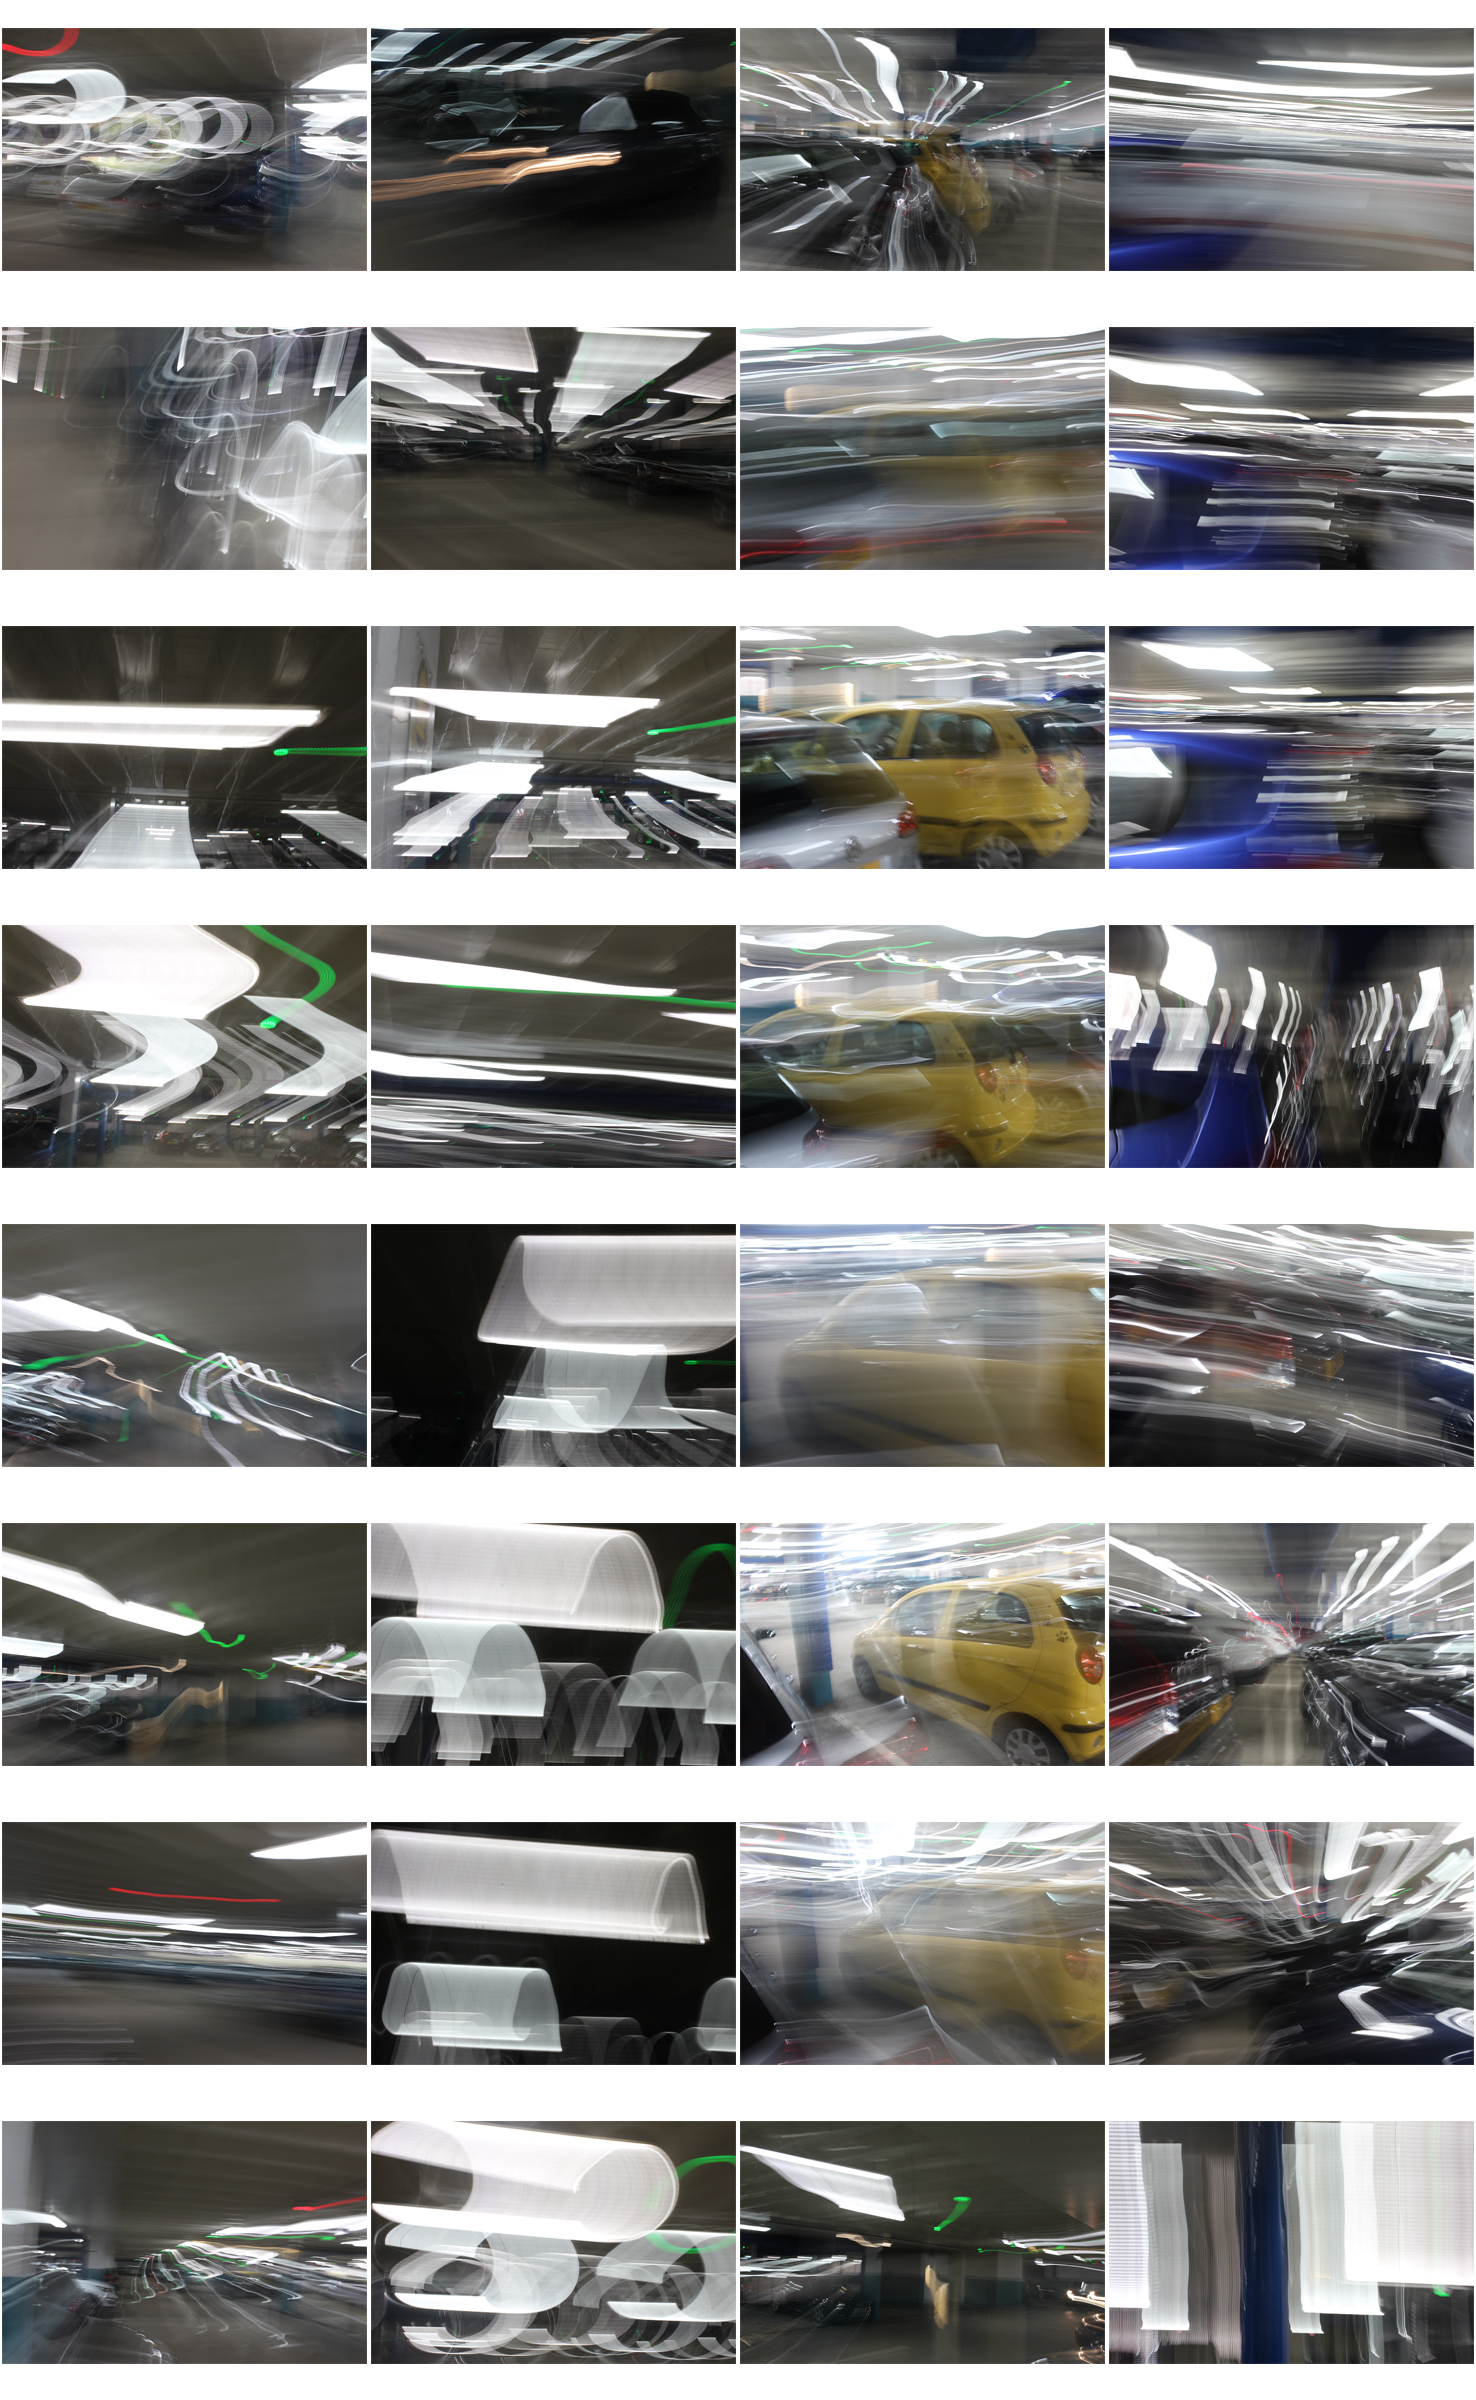
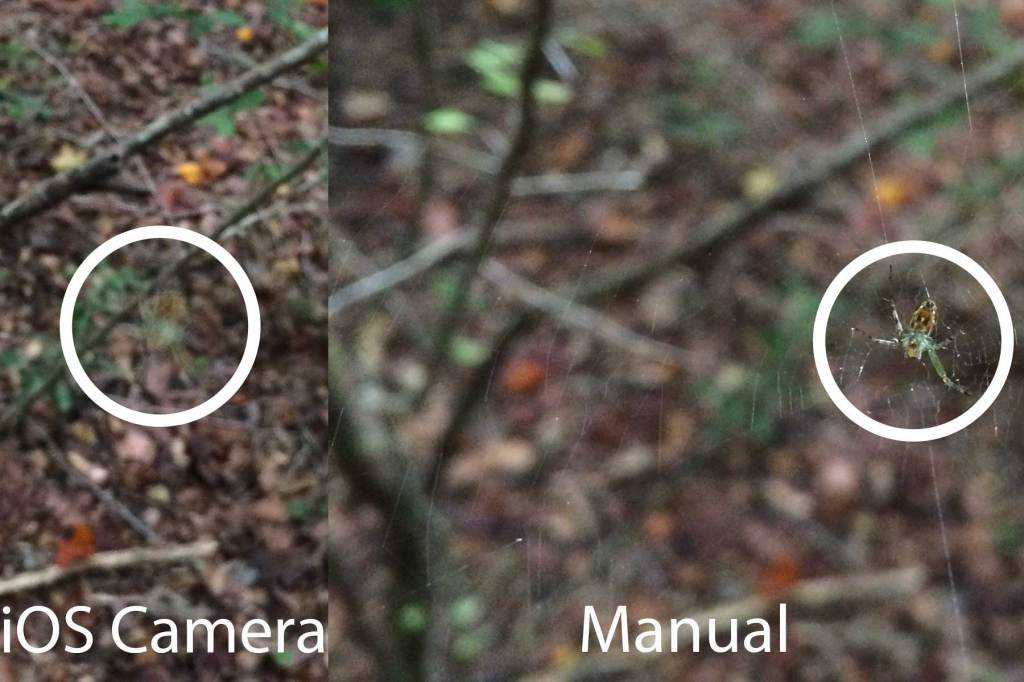
 With the whole frame out of focus the light circles become larger and the whole image looks blurred.
 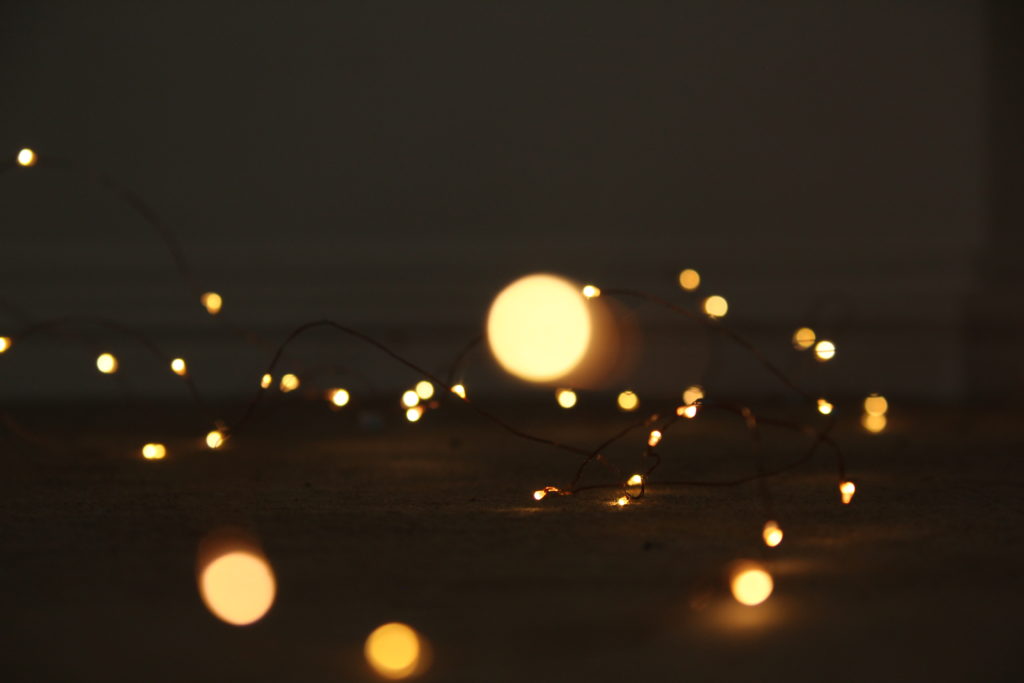 When the image is slightly more in focus only the lights which are close to the lens make a bigger circle. Some of the wires in the mid ground are more in focus this is because the focus point was in the center of the frame.
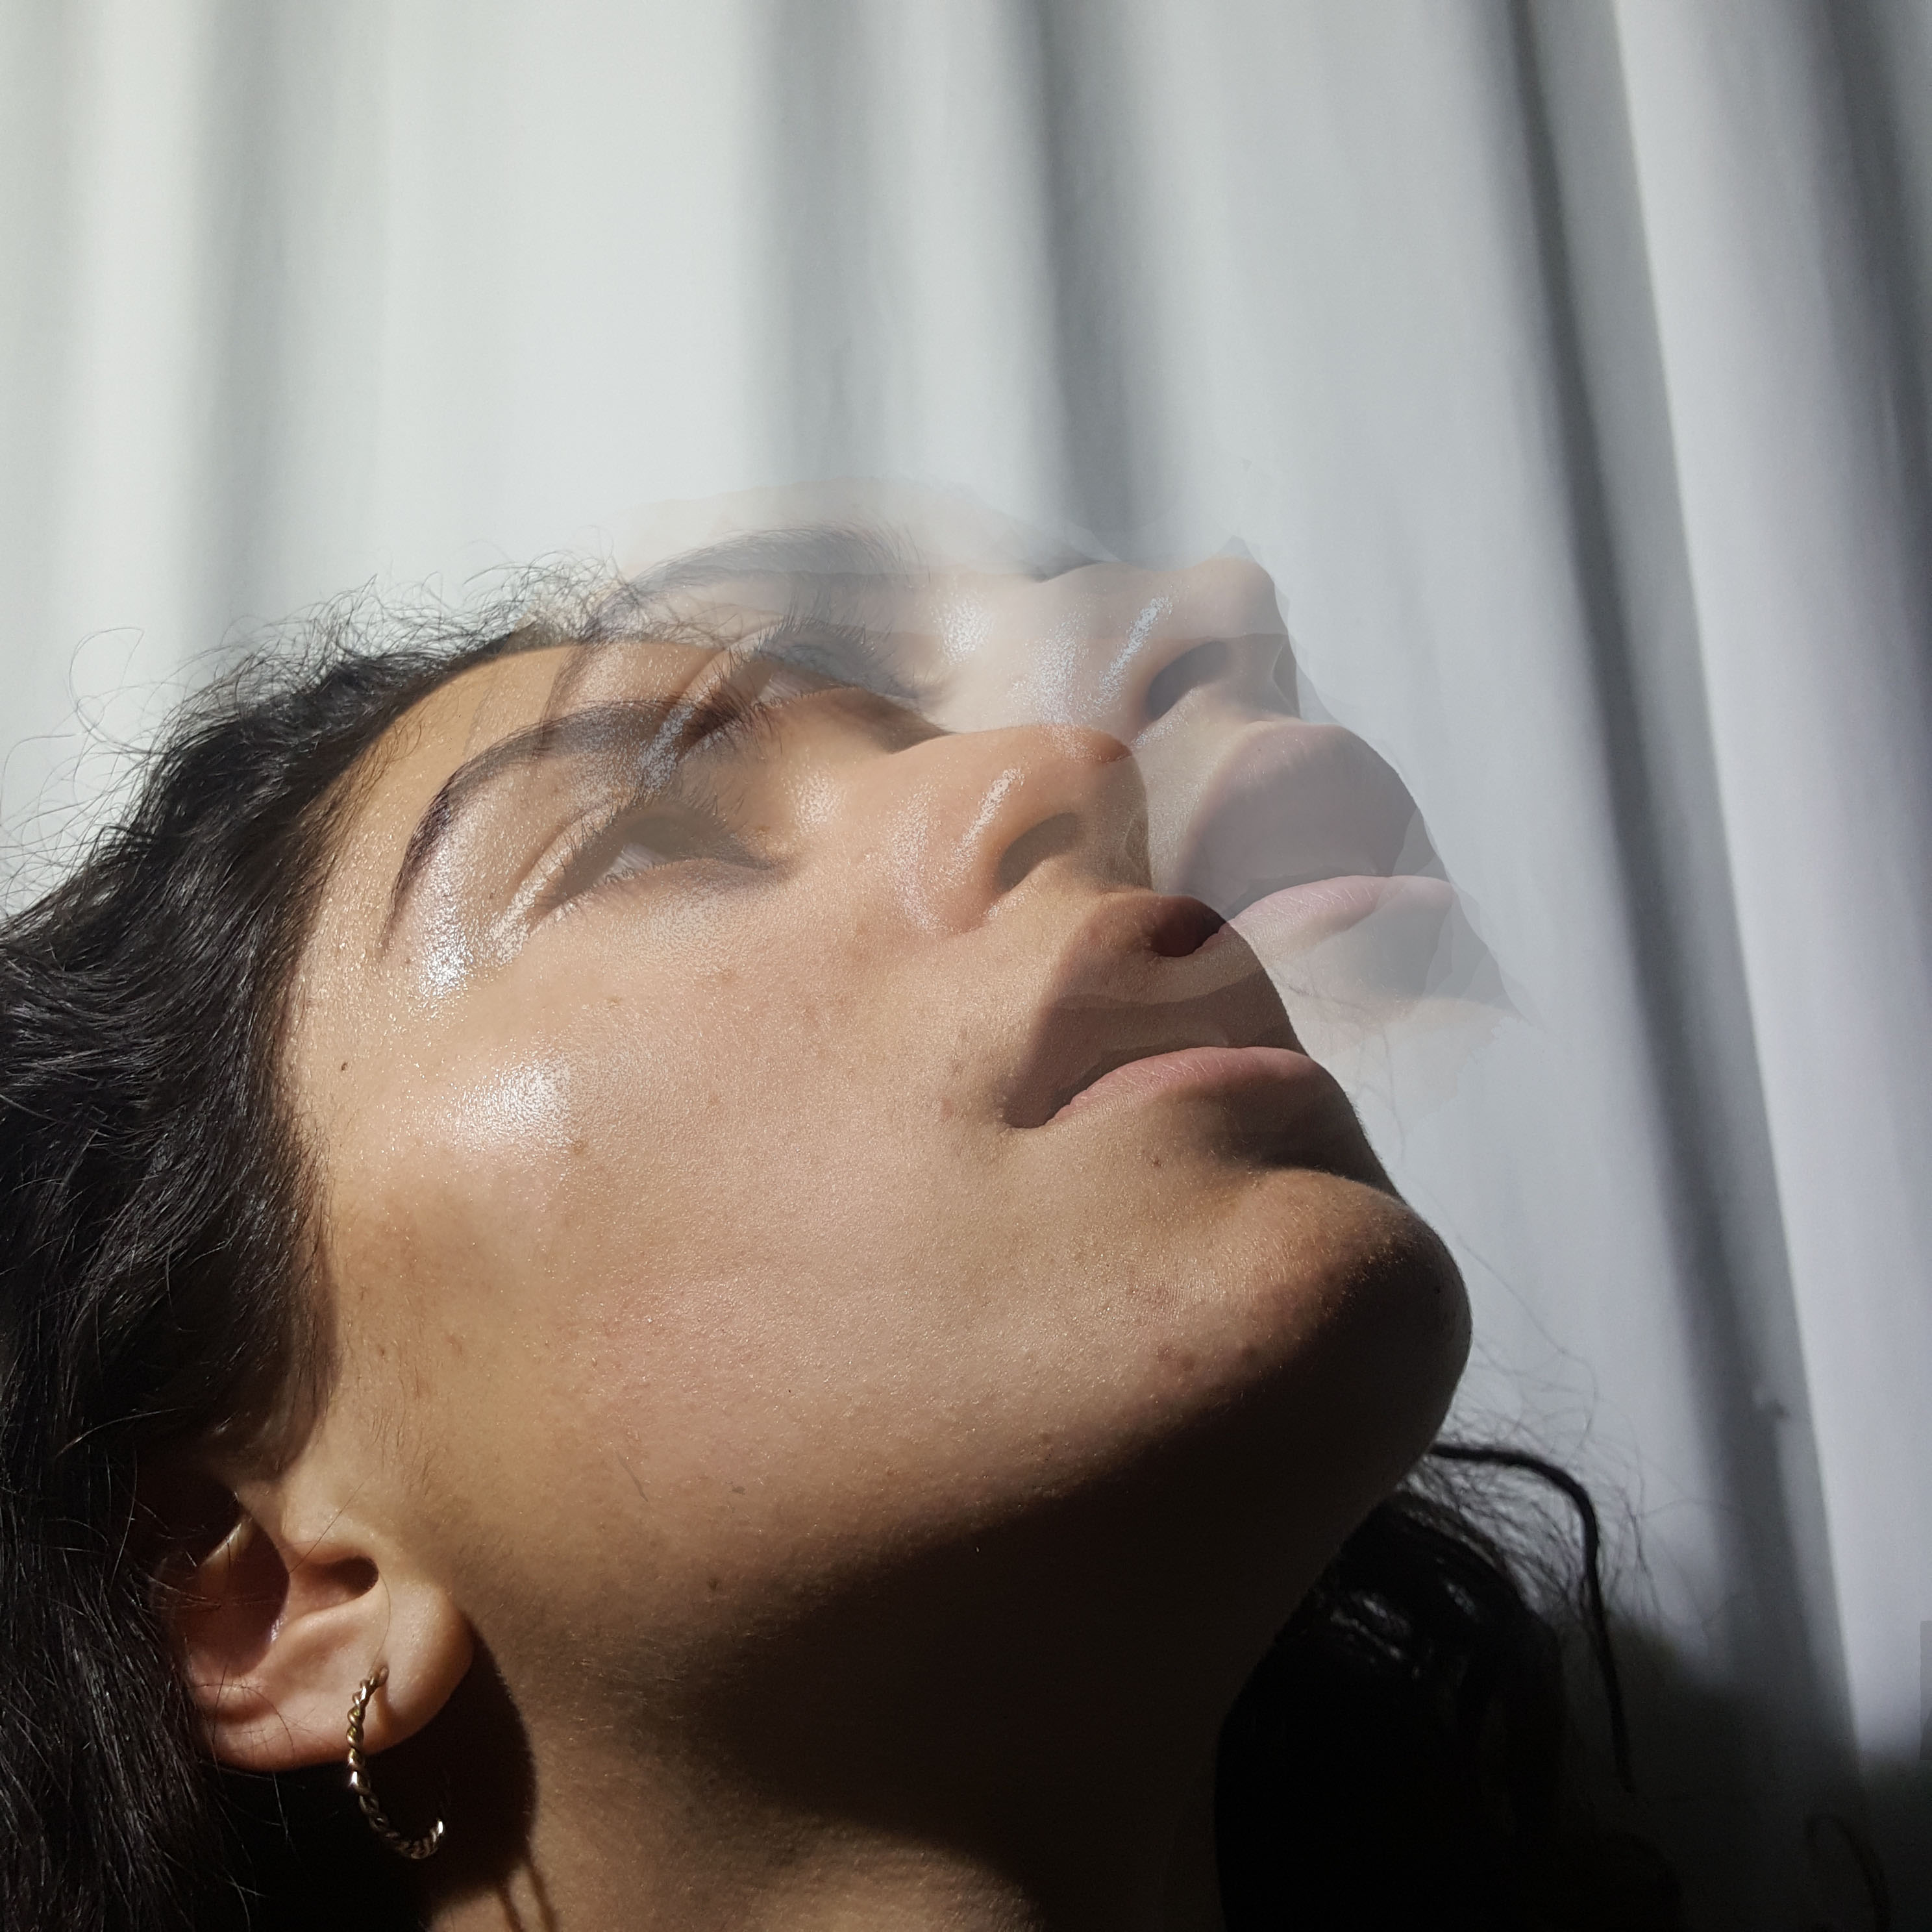


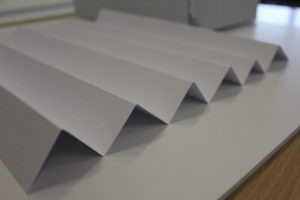


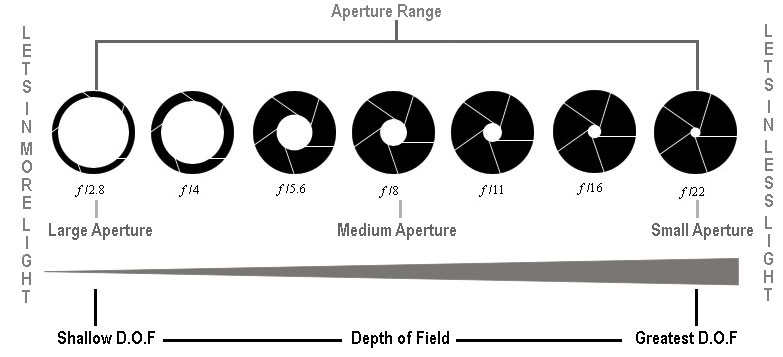
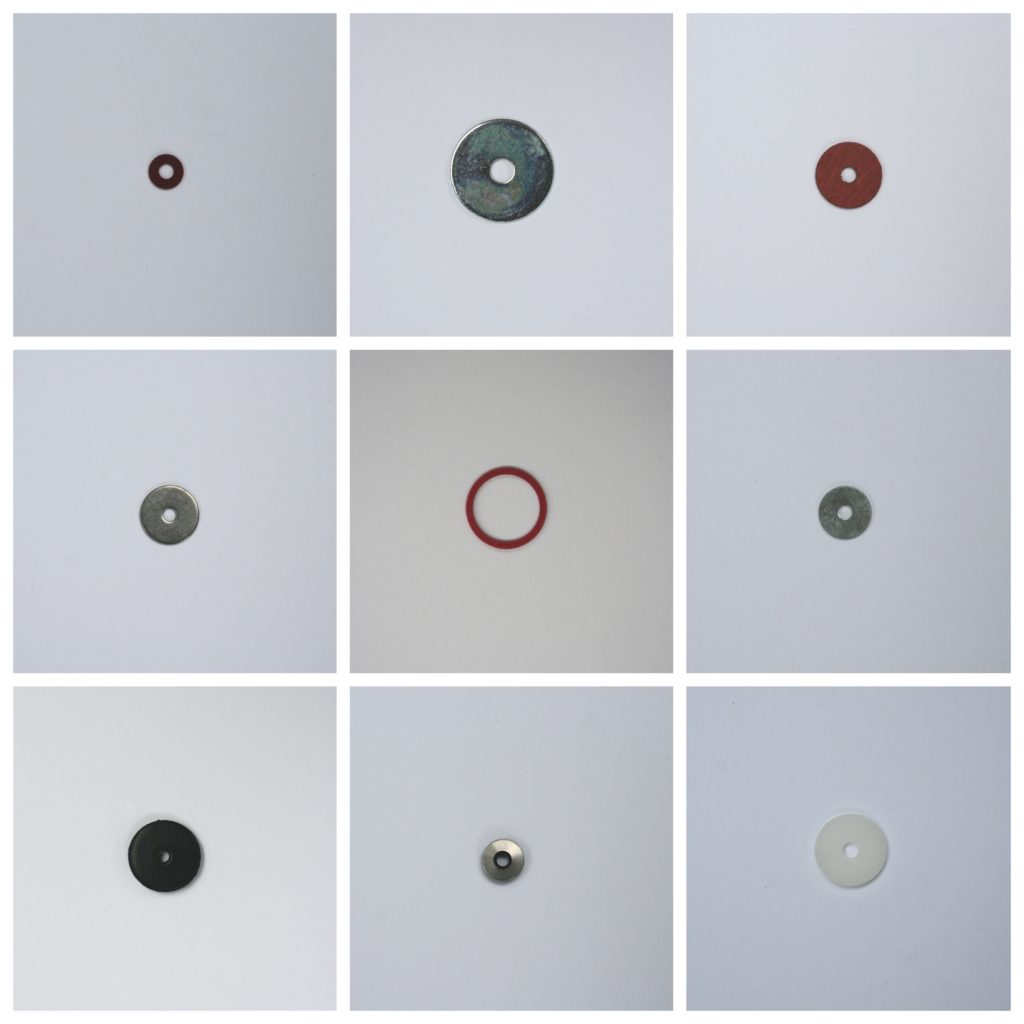
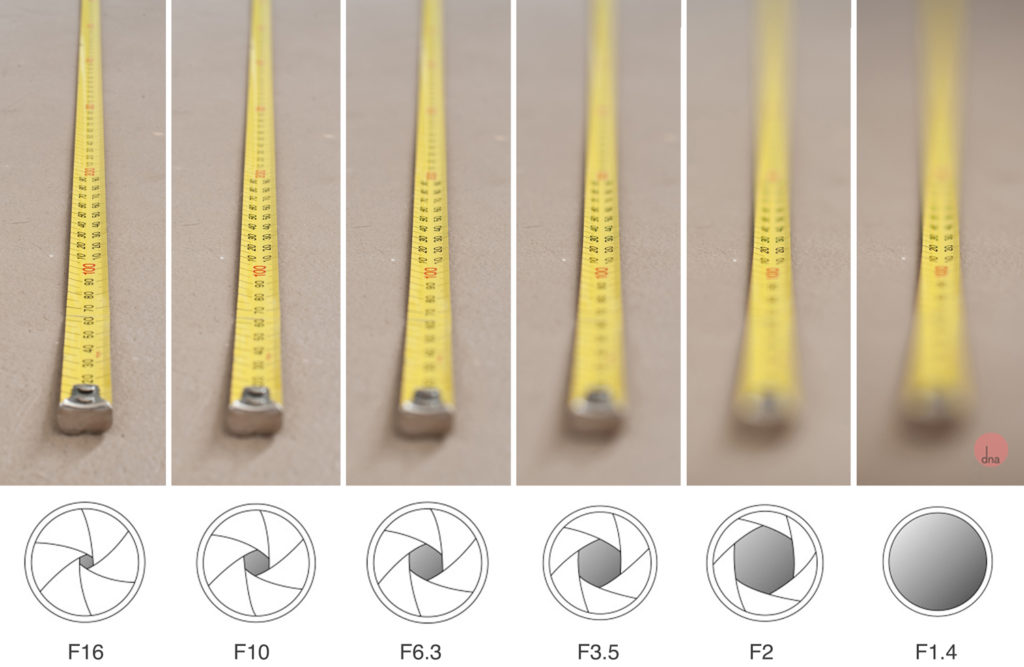
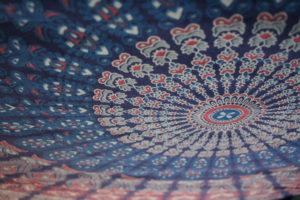 So for example this image was taken with a large aperture setting so that the camera would be able to focus on one particular part of the mandala sheet,