Jan Groover – Artist Study

Jan Groover

Jan Groover  was born on April 24, 1943 and was an American photographer who spent the last part of her life in France, with her husband, a painter and critic named Bruce Groover. Groover was a still life photographer. Her work has been exhibited and included in the collections of most major museums worldwide, and continues to influence a new generation of artists. Groover moved to France in 1991.
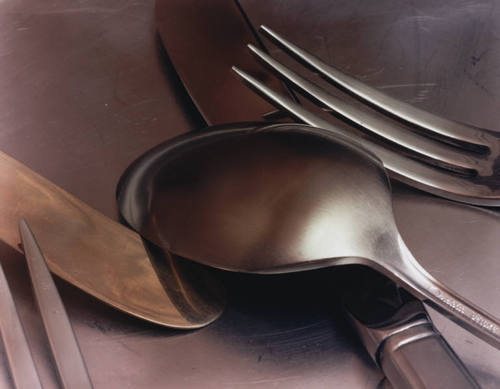
Image result for JAN GROOVER

Image result for JAN GROOVER

Photo analysis

Image result for jan groover

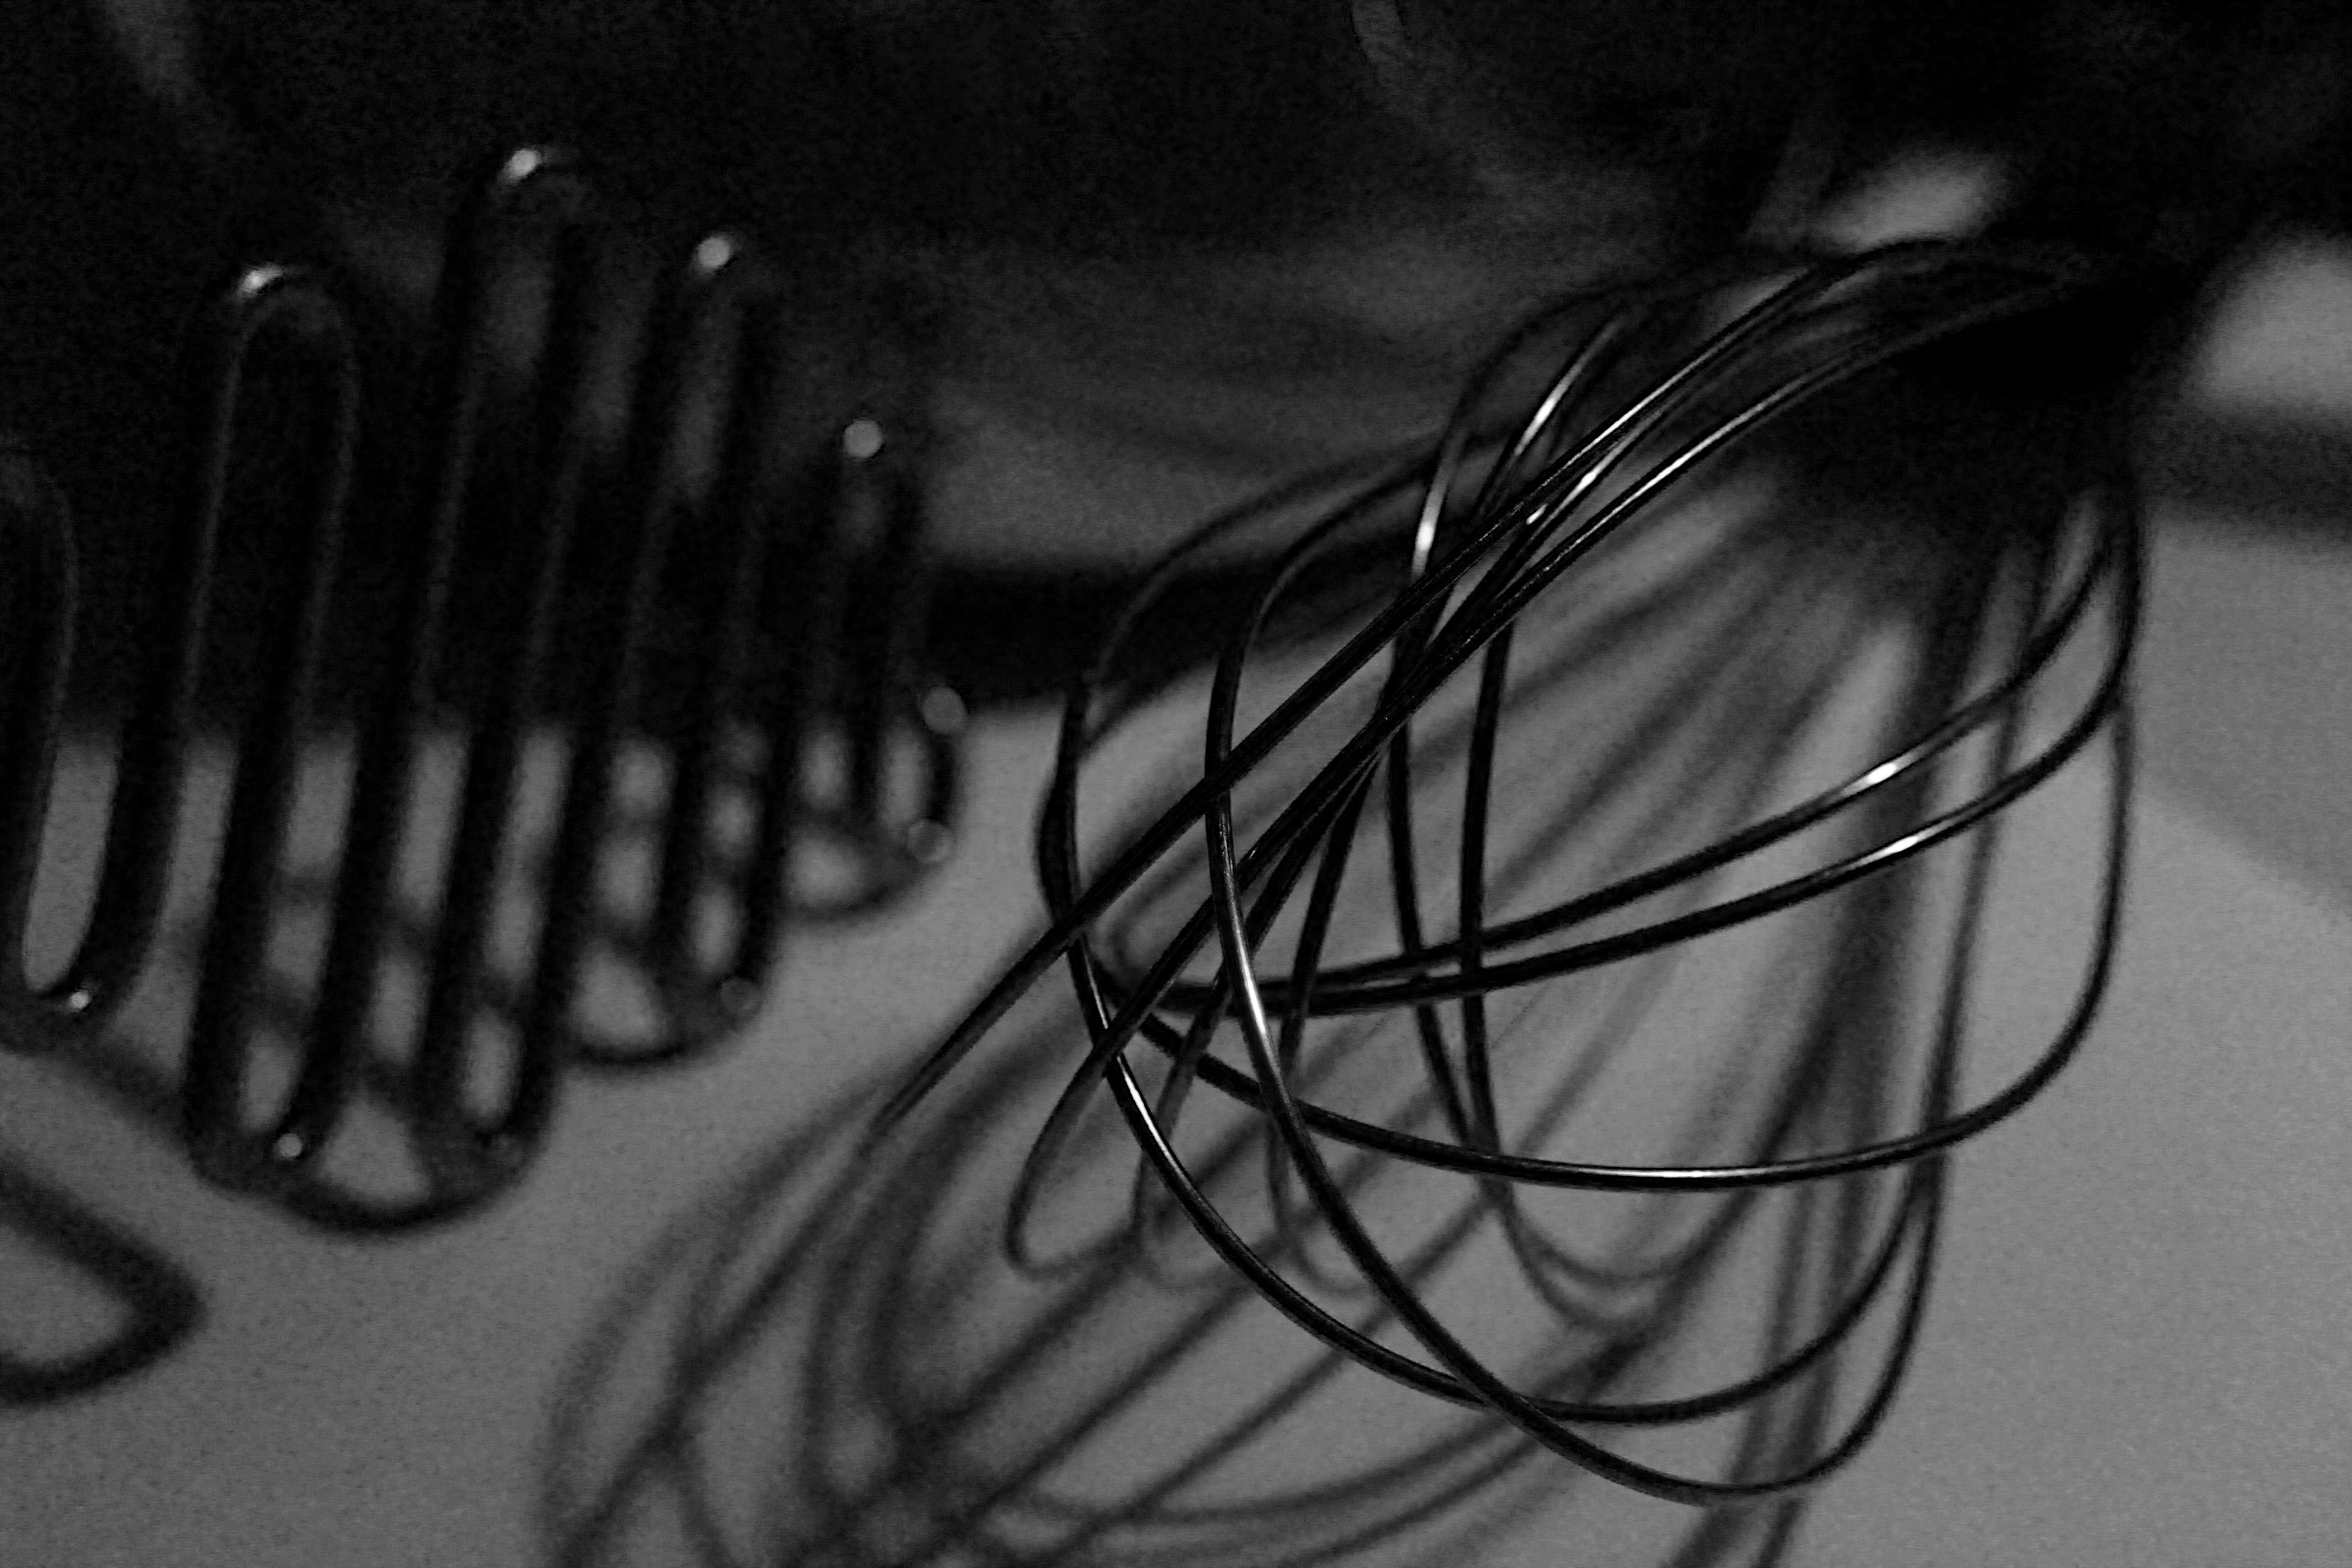
This black and white Image is of silver cutlery in a pan. This image has a strong contrast as of the white background and the dark shadows behind the pan and the black inside the pan. This image also includes the rule of thirds as the right side of the picture where the cutlery is is the main focal point of the image as that is that area where the view looks at first and is the most interesting part of the picture. I really like this idea and also Groover’s style of photography as in this sense it is such a simple idea but once edited looks really effective and aesthetically pleasing.
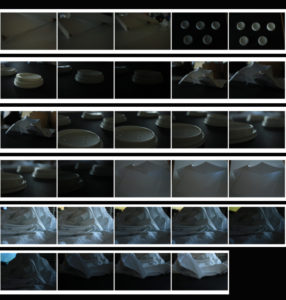
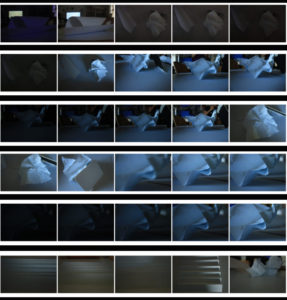
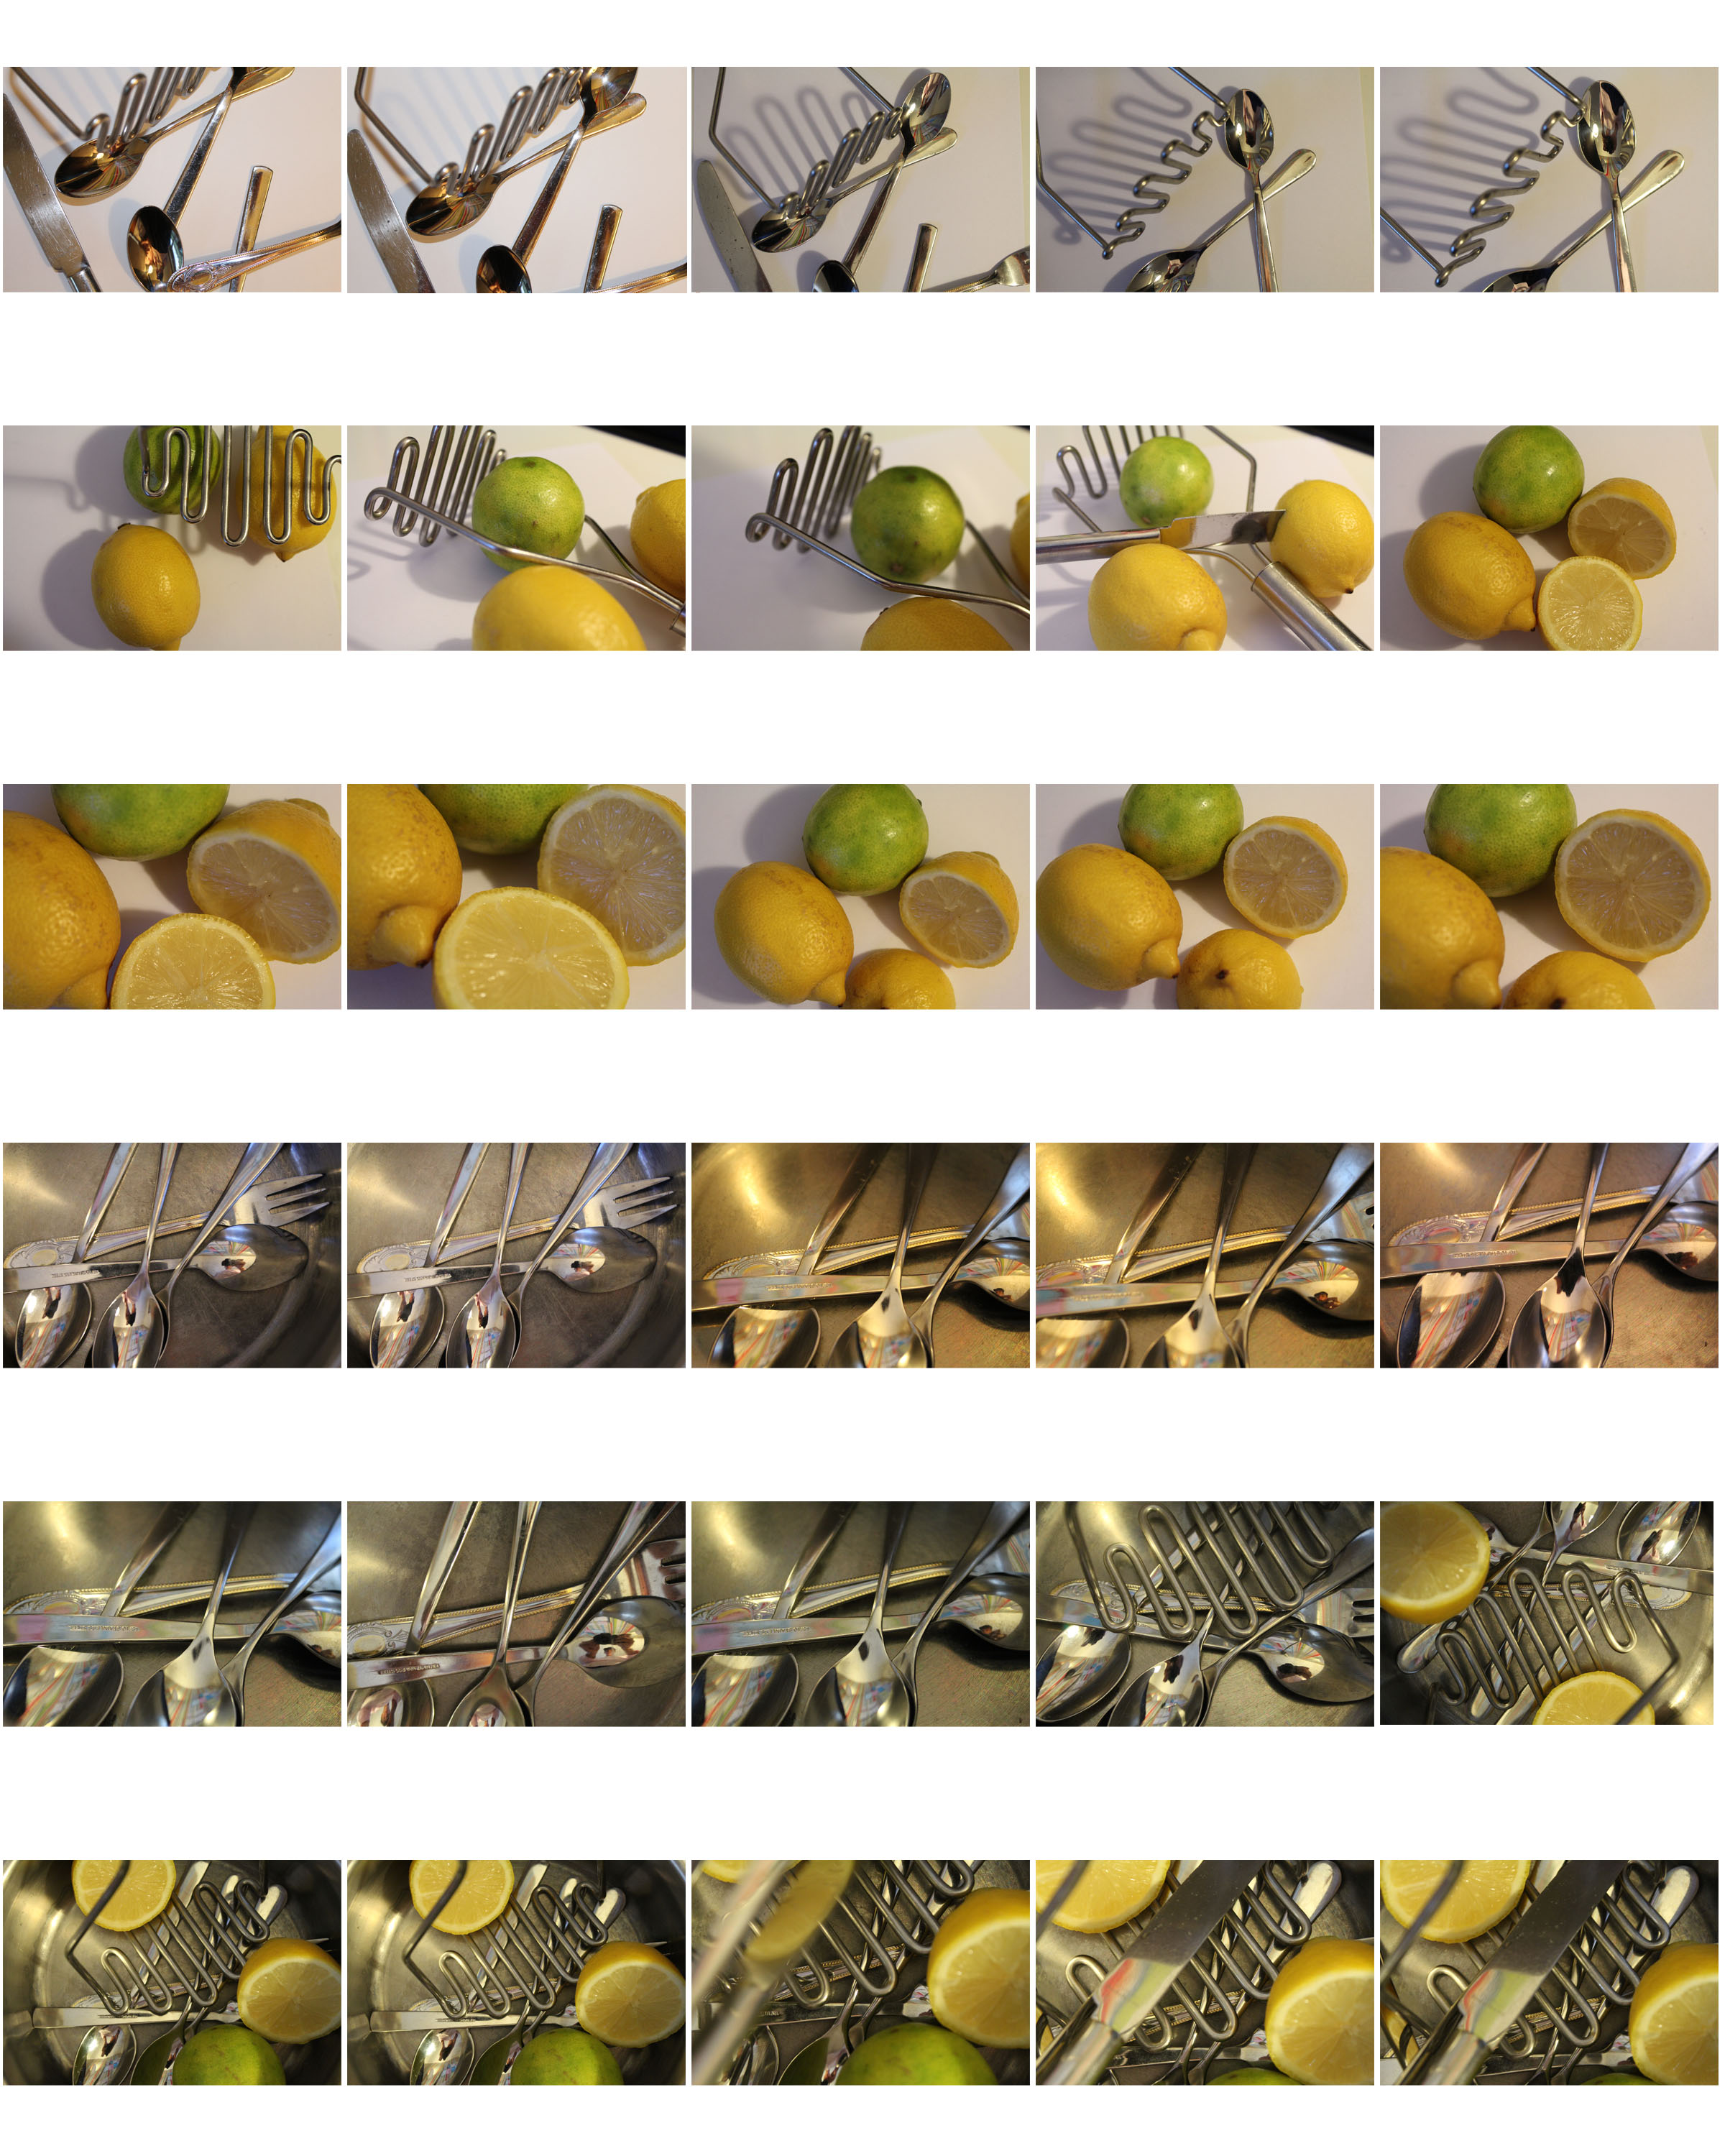
Contact sheet

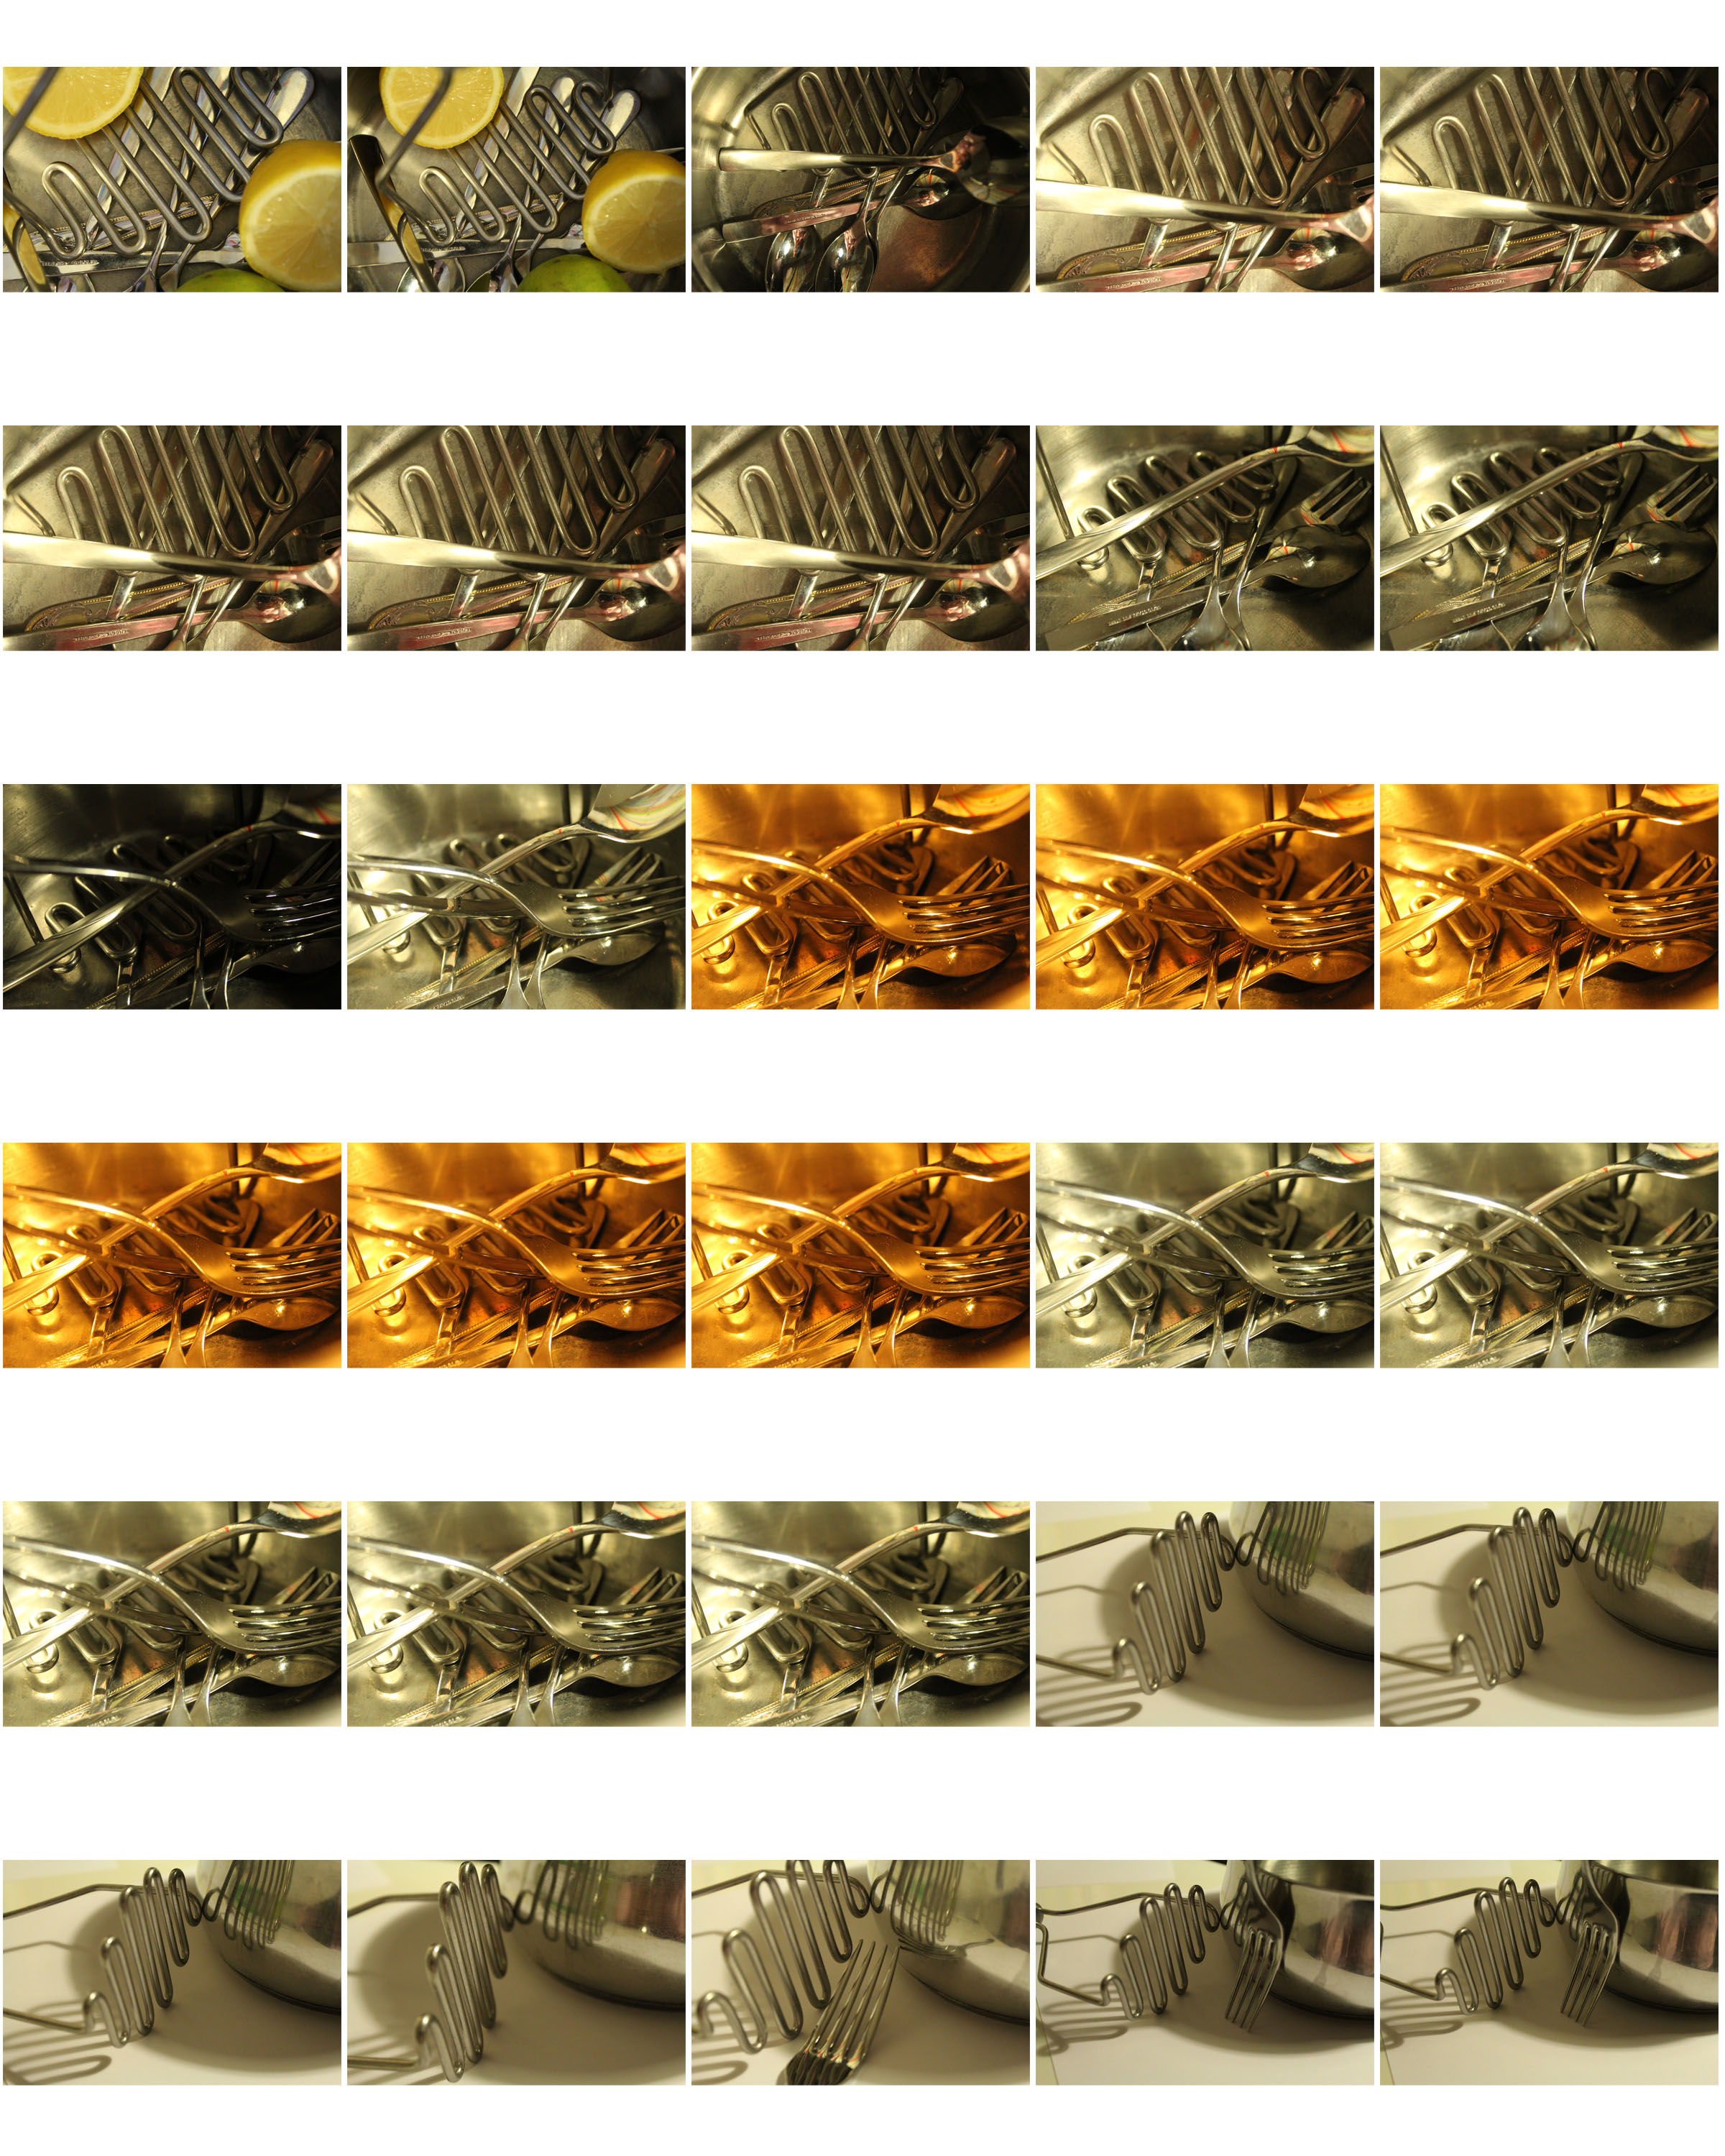
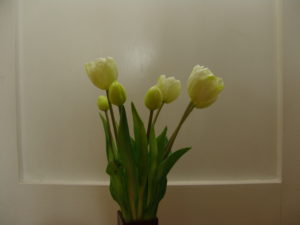
   Best Photos from the shoot/ Best Edits

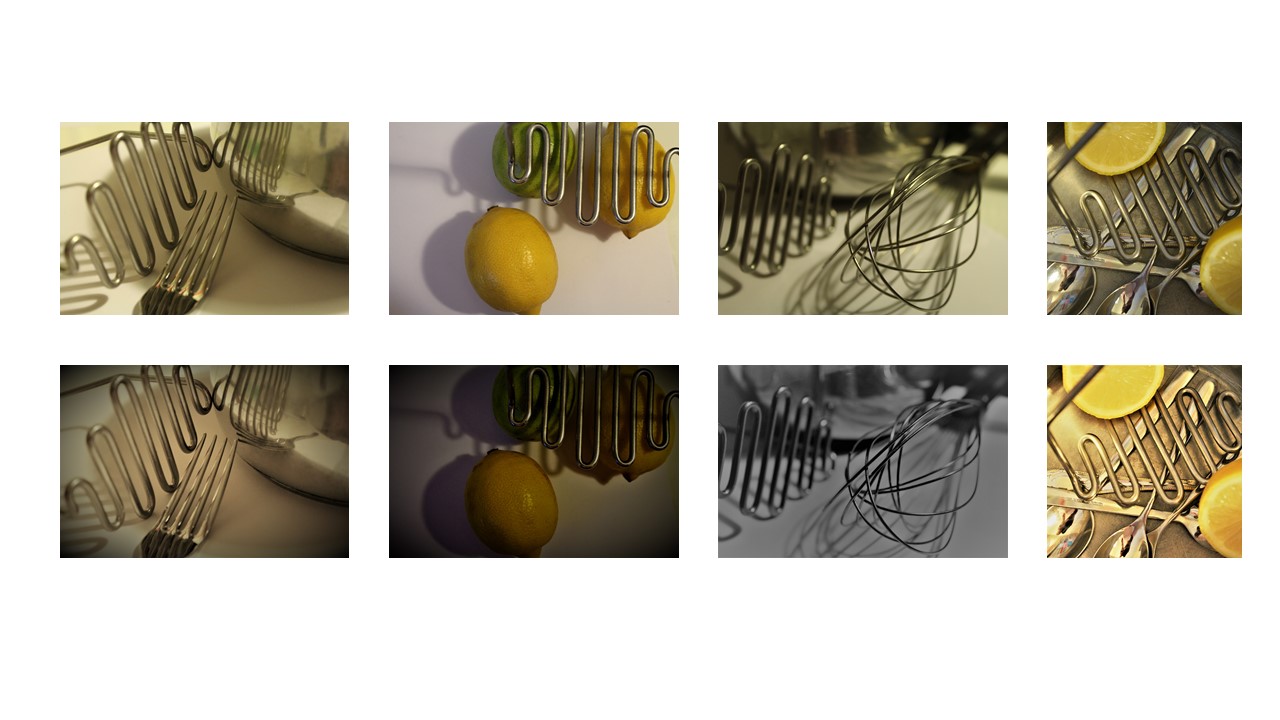
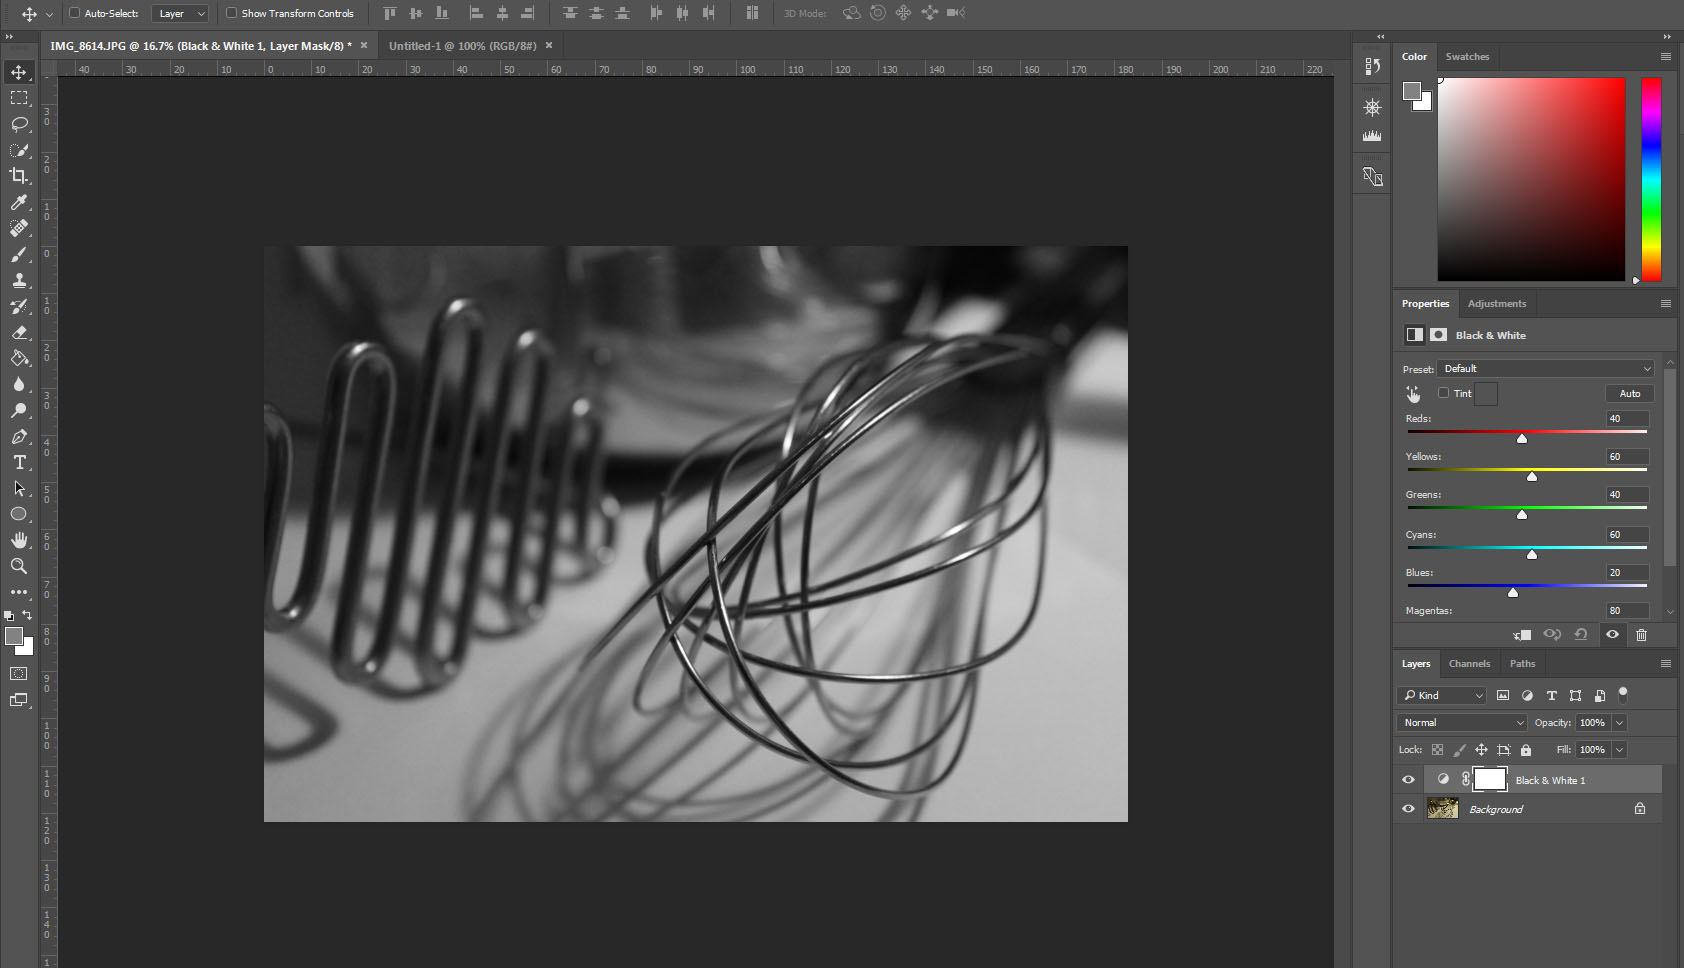
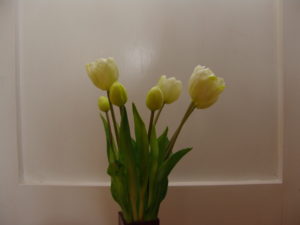
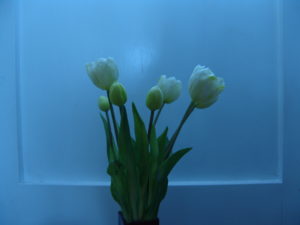
How I edited my images

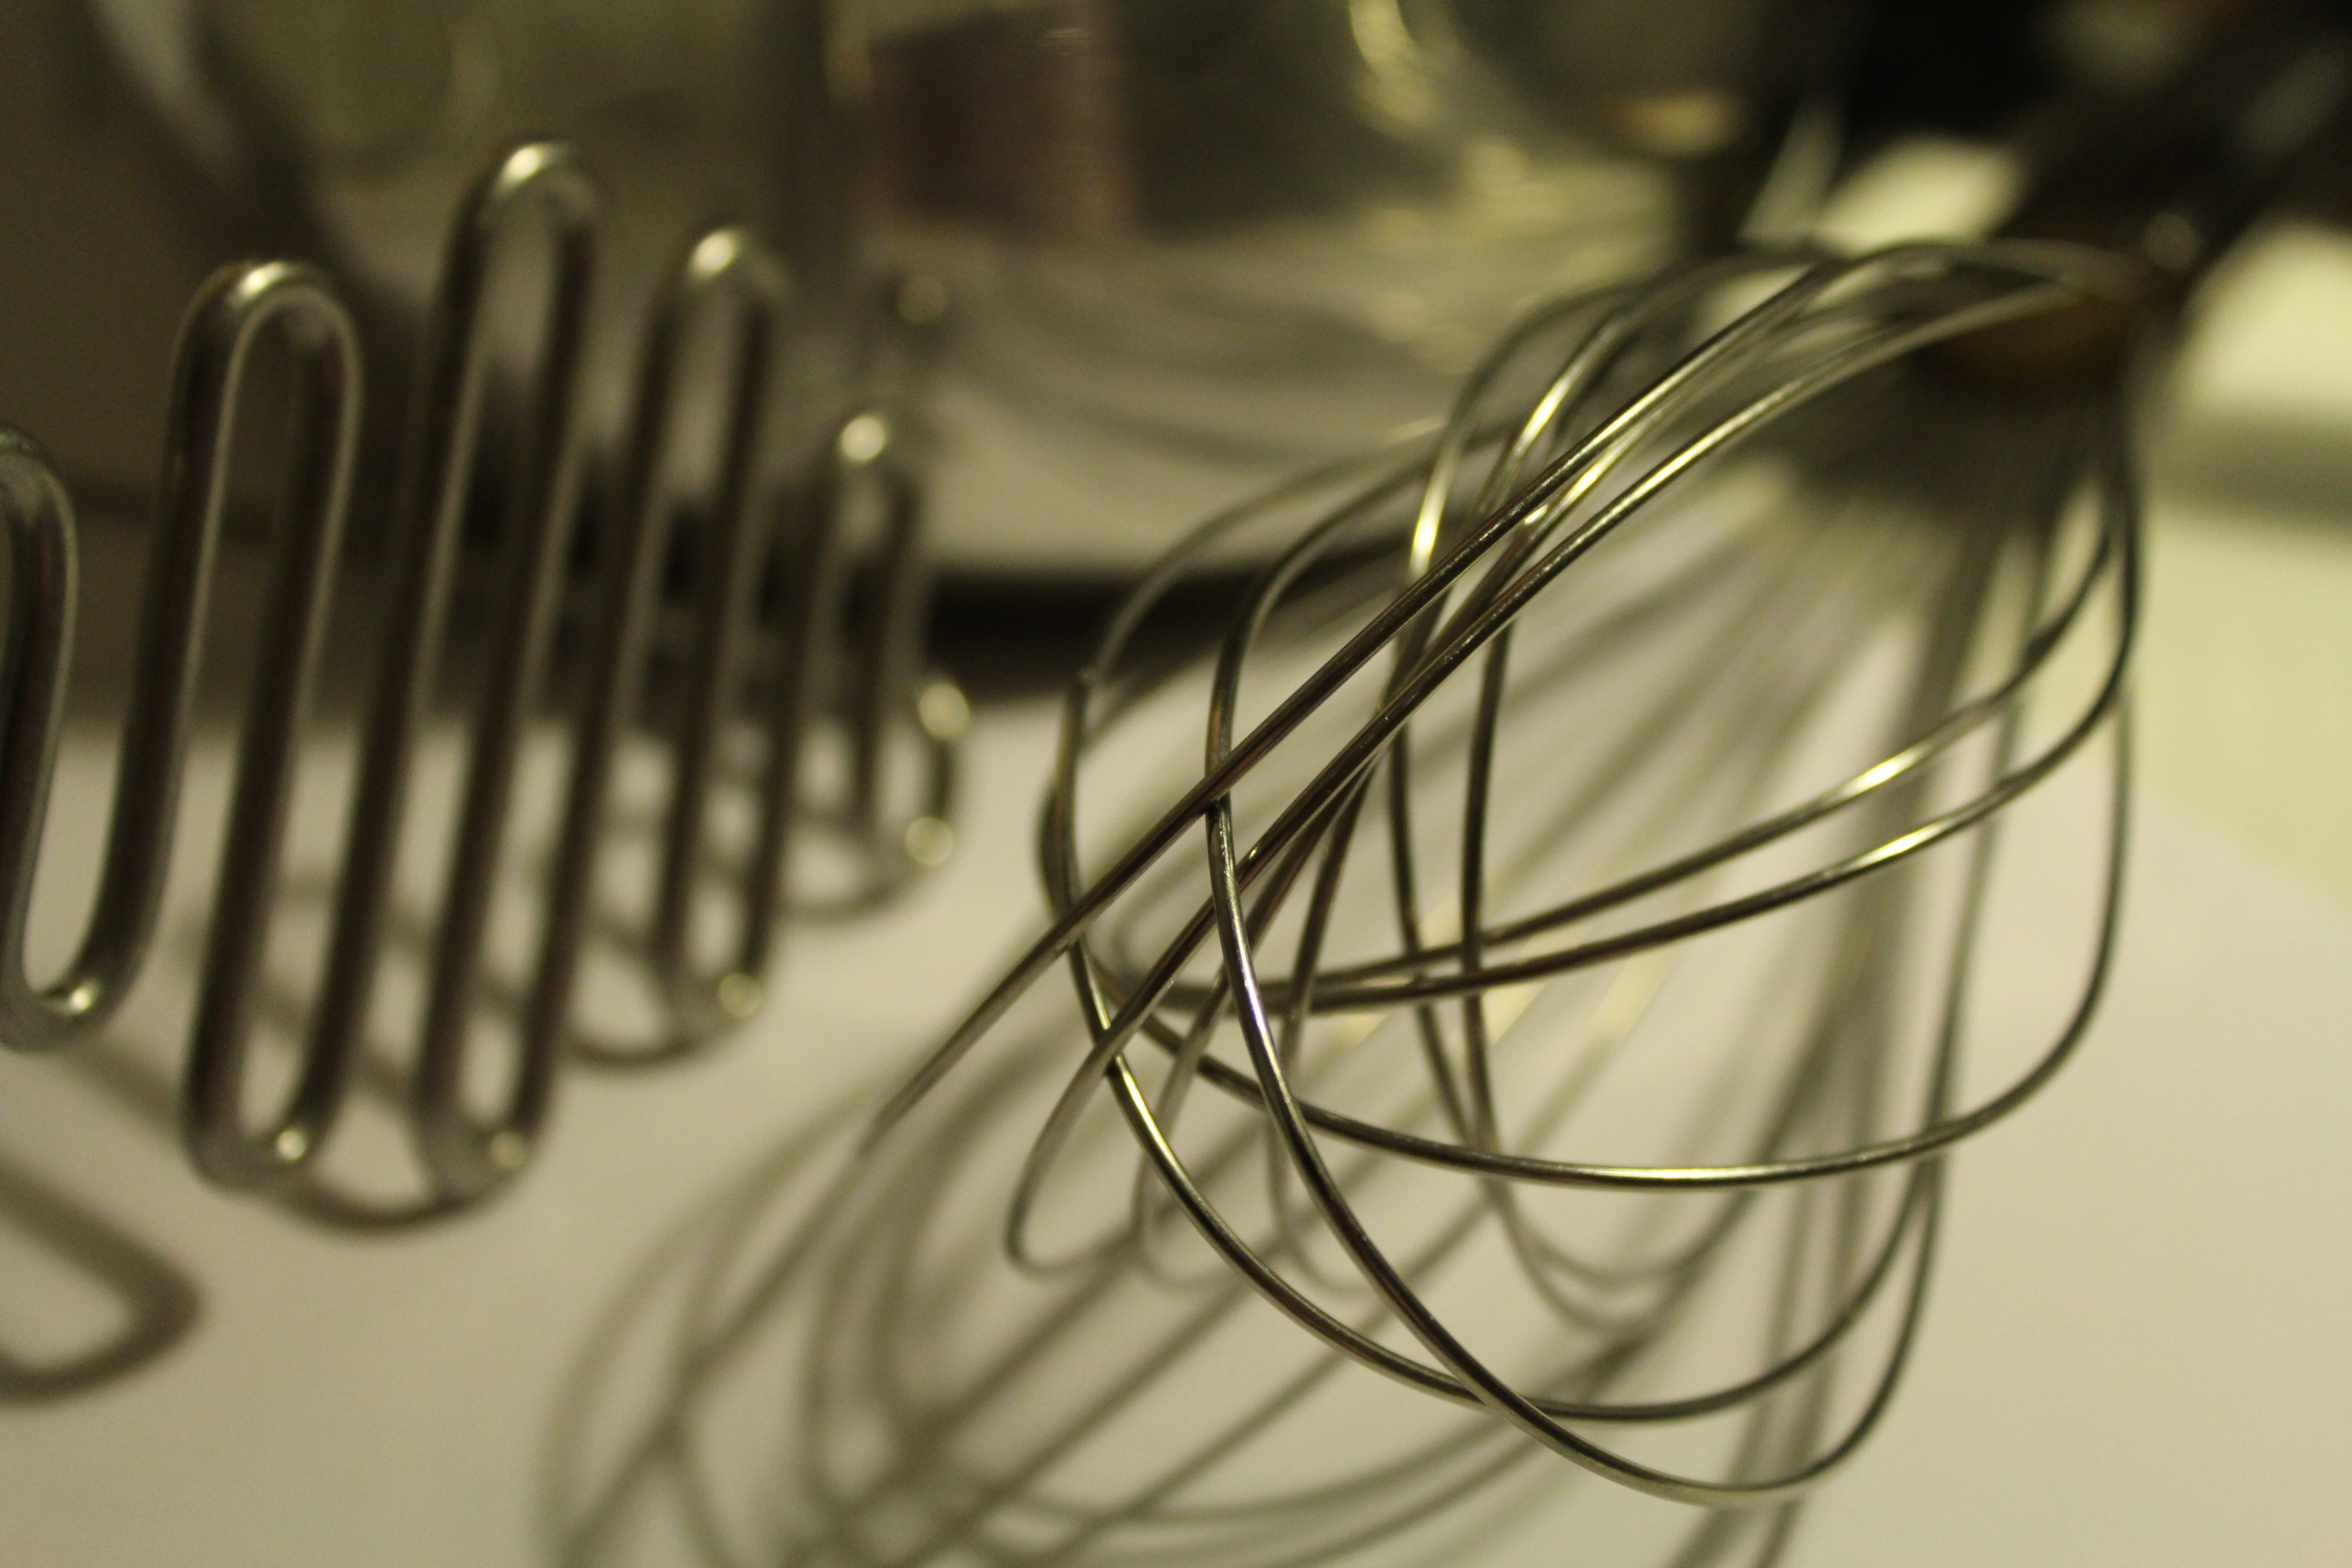
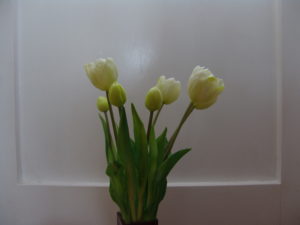
This was my original image.

ISO / Lighting

What is ISO?

Generally, the ISO is the indication of how sensitive a camera is to the light around it.

It’s measured in numbers that are: 100, 200, 400.800 and 1600  (100 being the darkest outcome with the lowest amount of noise and 1600 being the brightest with larger amounts of noise/grain).

The lower the ISO number, the lower the sensitivity of the digital sensor to light (which means that more light needs to hit the digital sensor to get proper exposure). So, ISO 400 is twice as sensitive to light as ISO 200.

There are situations where the amount of lighting you are dealt with is not quite enough for your image. This is an indicator that you need to increase your ISO setting. Typical examples include:

  1. Low light conditions (indoors). In this case, the amount of natural light is not enough for your camera to get the correct exposure even with using the longest shutter speed and widest aperture without using a flash.
  2. Your subject is too far away for your camera’s flash to have any effect. To properly expose your photograph, you need to increase your ISO.
  3. Low light conditions (night). If you want to take photos at night, you will need to increase your ISO.

Experimenting With Different ISO:

White Balance

What is WB?

The White Balance (WB) determines how accurately the colors in your photos come out, specifically, it determines how ‘hot’ or ‘cold’ an image feels.

When do we need to adjust white balance?

Whenever you encounter a scenario where you wish to bring out certain colours or experiment with different hues and tones. Sometimes this process is automatic but not always satisfactory or pleasing to the eye.

Different types of White Balance:

Daylight

The camera adds warm tones to the sunlit subjects, it’s best for outdoor shots in normal sunlight.

Cloudy

As the name suggests, it is best used on a cloudy day, as you usually get more cool tones in the photos. This mode helps you achieve warmer tones in your photos.

Tungsten

This mode is used for light under a little bulb like tungsten, and it is often used while shooting indoors. The tungsten setting of the digital camera cools down the color temperature in photos.

Fluorescent

This mode is used for getting brighter and warmer shots while compensating for the cool shade of fluorescent light.

Shade

A shaded location generally produces cooler or bluer pictures, hence you need to warm up the surroundings while shooting shaded objects.


Auto

The Auto setting helps in adjusting the white balance automatically according to the different lighting conditions, but you can try other modes to get better results.


White Balance contact sheets: