



Daily Archives: September 11, 2017
Filters
Creating a Contact Sheet via Adobe Bridge
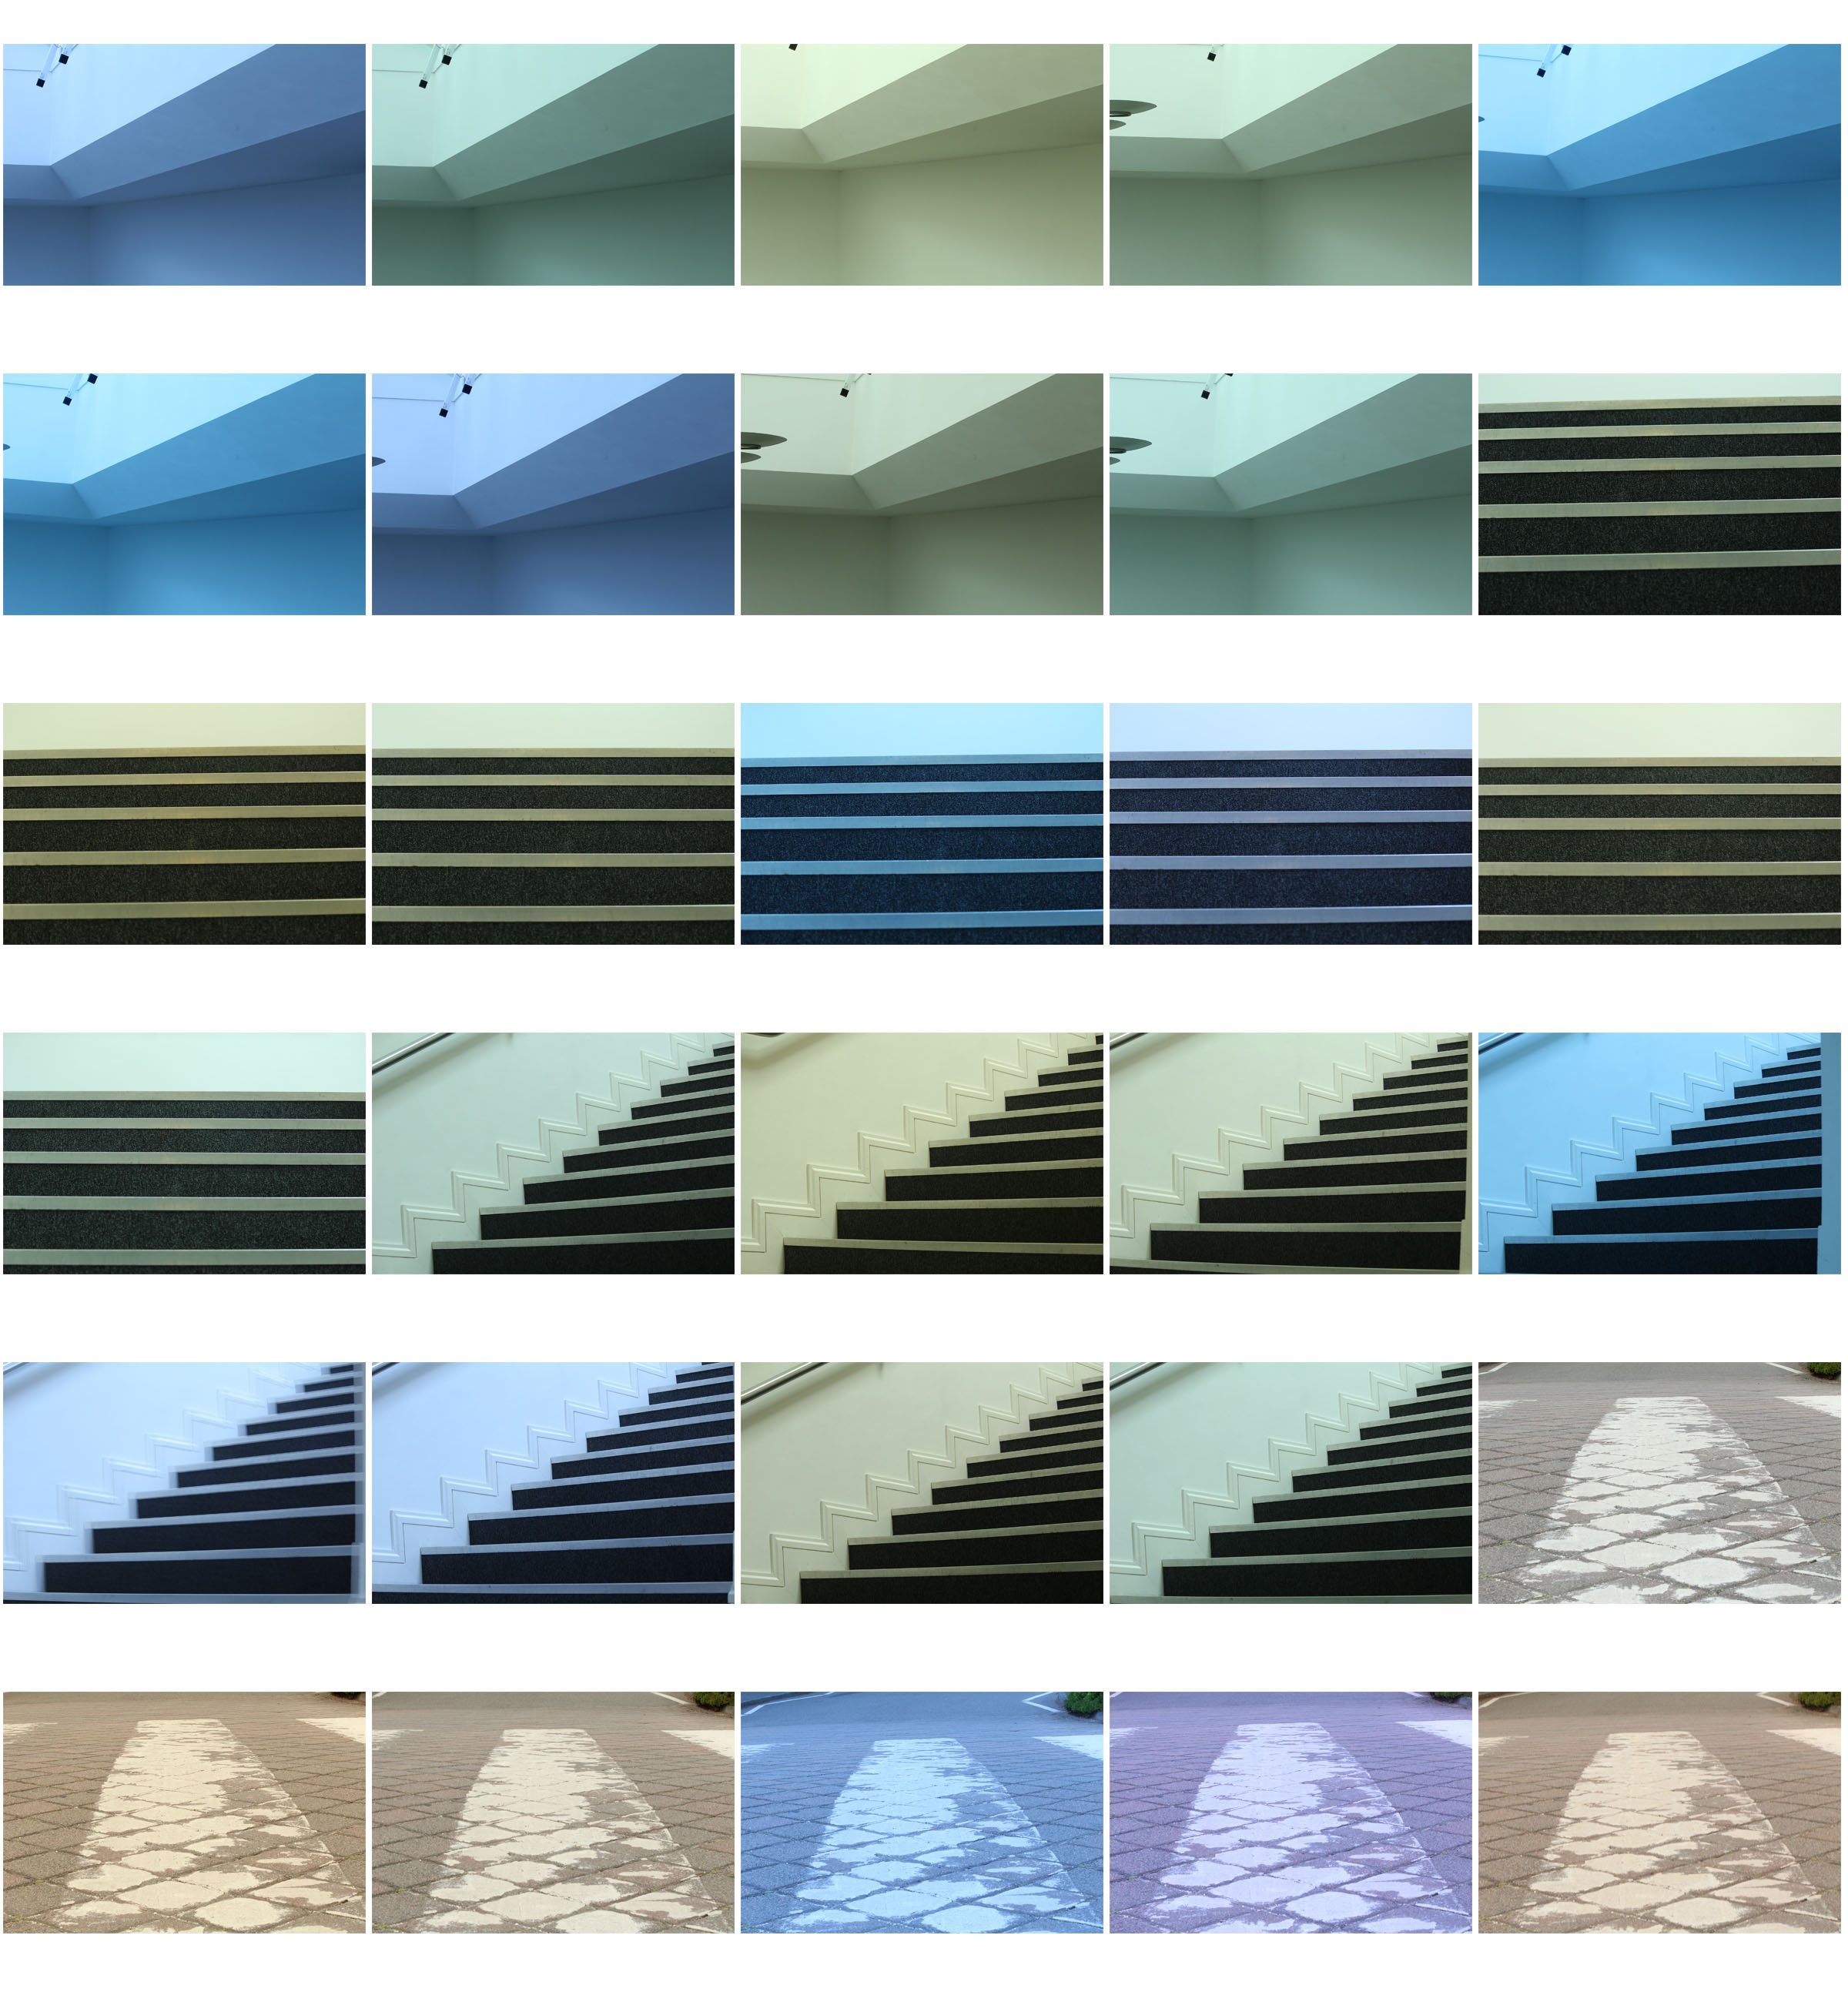
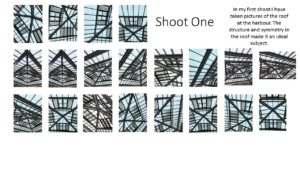
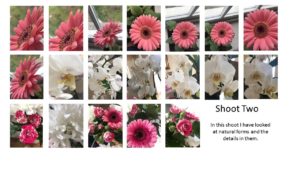
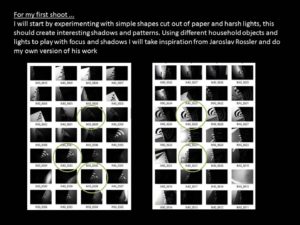
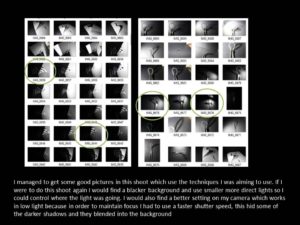
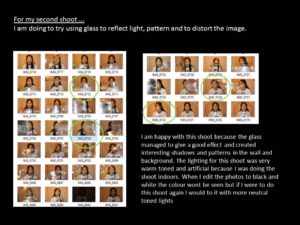
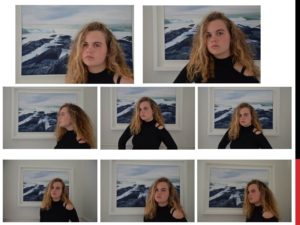
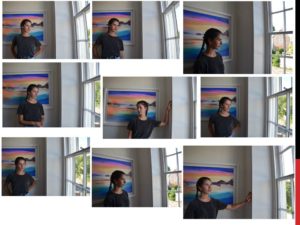
A contact sheets allows you to see all the photos from a shoot displayed together at once. Its an arrangement of multiple, small, same size images on a single page. That allows you to see all images at the same time making it easy to identify the best photographs taken. Creating a contact sheet on a software like Adobe Bridge is easy as its a simple matter of selecting the images that you want to include and then transferring them to Photoshop. Then selecting a table with the correct number of rows and columns, depending on how many photos you have. The best advantage of a contact sheet is that it gives your clients an opportunity to look at the photos before they have ordered them.
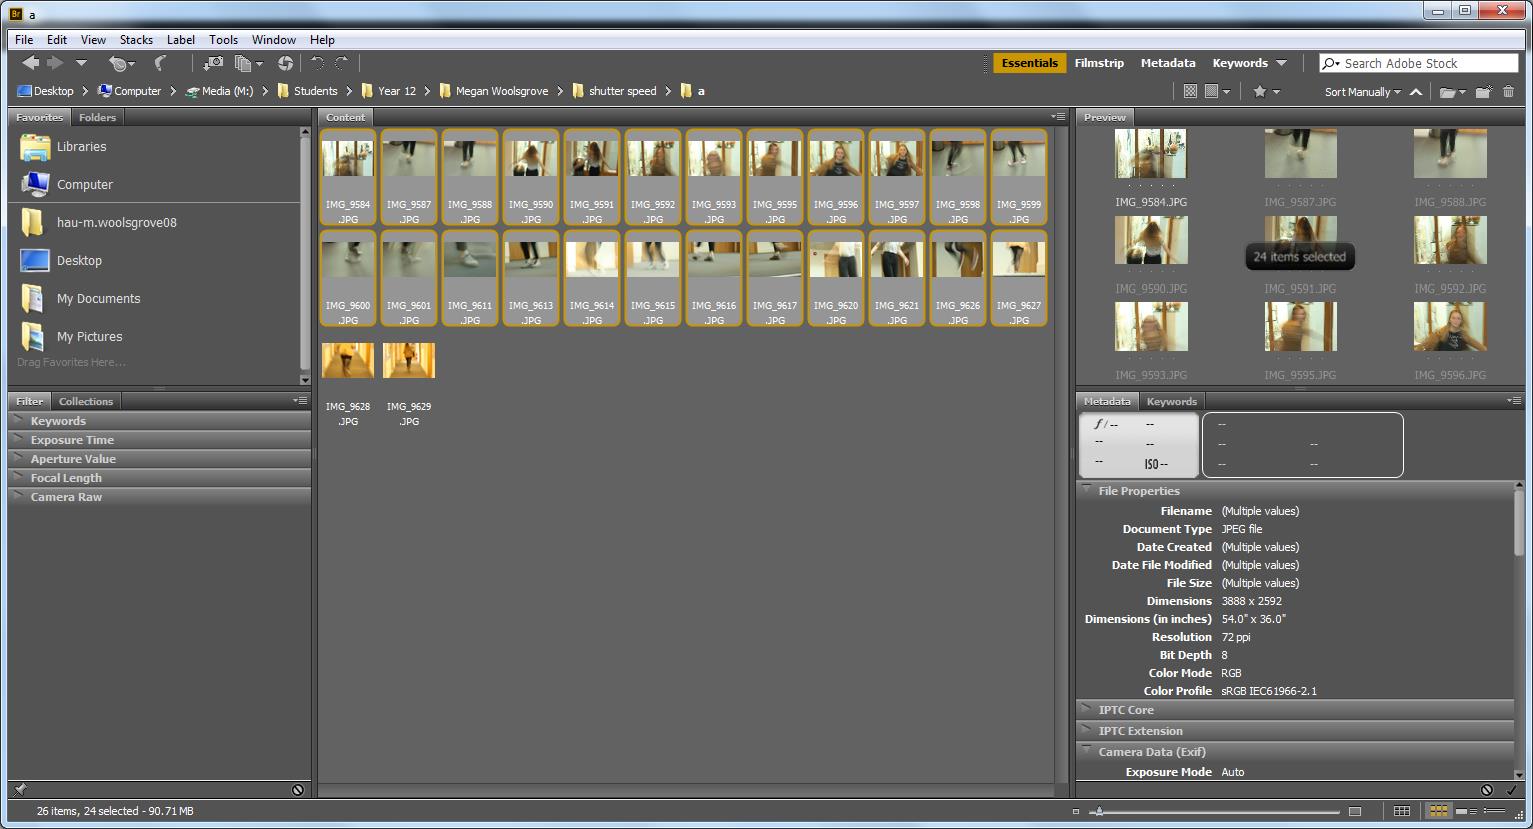
1.Select the photos you want to use in Adobe Bridge- Go to tools- Photoshop- Contact Sheet II
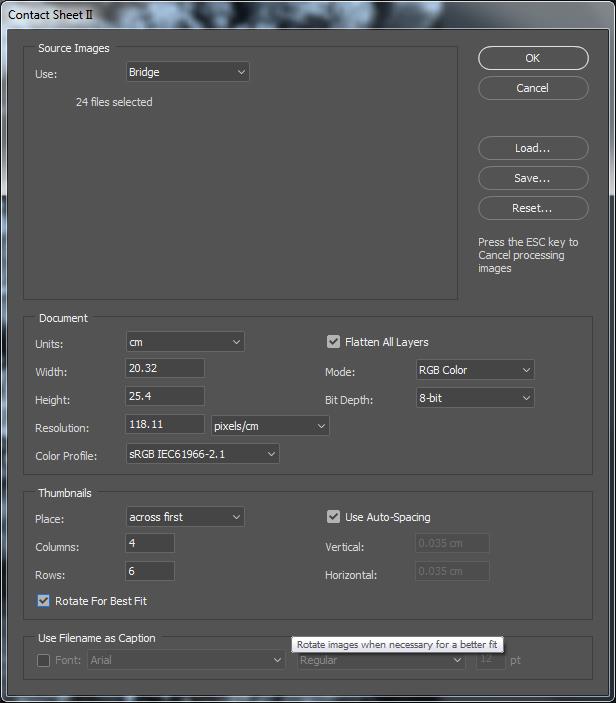
2. Select the number of columns and row you want
 Your contact sheet is created in photoshop.
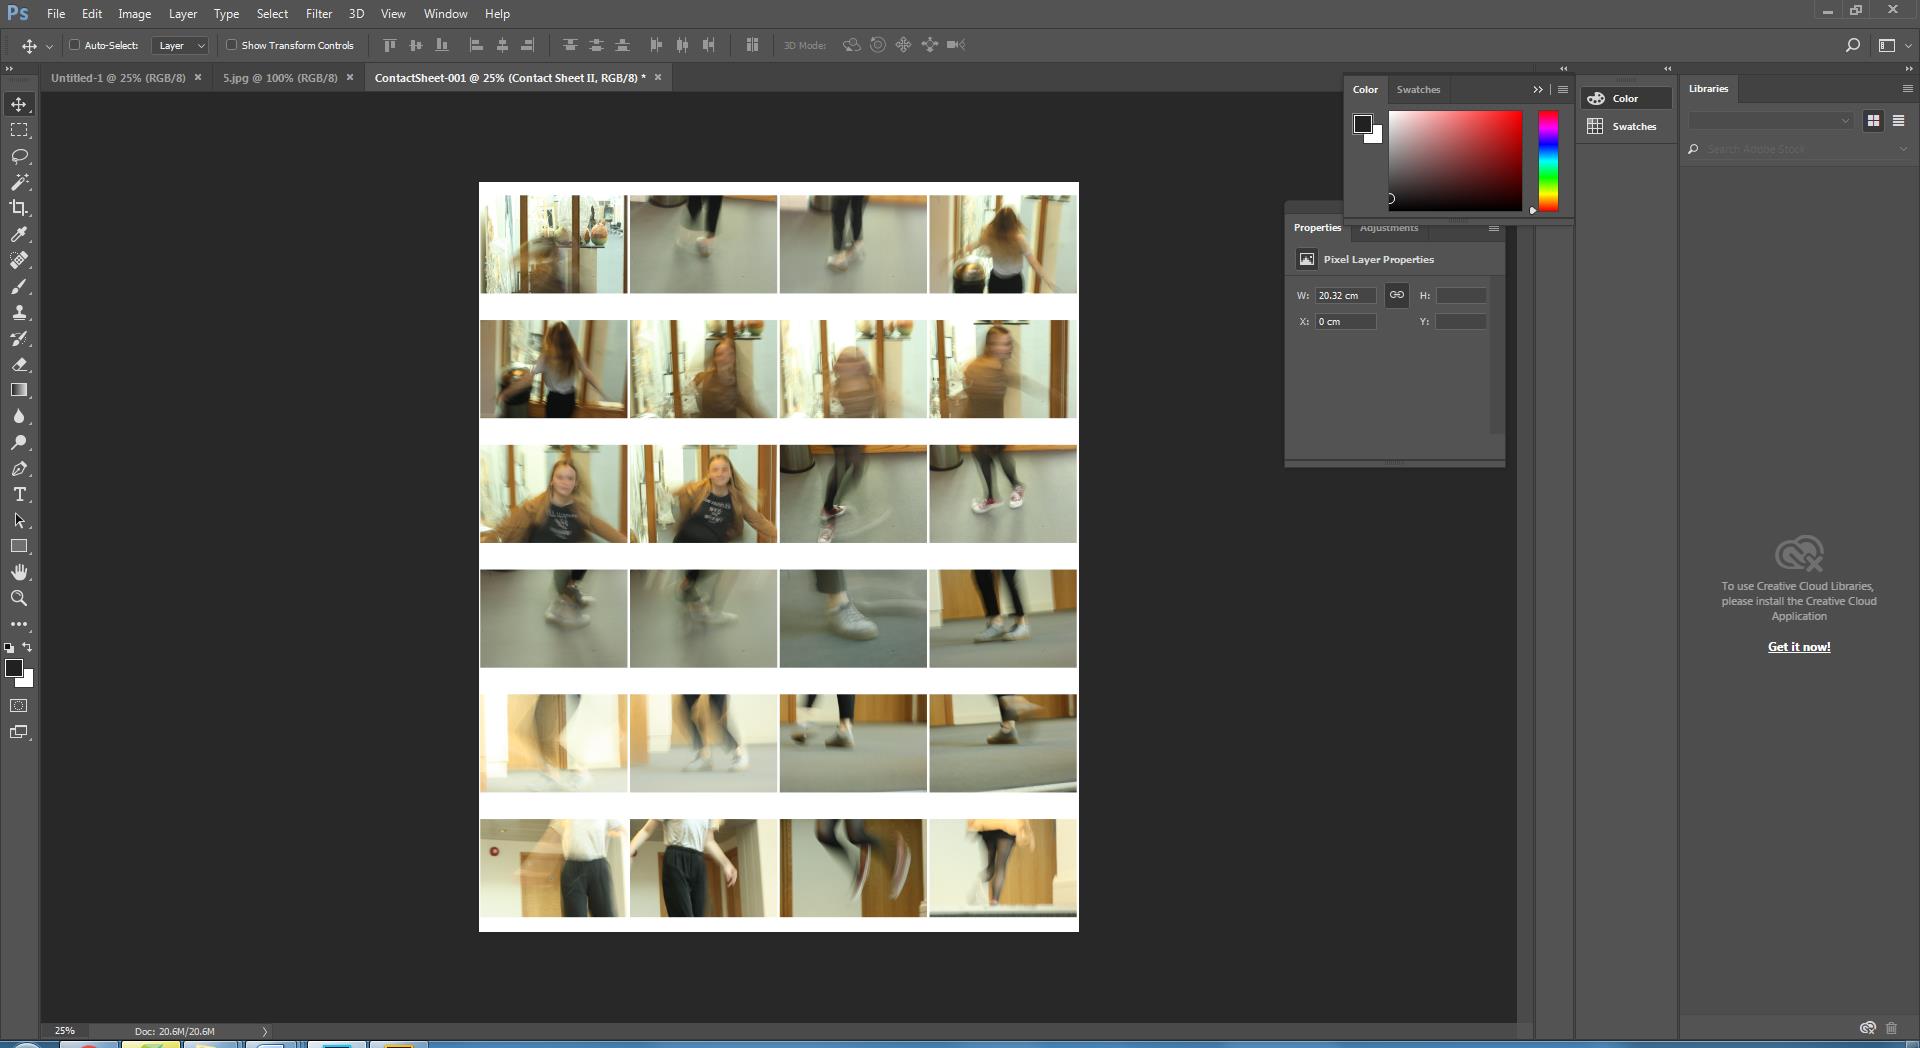
Creating A Contact Sheet Via Adobe Bridge
A contact sheet is a page in which a photographer presents all of their photos from a specific shoot. All photographs that are taken are included even if they are out of focused or over exposed. This process helps photographers narrow down their photos and find their best shots that they will develop further. There are a few ways to make contact sheets such as using a program called bridge. Firstly select all the images out of your file that you took on the shoot, then change the layout for example number of columns and rows. at this point you can make other adjustments such as removing text and changing the background colour. You can then save it as a JPEG back into your file and make notes and sketches on it to show improvements that could be made and pictures that need removing or editing.
Creating A Contact Sheet Via Adobe Bridge
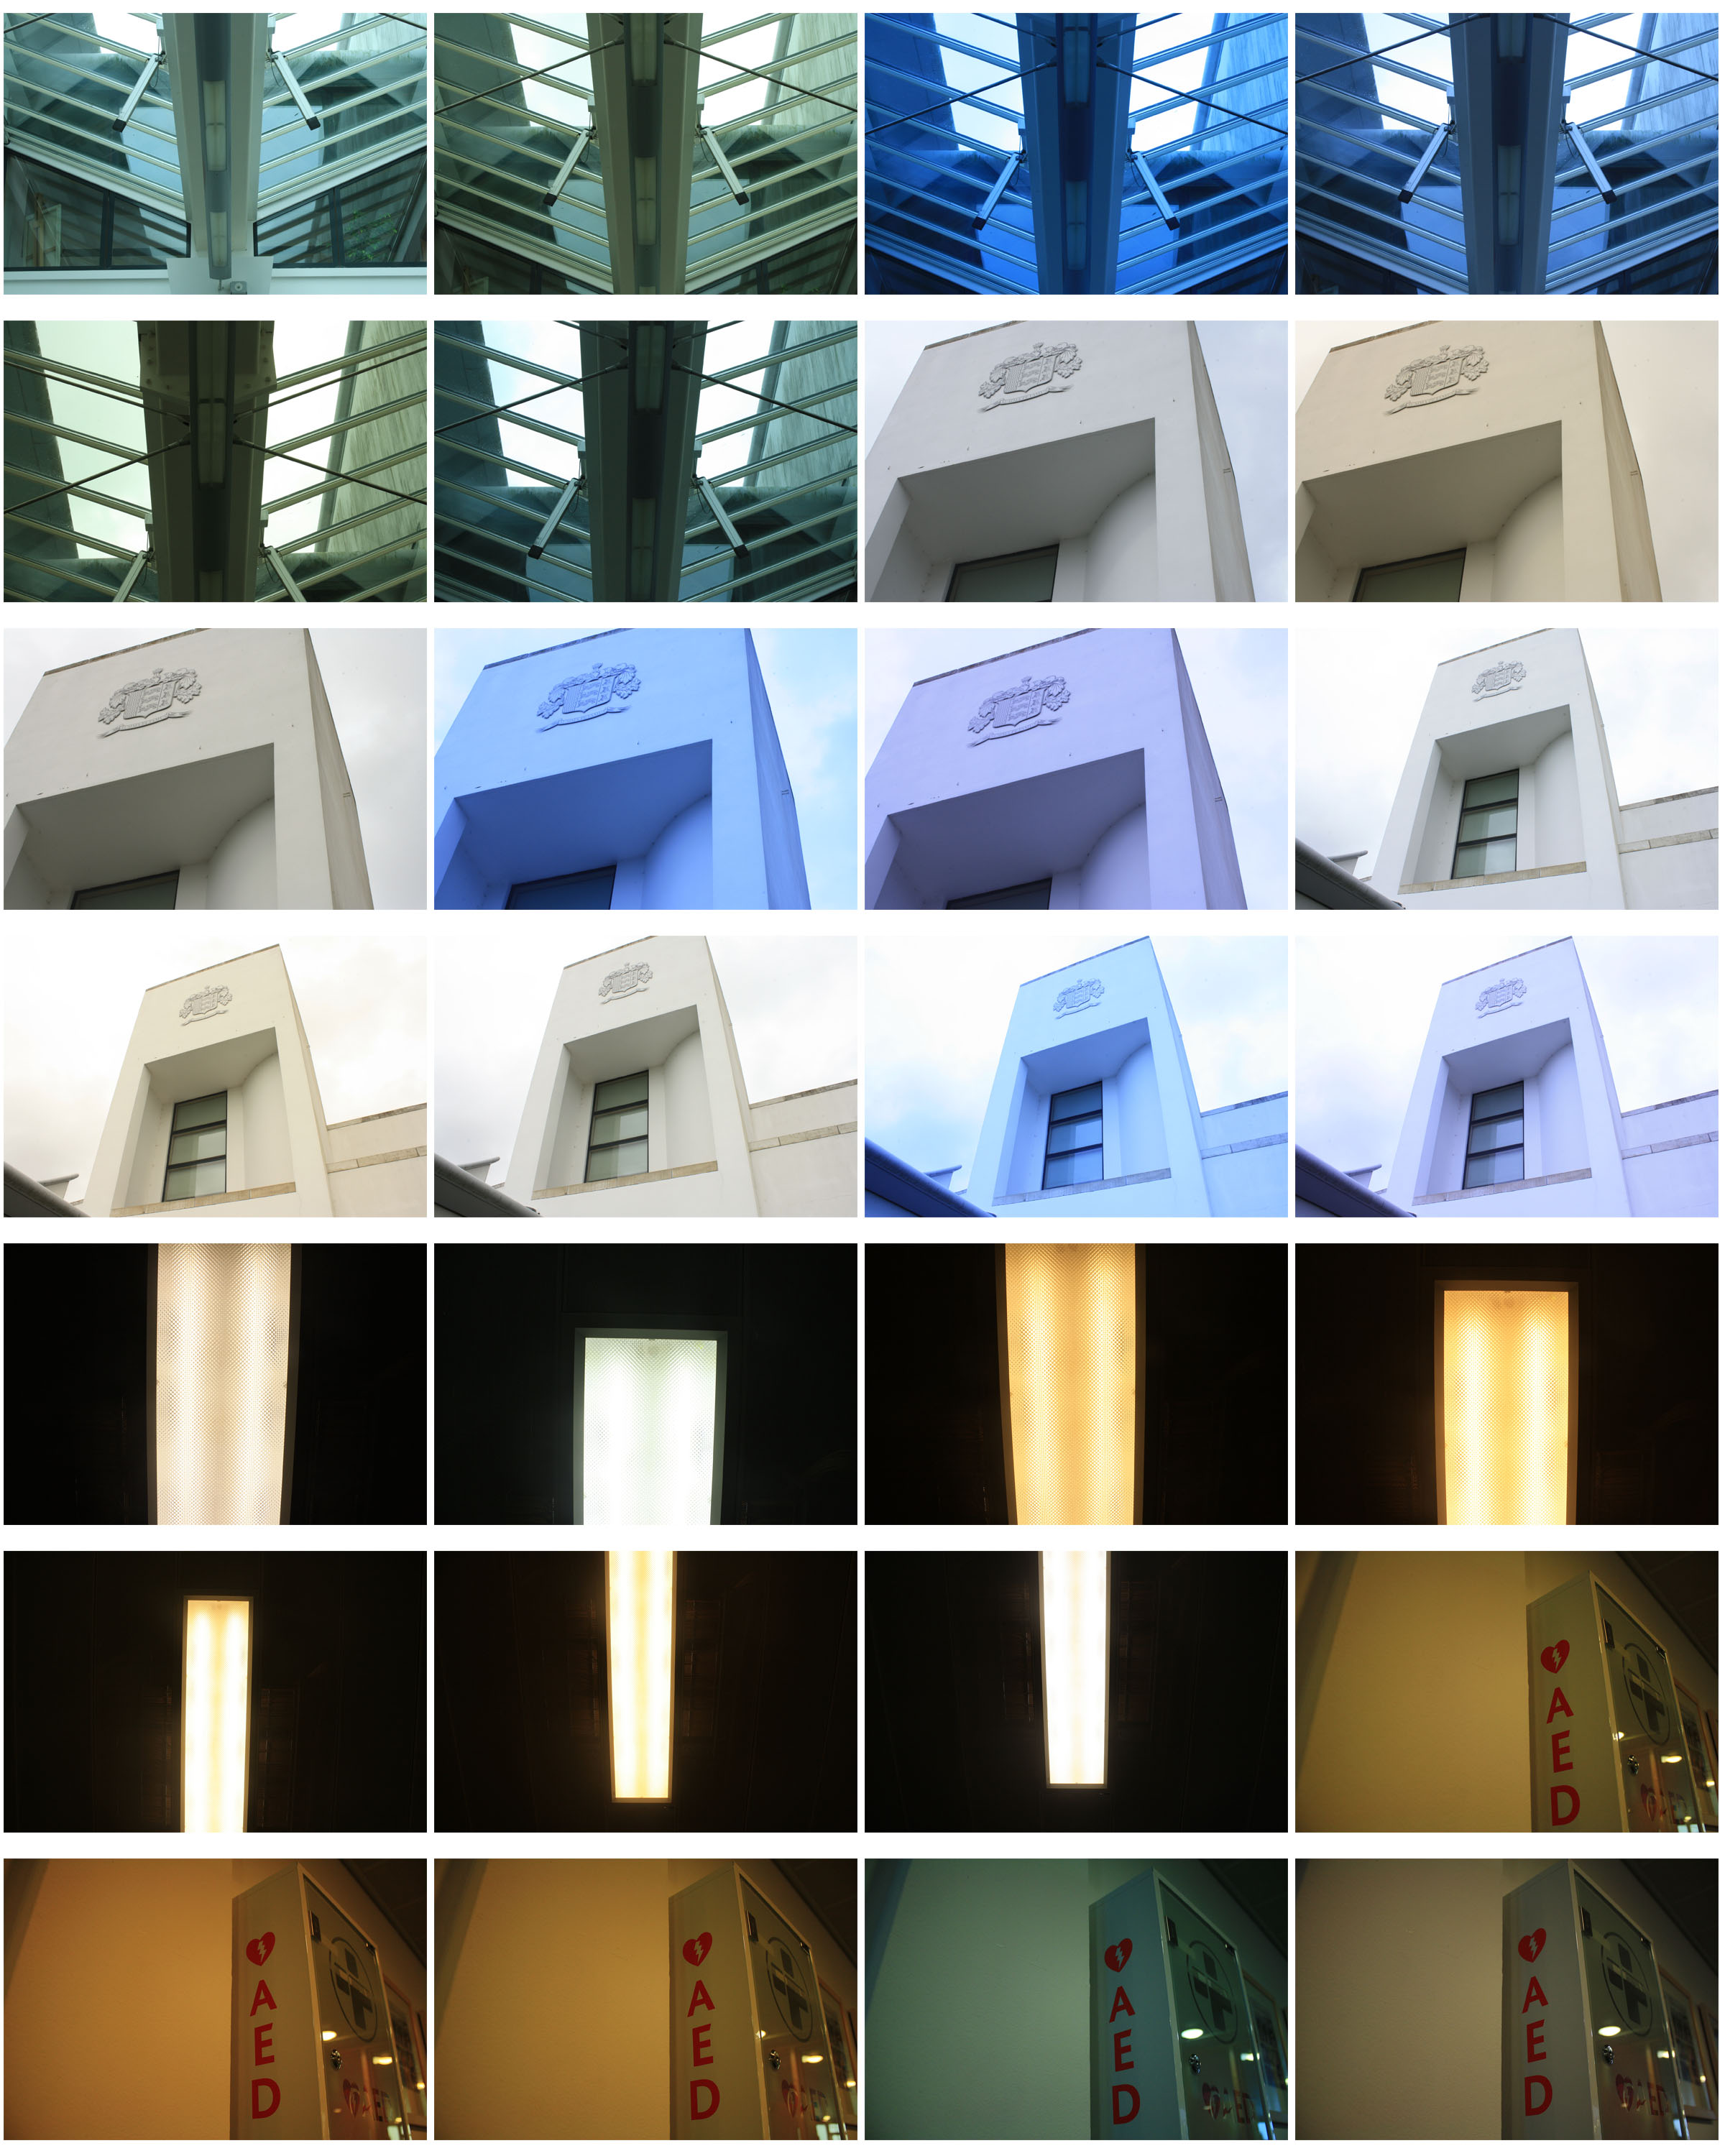
What is a Contact Sheet?
A contact sheet contains thumbnail images of all the photos in a shoot. This makes it very easy for both the photographer and his/her viewers to look at the photos that you have taken. This is useful for the photographer to select the images that they prefer in a shoot. Contact Sheets can be included in a photographer’s project to make it more professional.
How to make a Contact Sheet?
- Open Adobe Bridge and choose the images that you want to make a contact sheet with
- Go to Tools, Photoshop and Contact Sheet II
- Unselect Font and Choose the number of columns and rows that you want your photos to be arranged in
- Click ‘OK’ and save your contact sheet as a JPEG
Induction Task Looking at Formal Elements
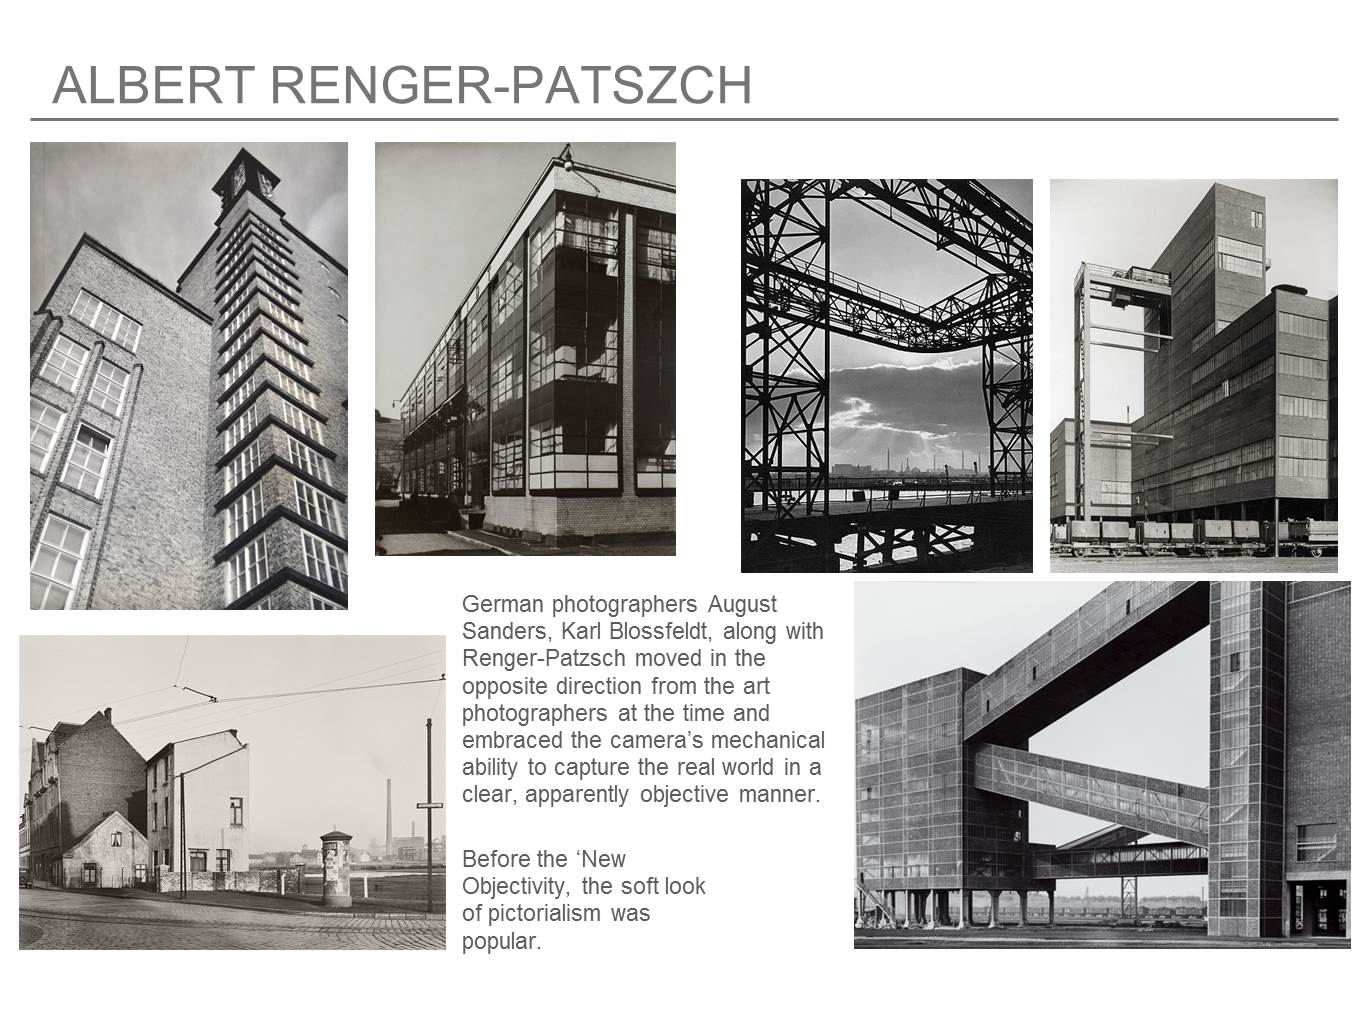


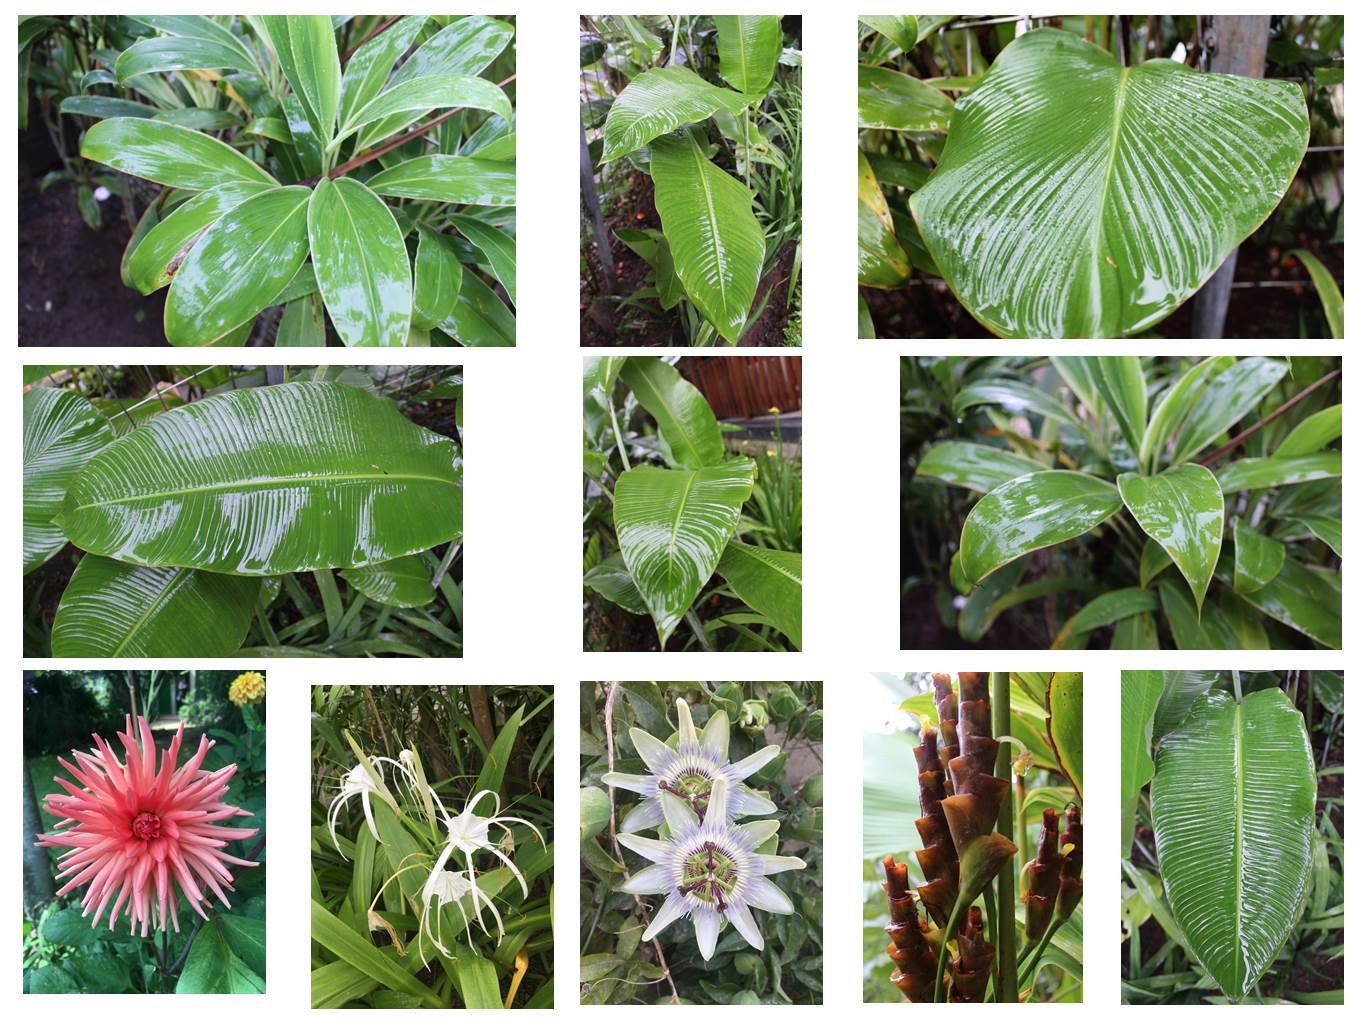
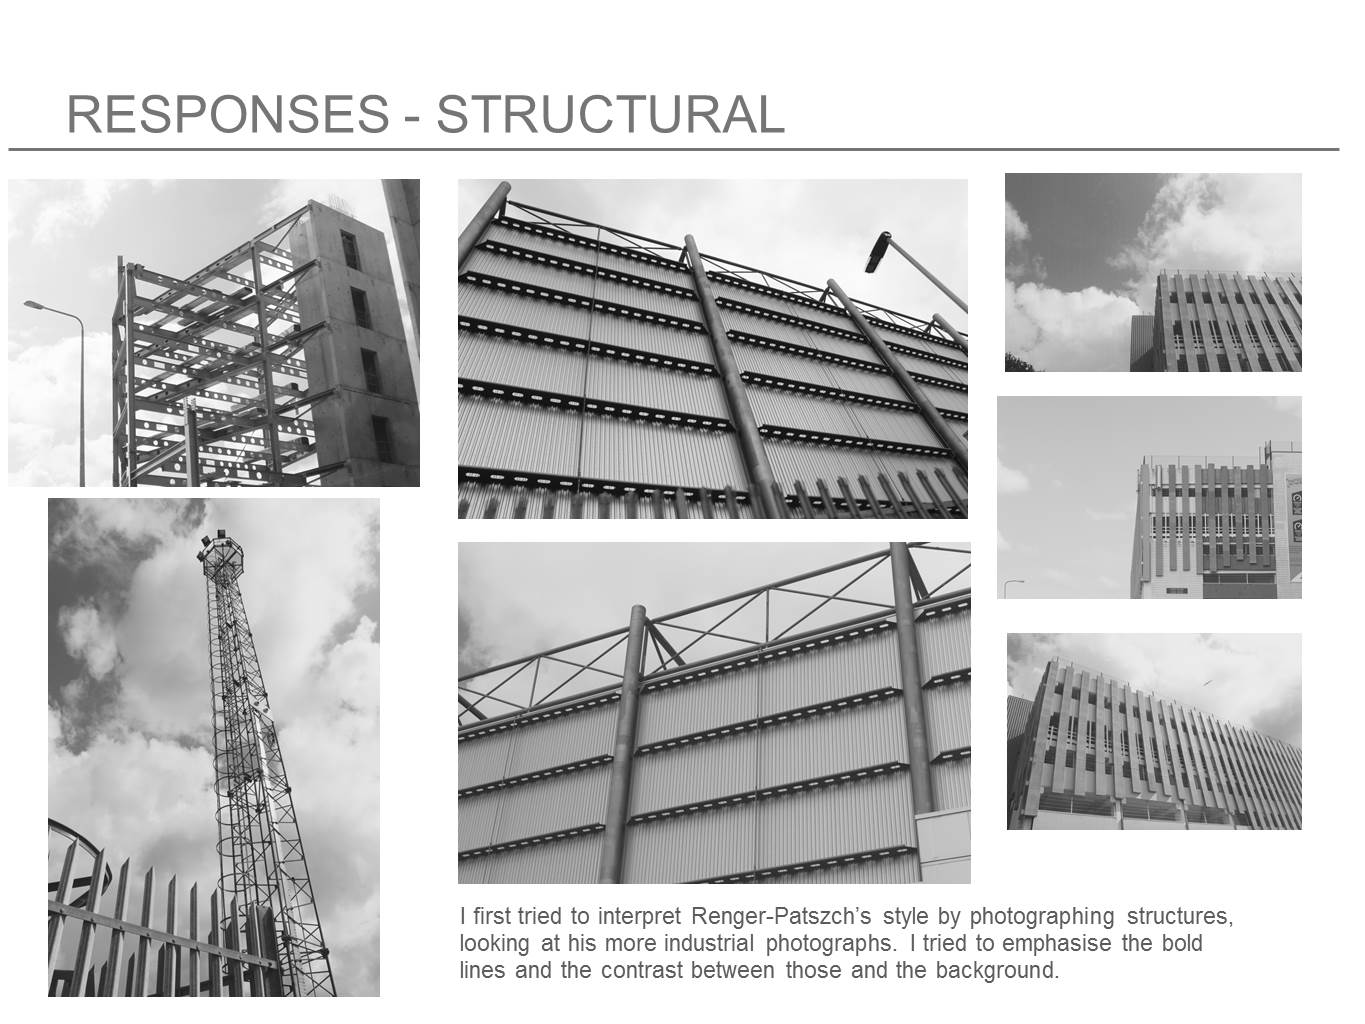
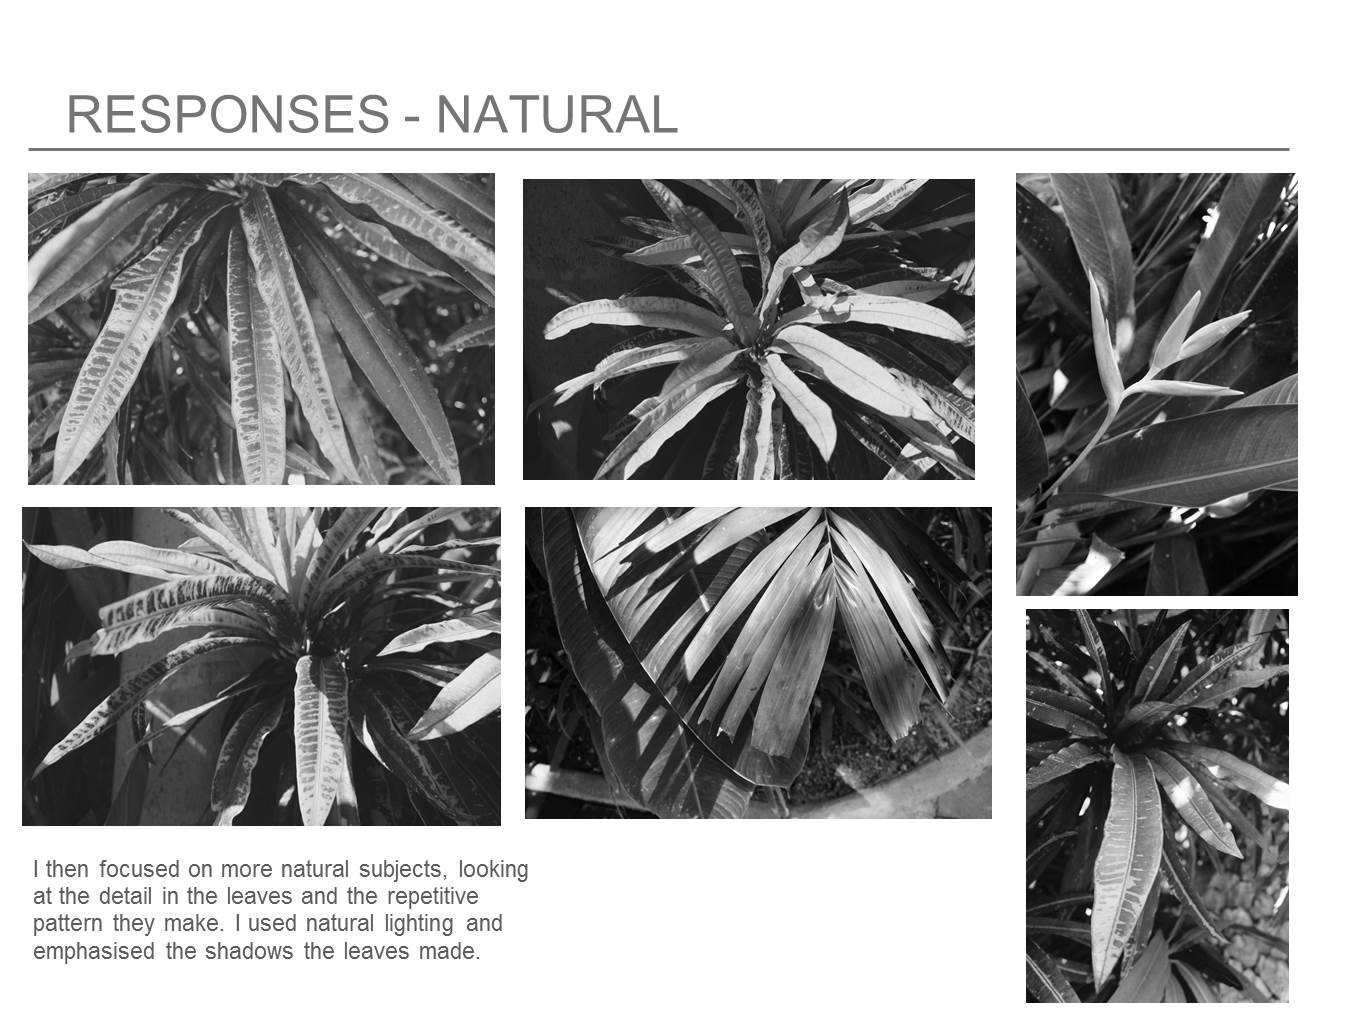
Induction Task looking at Formal Elements

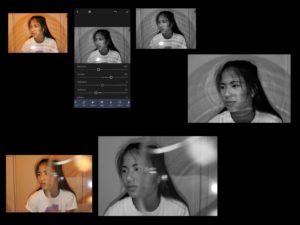
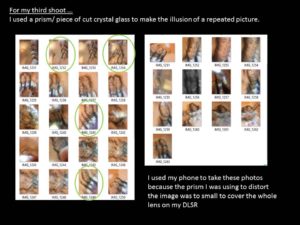
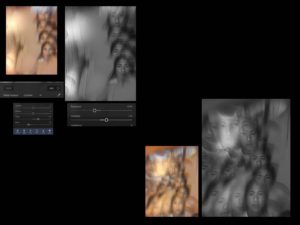
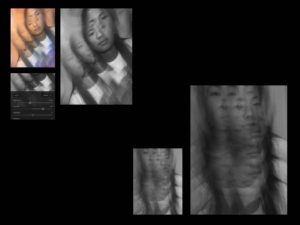
Photography Pre-AS Task – Looking At Formal Elements






















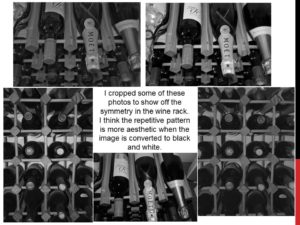

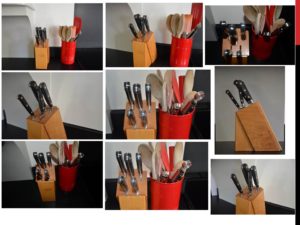
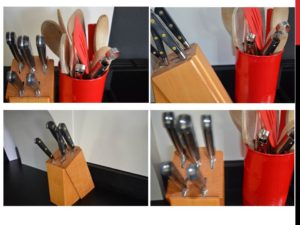


Formal Elements


