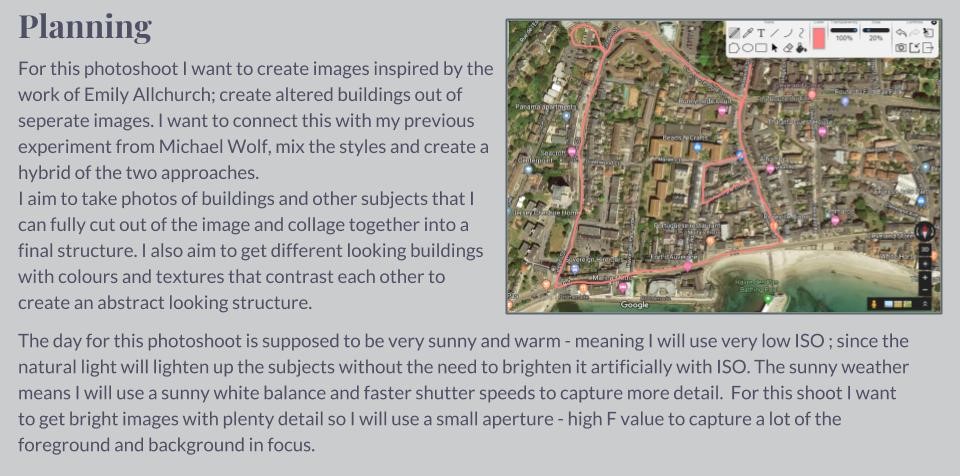
Photoshoot Plan + Contact Sheets


Edits:
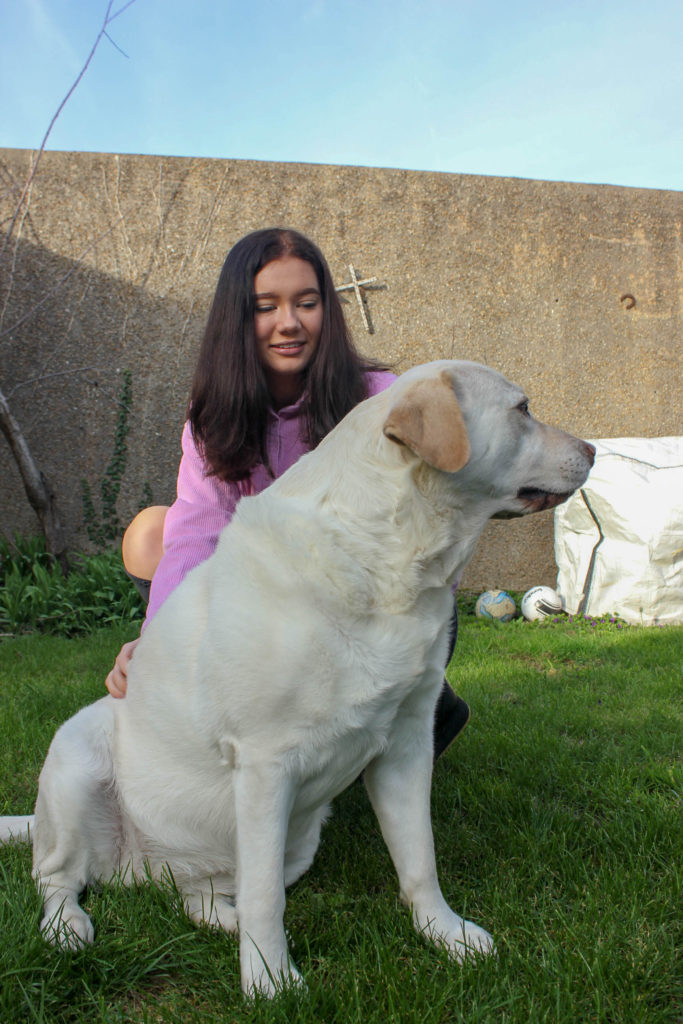
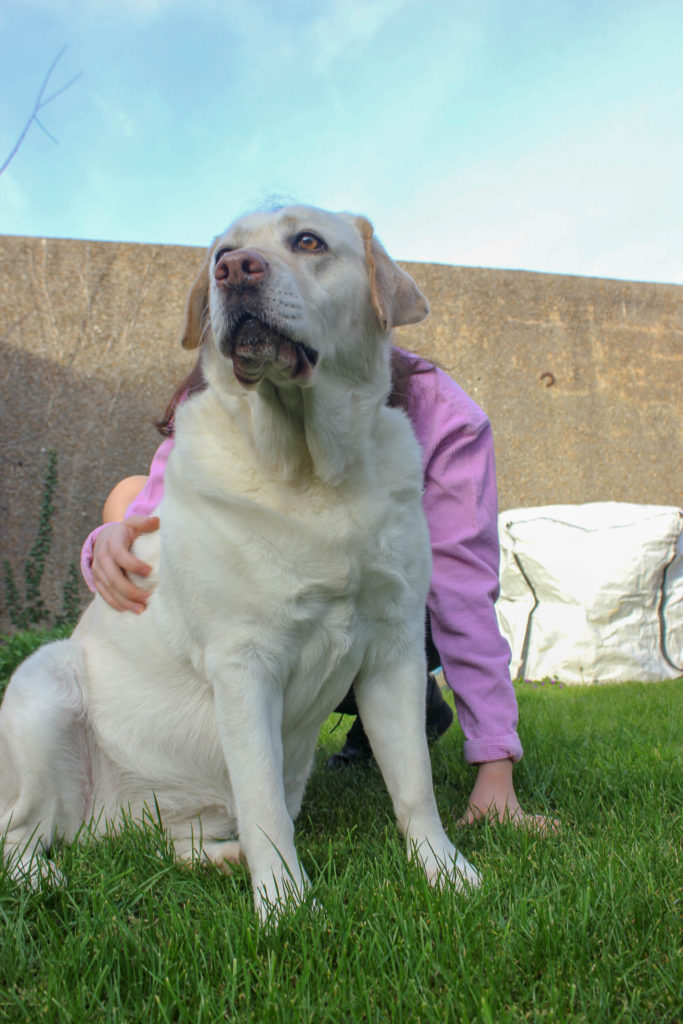





Edits:
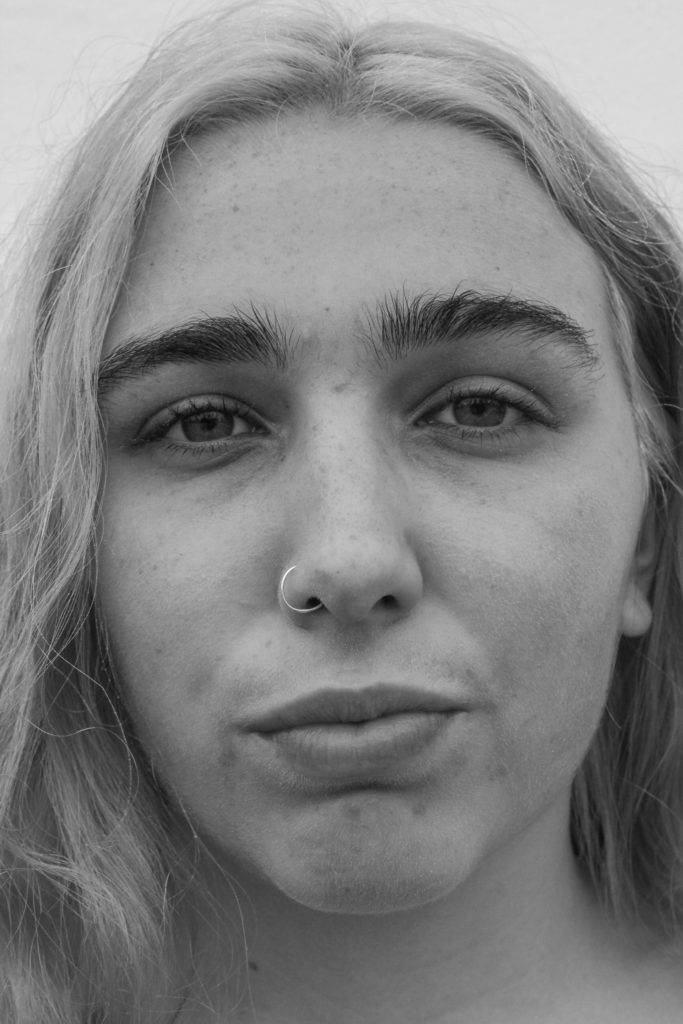

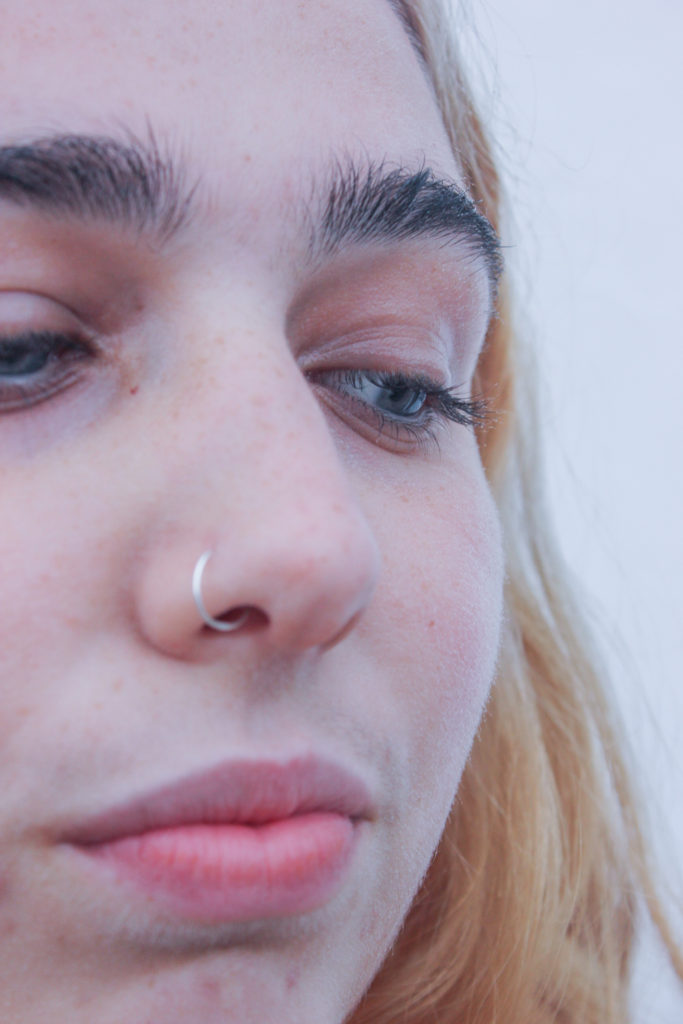
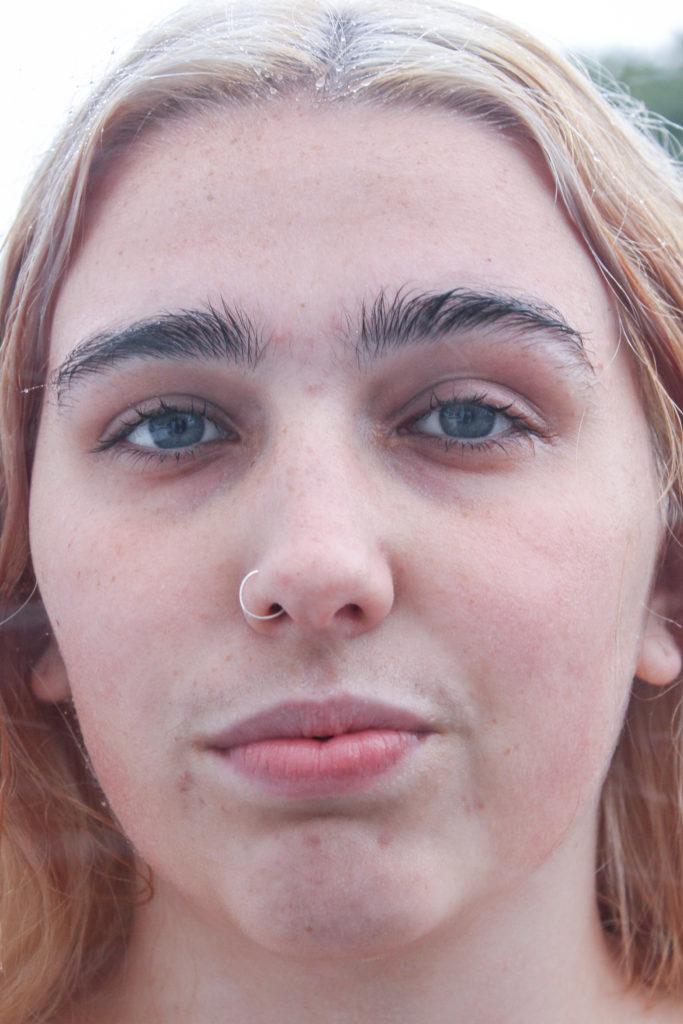
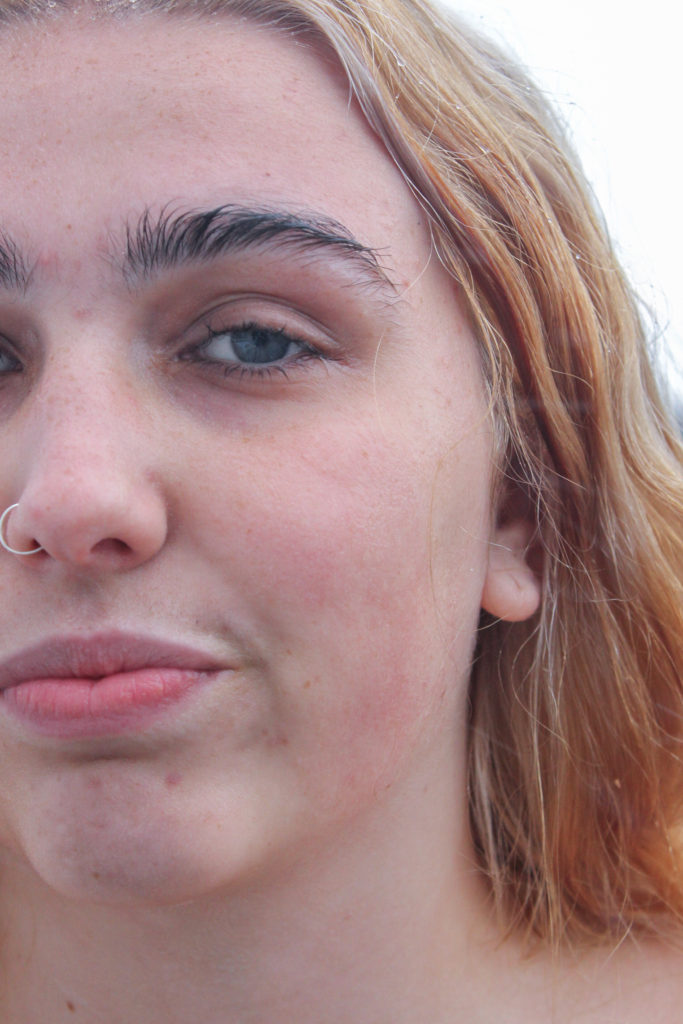
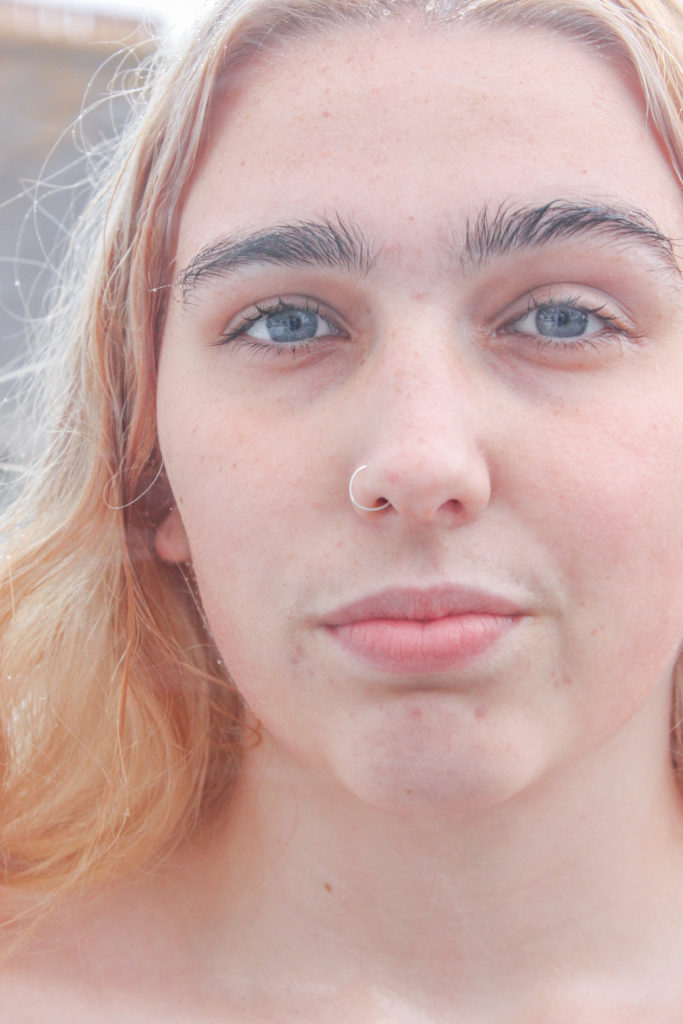
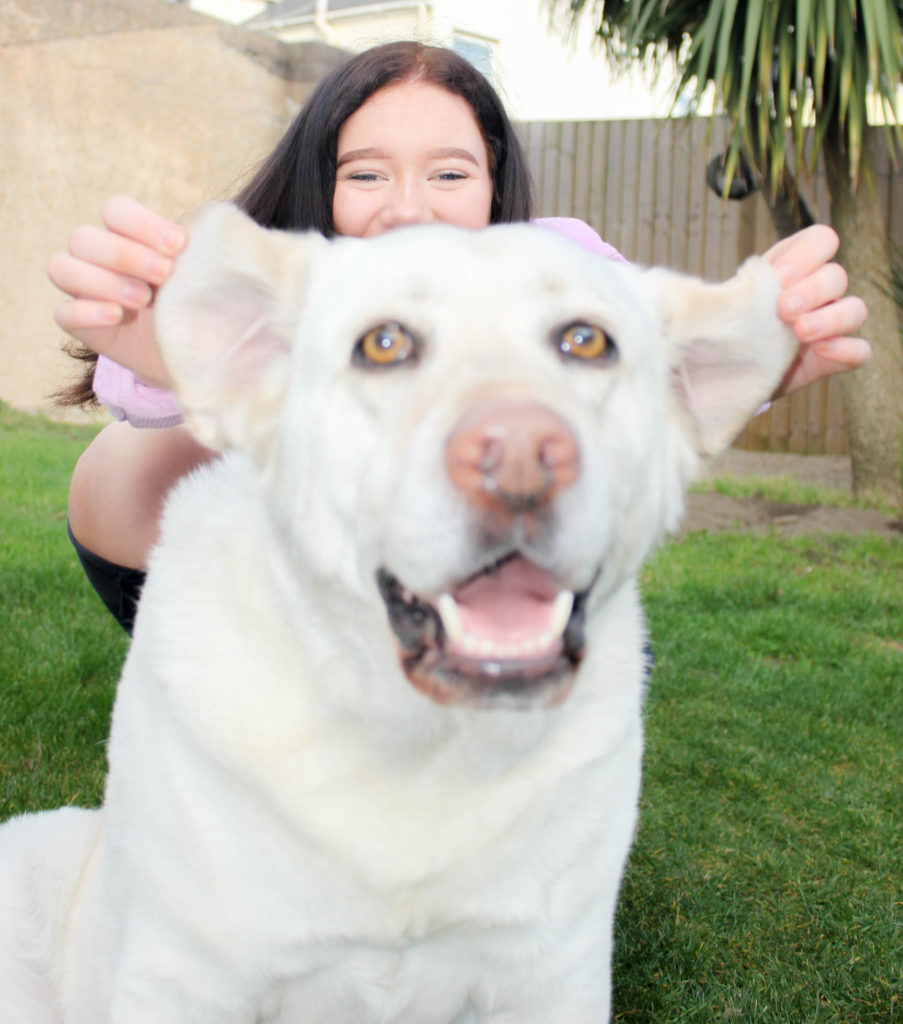
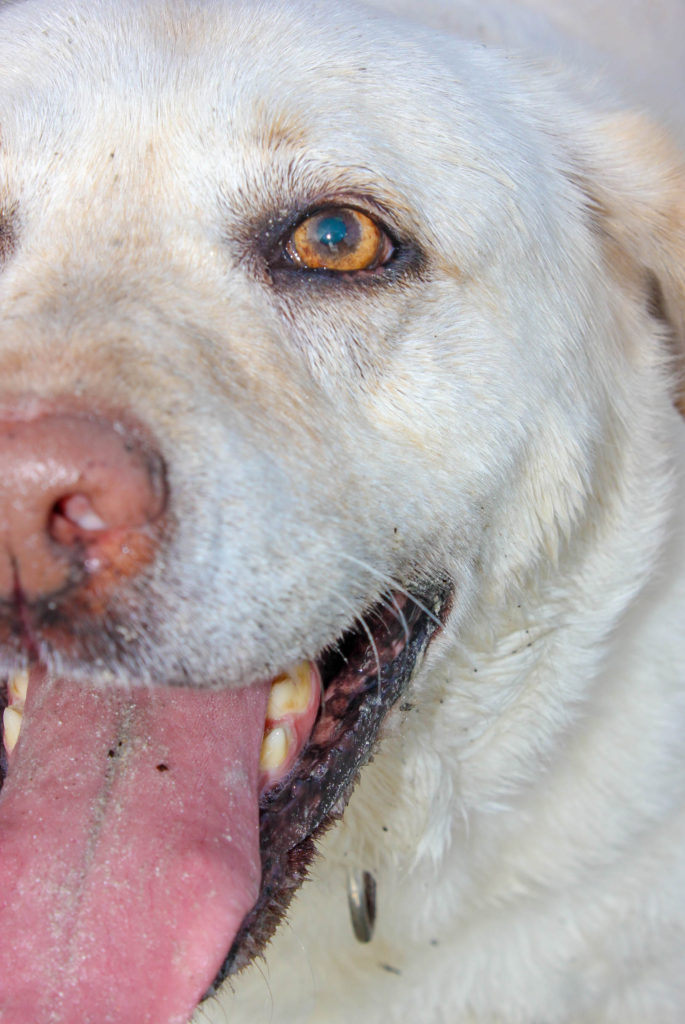
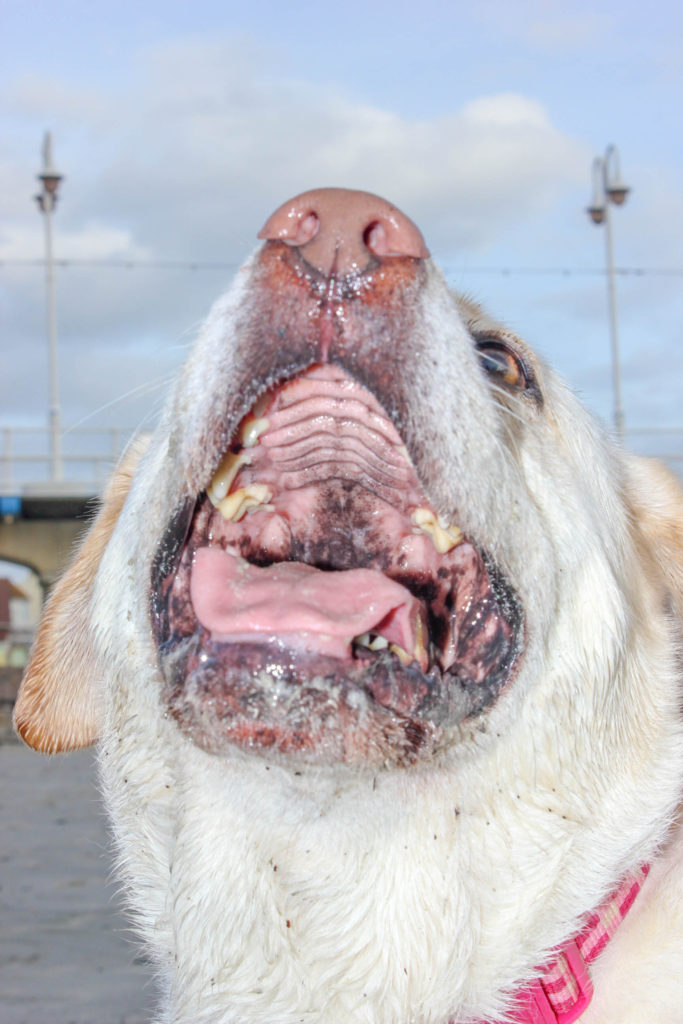
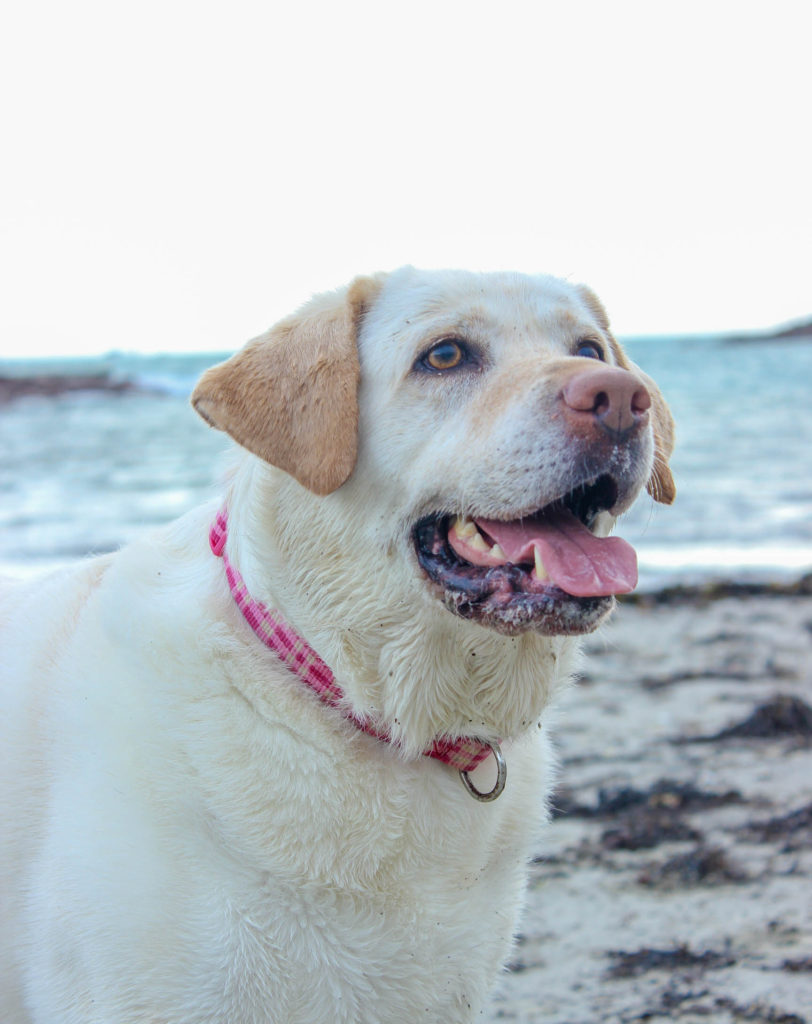
I stuck with similar shots when editing my images to resemble Roni Horn’s work. I cropped in the shots to not show the entire head.
I raised the brightness and added a cold temperature to the coloured images to bring out the pink tones in the skin.
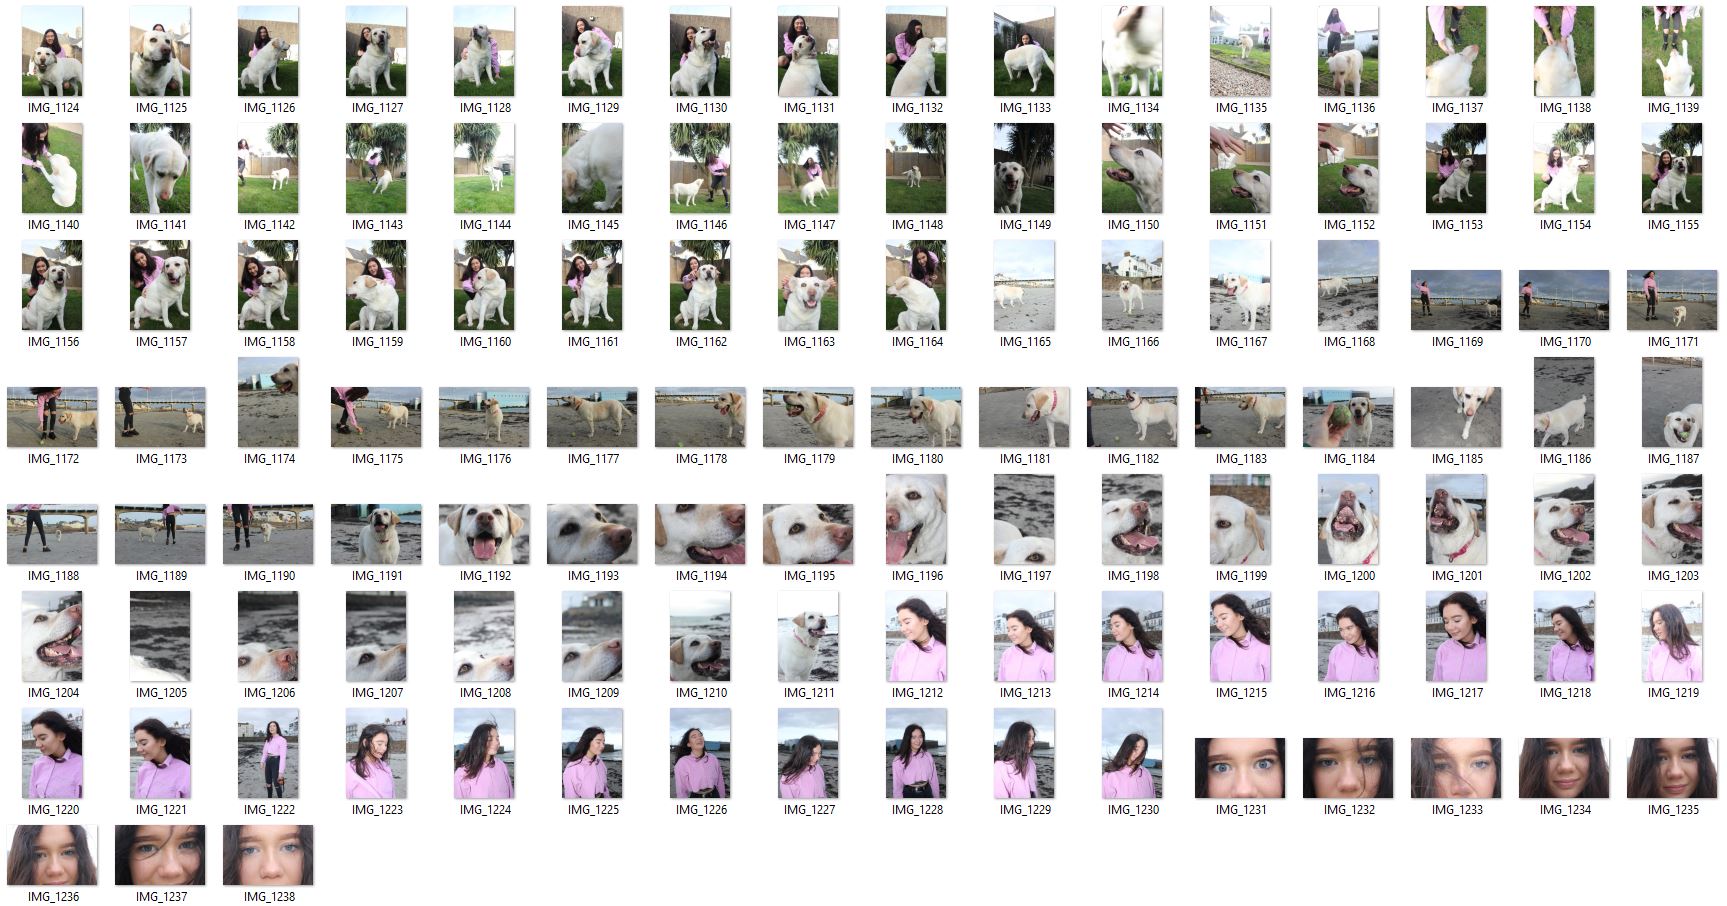
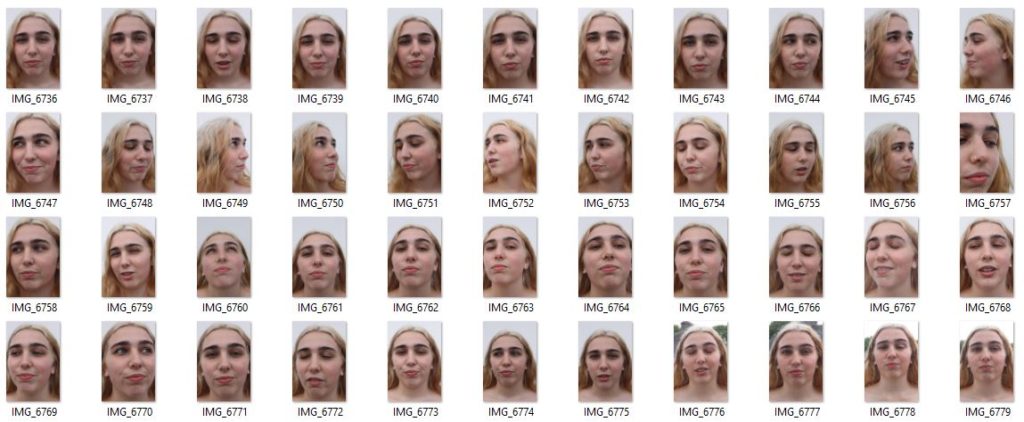
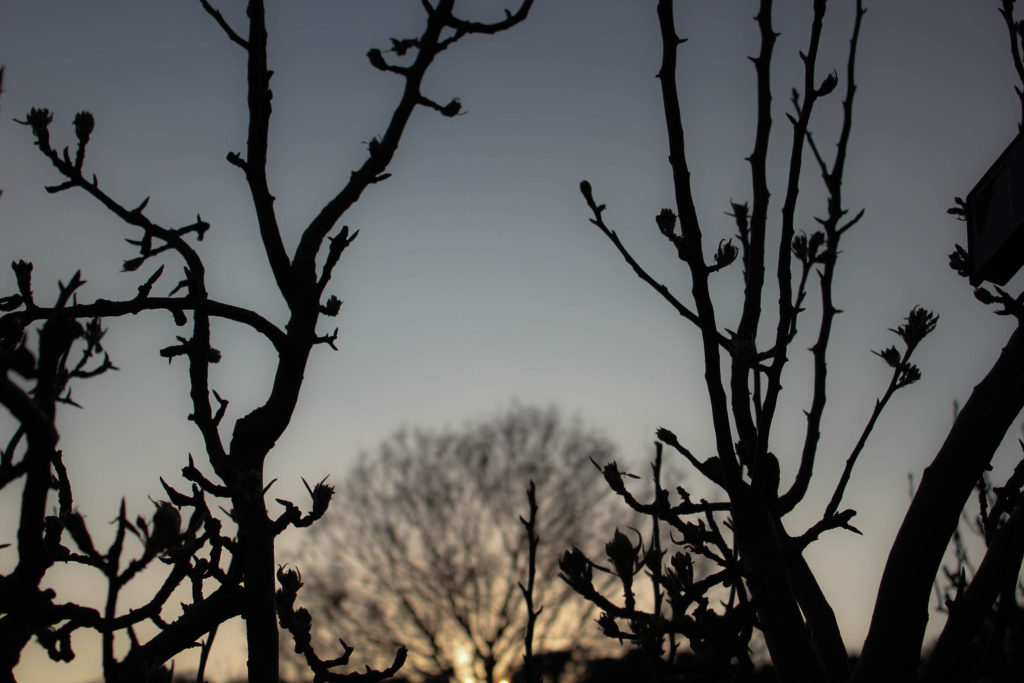
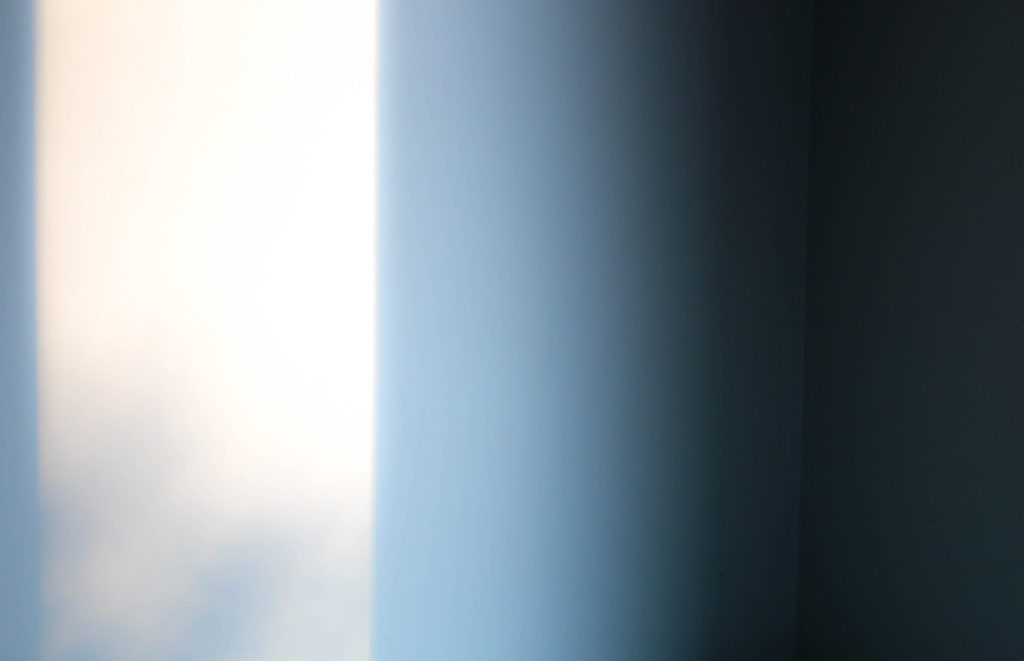
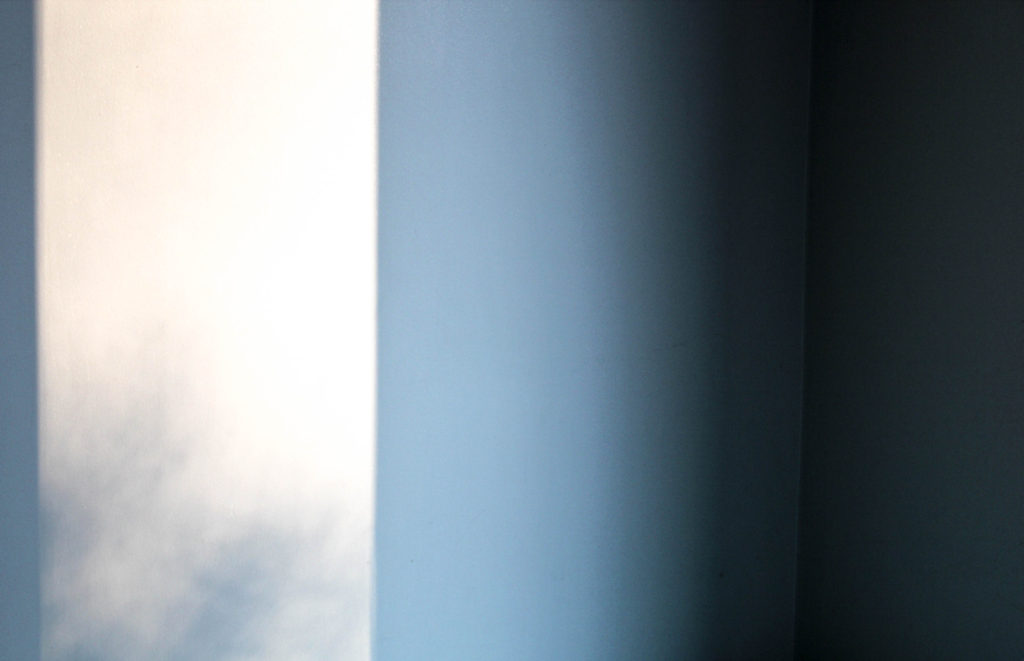
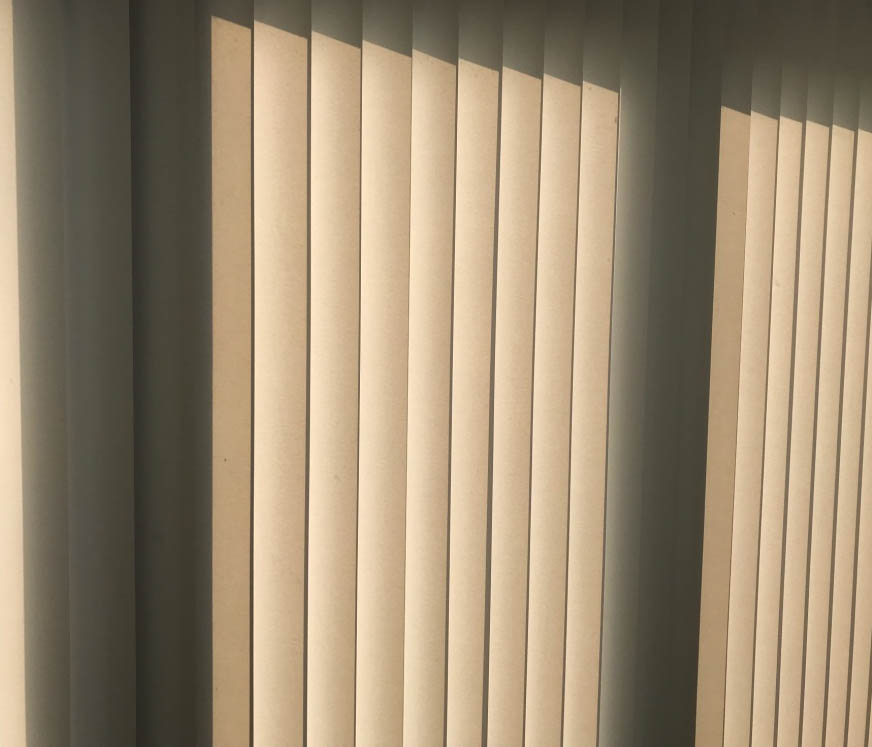
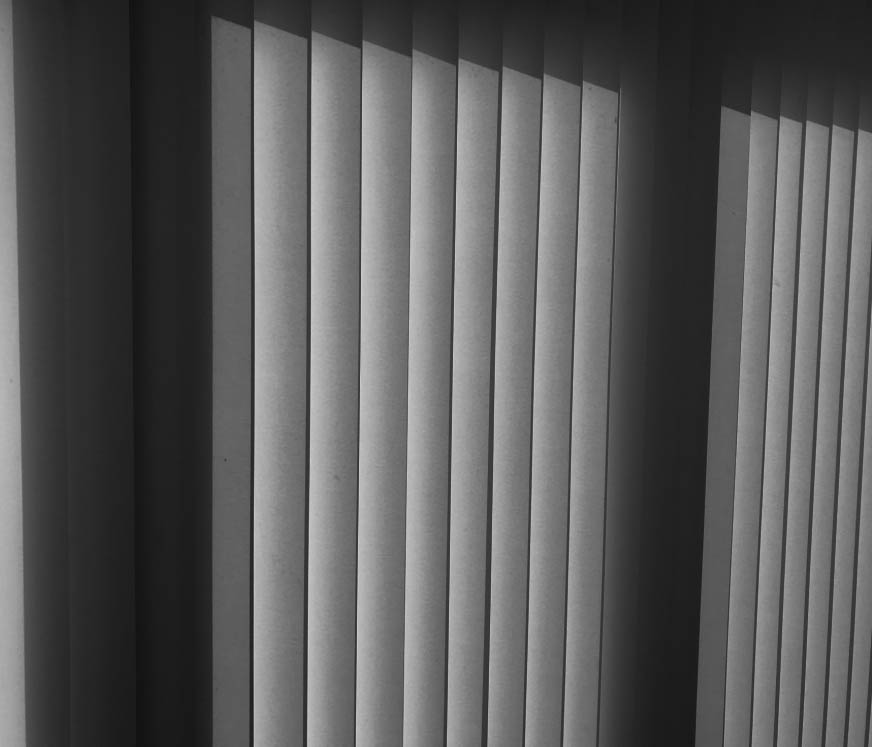
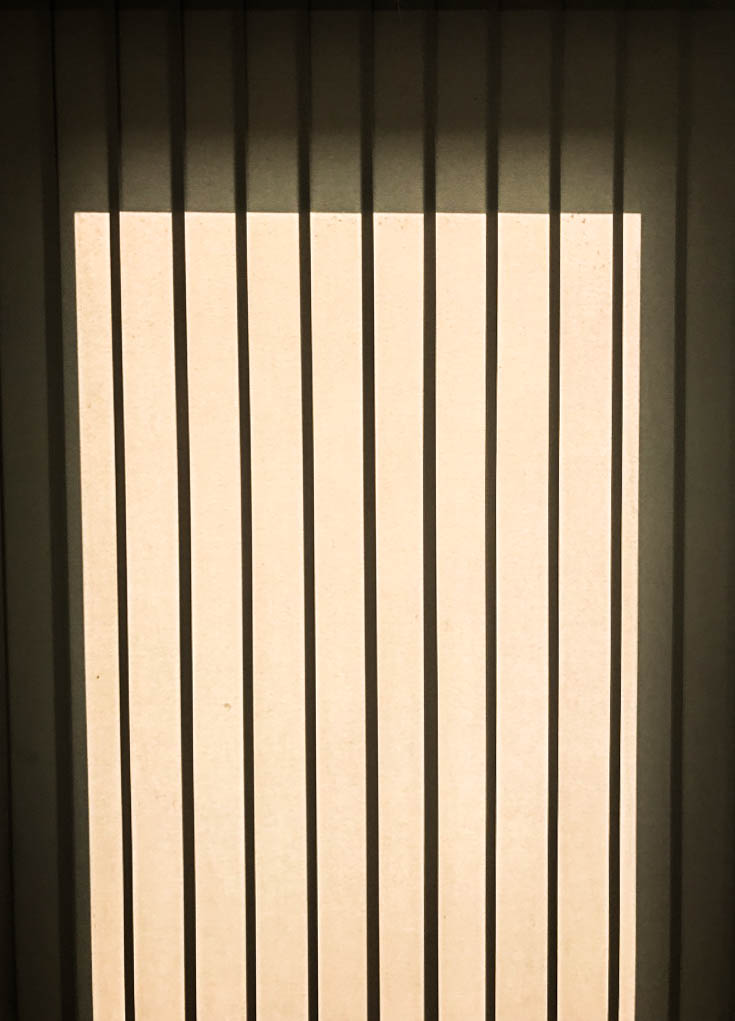
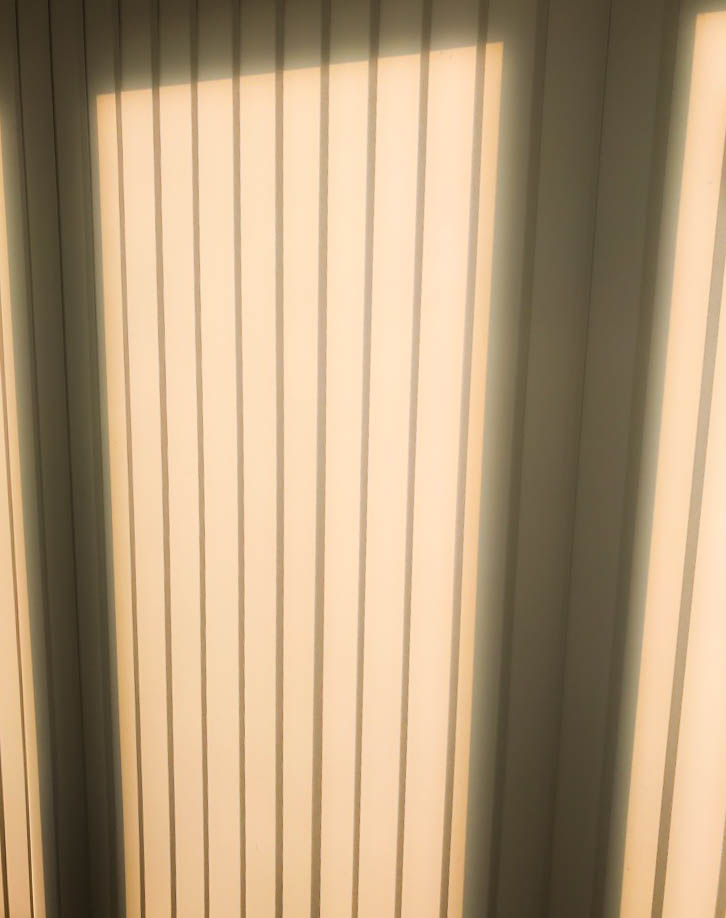
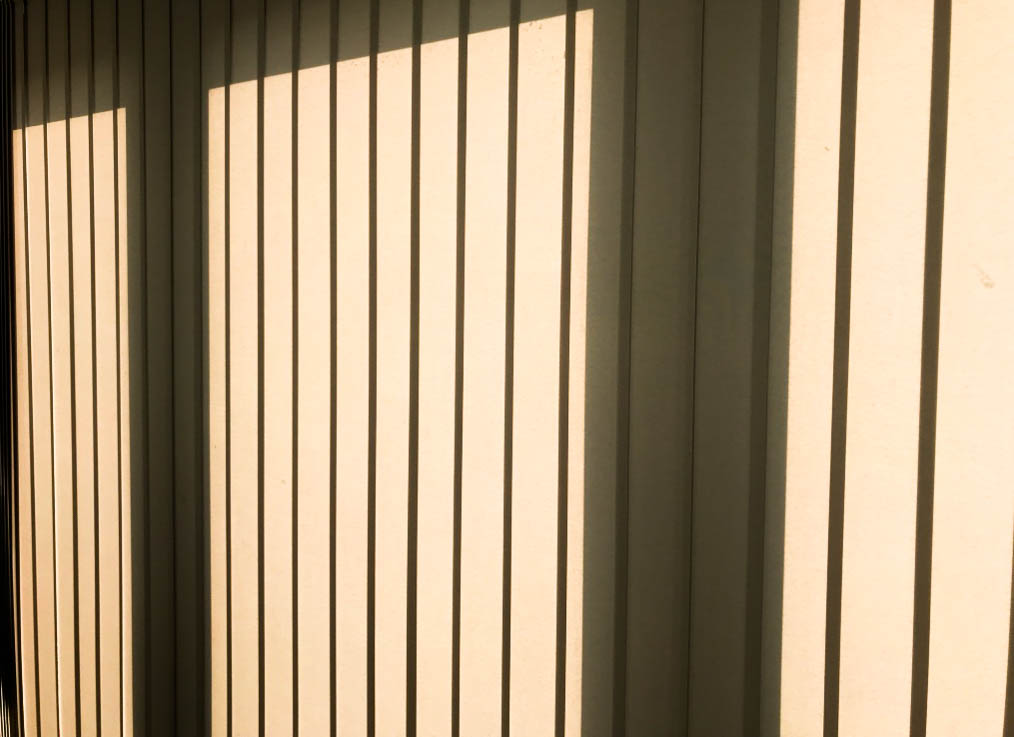
For this shoot, I wanted to just focus on light and/or shadow affecting objects or areas in and around my house. I used my Canon camera for this shoot. Below are the contact sheets displaying my responses:
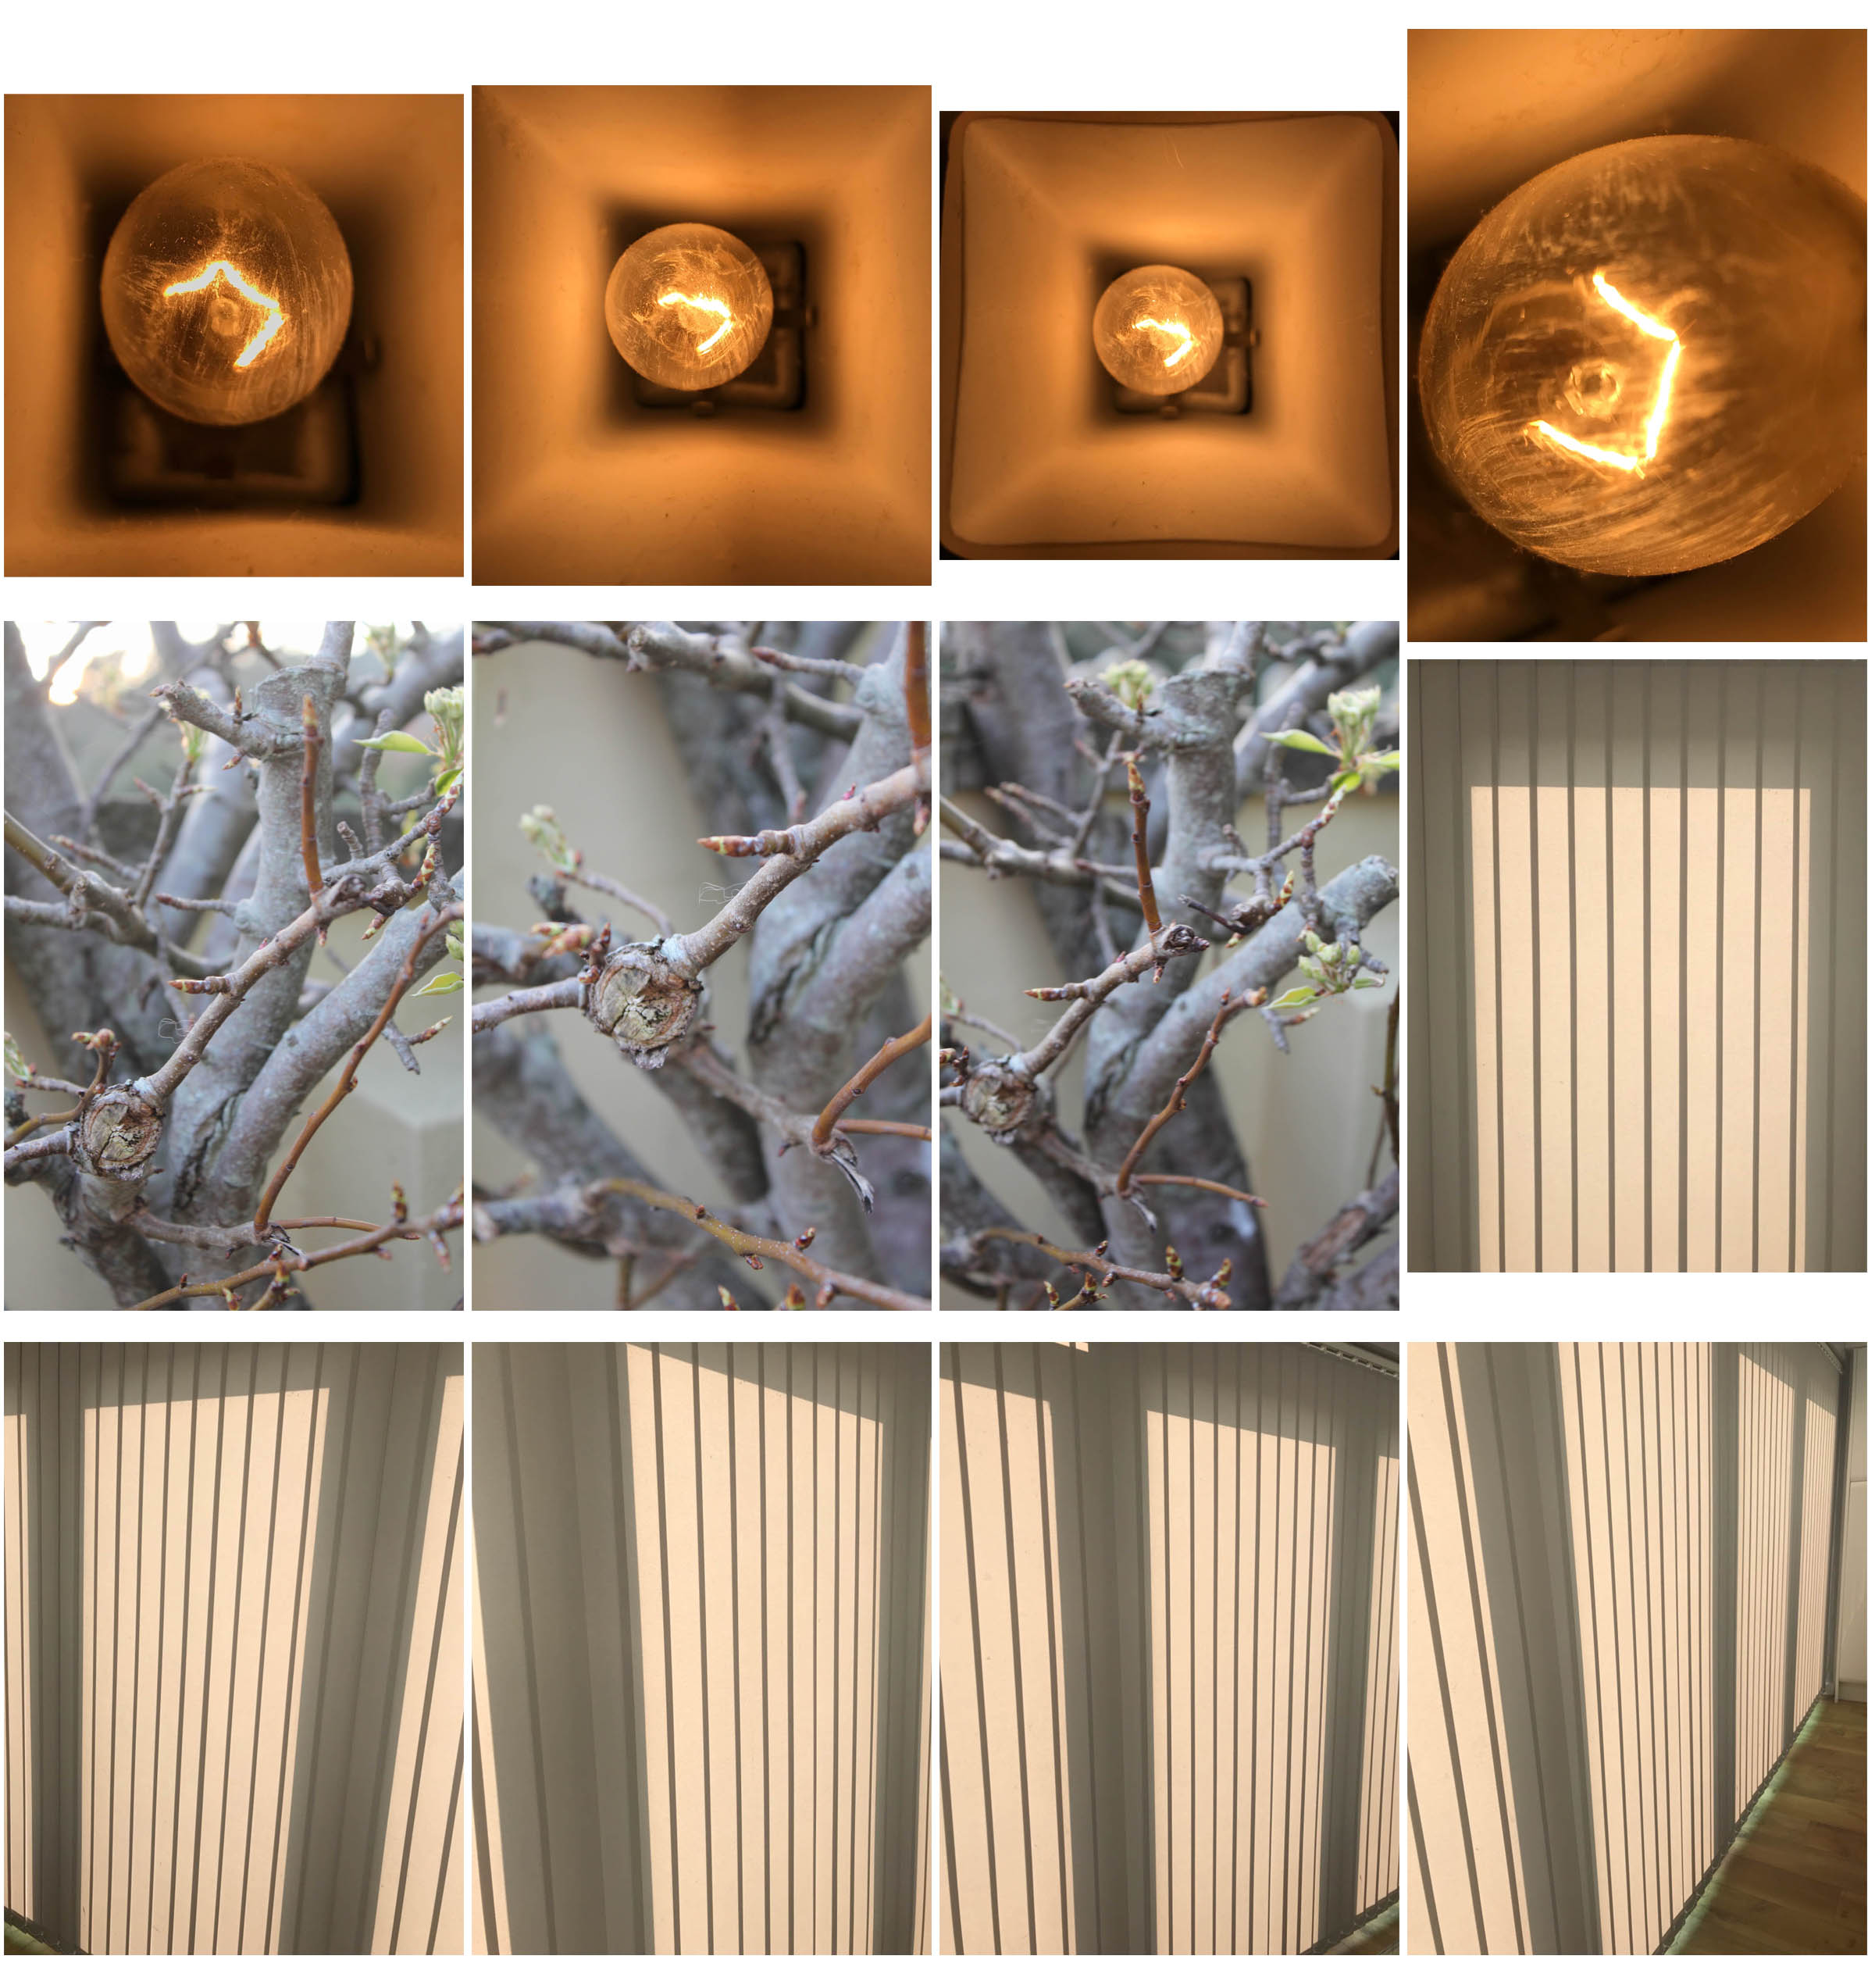

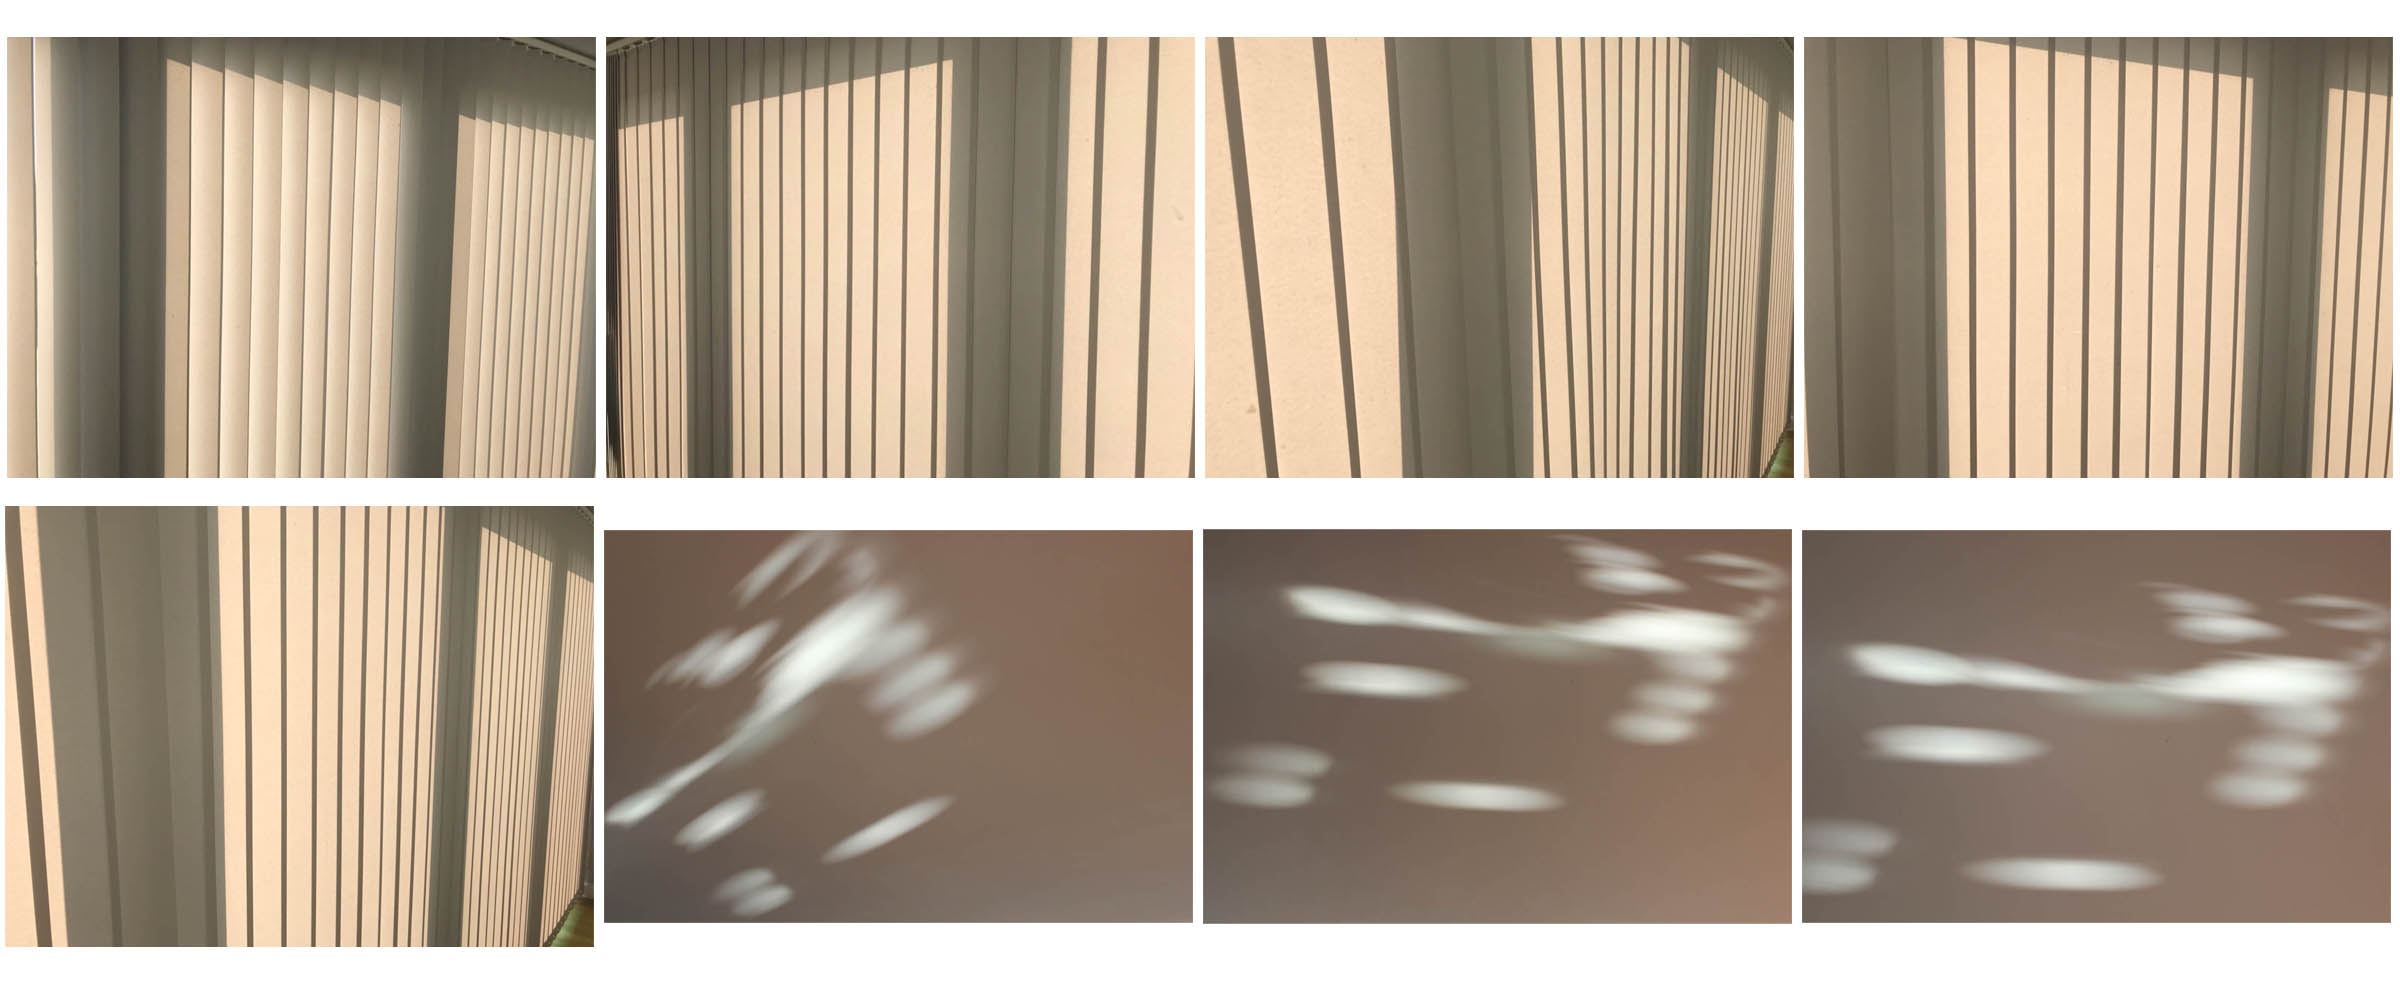
To edit my images, I used lightroom. I adjusted the brightness, contrast, shadows, whites, blacks and sometimes the clarity. I also experimented with 2 black and white images but thought that the colour images looked best for these types of images, as light and shadow contrasts the best when in their natural colour.
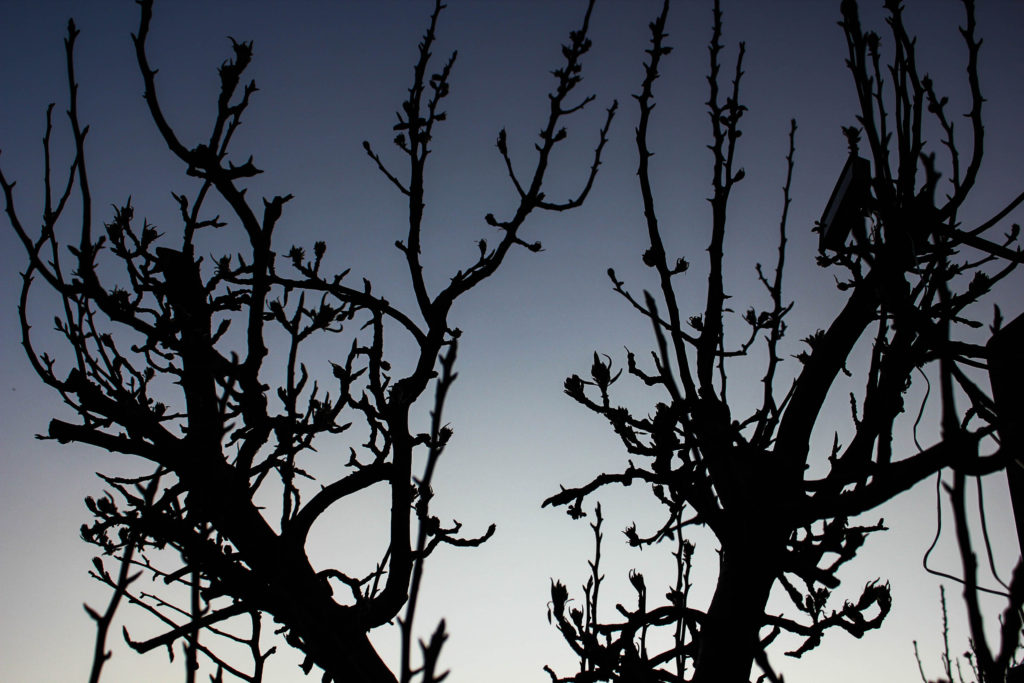
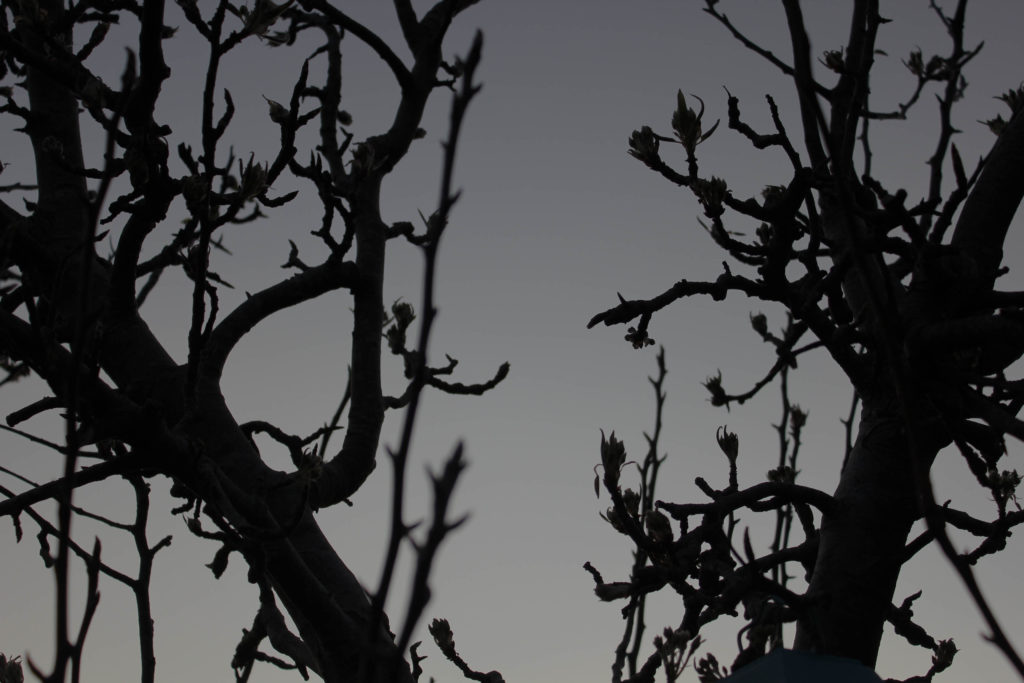
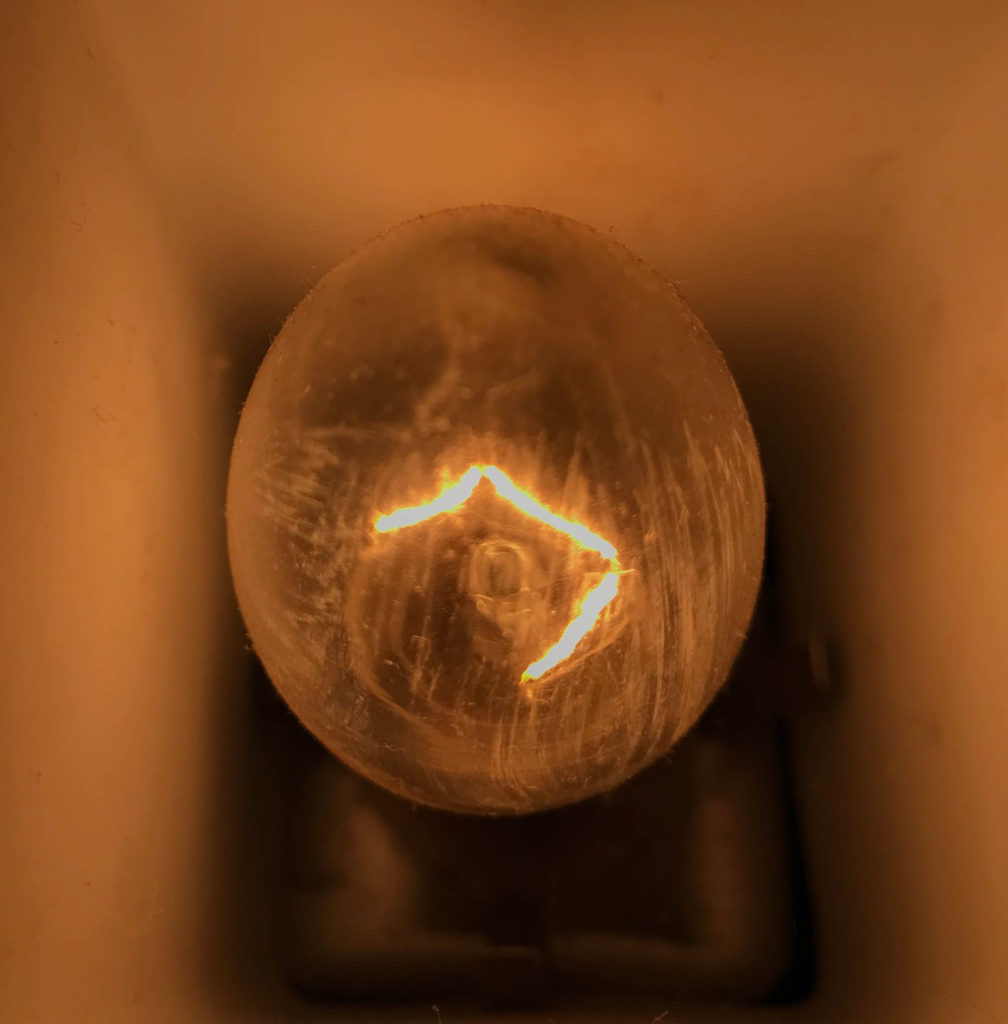
Light is:

In photography terms, light is “the illumination of scenes to be photographed. A photograph simply records patterns of light, color, and shade; lighting is all-important in controlling the image. In many cases even illumination is desired to give an accurate rendition of the scene.” Light is important within photography as it determines how beautiful, scary, eerie or amazing an image is; really, it communicates the tone of the image. A really bright image with lots of light being let into the lens will allow for images to appear jolly and happy, whereas the opposite would be images with a lot less light – a dark image would be considered scary or frightening or maybe it could imply secrecy. I like how light is an important factor when taking photos. Using this as a baseline for my project will allow me to explore the exam theme well; I will be experimenting with light by using a range of sources of light – the sun, torches, a man light within a room etc.

Darkness is:

In photography, darkness is just as important as light. “If photography is writing with light, darkness is the punctuation. Darkness defines shapes, makes two dimensions look like three, and heightens drama.” I want to also experiment with darkness in relation to light, for example capturing shadows, or silhouettes, or doing a studio shoot where I use a model and a spotlight so the model appears as light and dark depending on where I position the light.

How well have ideas developed?
I have developed my ideas well by adding more inspirations from artists to influence my final shoots. I have started with the idea of sunlight, but have added on the idea that I wanted to explore light in general, as well as exploring its opposite of darkness to communicate the variance of these 2 everyday factors of life, as well as the similarity of how light and darkness can interact to produce similar effects that will be shown throughout my photoshoots.
Are ideas explored and selective appropriate to intentions?
My ideas have not yet been explored thoroughly; I have experimented with repetition of doors and windows – these 2 shoots were produced from the influence of the Becher’s and their typology approaches. However, I need to experiment with my specification ideas and start to focus on the shoots I have planned – (blog post on planning of shoots).
Are they sustained and focused?
My ideas are sustained and focused as I have researched artists to back up my evidence of where I want my photography exam project to follow.
Are they reviewed and refined?
My ideas are reviewed and reflected as I have followed on from my main idea of ‘sunlight’. I did a lot of research on the Sun and Jersey’s relation to the Sun, and the art movement romanticism and how this links to my project due to its beauty. Yet, I have refined my ideas to light vs darkness, using studio photo shoots as well as outside, natural sunlight shoots within nature etc. This is to make my project more varied so I can explore many different factors within lightness and darkness.
How many responses/ shoots?
So far, I have only done 1 experiment shoot to explore the idea of repetition. However, I have been planning on my other shoots to show my ideas. I am planning on doing a good amount of shoots, investigating sunlight, artificial light, shadows, variance of light and dark tones within nature, seascapes and people.
Command of camera skills/ photographic techniques and processes
I am planning on using my camera to take my other photo-shoots. I am going to experiment within my shoots by adjusting the ISO and white balance etc to whatever lighting I am in.
Understanding of composition/ considering quality of light
I will make sure I photograph my images from a variety of angles to make sure I can gain the best images possible from my shoots into light and darkness. This is also to ensure that my images are better in terms of lighting; I want to be able to have a perfect image so that when it comes to the editing process, I can adjust whether I want my images to be lighter or darker.
What are the overall quality of the images?
So far, I have only done one photo-shoot but the quality of these images were high as I made sure the composition of my images were all from a face on perspective, and were edited and cropped carefully.
How do they respond to research?
I have conducted research on Kanghee Kim, the sun and Jersey’s relation to the sun. I will respond to this research in further shoots. However I have already responded to the Becher’s typology images with my typology of doors and windows. I am planning on making a research blog post on romanticism and an artist from that movement, (J W Turner), and other artists such as Ray K Metzer, Viviane Sassen and Rinko Kawauchi that are giving me inspirations to take my photos.
How do they relate to artists references?
My images so far relate to artist references as I have also done a ‘play’ shoot with links to John Baldessari, as well as my doors and windows shoots which links to Bernd and Hilla Becher.
How do the interpret exam theme?
Bernd and Hilla Becher interpret the exam theme because they are taking images of similar types of building from the same viewpoints, where all the images are the same format (black and white), yet all the buildings are varied as they all come in different layouts but share similar characteristics such as the shapes of the buildings within 1 typology and the structure of them. John Baldessari interprets the exam theme as he is experimenting with how play is a similar thing that everyone does at some point, yet it can be so varied in how people interpret the meaning of play; everyone plays differently.
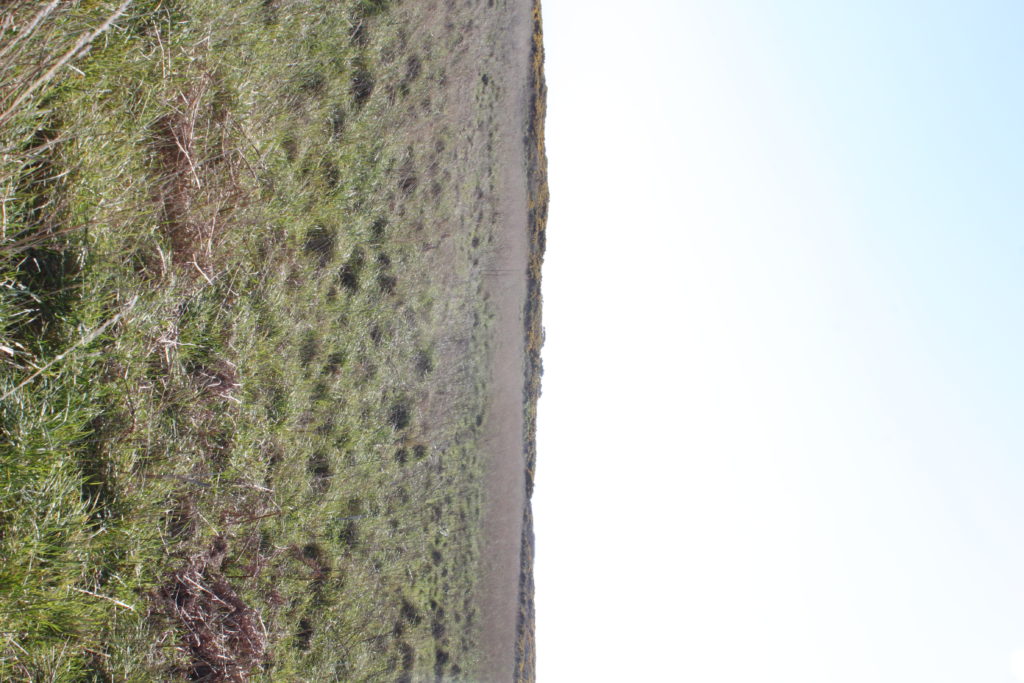
For my attempt at producing tiny planet images, I went to two locations, Les Landes and Grosnez. This is my first attempt so I am not sure how it will pan out when I put them into photoshop to create the planet.
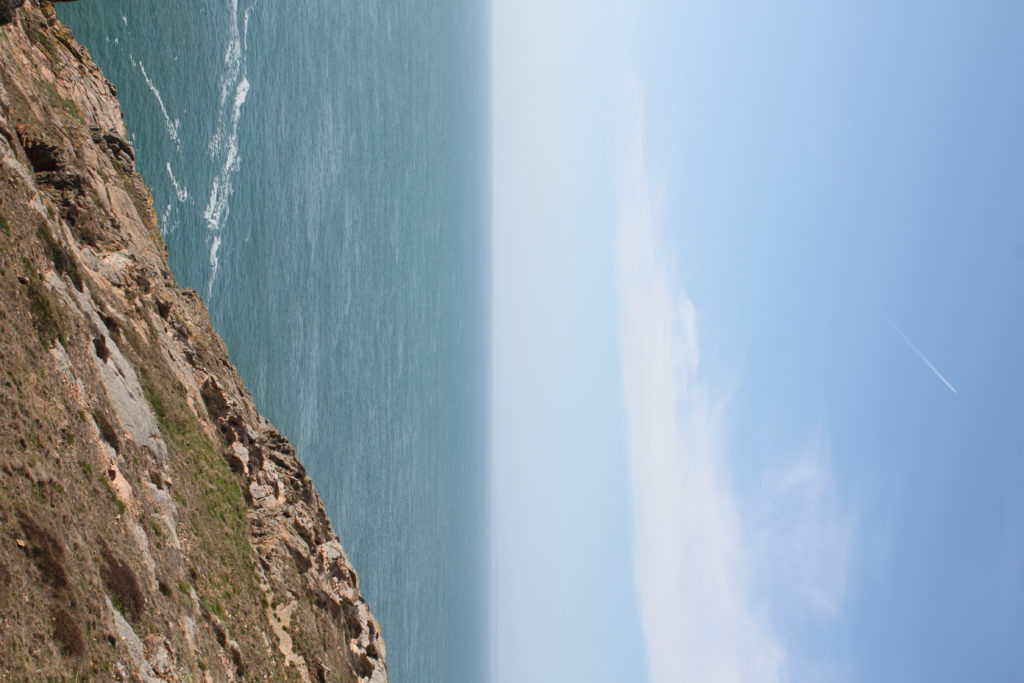
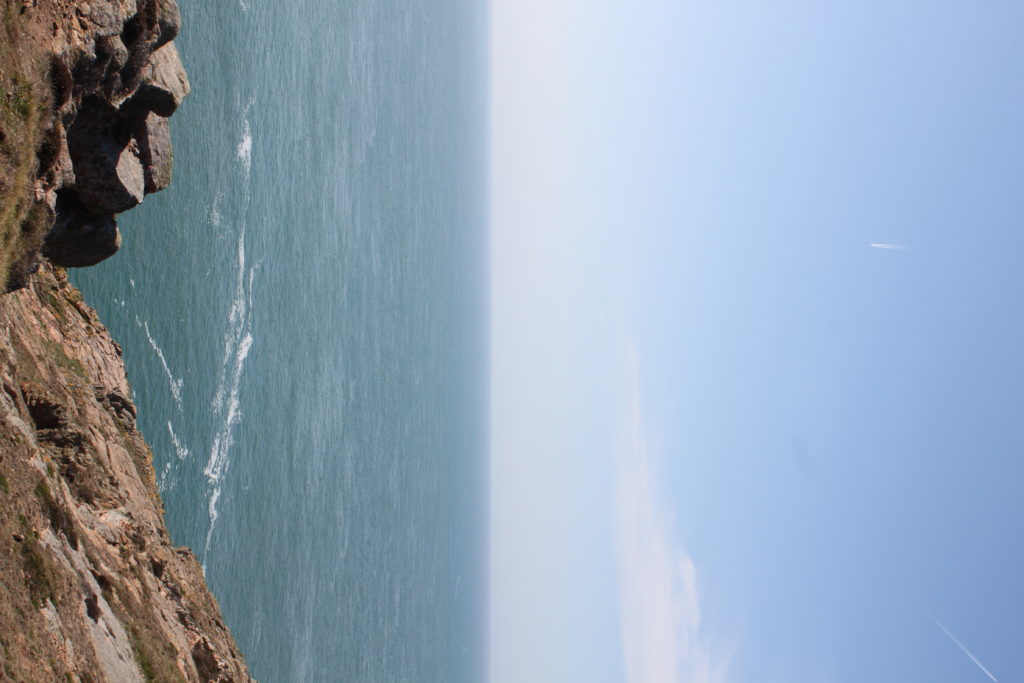
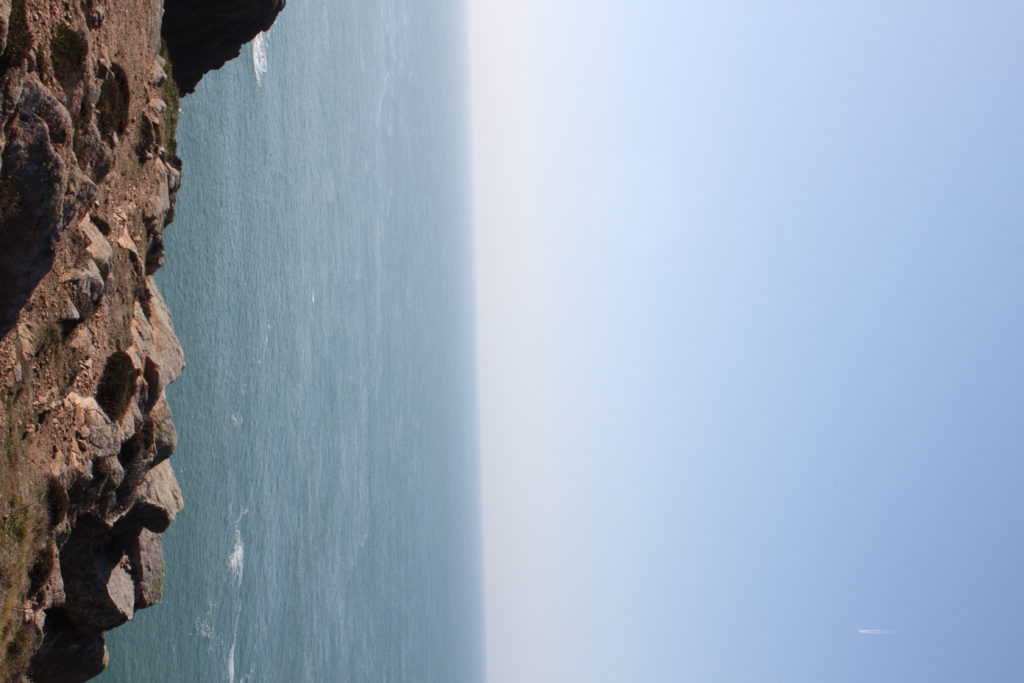
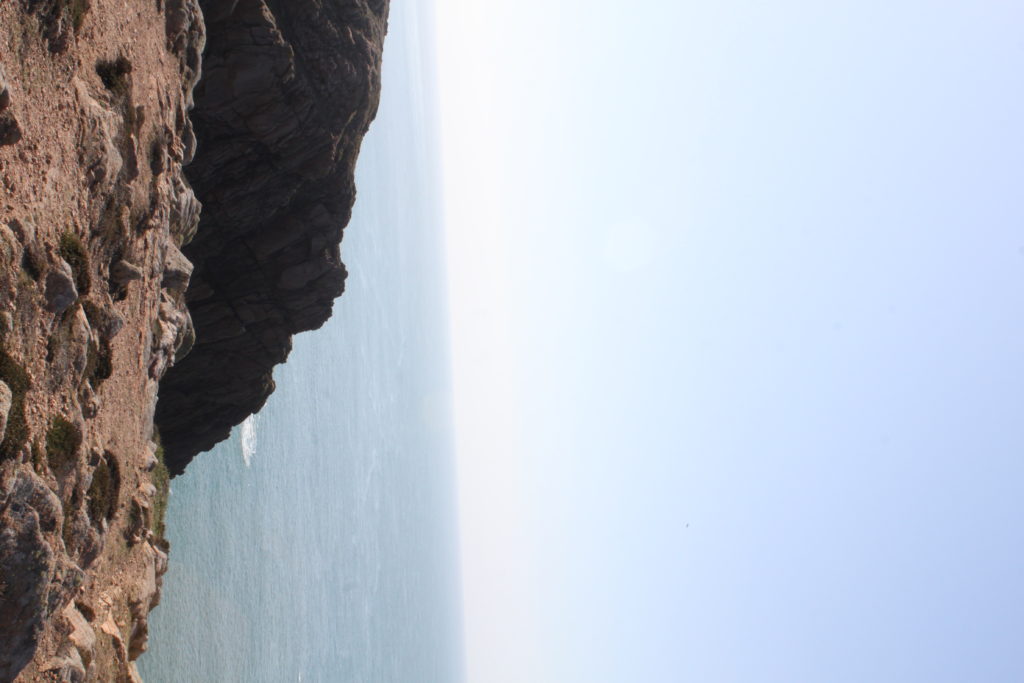
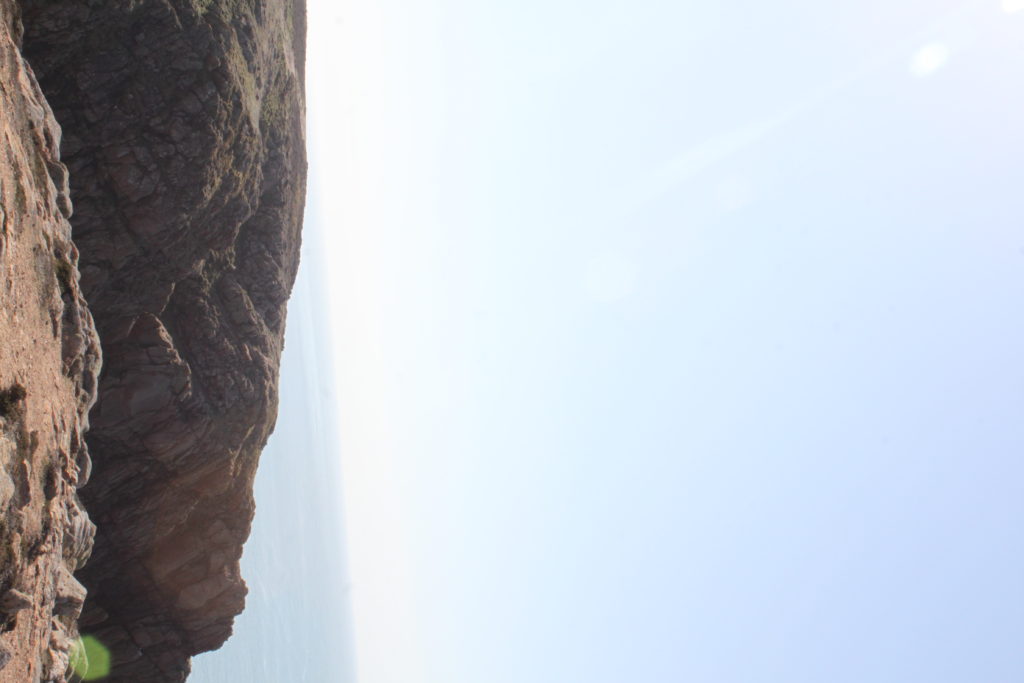
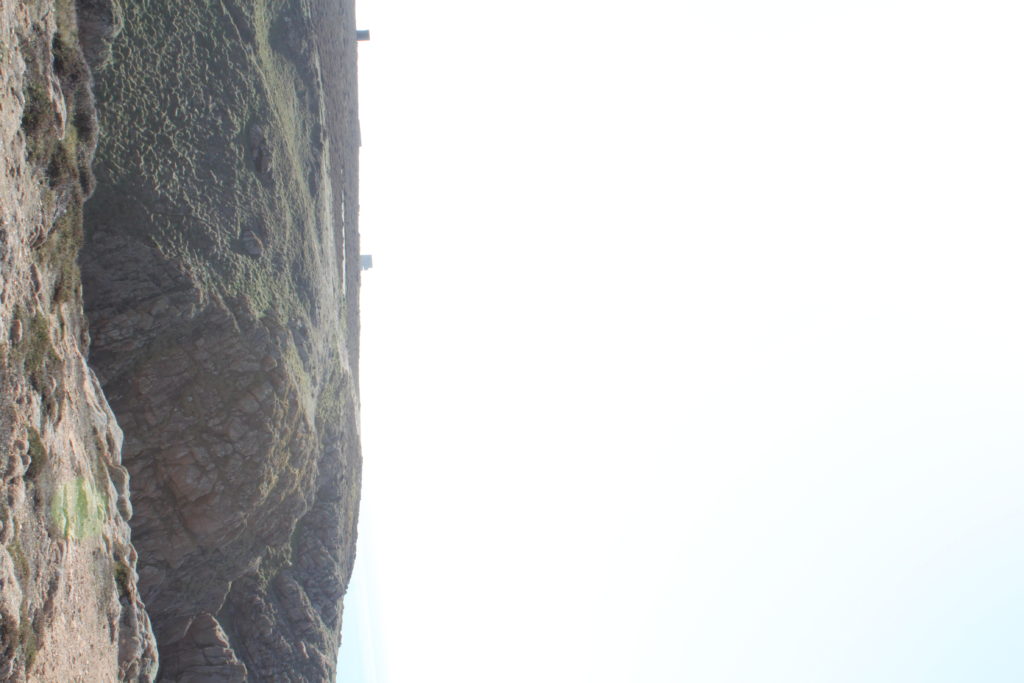
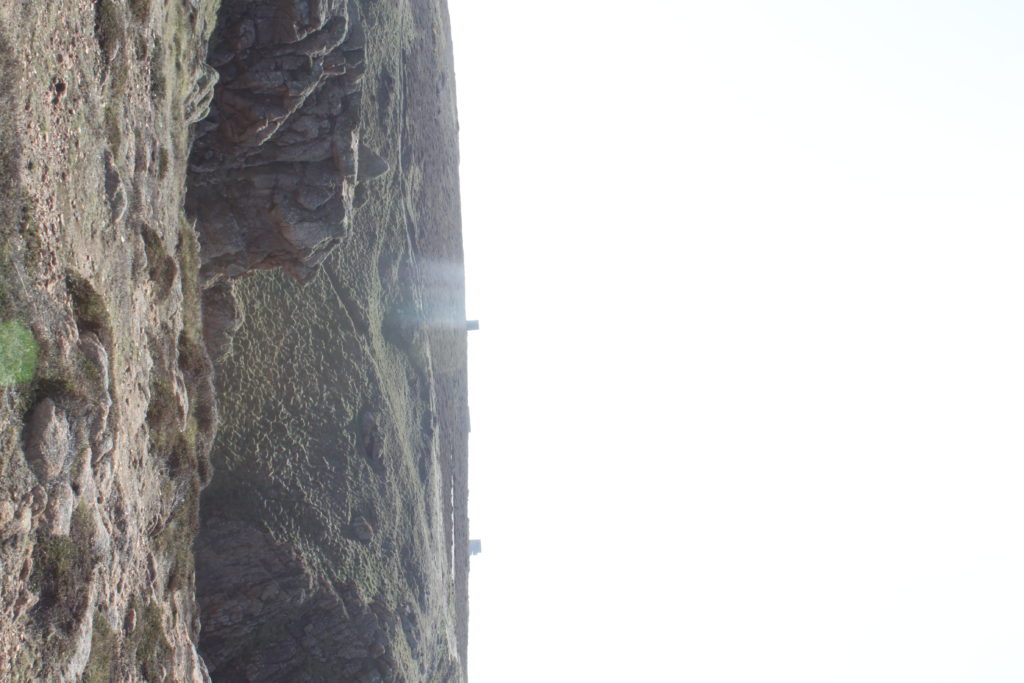
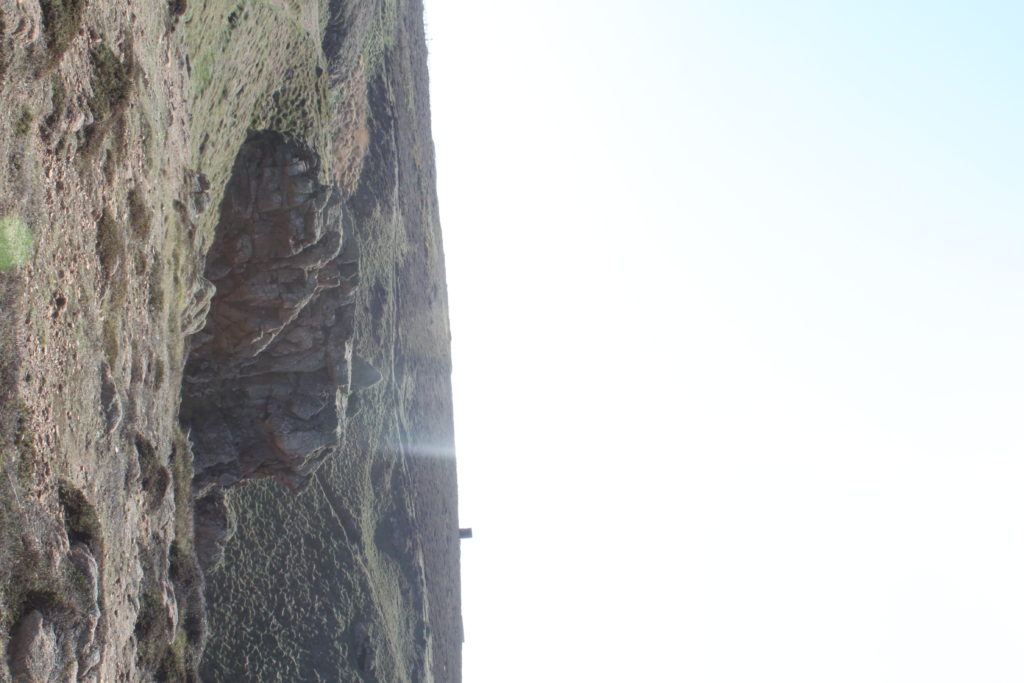
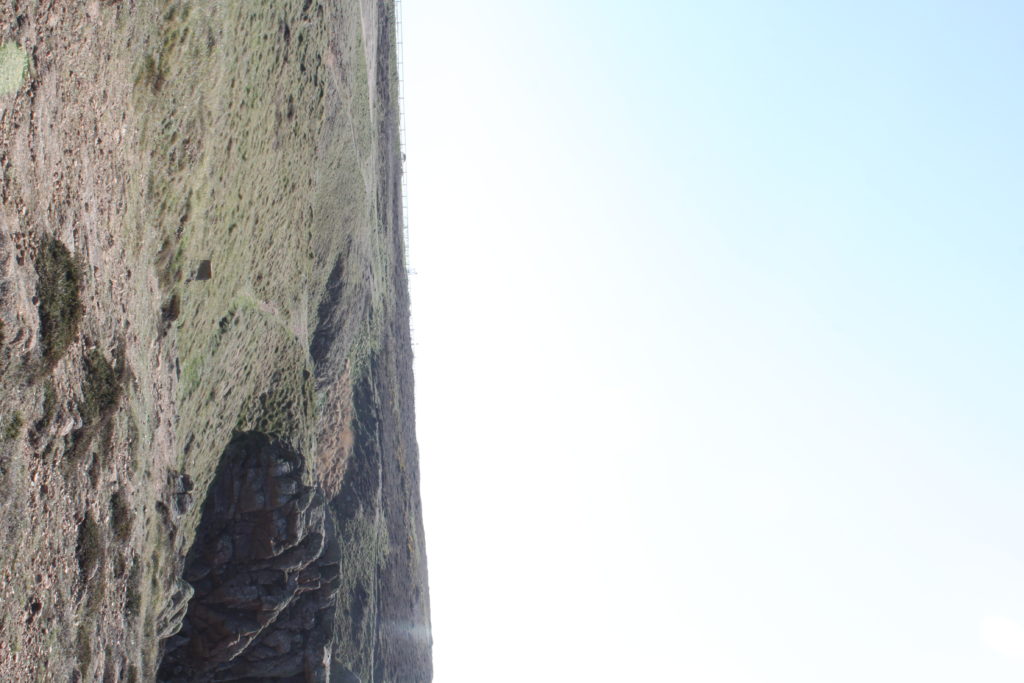
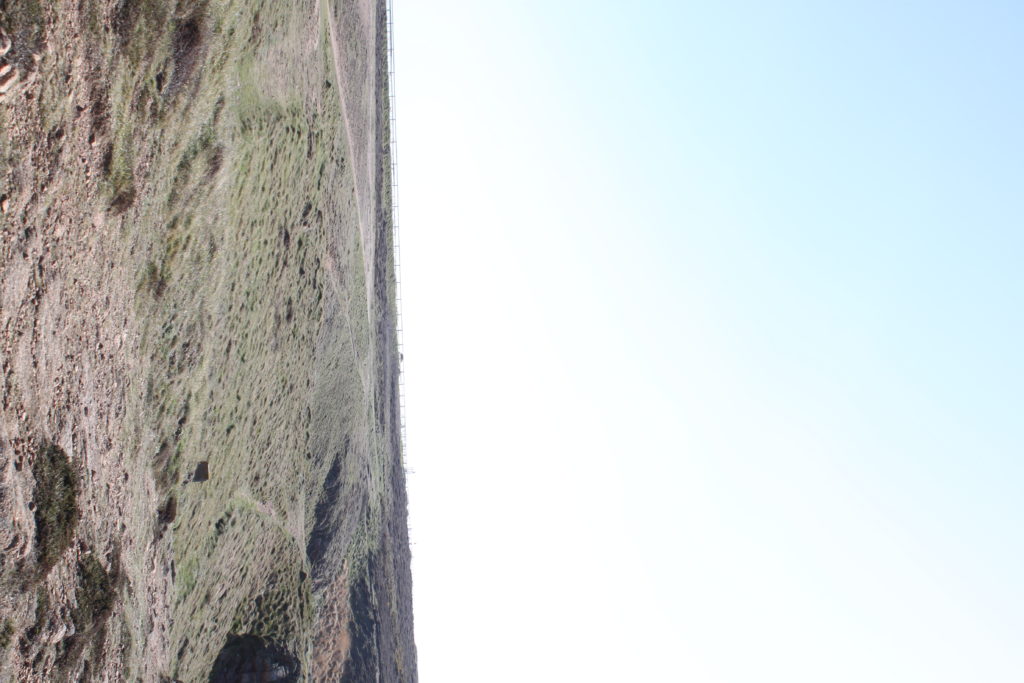

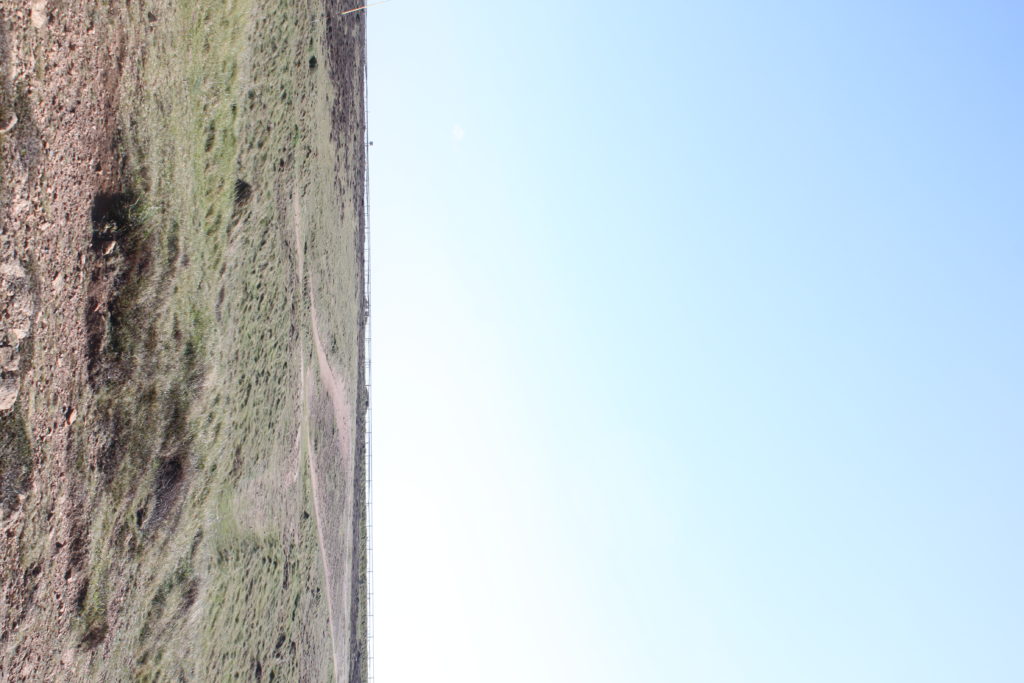
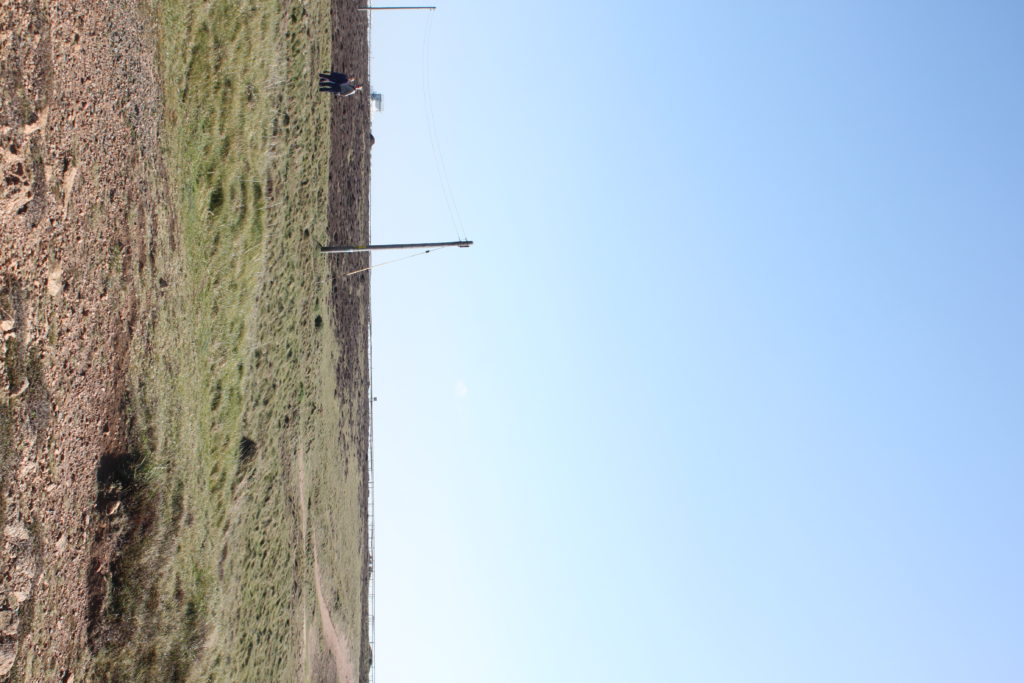

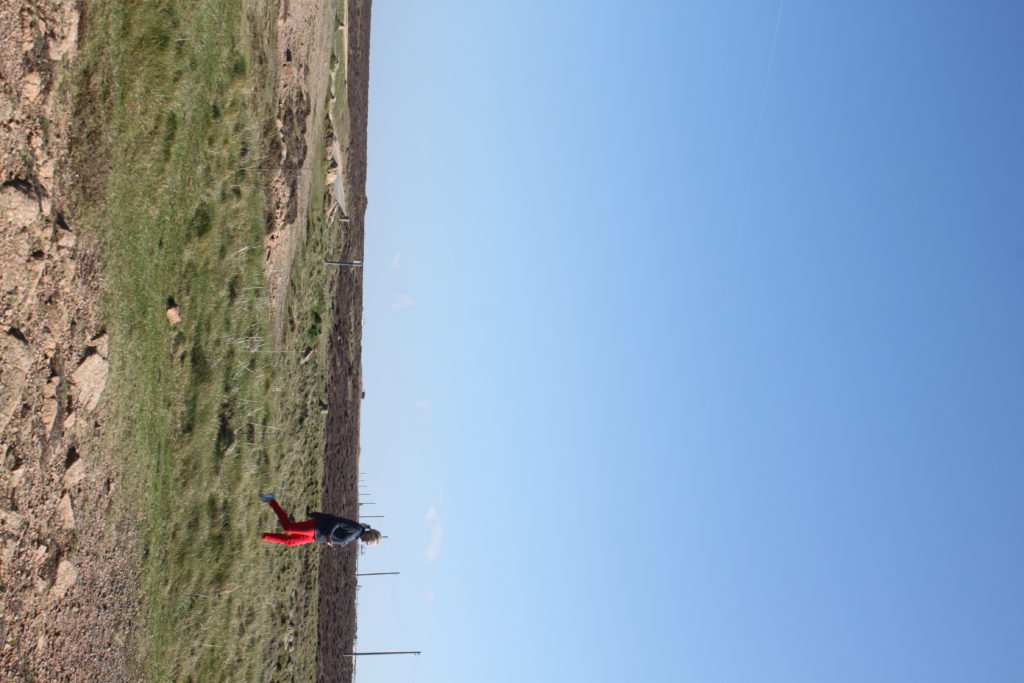
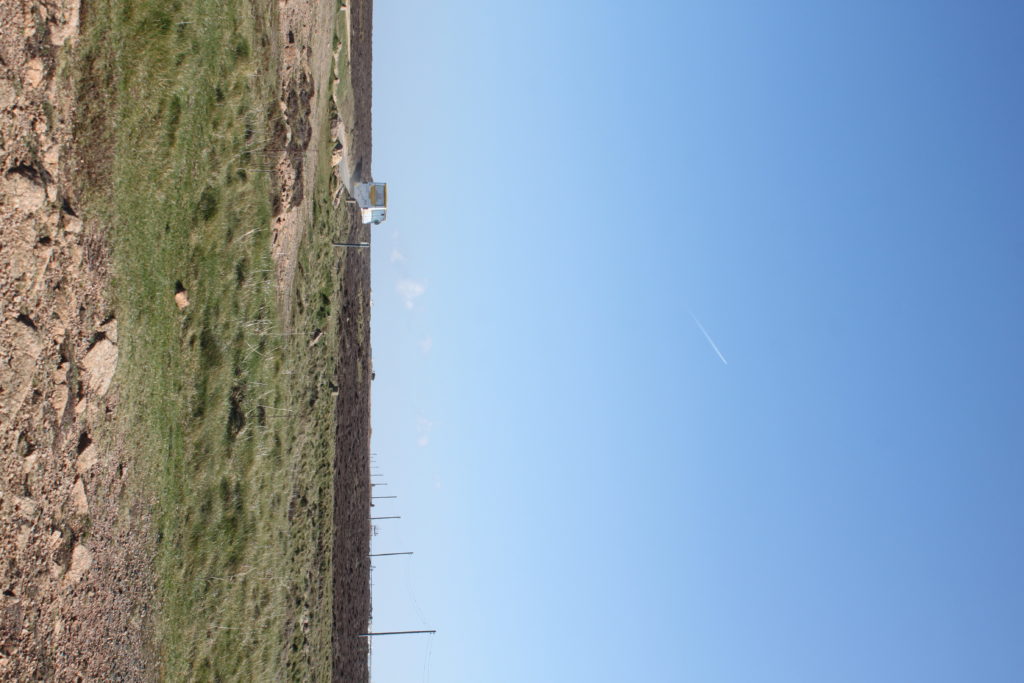
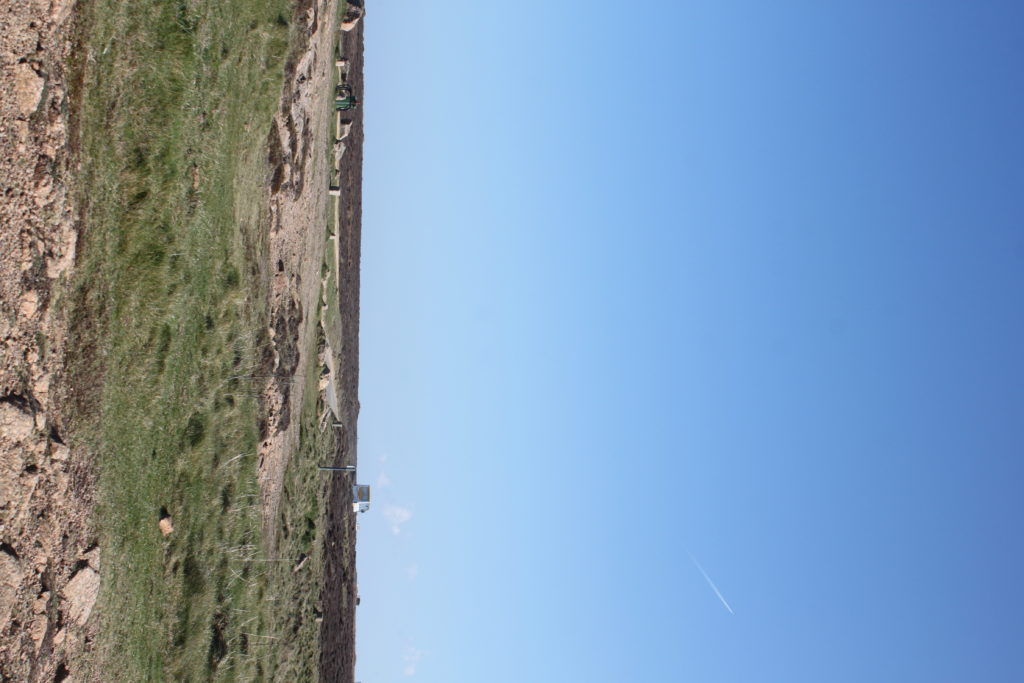
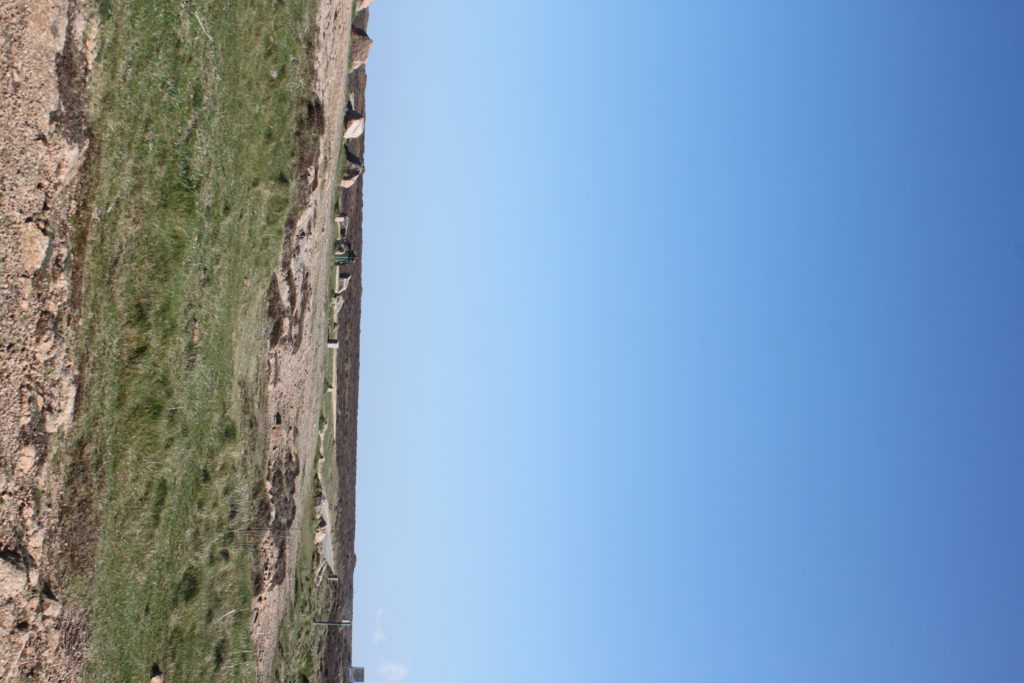
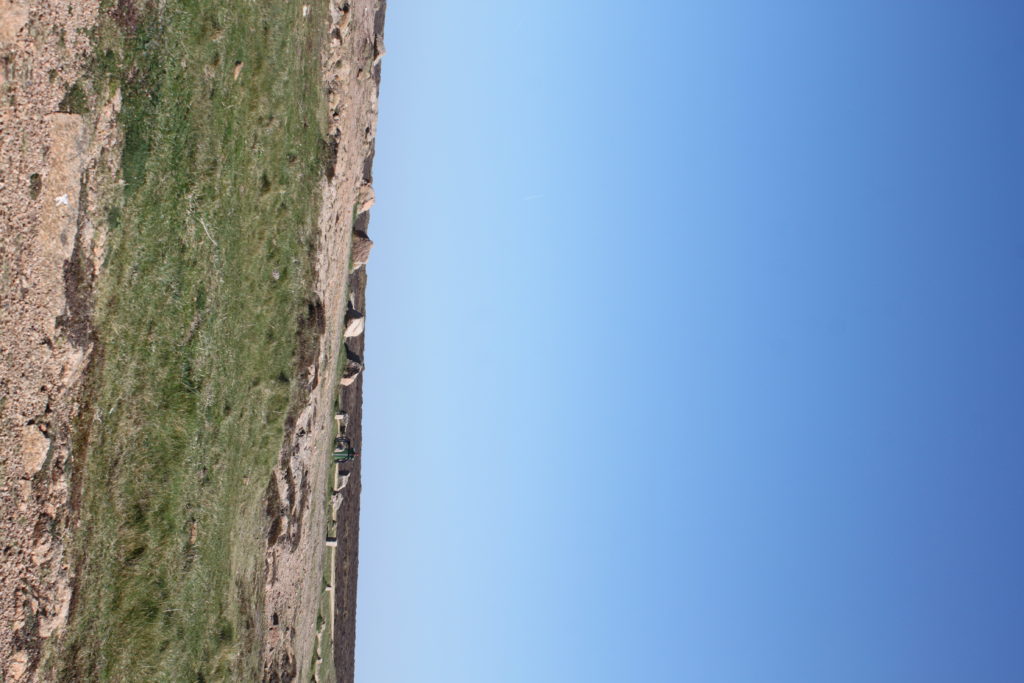
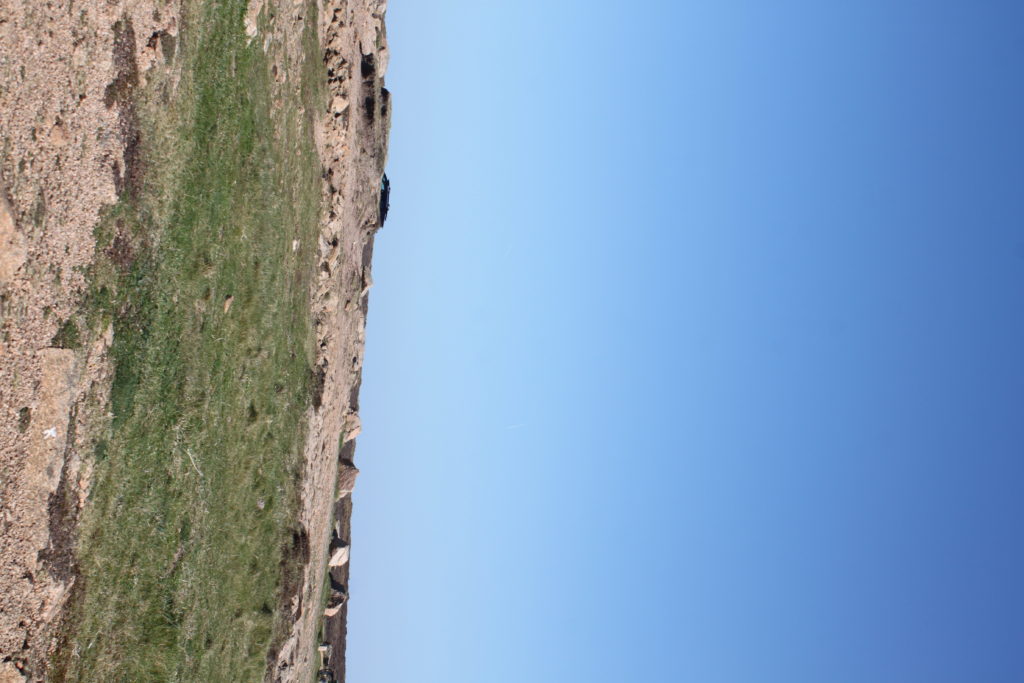
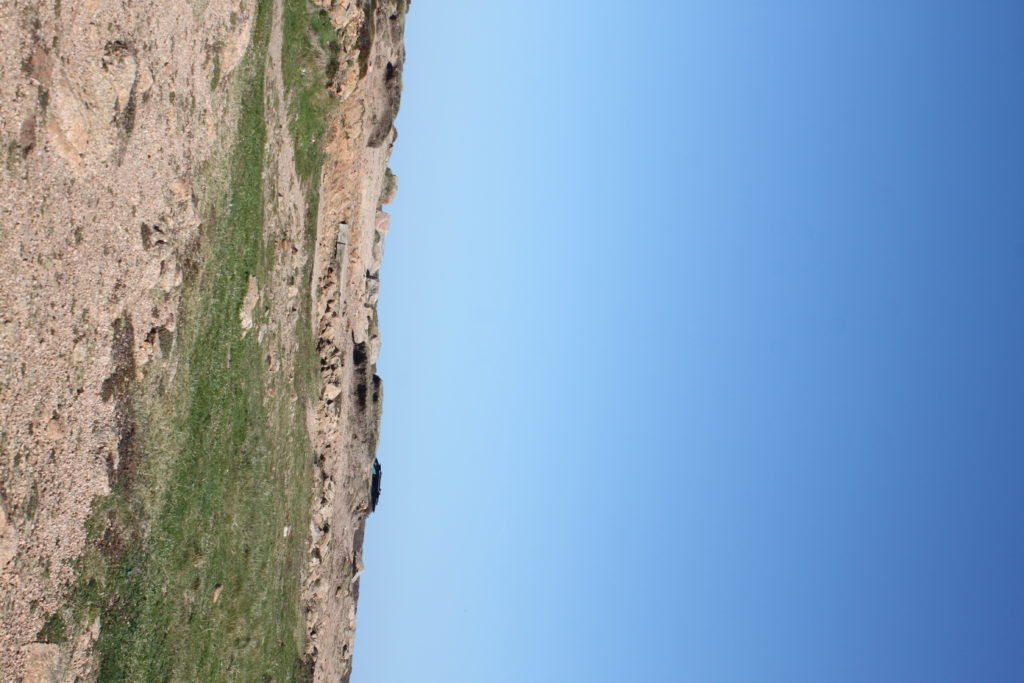

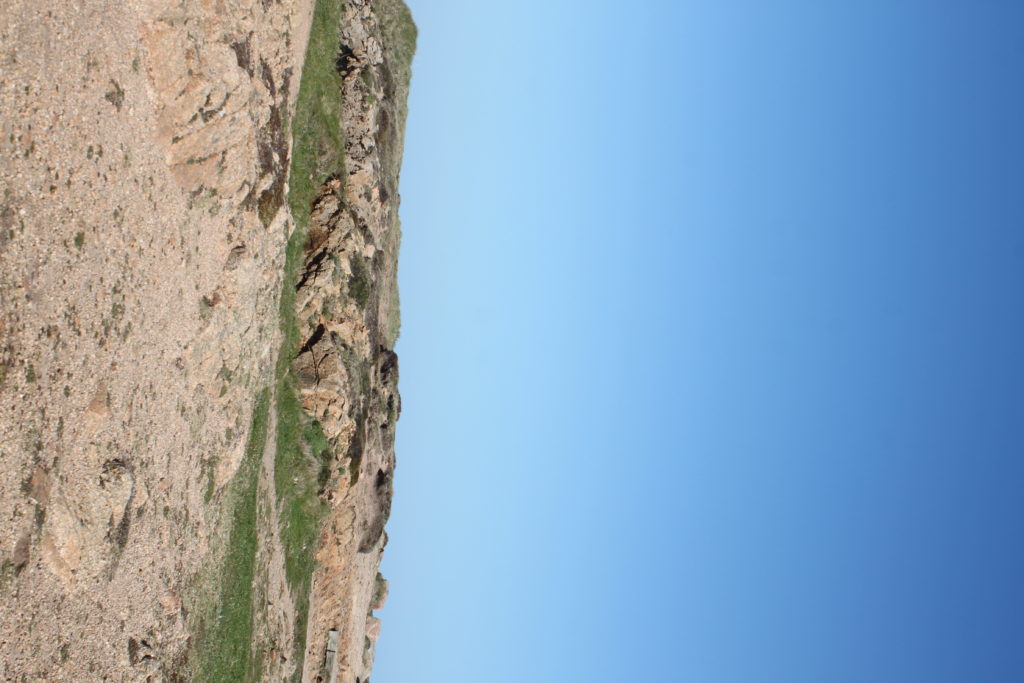
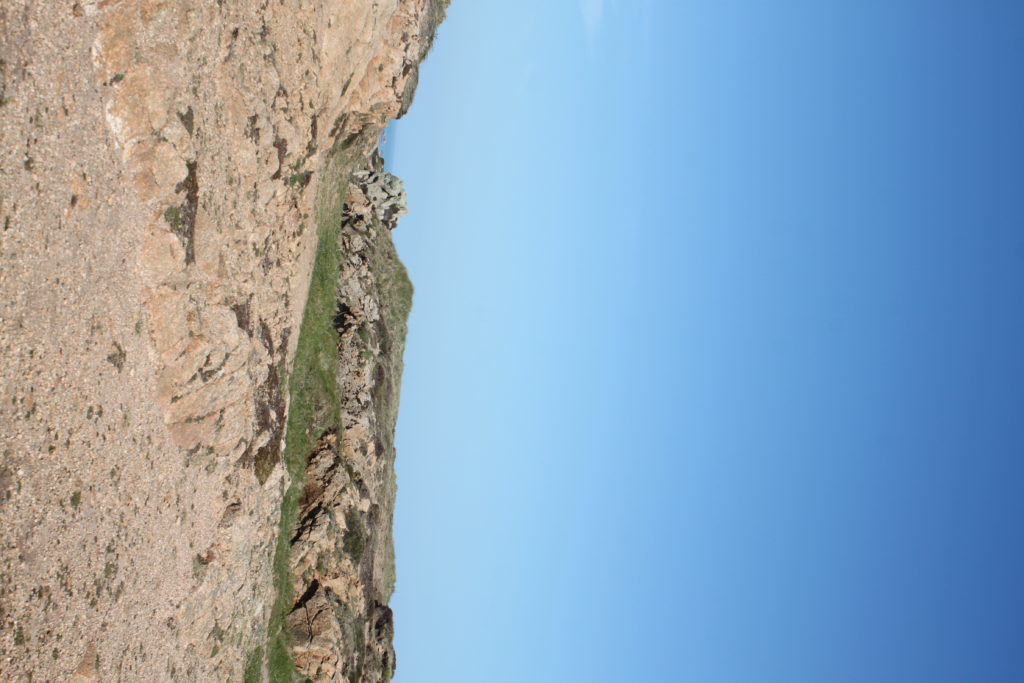
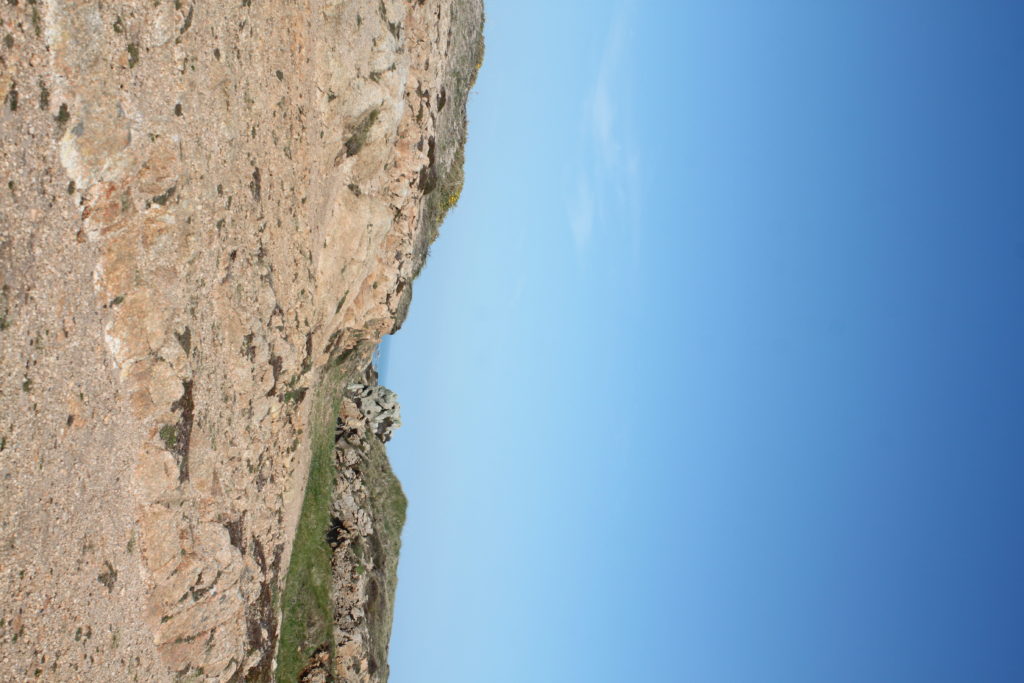
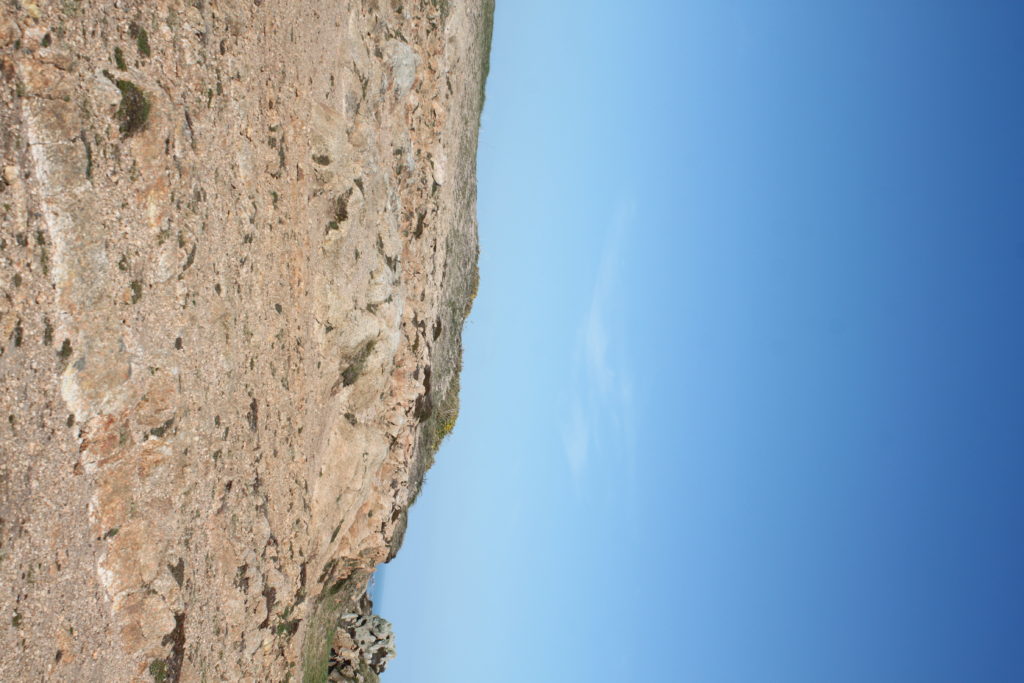
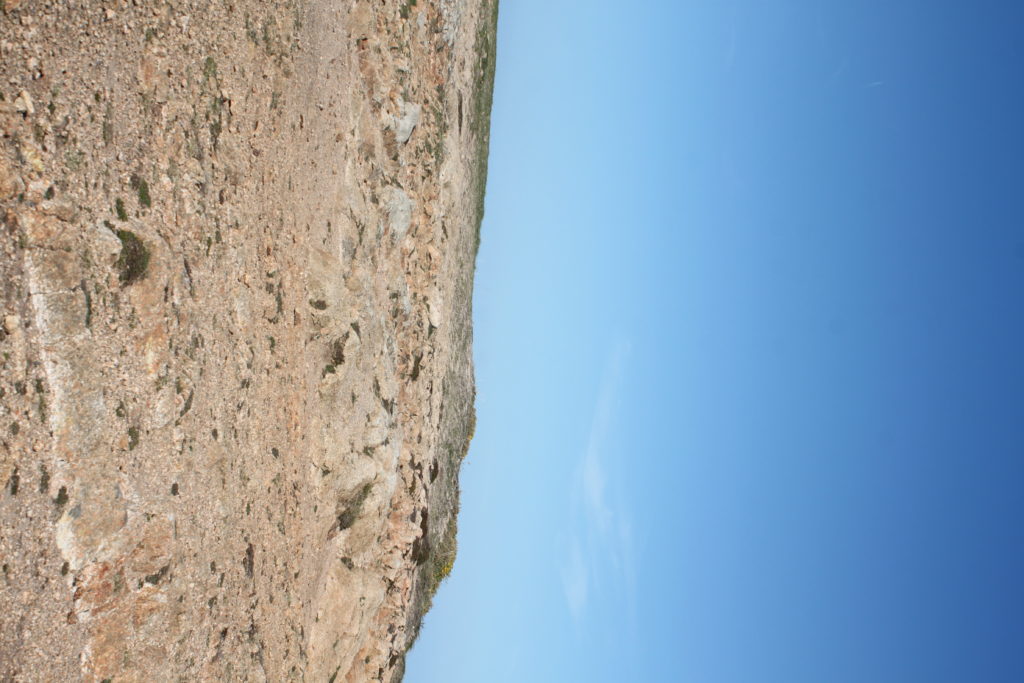
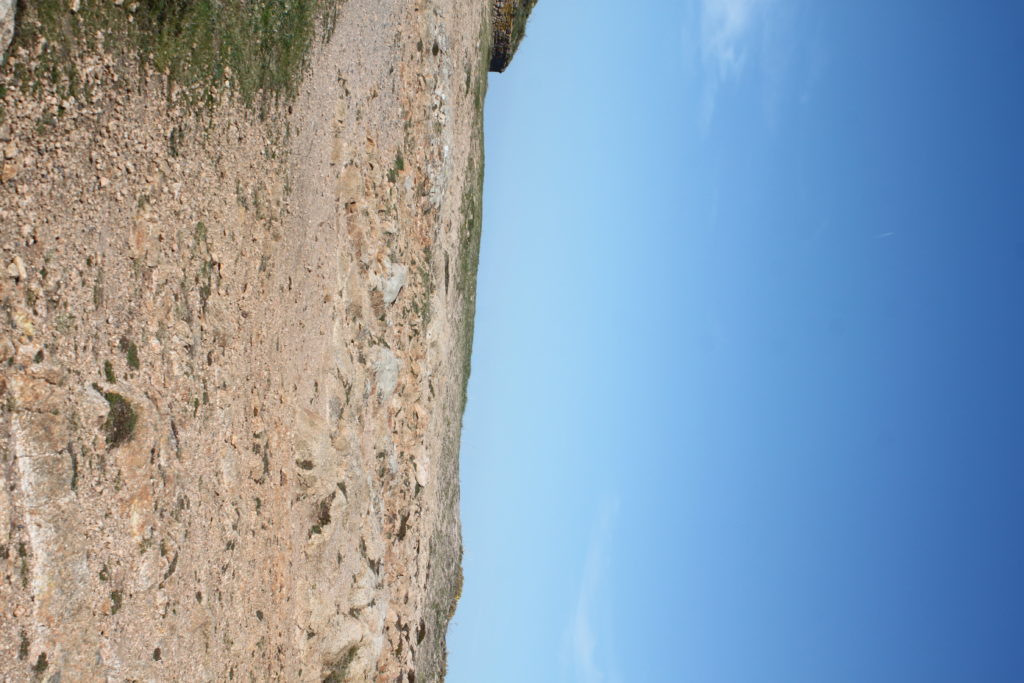
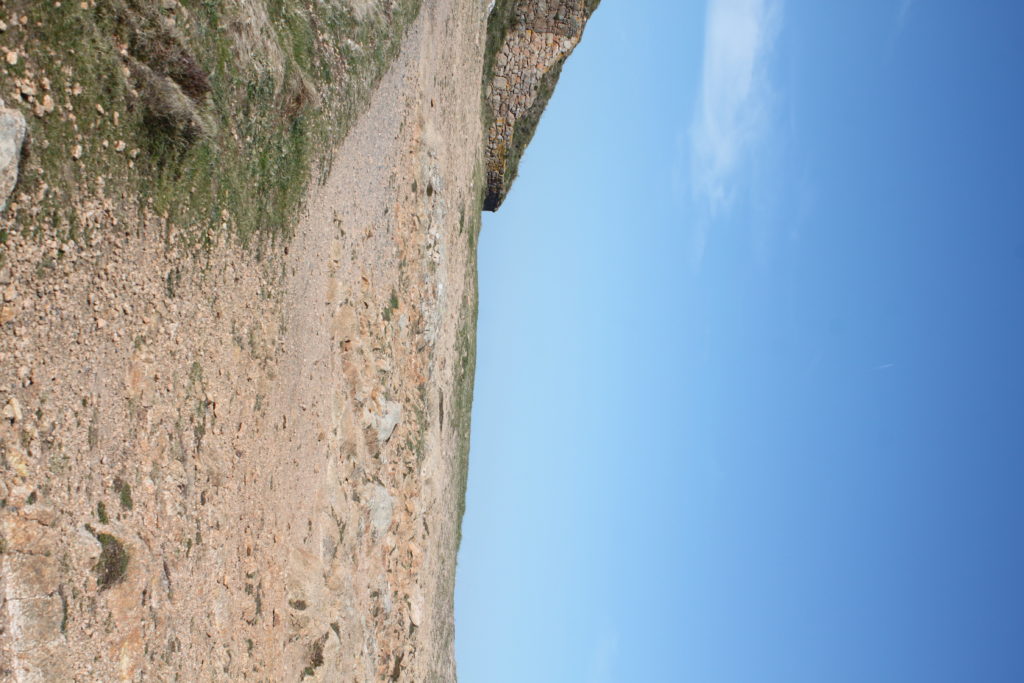

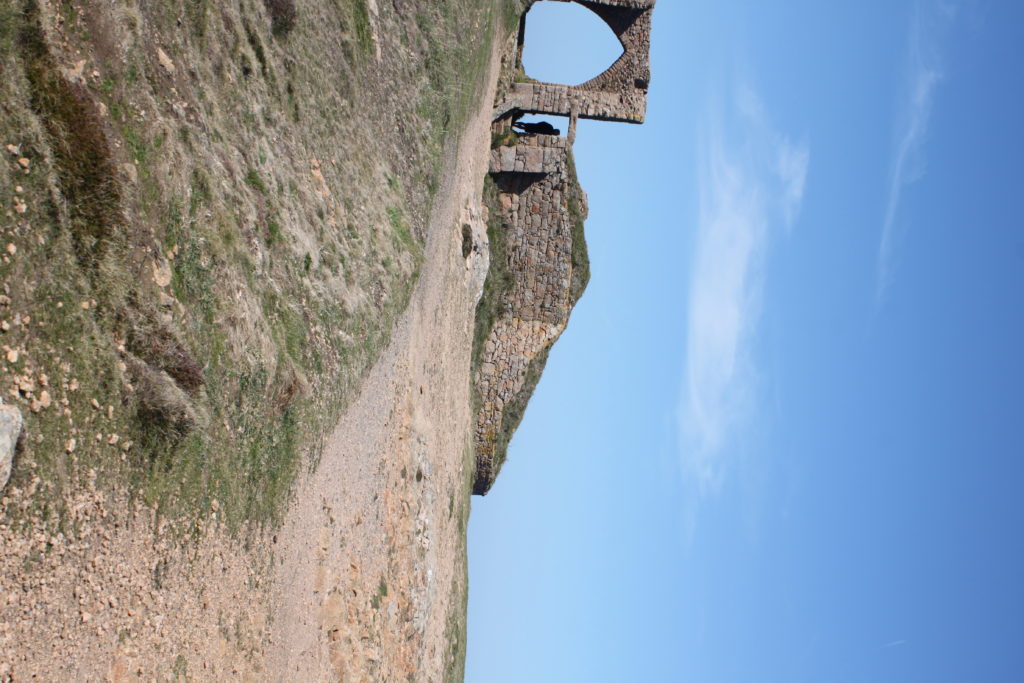
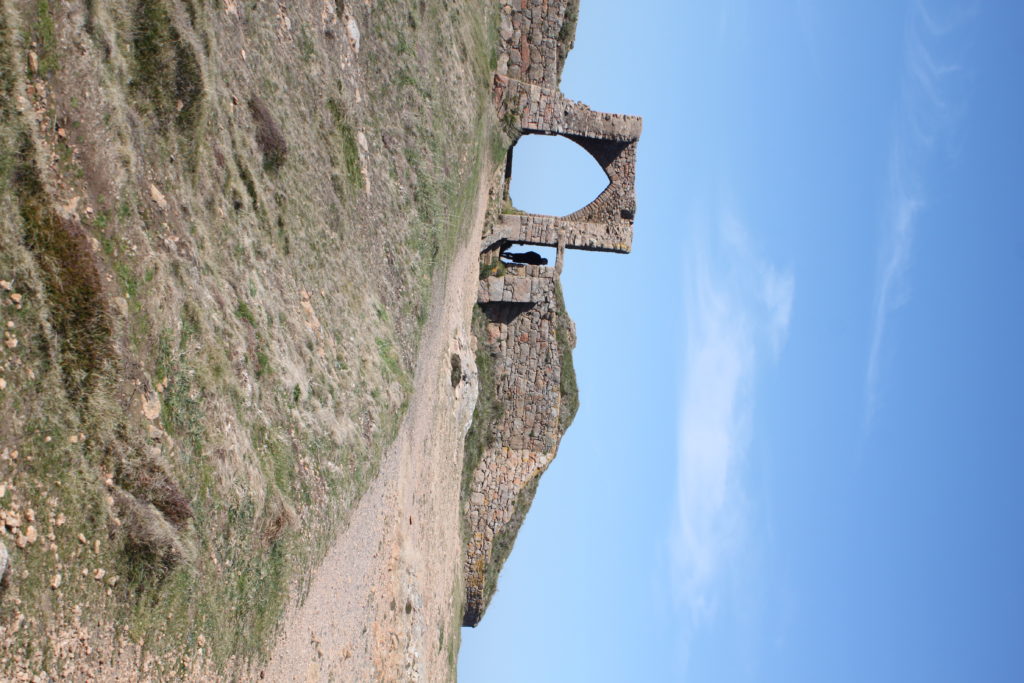

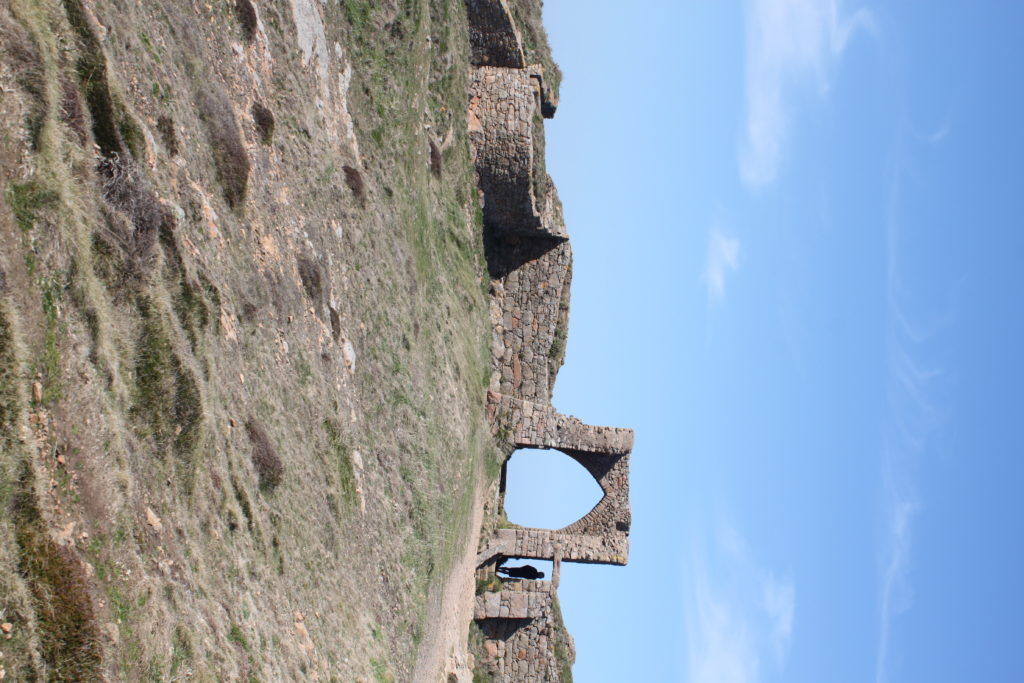
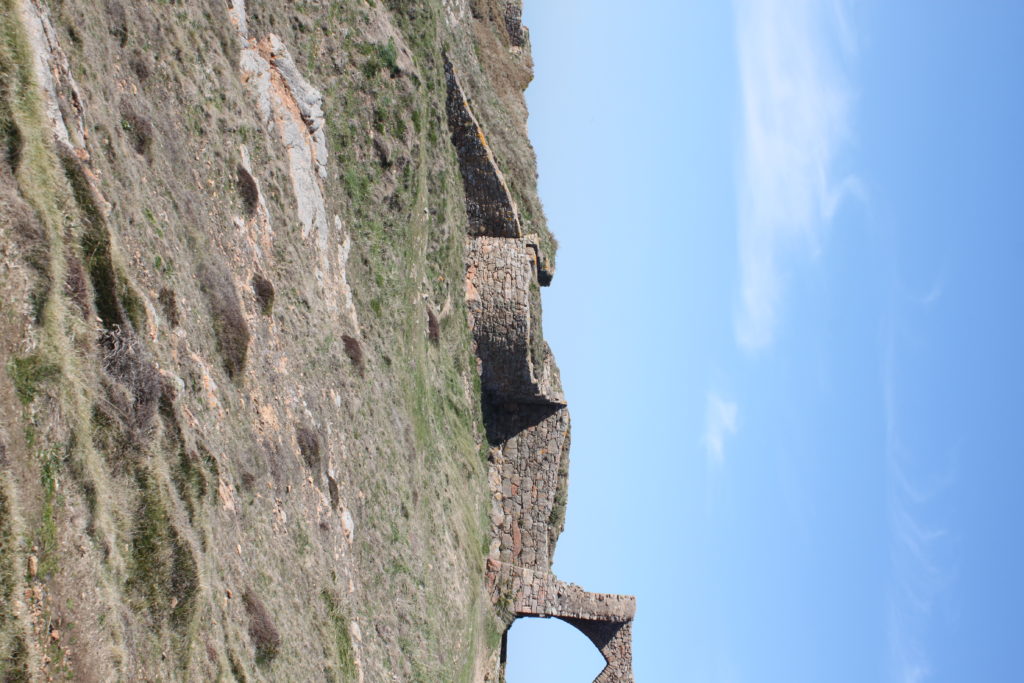
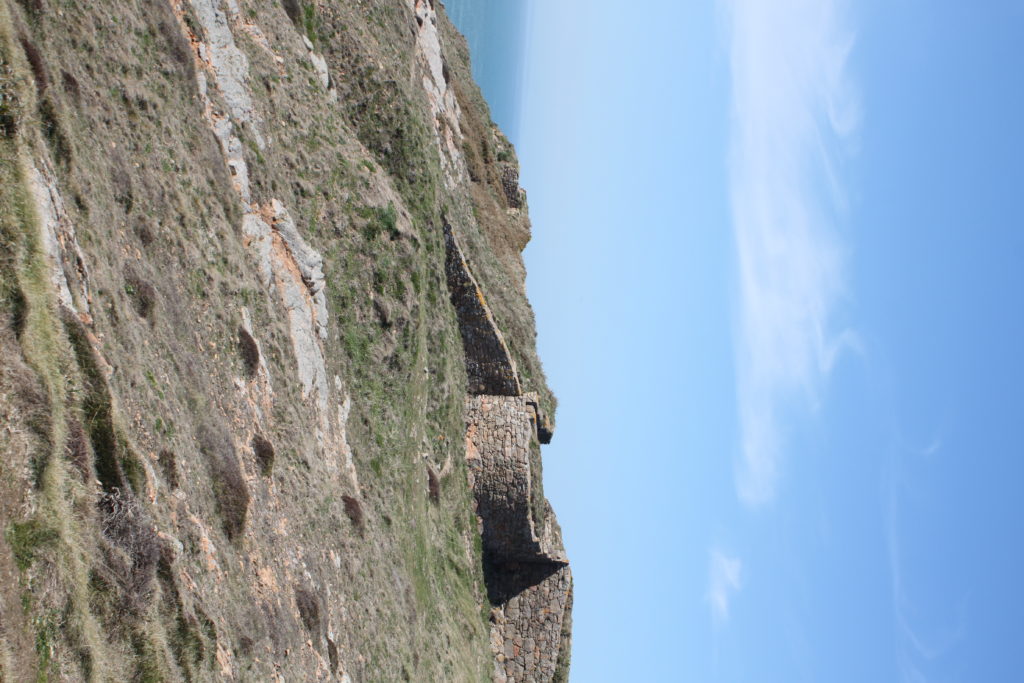
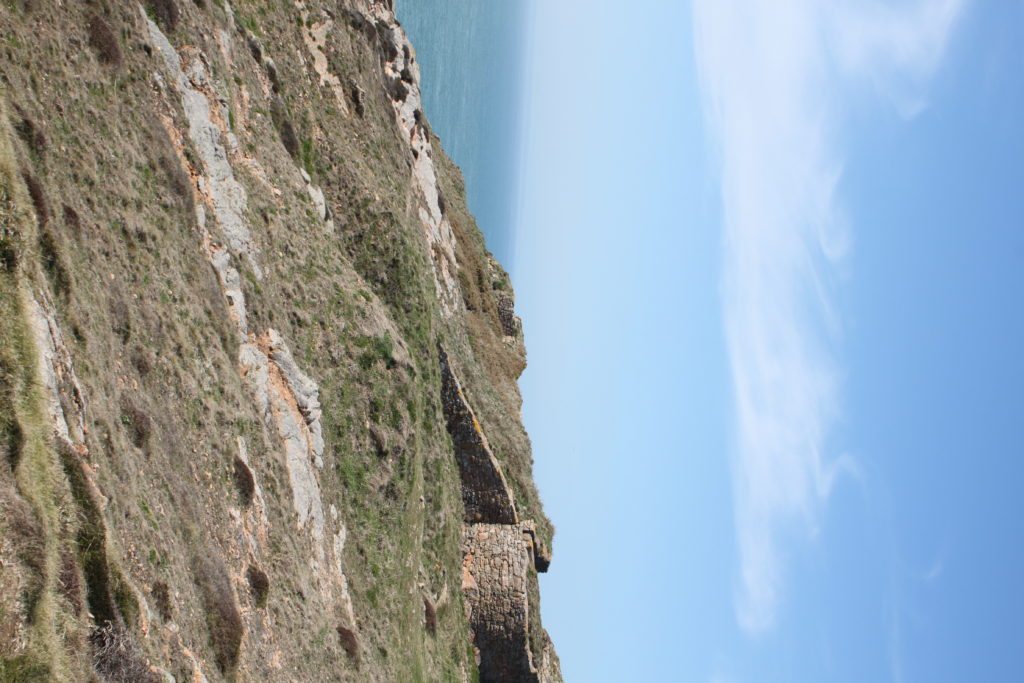
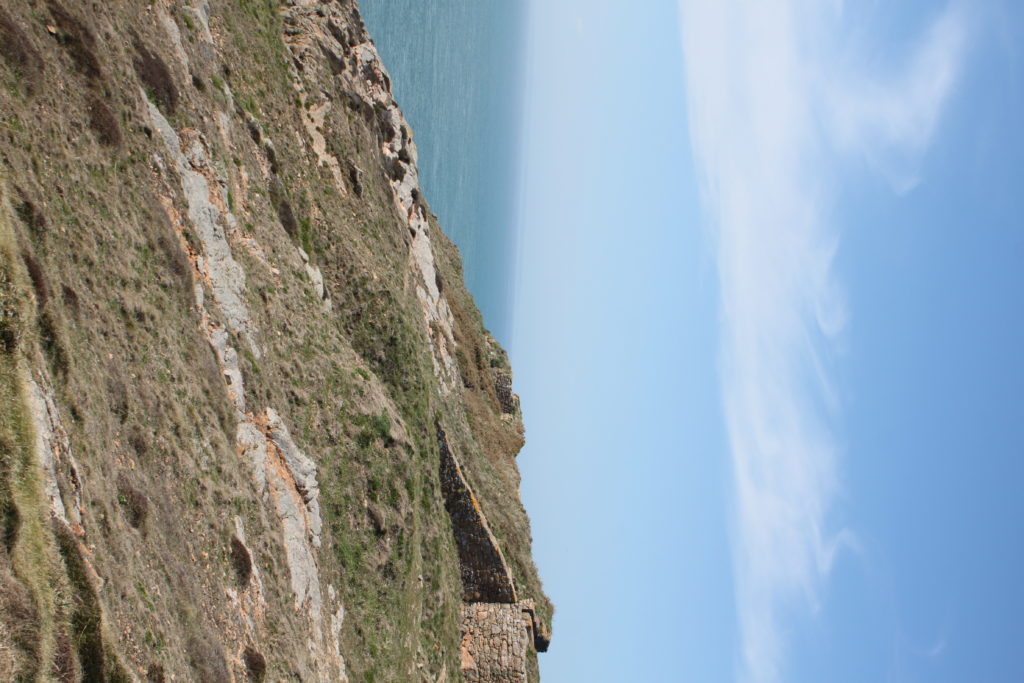
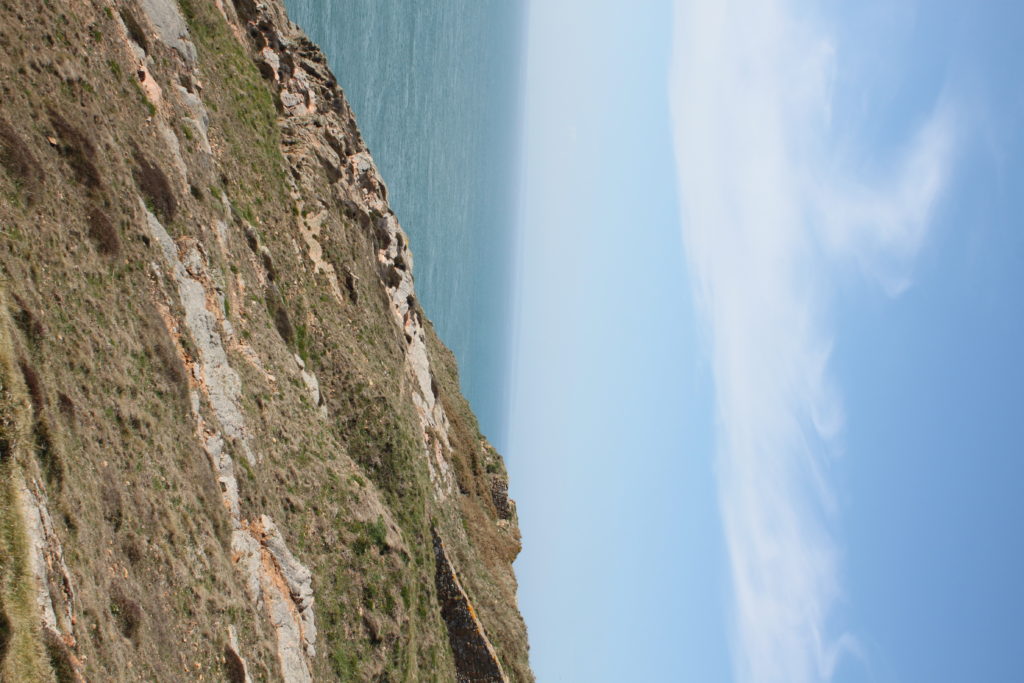
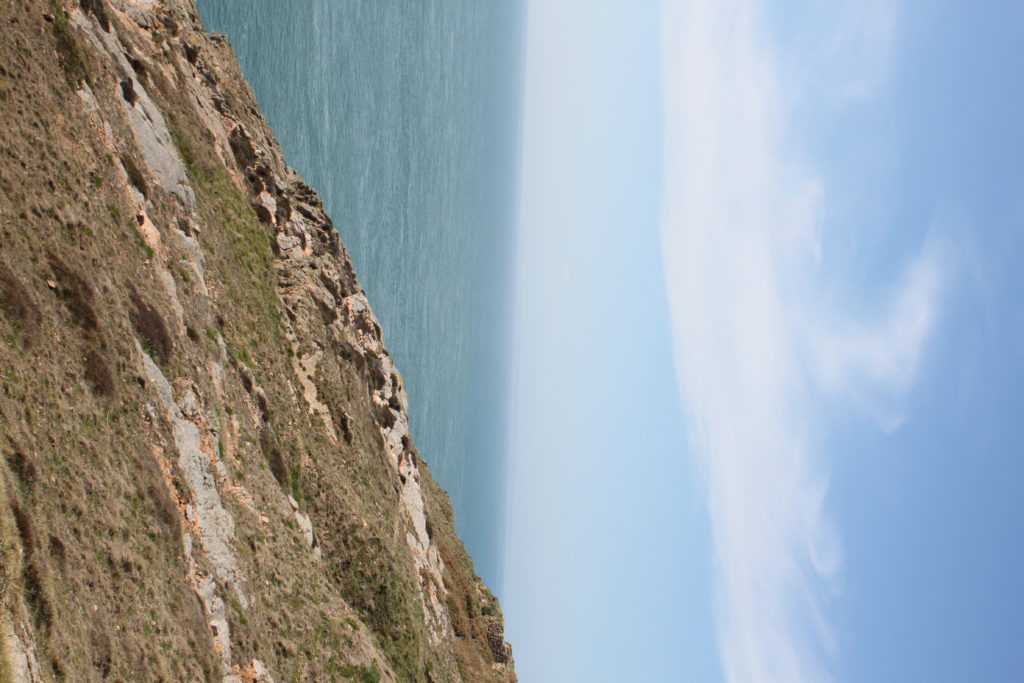
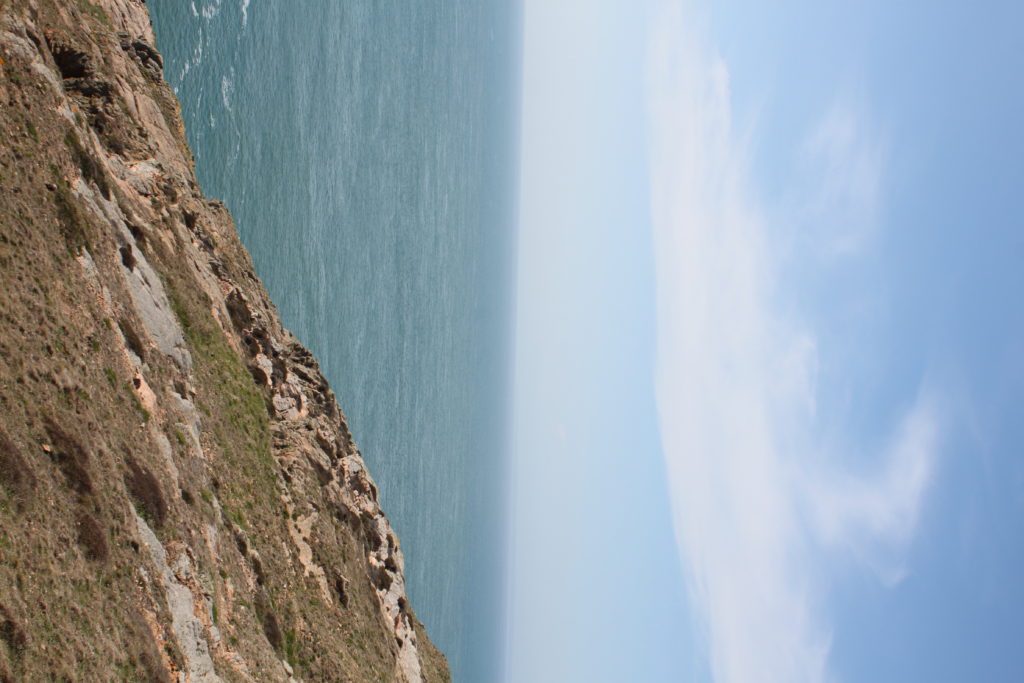
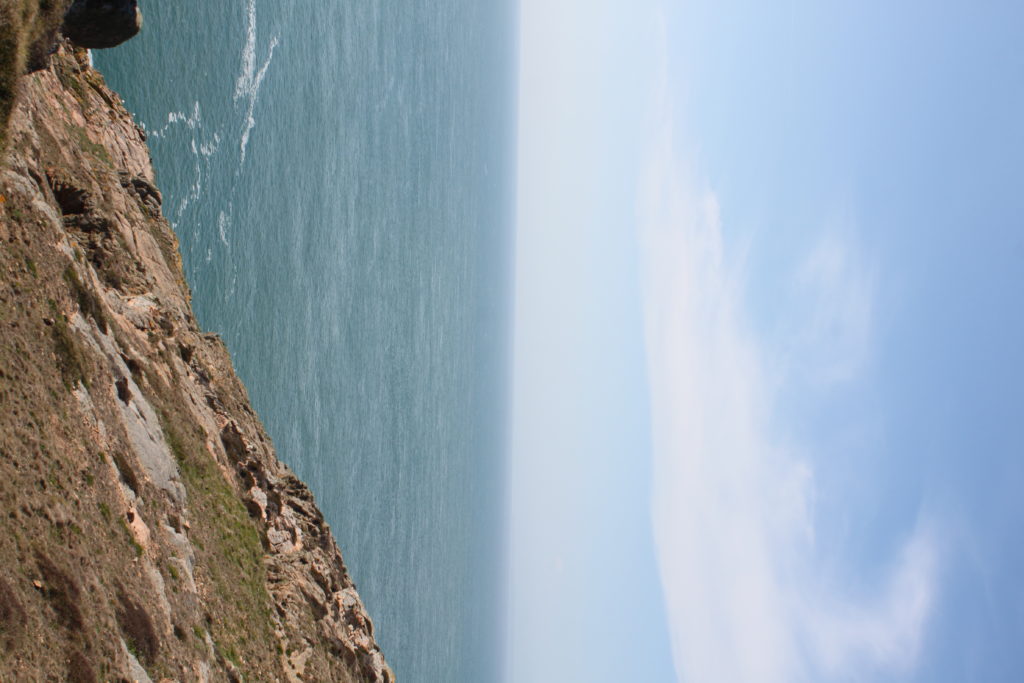

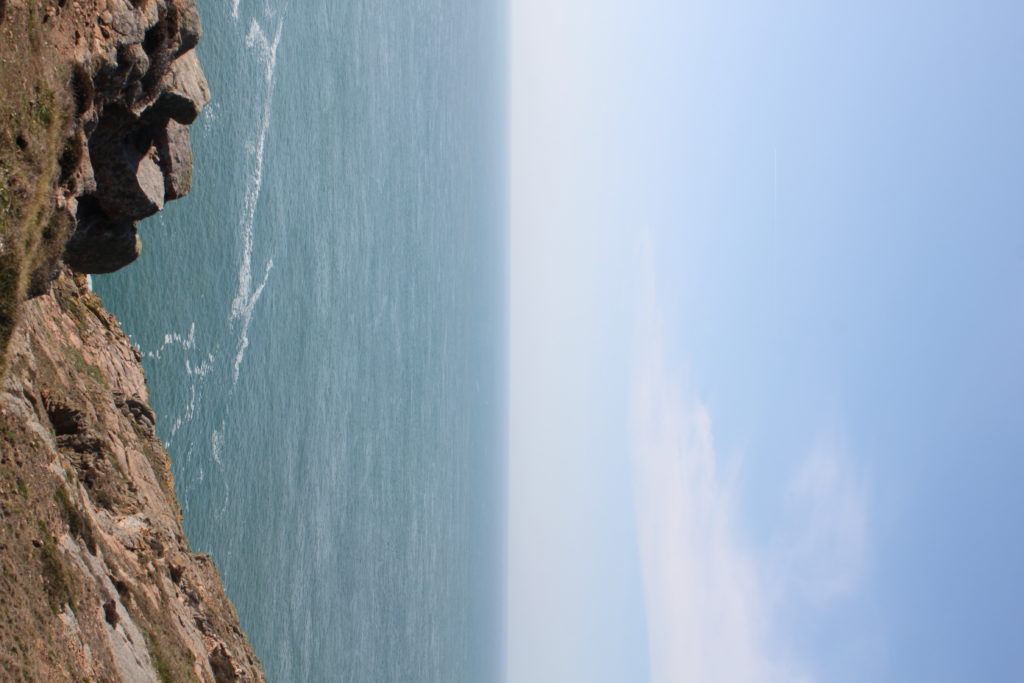
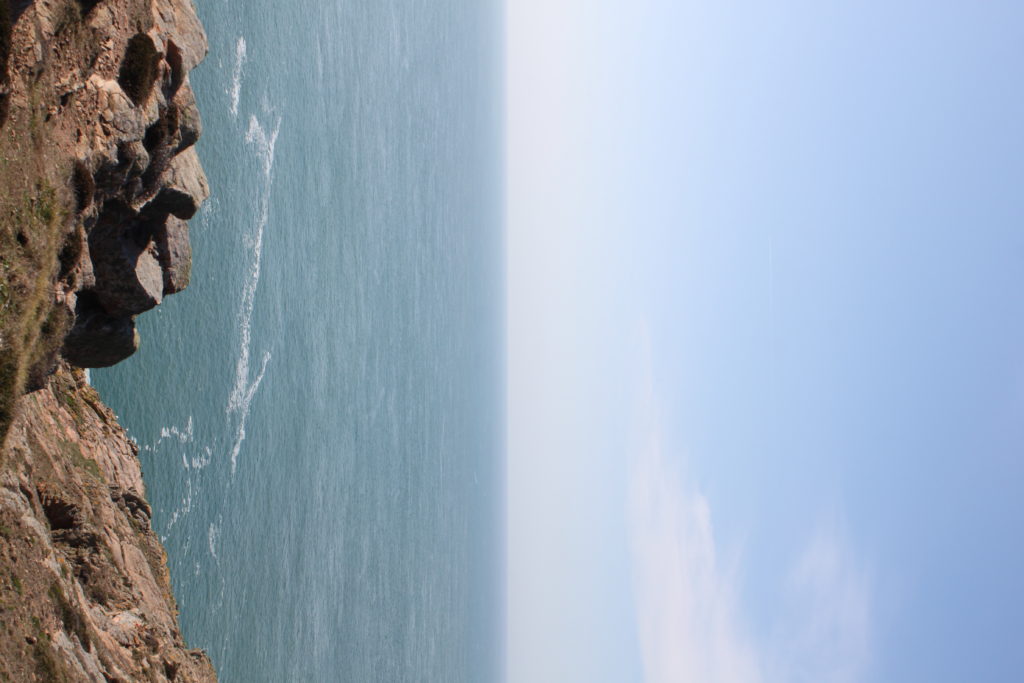
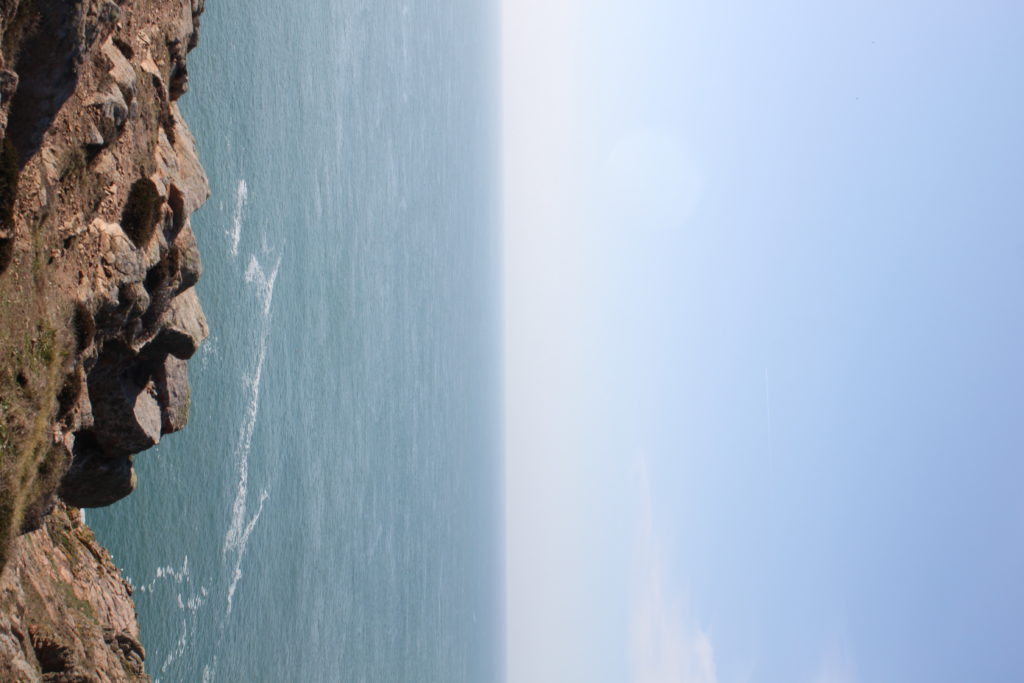
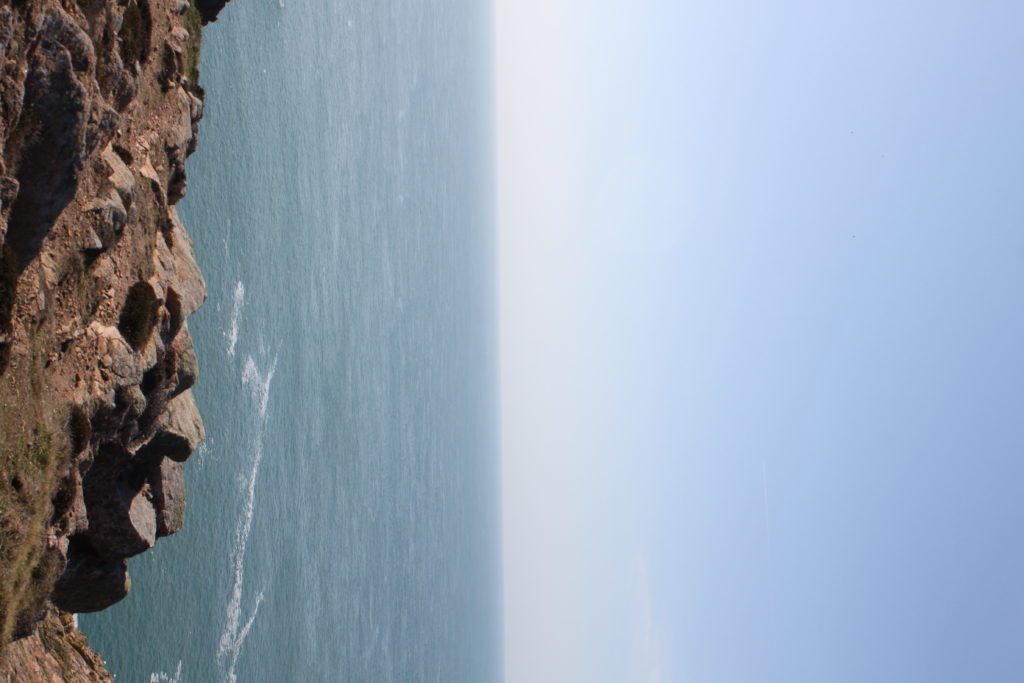
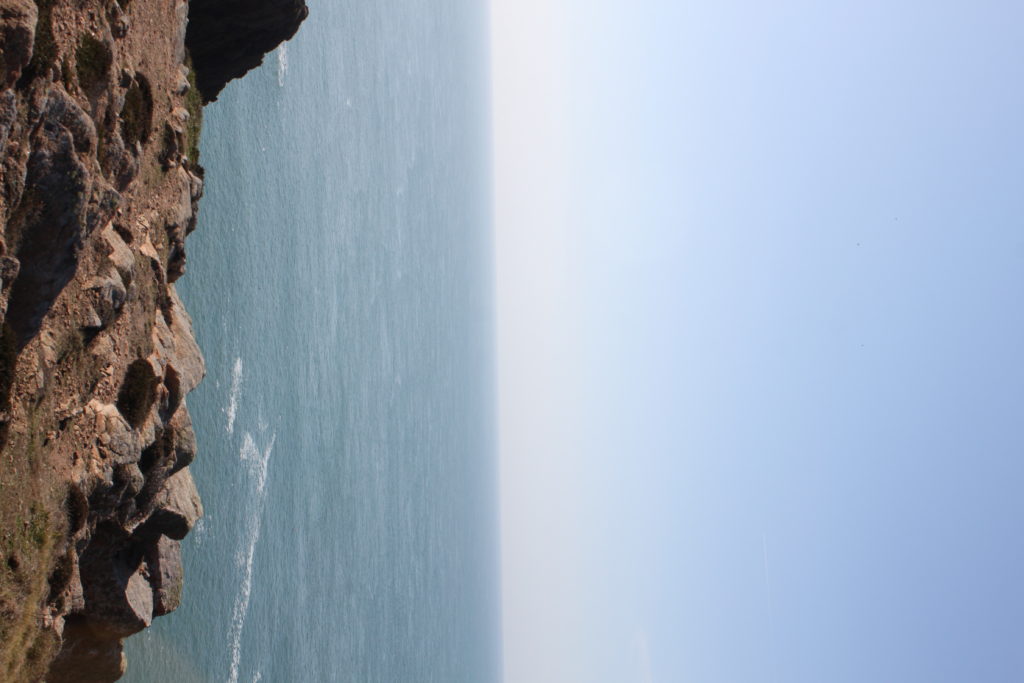
The above shoot was Grosnez, a full 360 degree panorama (not yet stitched). I had the camera on a tripod in a portrait angle so I could capture a better height. I then used full auto setting to best get the land setup best. I took the images overlapping the last by 1:3 to ensure no bits are missing and the stitching works well.
The shoot below was at Les Landes, I did the same concept, 2x 360 degree on full auto. I used ,y hand to mark the start and stop of each panorama

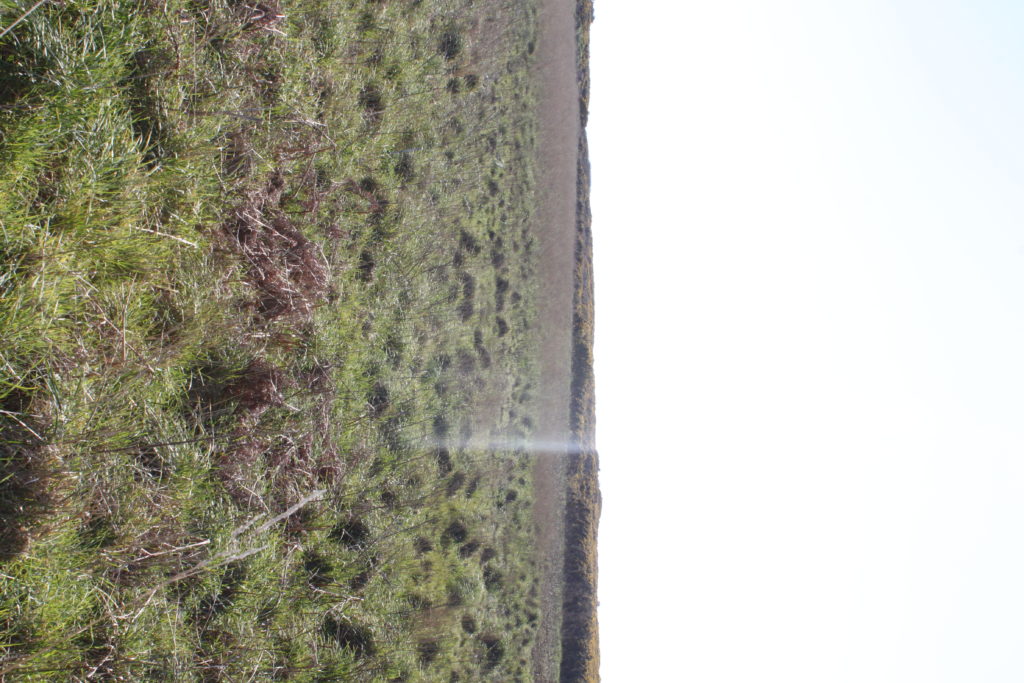
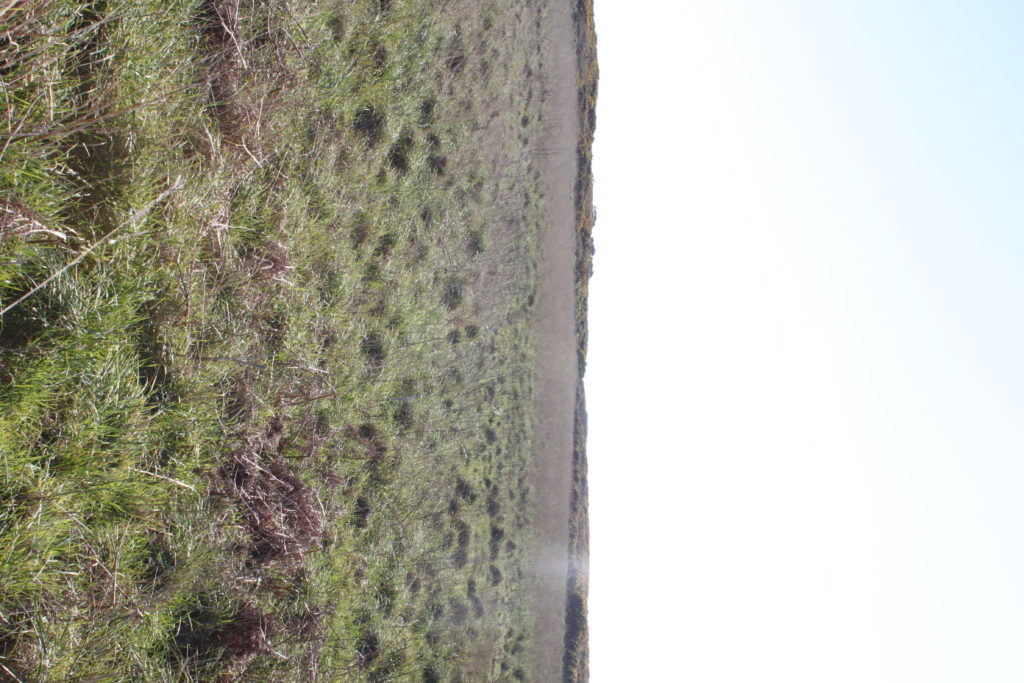
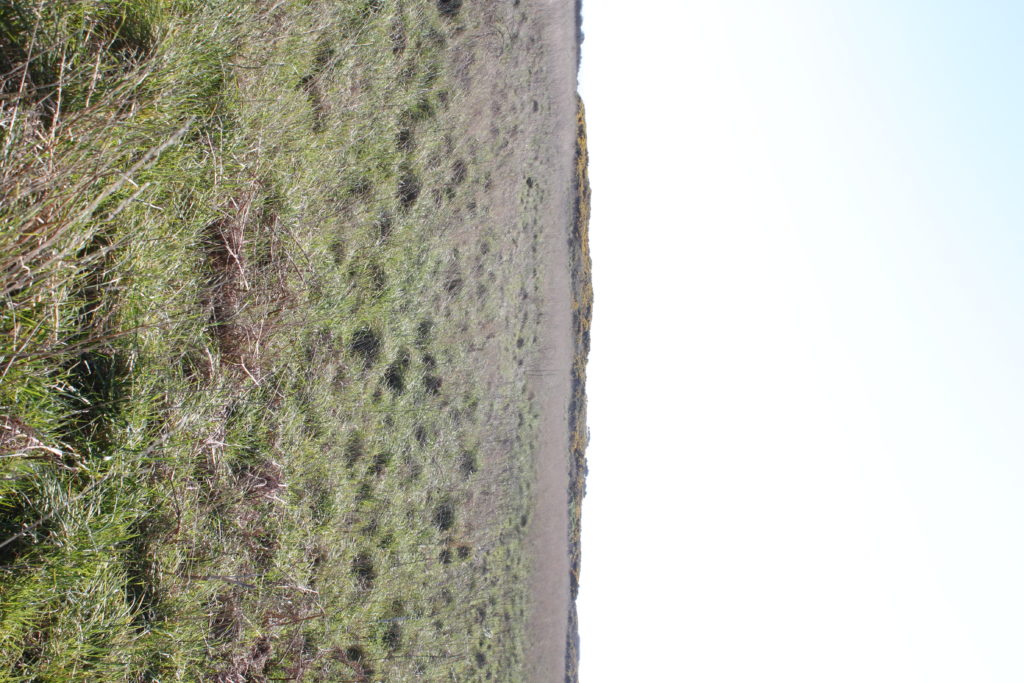
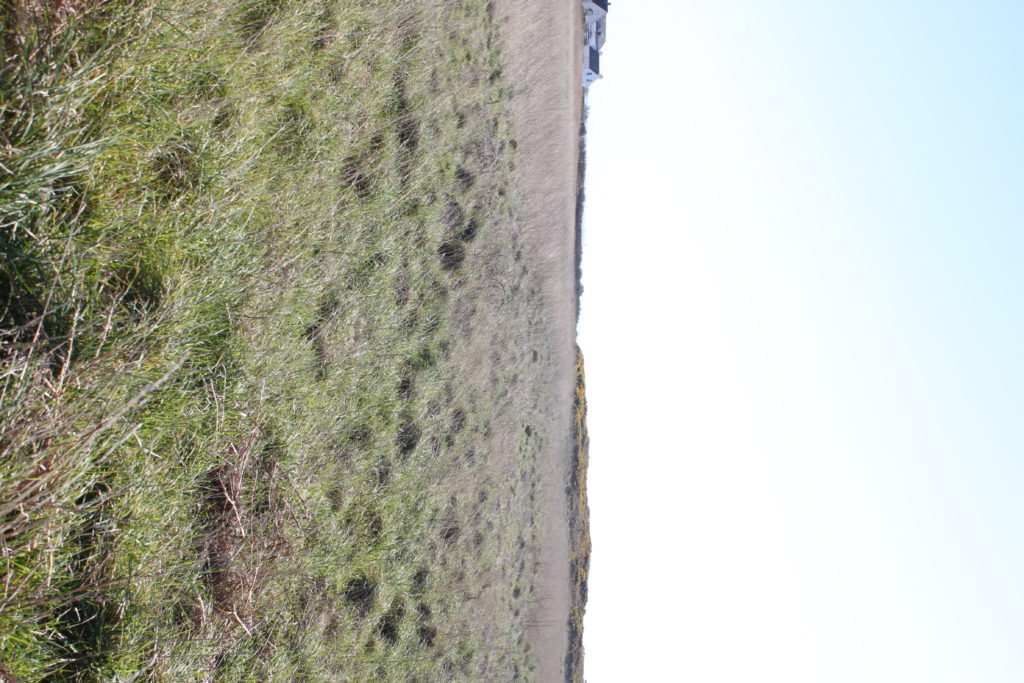
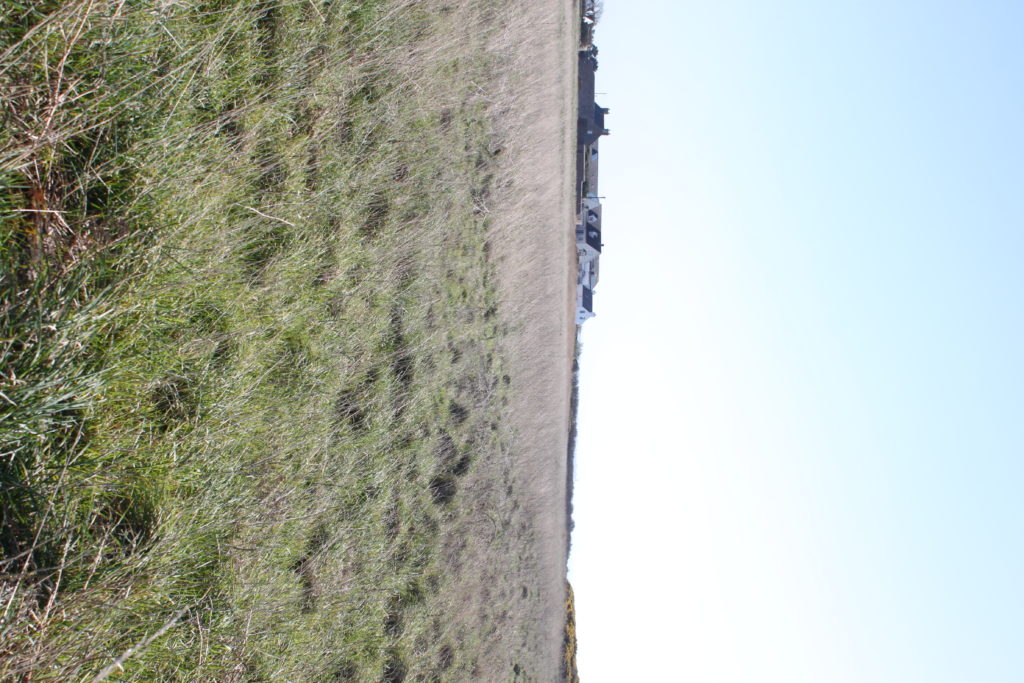
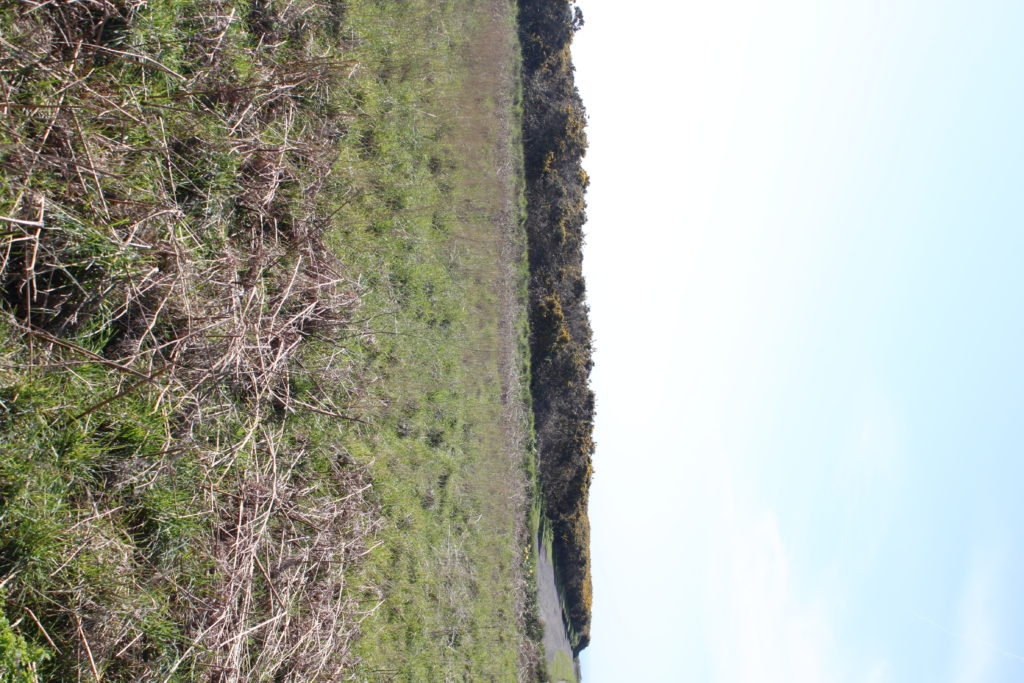
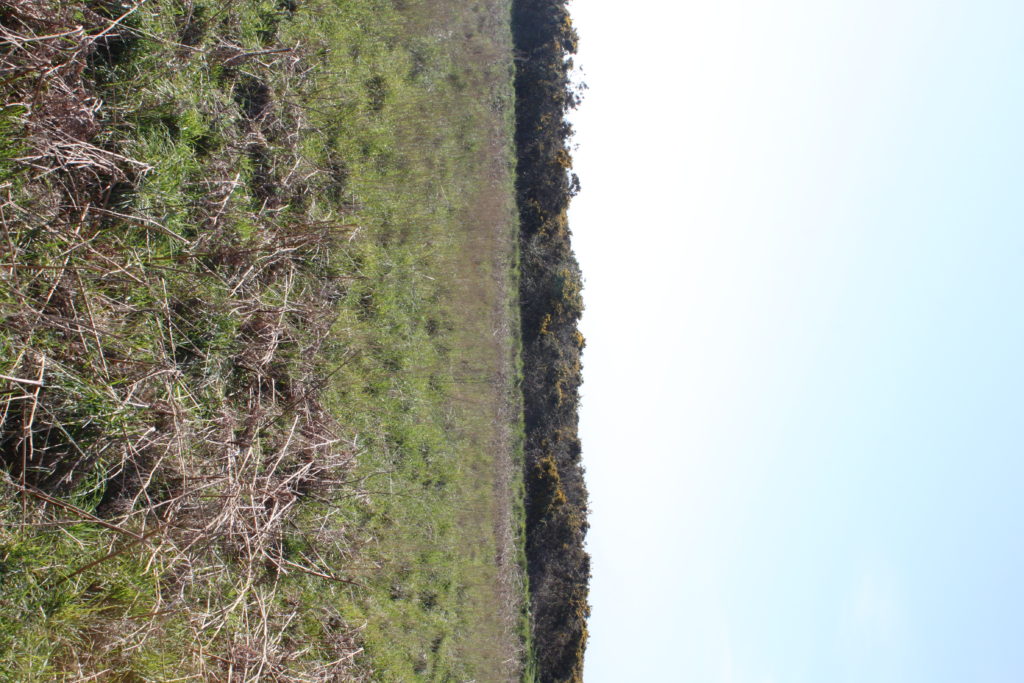
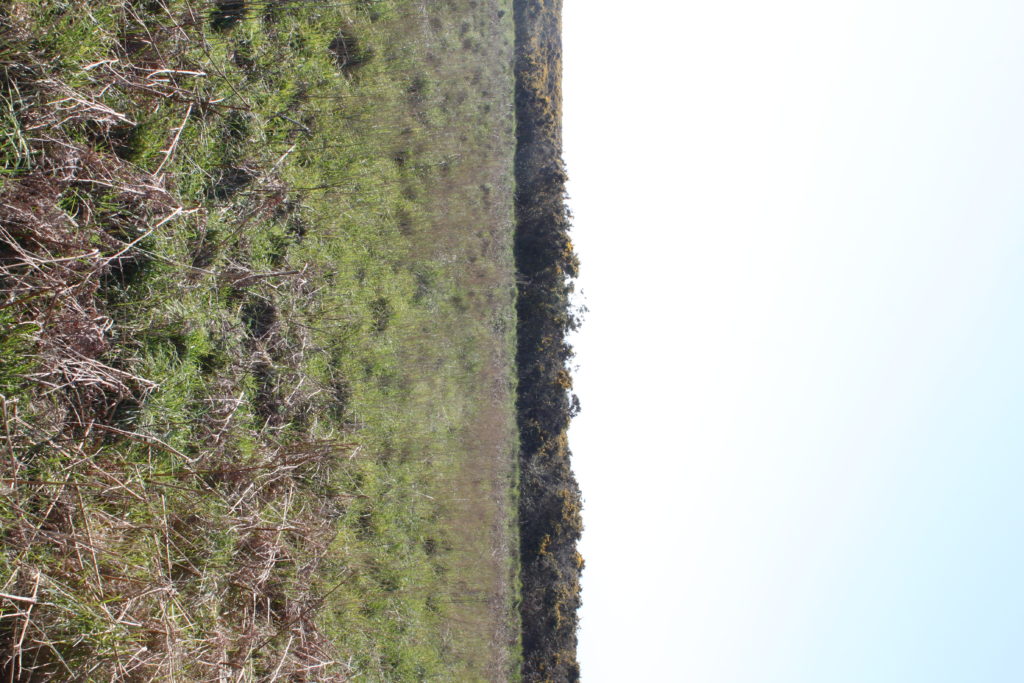
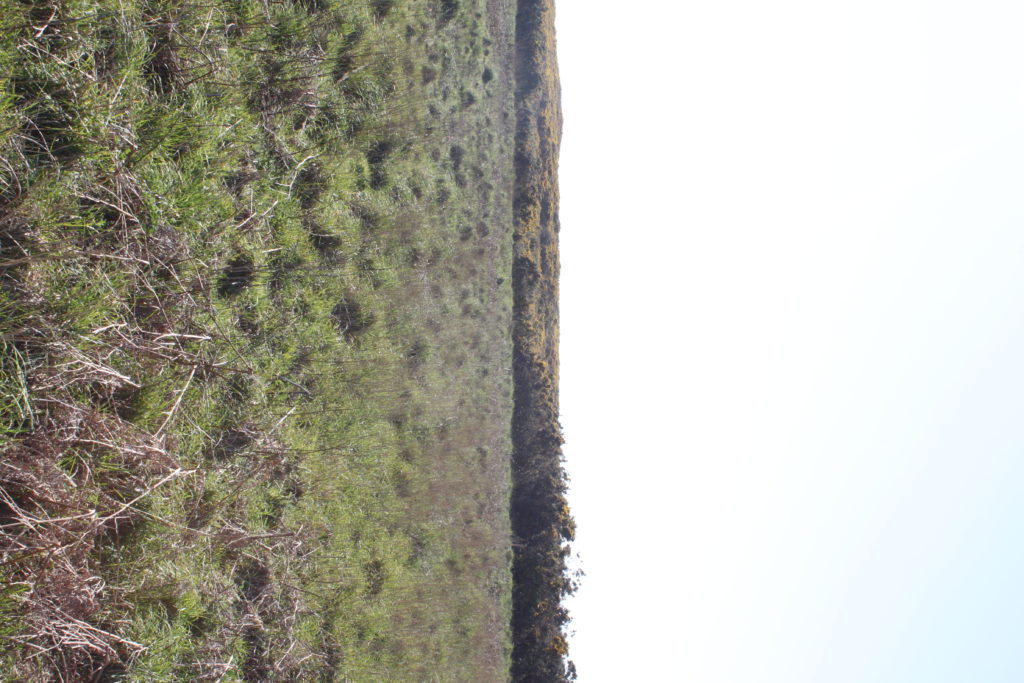
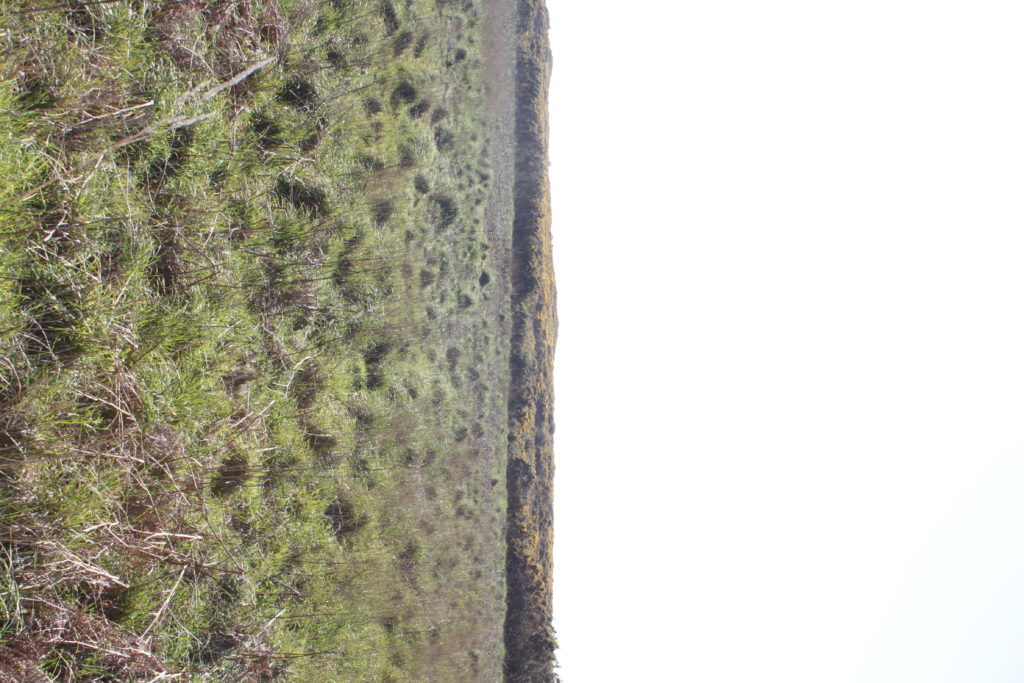
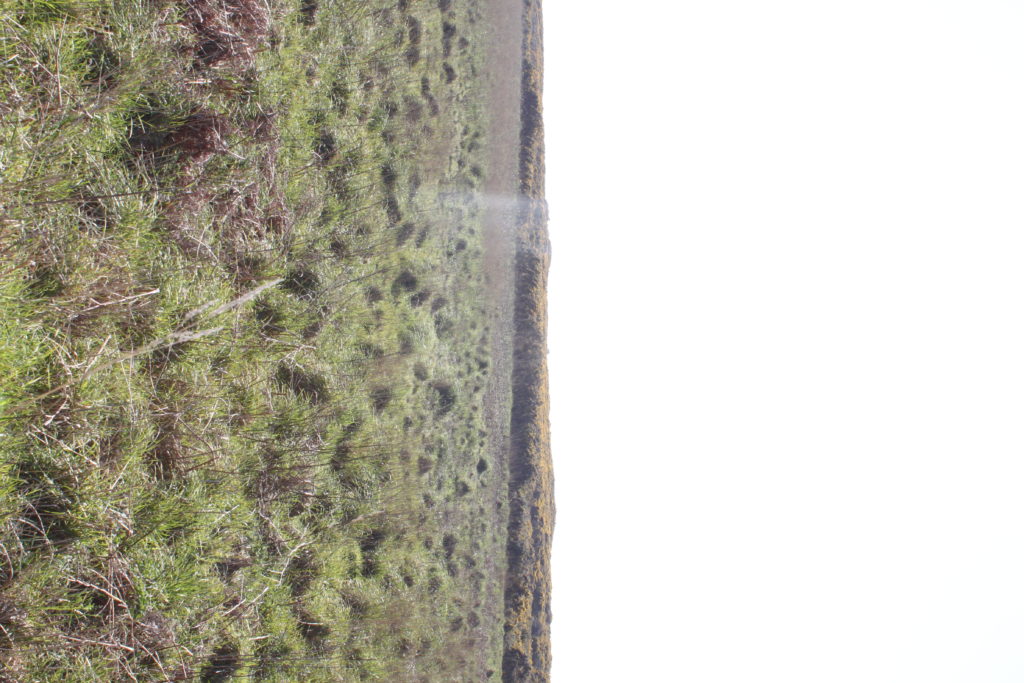


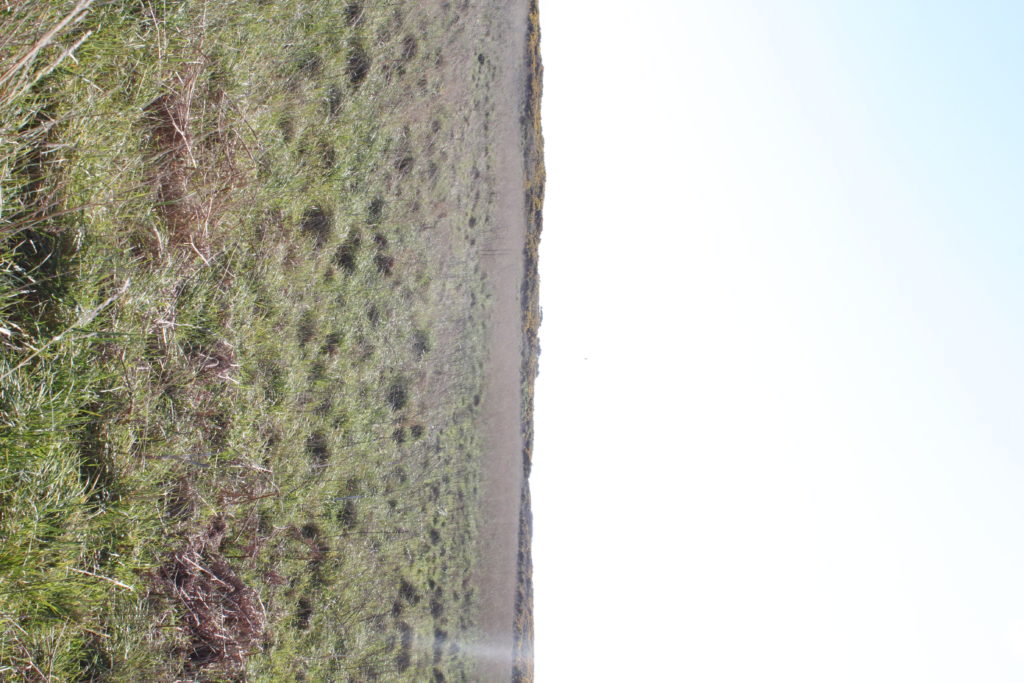

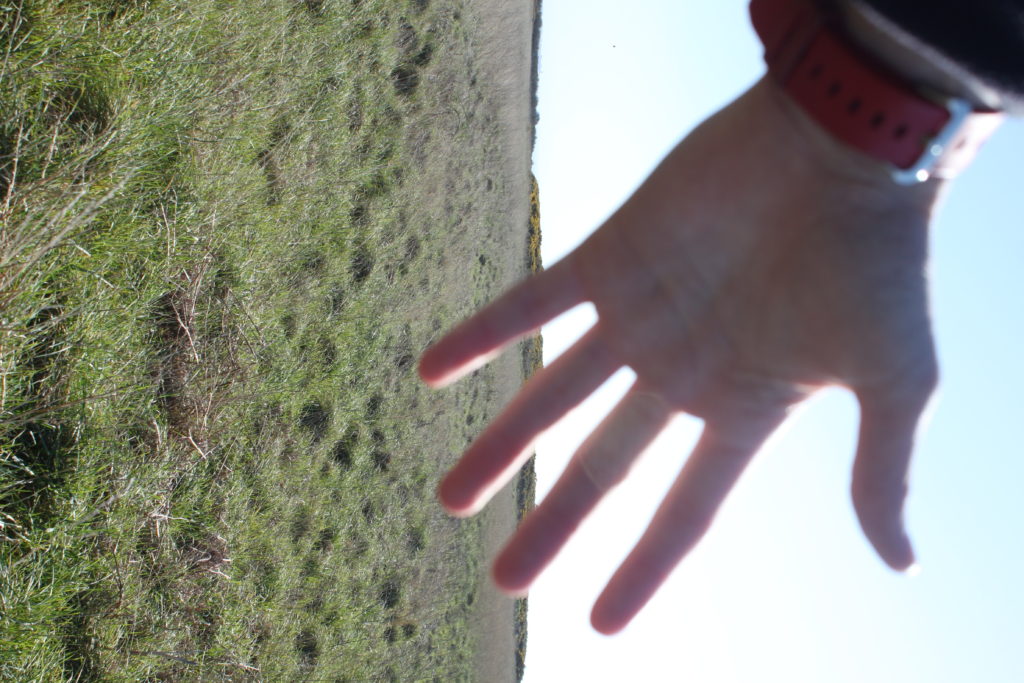

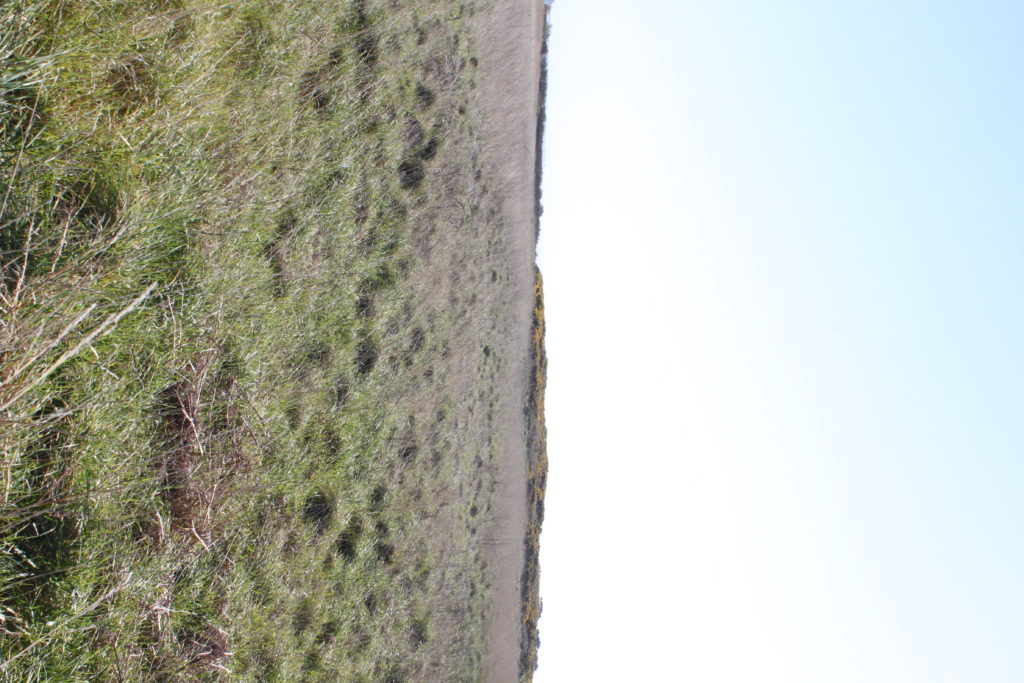
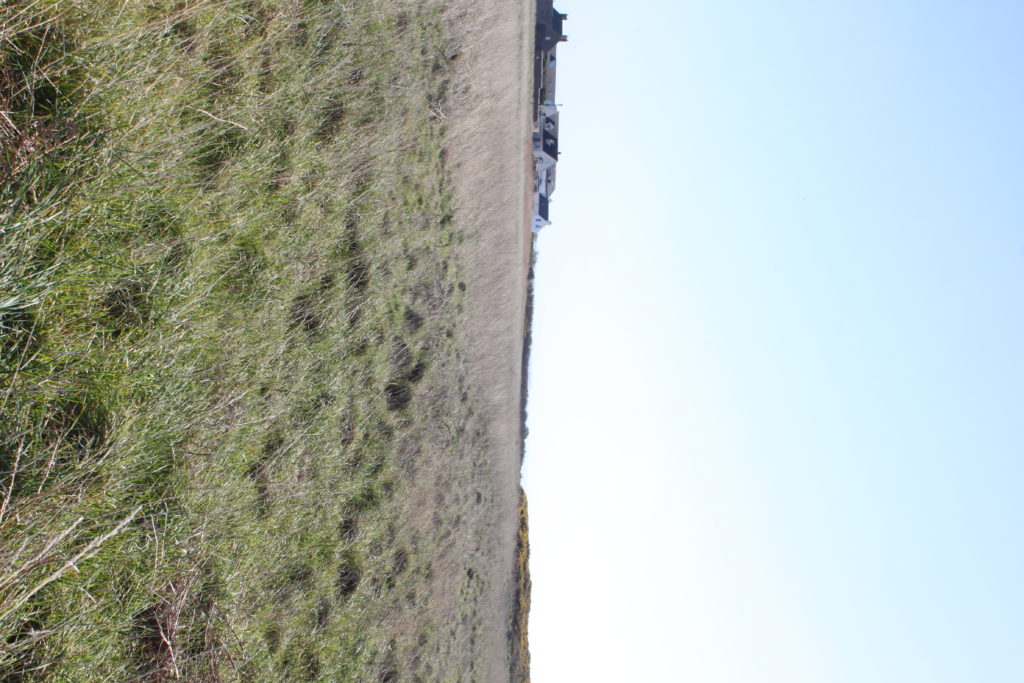
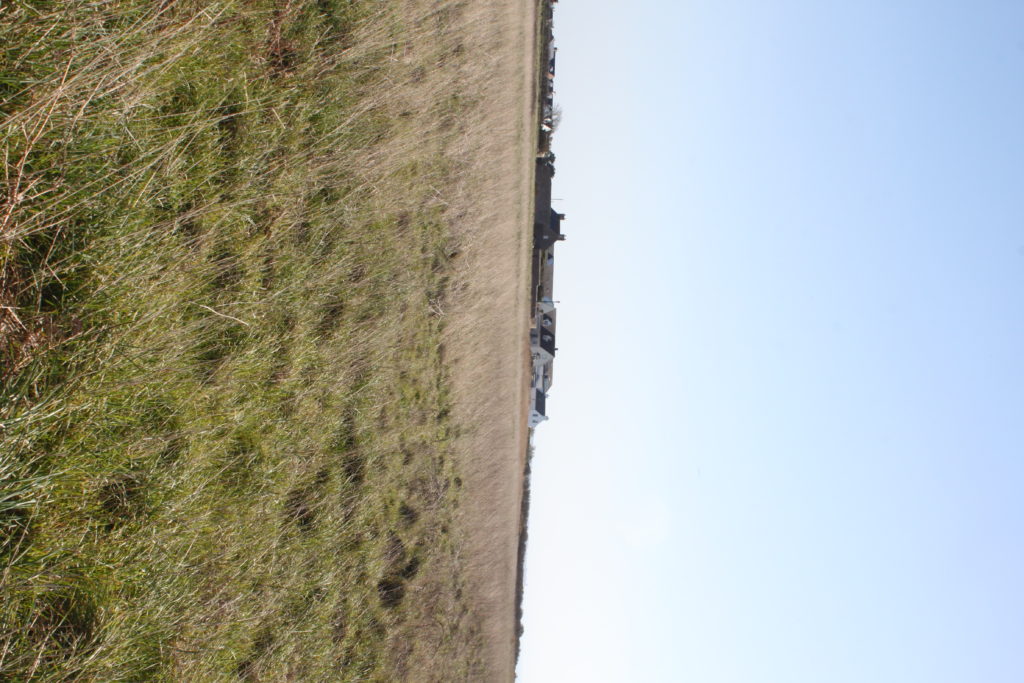
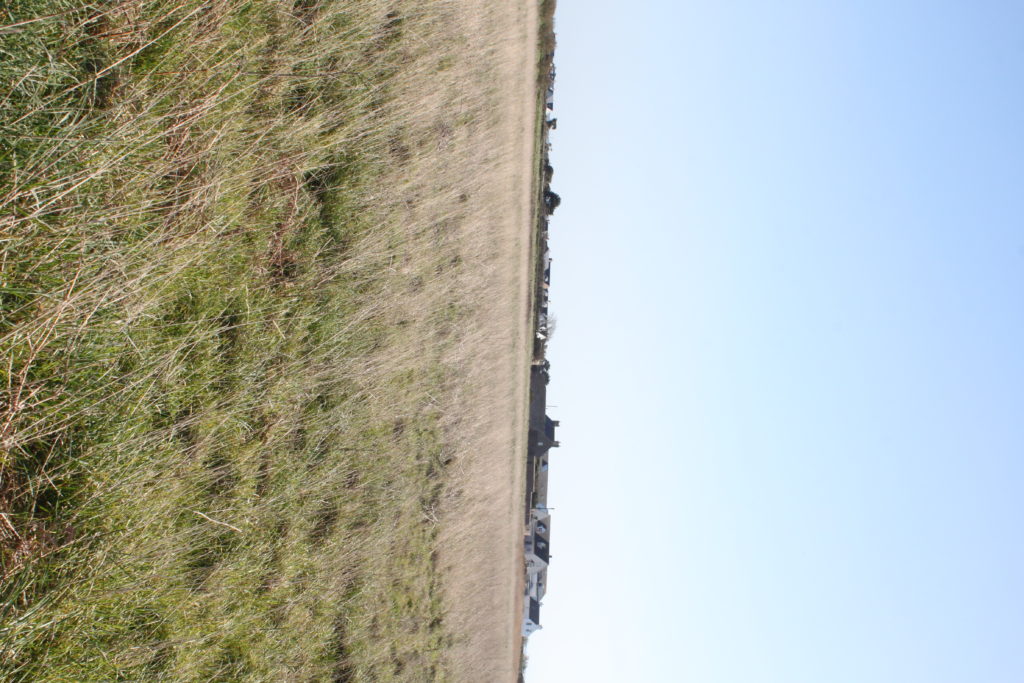

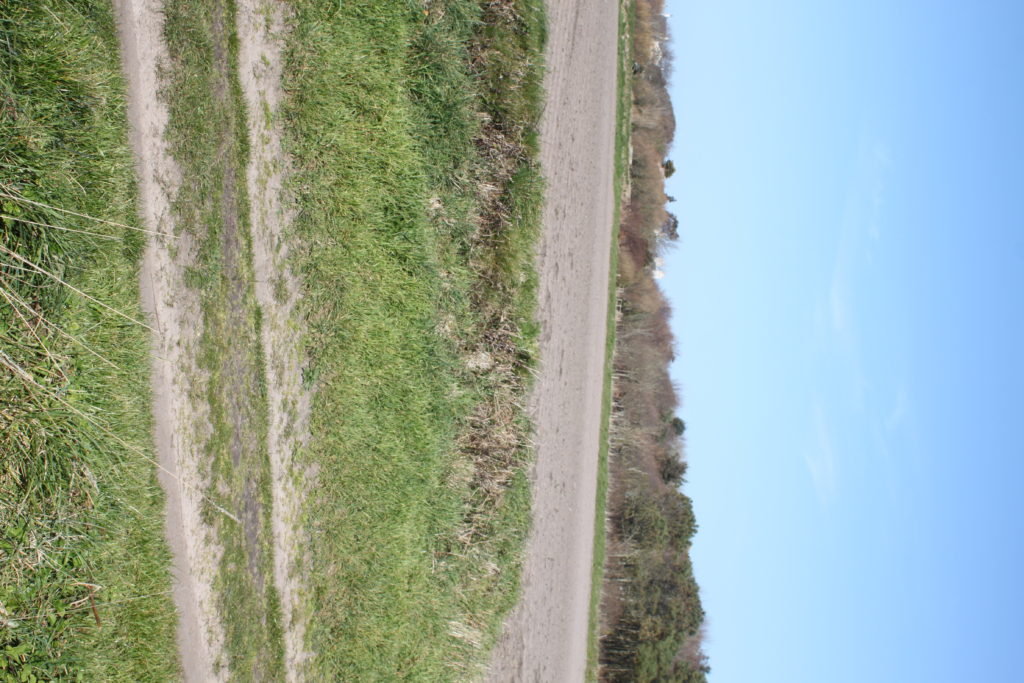
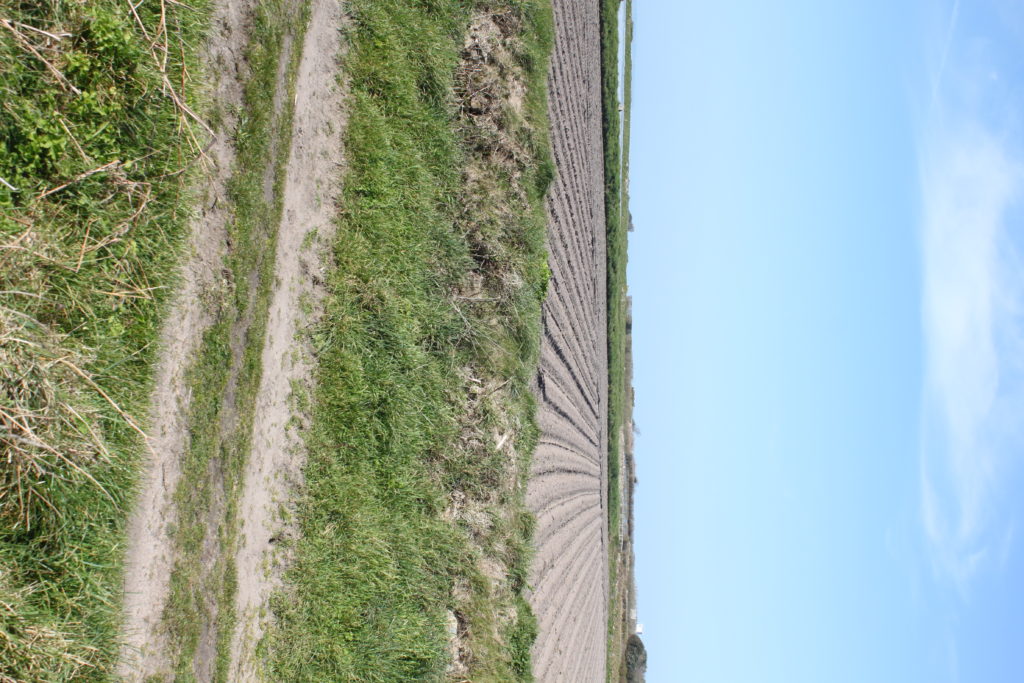
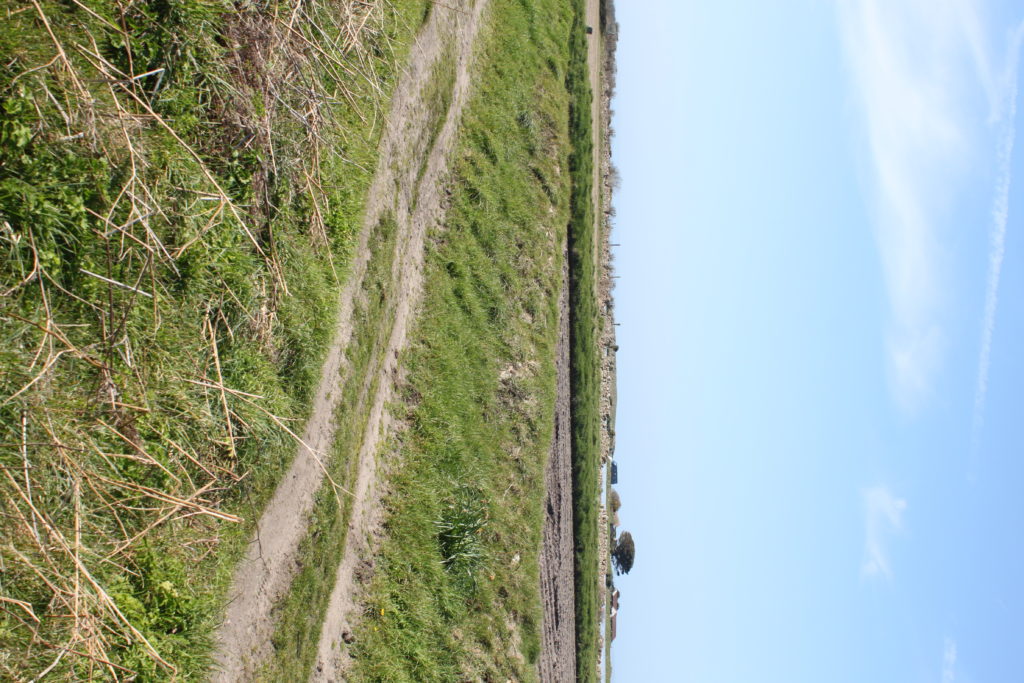
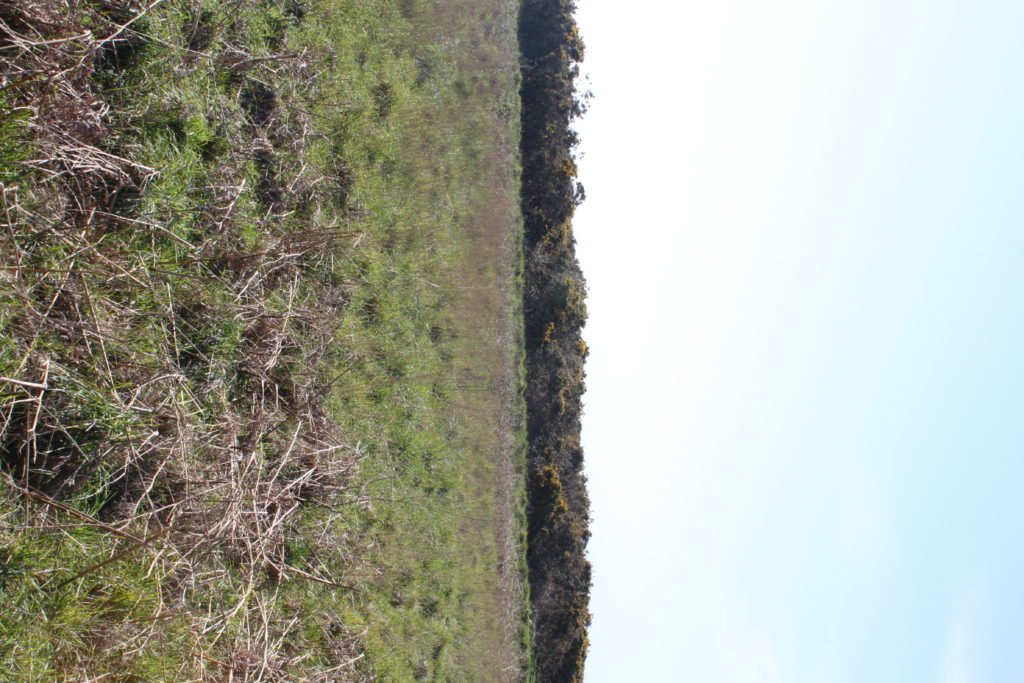

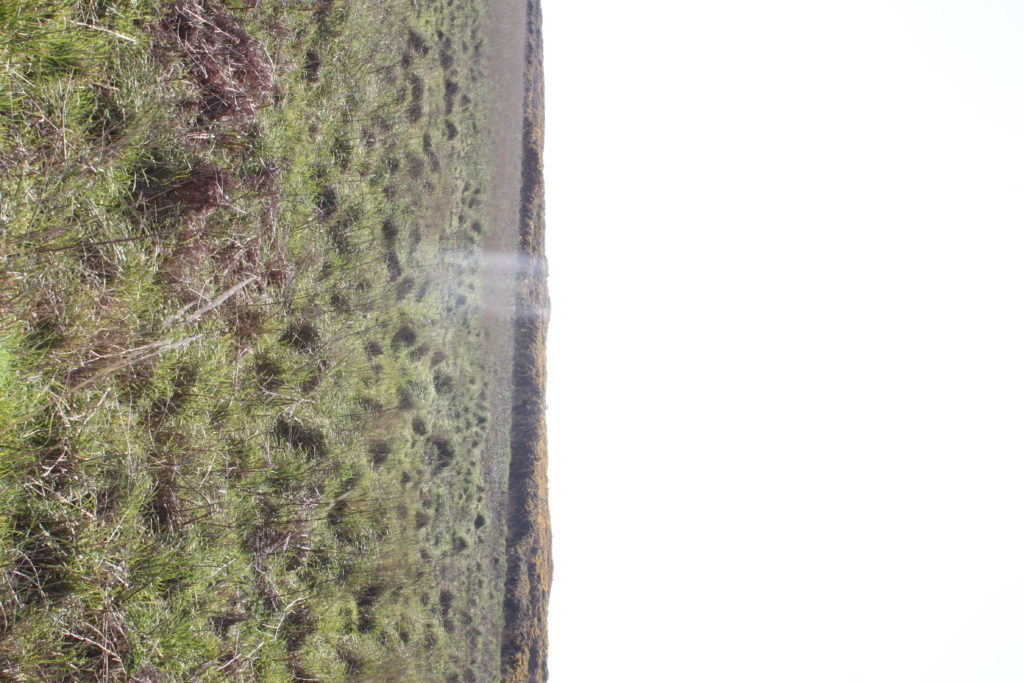


I now have to put the images into photoshop, create panoramas then bend the images into a circle.
After recently going to two exhibitions, the CCA Gallery and Public and Private, I was inspired through the works of the photographers regarding their pop art, graphics, album art, documentary photography and paintings. Looking back at the galleries I really liked how each artist’s work varied from the next, with each possessing their own unique perspective and style. The first gallery I visited was the CCA Gallery, exhibiting the works of Mike McCartney, Rupert Truman, and Carinthia West. Some examples from the gallery can be seen below:
Rupert Truman:

Carinthia West:

Mike McCartney:

After visiting the CCA Gallery we headed over to the Public and Private gallery, they were currently holding an exhibition based around ‘Pop Icons of the 20th Century – British & American Pop Art’. Emerging in the mid 1950’s in Britain and late 1950’s in America, Pop Art reached its peak in the 1960’s and went on to become the most recognisable art form of the 20th century. It began as a revolt against the dominant approaches to art and culture and traditional views on what art should be.
Young artists felt that what they were taught at art school and what they saw in museums did not have anything to do with their lives or the things they saw around them every day. Instead they turned to sources such as Hollywood movies, advertising, product packaging, pop music and comic books for their imagery. Some of the artists who have the work exhibited are Andy Warhol, Sir Peter Blake and Patrick Caulfield. Some of their work can be seen below:
Andy Warhol:

Sir Peter Blake:

Patrick Caulfield:
