Category Archives: Experimenting

Filters

Author:
Category:

Framing Ideas For Final Piece

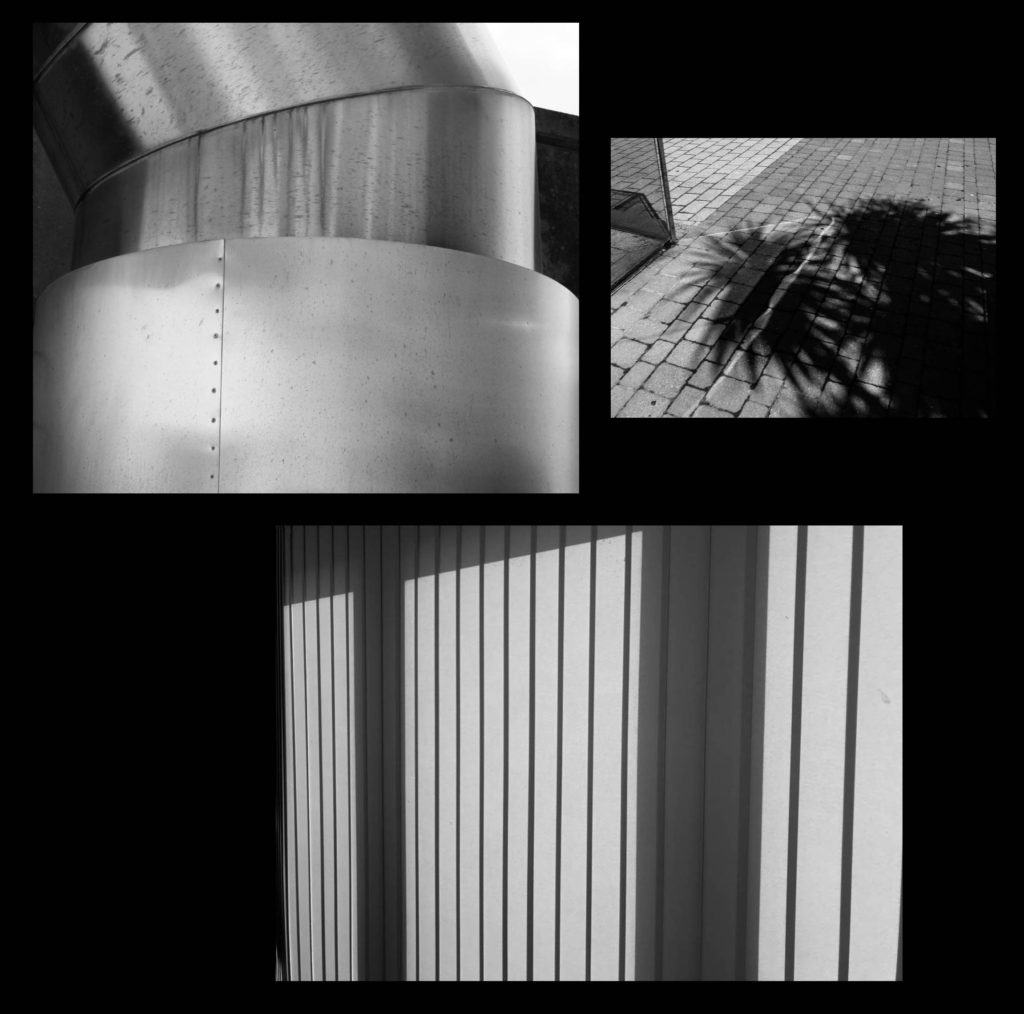
After I had complete making the book I then wanted to go onto designing some layouts for prints which I could mount up on foam board and card. I wanted to incorporate eight to nine images from each theme of abstraction and present them in a mood-board fashion where the images can be viewed as individual collections. However before going a head with the actual framing up I decided that I would make some smaller mood-boards which I could possibly implement the photos into when scaling them up. Here are some of my ideas regarding how I could go about composing each composition:

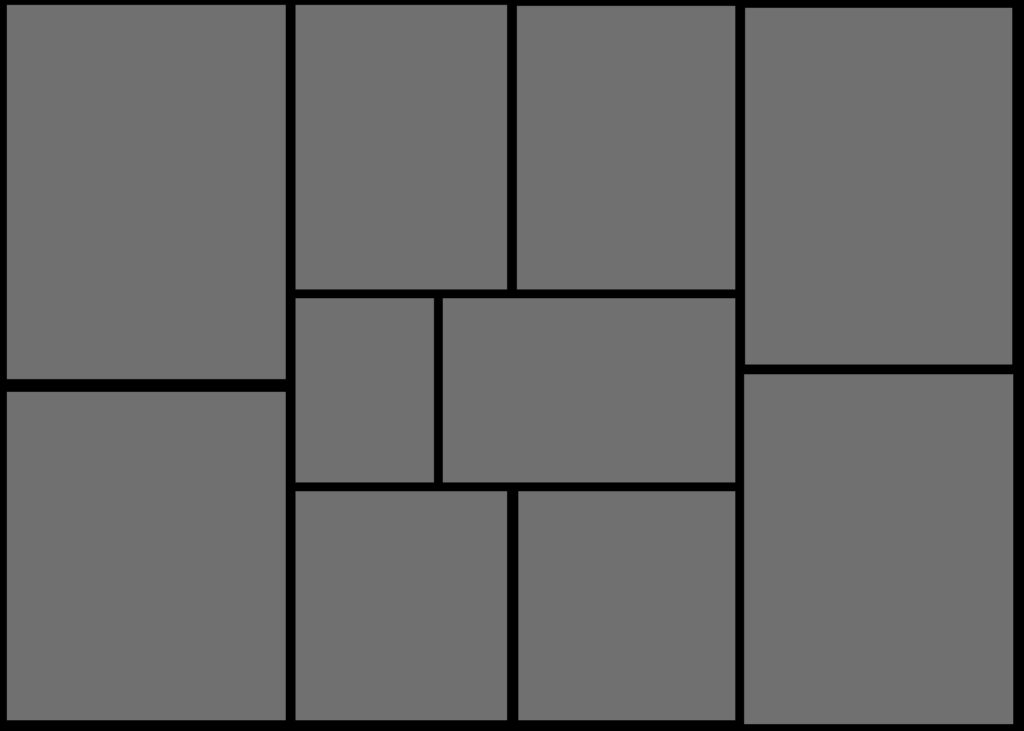
I quite liked the idea of compacting all the photos together and so for this composition wanted to have only the images separated by a thin black boarder which would merge them all together into one aesthetic mood-board as a result. I really liked the idea of symmetry here and wanted to use that to have the more significant images on the outskirts with the middle having smaller images that linked to the larger ones through topics or themes of colour, topic or composition.

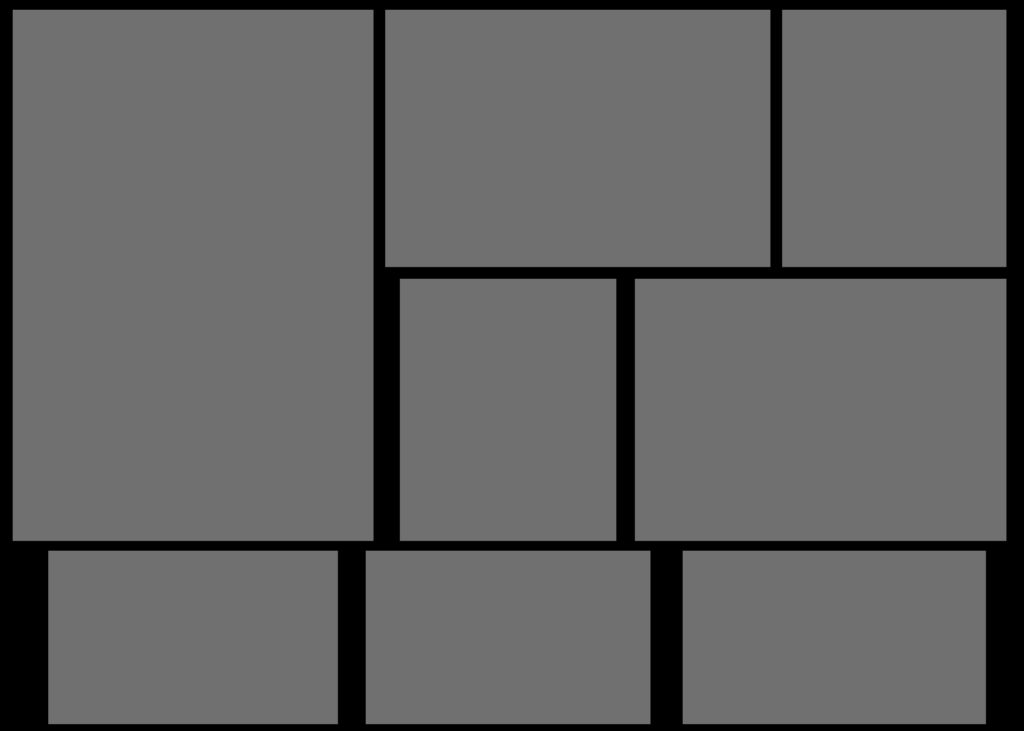
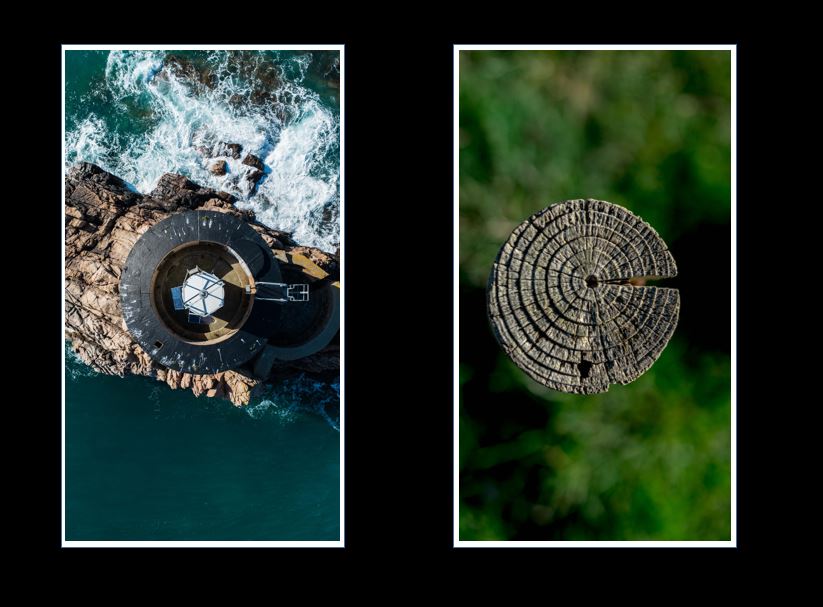
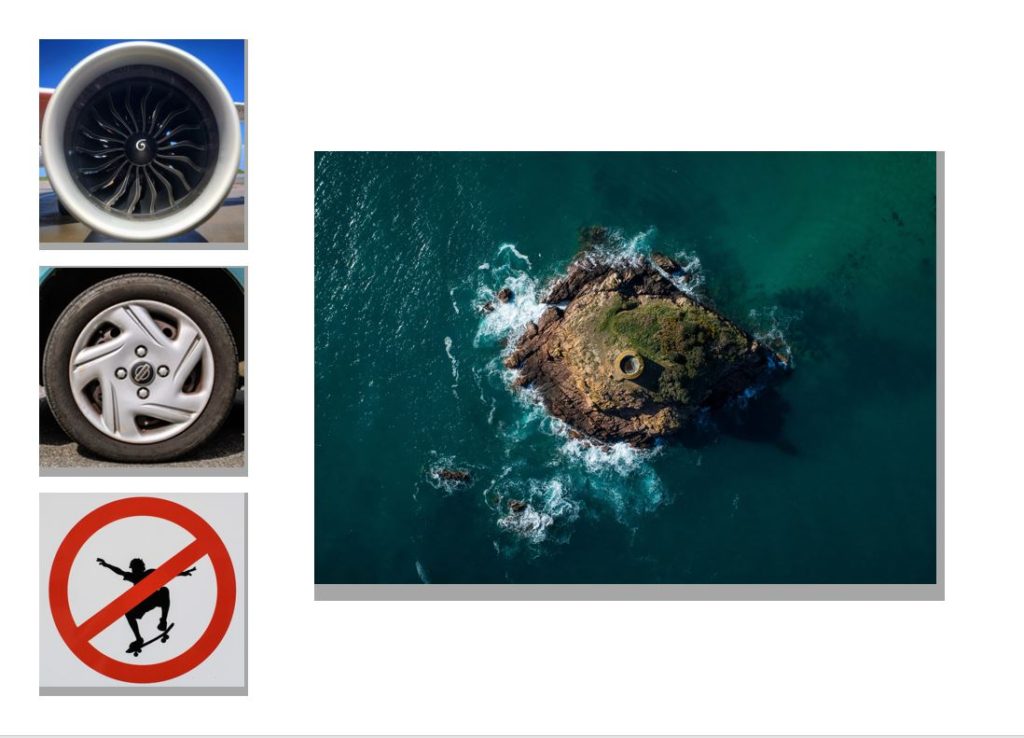
Here I wanted to try experimenting with the use of negative space on the mood-board, to do this I added larger gaps between each photo which I hoped would highlight the larger or more important images more. This mainly was based around the bottom of the board where I emphasized the three individual images compared to the rest of the photographs, this would allow me to use three images that had the closest theme together so that they would be presented as the focal point for the overall composition.

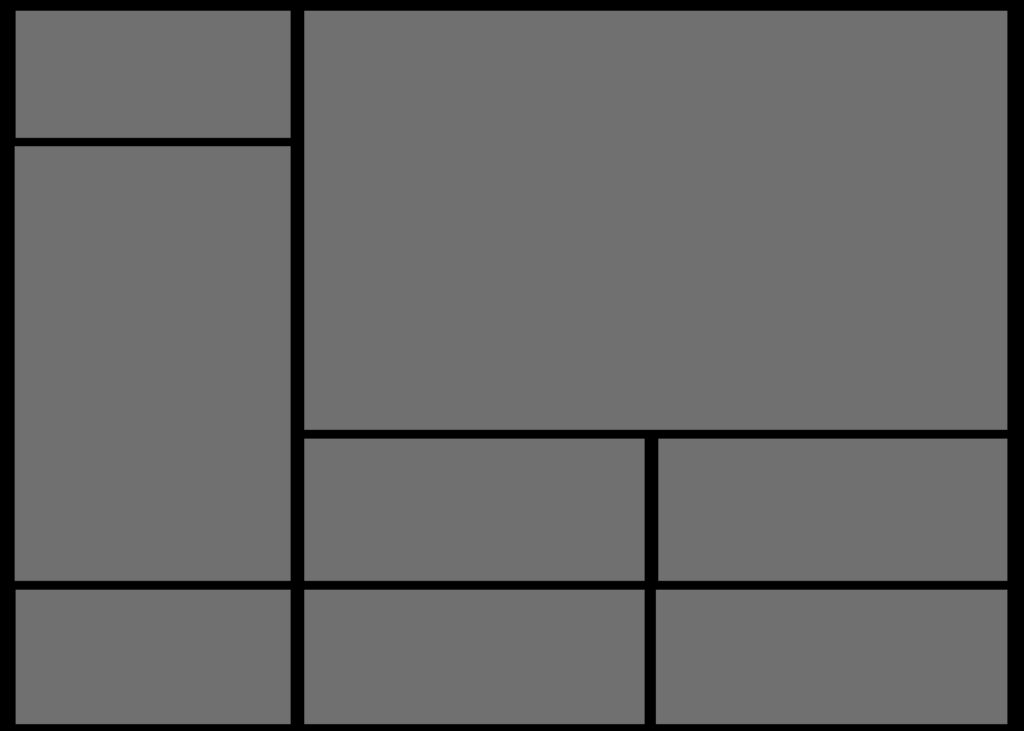
Finally for my last composition I reverted back to the compact theme of the first composition. However when designing this one I got rid of the symmetry, instead replacing it with a random order which slotted together like a puzzle, this way the board would not become too predictable therefore drawing in the viewers. I really liked the pairing of the four A5 images in the bottom left corner, this is because of how I think they provided order to the overall relatively disordered board.

Overall I am relatively happy with the outcomes I have produced for each of the mood-boards, as a result of this it is likely that I will use one of each for the three different photographic themes I have regarding abstraction. When making them I will probably be mounting them onto white foam board and then glueing them onto a black sheet of card so that it create a 3D illusion when looked at, before this however I will be adding a white boarder to each of the images so that it defines them more, allowed them to be identified easier.

Creating Book Sleeve

Whilst my books were being printed I decided to go ahead with the design of my book sleeve, the idea behind this was from Robert Frank and his storage of his books being inside. I wanted to create a simplistic design due to it being able to compliment the minimalist design of each book, however before the design I would have to measure up a plan in relation to my only known dimensions of the books being 15.5cm x 23.3cm. Using the software Photoshop I would need to go ahead and create a structure made from various shapes to allow me to fold together a sleeve with minimal equipment. Using only two dimensions I was able to create a fold-able sleeve which would be able to fit together and store all three of my printed books. Here is the plan for the design:

I started by printing out the individual shapes and cutting each out, by doing this it allowed me to trace around the outline of each box and slowly combine all pieces together so that it formed the overall shape. From here I proceeded to cut out the design from the card using a ruler to accurately fold the bends so that they became forced into a box formation. I found that glue had not been strong enough to stick the sides together, and so led me to use double sided tape to provide a strong holding force between the sides of card, as a result of this the book ceased to fall apart. Here are the images from my final creation of the black card book sleeve:

Overall I found the result of the sleeve to be effective in the case of being able to hold all three books whilst maintaining its form, however if making one in the future I would have to consider using a stronger material so that it would present a more sturdy structure. The idea itself really only acted as a dust cover for the books due to them being softcover journal books which have no cover expect for the paper they were printed on, and so the development of this sleeve allowed for me to protect them from scratches and dents which could occur once they are printed.

Images of mine similar to artists

My flower shoot was inspired by artists such as Takashi Suzuki, as she photographs studio images of objects, (like flowers, as well as sweets). Rinko Kawauchi was another artist; her illuminance book consists of images where my flower shoot created similar styles.

Takashi Suzuki’s style of photography:

Takashi Suzuki’s image

Images of mine similar to Suzuki’s:

Rinko Kawauchi’s style of photography:

Mood-board of Kim’s photography

Images of mine similar to Kim’s:

My architecture shoot was inspired by artists such as Ray K Metzker, Takashi Suzuki and Kanghee Kim.

Ray K Metzker style of photography:

Mood-board of Metzker’s photography

Images of mine that are similar to Metzker:

Mood-board of my images similar to Ray K Metzker

Takashi Suzuki’s style of photography:

Mood-board of Suzuki’s photography

Images of mine that are similar to Suzuki’s style:

Mood-board of my images similar to Suzuki’s

Kanghee Kim style of photography:

Mood-board of Kim’s photography

Images of mine that are similar to Kim’s style of photography:

Phtotobook | Title Page

After much umming and ahhing I decided on a name. ‘Latitude’. I discovered this name when looking through a Thesaurus at other names for circles and I rather liked it straight away. I had a couple of other options however for me, this one stood out for many reasons.

Firstly, it just sounds cool and catchy. Secondly, latitude is a circle on world charts and this links to my images of tiny planets as they are globes like out planet. Lastly, on a map, latitude looks like rings around the earth and this links to my cover image you see above of the wood with the rings representing life.

Merge Experimenting

I attempted merging images together to create one image where the circles are halved. I thought this would work well however this image was the only presentable one. I am glad I experimented and realized that this didn’t work however I do not believe this image would fit in with the rest of my book as it would be too alien in comparison to the other images in the book. As well as the fact both of these images are used in separate pages.

St Helier \ Gorey Photoshoot | Final Outcomes

Below are my final outcomes from yesterday’s shoot (Monday);

These final outcomes from one shoot made that day very successful in my opinion, I was very happy with the lens ball images and some of the extra little shots I produced whilst walking around town and Gorey.

My favorite images, which is labelled above, is of Mont Orgueil Castle above Gorey taken through the lens ball. I simply had the camera on auto as I had to hold the ball in my left hand and shoot with my right so I believe auto would likely be the most sensible approach to taking this image, yet I usually try to use manual settings on all shoots. The lens ball can be difficult to master when shooting objects from afar. You need to play around with the camera and ball at the same time to work out the best angles and distances between the subject, lens ball and camera lens to achieve the best clarity, depth and subject size possible.

The main reason I like this image more than the is because it is more of a close up, it allows for more details to be picked up in the image, furthermore, the ball looks much more 3 Dimensional and may even look like a planet as it picks up the sky very well.

Experimenting With Text

After I had finished designing my first drafts for each of the three books I then decided that I would go onto implement potential text fonts to the book covers I was in the process of creating. The only text that I would be adding was regarding the actual title of the books and the my name on the bottom of the front cover. For me the text is extremely important as it is the first thing the viewer sees when looking at a book and the font used, linking the contents and the overall themes of the books together so the could be relevant to each other, whilst also presents an overall theme of design to the audience. To experiment with fonts first I would need create a mood board regarding the fonts that I thought would be most effective for the cover of the book. I found a variety of photography quotes and proceeded to find fonts that I thought suited a contrasting background well. Here are my results:

By experiment with these fonts I hoped to find one that would draw viewers in whilst not being overpowering and reducing the effectiveness of the overall book. This would be vital as the books have hardly any text meaning that the text which is there would need to be designed to its best of ability. Before I went on to do this I decided that I would go and explore a few ways in which I could implement the text onto the surfaces of each book and their positions, here are a few ideas of various examples I would draw certain aspects of inspiration from in my final design of the covers:

Once I was satisfied with the design in my head I decided to go ahead with what I thought would be the most effective use of text positioning for the titles and author names on each cover. Overall I had three designs in mind which I thought their simplicity allowed for maximum effectiveness. These are my designs:

After I had finished designing my covers for the three different layouts I decided upon the far left cover. This was because I wanted the title to be the first thing that the audience would read (left to right) and the implementation of the full stop filled in that extra bit of white space whilst stopping the title ending there. Here I wanted the authors names to contrast the position of the title and so deemed the placement of it in the bottom right of the cover would provide effective due to it being the second thing that the viewer would read.

ESA // Presentation Ideas

Window mounts:

I am wanting to present my images on a black background and in window mounts. I have looked at different layouts that I could present my images, including; each set of images being in their own window mounts, each image being in seperate window mounts, if I have four images to one board or if I join two boards together and have all eight images presented together.

I have decided to present my images on two boards

Mounting and Display Designs

My first images to present (below) are contrasts of each other and work very well as a set of two. I have two ideas to start with, one where each image is on white foam board and the other idea is they they are in black window mounts. You can see the two designs below and I have decided to go with the black window mount. When using the diagrams below, I liked both ideas however the black mount make the colors more prolific and allowed for a nice contrast between the white in the water and the black mount.

My next set of images to present are different, I plan to have a set of 3 images in a line sitting next to a larger image. I have two very similar ideas for this one, as you can see below. You see the set of 3 on the left on top of an extra foam board to make them stand out (3D) and the image on the right is not, however on the second idea the image on the right is also on foam board. In the end, I decided to follow the second idea and have the image on the right on foam board as well and the set on the left.

Final print layouts

I decided I wanted to print 4 photos in A3, 4 photos in A4 and 3 photos in A5. This is shown below:

My 3 A5 images
My 4 A4 images
My 4 A3 images

I experimented with a few different ways in how I was to present my images. My first instinct was to go with these layouts below:

I liked these 2 together as even though one is in colour and the other is in black and white, they are both related to each other due to the fact they are both from my boat shoot and they have similar shaped objects and structures in those 2 images.

I liked these 2 A4 images and 1 A5 image together because the consistency of the black and white created an effective look. Additionally, I liked how they all are landscape images and how the bottom image has the strongest structure of shadows. I was thinking that I could trim all these images so there is no white borders and spray mount each image onto a piece of foam board. Then, I would’ve got a big piece of black card and stick each image on top of the foam board onto the card so they are assembled together.

I thought these 2 A3 images looked good placed next to each other as they both have strong shadows in each image. I would’ve done a window mount of these images together so that they were included in the same piece of card but in 2 separate frames.

Then, with the remaining 4 image prints, I would’ve put them all onto a piece of foam board and stuck the foam board onto a piece of black card, but maybe a different coloured card for the glow stick print on foam board.

However, I thought that some of the layouts above could’ve looked better, so below is some more experimentations of layouts:

With seeing all the different best possibilities that could work well to present my final images, I decided to use these below:

With these 2 A3 images, I am going to put them both onto a separate piece of foam board and put this on top of some black card.

With these 2 A5 images, I am going to do the same as the idea above – put them onto foam board and then onto black card.

With this 1 A3 image and 2 A4 images, I am going to do the same foam board idea and put them onto black card.

With these 2 A4 images, I am going to put them together in the same window mount, however they will be in separate frames on the same black card.

With this A3 image, I am going to make a window mount of black card.

With this A5 image, I am going to put it onto foam board but I am thinking of keeping the white border around this image so that when I put it onto card, there will be a nice thin white strip to separate the colour of the card and the black background of the photo.