Category Archives: Developing

Filters

Author:
Category:

Incorporating typologies

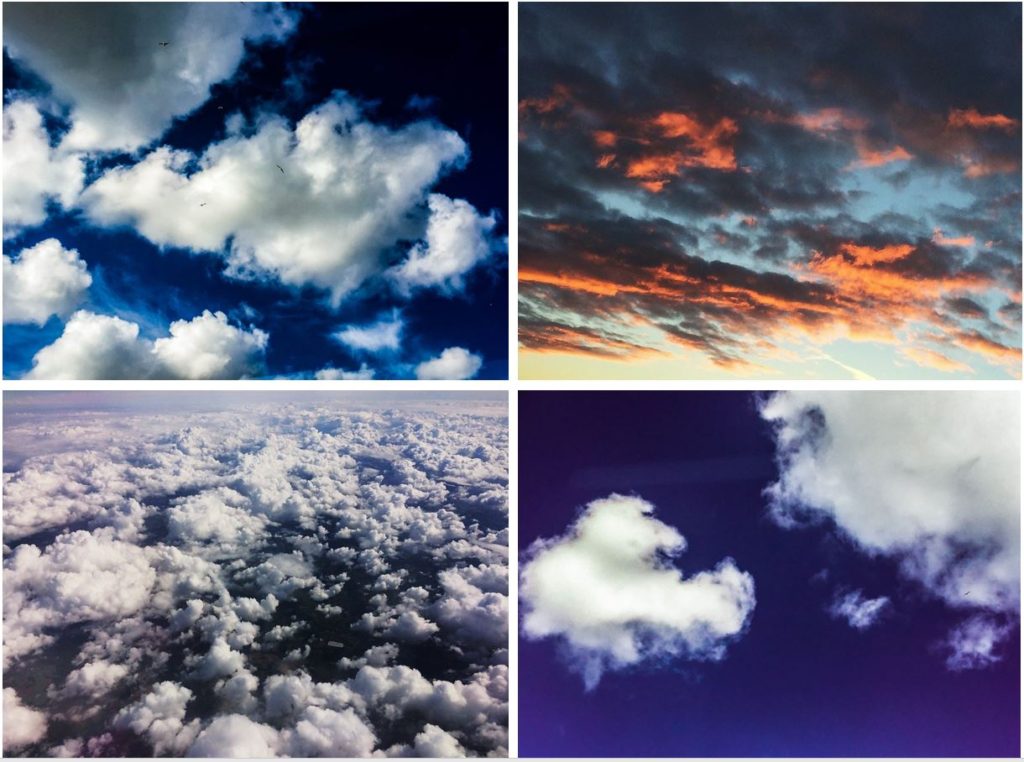
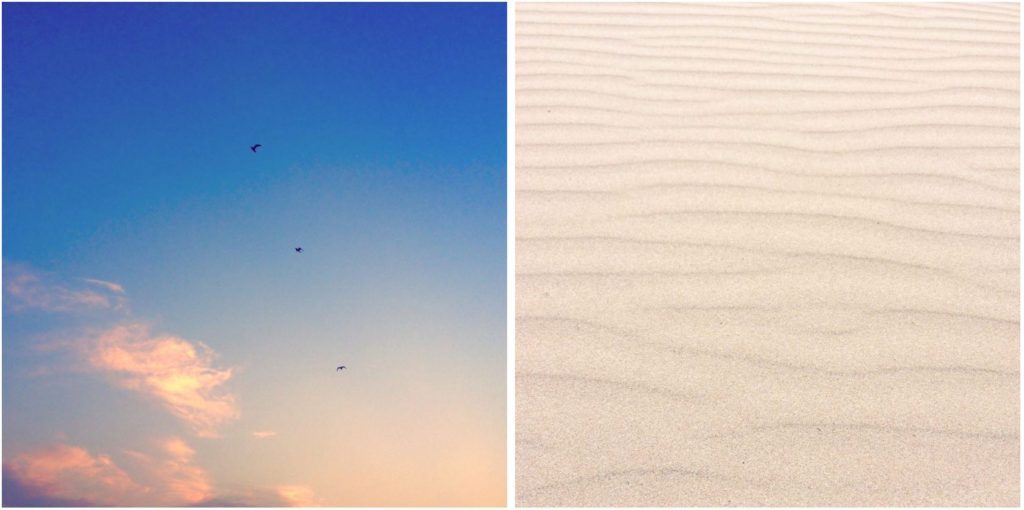
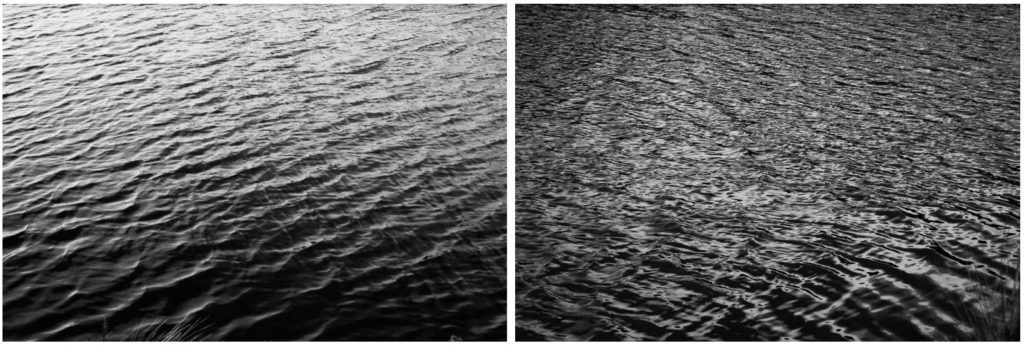
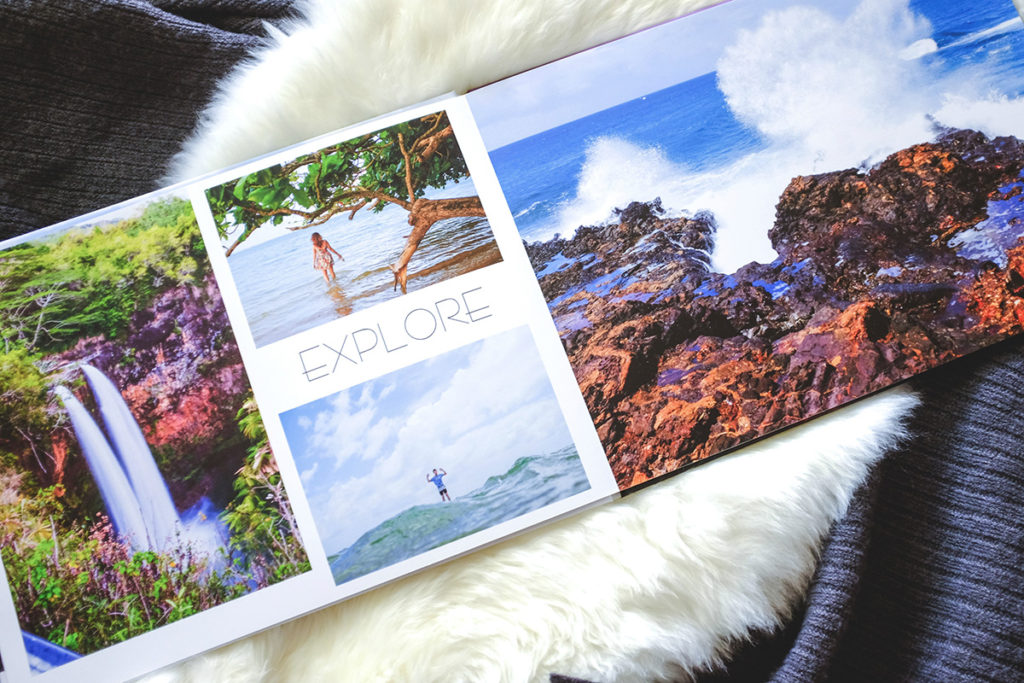
I wanted to use typologies within my book as I thought it would create a sense of similarity within each experiment however, it also consisted of variation as the images are in someway different to each other even tho they are capturing the same subject. furthermore, displaying my images as a typology in a way creates a contact sheet and further allows me to display my images in a creative way. As I had taken some of my images on film I was left with the negatives which I believe in a way is a different type of contact sheet. I also wanted to incorporate the negatives within the book. However, the images on the negatives where very small and hard to see which gave me the idea of making my own negatives but as a contact sheet. These where my outcomes.

I decided on incorporating one of the contact sheet as the front cover as it creates a very documentary style feel to it which I wanted to heavily focus on when producing and displaying my images. By having this as the front cover it doesn’t give away too much about what the book is about allowing for an element of surprise when opening it and looking at it for the first time. Furthermore, I didn’t believe that any of the images from the first contact sheet were strong enough to have single images within the book which is why I incorporated this contact sheet as I believe that focusing on the sport itself was also important and I feel will create a sense of variation throughout the book.

Deconstructing The Narrative of ‘Tal uf Tal AB’, ‘You Would’ and ‘Park Sleep’.

Book in hand: How does it feel?

The book’s cover and sleeve are created from card giving it a textures surface which feels dry to the touch, however the book itself is a more matte card surface giving it a smoother feel whilst adding a slight tint to the cover. This card texture is carried on throughout the layout of the book. The textured surface of the sleeve and book covers are repeated on each book.

Paper and ink: Use of different paper/textures/colour or B&W or both.

All of the paper inside the book are glossy matte textured being about the same thickness of ordinary photography paper. Within the book there are a few blank pages so that it adds breathing space when working your way through which adds to the overall effect of the photographers decisions. The only text is the ink which is in a small font in each corner of the pages to highlight what the title of each image is. The book overall is very consistent as there is a strong theme regarding composition and focus of the photographer throughout.

Format, size and orientation. Portraiture/landscape/square/A5, A4, A3/ number of pages.

The book itself it is a A3 size, slightly smaller than an A4 sheet of paper with an effective use of negative space throughout due to there being borders to each image boxing them in a result. This compliments his photography as the photos become easier to focus on especially as there are more dominant portraits within. Its hard to say how many pages there are due to there being no page numbers, but I would guess there are about 50 pages per book.

Binding, soft/hard cover. Image wrap/dust jacket. Saddle stitch/swiss binding/Japanese stab-binding/leperello.

The books use a paper card cover without any dust cover on due to there being no need through the use of sleeves. This as a result makes the book more visually pleasing as when opening it it directly links the cover page into the photography.

Title: Literal or poetic/relevant or intriguing?

Overall the titles seem to be more poetic rather than literal due to how the content inside each hardly reflects what the title suggests, instead being more around a different theme of family or location life in specific locations.

Narrative: What is the story/subject matter: How is it told?

There seems to be no narrative in the books but rather small sub sections where a few page spreads will be portraits with the next ones maybe be landscape shots or images about home life. This theme continues throughout the three individual books.

Design and layout: Image size on pages/single page, double-spread/images/grid, fold-outs/inserts:

Each photo inside the book tends to be the same size regarding whether it is landscape or portrait, with portraits tending to take up the entire page and the landscapes taking up about half of a page.

Editing and sequencing: Selection of images/juxtaposition of photographs/ editing process:

The images inside each book seem to have little editing done to them as each seems like they have come straight from the camera with in-camera editing techniques like low or high exposures. As a result of this the results seem to be more literal, portraying the photographers vision literally.

Images and text: Are they Linked? Introduction/essay/statement by artists or others. Use of captions (If any).

The books lack text as there are no page numbers or information about where the photographs are taken. However in each bottom corner of every page there are the titles of the photos present on each spread, this is complimented by the very occasional use of speech dialogue which can be seen on some pages which seem to depict a conversation between two random people.

Photoshoot | St Helier

My planned photoshoot for St Helier did not go to plan due to the Jersey Boat Show taking place at the time. This affected my ability to shoot certain places and areas. Therefore I moved to Gorey and shot there as well to get some extra imagery. I spent 3 hours walking around town and also Gorey village looking for circles and exploring them through photography.
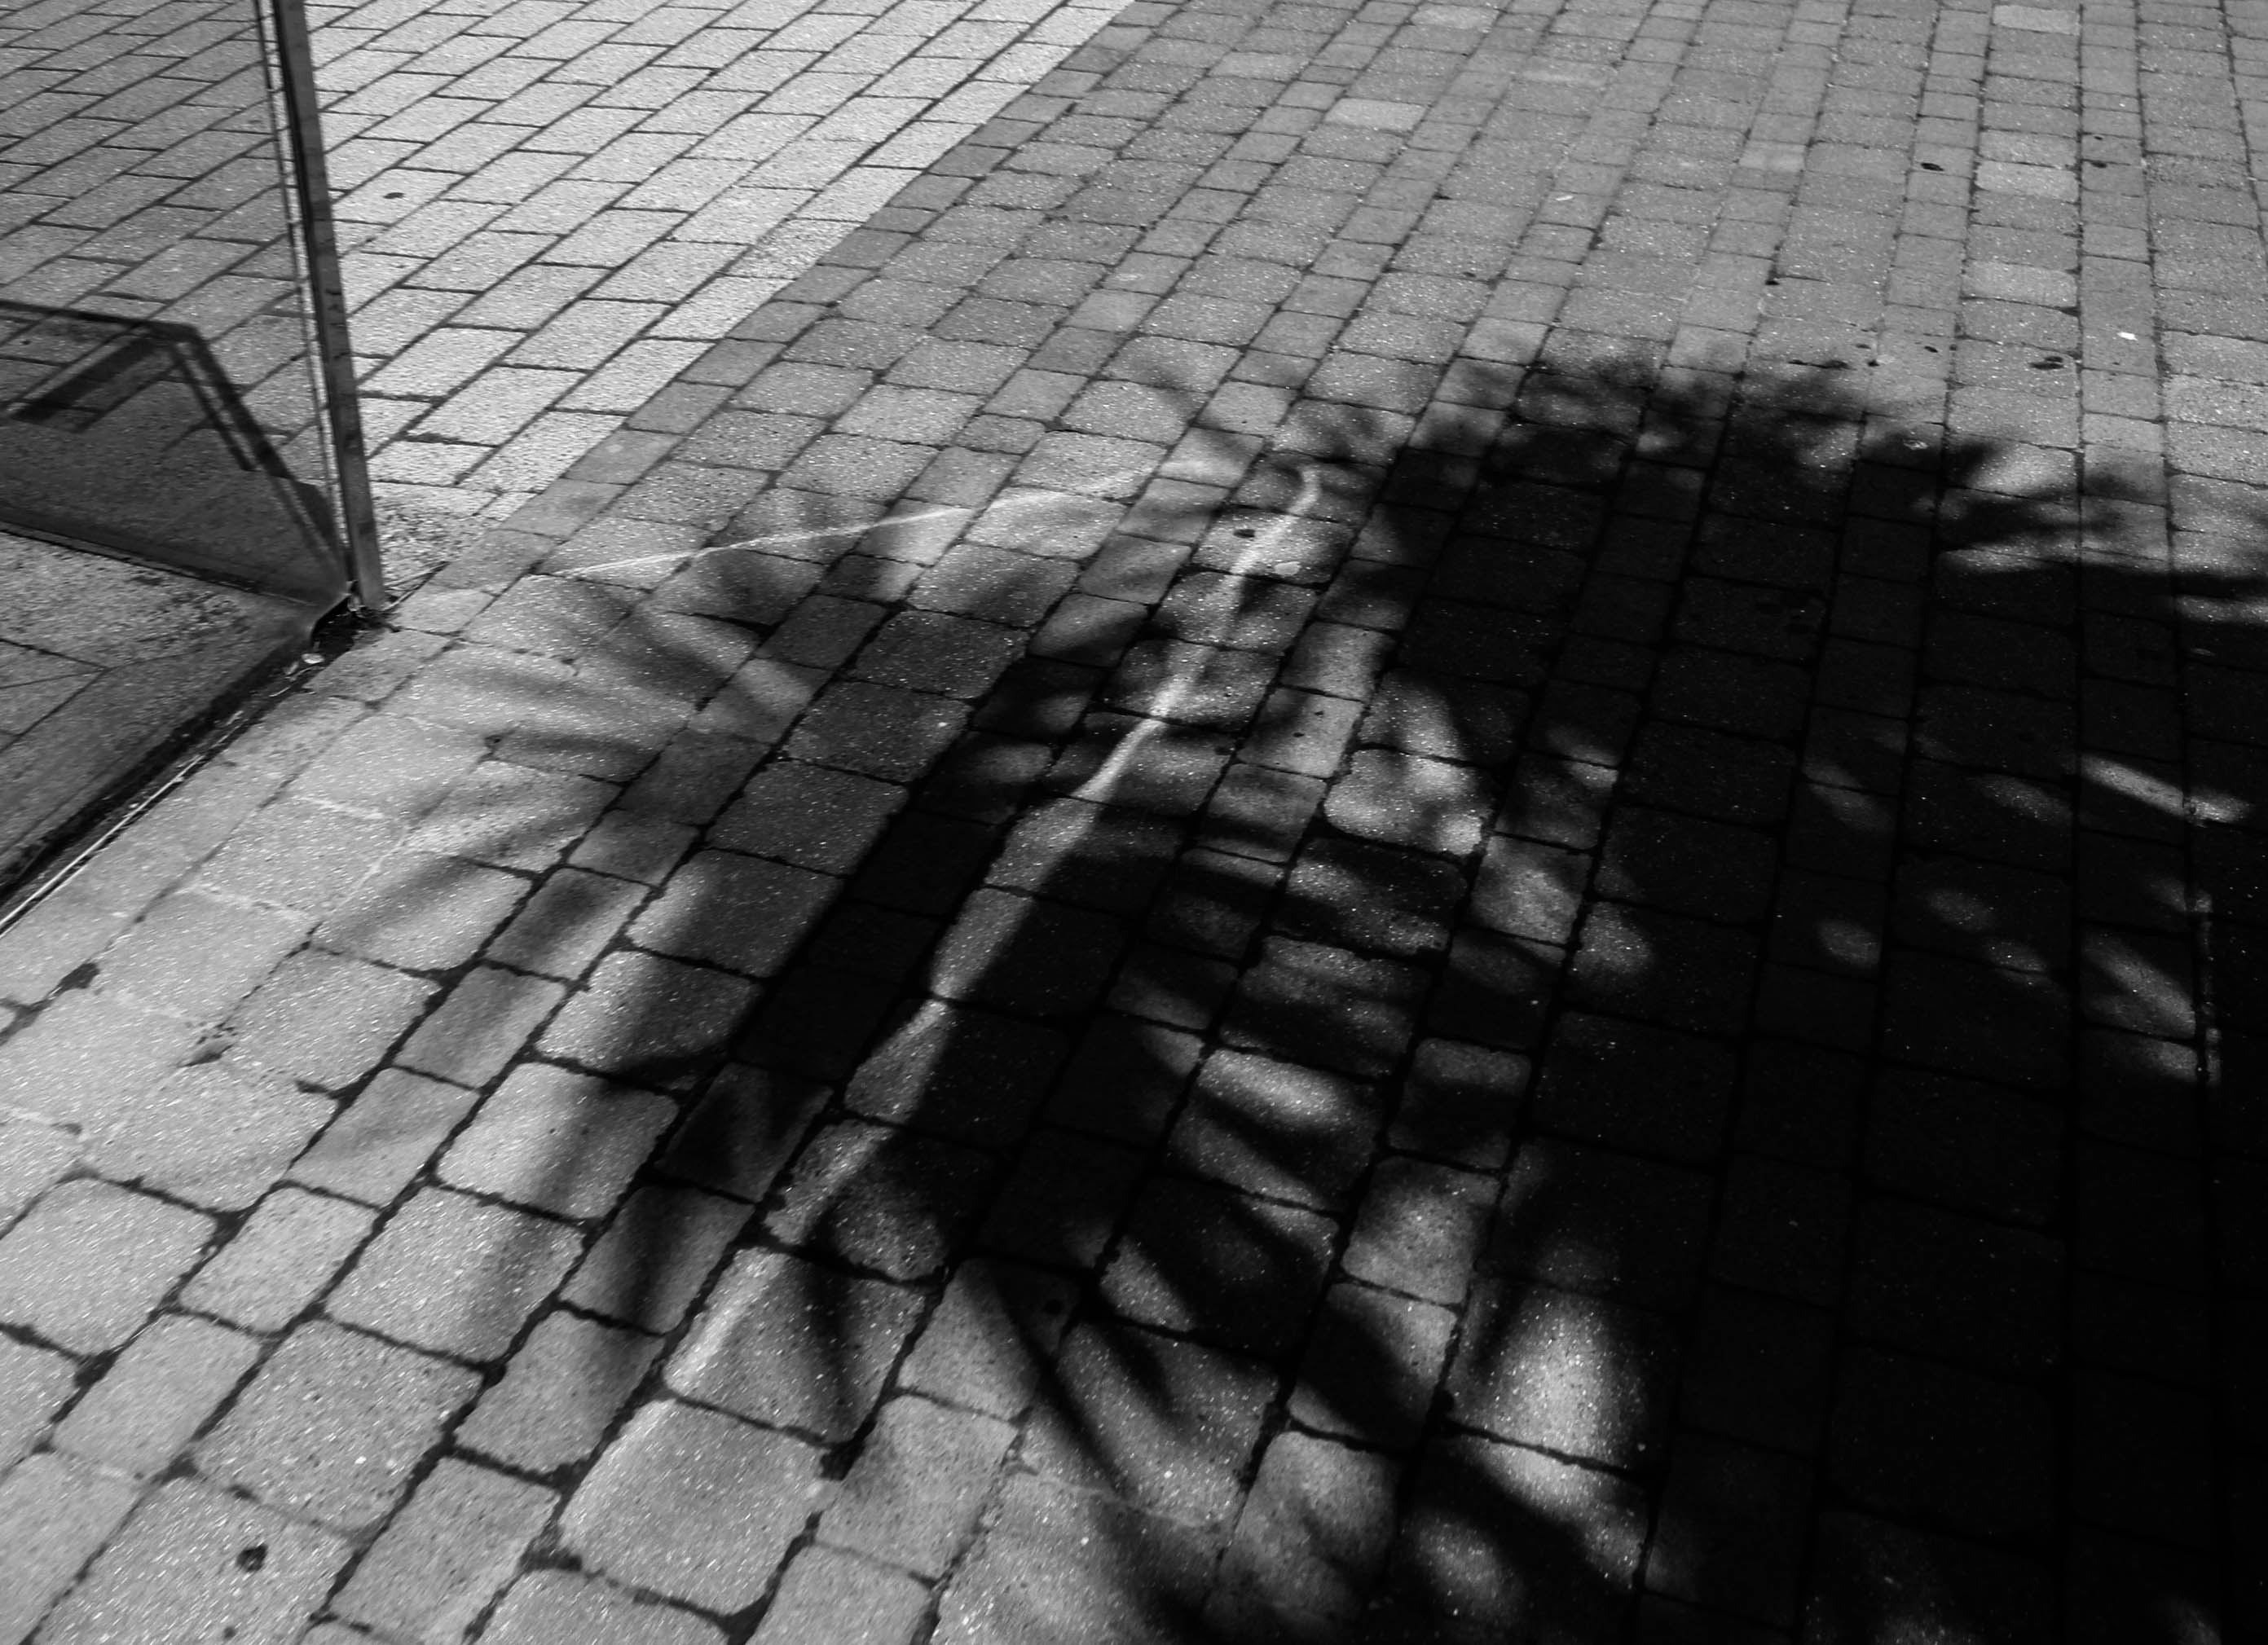
Below is the contact sheet of that afternoon;

This shoot was completely ground based, no drone today however I did take the drone up with my dad the day before and I will upload this in a separate post.

Photobook Study | Infra

71sac2LwNzL

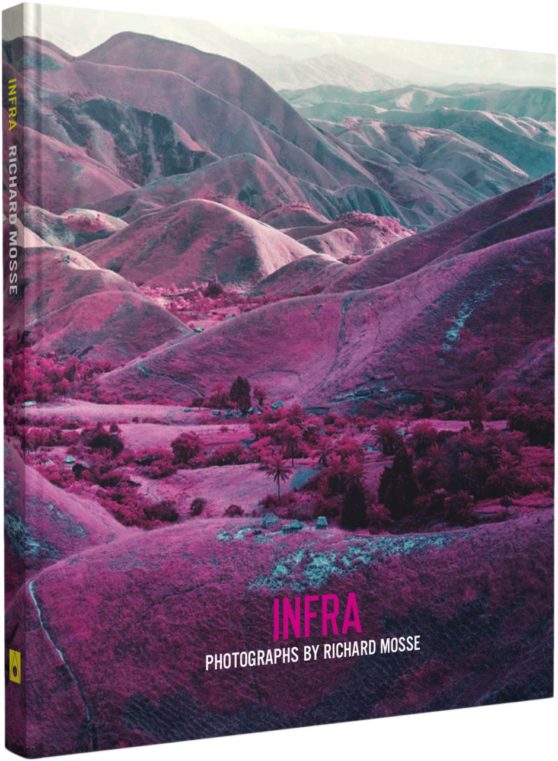
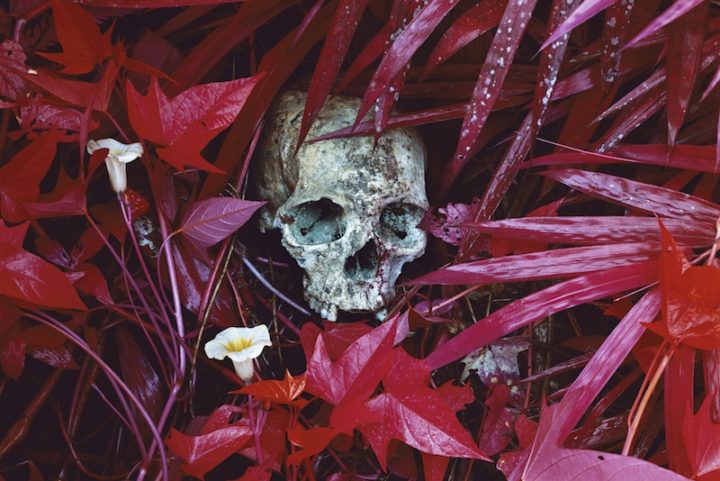
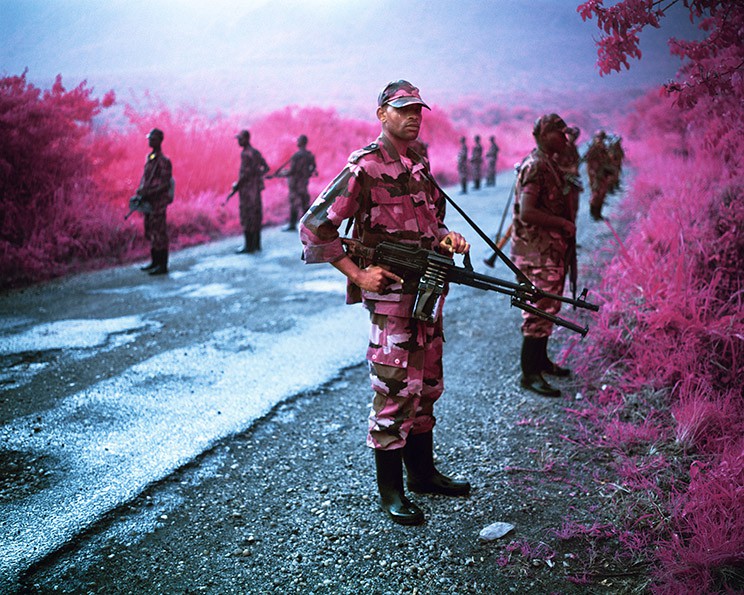
Infra, Richard Mosse’s first book, offers a radical rethinking of how to depict a conflict as complex as the ongoing war in the Democratic Republic of Congo. Mosse depicts the rich topography, inscribed with the traces of conflicting interests, as well as rebel groups at war with the Congolese national army (itself a patchwork of recently integrated warlords and their militias). For centuries, the Congo has repeatedly compelled and defied the Western ideology. Mosse brings to this subject the use of a type of color infrared film called Kodak Aerochrome. Originally developed for military reconnaissance and now discontinued, it registers an invisible spectrum of infrared light, rendering the green landscape in vivid hues of lavender, crimson, and hot pink. The results offer a fevered inflation of traditional reportage, underlining the growing tension between art, fiction, and photojournalism. Mosse’s work highlights the ineffable nature of current events in today’s Congo. Infra’s photographic dialogue begins as an intoxicating meditation on a broken genre, but ends as a haunting elegy for a vividly beautiful land touched by unspeakable tragedy.
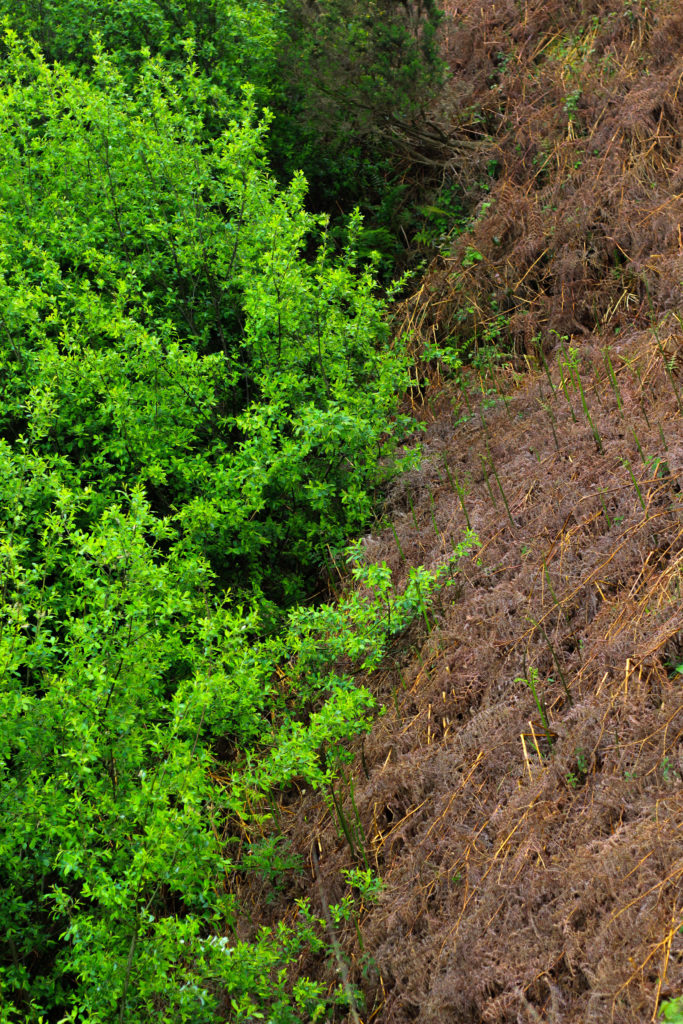
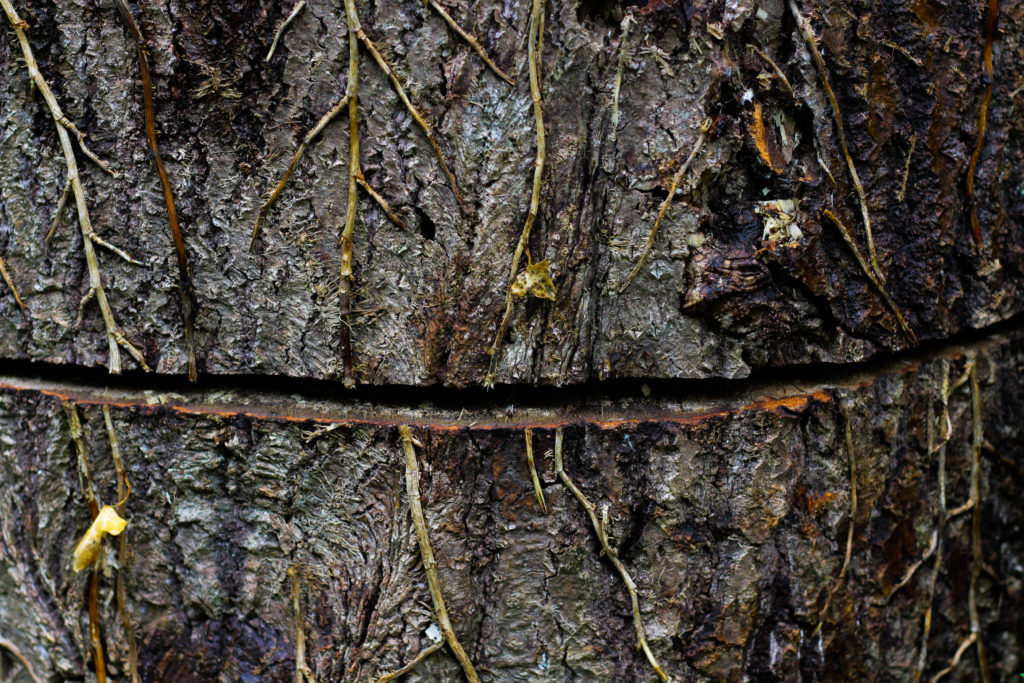
Image result for richard mosse infra book
Image result for richard mosse infra

Mosse’s photo-book ‘Infra’ was one I found very eye catching and appealing to me. I became instantly interested in his story and his images were compelling and told the story of his time in the Congo without using a single word. My book however is not following the same approach, my book aims to make people see the world in a different way and maybe be more observant of the world around them and circles are a shape that you can see everywhere, but nobody really takes notice. That is one similarity this book has with my idea, that nobody takes notice of the conflicts etc in countries we find ‘insignificant’ to us.

Image result for richard mosse

Richard Mosse (born in Kilkenny, Ireland, 1980) holds an MFA in photography from Yale University School of Art, and additional degrees from Goldsmiths, London; King’s College London, and the London Consortium. His work has been widely exhibited internationally, including at the Palais de Tokyo and the Tate Modern. In 2011, Mosse was awarded a John Simon Guggenheim Memorial Foundation Fellowship, with a supplemental stipend from the Leon Levy Foundation. Mosse is represented by Jack Shainman Gallery.

Shoot 3 – Architecture

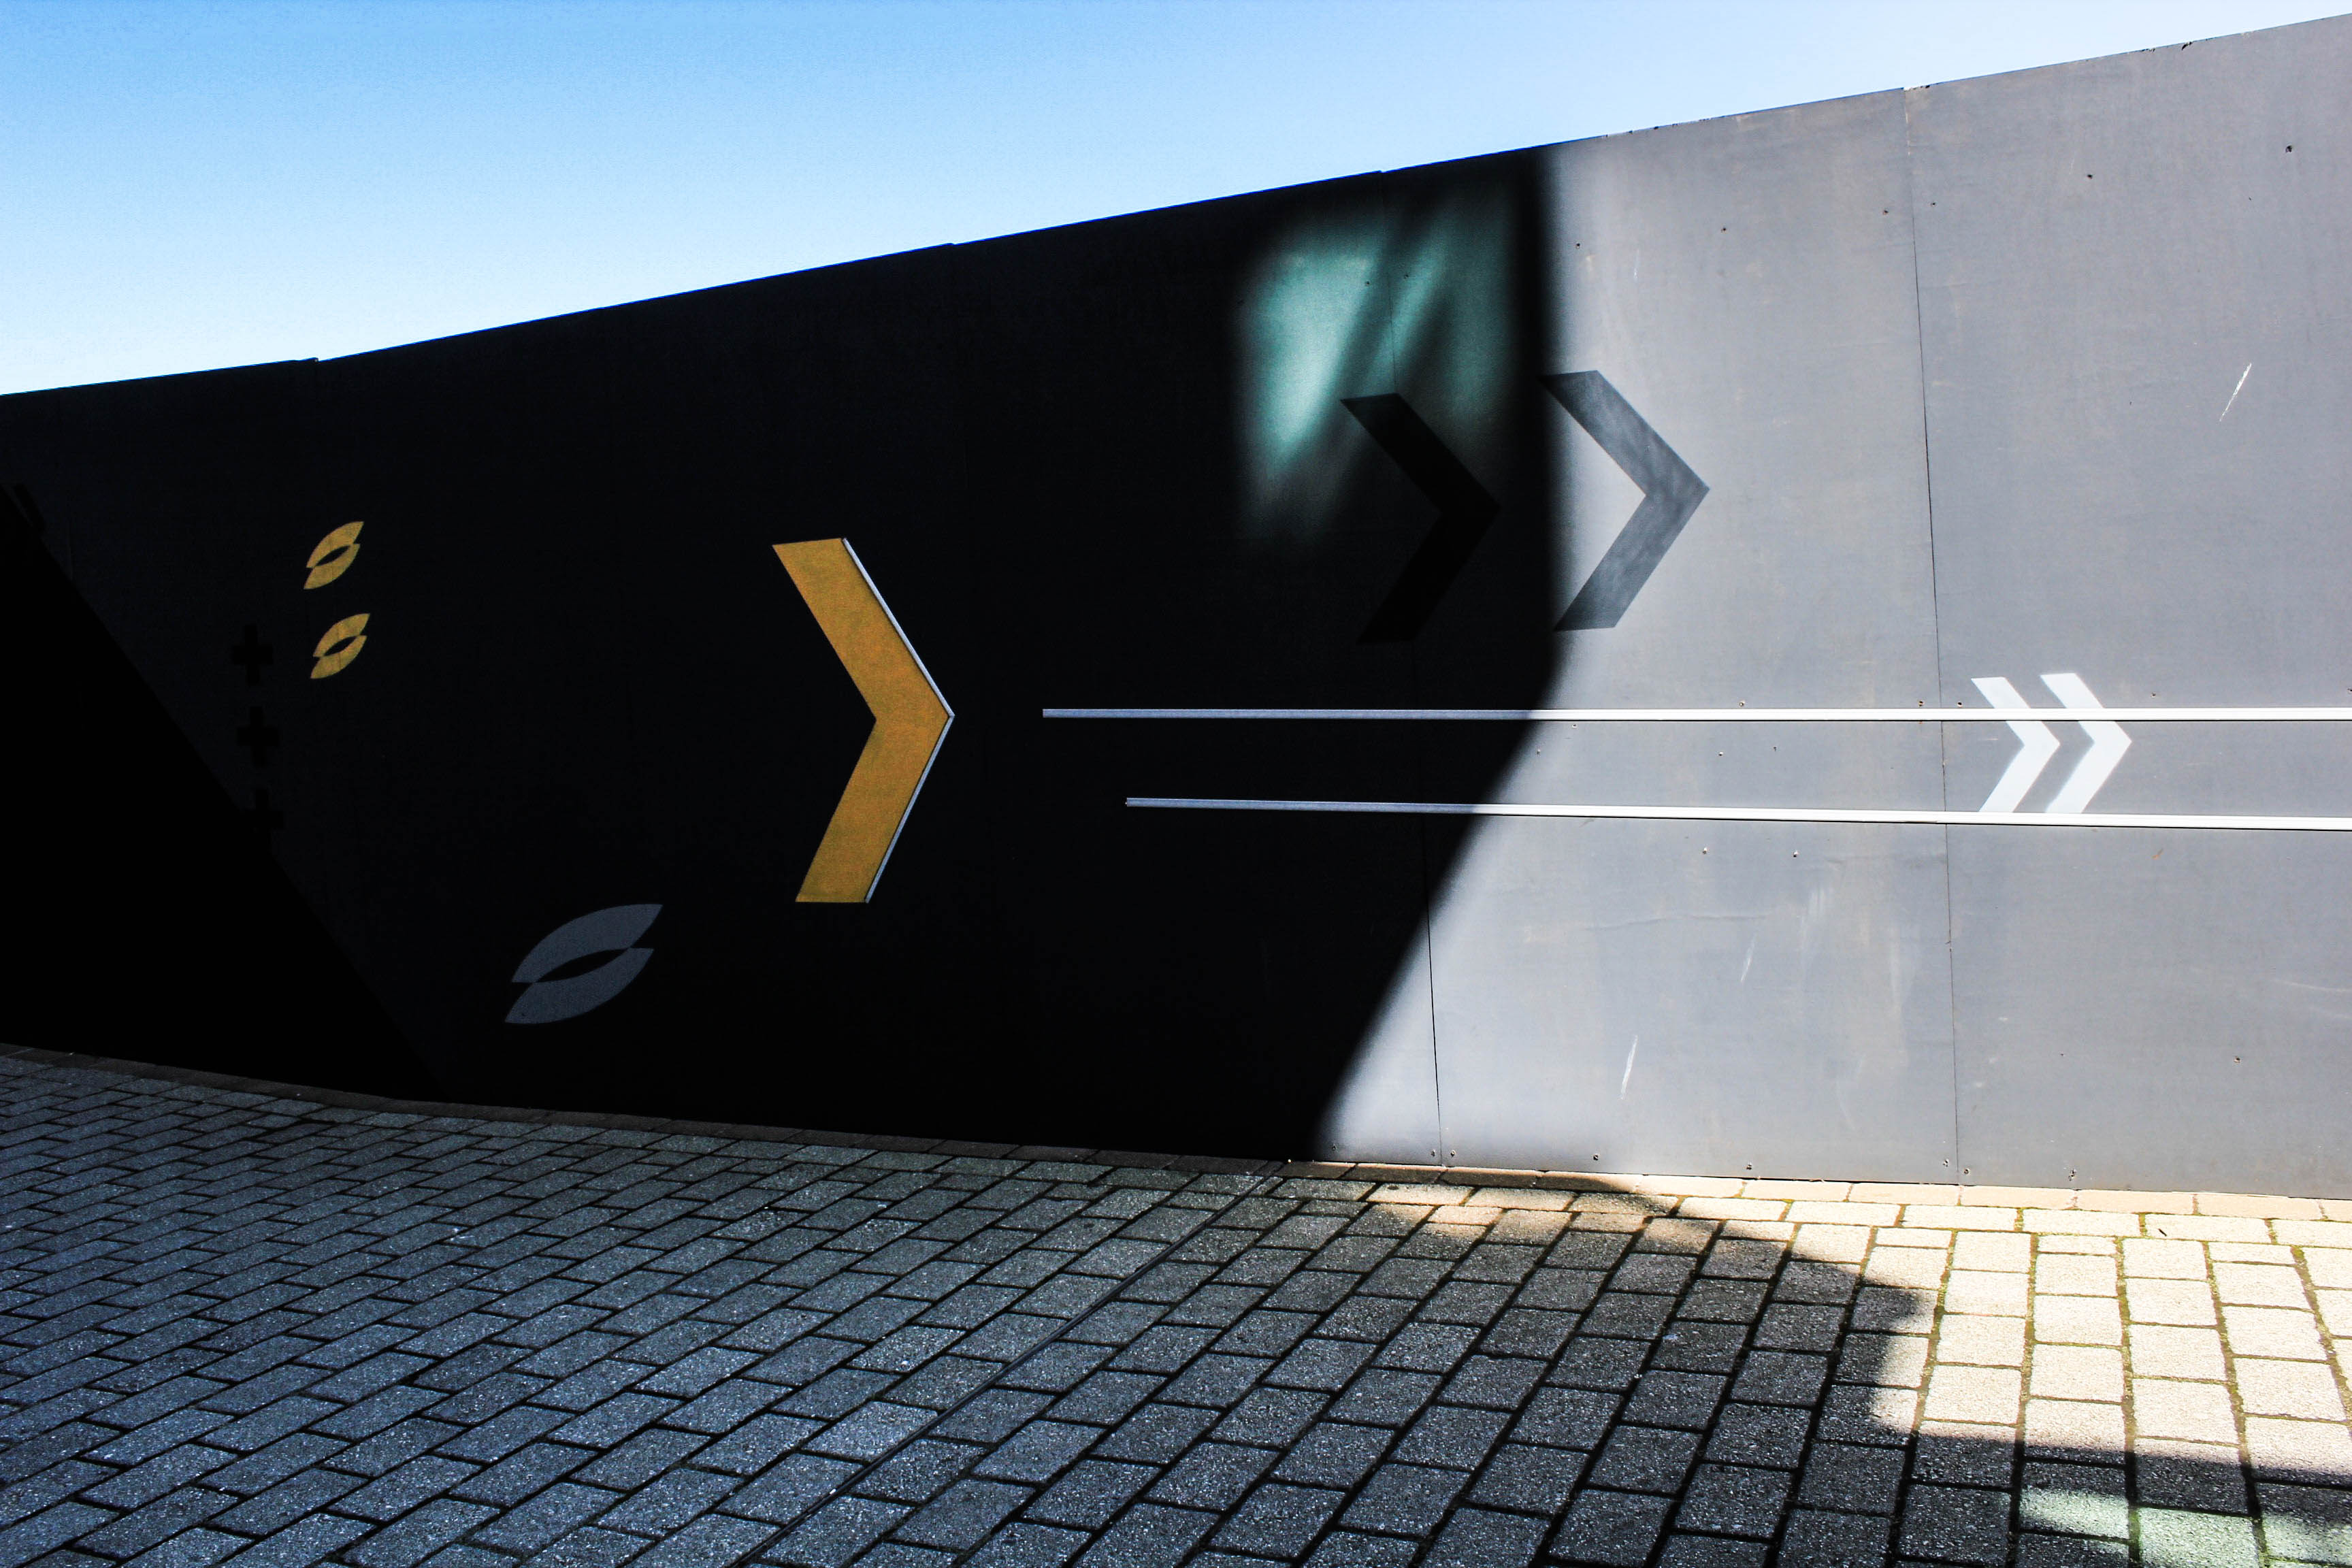
For this shoot, I wanted to concentrate on capturing light and darkness within architecture. This included taking my images in the day time on a sunny day with strong rays of sun light. Shadows were a bold factor in this shoot which helped me to create a sense of darkness in my images. I was inspired by a few photographers to create this shoot, which I discuss further down in this blog post.

Contact sheet


Edits


Presentation of my Final Work

PART 1

What is included?

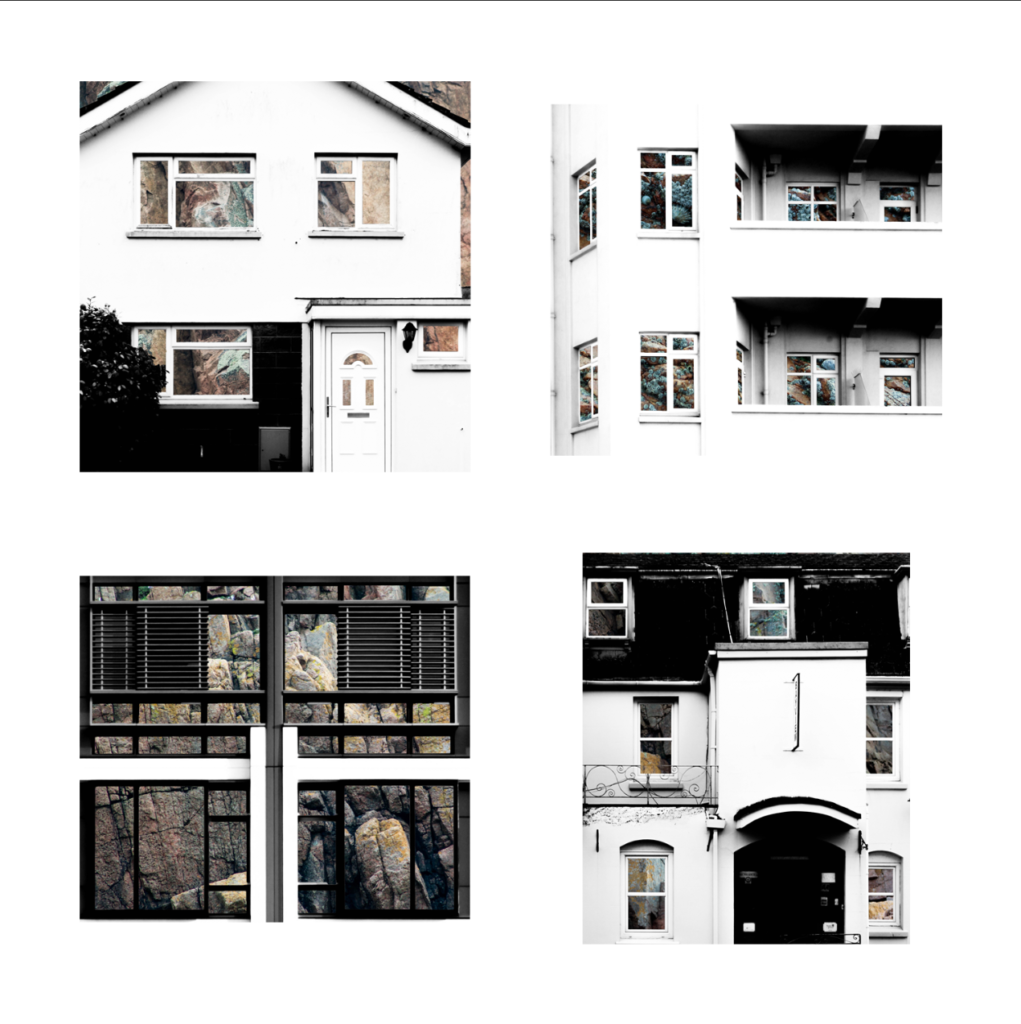
For the presentation of my final photographs in my exam I will be presenting the photographs in a typology grid. I believe that this method of presentation is very effective and appropriate because I have experimented with it throughout my project and have studied the likes of the Bechers’, who pioneered the use of typology grids. Originally, when planning on how to present my final work I had the below four photographs planned as my final four, as I was experimenting with the different layouts I found that it looked slightly off – I eventually decided that the photograph in the top left did not fit in well with the other photographs as it depicted a more brushed steel texture as opposed to the rusted texture in the other compositions. Saying this, I still thought that this photograph was very effective and aesthetically pleasing so I decided that I would include it by presenting it by itself as a side piece to the typology and replacing it in the typology with a more fitting composition. The resulting piece is a set of photographs in a typology grid that portrays how a standard house face can be so similar in features but at the same time can be completely different due to their own individual features. This idea is added to by the rusted steel layered over the building face as the steel represents how the materials used in house construction has changed over time from granite towards steel modern structures. The photographs will be printed as four A5 photographs and one A3 photograph.

My final typology layout
My final photograph

How will the photographs be laid out?

I plan to present the typology grid made from four photographs and the individual photograph on a foam board. One way in which I could present the photographs is by using a window mount method – in order to mount the typology grid I would first stick the photographs to a piece of white card and then tape it to the mount like an ordinary picture. I could also present the photographs on white card as shown below. After experimenting with both options on photoshop I believe that the most effective layout of the photographs would be to use window mounts and black card because the slight white border contrasts well will the black mount board, which also brings out the colours and shaped within the photograph. This contrasts with if I was to set it out on a white background as the contrast in colours and shades does not exist in this option, making it the weaker option. I have also experimented with which side to place the individual photograph and have come to the conclusion that I will place it on the right as I want the viewers attention to first come to the typology grid.

My decided final presentation

PART 2

The second part of my presentation will follow the same guidelines as the above presentation but will be made up of my compositions in which I layered building faces over granite. It will include four A5 photographs made into a typology grid along with a single A3 photograph all on one black window mount. The idea behind this presentation is the exact same as in part 1, except that the granite is replacing the steel by giving an insight into the internal structure of the houses to show what material they are based upon.

My Final Typology Layout

How will the photographs be laid out?

I will present these granite compositions in the same style as the steel compositions in order to ensure consistency in my work – I will window mount all the typology photographs onto white card and then window mount that card and the A3 photograph onto a larger black card.

Steel Shoot 2

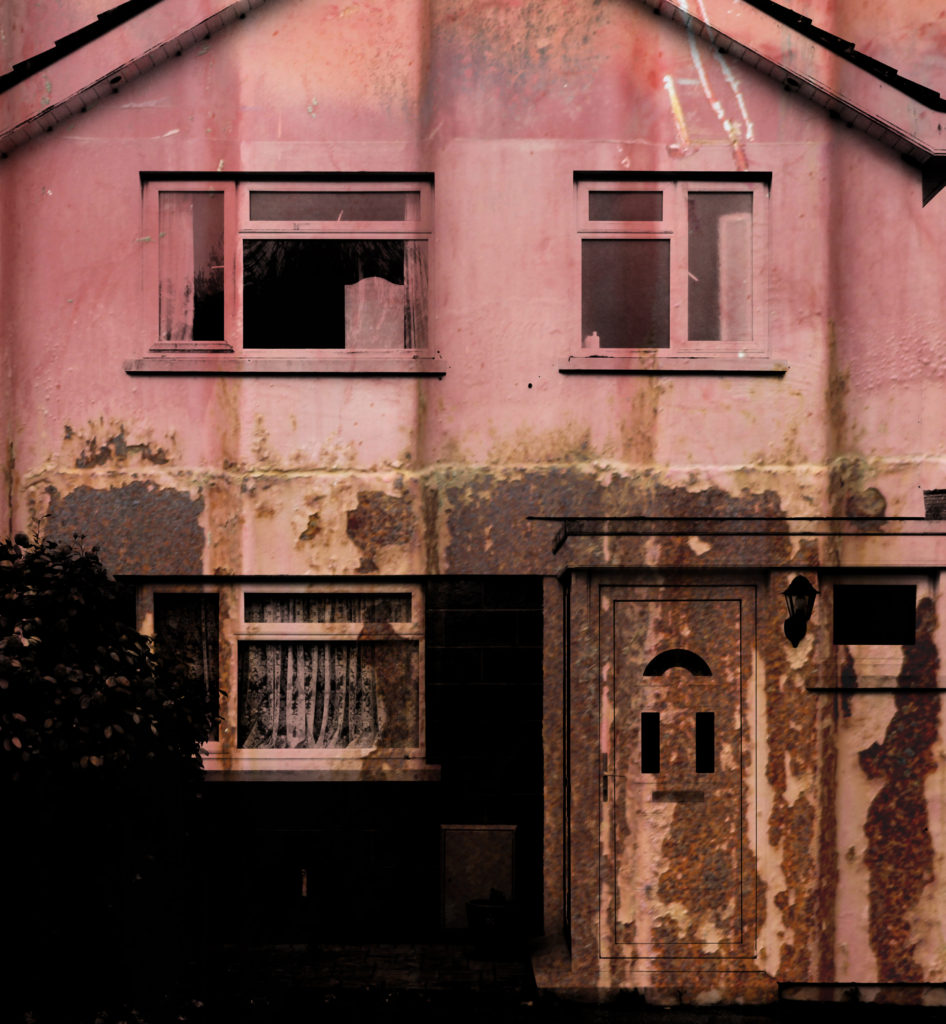
In this shoot I have created more photographs of steel surfaces for me to work with in my edits. My previous photographs of steel surfaces were mostly of brushed steel and therefore there was not a lot of texture to add interesting features to the photographs. I have photographed more worn and rusted steel to provide character and more emphasis to the steel exposed over the building faces. This rust also hints at the age of both the steel and some of the houses, and links back to political landscapes due to showing how something can be changed over time through wear and tear.

Edits

The below edits are edited in the same style as my previous double exposure edits. I did this through photoshop – I layered the photographs of the steel over the photographs of the building faces and used the ‘darken’ blending option in order to bring the rusted and ruined textures to the forefront resulting in double exposure edits that are more characterized and interesting than my previous edits due to more colour and layers.

Analysis

When capturing this photograph of a house face I used the natural lighting from the area, as I did when capturing all the other similar photographs of building faces in the shoot. This use of natural lighting allowed for the shadows and contrast to be displayed naturally within the image, which was helped by using a deep depth of field, shutter speed of 1/60 and an ISO of 200. These settings ensured that there was enough time to allow light to enter the lens but not so much time that the photograph became overexposed. There is a slightly cold colour cast in this photograph which matches to the metal structure layered over it (which have connotations to cold).

The photograph is in black and white it appears due to the natural silver of the metal face layered over the building face. This lack of saturation allows the shadows and contrasts to be brought forward in the photograph which leads to a wider tonal range and a more dramatic and effective photograph. The texture of the metal can also be seen throughout the composition as the metal bolts go up the side of the photograph whilst the lower half shows the texture of the brushed steel and brings the photograph to life. The photograph is set up so that the door is set along the lines of the rule of thirds which makes the photograph more aesthetically pleasing for the audience.

This photograph is from a set of compositions that I have made in which I have layered photographs of steel over photographs of building faces resulting in abstract compositions with texture. The idea behind this is that houses and office buildings are increasingly being built with steel structures in Jersey rather than the traditional granite base used. This steel gives a forecast into the future of housing and shows what will potentially be the base of houses as buildings develop and change. When this photograph is seen as part of a set it shows how buildings are all unique and different even when they are designed as batches.

FINAL PRESENTATION IDEAS

Full-size prints:

Coming towards the end of my project, I have started to think about final presentation ideas. I have come up with the idea of full-size prints, grid format, photo collection and photobook. I will definitely present at least one of my final prints alone and full-size. Full-size prints are a good presentation method for strong composition and visually interesting image. Pictured below are two photographs I feel I could present alone, however this is not certain as I am still to finalize my favourite prints. I may mount my photographs onto card or use spraymount to stick them down and present them.

1.

2.

Grid format:

I like the idea of using grid format to present multiple of my images at once. Grid format is a good idea for images that aren’t very visually strong presented alone. I have exprimented with this grid format before my final exam to test the idea, presented below. I think the grid format works well as I am able to show 4 of my images in one collection, images that are interconnected and are all brought back to the idea of nature.

3.

4.

5.

6.

7.

Photo collection:

Photo collection is similar to the grid format, but I am able to place more or less than 4 of my photographs together and in a different style i.e. side by side or one below another. Again, I have experimented before the exam with numerous primary source photos below. I am happy with my edits and think my individual images work well together.

6.

7.

8.

Photobook:

A possibility for presenting my final prints is by photo-book. This is a relatively lengthy process however the final product would be a successful way of presenting the different categories of nature and my wide variety of photos. If I am to create a photobook I would create it using Blurb and Adobe Lightroom CC.

Triptik Photo-book Inspiration – Robert Frank

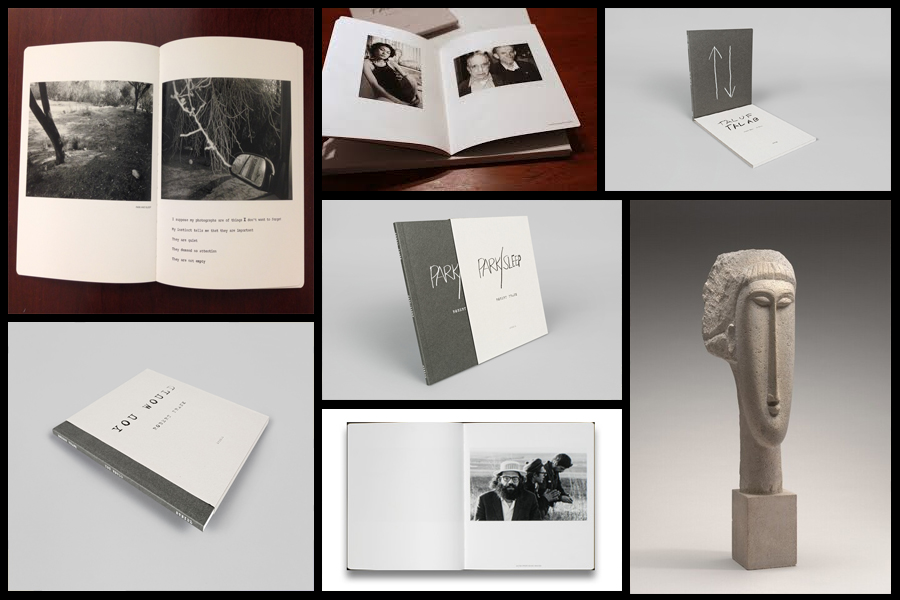
Before going a head and creating my three photo-books I decided to look at a photographer who had produced work in a style that was vaguely similar to the outcomes I desired. The books I found to be particularly inspirational were ‘You Would’, ‘Tal Of Tal AB’ and ‘Park Sleep’, what drew me to the designs in particular where how each was encased inside a brown cardboard folder which fitted the dimensions of each book perfectly. For me this was an idea I wanted to explore as I previously had aimed to produce the three books and store them in a hand-made sleeve so that could be viewed collectively but viewed individually. When looking over the books I found what drew me to them was their minimalist covers which only contained the title and authors name against a predominantly plain backdrop of textured grey card, this was very effective in regards to the book cover being a darker version of the grey which compliments the actual cover which as a result produces the impression of the binding of the sleeve being different. Some pictures of the books can be seen below:

Who is he?

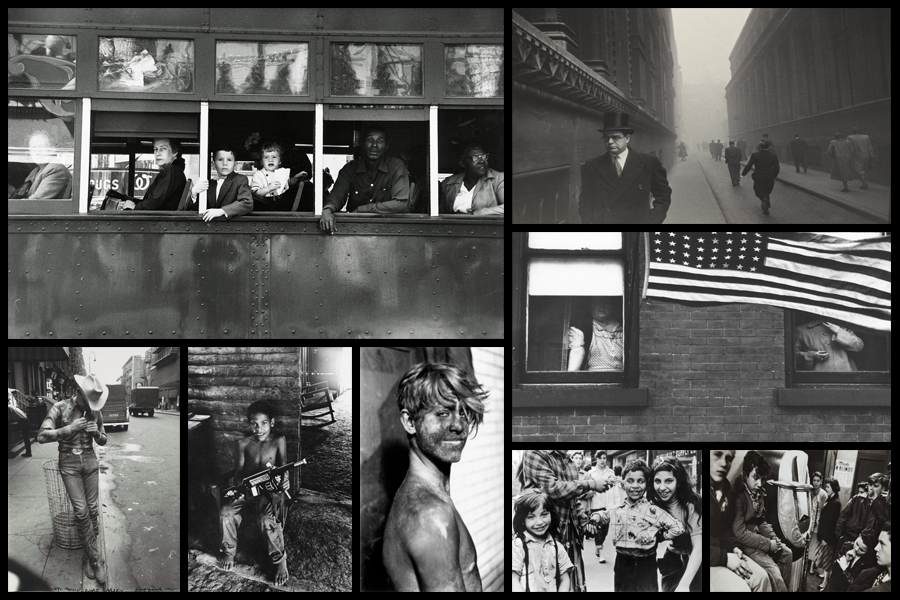
Robert Frank, born November 9, 1924, Zurich, Switzerland, Swiss American photographer and director who was one of the most influential photographers of the mid-20th century, noted for his ironic renderings of American life. Frank became a professional industrial photographer at the age of 22 and in the 1940s became a successful fashion photographer for Harper’s Bazaar magazine in Paris. He felt, however, that the scope of the work was too limited. He abandoned fashion photography about 1948 and went to the United States and then to Peru to explore the expressive possibilities of the 35-mm camera. After photographing in Europe in 1950 and 1953, Frank returned to the United States. Between 1955 and 1956 he drove across the country, taking a number of photographs. Of those, 83 were ultimately published as The Americans, 1959, a French-language version, Les Américains, had first appeared in 1958. Photographs such as Chicago, 1956 in The Americans revealed Frank’s mature style, which was characterized by bold compositions and ironic, sometimes bitter, social commentary. Their publication established Frank as a major creative photographer, and the book was widely hailed as a classic. Examples of his photography can be seen below:

When making my books I would like to explore the use of composition carried about by using singular images over a two page spread which add to the overall effect of any image you want to exaggerate or over-emphasize. For me personally I would like to incorporate mono-printing to produce the cover of my sleeves, this is because of how it would create a newspaper effect where the font thickness and size would be inconsistent and slightly faded, which as a result produces an ink collage effect.

Before ordering and making the book I would need to consider the colour of both the sleeve and books front, this is because of how I want them to be colour coordinated so that they both compliment and contrast each other which creates a more aesthetic result.

Abstract Texture Shoot #2

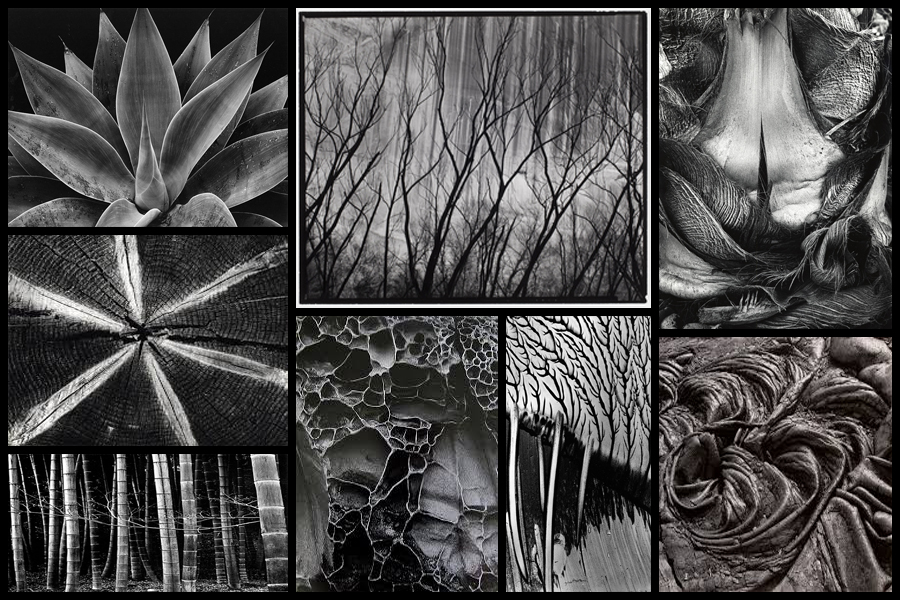
For this shoot I wanted to focus on the idea of abstraction through pattern especially in nature and the urban world. I really liked the idea of basing my photography around capturing everyday scenes of subjects in a new light which highlights the unseen patterns which are present in our everyday lives and the structures of things around us. A photographer I have looked at which I have got particular inspiration from is Brett Weston, someone who has devoted to focusing on natures pattern and the unseen world around us. The images that I found to be more inspiring were his images based around plantation and occasionally the effects of humans on the landscape such as footprints and man made intervention into the natural environment. His skills that I wanted to be able to transfer were surrounding his effective use of a low exposure to create a more dramatic scene surrounding everyday things through exaggeration of shades and tones. Some examples of his work can be seen below:

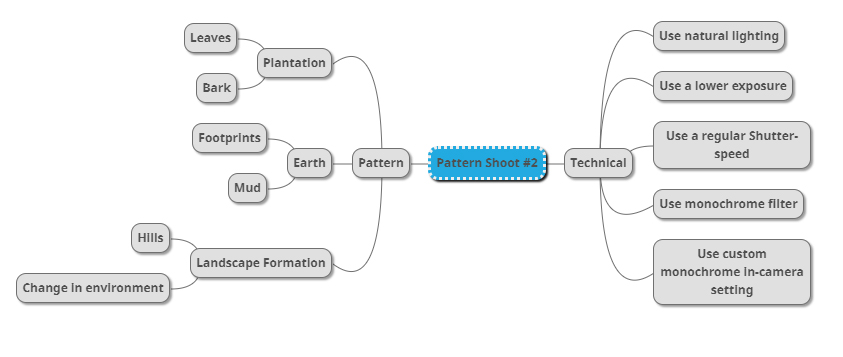
Once I had looked over some of his photos that I found were particularly inspirational for my shoot and its aims I then decided to go onto produce a mind-map. By making a mind-map it would allow me to jot down ideas and aims for the shoot and what I wanted to over achieve, this would also cut down on time wasted on the shoot as I would have a goal of what to produce on me and how to take it with it all the time directing my aims. Here are some of my ideas that I wish to use on the shoot:

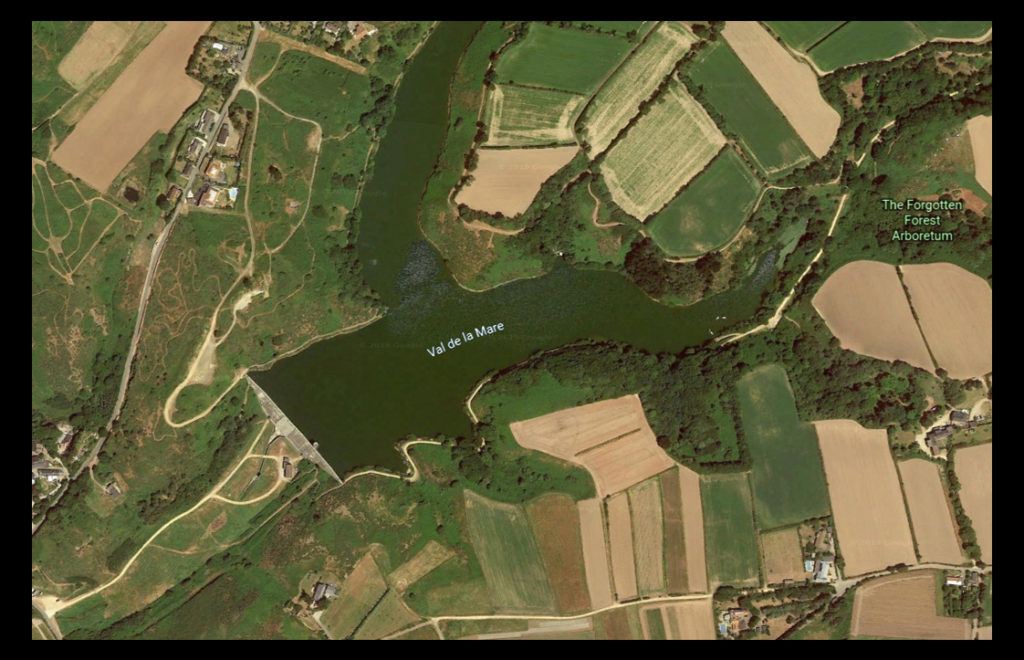
The place I have decided to take the images is called Val De La Mare due to its variety of different textures which can be found alongside the water and the trees. A map of the location can be seen below:

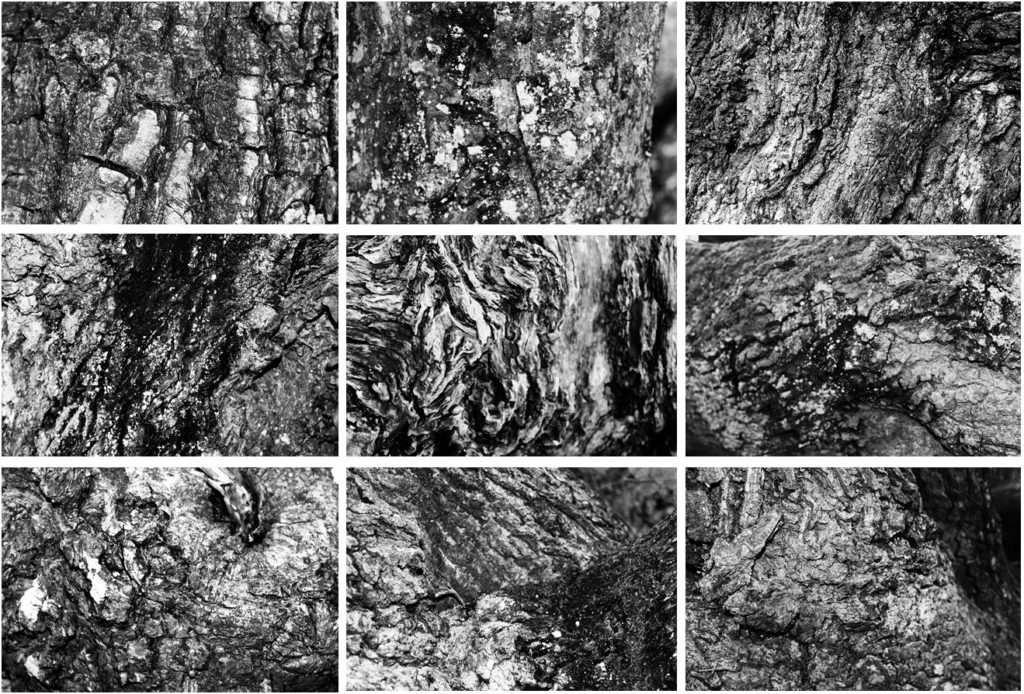
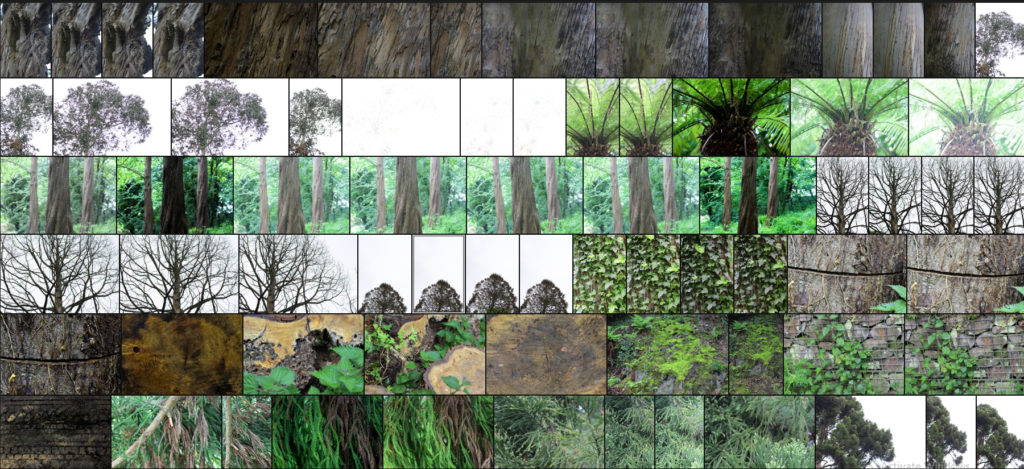
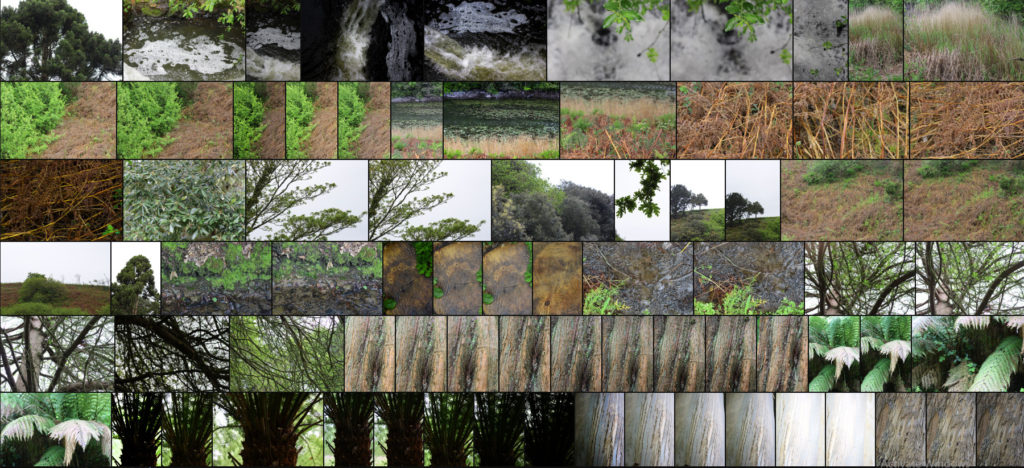
Here are the results of the shoot:

After finishing my shoot I decided to go onto edit the shoot down to only ten images, by doing this it would allow me to identify which were the images that were most effective from the shoot and reflected my intentions the most. Here are my decision on the top ten images of the shoot:

Once I had selected the ten images I then decided to go onto whittle them down once again to only five, by doing this it would allow me to further identify the images which were most effective from the shoot due to analysis in more depth, whilst also making it easier for me to choose an image which best sums up the entire shoot. Here are me selections:

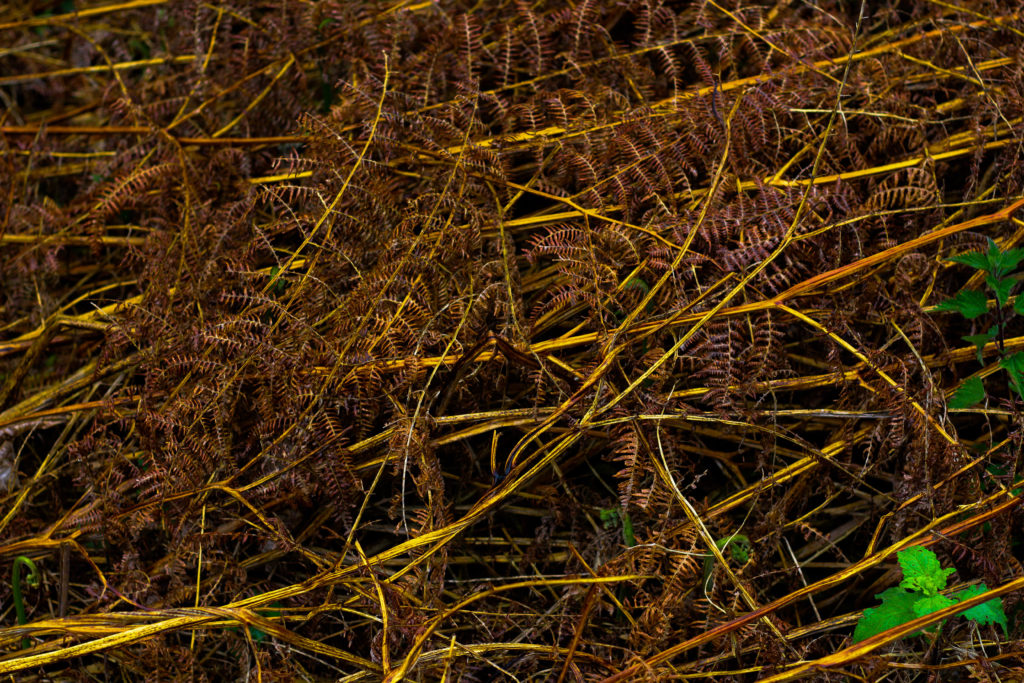
I chose this image because I loved the overall sense of the browns which came through the decaying grass. For me the crushed plants added a cool texture which highlighted the contrasting yellow stalks compared to the rest of the brown leaves. What I particularly liked was how the leaves all faced one direction, allowing for a smoother look to the overall image due to how it all seemingly moves in continual way. Overall I found that the piece did relate to the topic of texture, however I was not too pleased with the outcome as I didnt think it carried enough contrast to emphasize the darkness.

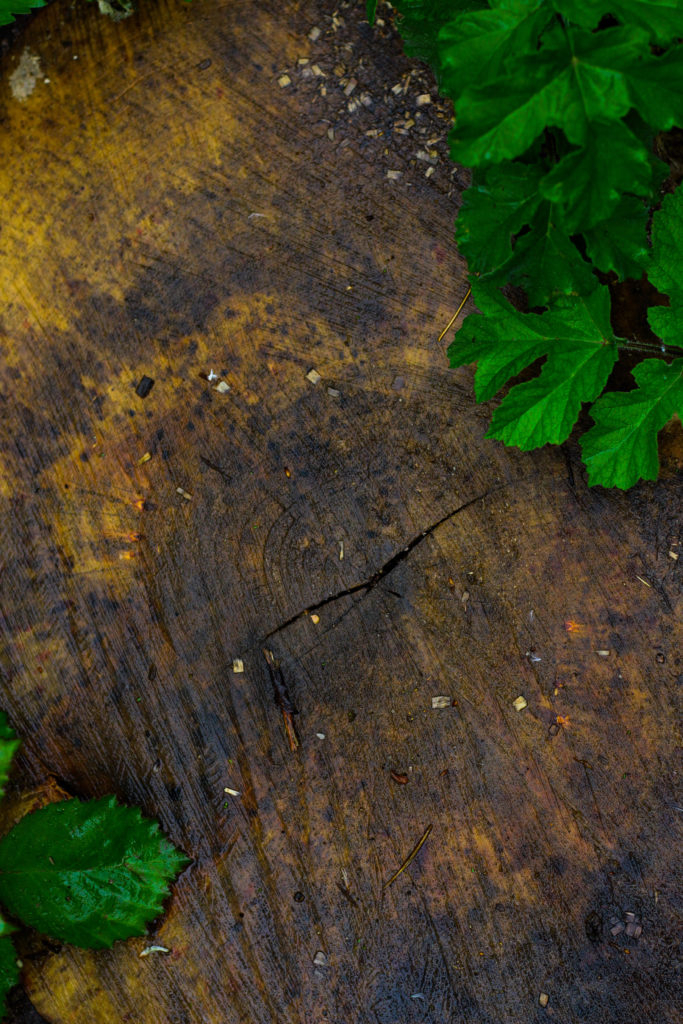
What I really liked about this image was how the green leaves overlapped the darker grain of the wood below. When looking over the image I really liked how the leaves almost presented themselves as a frame for the grainy texture of the wood, preventing it from becoming a present throughout the image and turning into a eye-sore for viewers. As a result of this I found that the contrasting yellows which are emphasized in the wood through saturation really brings more tone into the photo due to it add variation to the texture and overall colours present in the photograph.

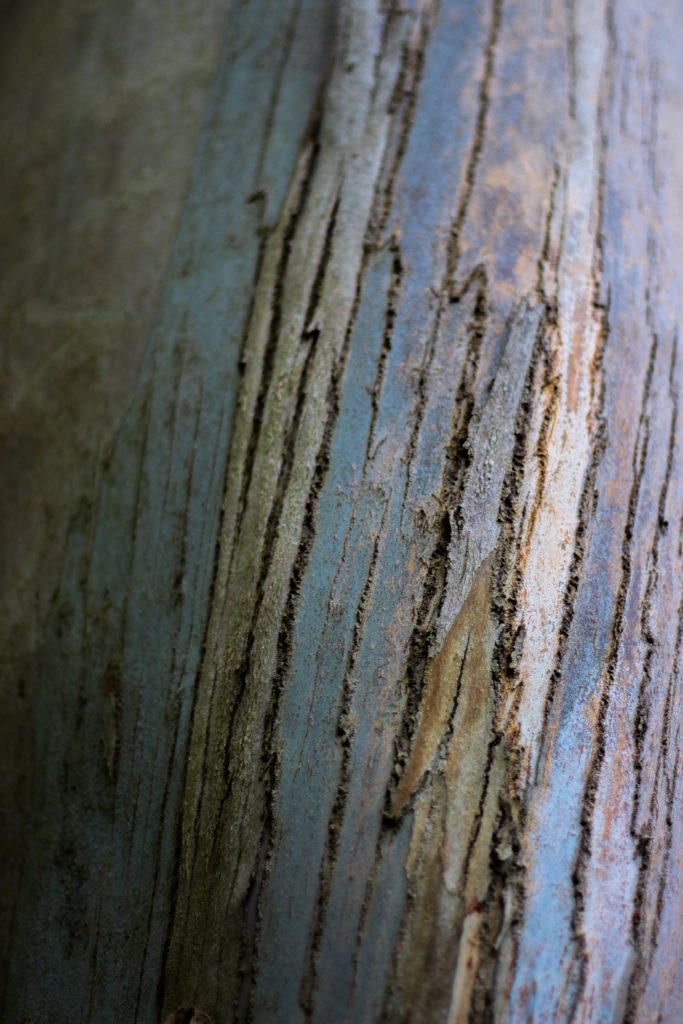
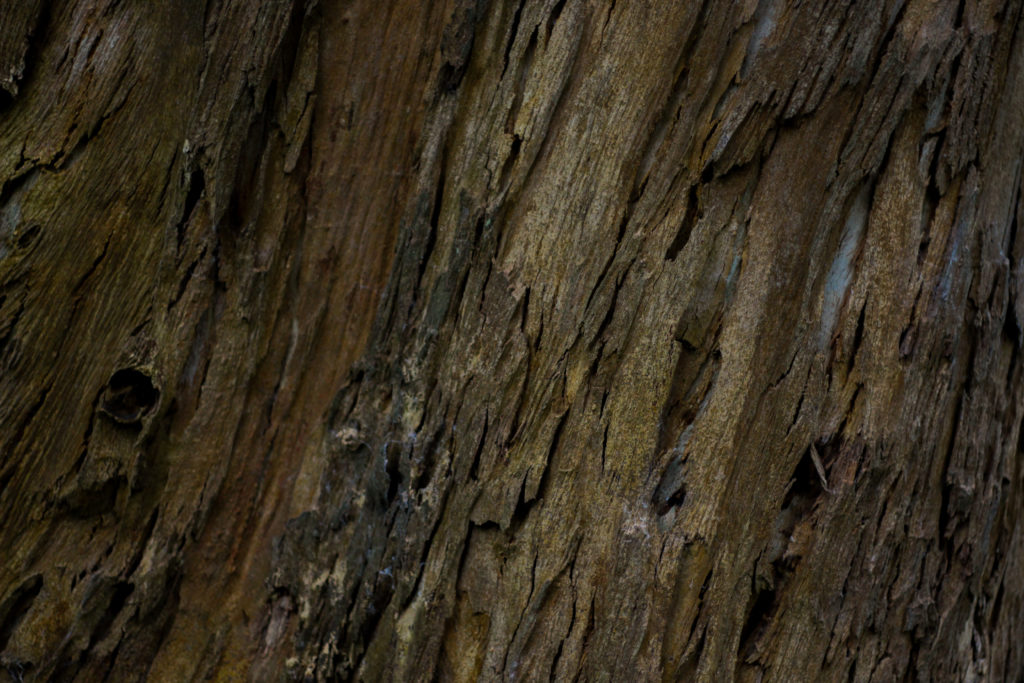
I chose this photograph because of the unusual line which had been cut across the base of the tree trunk. For me this added an extra sense of abstract to the piece due to the surface texture of the wood being disrubted by the cut mark making its way across the entire composition. What I found complimented this was the dying ivy growing down the side of the trunk, for me the lighter brown from this added that bit extra to the piece as it prevented a continual same colour presence throughout, instead breaking it up and adding variety. Overall I was really happy with the composition of the piece due to its unusual element through the cut, with the ivy and the different bark textures adding a much needed variation to the overall piece.

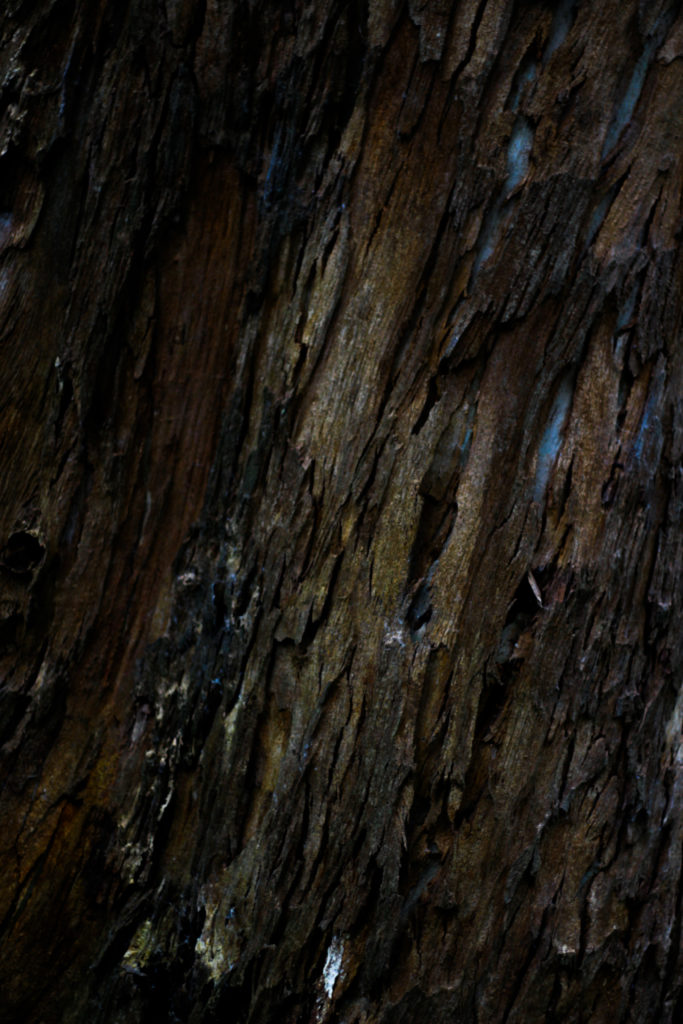
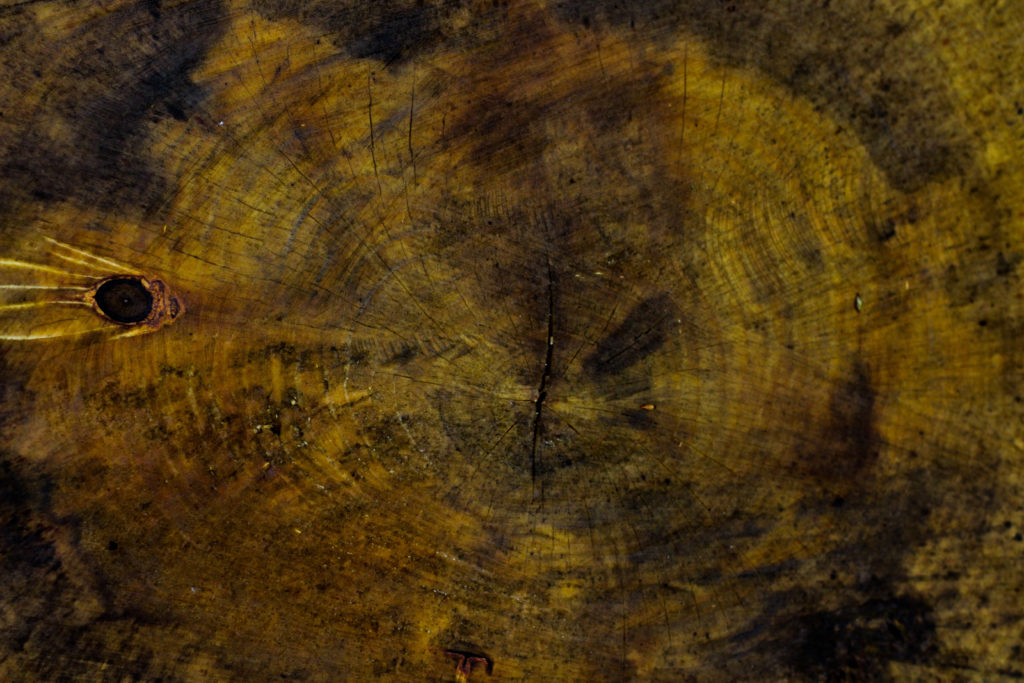
The reason I selected this image was because of it high contrast which highlights the grain and unseen colours really well. For me personally I really liked the variety of different browns and yellows present within the photo as it presents viewers with a different perspective regarding cut wood on a wet day as textures not previously seen are revealed when more closely observed. The grain knot I found broke up the composition and prevented it from becoming too overpowering and generic due to how the added black becomes an instant focal-point for anyone looking at the picture for the first time. As a result of this I am quite happy with the result due to how it provides an unseen insight into the textures present on trunks which previously would be unseen unless further inspected.

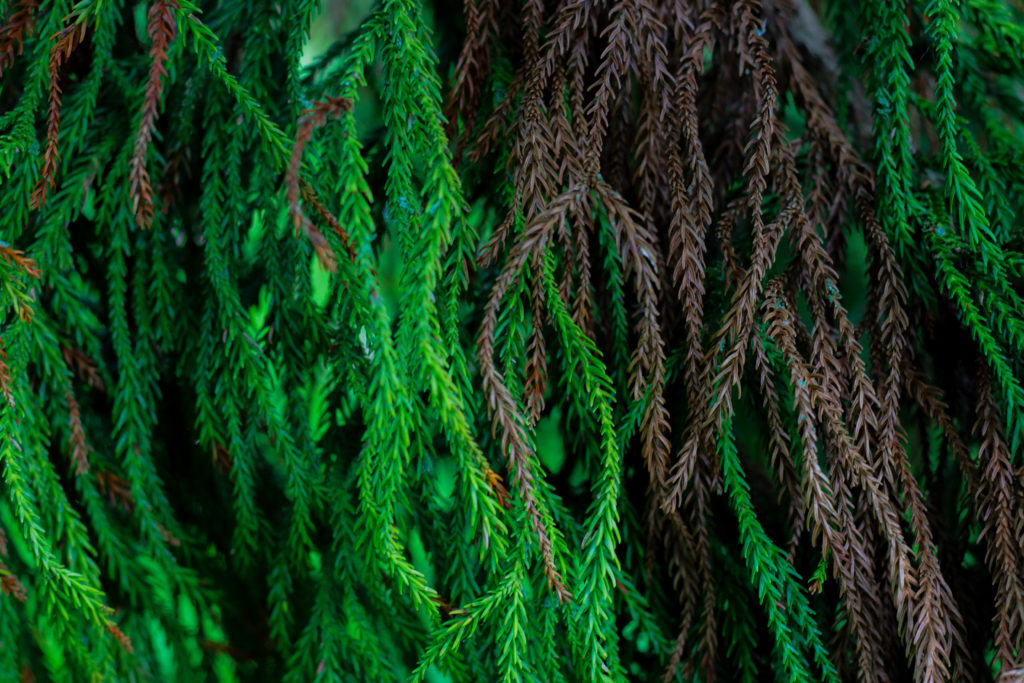
Finally I chose this because I think it really well summed up the idea surrounding the topic of texture through both its green and brown leaves branching out. Because of this I really liked the contrasting dead and lives leaves together as the texture stays the same but rather the colour changes, as a result of this I think it adds a much needed extra bit of texture due to it stopping the otherwise dominant green from becoming too much and detering the viewer. When looking over the image in regardings to the topic of texture, I found that it related well, however I was not too pleased with the overall outcome due to it lacking contrast behind the leaves which would have made it more defined.

Once I had looked at each image in more depth I decided it was time to move onto picking one image to sum up and represent the entire shoot. To do this I would have to consider looking at its visual aspects whilst also its conceptual ones and how well it related to my intentions and overall aims:

Overall when looking over all the images I found this one to be most effective regarding the topic of abstract textures. This was mainly due to the unusual cut mark made across the base of the trunk which for me added an extra sense of abstraction due to it looking a bit surreal and mysterious. This was complimented by the dying ivy which I definitely thought added that needed break between the continual texture and colour of the wood and the dark cut. For me I thought this image was executed the best due to how it represented my initial aims of the shoot whilst also taking into consideration my topic title of abstraction through texture (seen through isolating the subject from its surrounding environment).