Category Archives: Developing

Filters

Author:
Category:

Book Designs – First Drafts

When editing my book I decided that I would use the software called Blurb to create my three books for final exam. I chose this because of how it presented me with a bigger variety of different templates that I could more easily access to that on Lightroom, allowing me to experiment more with my layouts. Whilst designing my books I decided that I would make myself refer back to my photographic books which I had drawn inspiration from by the photographer Robert Frank. By looks at his three books together it gave me ideas for the development of my own, this included the use of negative space being used effectively in order to enhance each image the way I wanted. Overall when looking over the three books ‘Tal Uf Tal Ab’, ‘You Would’ and ‘Park Sleep’ I found that I had gone down a slightly different path as in Frank’s books he had a closely similar theme throughout the three books compared to that of mine which have a similar but different theme in each book. Using his books as references and my main influence I was able to select and layout about forty images for each book. Here are my current compositions:
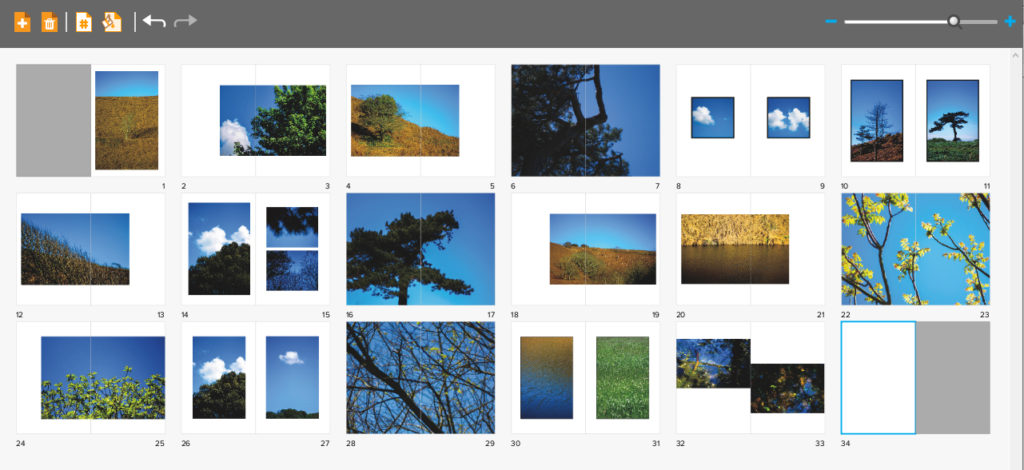
Title: Hue. Here I made sure to have an overall theme of blue in which each page consisted of vivid colours where yellows, greens and blues dominated the majority of the pages. I particularly wanted to focus page compositions around the idea of trees and other things against the backdrop of a bright blue sky due to really liking the contrast that it produced. For the selection of the images I decided that I would mainly focus on shots from a distance, this is because of how I thought by portraying the overall landscape that each picture was taken in would be more effective than choosing to focus on only one singular object, isolating it.
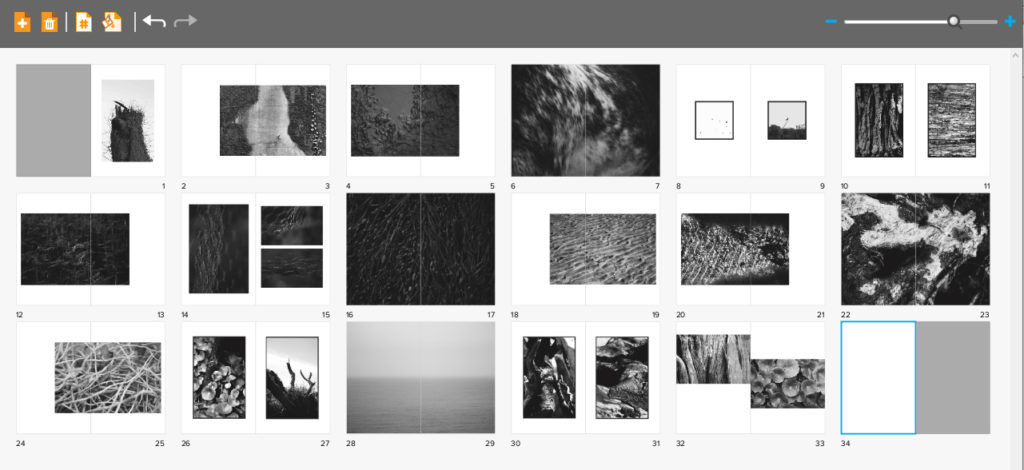
Title: Motif. For this book I wanted to look at the idea of abstraction through pattern, here I made sure that I would isolate the subjects from their surrounding environment, by doing this it would allow the audience to really enhance and look at the detail present in our everyday lives. Throughout the book I made sure to have a clear distinguish between the darker images and the lighter ones, by doing this for me it allowed for a smoother transition from page to page as it portrayed the impression of the book getting darker and the lighter,
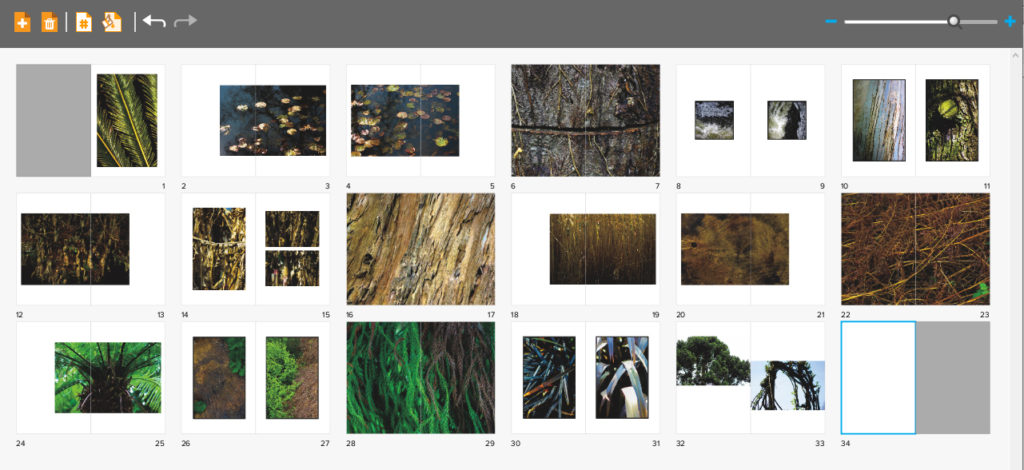
Title: Form. This book focuses on the idea of abstraction through texture rather than pattern or colour, for this book particularly I wanted to portray the commonly seen things during walks through woods in a new light not previously seen before. To do this I made sure that I captured the surfaces of each subject in a lighting that defined its surface more dramatically that it would usually be seen as. I tried to base the book around the themes of brown, green and blue, all colours repeatedly seen in woods, using in camera settings to portray them in a more surreal and abstract light.

When designing my books I decided that I really wanted each book to have the same layout as the next, this was because I wanted the viewer to know that each book was linked together, regardless of the photos inside, and that a similar composition was a great way of doing this. Within the books I have made sure to include a variety of different page layouts consisting of one image a spread to three images a spread, this way it didn’t make the outcomes dull and bland, instead adding interesting changes in the design of the book to make the reader want to turn the next page. I originally had experimented with the blank spaces and had found by using certain images it allowed for me to use photos as a transition between different coloured pieces or subjects within, preventing this outcomes as seeming too much and rushed. I didn’t choose to have any text in my books due to wanting them to be as minimalist as possible which would allow the viewers to only focus on the images rather that what was around them.

Some of the issues that I am having through the process of creating the compositions are the particularly the compositions of the last spread, this is due to how I want it to be more simplistic, but rather retain the overall qualities and composition of the rest of the book. My final issue is the composition consistency throughout the books, this is due to a stronger start of portraying images, however this becomes harder to maintain as I progress through its creation, leaving me too have some pages blank in which I need to come back to and redesign.

ESA // Presentation Ideas

Window mounts:

I am wanting to present my images on a black background and in window mounts. I have looked at different layouts that I could present my images, including; each set of images being in their own window mounts, each image being in seperate window mounts, if I have four images to one board or if I join two boards together and have all eight images presented together.

I have decided to present my images on two boards

Photobook Specification

Narrative: What is your story?
Describe in:

  • 3 words – Circles, Difference & Similarity
  • A sentence – Exploring circles in different environments and in different ways.
  • A paragraph – For this project I will be responding to circles. Maybe not that simple… I would like to explore a shape we rarely take notice of in our daily lives and I would like to use different techniques and environments to share what people miss so easily yet appear everywhere. The aim is to perhaps inspire people to look around and enjoy the world around them and take notice of the little details, like circles, that appear everywhere. The similarity being the shape, the differences; being the environment, location, angle, photographic technique and the urban/rural landscape.

Design: Consider the following

  • How you want your book to look and feel – Landscape, similar width to height, perhaps slightly longer width but only marginally, hard back and strong binding that doesn’t have much image lost in the gap.
  • Paper and ink – Not matte but not glossy, in between.
  • Format, size and orientation – Landscape, ever so slightly longer width than height.
  • Binding and cover – Visible binding, hard back with printed images on the cover.
  • Title – “Latitude” or “Meridian” or “Annulus” or “Ecliptic”
  • Design and layout –
  • Editing and sequencing –
  • Images and text – Little text other than title and all images will be the very best, not a huge amount, short but sweet.

Mounting and Display Designs

My first images to present (below) are contrasts of each other and work very well as a set of two. I have two ideas to start with, one where each image is on white foam board and the other idea is they they are in black window mounts. You can see the two designs below and I have decided to go with the black window mount. When using the diagrams below, I liked both ideas however the black mount make the colors more prolific and allowed for a nice contrast between the white in the water and the black mount.

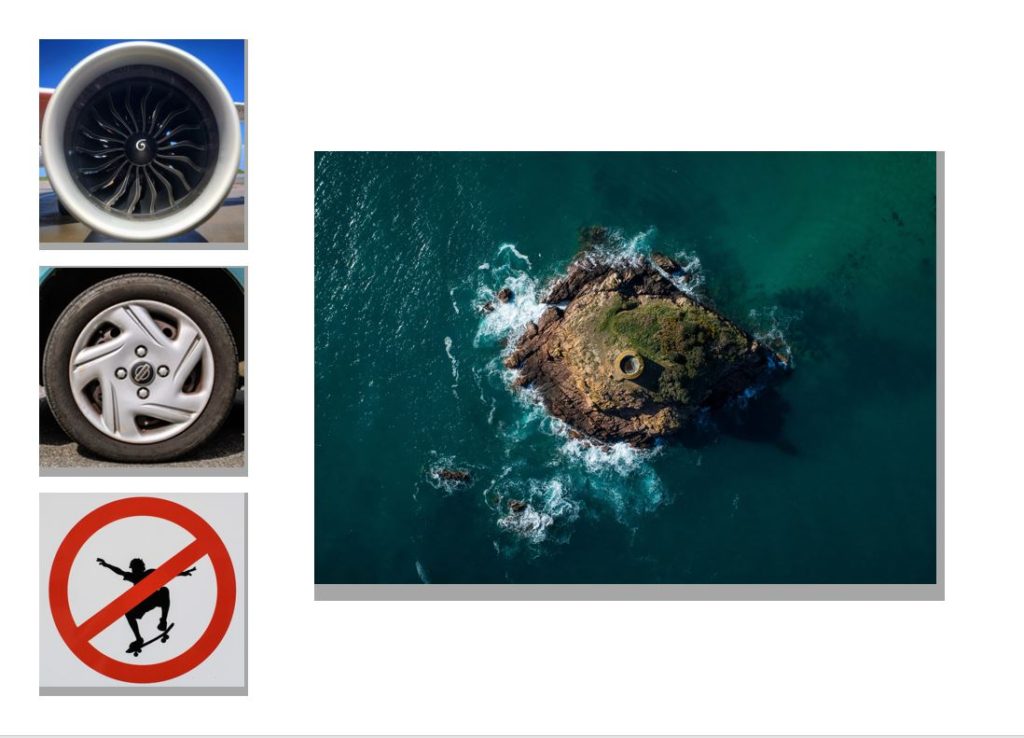
My next set of images to present are different, I plan to have a set of 3 images in a line sitting next to a larger image. I have two very similar ideas for this one, as you can see below. You see the set of 3 on the left on top of an extra foam board to make them stand out (3D) and the image on the right is not, however on the second idea the image on the right is also on foam board. In the end, I decided to follow the second idea and have the image on the right on foam board as well and the set on the left.

Final print layouts

I decided I wanted to print 4 photos in A3, 4 photos in A4 and 3 photos in A5. This is shown below:

My 3 A5 images
My 4 A4 images
My 4 A3 images

I experimented with a few different ways in how I was to present my images. My first instinct was to go with these layouts below:

I liked these 2 together as even though one is in colour and the other is in black and white, they are both related to each other due to the fact they are both from my boat shoot and they have similar shaped objects and structures in those 2 images.

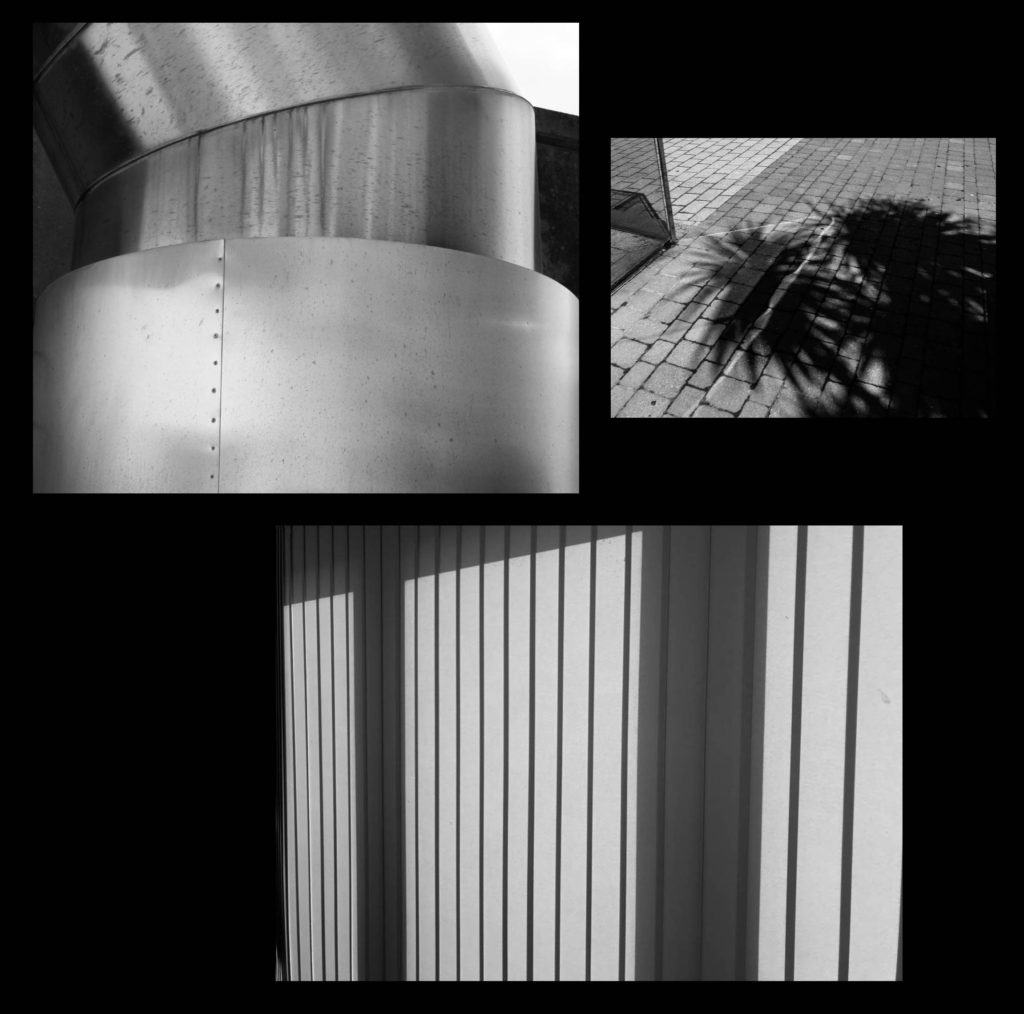
I liked these 2 A4 images and 1 A5 image together because the consistency of the black and white created an effective look. Additionally, I liked how they all are landscape images and how the bottom image has the strongest structure of shadows. I was thinking that I could trim all these images so there is no white borders and spray mount each image onto a piece of foam board. Then, I would’ve got a big piece of black card and stick each image on top of the foam board onto the card so they are assembled together.

I thought these 2 A3 images looked good placed next to each other as they both have strong shadows in each image. I would’ve done a window mount of these images together so that they were included in the same piece of card but in 2 separate frames.

Then, with the remaining 4 image prints, I would’ve put them all onto a piece of foam board and stuck the foam board onto a piece of black card, but maybe a different coloured card for the glow stick print on foam board.

However, I thought that some of the layouts above could’ve looked better, so below is some more experimentations of layouts:

With seeing all the different best possibilities that could work well to present my final images, I decided to use these below:

With these 2 A3 images, I am going to put them both onto a separate piece of foam board and put this on top of some black card.

With these 2 A5 images, I am going to do the same as the idea above – put them onto foam board and then onto black card.

With this 1 A3 image and 2 A4 images, I am going to do the same foam board idea and put them onto black card.

With these 2 A4 images, I am going to put them together in the same window mount, however they will be in separate frames on the same black card.

With this A3 image, I am going to make a window mount of black card.

With this A5 image, I am going to put it onto foam board but I am thinking of keeping the white border around this image so that when I put it onto card, there will be a nice thin white strip to separate the colour of the card and the black background of the photo.

Book Specifications

My topic in 3 words: Styles of abstraction

Topic described in a sentence: I will be exploring how three different categories of abstraction, colour, texture and pattern compliment and contrast each other when put together.

My Topic described in a paragraph: I will be looking at the topic of abstraction regarding three of the more dominant areas of it. I will firstly look at colour and the use of heavily saturated photography to isolate the subject from its surrounding environment. Texture is another theme I wish to explore through the almost unseen world present when looked at closer inspection and how natures pattern often are aesthetic and in huge variety. Lastly I will be looking at pattern and the idea of isolating once again a subject from its surrounding environment so that it becomes up to the viewers to interpret what it could be in regards to surface and look.

Design:

  • Look and feel: I would like a matte cover which would produce a photographic but card like feel which would really compliment the material being used for my overall design and theme.
  • Paper and ink: For the sleeve I would probably use printing ink to produce the title and author name, but within the book I would use glossy paper due to it producing a more detailed outcome.
  • Format, size and orientation: The format would be three portrait books due to me wanting them to be able to fit into sleeves, I would probably make the size of them relatively small just below the size of A4 paper.
  • Binding and cover: The cover would be the title of that topic of abstraction within the book such as saturated.
  • Title: Each book will have a different title regarding the contents which can be found inside.
  • Structure and architecture: The page layouts will mainly be one or two images to a spread with the occasional three images if I want to create the impression of a triptych.
  • Design and layout: Once again the pages will mainly have one to two images per spread with the occasional three or four
  • Editing and sequencing: I will be ordering the images into each book regarding which title they best fit into, saturation, texture or pattern. Each book will have the photos ordered into a way in which each compliment each other or have a greater overall theme.
  • Images and text: I would like to keep the book very minimalist and so possibly would just have the location or word saturation with its number such as #1 or #2

Shoot 6 – Boats

For this shoot, I wanted to go and visit boats down on the beach on a sunny day, when the tide was low so I was able to walk around the boats and take my images. I wanted to see how boats can have different effects of light and darkness due to their positioning on the beach, which is where the sun shines onto heavily.

Contact sheet

Edits

Shoot 4 – Darkroom

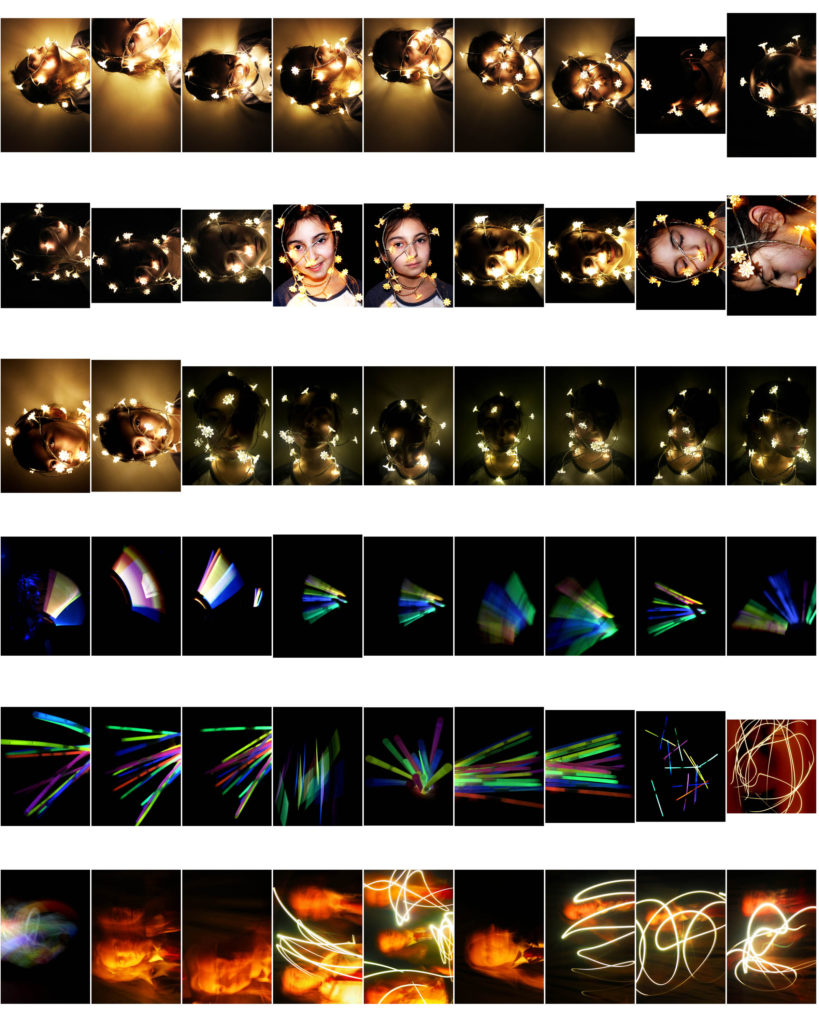
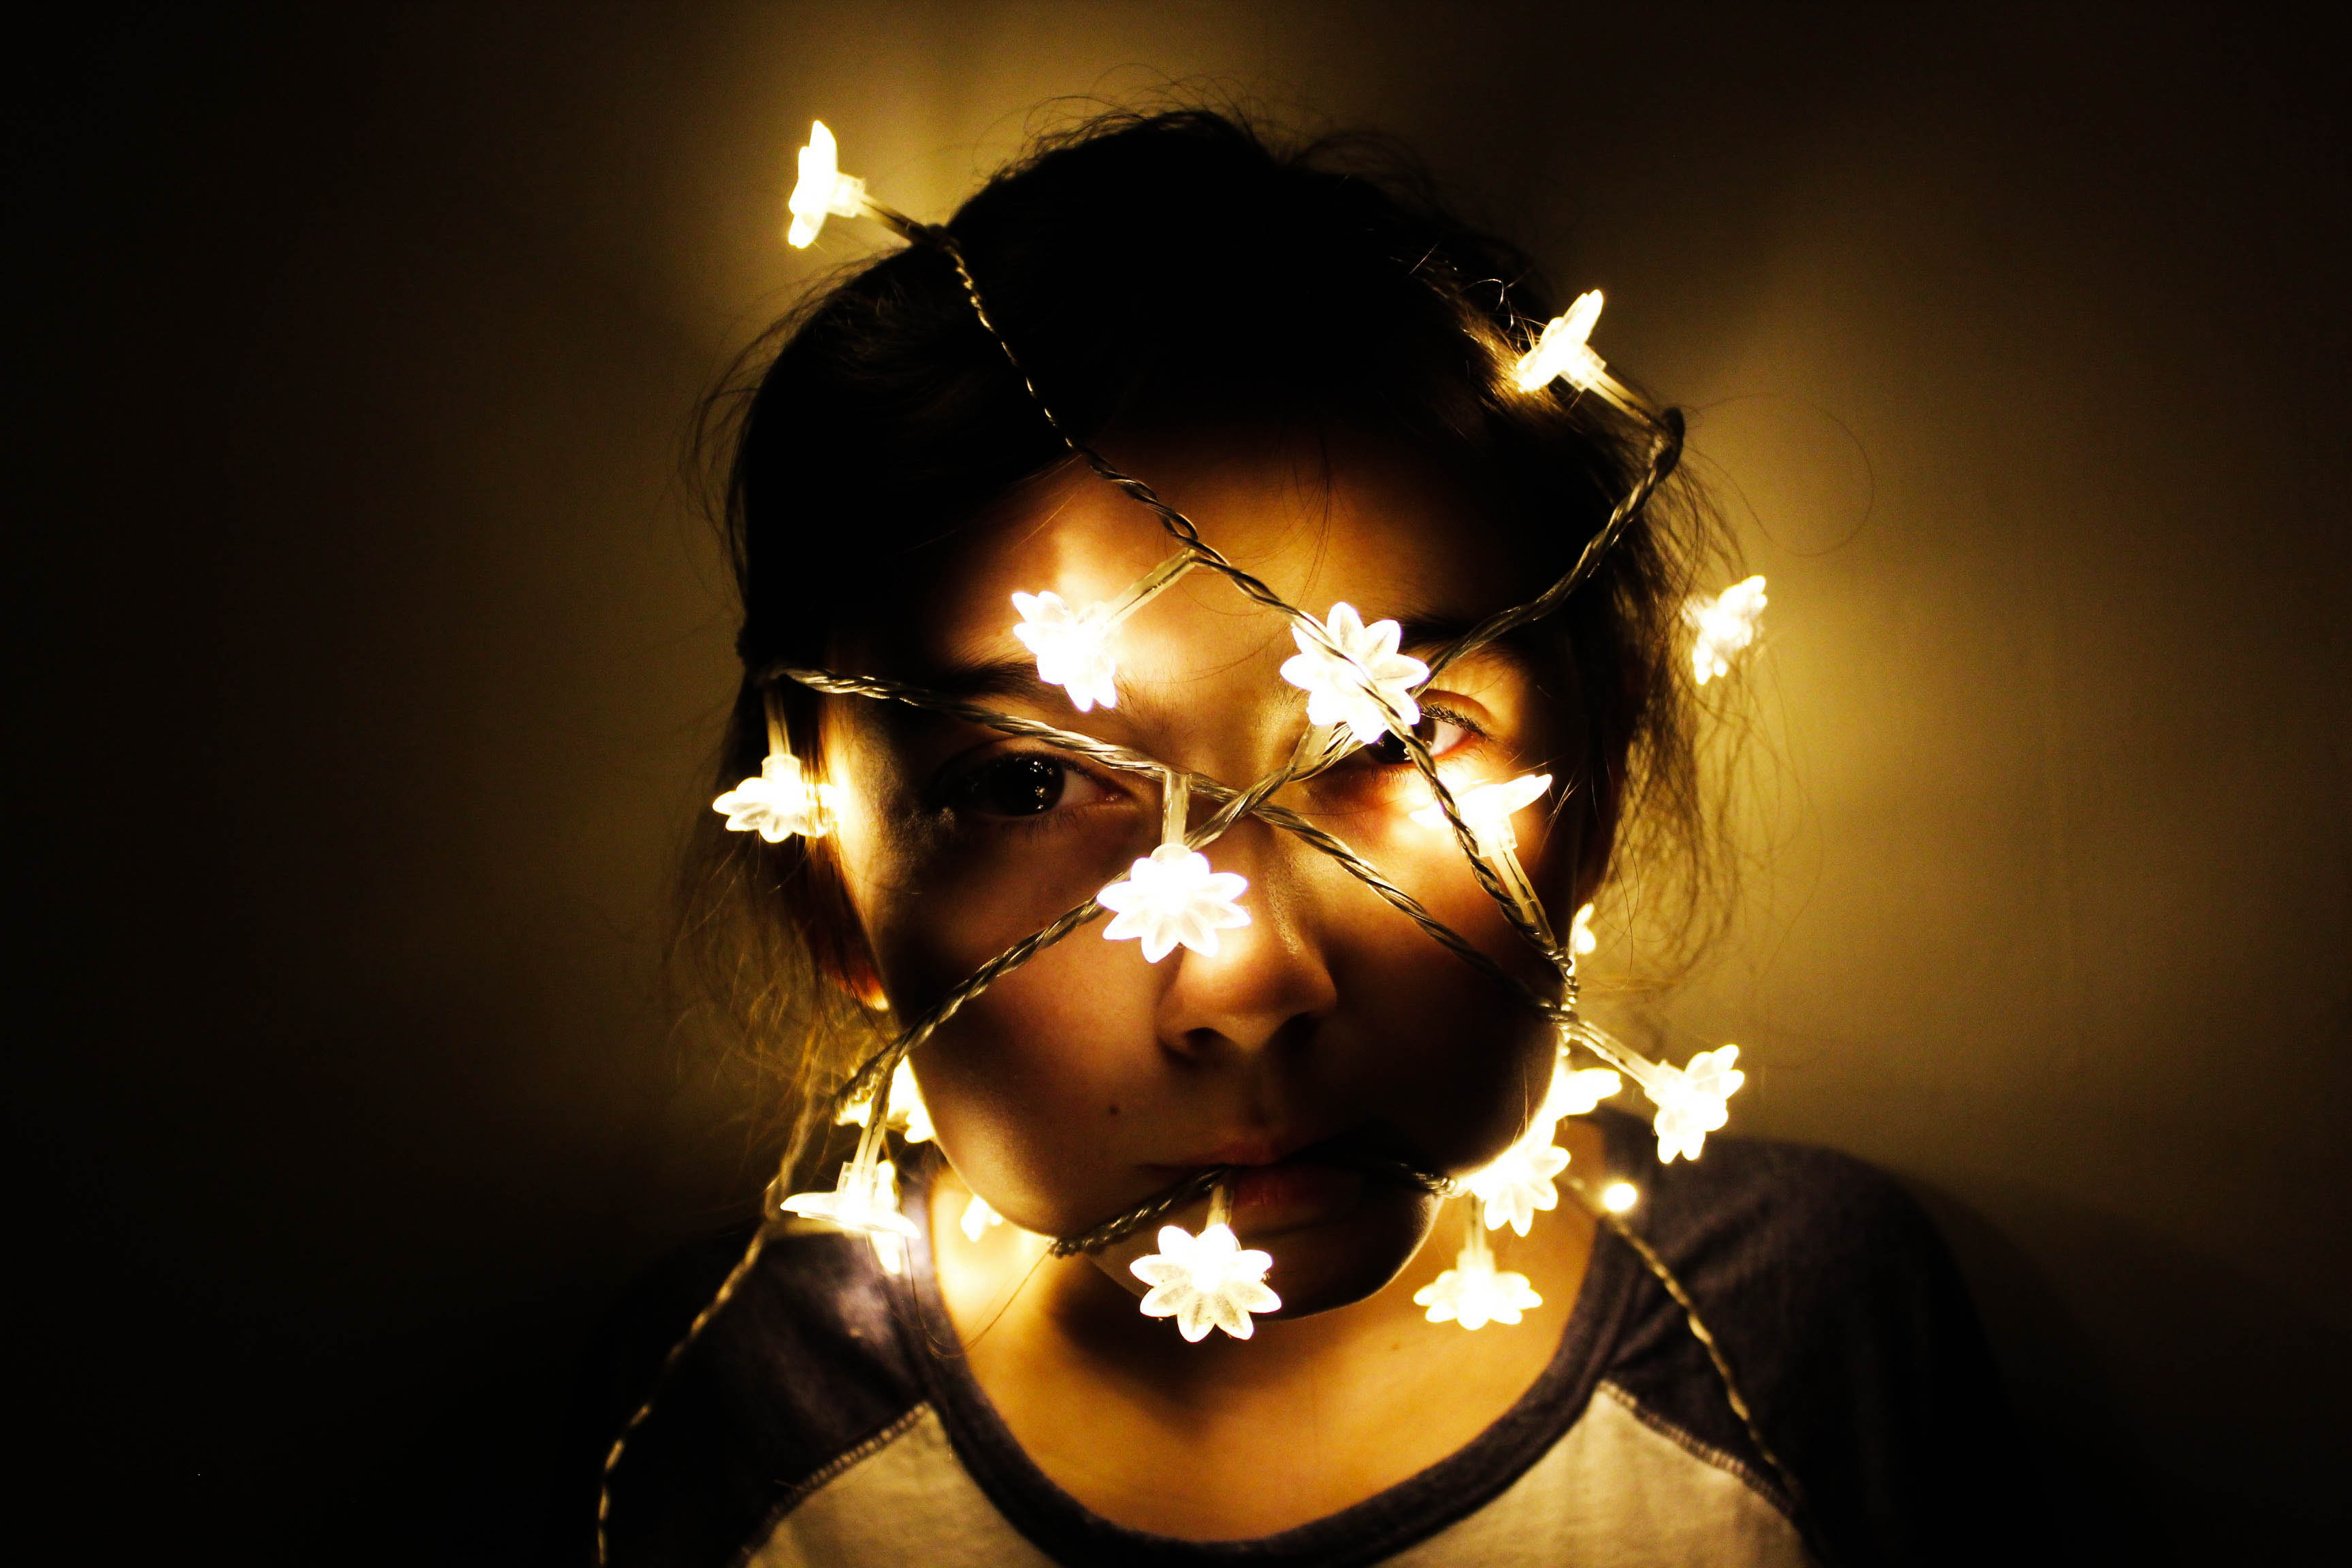
For this shoot, I wanted to create a series of images that included multi-coloured lights from a bundle of glowsticks, as well as an experimentation of using slow shutter speed and waving an iPhone torch and glow sticks around in a dark room. Additionally, in my darkroom shoot, I used fairy lights around a model to see the effect of light and darkness on the models face.

Contact sheet

Edits