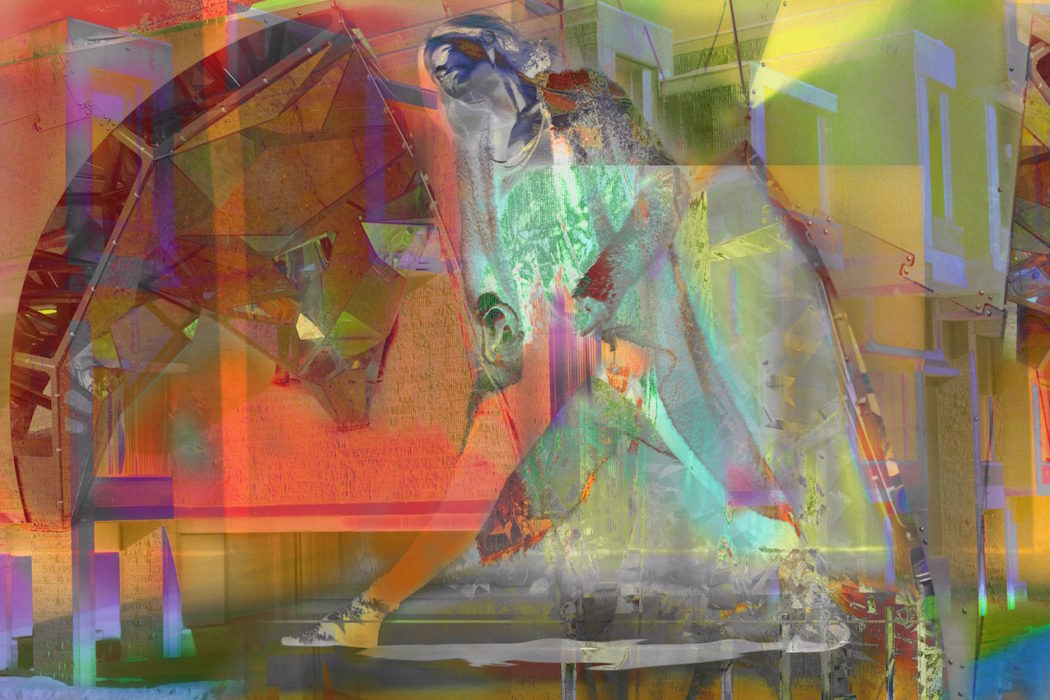
For my second shoot I’d like to use old negatives instead of color filters like my previous shoot. I am hoping this will have a similar effect to the photos below. The photos below are by the same photographer I studied in my first photo shoot. James Welling created a number photos inspired by dance and color. These photos were produced digitally however, I heard recently that you can use old film negatives as filters inside the camera lens. I am hoping to try this as well as digitally editing my images in Photoshop like Welling has. You can see Welling’s influence from older projects such as the Glass house. Color, nature and architecture are large recurring themes in his work and can be seen in this project. James Welling has used photos of dancers to decorate and turn his photos into dreamy and psychedelic inspired pictures. When I look at these photos the bodies turn into shapes and filters. When people look at my interpretation of this, I want them to recognize it’s a body or face but not focus on it. I want them to just look at the photo like an abstract piece. Just like Kandinsky’s work who focused on shapes, color and composition.


Hey Peter,
There is no evidence of any work published on the blog since before Easter (since 20 March – almost 4 weeks!!!
I hope that you have done all the shoots you need and have lots of work to be published???
Your exam begins Tue 24 April!!
I like to see where you are at tomorrow Tue 17 April
Make sure you follow these instructions:
YOU MUST COMPLETE THE FOLLOWING WORK OVER EASTER
https://hautlieucreative.co.uk/photo18ale/2018/02/06/2018-exam-planner/
PHOTO-SHOOTS: Record and explore your final 3 planned photohoots.
It is essential that you complete your principal shooting over Easter and return on Tue 17 April with a few hundred images ready for further post-production and editing. Remember first final print run is Wed 18 April
EDITING: Make a rough edit of shoots (you can come into school and work on classroom computers or alternatively download a 30 day free trial of Lightroom/ Photoshop from Adobe. Click here for more details.
EVALUATE: What went well? how can you improve/ develop work from here? Describe visual/contextual links with research, artists references, exam theme. Analyse your best two images following method: FORM, MEANING, JUDGEMENT, THEORY/CONTEXT.
FINAL OUTCOMES: Consider what your final outcomes will be and how to present them ie. single images or a series of images, diptych, or triptychs, grids etc.
PHOTOBOOKS: For those who wants to make a photobook – begin to make a selection of images – think about narrative and sequencing (what is the story you want to communicate and how you are going to do it in a series of images).
RESEARCH: Support book design with research and analysis of at least one other photobook by other photographers. Follow these steps here in your understanding of design, concept and narrative.
BLOG POSTS: Go through all your blog posts and make sure that you have completed them all to your best ability, e.g. good use of images/ illustrations, annotation of processes/ techniques used, analysis/ evaluation of images and experimentation. Remember to MAKE YOUR BLOG POST VISUAL and include relevant, links, podcasts, videos where possible.