All posts by Anna Houiellebecq

Filters

Author:
Category:

Viviane sassen’s photobook // Roxane

http://www.bjp-online.com/2017/05/photobook-roxane-ii-by-viviane-sassen/

http://oodee.net/books/viviane-sassen-roxane-ii/

http://www.vivianesassen.com/books/roxane/

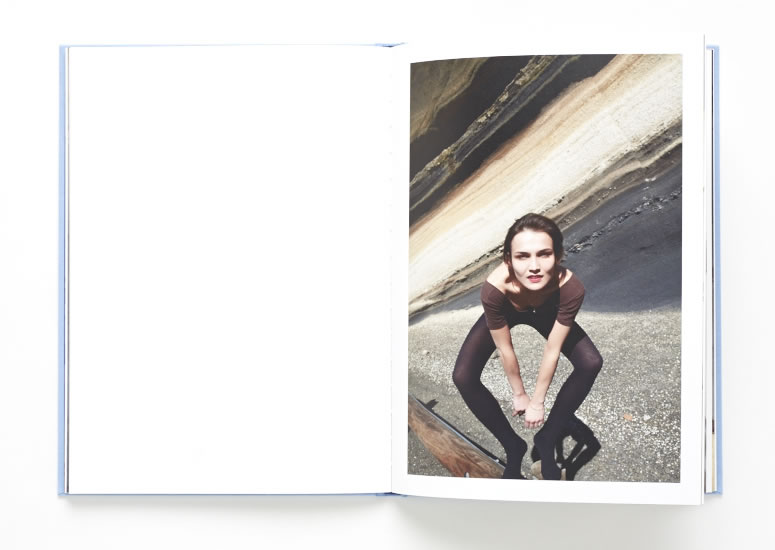
I really like the Photographer Viviane Sassen and have decided to chose one of her many photo books. The photo book I have decided to focus on is called Roxane. I believe that Roxane is the name of the model within the images.  The images within the book are extremely unique and full of abstract, twisted visions. She explores the female body by using a variation of photo styles, such as fashion photography and abstract photography. Sassen also includes some landscapes within her book to create a contrast, and a story like layout. I love the wierd and unique style that Sassen has. Her way of thinking really helps me to express and develop my unique style as well.

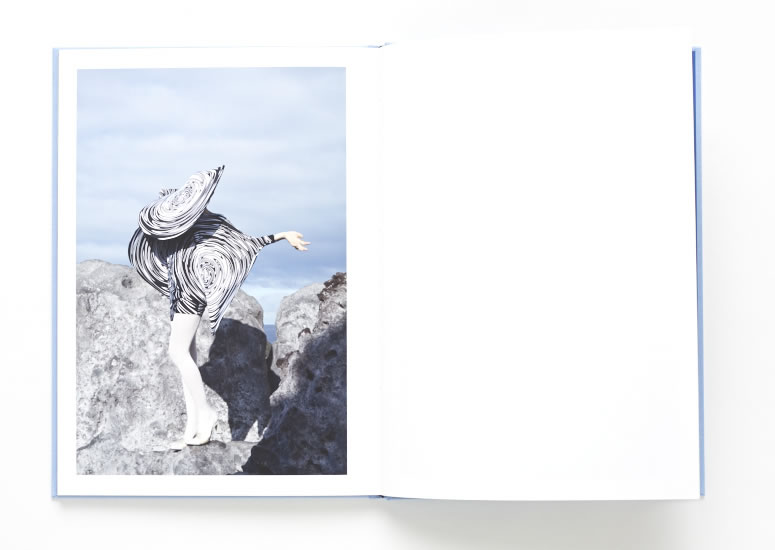
Here are a few pages from the Photo book Roxane. I really like how she develops the book with the use of portraits and landscapes, as well as her abstract images. There is a large use of fashion photography within her images, similar to the images I have managed to develop so far in the project. 
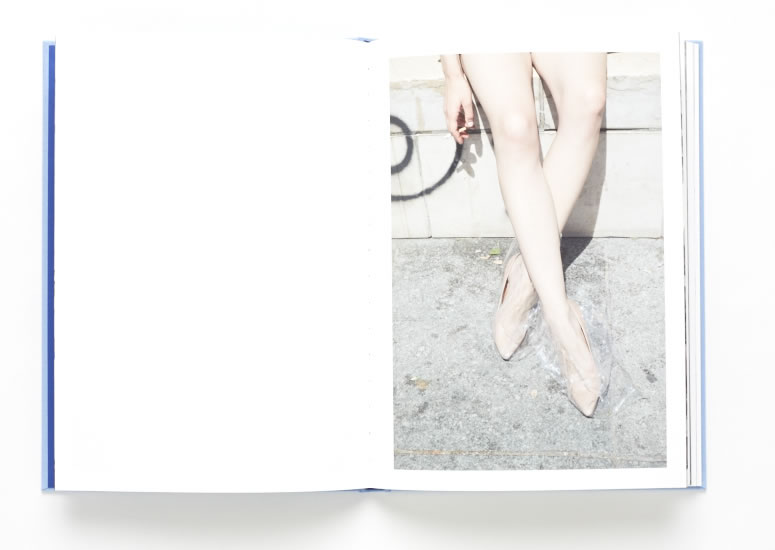
The photo book flows very well from image to images because Sassen makes links between her images to create a genre and narrative. Her images are very unique and contain a contemporary style. The layout of her book is very simple and plain. This is something I want to do differently with my phonebook because I want to use my sequencing and layout to express a wild format and way of thinking.

All the images in the photo book are the same size, apart from the abstract landscape images that she uses to split up the flow. She does this to make the concept of the book more interesting, and to add contrast to the flow and layout. All the images of the woman, Roxanne are single spread images, on either side of the book. The abstract landscape ones are multi spread images that spread across both pages. In every image of Roxanne she is pulling a different pose, and making different shapes with her body. She is playing different female characters, that Viviane Sassen wants her to perform.
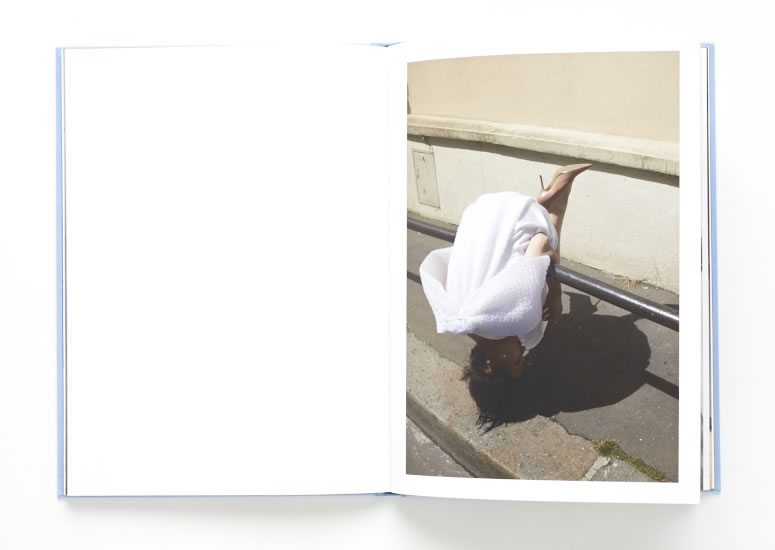
Viviane Sassen dosen’t dramatically edit her images because they are good enough to stick to the original as much as possible. She uses the model and the environment to add the interest into the images. Sassen’s focus point in her series is the movement of the body and the expressive shapes it creates. The clothes that the models are wearing links a lot with the landscape that she places them in. This seems to be an overall theme within Sassens images.
Contemporary photographer // viviane sassen

VIVIANE SASSEN

Viviane Sassen was born in 1972. She is a Dutch artist who lives in Armsterdam. She is also a photographer who works with both fashion and fine art.  She is mainly known for her use of geometric shapes, often abstractions of bodies. This is why I really like Sassen because she experiments with her visions and her style is unique.  Sassen in known foremost as an artist. Her colorful photographs of Africa won her the  Prix de Rome in 2007. Sassen has managed to develop a ‘personal language’ that is sometimes surreal. She creates images with intertwines bodies, sculptural compositions and abstract forms. Her images are always fascinating and full of energy.

Sassen lived in Kenya as a child and often works in Africa.  She started studying fashion at Arnhem, but soon turned to photography. She is a photographer/ artist that is part of the group who create alternate personal, editorial, and commercial work. She embraces an interdisciplinary attitude. According to Sassen, she says “You should always be able to Judge a photograph on different grounds, on political, social, emotional, but also on personal grounds.” The photographs of intertwined bodies in inspired by daily physical contact with strangers she experienced in Africa.

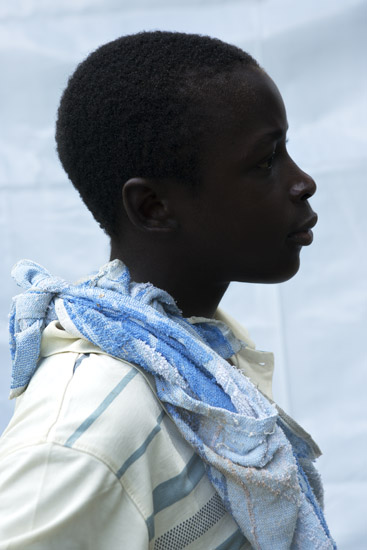
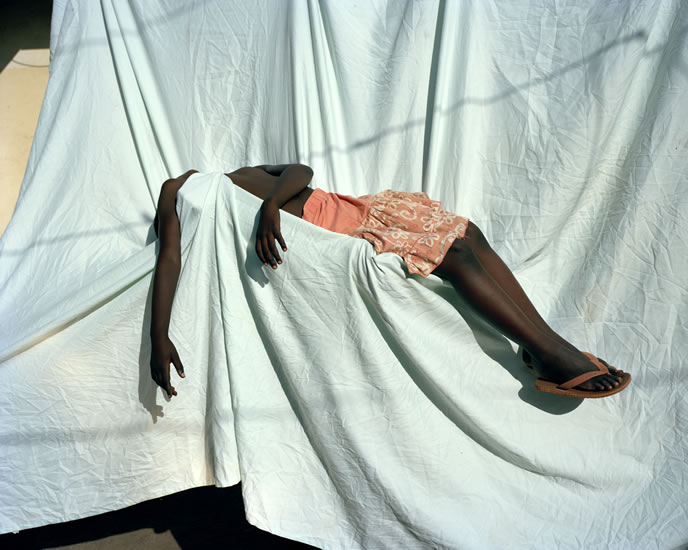
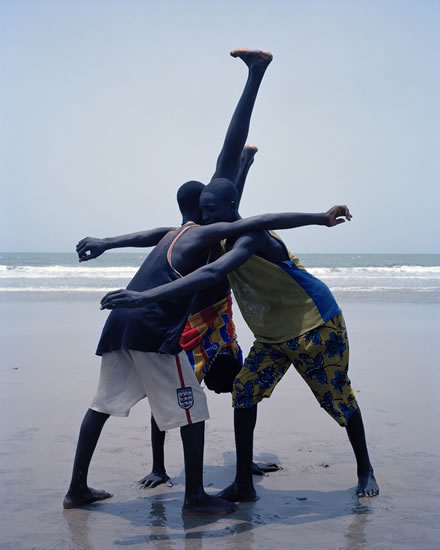
The images below are some of Sassen’s images that were taken in Africa. I like the contrast of images that she has, some of portraits and some landscapes. I also love the contrasts within her images, and the abstract formations that she creates.

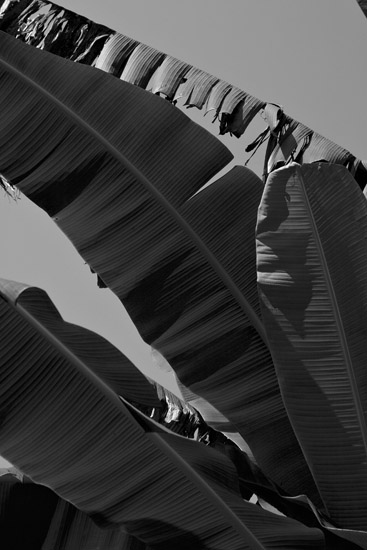
I love some of the contrasts that Sassen includes in her images. The vastness between her ideas shows that she has a vast amount of ideas that she presents. Some of the colours that she includes in her images are bright and full of energy.  She likes to use shadows to create a new dimension within her frame. I also really like some of her more simplistic ideas, such as her abstract landscapes, like the image below.  This image works really well in black and white because of the huge range of tones, from the light being reflected, to the darkest shadows. The image looks almost like a painting which I really like.
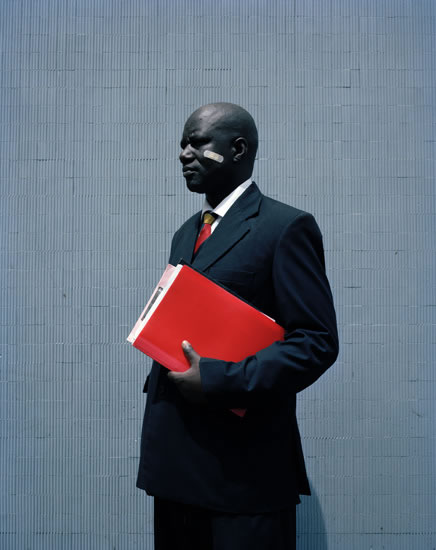
Ive decided to focus on this particular image of Sassen’s because I think it is extremely powerful. The main focus of the image is the man wearing a business suite holding a red folder.  At first look this image could be boring with no deeper meaning, however when you focus on the smaller details within the image, there’s a much more powerful concept. The name of the image is George.  This is probably the name of the guy within the image. George looks very powerful and professional because of the way he is standing, with his head held high, and the way he has positioned his body. He also looks very professional because of what he is wearing. He is in a business suite, so could be in a well payed position. I’m unaware if its deliberate or a good circumstance, but the plaster on the man’s face is what makes this image unique and powerful. The man


Beach shoot // image analysis

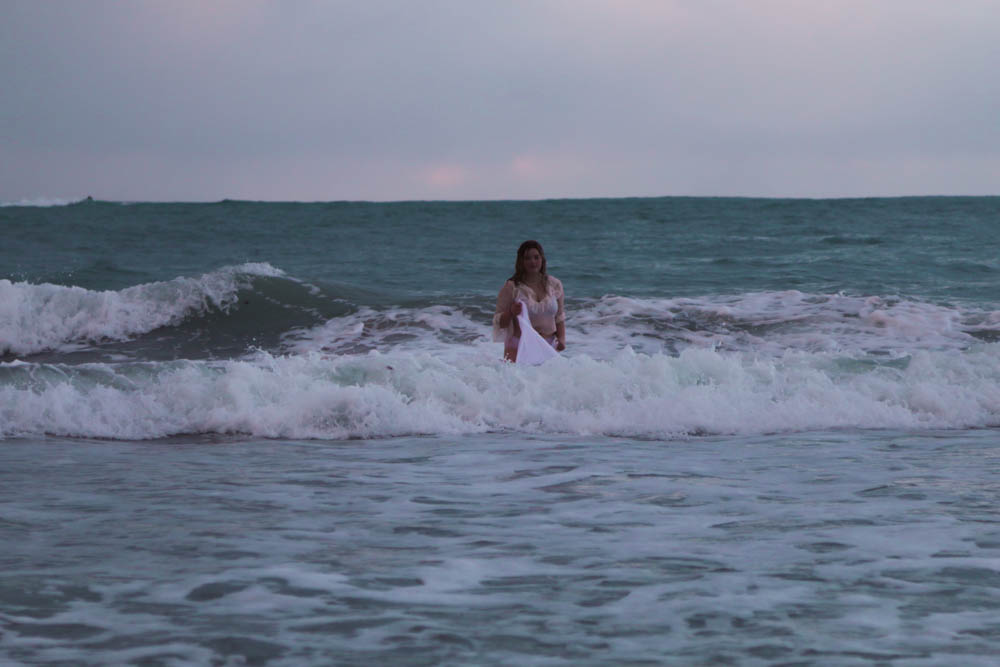
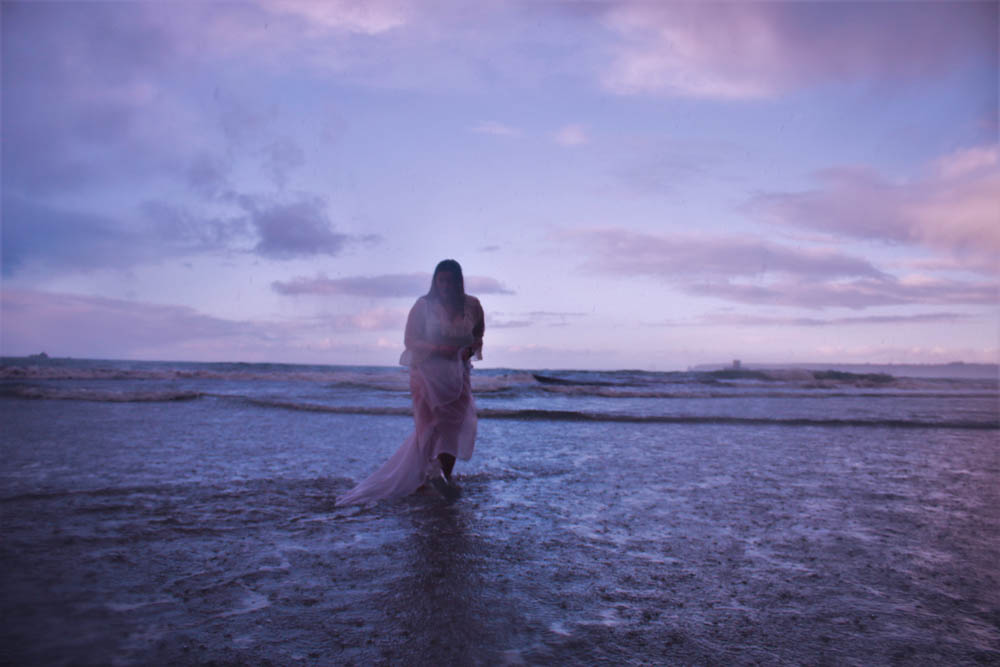
FORM ~ The image above contains a female model captured walking through the sea towards the camera. She is wearing a white cloth which is damp due to being in the water. The model is seen looking down towards the sea with her body facing towards the camera. She has a solemn expression on her face. The model is placed in among a vast, empty environment. She seems small compared the huge sky and seascape seen in the background. There is a blue and pink hue added to the image which creates a romantic yet cold atmosphere.  There is a lot of natural light coming from the sky behind the model which creates a cool, light feeling. The light in the sky has also been reflected in the water below the model.

MEANING ~ The aim of this image was to combine the use of the environment into the emotion I was trying to represent. I also wanted to experiment with movement, and the way movement is expressed through the body. I wanted to experiment by using the environment as well as a material to convey this movement.  I decided to use the beach as my chosen environment because the vast emptiness that is captured at the beach really represented the type of emotion and feeling I wanted to create in my images. The emotion I was trying to re-create and express within the images was the feeling of loneliness and the feeling of being lost.
JUDGEMENT ~ I love the atmosphere that is created in this image with the use of the blue and pink hues. I also really like the coolness within the sky that brightens up the overall feel. However, the lens was slightly blurry when capturing the image due to the weather at the time, and if I did this shoot again I would make sure the image was crisp and not slightly blurry.

~ CONTEXT~ The image was captured in St Ouens bay on a rainy day in December. The photographer Michal Konrad was my main source of inspiration for the shoot because of the way he combined the use of the environment as well as the movement of the body to express the emotions he was trying to portray.

Beach shoot// experiment edits

The inspiration for this shoot stemmed from the idea of movement within the body. I wanted to experiment by using the environment as well as a material to convey this movement. The photographer Michal Konrad who I am going to be researching for my project created a series of images based on movement. He used a slow shutter speed so that the movement performed by the body would be blurred in the image. He did this to symbolize the tension and movement of the mind. Although I only came across Michal Konrad after doing my own photo shoot, I can see similarities between his and my images so I am going to use his work as a comparison.

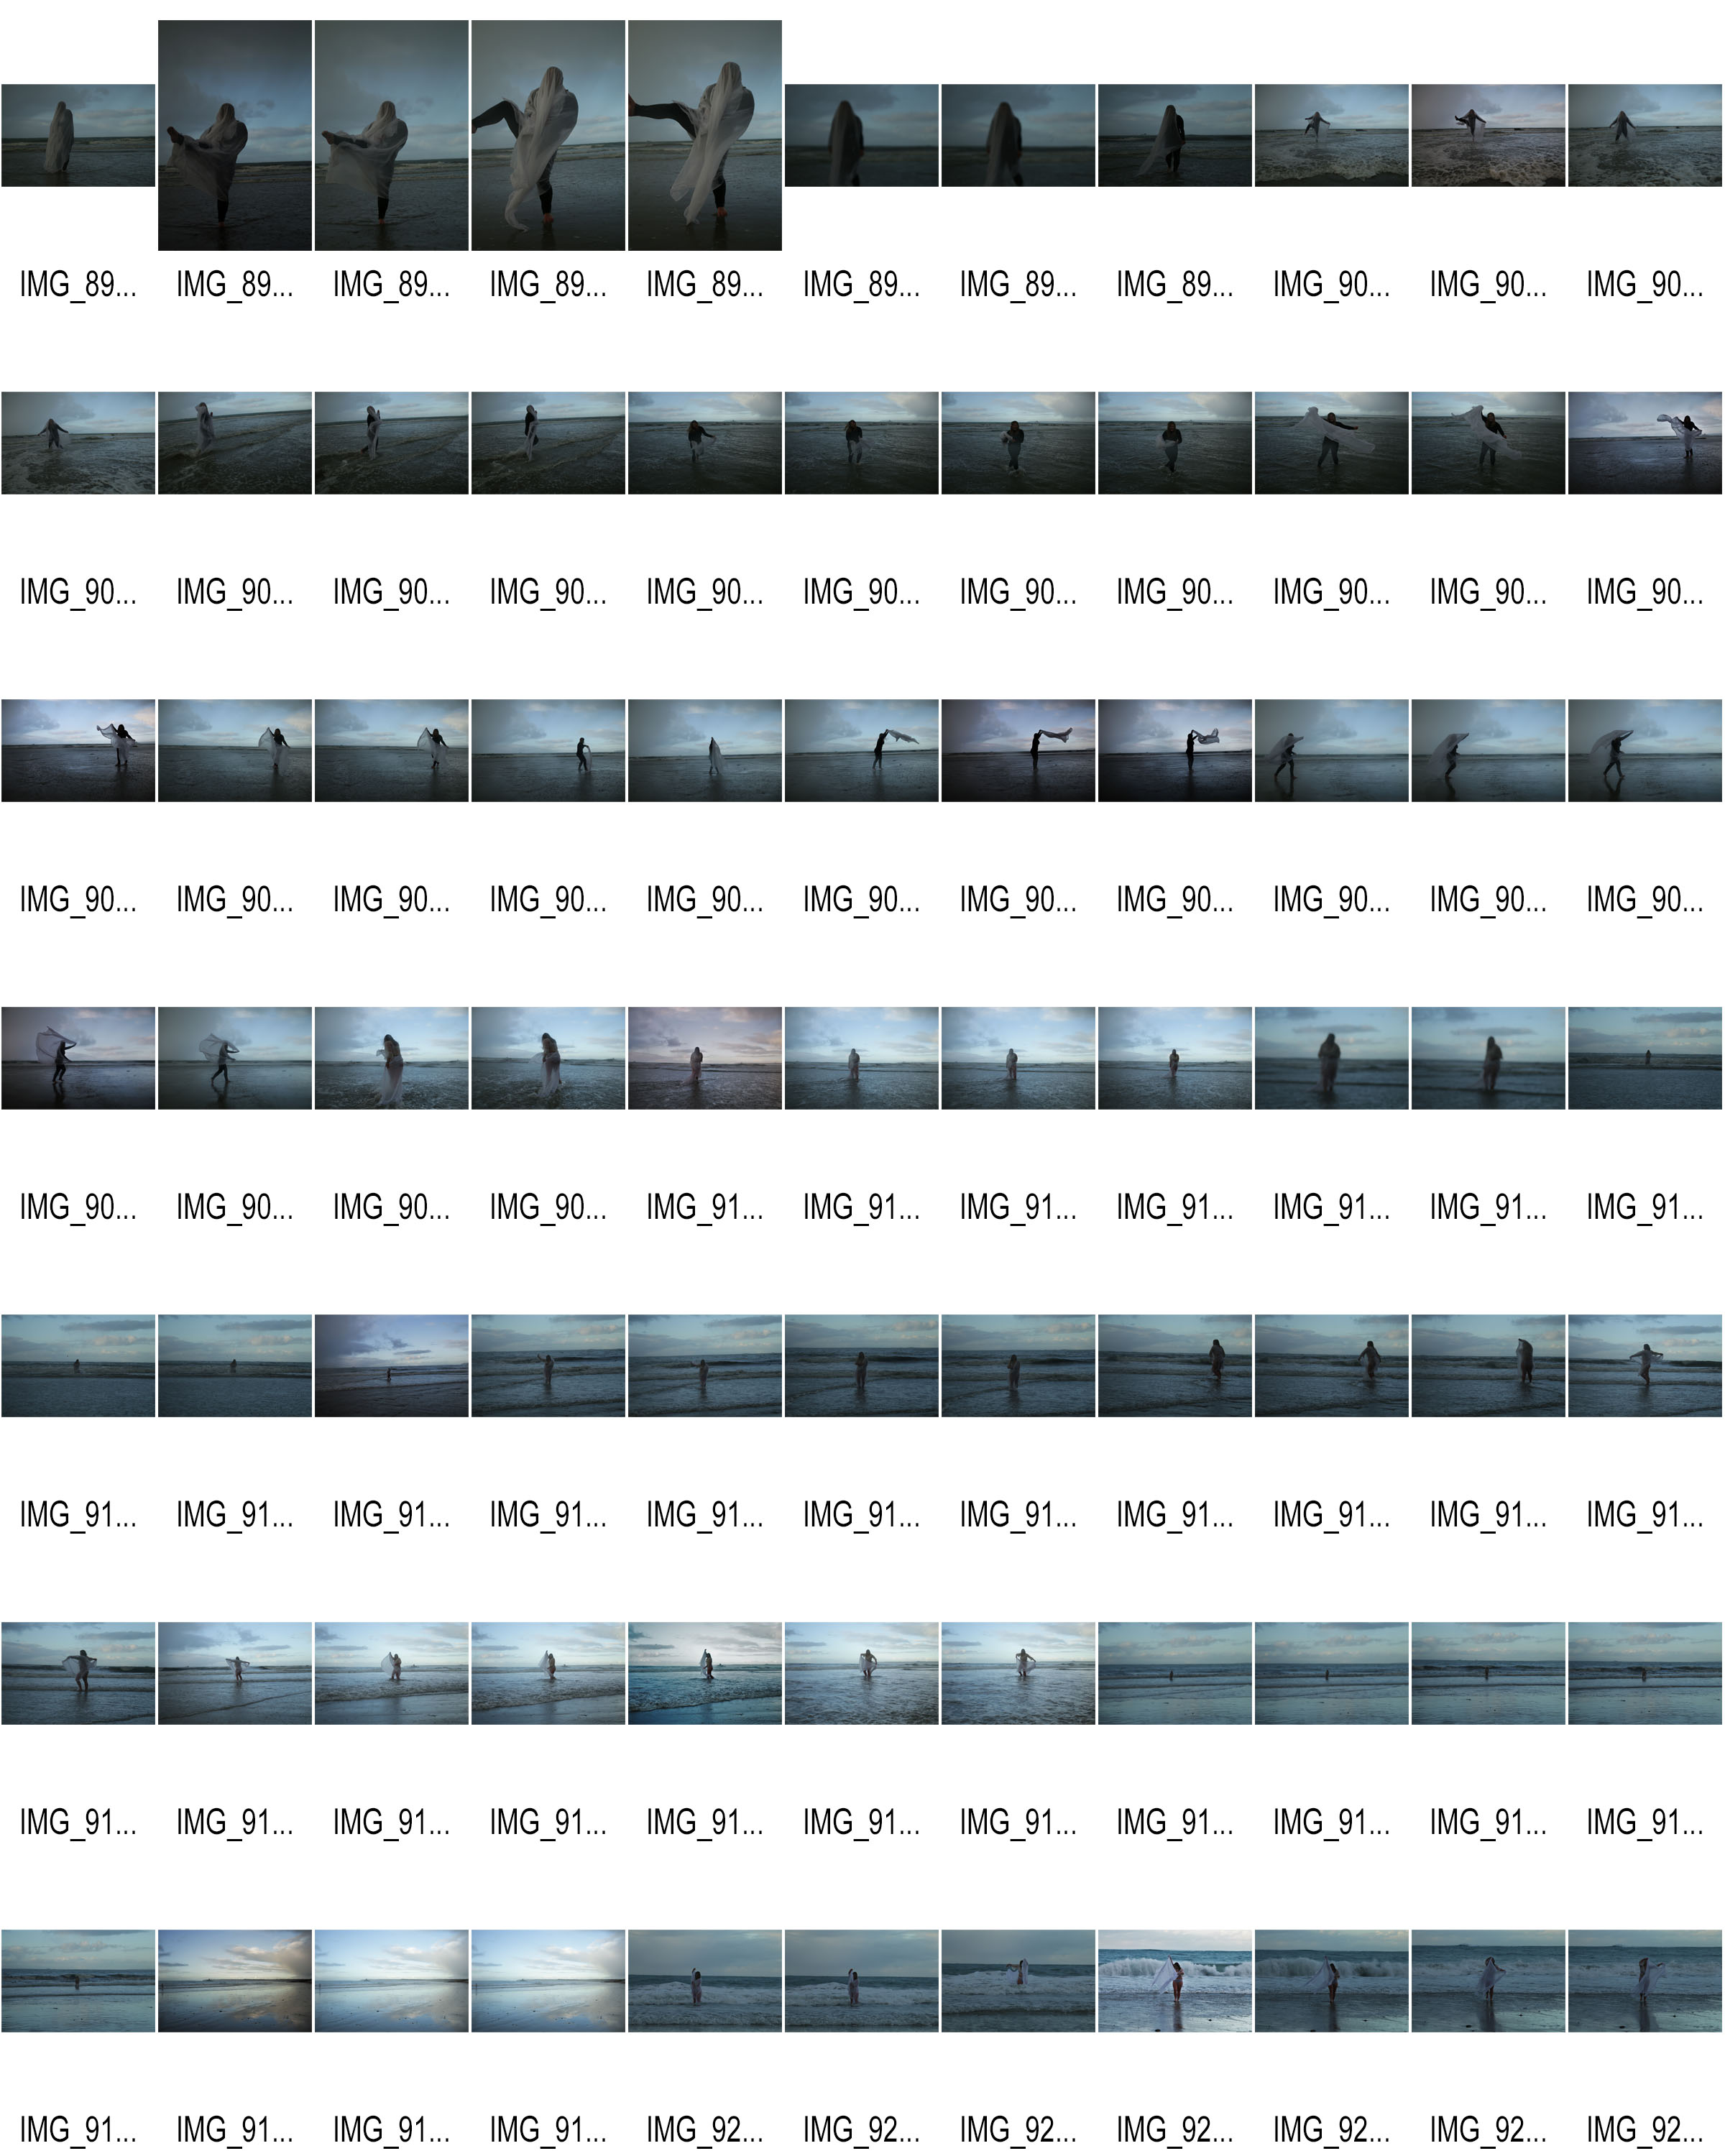
I did the shoot during the Christmas holiday. It was during December and so the weather was really cold. This made the shoot a lot more difficult than it should have been because we were freezing and it started hailing at some point. The hail and rain did effect the camera because it blurred the lens slightly, however, the effect of the hail on the water did make some interesting effects.  Since it was cold, and we were on the beach, my model had to keep moving to keep warm, do she ran around which also made it harder to get a decent result. We were on the beach for about 40 minutes and out of the whole 497 images that I manged to capture, there was only a few decent results that I was happy with.

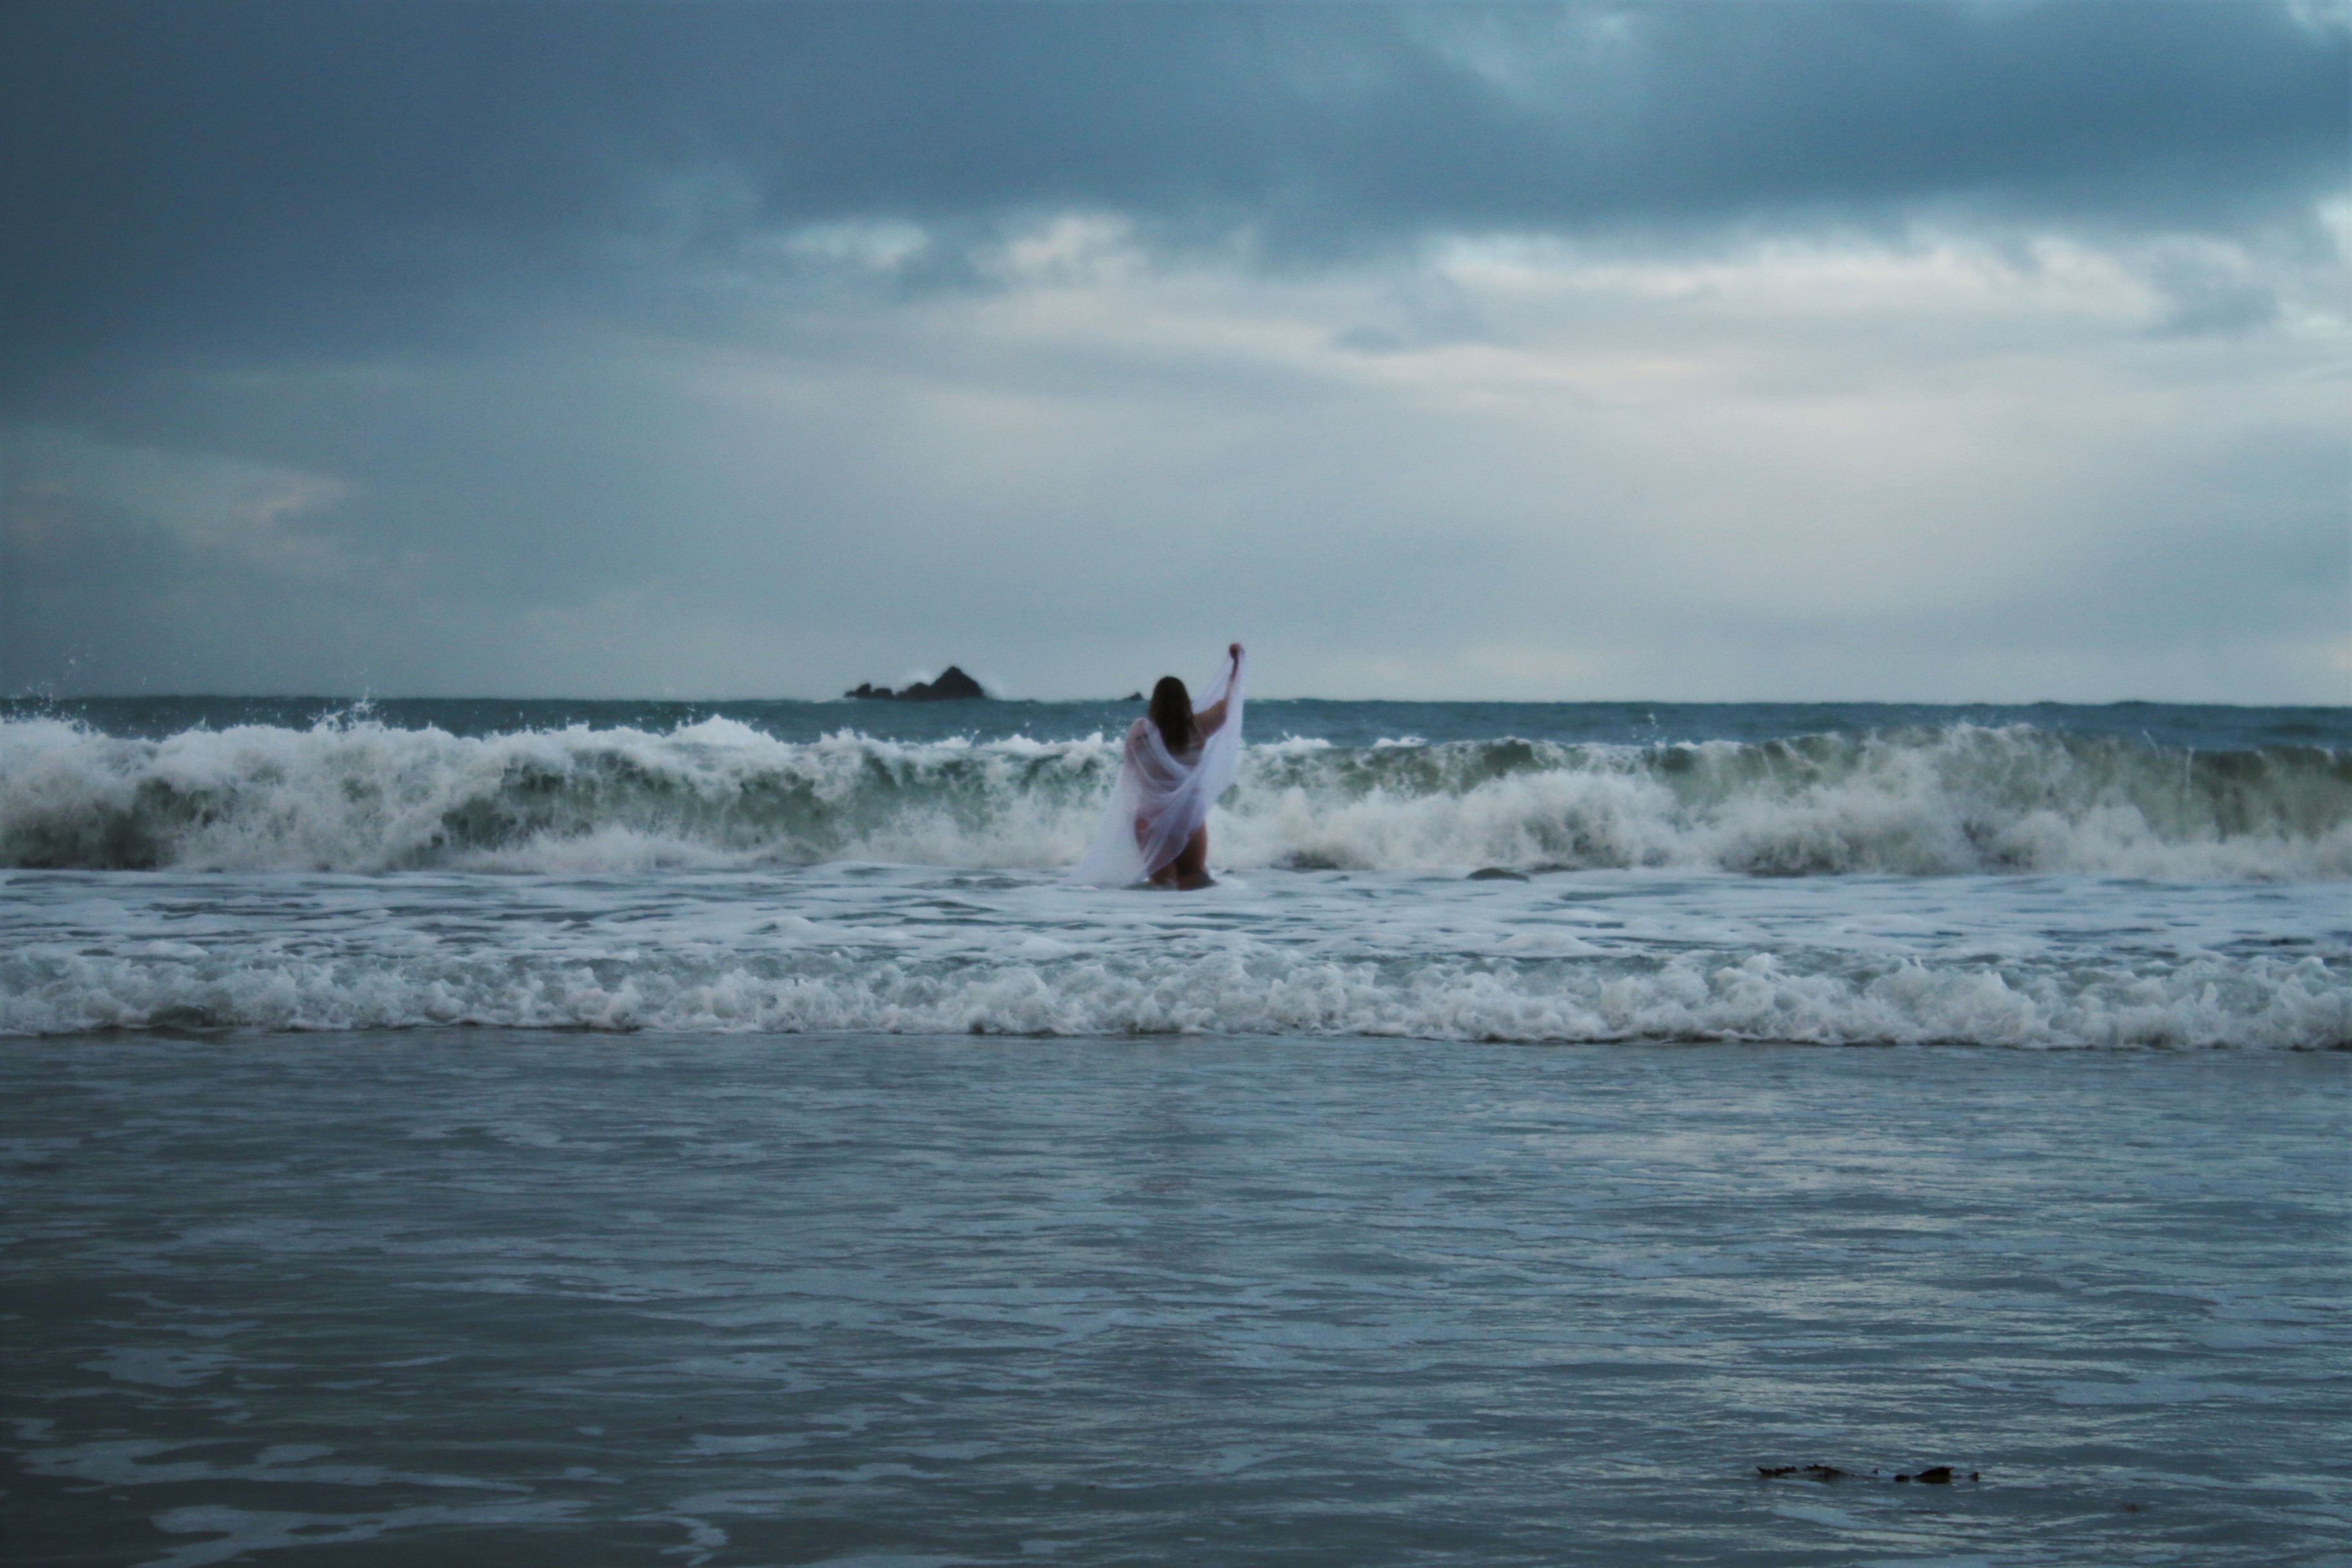
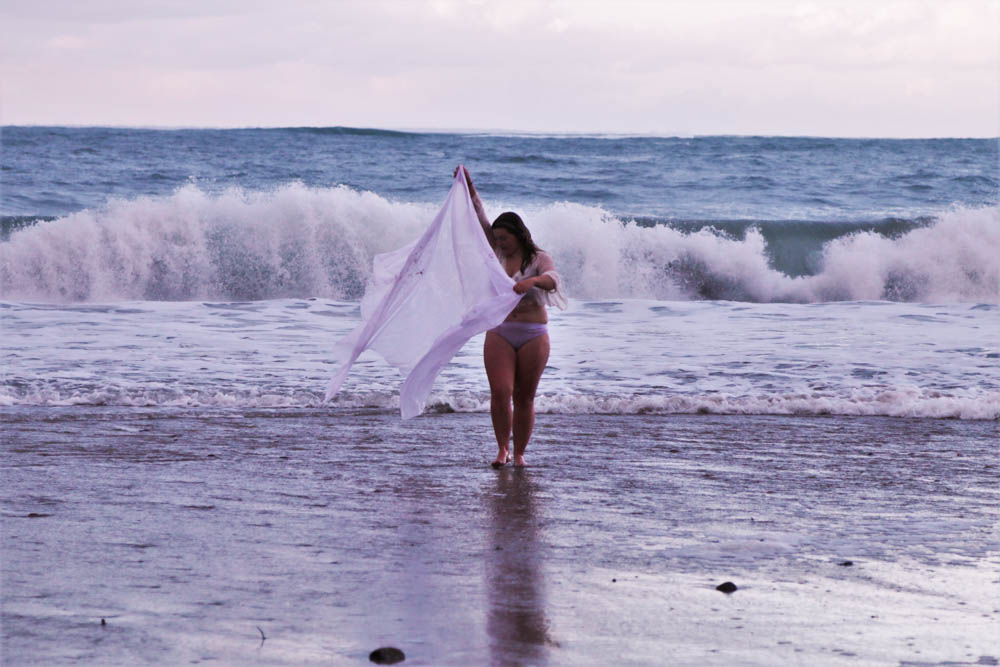
While dealing with the weather and the environment on the day, I had to change my camera settings constantly to get the best results. I used a fast shutter speed so that the image was in focus and so that It wouldn’t be over exposed. I tried to use the environment to my advantage so I got as close to the sea as I could for some of the images. I love the effect of the movement of the waves and the white foam that they created. The wight of the wave significantly brightens up the image.

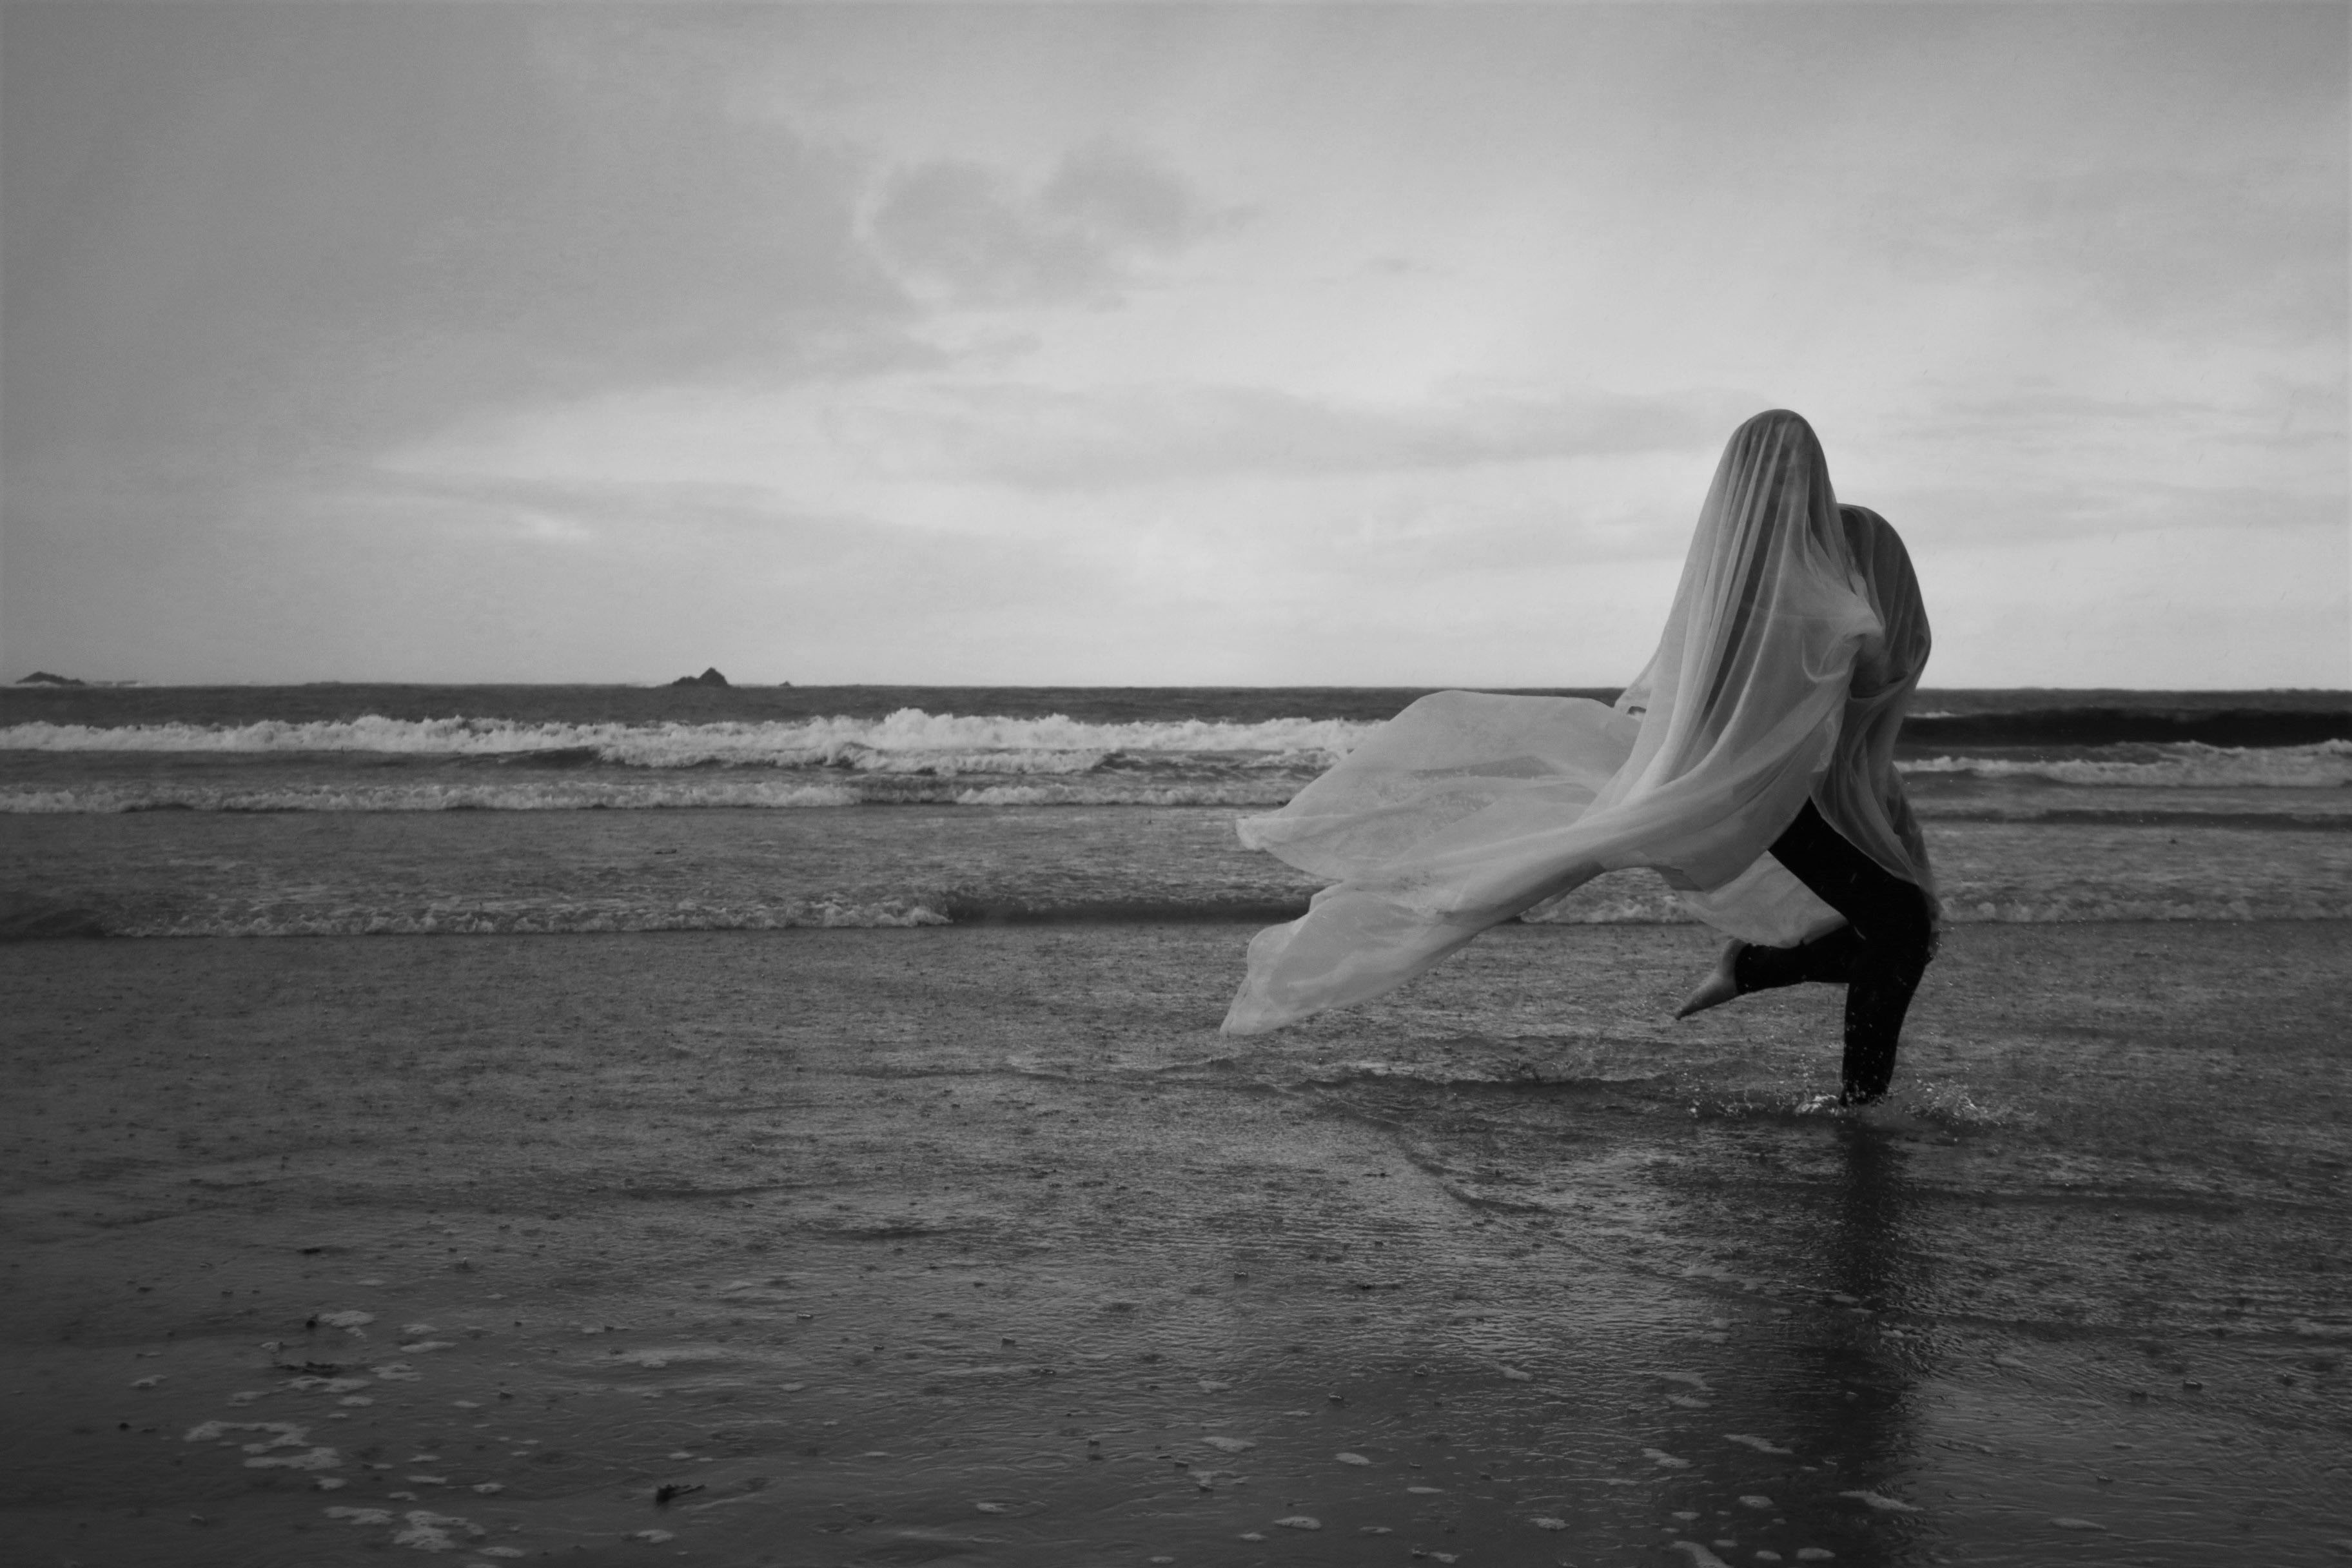
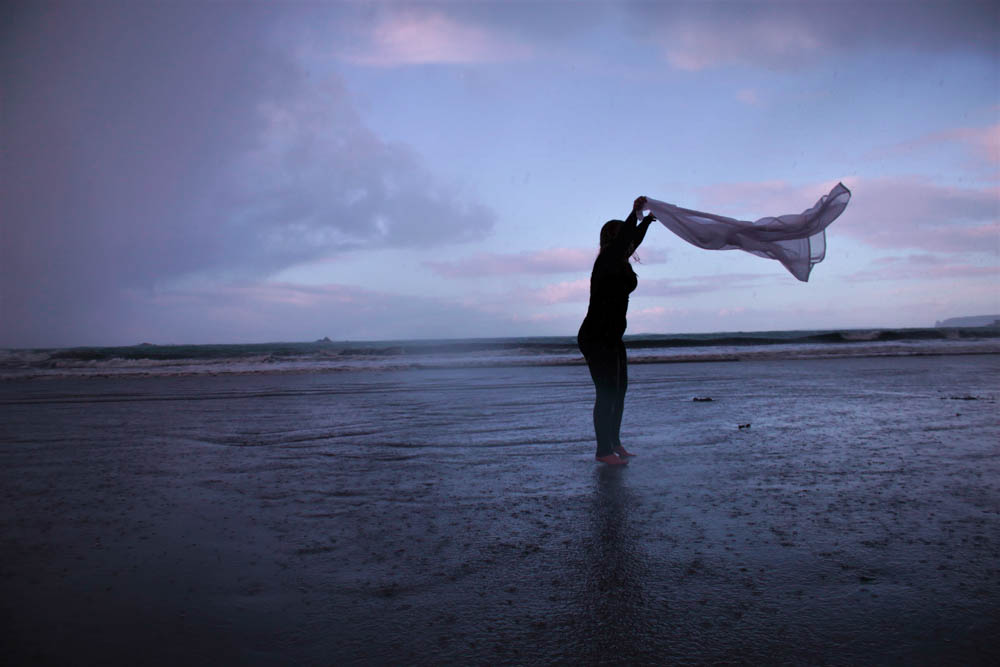
Since it was windy at the time of the shoot, it created a really nice effect with the material that we used. The wind made the movement of the material much more dramatic. When editing the images, I tried to edit them so that this movement would be dramatized.

Like my other edits from other shoots, I wanted to achieve a constant colour scheme and theme throughout.  I emphasized the natural pigments instead of adding another tone. I’m really happy with the effects because Its also a slimier colour scheme to my other photo series.

Another photographer that I will be researching for my project is Viviane Sassen. She also uses the environment around her to create the best images. Her images are also a lot based on the movement of the body.

I edited each of the images in a very slimier way. I used Adobe Light room for editing. I firstly edited the brightness, contrast and saturation of the images. I then changed the coolness and tint of each one. The last part of the editing was too simple bring out the vibrancy of the natural pigments.

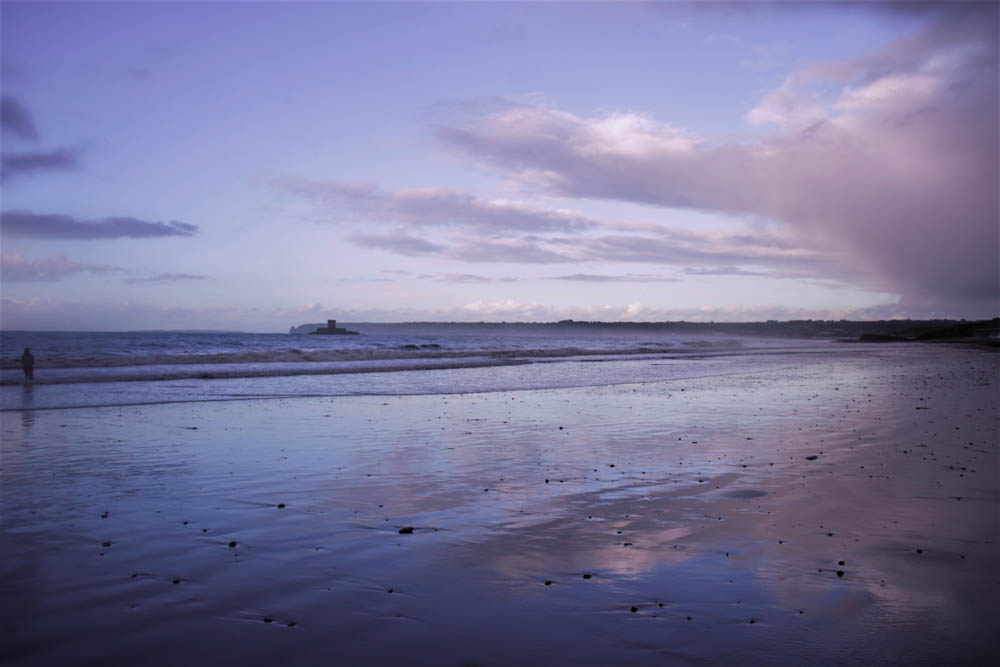
In the Photo book called Roxanne by Viviane Sassen she uses a combination of landscapes, abstract images, and portraits. For my photo shoot I also wanted to achieve a variation of images.  I managed to capture a set of on land portraits as well a portraits in the water.  I also captured a few landscape images to go with the series. I love the effect of the on land portraits because of the wet sand, it created a reflection in the images. I especially love this effect with the landscape because the clouds and the baby blue colour in the sky is repeated in the sand.


Body Suite // face edits

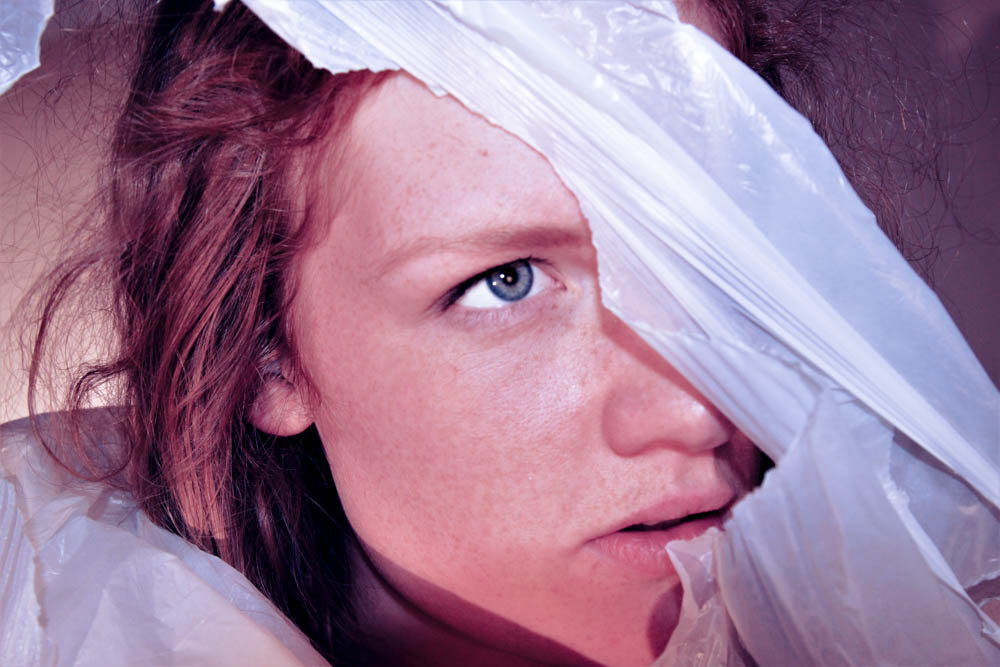
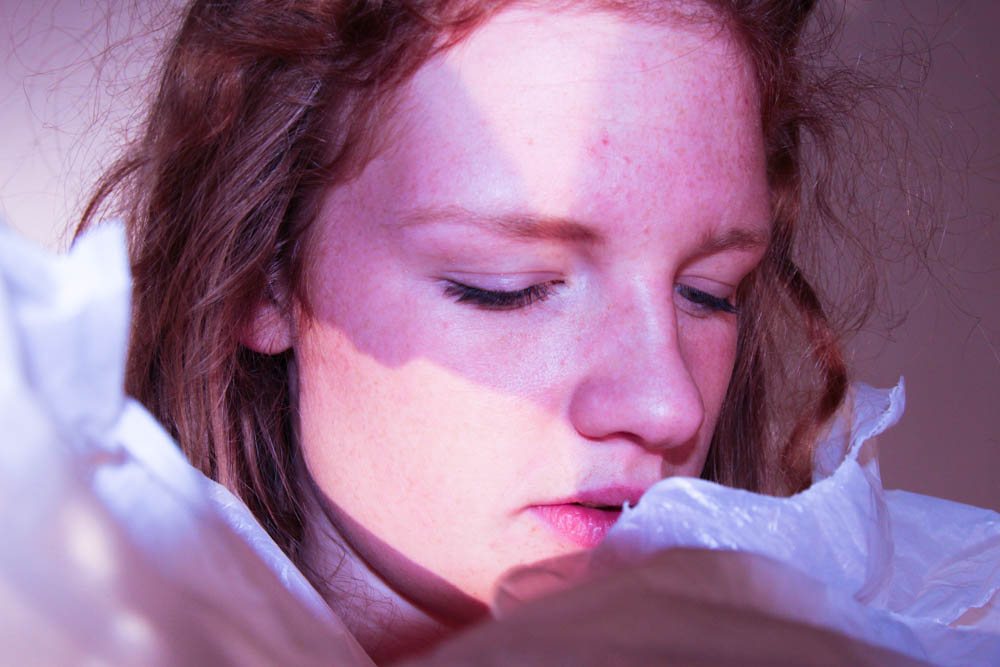
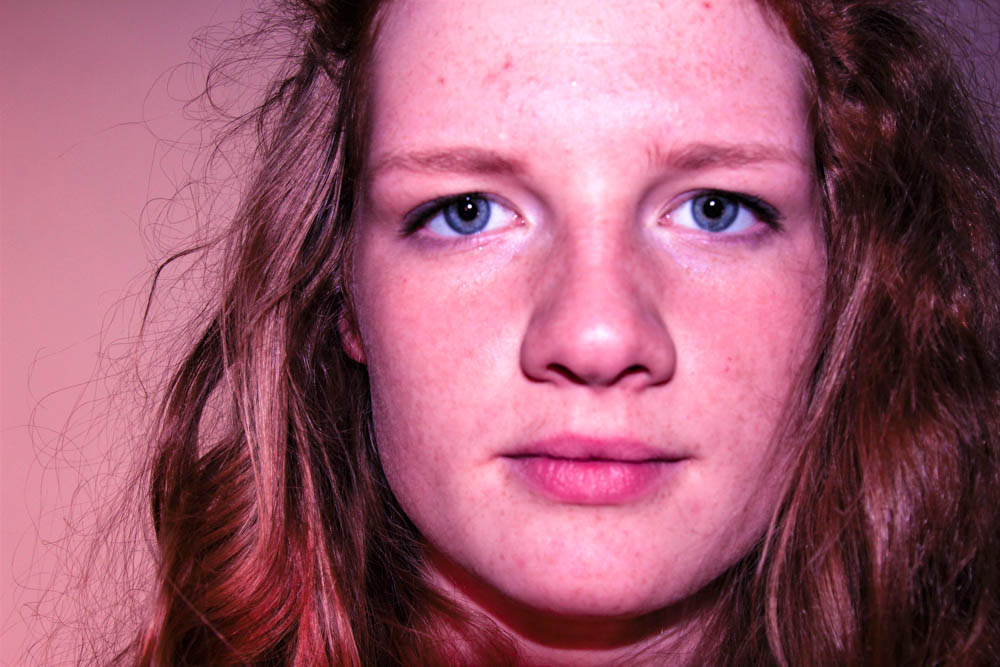
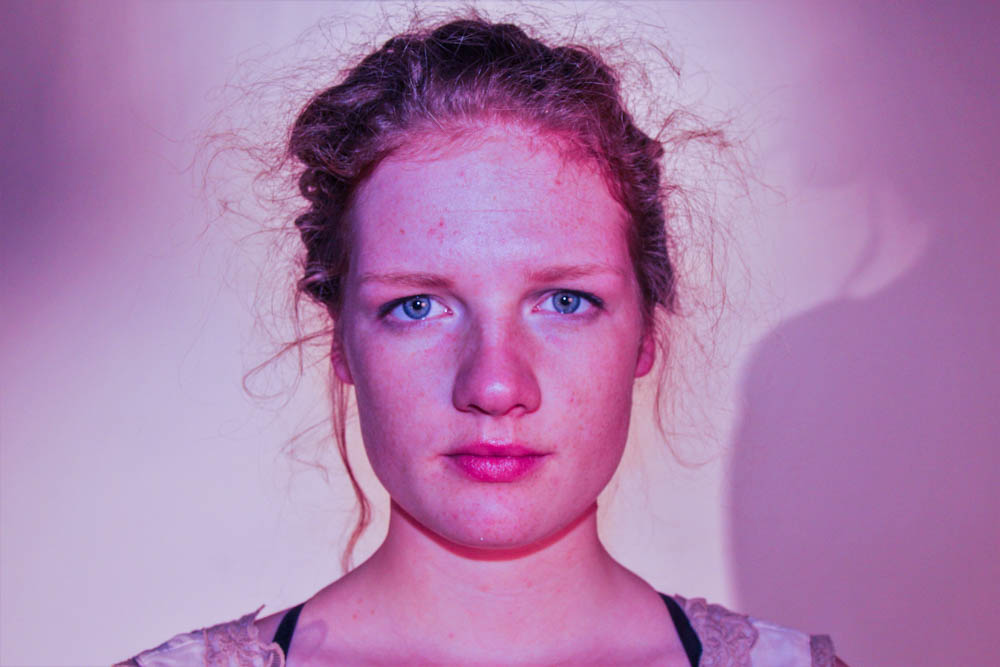
During the shoot I managed to capture some close up shots of the face. The face is the most important feature of the human body and is the most expressive part. As well as asking the subject to make different face expressions I also wanted to capture some natural face expressions while the subject was moving. I edited the images using Lightroom and am very happy with he final outcomes because the go very well with my theme of the body image. Although the face is an obvious way of expressing certain emotions, and I wanted to create more complicated and though provocative versions of emotions, I also wanted to contain some portrait images as well. I am very happy with these ones form the shoot.

body suit shoot// part 1// experiment edits

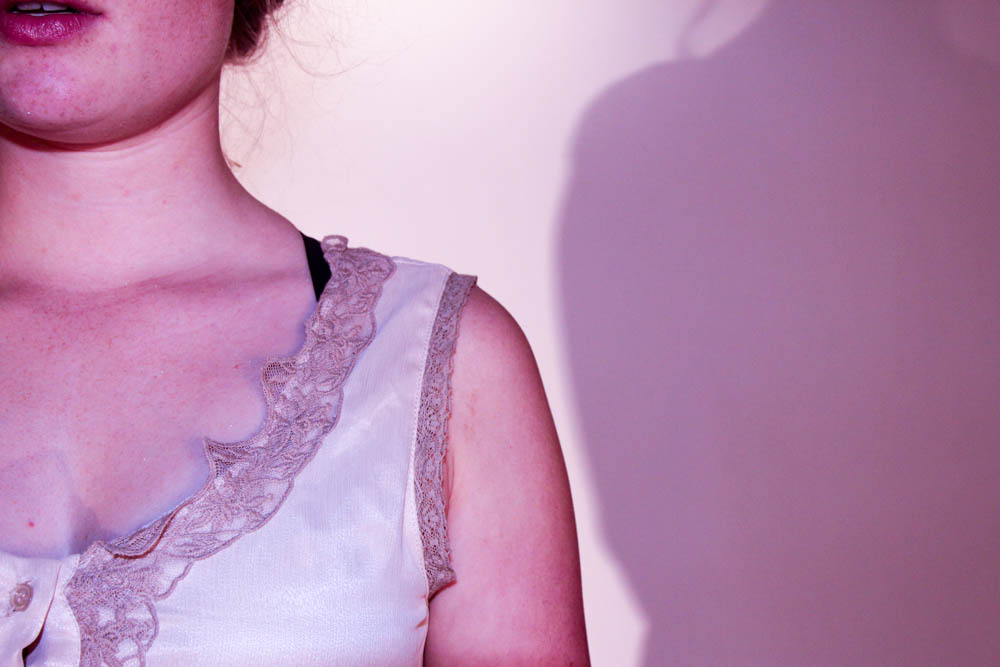
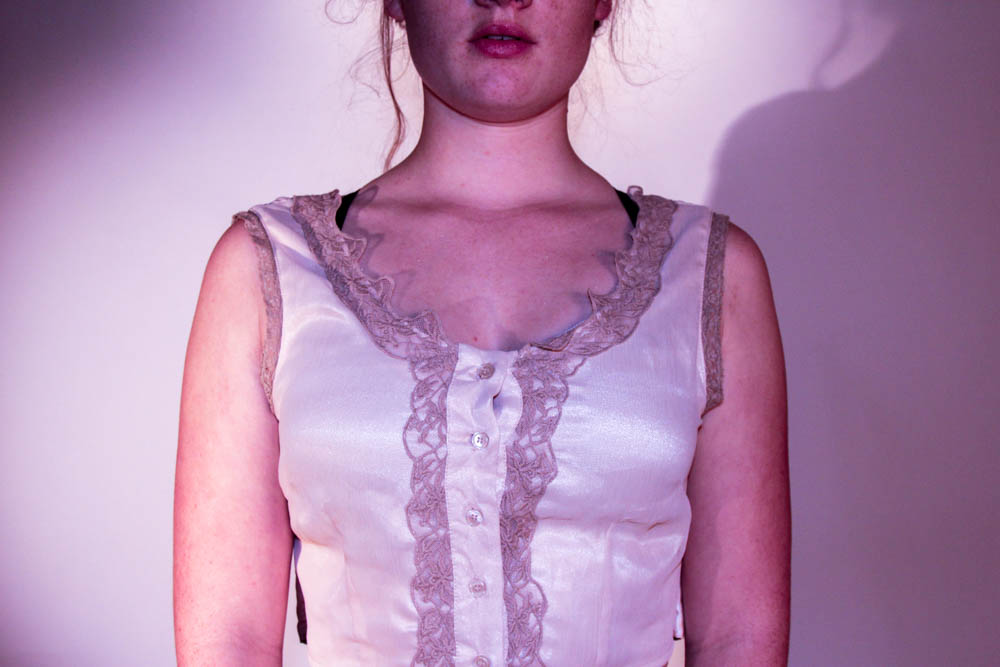
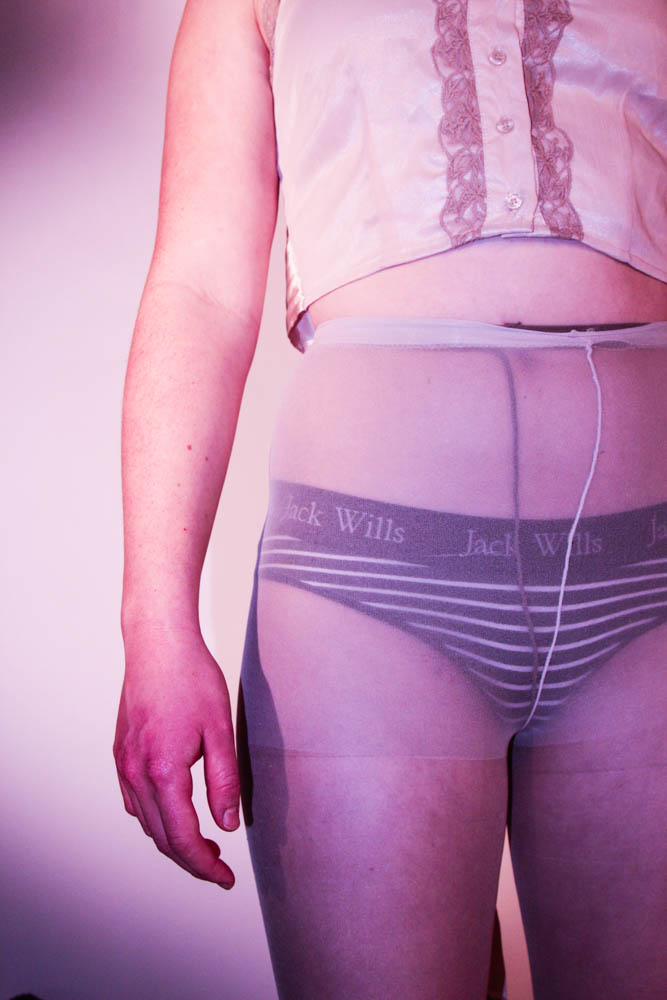
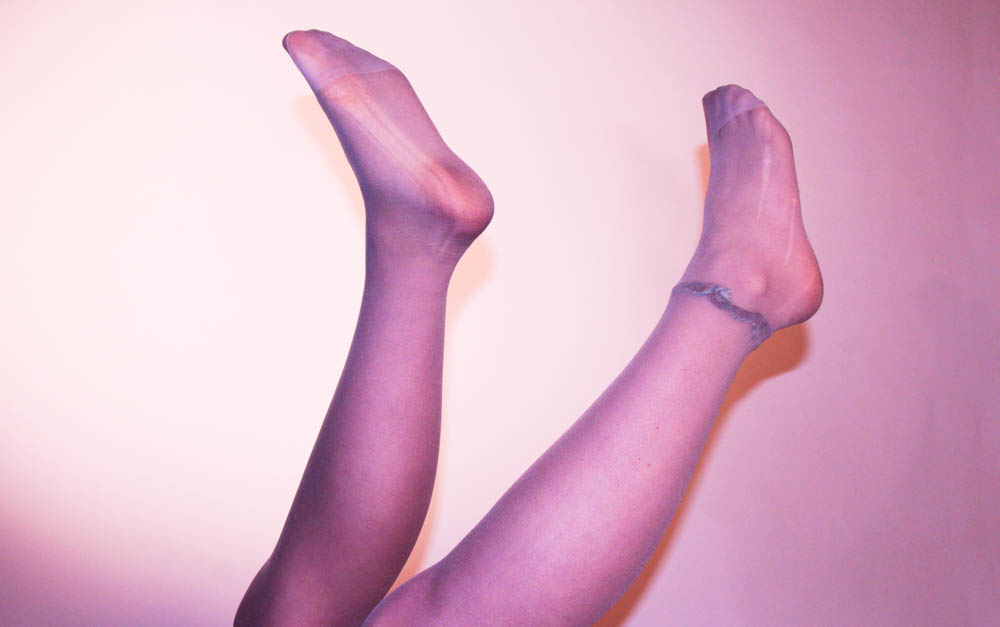
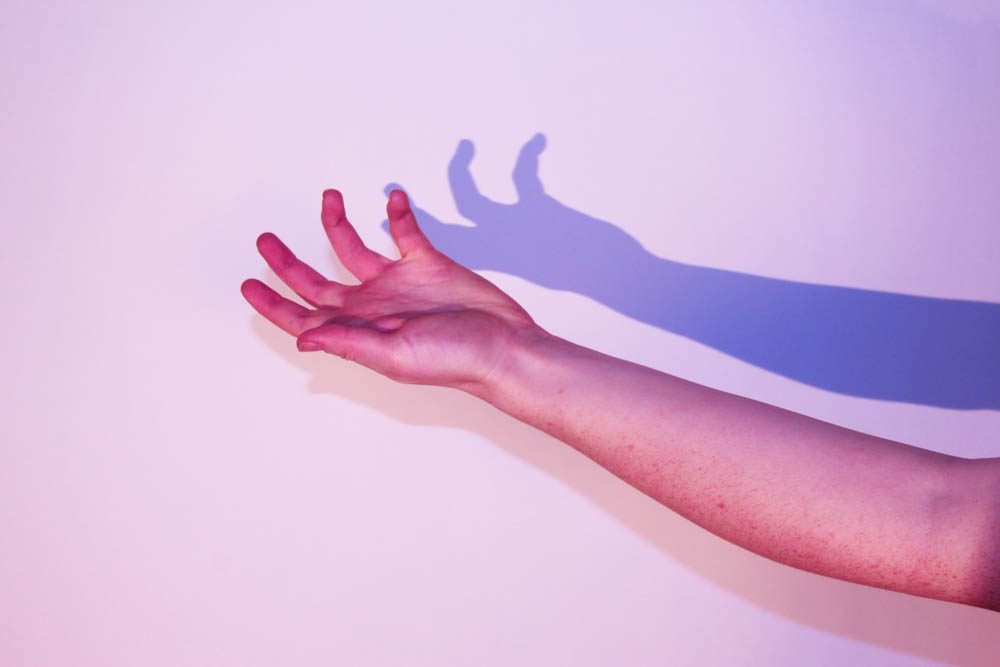
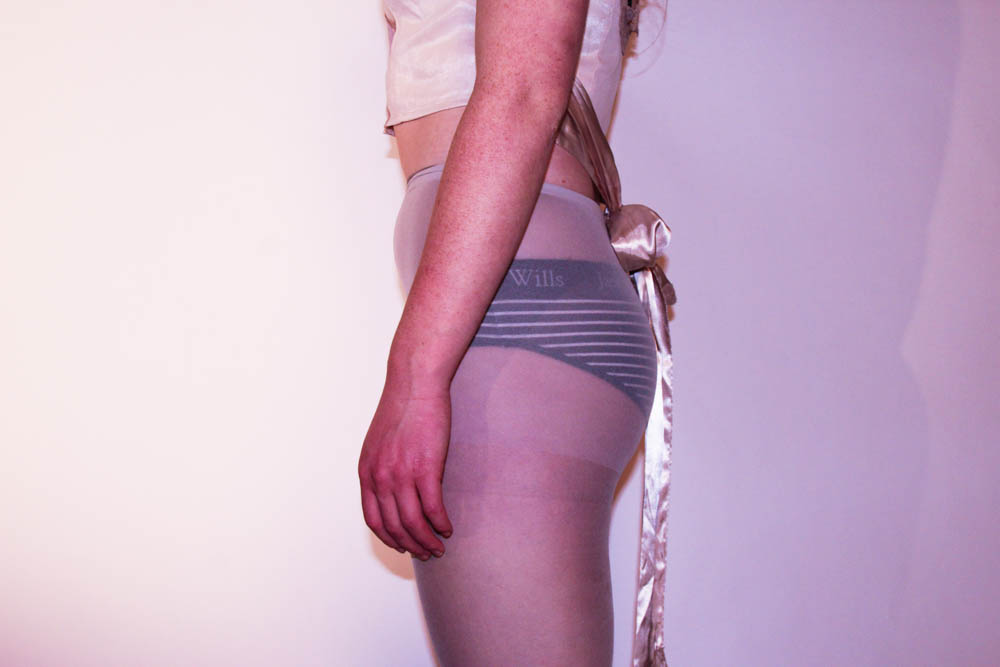
The first part of my body suit shoot was to simply focus on the shape and form of the female body. My aim was to try and capture as many angles of the form as I could.  I am very happy with the result of the photo shoot. The original images were good, however I wanted to edit the best images so that there was a constant colour scheme and so that there was a theme. I wanted a series of images that I would be happy to present together. When editing the images I wanted to bring out the natural tones and pigments. The pale pinks of the skin came out more when I turned up the saturation. I am very happy with the selection of images that I have ended up with.

During the photo shoot, I saw that shadows were being formed because of the studio lights. I decided I wanted to keep the shadows because they created a new dimension and perspective. They made the backdrop more interesting. It also added more tones within the frame which again made the images more appealing.

I edited the images using Adobe light room. I selected the best images from the shoot and started editing them by changing the lighting and darkening of each image. I then changed the saturation and tones to create the colour scheme I wanted.  It took a lot of time and editing to get each image to a similar colour theme.

I am very happy with the outcomes of the edits and I am glad I have managed to create a set of images containing different perspectives of the human body.

body suit shoot// part 2// experiment edits

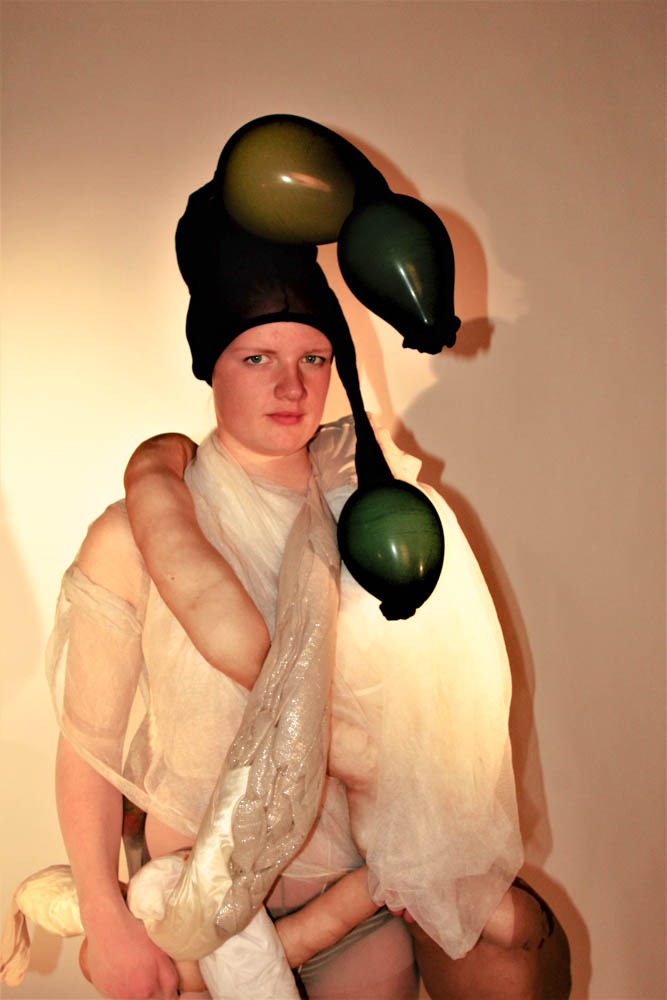
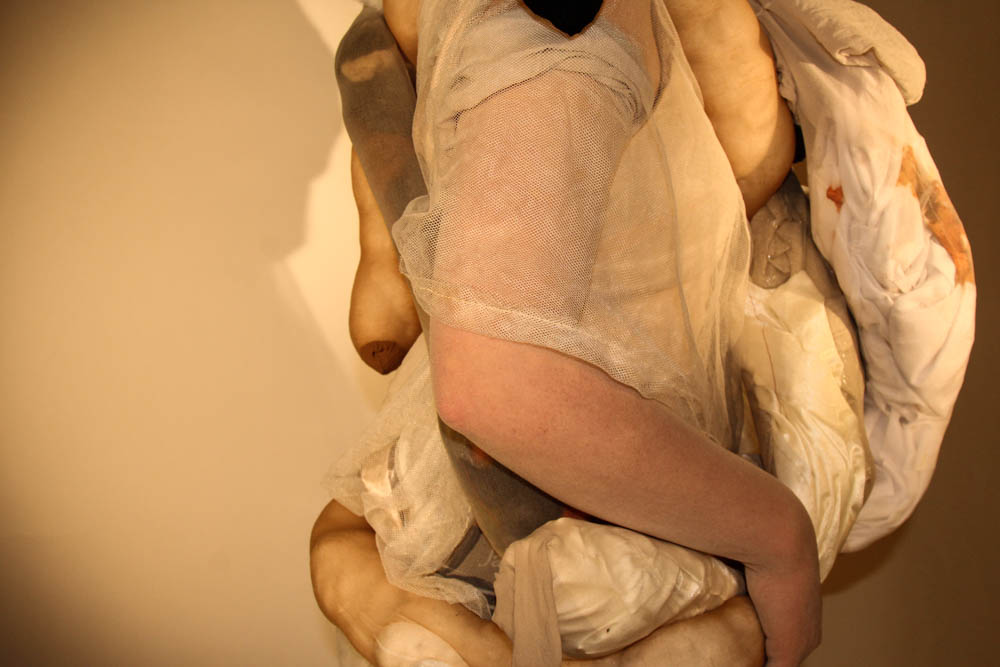
For the second part of the shoot, the fundamental aim was to capture images of a model wearing the body suit I made. Similarly to how I edited the first part of the shoot, I wanted to bring out the natural pigments of the original images.  I aimed to capture as many angles and dimensions of the suite and the model as I could. When editing the shoot I wanted to keep the natural pigments of the suite because I like the contrast that they created. Especially the black of the head piece against the white of the body suite. The point of the shoot was to express certain emotions and also some aspects of  body dysmorphia. I aimed to resemble what people with this condition feel and think they look like. Although it is not a realistic visualisation, I wanted to do it in more of a creative way.

I again used Adobe light room to edit these images. I started by editing the brightness, and the saturation of them. I didn’t want to edit the images too much, because the focus of the images was on the body suite and what that represented. I am very happy with the final outcomes of these edits because I have managed to represent what I wanted and have also managed to capture the different perspectives that I wanted.

BODY SUIT SHOOT // image analysis

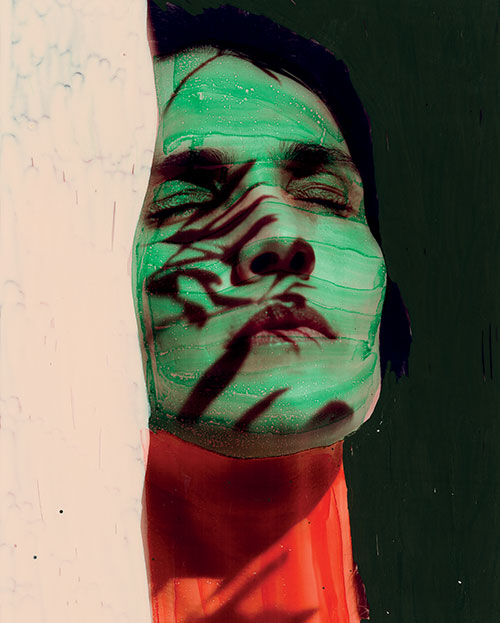
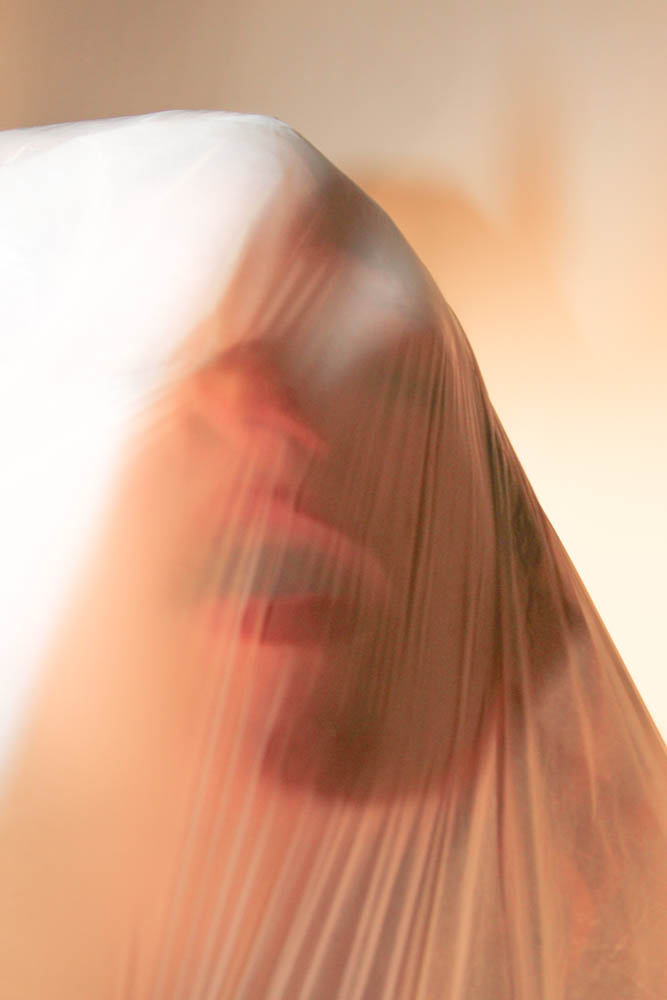
FORM ~ The image above is a close up of a model looked to be suffocating within a sheet of plastic. The face is framed in the center of the image with a shadow being captured over the face. The model was placed in front of a white background to create a simple backdrop. The image is full of pale and soft tones with hints of cream and reds combined. The model is seen to be suffocating or panicking under the sheets which makes it a more powerful and provocative image. The image has a very eery atmosphere to it.

MEANING ~ The aim of the shoot was to create images to represent the feeling of being trapped. It was mainly about body dismophia and how the expectations of society causes many issues. The meaning behind the image I captured

JUDGEMENT ~ I really like the image I managed to create with the use of texture and colour combined to make an interesting and powerful image that made the viewer think about the meaning behind it. However, if i did the shoot again, I would try to get rid of the shadows that were cast over that face so that the details seen in the models face and the textures of the plastic are seen more clearly.


Body suite shoot// part 3// experiment edits

These three images are my favorite from the last part of the shoot. I love the colour and texture that is created. The images have an eery atmosphere that I really like.  I also really like the brightness within the images. They don’t have too much shadow which is what I wanted to achieve. The colours aren’t too bright, and they are soft, pastel colours which works with the atmosphere that I wanted to create.

Even though I didnt plan this part of the shoot, I am really happy with the outcome of the images. They are my favorite images from the whole shoot. They are exactly what I wanted to achieve, and after editing them, they work really well as a set. It looks like the person in the photograph is suffocating, or trapped.

I really like the image above, because you cant see the actual body part, but you can just see the shape of it through the material. I love the look of the texture the material creates within the image. I used Adobe Light room to edit these images. I first selected my favorite images from this part of the shoot and using light room, I changed the brightness and shadows. I also lowered the contrast because I wanted the images to be bright and eary.

Body Suit Photoshoot

Before the Christmas Holidays, I did a photo shoot in the photo studio at school. I decided to use this for the location because I just wanted a simple background to my images. I also wanted the use of the studio lights to highlight certain areas, and to create different shadows. I also really like the atmosphere that they created. My photo shoot was separated into three parts. For each section I slightly changed my camera settings to suit the style and atmosphere that I wanted to create.

For the first part of the shoot, I wanted to simply focus on the body itself, and the shape of it. I wanted to try and capture as many different angles and dimensions as I could. I didn’t want to focus on just one particular are of the body, such as the face. I wanted to photography every detail of the body, from the head to the feet.  I wanted to do it in a creative way though, so I asked the model to make different shapes, and stand in different positions. I tried to use the shadows within the imagery to create a different perspective.

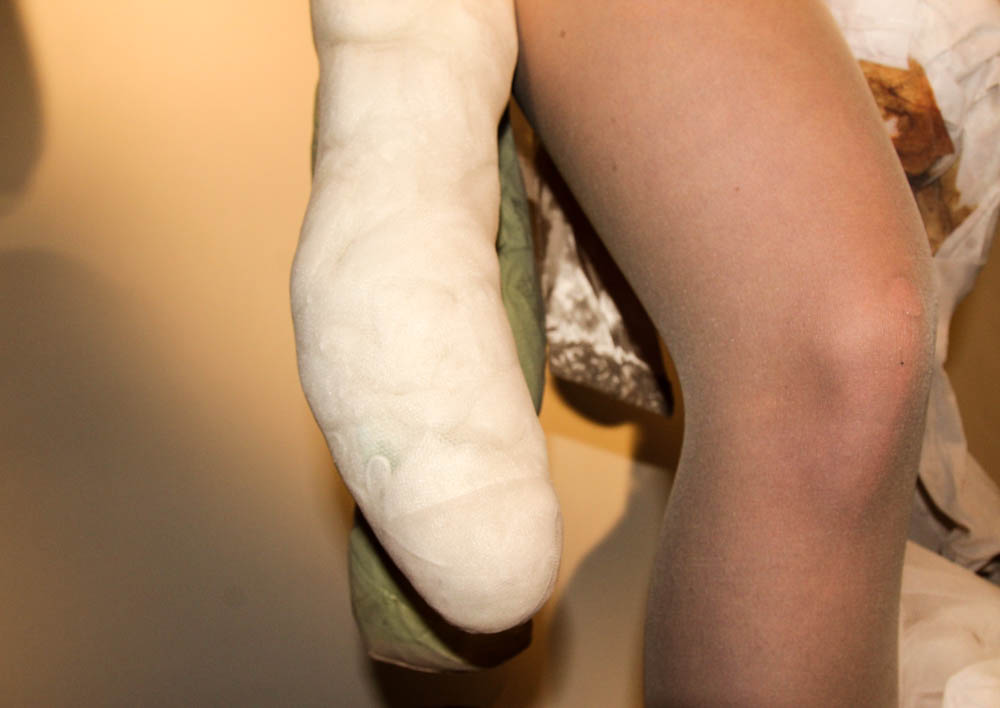
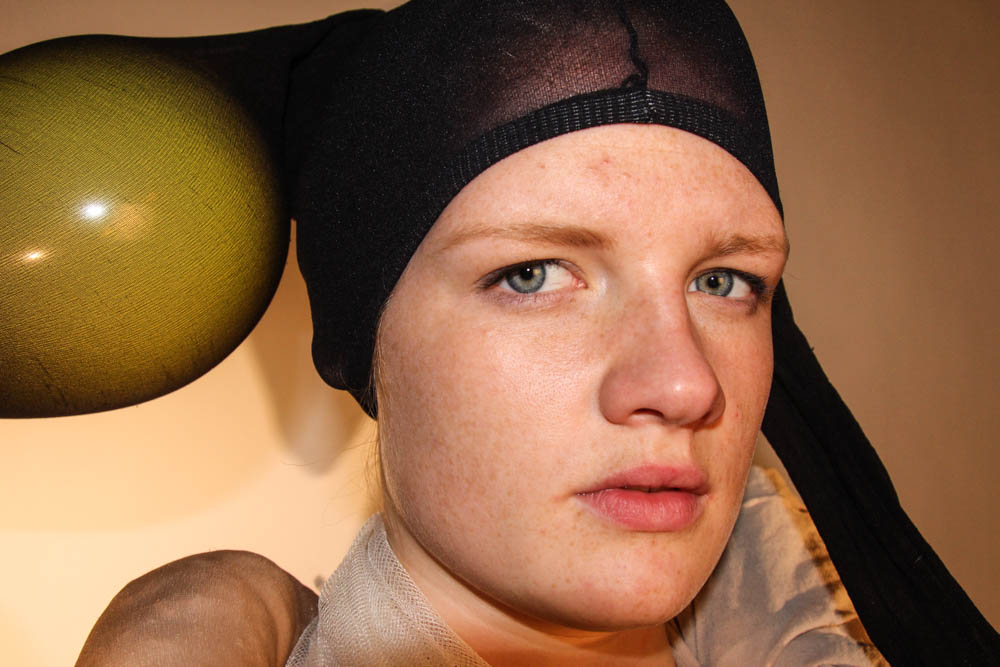
For the second part of the shoot, I included the body suit that I worked on. I was inspired by an image I saw online, and I decided I wanted to re-create something similar. To make the suit, I simply stuffed old tights with different types of material. I also included some balloons because I liked the shape they created, and the shadows they formed. The model wasn’t able to move much in the suit because it was heavy. Therefore I wasn’t able to ask the model and move and make shapes like she did in the first part of the shoot. I still manged to get a wide range of images. I really like the look the different textures create on the camera. I also really like  how some of them reflect the light, and others absorb it. It created a completely different perspective that couldn’t be seen by the eye.

For the last part of the shoot, I simply used different materials to experiment with. I hadn’t planned this part, but I wanted to experiment with the materials to see what different shapes I could create. I really like the way the light reflects off the material because it creates a really cool effect. I’m really happy with some of the outcomes of this part of the shoot. The effect that the material creates is really cool, and works really well with my theme.