UNDERSTANDING PHOTO BOOK DESIGN:
FORM, FUNCTION, SEQUENCING, NARRATIVE, CONCEPT
Here is a link to the Personal Study Planner 2018 for the remaining 5 weeks of this module.

READ these texts to better understand how to identify a narrative and understand the design process of photobook making.
Colin Pantall: Identifying the Story: Sequencing isn’t narrative
For the die-hards here are a serious blog post by Photobook critic, Joerg Colberg which consider the many aspects of photobook making: Understanding Photobooks: The Forms an Functions of Photobooks
This article is the first in a series of five. You can find the other parts here: part 1, part 2, part 3, part 4, part 5
Blog: Produce a number of posts that show evidence of the following:
1. Research a photo-book and describe what story/ narrative the book is telling – its subject-matter, genre, style, approach etc.
2. Who is the photographer? Why did he/she make it? (intentions/ reasons) Who is it for? (audience) How was it received? (any press, awards, legacy etc.)
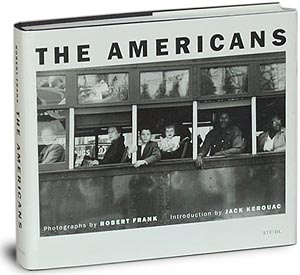
E.g Robert Frank’s “The Americans” was conceived with the help of a scholarship that allowed Frank to go on road trips across America during a two year period. He wanted to portray American society in the post-war period and his book has influenced (and still influence) many photographers since and also contributed to a new poetic style and subjective approach to documentary photography. Why?
3. Deconstruct the narrative, concept and design of the book such as:
- Book in hand: how does it feel? Smell, sniff the paper.
- Paper and ink: use of different paper/ textures/ colour or B&W or both.
- Format, size and orientation: portraiture/ landscape/ square/ A5, A4, A3 / number of pages.
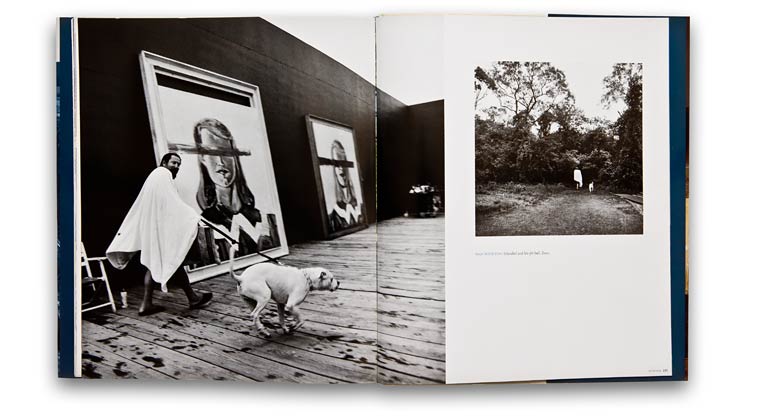
- Design and layout: image size on pages/ single page, double-spread/ images/ grid, fold- outs/ inserts.
- Rhythm and sequencing: flow of images/ juxtaposition of photographs/ editing process.
- Structure and architecture: how design/ repeating motifs/ or specific features develops a concept or construct a narrative.
- Narrative: what is the story/ subject-matter
- Title: literal or poetic / relevant or intriguing.
- Images and text: are they linked/ introduction/ essay/ statement by artists/ use of captions (if any.)
Here a few examples from previous students
4. Decide if you want to make a hand-made photo book or use BLURB.
Hand-made books: You need to attend workshop on InDesign and book binding techniques after school every Tuesday in January between 3:30-5:00:
Tue 9 and Tue 16 Jan: InDesign
Tue 22 and Tue 30 Jan: Book binding techniques
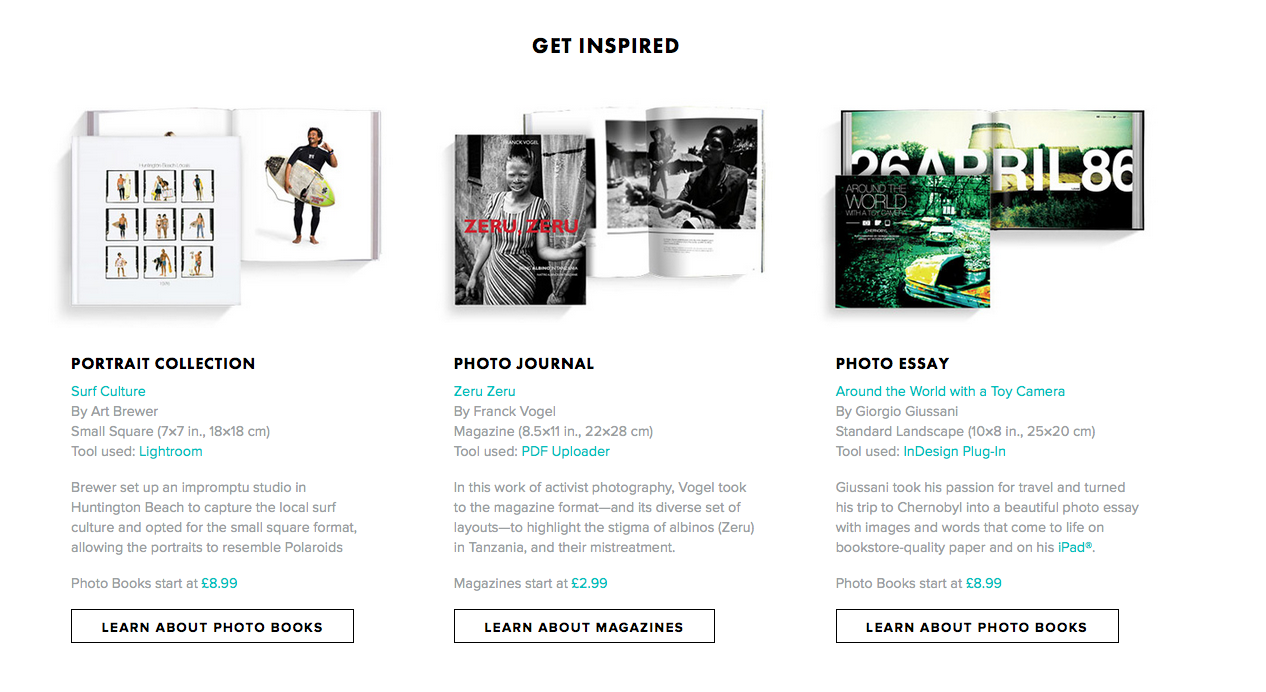
BLURB: Look at BLURB online book making website, photo books from photographers or see previous books produced by Hautlieu students on the table in class.
5. Write a book specification and describe in detail what your book will be about in terms of narrative, concept and design. Produce a mood-board of design ideas and consider the following:
- How you want your book to look and feel
- Format, size and orientation
- Design and layout
- Rhythm and sequencing
- Structure and architecture
- Narrative
- Title
- Images and text
- Colour and B&W (or a mix)
- Paper and ink
Create a BLURB account using your school email address. With Blurb you have different options on how you design your book:
a) Using Lightroom to design your book which is integrated with BLURB. Only for use on school computers, unless you have LR at home on your own laptop.
b) Download Bookwright via Blurb onto your own laptop and work offline at home and you can work indecently of school. Here you have full control of layout/ design features. Once completed, you upload photo book design to Blurb
c) Choose online option if you want to work directly online. Very limited layout/design options (not recommended!)


