Focal Length

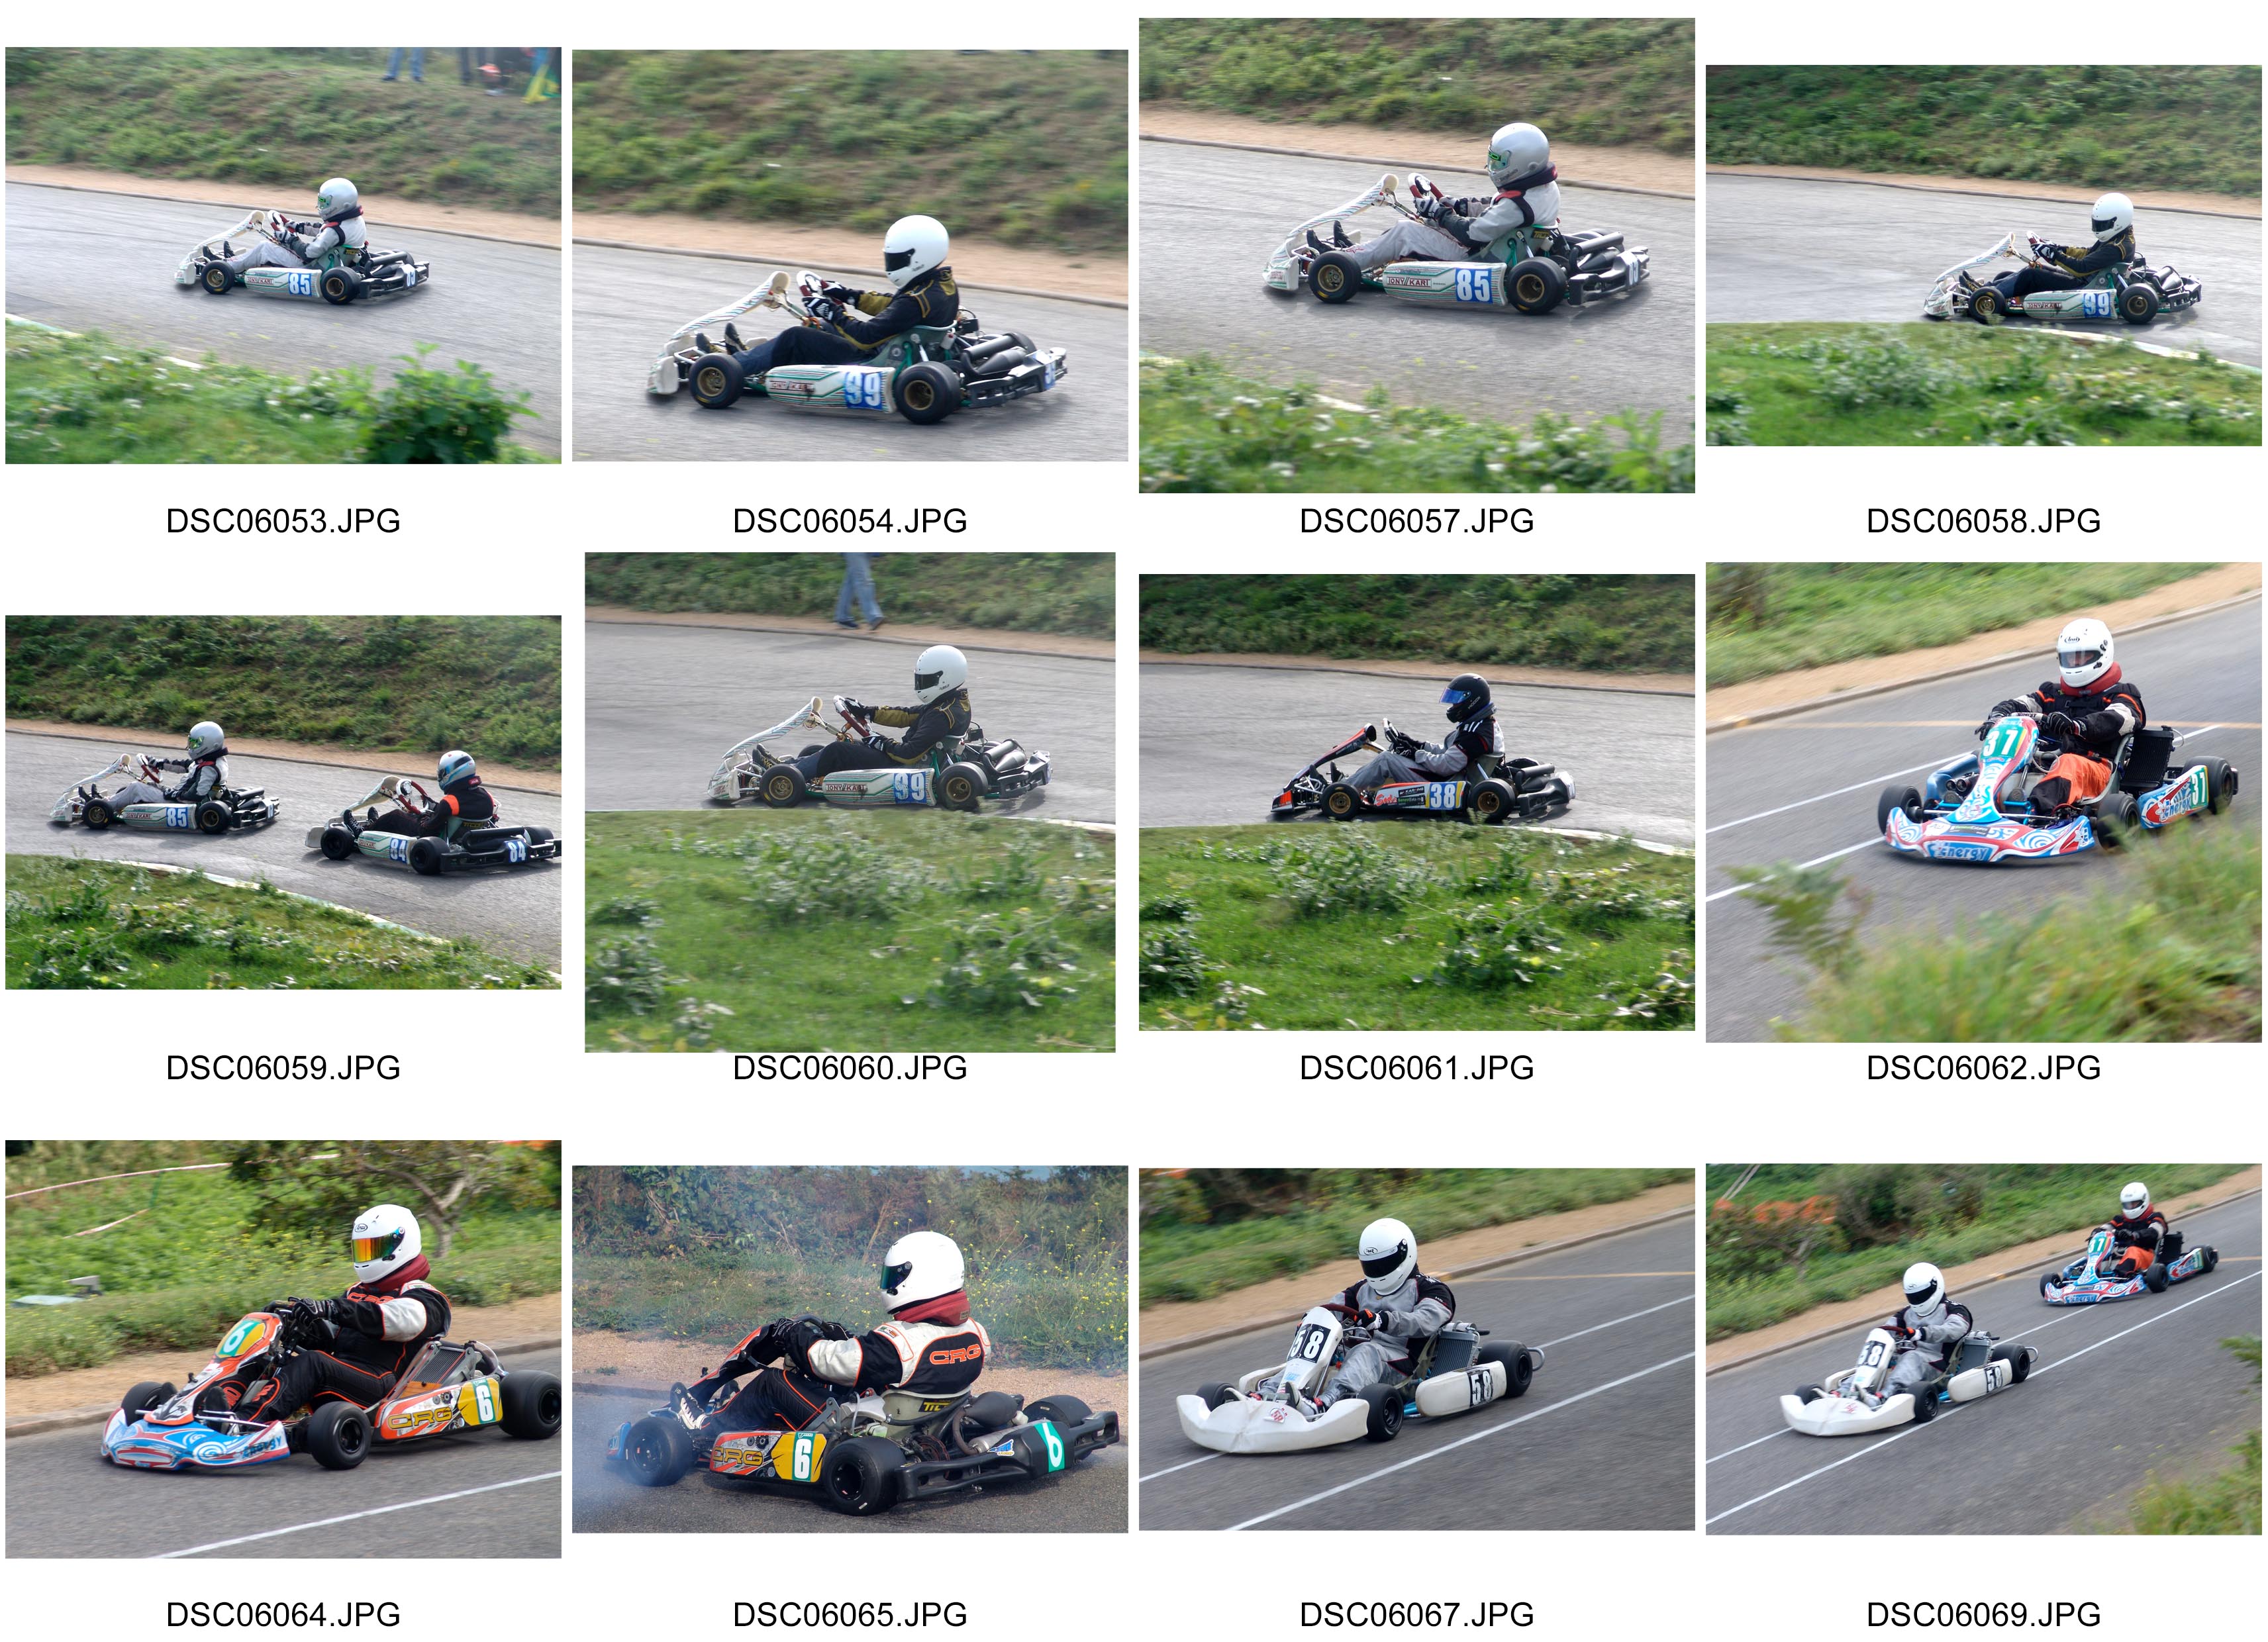
The focal length of the lens is the distance between the lens and the image sensor when the subject is in focus, usually stated in millimeters. The focal length tells us the angle of view, the magnification and how large the individual elements will be. The longer the focal length, the narrower the angle of view and higher the magnification. The shorter the focal length, the wider the angle of view and the lower the magnification.
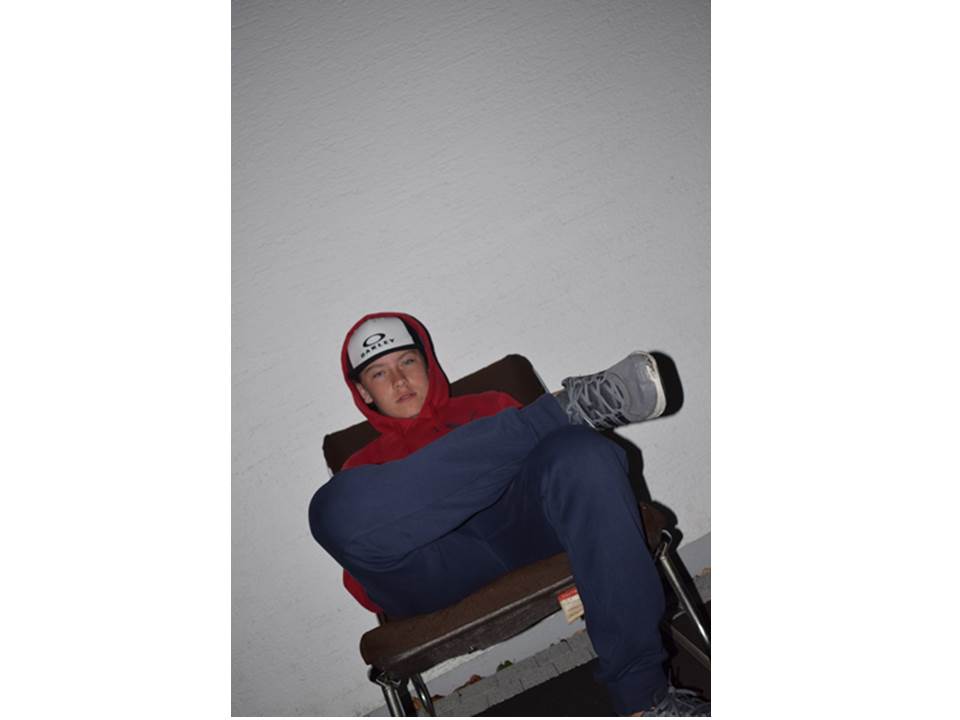
Depth of Field
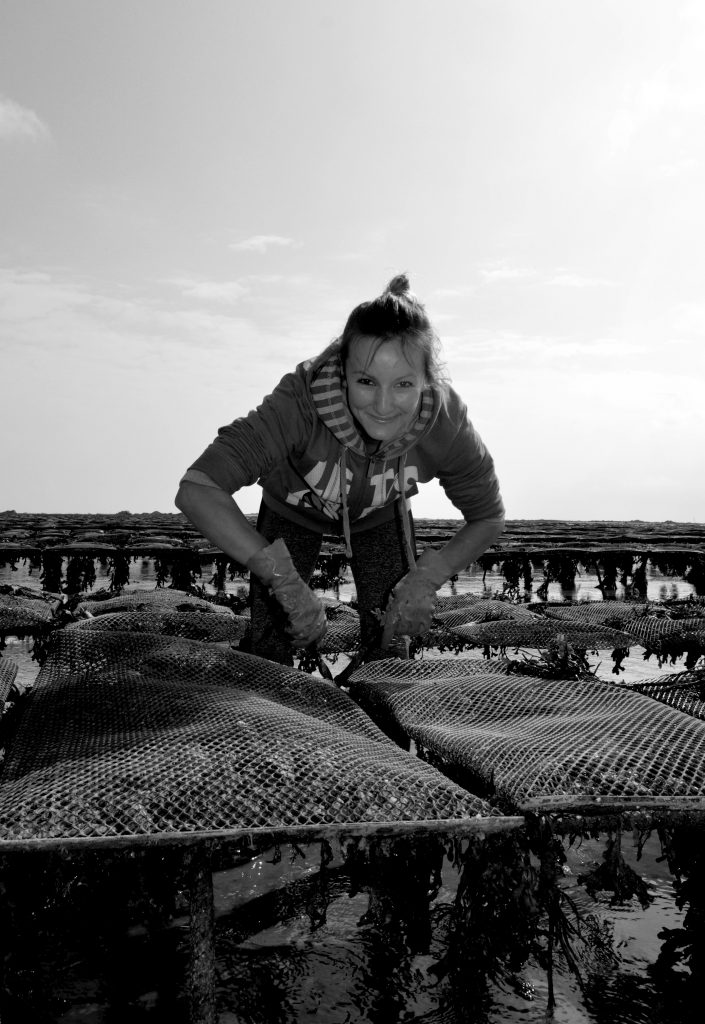
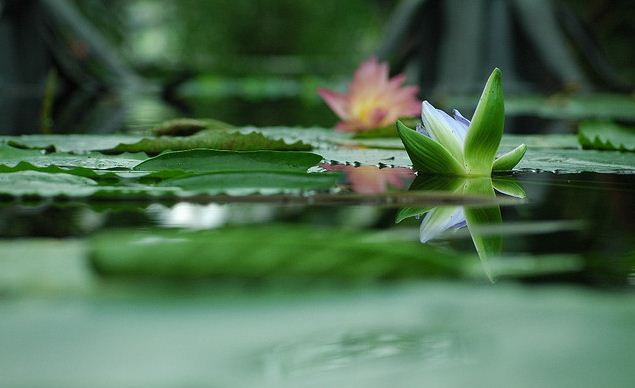
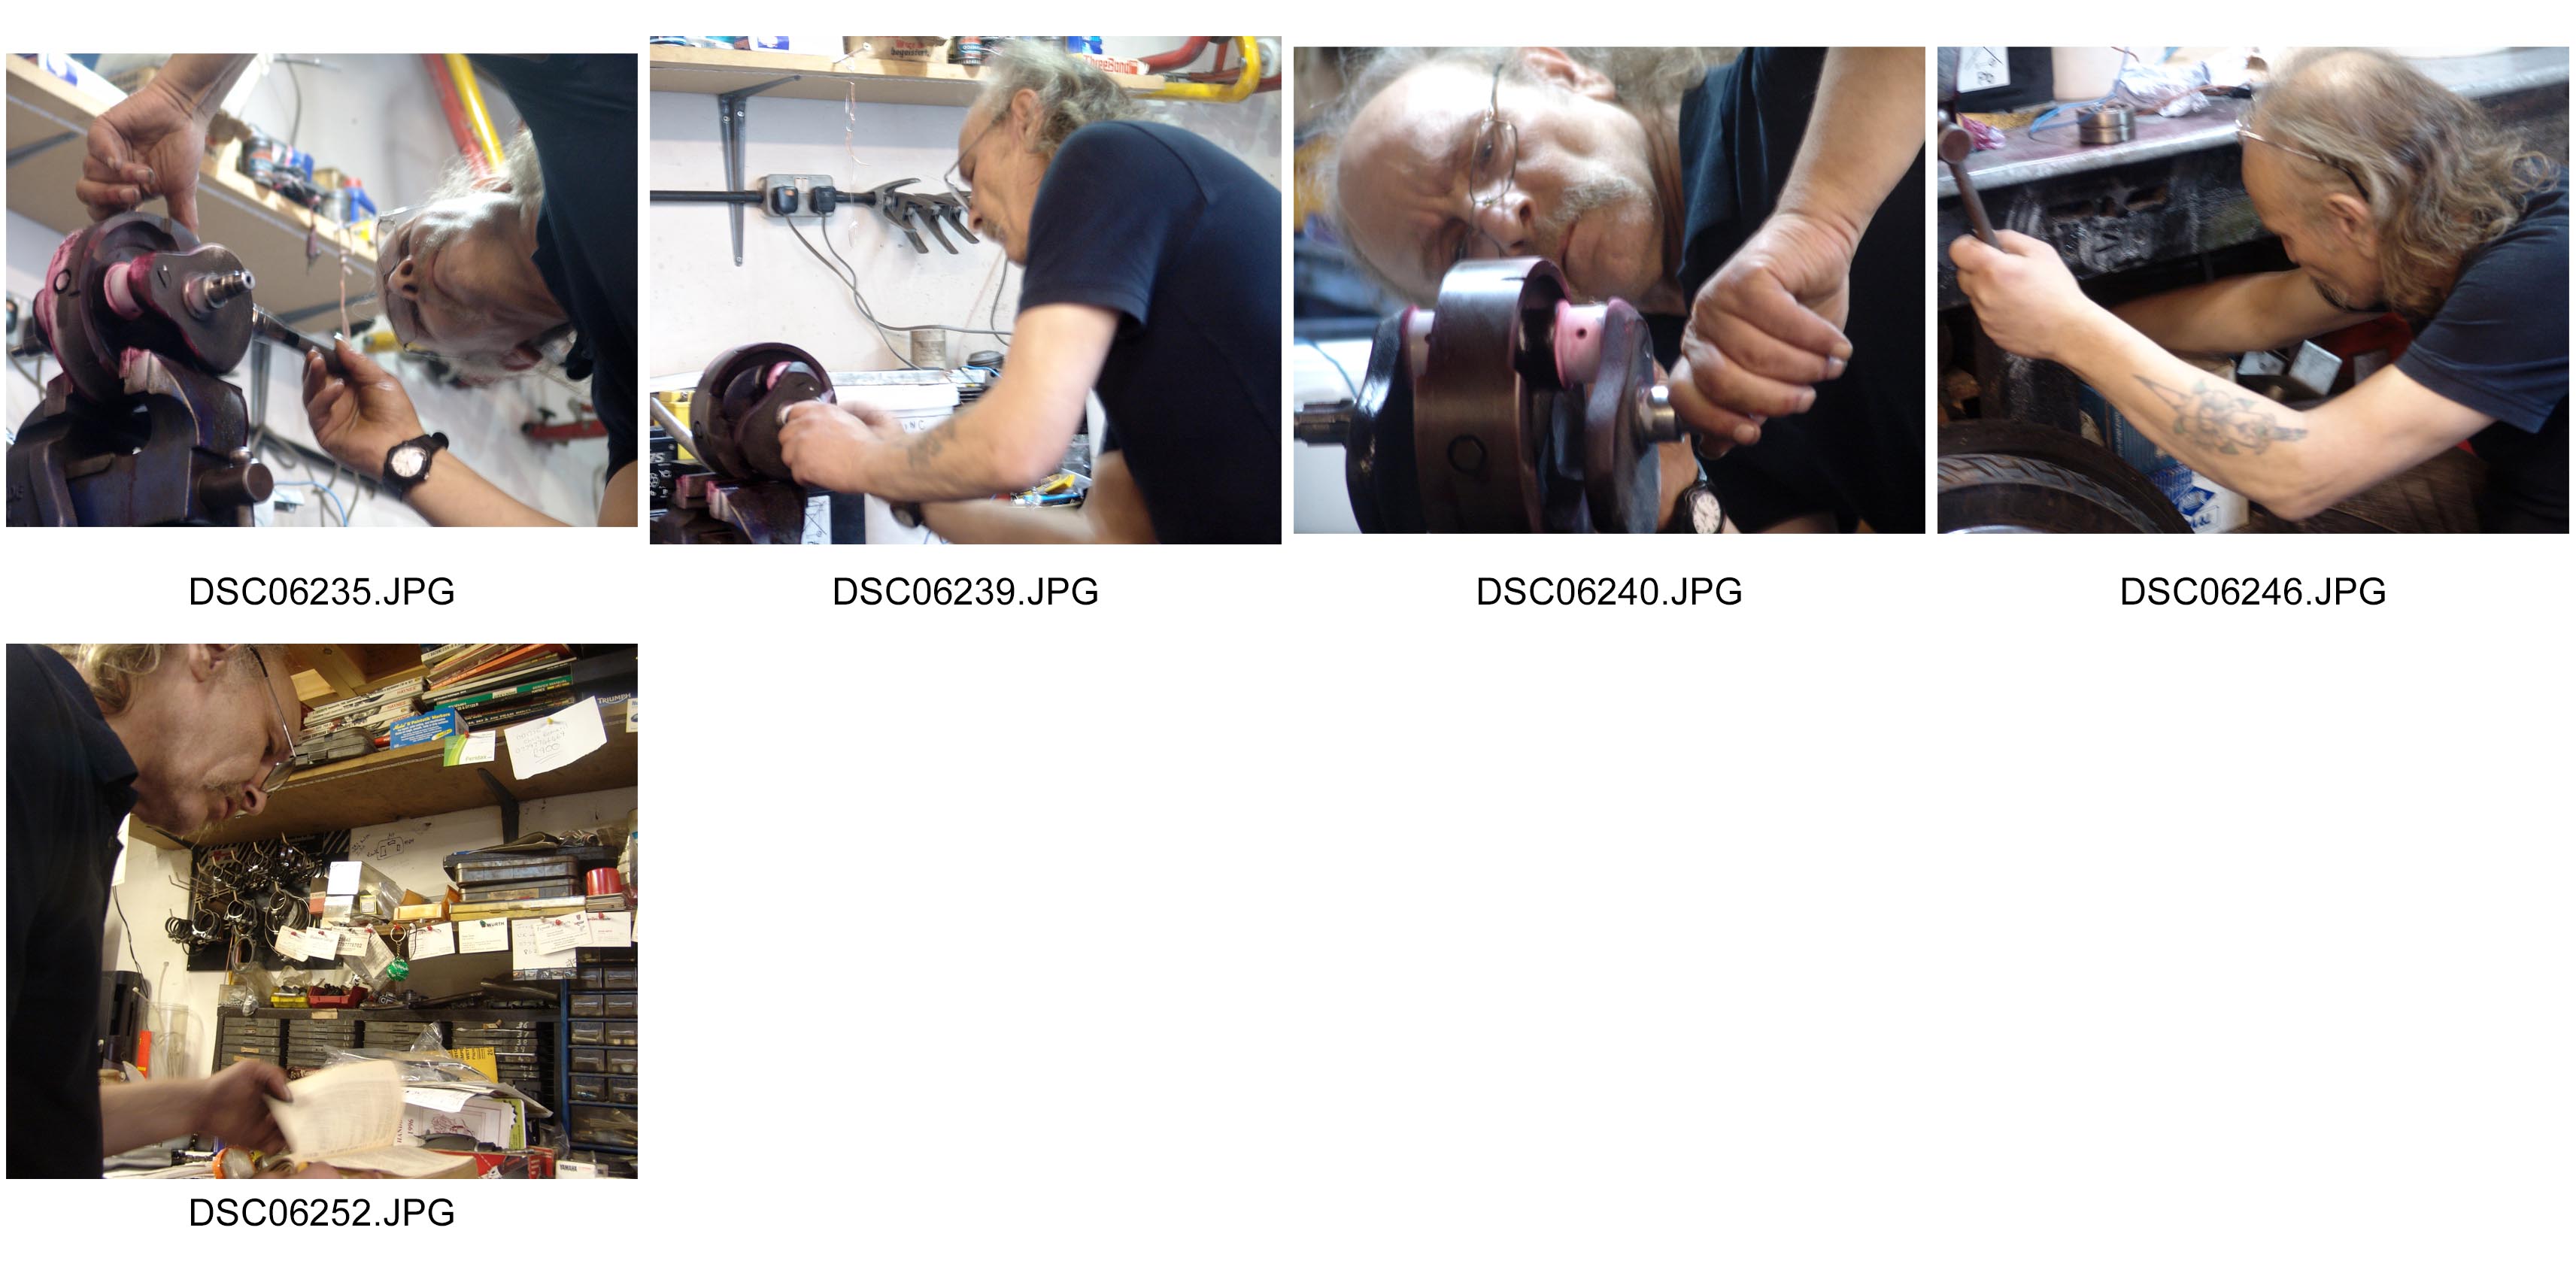
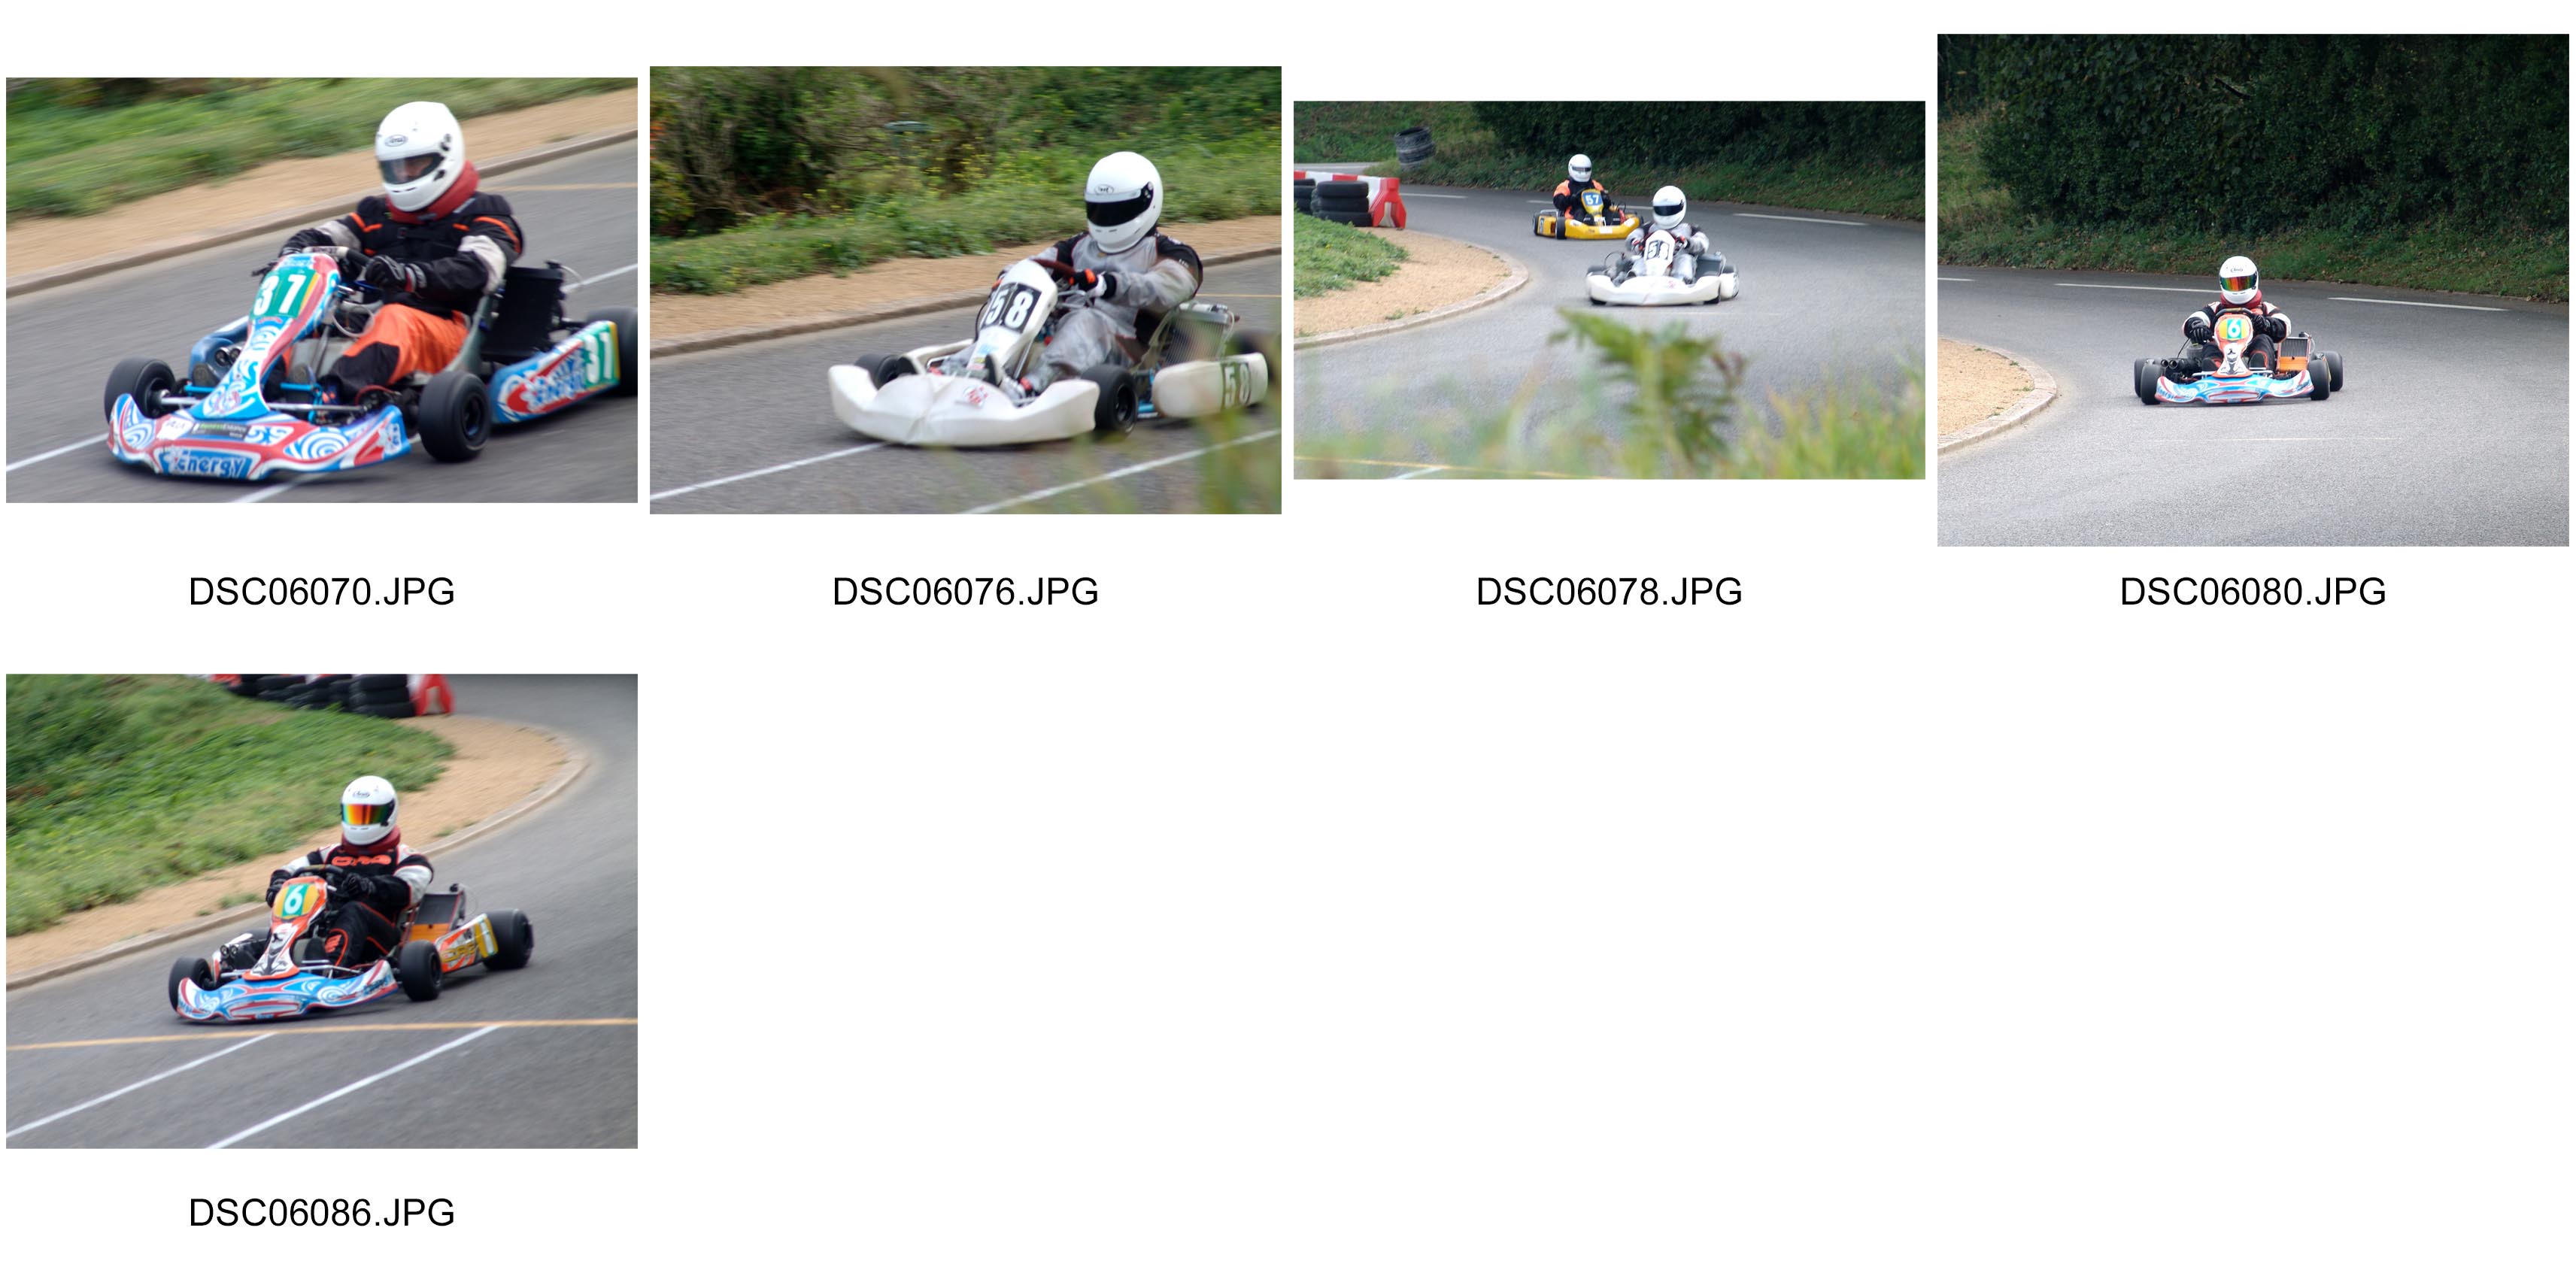
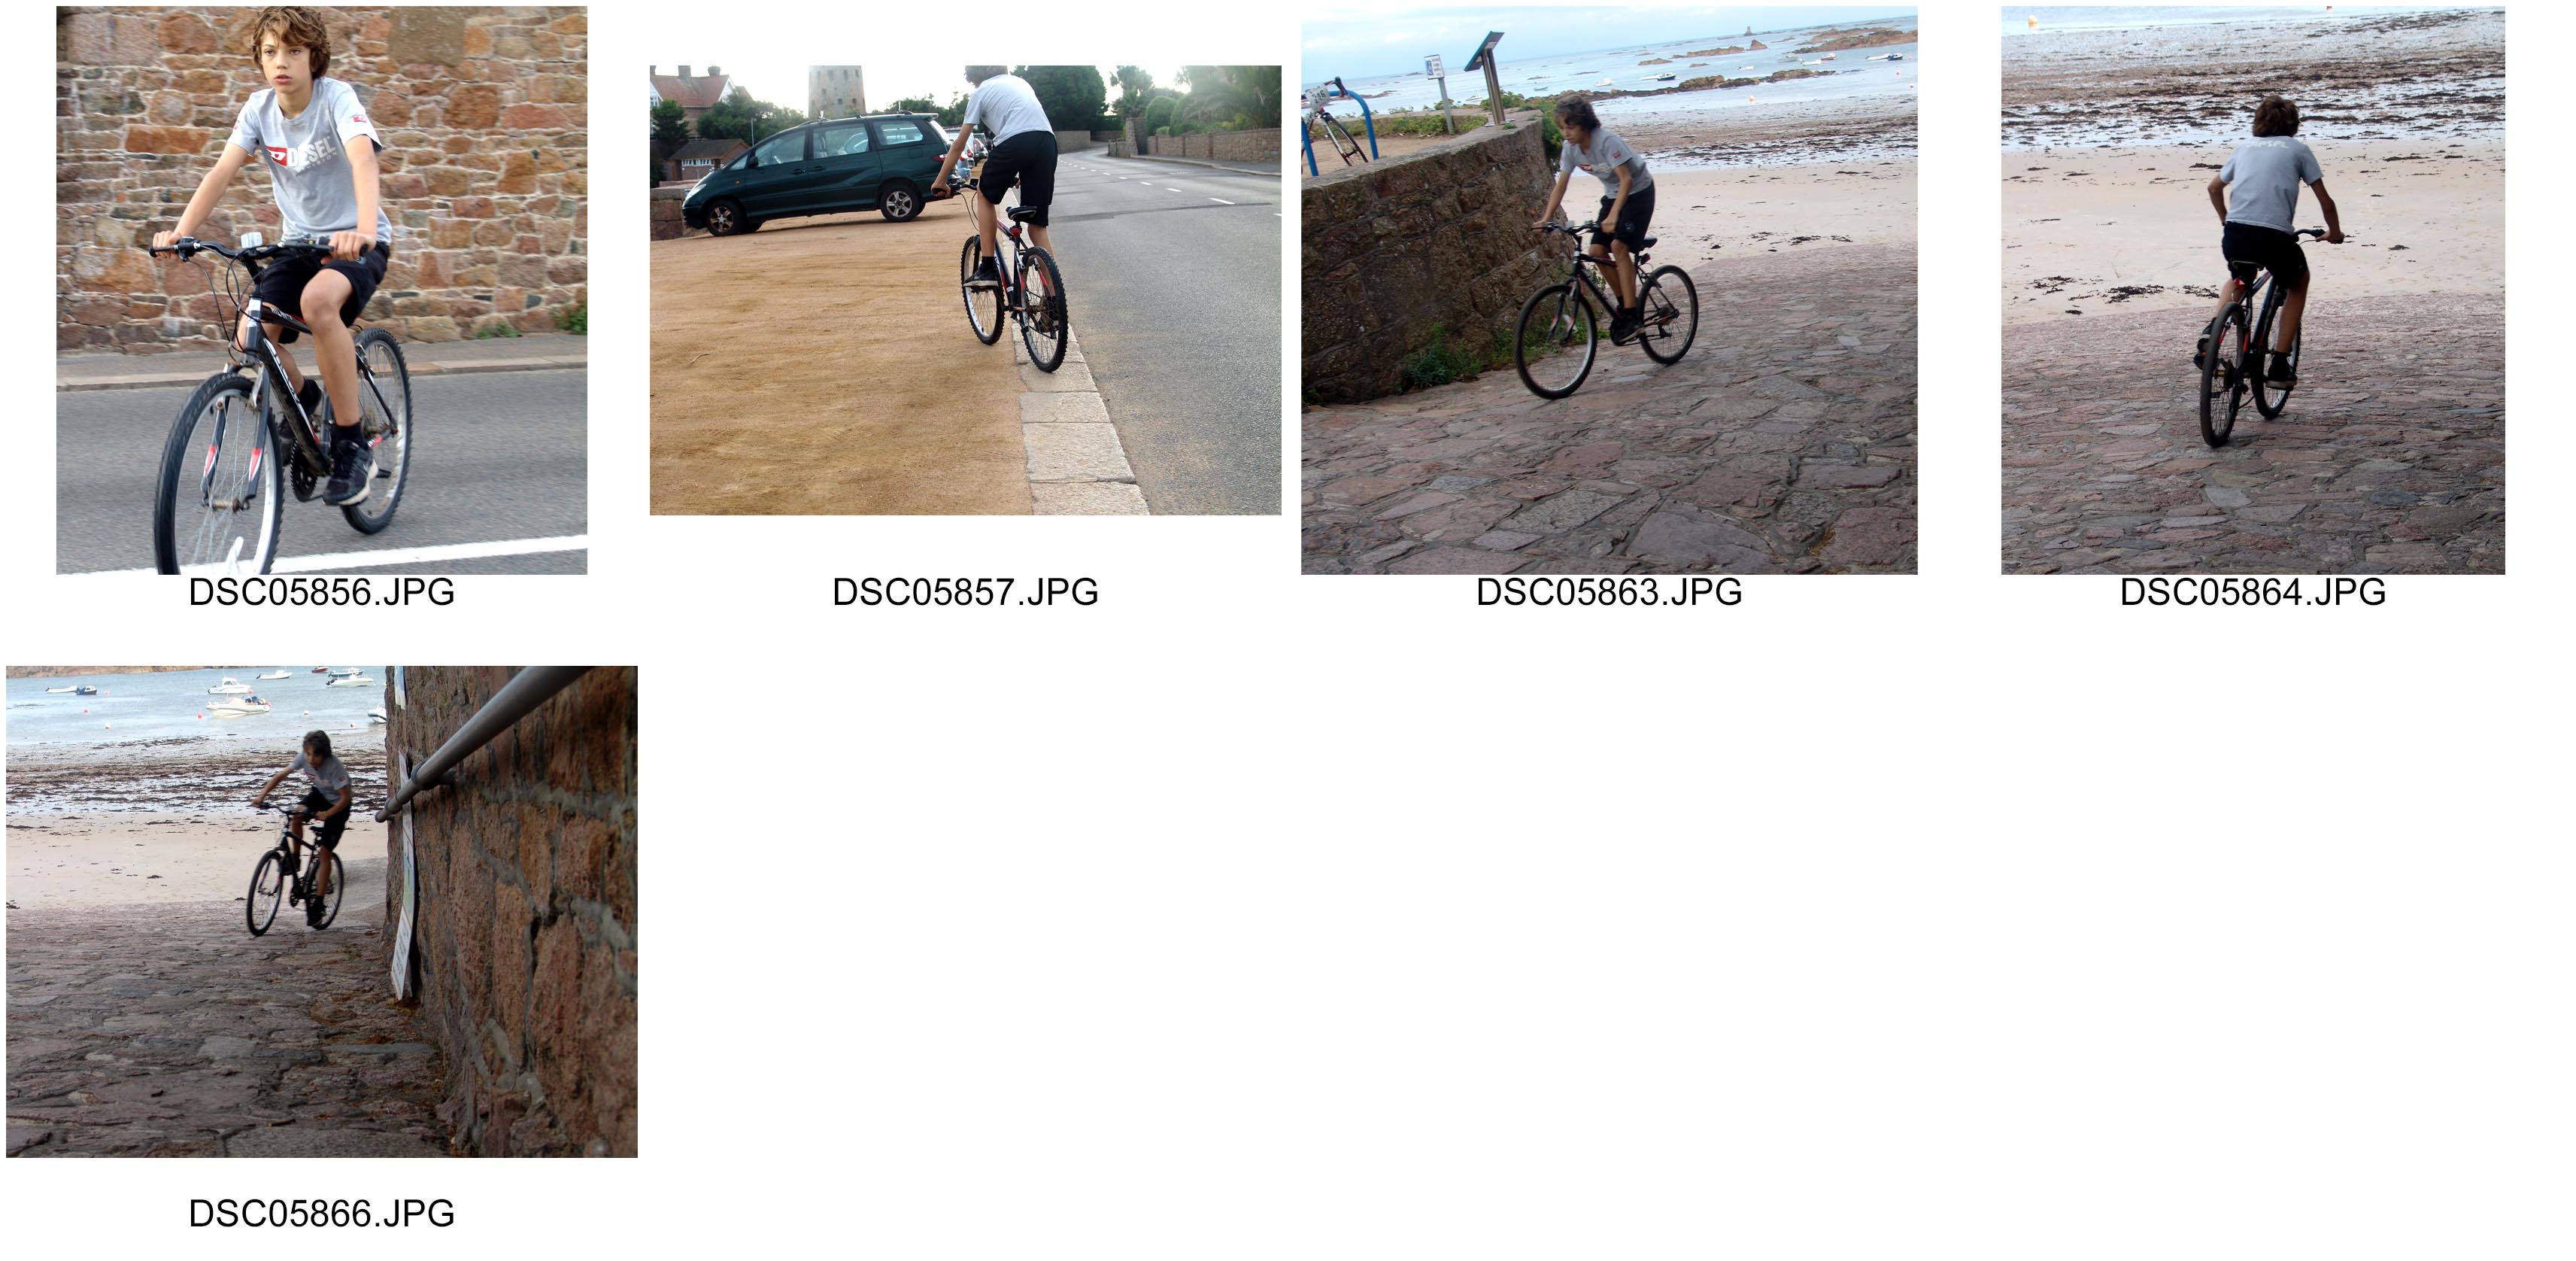
Here is some examples of depth of field. Depth of Field is the distance between the nearest and the furthest objects that give an image. Here I have used depth of field in all three of these pictures.Three things that will affect how you control the depth of field of your images are aperture, distance from the thing you a taking a photo of to the camera.
View Point

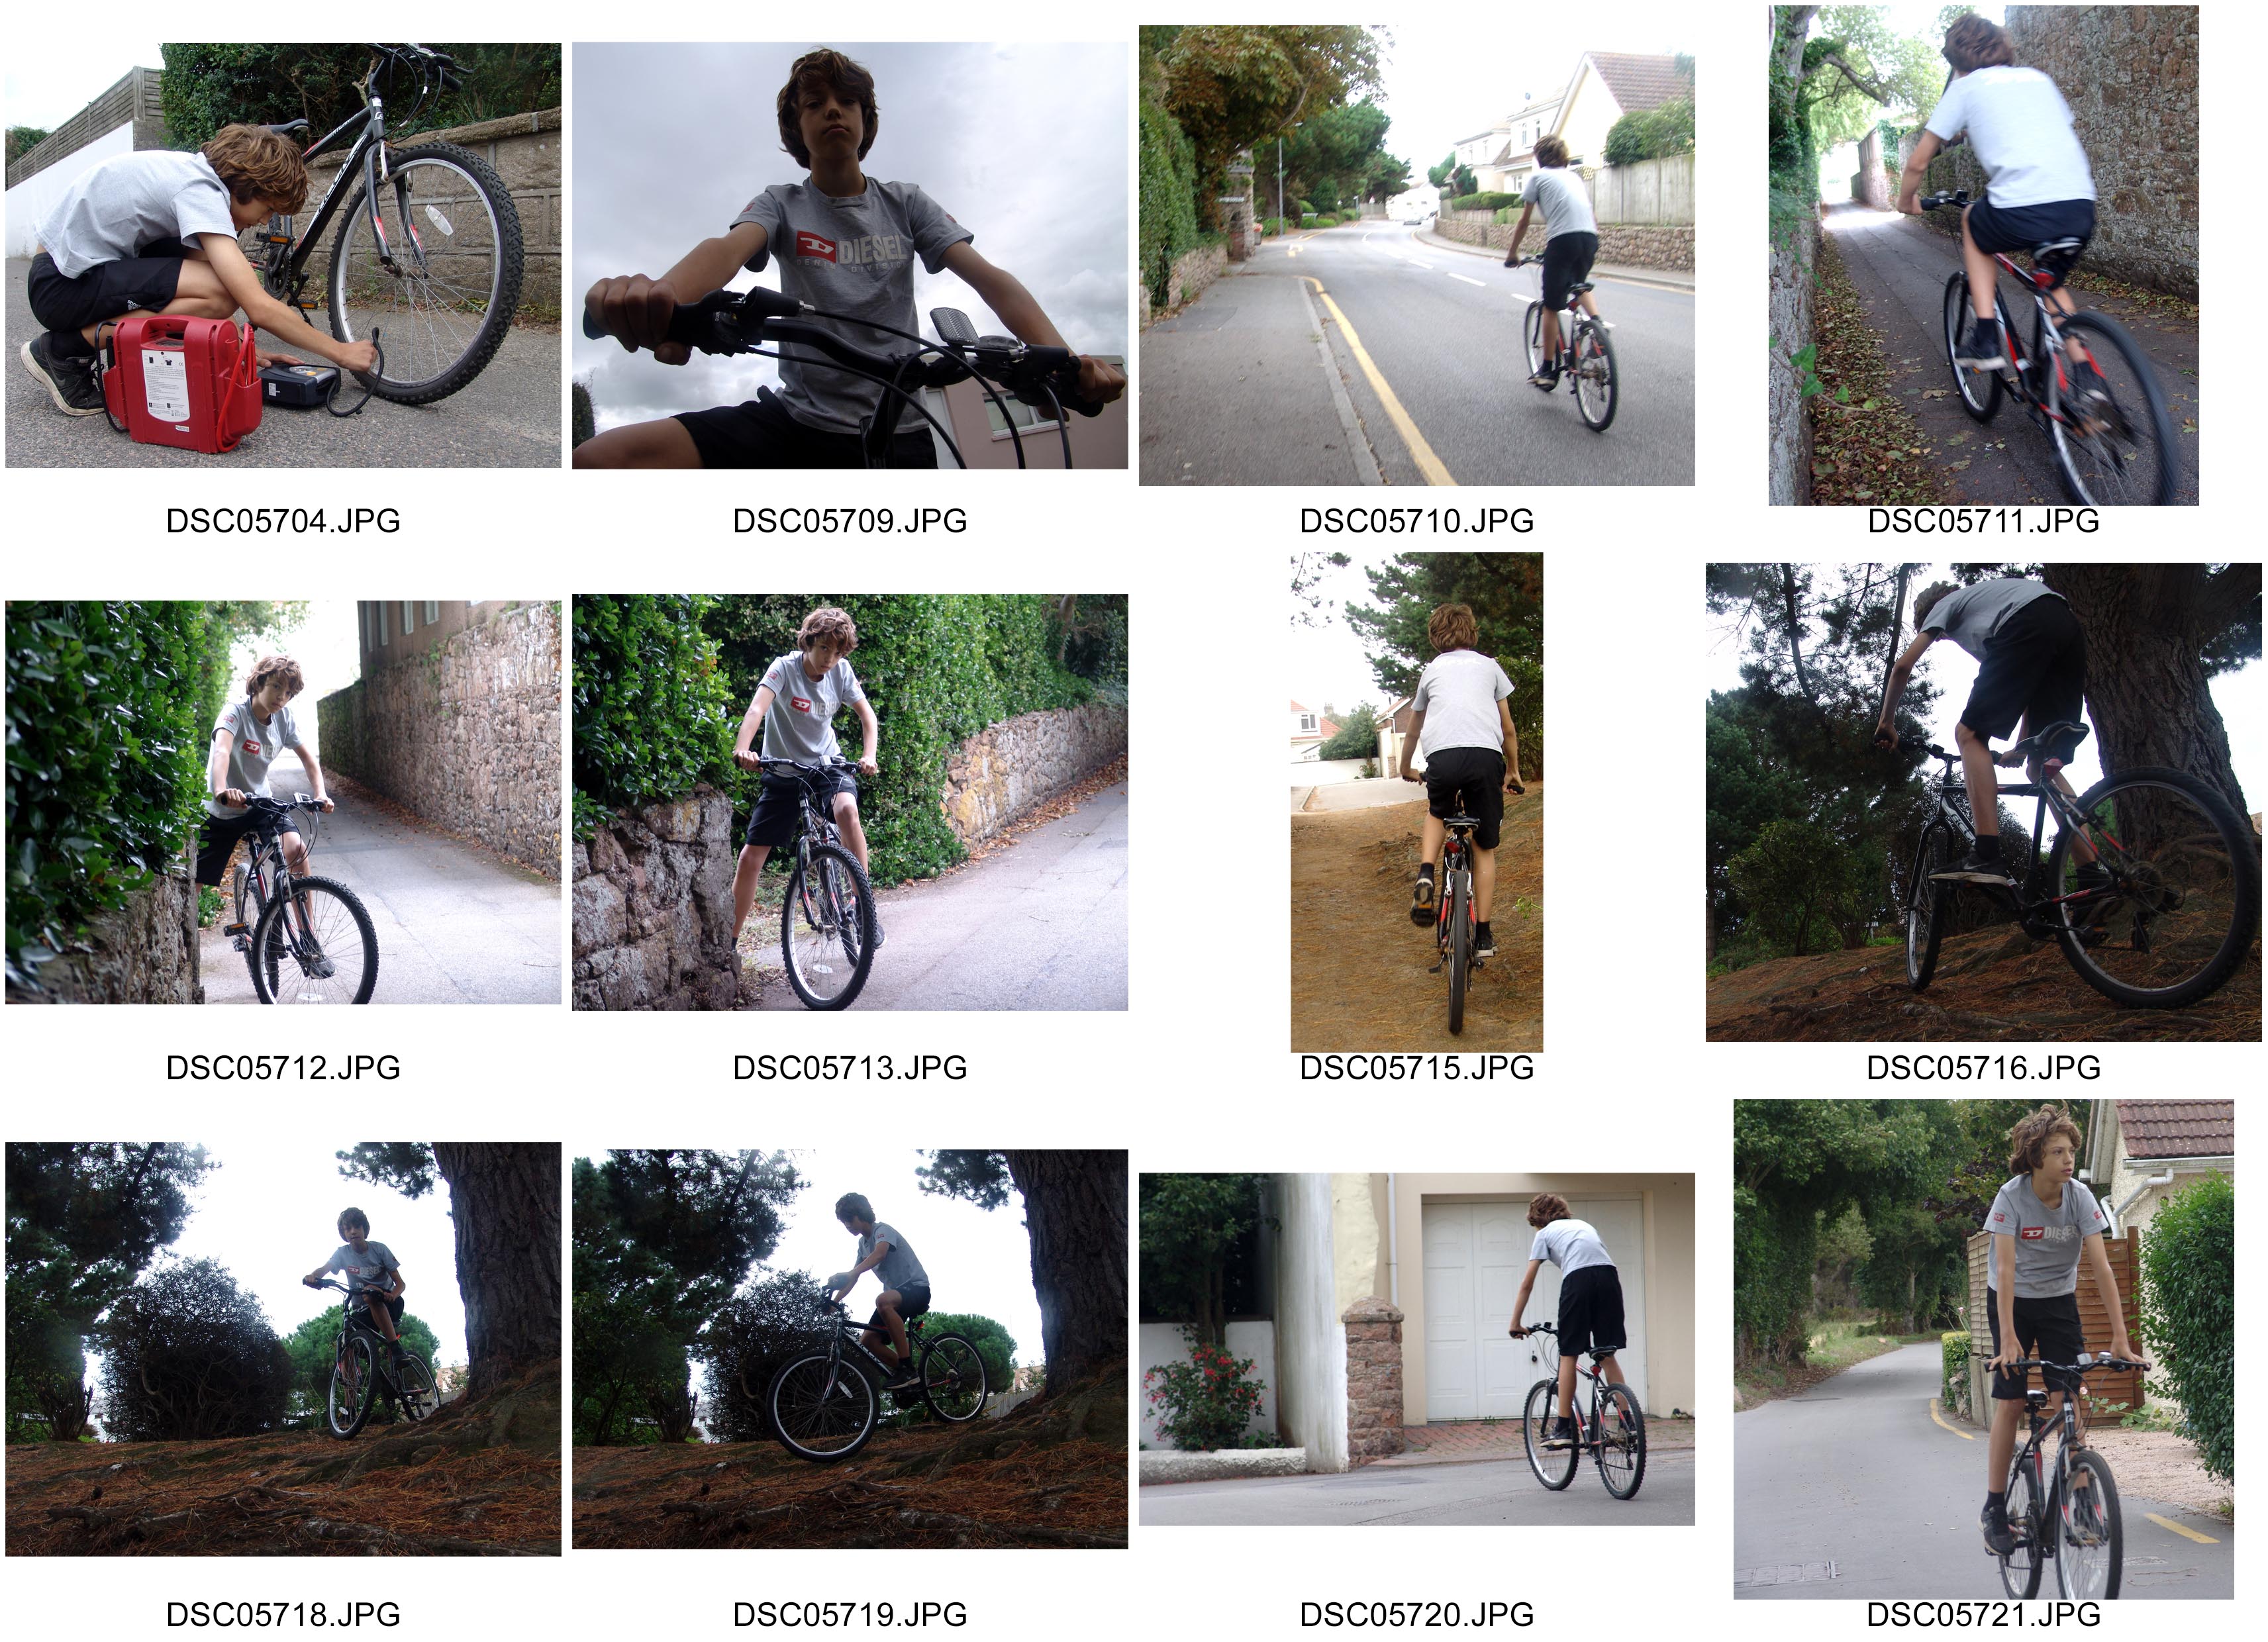
Eye Level- The camera is held by the photographer and shot at the same height level with the eyes of the objects that will be the object of the photo. This forms a flat angle between objects with a camera.
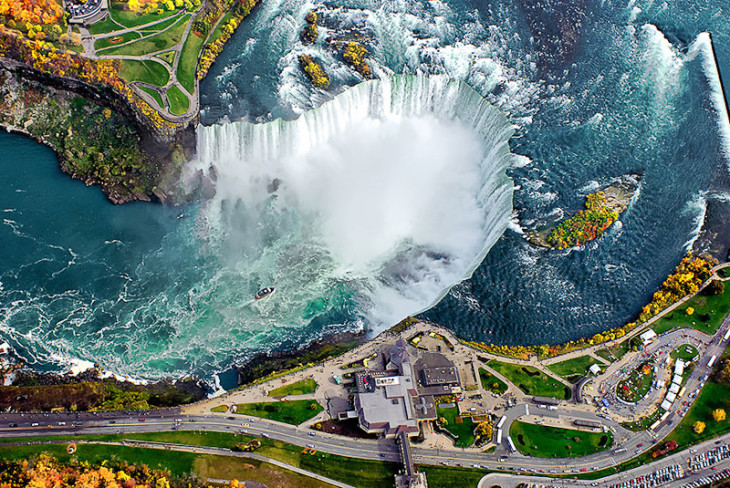
Bird eye-Generally bird’s eye view done in a place that has a height of more distant objects separately from the camera. This view is like you are looking through a birds eyes as it it says in the name.
Frog eye– The image is taken with the camera closer as close to the floor. This angle is quite difficult to take, especially for the type of camera that does not have flexible lcd screen.
Angles
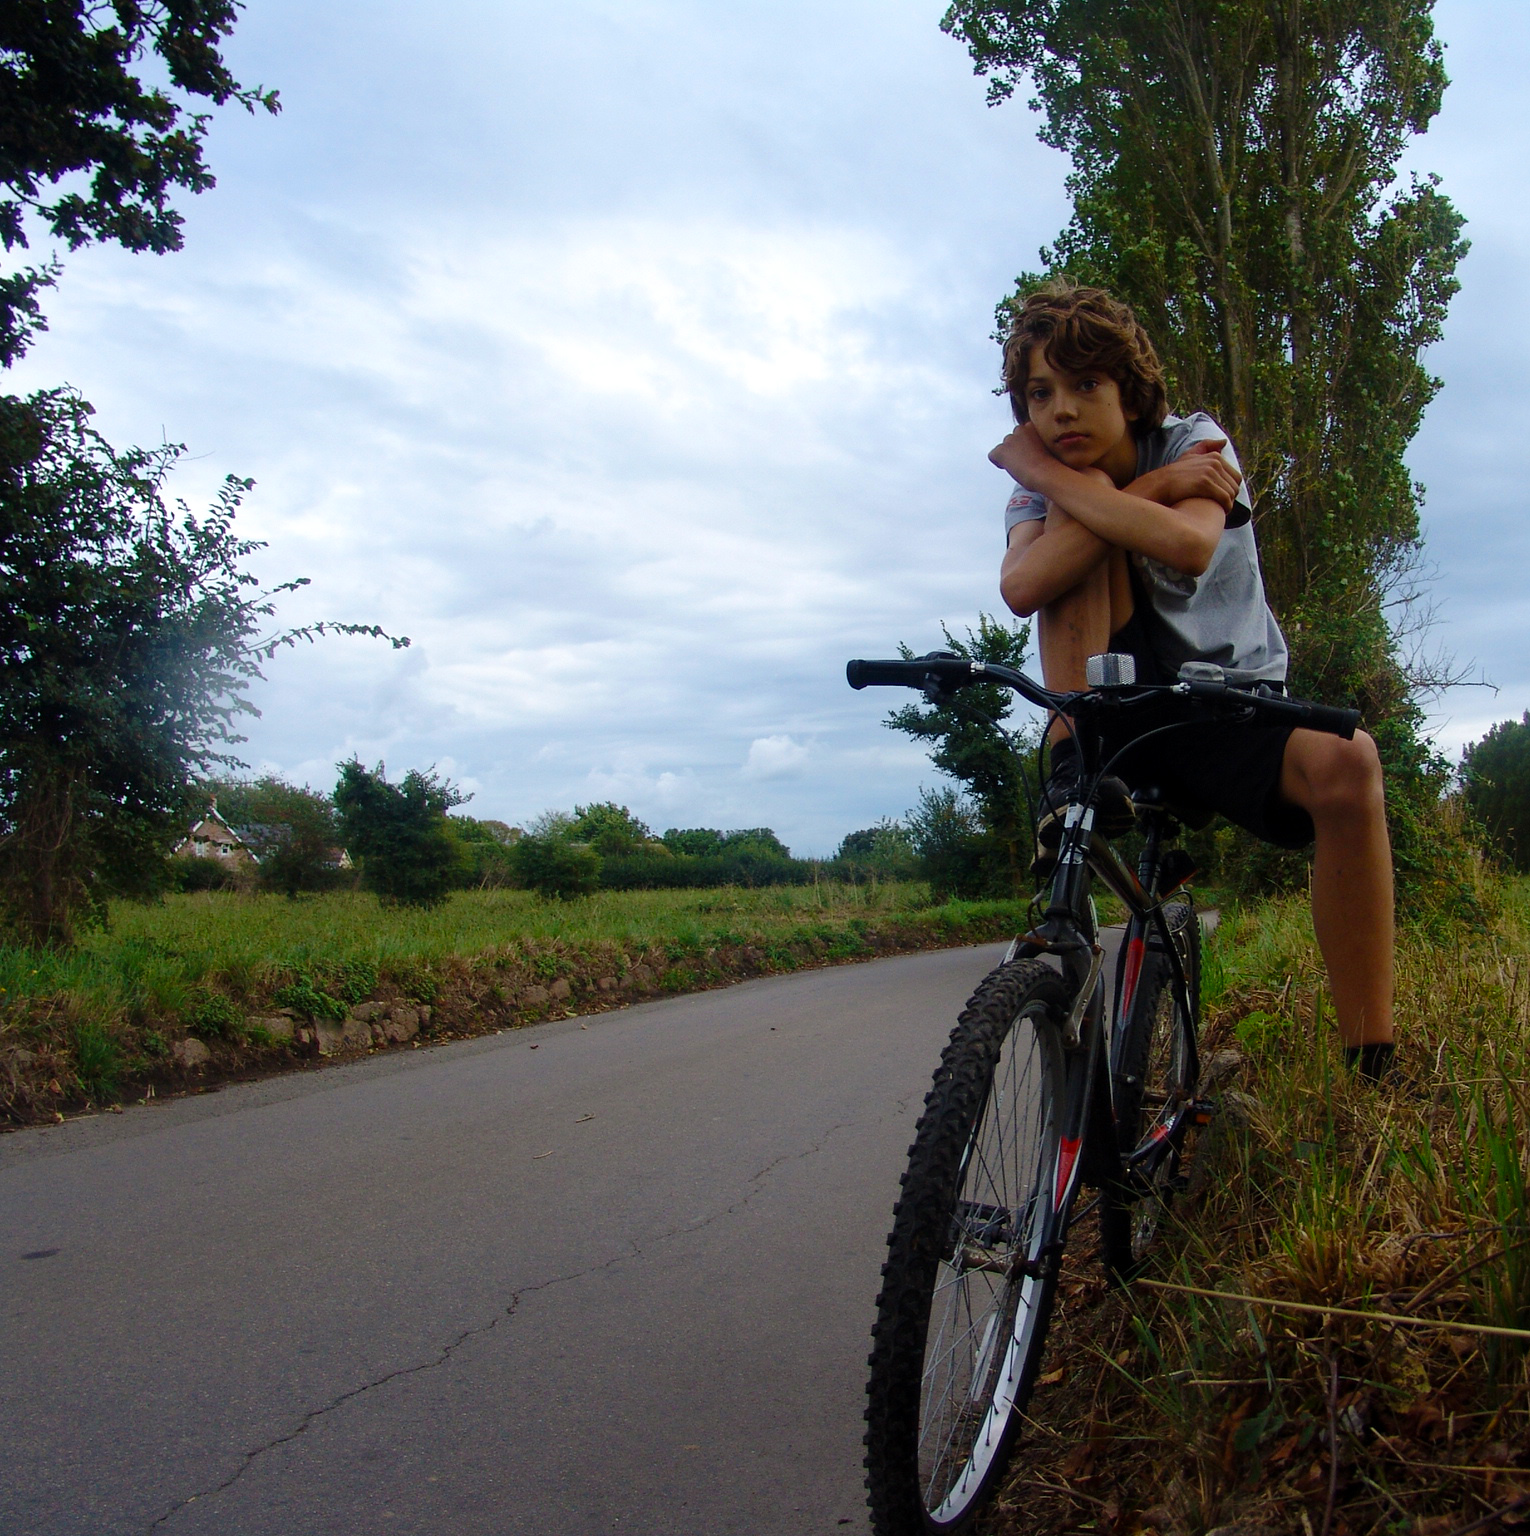
High Angle-High angle is an angle that is used to create a low impression of the image object . High angle is the angle of the picture were taken from above the eye line. The camera is placed above, highlight the object from top to the bottom. This makes the audience feel the subject of photography has widened perspective from the top and smaller at the bottom.
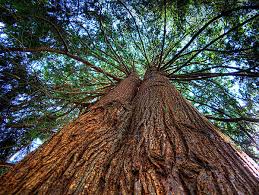
Low Angle-Low Angle is an angle that is used to create impression of height, sturdy and elegant. The shooting is done from the bottom of the object of picture, so that the object is higher than the camera. This creates the impression of images perspective that have up impression and form like a cone.
Canted Angle- is a type of camera shot where the camera is set at an angle on its roll axis so that the shot is composed with vertical lines at an angle to the side of the frame, or so that the horizon line of the shot is not parallel with the bottom of the camera frame.
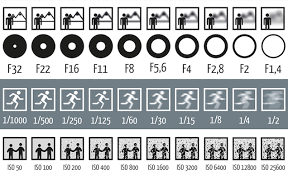
Aperture-your aperture opens up and lets more light into the camera sensor and increases your shutter speed. For your 18-105mm lens, the aperture varies between f/3.5 and f/5.6, so try to keep it in that range.
Shutter speed- is the length of time when the film or digital sensor inside the camera is exposed to light, also when a camera’s shutter is open when taking a photograph
ISO- this measures the sensitivity of the image sensor. The lower the number the less sensitive your camera is to light and the finer the grain. Higher ISO settings are generally used in darker situations to get faster shutter speeds.


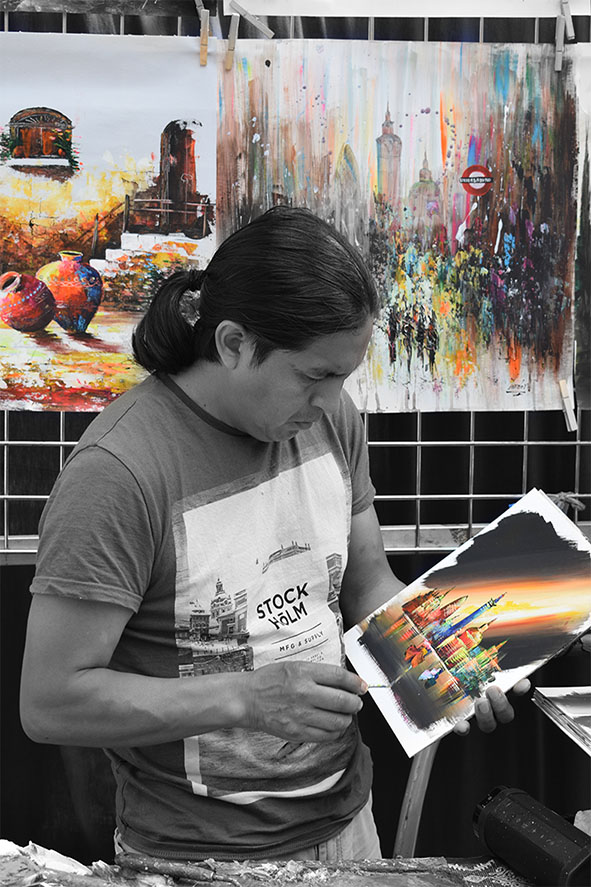
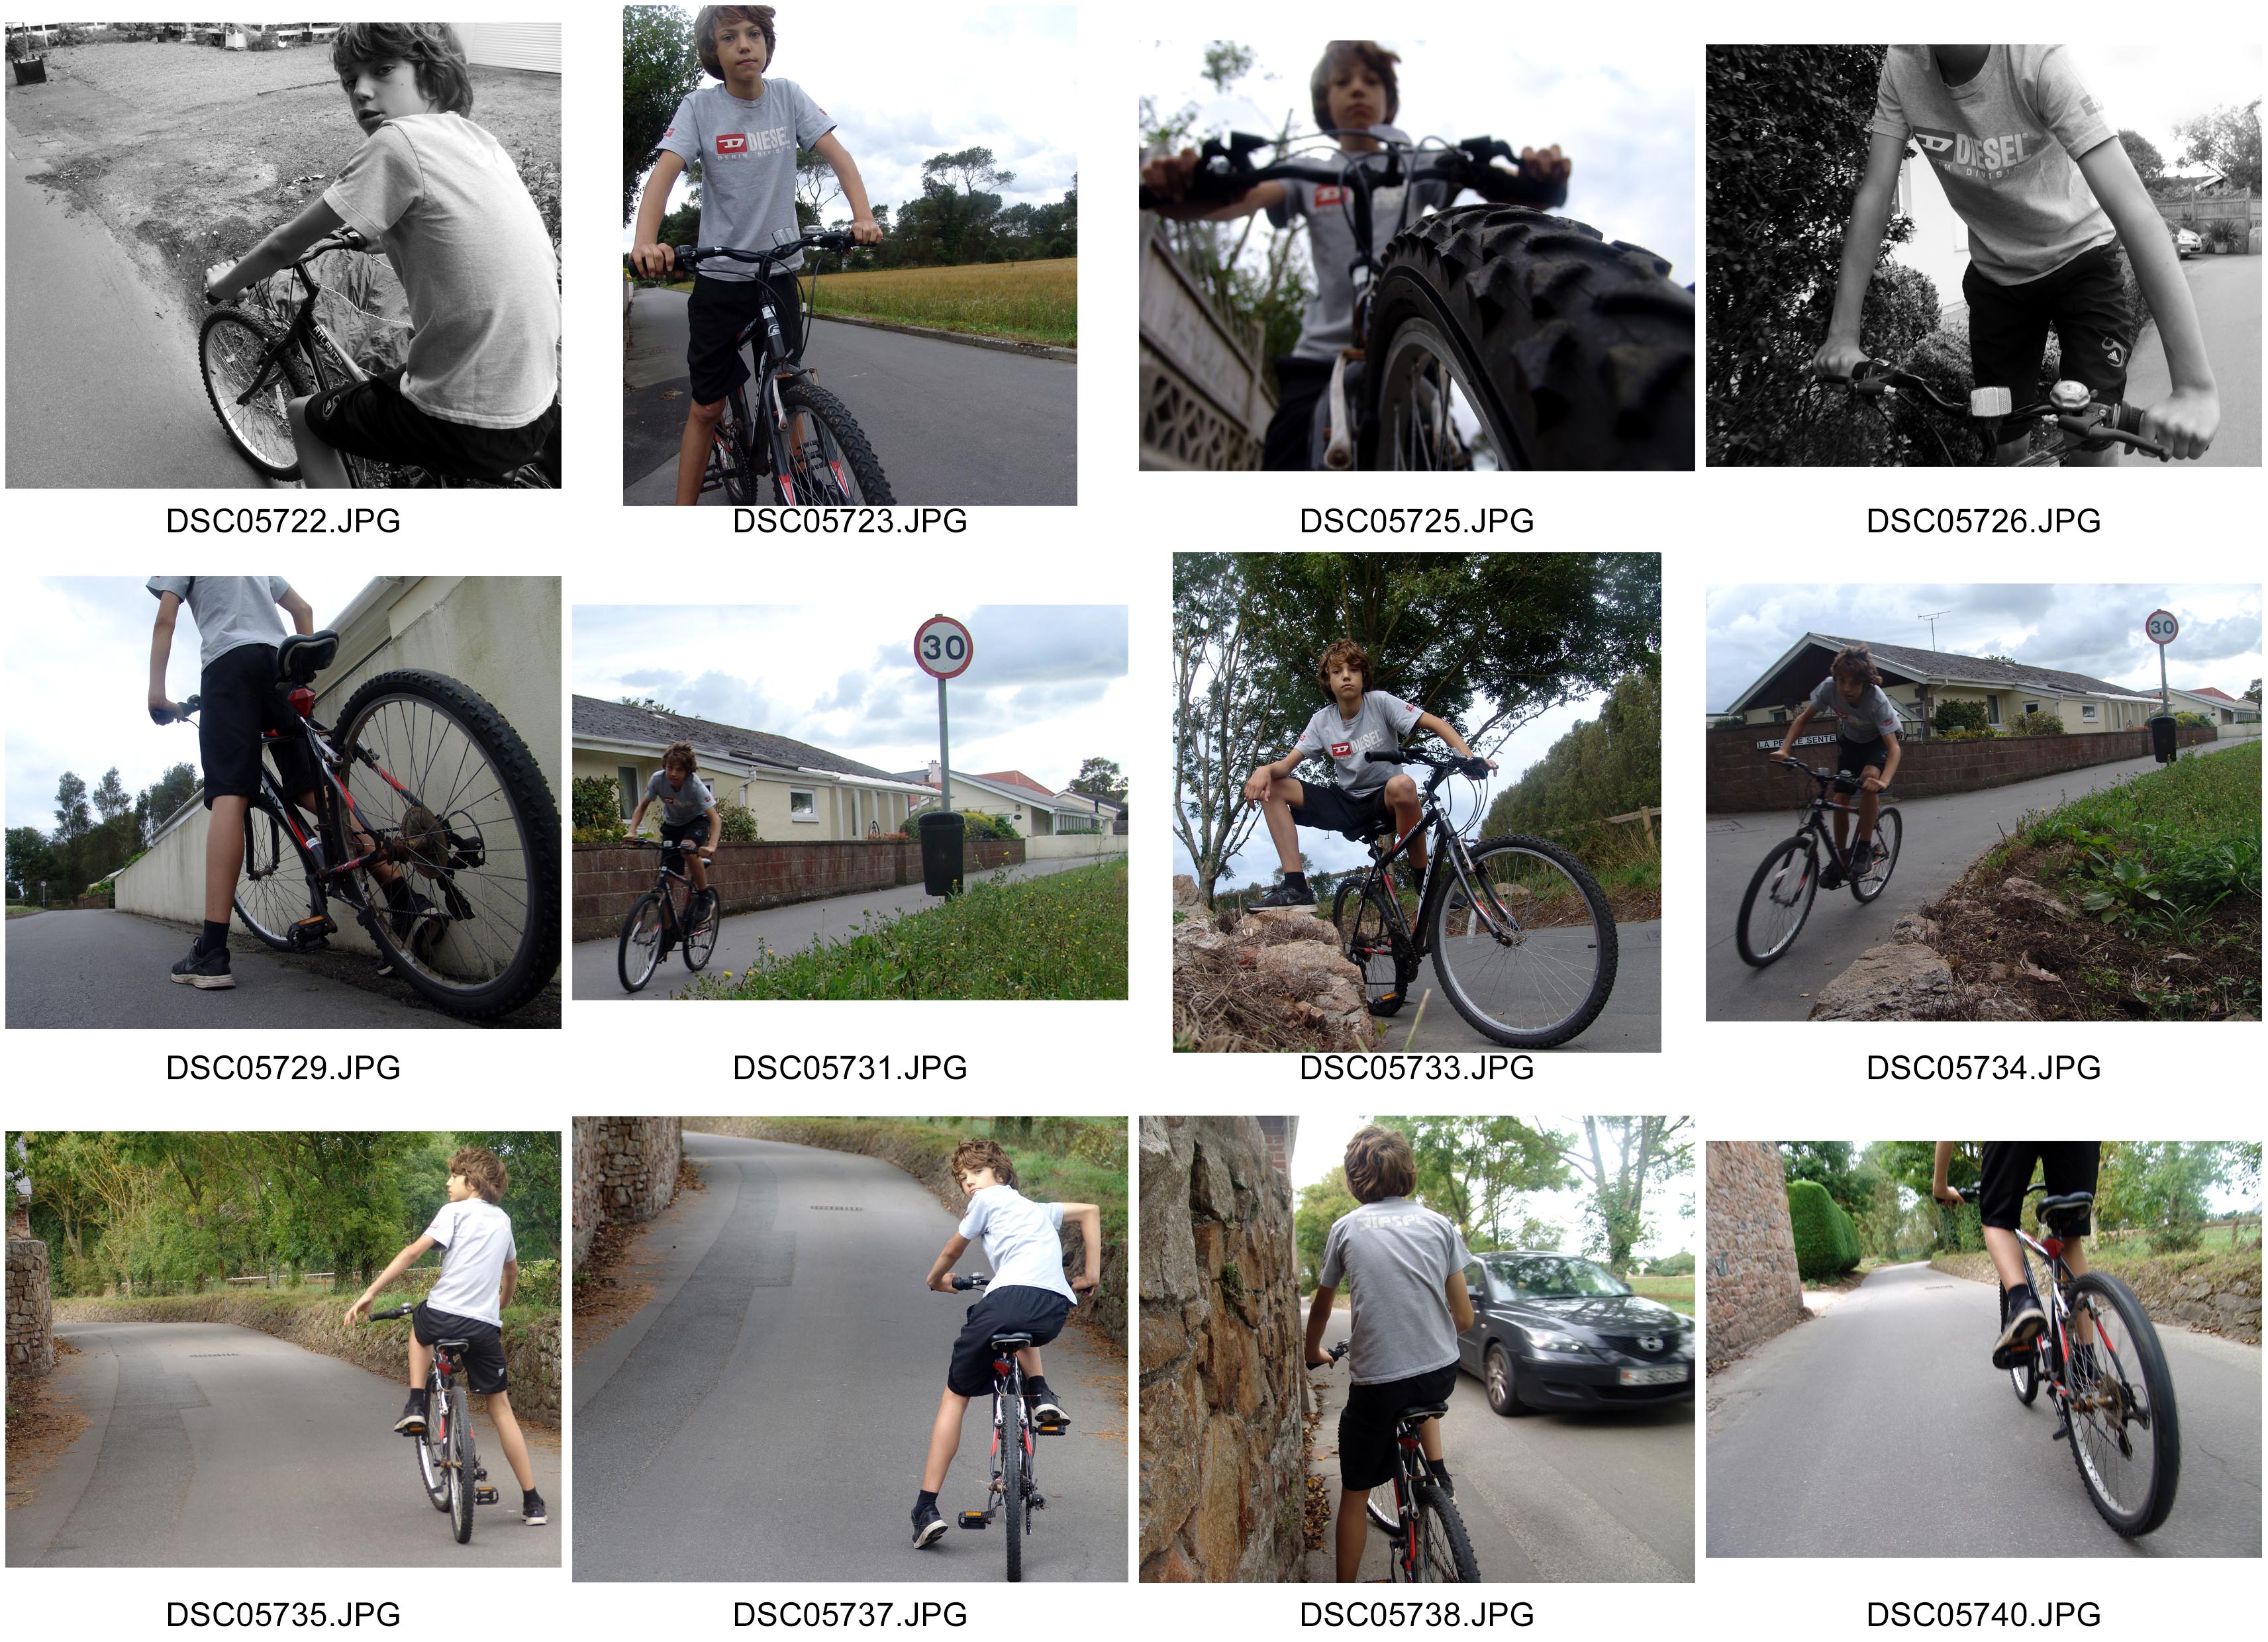
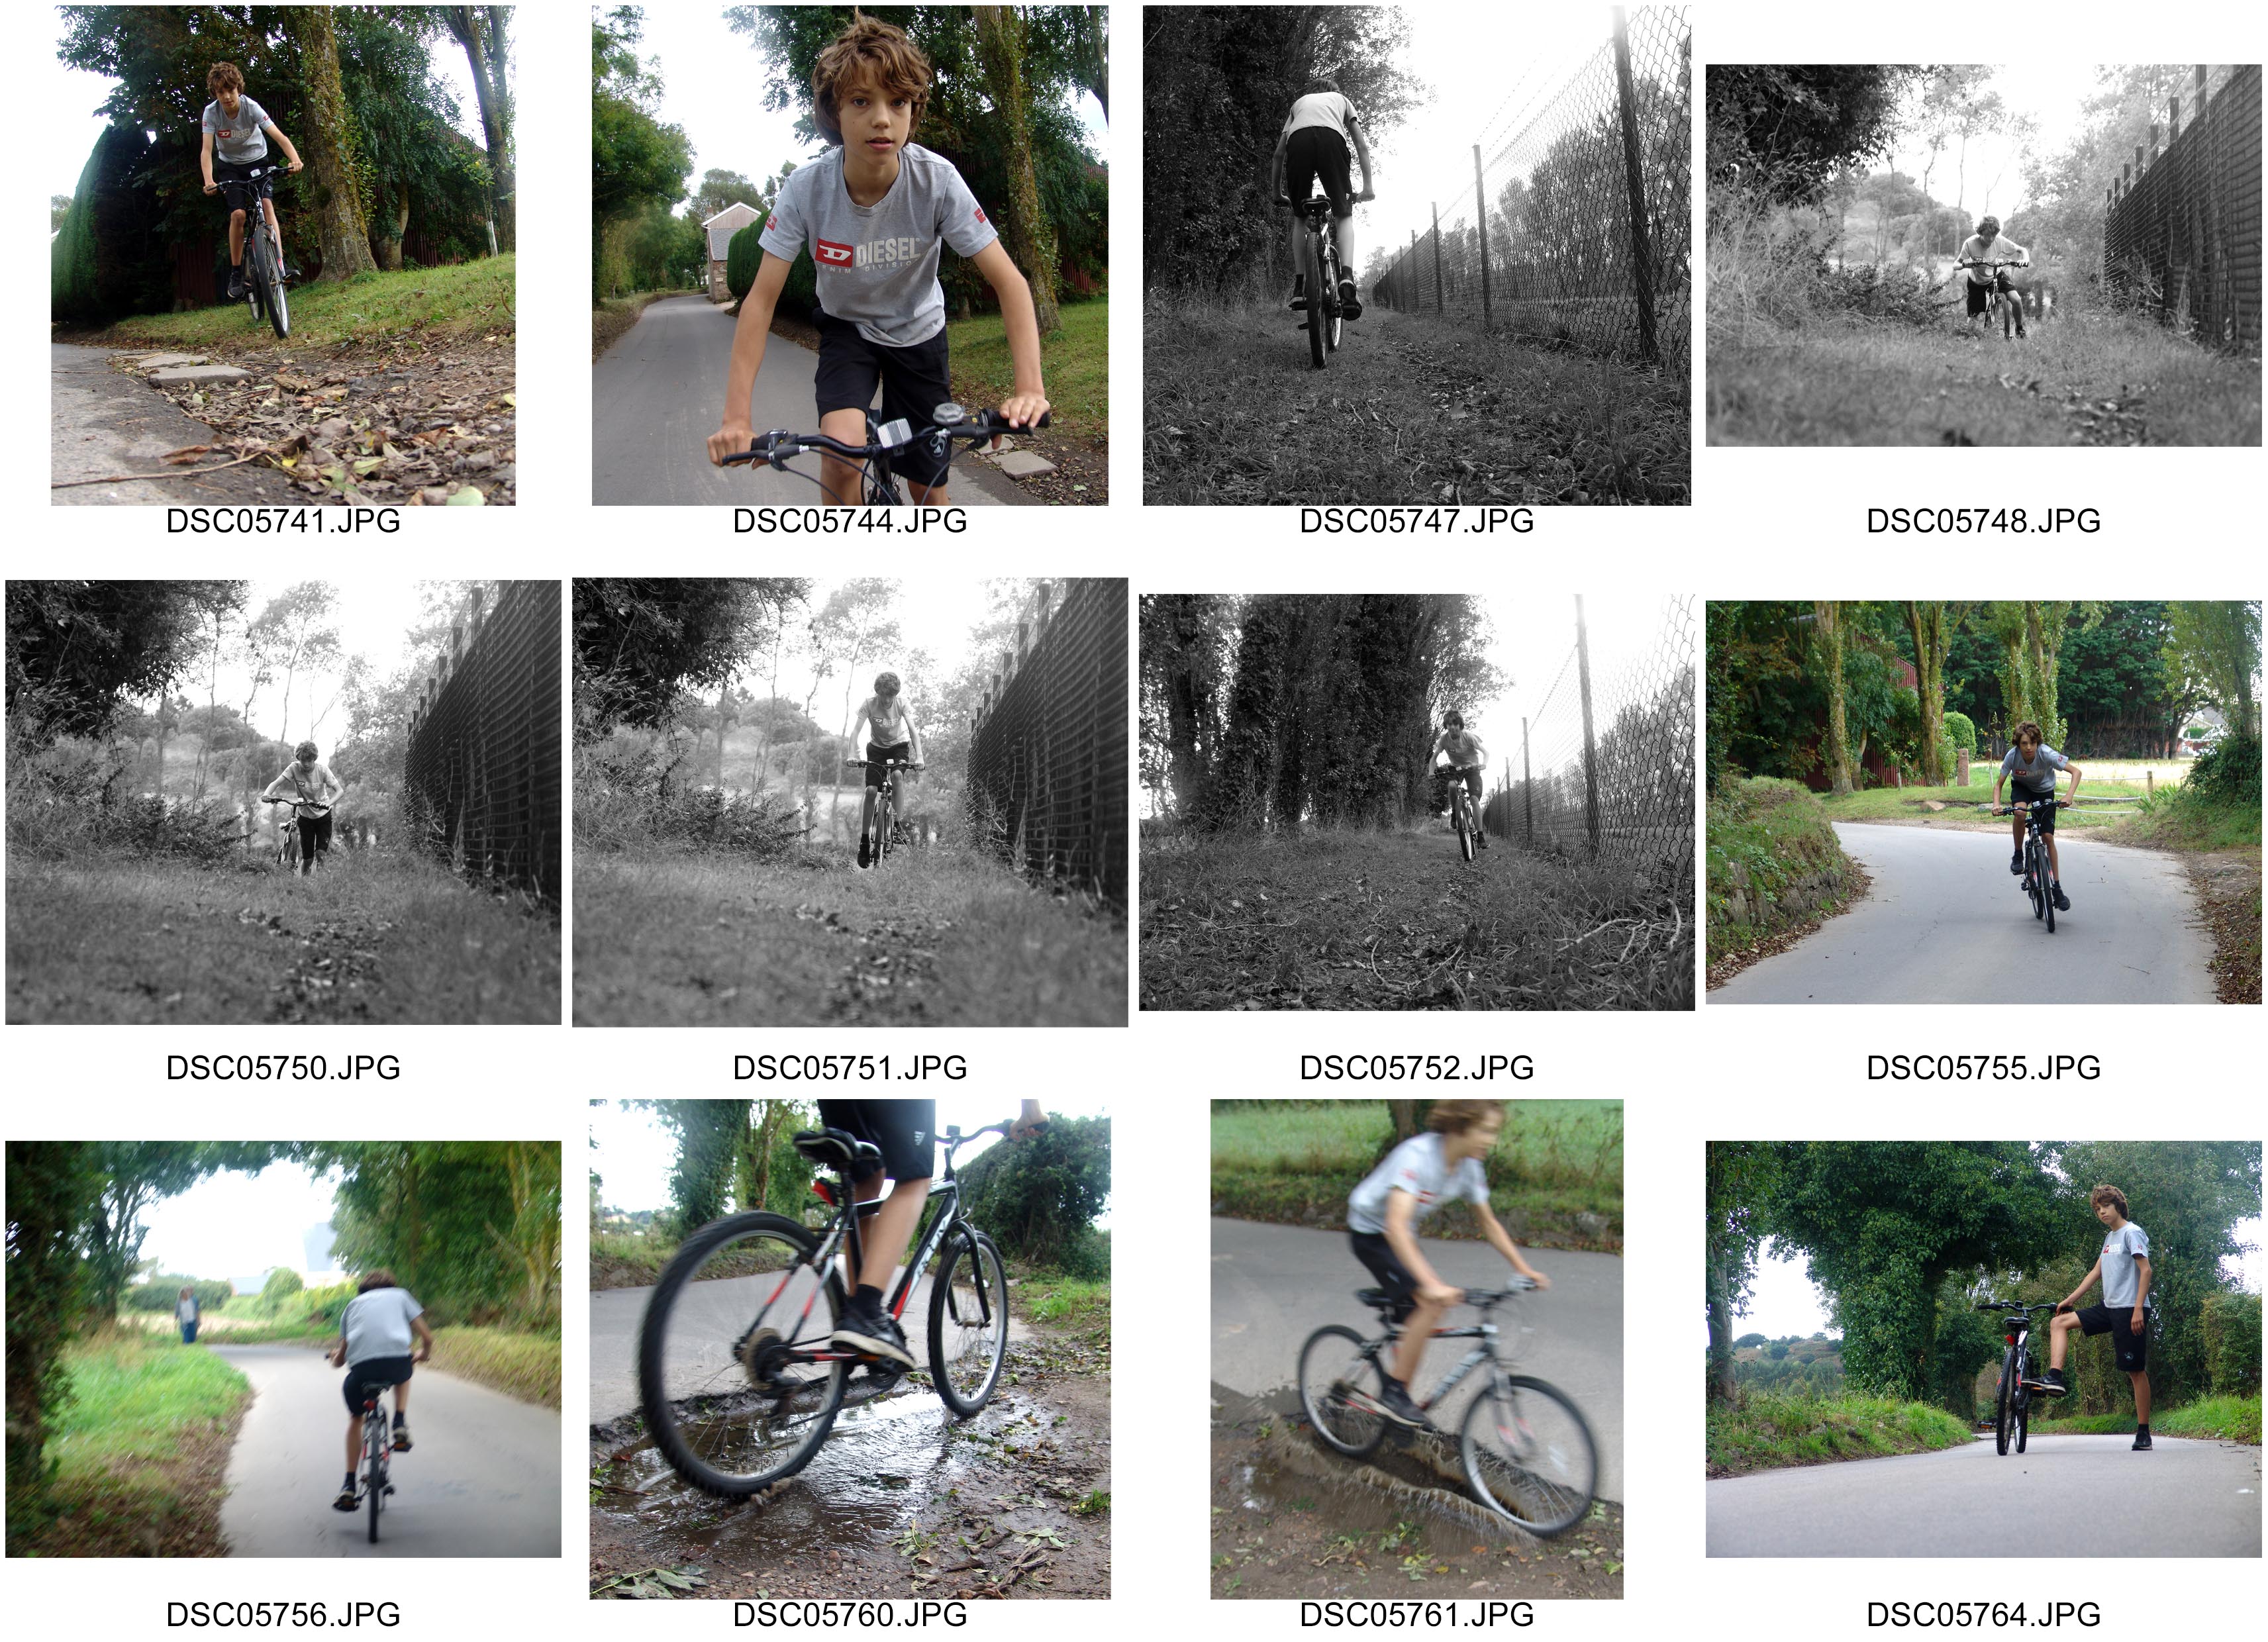

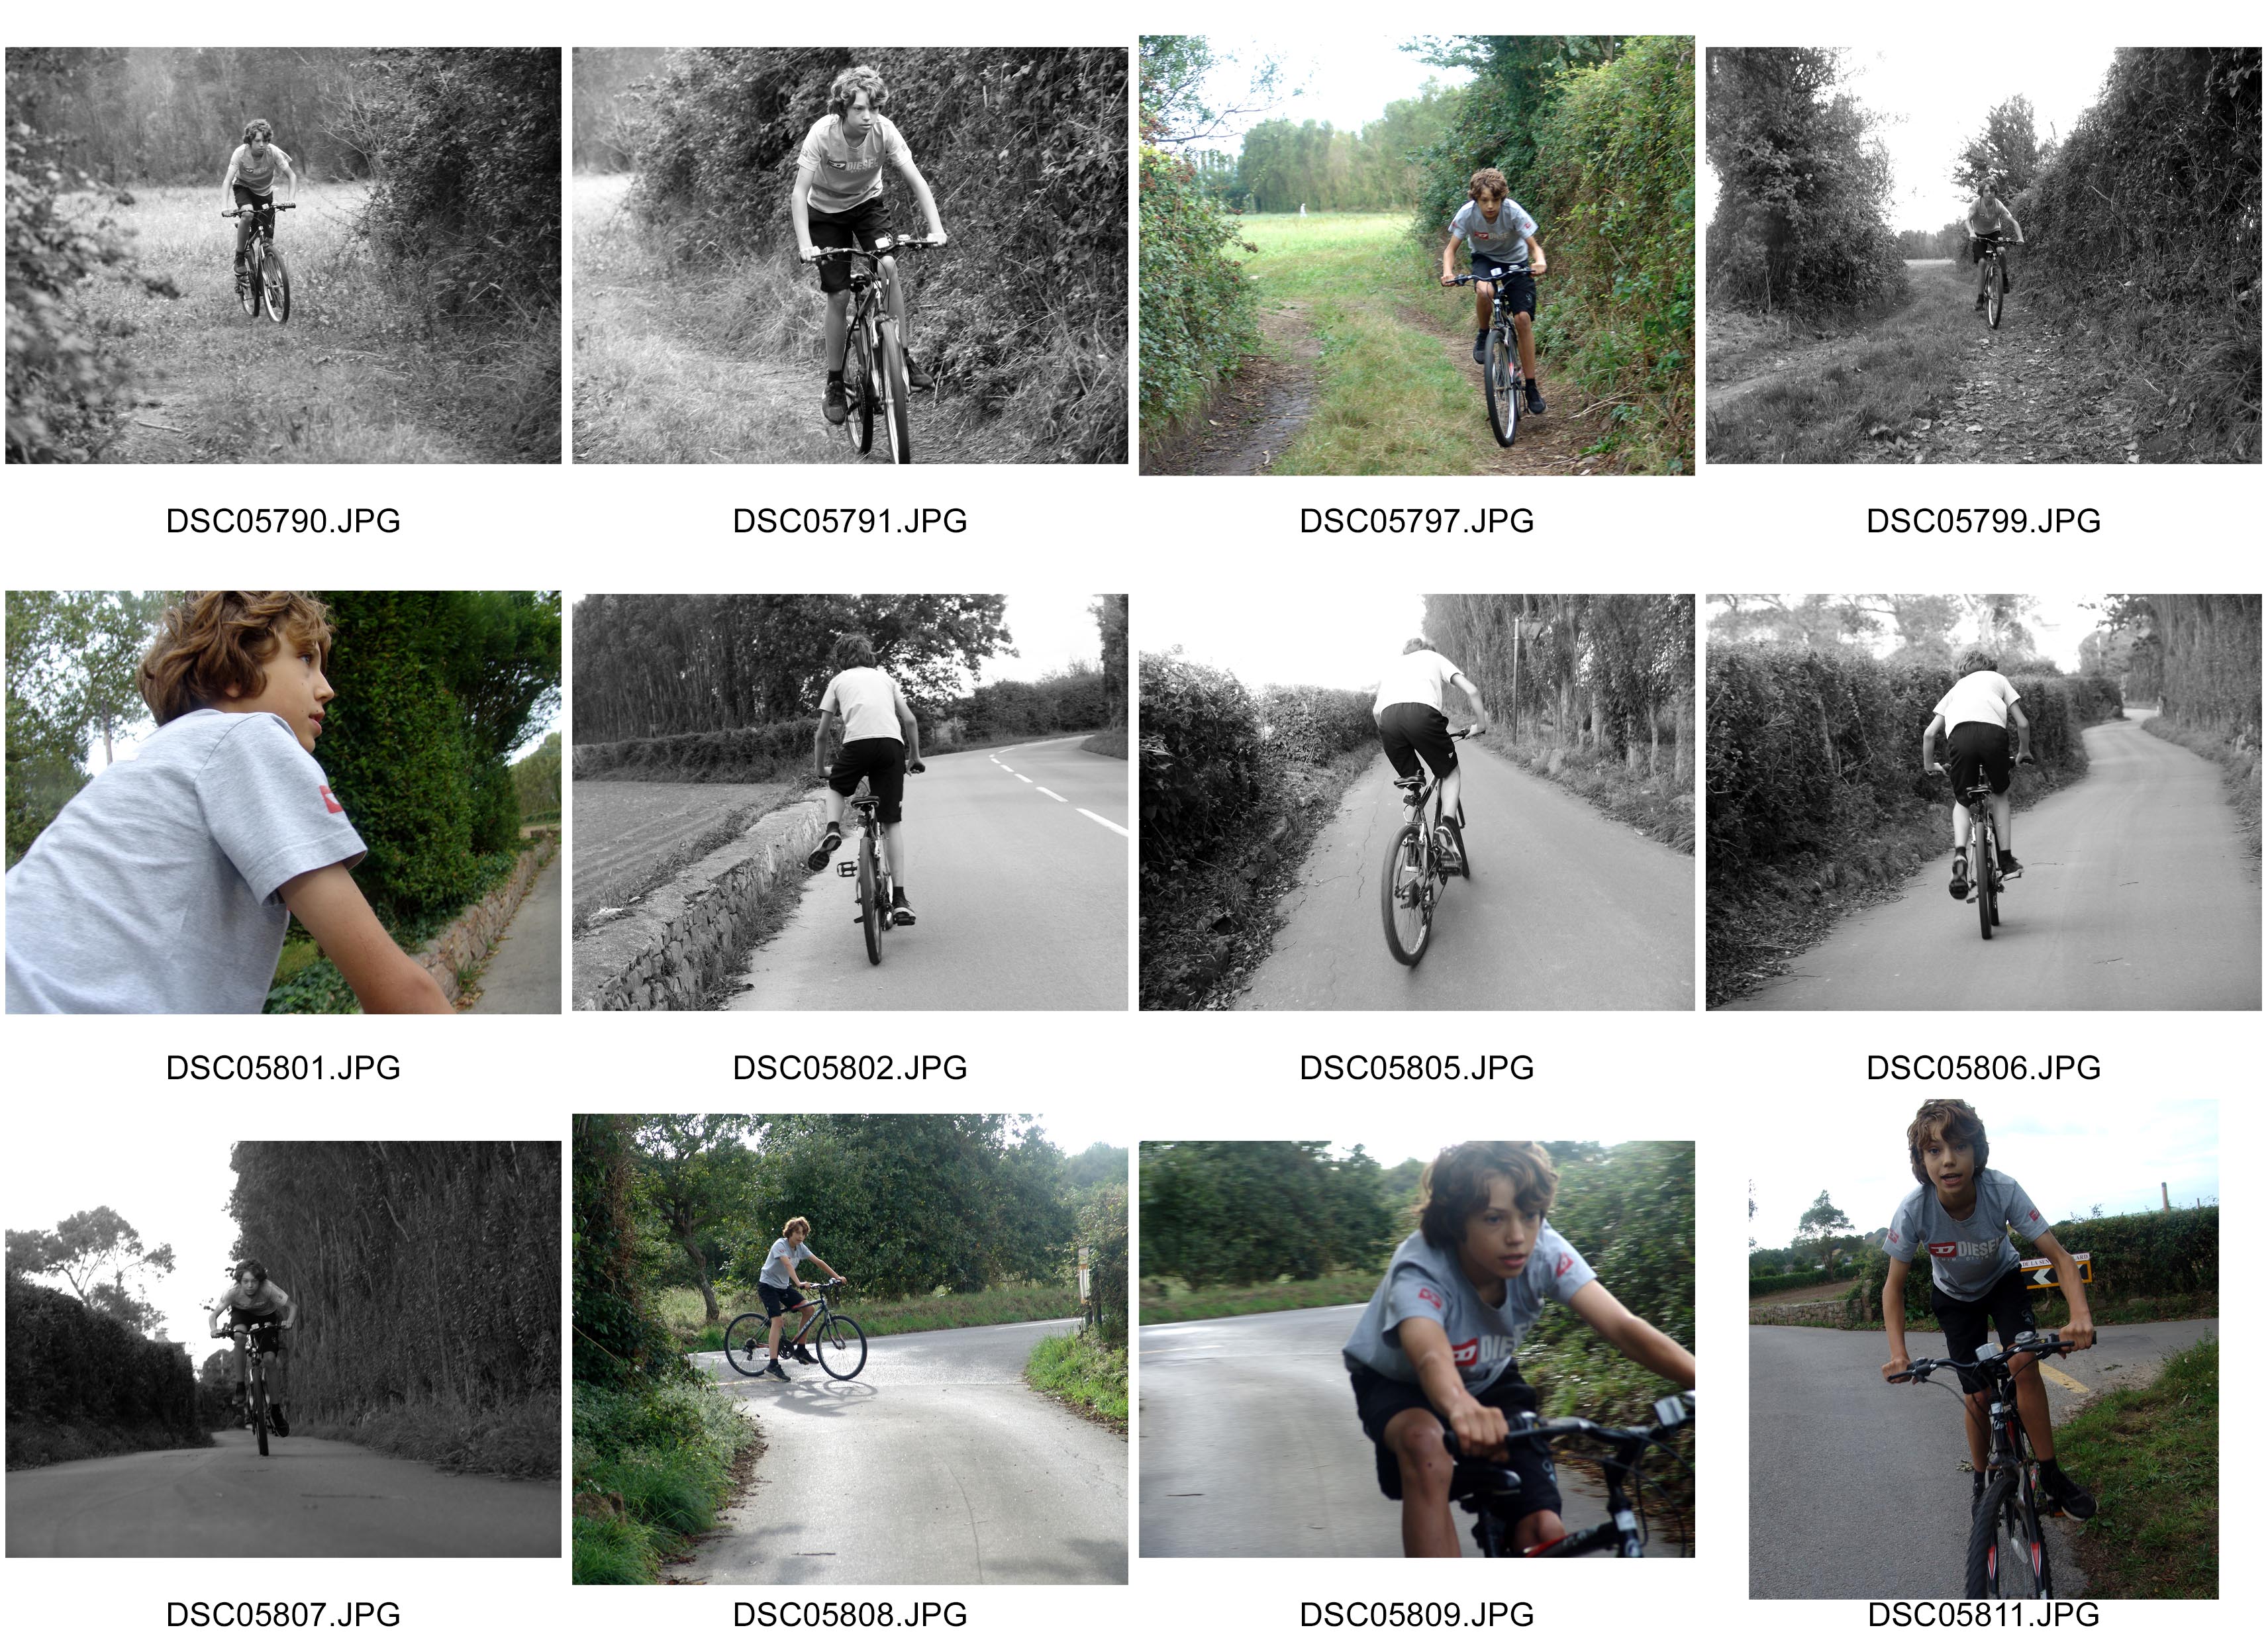
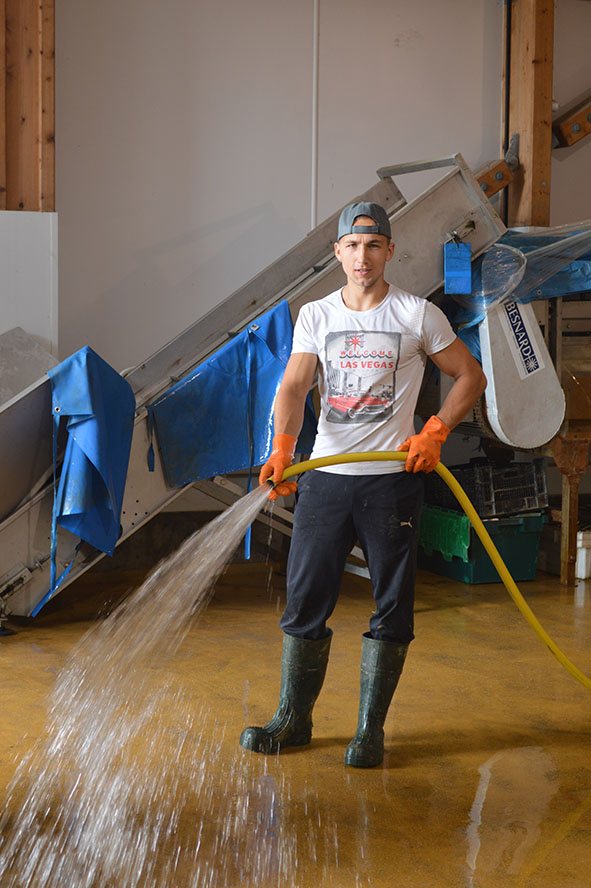
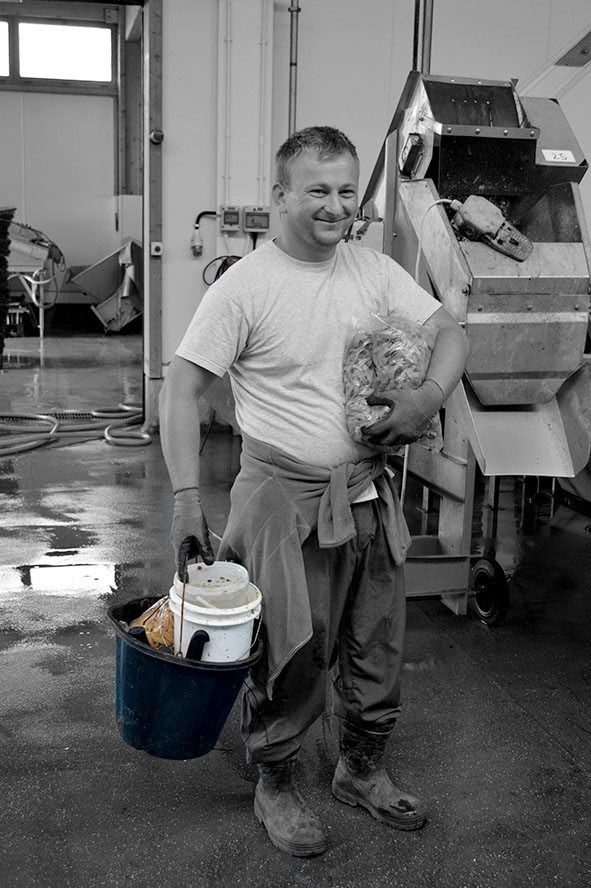
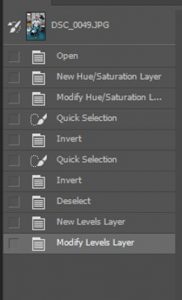
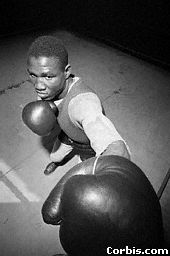
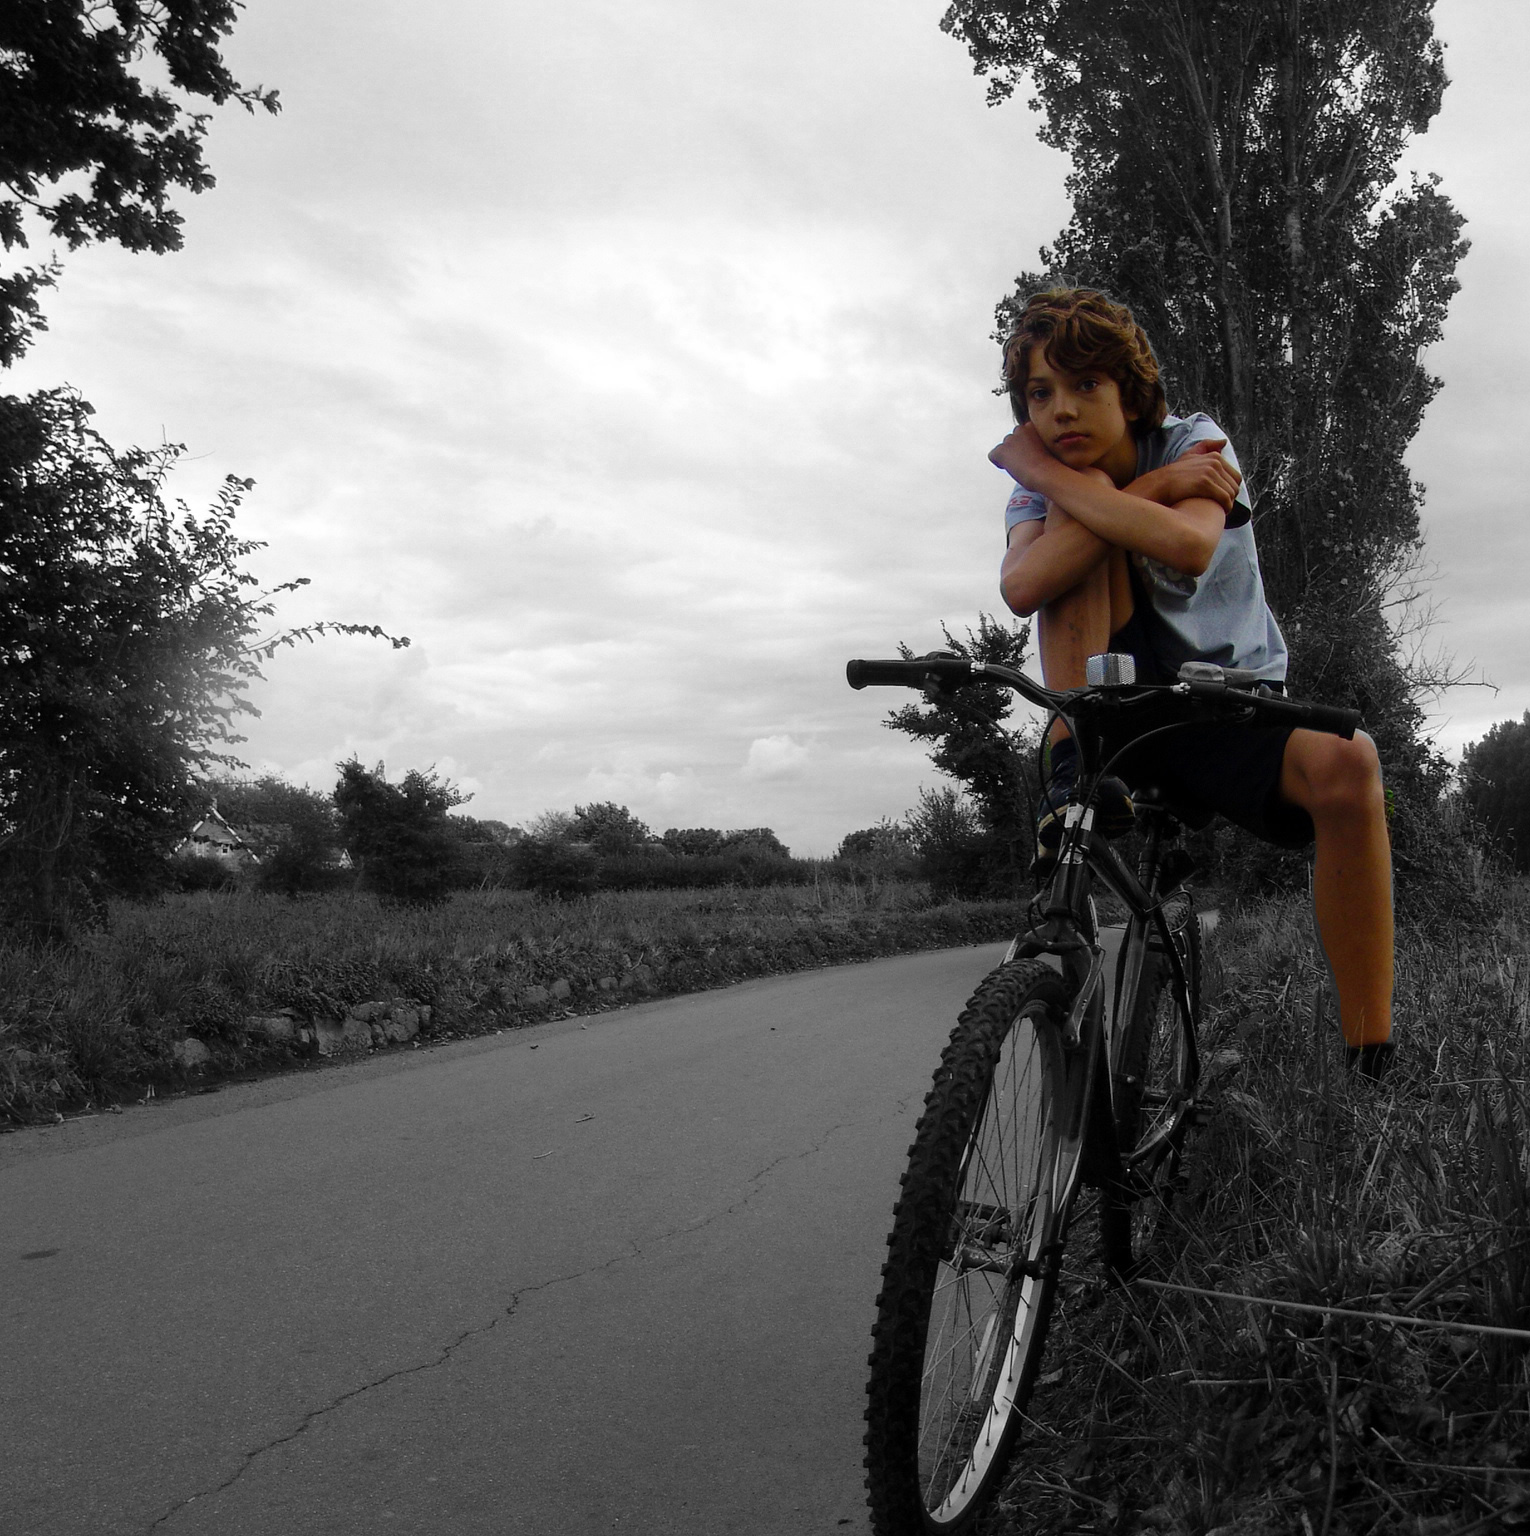 Today, I used a color splash technique to select various parts in the photograph to remain in color but other parts in black and white. To start off, I duplicated the layer using Ctrl + J. I made the background black and white and the new layer as color. In the toolbox I clicked the black square. Then using the brush tool, I selected areas of which I wanted to keep in color. Carefully, I used the opacity tool and the zoom tool to have a precise level of accuracy in selecting the finer areas of the photograph.
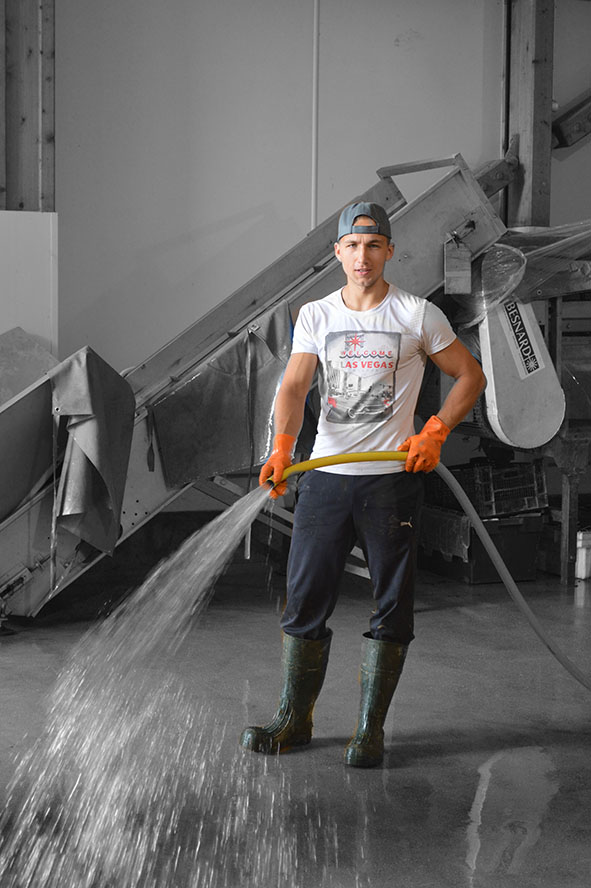