Chiaroscuro Lighting Effect

contactsheet-001 contactsheet-002 contactsheet-003 contactsheet-004

I took these photos using a chiaroscuro technique.   On the left hand side are my photos taken without a reflector to the objects face. On the right are my photographs taken with a reflector, reflecting the light towards the right side of the objects face. I experimented with varying strengths of light using high key and low key lighting and different backdrops with a black curtain and a white screen.  I took my photographs with the light pointing from the side going across the objects face to enhance the contrast between shadows and lit areas.   Also, the position of the light source was placed quite close to the objects face to create a harsh lit environment for the areas lit up, and create a further contrast to the darker areas.

Rankin // My Interpretation: Photoshoot 1 // Studio Photography

Image result for rankin self portraitJohn Rankin Waddell goes by the name Rankin when photographing celebrities in his day-to-day life as a portrait and fashion photographer. He was born on 28 April 1966 (age 50) in Scotland.

In December 2000 Rankin launched his own fashion magazine, RANK. 

In 2002, Rankin was awarded an Honorary Fellowship by The Royal Photographic Society.

In January 2009, BBC 4 broadcast Rankin’s 1 hour documentary Seven Photographs that Changed Fashion, in which he created his own tributes to the iconic images by the likes of the photographer David Bailey.

Rankin has also shot several music videos for artists such as Azealia Banks, Example and Kelis as well as a number of documentaries photographing the lives of other in countries around the world and he also teamed up with Nike to shoot a campaign to raise awareness for the disease, HIV/AIDS.

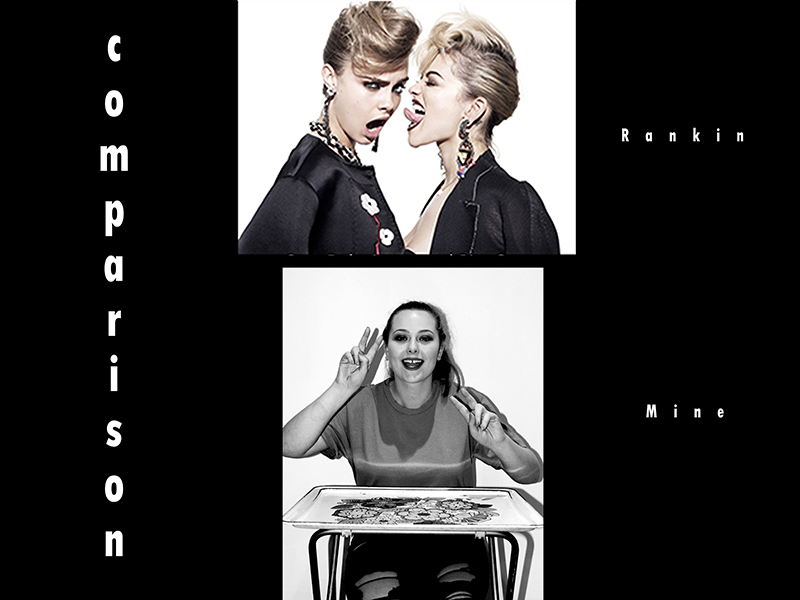
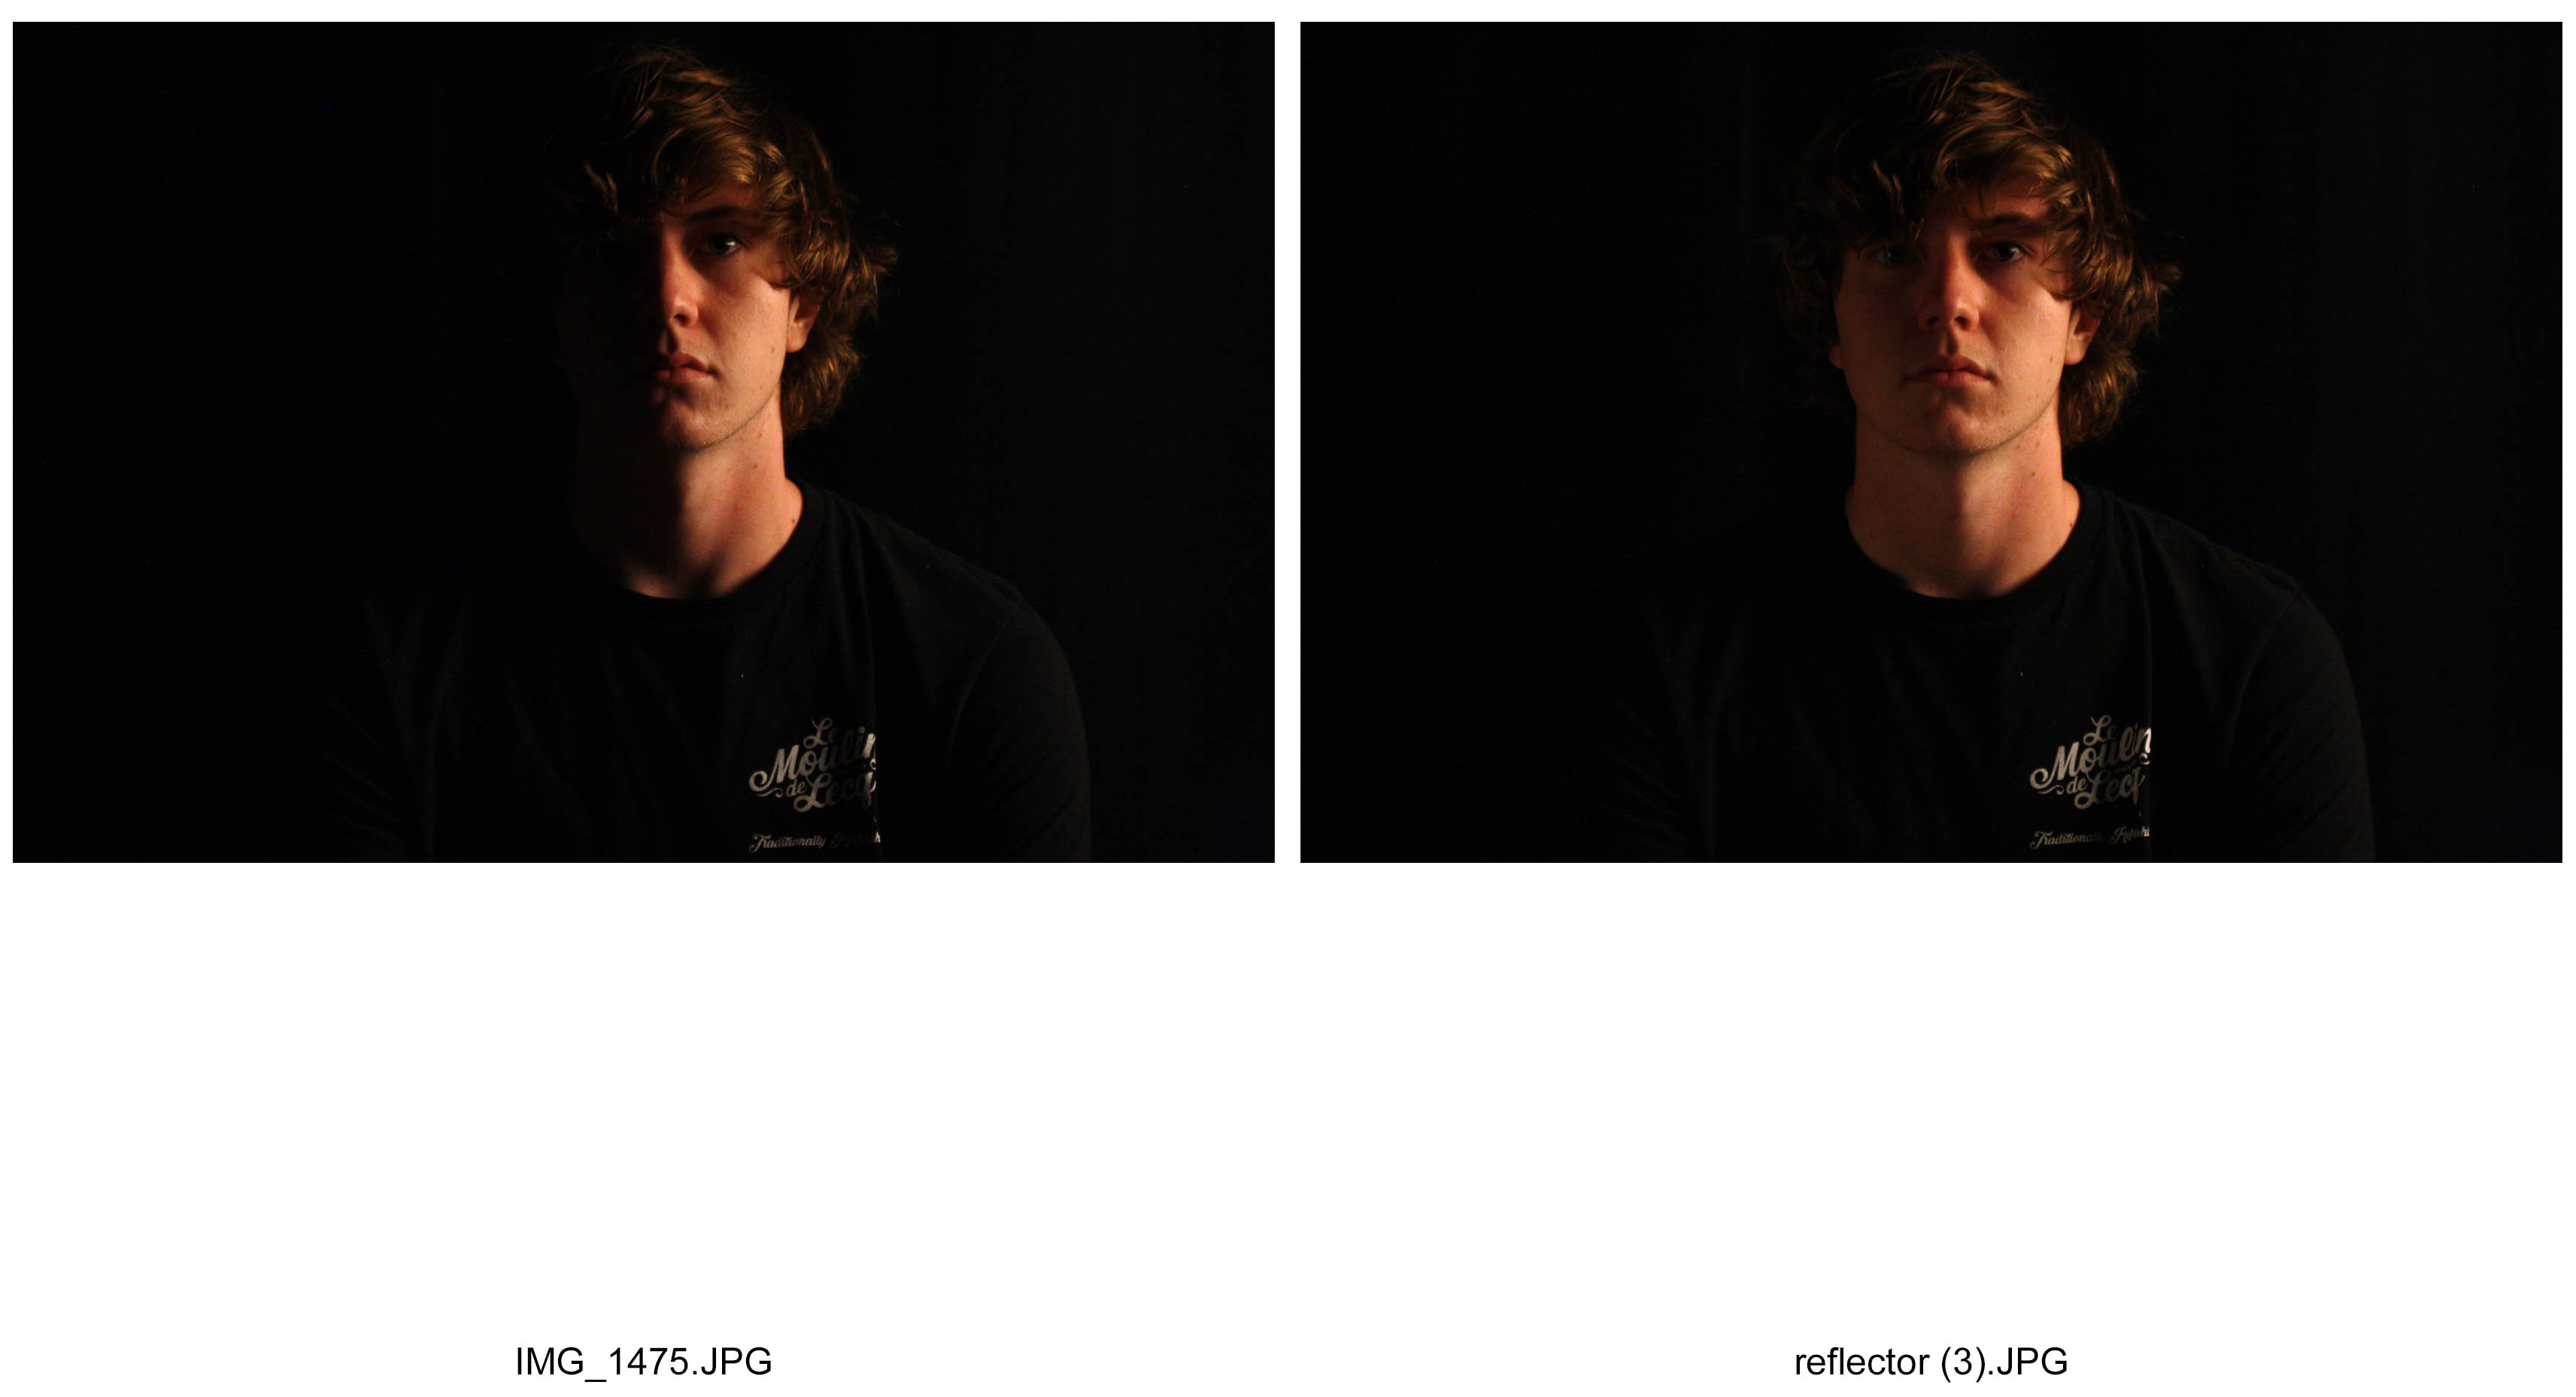
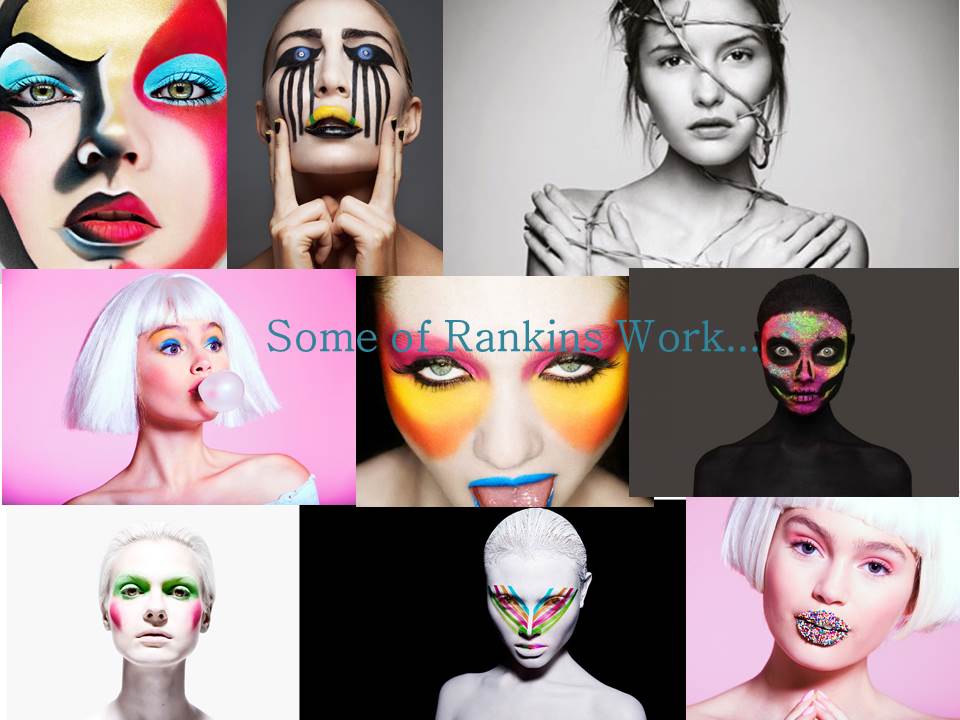
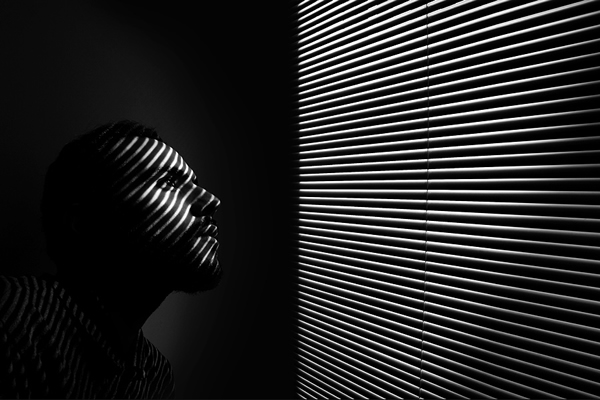
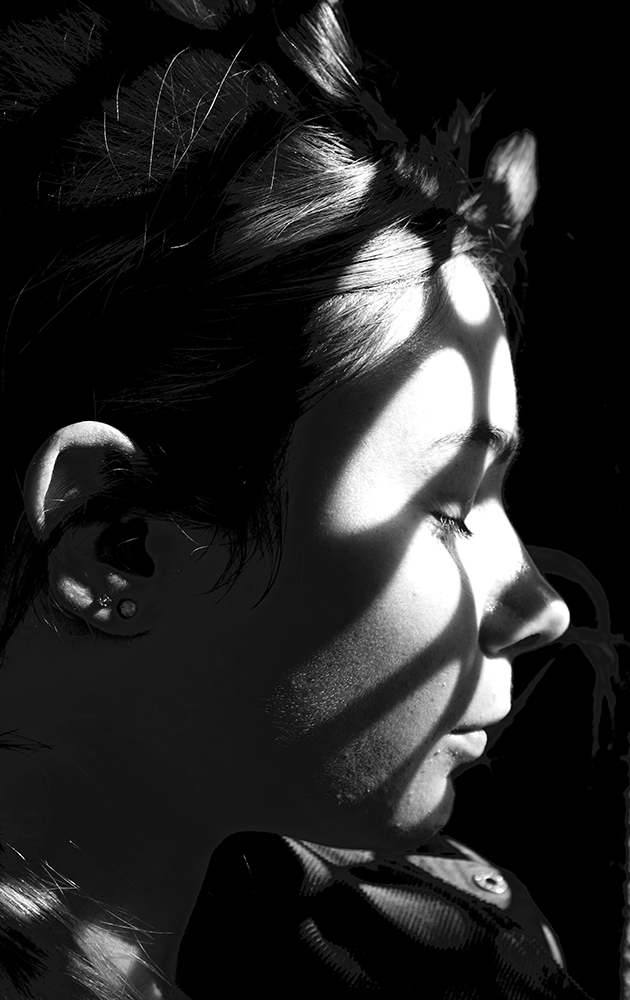
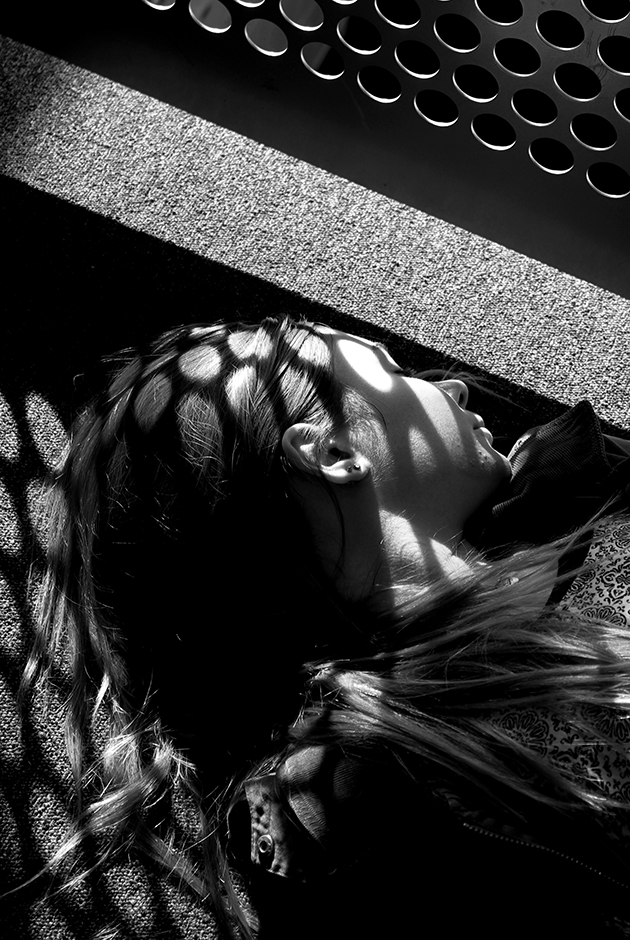
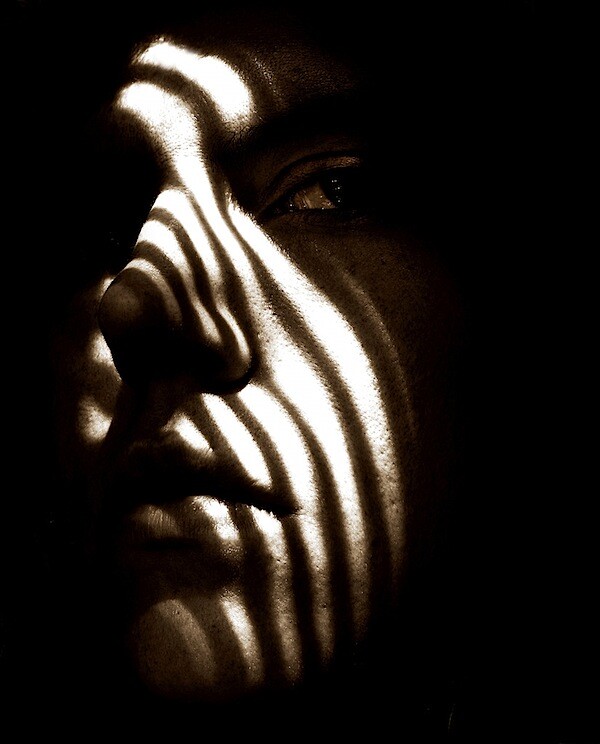
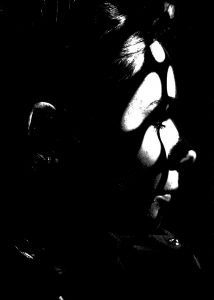
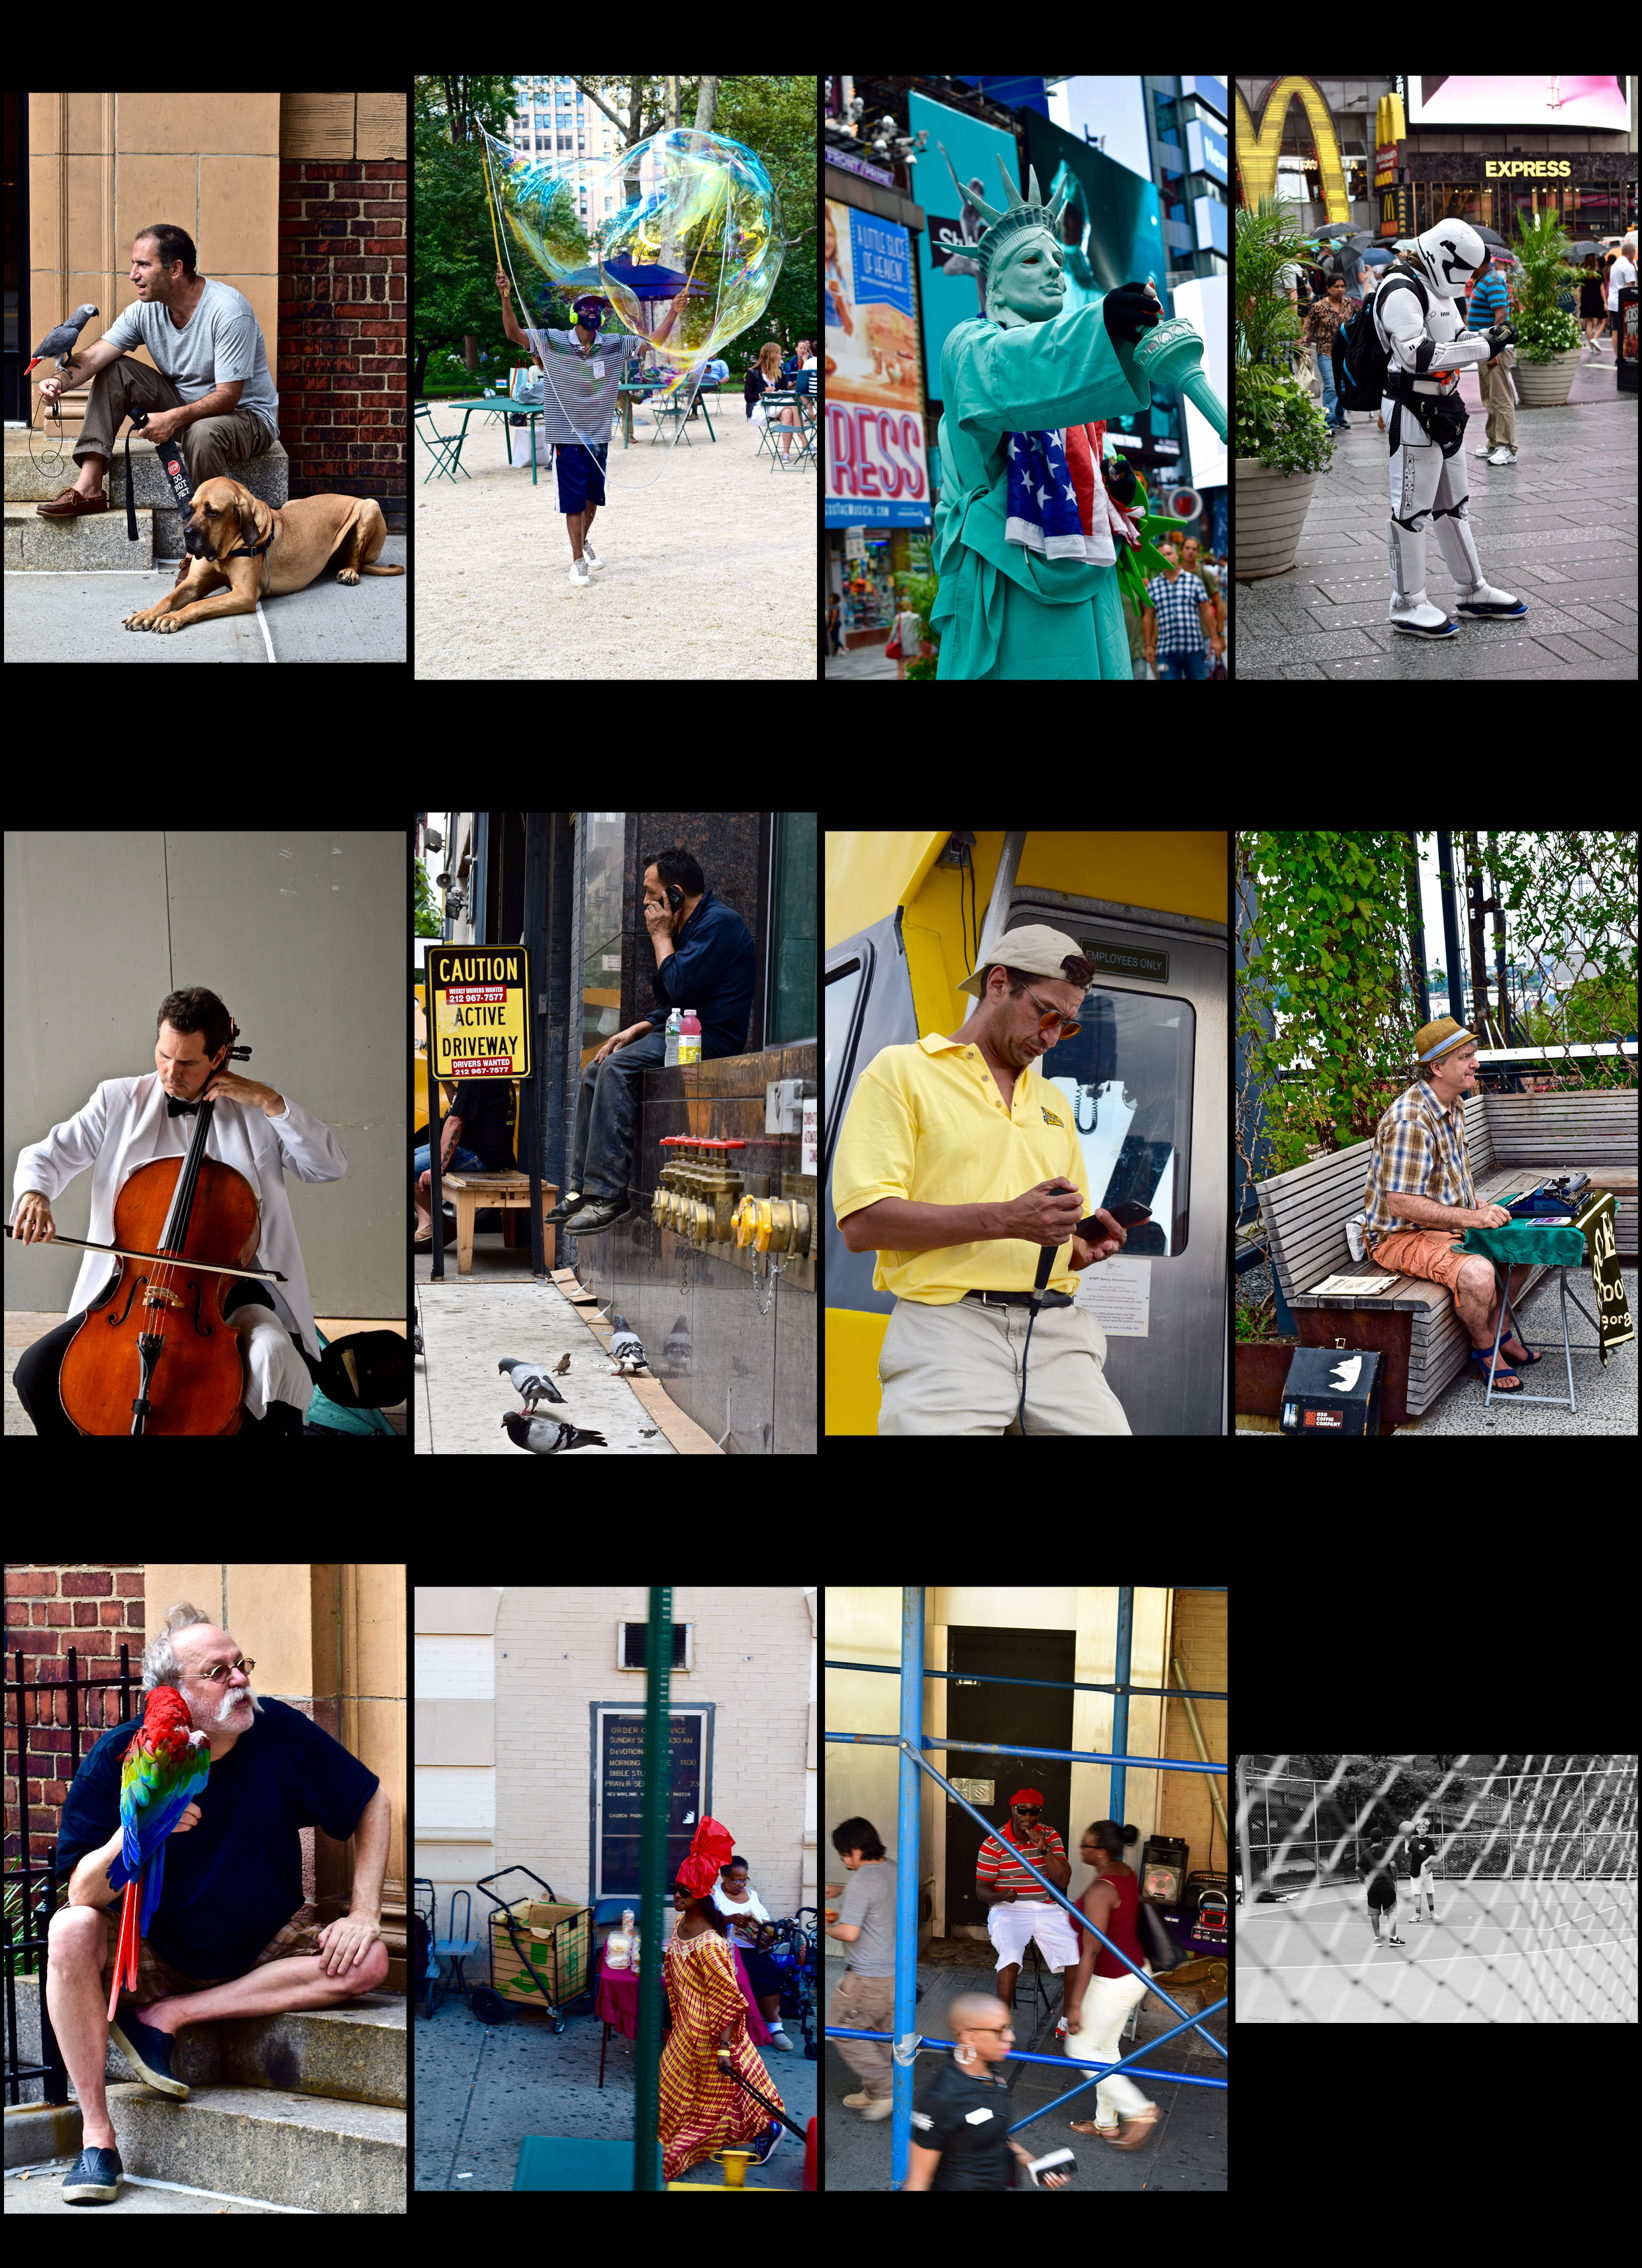
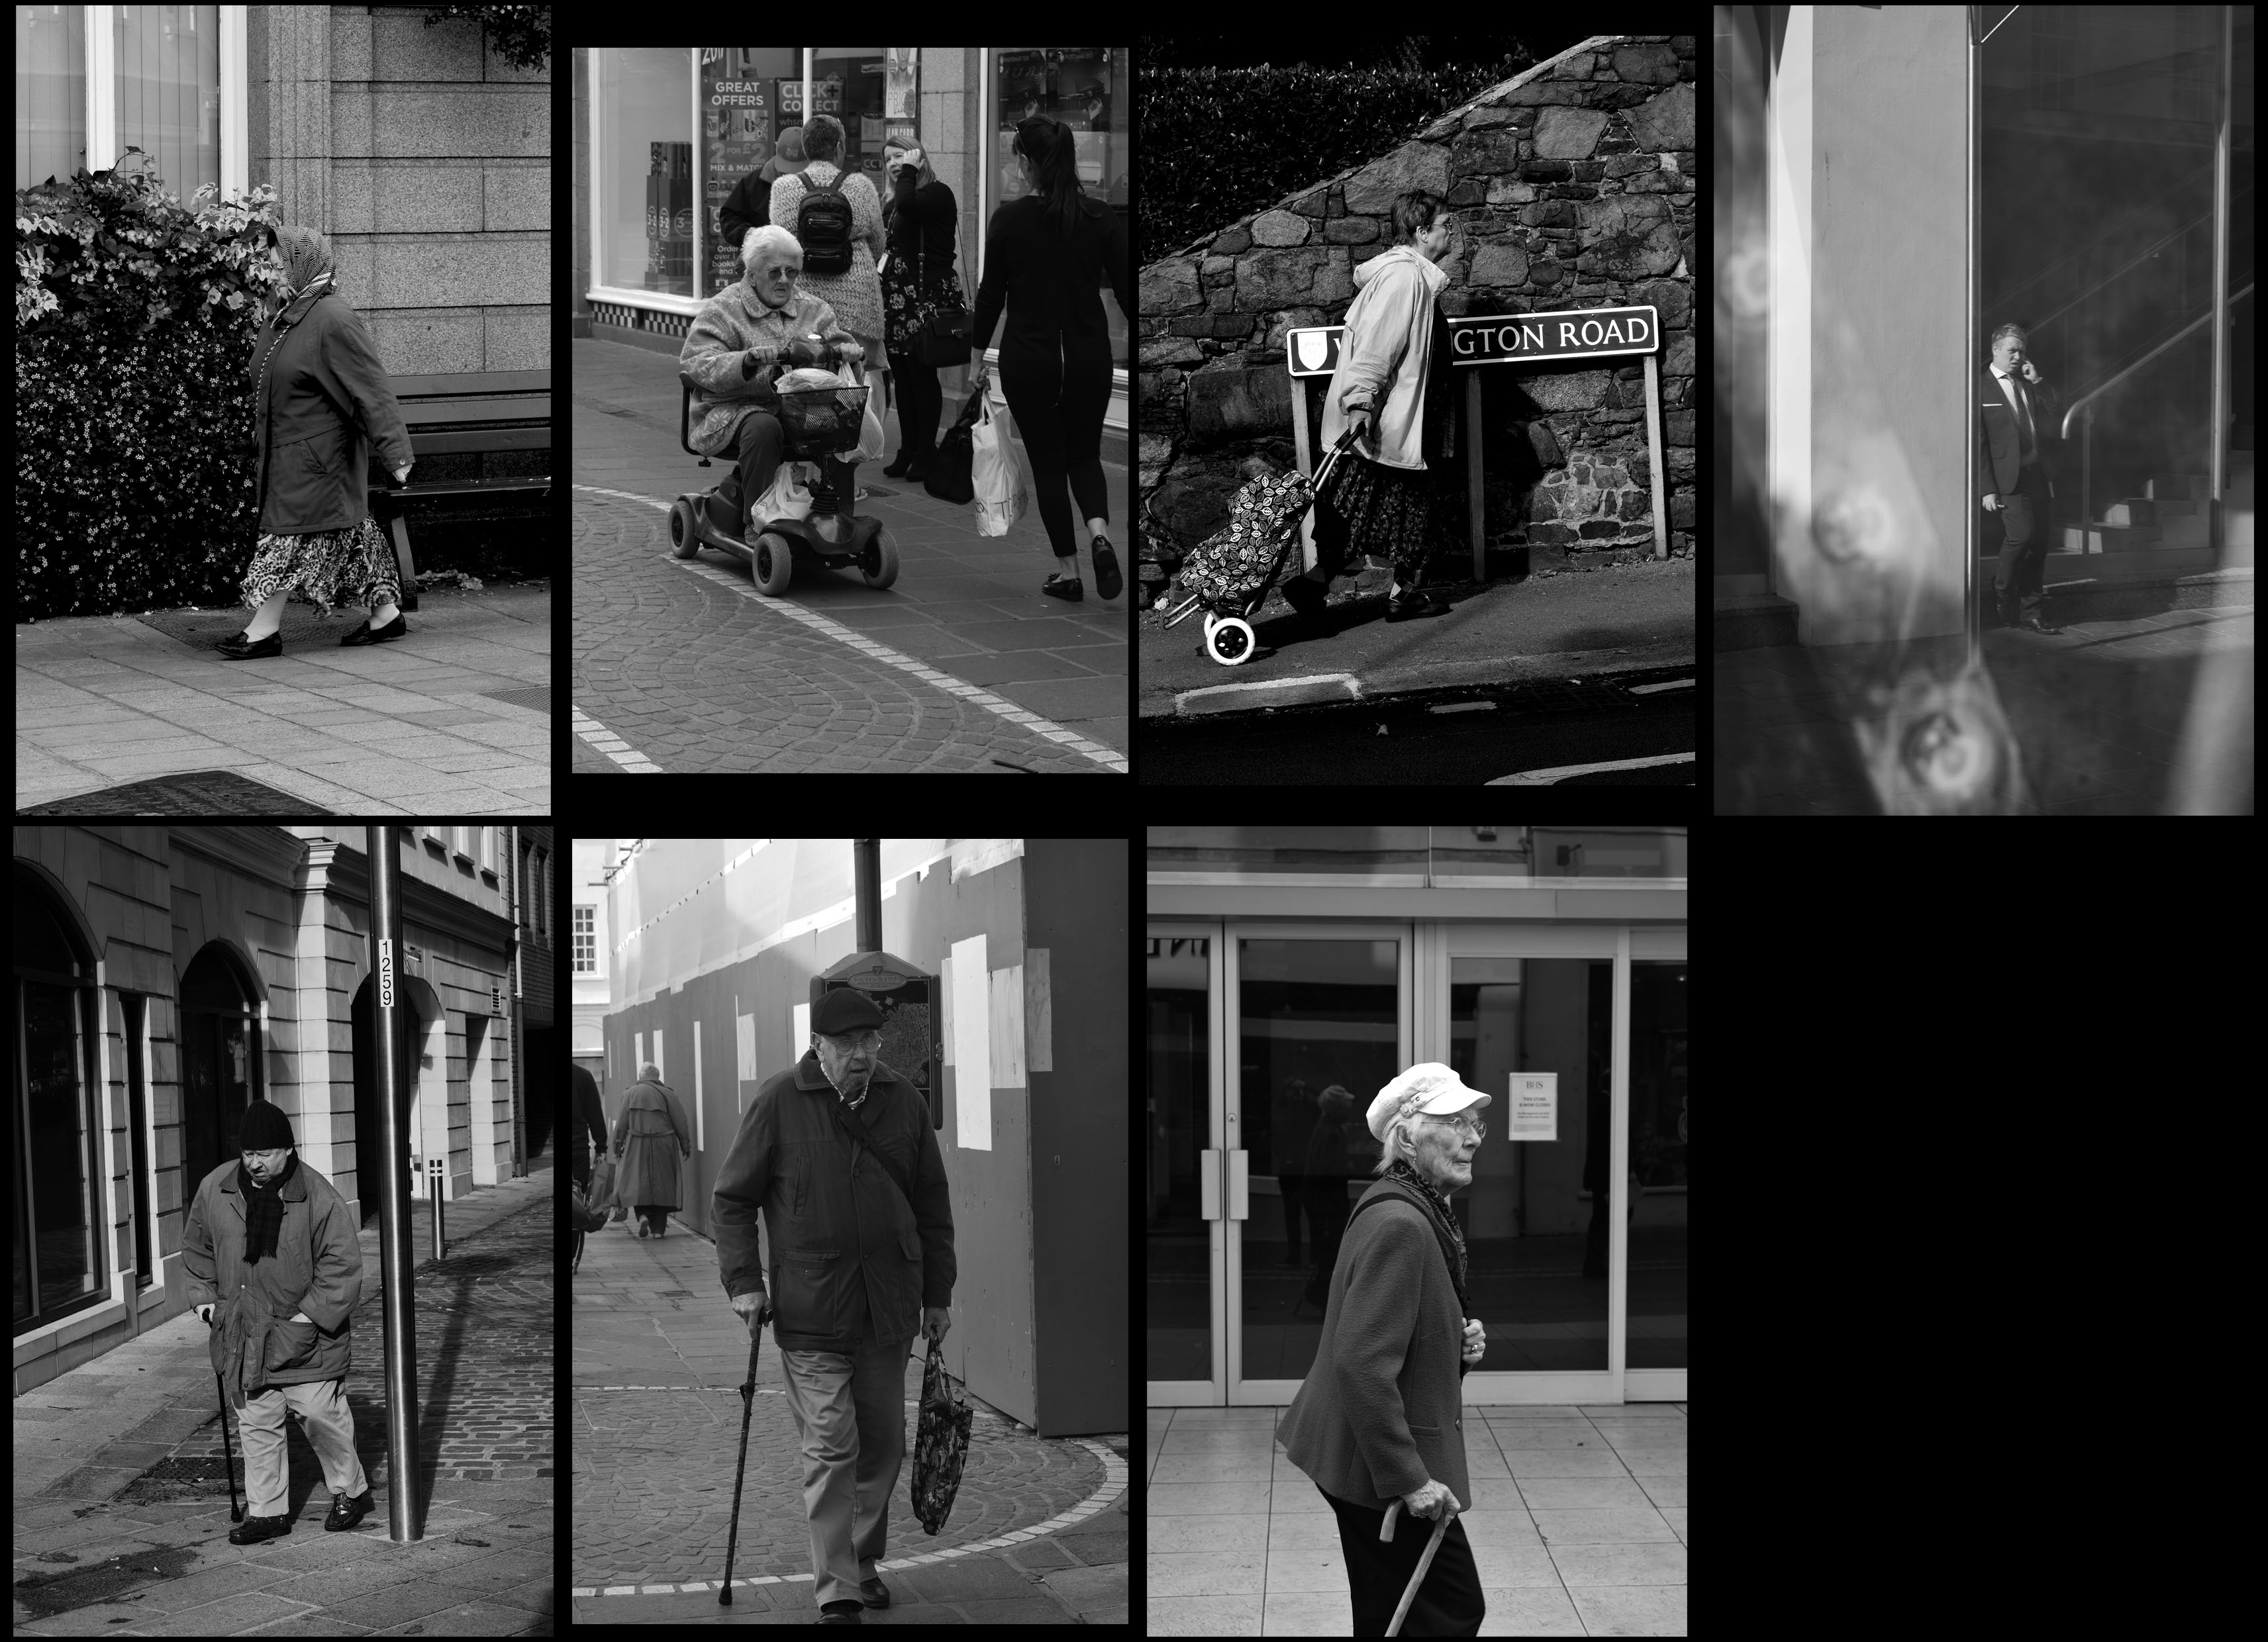
Here is some of Rankin’s work:

r

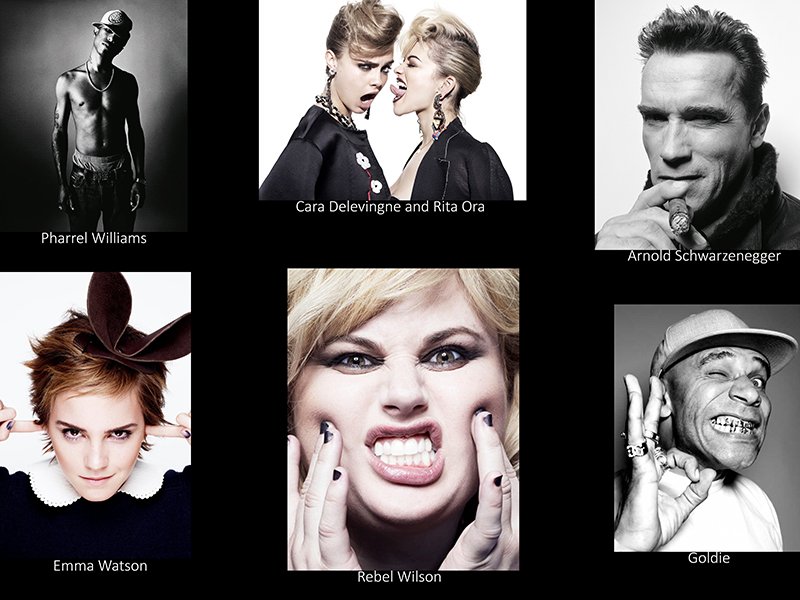
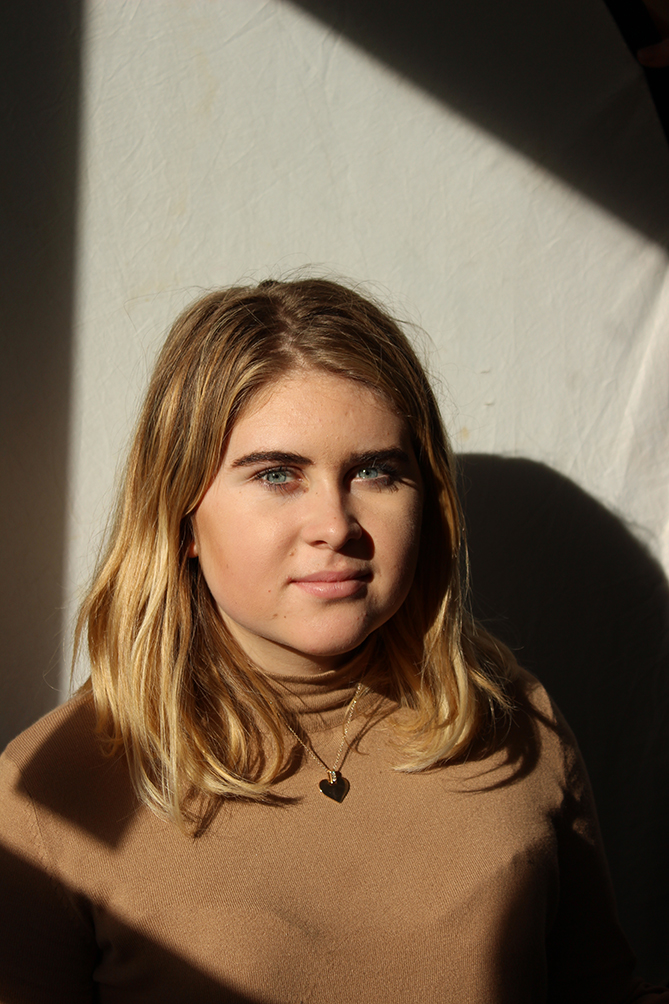
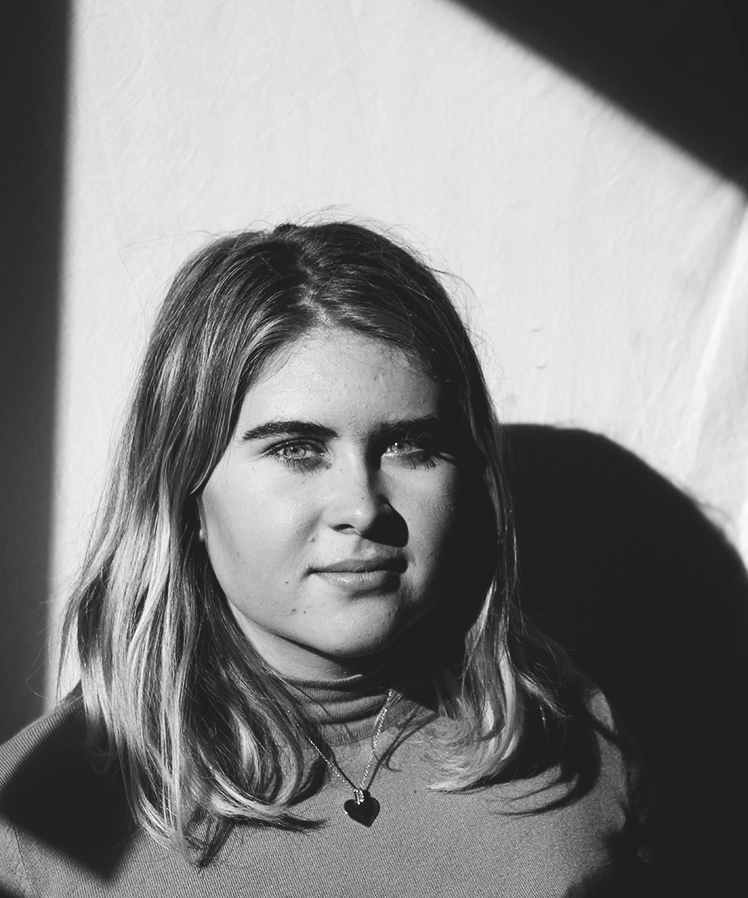
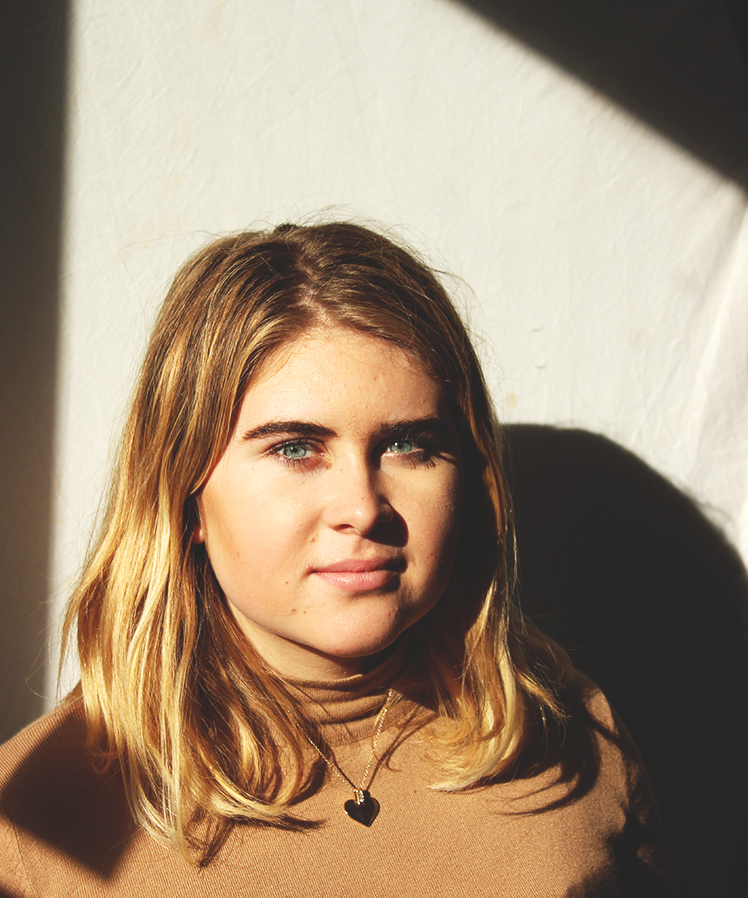
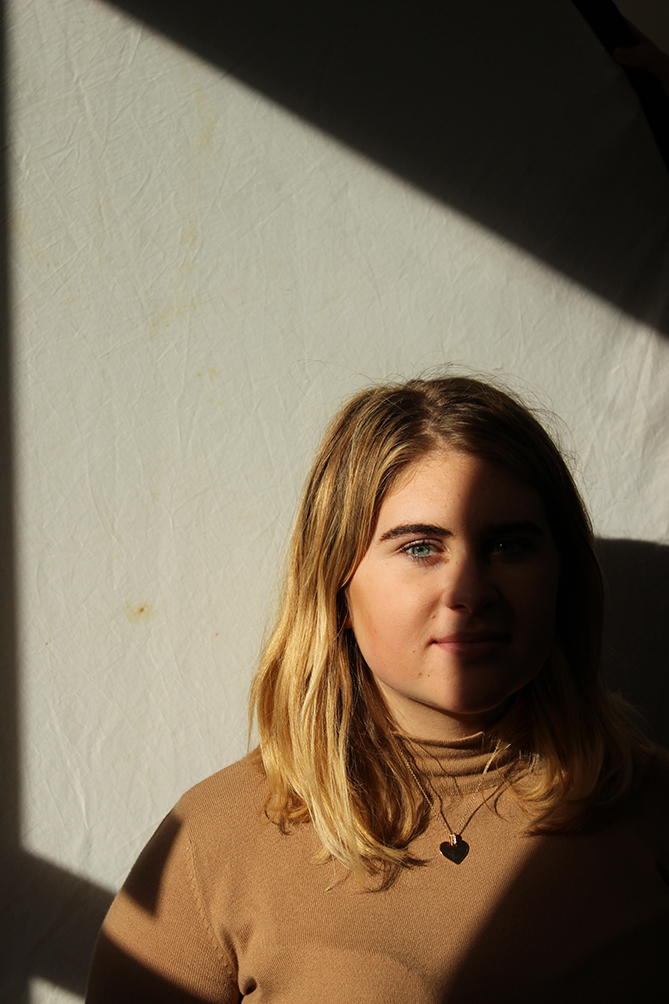
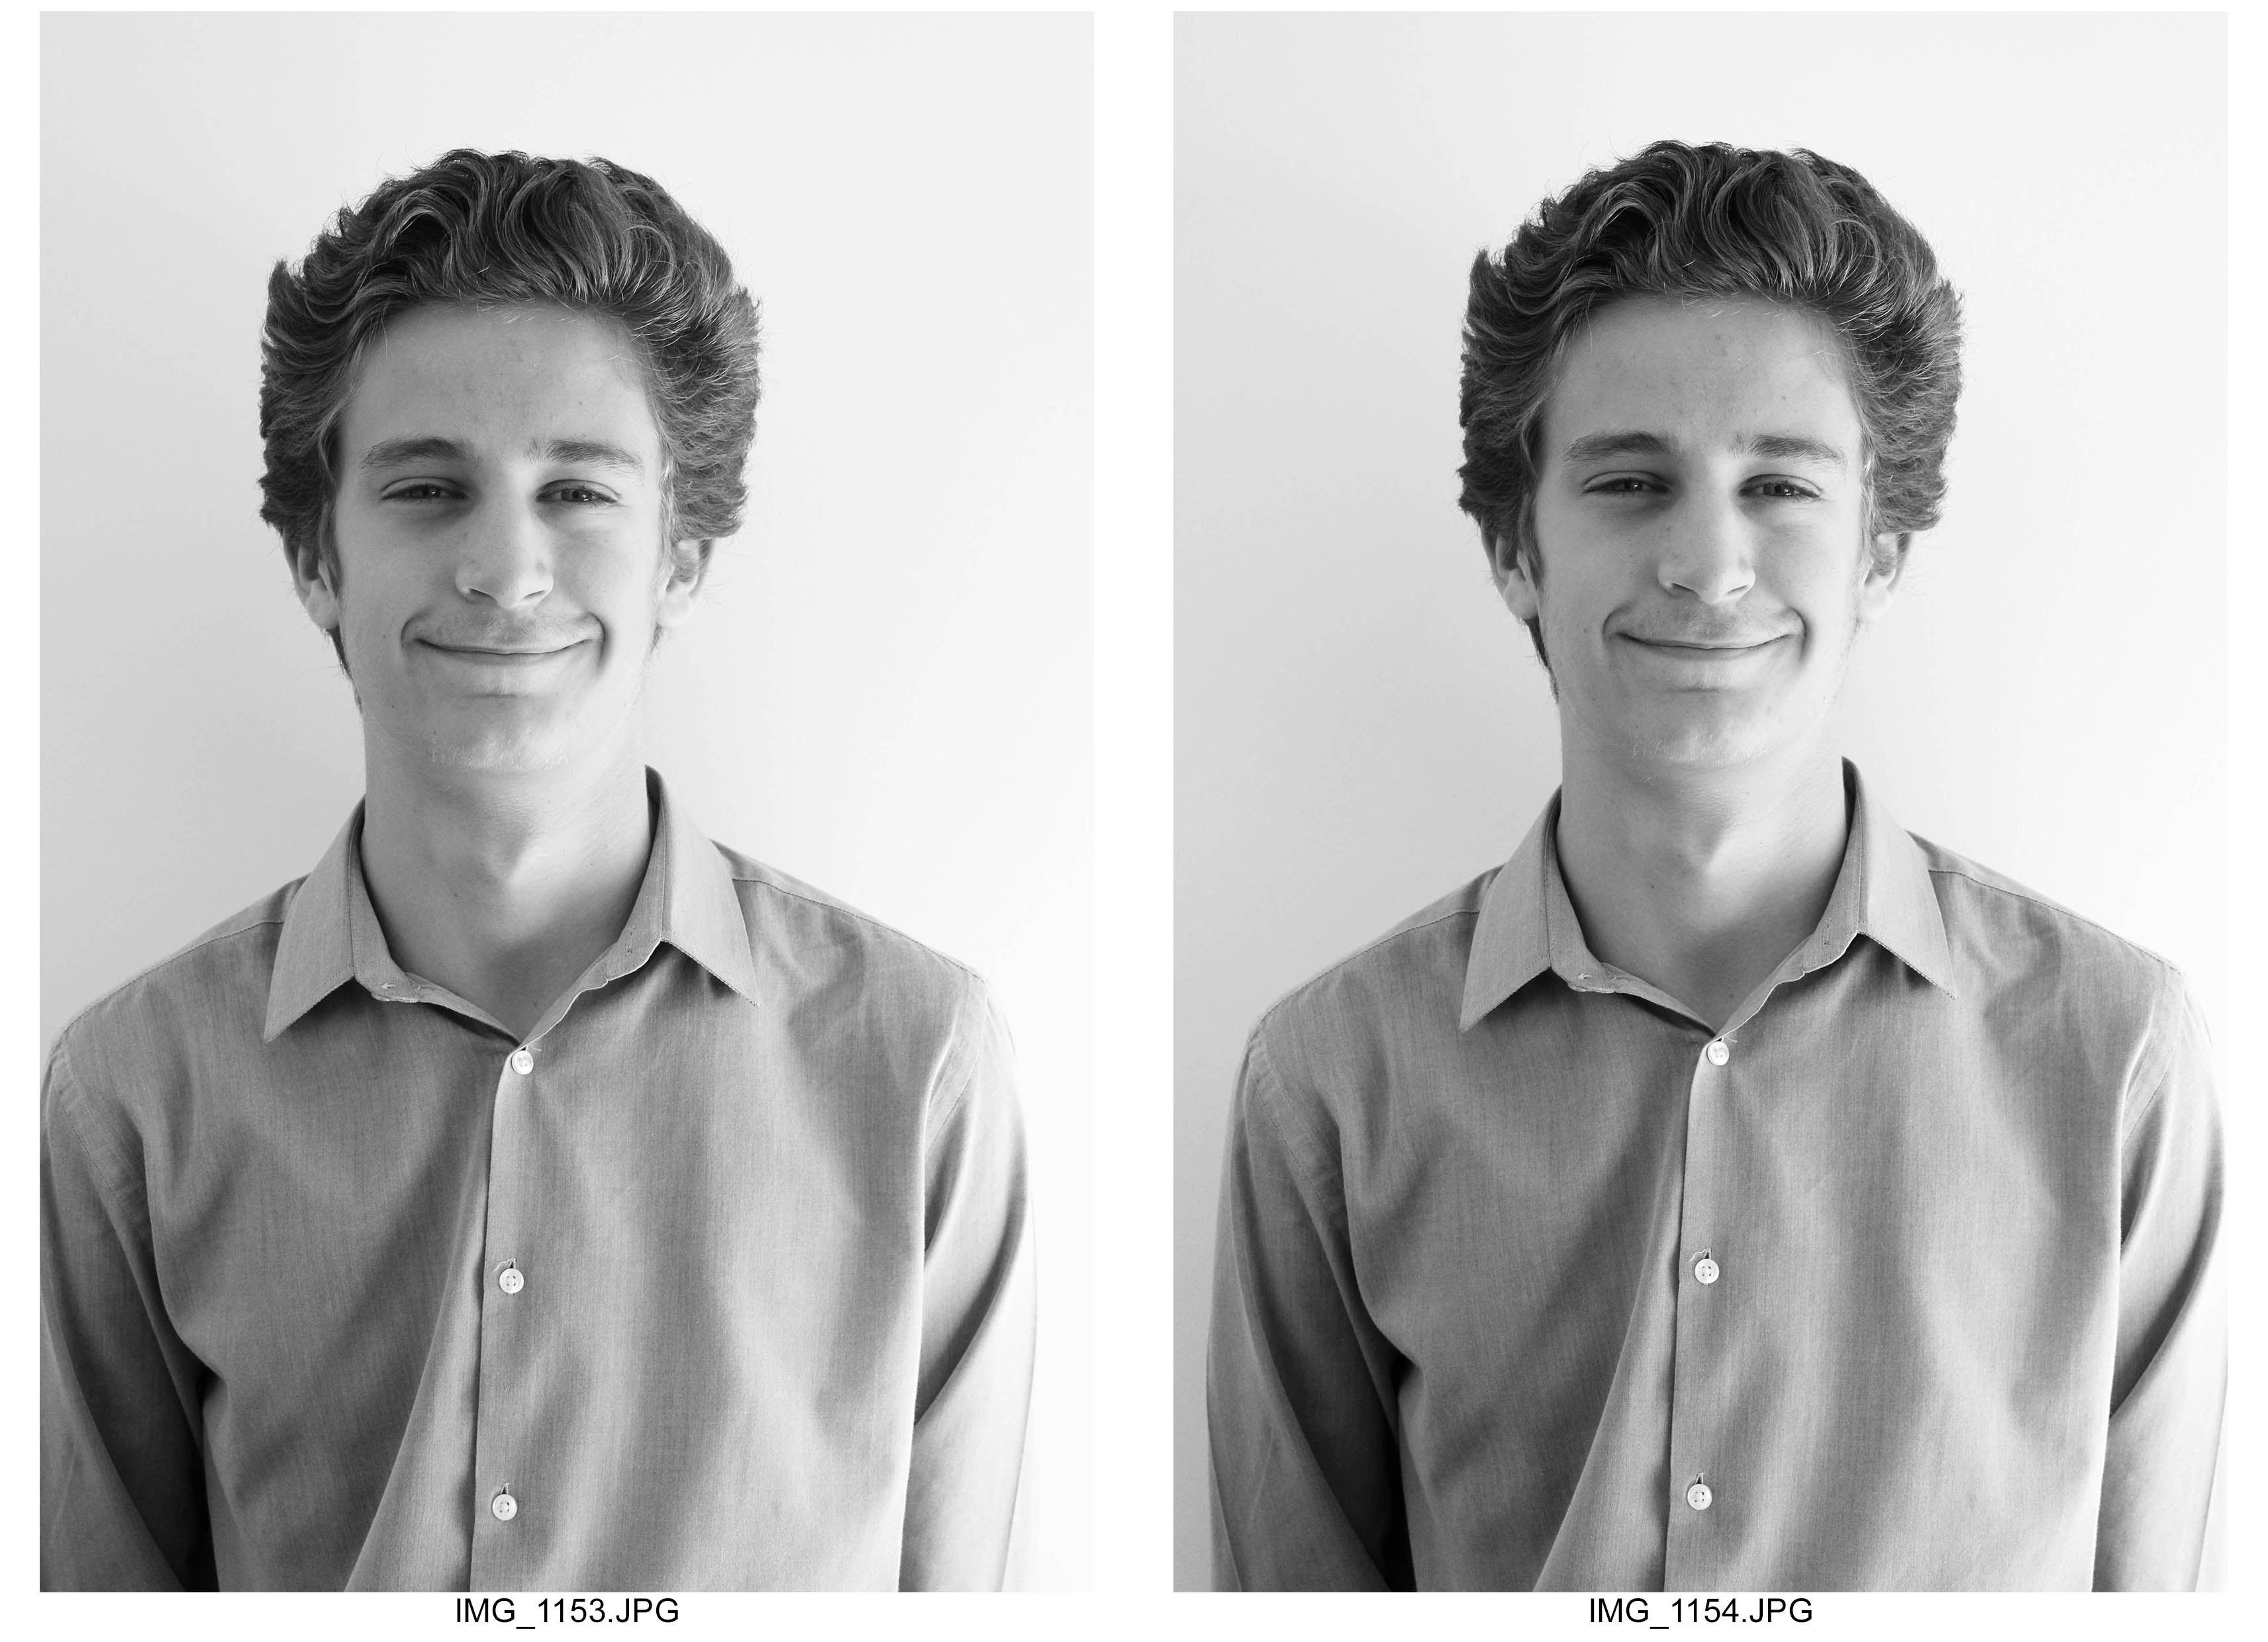
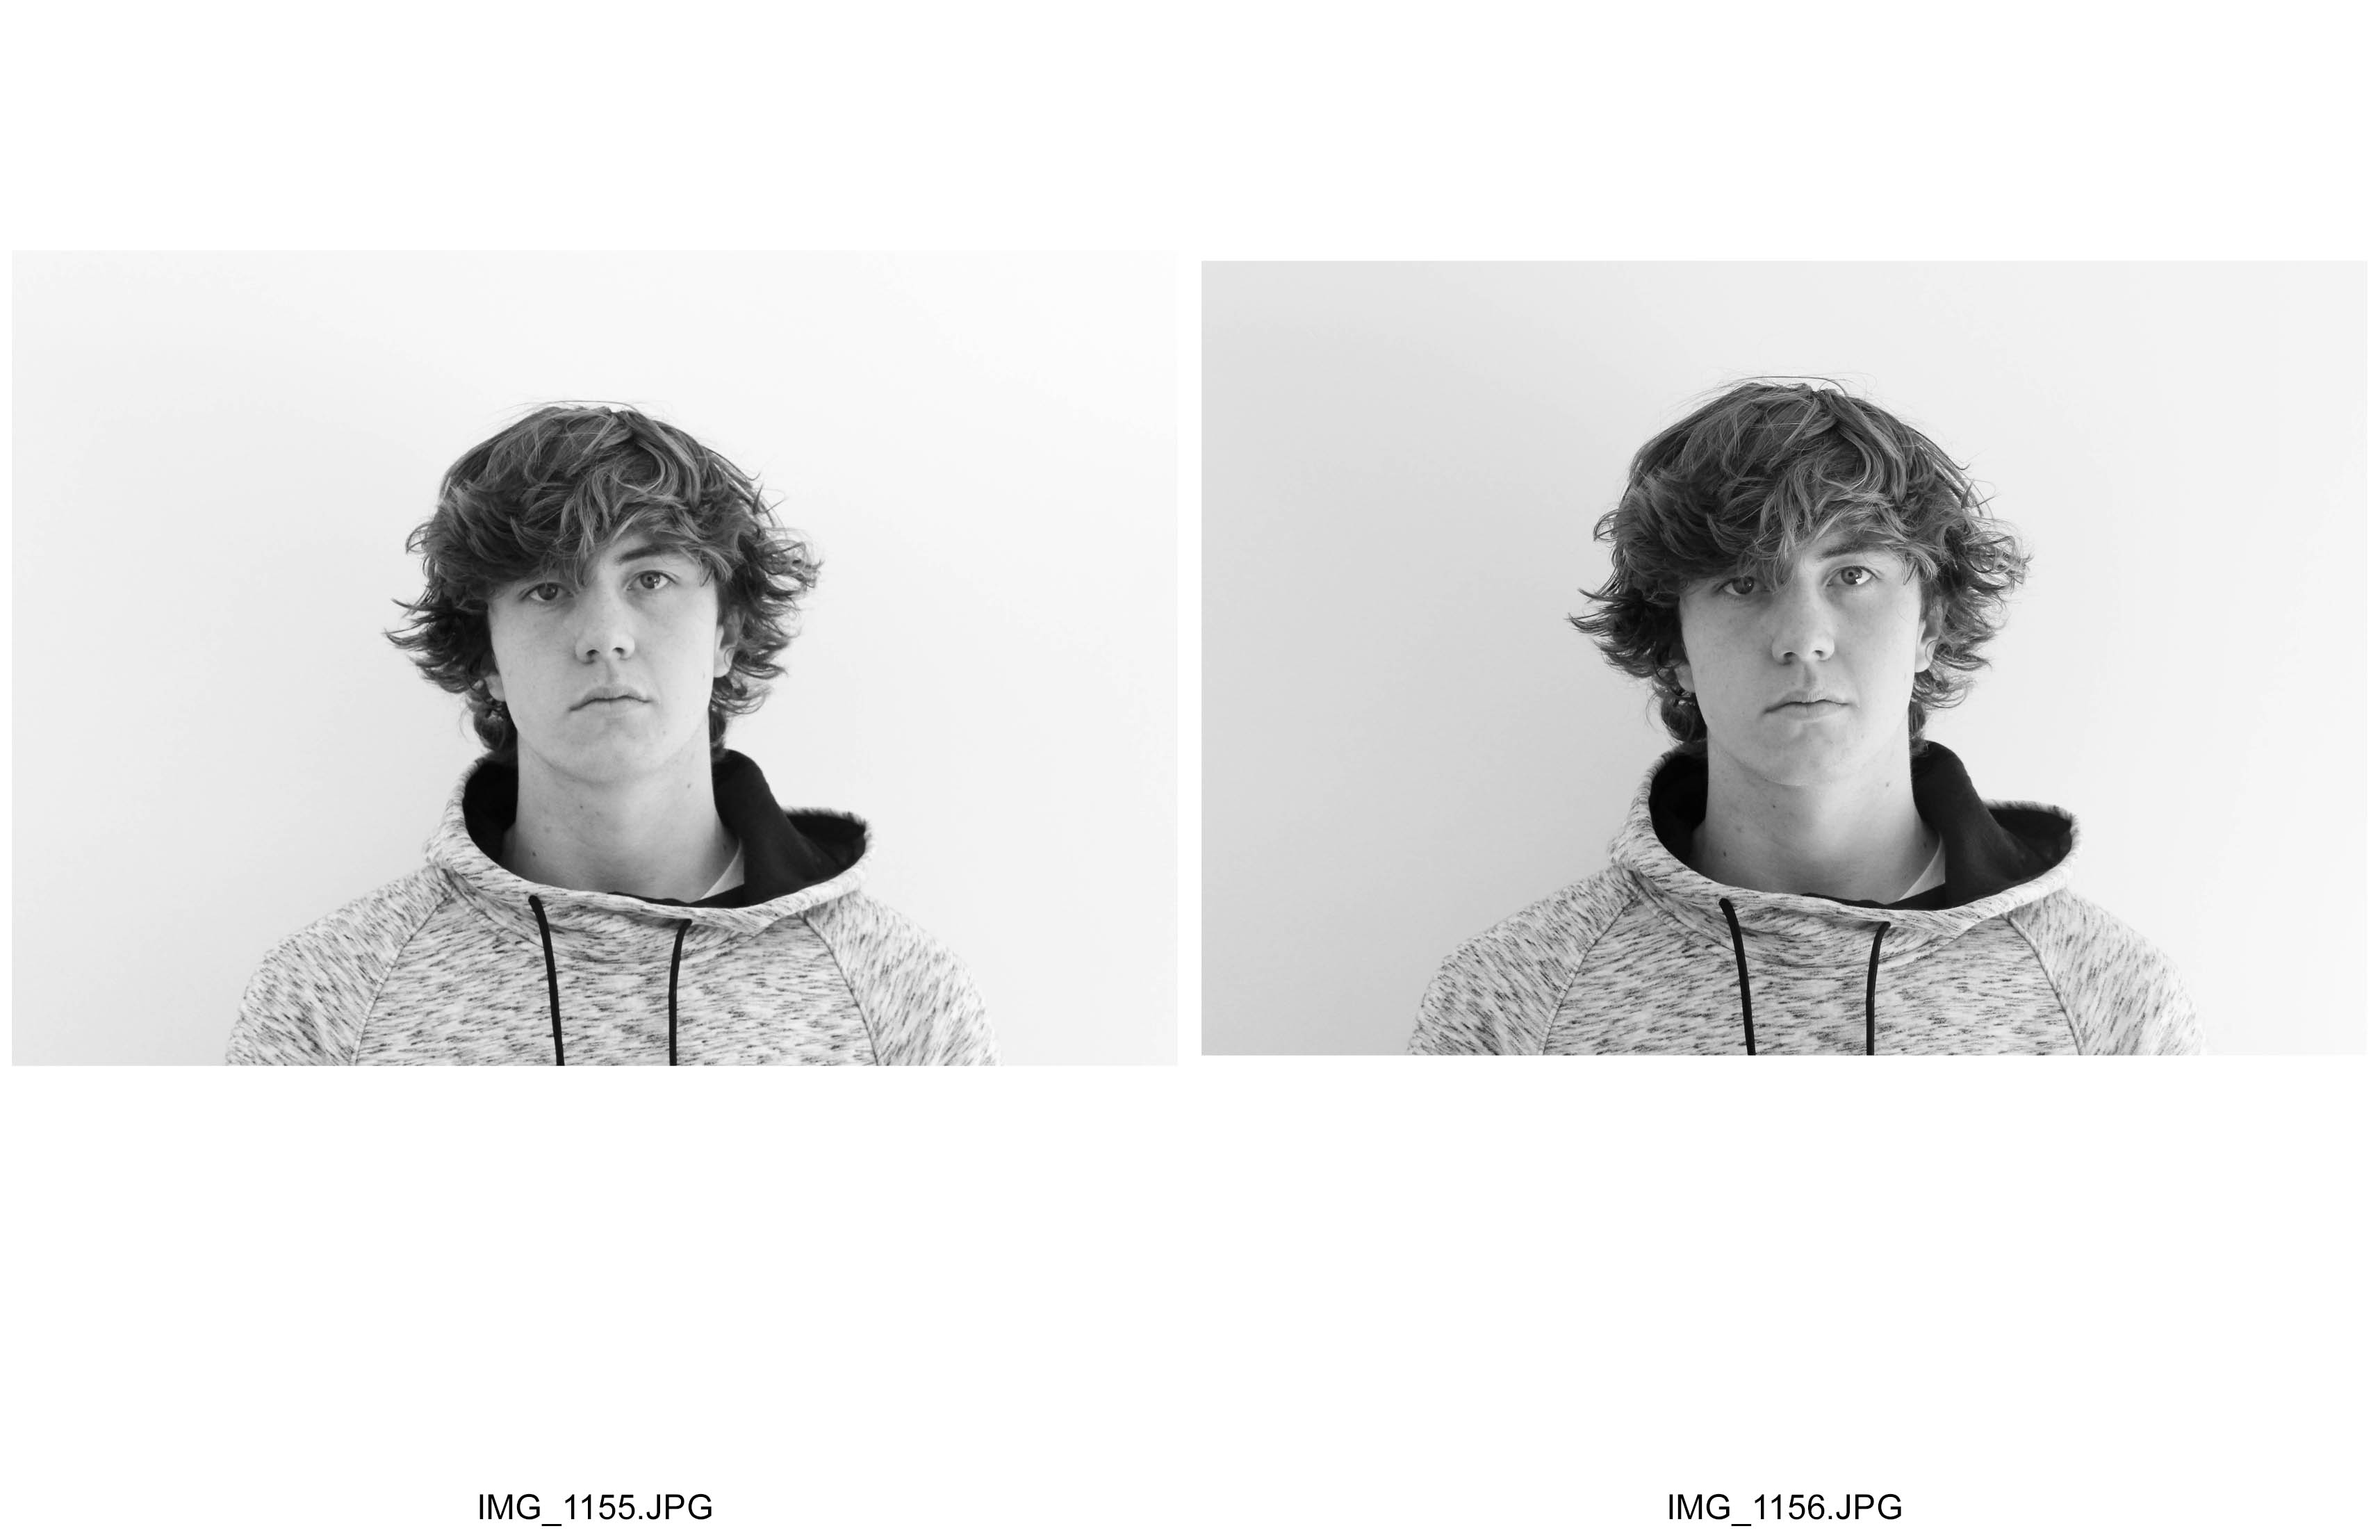
Overall, Rankin has had a very successful career so far and his photographic work has been very influential to the fashion and in modern-day world of showbiz and I carried out a photoshoot to attempt to replicate the work of Rankin and his unique style. When carrying out the photoshoot I wanted to focus mainly on the theme that runs through Rankin’s work and try to implement that into my work – which is fashion, beauty and style of today’s world.

cs-1 cs-2

cs-3

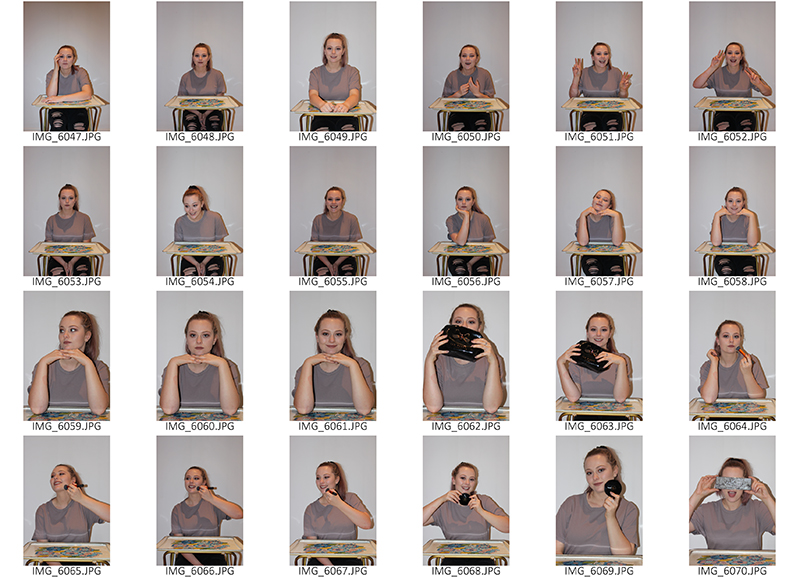
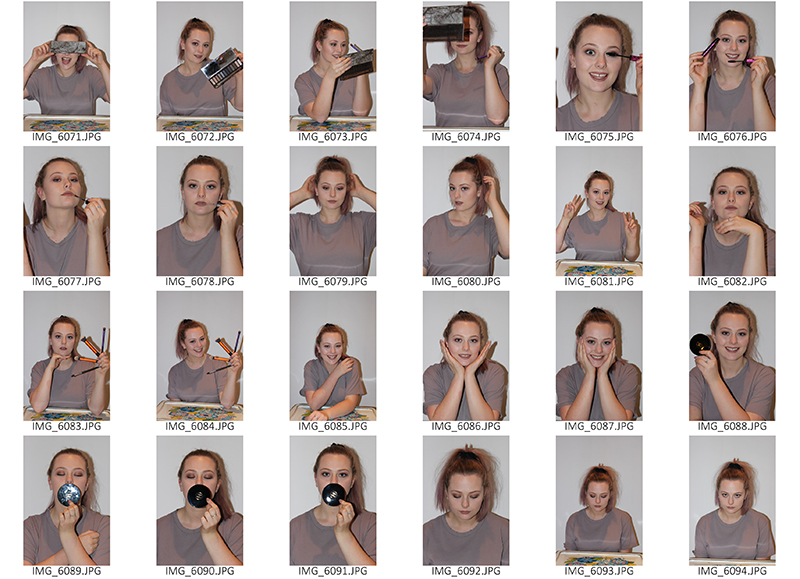
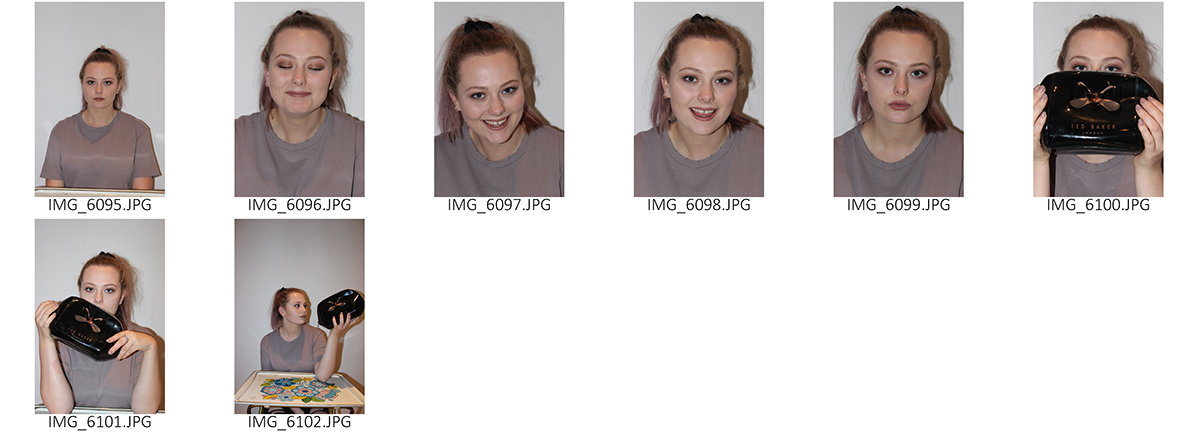
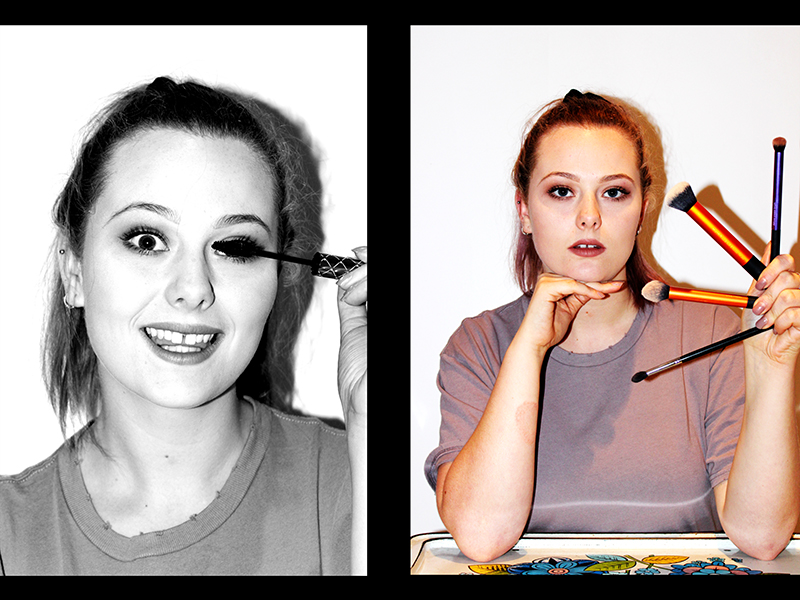
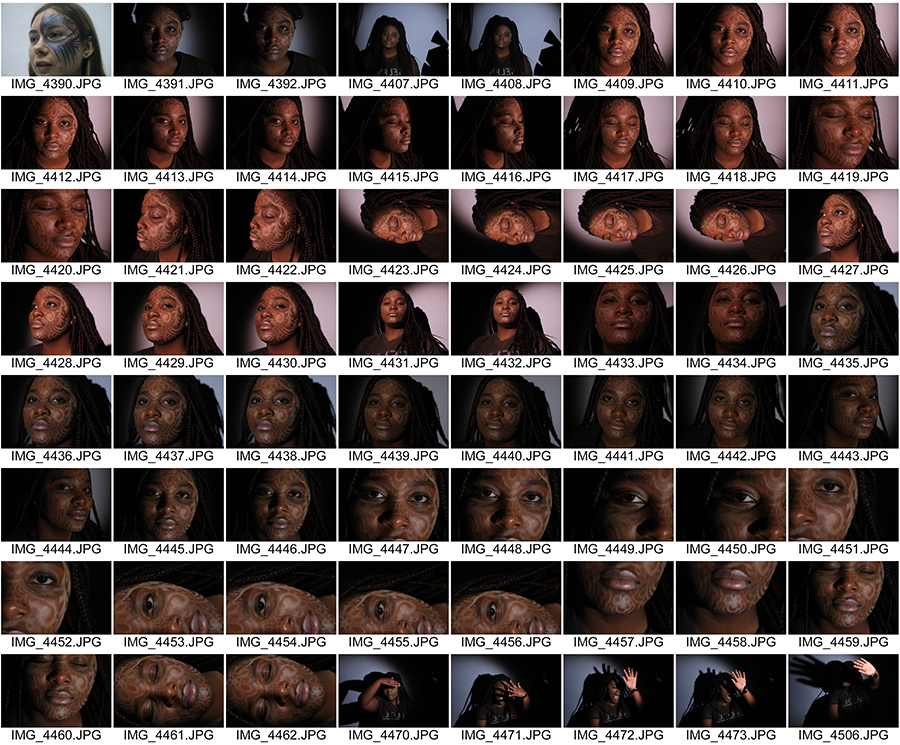
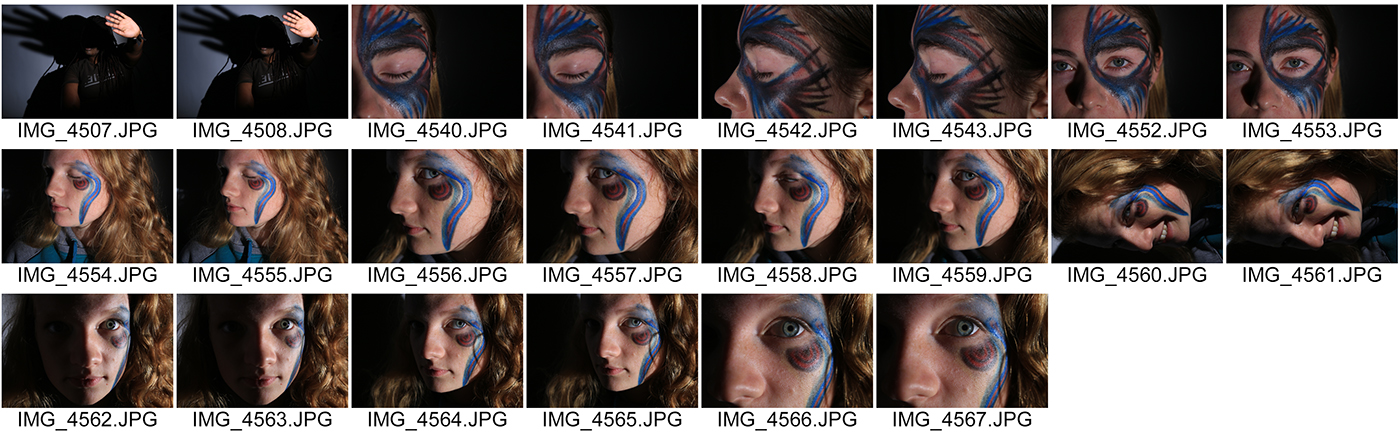
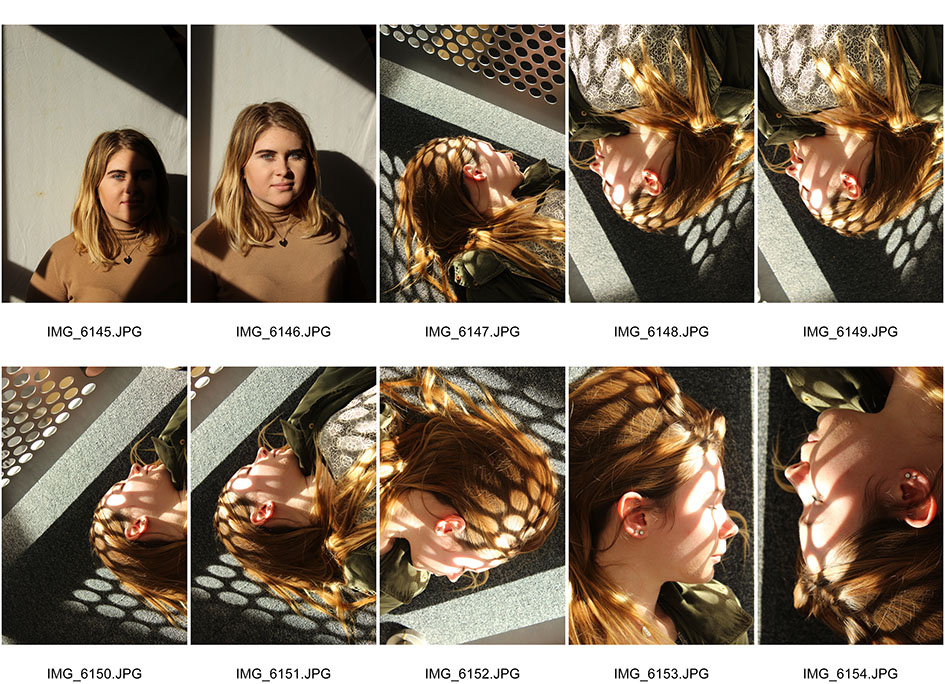
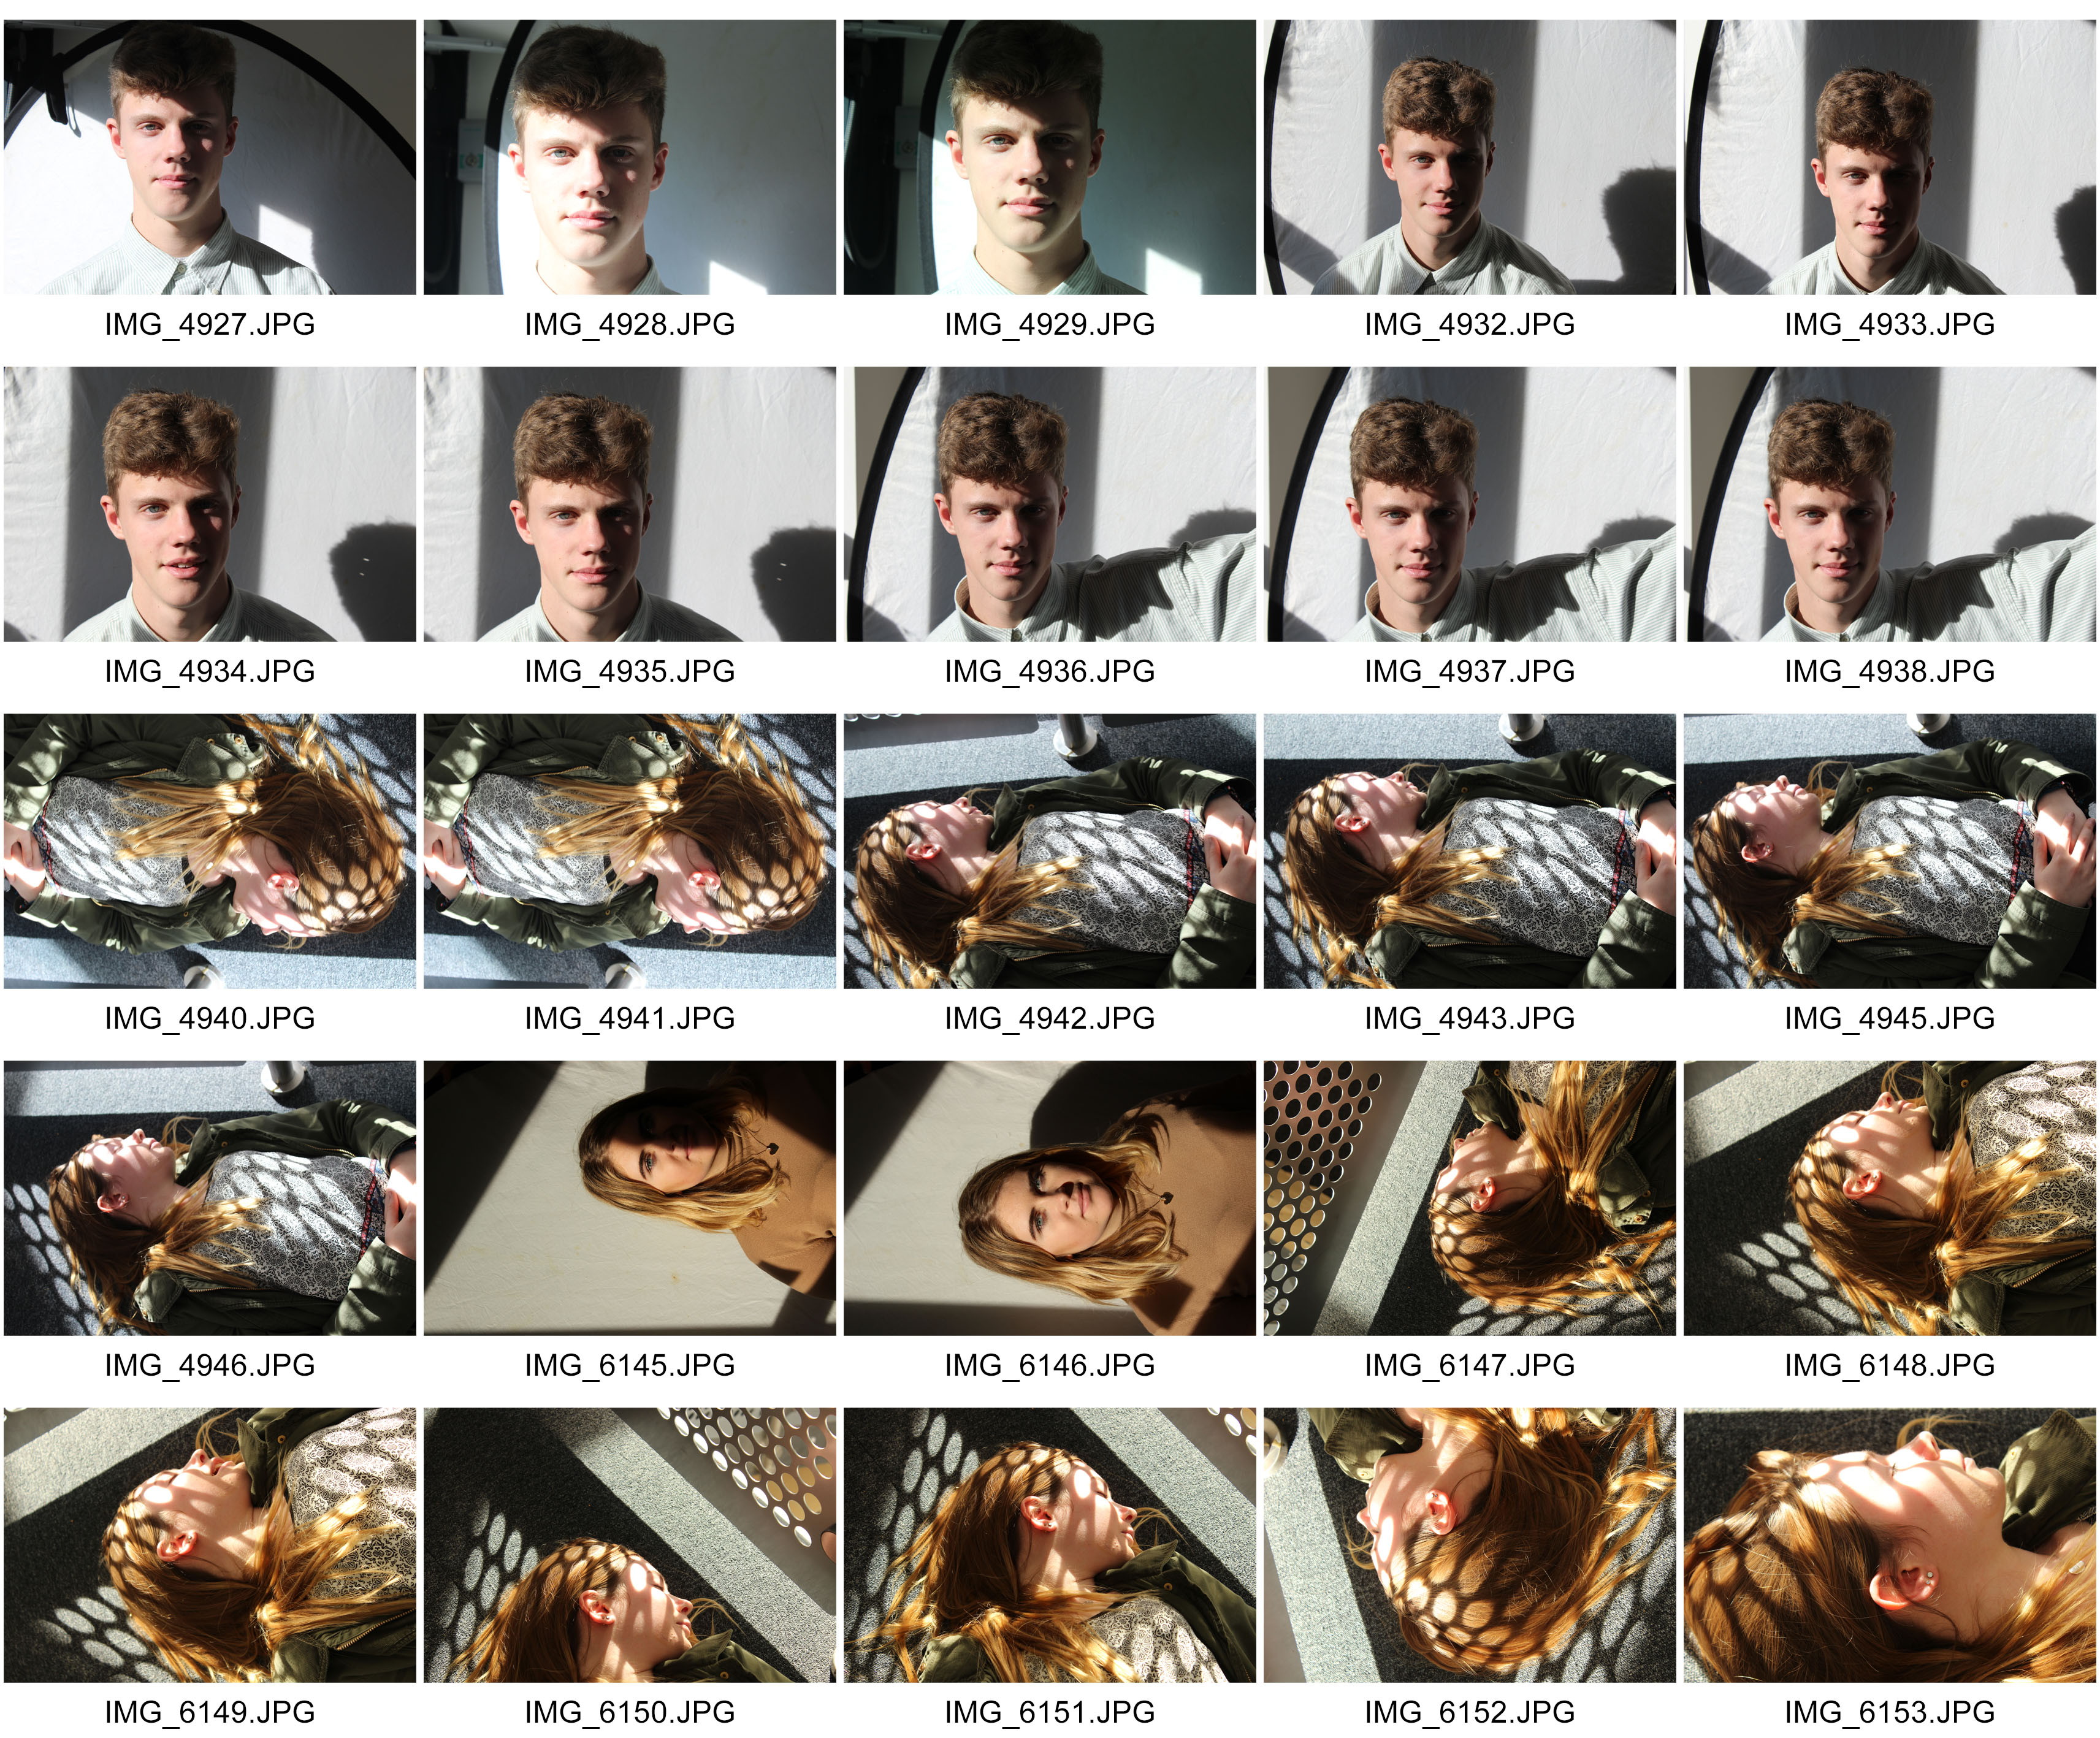
In the photoshoot I produced, I photographed my model who is a hair and beauty enthusiast and is training to become a hairdresser. She takes a keen interest in her own beauty and likes to keep up to date with newest products as well as fashion in and around the community we live in.

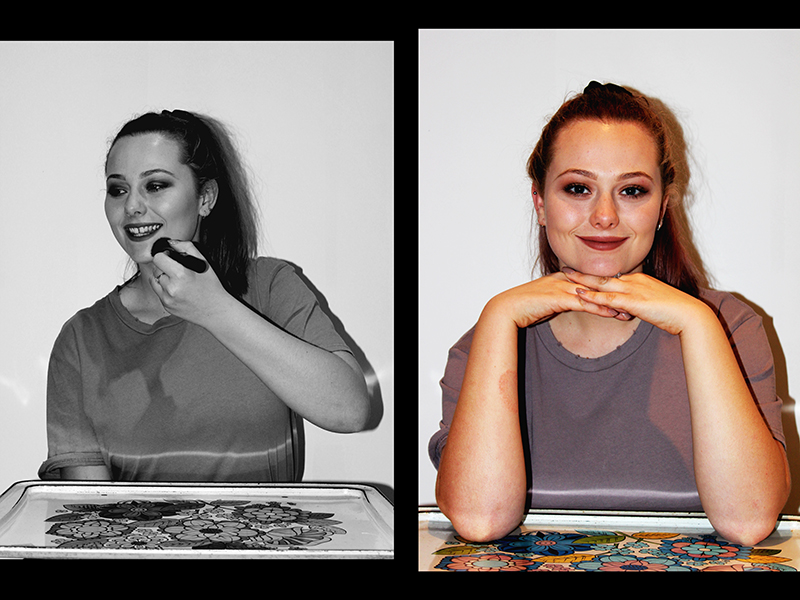
As Rankin tends to capture his subjects occupation or passion within his photoshoots, I thought it’d be suitable for me to attempt to do this also so asked my model so bring round some of her makeup to use as props. I planned to use a white background so asked her to also wear darker colours of clothes to contrast against this background and make her standout.

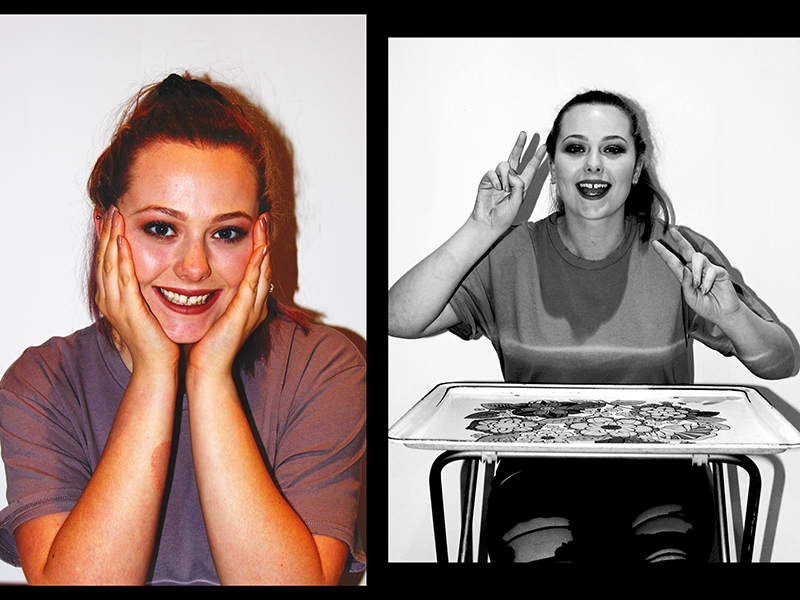
I wanted to make the shoot fun and quirky with the facial expressions and body language/positioning that my model portrayed so I made the the subject per from bold gestures, I wanted her to smile a lot but also wished to have a sense of seriousness to tell a story throughout the shoot.

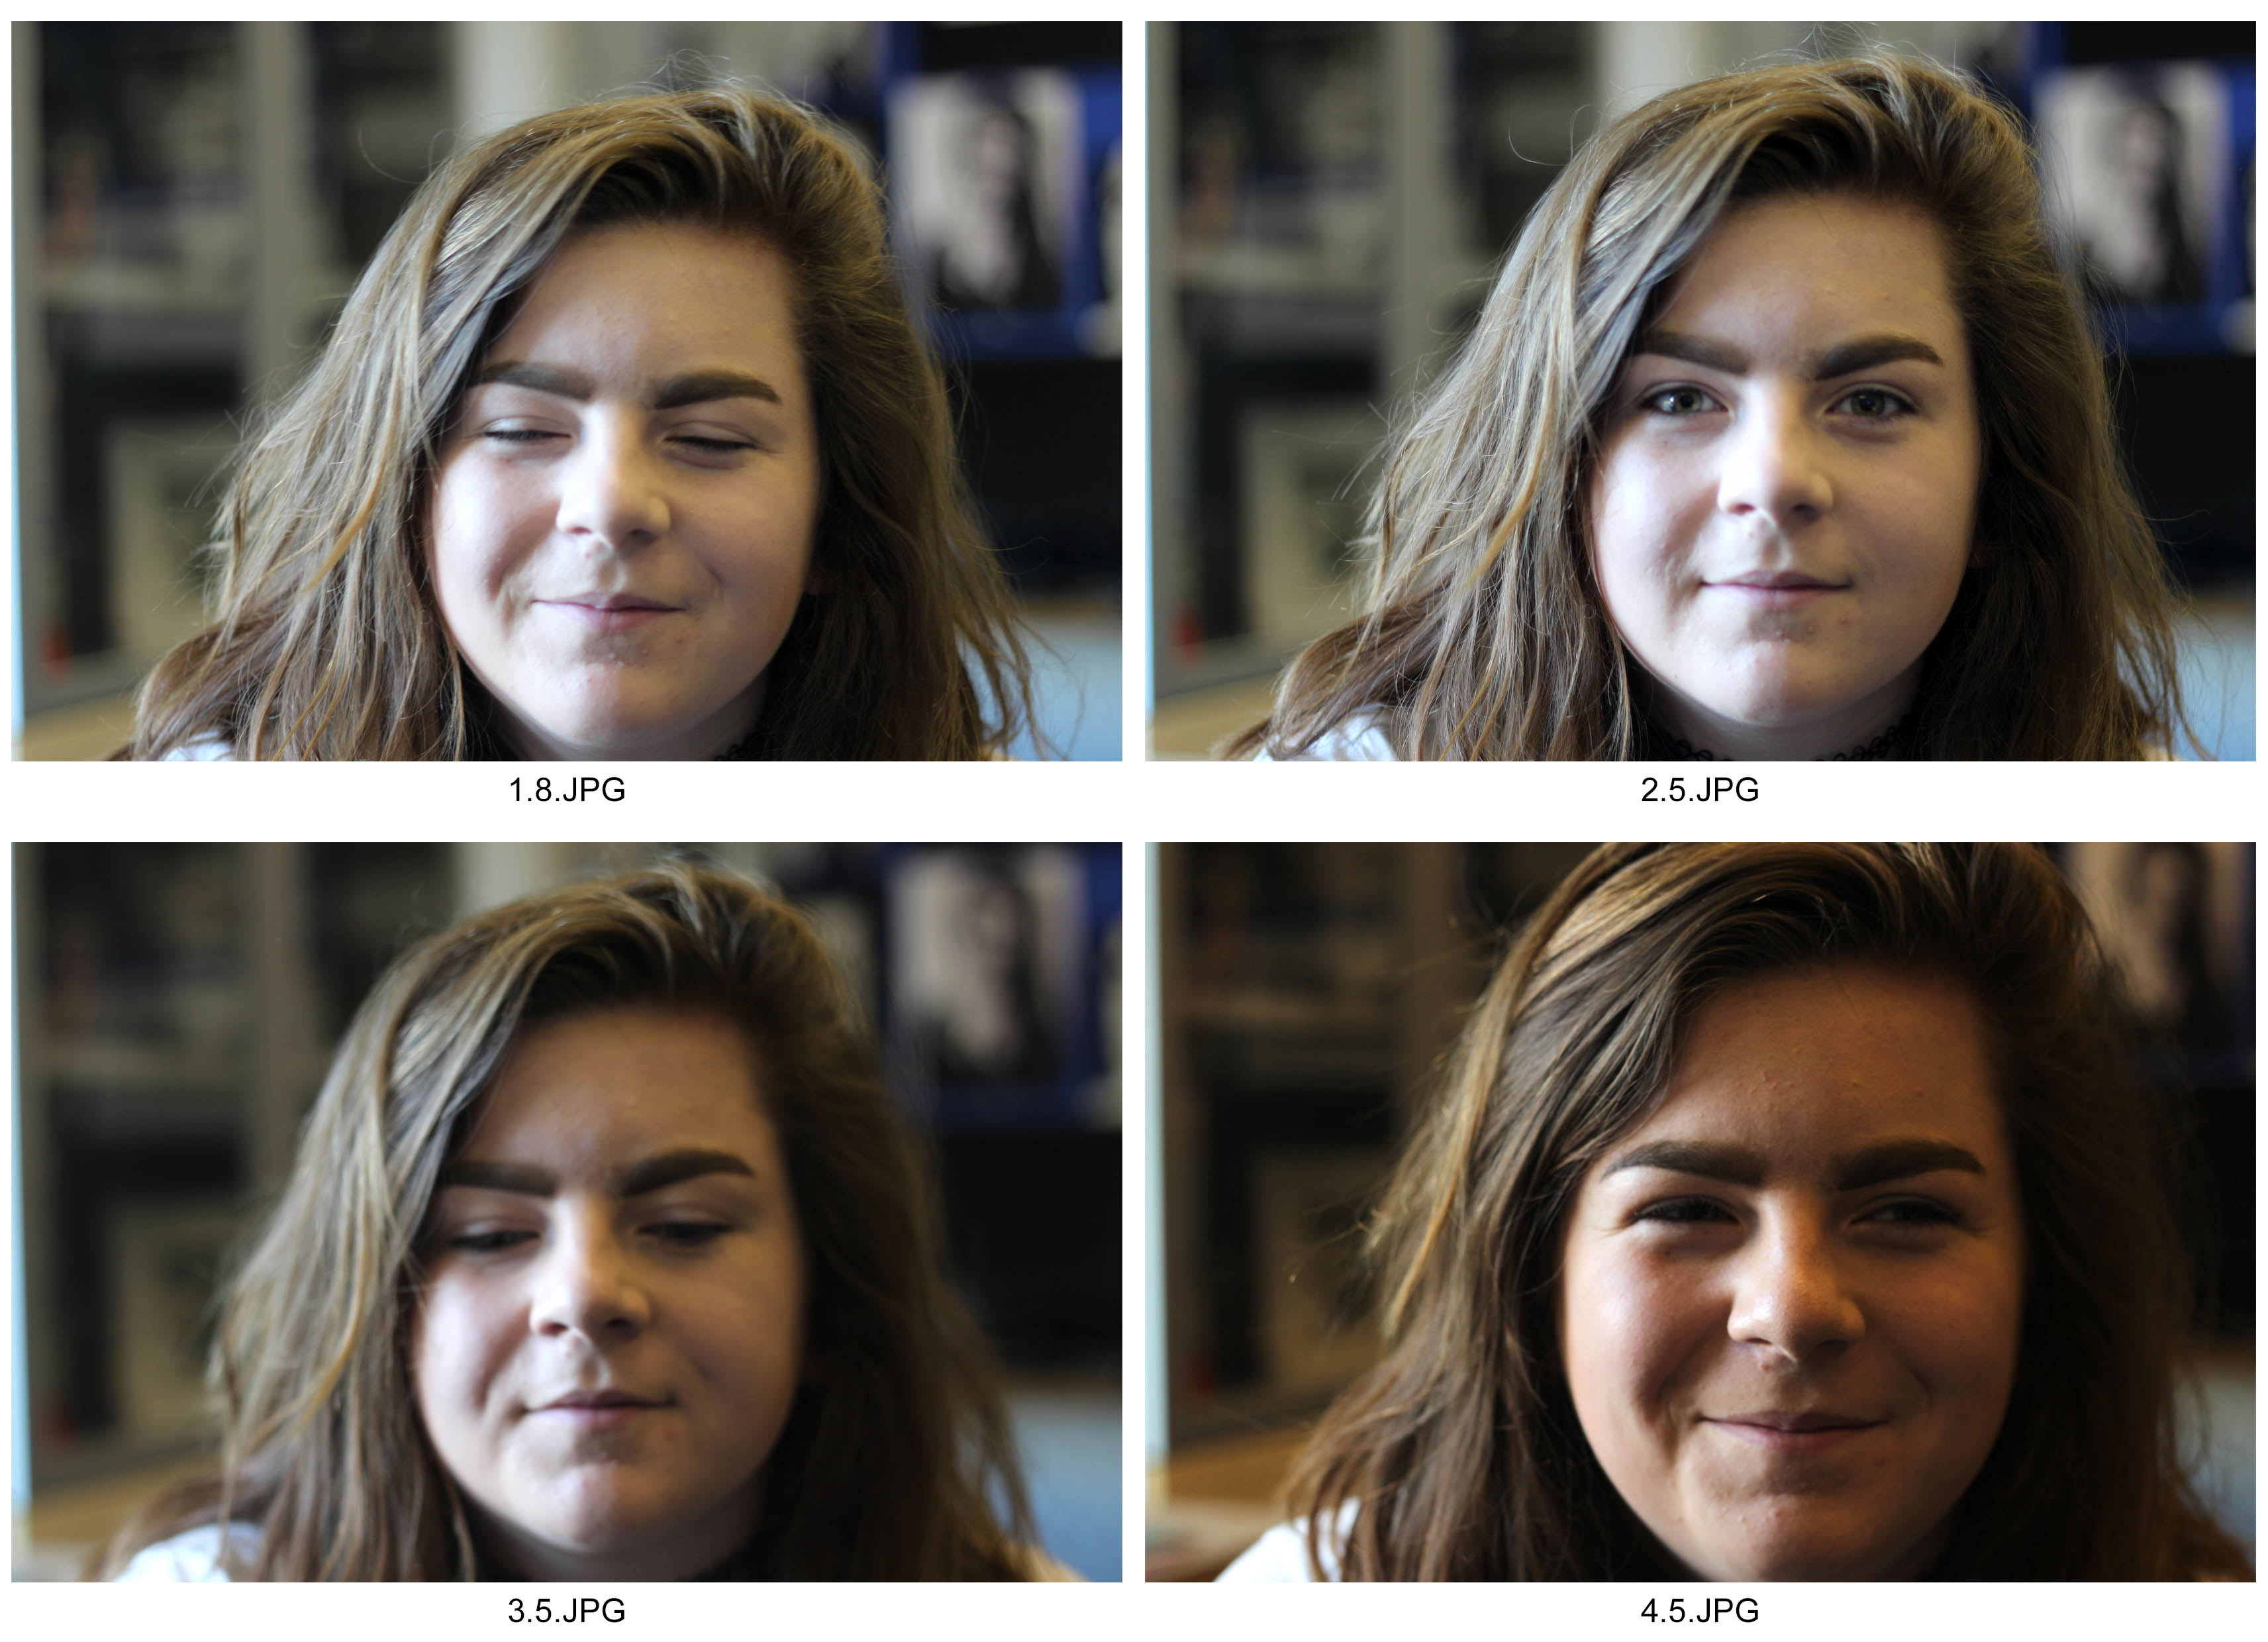
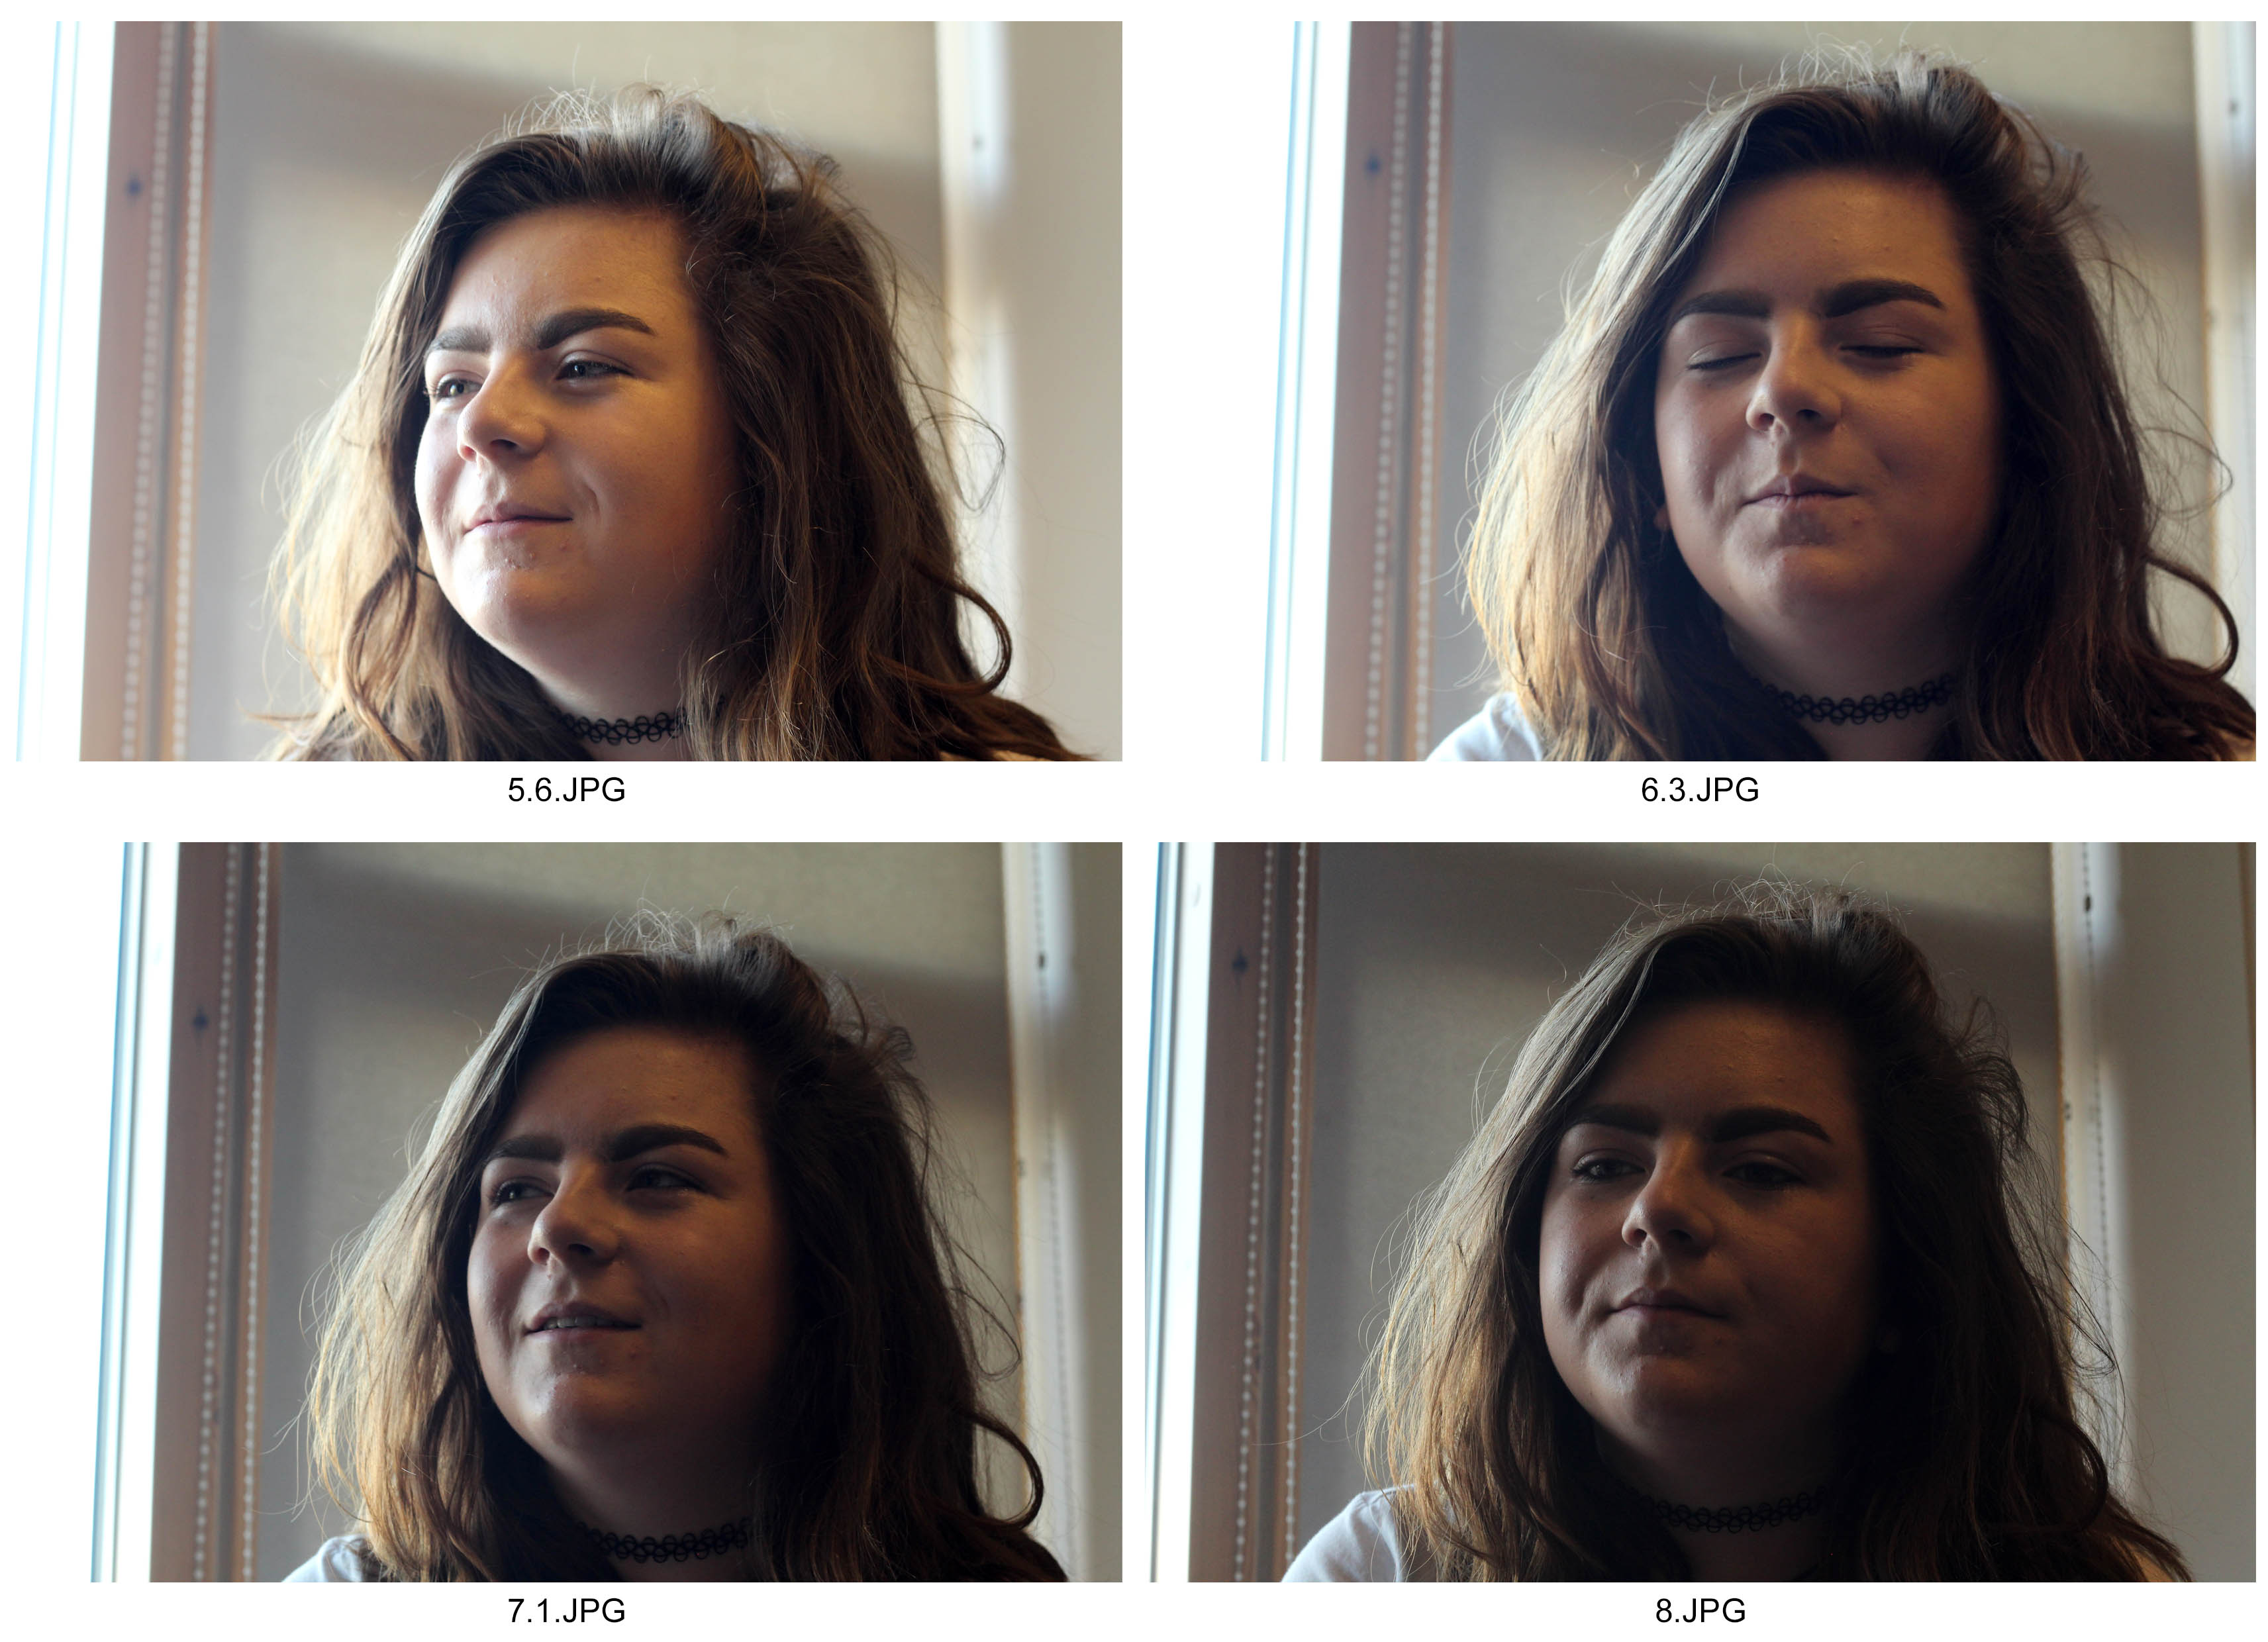
I experimented with camera settings at the beginning but decided to use flash as this made certain features on her face stand-out due to the glow it gave the images and I used automatic focus on the automatic setting of my camera and this would allow for adjustments if I saw it suitable.

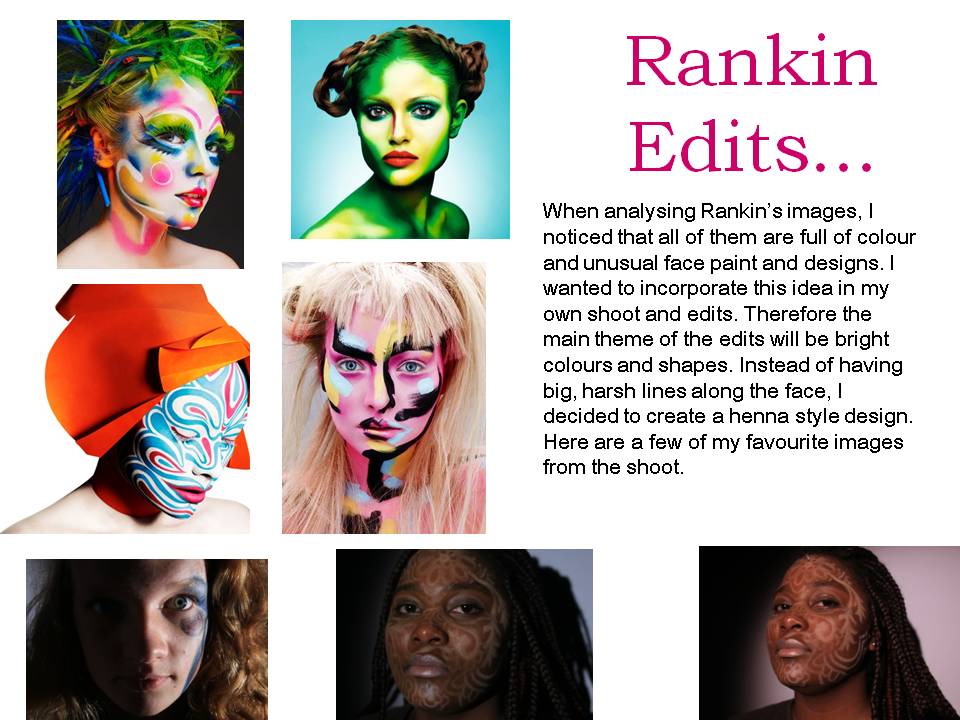
I really enjoyed the shoot and getting an insight into Rankin’s work and I would definitely do it again and I wish to do it again soon to improve on the primary shoot. However I would change some things; I would perhaps use a different background and play around with more camera settings. I would also try out close-up portraits and side-on views and unnatural perspectives. I would also attempt to replicate Rankin’s work to a higher standard so that the viewer could recognize that my inspiration was the world-renowned fashion artist. To do this I would experiment with face paint or make-up and maybe use more props.
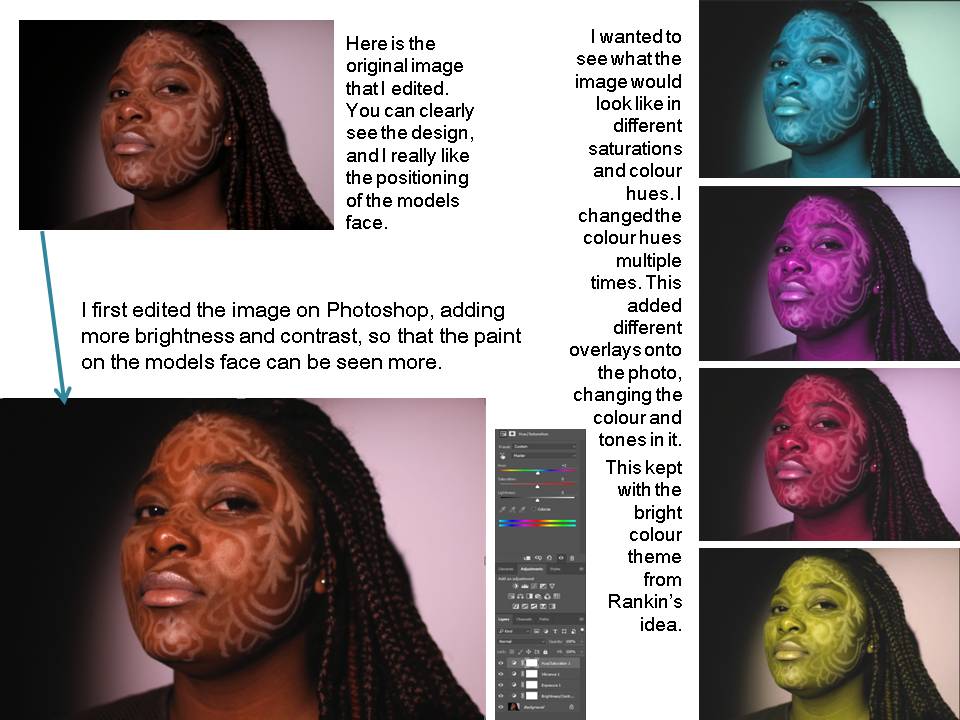
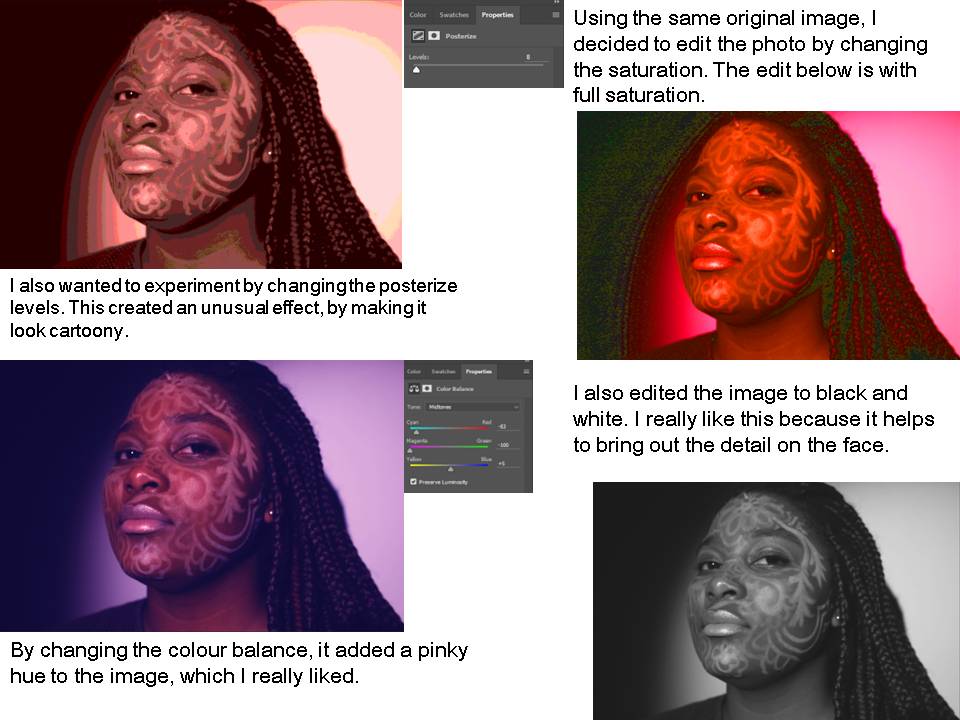
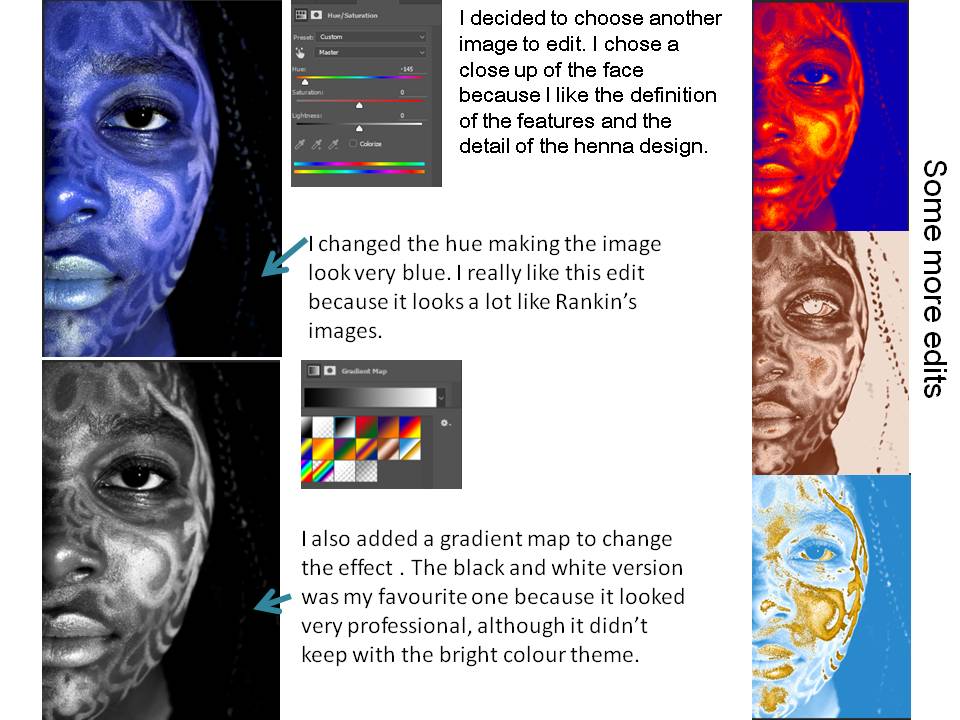
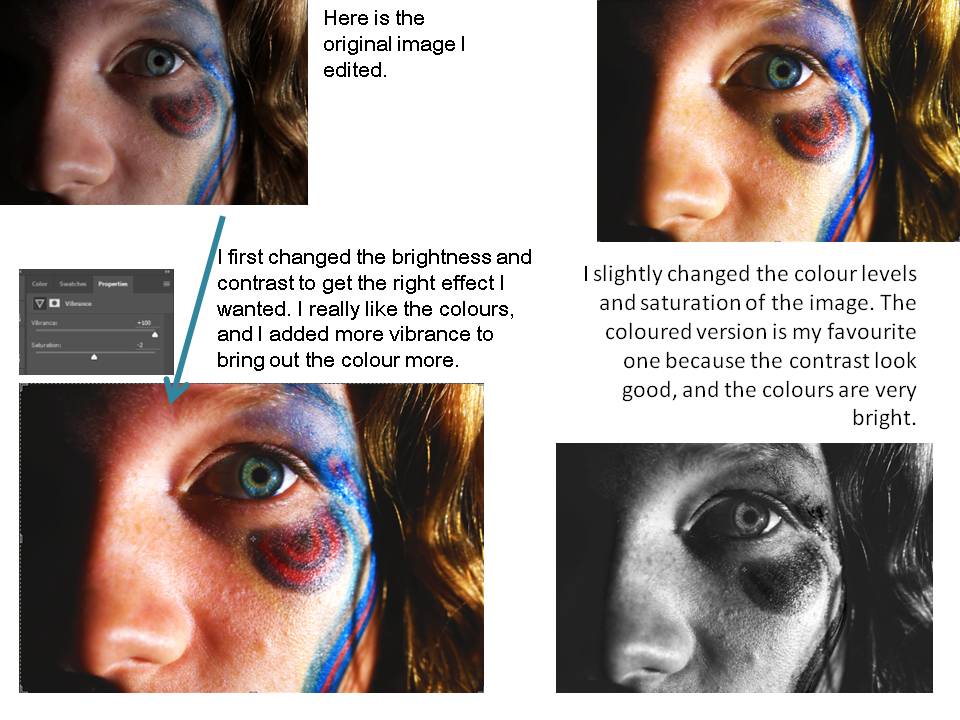
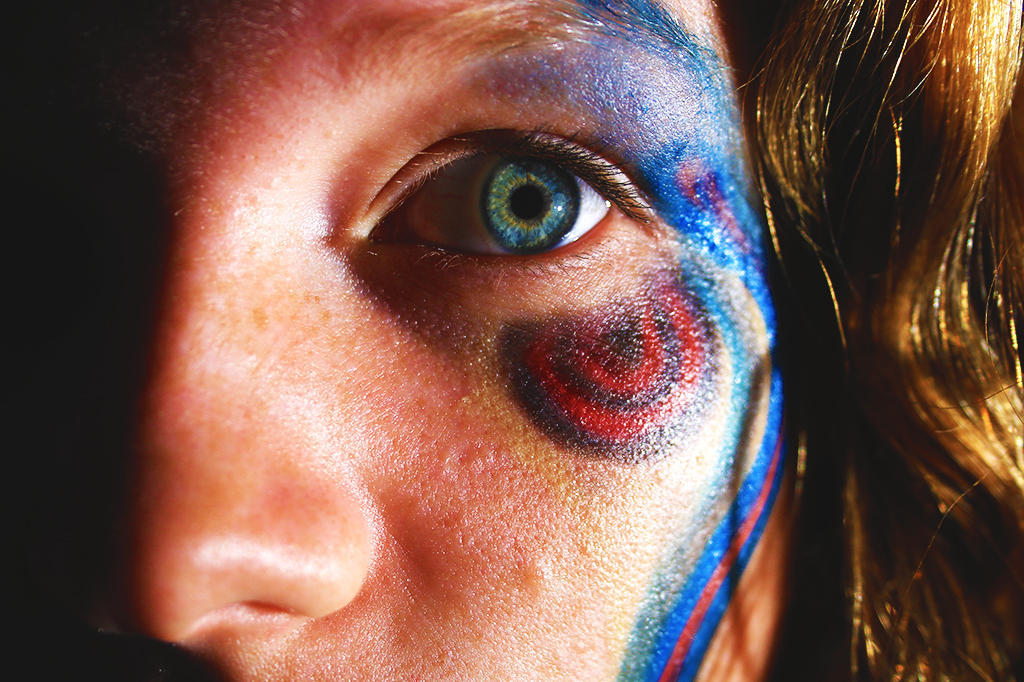
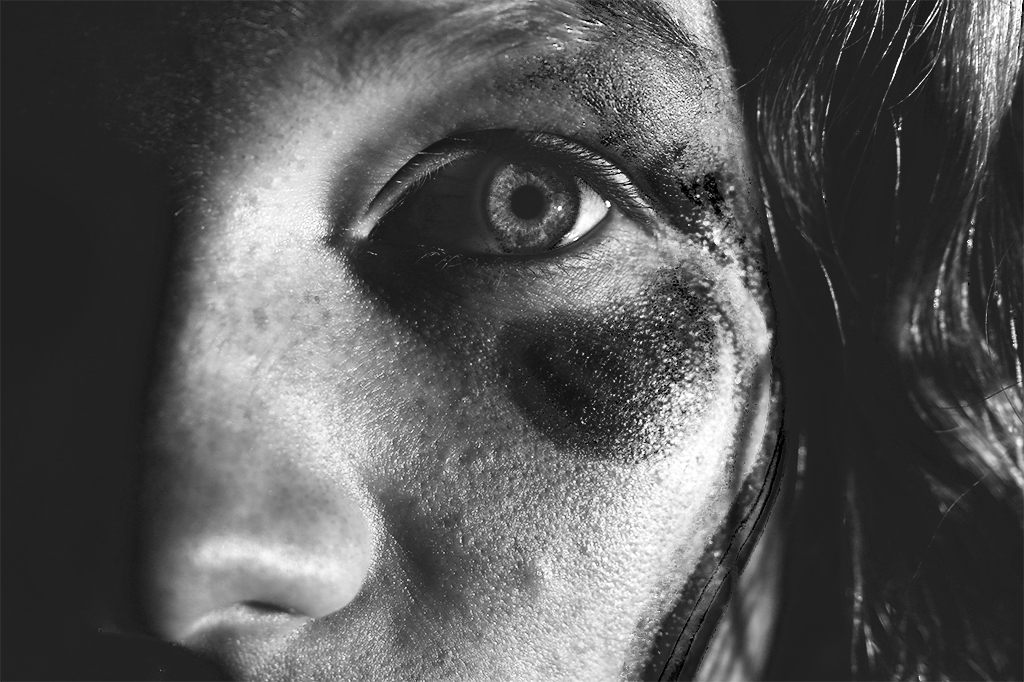
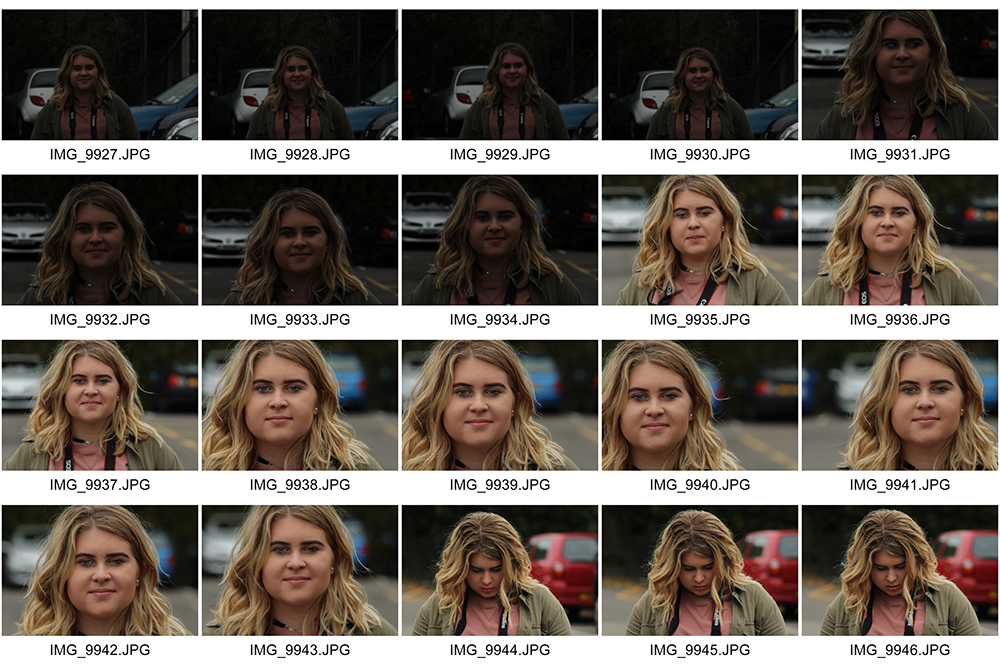
EDITS:

edits-1 edits-2

edits-3

comparison

Experimenting with Lighting – Natural

cs-1

untitled-1

In today’s lesson we experimented with the use of natural lighting and shadows in photography and here is a contact sheet of the outcomes of the photoshoot my group carried out: in the first two images we experimented with the use of natural lighting casting on to one side of a persons face to illuminate that side in contrast with the other which s in darkness. This is very evident sand has worked out very well as you can see from the first image. We then used a reflector to bounce the light of sun on to the other side of the persons face which is the furthest from the source of natural light. This technique is used frequently in studio photography to get the best lighting as possible. In the second image you can notice that we have used the reflector as the other half of the model’s face is illuminated and the lighting is evenly sped out, however, you can still notice that the side of the face closest to the sun is the lighter part of her face. Doing this photoshoot today has helped me understand the use of natural lighting and how to enhance photos using particular techniques. I have also learnt that something as simple as a white piece of paper can be used an alternative to a professional reflector and that the best source of natural light is the sun.

In the other photographs, we wanted to experiment with shadows, especially shadows cast onto someone’s face and we found a barrier with holes in it which was allowing sun to be cast though them and it made for a great set up for a photo. We got our model to lie on the floor so that the pattern was being cast onto her face and to add character, she closed her eyes and lied her side so we could get  side view. The outcome is really good and I now have a better knowledge about how to pull something like this off!

Image result for natural shadows photographyImage result for shadows portraitsImage result for shadows portraits

Image result for shadows portraits

I also edited a couple of the images and in my opinion, this makes them look better and makes the pattern more a focal point and something to ask questions about due to the fact that I made them black and white – the contrast between the darker side compared to the illuminated side makes the circles bounce out at the viewer.

1 2

Edits of Natural Light Experiment

img_6146

Here is the Original.  I like this image of the model because the model is not fully facing the camera, so it creates little soft shadows on her face, making more depth.

When Editing the photos from the Natural Light Experiment Shoot, I wanted to achieve a clear and interesting contrast between the images. I cropped the image to get rid of any unwanted shapes and shadows. However, some of the shadows created interesting frames and shapes within the image so I left them.  For each photo I wanted to have a black and white version as well as a colored version. For this image I prefer the black and white one as it makes the image look more professional.

img_6145

The Original. What makes this image interesting is the shadow that is cast across the models face. I also love the angles that is created by the shadows in the top right and bottom left corners. It creates a natural frame for the photo.

When editing both these images, I added more contrast so that we could see more of a definition between the shadow and the light.


Natural Light experiment

The google translation of Natural Lighting is “Natural light is light that comes from the sun. It is contrasted with artificial light, which comes from light bulbs, fires and other man-made fixtures used in homes.”

Natural lighting in photos can give off a pure vibe that artificial lighting does not provide. The Sun is an obvious example of Natural Light. The lighting from the sun can create many different spectrum’s of color throughout the day. This provides the perfect Lighting for experimenting.

During this photo shoot we were experimenting with different ways of using natural light in photography.  At the beginning, we had someone stand next to a window, so that half their face was eliminated by the natural light coming from outside, and the other half of their face was in shadow.  We experimented by using a reflector. The reflector would reflect the natural light coming from outside onto the persons face, so that the half that was in shadow, would also be eliminated.

contactsheet-sadow-light

Once we experimented by using a reflector, we wanted to try and capture some interesting images by creating shadows using the natural light. We found a metal frame by the side of a stair way with lots of tiny holes in it. A large amount of Natural Lighting was coming through the window next to the metal frame, and was creating a shadow that we wanted to use in the images.

During the second half of the shoot, we were seeing different ways natural light could create simple shapes and shadows. We asked someone to lie down next to the metal frame where the shadows were being produced. The shadow was now being cast across the persons face. This created a cool and simple effect.

Image result for creating shadows portraitsimg_6153

Here is an image that I used for inspiration when editing the images that I took. I wanted to make the image black and white because I think it adds a dramatic effect to the image, and helps to improve the contrast. The shapes created by the metal frame. and the way they frame the persons face makes a really cool effect.

Street photography-Best images

contactsheet-new-york-street-photography-copy

contactsheet-jersey-street-photography-edits

When deciding my favorite photos I decided to split my contact sheets into photos taken in Jersey and photos taken abroad. The first are mainly all in color because of there bright colors I didn’t want to make them black and white. However, as there were no bright colors in the photos I took in Jersey I didn’t want them in color.

When taking photos in Jersey I wanted to mainly focus on old people as I found them more interesting than other people I walked past. I felt like through their posture and the way they are dressed they were telling a story. They lived through a lot and that’s why I found them more interesting.  This is also why I decided to make the photos black and white as these are old people. Photos would have been black and white when they were children so i wanted to reflect that. I also wanted the black and white to focus on every little crease and wrinkle on their face.

The photos above were used in my summer project (apart from the last one). These were taken in NYC, taking photos there was a lot easier as there were interesting people everywhere. These were just a few of them. The colors were vibrant and loud but also industrial and grimy. This is what caught my eye when taking photos. I enjoyed capturing the humor, business but also the loneliness. When editing I increased the saturation and darkened the outlines of the main focus. In many of them I also cropped them to focus on the main subject.

Natural Light – Reflected

contactsheet-001 contactsheet-002

On the left hand side, my photos were taken using natural light coming from a nearby window.  I took the photos on the f4.5, ISO 400 and 1/320 shutter speed.  These settings therefore allowed me to focus evenly on the person without letting to much light or exposure in to give a nice balanced effect.  On the right side,  I used a reflector to balance the light coming in from the window to be reflected on his face too.  To enhance this effect, I upped the contrast to deepen the shadows.

Depth of Field – Aperture (2)

contactsheet-001 contactsheet-002

I took these photographs with an increasing aperture from 1.8 to 8.  By doing this, the depth of field increased and decreased giving the background different levels of intimacy and comfort to the photograph.  I countered with ah higher aperture, the brightness by adjusting the ISO to 400 whereas on the lower apertures it was at 200.  To enhance the levels of contrast, I took the photograph with a natural light source coming from the left.  I took these photographs on a portrait lens which didn’t have a zoom option.  However I liked the dark and white tones picked up by the lens which highlights the detail in the areas that are focused.