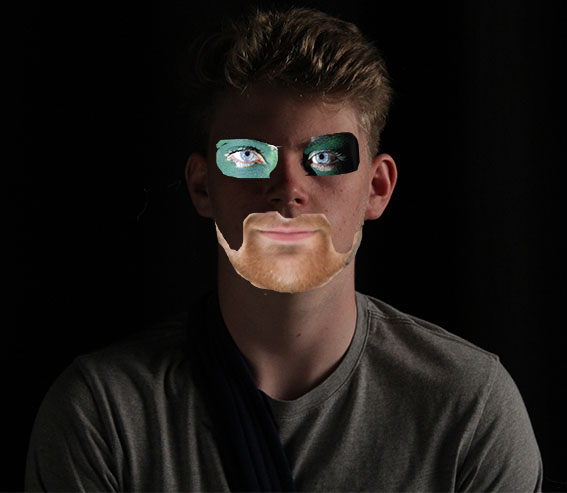
Here I decided to make one photo using three different photo. Firstly, I set the back ground image, the background image for this one is a portrait photo I took in my studio lighting project. I then brought in a picture from my Rankin homework assignment and used the lasso tool to cut out the eyes. After drawing around the eyes using the lasso tool I pressed “Ctrl J”. This created a new layer with just the eyes so I deleted the original layer. I then brought in a third picture from my environmental portraiture and did the same thing for the beard. When making this picture I wasn’t trying to go for the neat look I wanted it to look like it had been cut out ruffly with a pair scissors.
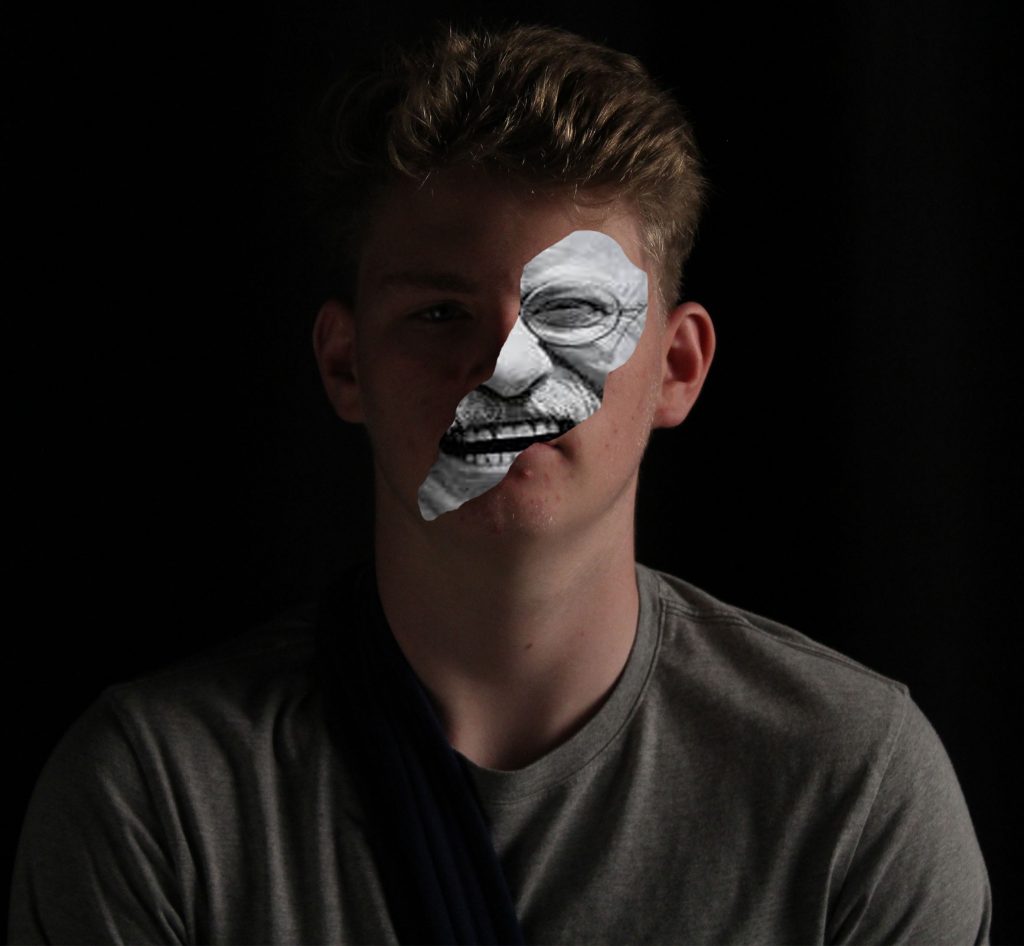
Here I have made a photo by cutting out some of the original photo and placing a photo in that space. I did this by using the lasso tool and drawing on a part of his face. I then found image from the internet that I wanted in my case it was the famous photo of Teddy Roosevelt laughing. I copied this image then went to the edit bar and choose “Paste Special” then “Paste Into” this placed the image I had chosen in the place where I used the lasso tool. However, it wasn’t the correct size so to size up the image I pressed “Ctrl T” which gave me arrows to move and make the picture bigger. I chose the photo of Roosevelt because he looks so happy in contrast to serious expression of the subjects face in the original picture. This shows how the emotions of people can vary. I also liked the fact that the Roosevelt photo was in Black and White were as the original picture is in color this also portrays opposites.
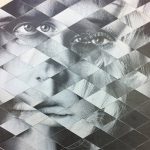
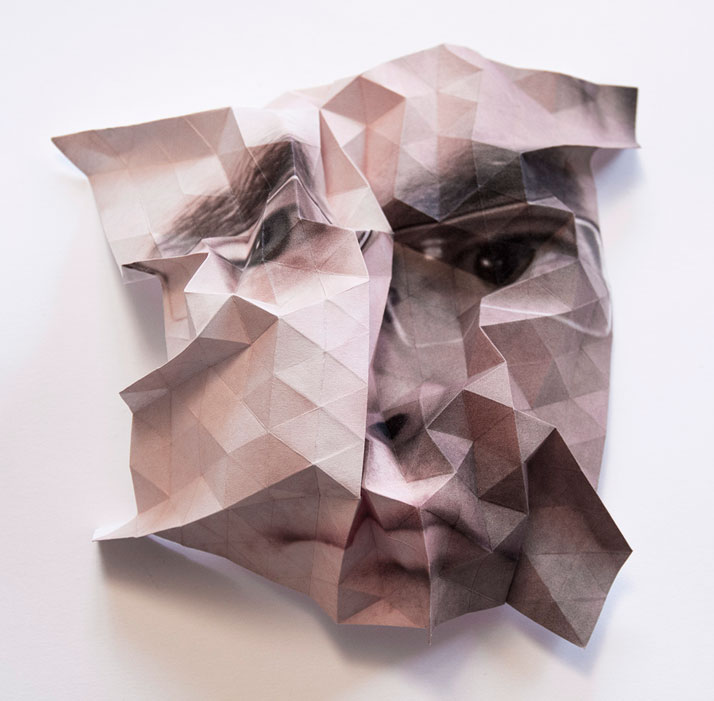
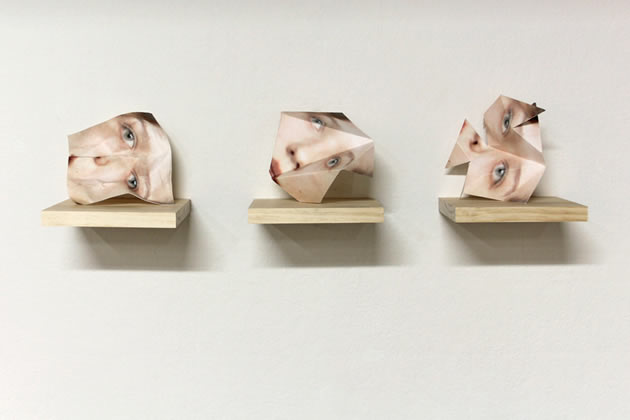
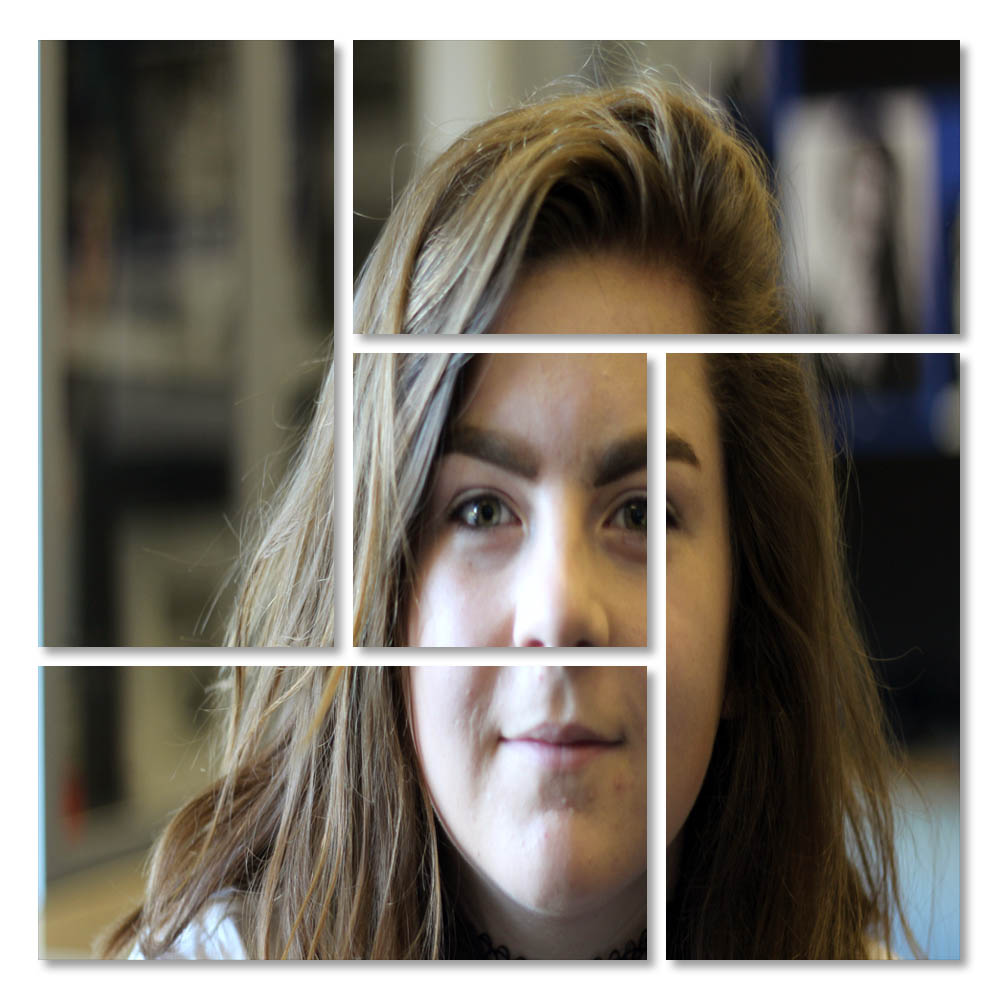
After selecting my image, I went to the edit, preference and then guides and grids option. After doing this I chose view, show and grid. After doing this I added a new layer and selected the rectangular marquee tool and drew m desired box. I then filled the box with black. After doing this, I held down my shift key and drew 10 horizontal rows and 11 columns. I deleted the selected areas and added a drop shadow . Then I opened my desired photograph. and copied and pasted it into my squares. Then, I created a clipping mask and moved the photograph in the best areas that suited the clusters.
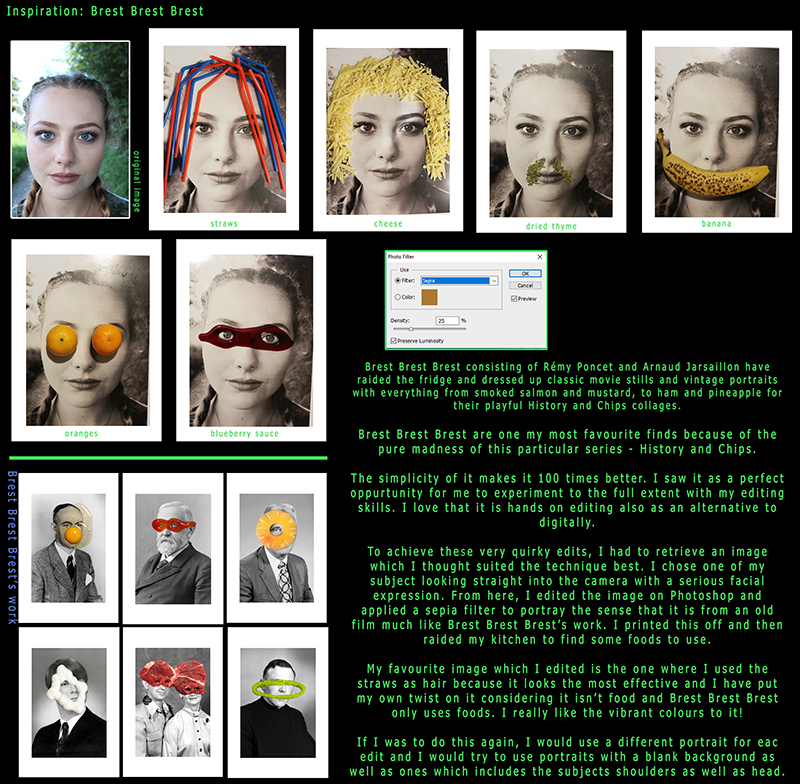
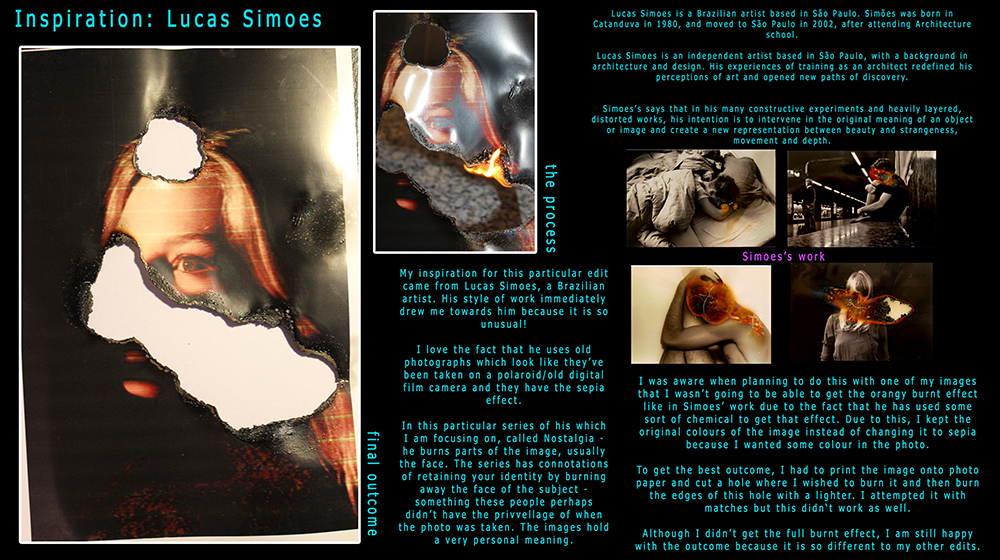
Hannah Hoch is famous for largely her works in Dada works and photo montages. Her work usually expresses her feelings towards the German Wiemar Government and the many struggles it faced making German life hard. In her works she largely focuses on feminine themes drawing inspiration from a range of artists such as: Pablo Picasso and Kurt Schwitters. This is apparent in her work as for example she sometimes introduces male features on woman and vice versa with a slightly rebellious touch by including props such as cigarettes which highlights the day to day struggles of German life under the Wiemar Government. She became a leading feminist from her montages for works such as Das Schone Madchen (the beautiful girl) in 1920.
In the top photograph, the fact new photographs that are in slightly worse condition than the background photograph and depict someone sad onto what was a presumably happy looking photograph. This is done through the fact it’s got slightly warmer colors. Interestingly, how Hannah Hoch implements these sad photographs onto happy ones demonstrates the attitude to German life particularly in these hard times through hyperinflation in 1924 where people who were happy grow old and will only get more miserable and disappointed through life.
In the bottom photograph it is evident of her demonstrating her feminist values because in Germany in this time, new fashions such as short hair, modern art, culture and architecture. The fact the object has short hair was a new tradition that was frowned upon by the upper bourgeois classes which therefore shows her sense of rebelliousness as an artist.
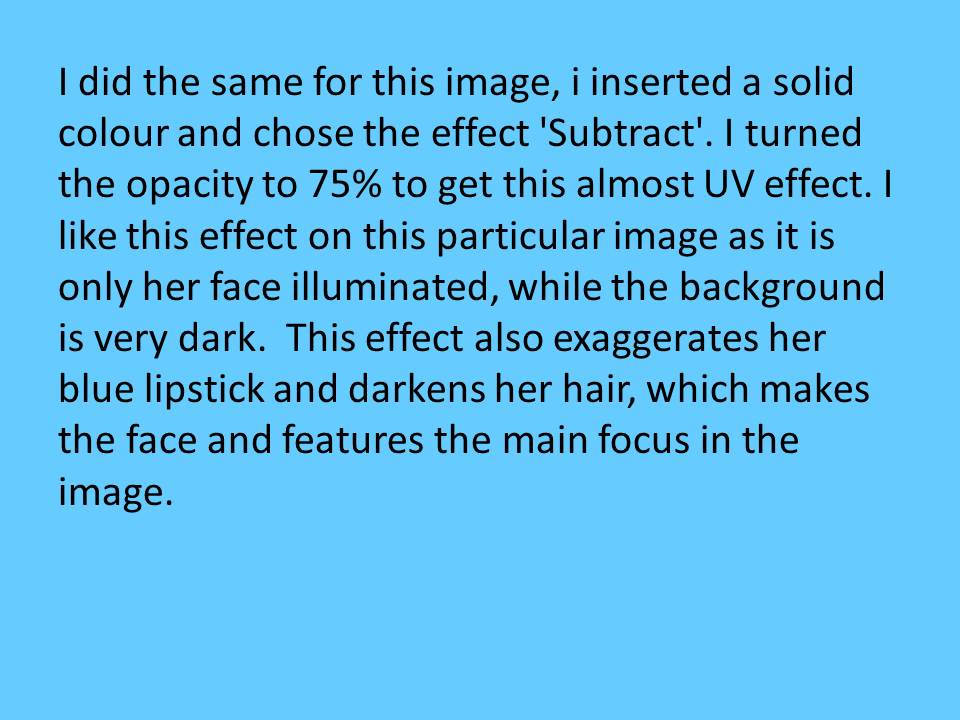
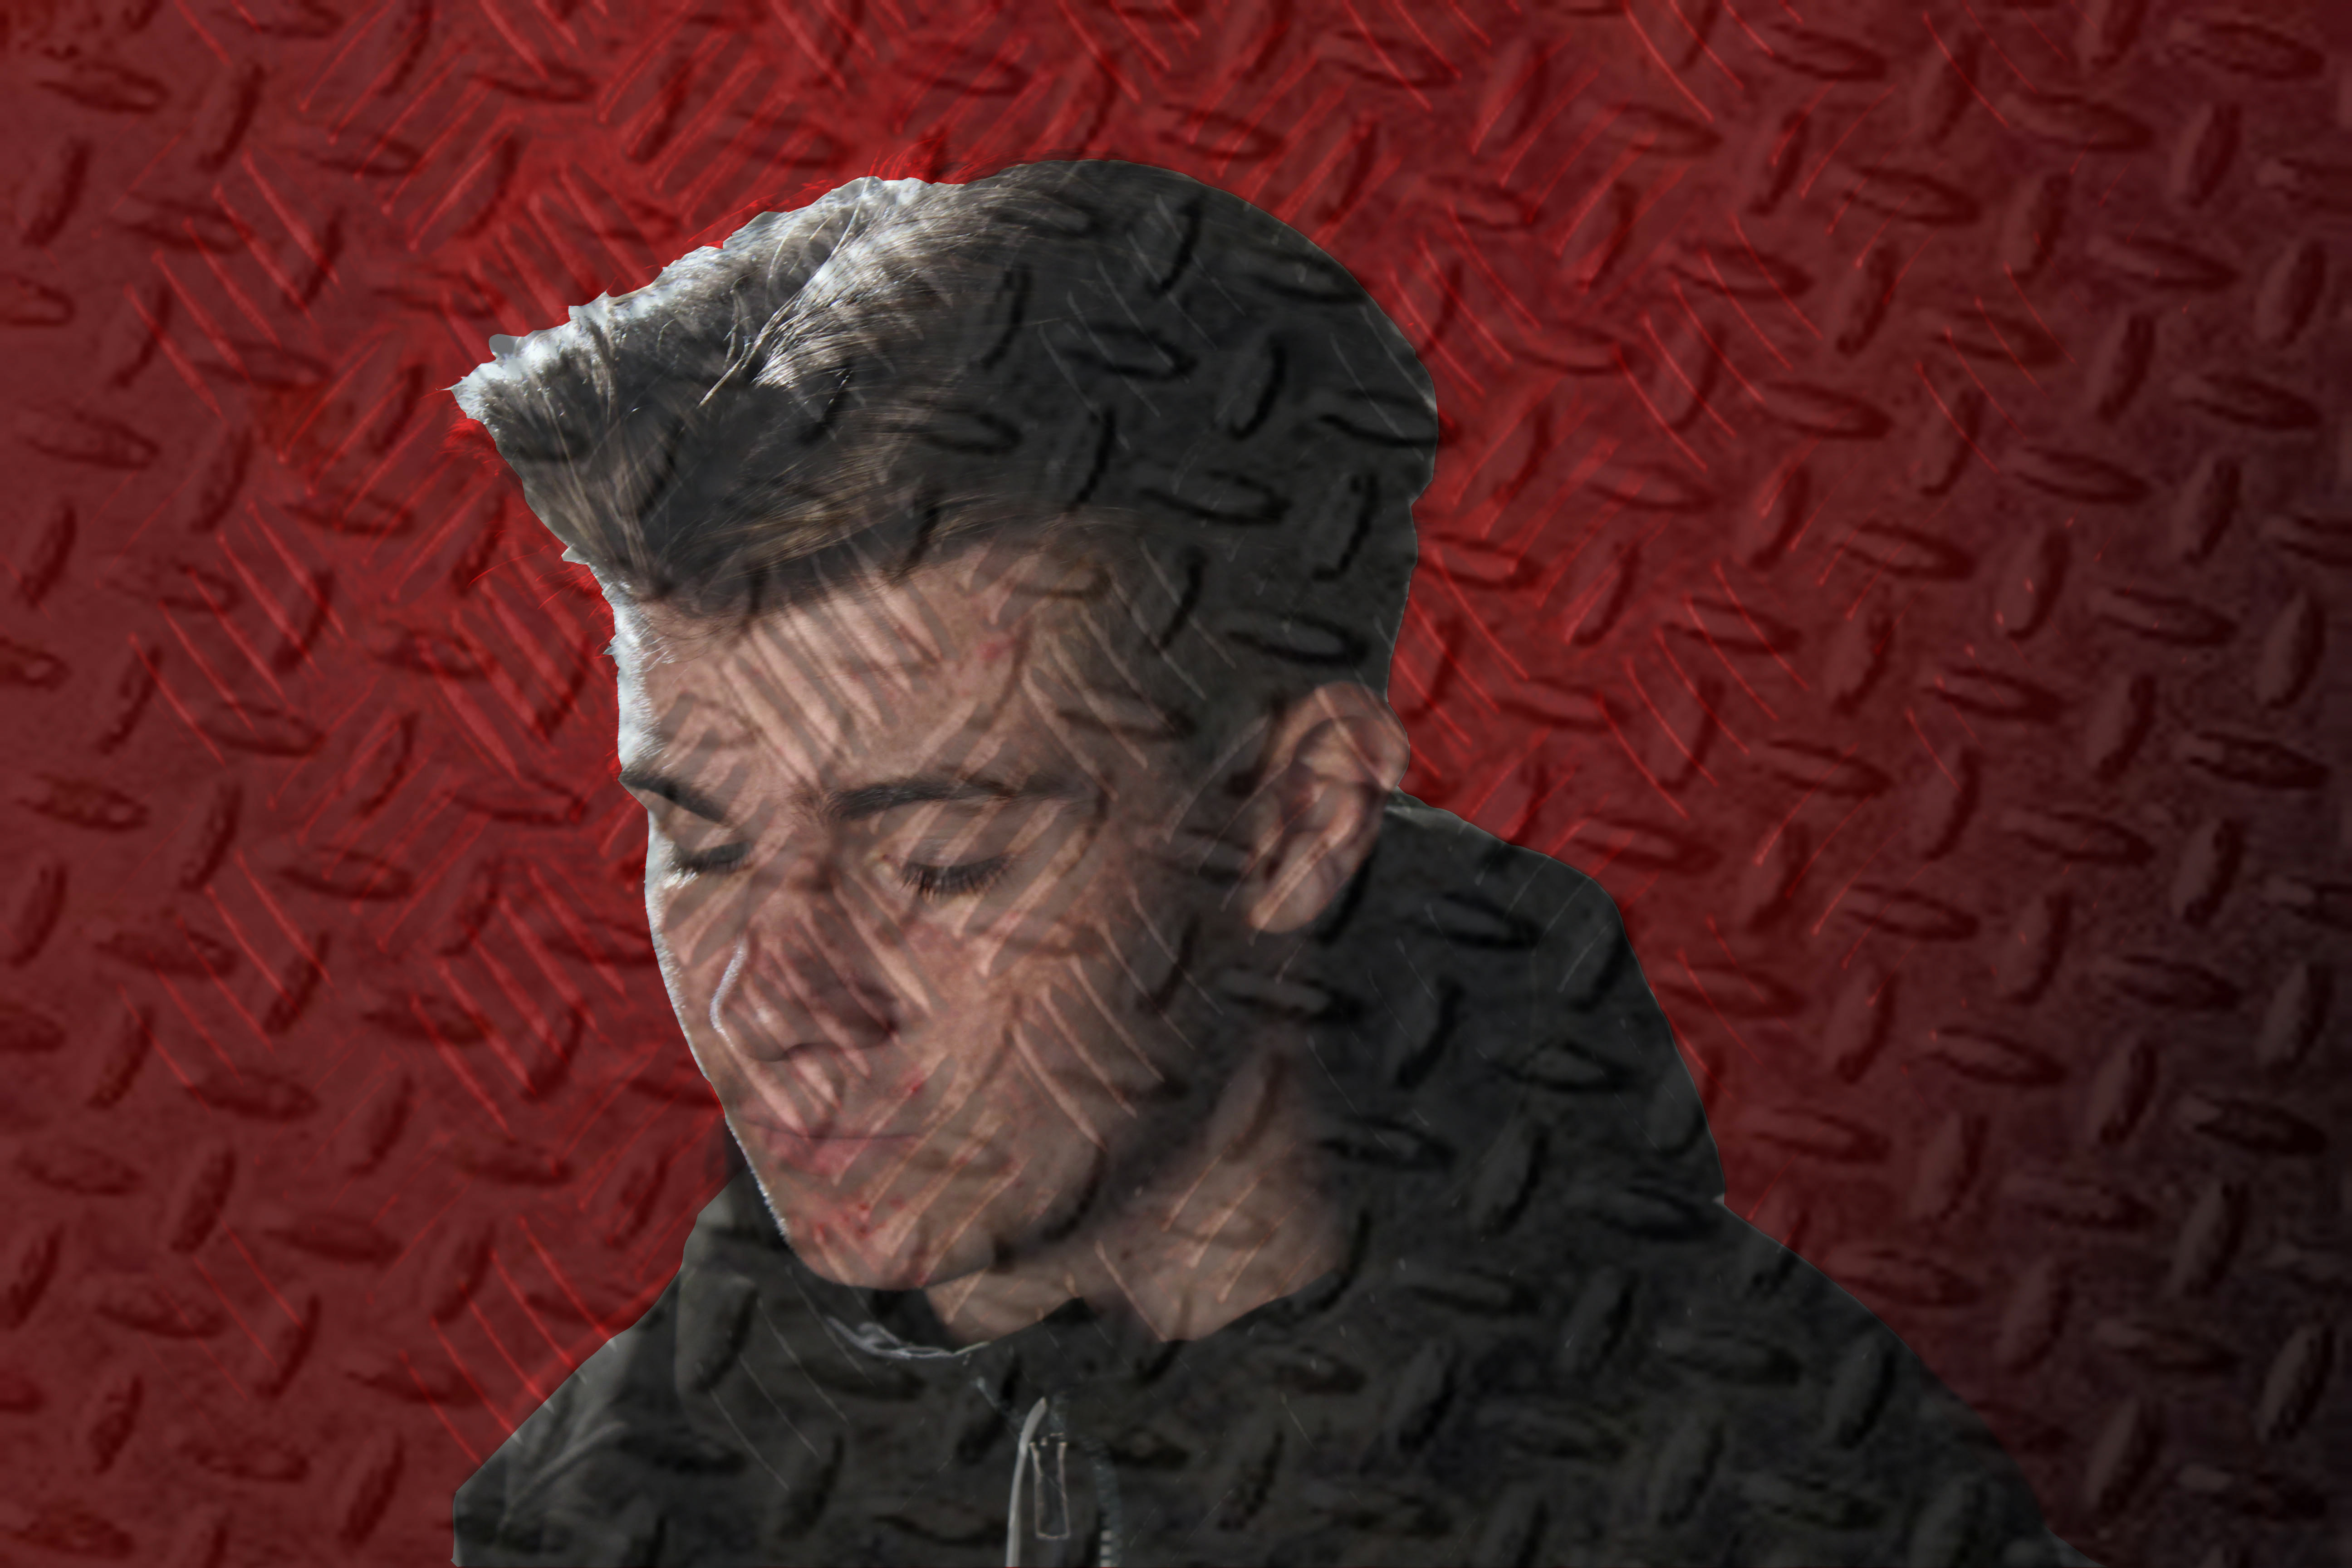
In this picture I used one my photos from the studio lighting project I chose this photo because the light wasn’t too harsh. This went well with the background image that I chose as the image was of a foggy forest I also made the portrait black and white which helped it flow between the two photos. When making the photo I placed the two photos over each other and decreased the opacity by 65%. I then increased the contrast and made layer mask. By doing this I was able to start blending the two images together using the brush tool.
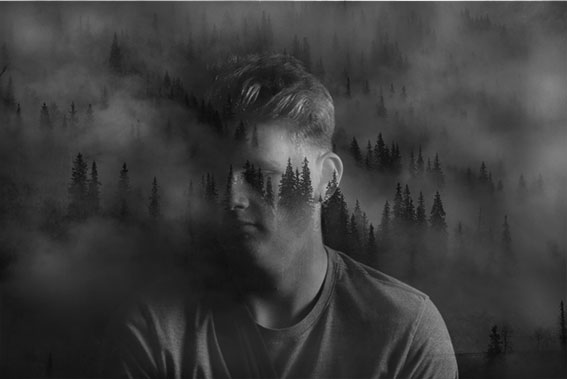
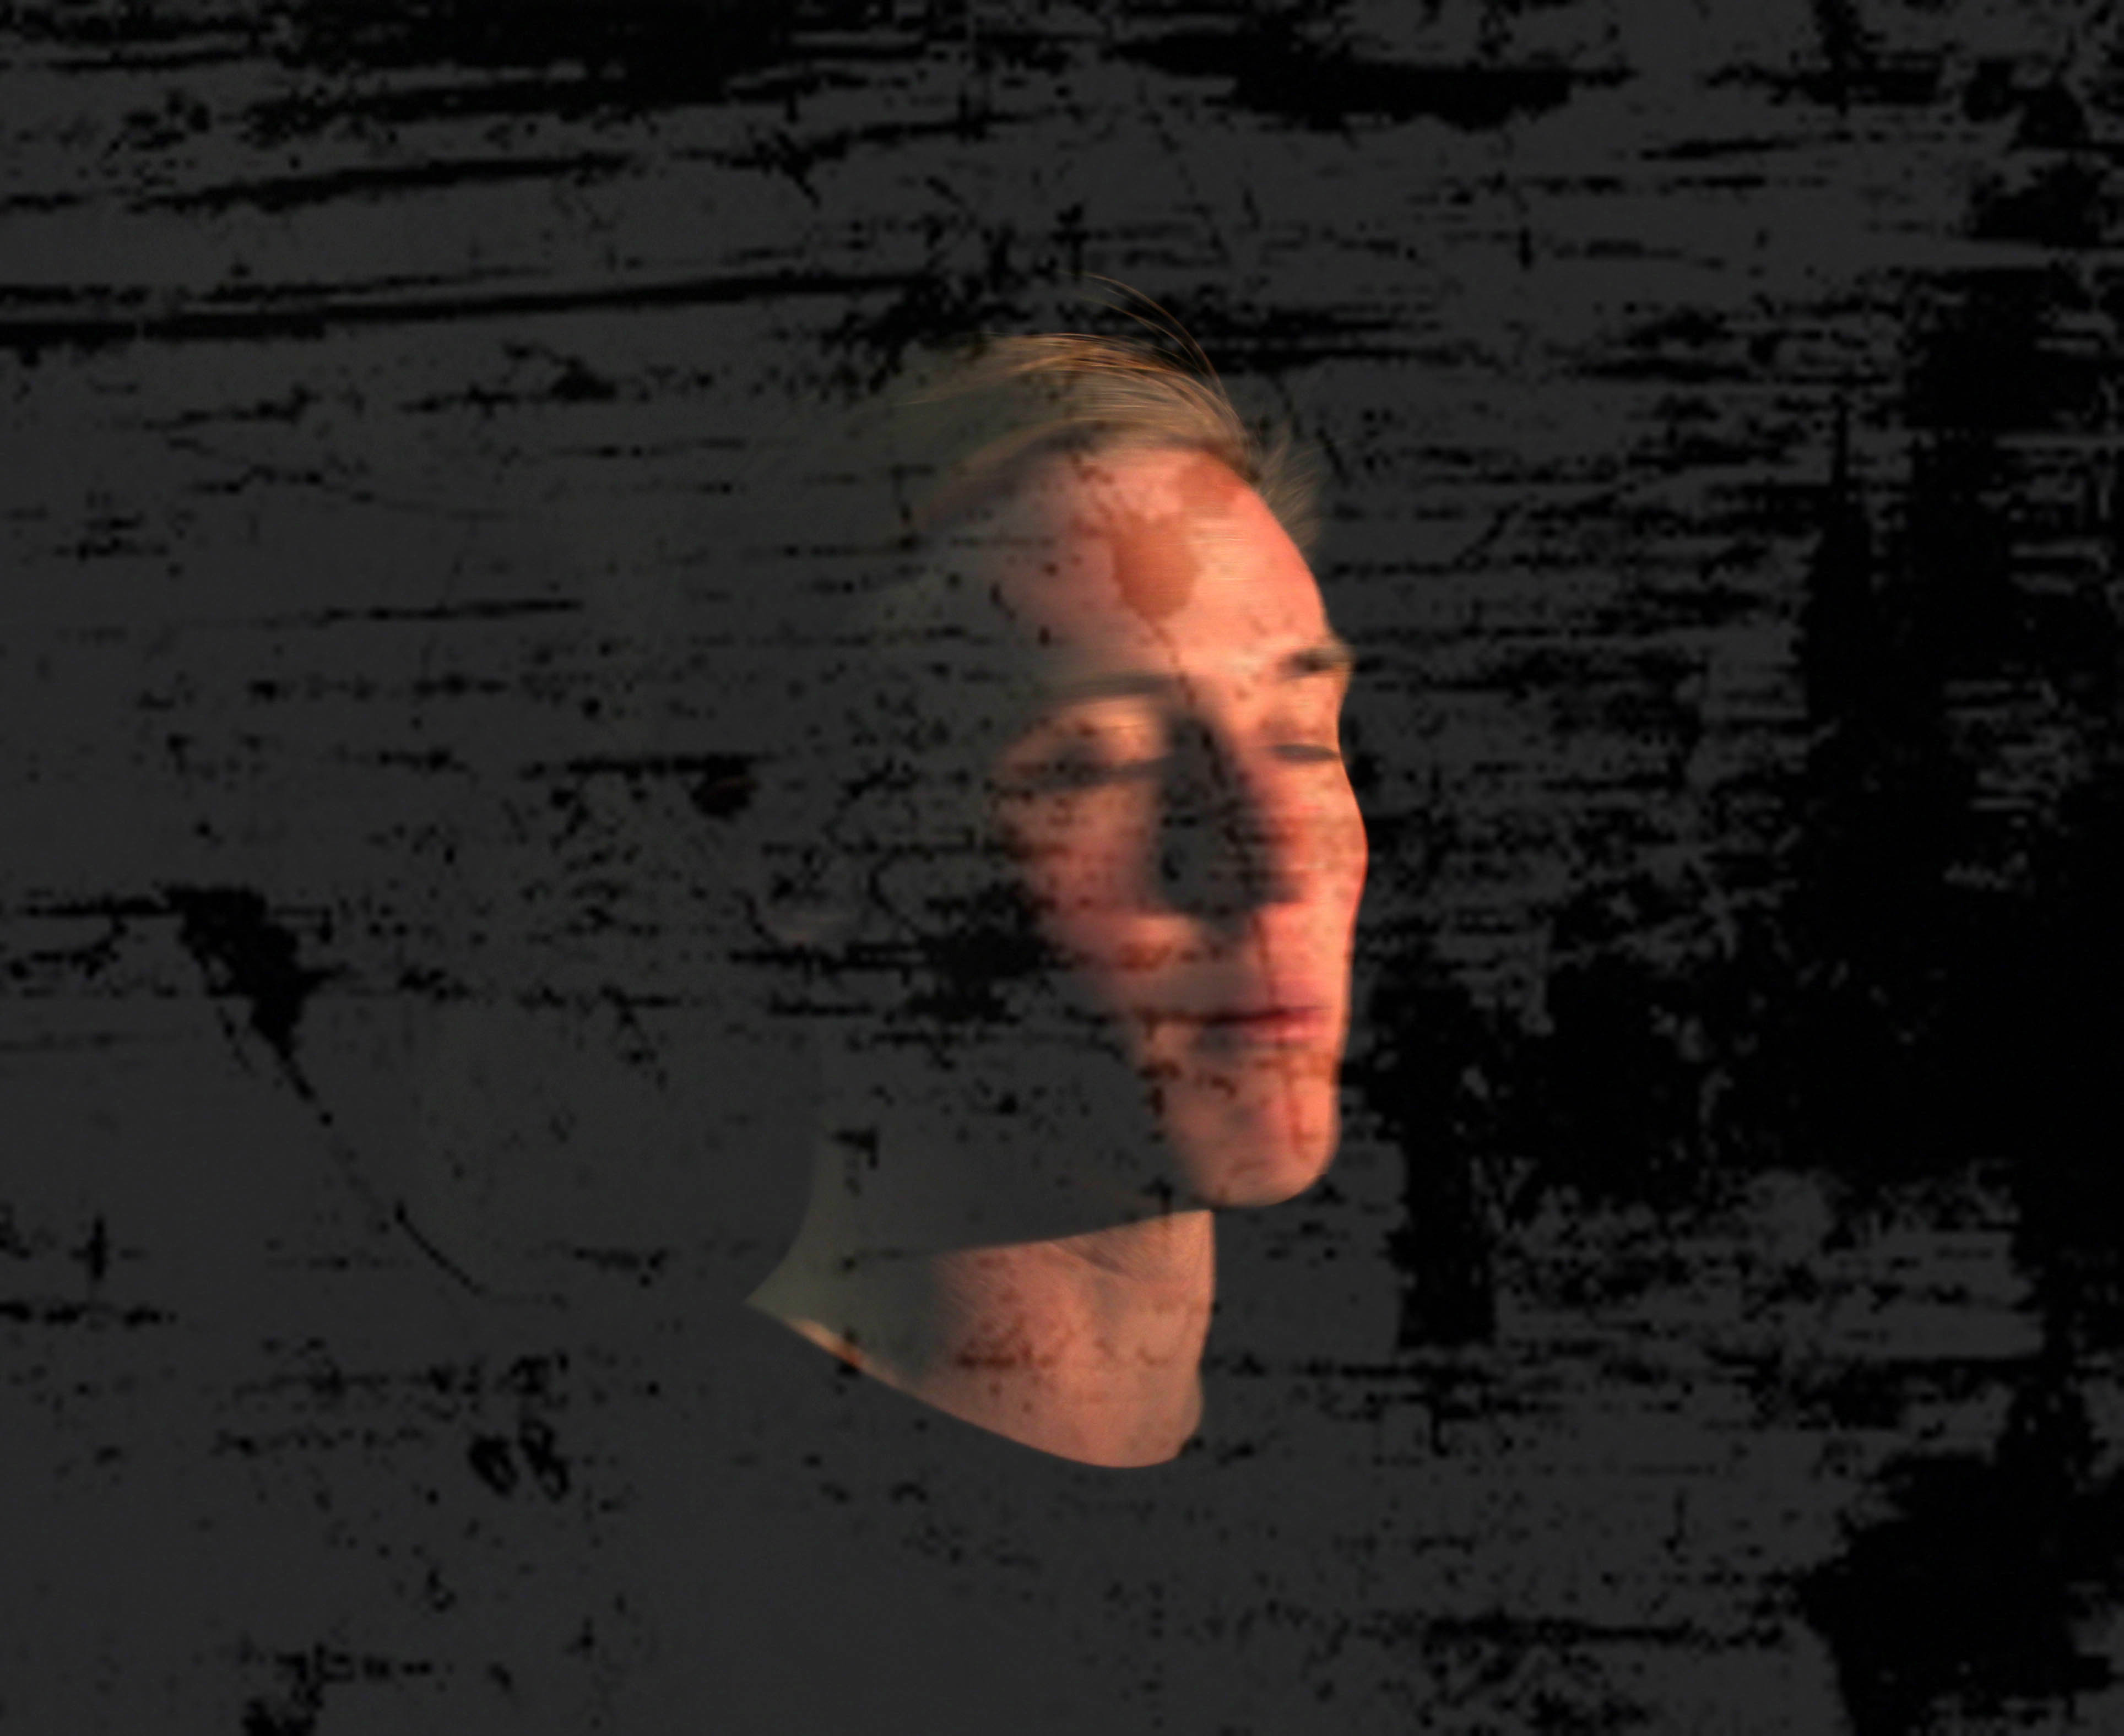
With this one I put the background image as the foggy forest again then placed the portrait on top. I then used the lasso tool and drew a line around the person in the image, then I inverted it set the background color. I did the same for the background layer. I then decreased the opacity to 46%. I then used the brush tool to make the trees more noticeable and merge with the rest of him.
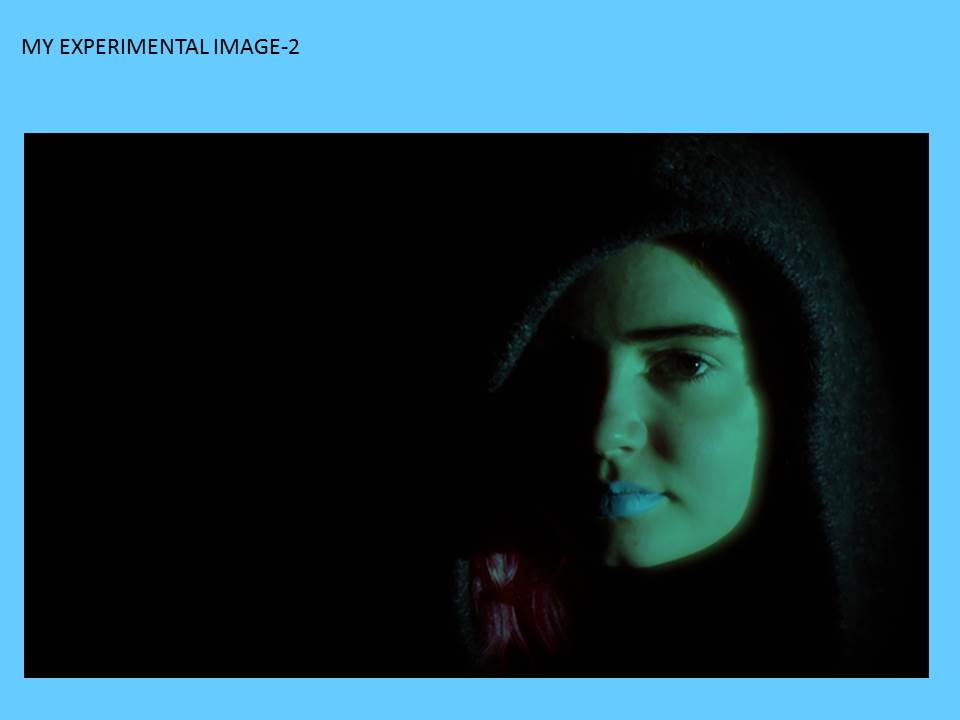
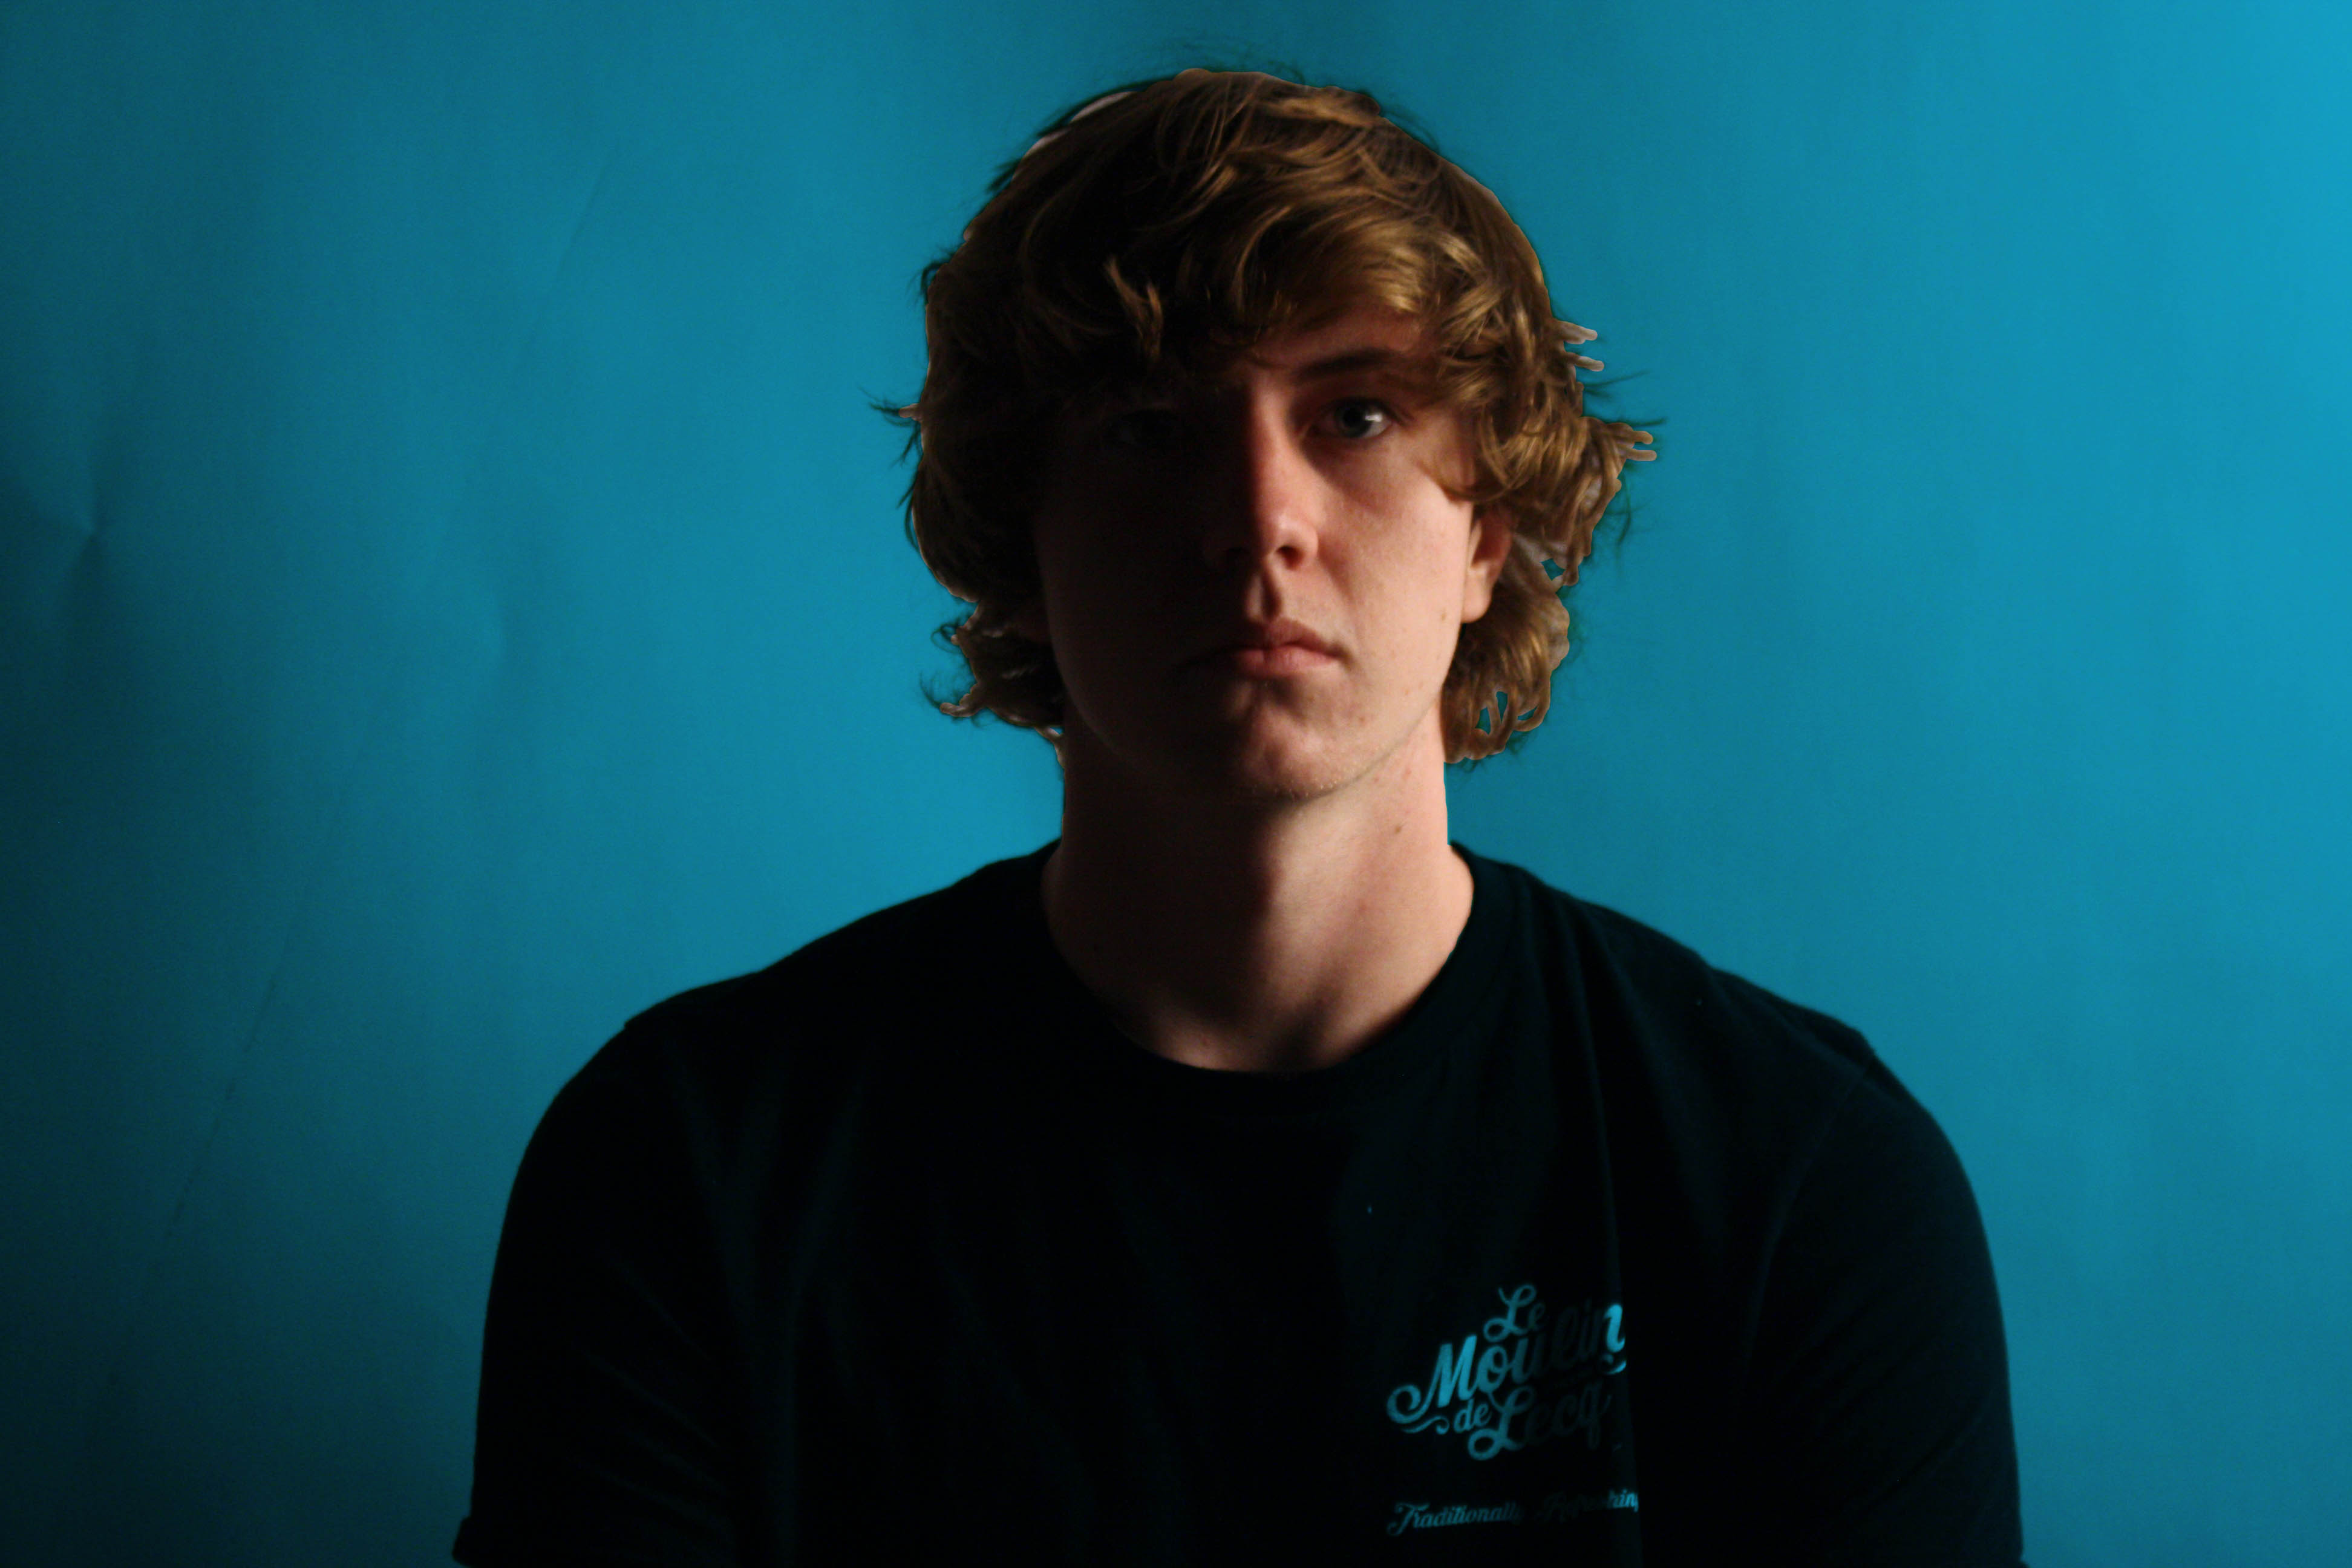
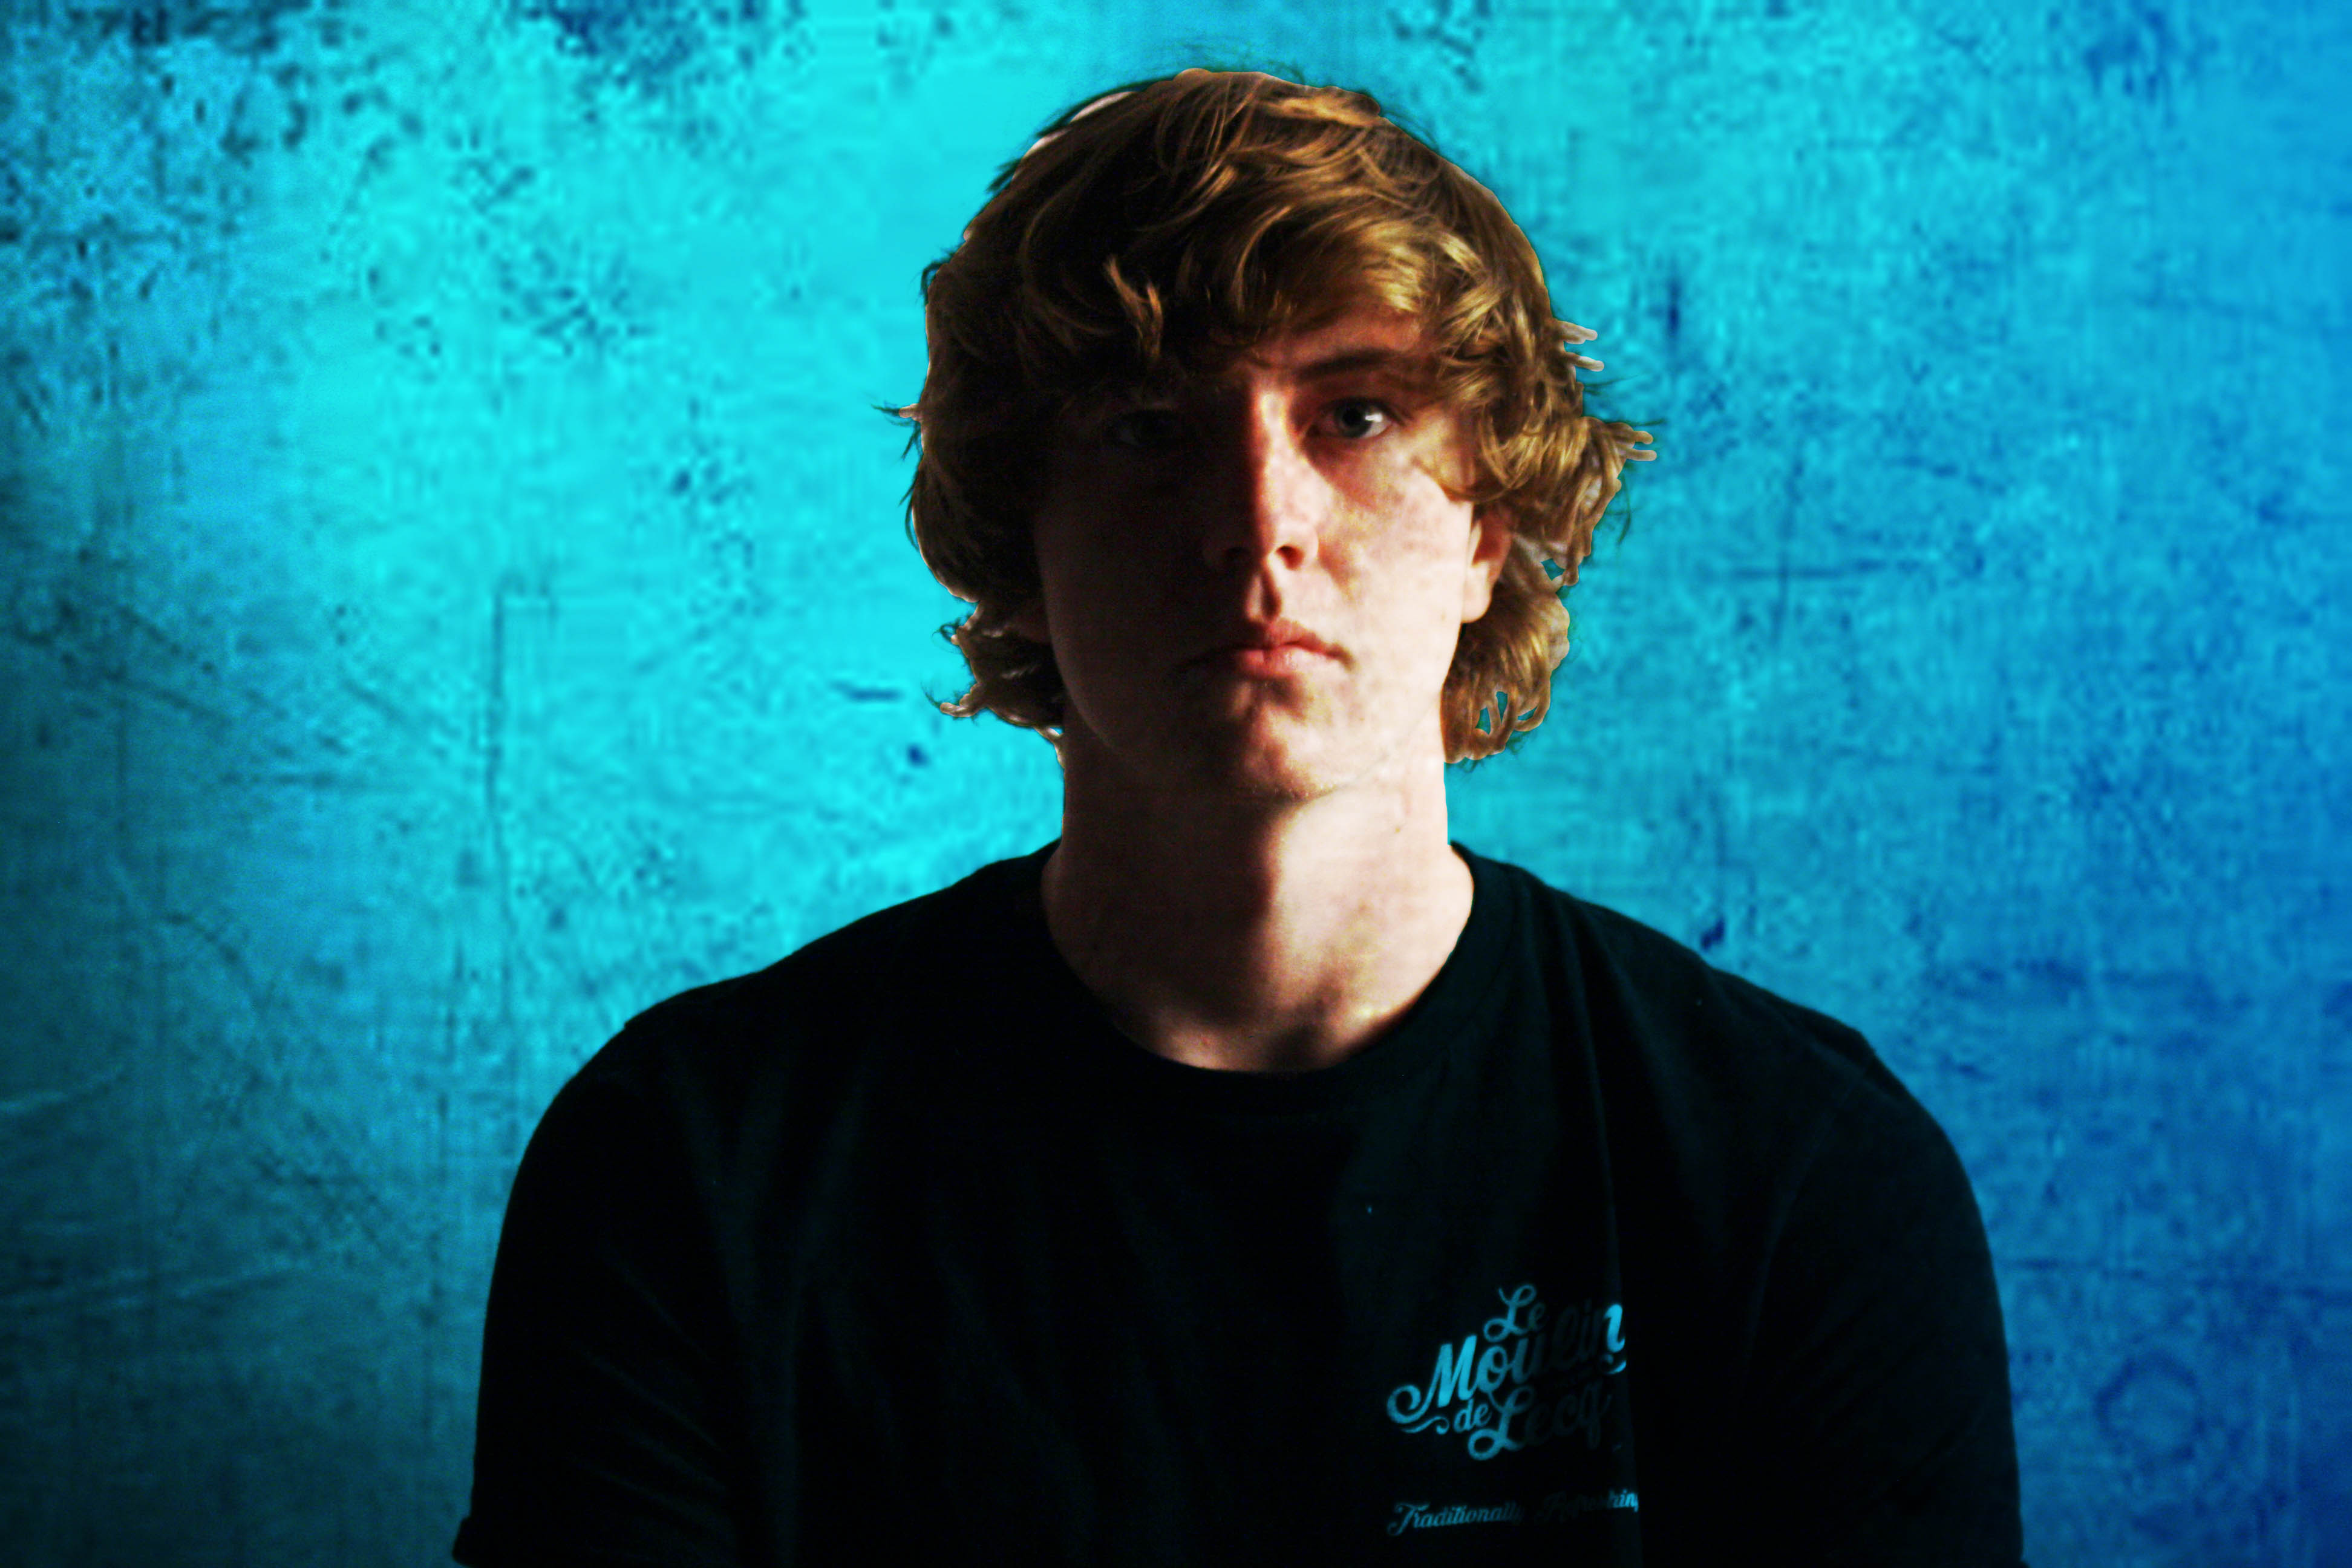
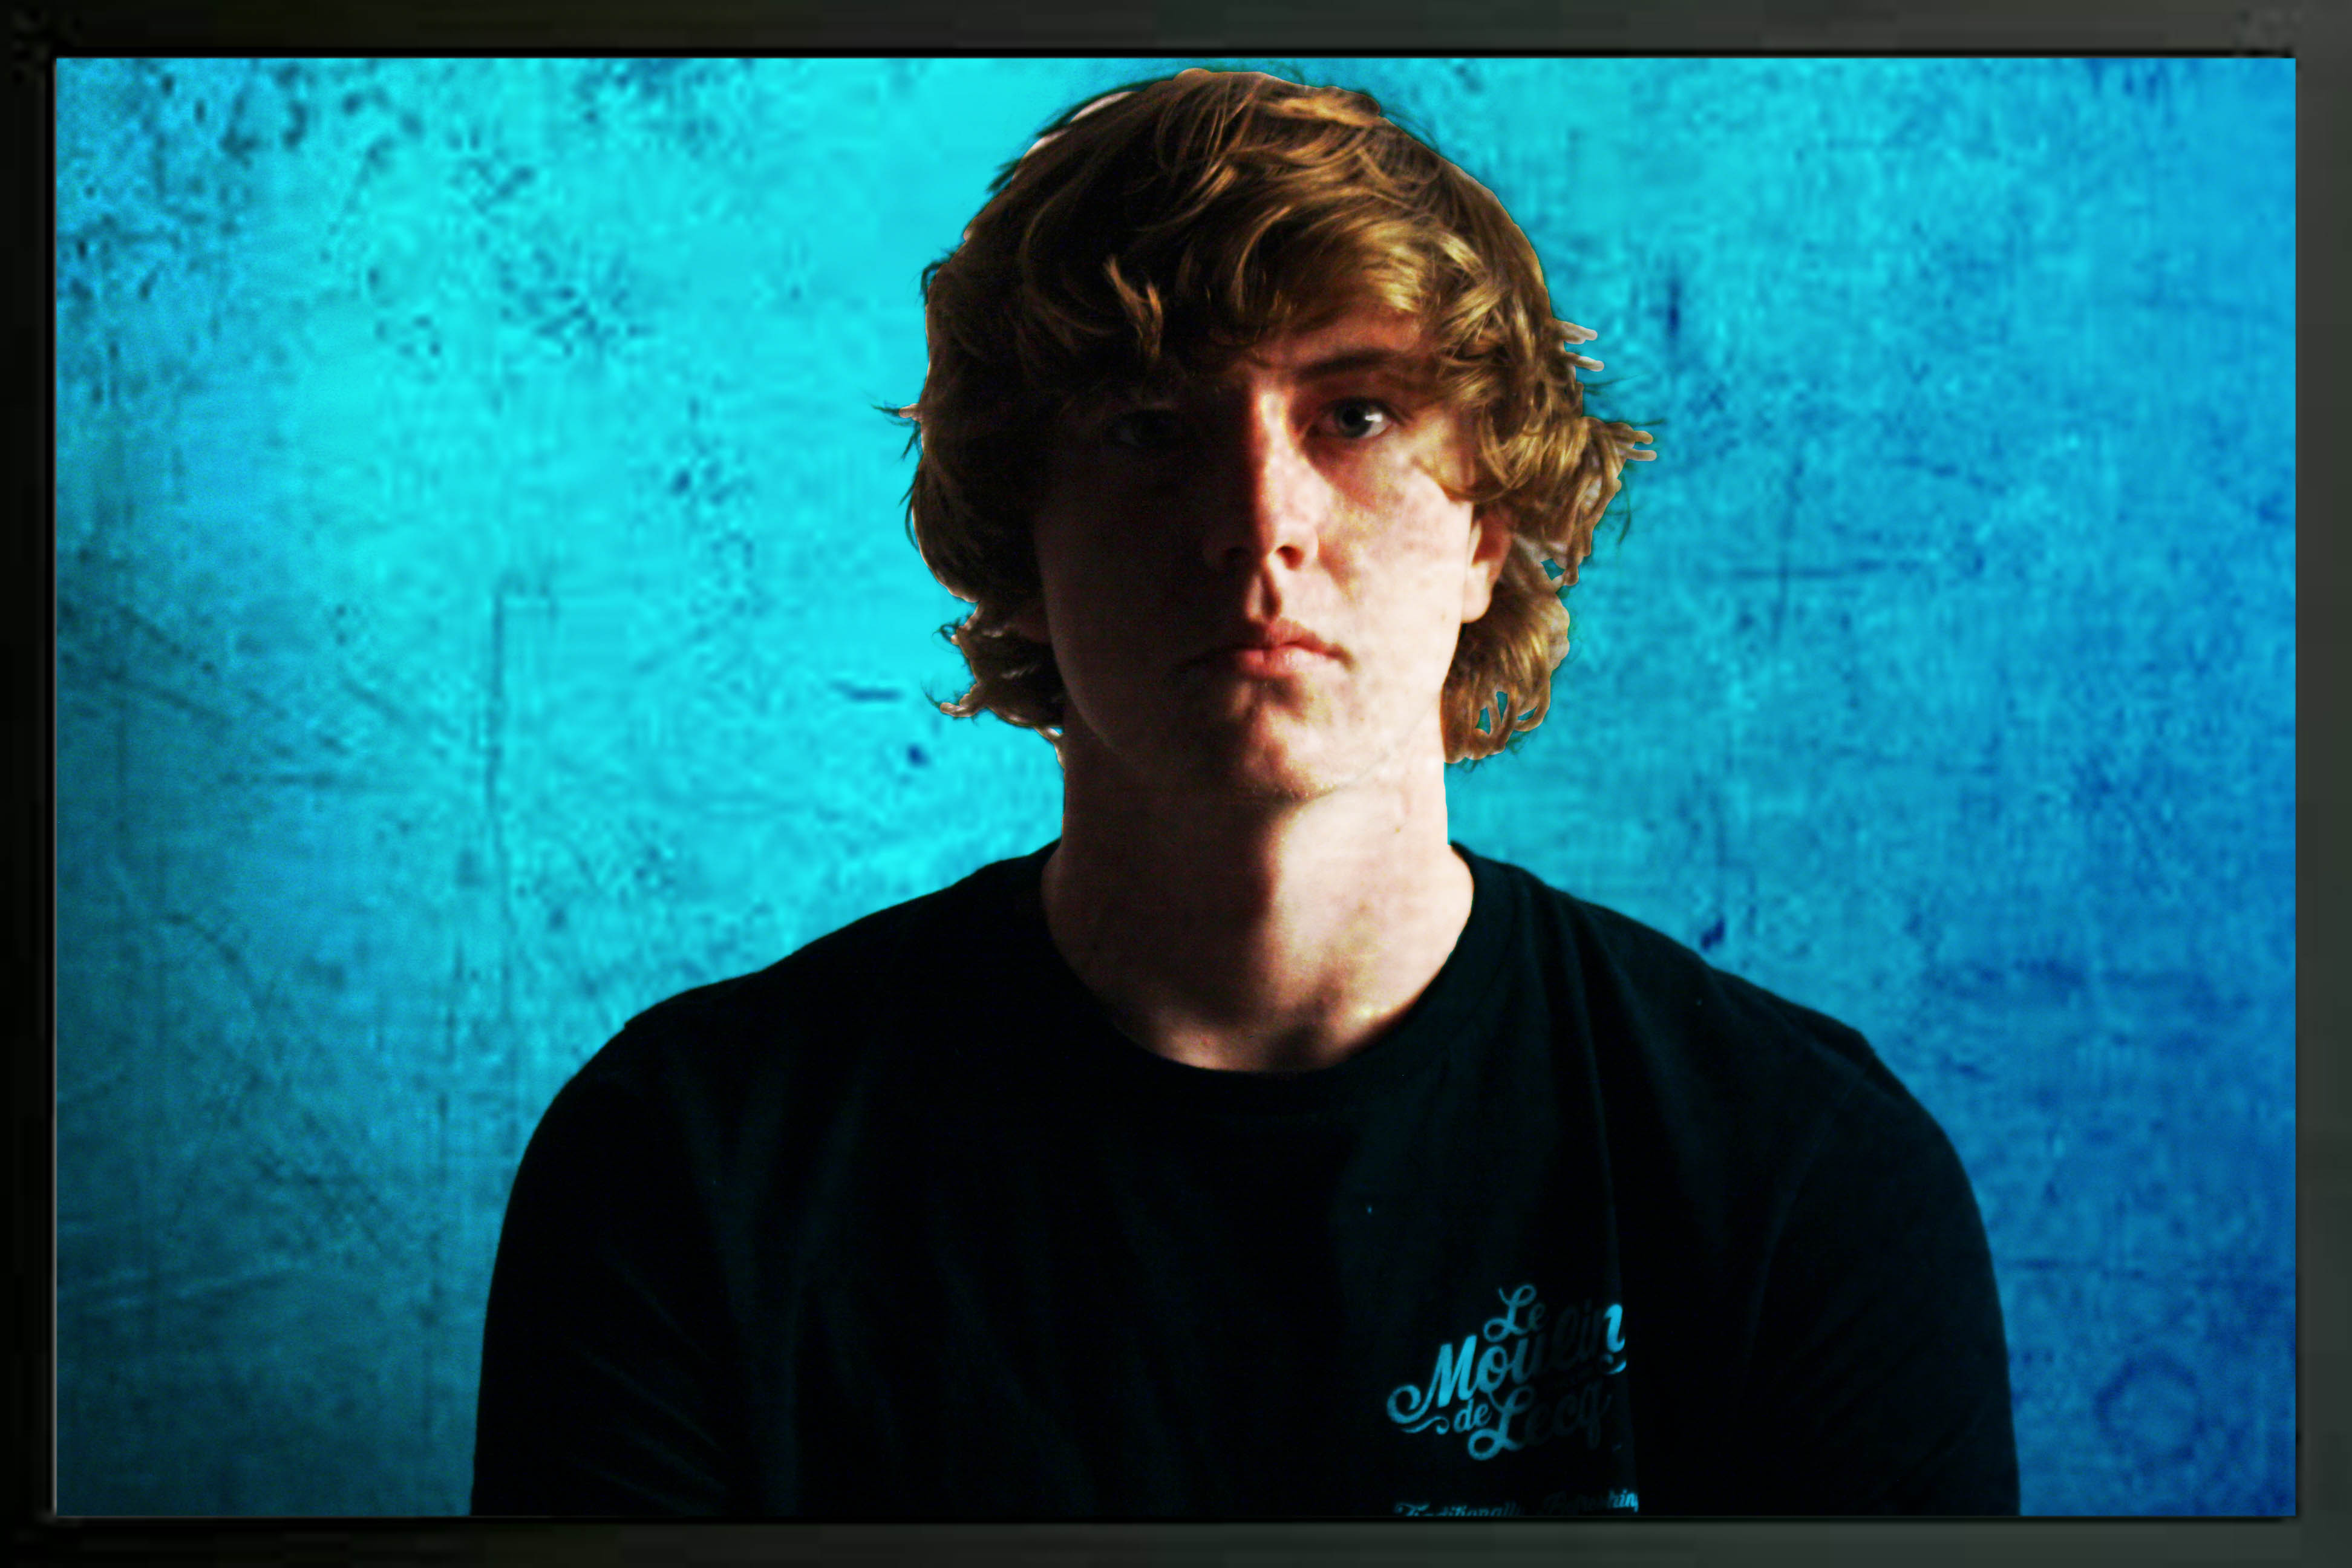
At the start chose 2 images. From here I used the lasso tool to select the objects face. Then after this, Here I selected the layer mask at the bottom of the page and selected the solid colour option with a light blue to compliment the facial expression of the object. Underneath the layers option, after clicking on the tool bar, I selected multiply. After doing this, I adjusted the opacity of each layer. Finally, I then added a black frame to the photograph to add depth.