Category Archives: Uncategorized
Filters
Camera Handling Skills
Focal Length

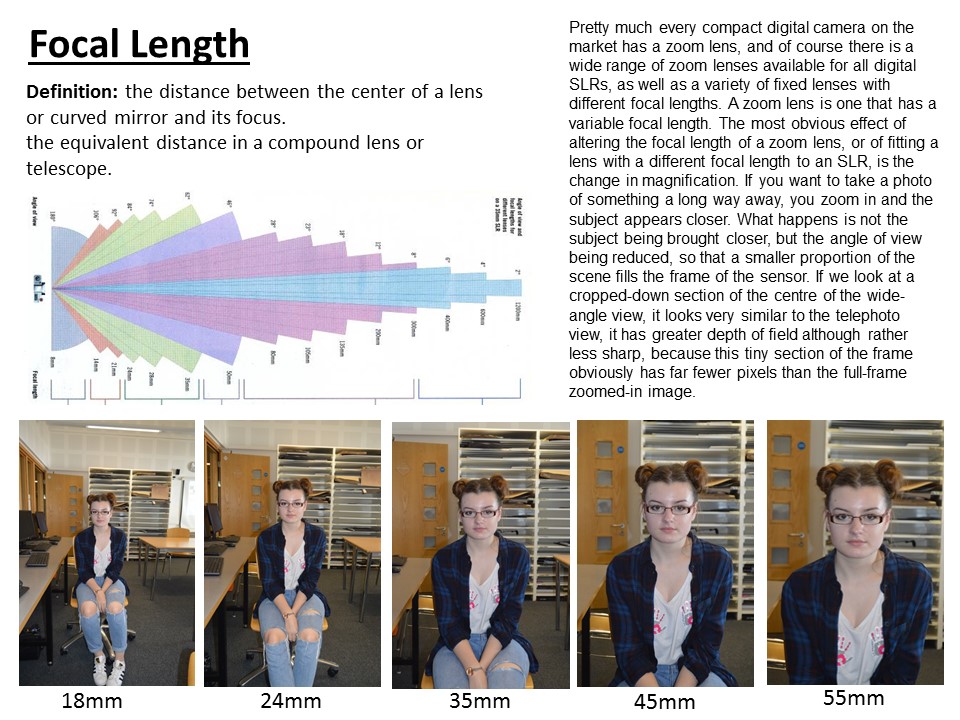
The focal length of the lens is the distance between the lens and the image sensor when the subject is in focus, usually stated in millimeters. The focal length tells us the angle of view, the magnification and how large the individual elements will be. The longer the focal length, the narrower the angle of view and higher the magnification. The shorter the focal length, the wider the angle of view and the lower the magnification.
Depth of Field
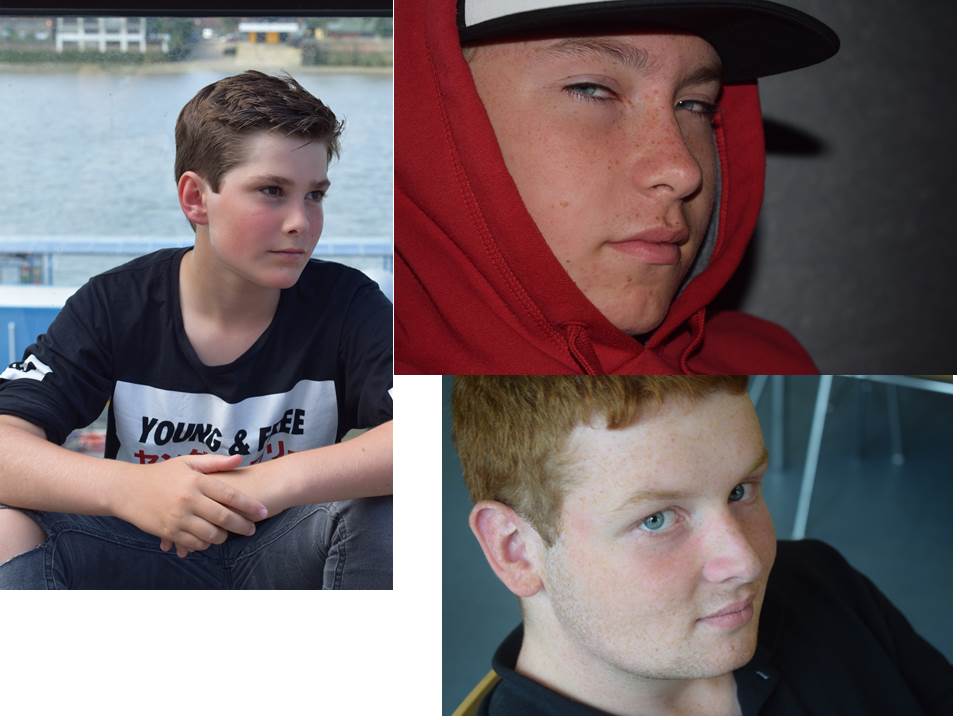
Here is some examples of depth of field. Depth of Field is the distance between the nearest and the furthest objects that give an image. Here I have used depth of field in all three of these pictures.Three things that will affect how you control the depth of field of your images are aperture, distance from the thing you a taking a photo of to the camera.
View Point
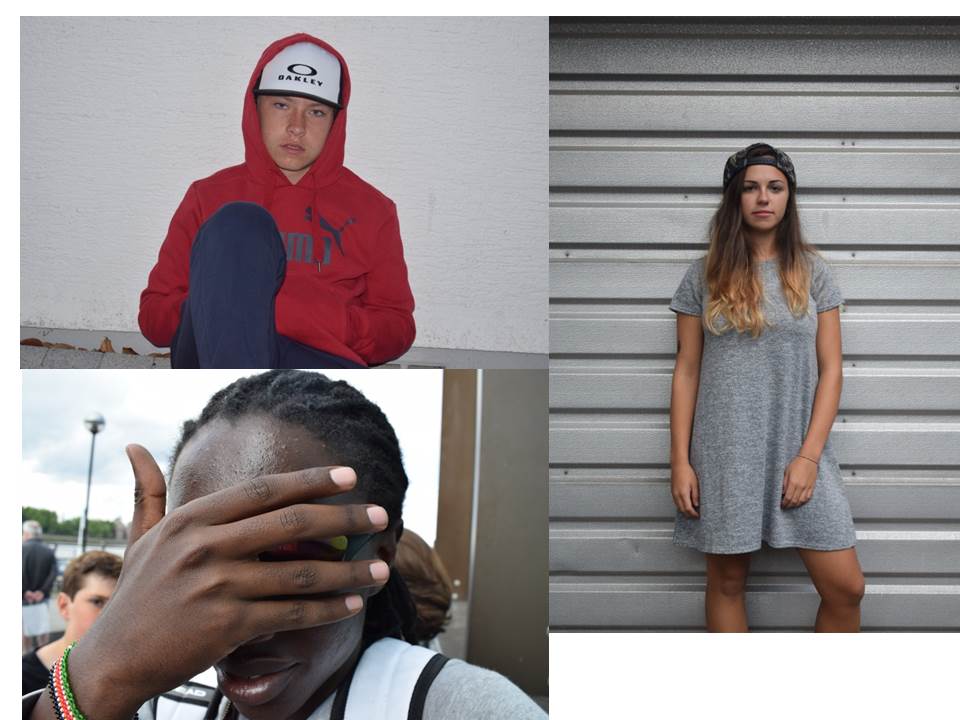
Eye Level- The camera is held by the photographer and shot at the same height level with the eyes of the objects that will be the object of the photo. This forms a flat angle between objects with a camera.
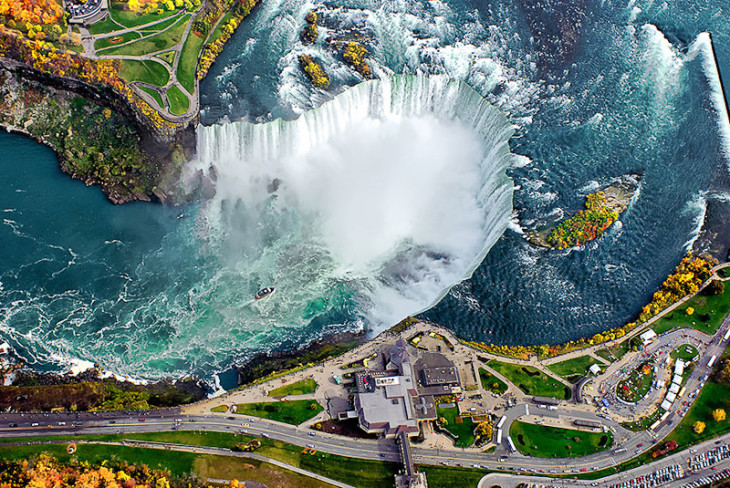
Bird eye-Generally bird’s eye view done in a place that has a height of more distant objects separately from the camera. This view is like you are looking through a birds eyes as it it says in the name.
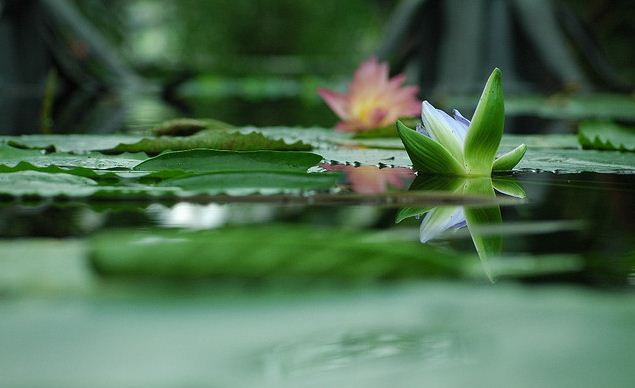
Frog eye– The image is taken with the camera closer as close to the floor. This angle is quite difficult to take, especially for the type of camera that does not have flexible lcd screen.
Angles
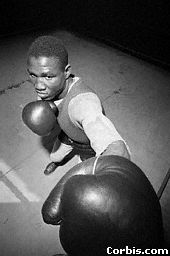
High Angle-High angle is an angle that is used to create a low impression of the image object . High angle is the angle of the picture were taken from above the eye line. The camera is placed above, highlight the object from top to the bottom. This makes the audience feel the subject of photography has widened perspective from the top and smaller at the bottom.
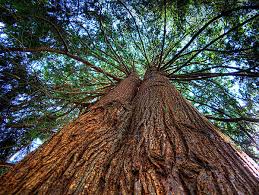
Low Angle-Low Angle is an angle that is used to create impression of height, sturdy and elegant. The shooting is done from the bottom of the object of picture, so that the object is higher than the camera. This creates the impression of images perspective that have up impression and form like a cone.
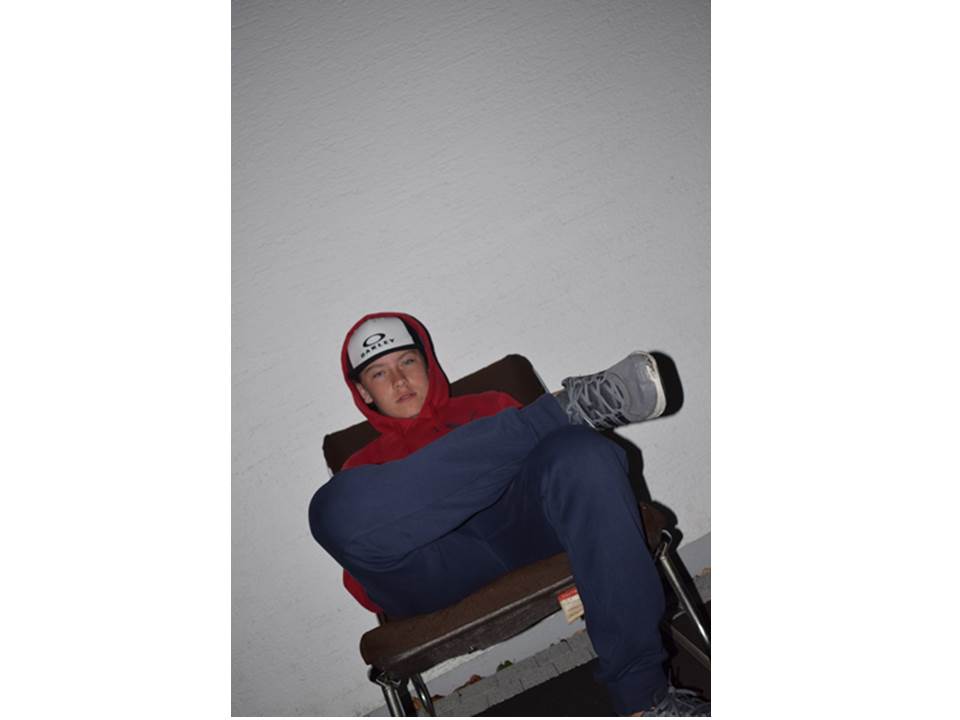
Canted Angle- is a type of camera shot where the camera is set at an angle on its roll axis so that the shot is composed with vertical lines at an angle to the side of the frame, or so that the horizon line of the shot is not parallel with the bottom of the camera frame.
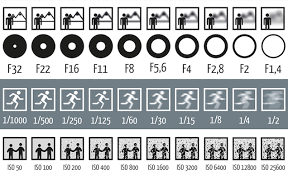
Aperture-your aperture opens up and lets more light into the camera sensor and increases your shutter speed. For your 18-105mm lens, the aperture varies between f/3.5 and f/5.6, so try to keep it in that range.
Shutter speed- is the length of time when the film or digital sensor inside the camera is exposed to light, also when a camera’s shutter is open when taking a photograph
ISO- this measures the sensitivity of the image sensor. The lower the number the less sensitive your camera is to light and the finer the grain. Higher ISO settings are generally used in darker situations to get faster shutter speeds.
Environmental Portraits-Shoot 3
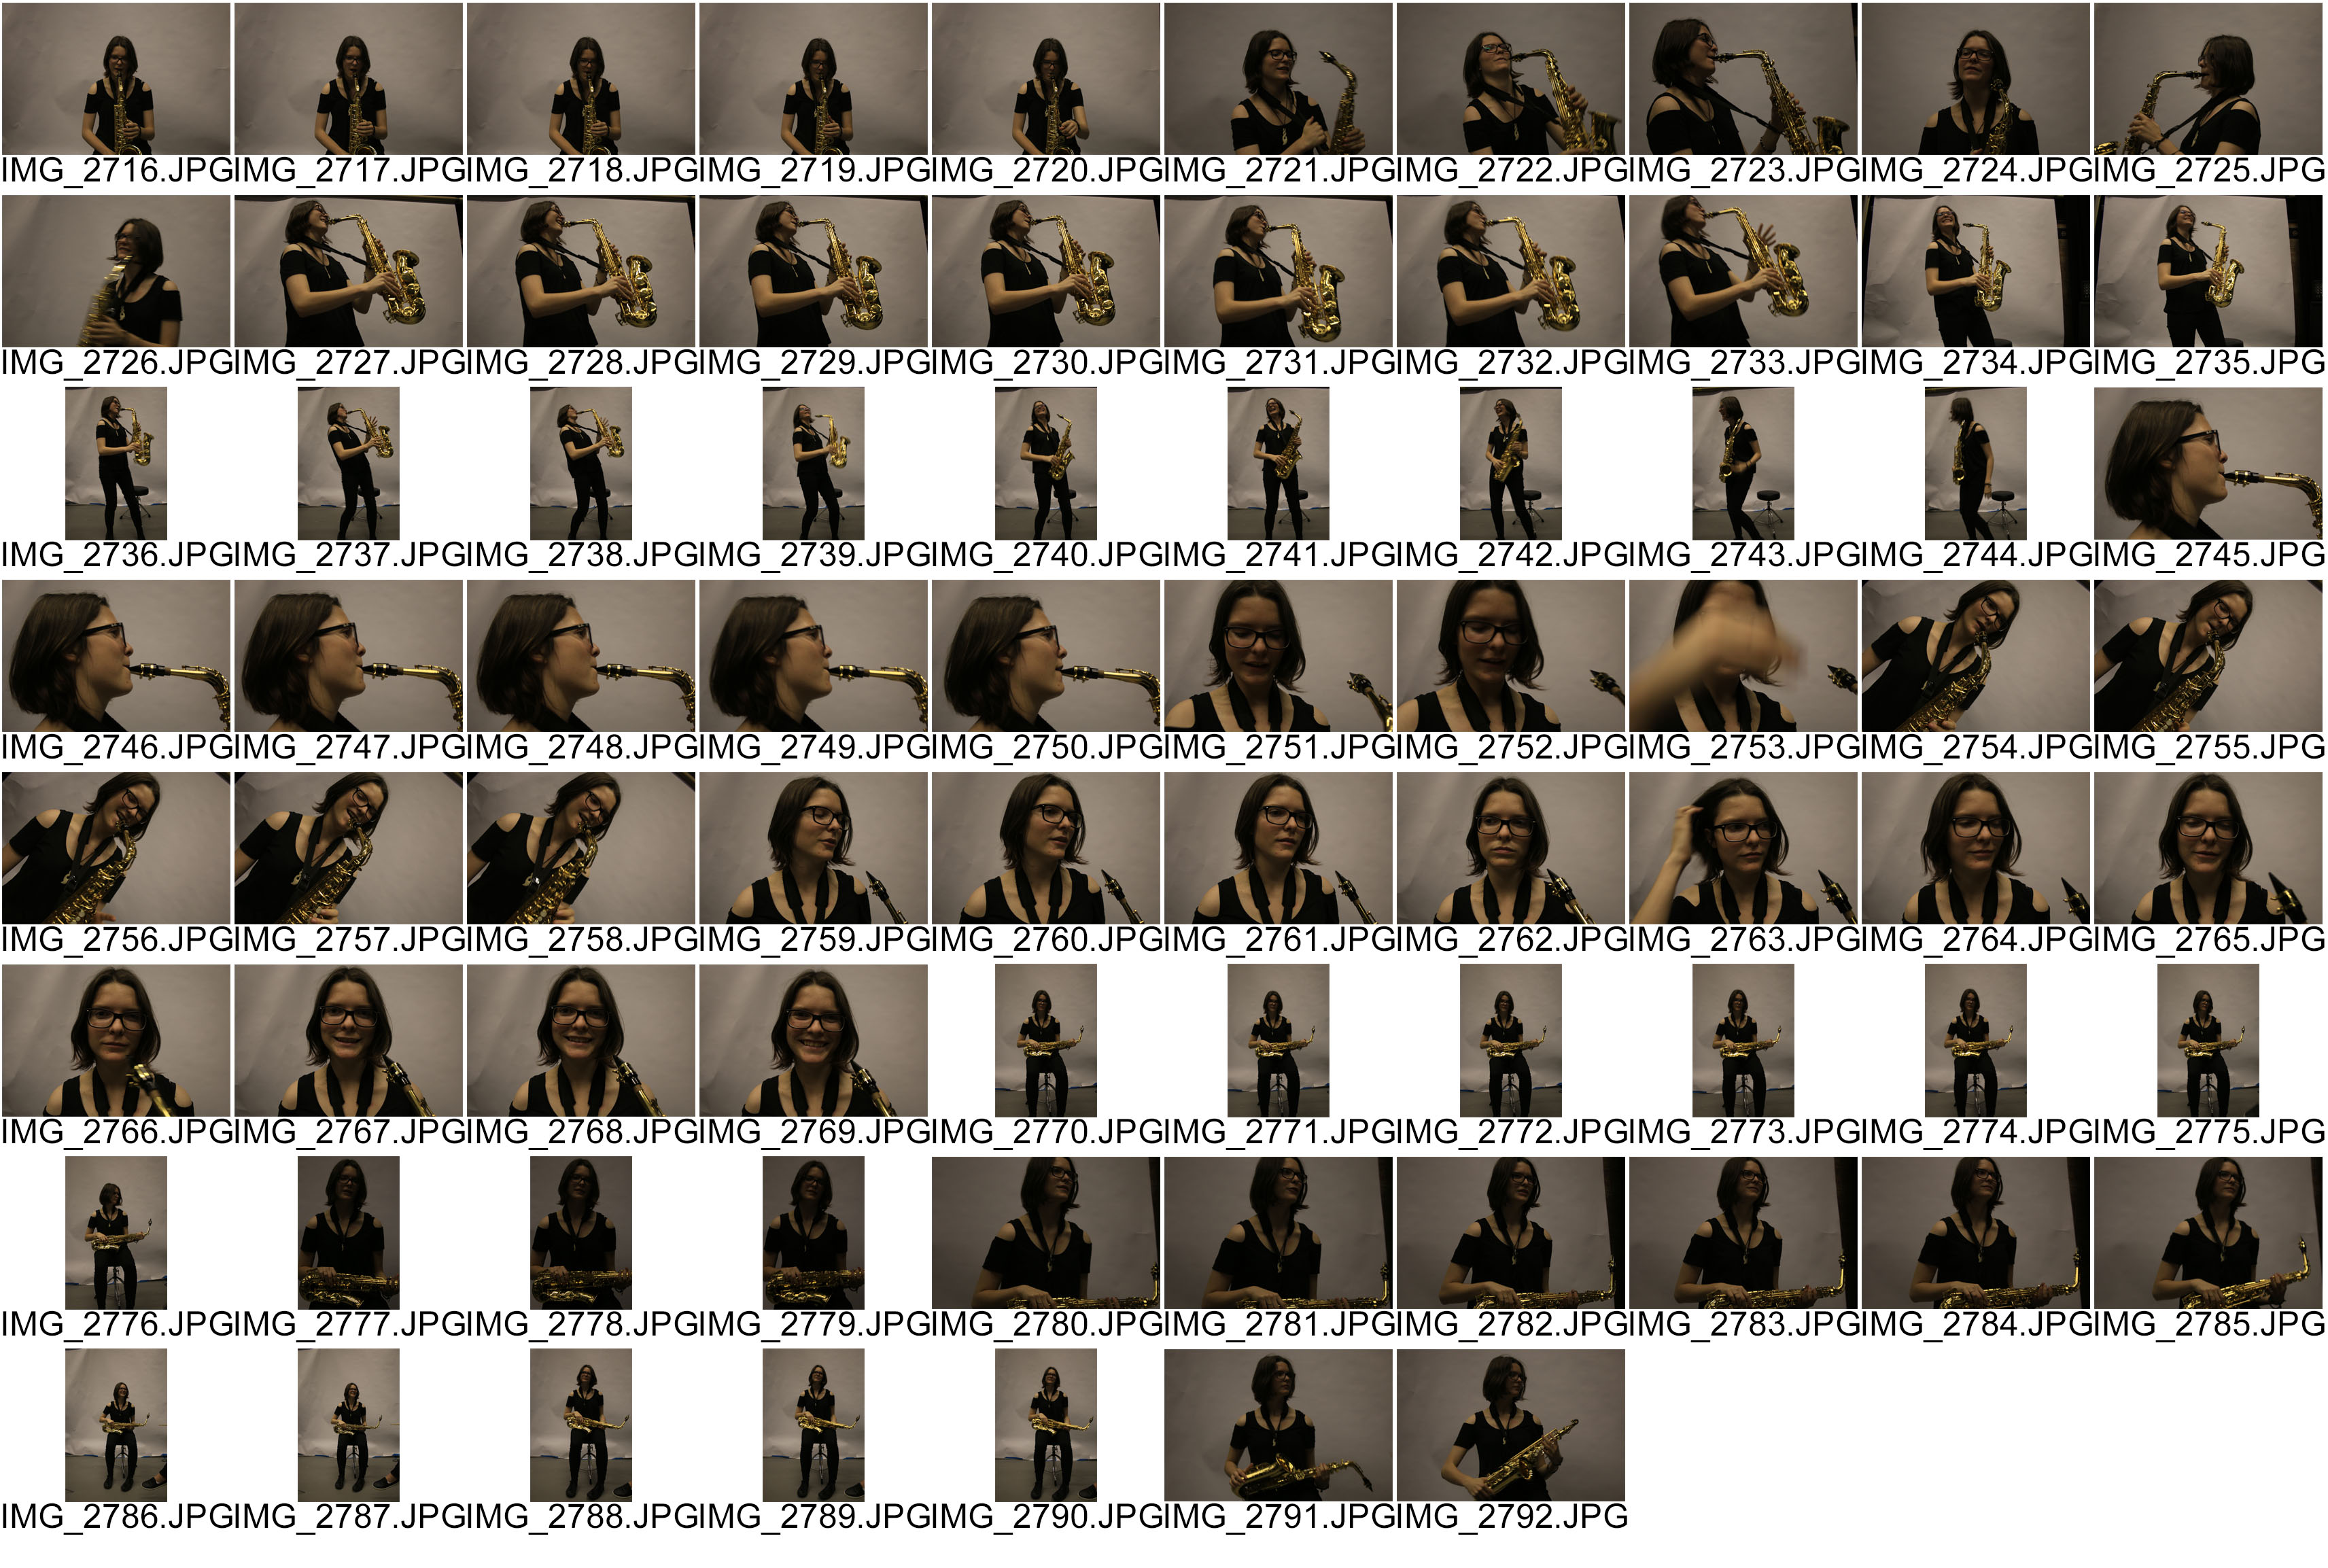
Environmental Portraits-Shoot 2
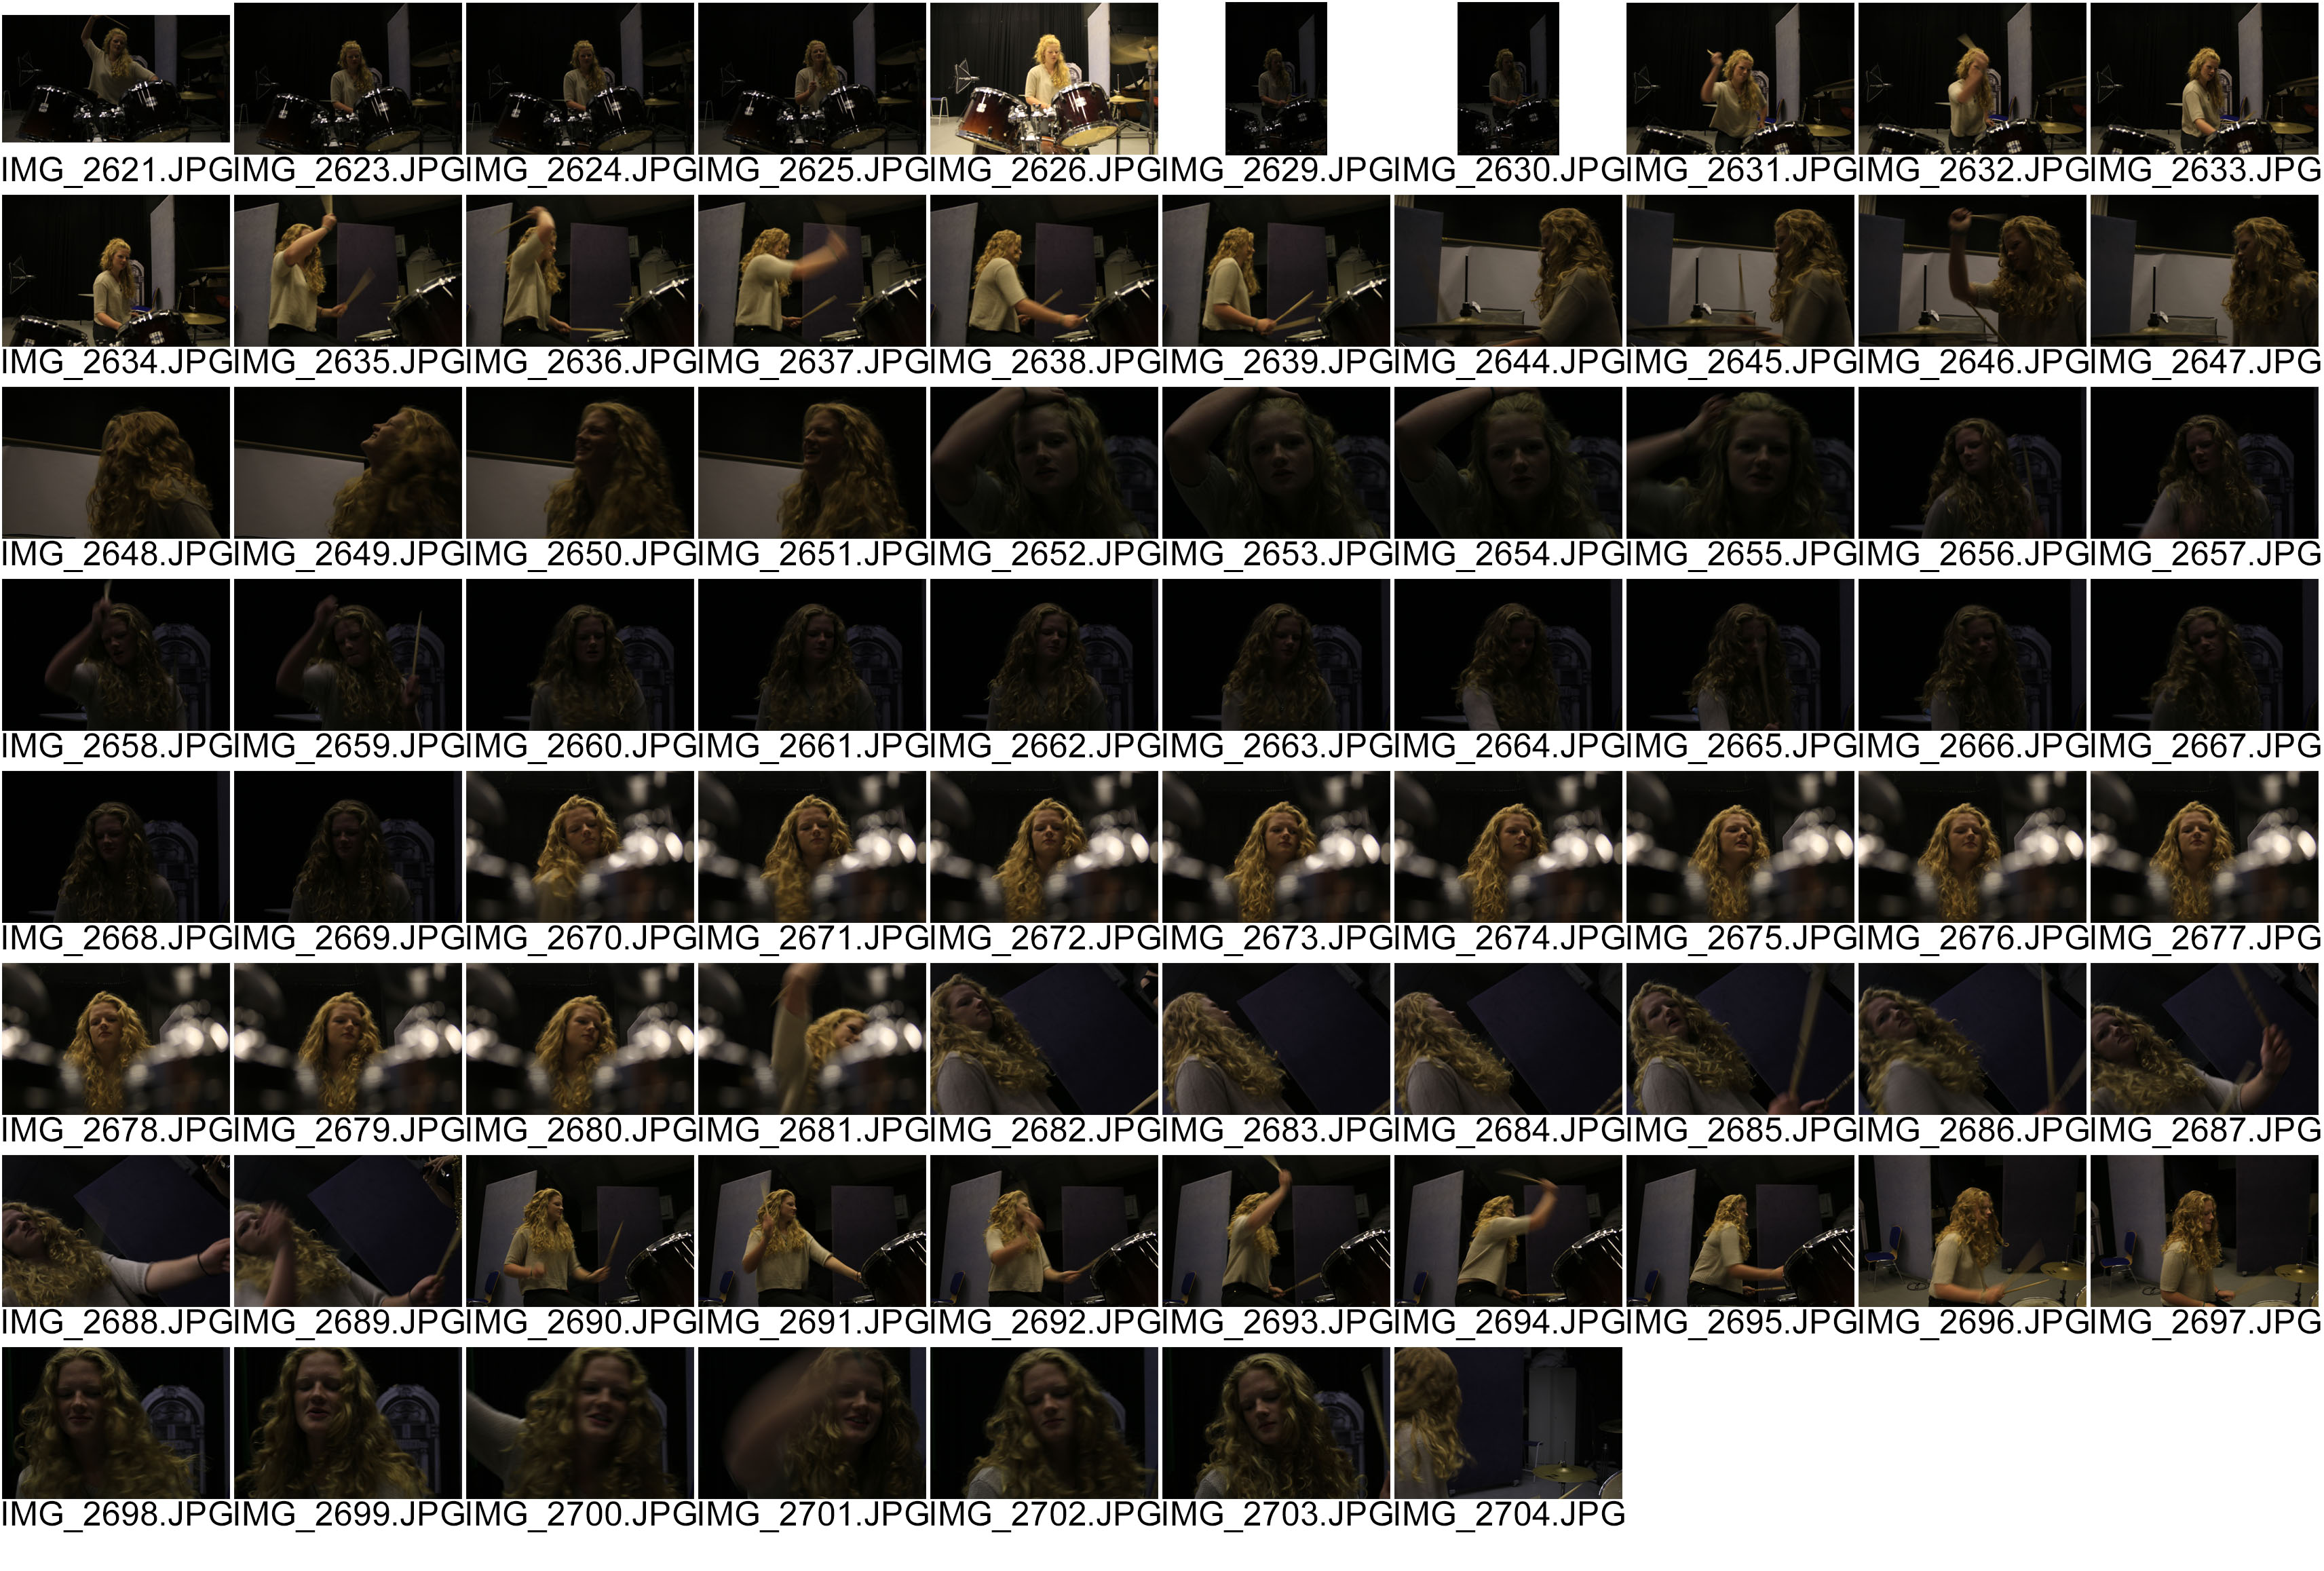
For my second Environmental portrait shoot, I took photos of my friend who is amazing at playing the drums . We decided to take the photos in a recording studio. We experimented with different angles and a different IOS.
Colour splashing
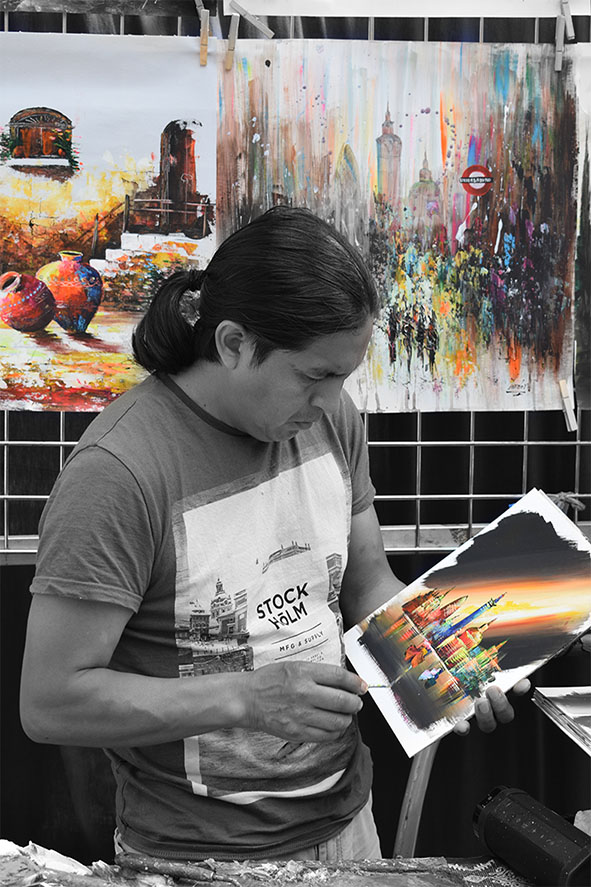
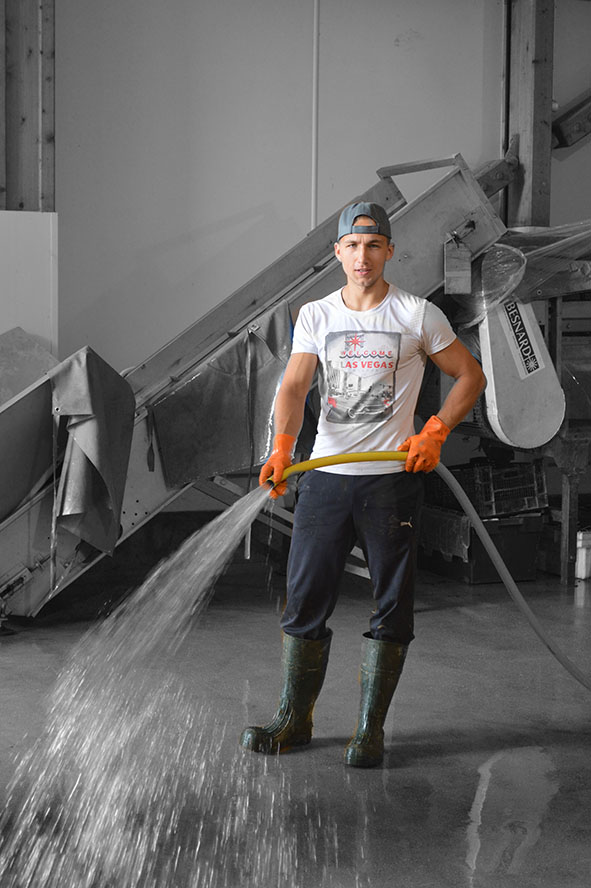
I have created a colour splash. I did this by making the image black and white then using the brush tool I started to add colour to certain parts of the picture. I chose to add colour to his art because they’re the main parts of the photo and have the most colour. By making the man black and white makes the colours in his pictures more noticeable.
Experimenting – Colour Switching

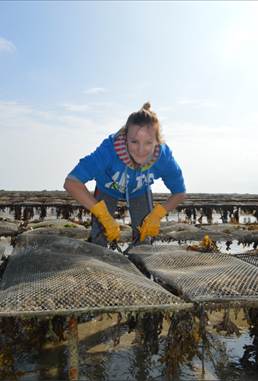
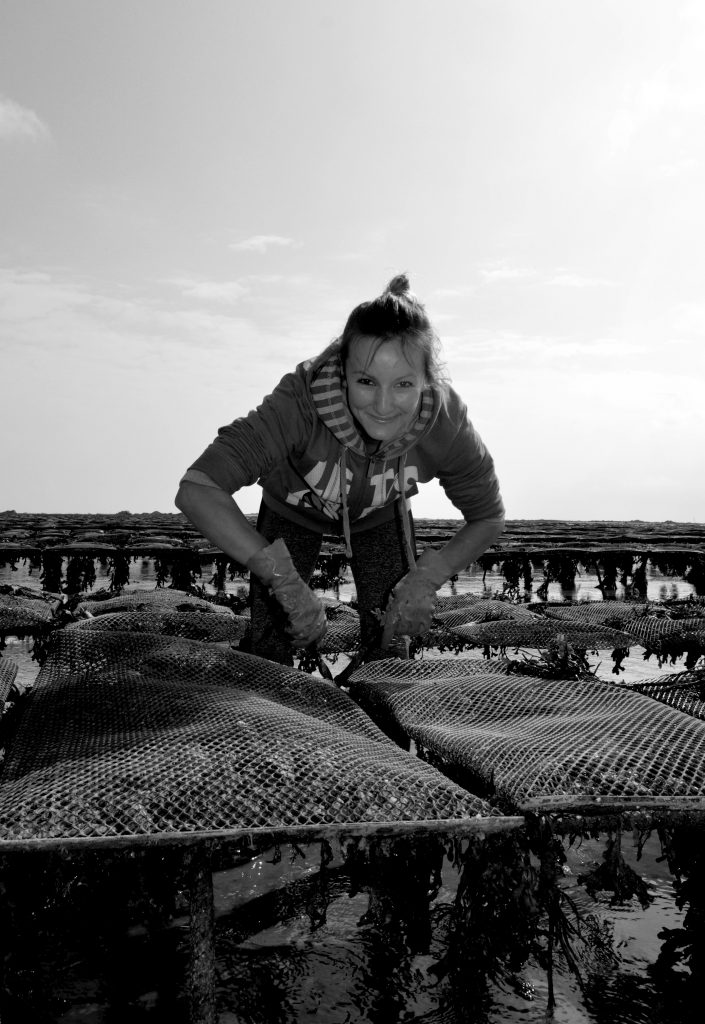
I didn’t crop this image much because i really like the placement of the person and the background. The woman is breaking the rule of thirds and is in the centre of the image making her the focal point. Depth of field is then all throughout the image created by the oyster beds around the model. the are in the foreground, mid and background creating lots of depths. The oyster beds also break the rule of thirds creating a strict line through the middle making there two separate parts of the image that the woman holds together.The two sections of the image create high contrast between light and dark also giving the photo more depth. the line through the middle of the photograph gives the image leading lines and takes your eye across the centre of the image. i really like this photo because she is looking at the camera whilst doing work which makes it a good Environmental portrait.
More Edits using Adobe Photoshop
Environmental Portrait Edits using Adobe Photoshop
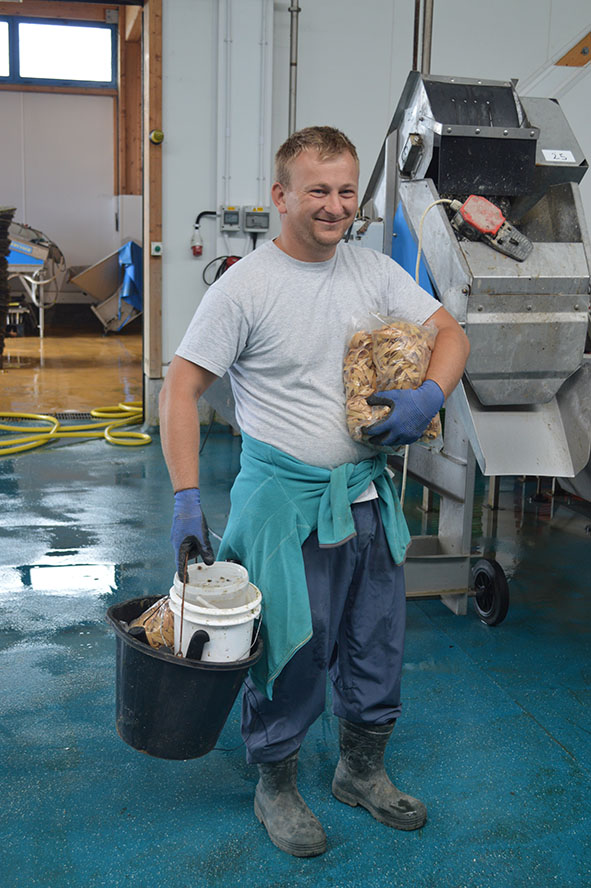
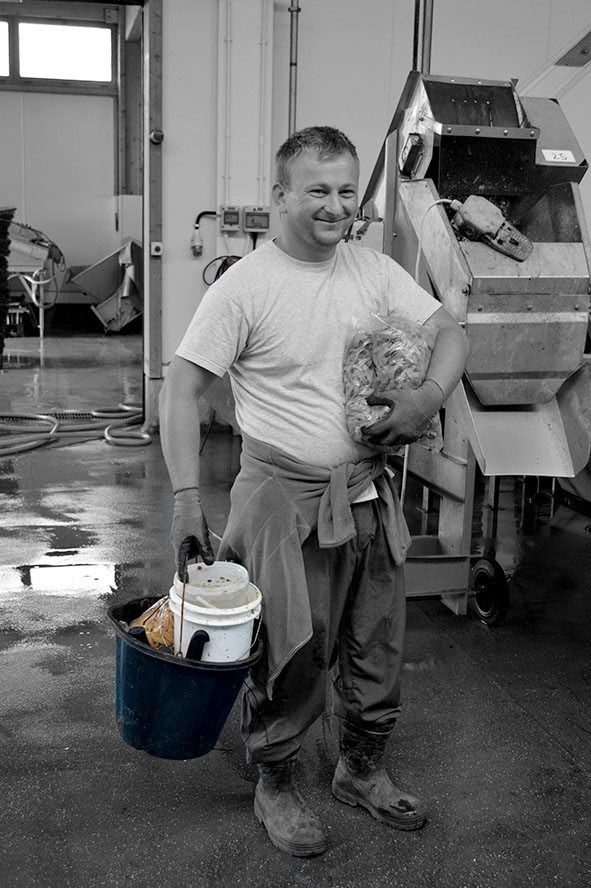
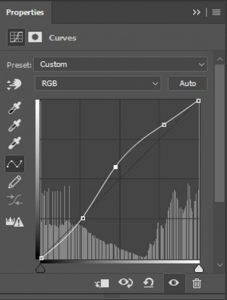
This is the original and the edited version of one of my environmental portrait images. We used the Adobe Photoshop to edit the image. To begin with, I cropped the image to get rid of some of the background, so the foreground filled more of the image. I then experimented with the saturation , by either making it more saturated or less saturated. I decided to make my image black and white, because it creates a natural vintage feel to the image. Once I had done the saturation, I then slightly adjusted the contrast of the image, so that the image looked more defined. To finish I flattened the image.
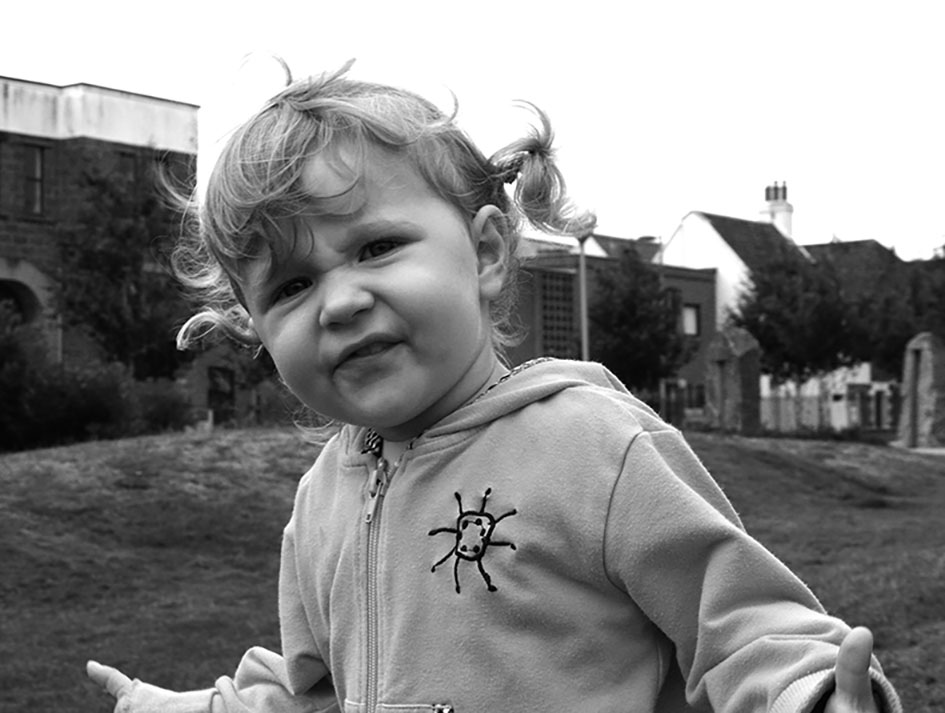
When editing my image, I tried applying the rule of thirds so that the photo looked more pleasing to the eye. I also really like the use of the natural light in this image because it softly eliminates the girls face and features.
Environmental portraits edits using Adobe Photoshop
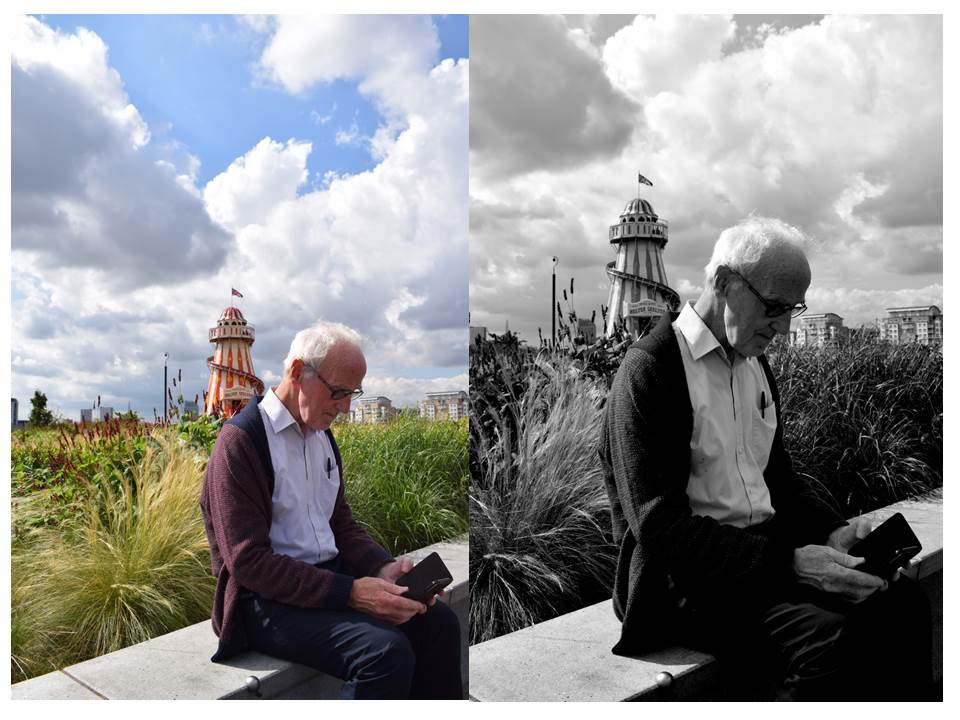
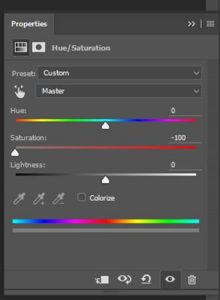
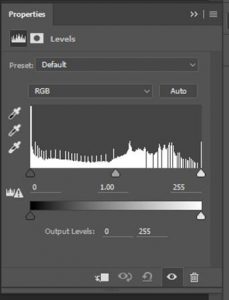
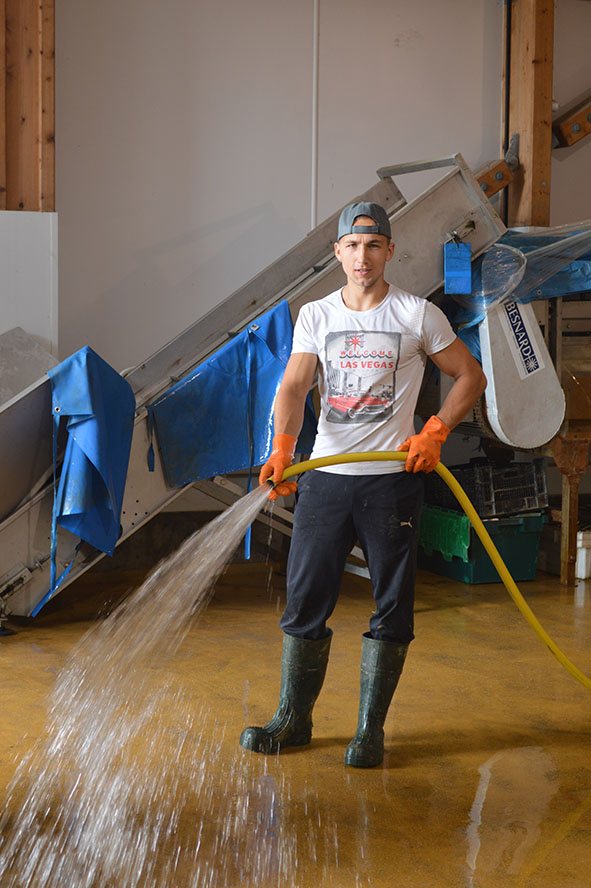
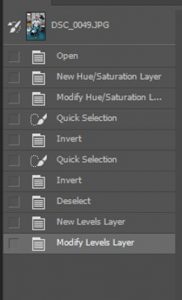
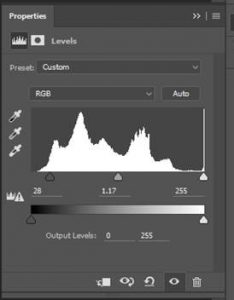
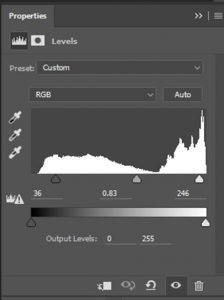
When editing this photo I cropped out all the unimportant things of the image and focused on the man. I then de-saturated the photograph by using the saturation tool and turning it to -100. This took all the colour out the photograph. I then adjusted the contrast using the levels tool. This allowed me to adjust the dark’s, grey’s and whites of the image. Then I combined all these layers to create one picture by using flatten image.
