Category Archives: Extension

Filters

Author:
Category:

Extension Tasks…Altered Landscapes

  • Continue researching those photographers of the 1920s and 30s who were interested in capturing the surface qualities of various objects, who subscribed to Edward Weston’s view that “The camera should be used for a recording of life, for rendering the very substance and quintessence of the thing itself, whether it be polished steel or palpitating flesh.” What do you understand by the term ‘The New Vision’ or ‘New Objectivity’ in photography?
  • How and why did photographers break away from the Pictorialism of the pre-war period? What impact did the First World War and the Russian Revolution have on photographers’ attitudes to their practice?
  • What was the influence of the invention of the Leica hand held camera?
  • Make a list of different types of surface, material or object. For example: rough stone, well trodden earth, a mirror, the back of a hand, a dog’s coat, cracked concrete, a wooden door …etc. Once you have completed your list (aim for at least 20 items), set about collecting photographs (using your phone and/or camera) of these various surfaces. Consider how best to capture the qualities of each material. Experiment with framing/cropping, point of view (low angle/high angle) and lighting conditions. Upload your images as a  new album/gallery.
  • Print one or two of these images. Experiment with altering the surface of the prints. Use a list of verbs to help you: scratch, fold, bend, curl, crush, stitch, roll, insert, tear, combine etc. Re-photograph these altered images. Consider using a support for your images by fixing them to a variety of other materials e.g. wood, metal, perspex, glass, tinfoil etc. Try partly covering/obscuring your photographs with other materials – paper, cloth, glass, tinfoil etc. What happens?
  • Check out // Dafna Talmor – Constructed Landscapes

  • https://vimeo.com/163832184


Using Photo Archives to explore Our Changing Landscapes

What Are Archives?

In the course of daily life, individuals and organizations create and keep information about their personal and business activities. Archivists identify and preserve these documents of lasting value.

These records — and the places they are kept — are called “archives.” Archival records take many forms, including correspondence, diaries, financial and legal documents, photographs, and moving image and sound recordings. All state governments as well as many local governments, schools, businesses, libraries, and historical societies, maintain archives.


Your task

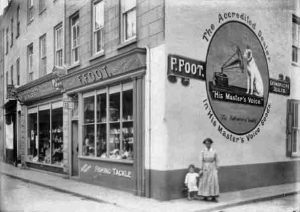
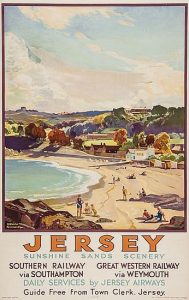
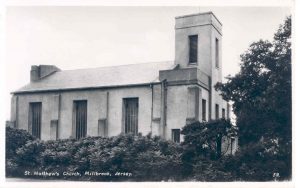
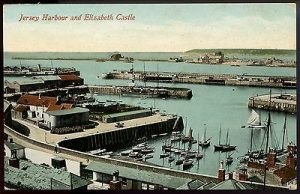
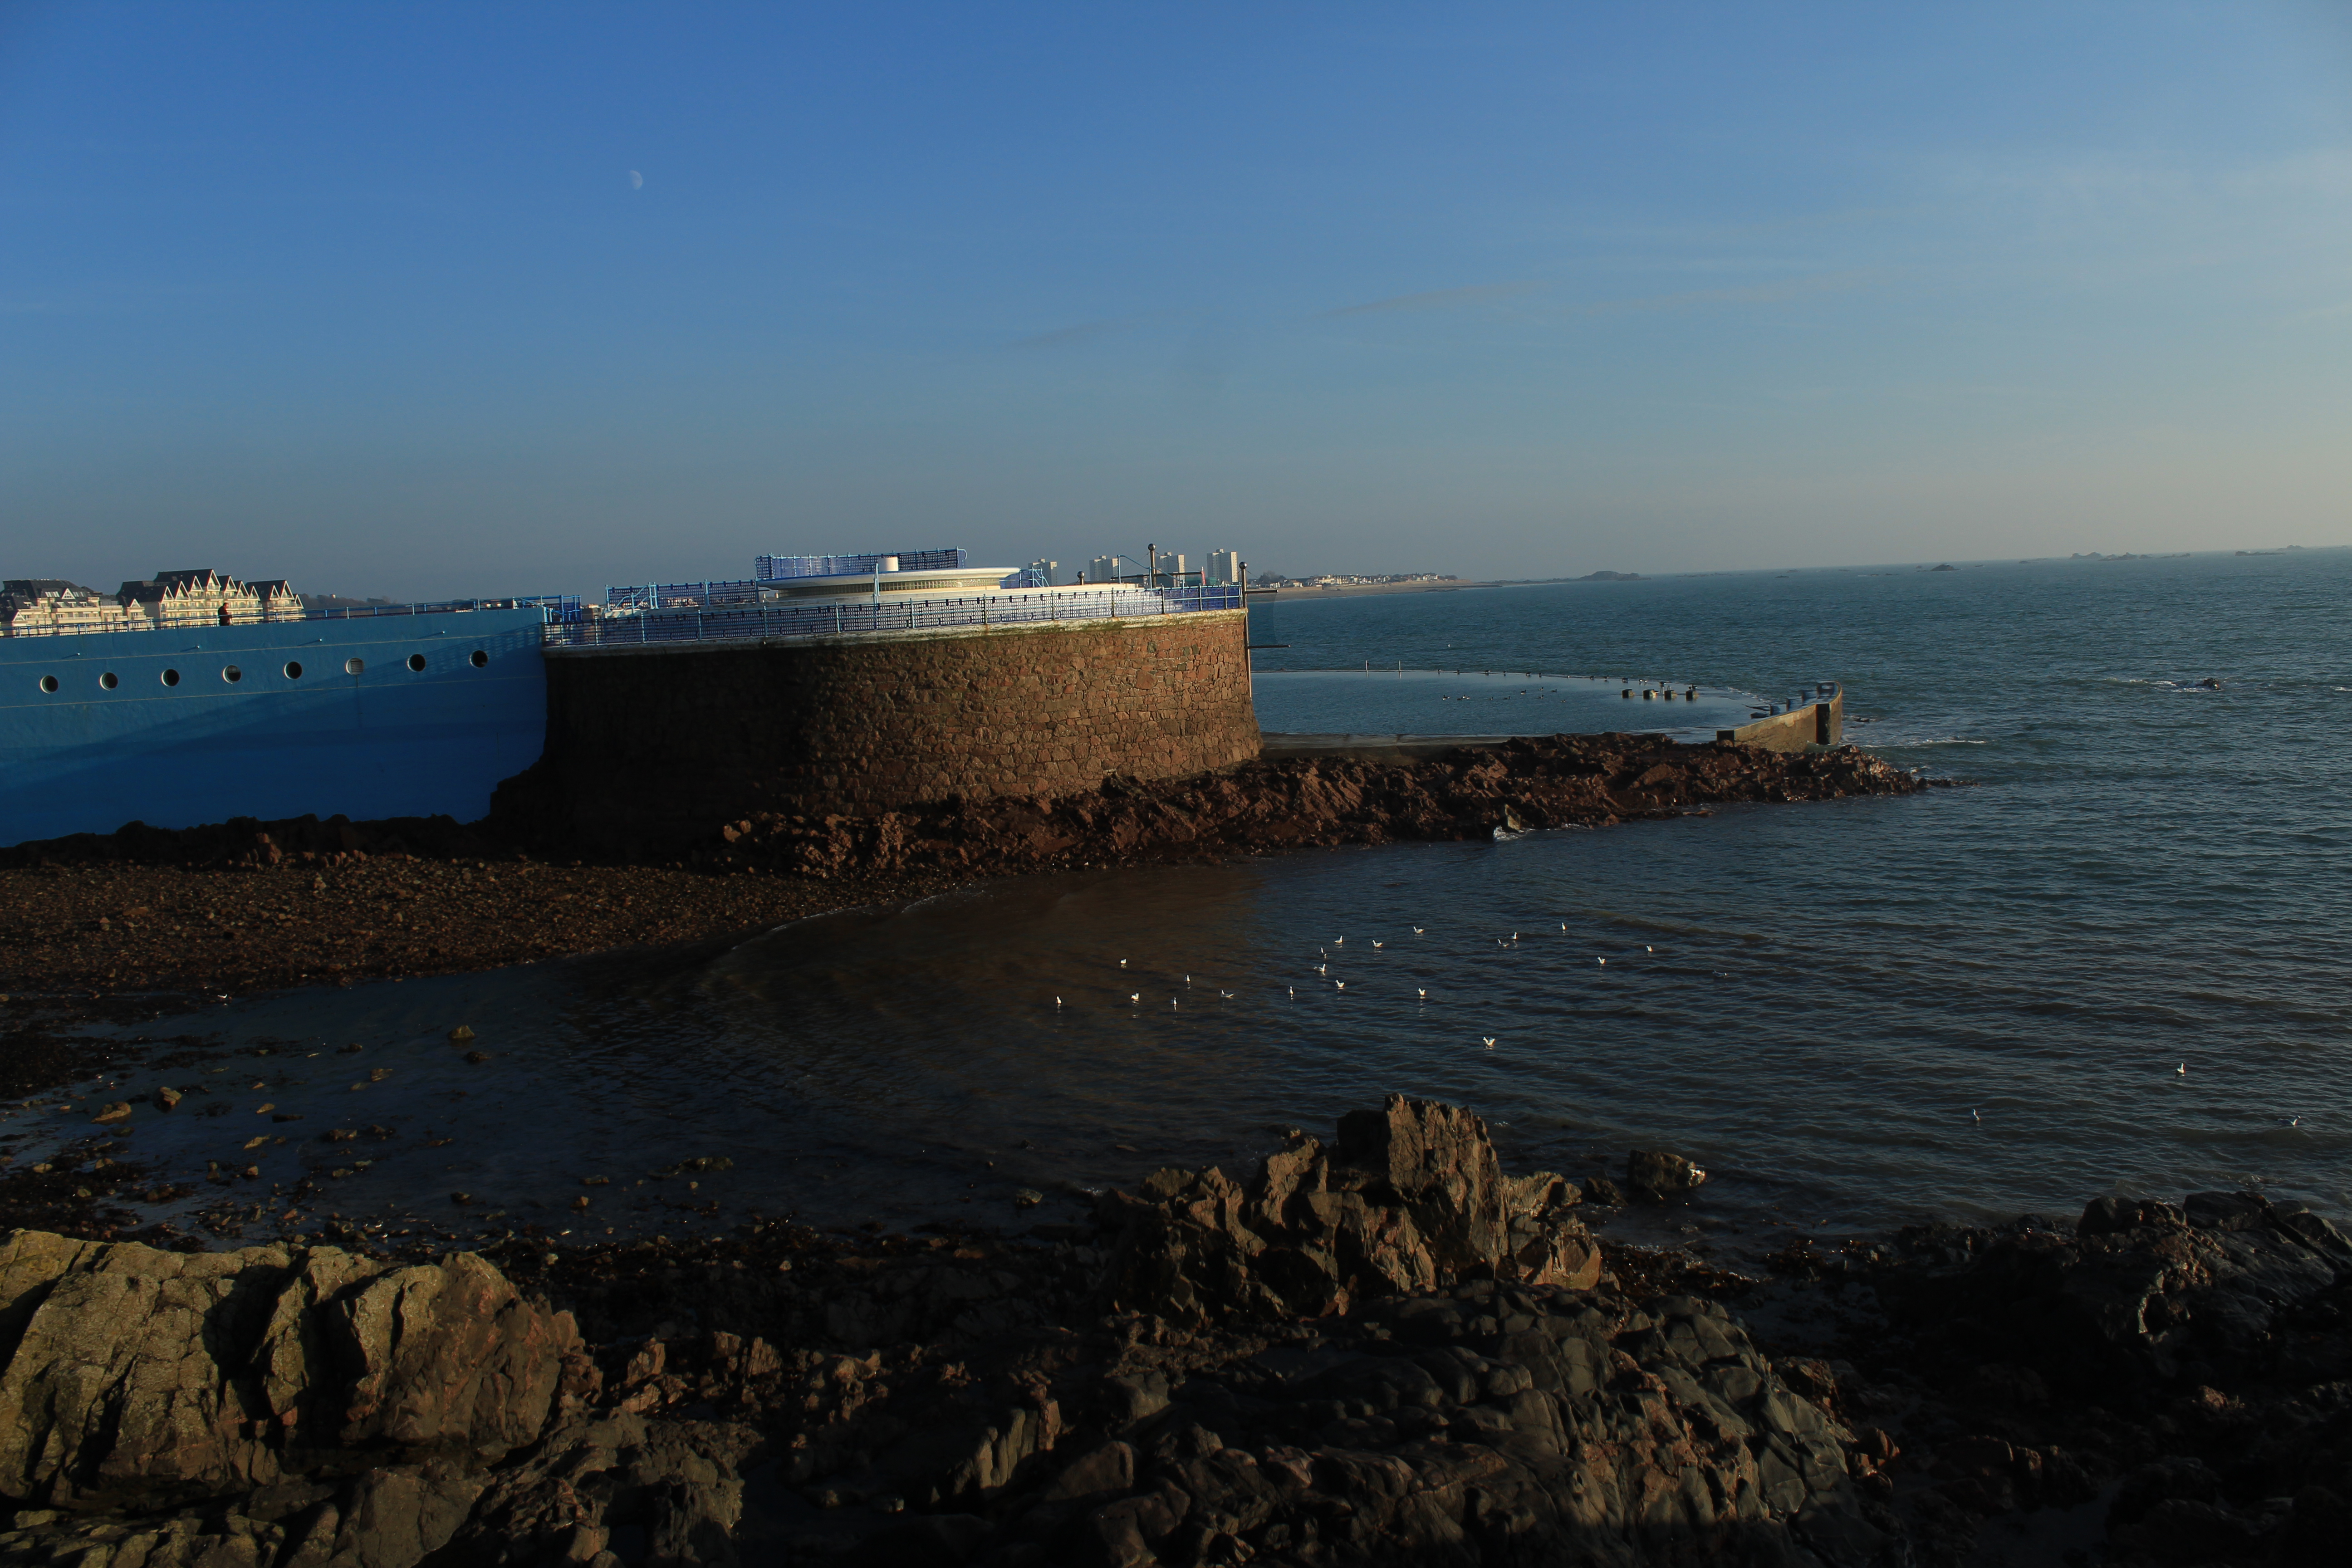
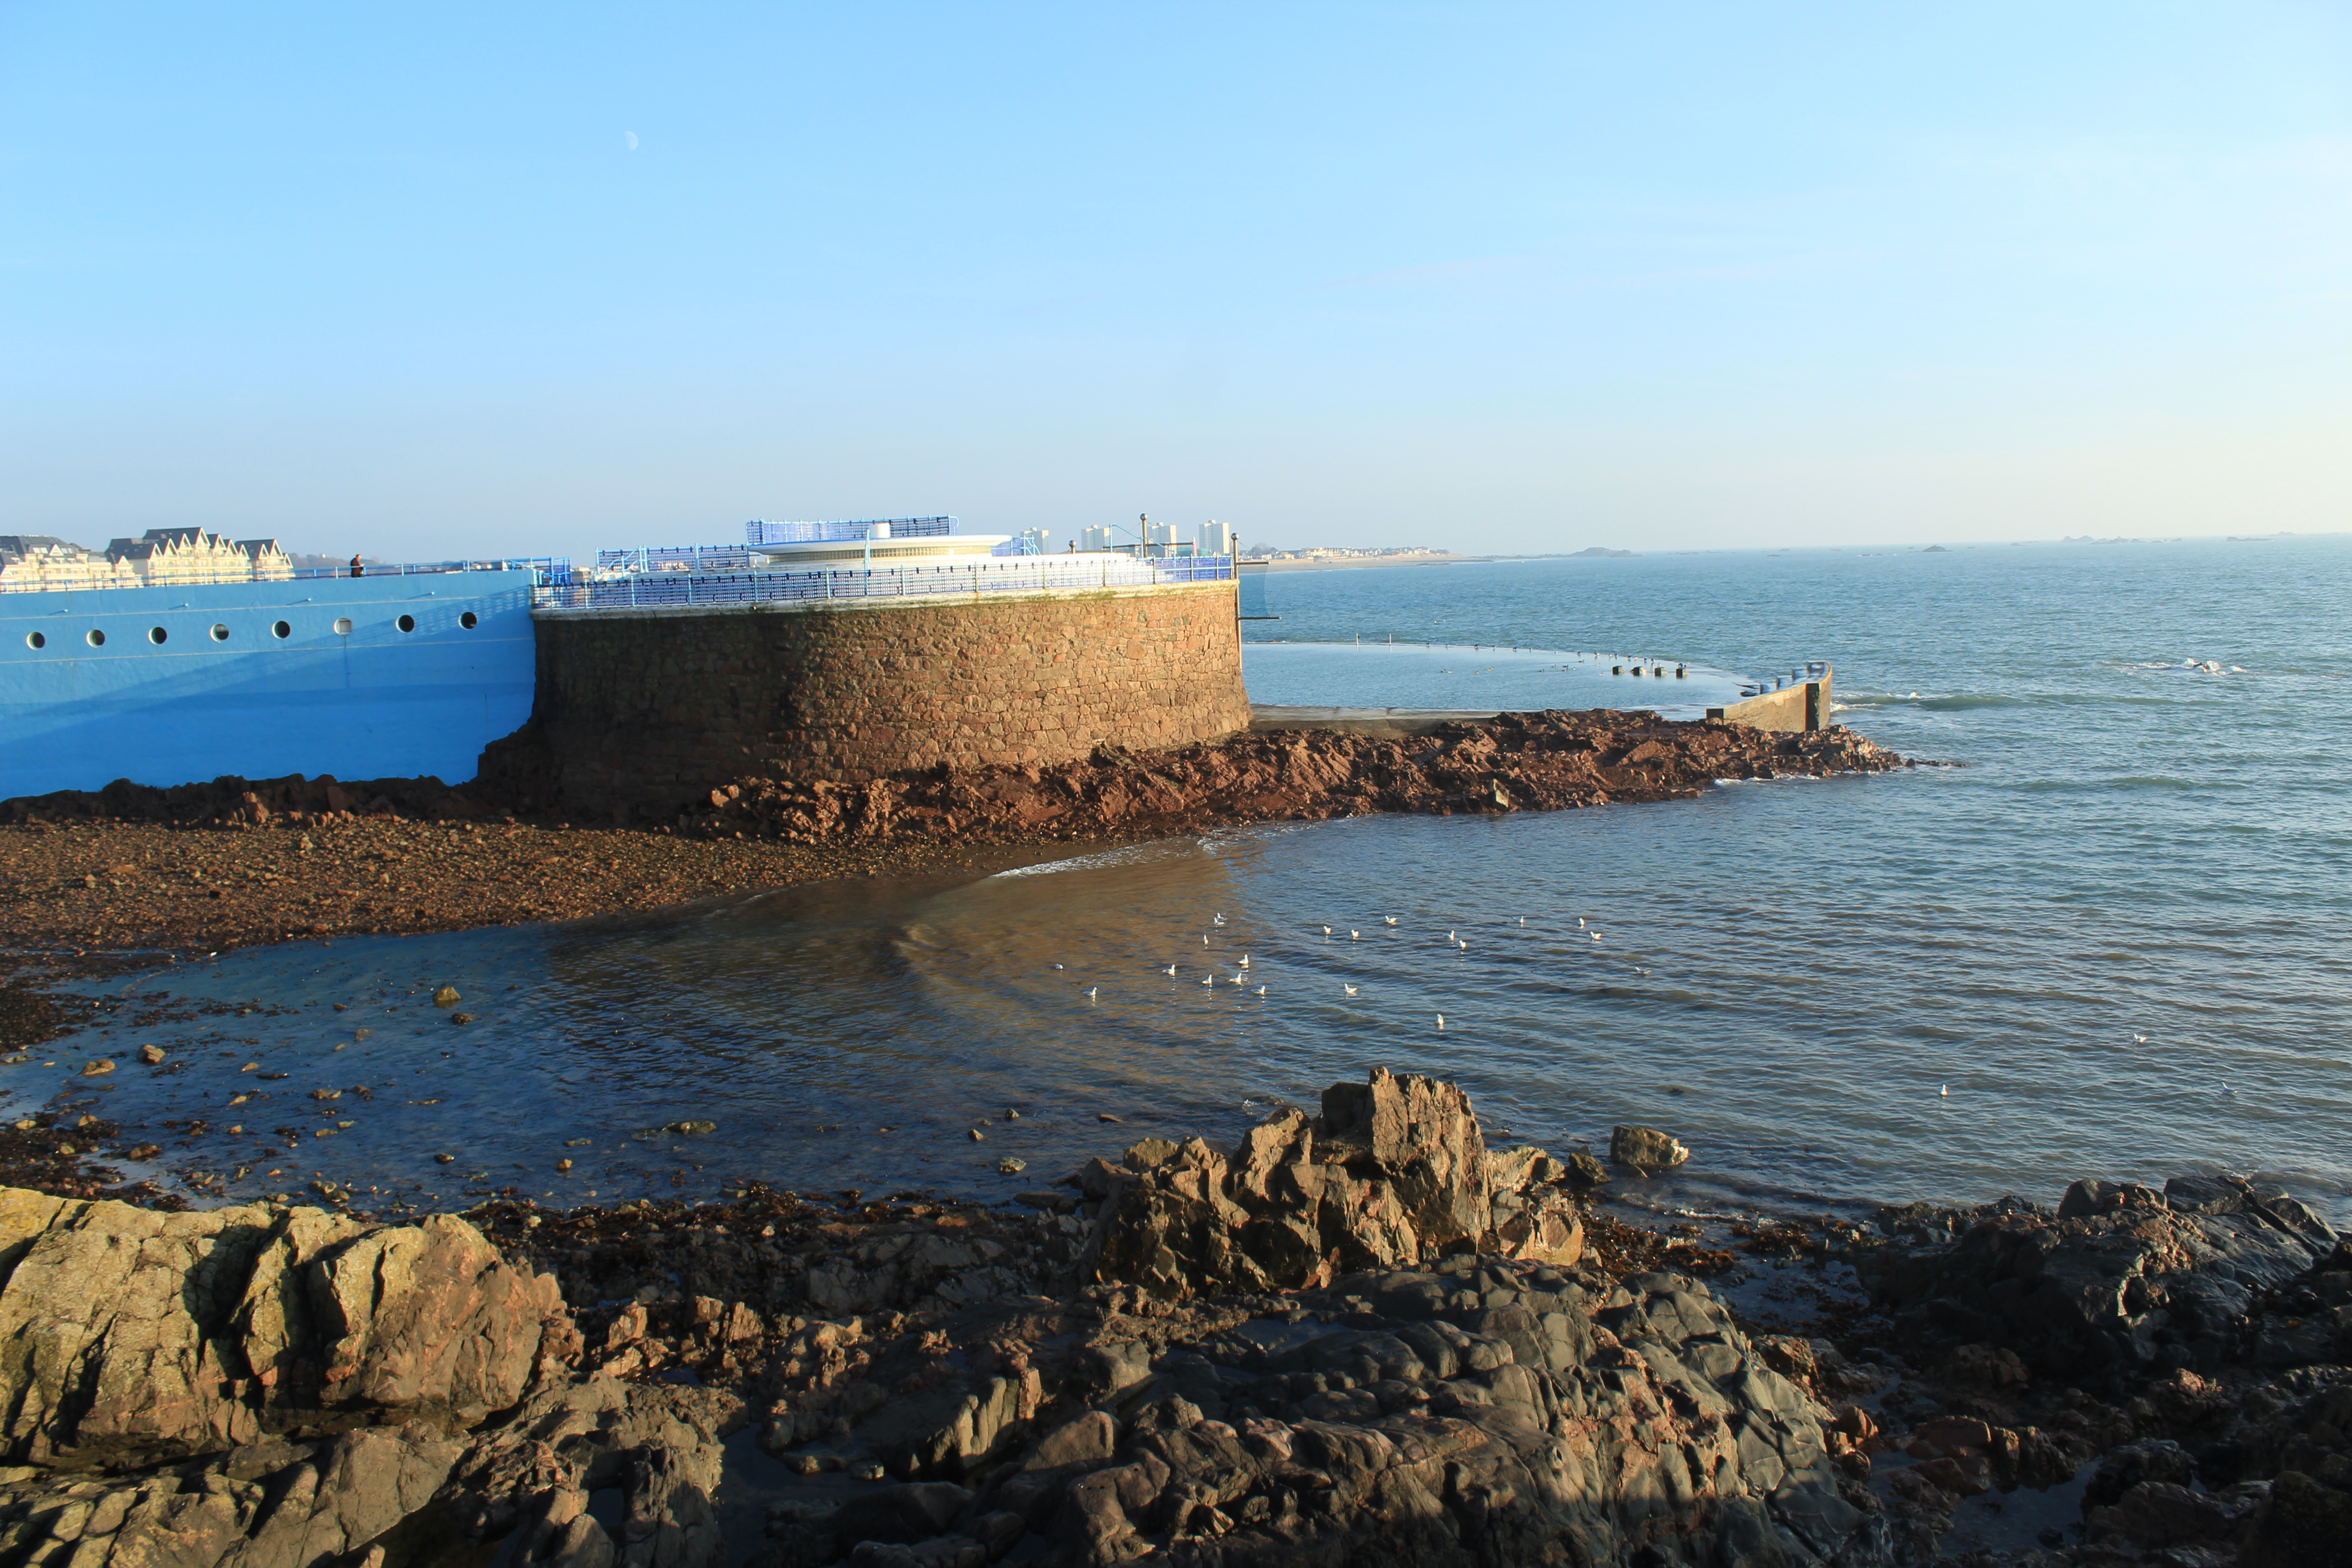
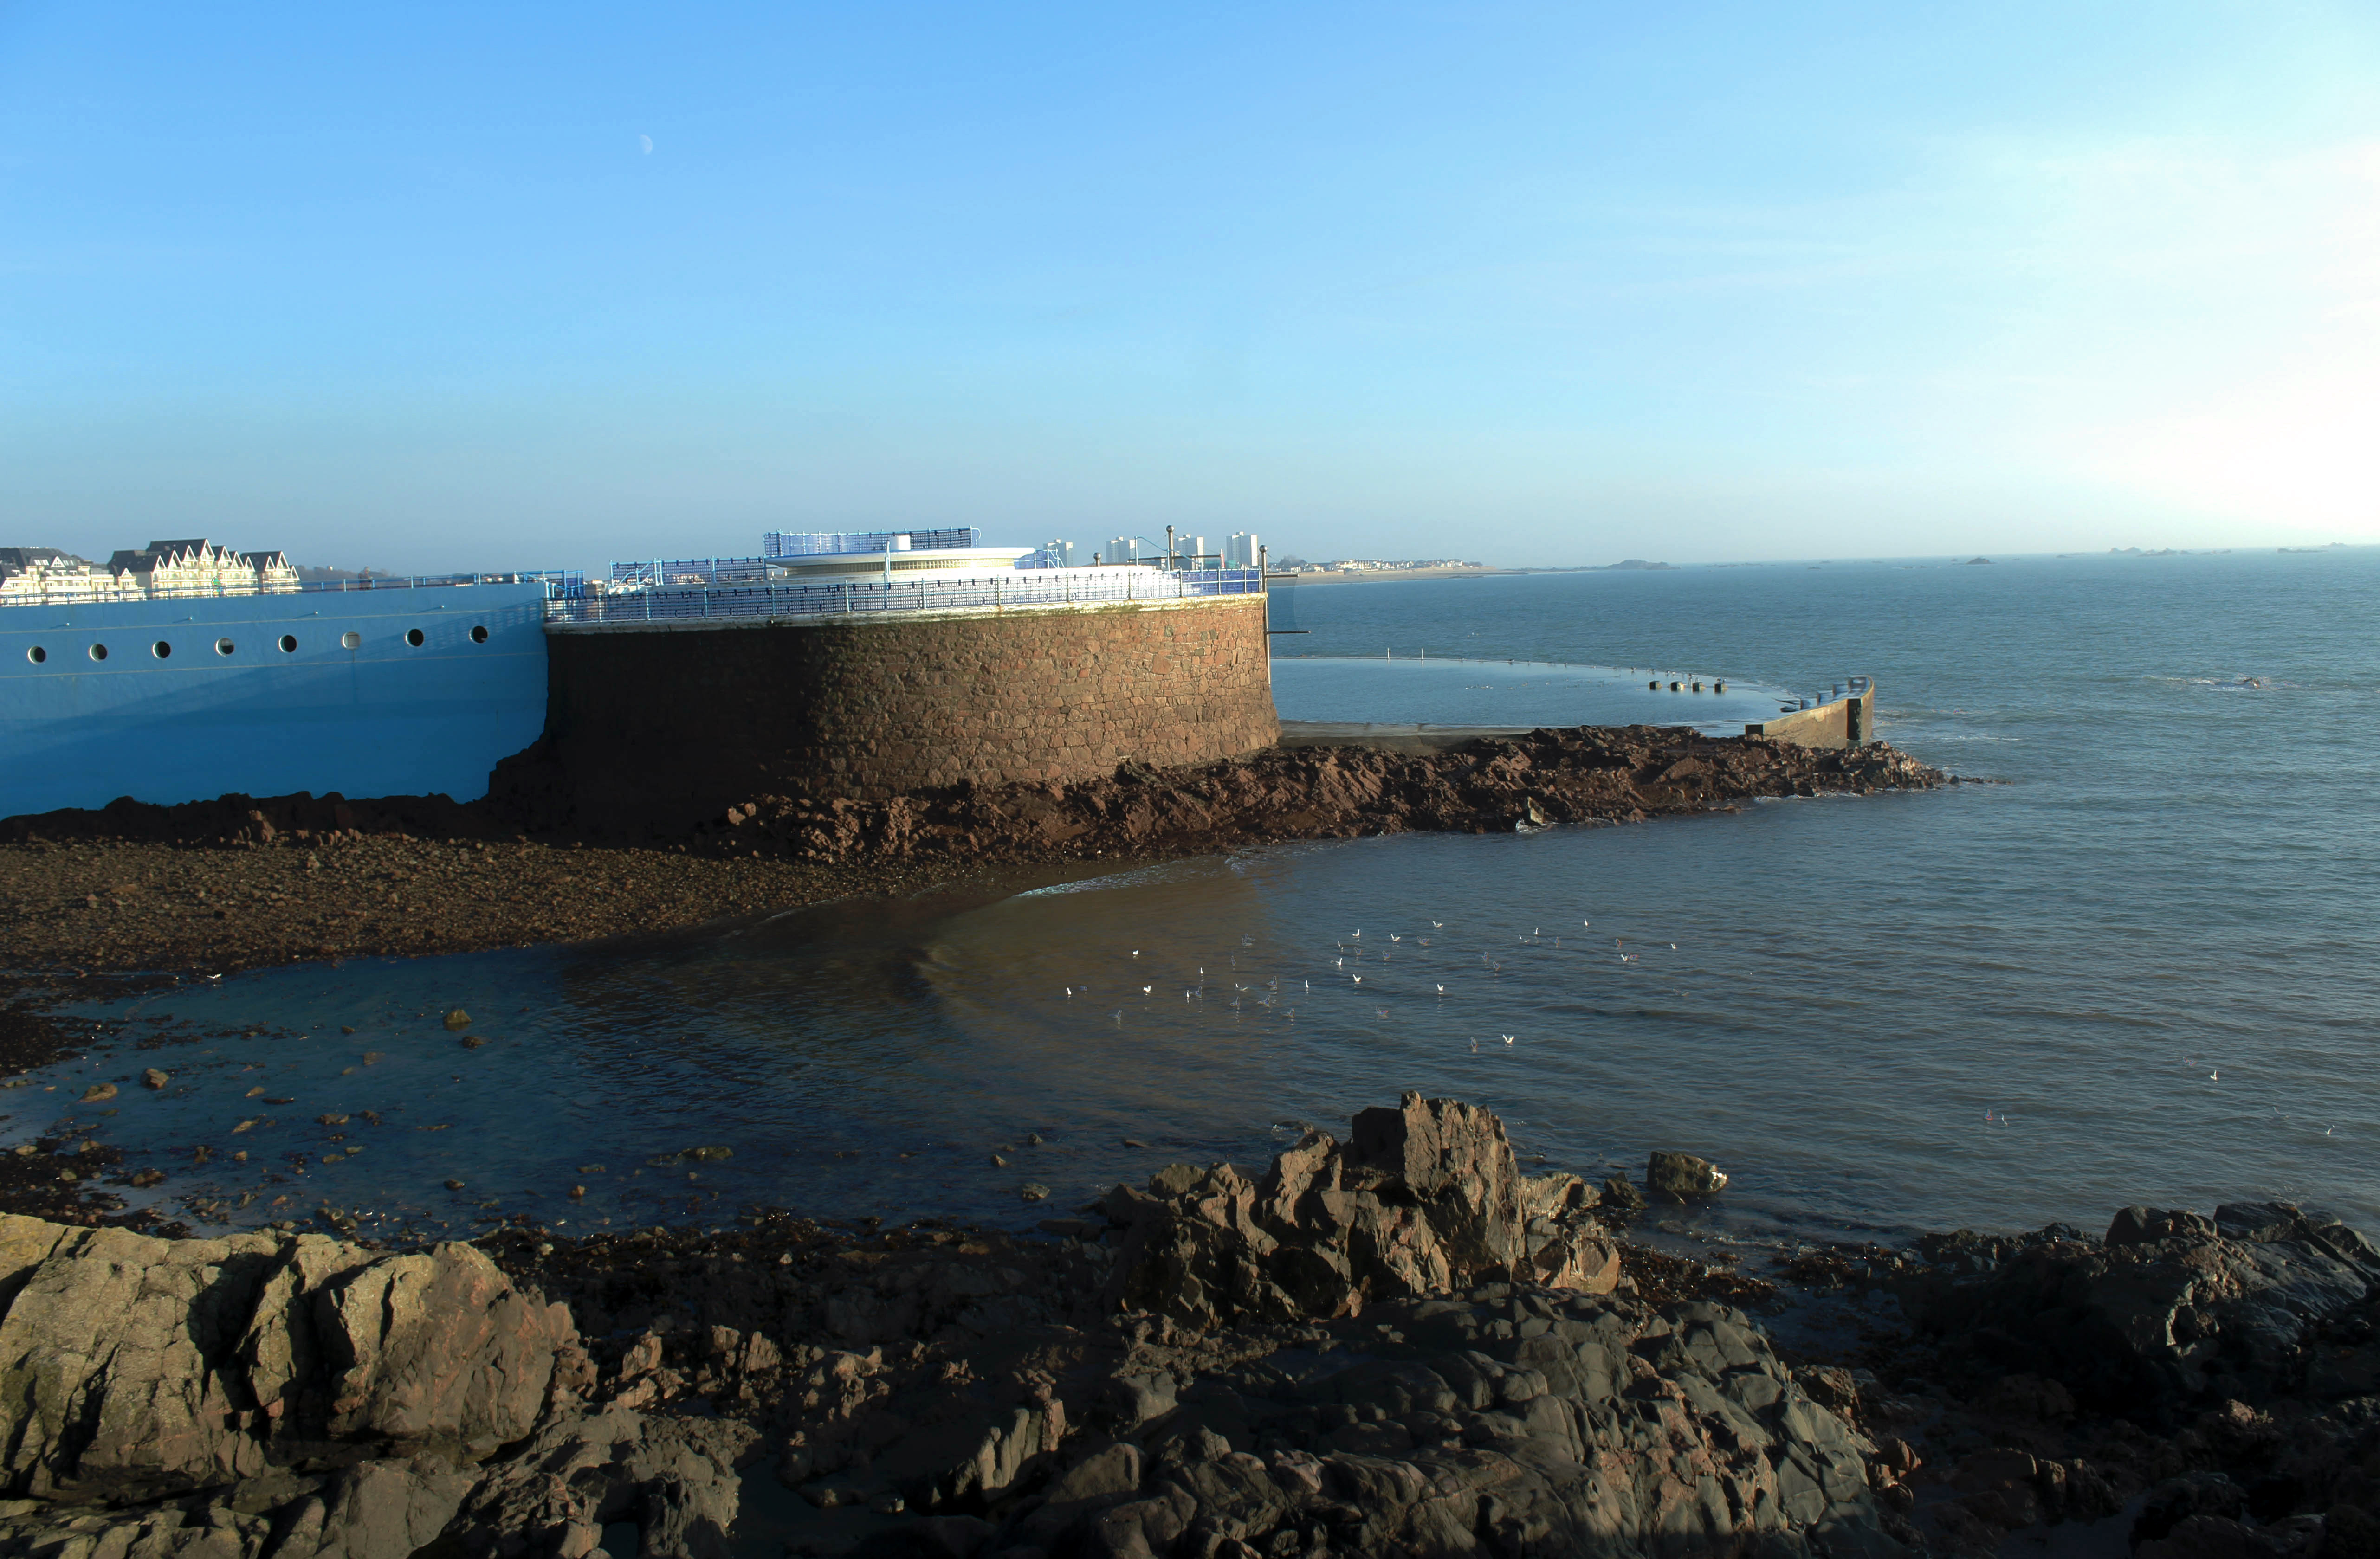
The images above are Archival Images from iconic areas of Jersey…and these areas have changed over time.

  • Find archival images that correspond to your own landscape photography and contrast and compare. Include any info you can find about the image itself / photographer / time period etc
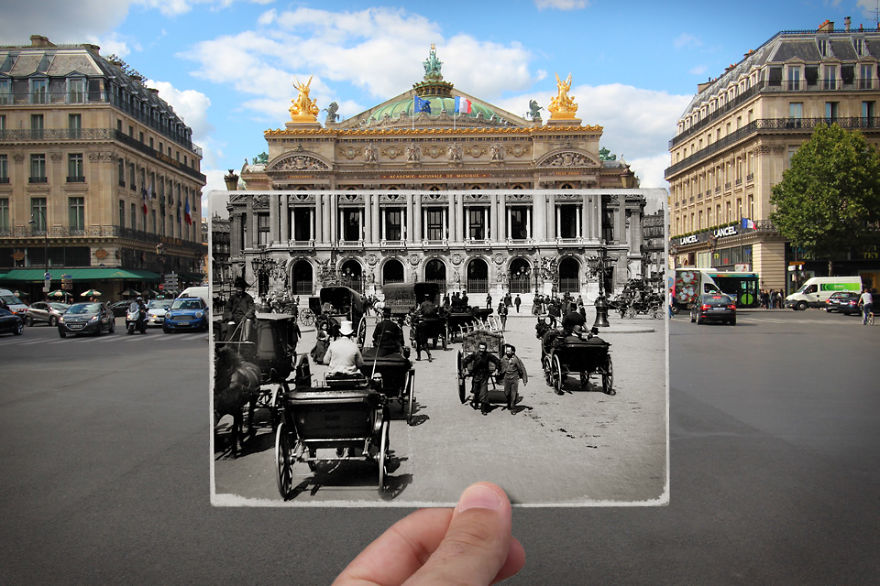
  • OR…you may find that you are intrigued by a particular landscape image and want to respond to it and create a comparison / composite image. For this you must conduct a photo-shoot aiming to document the area from a similar viewpoint and edit your images accordingly
  • OR…you may want to explore the concept of JUXTAPOSING Old and new buildings / parts of Jersey…either by photographing them in situ, or creating a composite image using photoshopi-combined-old-and-new-photos-of-paris-to-bring-history-to-life-5__880
  • 160px-2005-04-09_-_united_kingdom_-_england_-_london_-_30_st_mary_axe_-_swiss_re_gherkin_1_-_miscellaneo_4887195183


Public archives in Jersey

Jersey Archives:  Since 1993 Jersey Archive has collected over 300,000 archival records and it is the island’s national repository holding archival material from public institutions as well as private businesses and individuals. To visit click here

Jersey Archive can offer guidance, information and documents that relate to all aspects of the Island’s History. It also holds the collections of the Channel Islands Family History Society.

Societe Jersiaise: Photographic archive of 80,000 images dating from the mid-1840s to the present day. 35,000 historical images in the Photographic Archive are searchable online here.

Societe Jersiaise also have an extensive library with access to may publications and records relating to the island’s history, identity and geography. Click here

Archisle: The Jersey Contemporary Photography Programme, hosted by the Société Jersiaise aims to promote contemporary photography through an ongoing programme of exhibitions, education and commissions.

The Archisle project connects photographic archives, contemporary practice and experiences of island cultures and geographies through the development of a space for creative discourse between Jersey and international practitioners.

Link: http://www.archisle.org.je/

Exposure Bracketing with HDR Adjustments

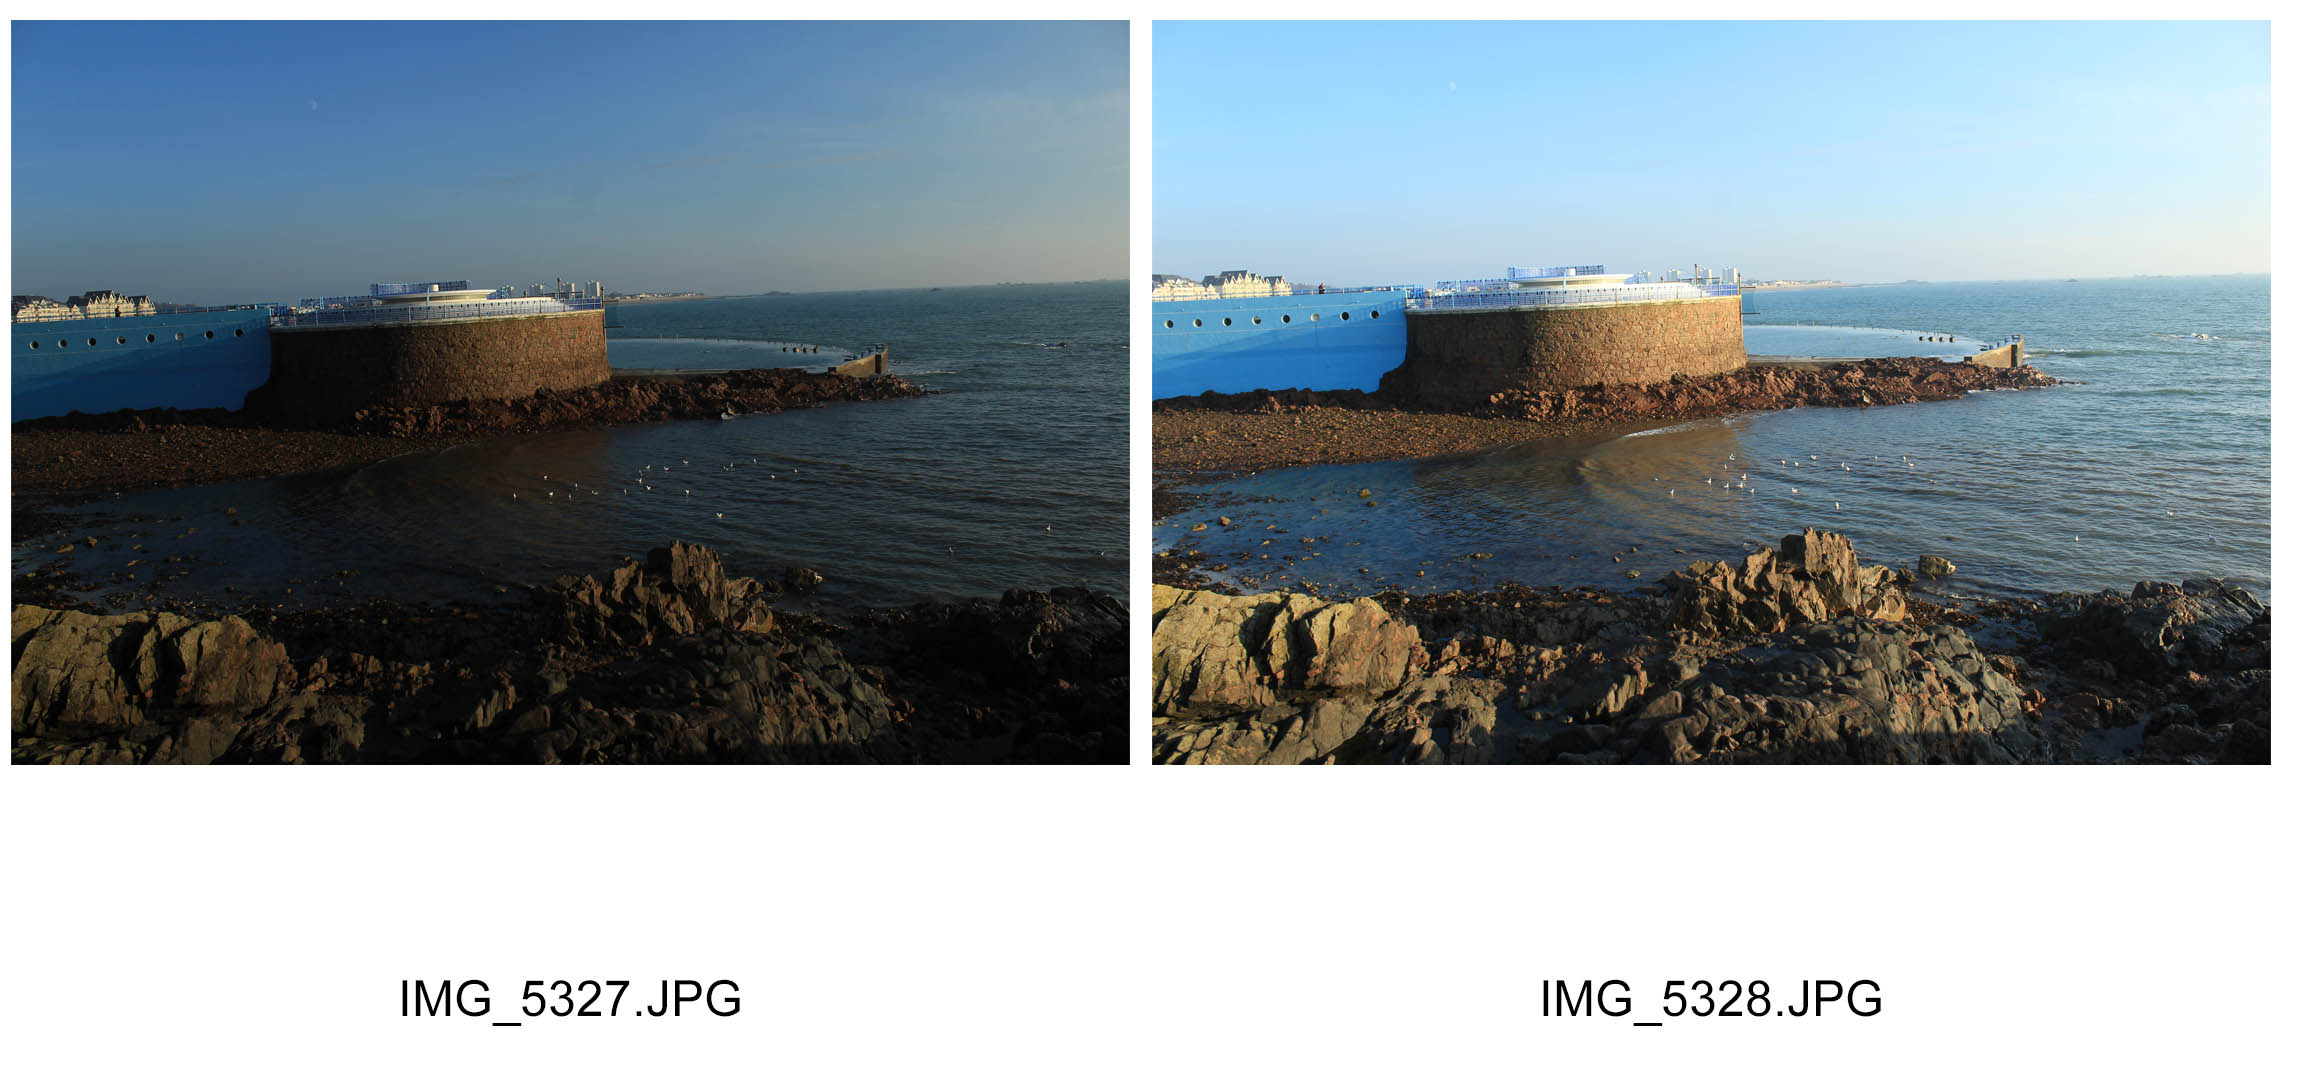
Here is an example of where I have used the HDR technique to balance two photographs, one underexposed and another taken overexposed.  Here are both my original images:

img_5327 img_5328

Here is my final image after applying the HDR technique to it.

untitled_hdr2

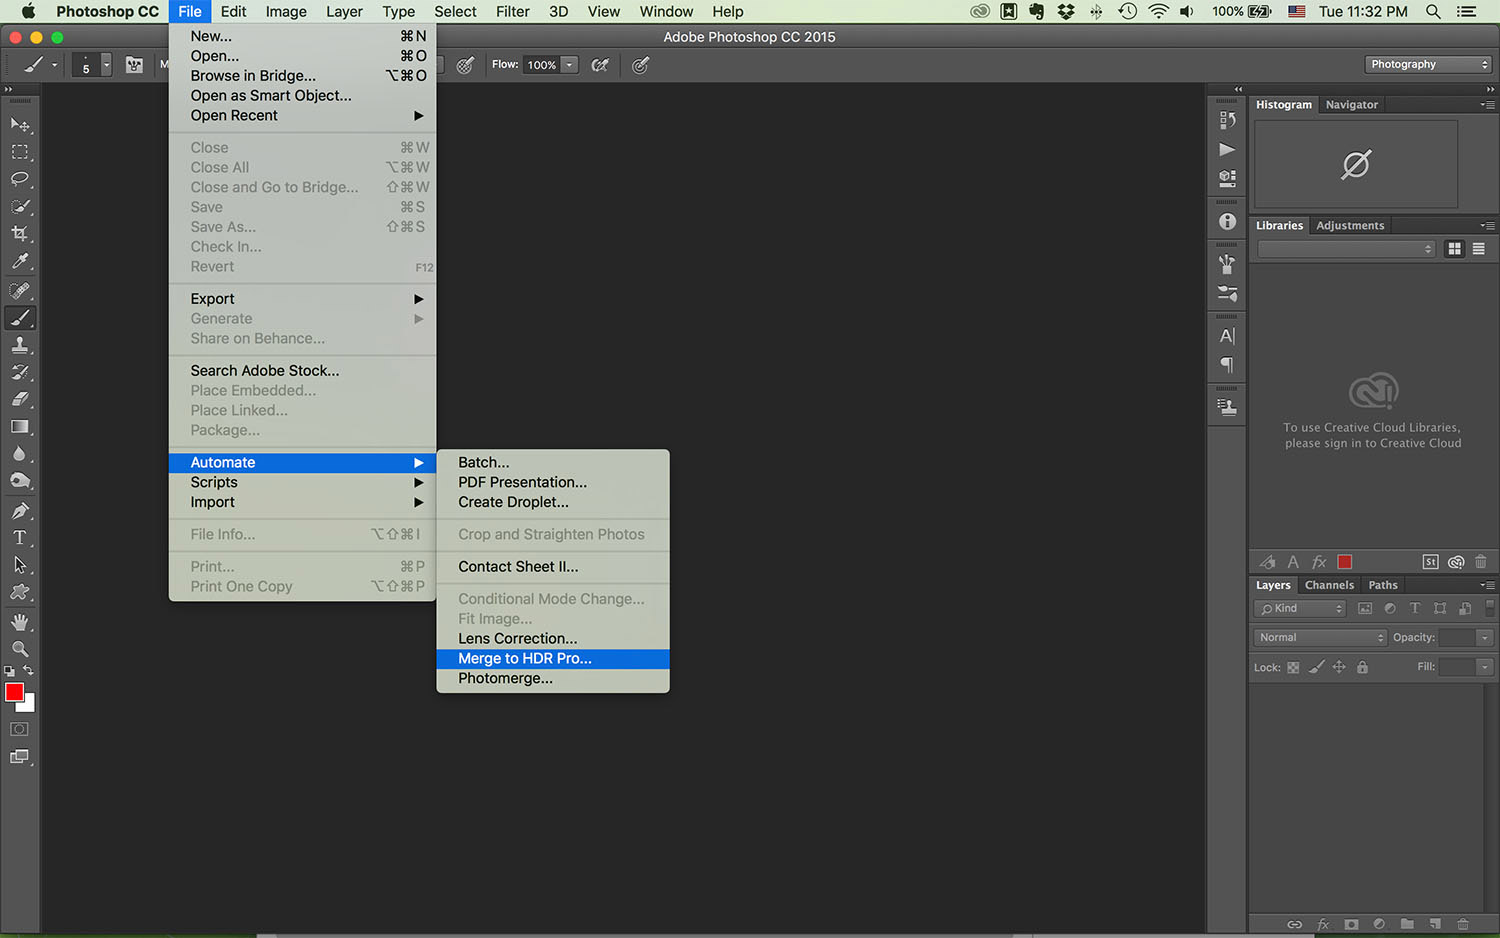
What I did was I merged 2 photographs together by clicking on: file, automate and then Merge to HDR Pro.  After this I adjusted my gamma and exposure settings and various other settings such as the vibrance and blur to add to the effects.  After doing this I changed the mode to 32 bit and adjusted the tones using the white point slider.  I then saved the photograph.  Here you can see the the photograph which is overexposed brightened up areas of the landscape and the colors and strength of the sky captured from the underexposed photograph are also present resulting in a nice balance of levels within the photograph.

Here are some other examples of how this works:


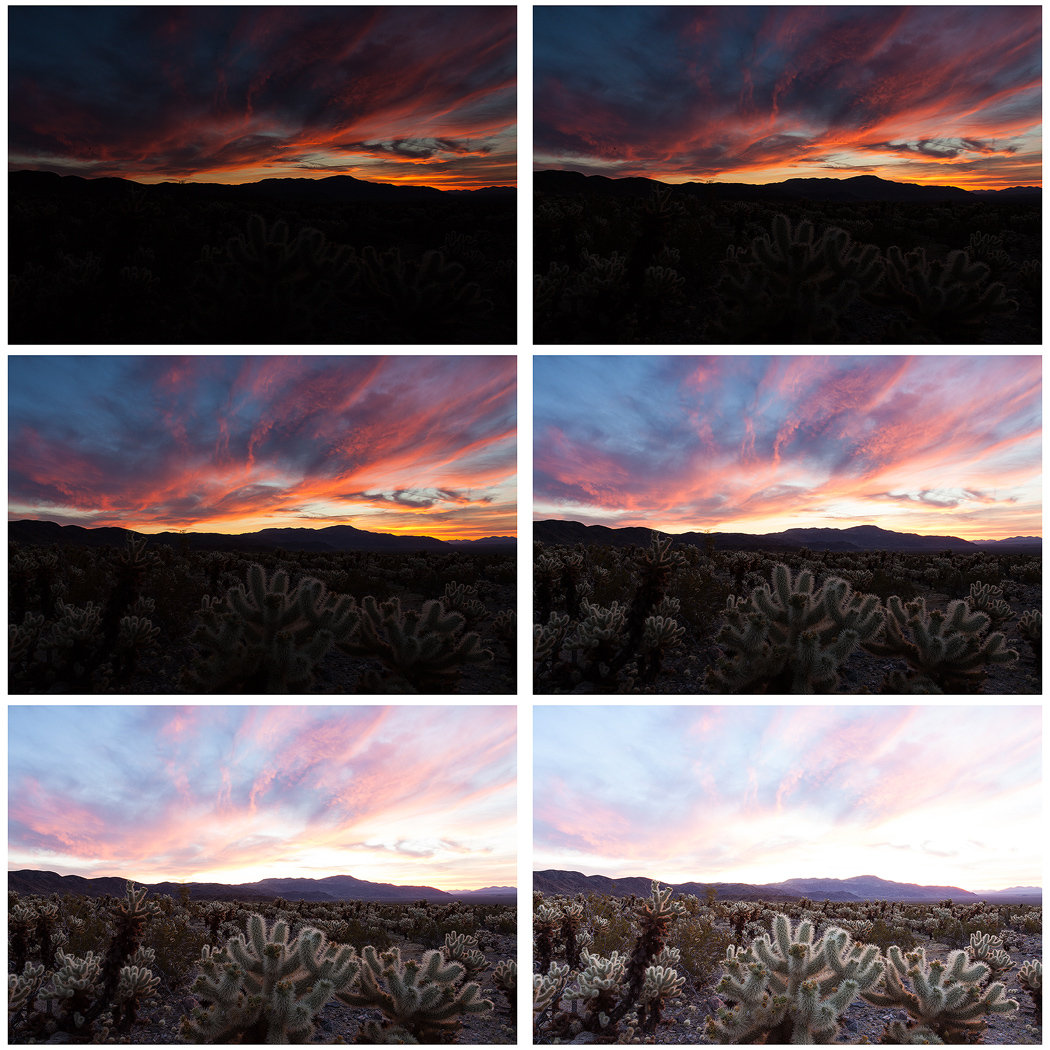
Image result for examples hdr bracketing

Image result for hdr bracketing

Image result for hdr bracketing

Experimenting With Settings on the Havre des Pas Photoshoot

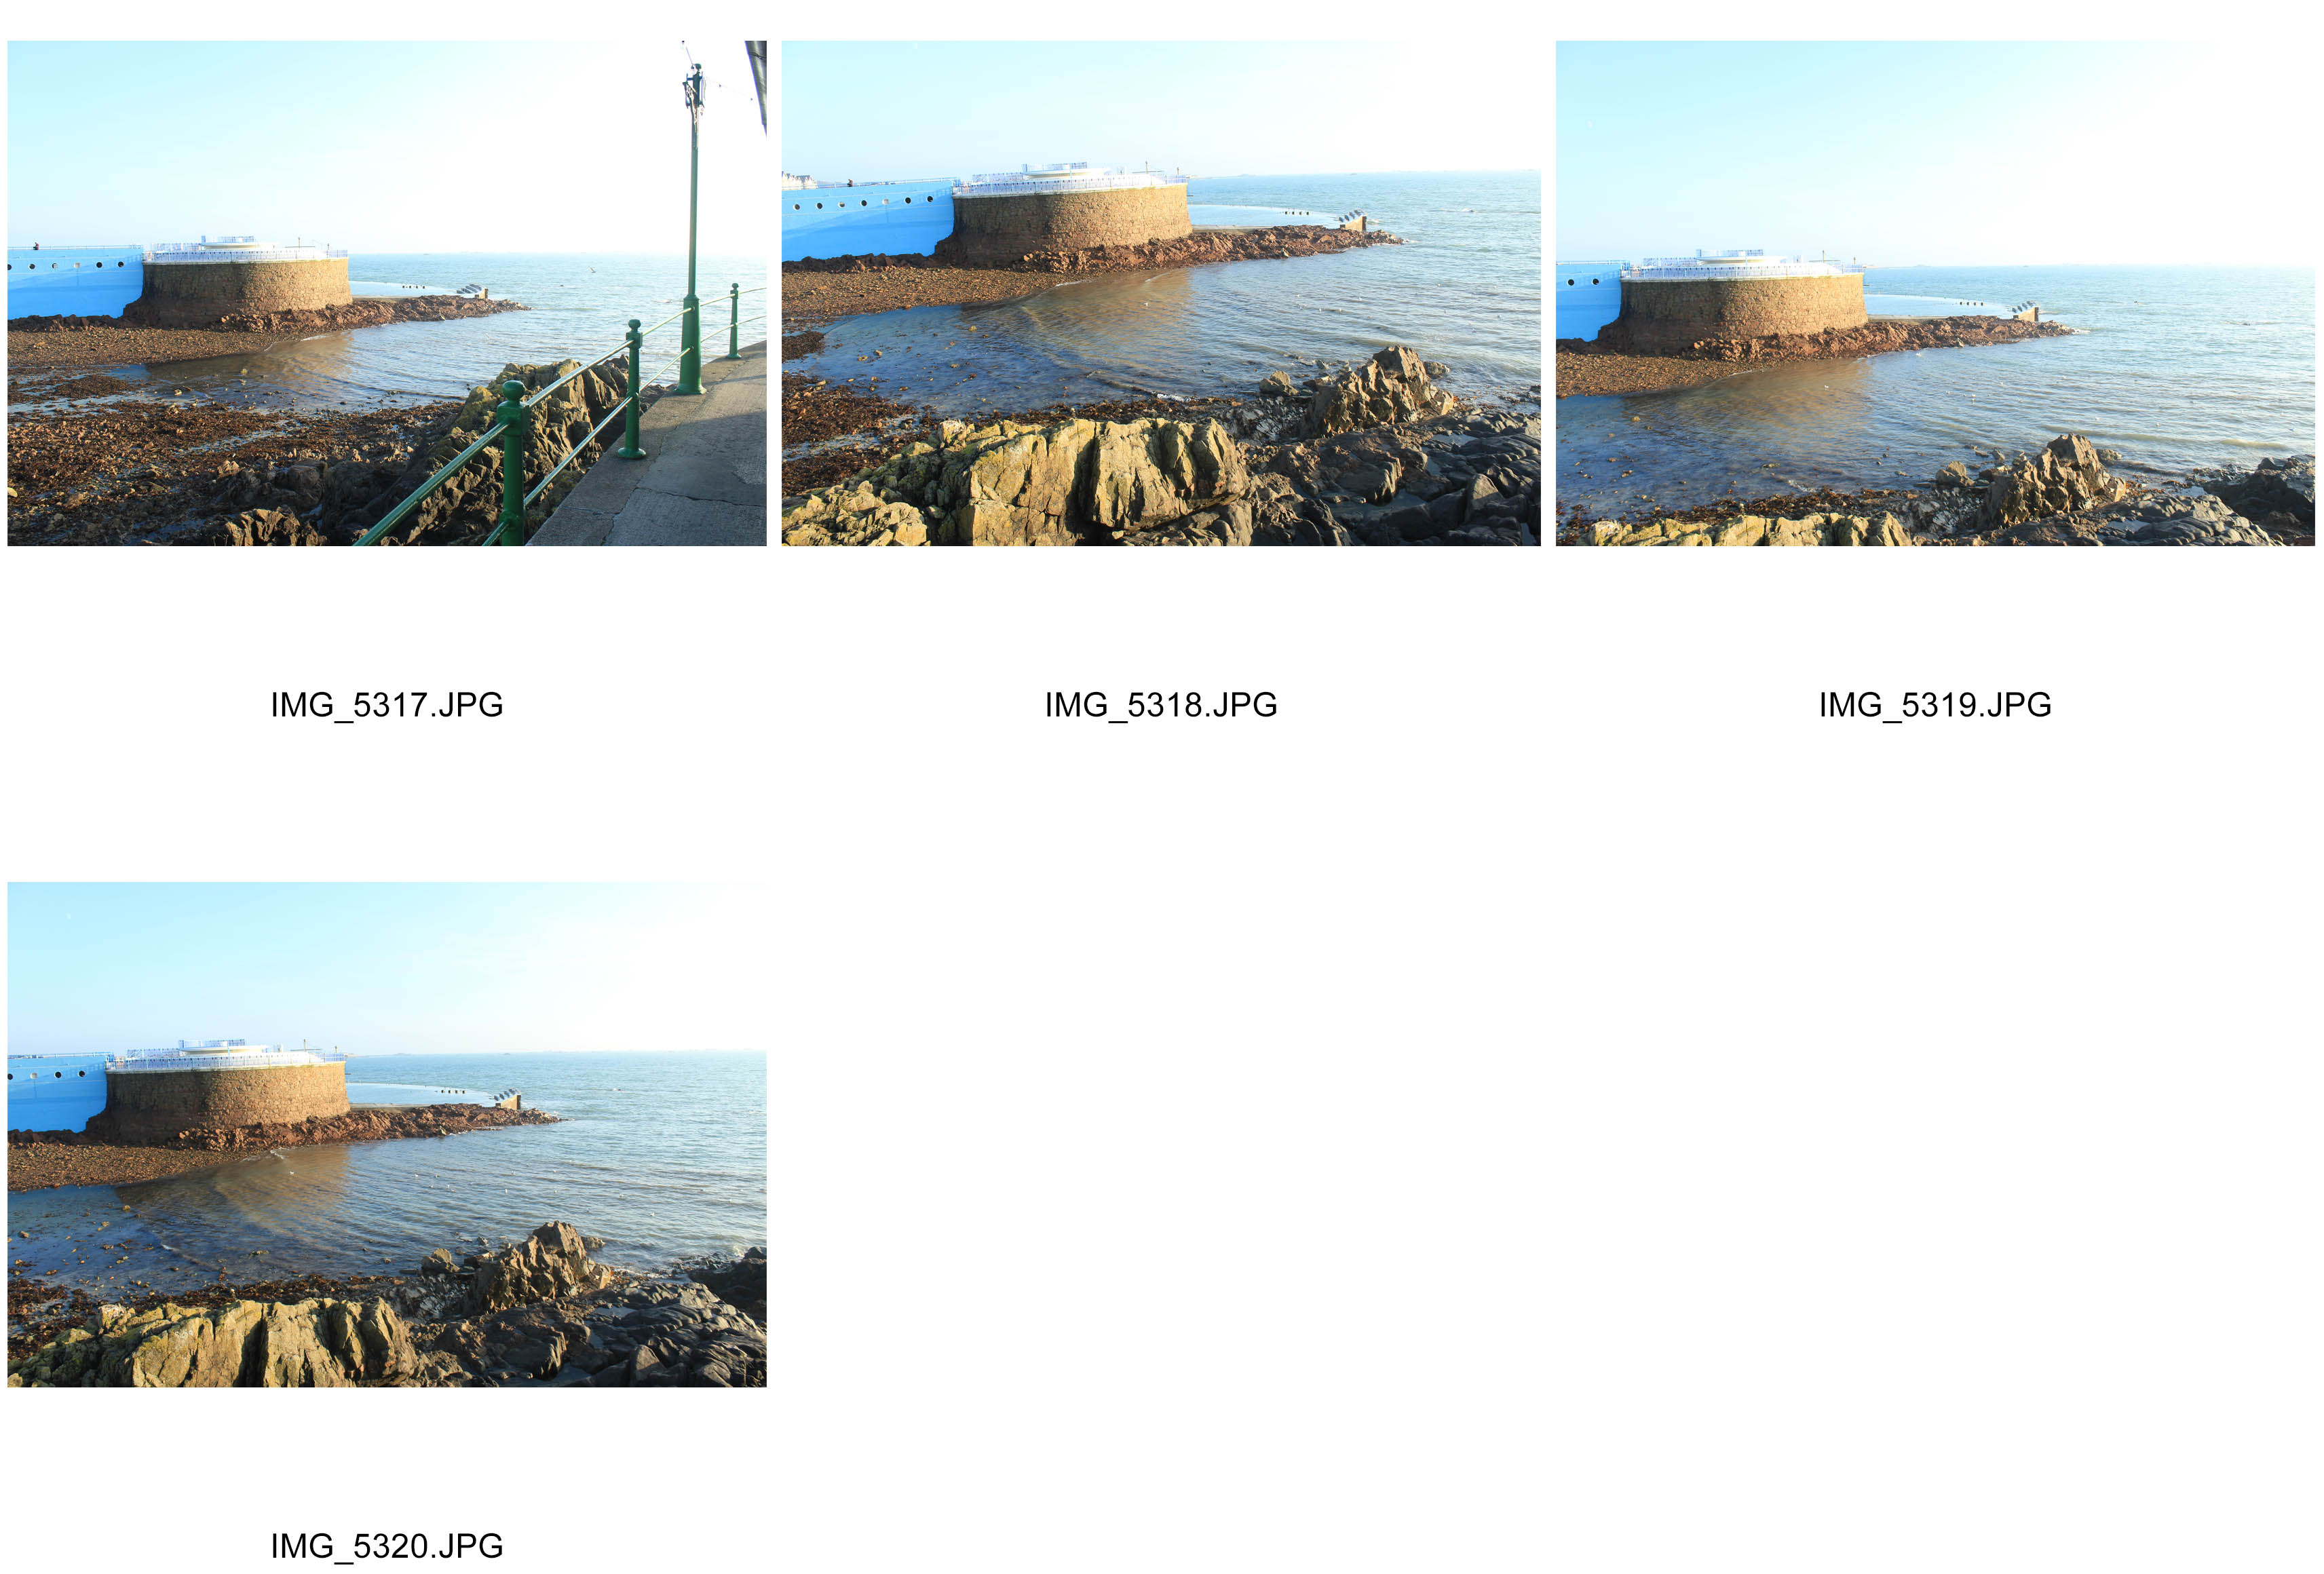
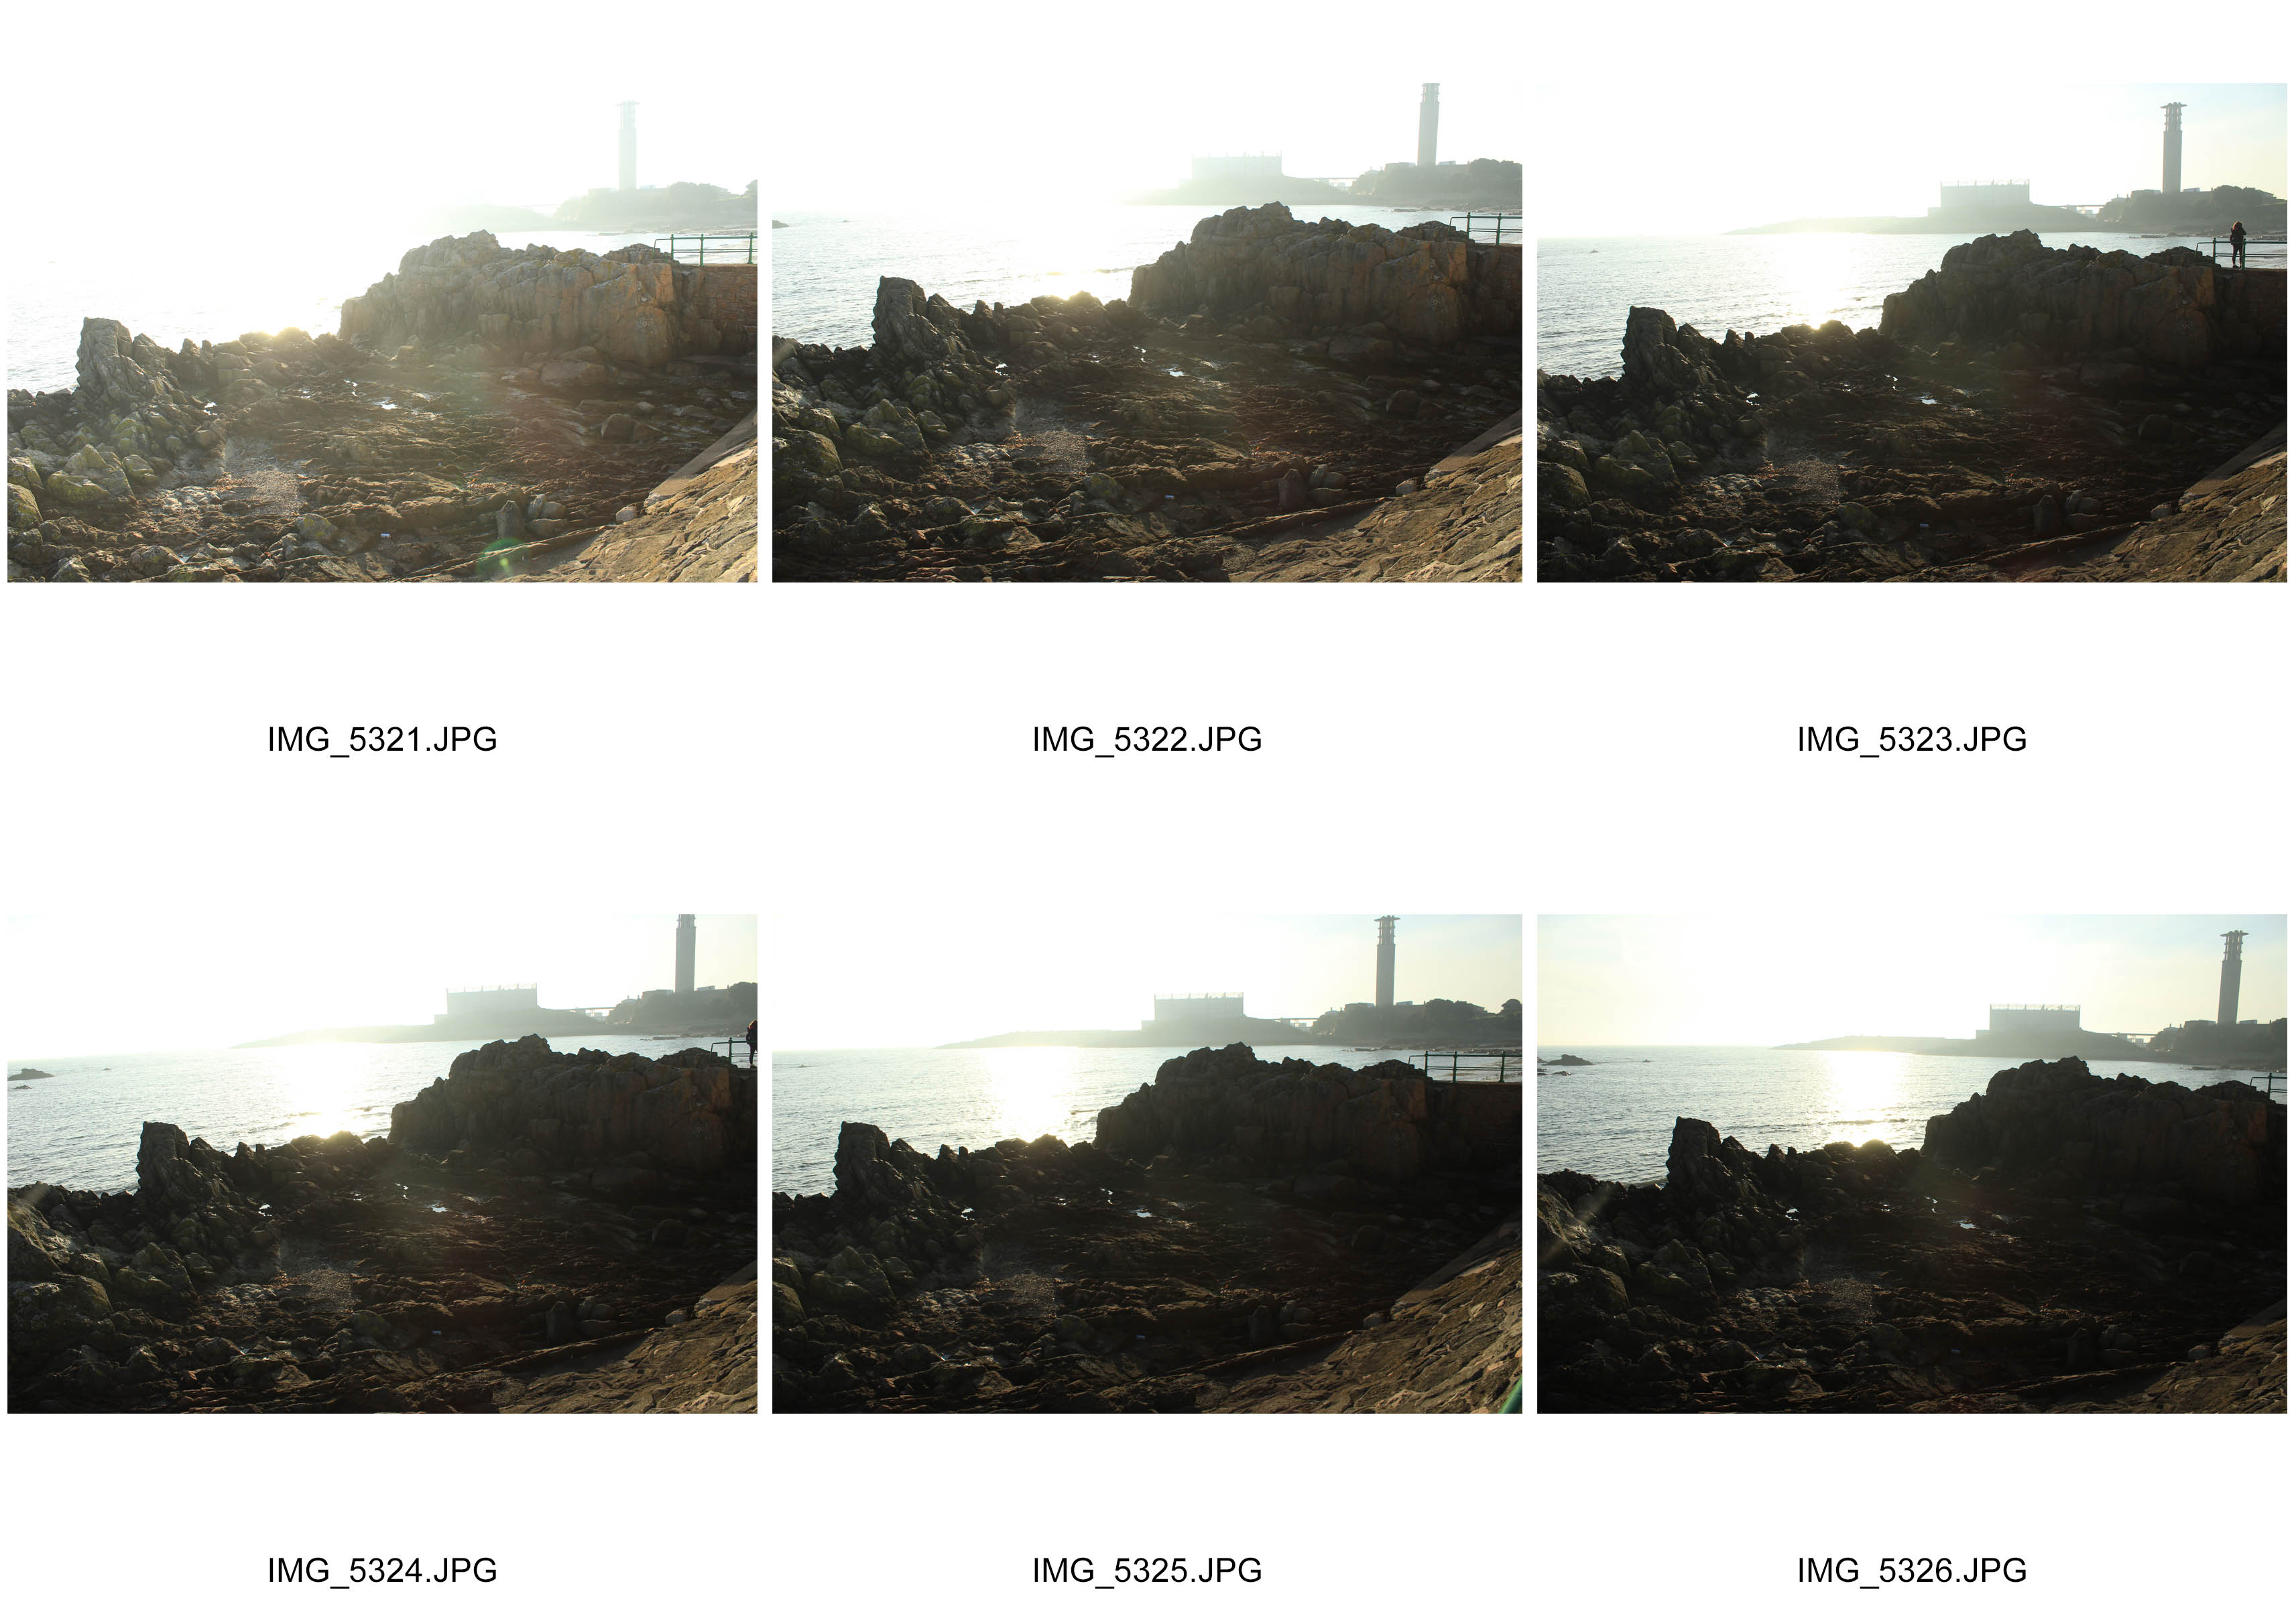
Here are some examples of this where I was adjusting the settings on my camera to find the setting best suited for a nice balance of exposure and shutter speed.   For example I changed the ISO from 400 to 100,  balancing the darker tones of the landscape and the brighter tones of the sky.  I also adjusted the shutter in shaded areas to around 1/200 to let in more light and sharpen the corners of the photograph.  In well lit and sunny areas I adjusted the shutter speed to 1/60 to let less light into the lens and help with the ISO and also creating a slightly smoother effect on he photograph..  Furthermore I adjusted the aperture to a setting f4.5 to create a deep depth of field with a strong focus of the composition pf the photograph.

contactsheet-001 contactsheet-001 contactsheet-001 contactsheet-001 contactsheet-001 contactsheet-001

Exposure Bracketing, HDR Imagery and exploring tone

1.Exposure Bracketing

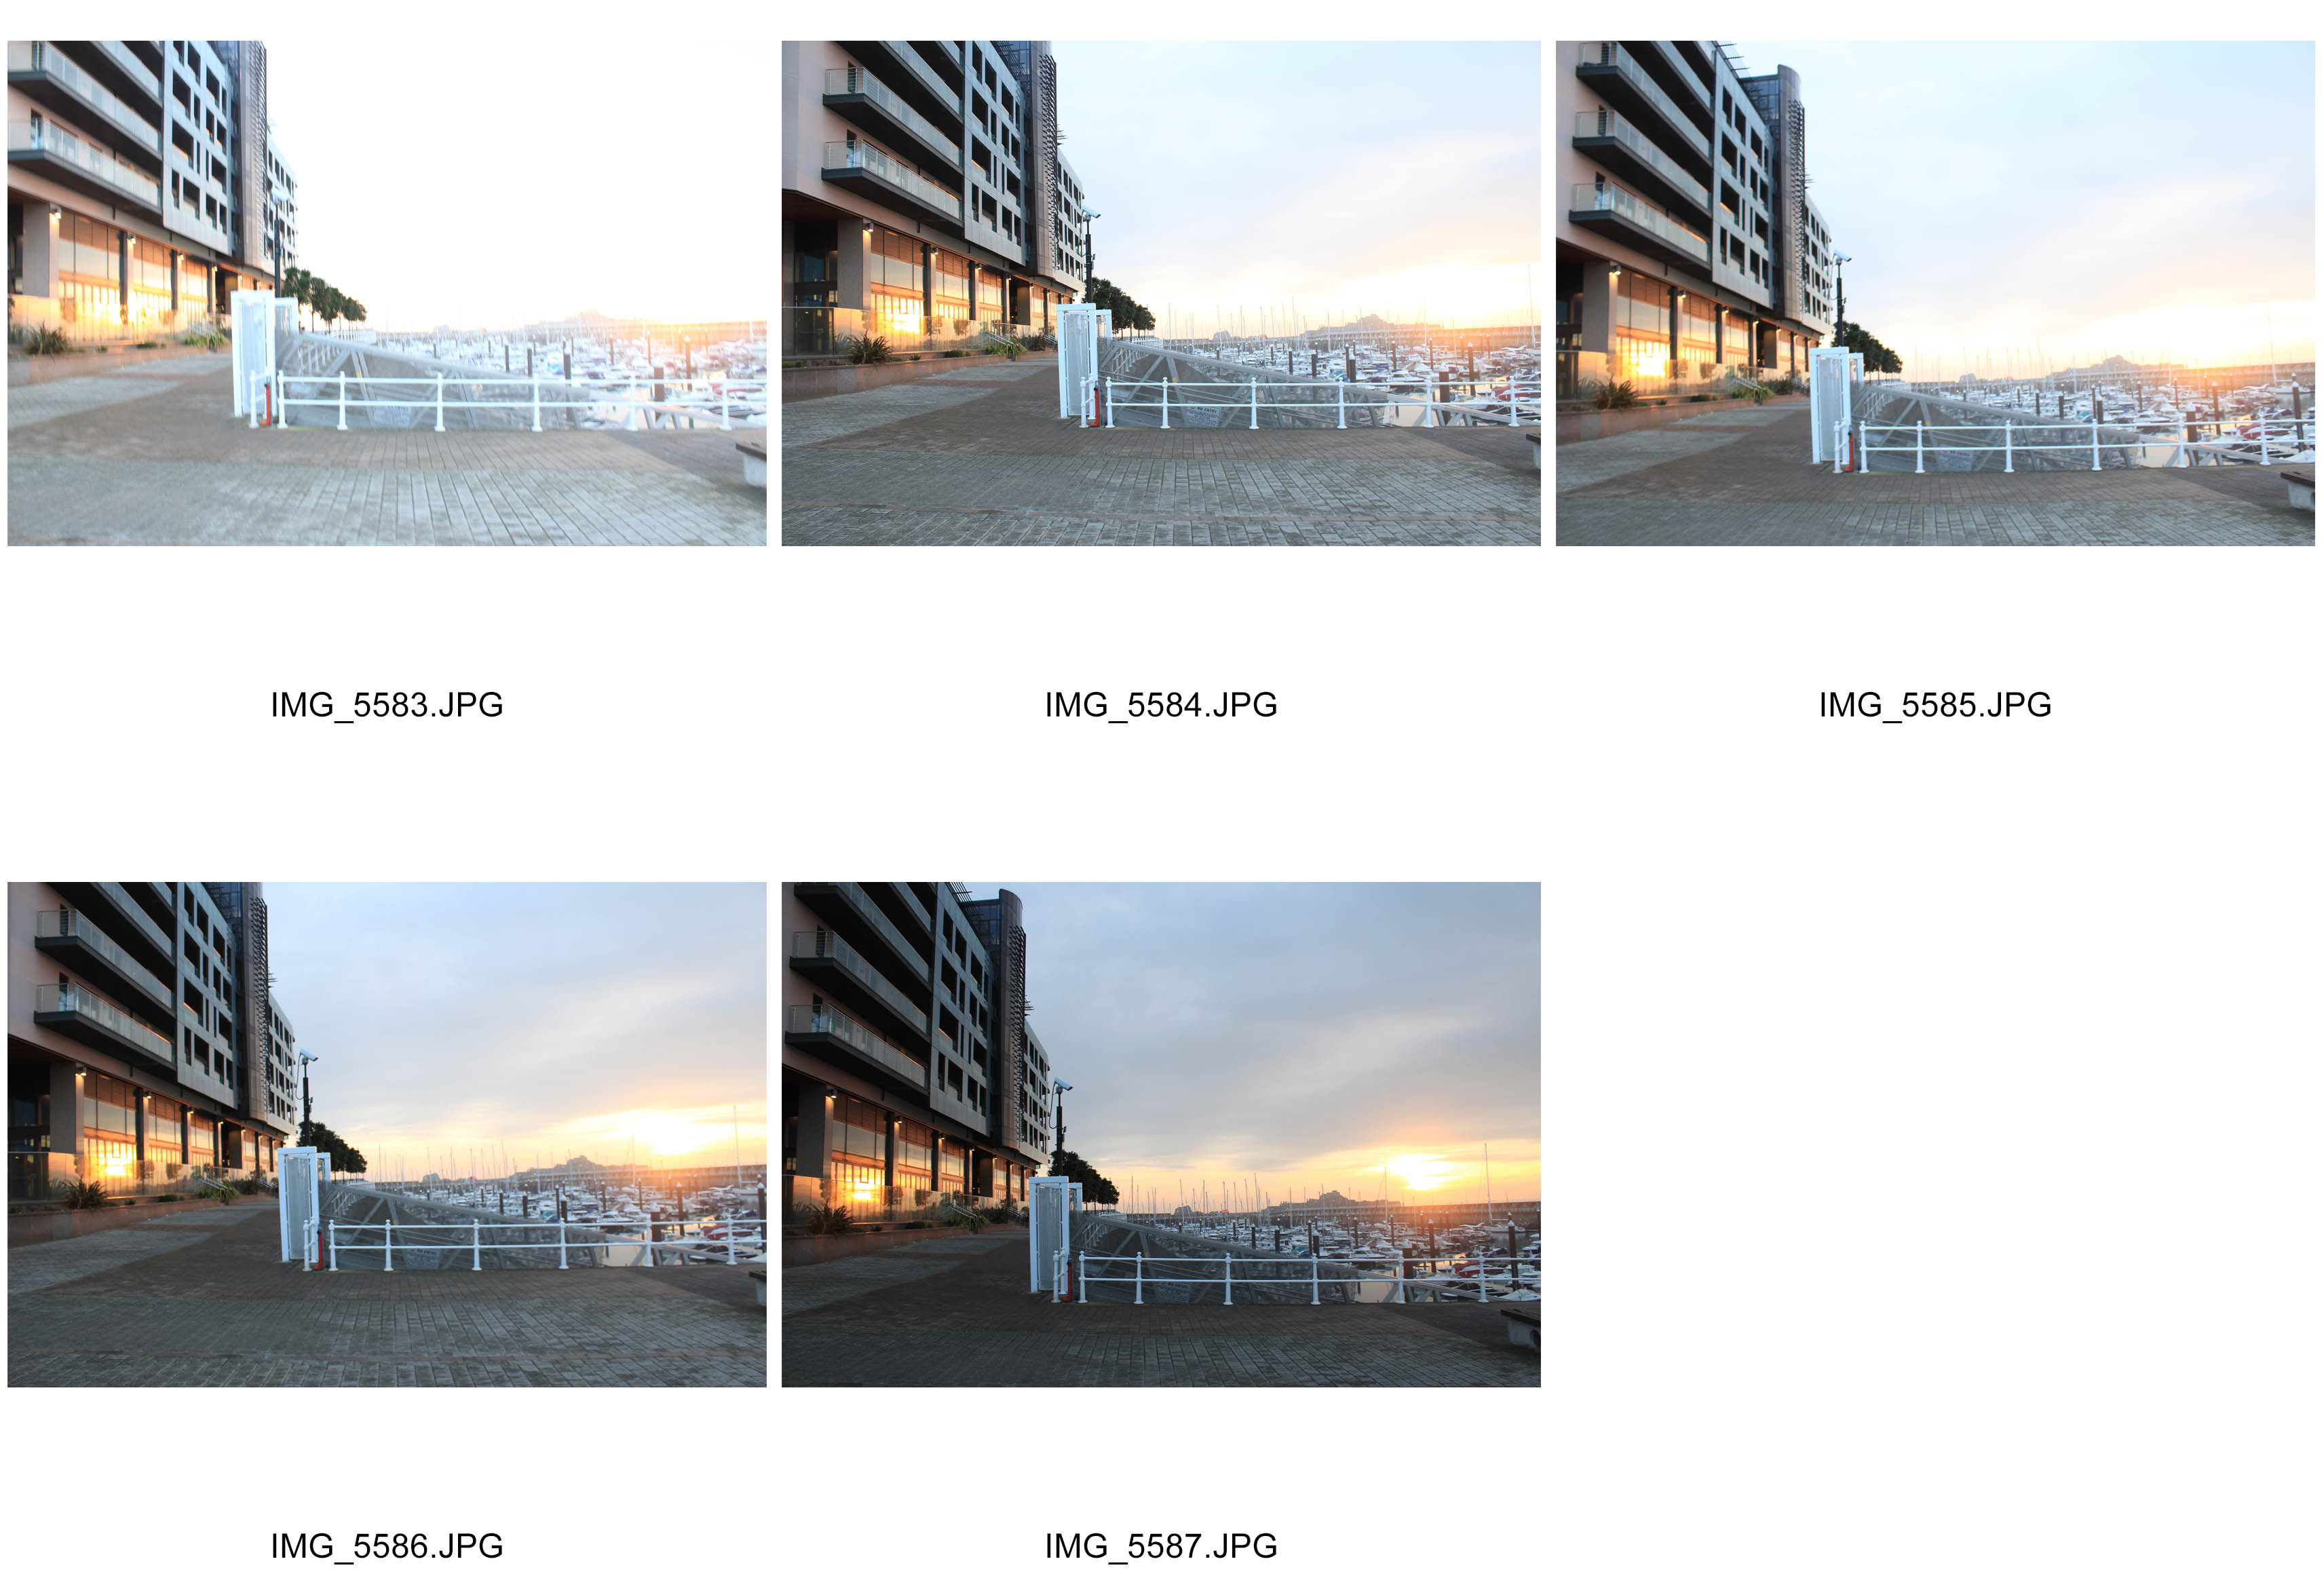
Many digital cameras include an Auto Exposure Bracketing (AEB) option. When AEB is selected, the camera automatically takes three or more shots, each at a different exposure. Auto Exposure Bracketing is very useful for capturing high contrast scenes for HDR like this…work-1

…by taking the same photograph with a range of different exposure settings

bracketed-exposures


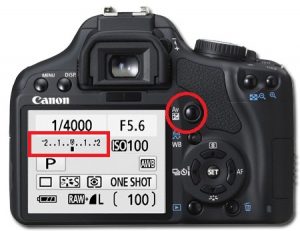
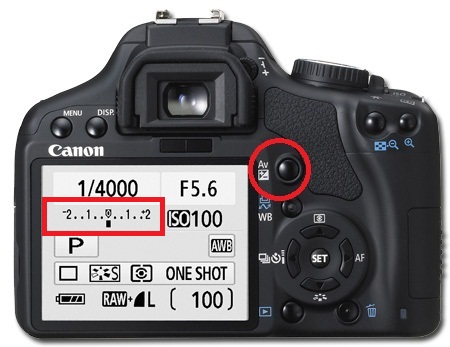
2. You can use Exposure Compensation to quickly adjust how light or how dark your exposure will be using these controls…


canon

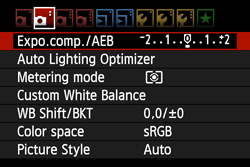
Or set the amount of “bracketing” like this…


g0101331

Then you can create your High Dynamic Range images by using this process in Adobe Photoshop…

photoshop_1

Here is a video that helps explain the process…

https://helpx.adobe.com/photoshop/how-to/photoshop-merge-to-hdr.html

3. Exploring tone and contrast as a response to Ansel Adams

27a73bbb630916fd1cf9495df48353b2 14267639447_d9cebb6bb6_m img_4366

Remember to adjust your images in Adobe Photoshop…

  • Convert to black and white
  • Adjust Exposure / Contrast
  • Use Levels / Curves
  • Then evaluate your process…describe and explain your method with screen shots
  • Compare and contrast to Ansel Adams

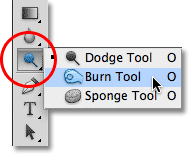
Using the dodge and burn tools to adjust exposure…


photoshop-burn-tool

Burn = darken (check your exposure % and size of brush!)

Dodge = Lighten  (check your exposure % and size of brush!)


Photograph Clusters

untitled-1

After selecting my image, I went to the edit, preference and then guides and grids option.   After doing this I chose view, show and grid.   After doing this I added a new layer and selected the rectangular marquee tool and drew m desired box.  I then filled the box with black.  After doing this, I held down my shift key and drew 10 horizontal rows and 11 columns.   I deleted the selected areas and added a drop shadow .  Then I opened my desired photograph. and copied and pasted it into my squares.  Then,  I created a clipping mask and moved the photograph in the best areas that suited the clusters.

More Chiaroscuro Photographs

img_1294 img_1299 img_1301 img_1302

Best Photograph:img_1294

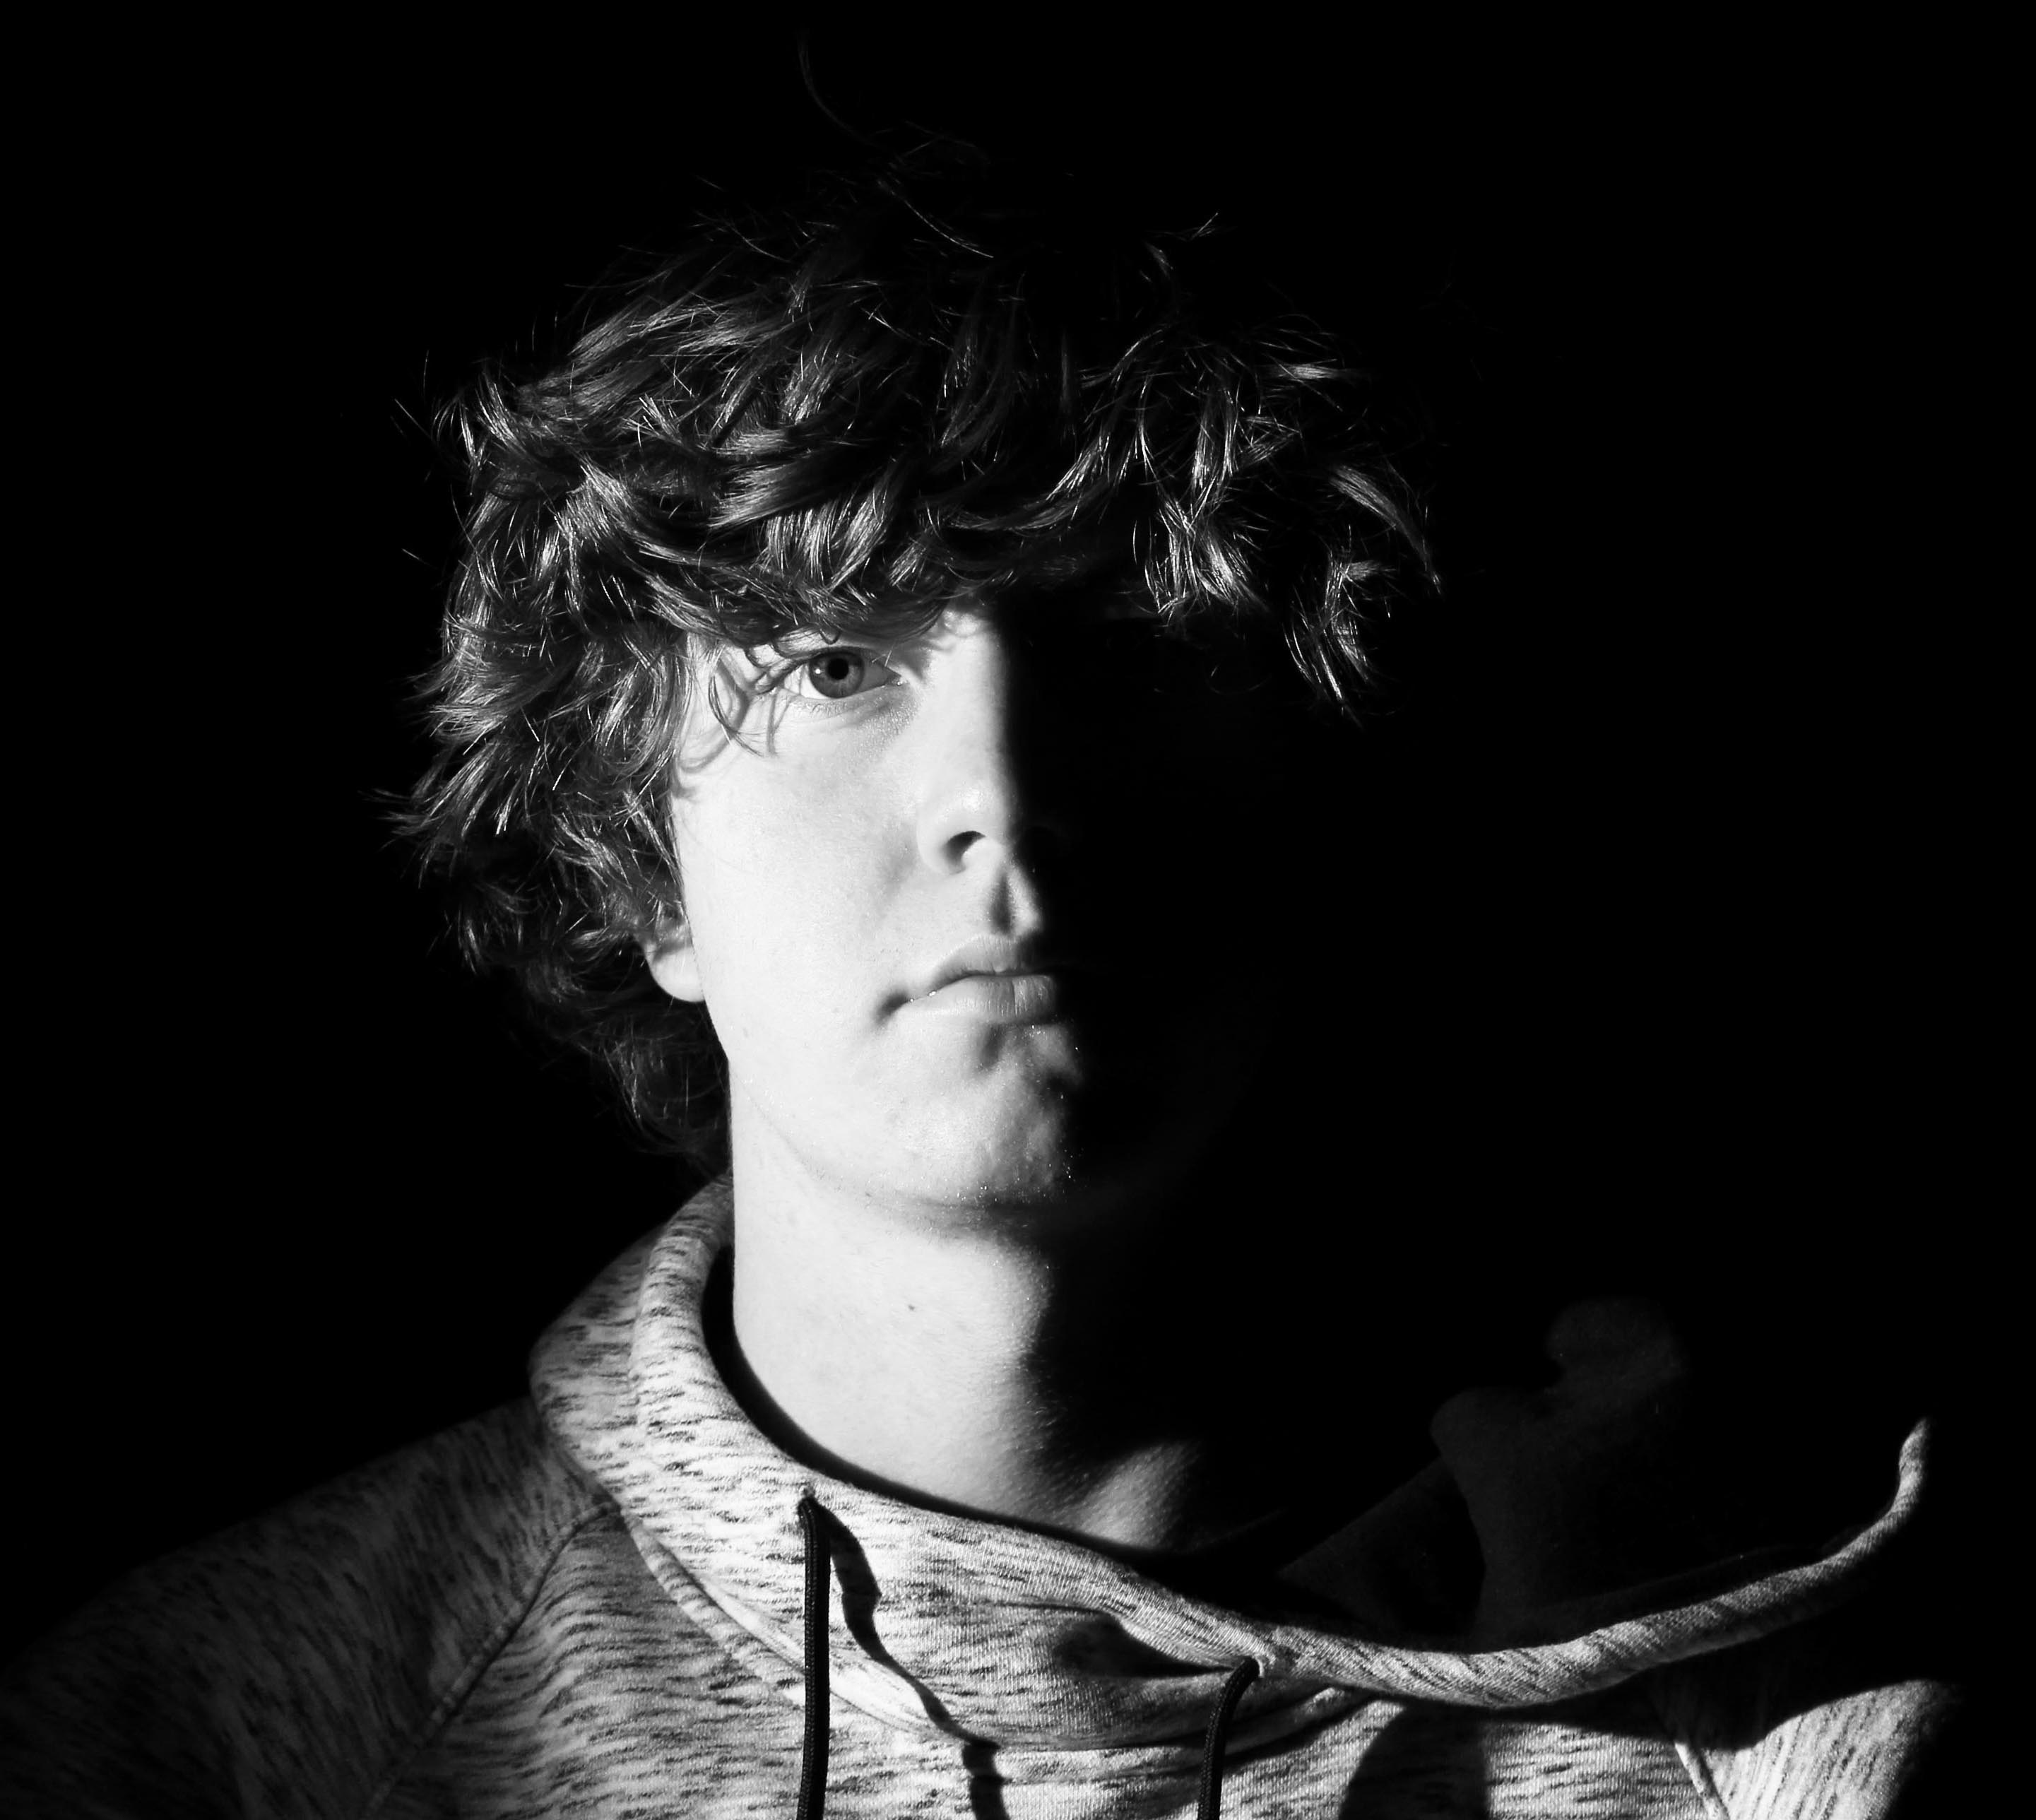
Here I used one point lighting to create a chiaroscuro effect.  I like how the dark tones created by the shadows enhance the brightness of the face.  I enhanced this effect by increasing the brightness and contrast on the photograph.  Interestingly, what I particularly like about the chiaroscuro effect is that the fact there is no backing/fill lighting or any other forms of supporting light making the object feel at one with his background apart from his face.  This gives the photograph a mysteriousness that makes the object appear quite isolated as half his face is only projected where the other half is dark.  This makes  him appear that there is a certain feeling inside of the object that makes him feel upset inside but suggests he isn’t comfortable expressing it.  On the light source, I adjusted the dimmers at the front to pinpoint the light so the object would be fully illuminated and nothing else.  This is effective because I wanted to focus on the object and let the viewer not feel distracted by the shadows, but use the shadows to compliment the background subtly.


WEEK 10 EDITING AND FINALISING IMAGES // PHOTOSHOP

This week you will be expected to demonstrate a range of editing, manipulating, enhancing and presentation techniques.

You can explore Adobe Photoshop and Adobe Bridge.

You can explore manual editing techniques….like this

scan objects in photography

You can experiment with a range of presentation ideas.

You can exploit a range of editing apps and Instagram filters.

W e  w a n t   y o u   to   s h o w   y o u r

                     c r e a t i v i t y…

Photoshop Key Skills | 1 x blog post per skill
  • Double exposures / opacity control / Adam Goldberg)
  • Blending options and overlays, textures, frames
  • Cut and paste (Hannah Hoch) and Free Transform (Ctrl T) to create composite images (Photomontage) inspired by “Dada”
  • Layer Via Copy (Ctrl J)  (Christopher Relander) and Paste Special commands ( Selection Tools + Layer Mask to reveal)
  • Joiner portraits (David Hockney)
  • Juxtaposing portraits (John Stezaker and Joachim Schmid)
  • Blurring techniques (motion, lens, gaussian etc)

Use your own photographs !!!

By the end of the week you should have 3-5  carefully edited responses…

Homework…

  1. Choose 1-3 examples from “CREATIVE IDEAS” on the side bar.
  2. Create your version of the examples using the same technique as described and as used by your choice of artist
  3. Add to a new blog post with comparison and evaluation


Week 7 // Editing and Printing [H/T RANKIN homework]

This week all students will be encouraged and expected to tackle and complete the following tasks…

  • Tidy up your File Management (blog ready / print ready images)
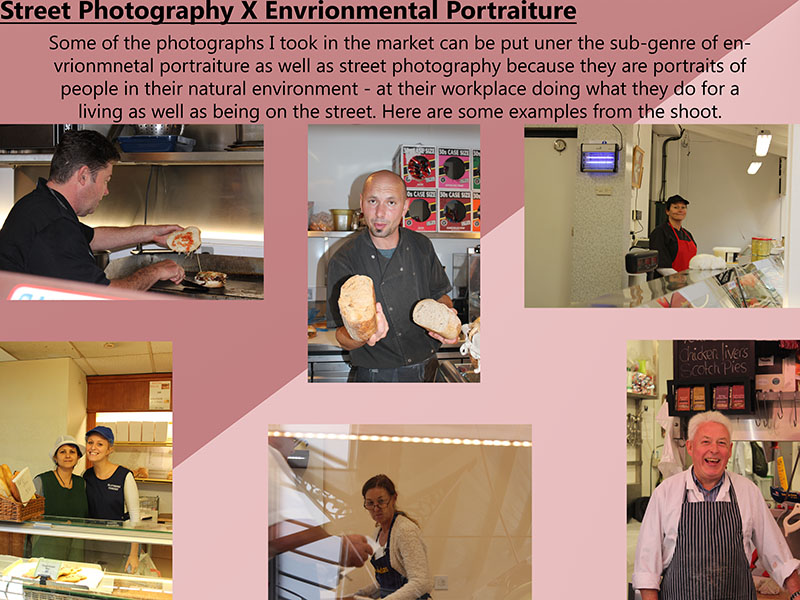
  • Final edits of strongest Environmental Portraits and Street Photography (3-5 images per photoshoot)
  • Select 1 x A3 and 1 x A4 FINAL IMAGES
  • THESE MUST BE HIGH QUALITY, HIGH RESOLUTION IMAGES SAVED IN A PRINTING FOLDER IN M:DRIVE
  • An analysis of your current assessment material and introduction to the marking criteria and comparisons to exemplar material
  • Completion of Street Photography Homework ( photoshoot) so you can edit and present these too…
  • Analyse and evaluate what you have achieved so far…
  • Check that you have completed EACH INDIVIDIAUL BLOG POST

HALF TERM HOMEWORK ASSIGNMENT // Halloween inspired photoshoot

COMPLETE A PERSONAL PHOTO-SHOOT (50-100 PHOTOS) BASED ON THE WORK OF RANKIN… or you can choose another studio photographer whose style you wish to emulate and develop

TAKE NOTE OF HIS USE OF LIGHTING AND USE OF PROPS, BODY LANGUAGE, CLOTHING AND CHOICE OF MODELS….

http://rankin.co.uk/portraits/

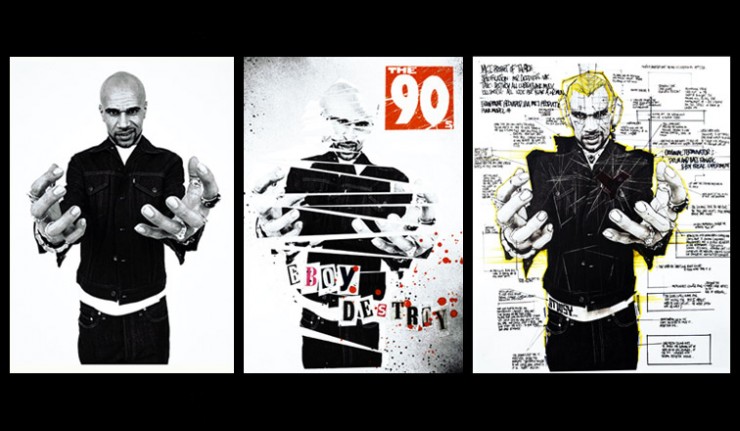
[LOOK CLOSELY AT HIS DESTROY / DE-CONSTRUCT PROJECTS before starting to inspire ways in which you can adapt and edit your images next term…Rankin makes a point of encouraging the celebrities he photographs to adapt their portraits in a way that reflects their character / profession]

Thom Yorke, Radiohead

Joe Strummer, The Clash

Goldie, Graffiti Artist, drum and bass musician and producer