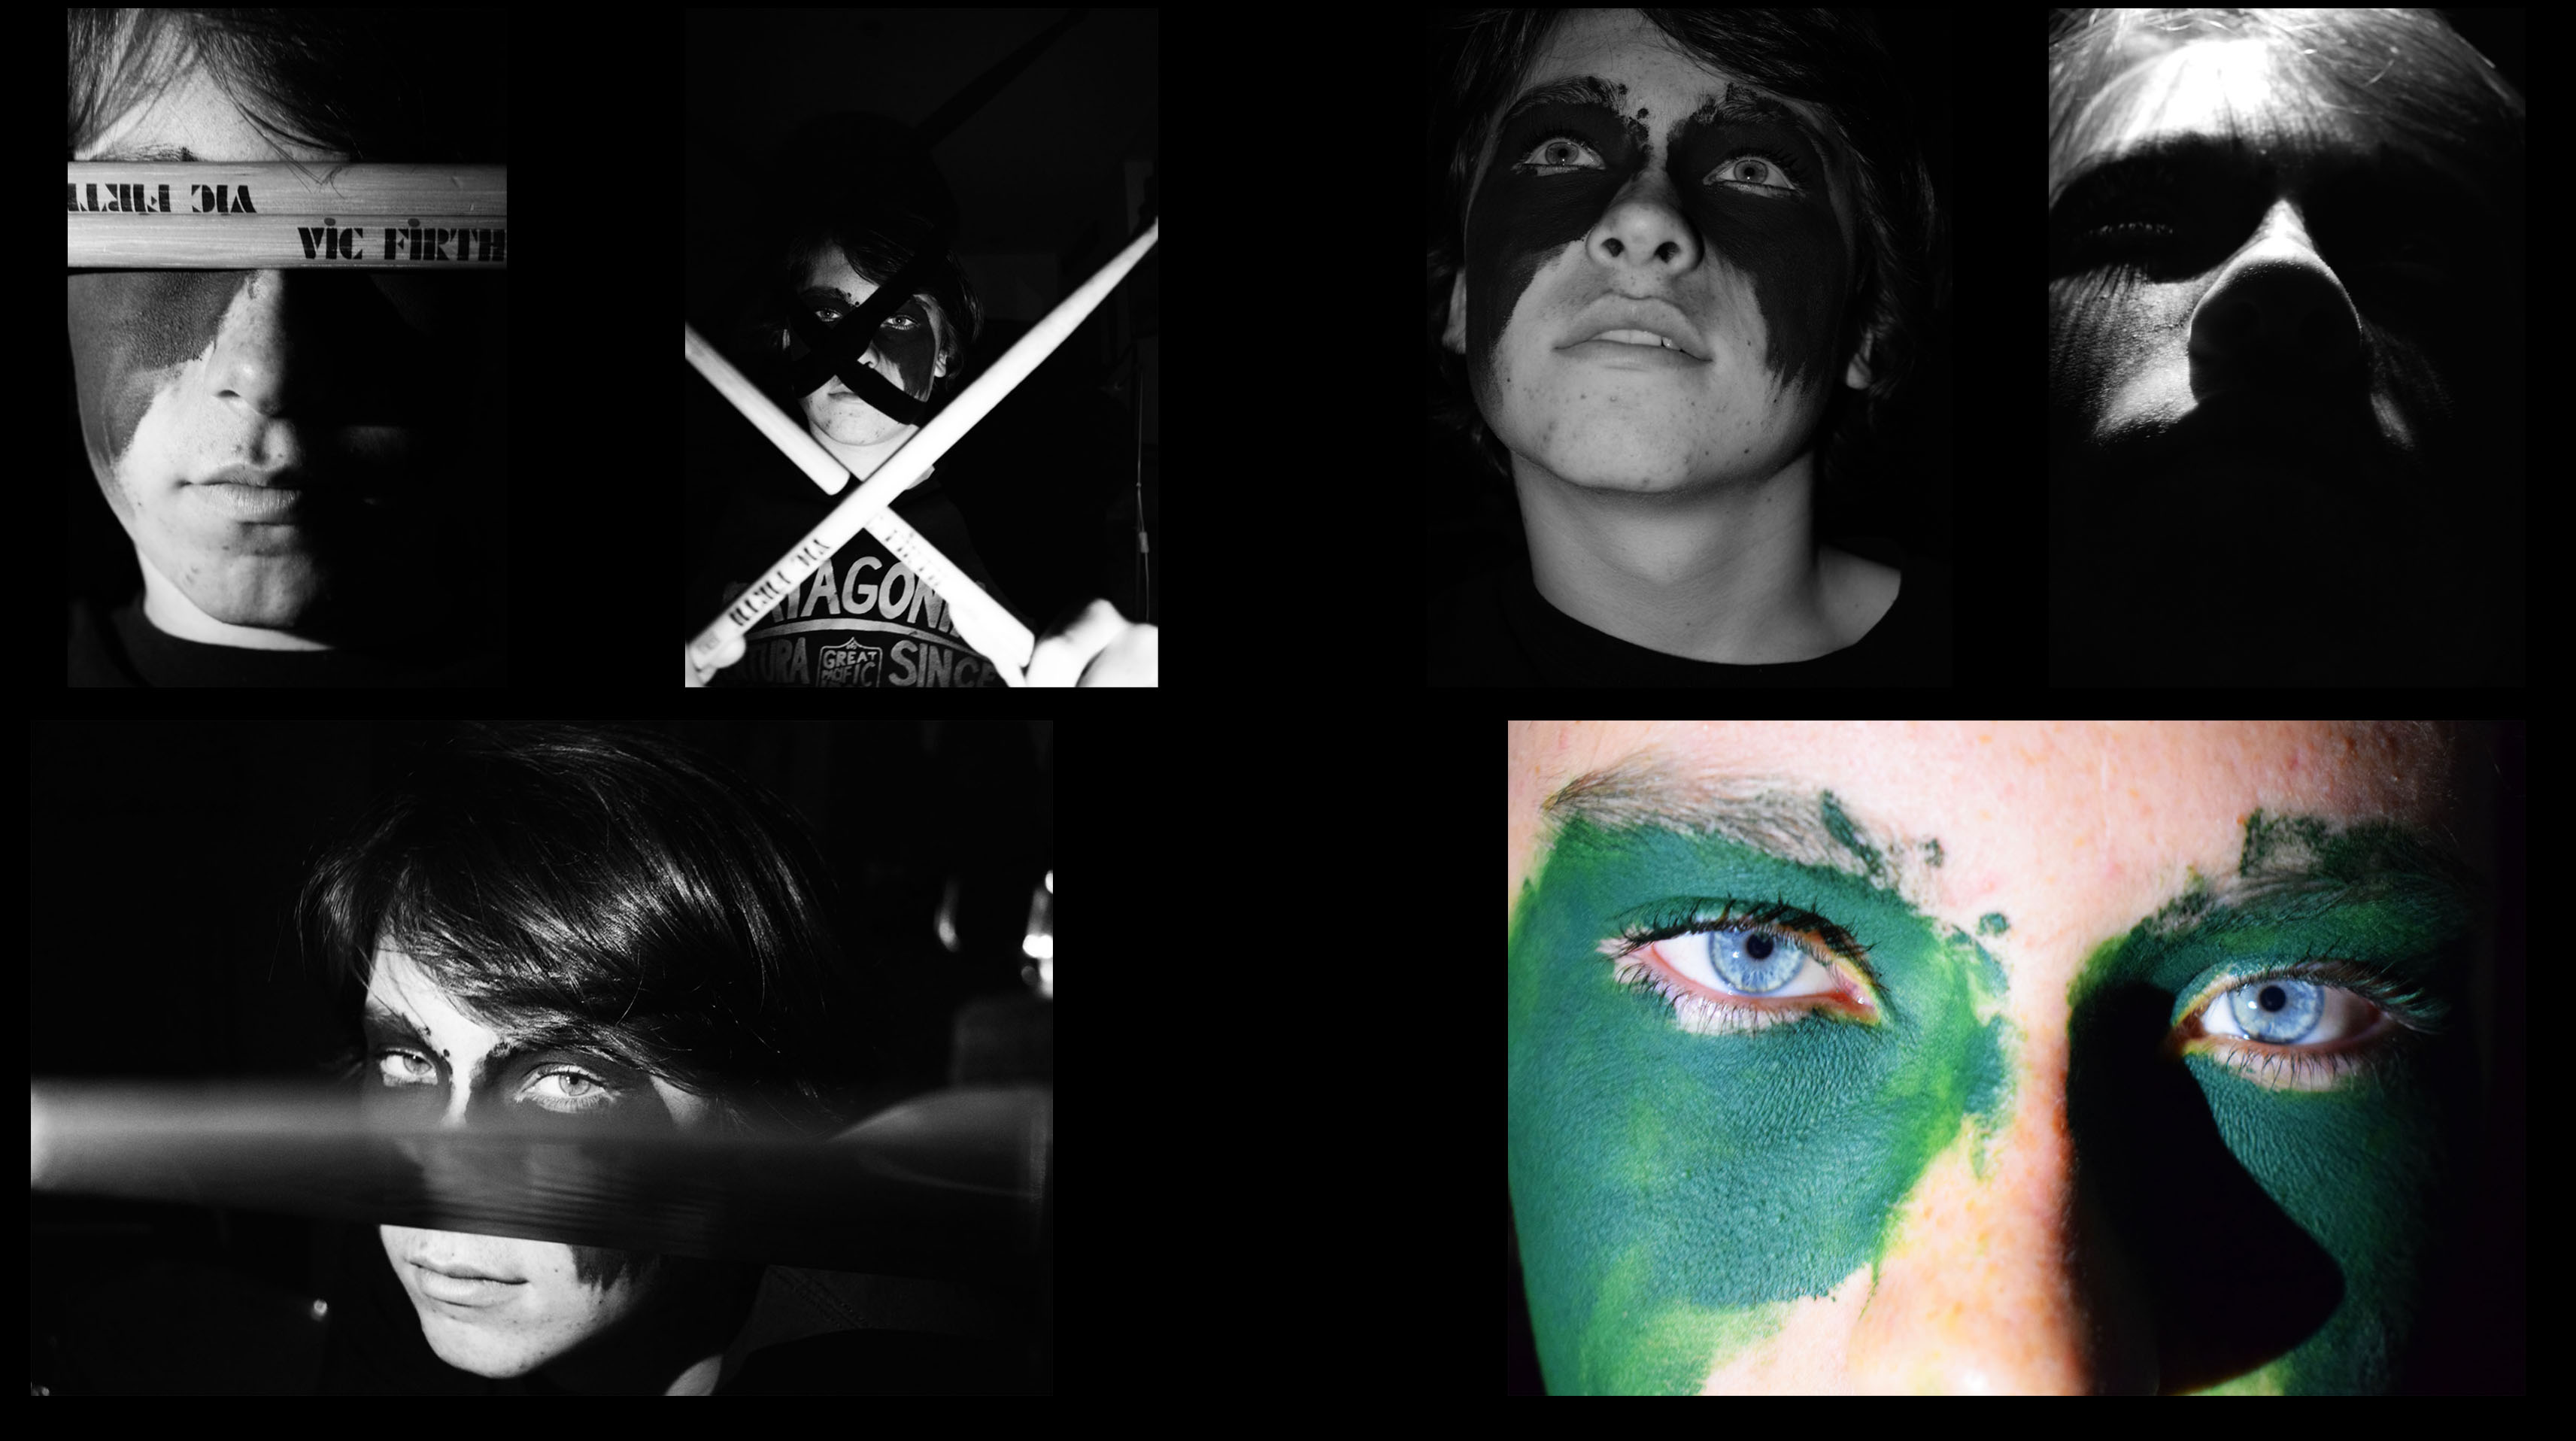
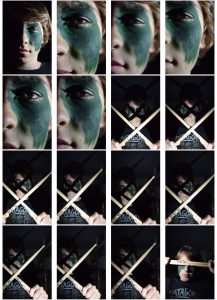
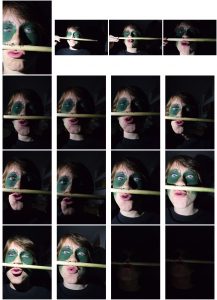
Here I have chosen the best photos from my Rankin project. When I editing these photos I wanted to make them striking, something that captures your attention. I also wanted to make it my own interpretation of Rankins photography. I wanted to show my brothers personality through the photos. This is why I did the photo shoot around the drum kit because my brother puts all his time into playing drums and puts a lot of effort into it. I also used the face paint to show my brothers personality, this why the face paint is messy war paint and looks like he has just put it on his face quickly. I wanted this to show that when he plays his drums its like a battle he puts everything into it, giving it his all. I wanted him to look intimidating but also calm and approachable in other photos.
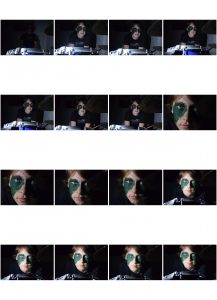
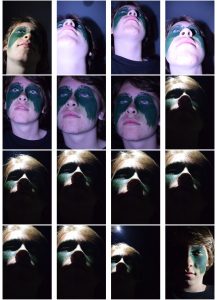
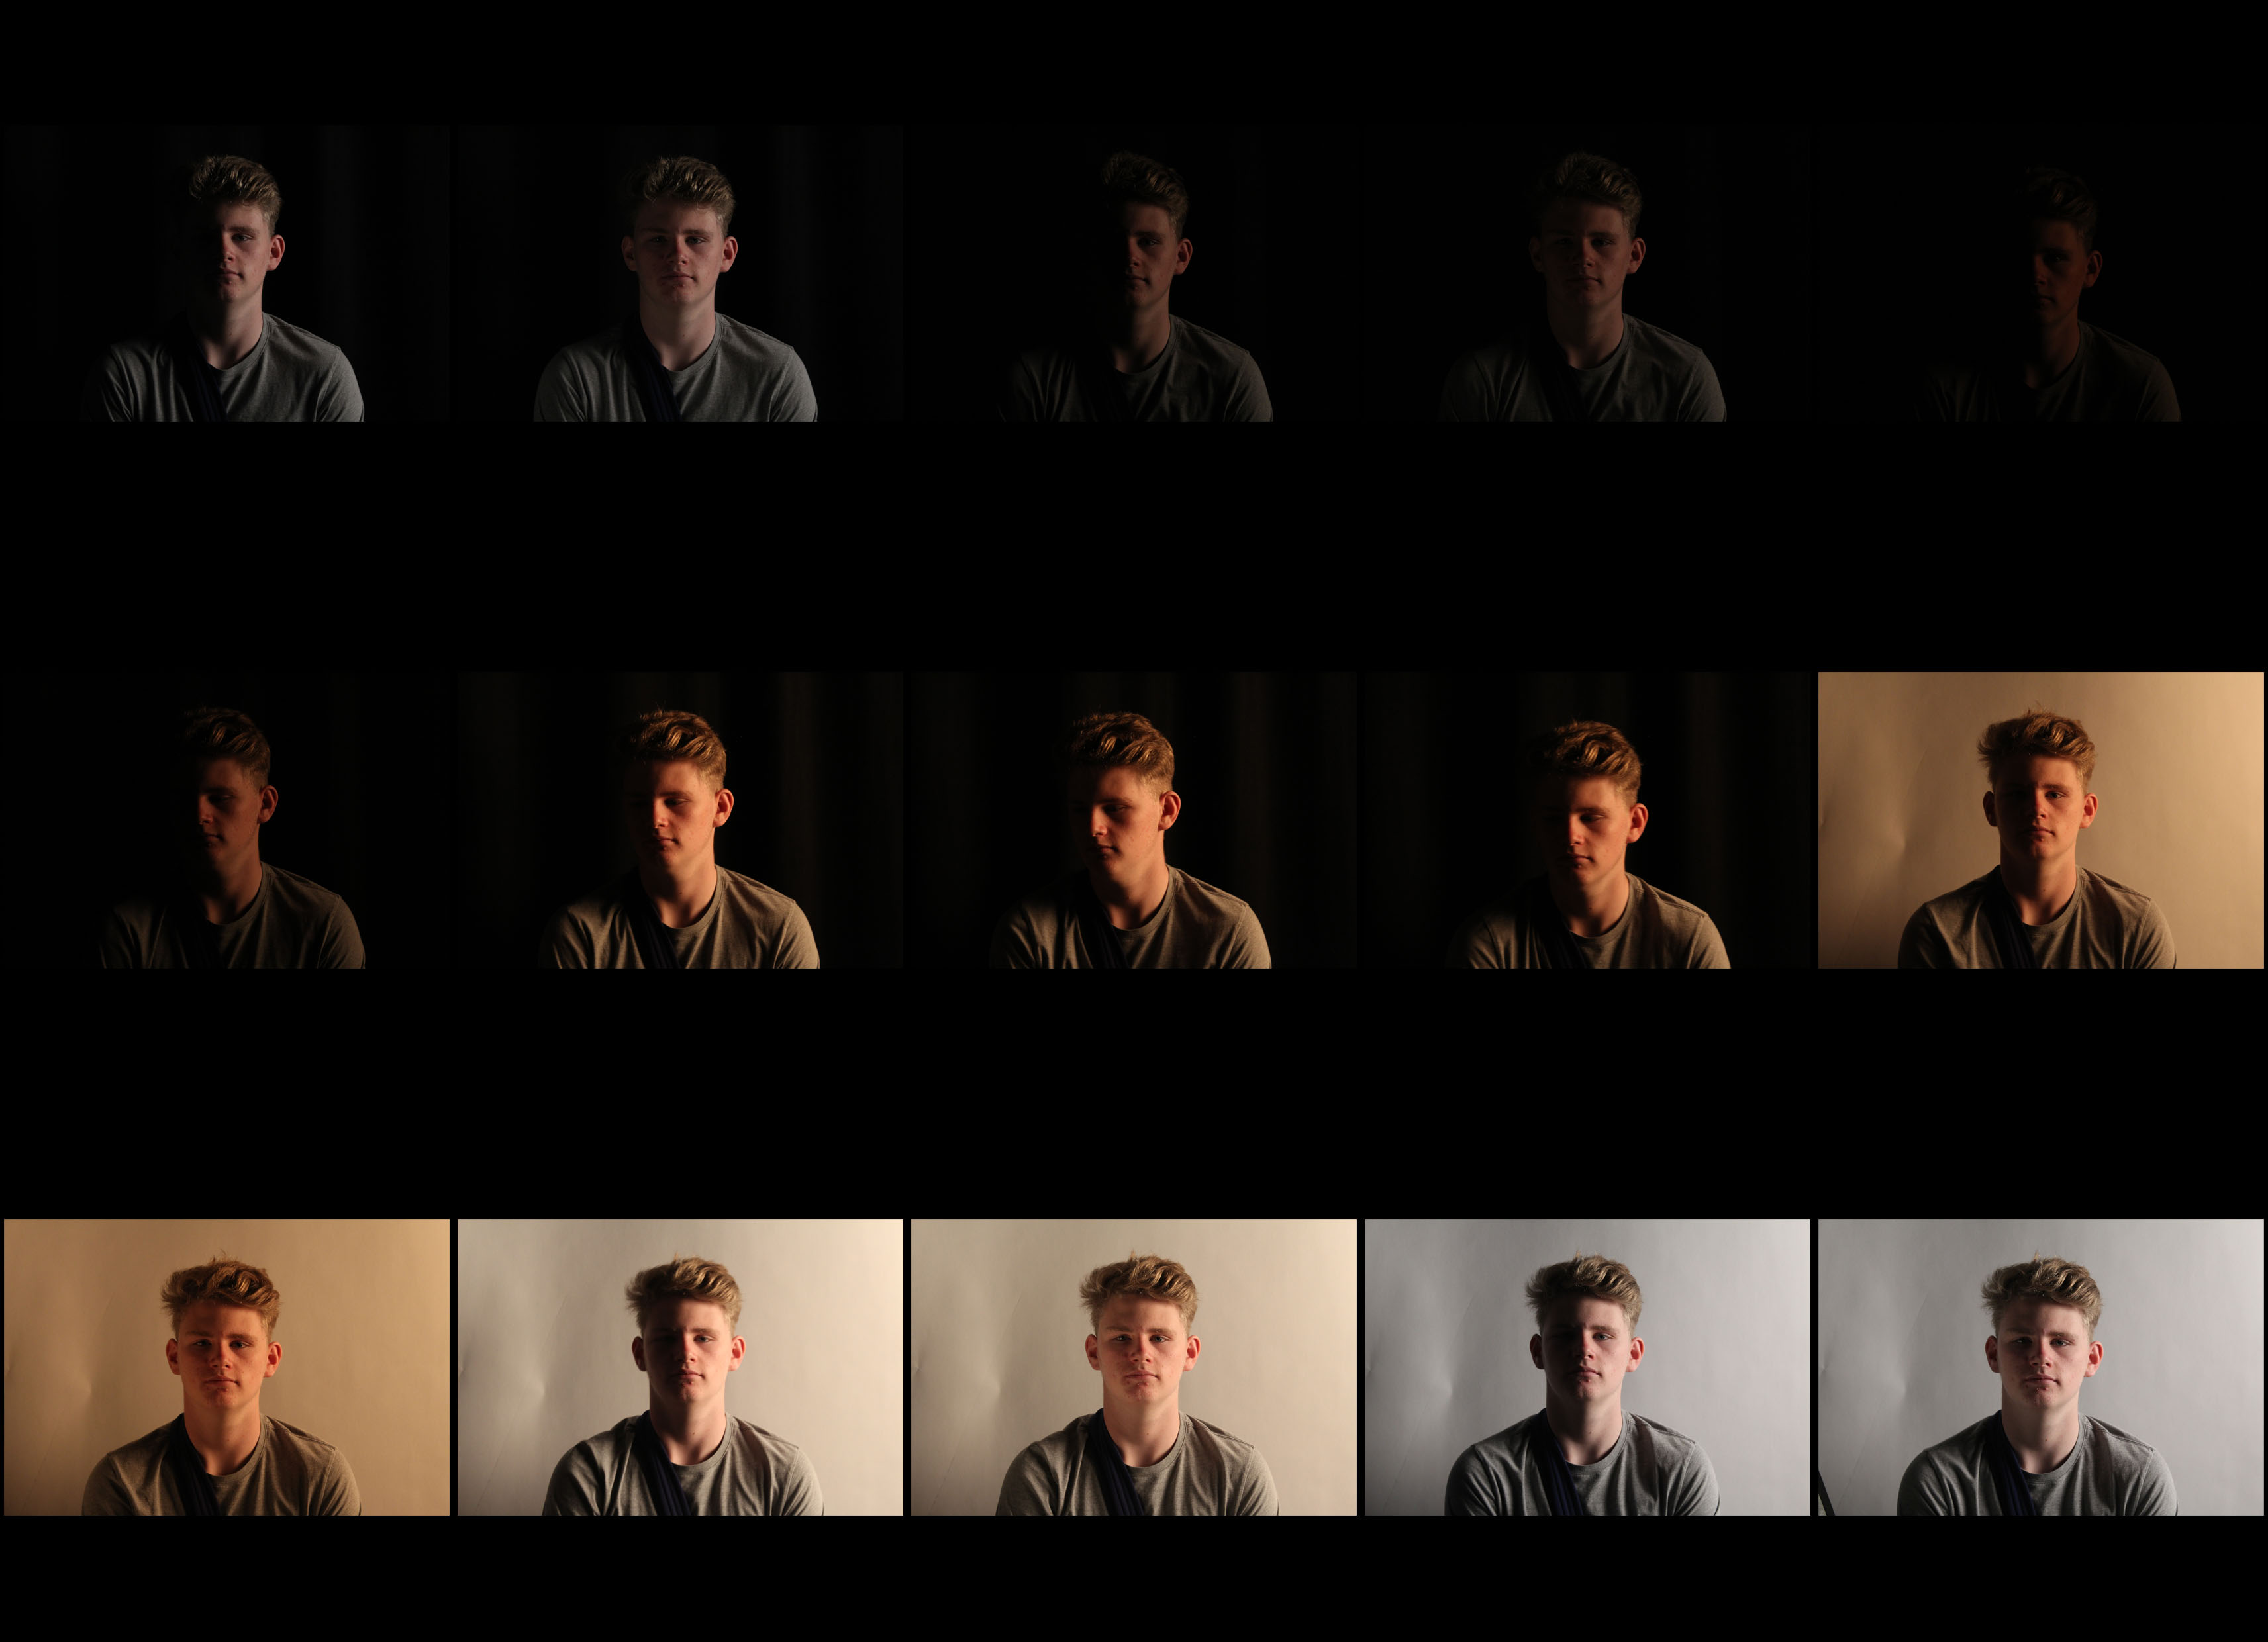
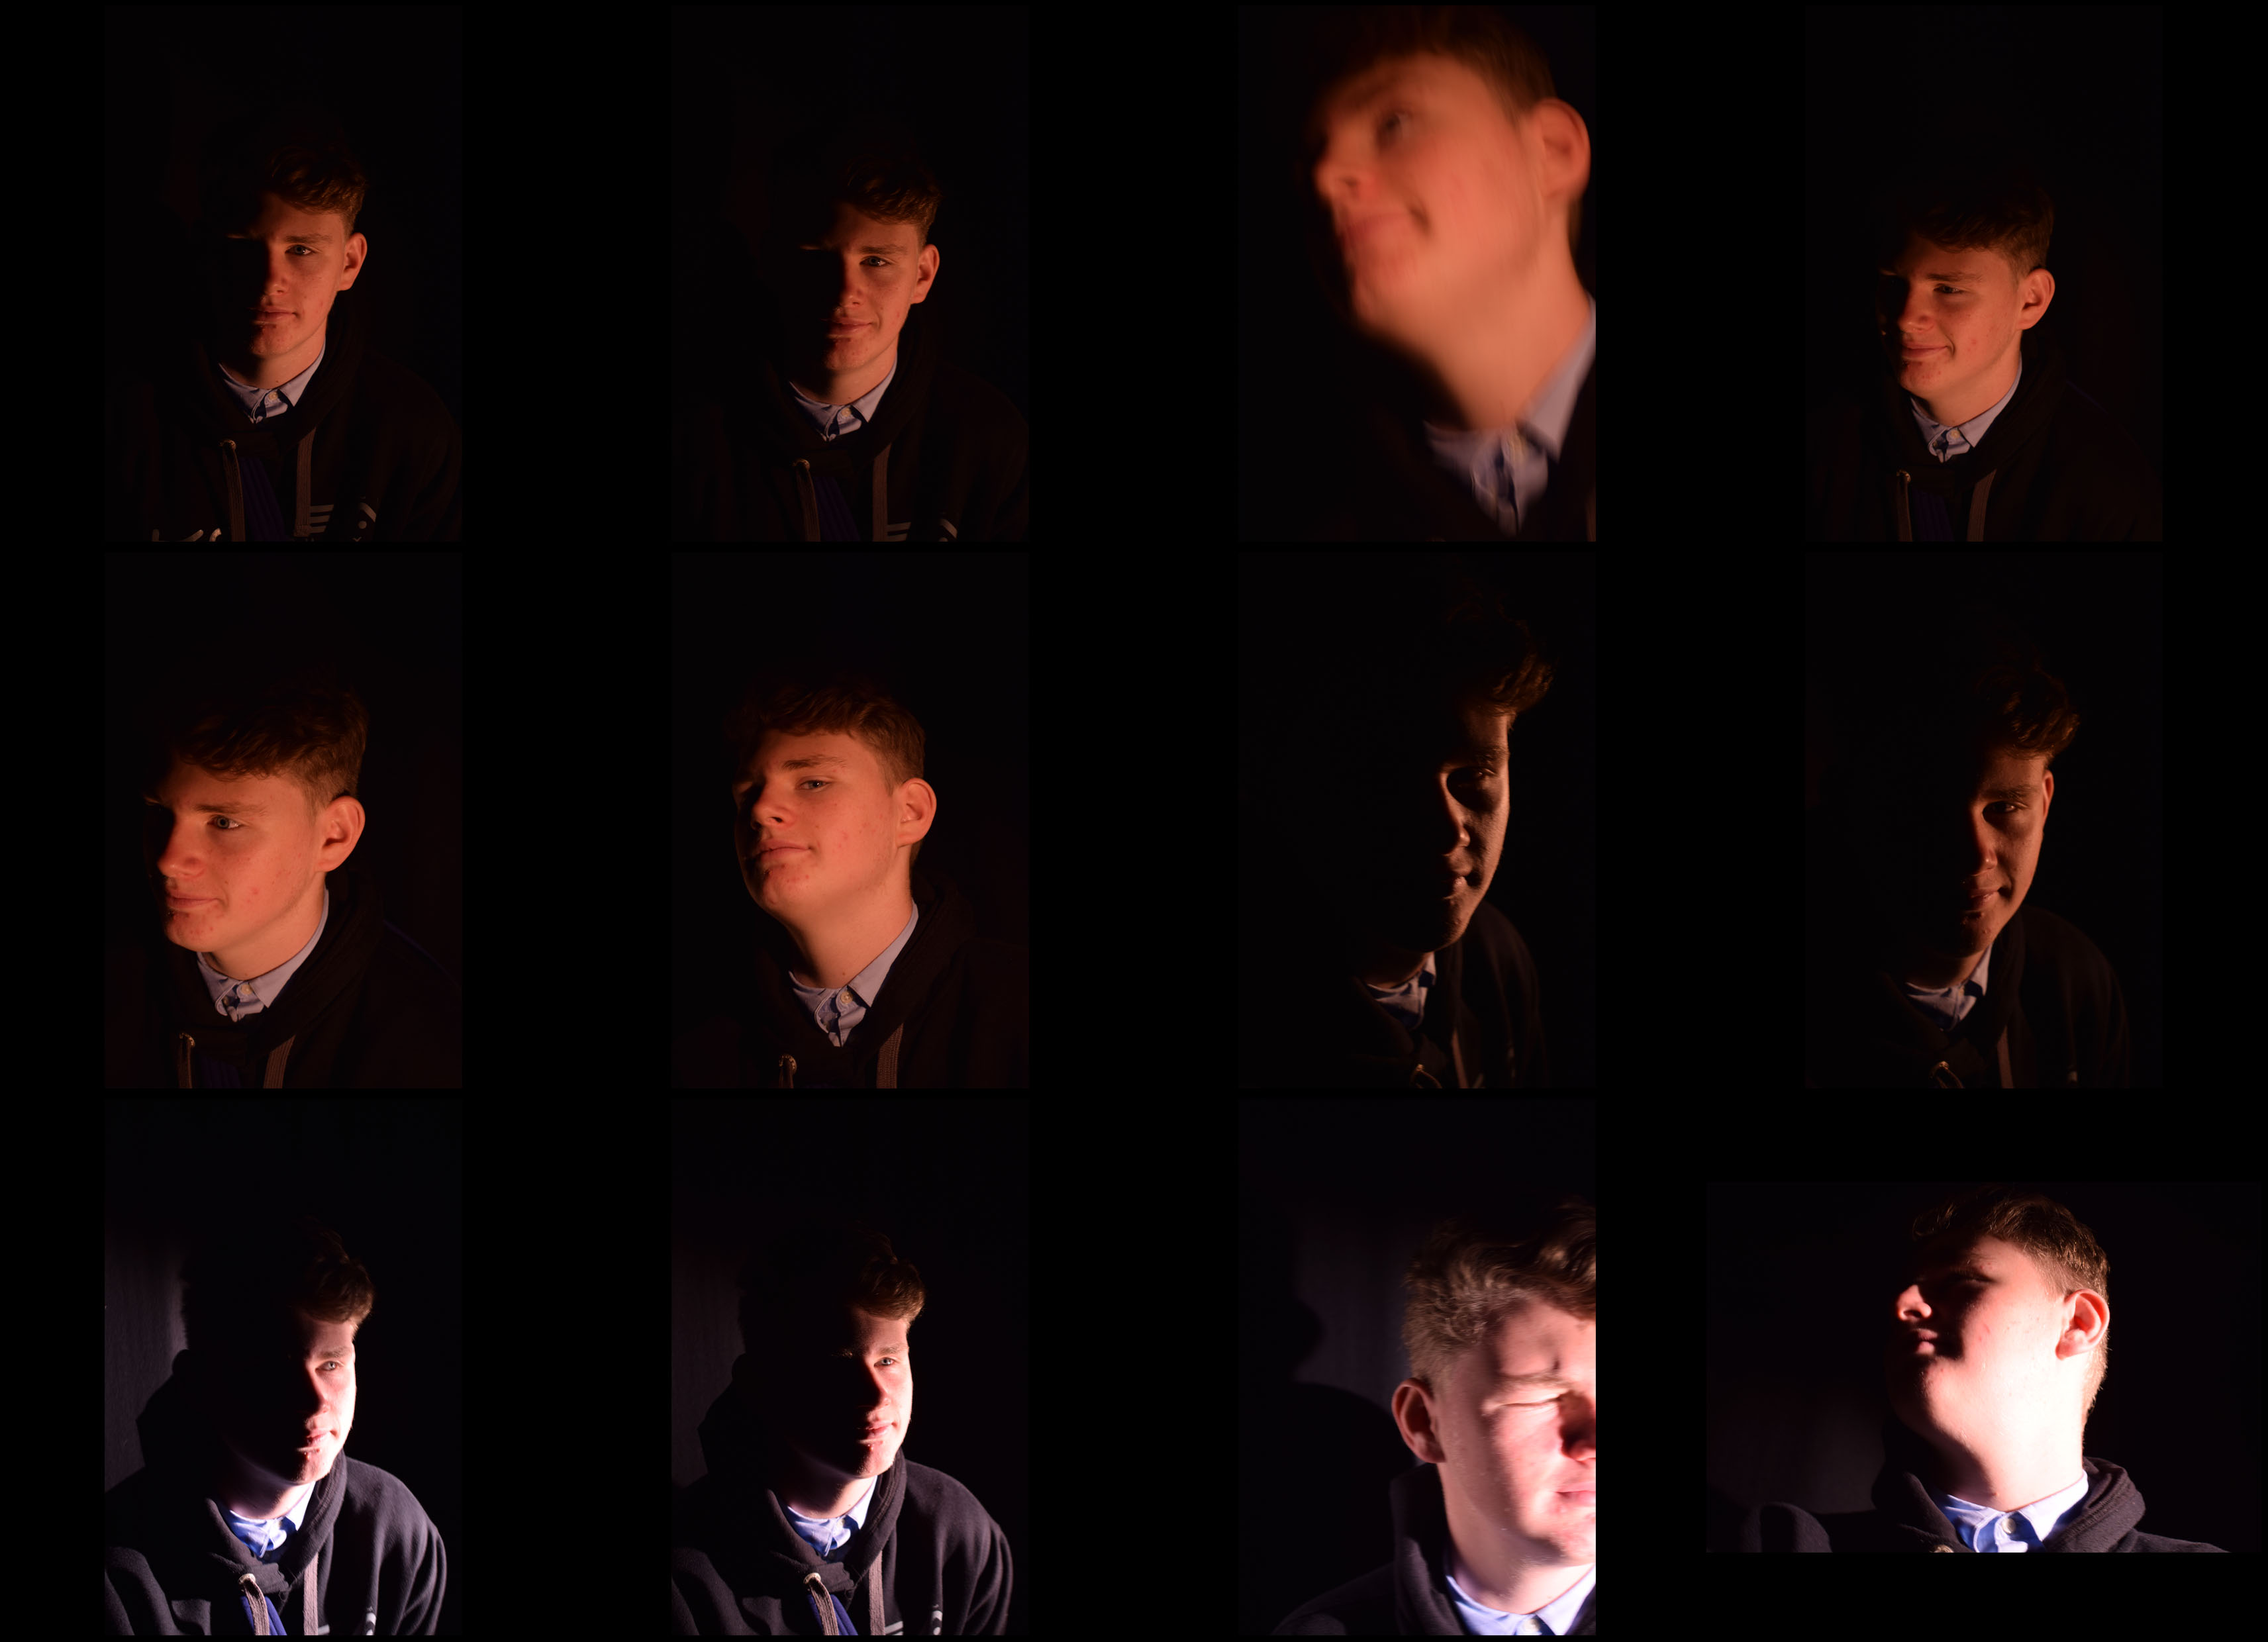
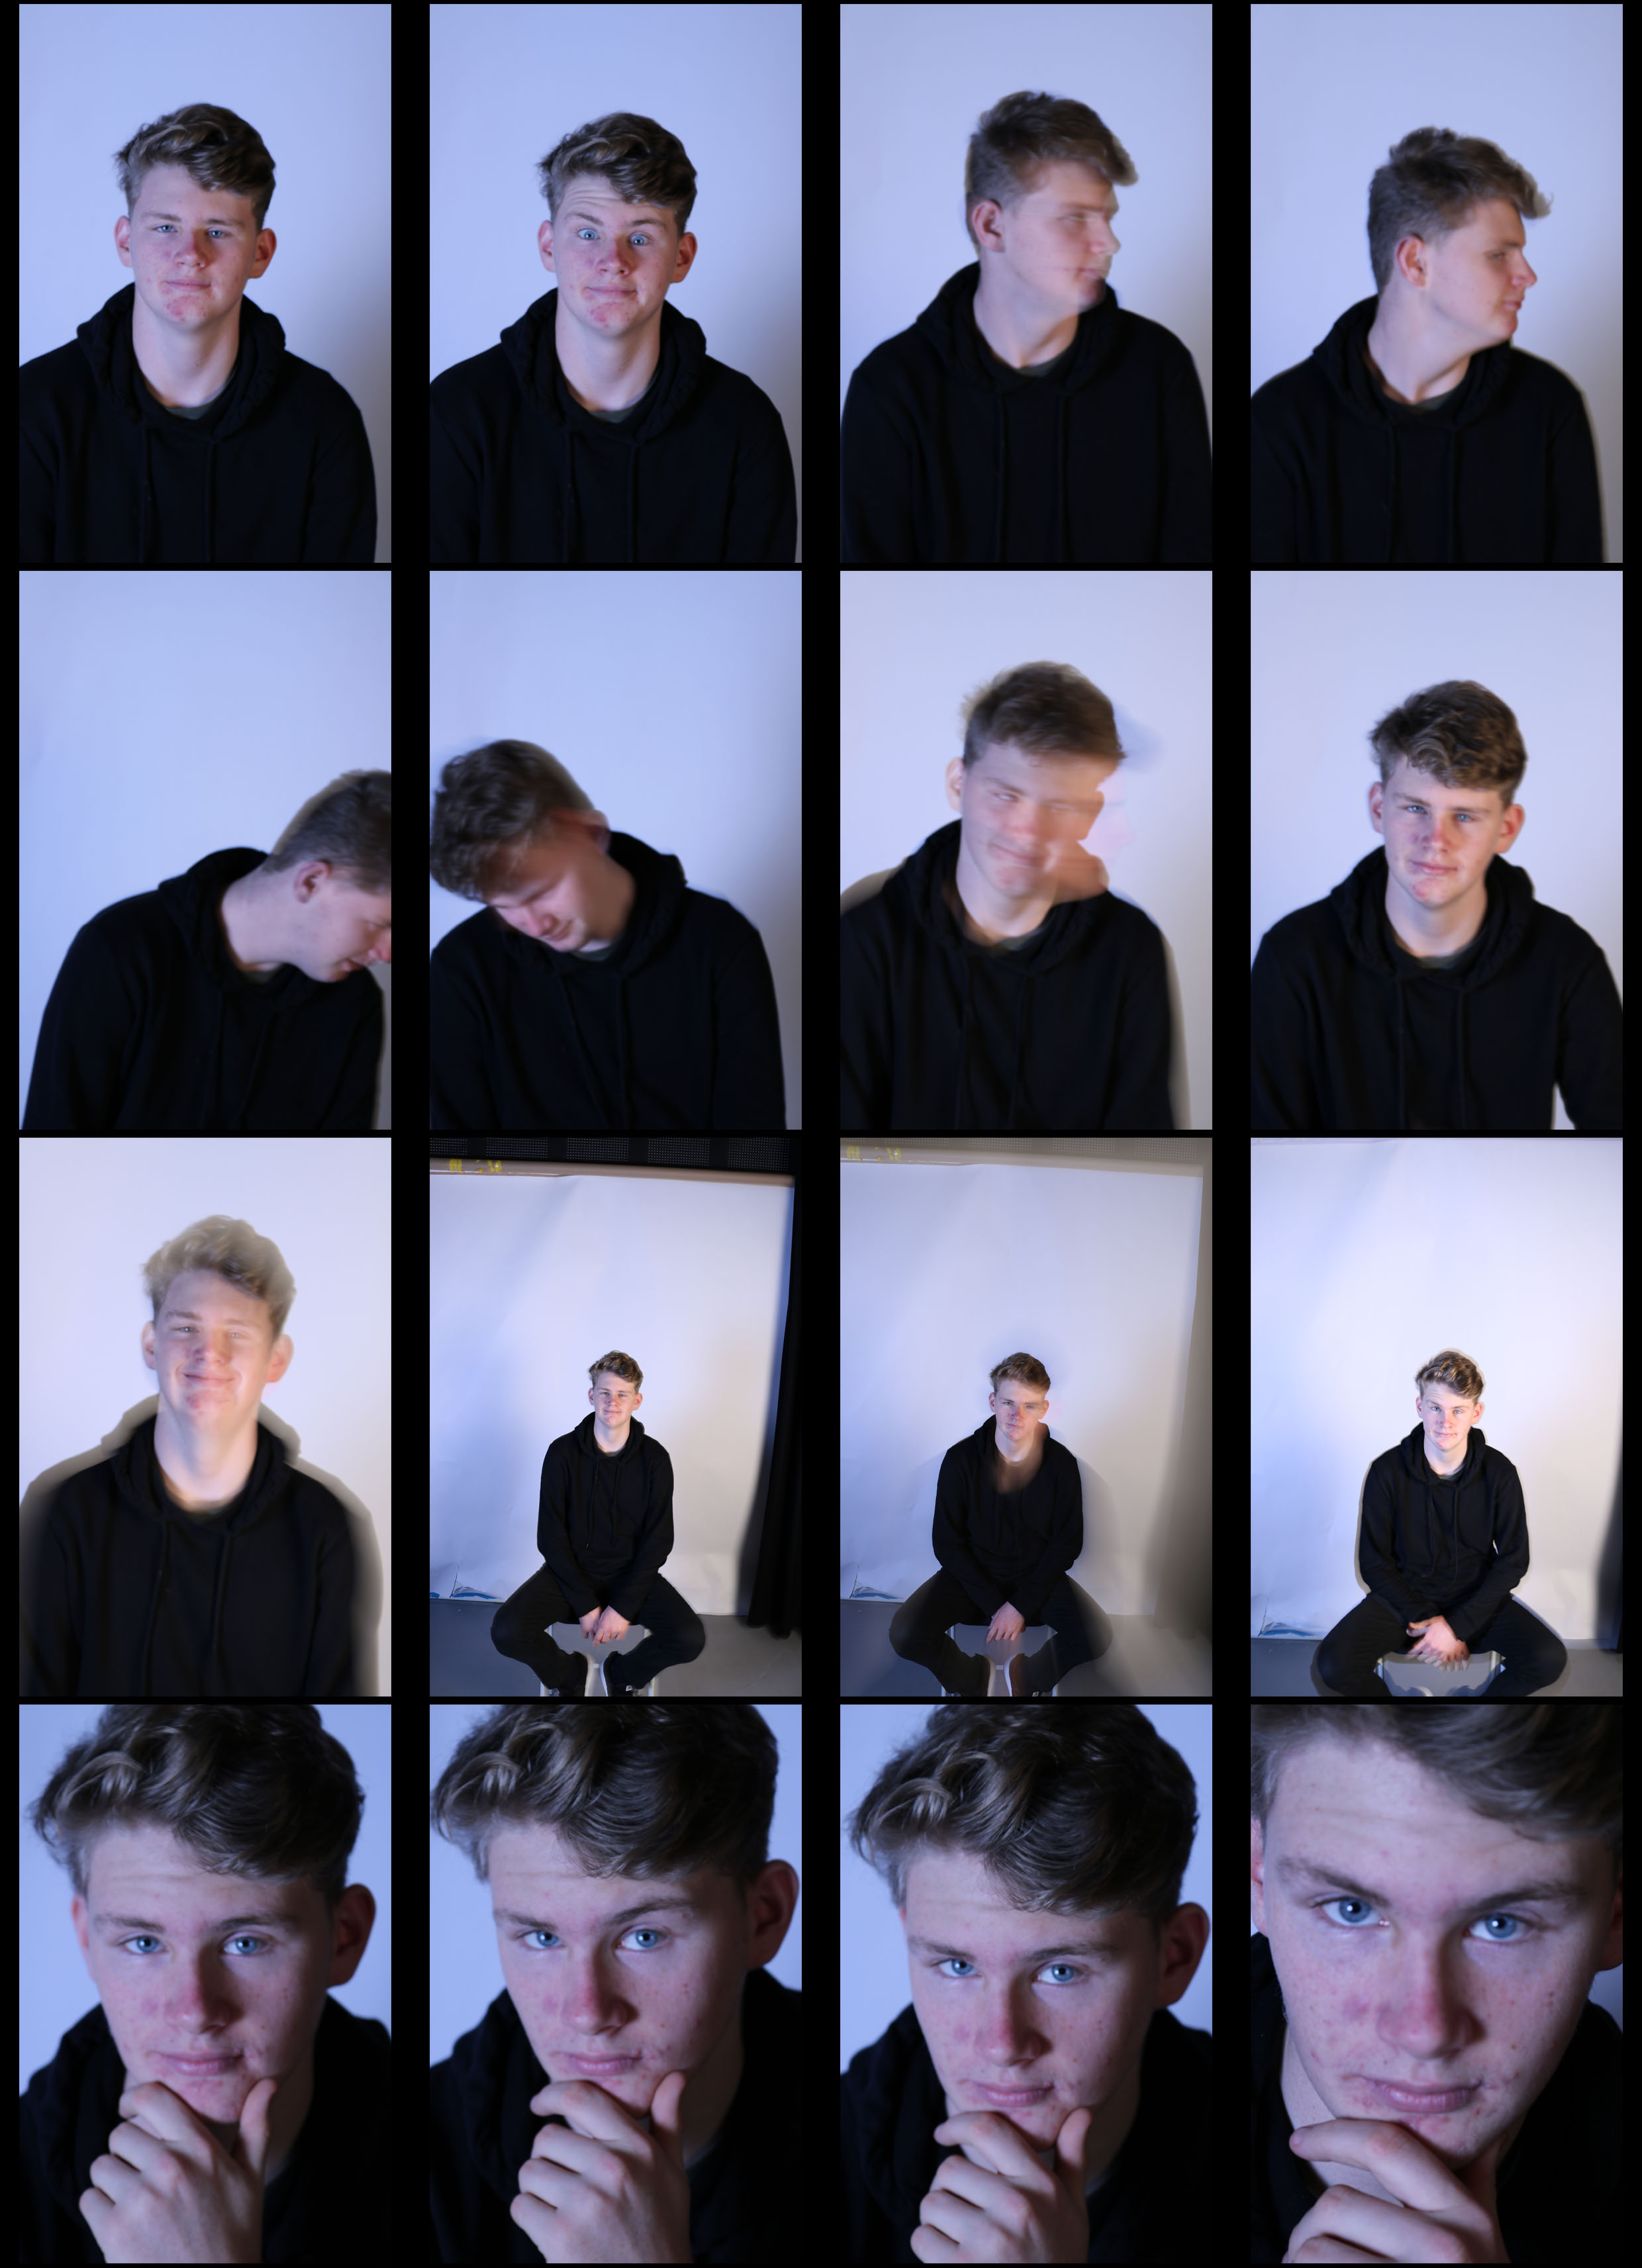
Here I have taken photos of subject with different levels of lighting and different backgrounds. Firstly I used a harsh bright lighting with a black background then gradually made the light dimmer and took multiple pictures like this. I then told the subject to look down when I did this I increased the lighting slightly this gave it a nice chiaroscuro affect. I then changed the background to white and went through the same steps in reverse order. This made the photos a lot brighter as the white background was reflecting the light rather than absorbing it like the black background.
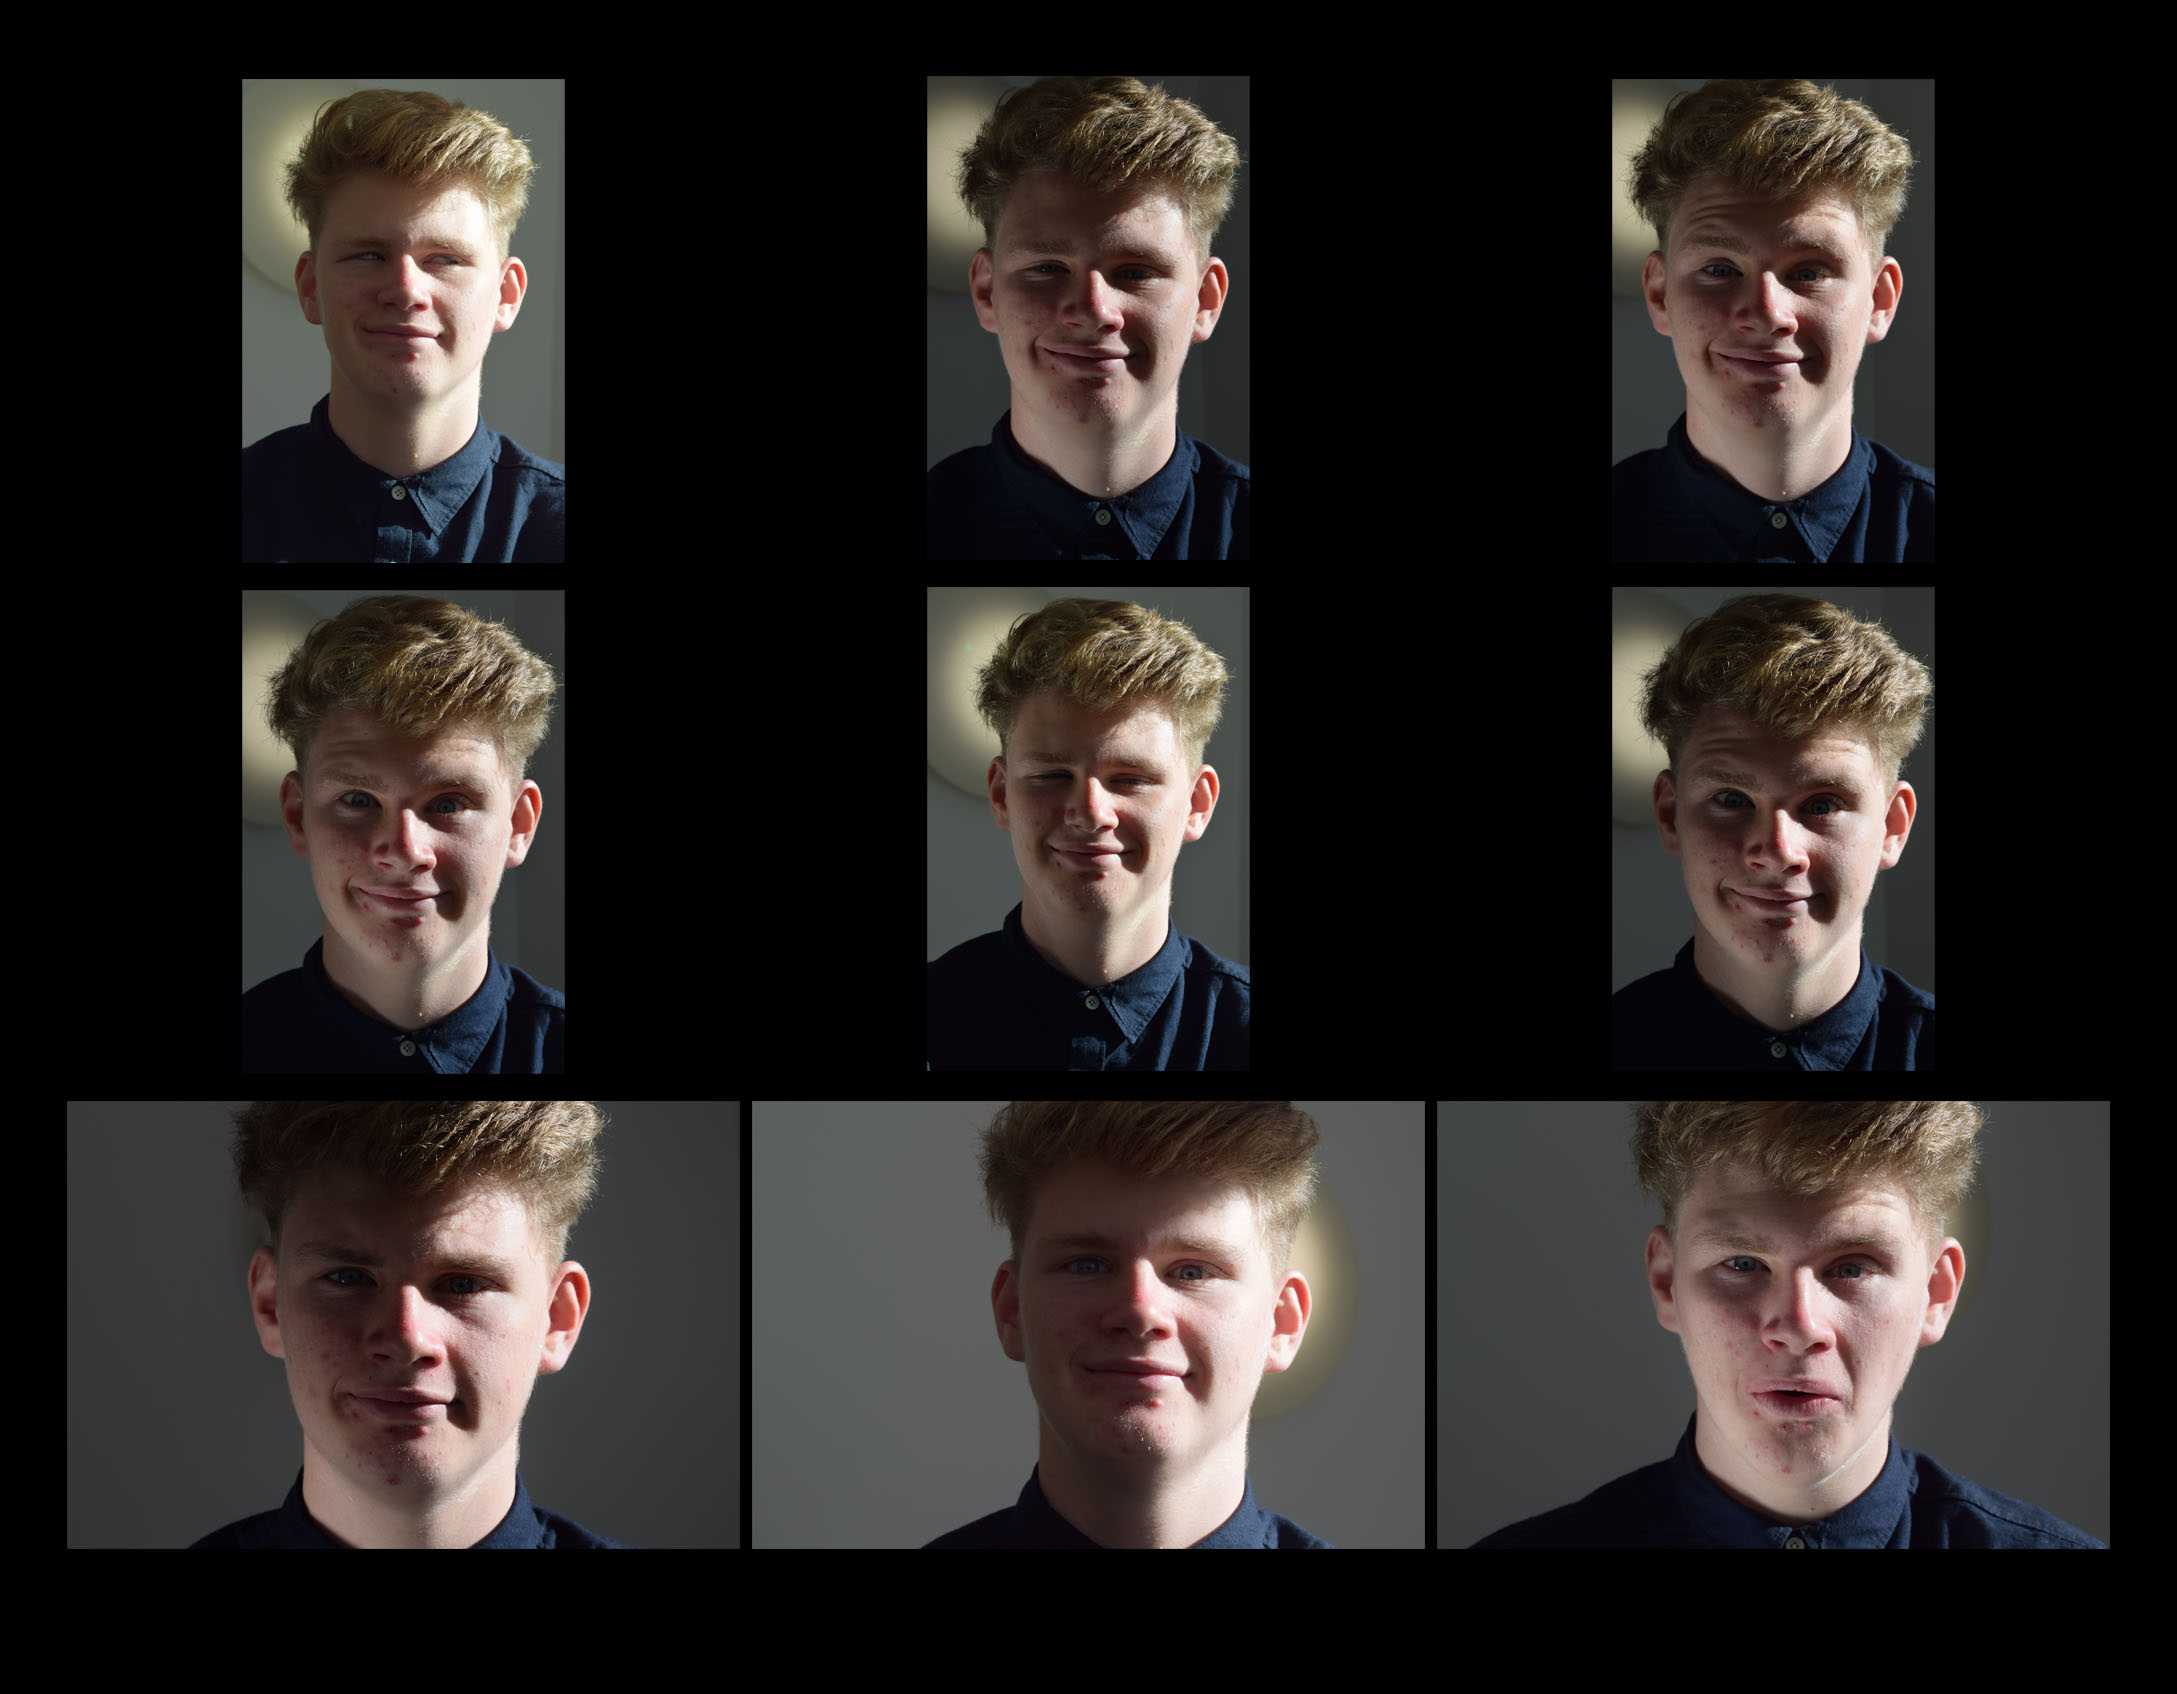
Here we are taking photos with natural lighting. When taking the pictures we got into a spot where there was a lot of light then took photos. After this, we used the reflector to get more light on the darker side of the subjects face. This allowed the camera capture more light.
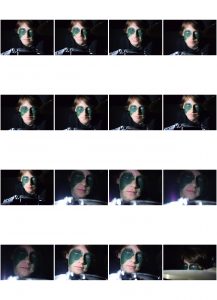
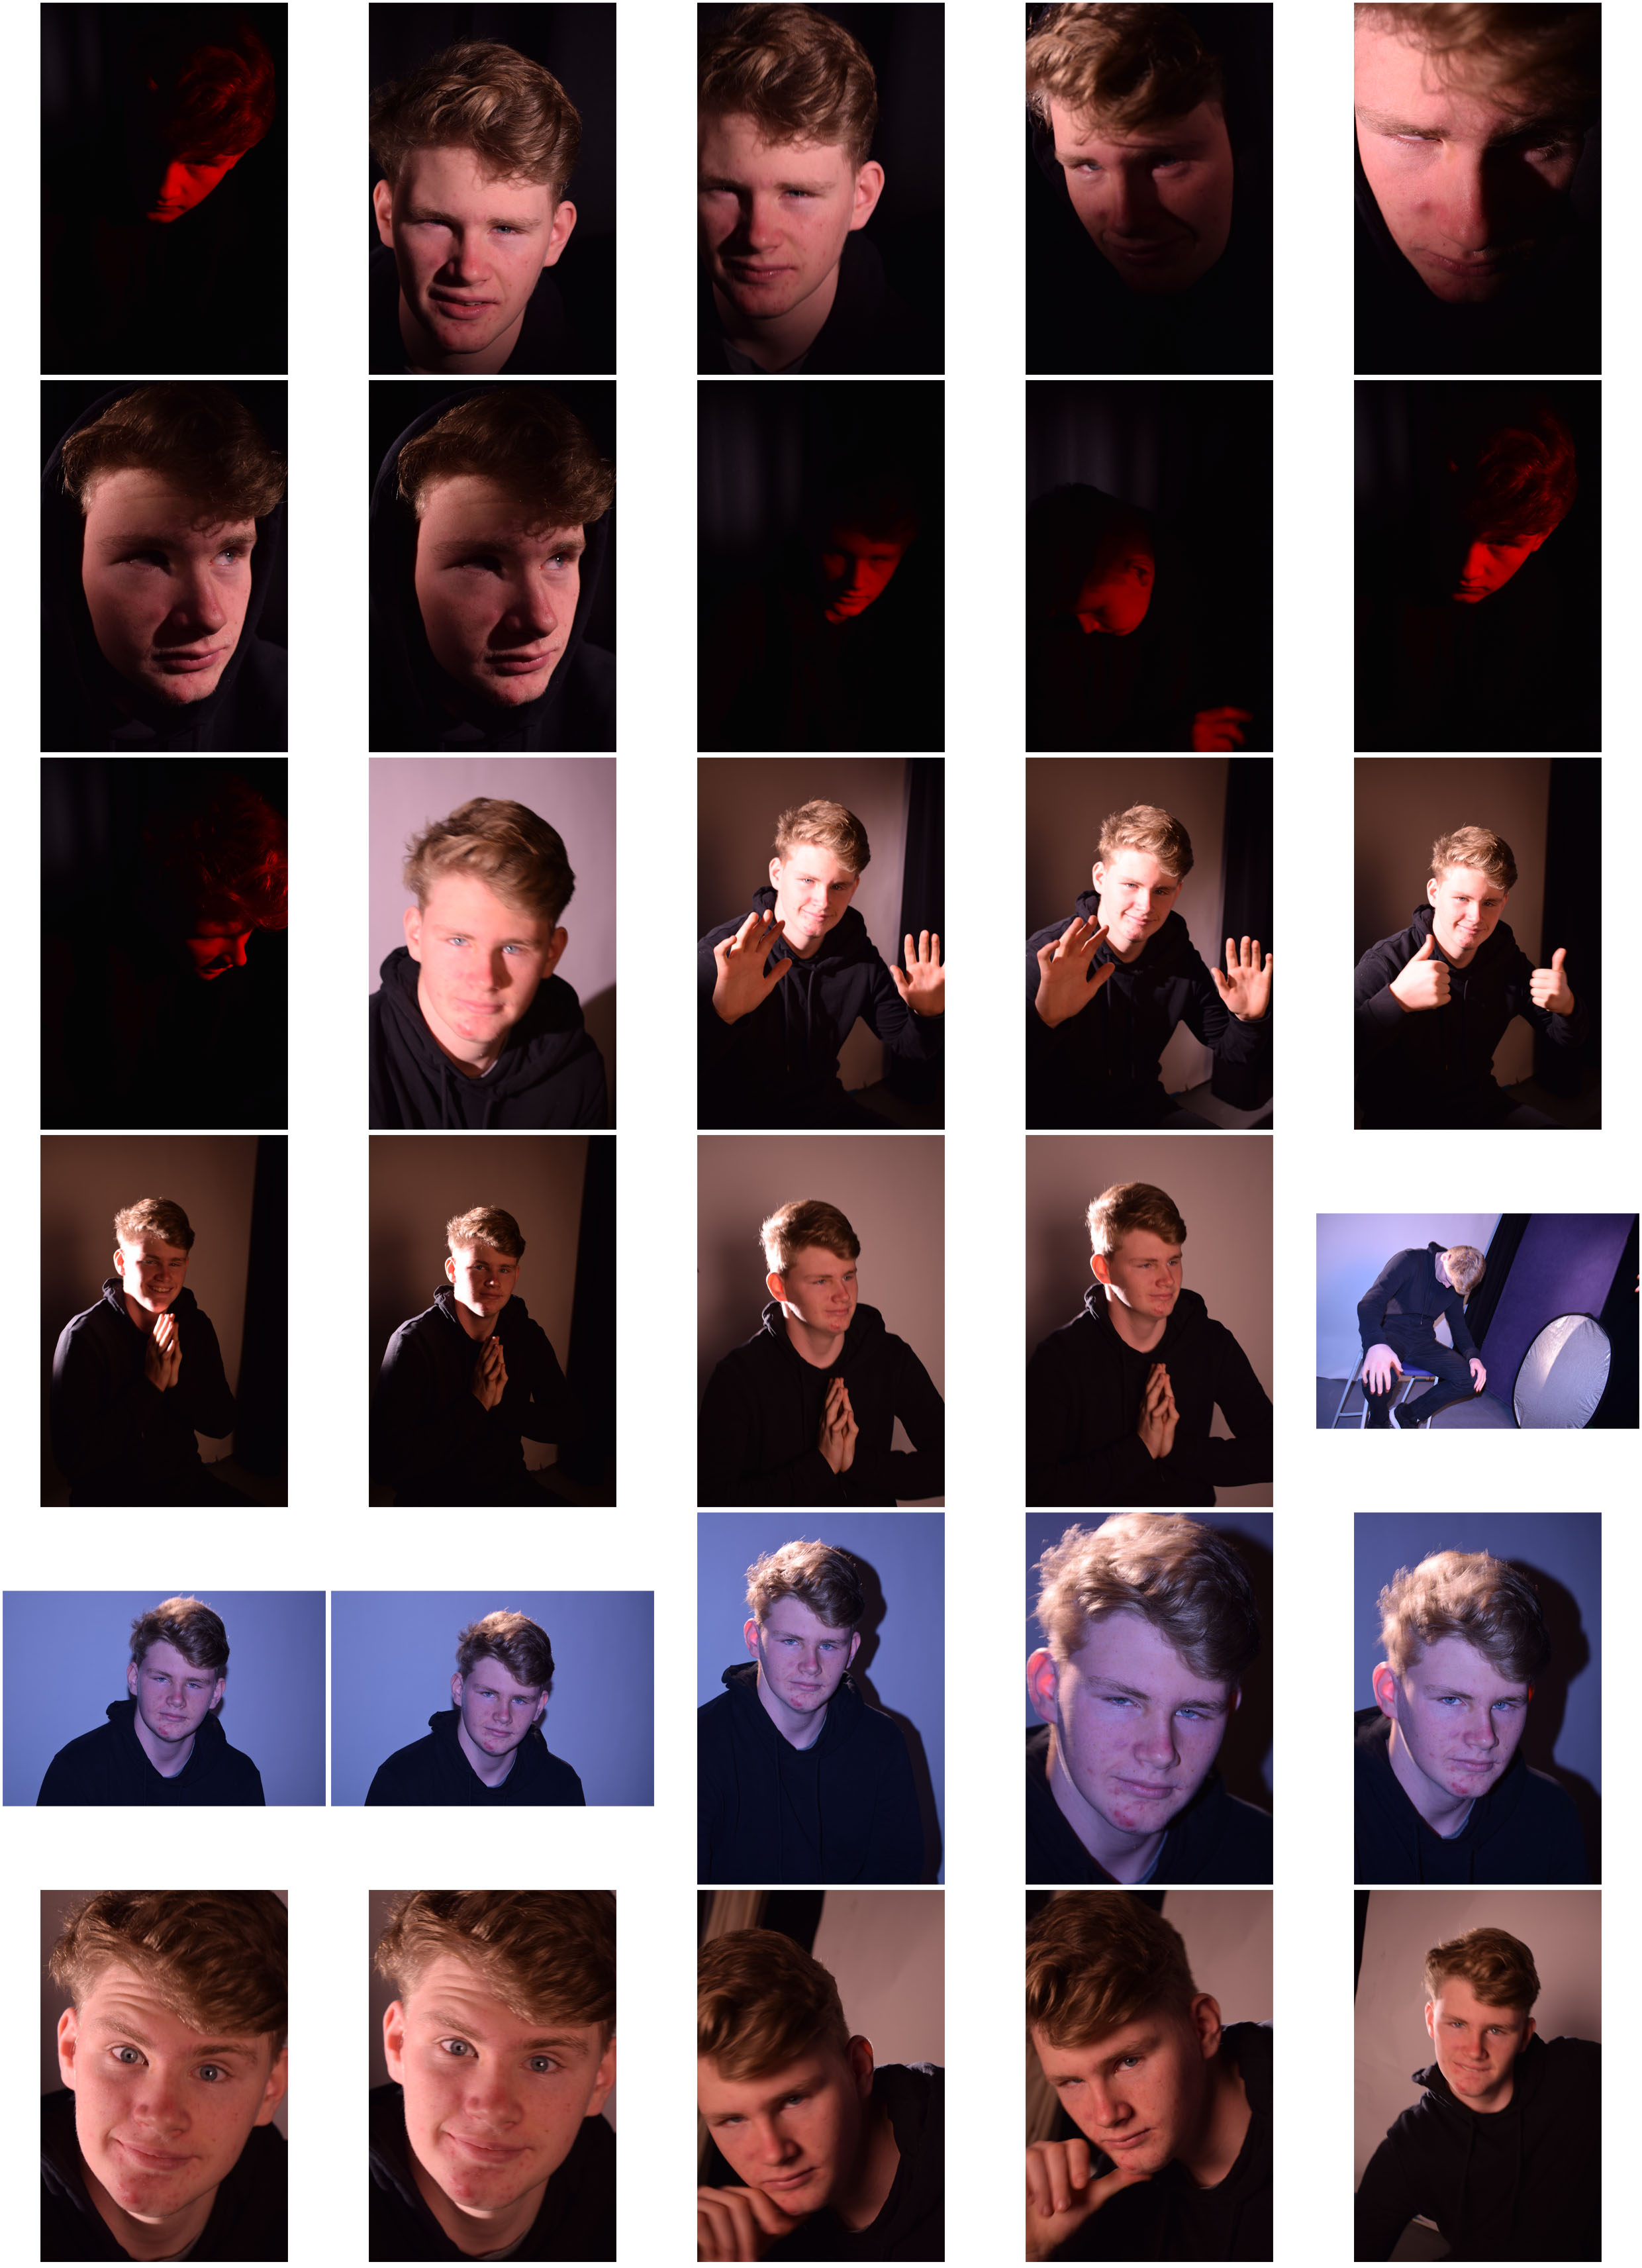
The point to this shoot was to ellimnate any shadows using two points of light but also creating them by using two points of light. On some of them you’ll find that I used the flash, this eliminated almost all shadows and on others I had a soft box lighting in front of the subject with a harsher light source coming from the side this made softer shadows. I also used dim lighting with a red filter like previous shoots, because the subject was wearing all black it looked like a floating red head.
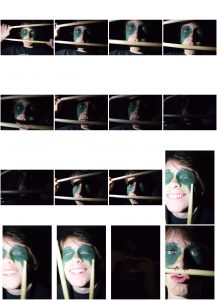
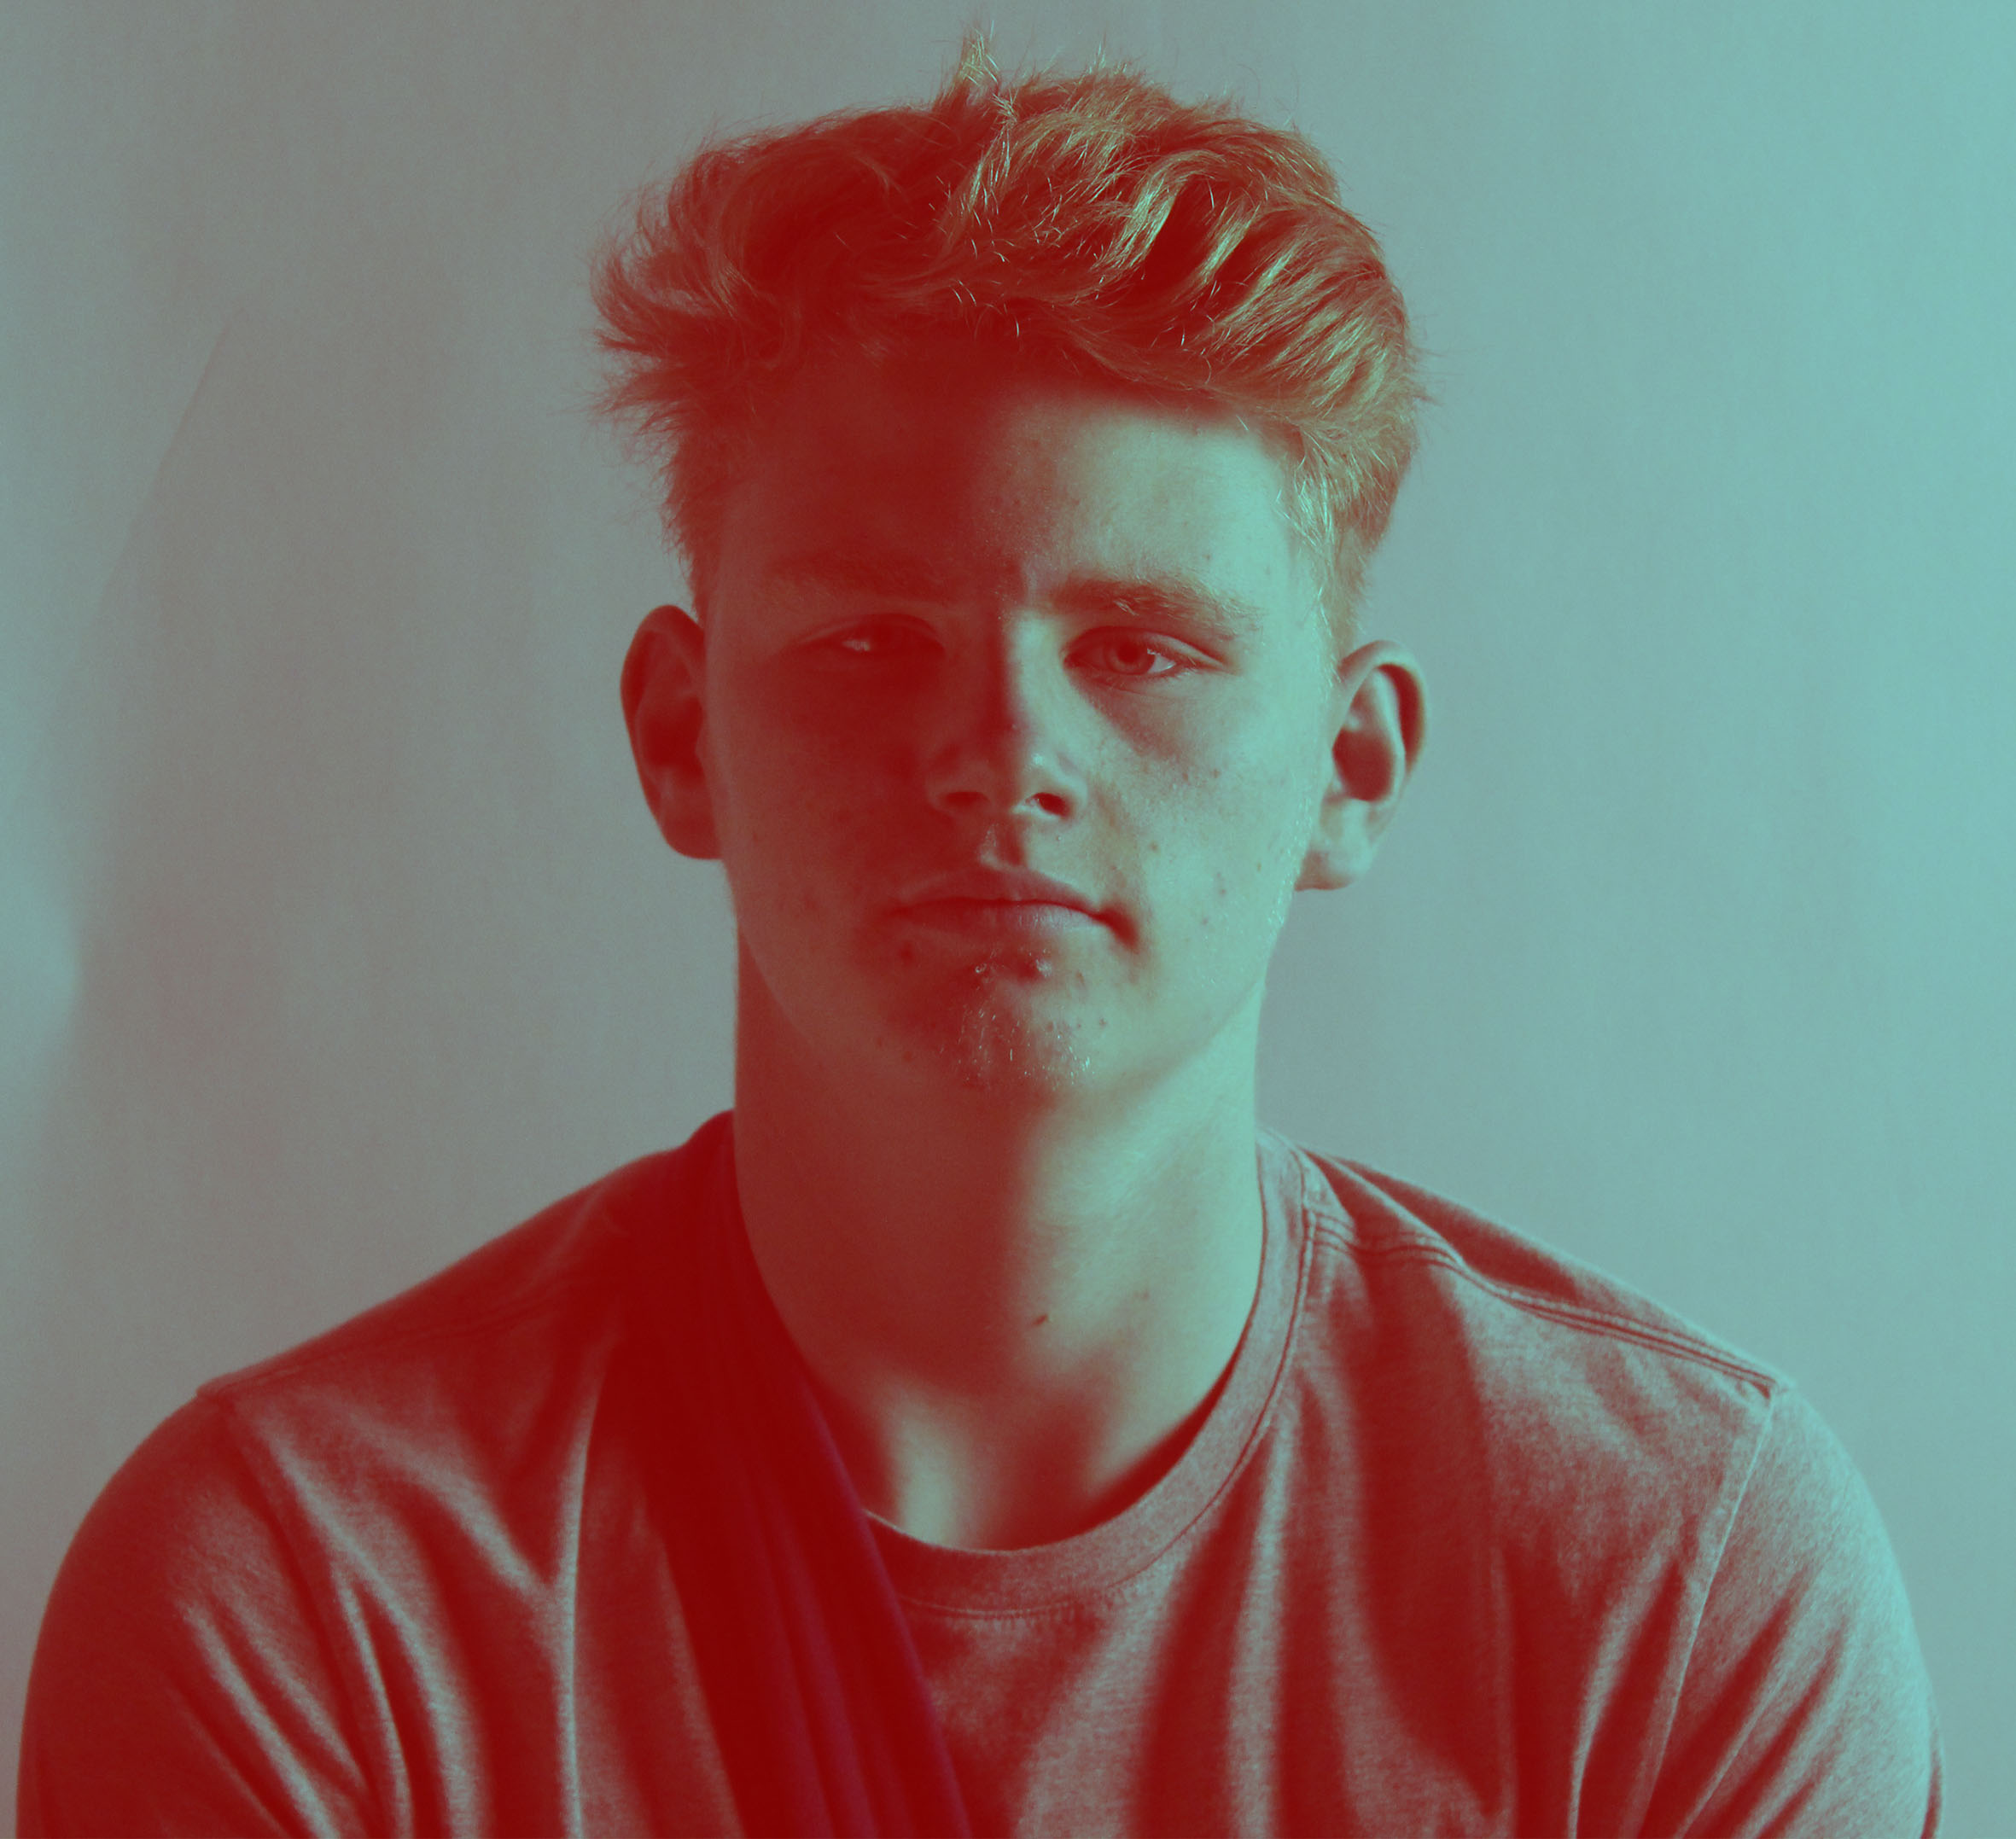
Here I only used one light to get this chiaroscuro effect on the subjects face. We also used a red filter to give it this warm red tone to the subjects face. The idea of this photo shoot was to get this dramatic effect of light and dark splitting his face in half.
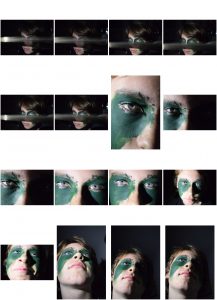
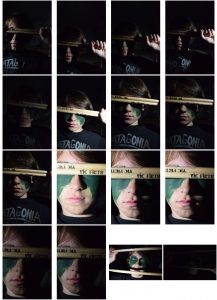
When taking these photos I wanted them to rough and not perfect. You can see this as I have lowered the shutter speed and some of the photos are slanted. When taking these photos I also used the flash box, this went off every time I would take a photo as it was linked to my camera with a transmitter. I also used a soft box, using this and flash box allowed me to take away any shadows on the subjects face.
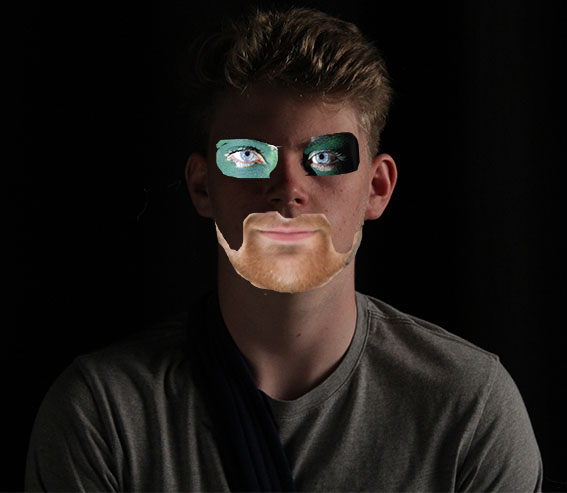
Here I decided to make one photo using three different photo. Firstly, I set the back ground image, the background image for this one is a portrait photo I took in my studio lighting project. I then brought in a picture from my Rankin homework assignment and used the lasso tool to cut out the eyes. After drawing around the eyes using the lasso tool I pressed “Ctrl J”. This created a new layer with just the eyes so I deleted the original layer. I then brought in a third picture from my environmental portraiture and did the same thing for the beard. When making this picture I wasn’t trying to go for the neat look I wanted it to look like it had been cut out ruffly with a pair scissors.
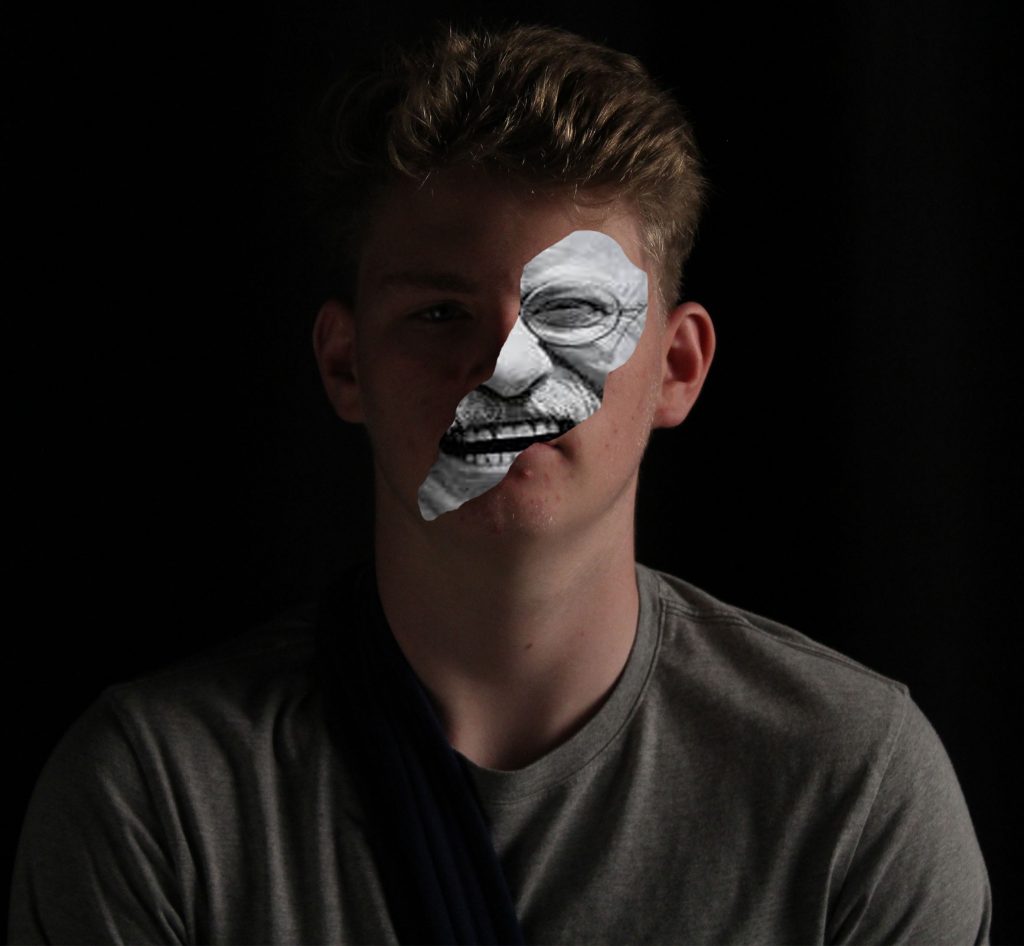
Here I have made a photo by cutting out some of the original photo and placing a photo in that space. I did this by using the lasso tool and drawing on a part of his face. I then found image from the internet that I wanted in my case it was the famous photo of Teddy Roosevelt laughing. I copied this image then went to the edit bar and choose “Paste Special” then “Paste Into” this placed the image I had chosen in the place where I used the lasso tool. However, it wasn’t the correct size so to size up the image I pressed “Ctrl T” which gave me arrows to move and make the picture bigger. I chose the photo of Roosevelt because he looks so happy in contrast to serious expression of the subjects face in the original picture. This shows how the emotions of people can vary. I also liked the fact that the Roosevelt photo was in Black and White were as the original picture is in color this also portrays opposites.
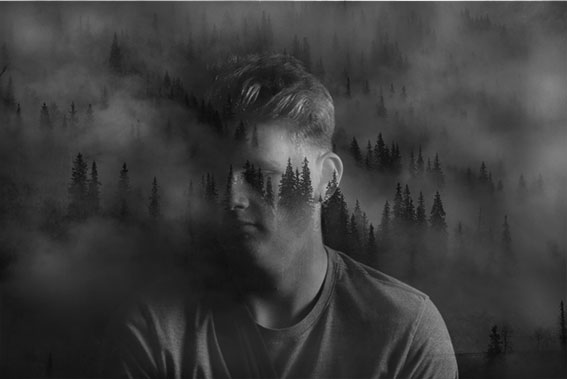
In this picture I used one my photos from the studio lighting project I chose this photo because the light wasn’t too harsh. This went well with the background image that I chose as the image was of a foggy forest I also made the portrait black and white which helped it flow between the two photos. When making the photo I placed the two photos over each other and decreased the opacity by 65%. I then increased the contrast and made layer mask. By doing this I was able to start blending the two images together using the brush tool.
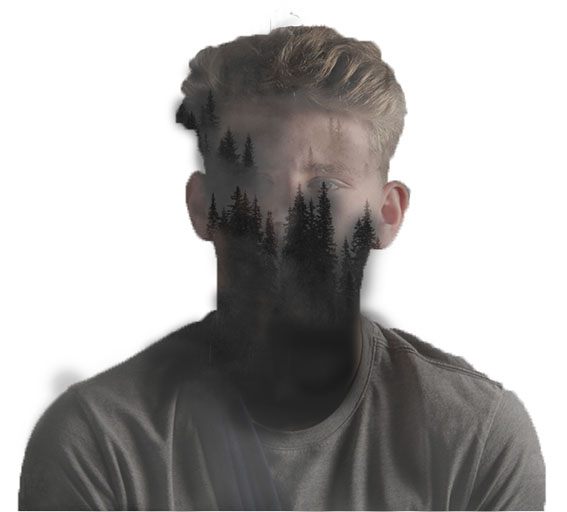
With this one I put the background image as the foggy forest again then placed the portrait on top. I then used the lasso tool and drew a line around the person in the image, then I inverted it set the background color. I did the same for the background layer. I then decreased the opacity to 46%. I then used the brush tool to make the trees more noticeable and merge with the rest of him.
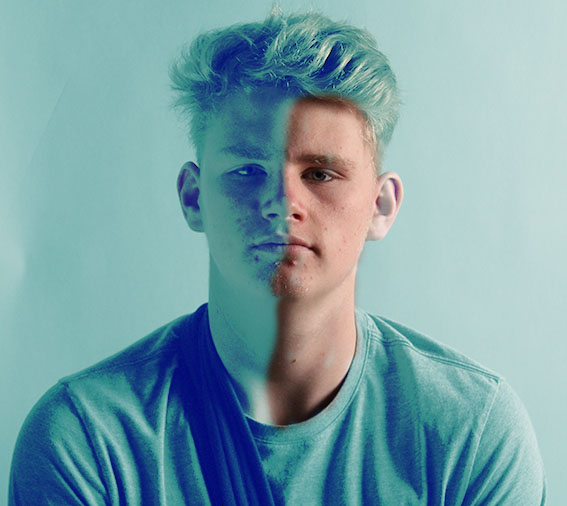
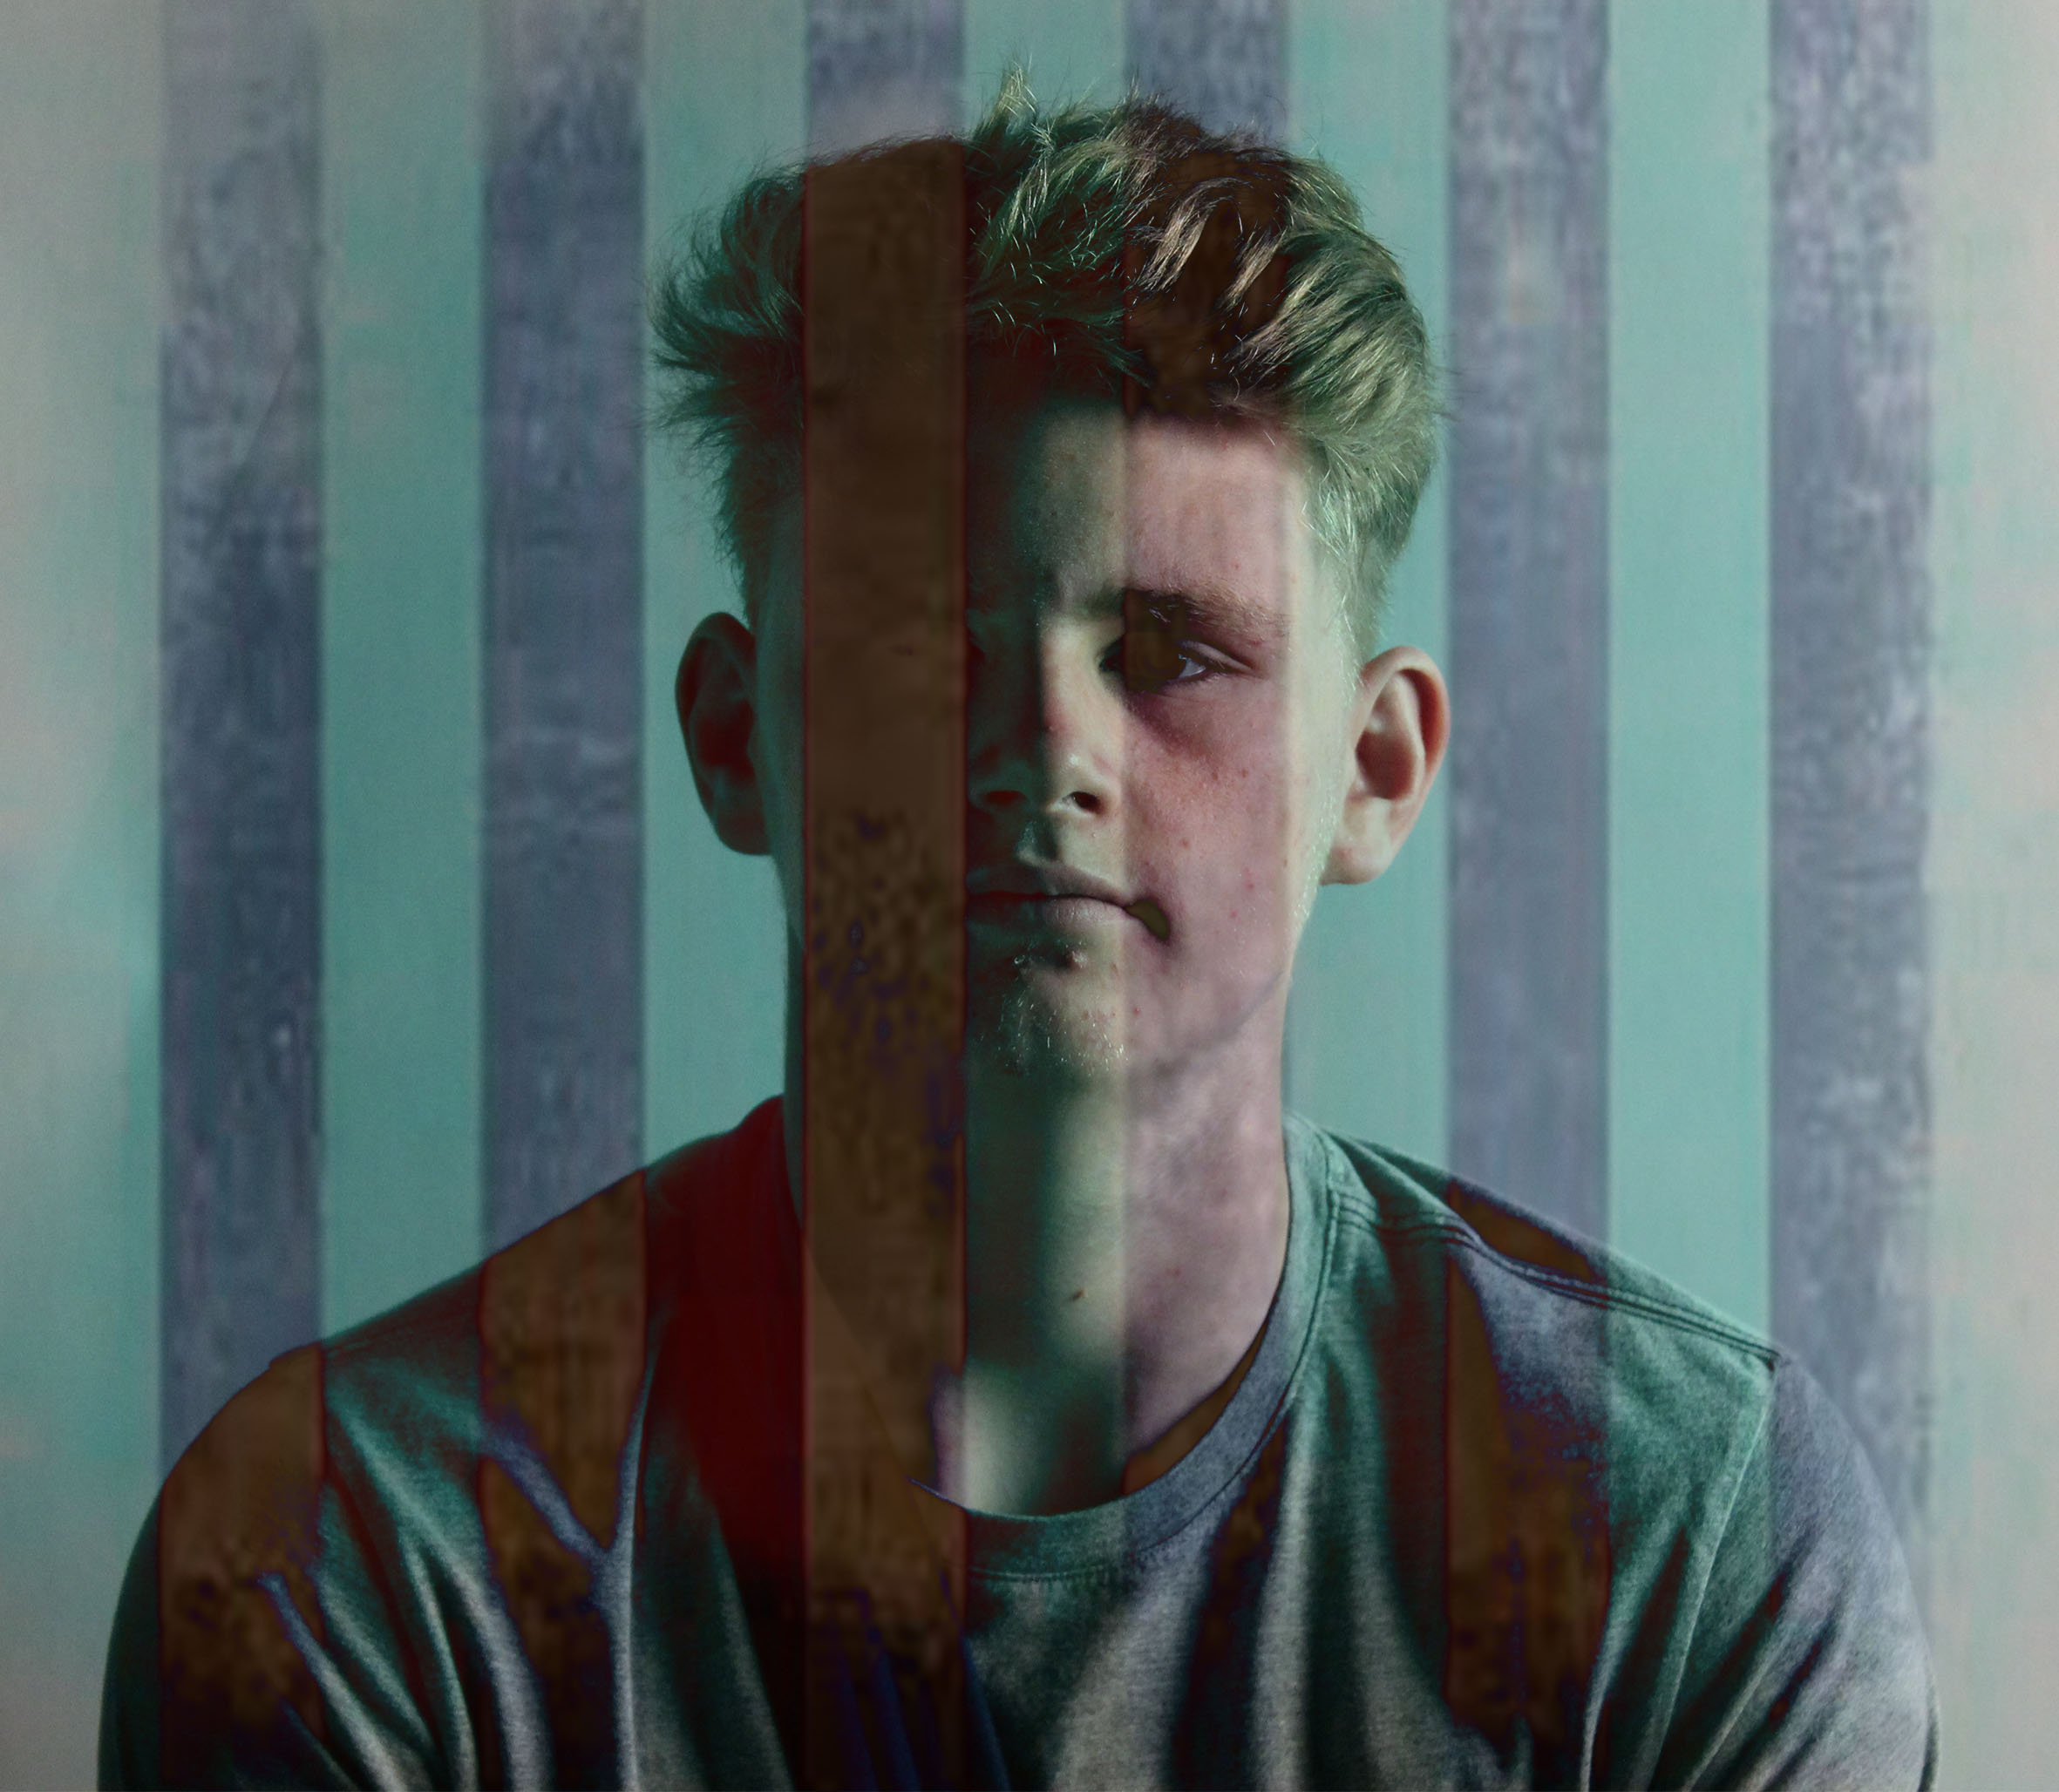
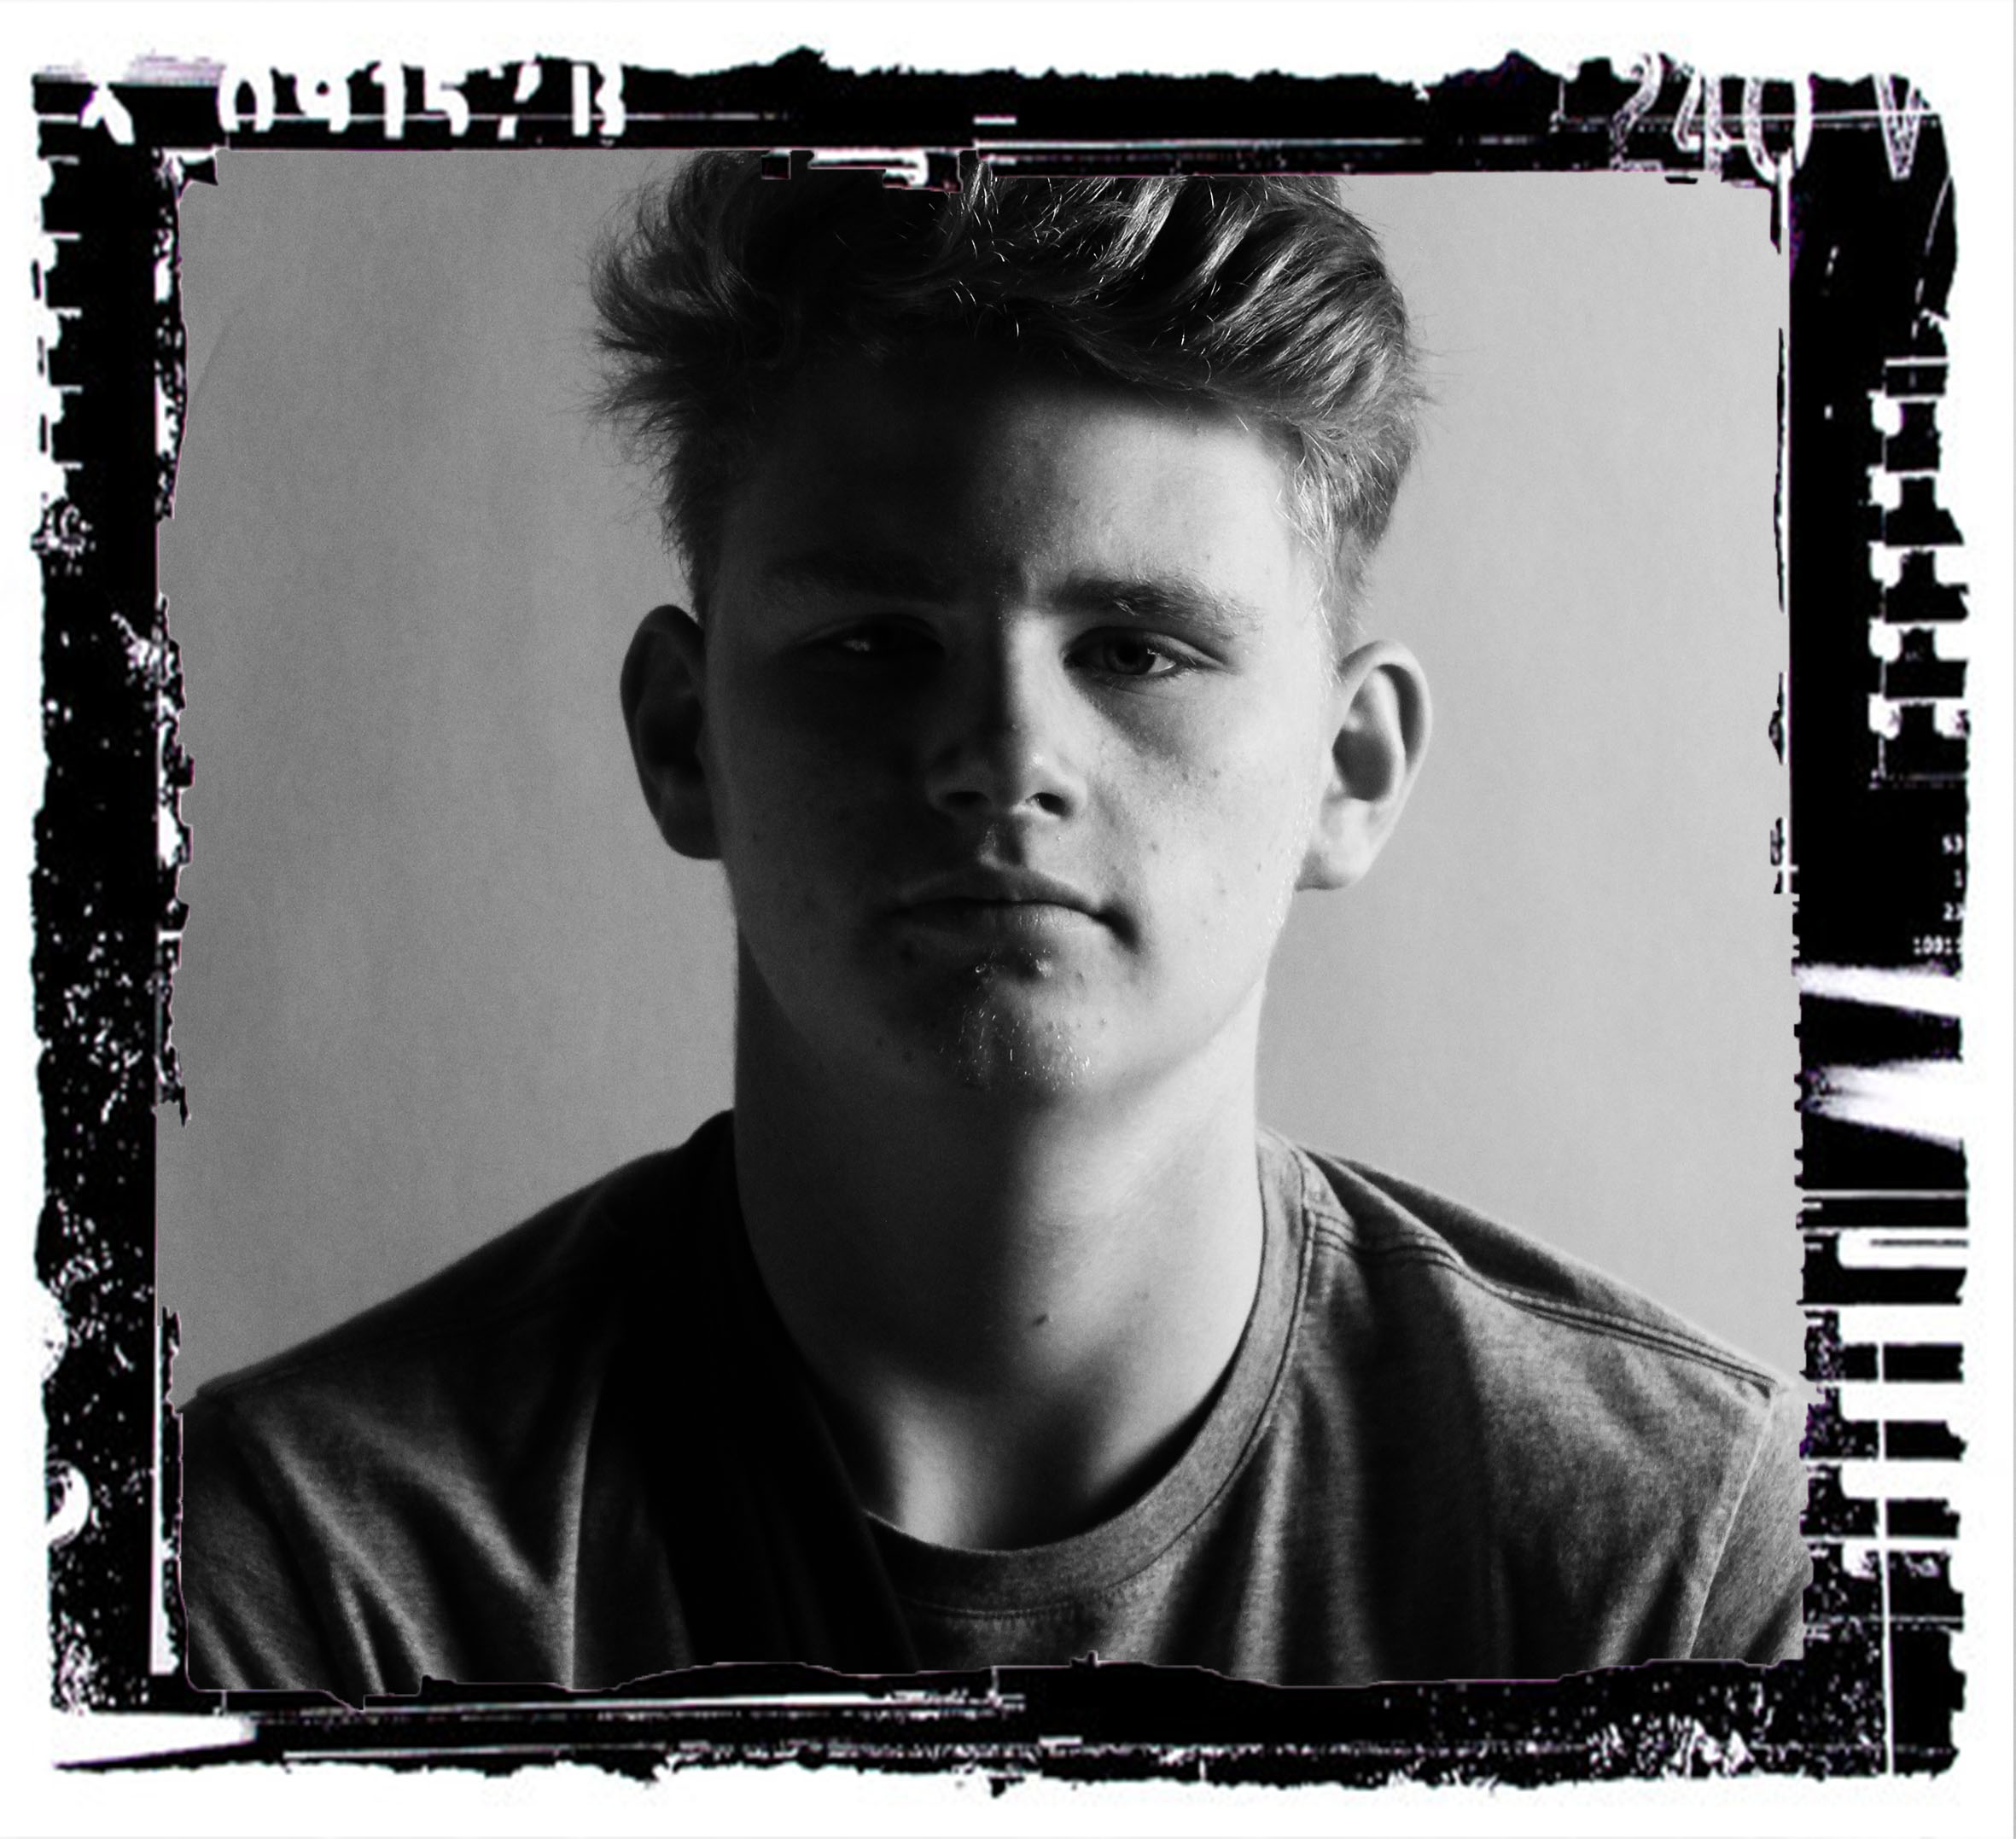
Here I have experimented and editing the same picture multiple times. The top left corner I have used the color solid tool, chosen a blue color, used the opacity tool to decrease to 45%, then used the color dodge tool that made those colors extreme and finally I used the brush to to bring back some of the original picture on half of his face.For the top right photo I used the color solid tool, chose a light red color, decreased the opacity to 50%, then selected the difference tool. These are both types of color overlays. For the picture at the bottom left corner I got a picture of old stripped vintage wallpaper that I placed on top of the picture, decreased the opacity to 65%, used the difference tool and finally used the brush tool to bring back some of the original picture on his right eye. However, the opacity was 75% which allowed for only some of the original picture to be shown. This is is a type of texture overlay. The bottom right is my framed photo. For this photo I turn the original photo black and white then increased the contrast dramatically to match the black and white frame. I found the frame from the internet and copied it in, I then removed the background by making a new layer and deleting the original.