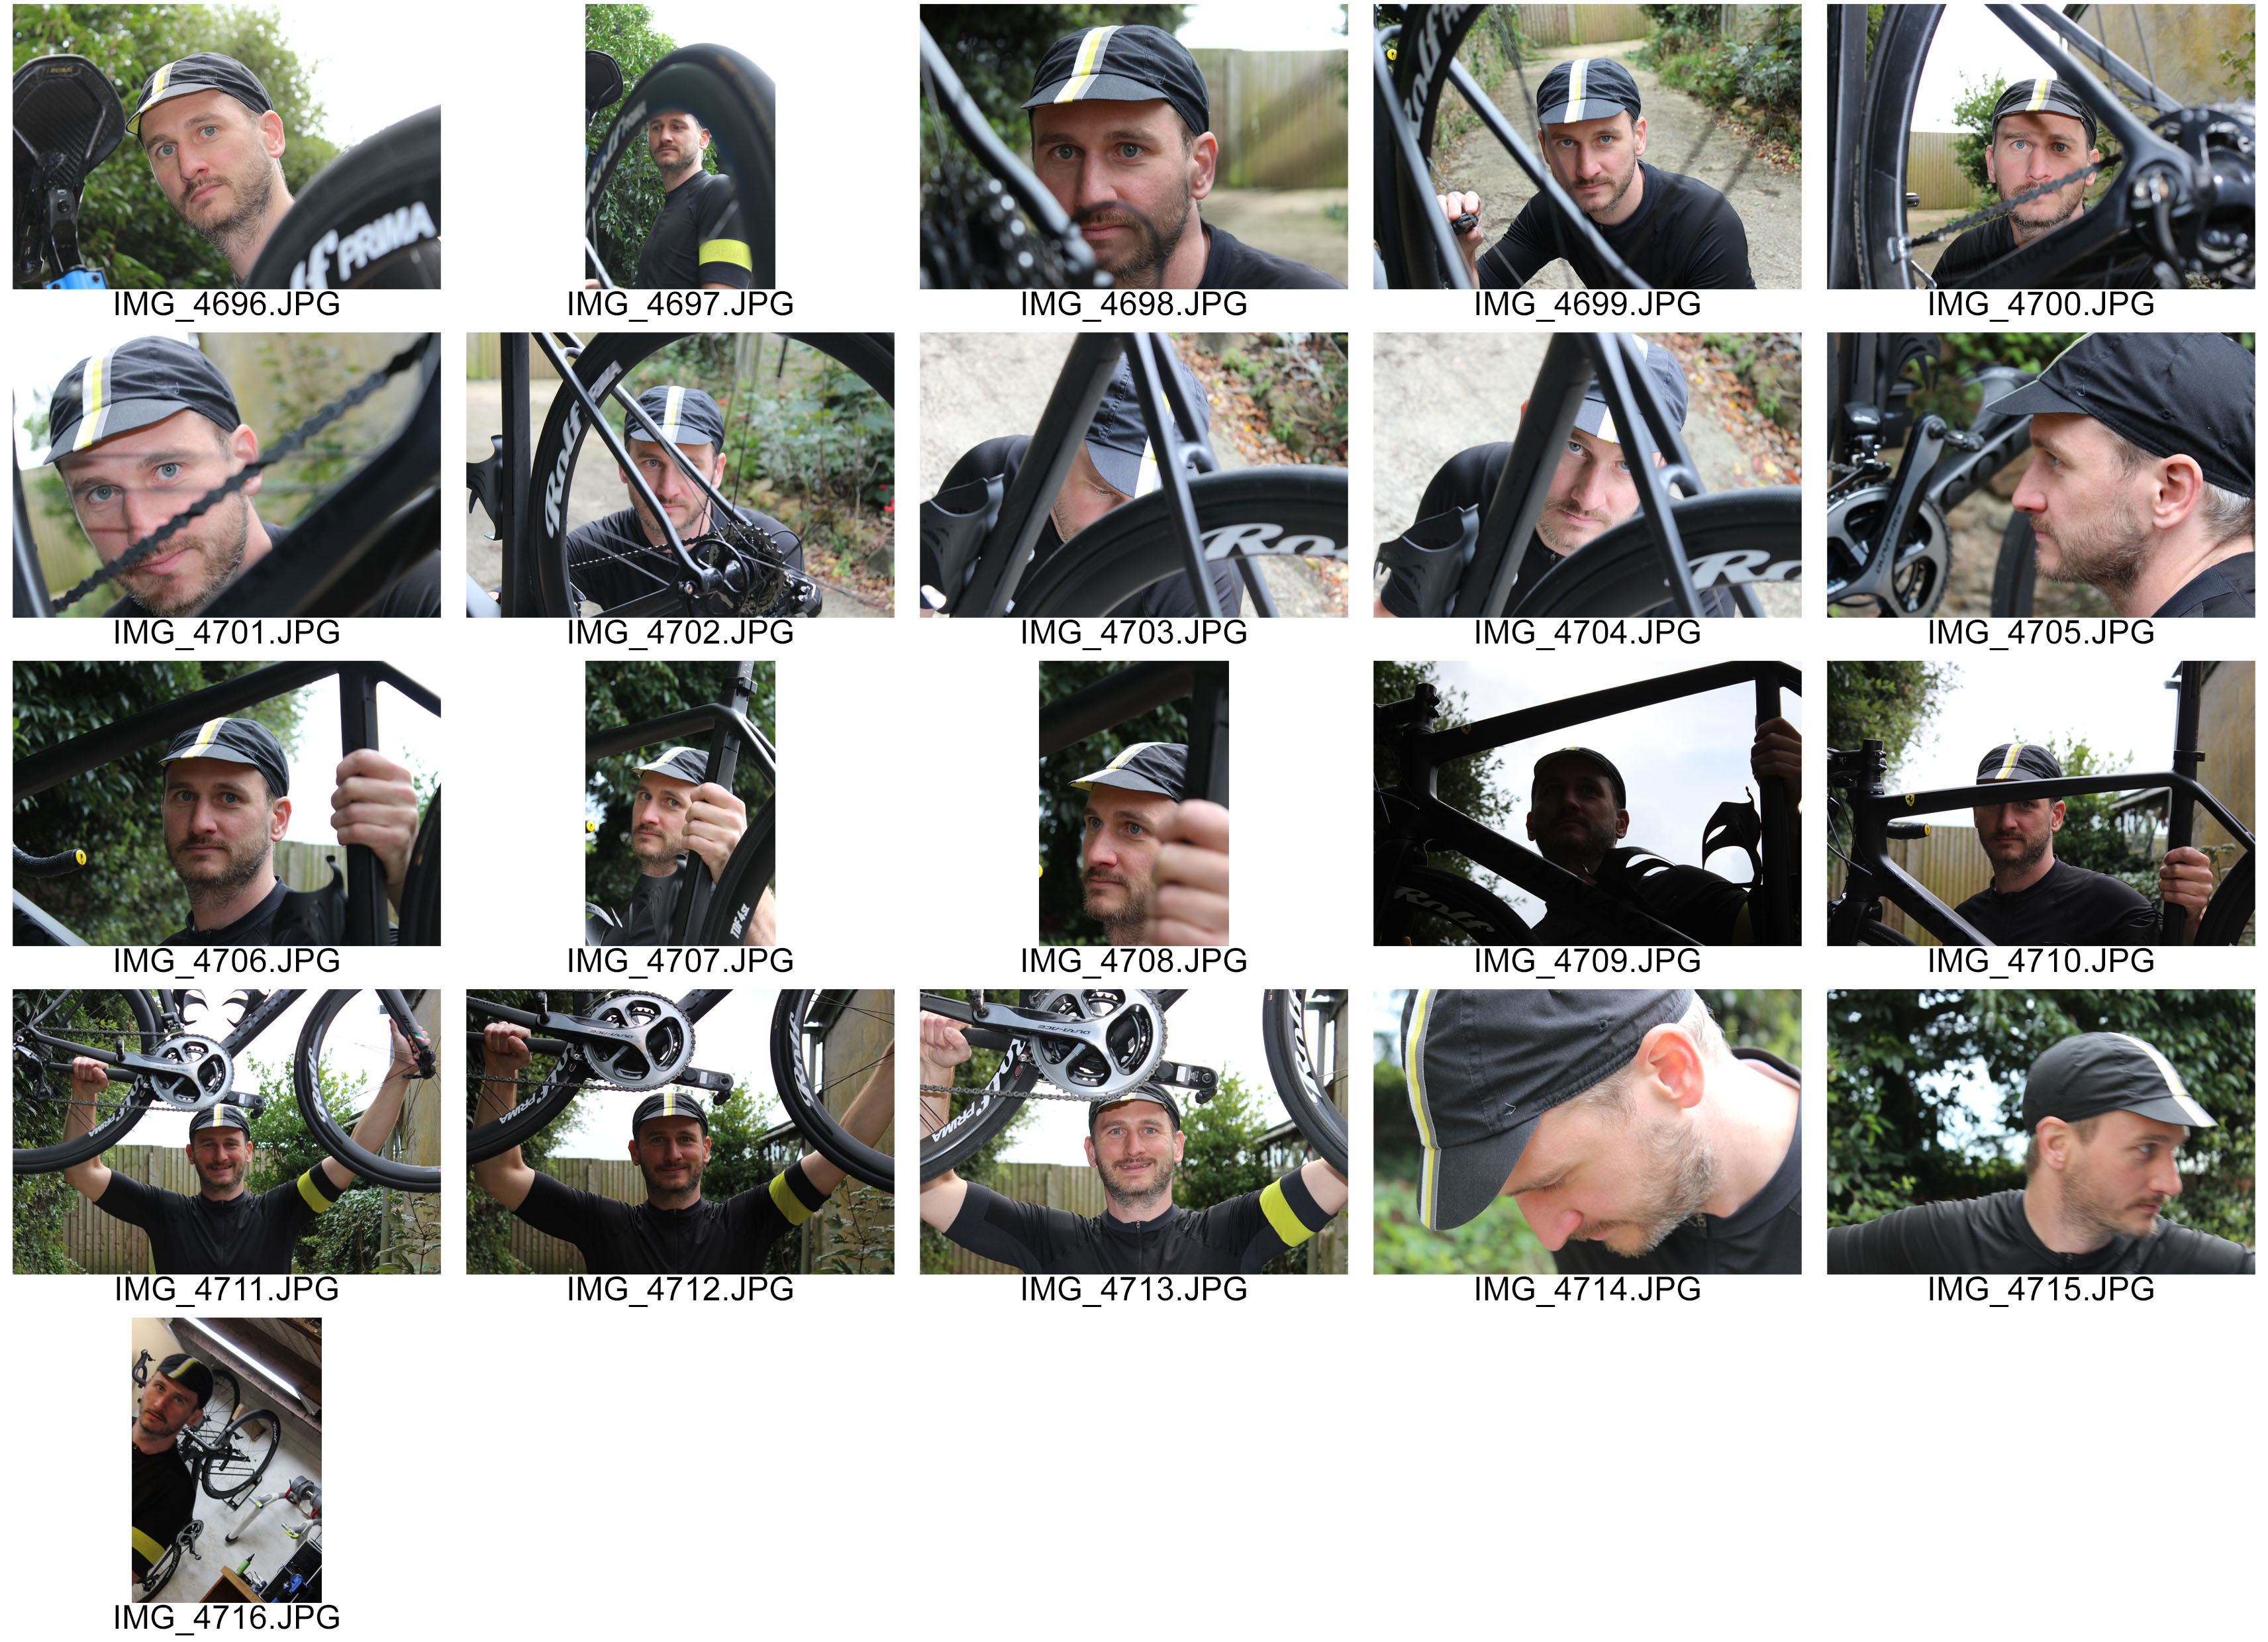
All posts by Jude Luce

Filters

Author:
Category:

Shutter Speed Experimentation 2

cs-3 cs-4

cs-5

In today’s lesson we experimented further with shutter speed. This allowed me to hone and enhance my abilities with this particular skill in photography. I was able to plan and think out what I wanted to achieve more thoroughly than last time which proved beneficial as the outcome is of higher quality.

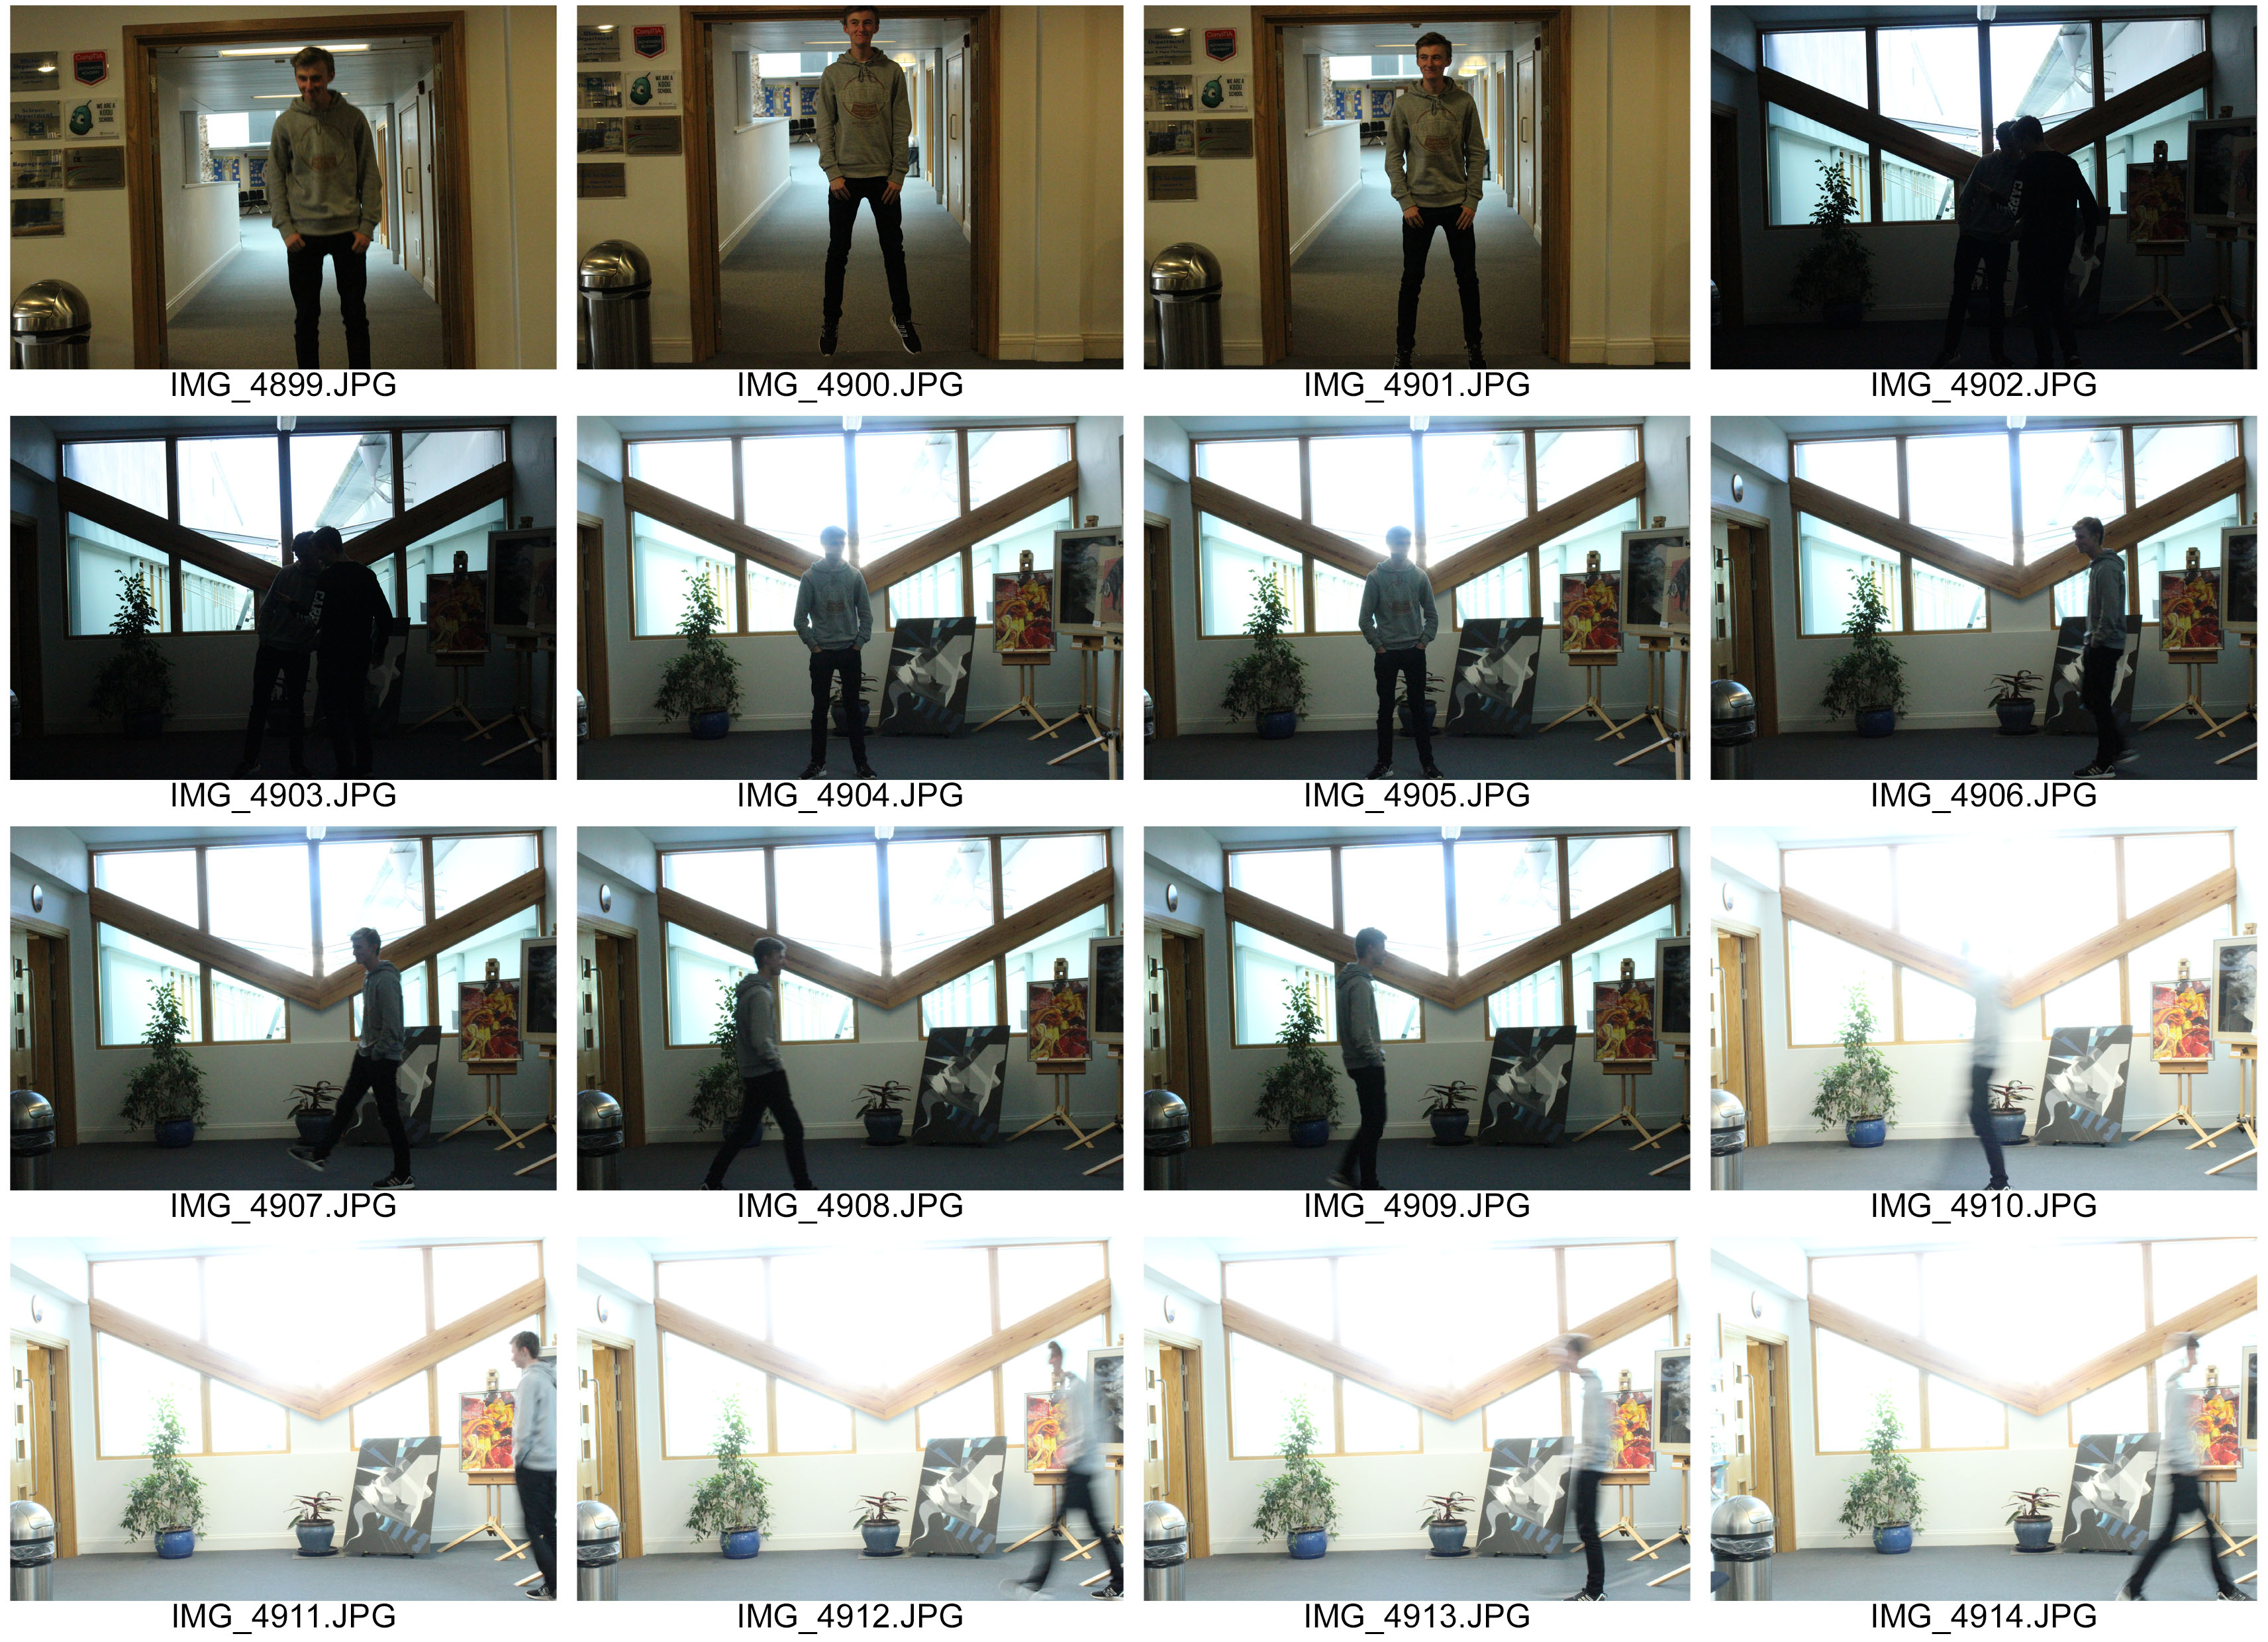
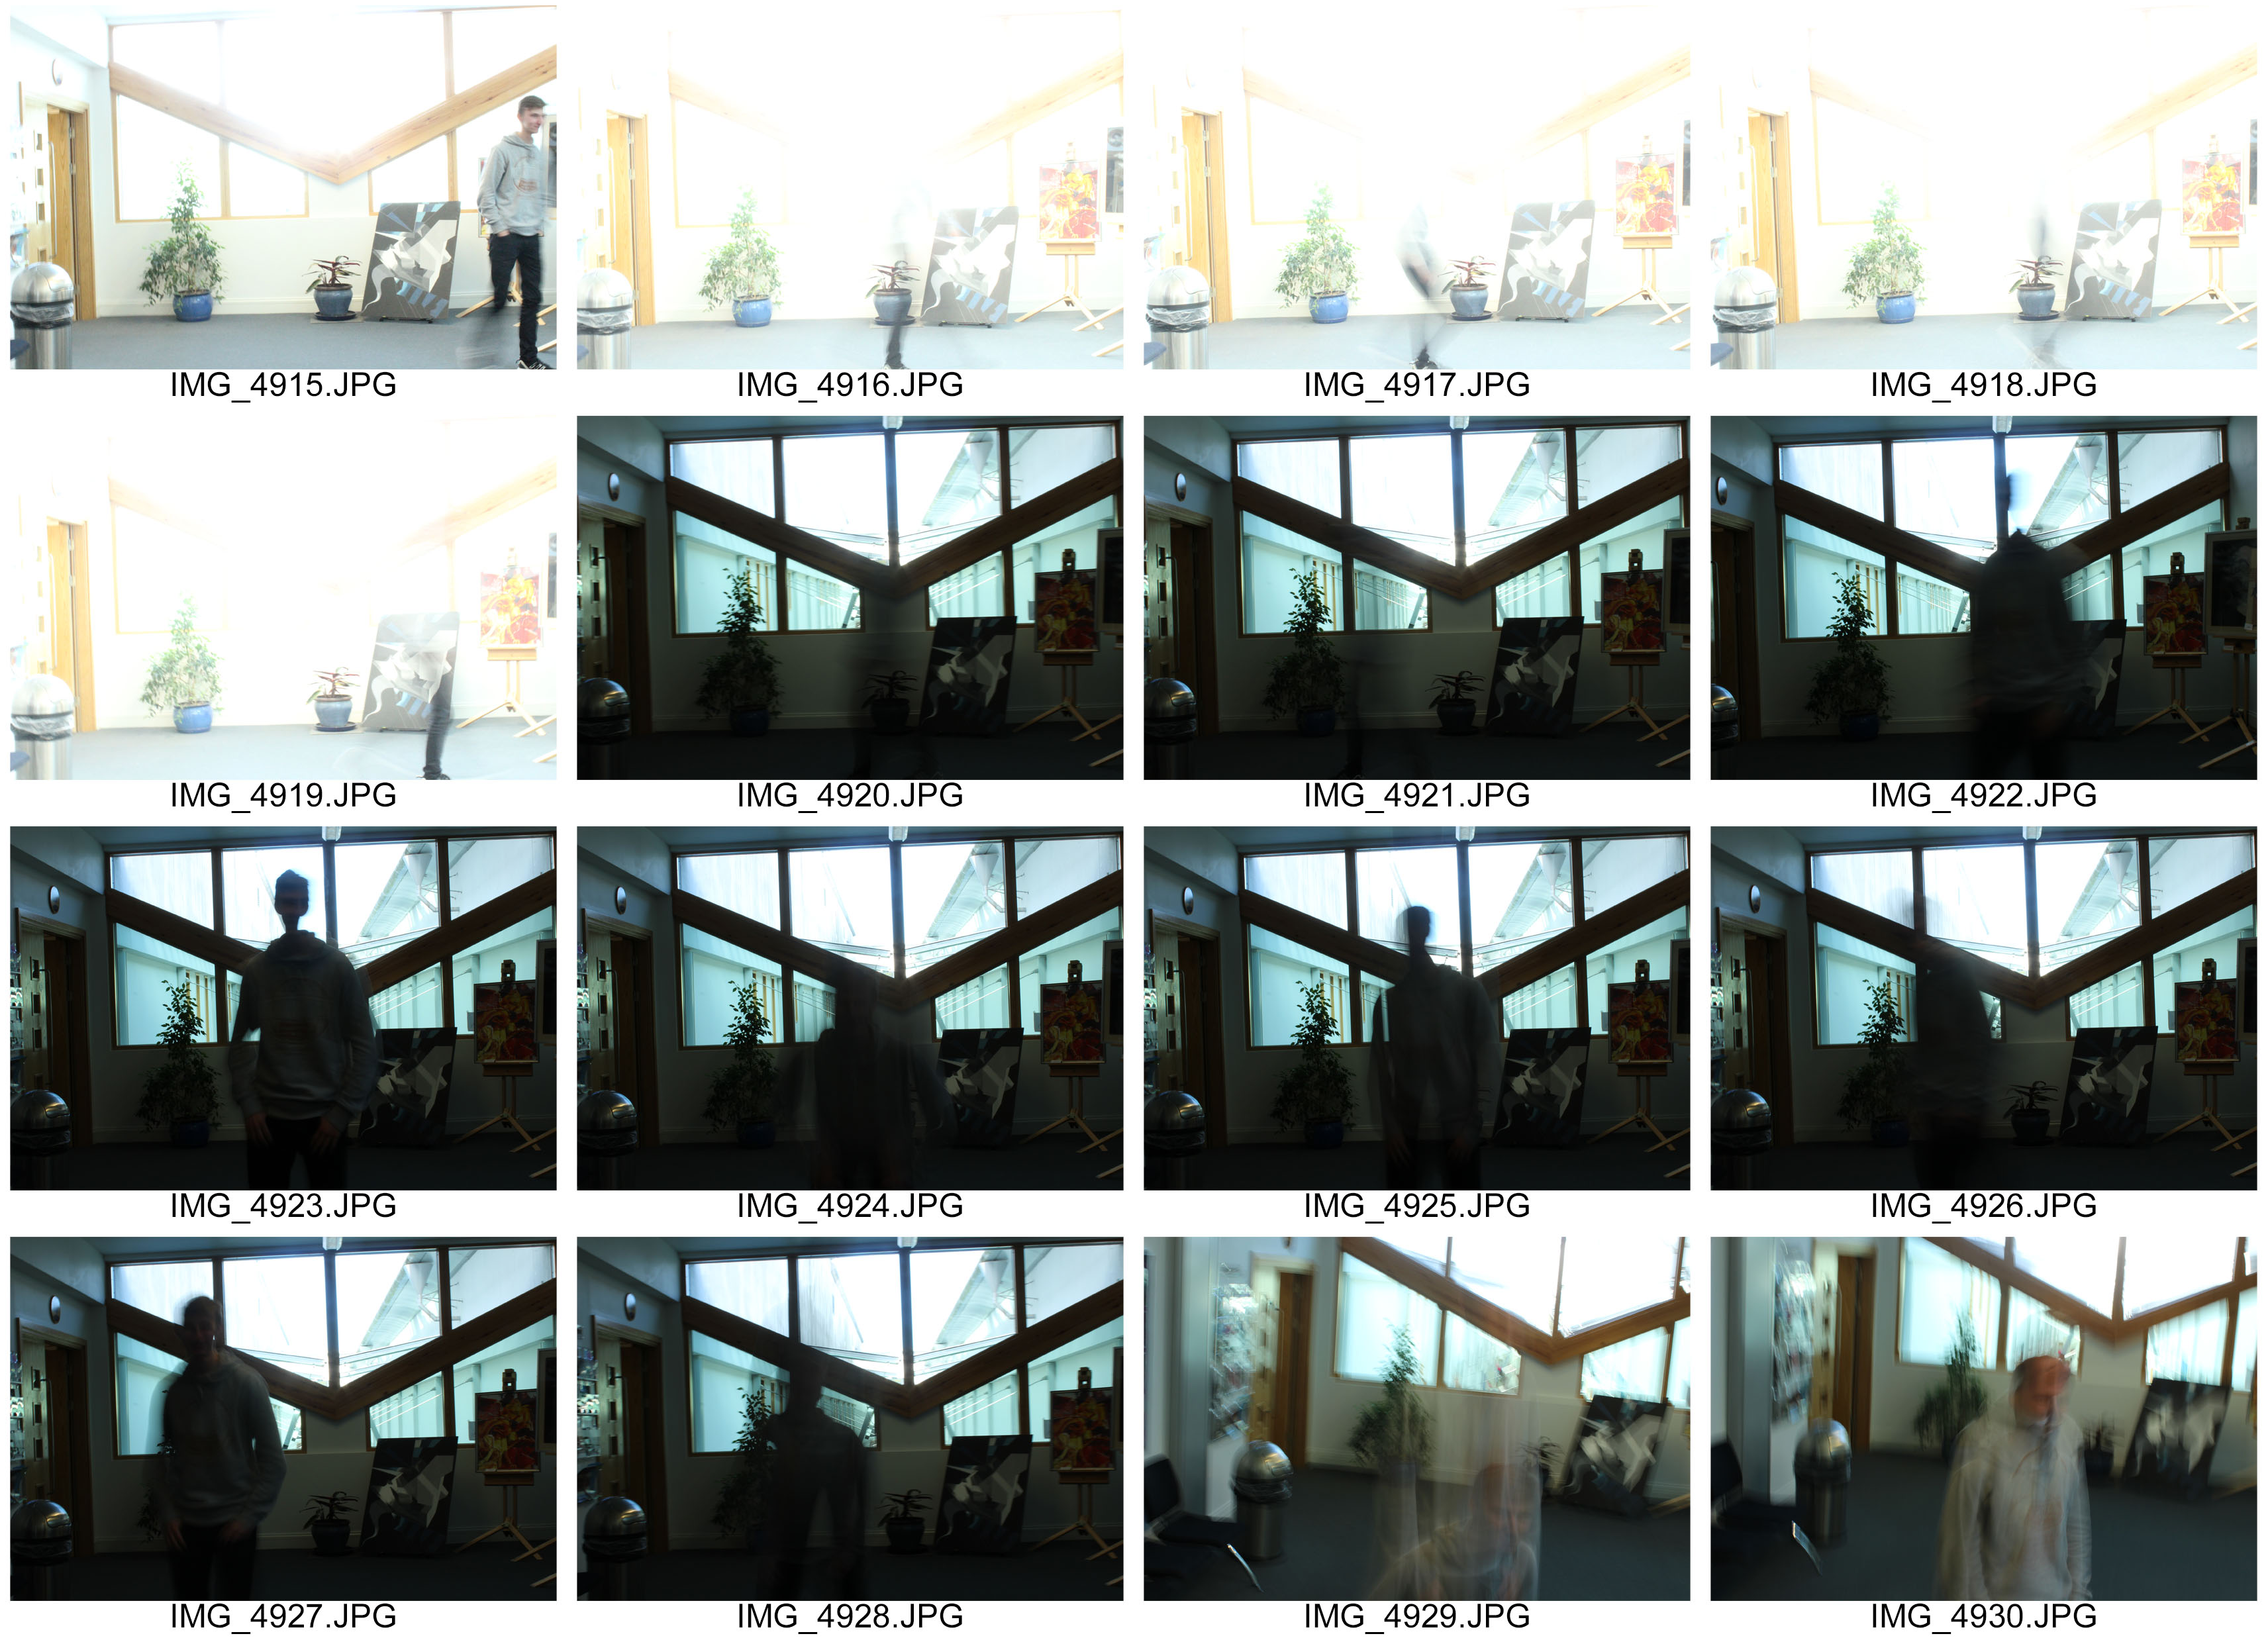
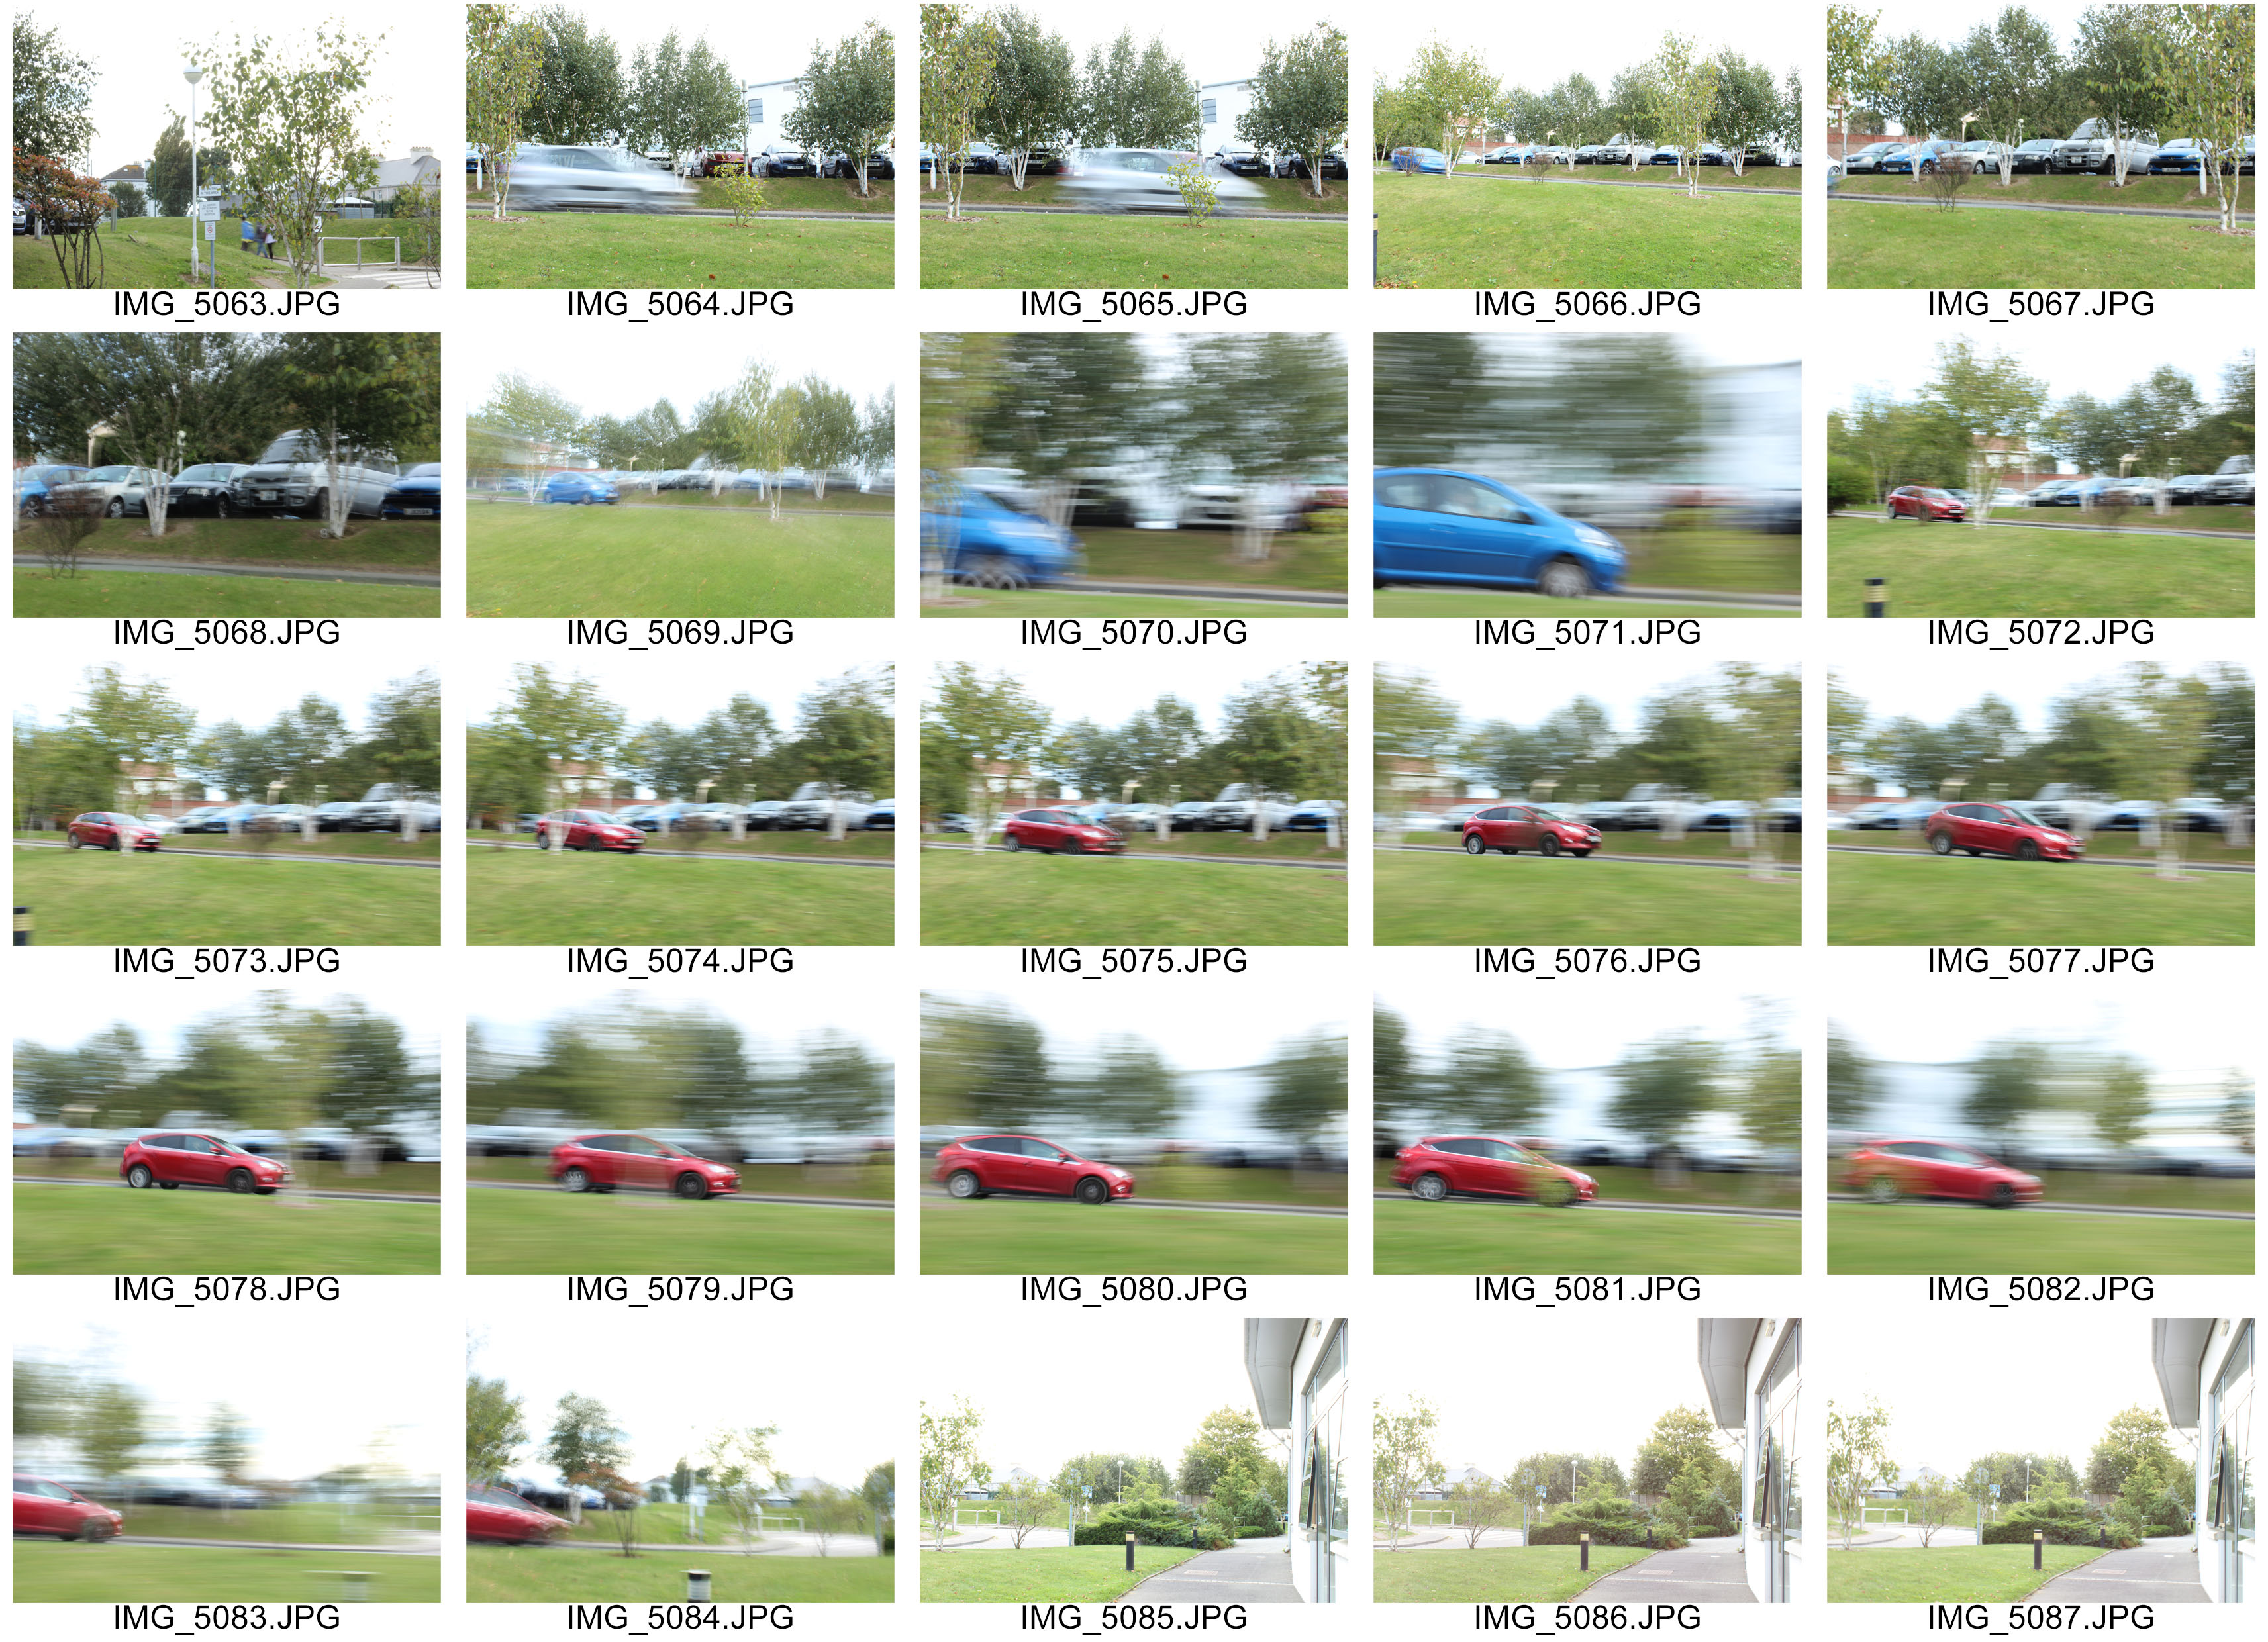
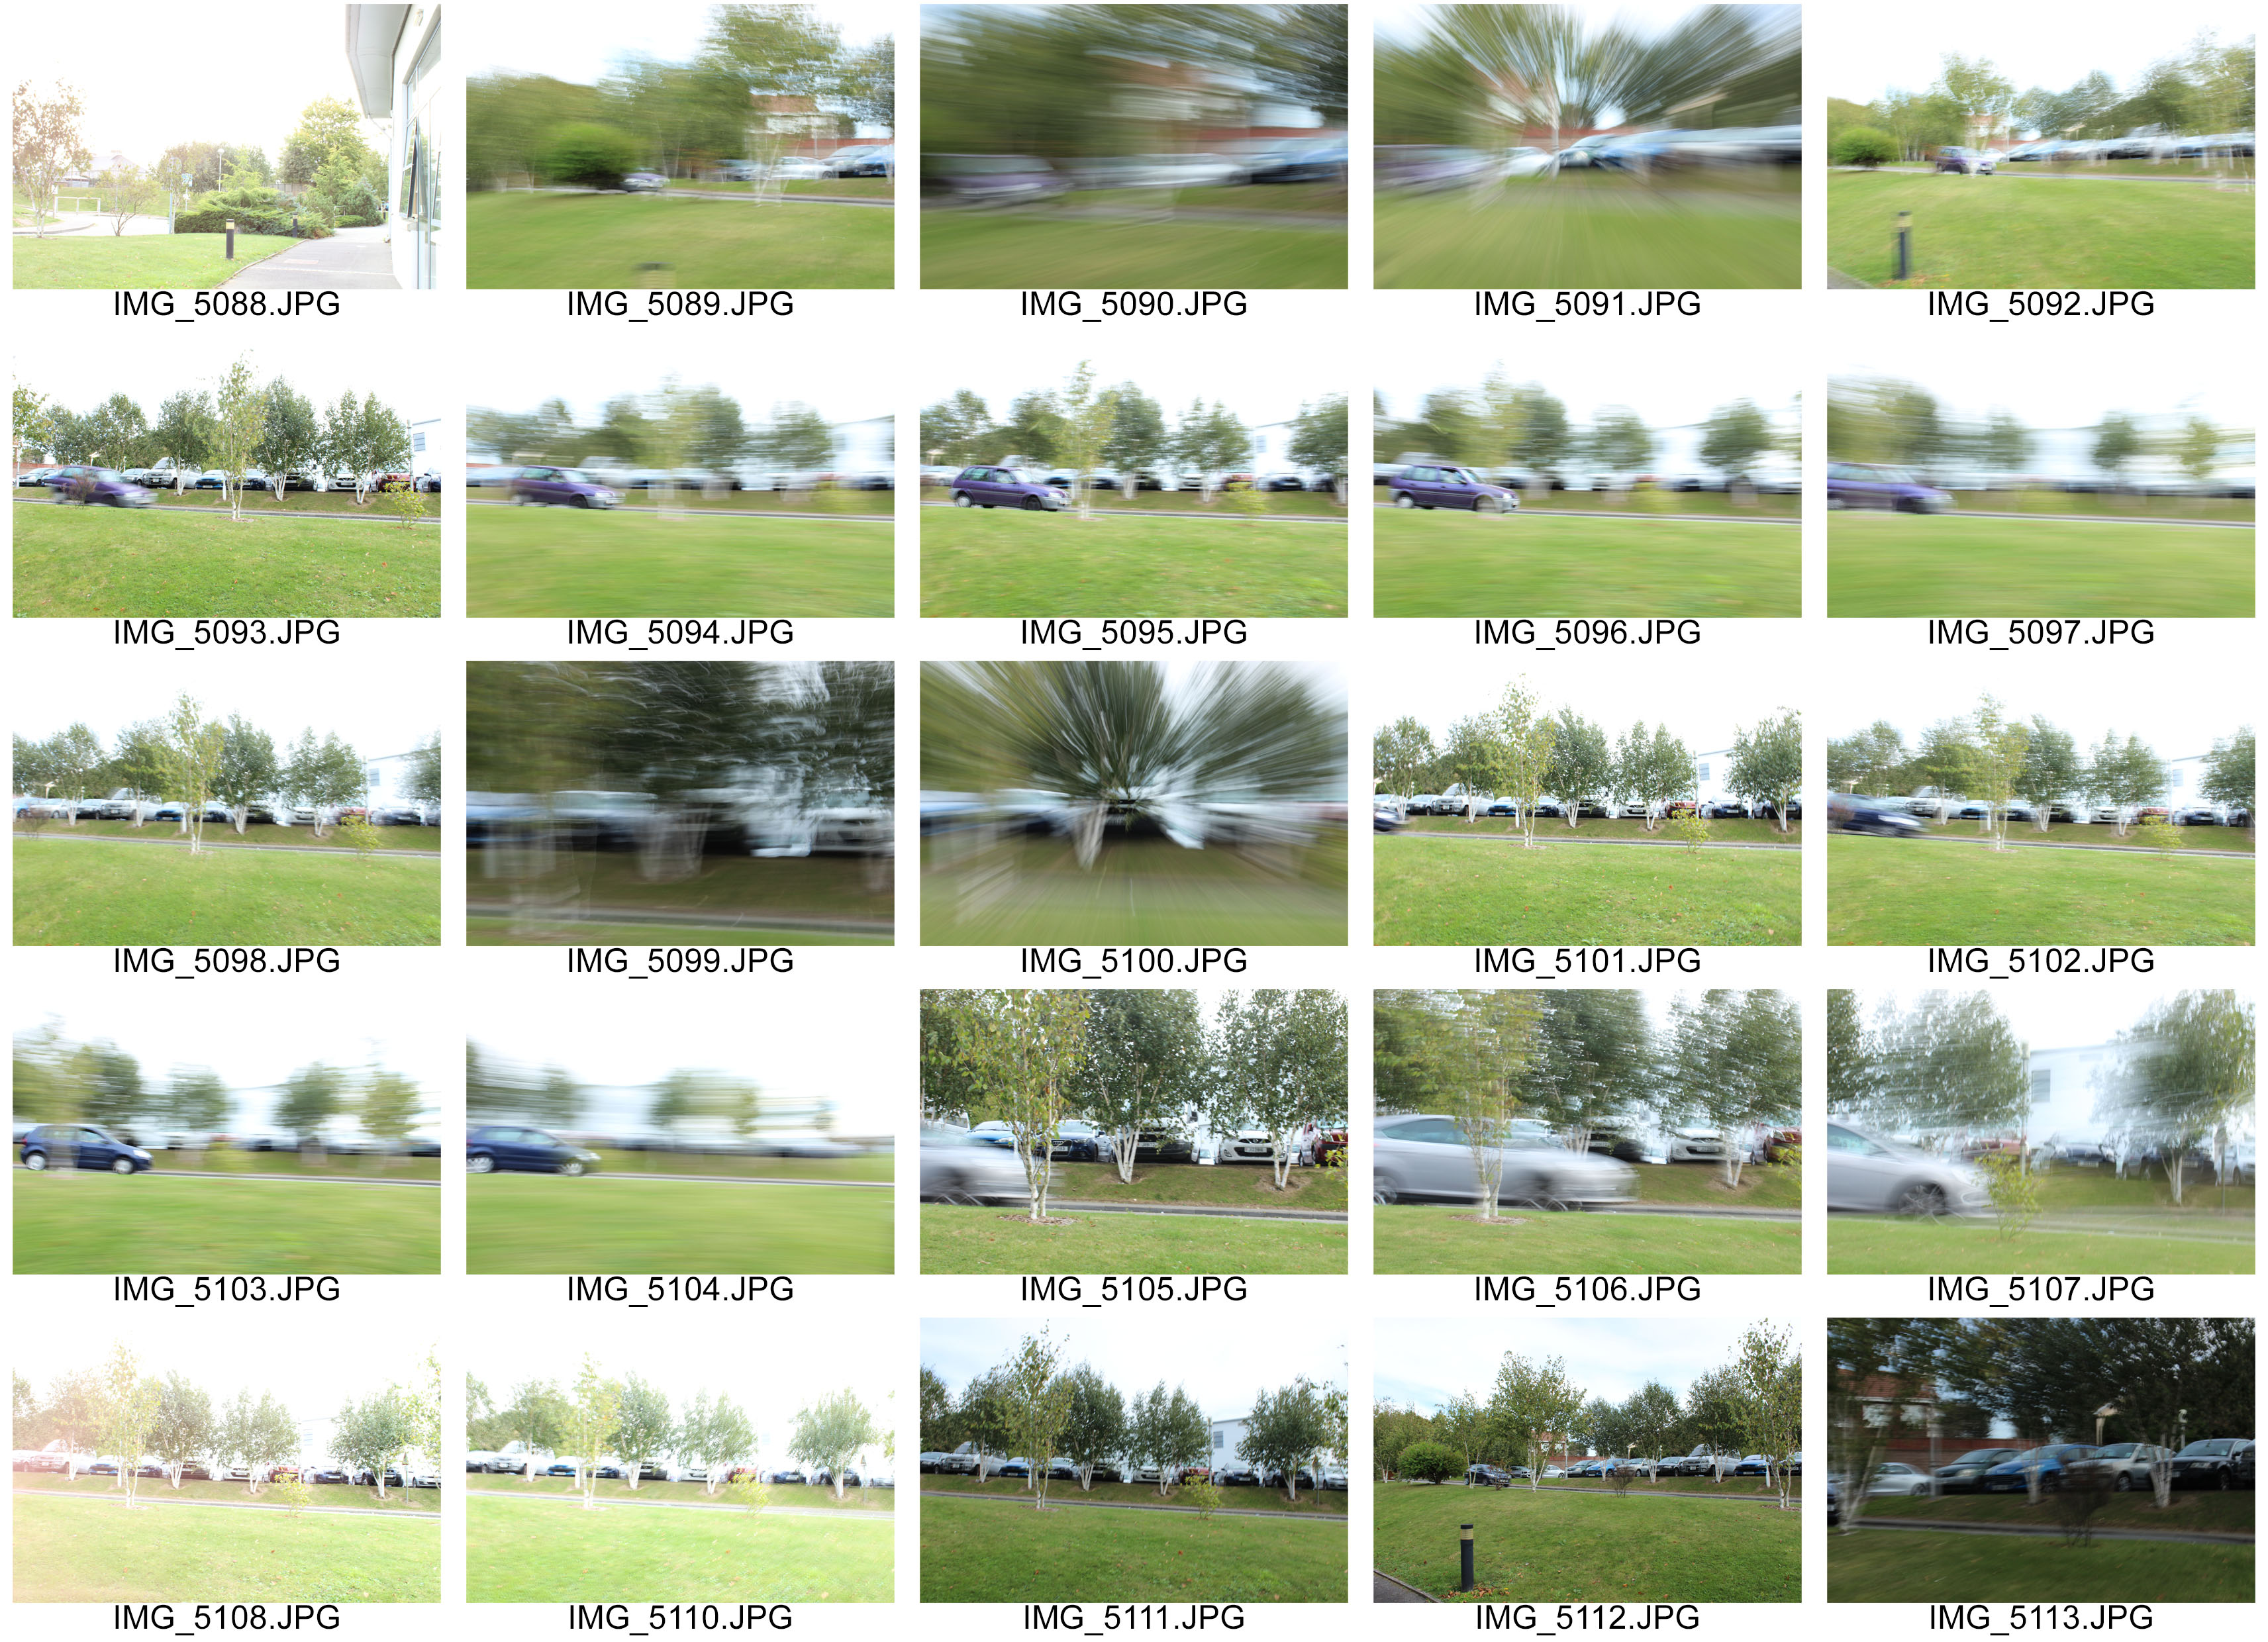
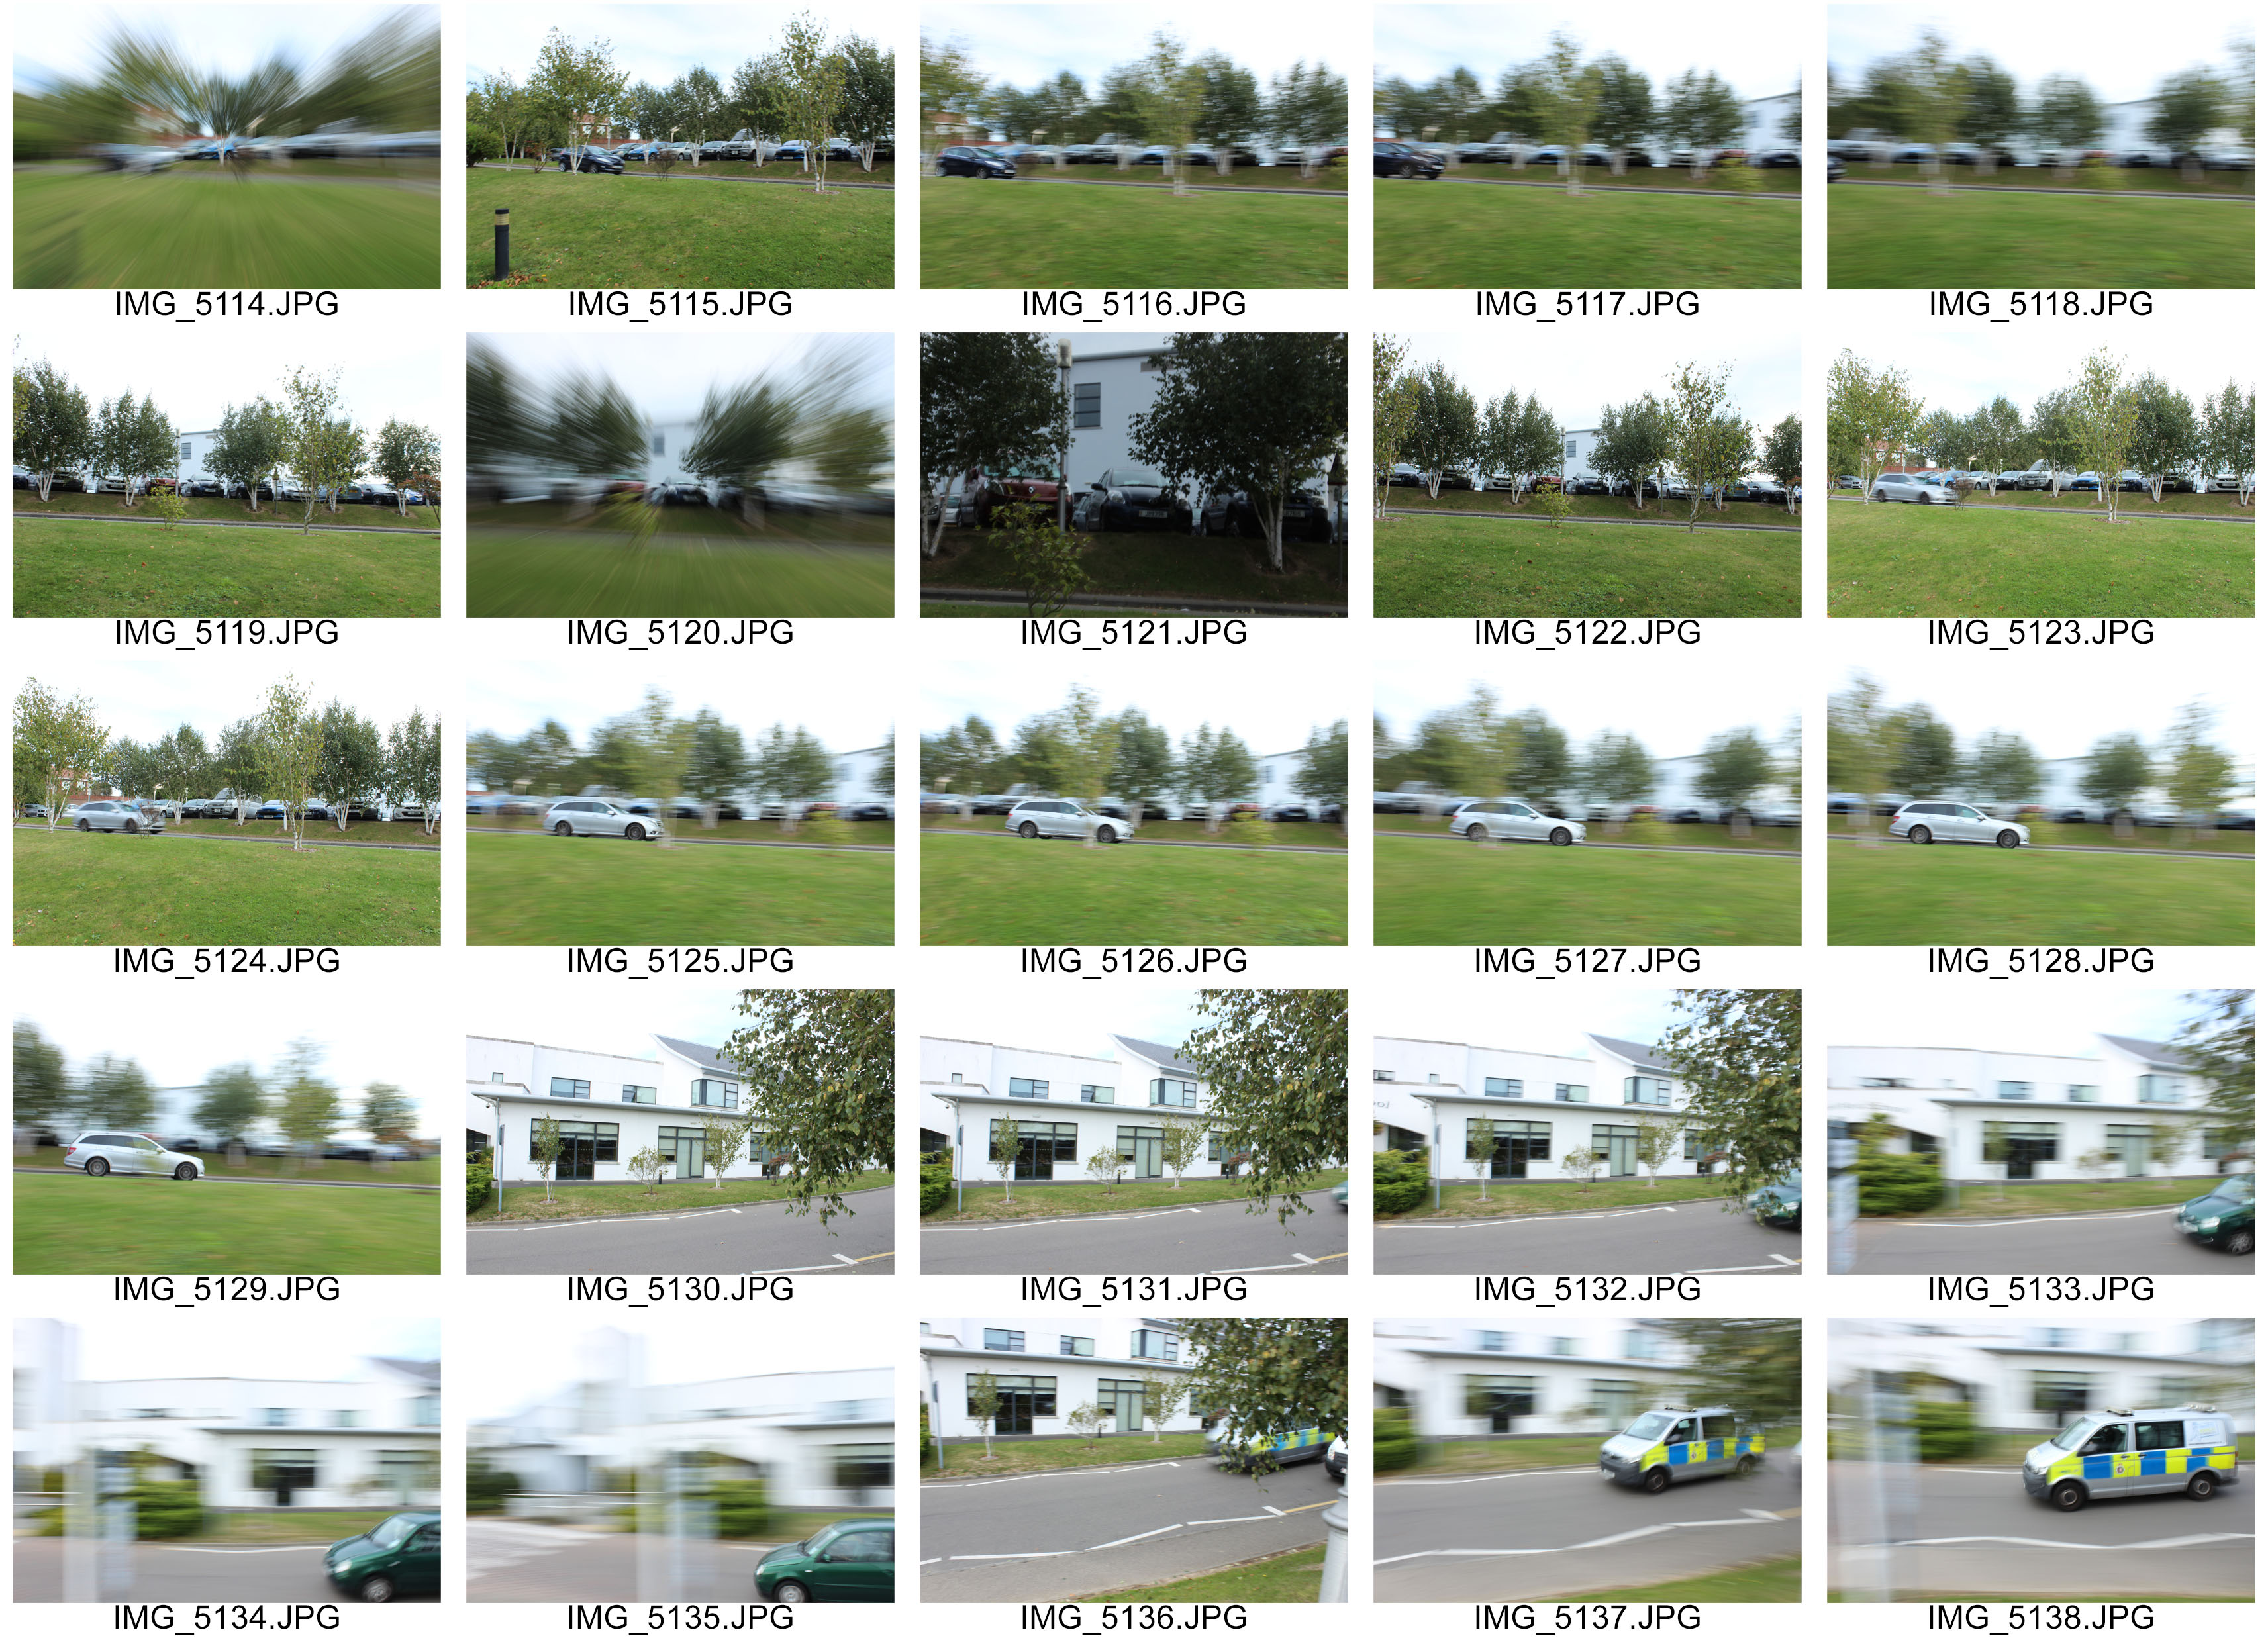
From the shoot, I created three contact sheets which allows me to display them to you in a logical order and helps me evacuate my work as I can see the images all in one place.

I attempted to use the zoom pan and whip pan in this photoshoot also and in my opinion, it worked out well and complements the shutter speeds.

This time around, I focused on the outside environment, and cars in particular. Their fast movement paired with a slow shutter speed made for a great outcome! There are only handful of good ones from the shoot and just one or two great ones but these are noticeable as the best ones have the car in focus and the background as a blur which was what I aimed for!

The bright colours of the cars against the plain, green background makes them stand out. Your eyes naturally are tempted to follow the path of the car across the photo.

If I was to do a photoshoot on shutter speed again, I would focus on a different subject; perhaps portraits again to develop my skills in that area.

car
My favourite image – ORIGINAL


Shutter Speed Experimentation

cs-1 cs-2


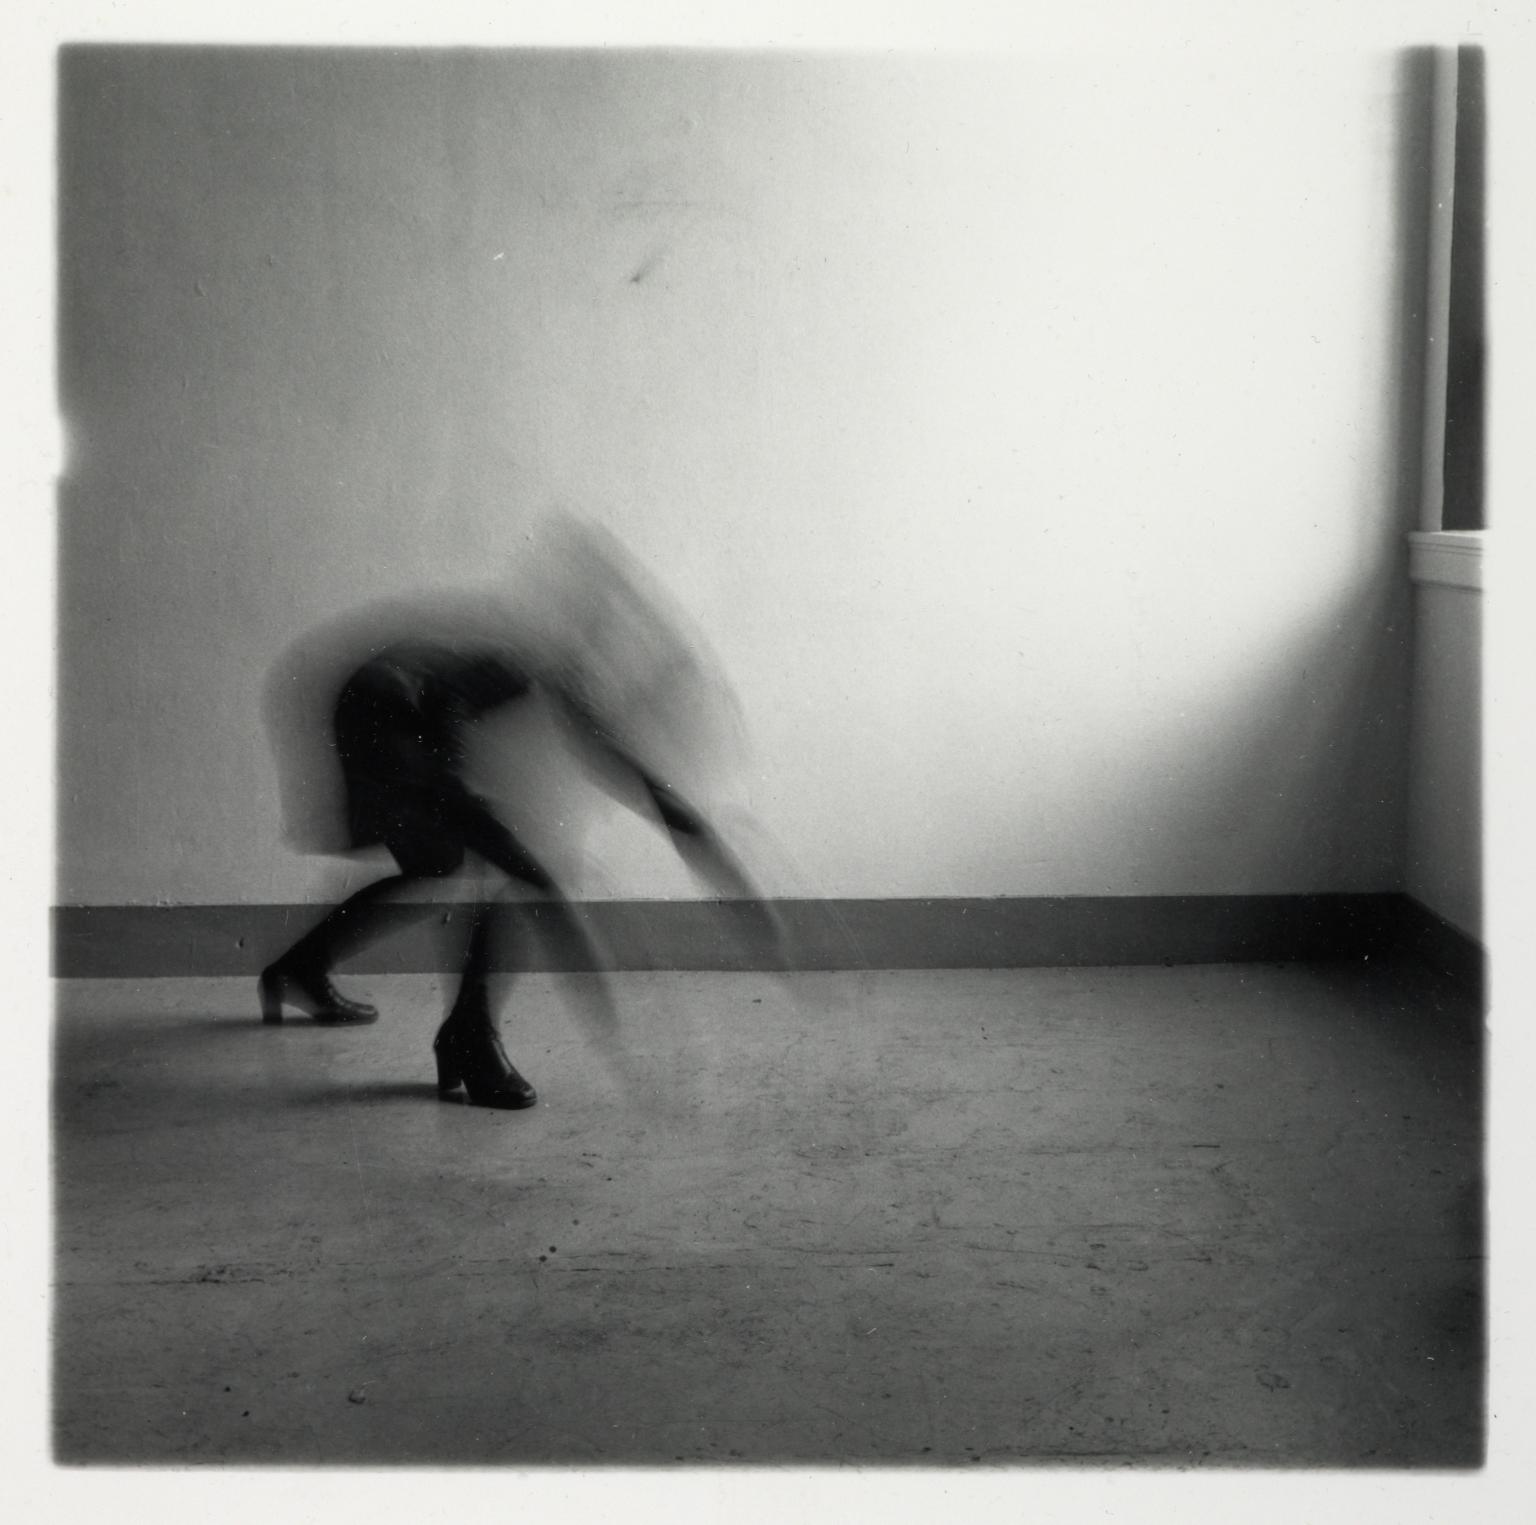
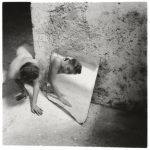
Inspiration: Francesca Woodman


In the lesson today, we experimented with different shutter speeds, how to use them and two they alter your images.

Shutter speed is the time for which a shutter is open at a given setting on a camera.

  • If you’re using a slow shutter speed (anything slower than 1/60) you will need to either use a tripod.
  • Shutter speed is measured in seconds – or in most cases fractions of seconds. The bigger the number the faster the speed (i.e. 1/1000 is much faster than 1/30).
  • When considering what shutter speed to use in an image you should always ask yourself whether anything in your scene is moving.

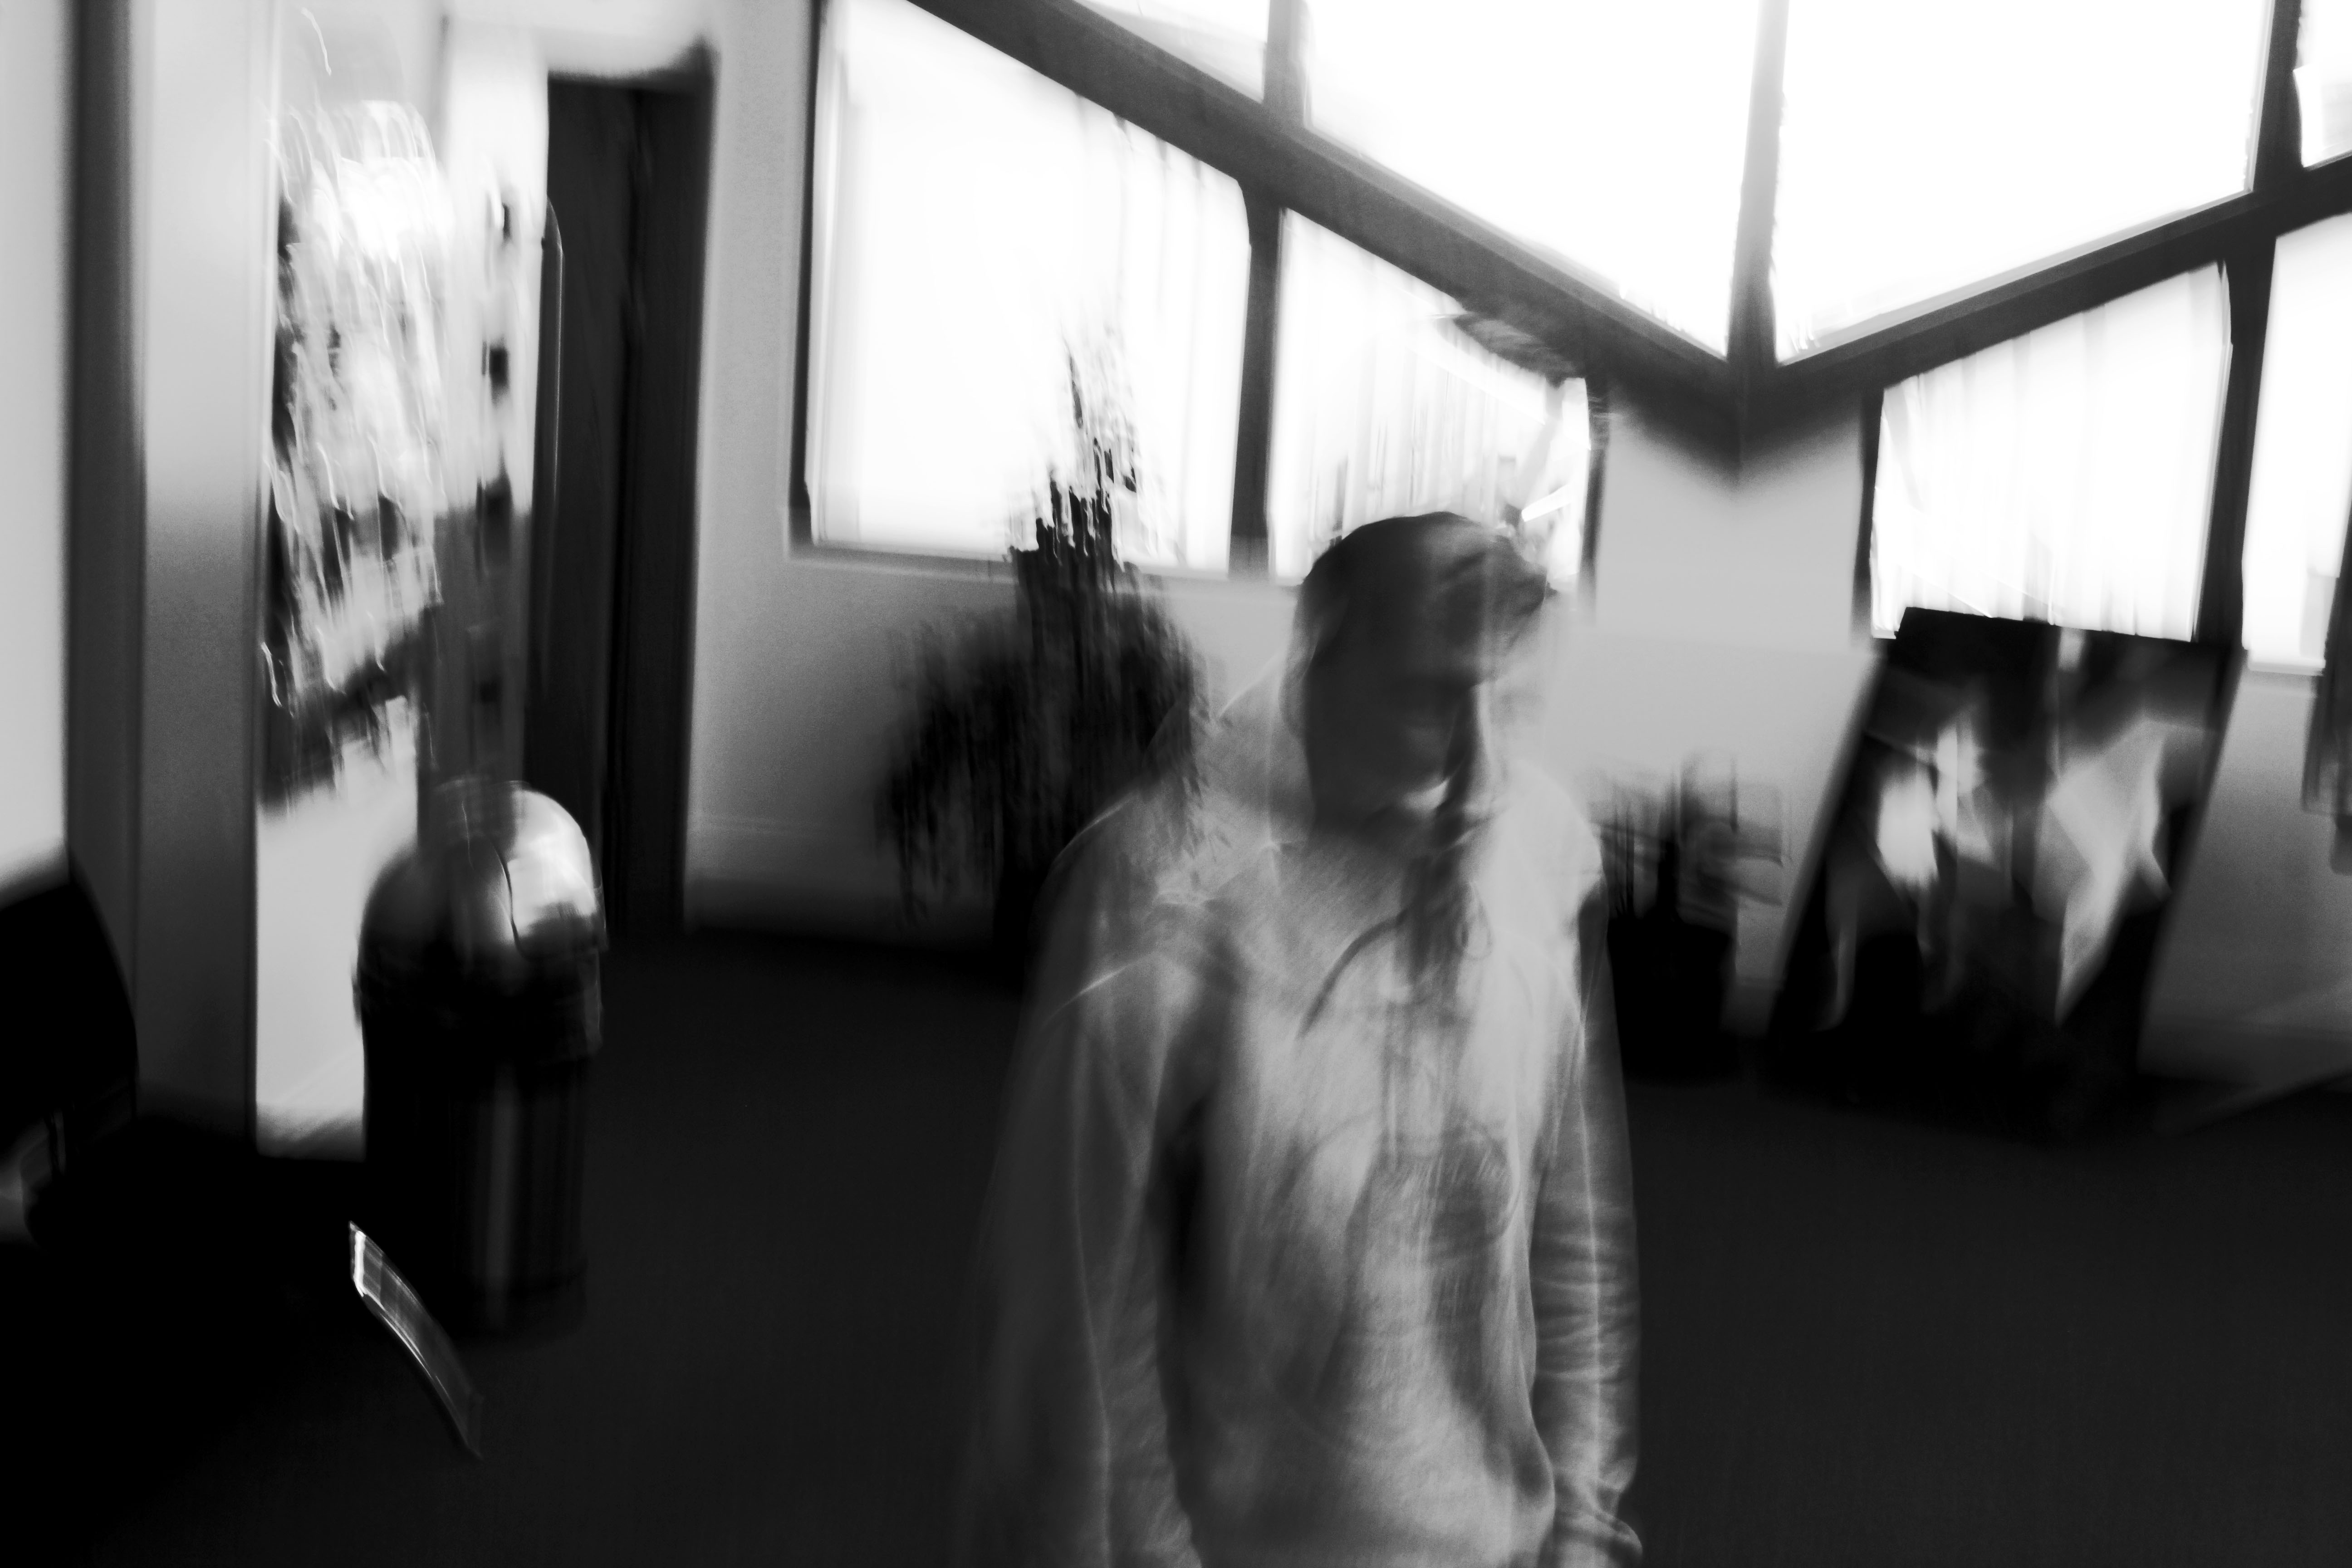
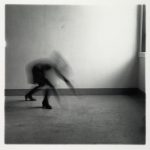
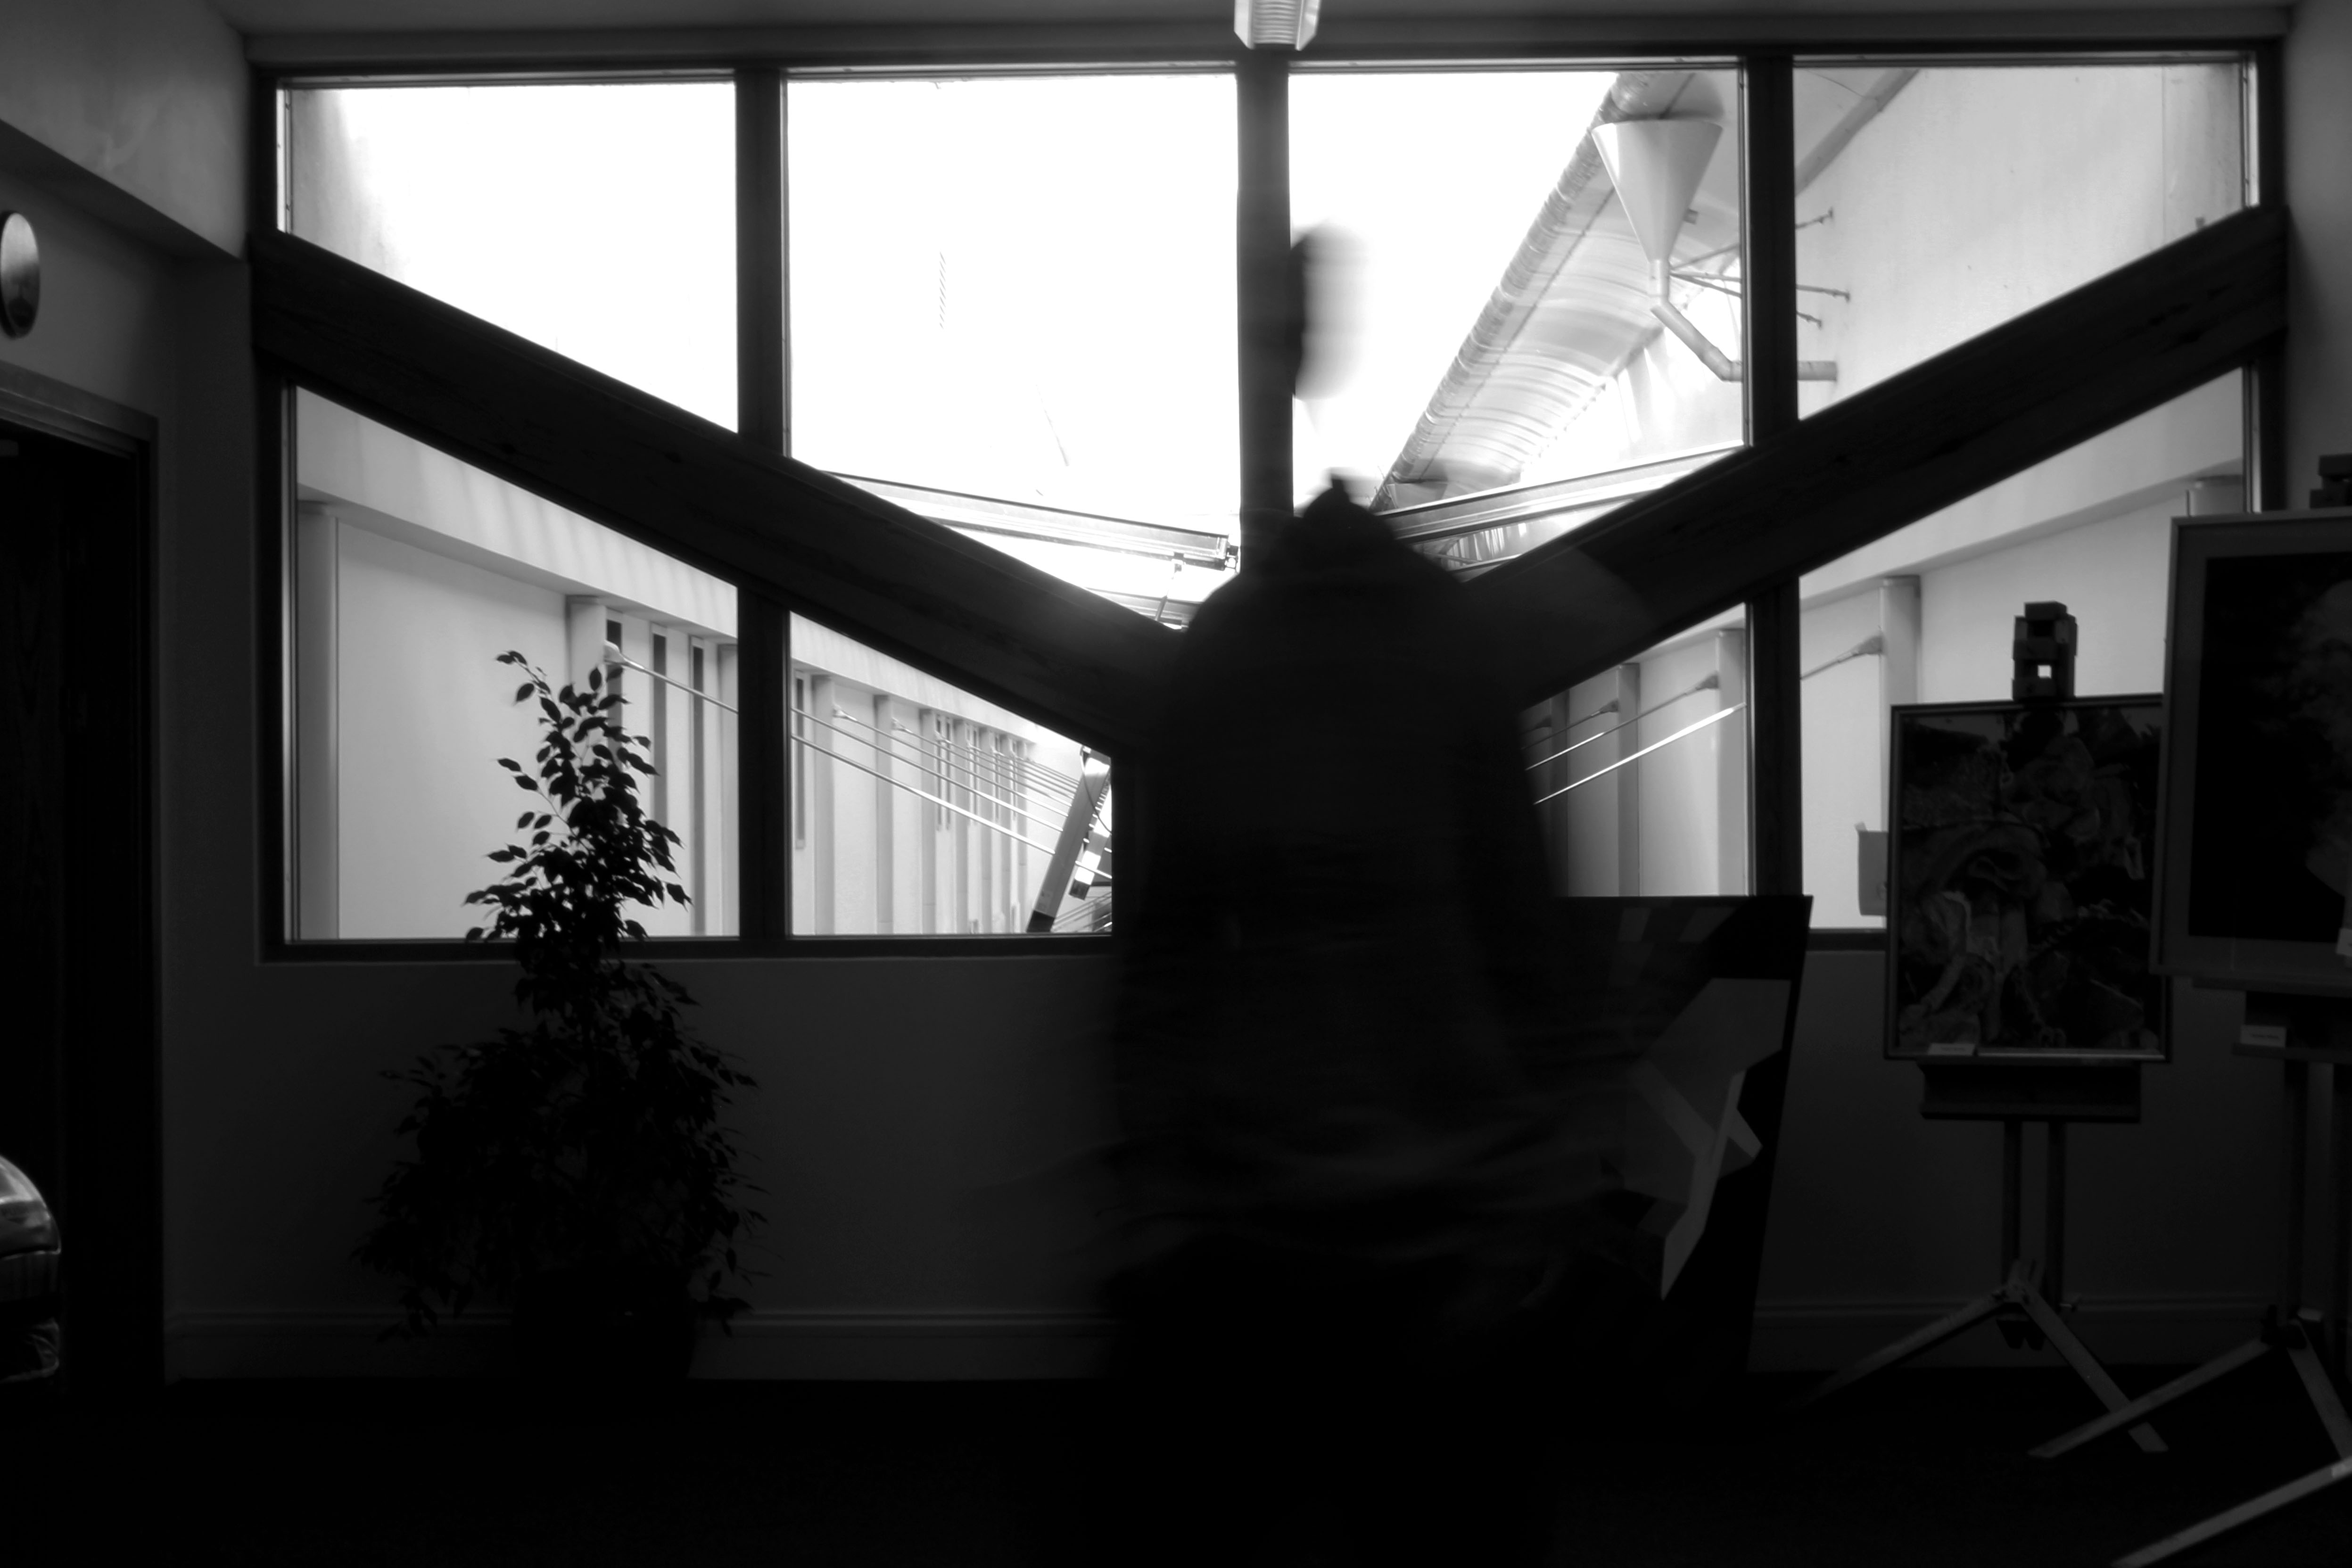
In today’s lesson we experimented with different shutter speeds with a deliberately moving object. I used Matt, my model to help me experiment with different shutter speeds. I told him to walk across a corridor several times to enable me to capture lots and lots of different frames of movement. I attempted to cause blur by using slow shutter speeds – this made the shutter close in the chosen time – I experimented with 2 seconds and in my opinion, this worked really well! I believe the last 8 or so worked out the best.

I tried to pair shutter speed and ISO together so they complemented each other and balanced each other out. However, in some images, the quality was quite grainy. This is why the I chose the last 5 or so as my favourites because they are the most clear.

Also, to enhance the quality of my photographs, I used a tripod to stabilize the camera when taking the pictures and this was the first time I had used a tripod. If I was to try out shutter speed again, I would definitely use a tripod again as this really aided the outcome.

img_4922
My Edited Favourite Image – Black and White / Brightness and Contrast / Levels


‘Environmental Portraits’ Edits Using Adobe Photoshop – COLOUR SPLASH

 colour-splashcs-original colour-splash-2

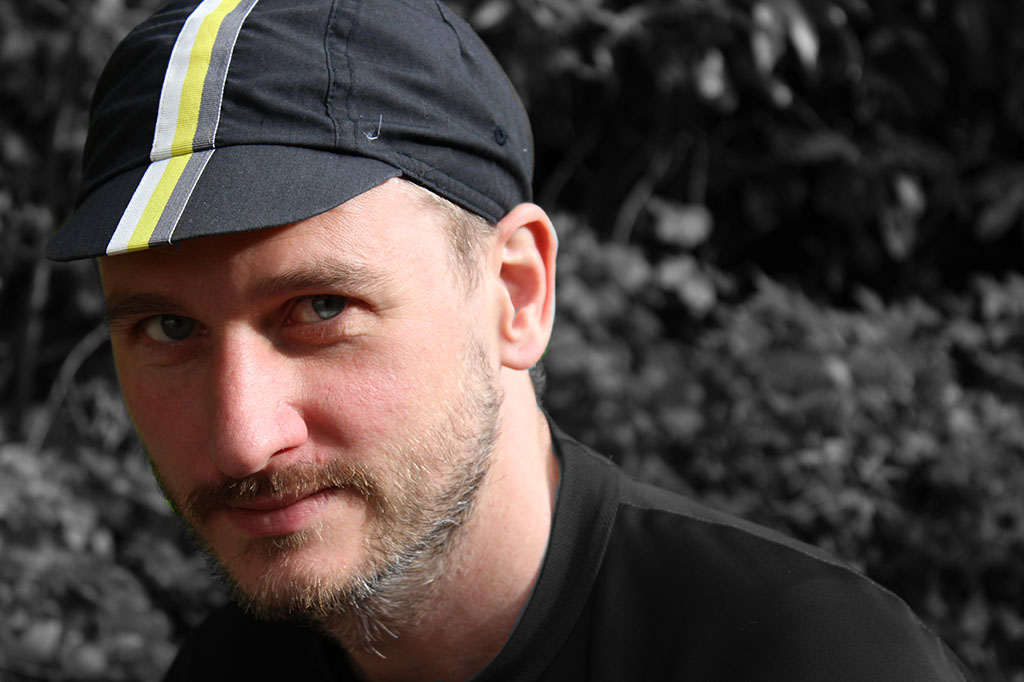
cs-original-2In today’s lesson, we experimented with colour splash. Colour splash involves using the de-saturation tool to then make your image black and white. Then you use the brush tool to basically paint through the layers to make one subject in the image, for example, the foreground in colour and the background in black and white. It has a really good effect.
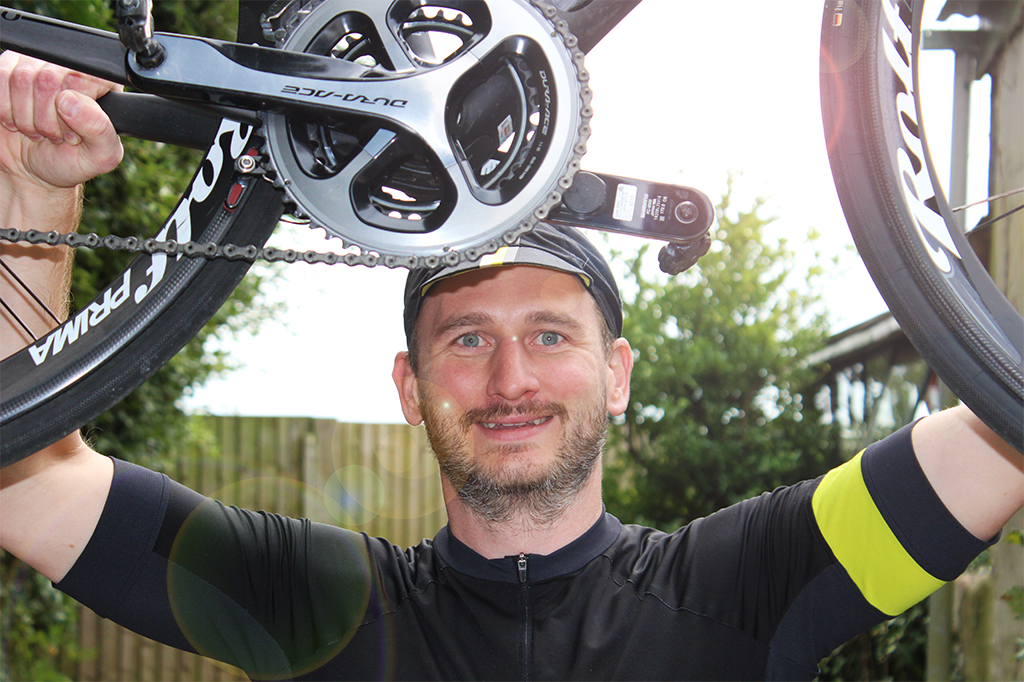
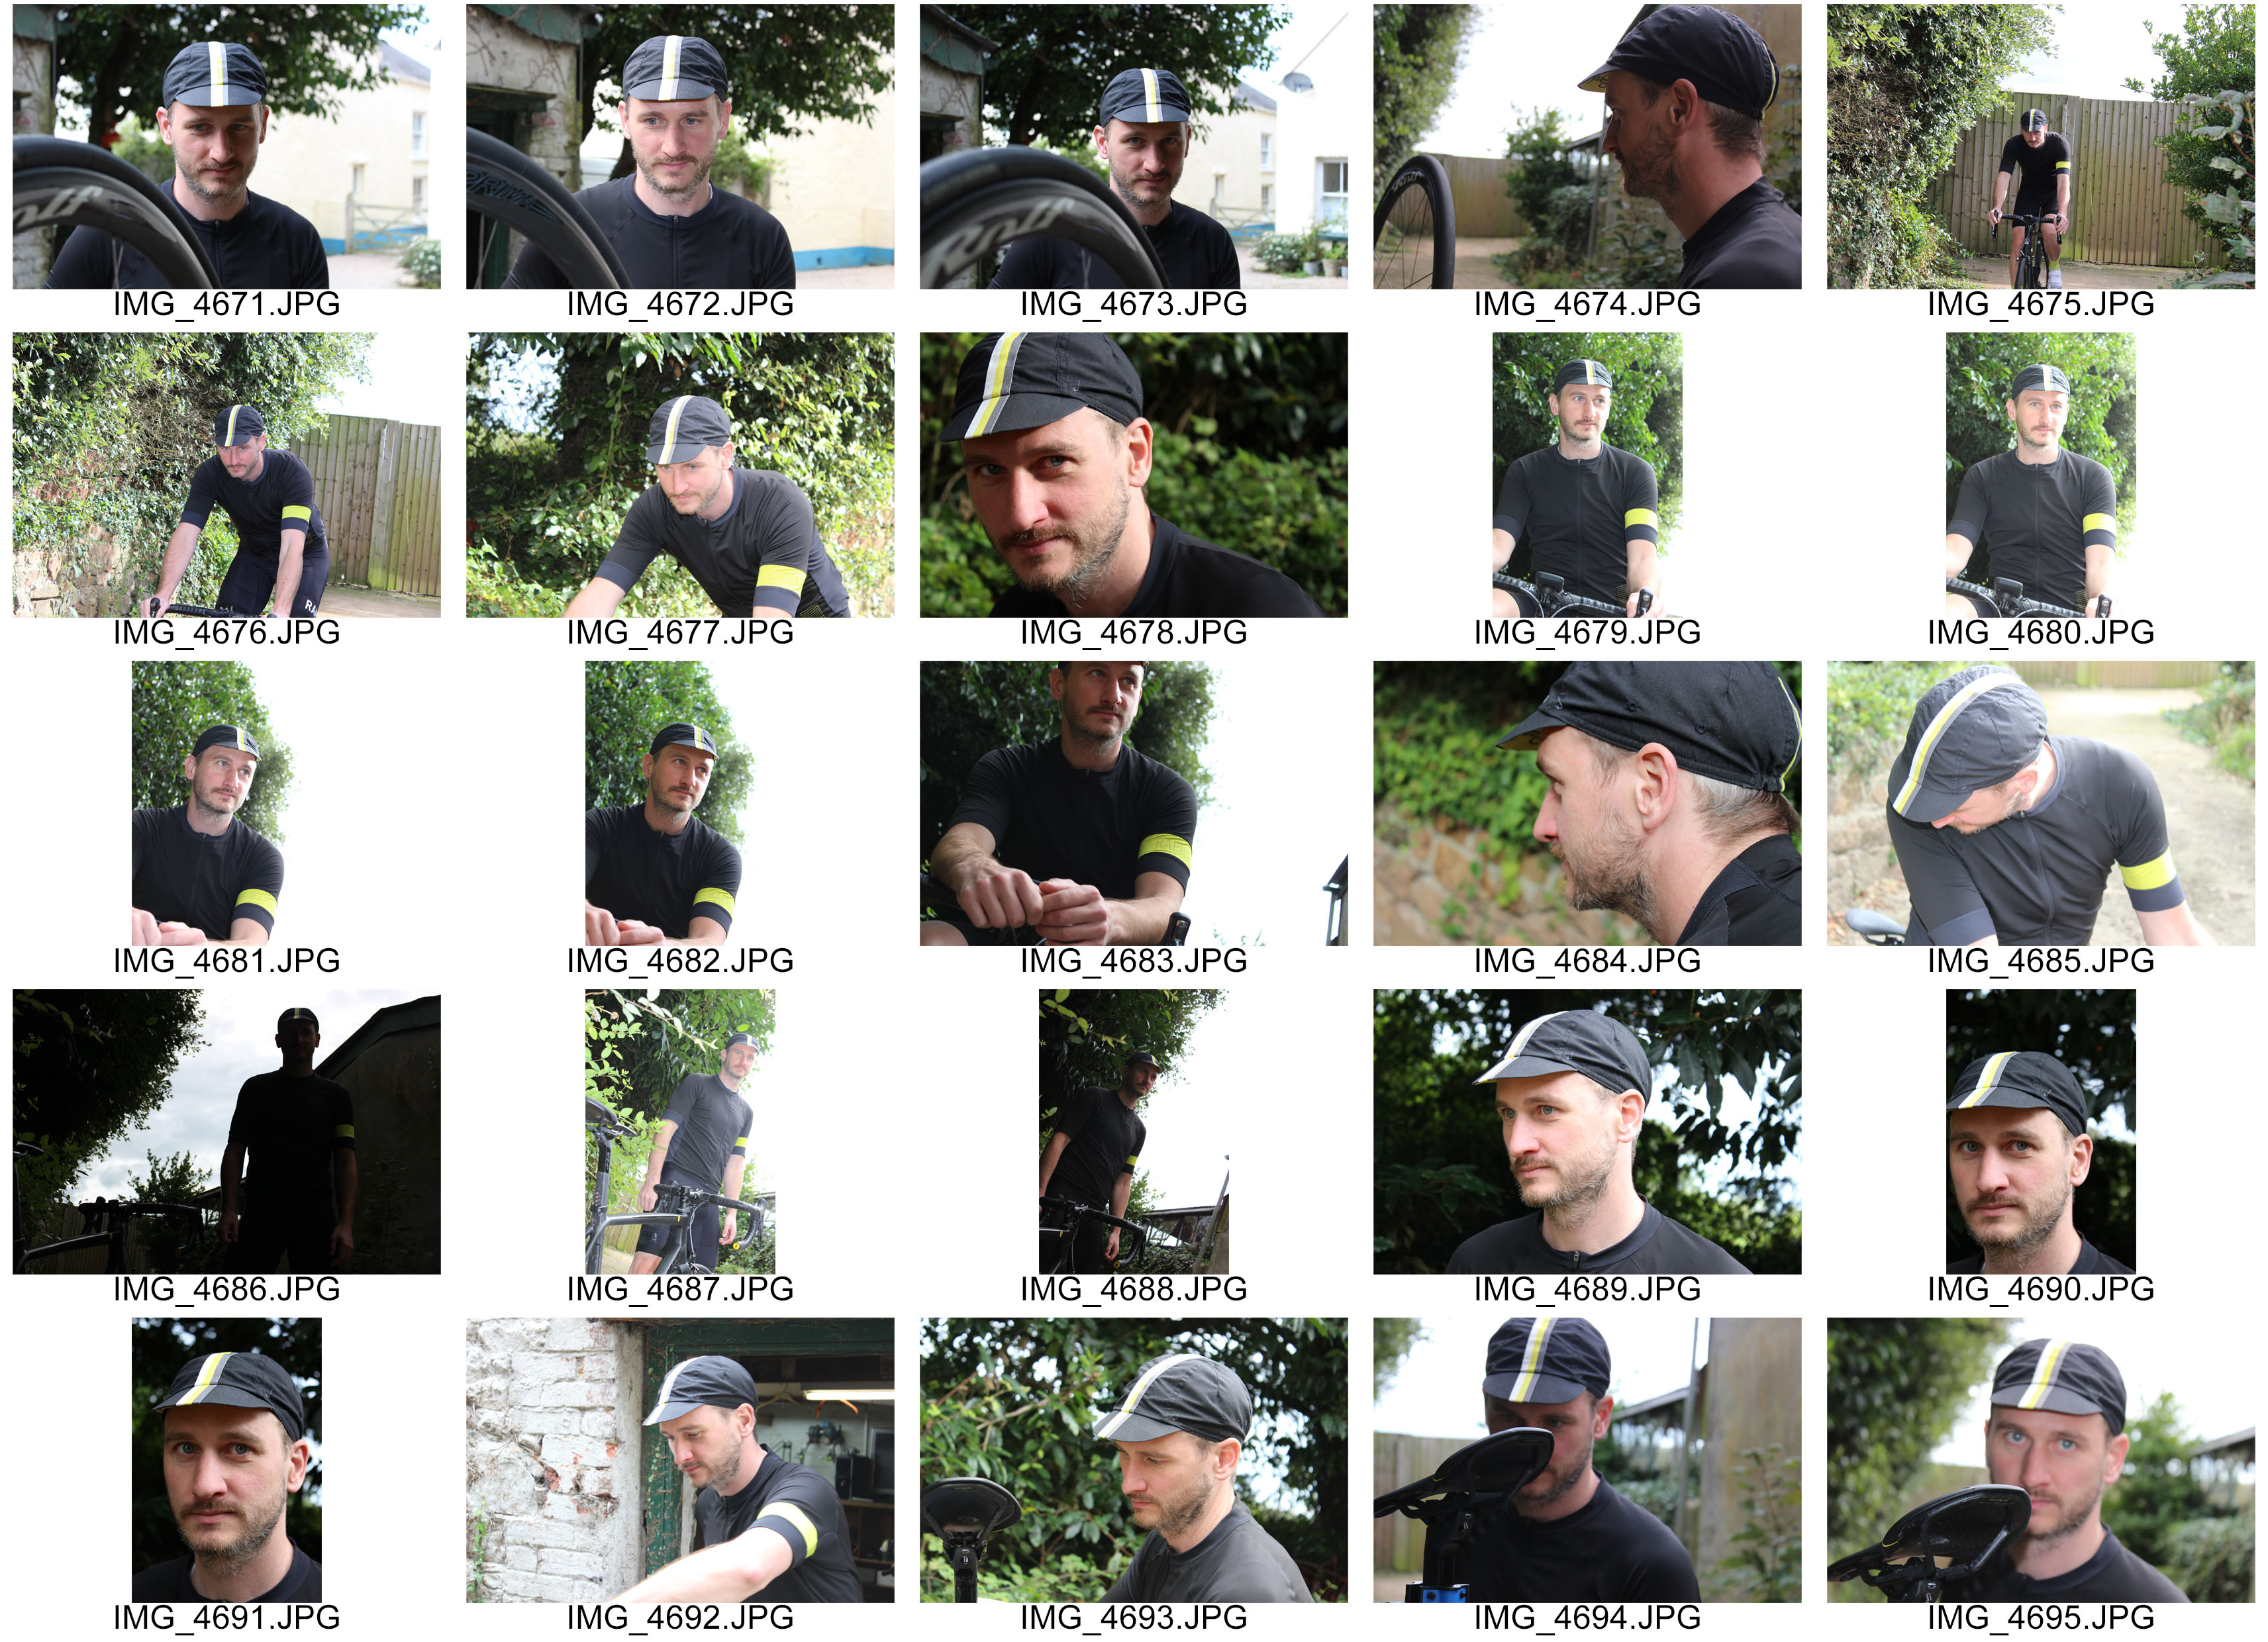
I experimented this with two different photographs from my environmental portraiture series and my favourite one is the cycling one as I think it works best with the colours in this one compared to the second attempt.

I then compressed and flattened the image to save it to allow me to put it on the blog as this post.

‘Environmental Portraits’ Edits Using Adobe Photoshop

unedit-1


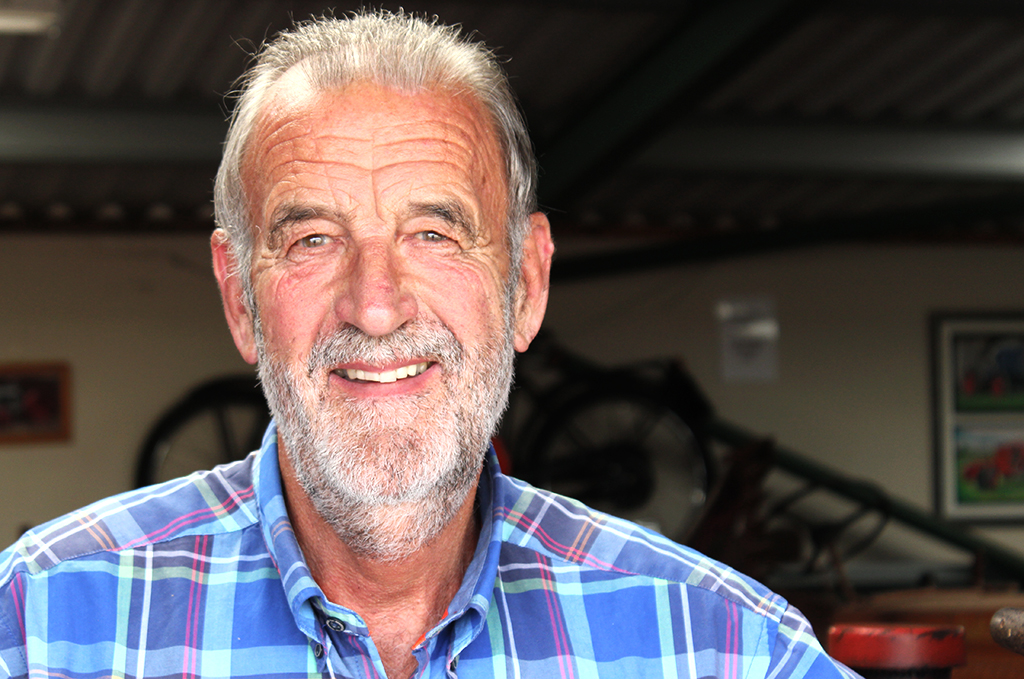
Today in the lesson, I used the program ‘Adobe Photoshop’ to edit the image I took of my Grandpa with his tractors on one of my shoots for environmental portraiture.

Above is the original and below is the edited version. Firstly, I cropped the photograph to enable me to focus on the main aspects of the picture, this being, my Grandpa’s face, the steering wheel and the poster behind him, also about tractors. When cropping the picture, I had make sure I was obeying the rule of thirds by aligning key parts with the lines and intersections. In this photo, my model’s face is centered but I believe it has a positive effect on the viewer.

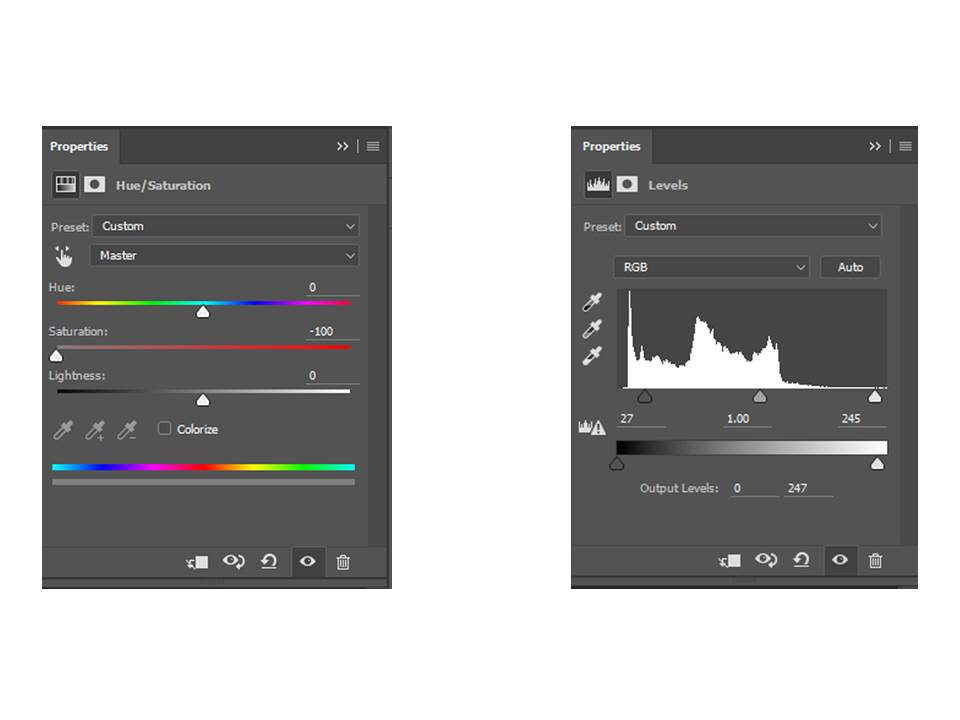
Next, I adjusted the saturation so there was none – it was black and white. By doing this, I was able to use the ‘levels’ tool on Photoshop to alter the intensity of the blacks, whites and mid-tones; essentially changing the contrast. I found a balance I was happy with, which I thought looked effective for the photo.

Finally, once I was happy with the outcome, I flattened this photograph by going to ‘layers’ then ‘flatten image’. This allowed me to put it on the blog to show you my thoughts.

ps

Edit

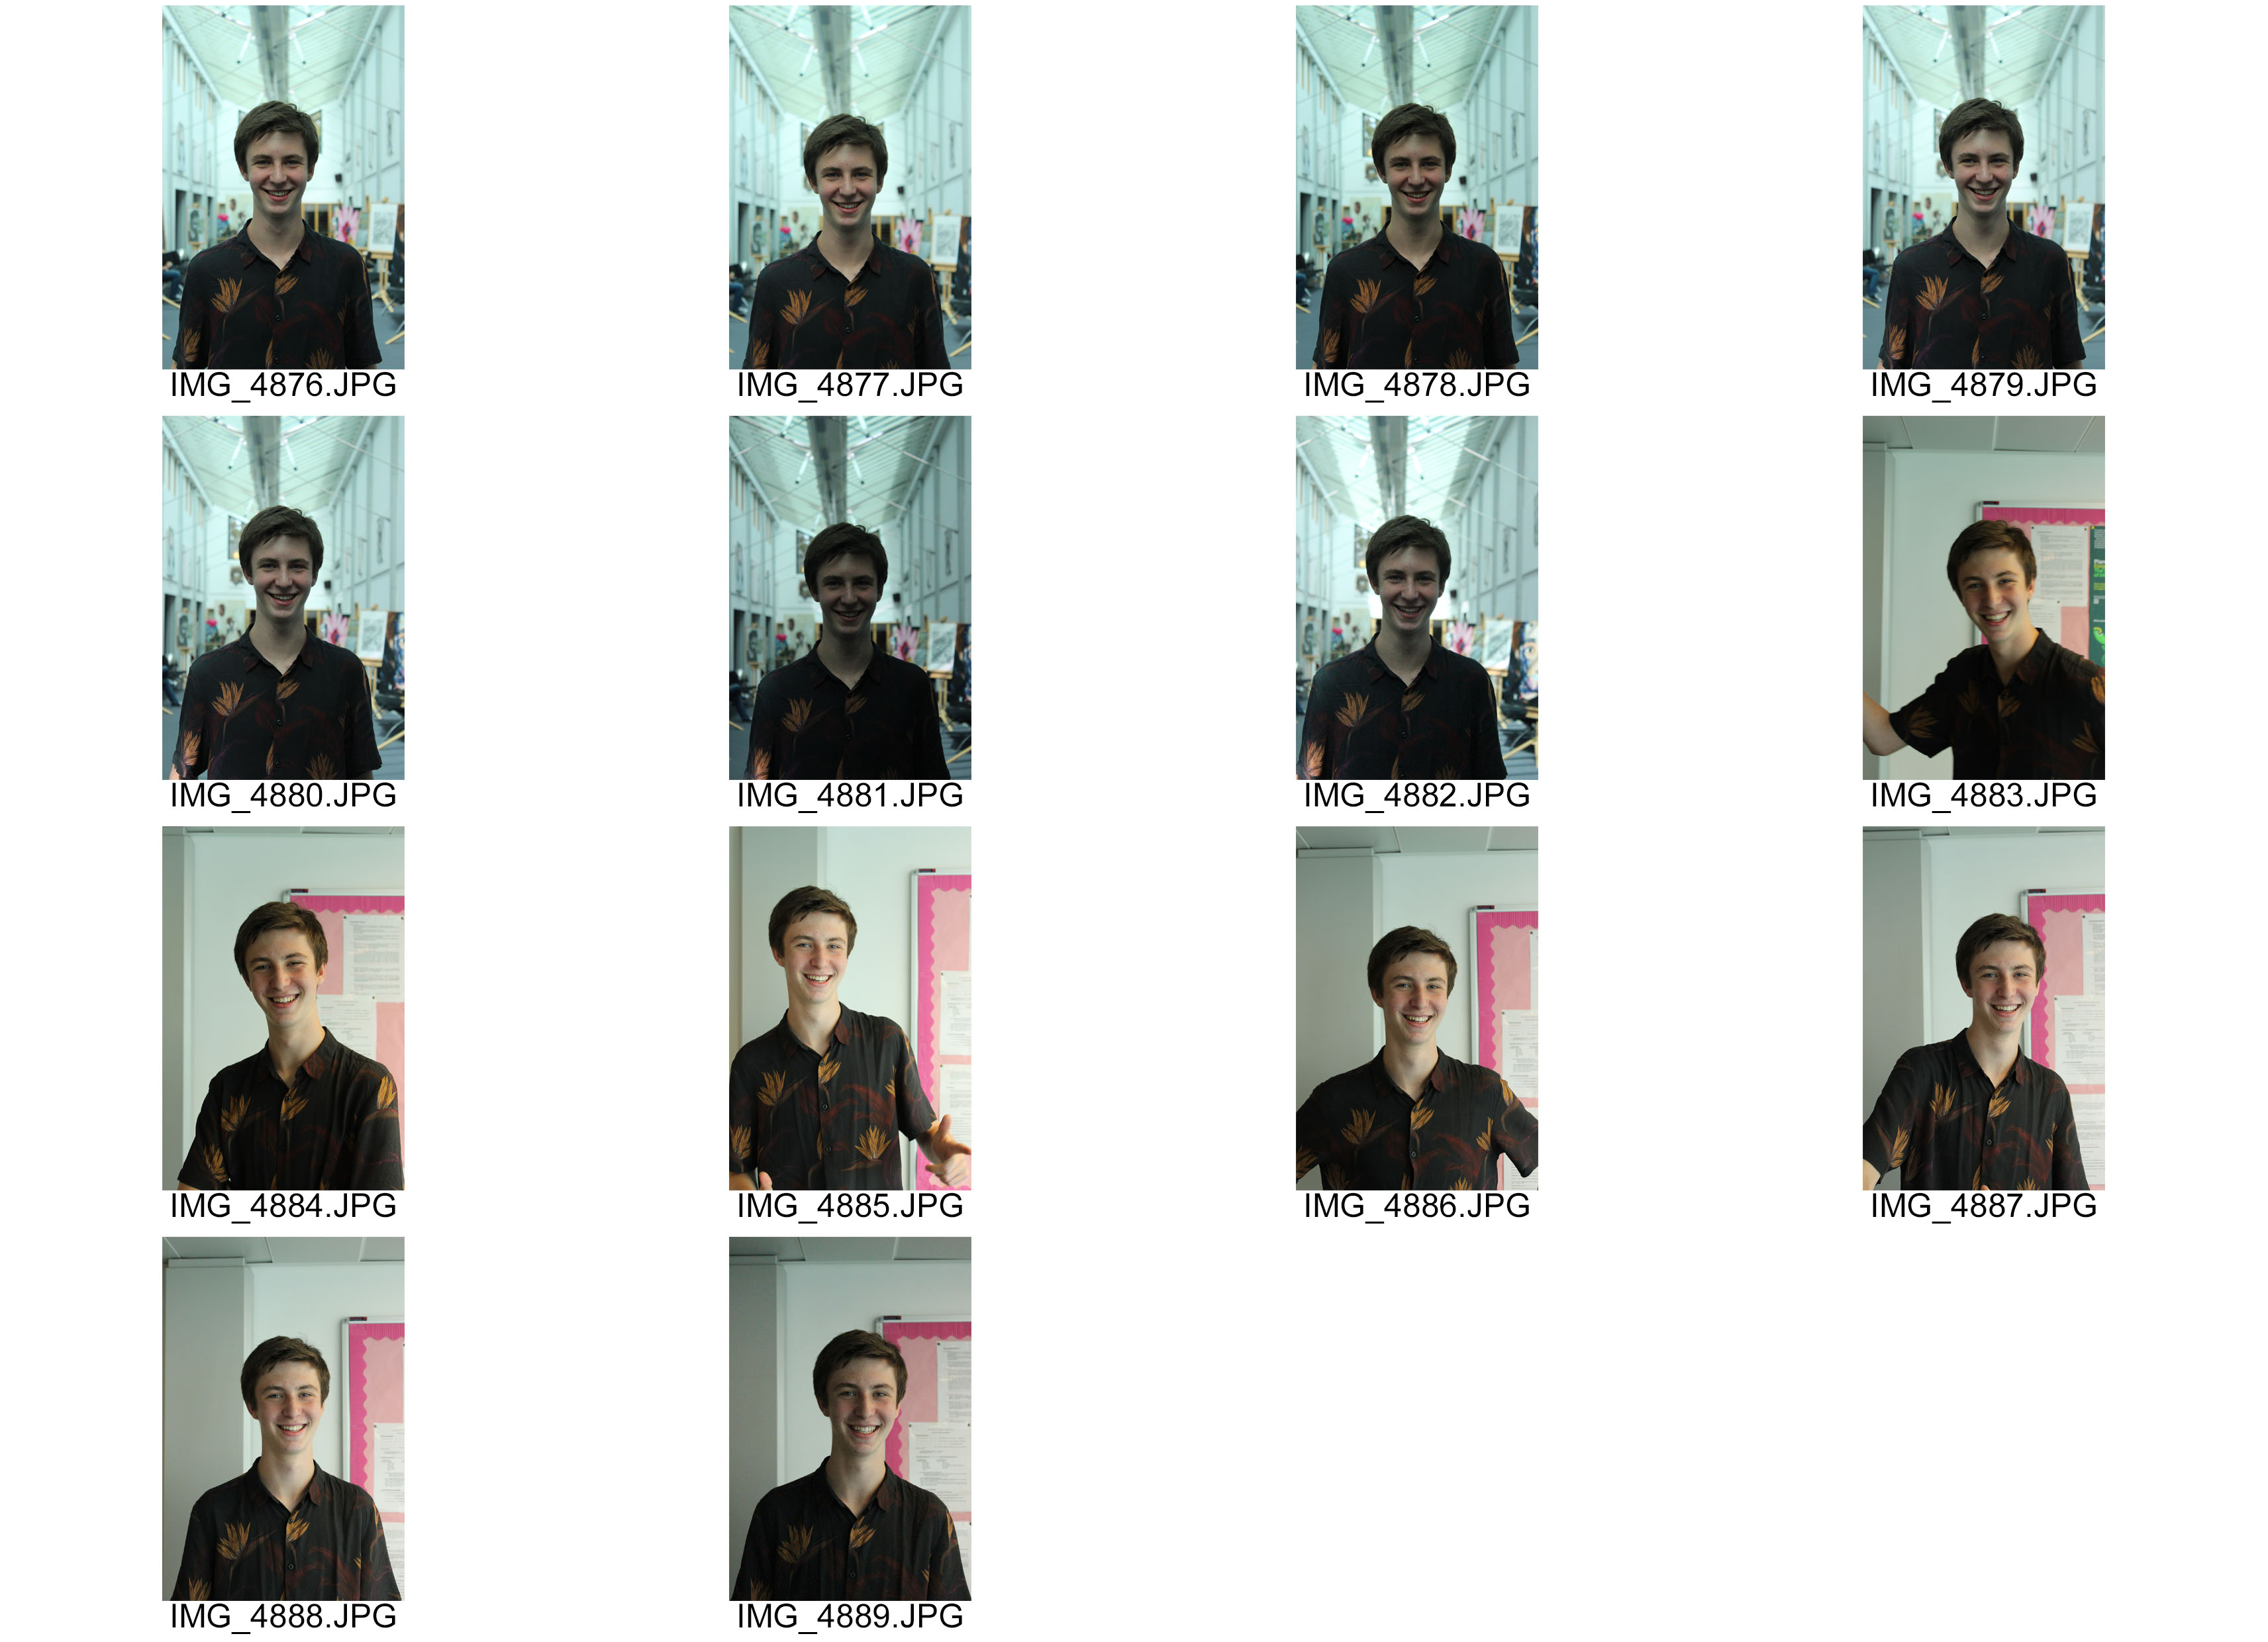
EXPERIMENTAL ISO CONTACT SHEET

Today in the lesson, we experimented with using different ISO settings on our cameras. We went around the school and chose a model to take portraits of, positioned them in an area which was light in colour and took their photo using each of the ISO settings ranging from 100-6400. We then repeated this but in an area which was dark in colour. For each image, I had to tell our subject to keep still so I could get the best possible outcome.

Here is the photoshoot. Now, the difference is hugely noticeable because the light conditions weren’t perfect but it still gives me a vague idea of the uses of ISO and it’s benefits; the lower the ISO number, the less sensitive it will be to light. However, a higher number increases sensitivity to light.

cs-iso-1

jack

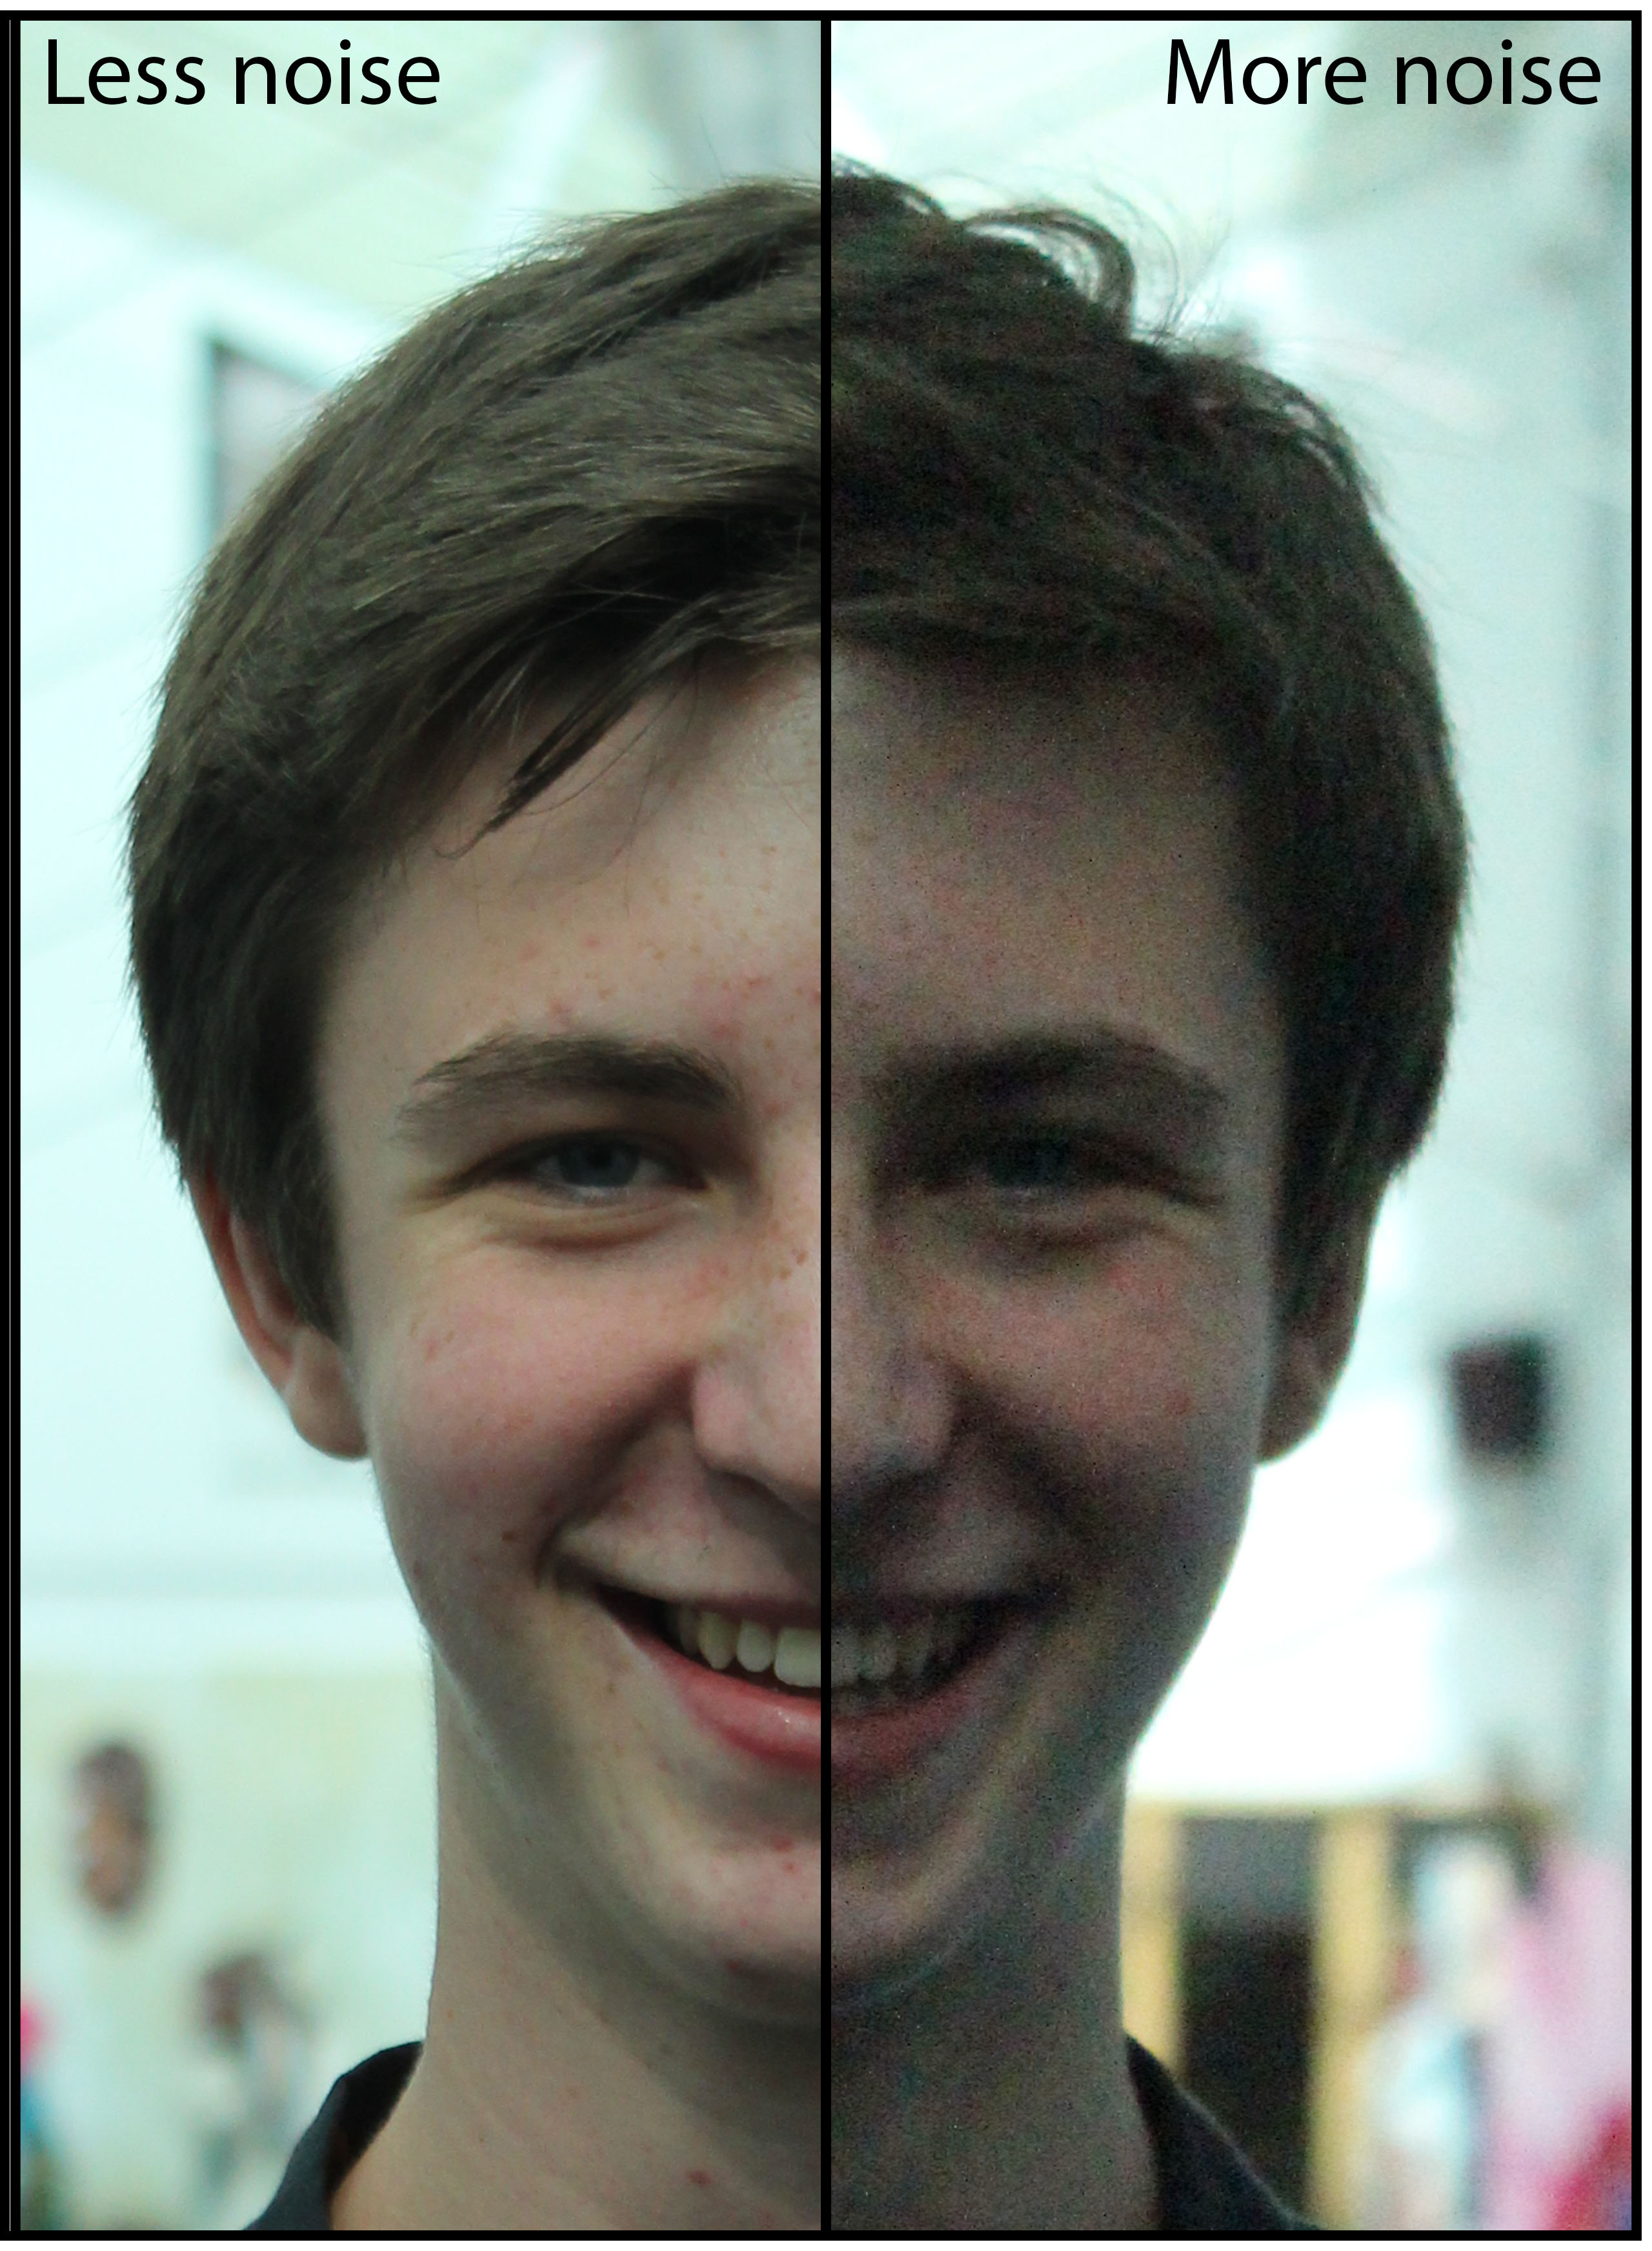
I then combined two photographs of Jack – my model so it is clear for you to see the difference ISO can make to an image. The left doesn’t have noise –  the quality is better, however, the right does have noise so the texture and look; the overall quality isn’t as good. These tow photos have been merged but are from the exact same shoot where Jack was stood in the same position.

Environmental Portraiture – PHOTOSHOOT 3

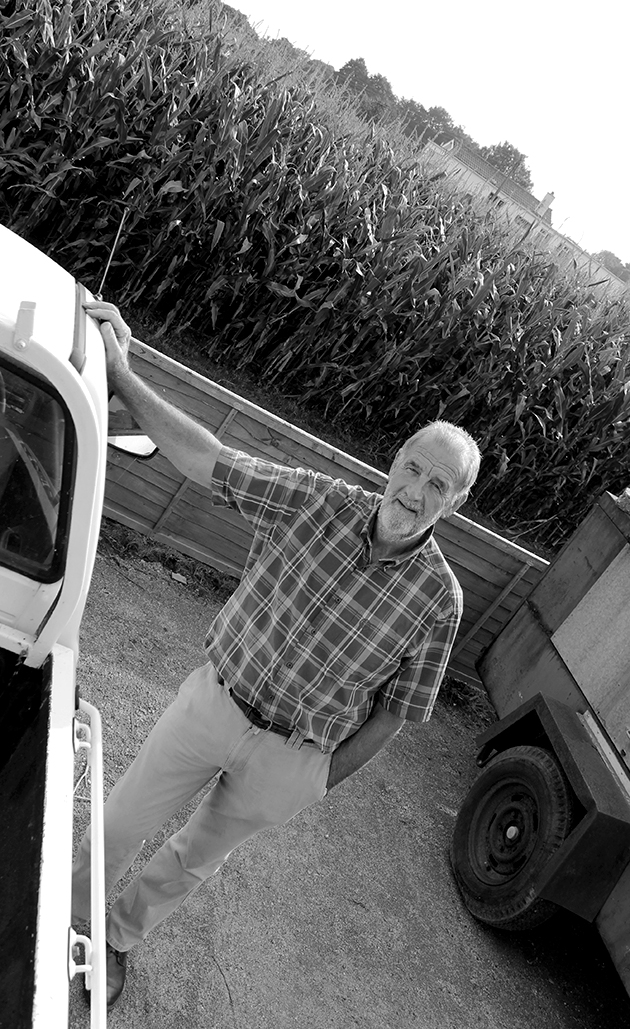
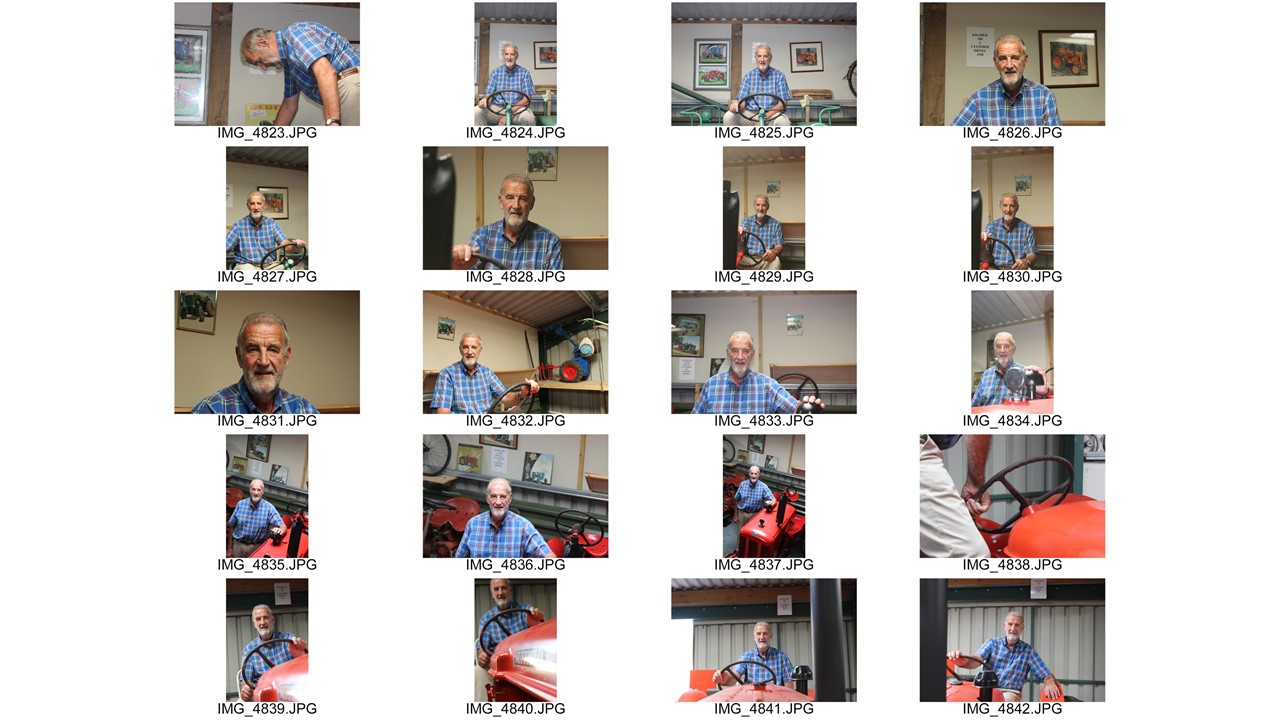
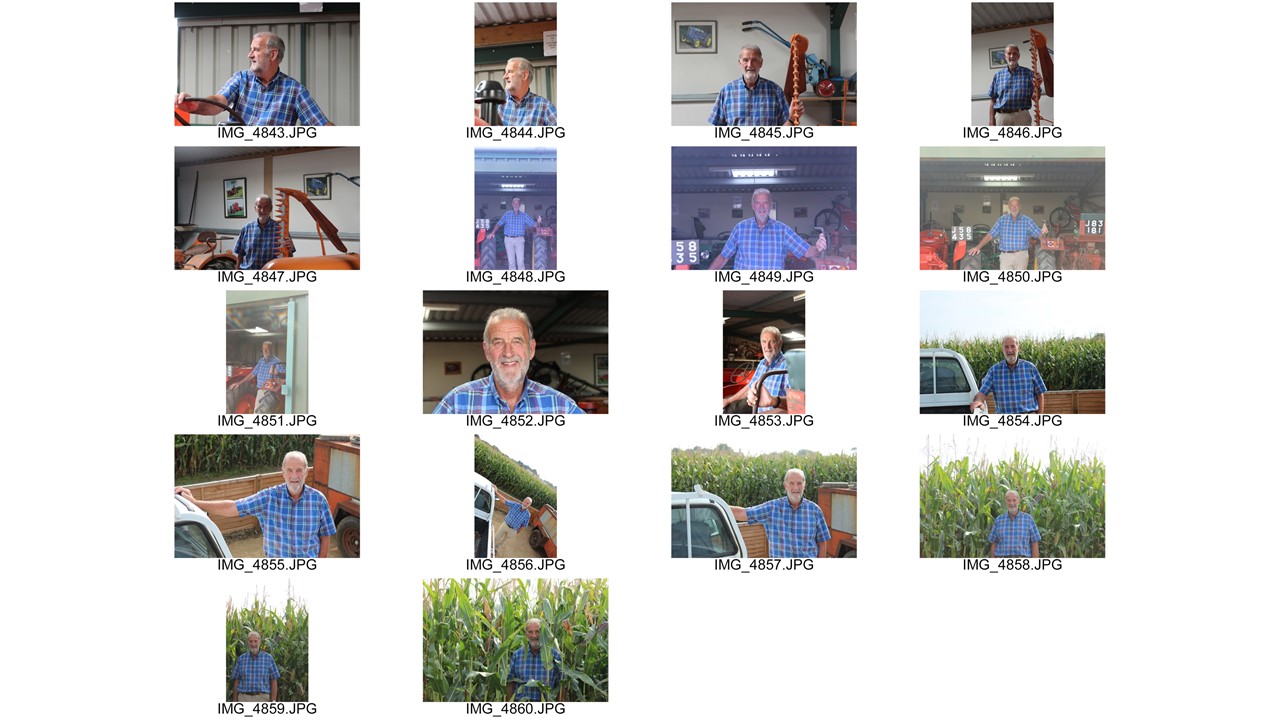
For my final environmental portraiture photoshoot, I decided to capture my Papa in his true natural surroundings; his island-renowned tractor collection consisting of over 50 tractors!

He treasures this lifelong collection so dearly. He refurbishes each of tractors gradually to make them look their best and stores them in security-guarded sheds. He has already had a successful year; Bing advertised in the JEP’s section – ‘Jersey’s Biggest Collectors’ a few months ago. He’s also had a double page spread about his compilation of farm machinery in an English magazine. I knew he’d be up for posing again! I thought this shoot captured the essence of environmental photography.


slide1 slide2

Environmental Portraiture – PHOTOSHOOT 2

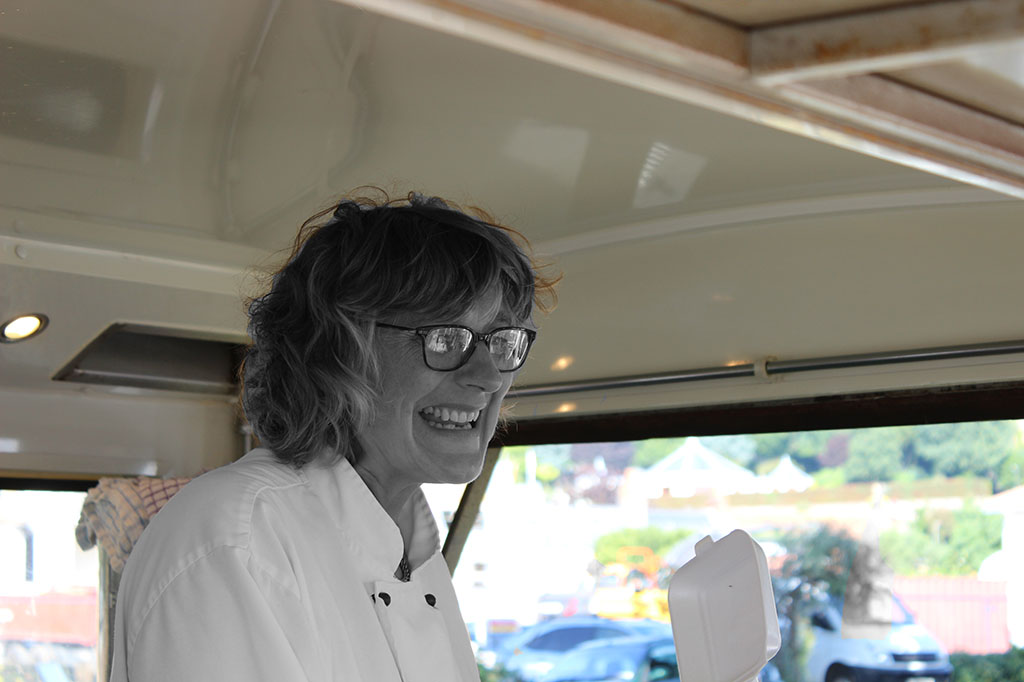
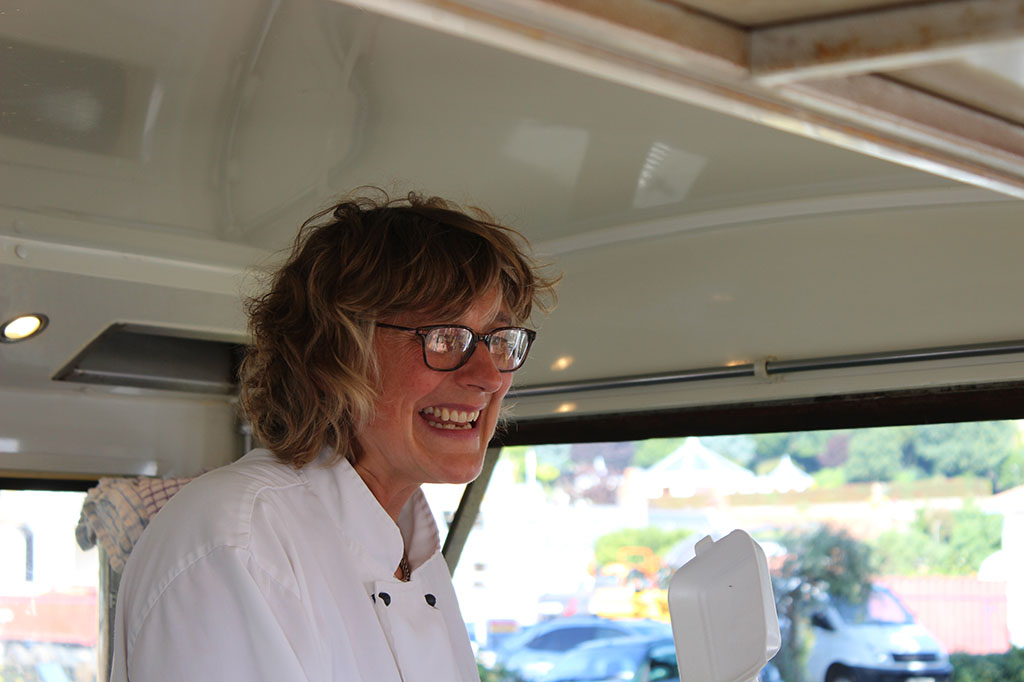
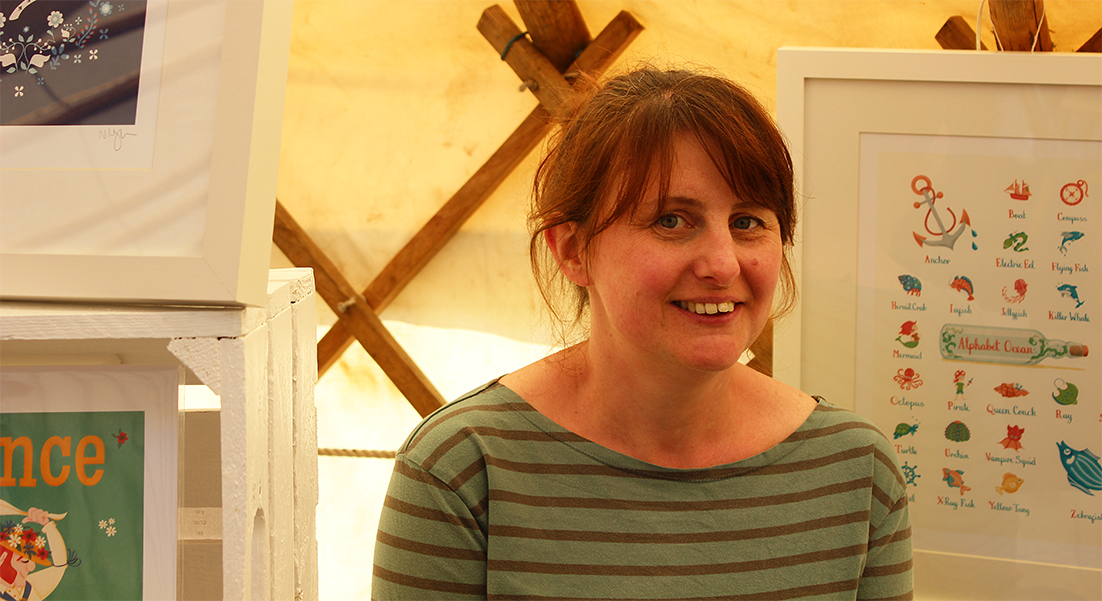
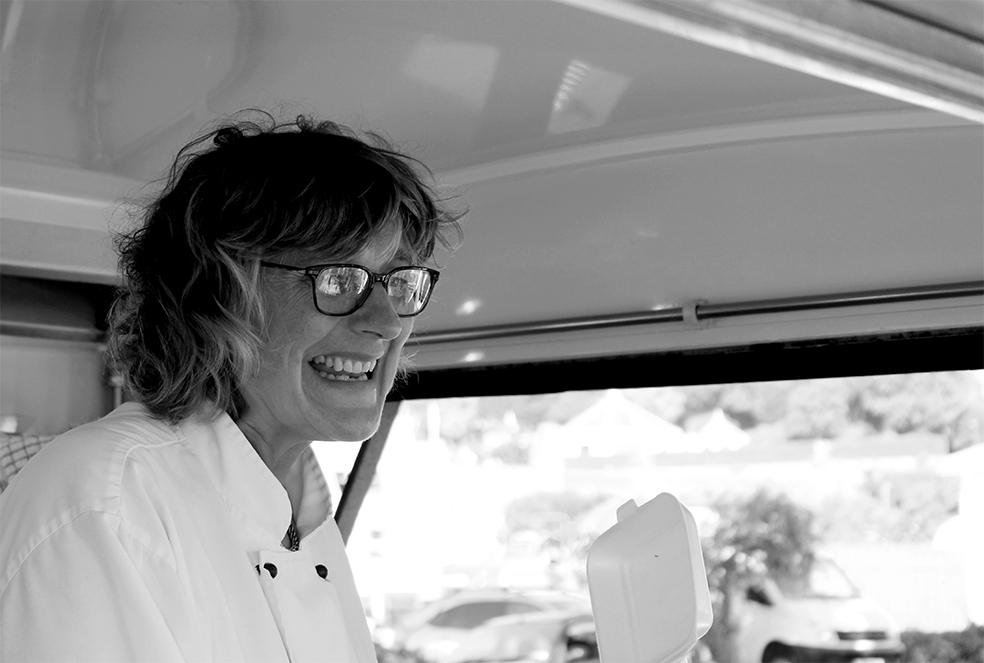
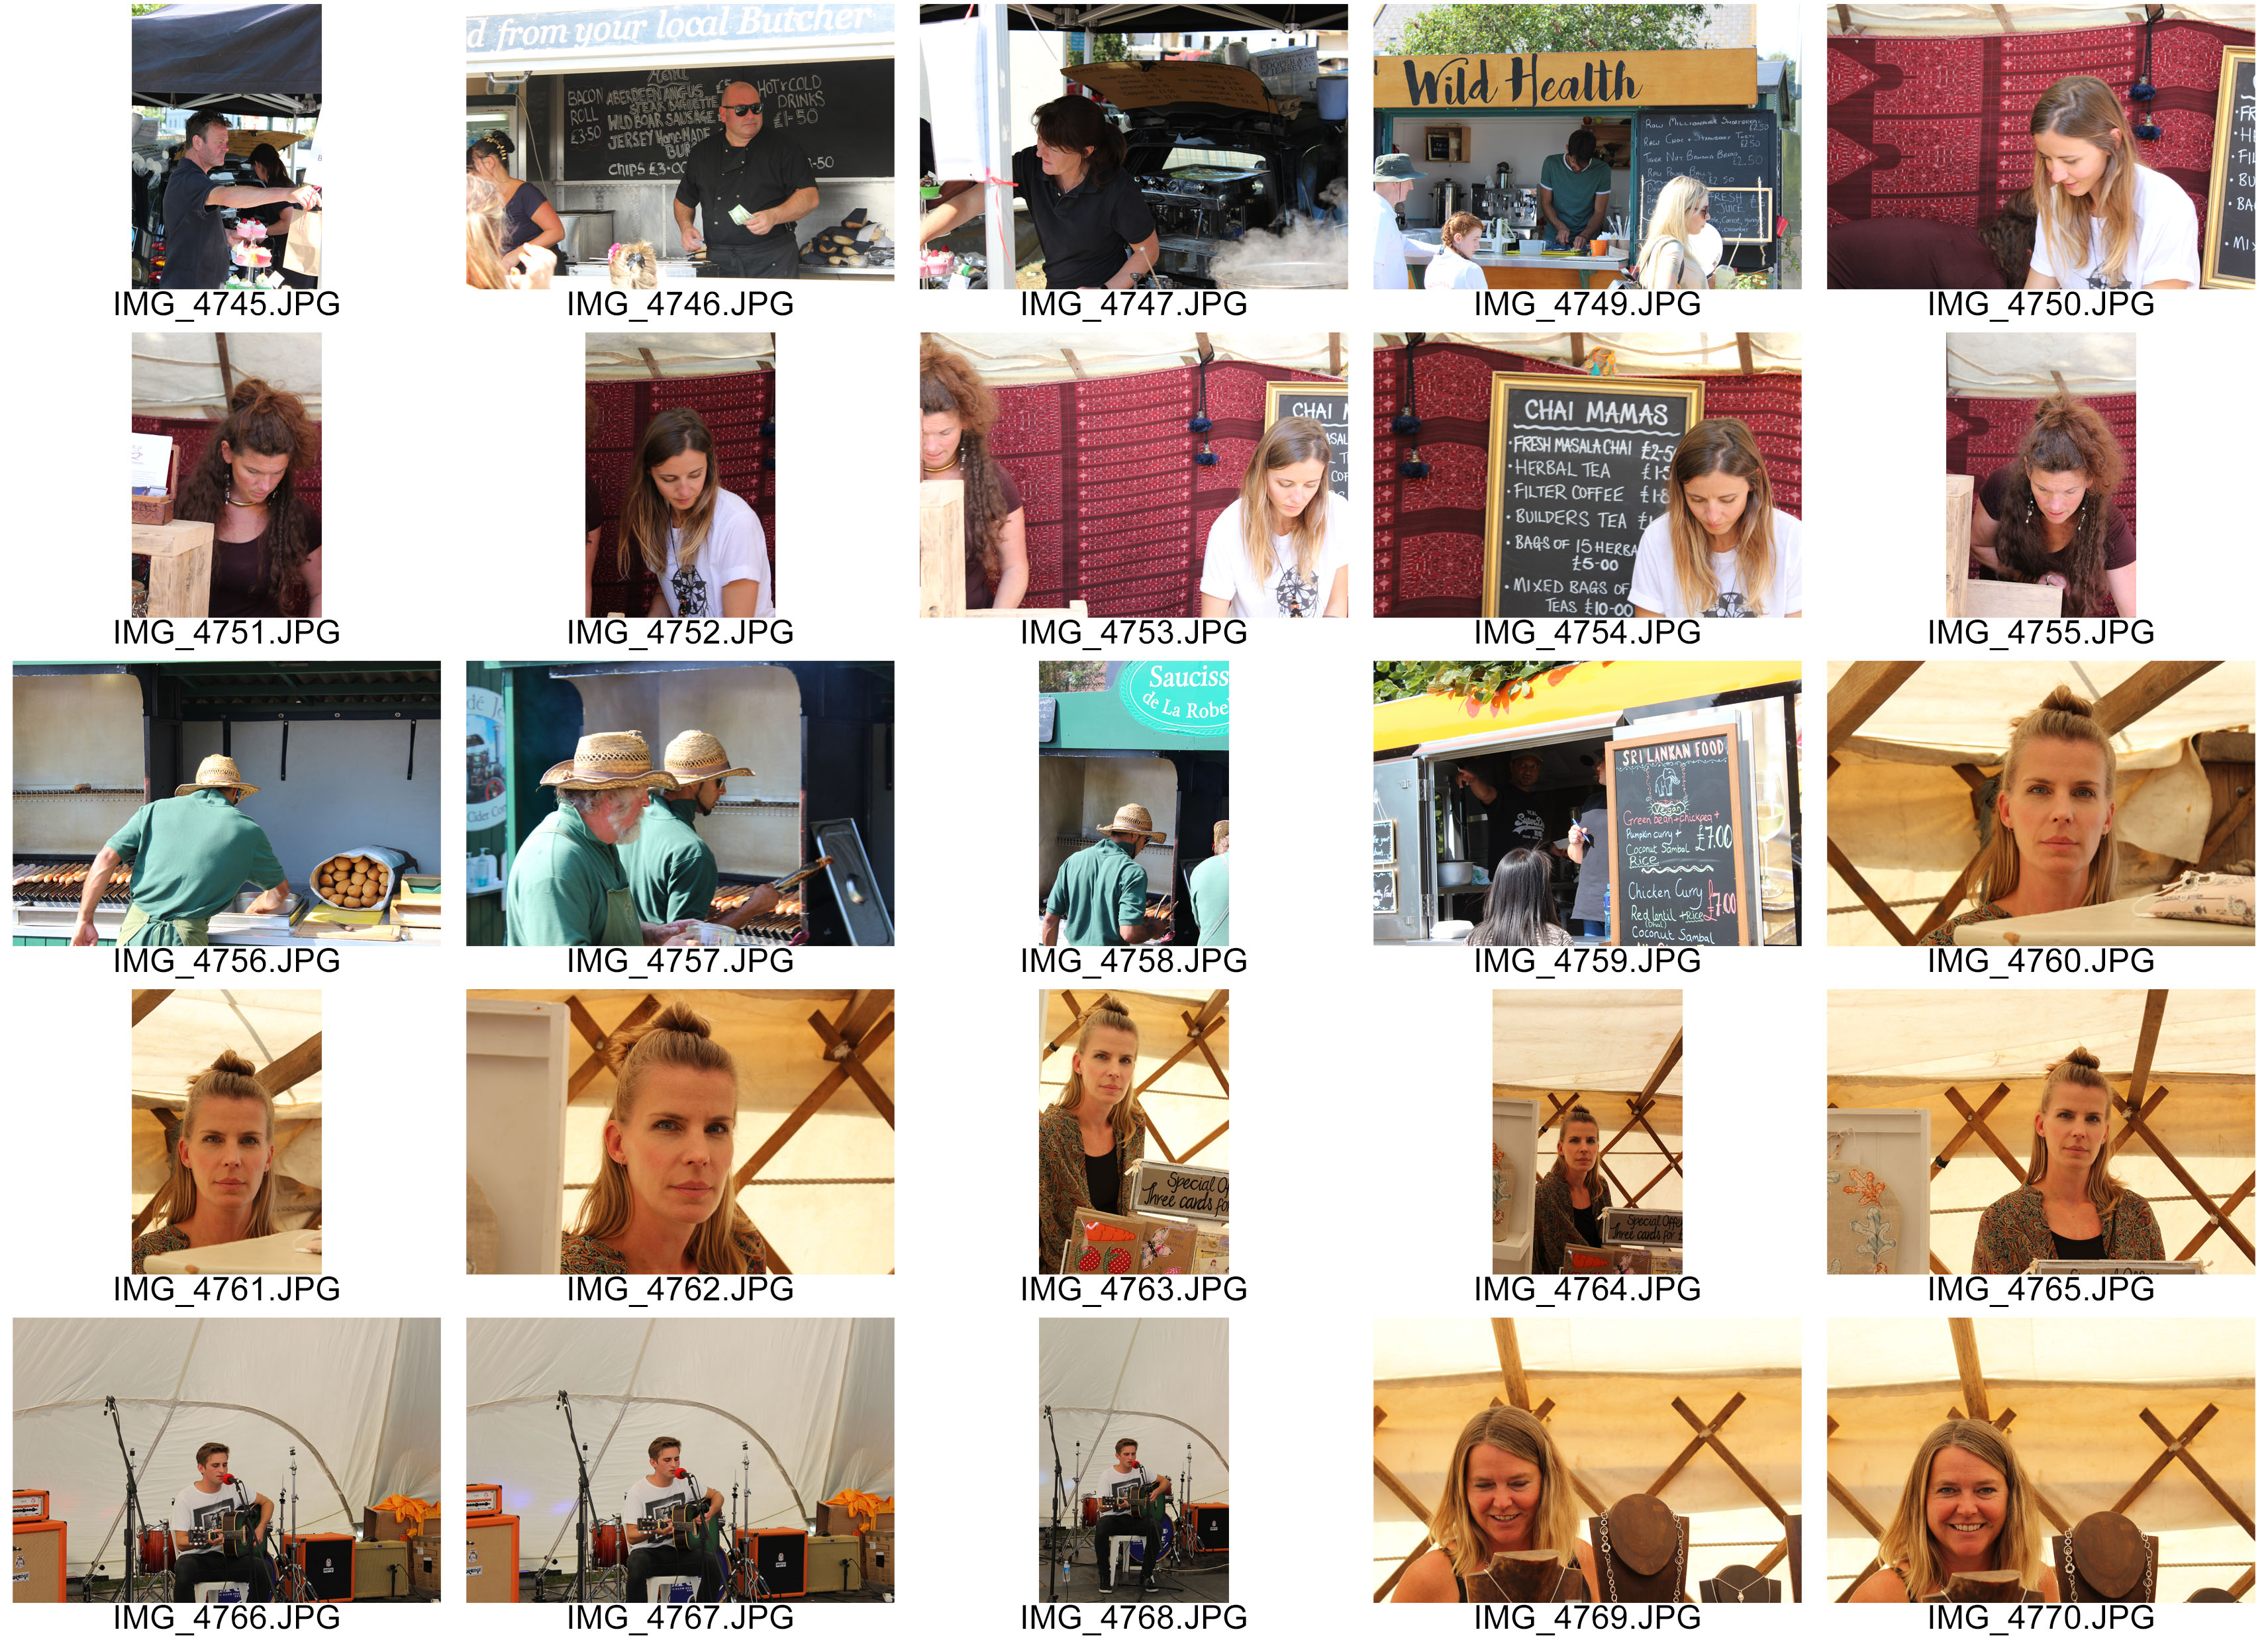
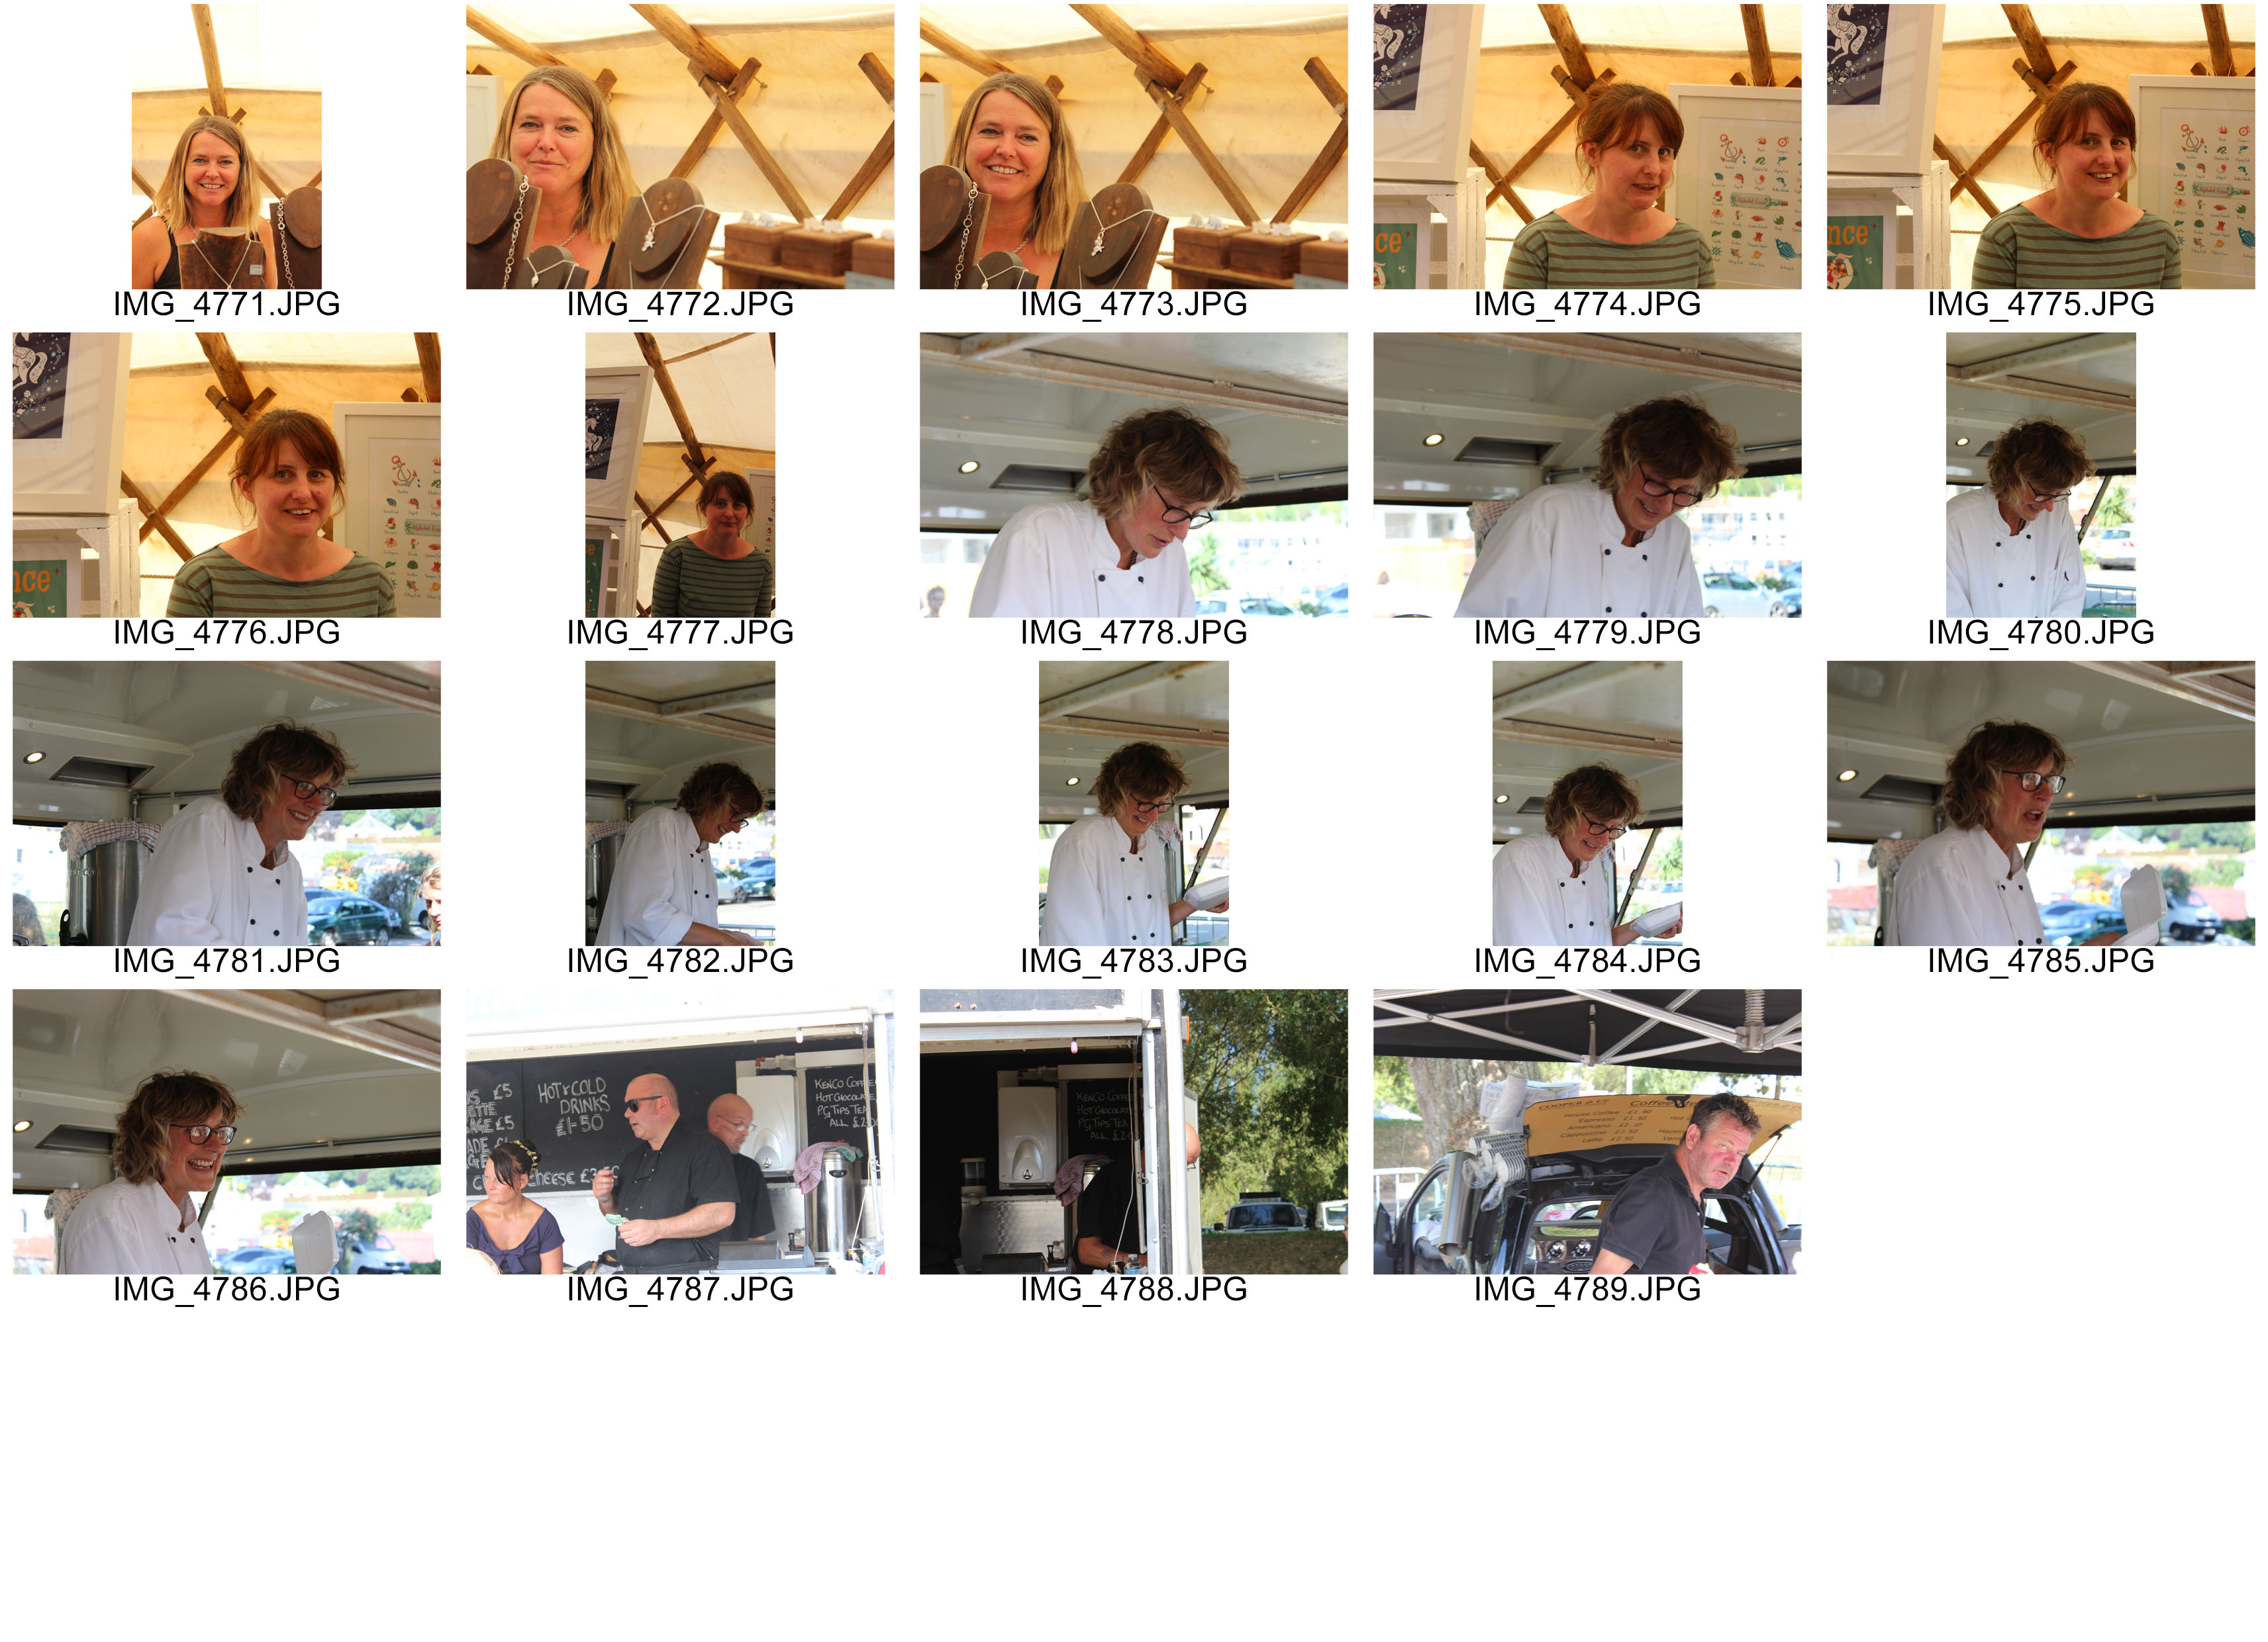
My second photoshoot involved  further use of environmental portraiture. This time, I thought the scenes at Spice Music and Arts annual festival would be perfect; self-employed business with their stalls scatters around everywhere! From jewelry to textiles, from art to food and from music to interactive activities. Because this was public; street photography, I had to ask for permission from stall-holders, however, my mum was also holding a stall there. The end was product is very pleasing and I feel I have captured the criteria of this task in a nutshell.

cs-spice-2 cs-spice-3