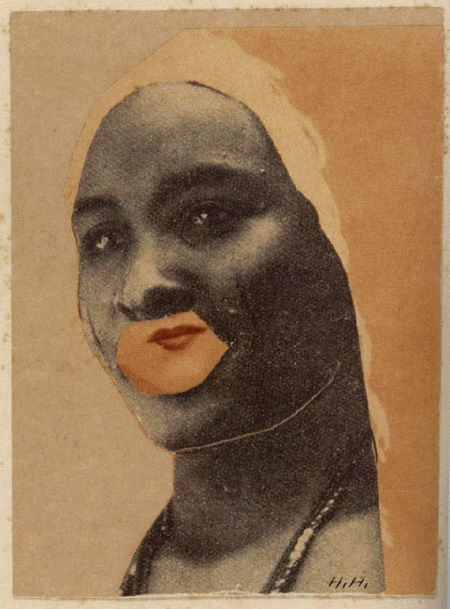
My responses are largely influenced by Hannah Hoch. However I added my own slight twist to personalize my work and make the features of the photograph more relatable to me. I have done another earlier blog post discussing how Hannah Hoch has inspired me.
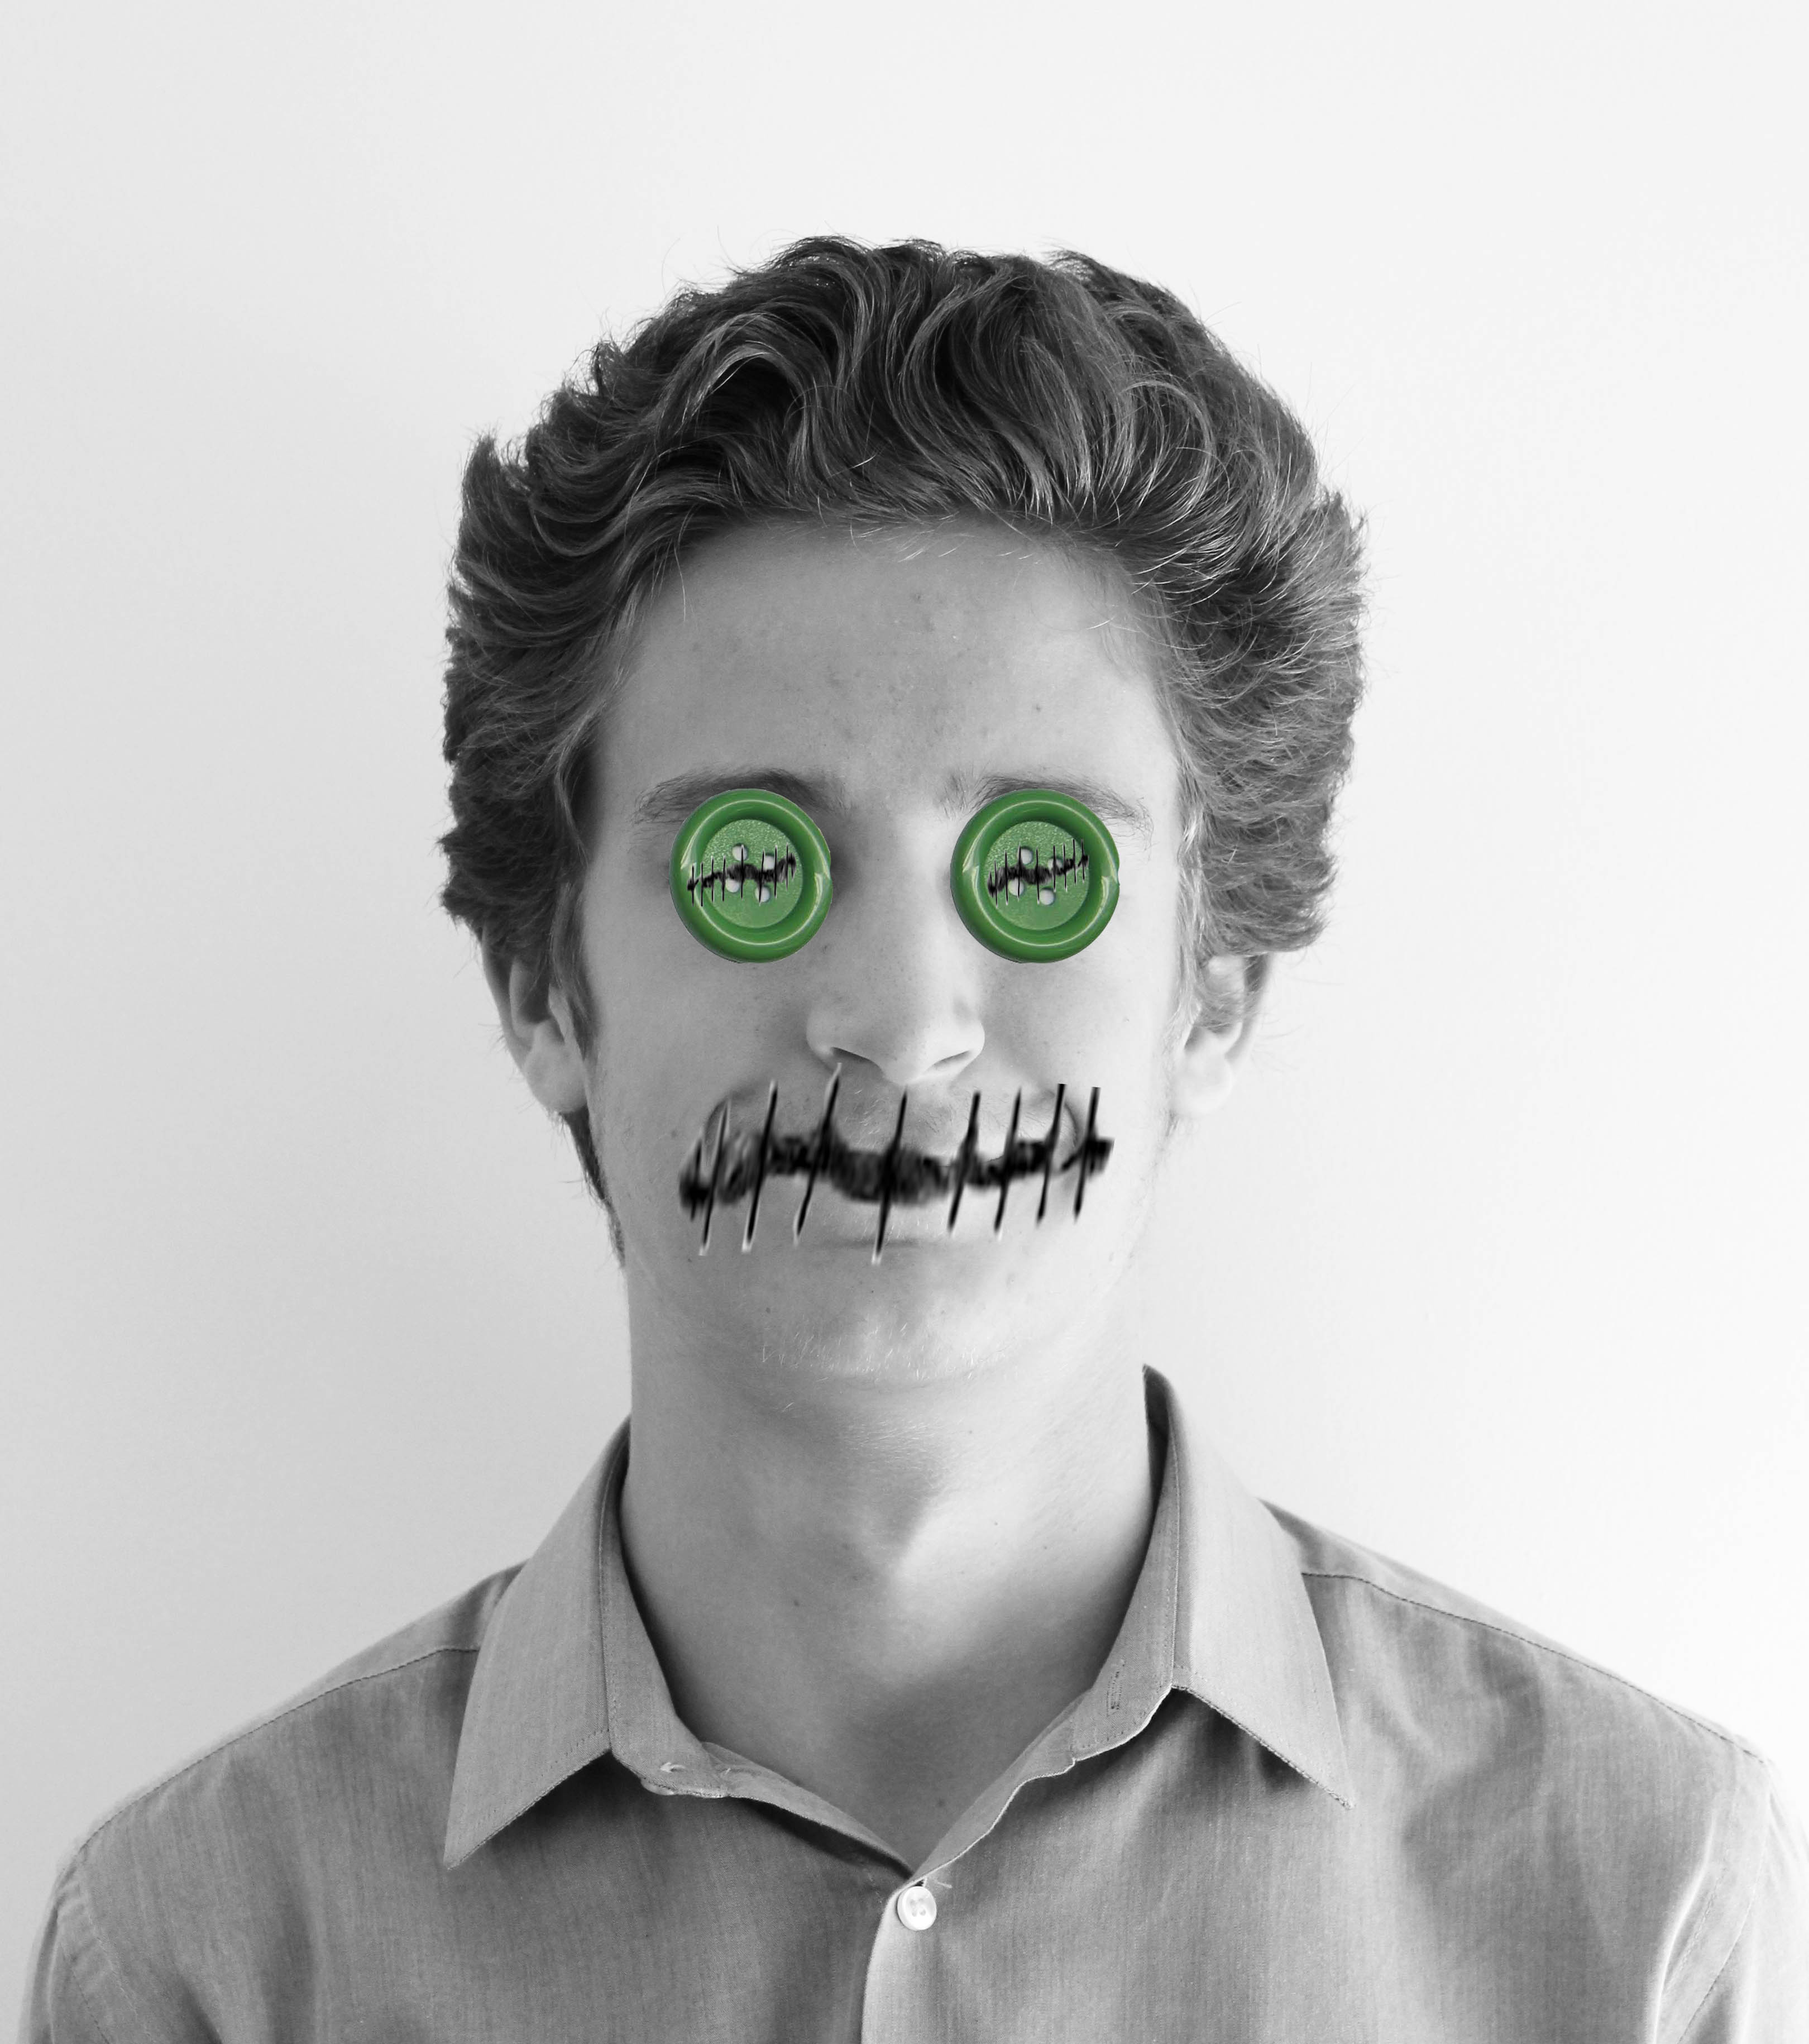
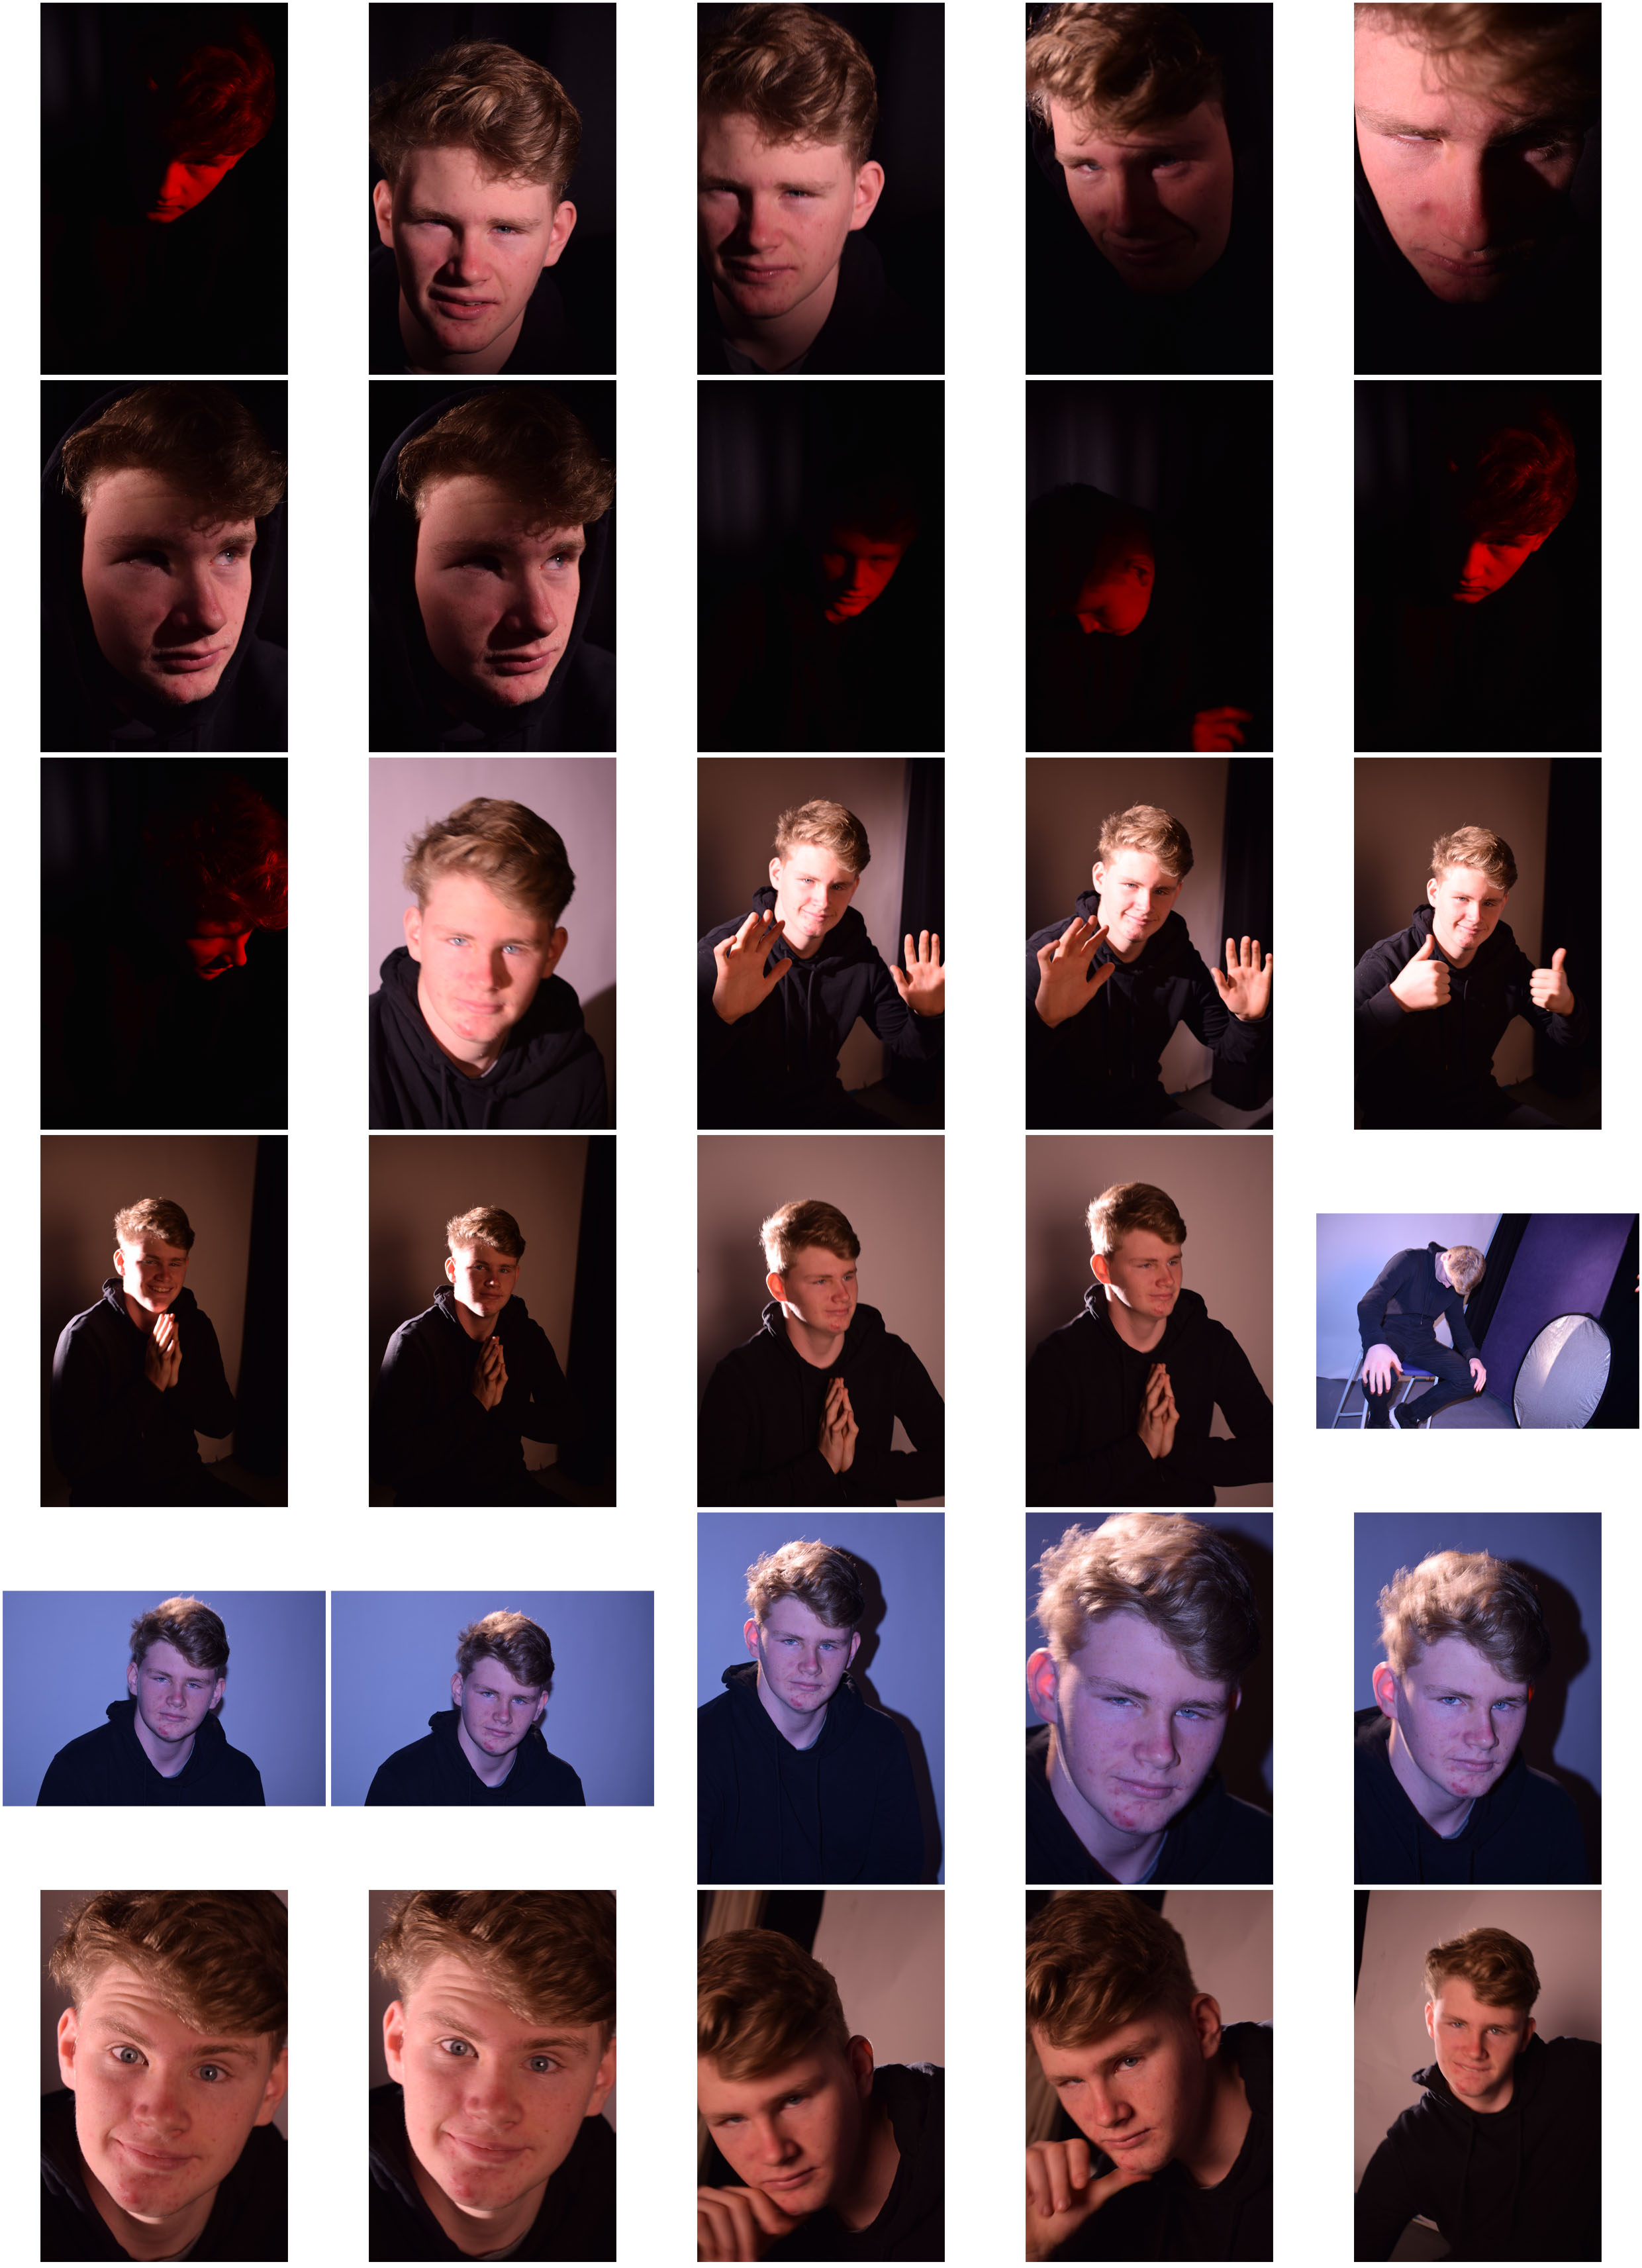
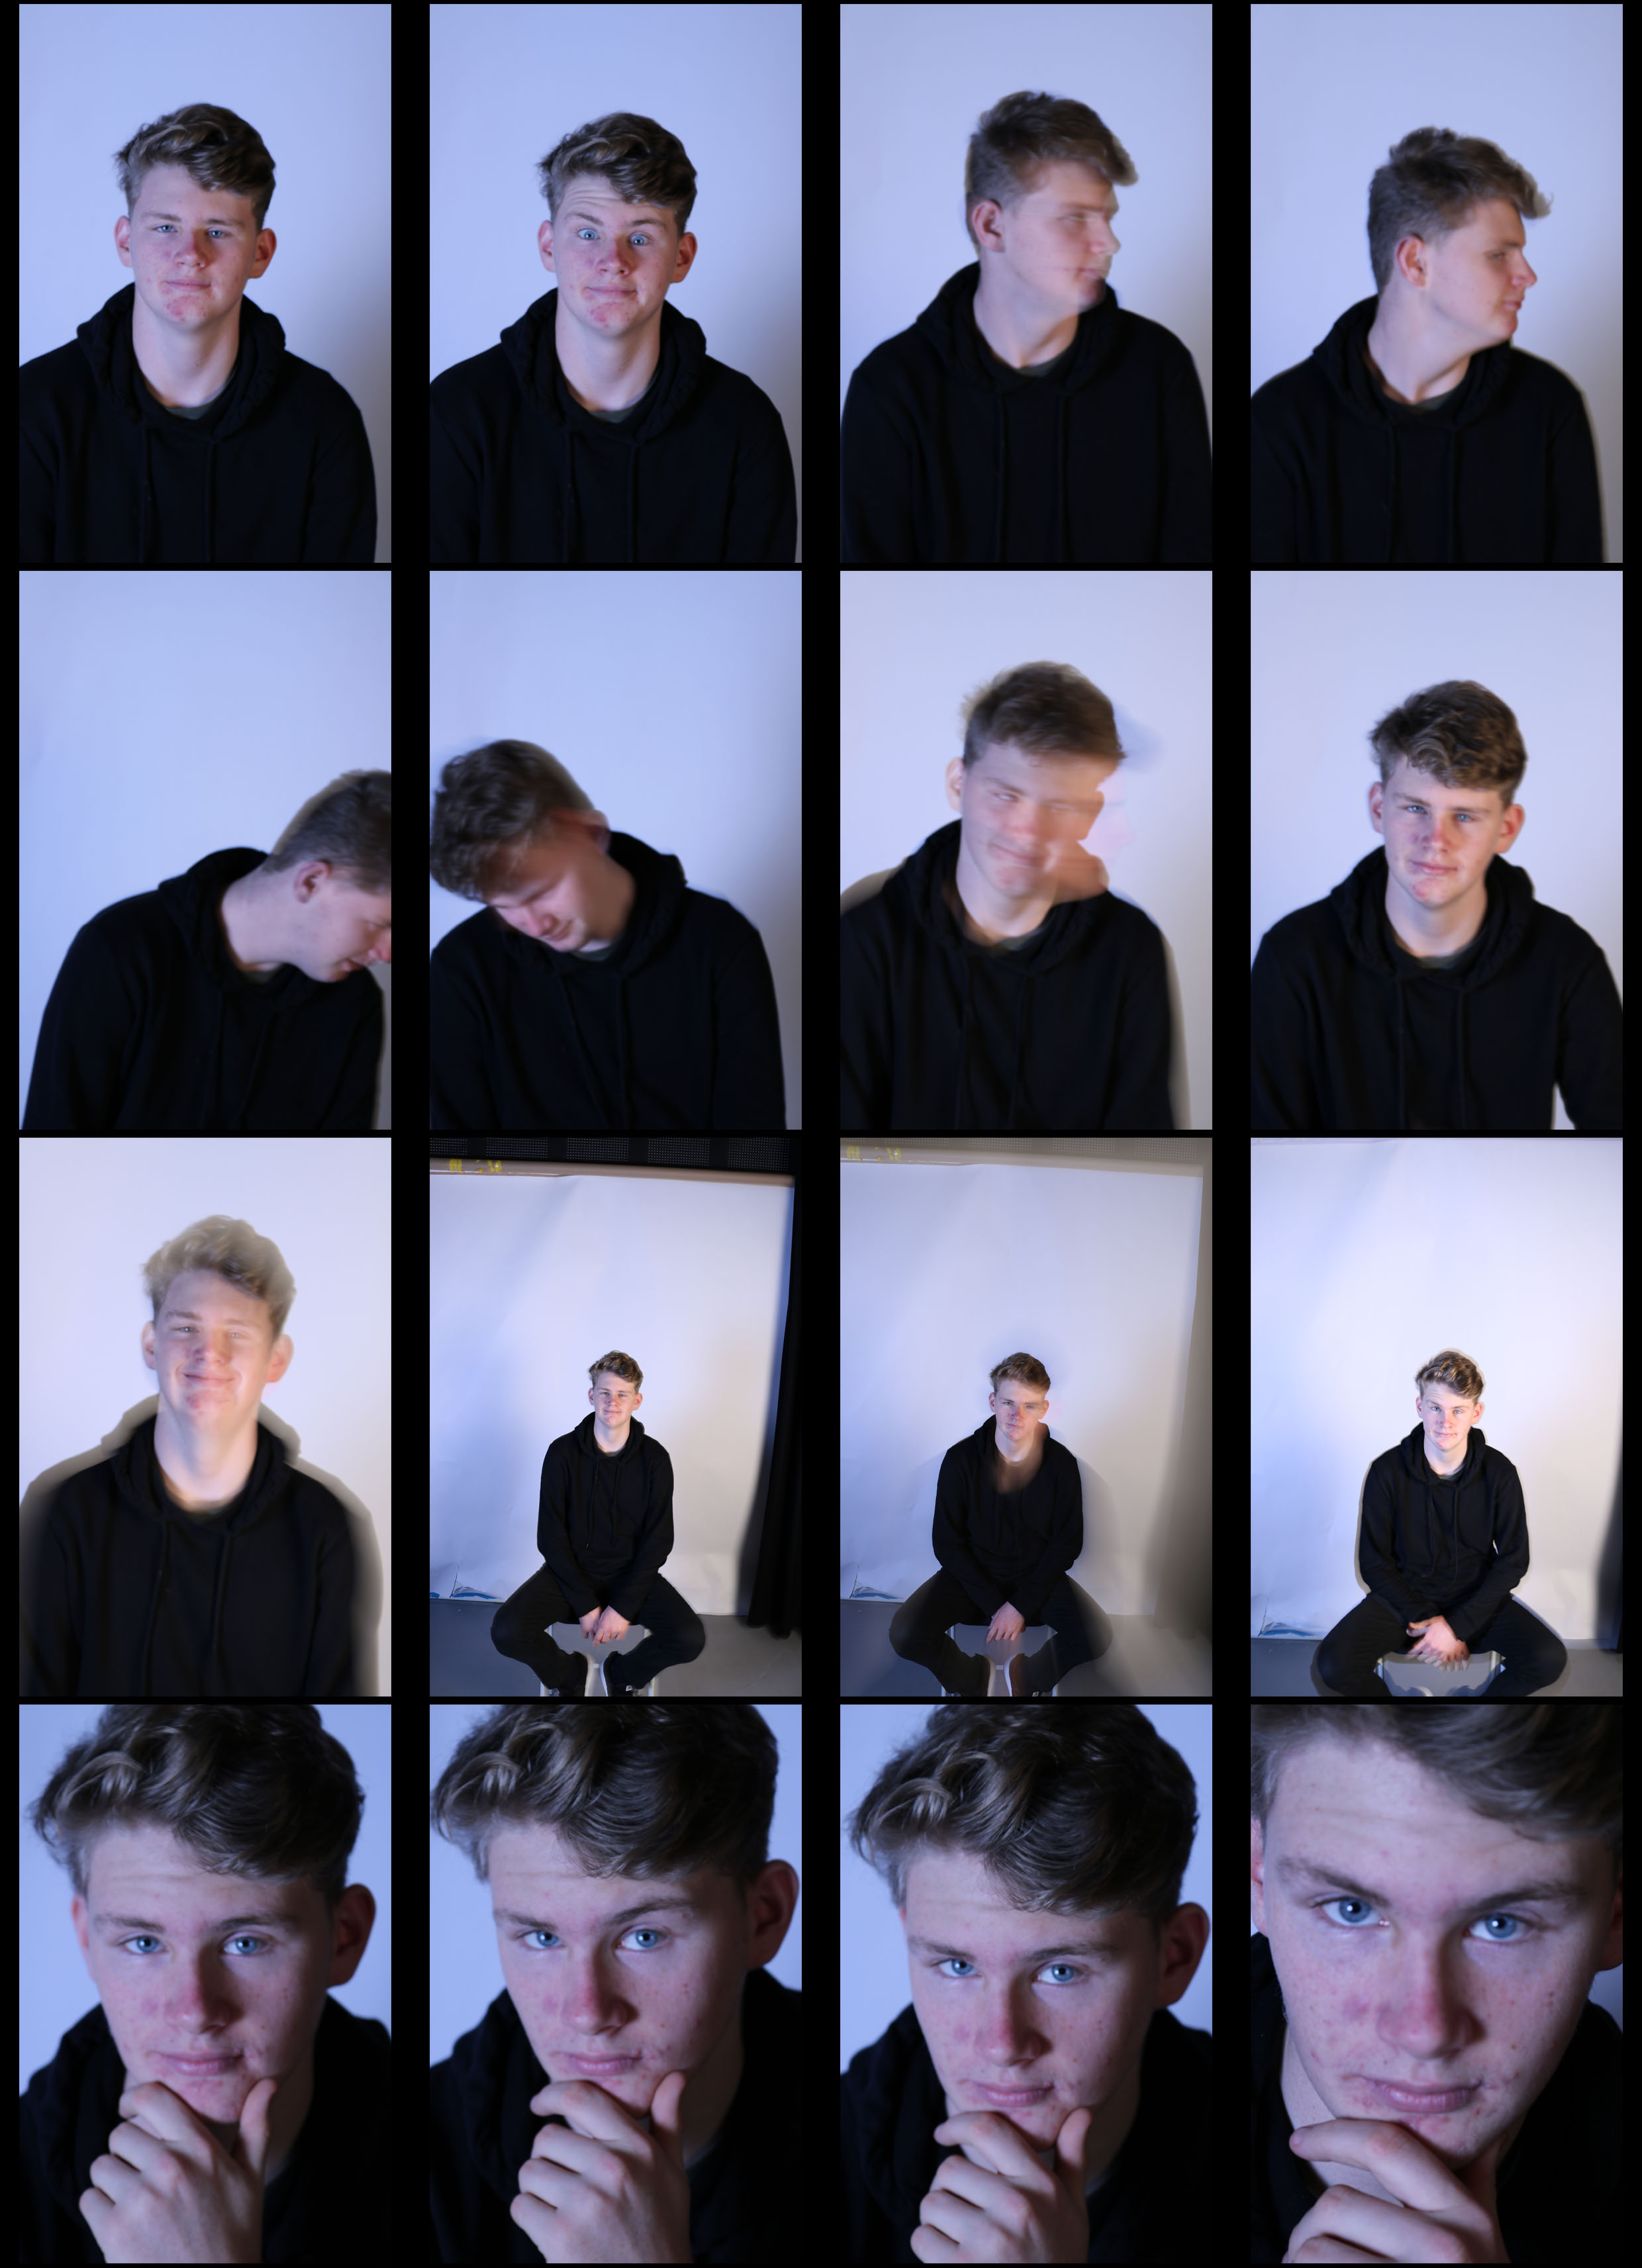
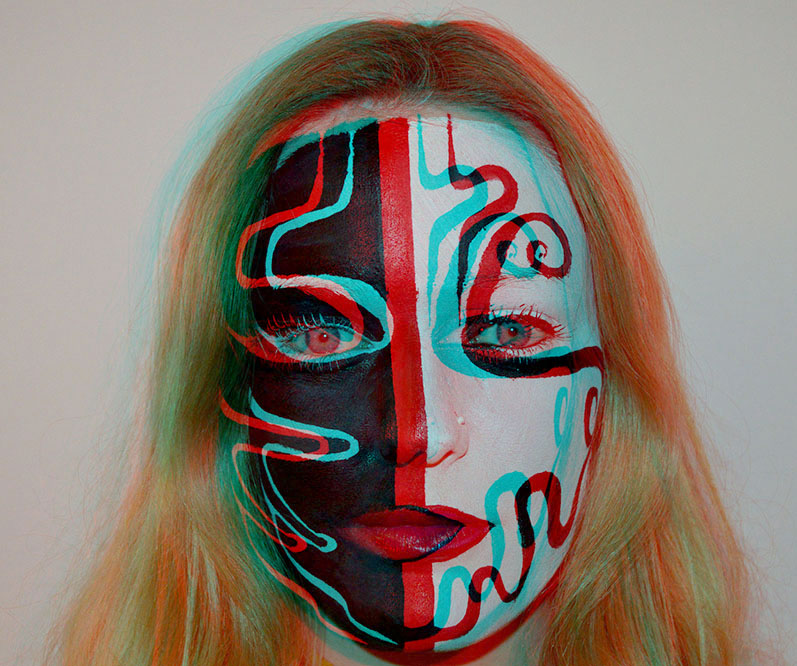
The point to this shoot was to ellimnate any shadows using two points of light but also creating them by using two points of light. On some of them you’ll find that I used the flash, this eliminated almost all shadows and on others I had a soft box lighting in front of the subject with a harsher light source coming from the side this made softer shadows. I also used dim lighting with a red filter like previous shoots, because the subject was wearing all black it looked like a floating red head.
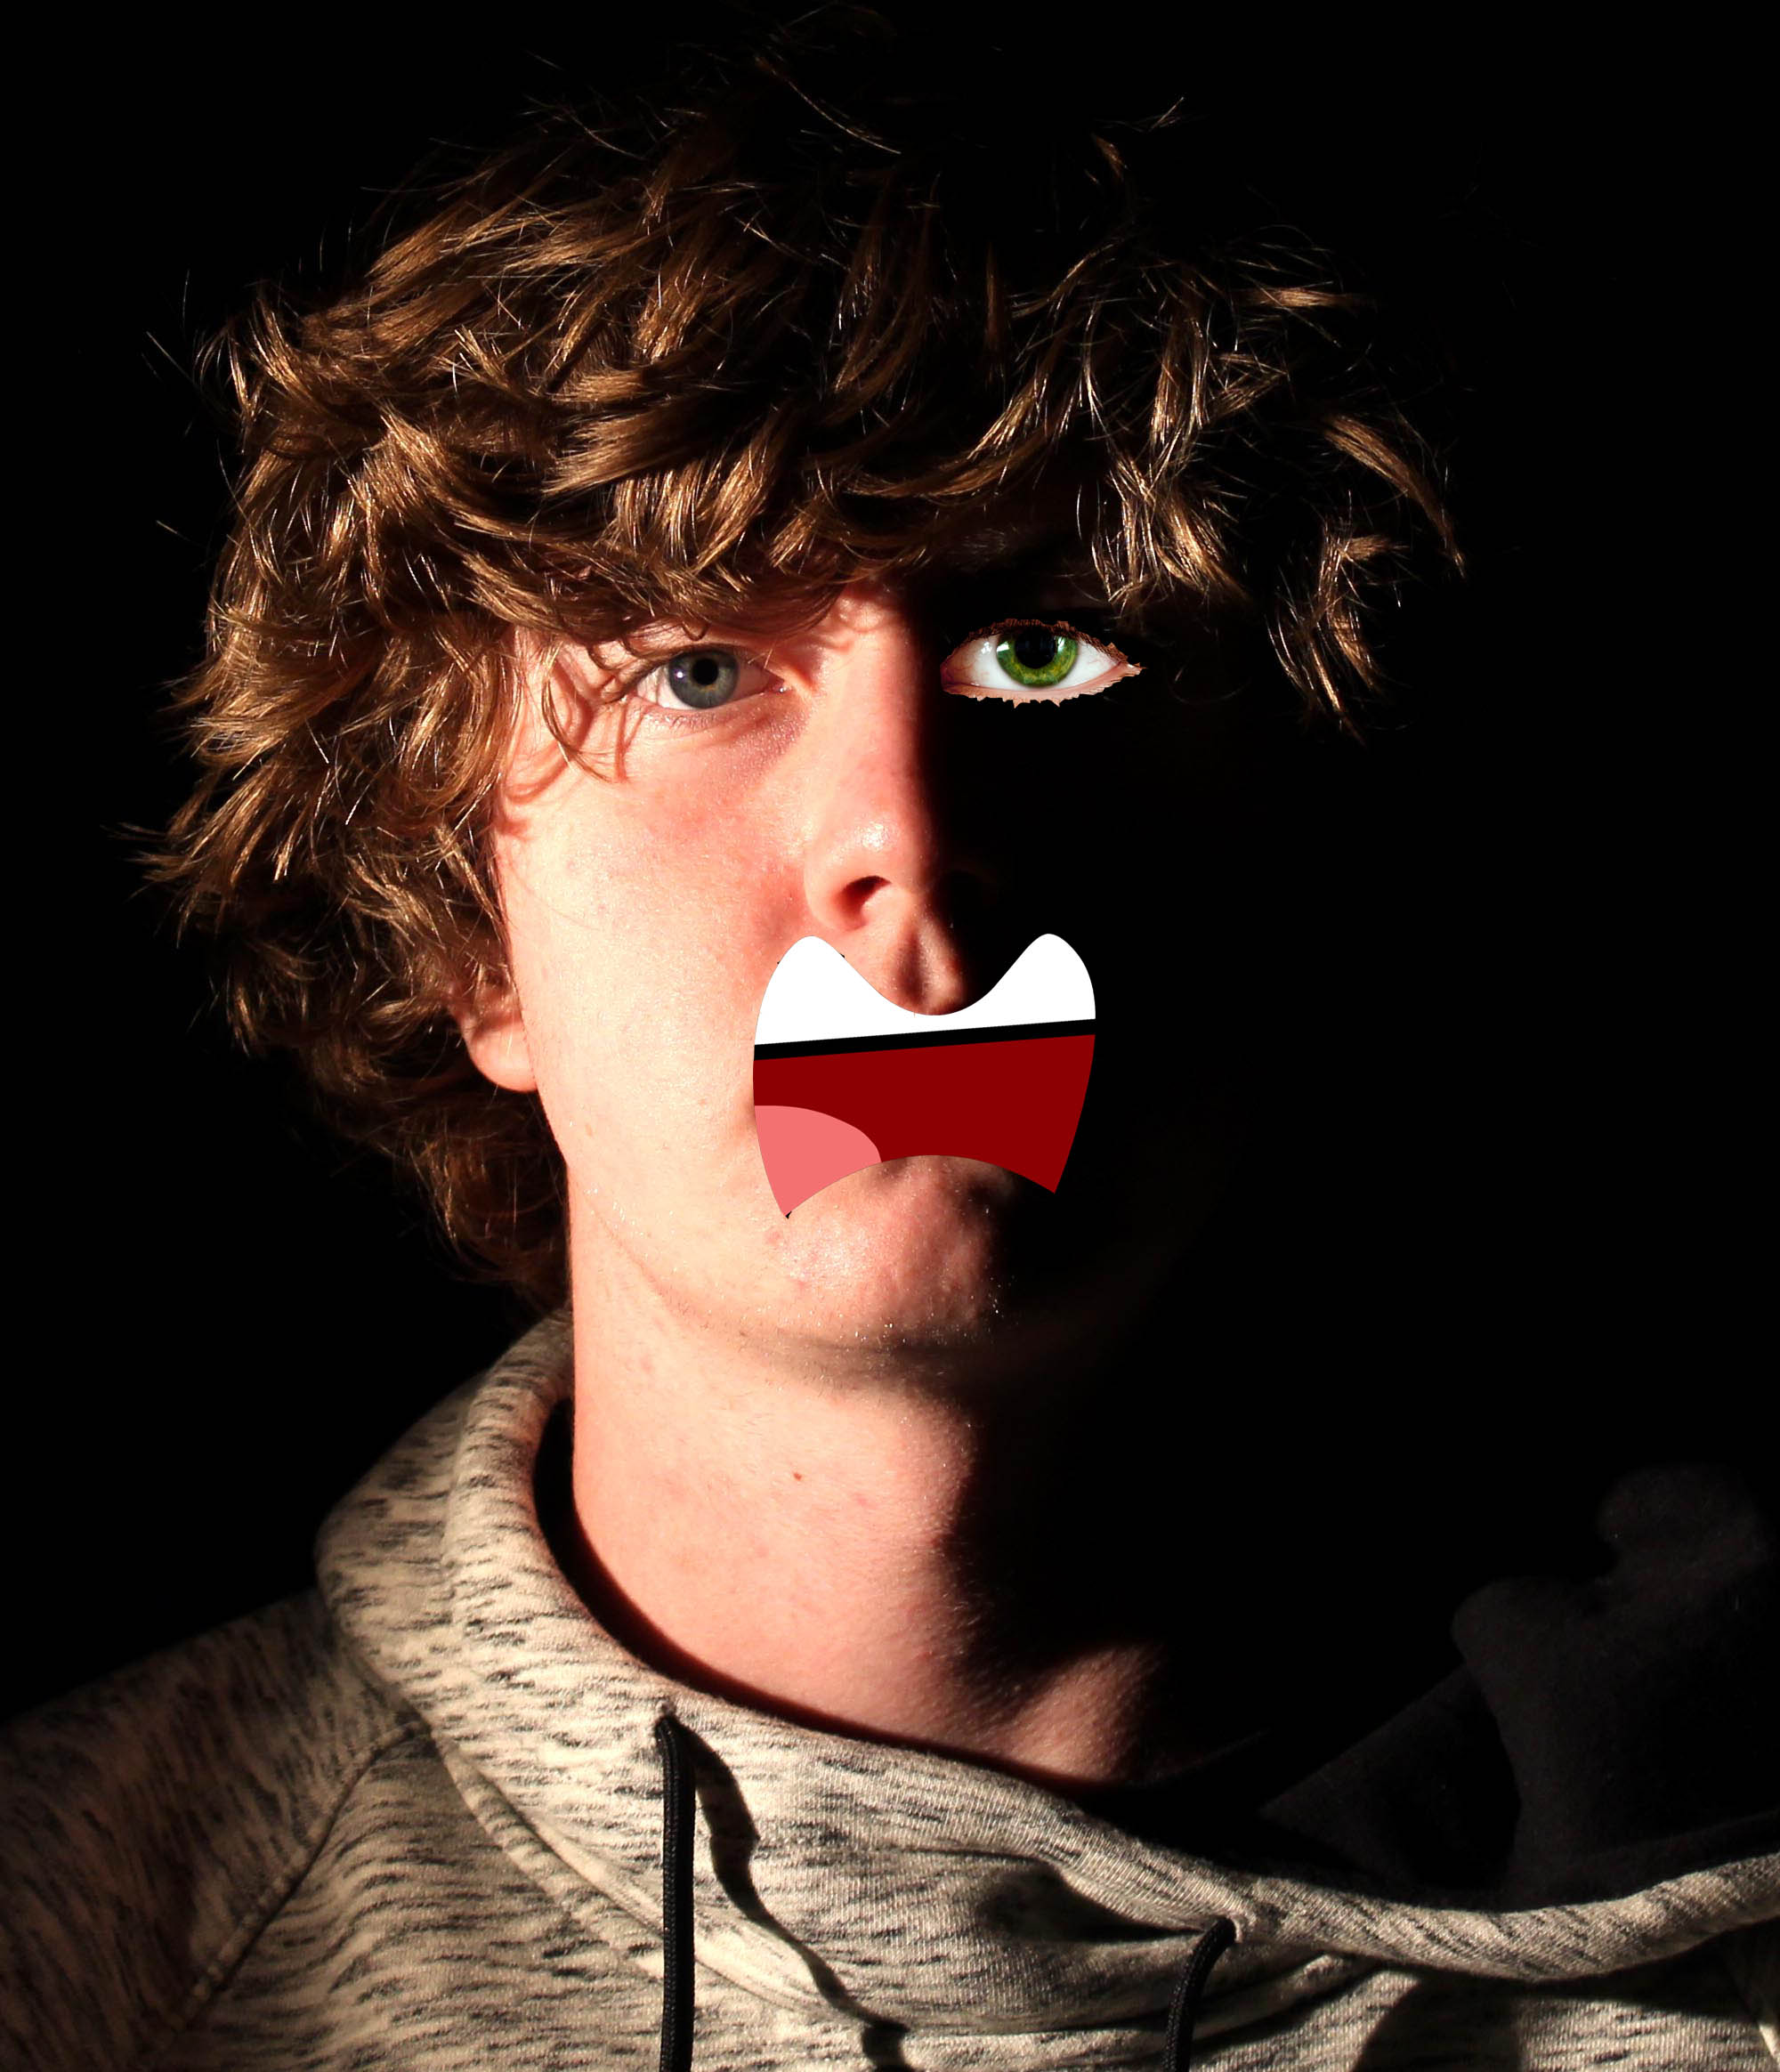
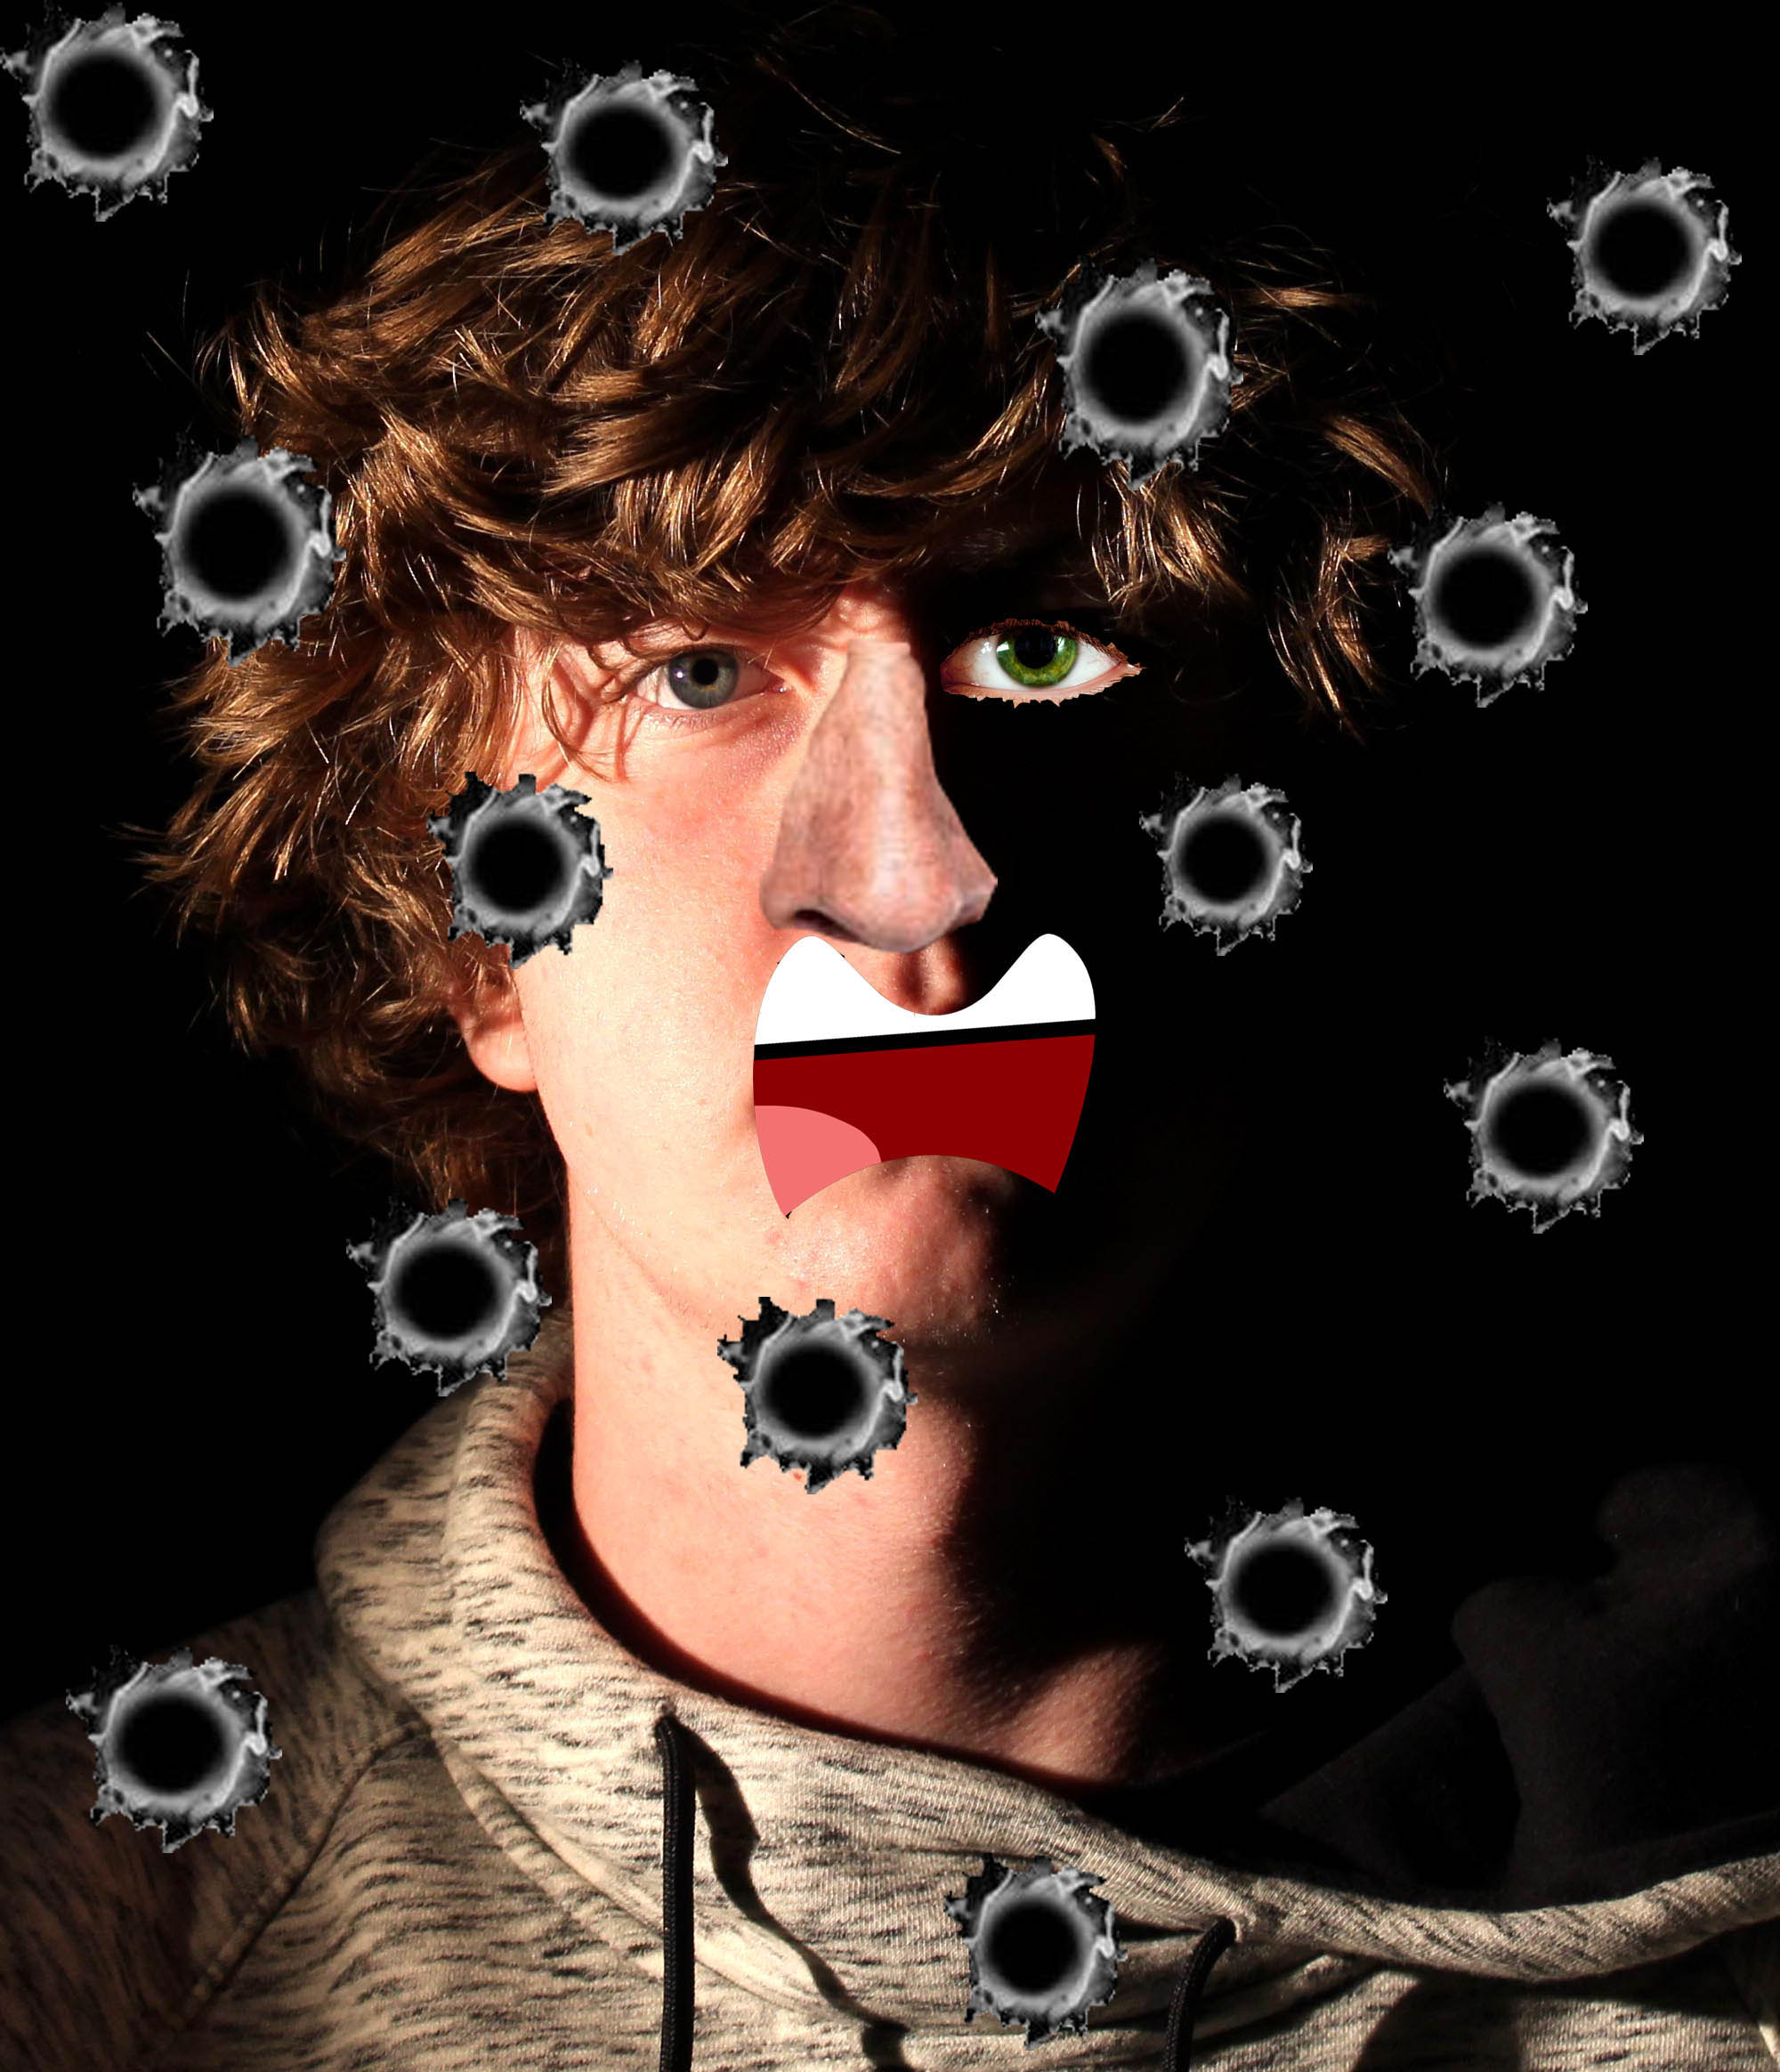
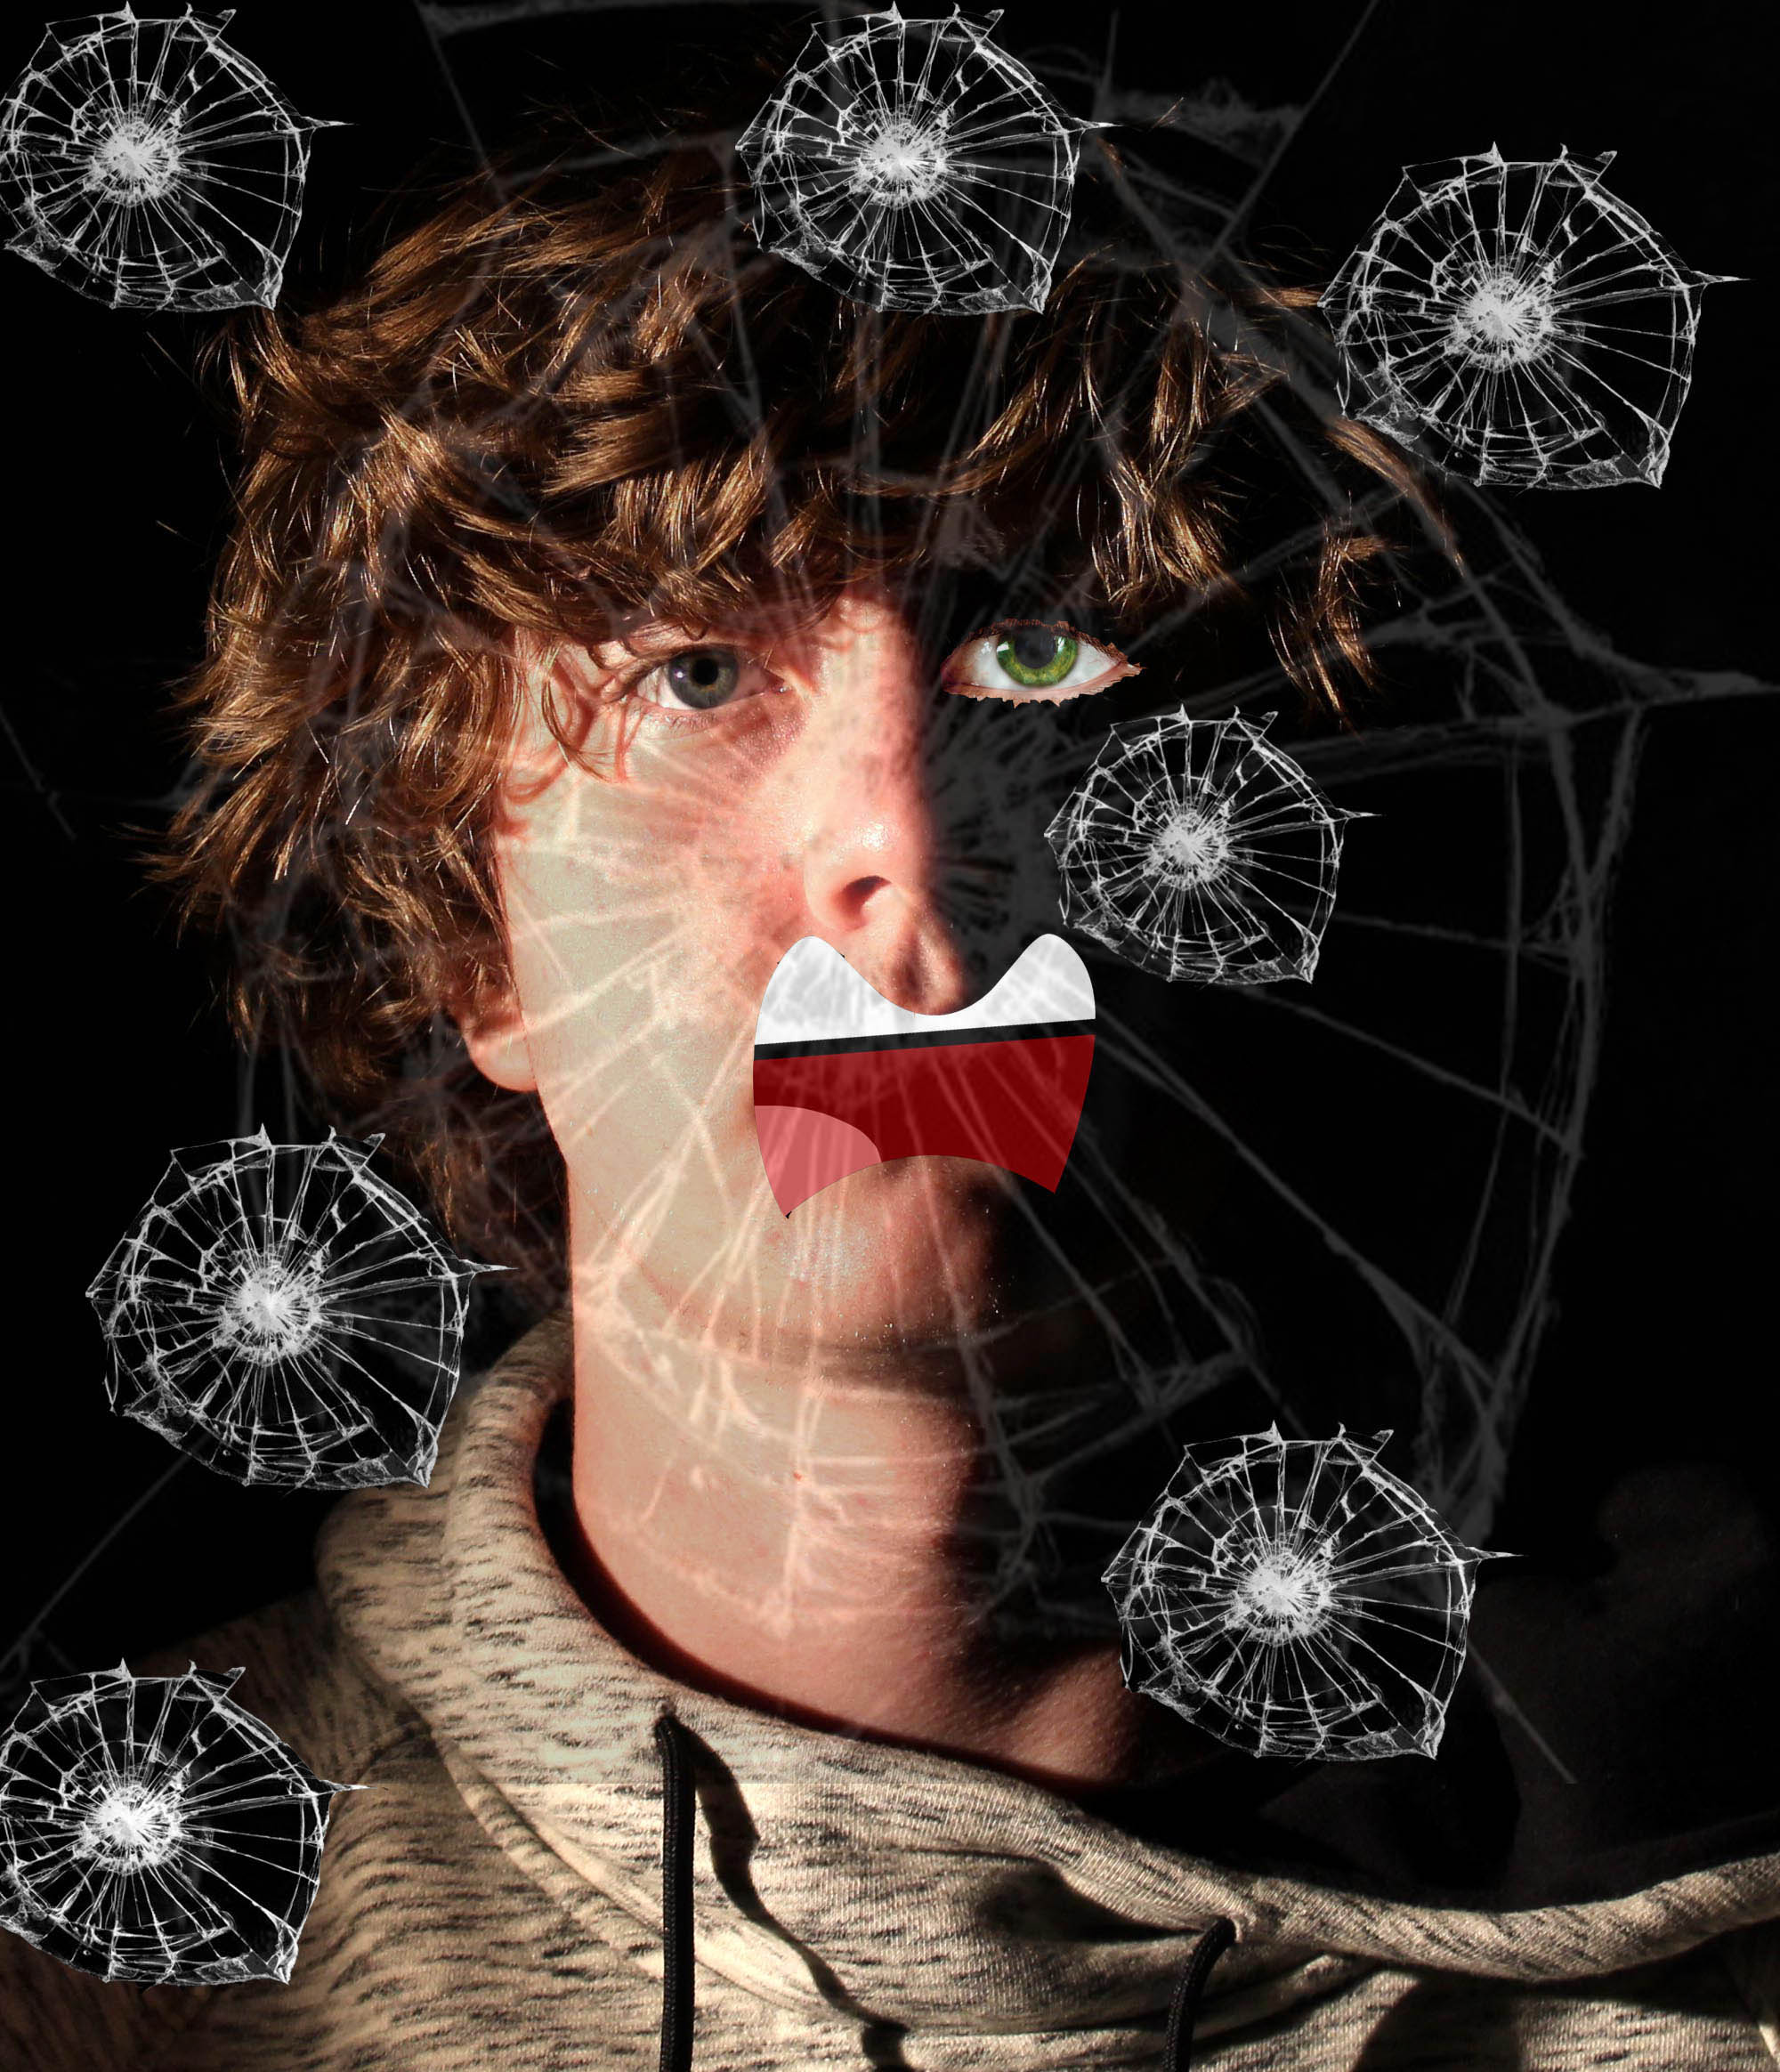
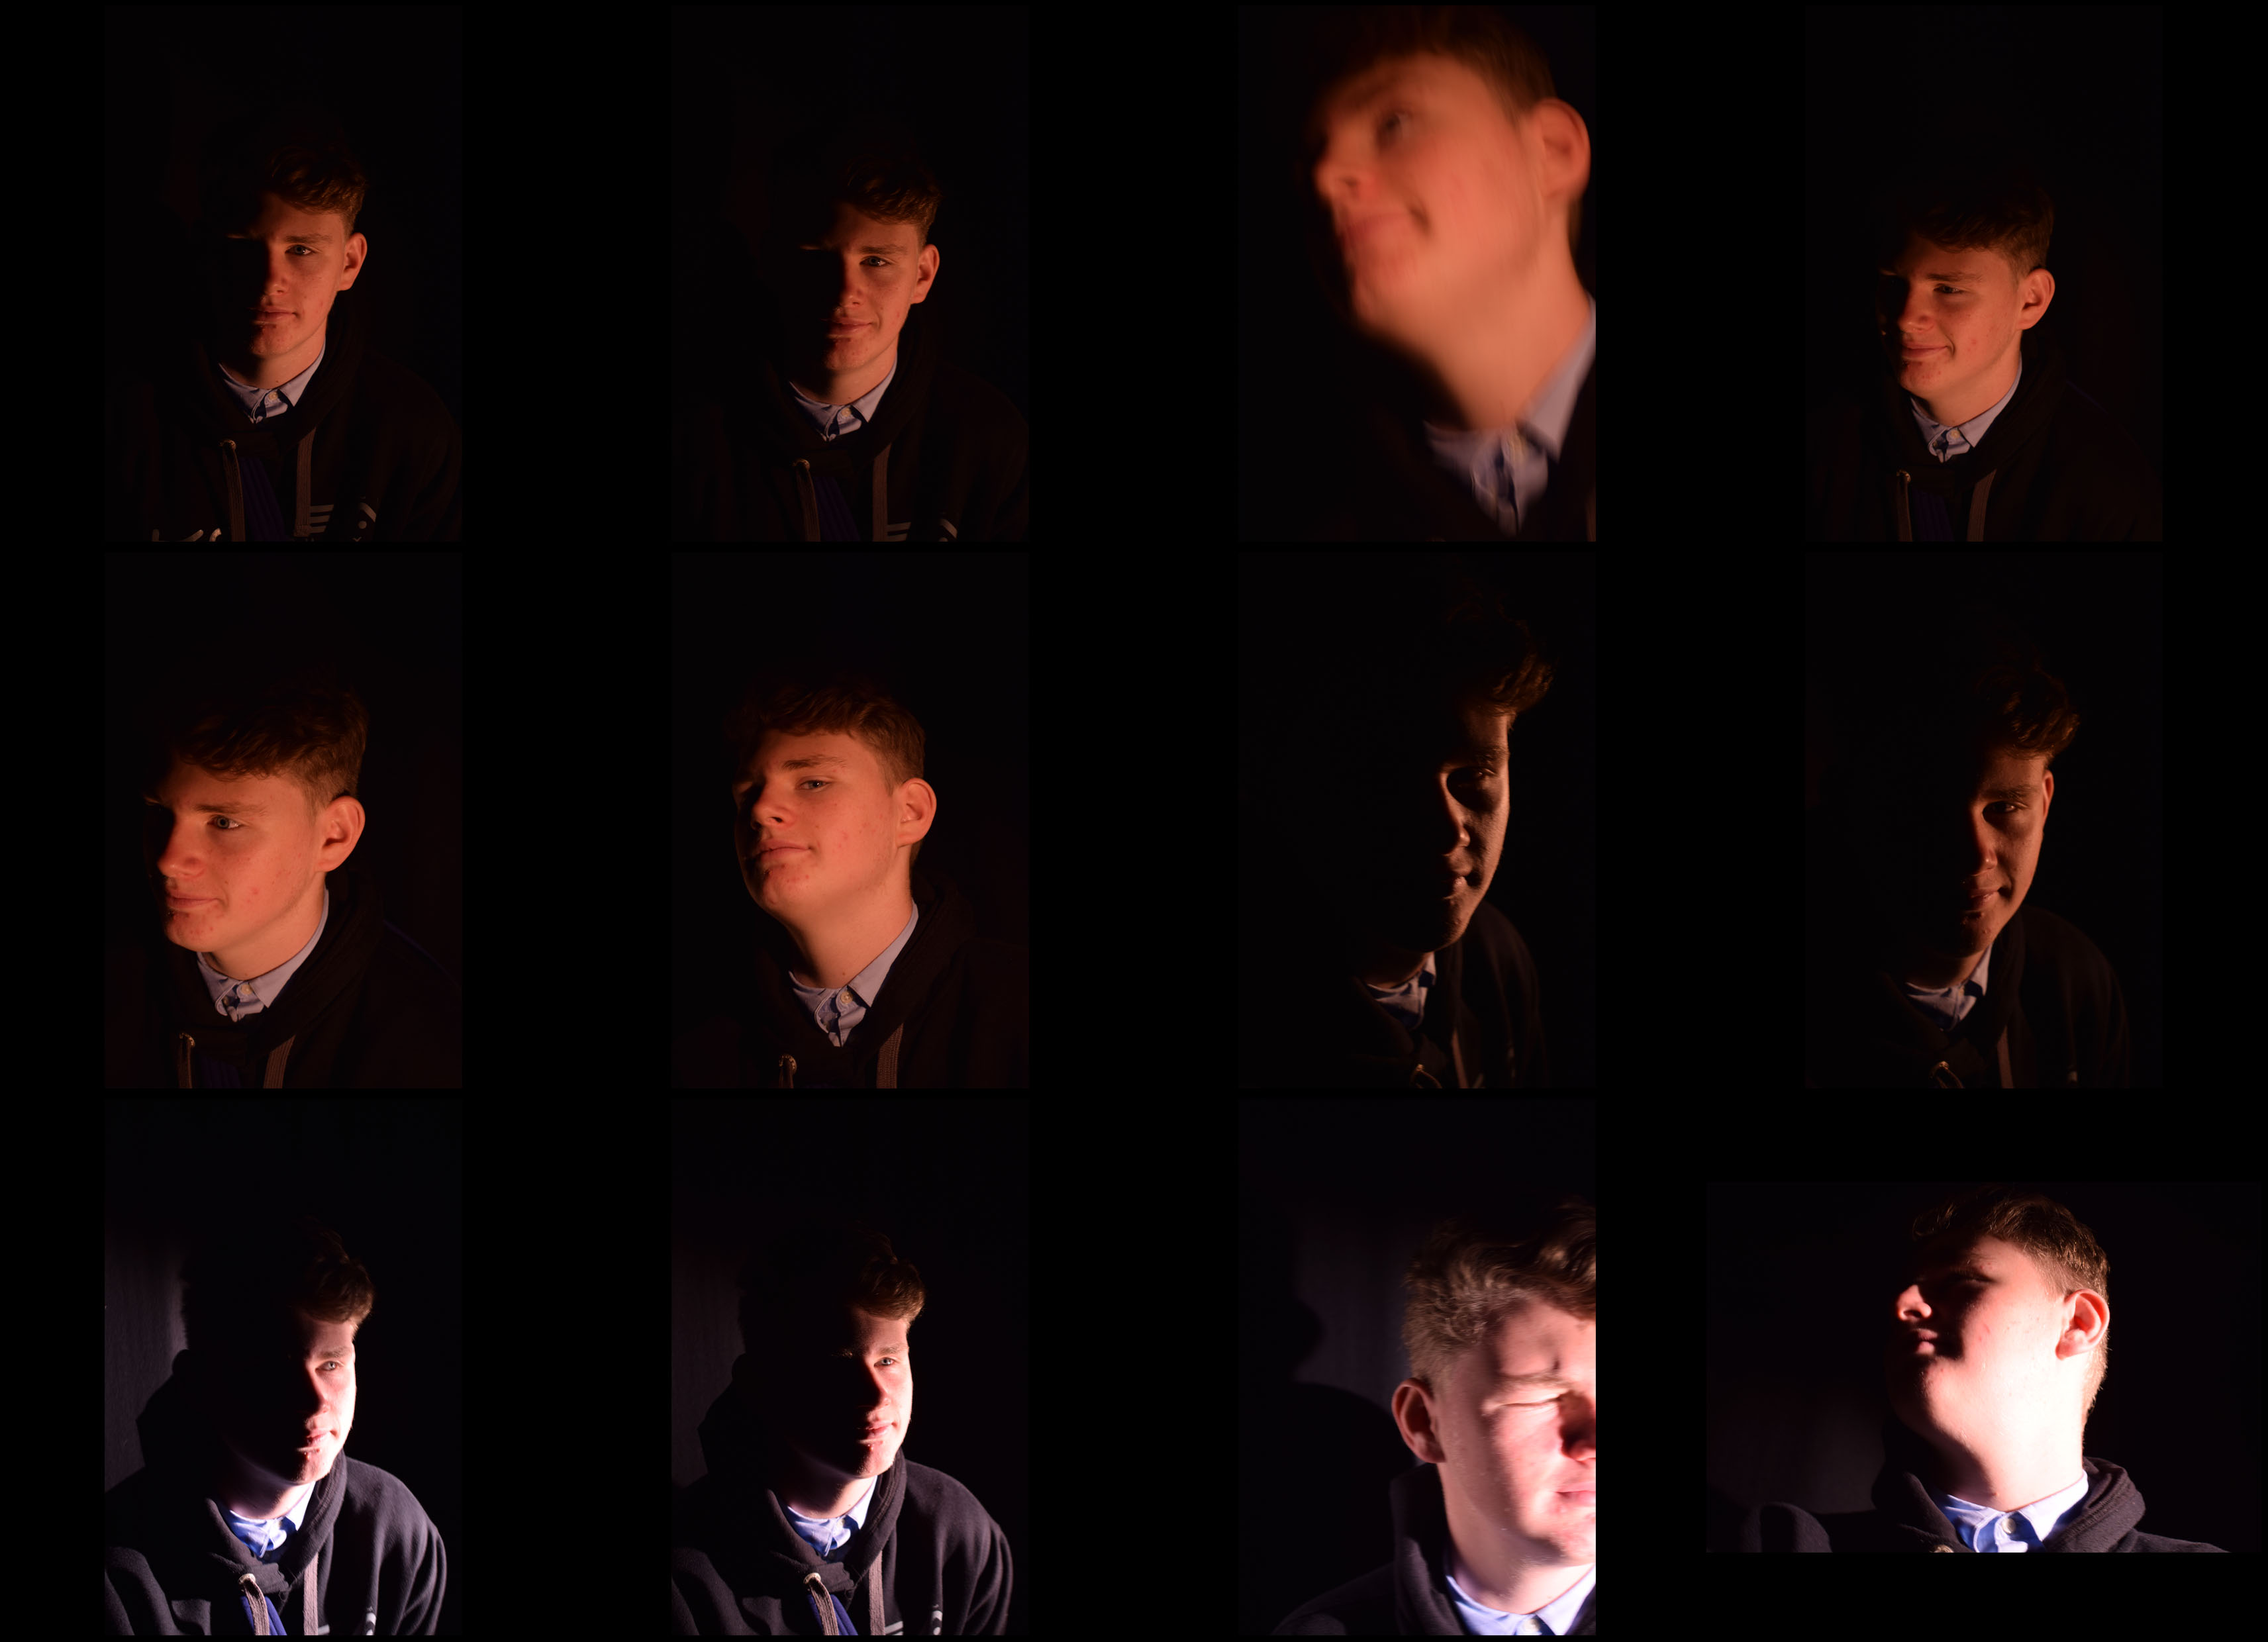
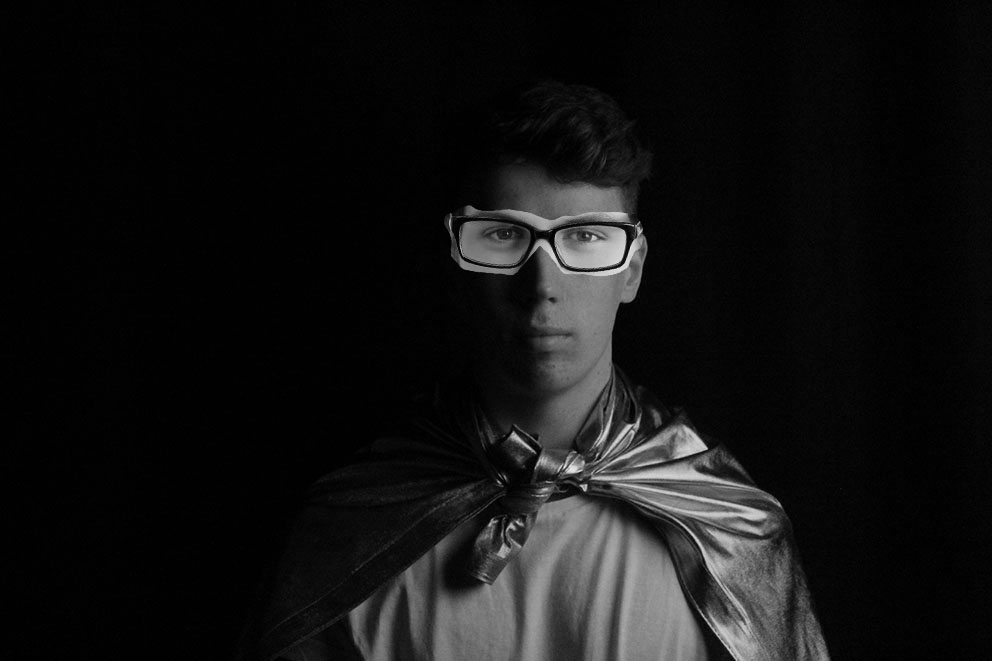
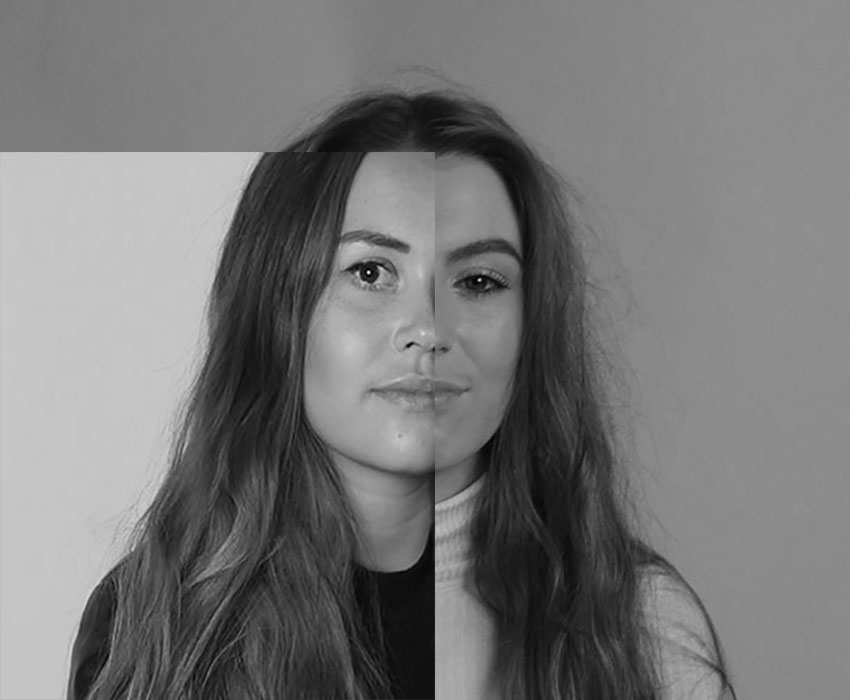
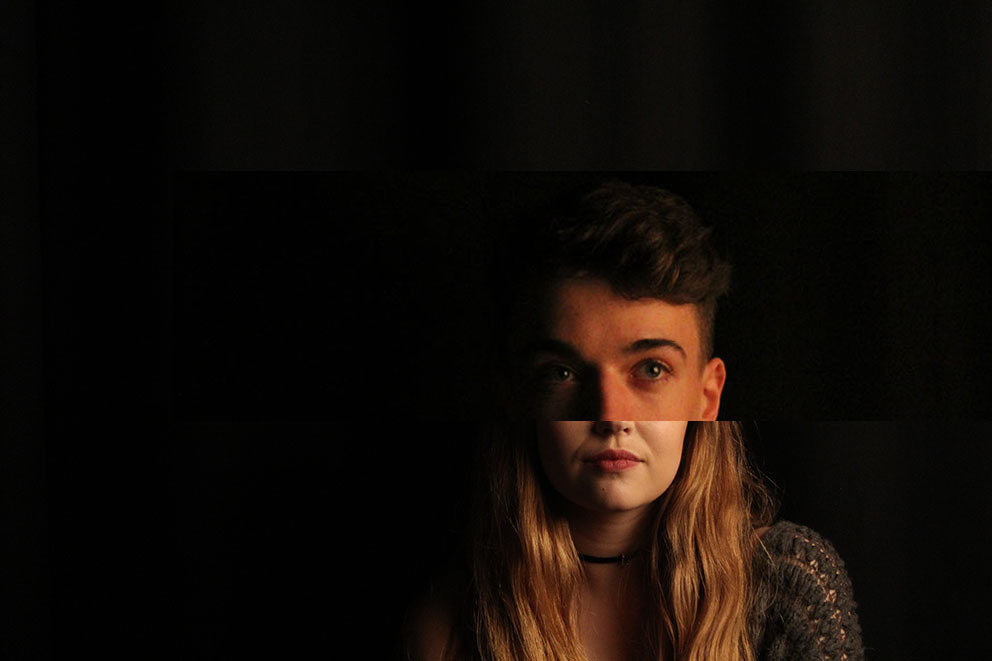
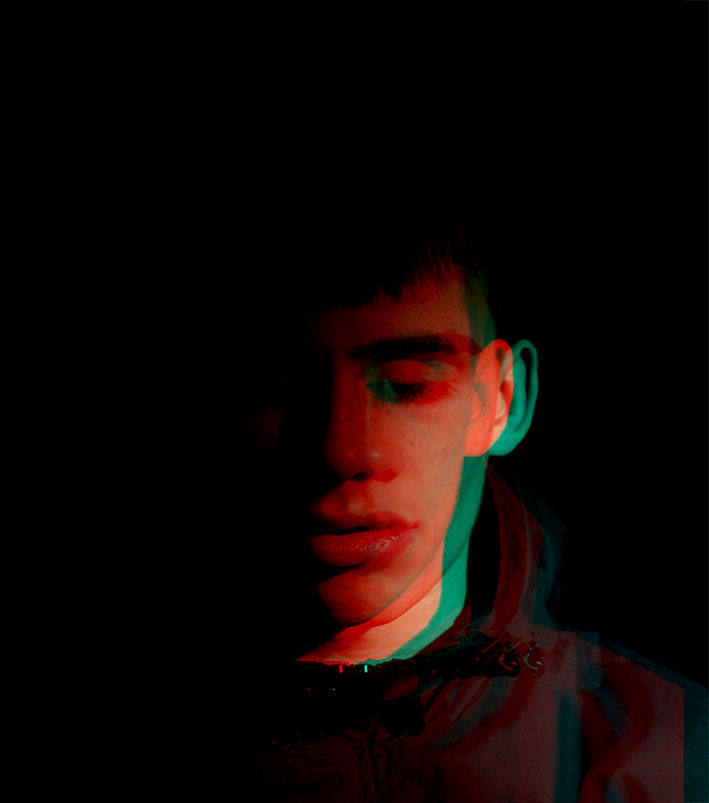
Here I only used one light to get this chiaroscuro effect on the subjects face. We also used a red filter to give it this warm red tone to the subjects face. The idea of this photo shoot was to get this dramatic effect of light and dark splitting his face in half.
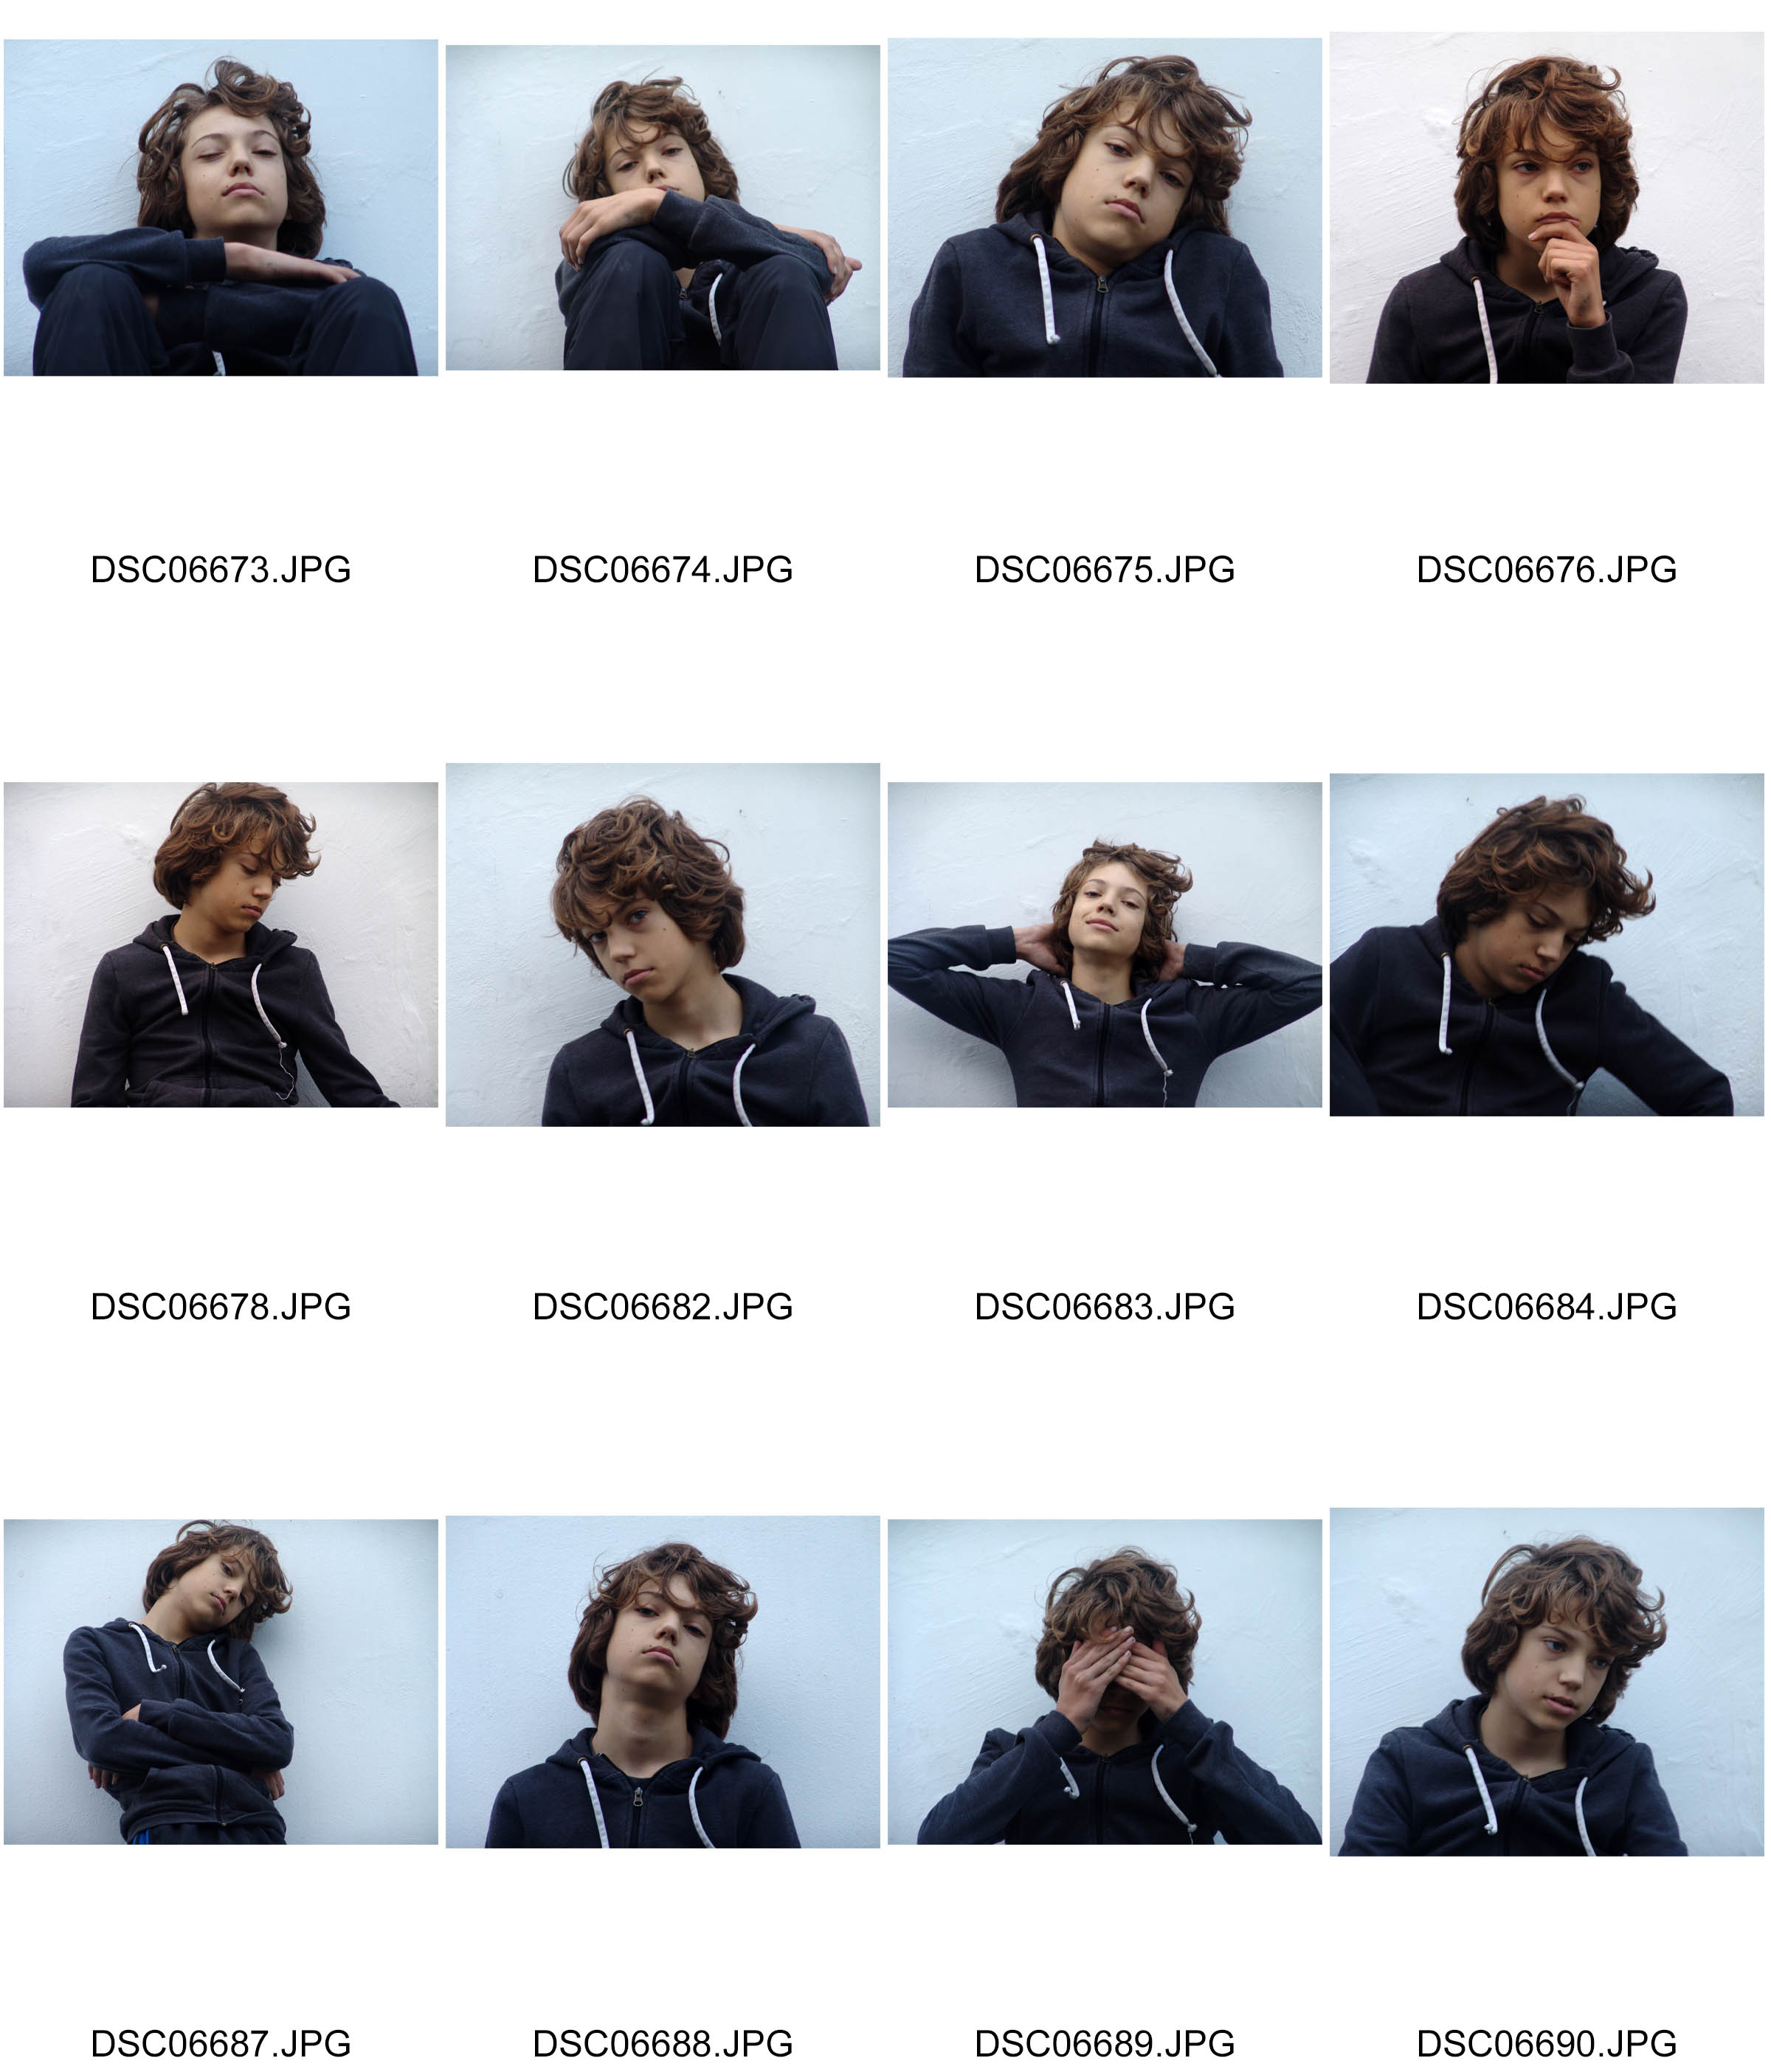
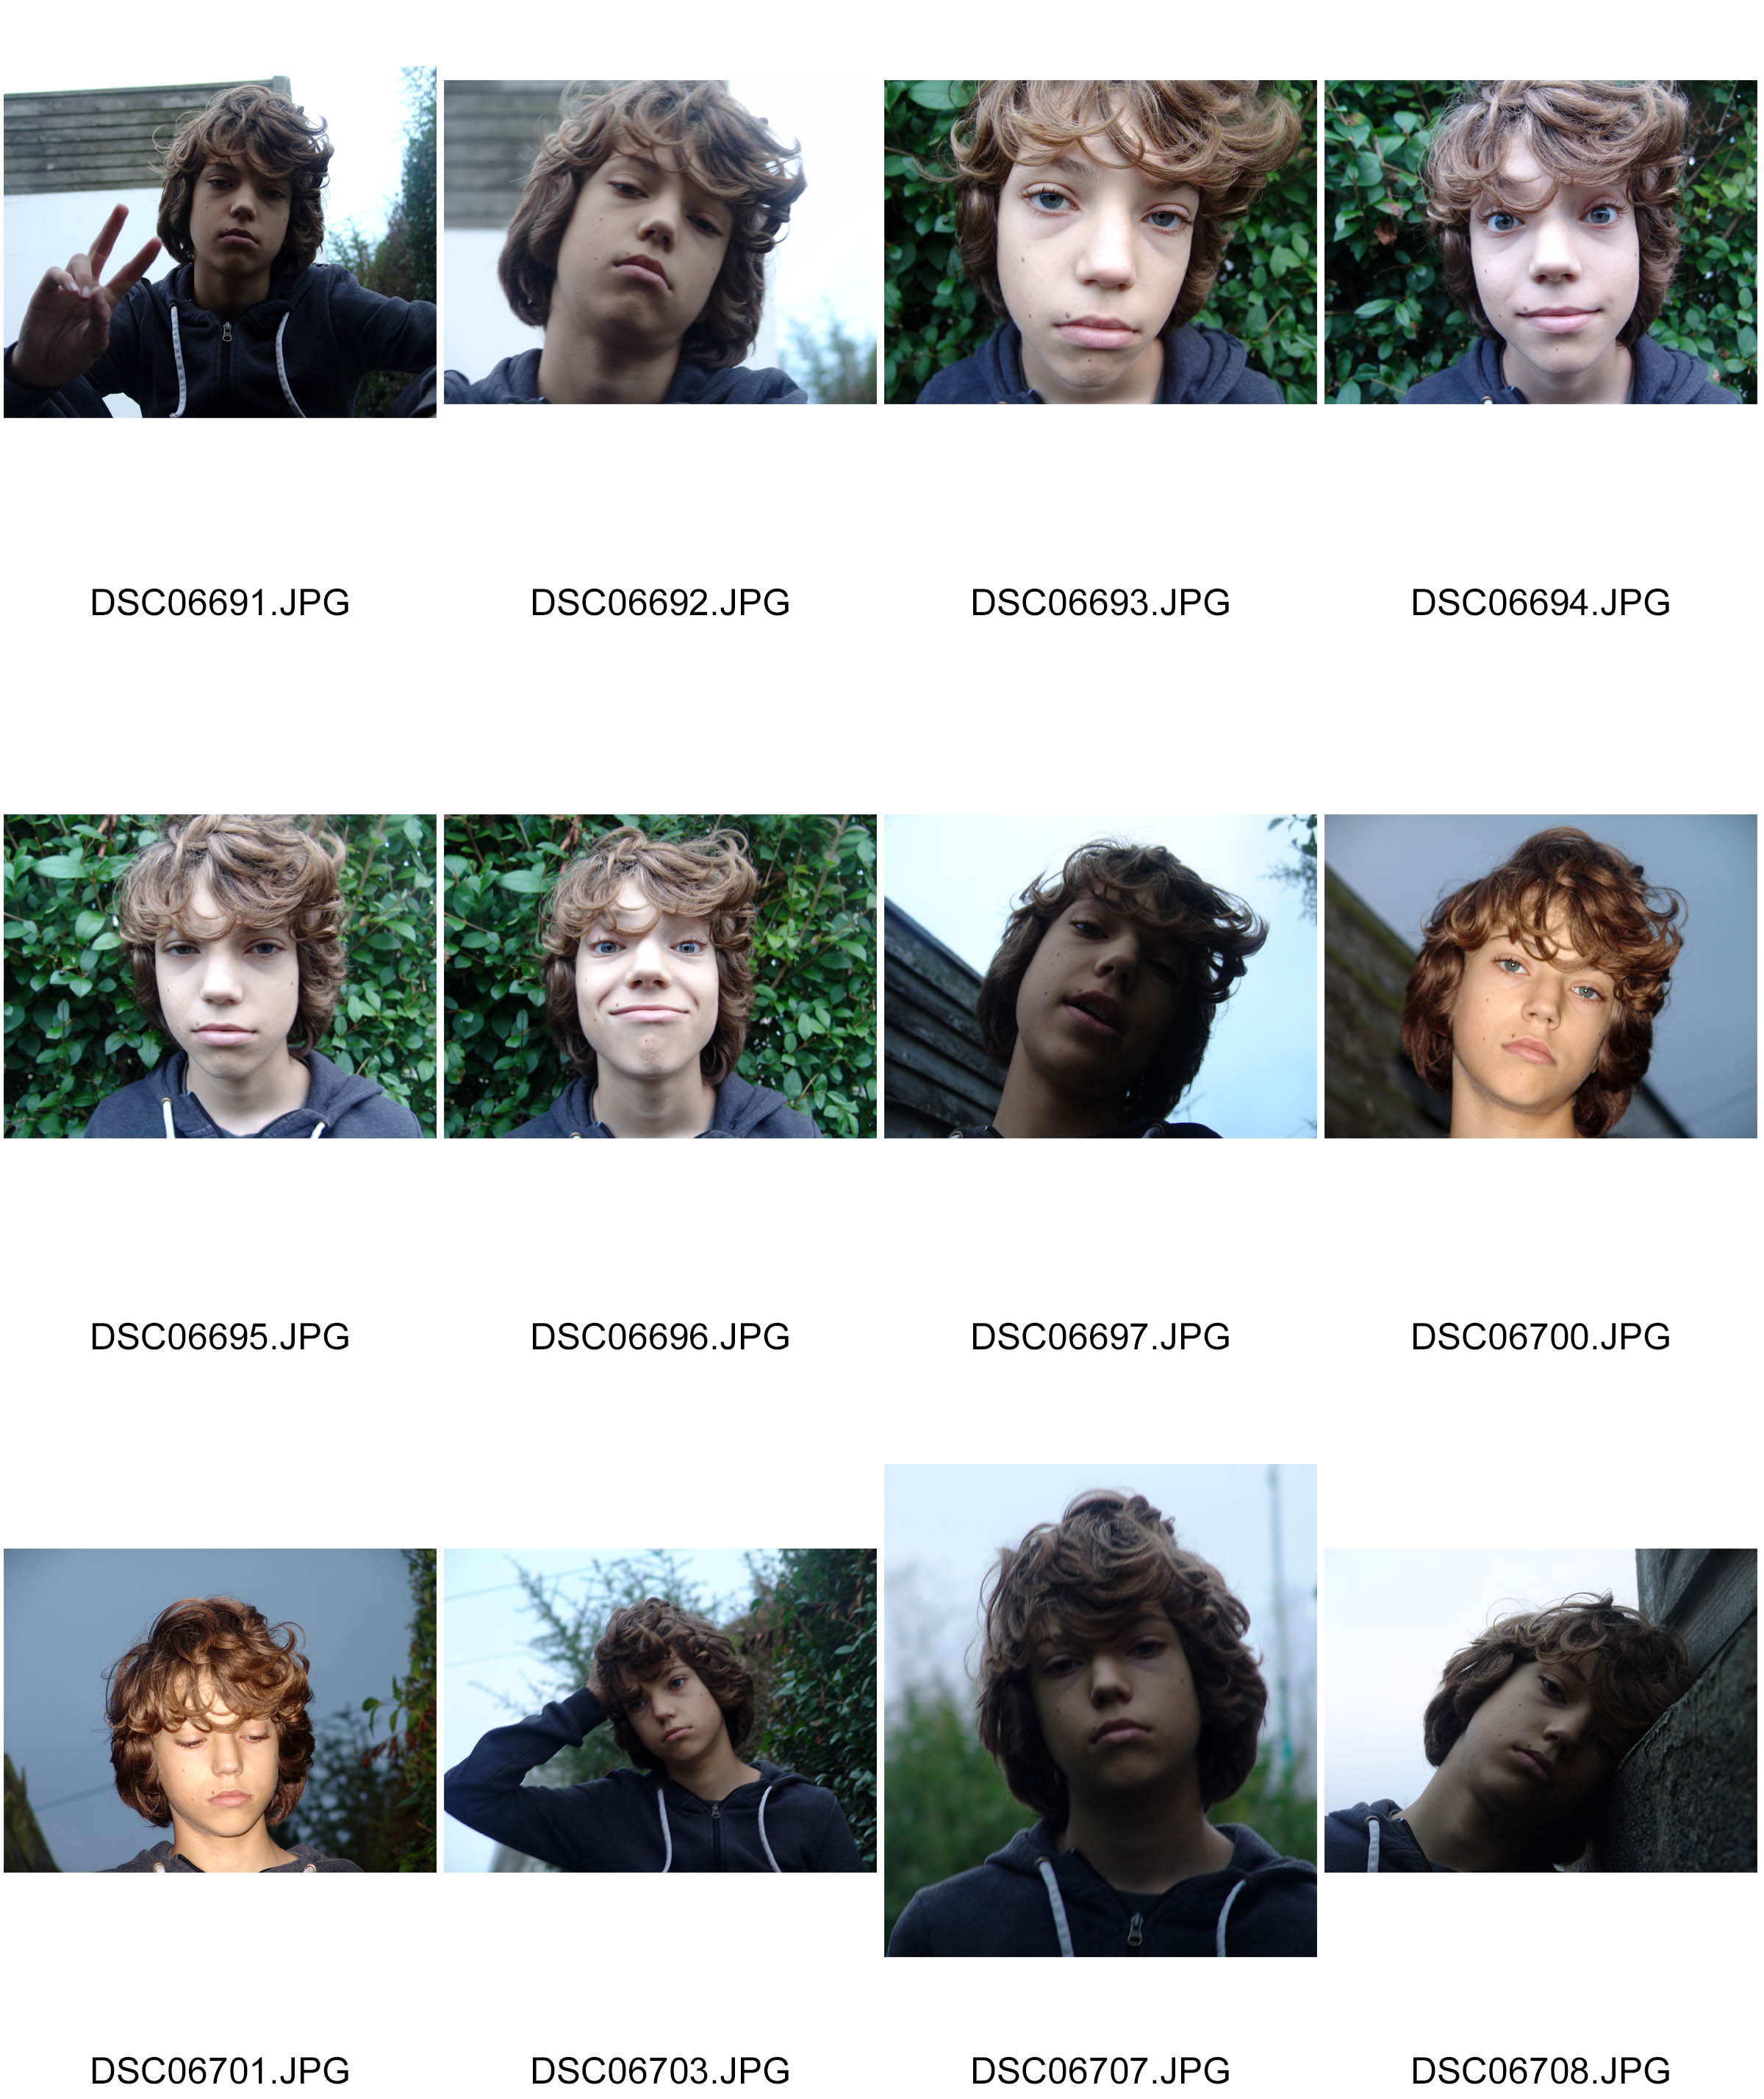
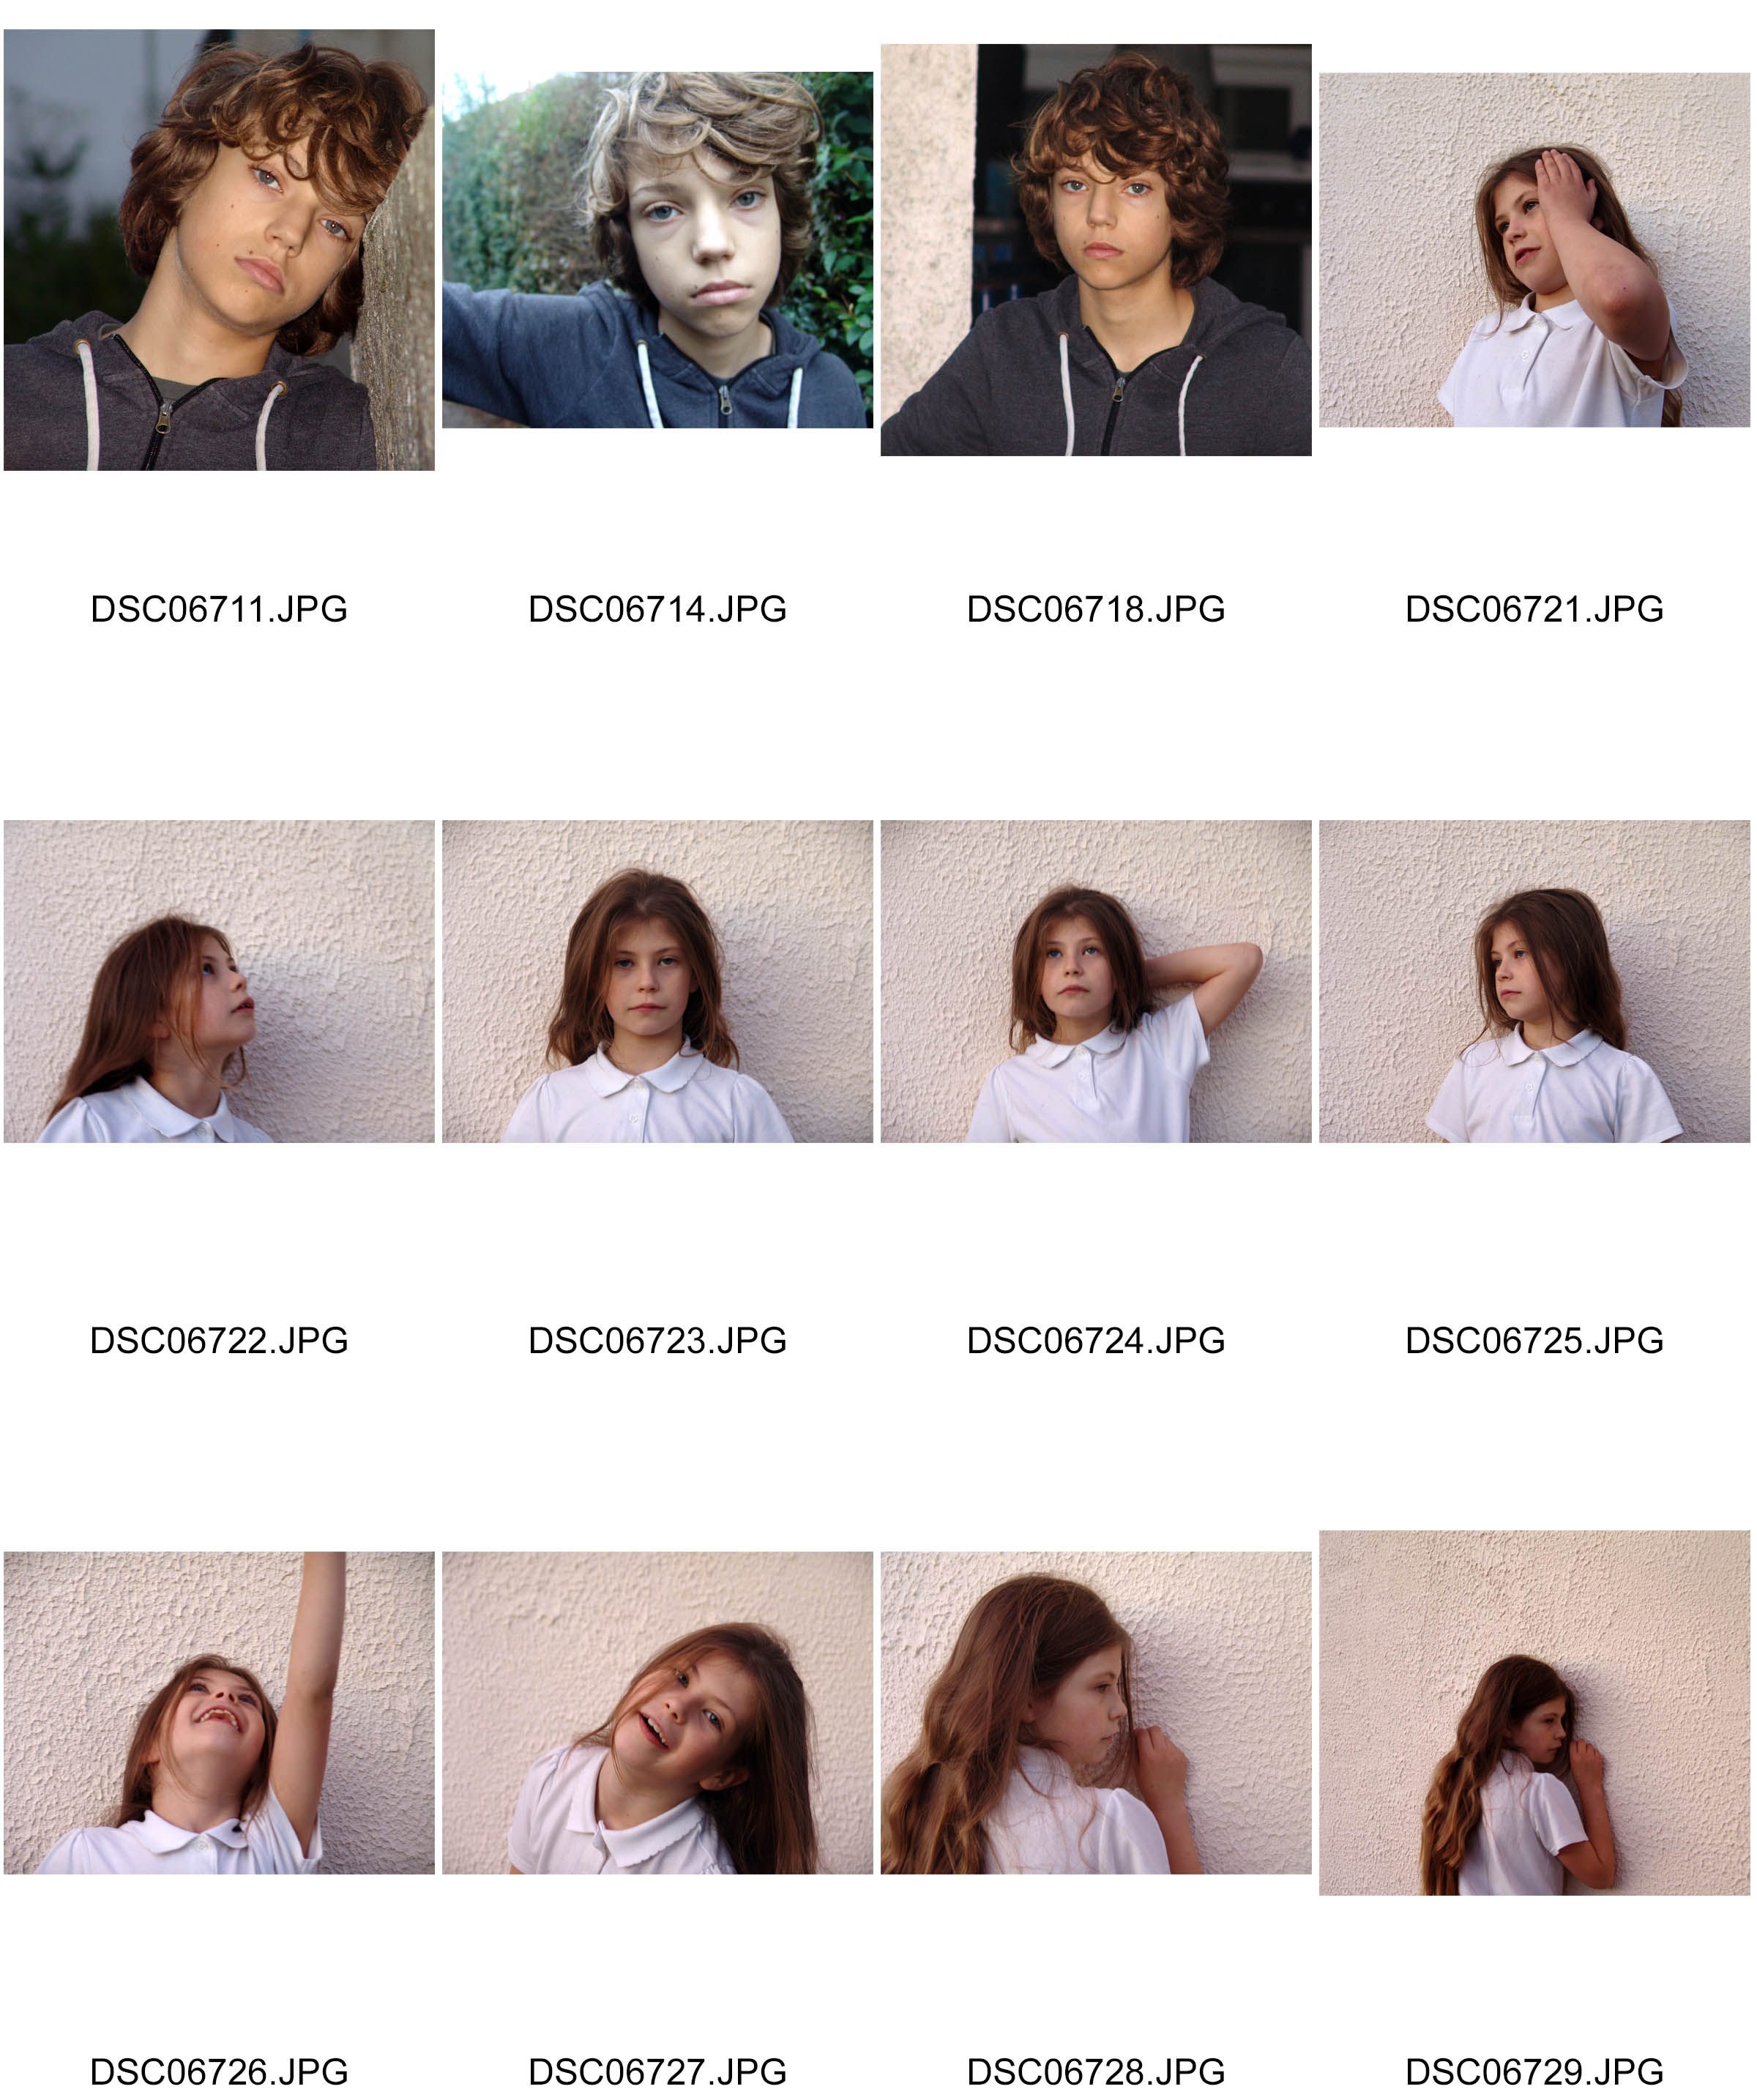
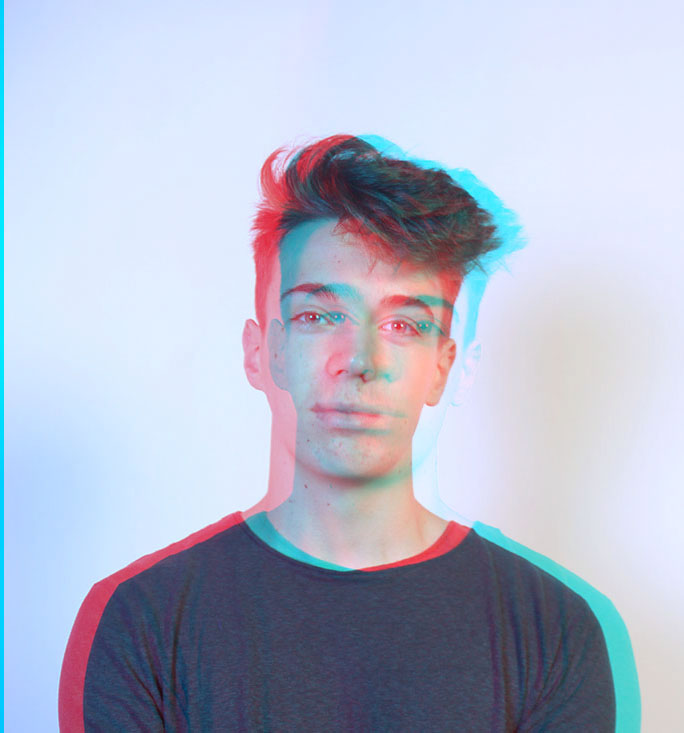
When taking these photos I wanted them to rough and not perfect. You can see this as I have lowered the shutter speed and some of the photos are slanted. When taking these photos I also used the flash box, this went off every time I would take a photo as it was linked to my camera with a transmitter. I also used a soft box, using this and flash box allowed me to take away any shadows on the subjects face.
She was born on November 1, 1889, Germany and died died May 31, 1978,West Germany. Höch was not only a rare female practicing prominently in the arts in the early part of the twentieth century – near unique as a female active in the Dada movement that coalesced in her time – she also consciously promoted the idea of women working creatively more generally in society. She explicitly addressed in her pioneering artwork in the form of photomontage the issue of gender and the figure of woman in modern society. Her transformation of the visual elements of others by integrating them into her own larger creative projects evidenced a well-developed early example of “appropriation” as an artistic technique.
Personal Thoughts
My initial emotional response to Hannah Hochs work was very negative and i had a strong dislike to it. I didnt like the style in which she created photomotage. I think this is because her images are quite strange and very individual. I found that the elements she put onto a portrait very different and didnt contrast well and looking at her images wasnt comfortable due to how she distorted the human face. However i was still intrigued by the concept of her work and wanted to try her style but in a more modern technique.
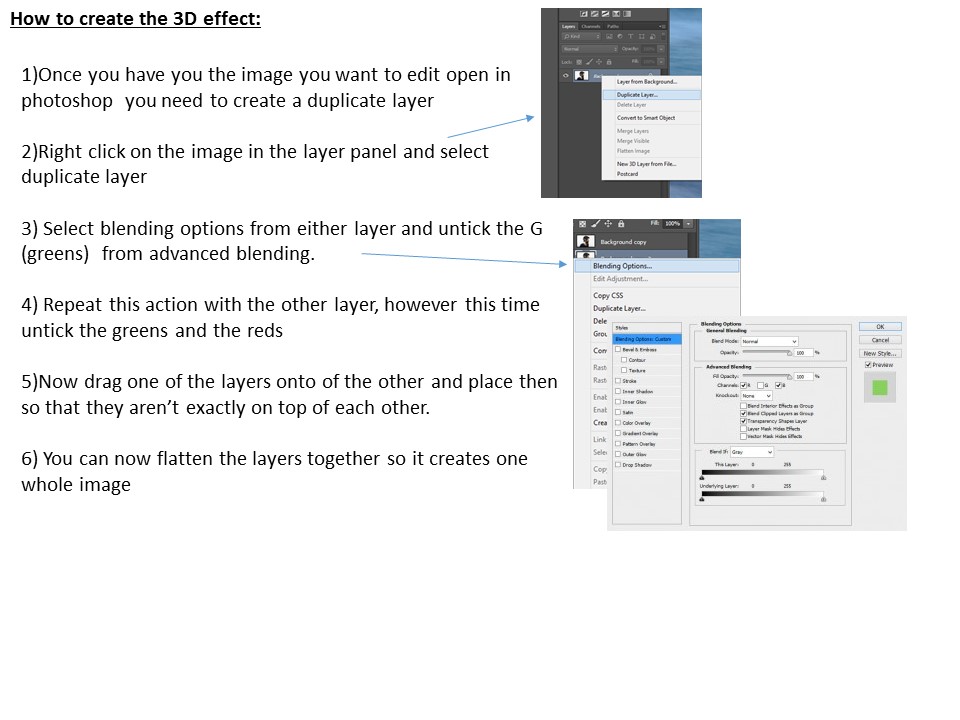
How to:
In photoshop open a portrait that you want to be your base photo
then open a lightly wierd portrait with features that you wantto cut and paste onto the base photo
select the Lasso tool from the tool bar
Click and drag the mouse around the feature that you want.
then select the move tool
drag the feature onto your base photo
move the features around and use ‘Crtl T’ if you need until you get it in the place you want.
He was born in 1949, in Worcester, UK John Stezaker now lives and works in London, UK John Stezaker’s work re-examines the various relationships to the photographic image: as documentation of truth, purveyor of memory, and symbol of modern culture. In his collages, Stezaker appropriates images found in books, magazines, and postcards and uses them as ‘readymades’. Through his elegant juxtapositions, Stezaker adopts the content and contexts of the original images to convey his own witty and poignant meanings.
Personal Thoughts
Similar to the work of David Hockney i really love the original style and of Stezakers work. The use of juxtaposition really emphasises the message of different people being brought together and creating a simple and interesting image to look at. When you first look at his work it seems a bit wierd and out of place but i think it works really well showing contrast between different people.
Marriage IV, 2006
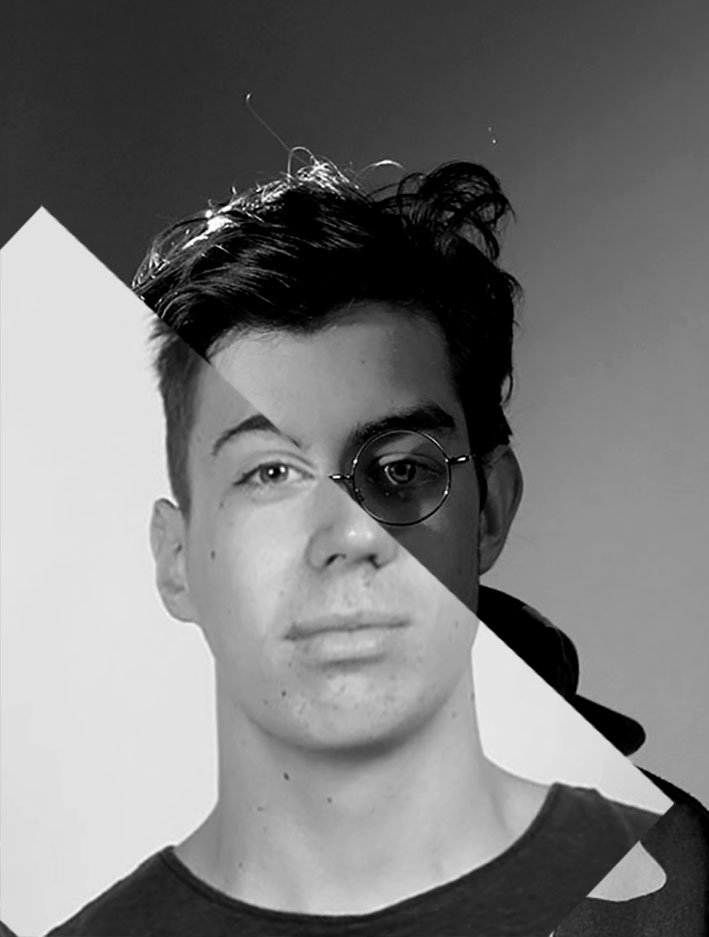
How to create images like John Stezaker:
open two portrait images up in photoshop
To create a simple Stezaker like image select the rectangular marquee tool
on one of your chosen portraits select a large portion of there face (usually half)
select the move tool
drag the rectangle that you have cut out onto the other portrait
place it as if you were trying to match them up to create a new face
‘ctrl T’ with allow you to change the size of the rectangle if you want
‘ctrl D’ will deselect you from that image
When you are happen merge/flatten the two images to make onelayer
He was born in Bradford, England, in 1937. David Hockney went to art school in London before moving to Los Angeles in the 1960s. There, he painted his famous swimming pool paintings. In the 1970s, Hockney began working in photography, creating photo collages he called joiners. He still creates and exhibits art, and in 2011 he was voted the most influential British artist of the 20th century.
Personal thoughts
I really like David Hockneys work because he takes a simple portrait image and creates a piece of interesting art with it. His style is very original and creates more dimensions in the image which is what draws my attention to his work and lead me to have a positive emotional response to his work.
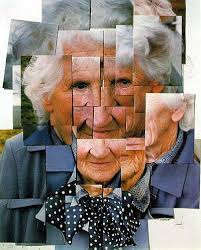
Photo Analysis
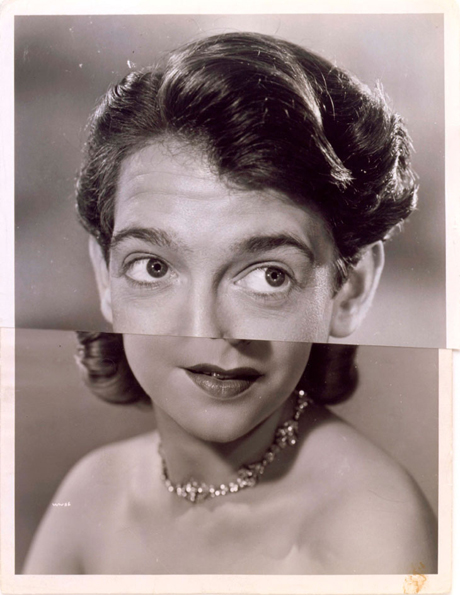
This image by David Hockney is a portrait of an older woman. The image has been digitally manipulated to create a collage which resembles the woman’s face however is distorted creating a whole new image to what the original portrait would have looked like. In my opinion the message that the image conveys is confusion we dont really know what is going on in the image and why he has decided to give the woman four noses. Hockey has mixed portraiture photography with abstraction creating a modern images and i think that the contrast between a picture of the old lady in a modern style works really well to make the image stand out. Rule of thirds is not clear in his image as the whole screen is full making it difficult to see the purpose of why he has placed the sections of the image in that way. The image contains very strong leading lines and framing, this is created by the rectangular overlapping segments of the image. I think that each photo has a shadow effect to it to make them stand out more. the edges also lead your eye around the image along with the framing which makes each segment a different image all coming together to make a collage, increasing the depth and dimensions n the image.
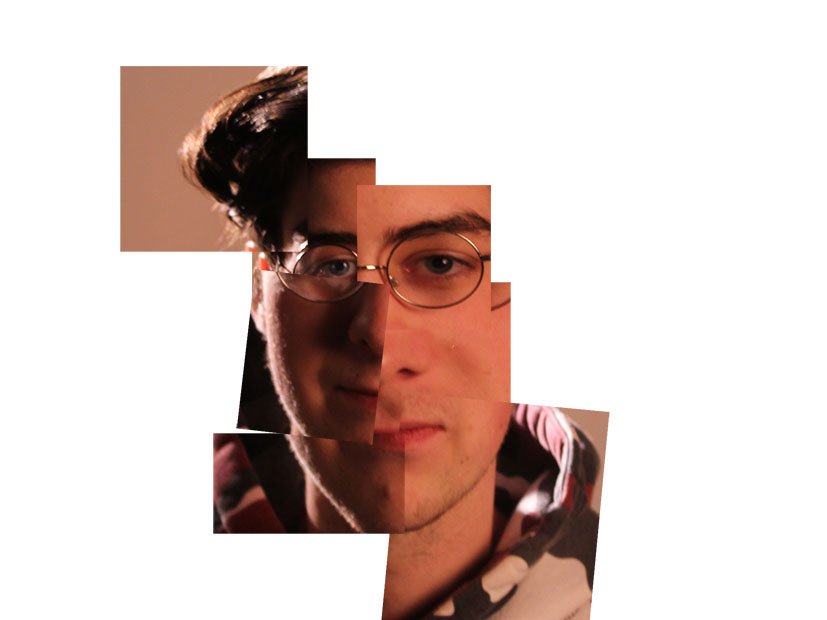
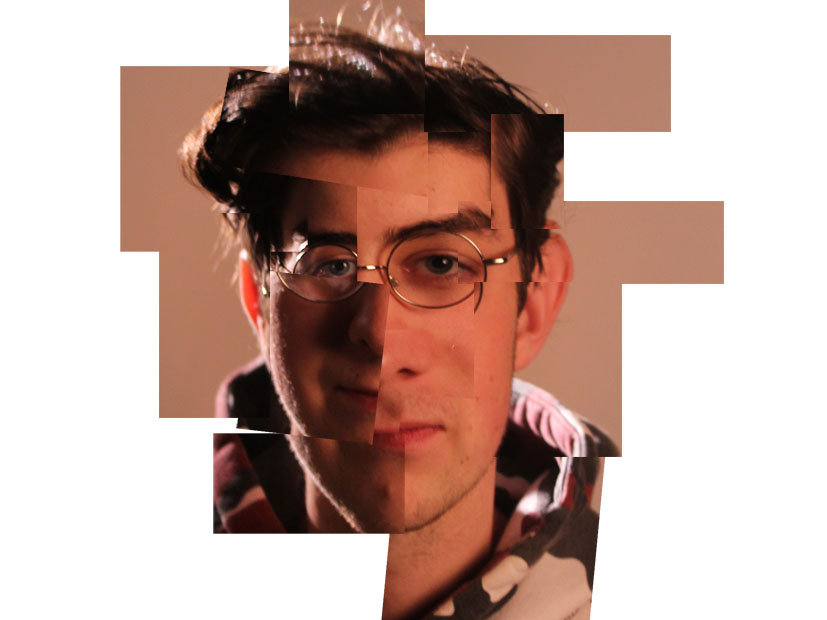
How to create a collage:
open a new blank white page ( 40cm X 40)
Open the original portrait
Whilst on the portrait go to the selection tools area of the tool panel
Select the ‘rectangular marquee’ tool
Then make a small rectangle on an area of the protrait
Select the move tool
Drag the rectangle onto you plain while page placing it where you want it to be in the collage
Repeat steps 3-7 until you are happy with your completed collage
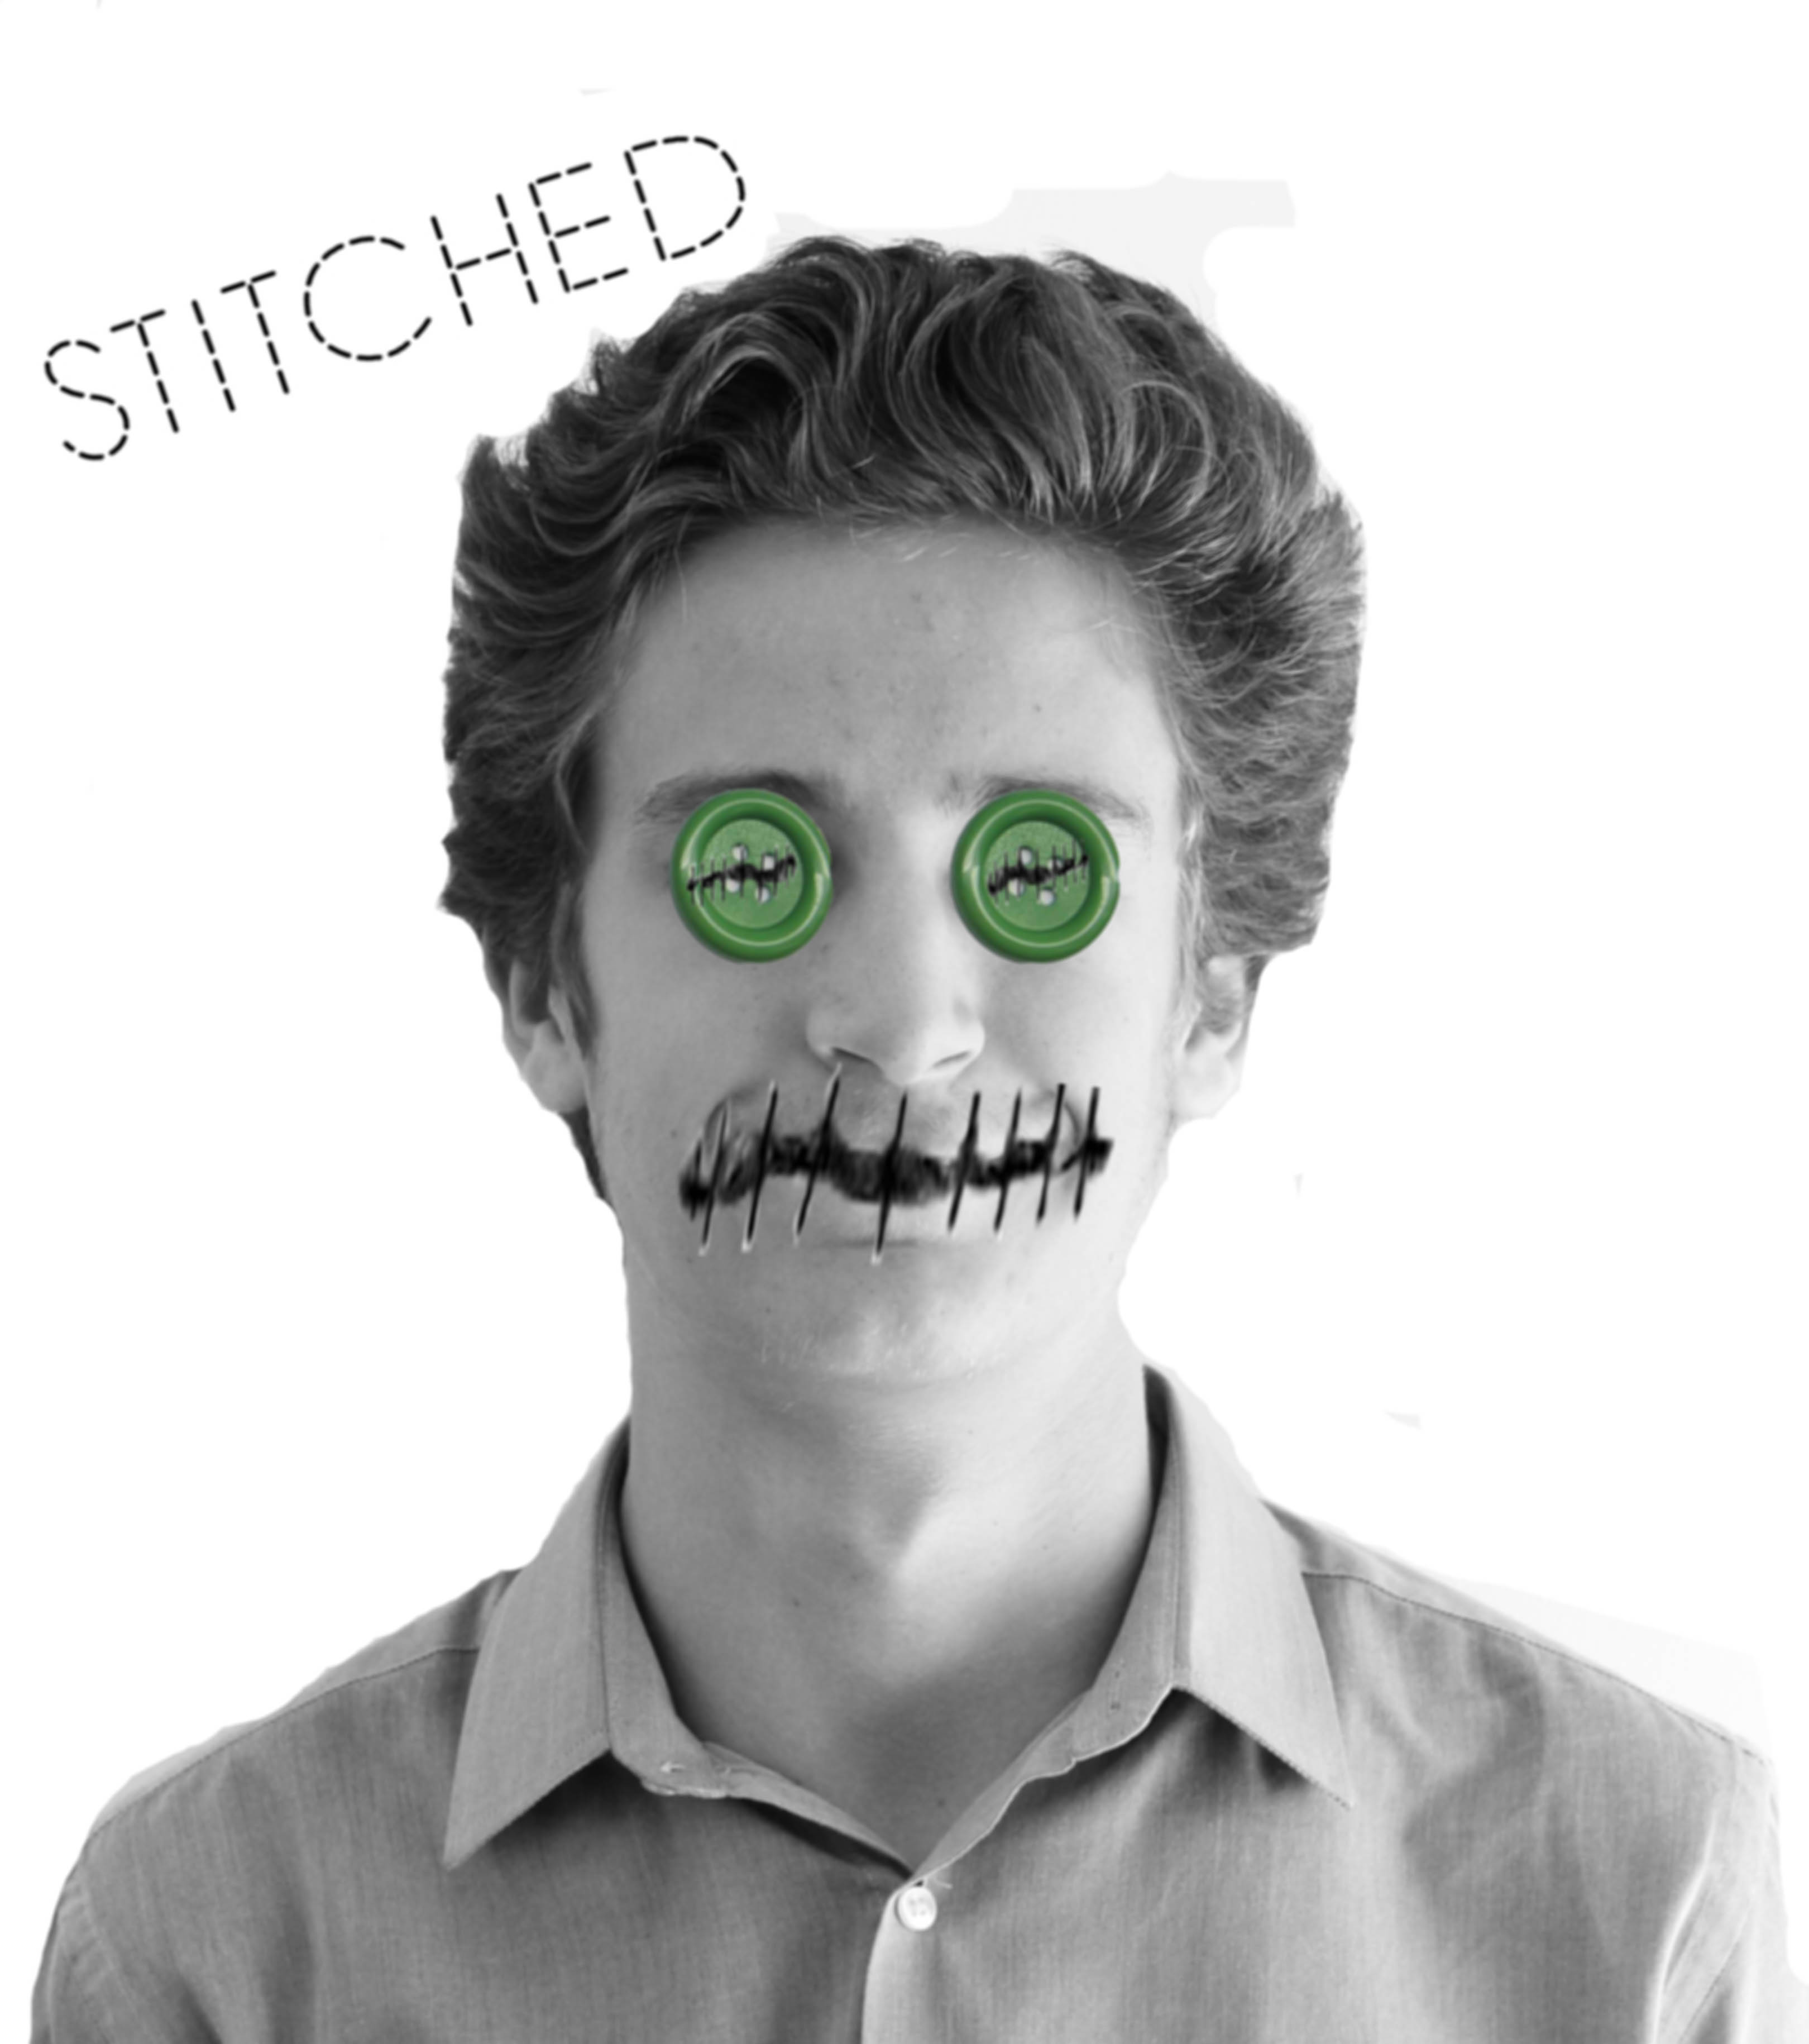
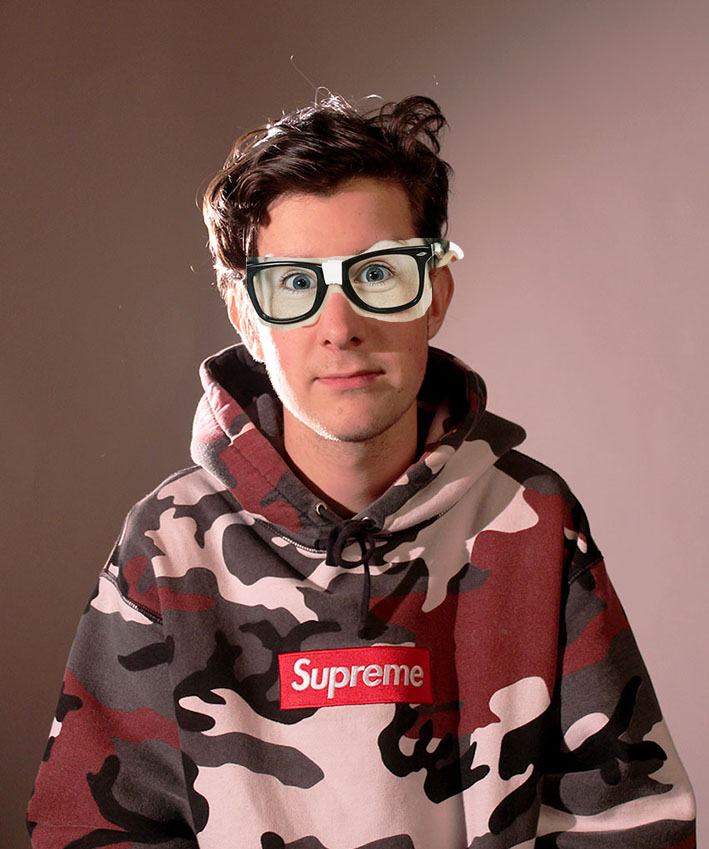
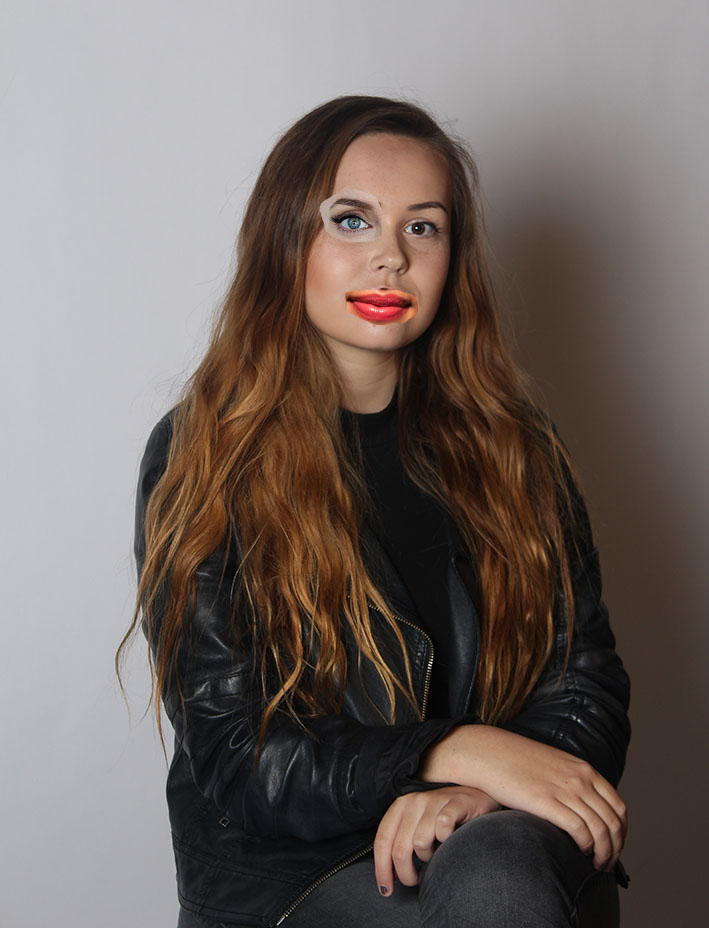
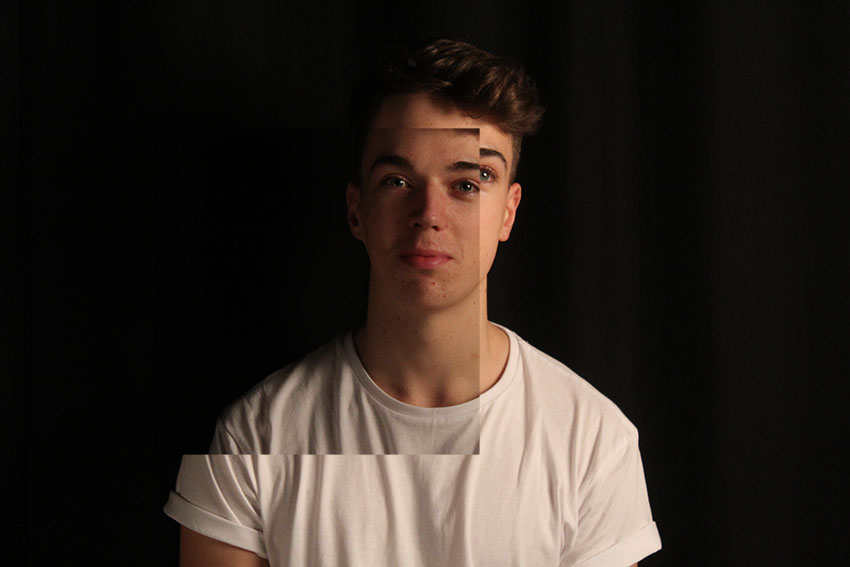
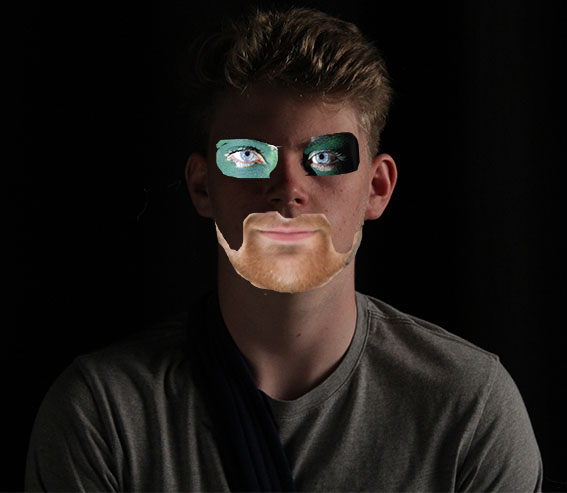
Here I decided to make one photo using three different photo. Firstly, I set the back ground image, the background image for this one is a portrait photo I took in my studio lighting project. I then brought in a picture from my Rankin homework assignment and used the lasso tool to cut out the eyes. After drawing around the eyes using the lasso tool I pressed “Ctrl J”. This created a new layer with just the eyes so I deleted the original layer. I then brought in a third picture from my environmental portraiture and did the same thing for the beard. When making this picture I wasn’t trying to go for the neat look I wanted it to look like it had been cut out ruffly with a pair scissors.
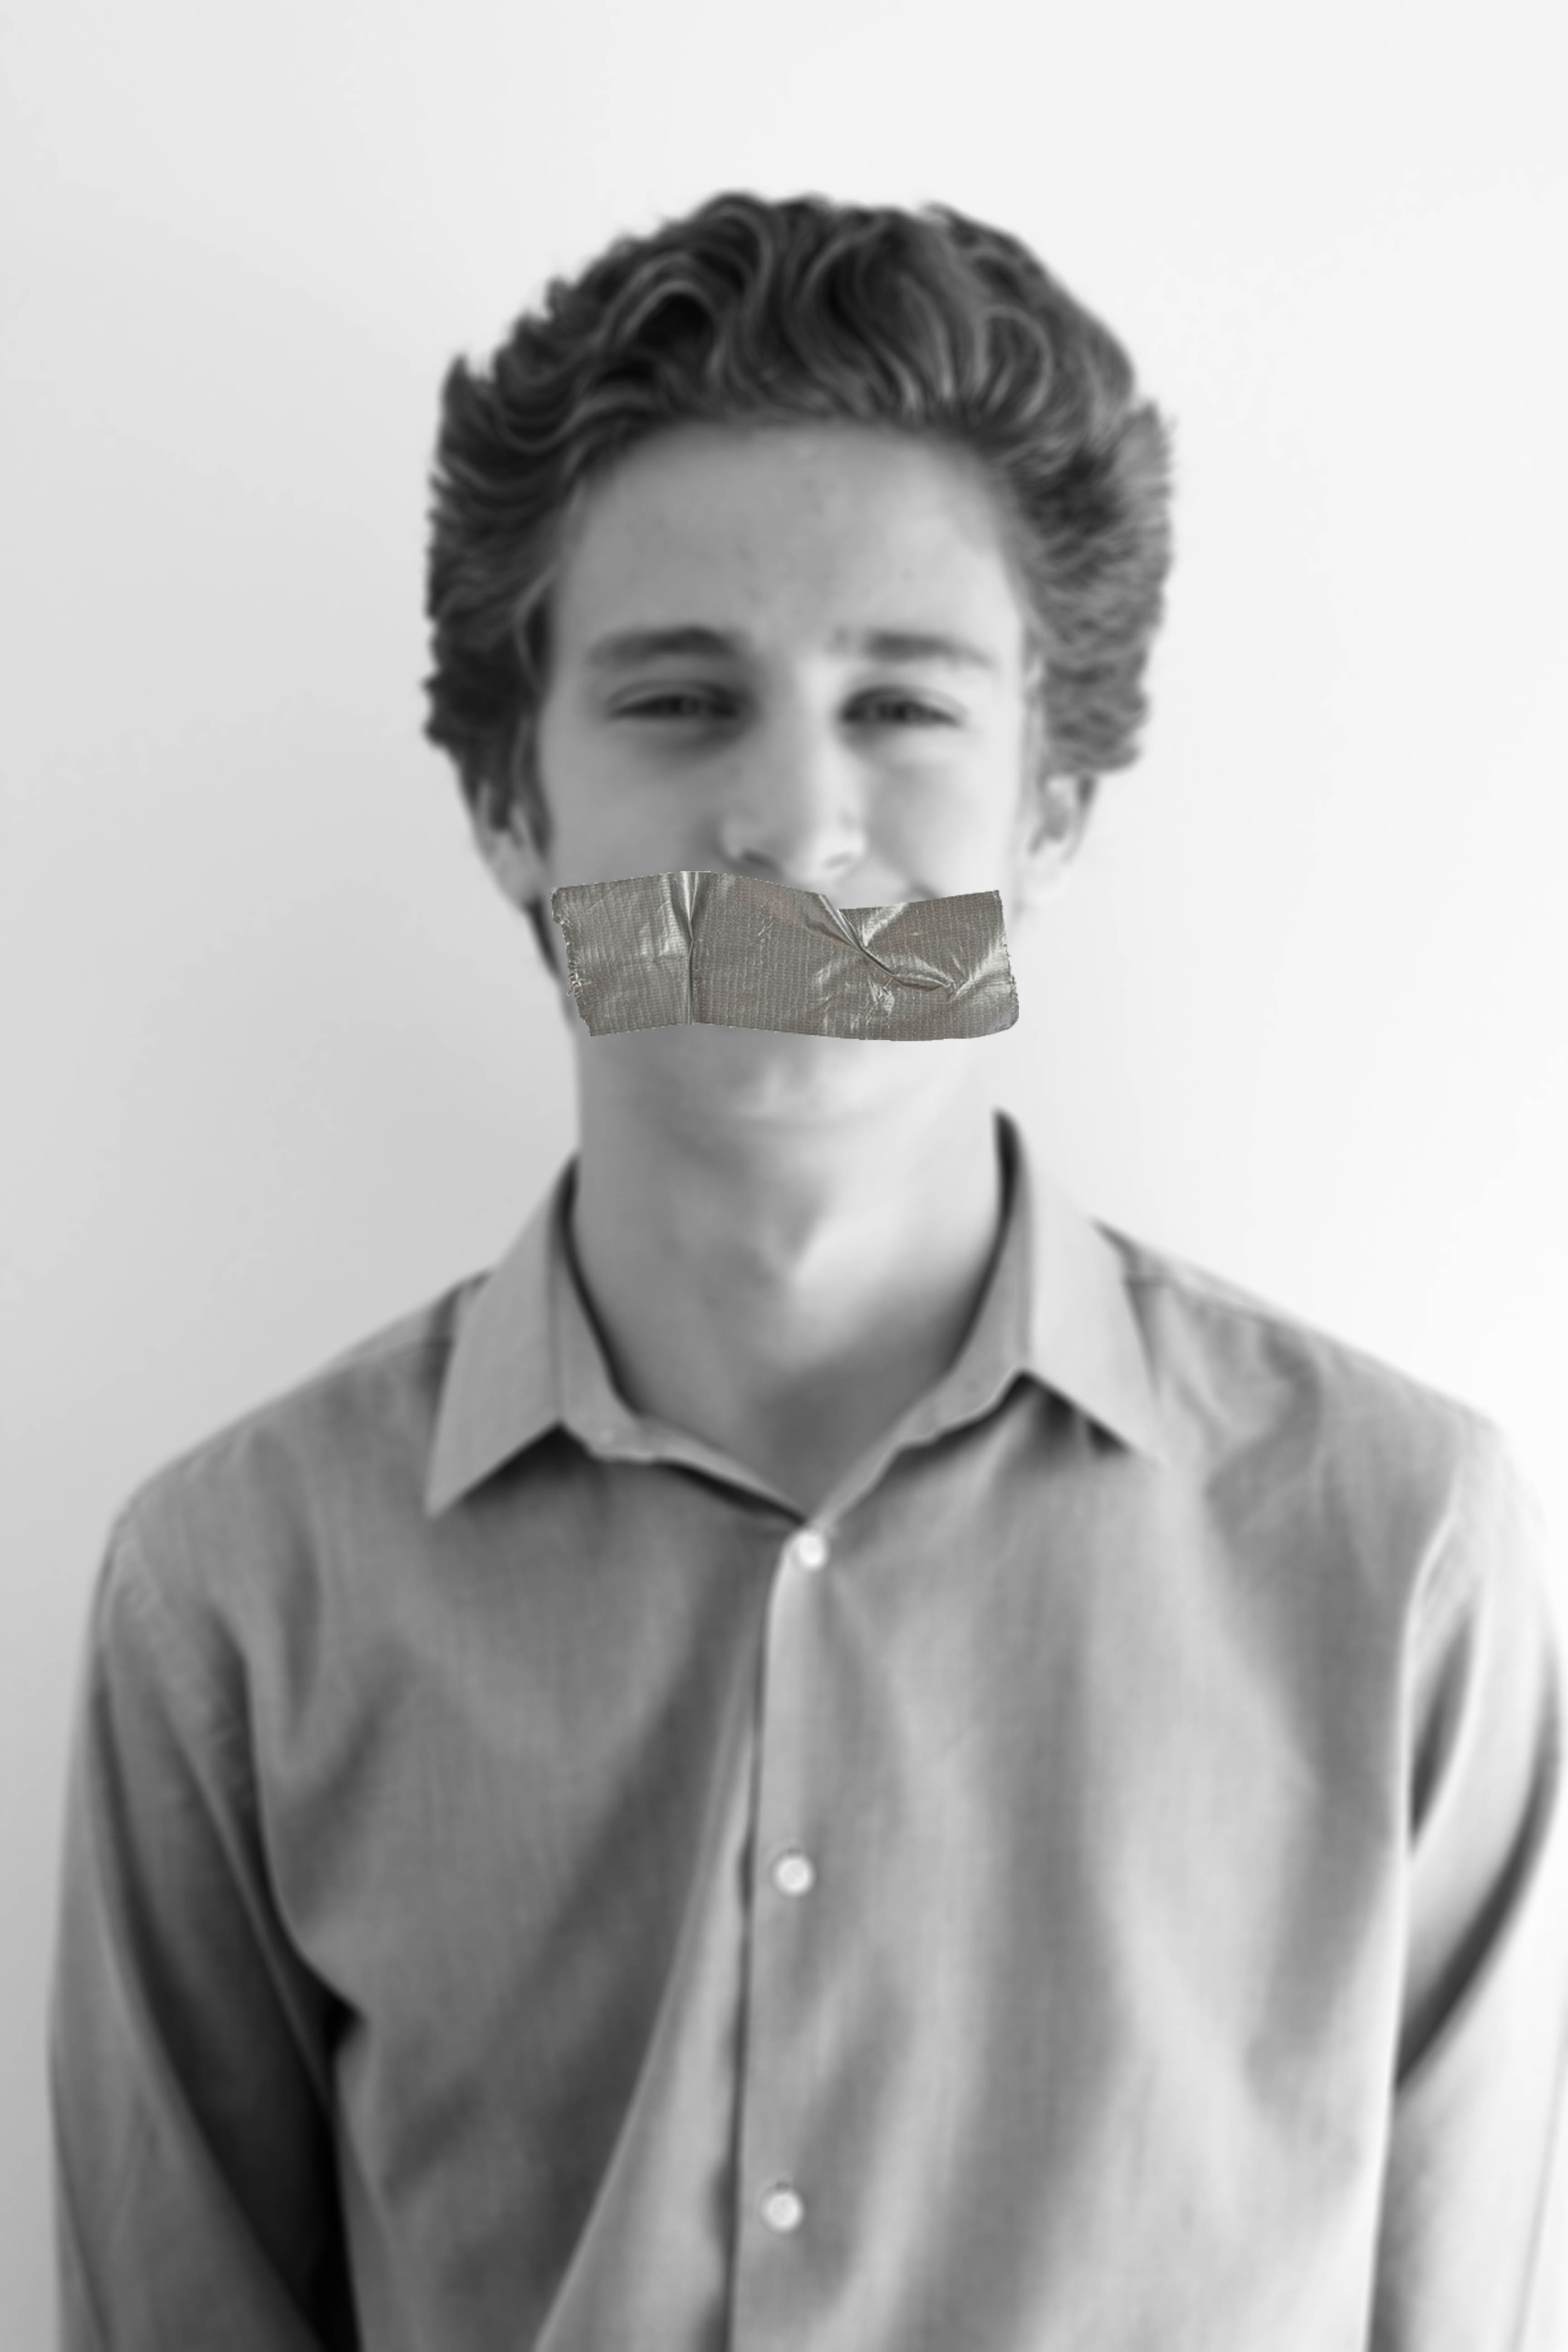
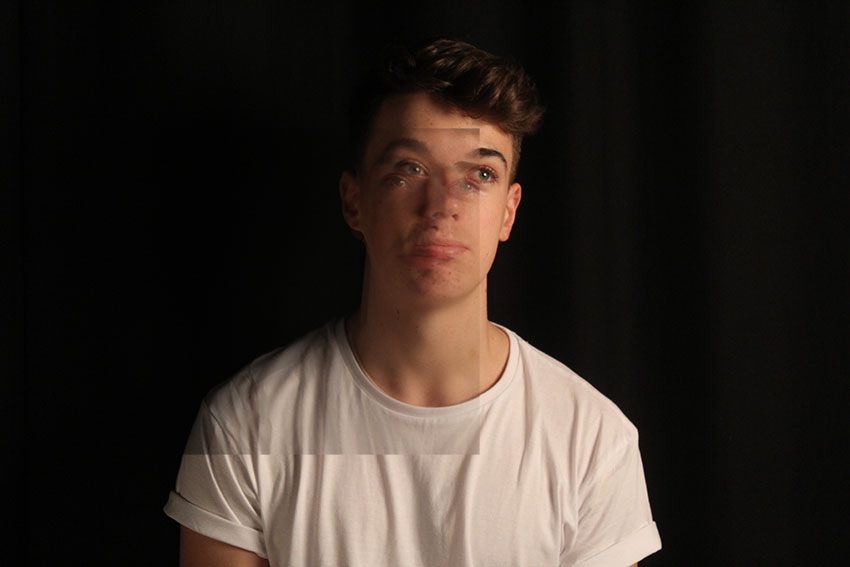
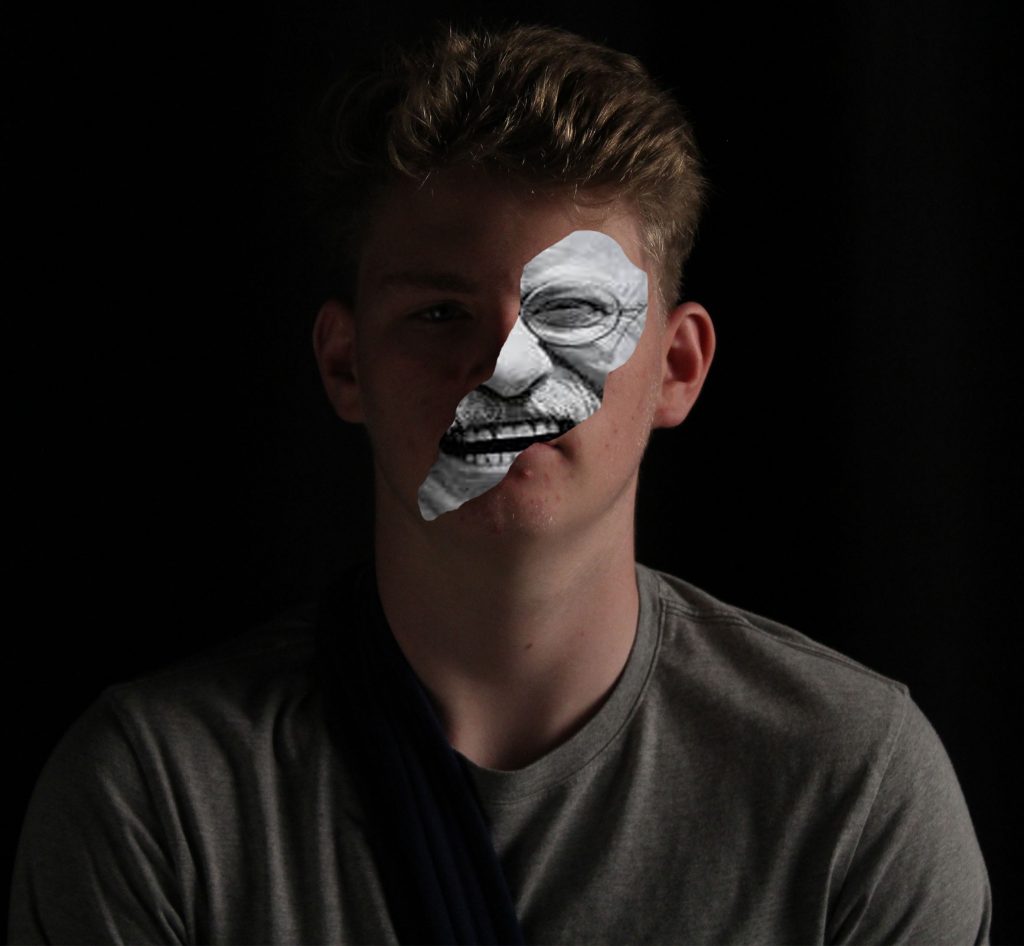
Here I have made a photo by cutting out some of the original photo and placing a photo in that space. I did this by using the lasso tool and drawing on a part of his face. I then found image from the internet that I wanted in my case it was the famous photo of Teddy Roosevelt laughing. I copied this image then went to the edit bar and choose “Paste Special” then “Paste Into” this placed the image I had chosen in the place where I used the lasso tool. However, it wasn’t the correct size so to size up the image I pressed “Ctrl T” which gave me arrows to move and make the picture bigger. I chose the photo of Roosevelt because he looks so happy in contrast to serious expression of the subjects face in the original picture. This shows how the emotions of people can vary. I also liked the fact that the Roosevelt photo was in Black and White were as the original picture is in color this also portrays opposites.