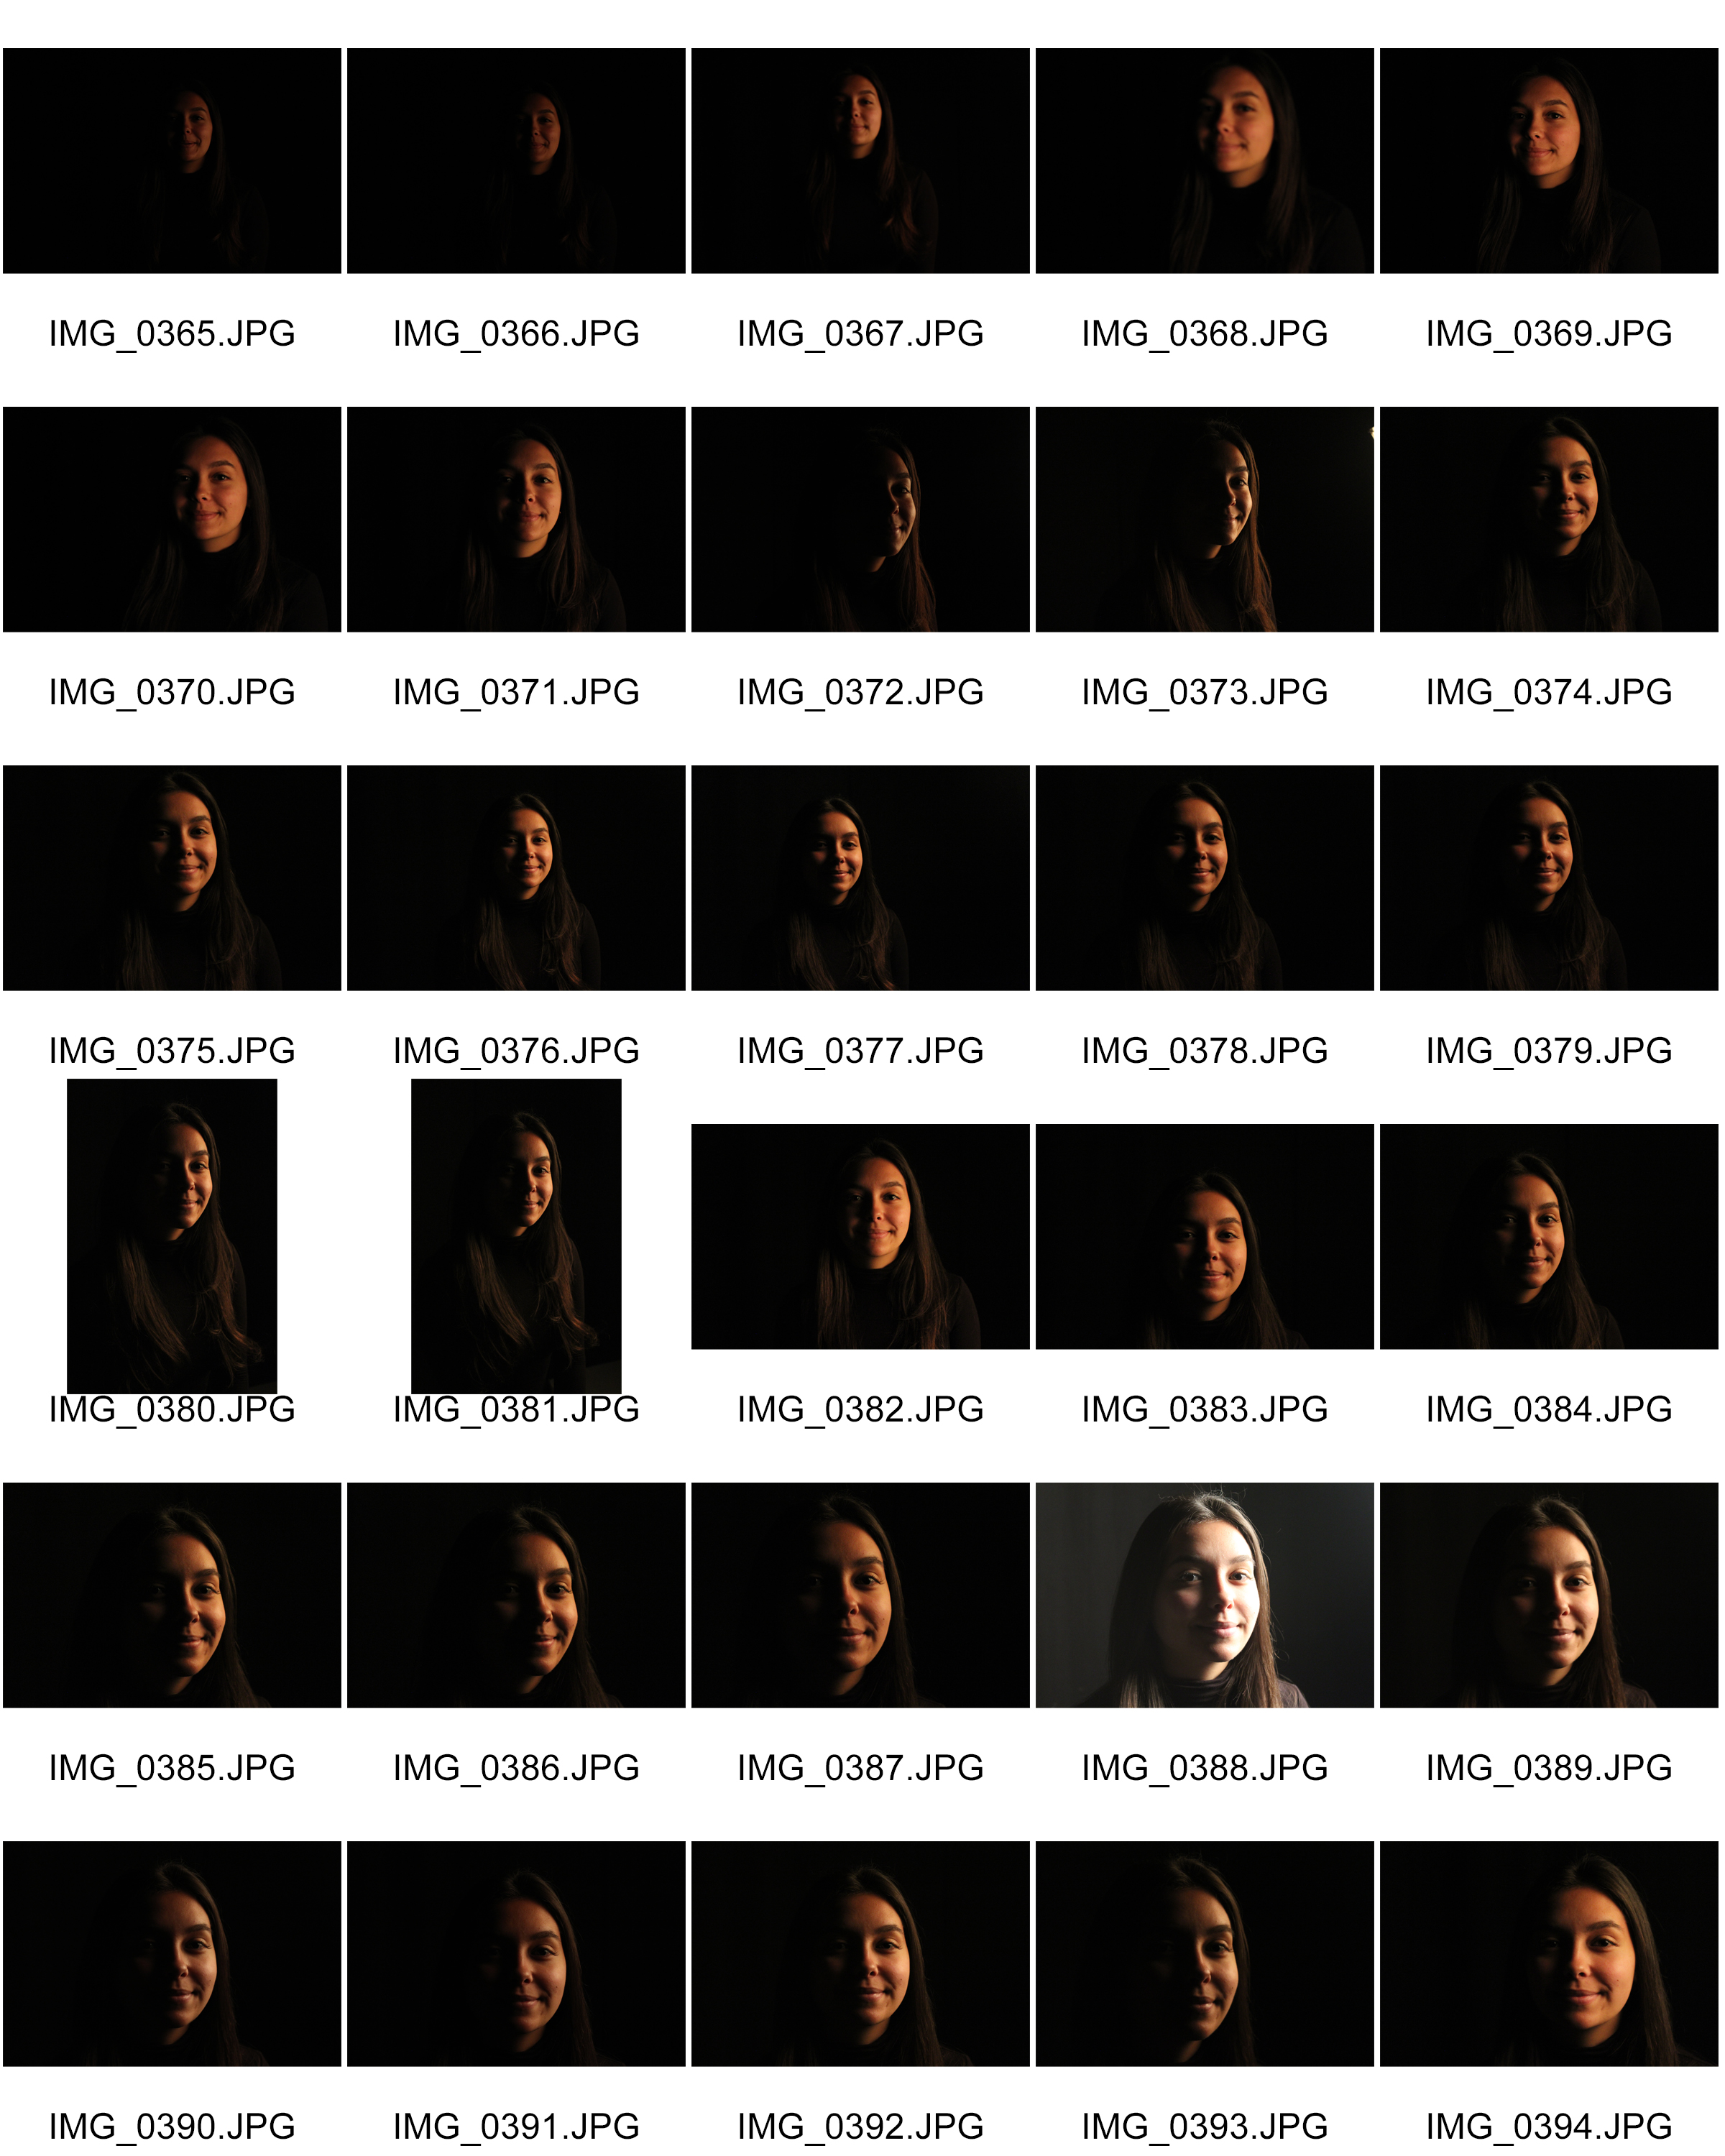
Using Colour Overlay, Texture and Frames

slide1

My first edits are experiments on photoshop looking at how a colour overlay can change the image. To edit in this in style i selected The circle icon at the bottom of the screen and then click solid colour, when i clicked this i selected the colour i wanted the image to be to begin with i experimented with red. i then changed the effect to ‘overylay’ and then ‘soft light’ to see how it changed the image. Below is my final edited image which has a red overlay with the ‘soft light’ effect and then i have adjusted the lighting and contrast tools.

img_1098-1agrwrg

slide2

For these images i added a layer onto them. i selected a textured image and then dragged it onto the image i was using. To then blend the images together i selected overlay and then lowered the opacity so the images blended together.

img_3899-fhstehteh

slide3

For my final editing technique i bordered images with frames i found of of the internet. I went through the same process as adding a texture but the outcome showed a different message.  The digital use of framing focuses your eye of the subject of the portrait.

Different types of lighting

Fill Lighting

Fill light is any source of illumination that lightens (fills in) areas of shadow created by other lights. Most often, fill light is used to lighten the shadows created by the main (key) light.

The fill light may be used to reduce the contrast of a scene to match the dynamic range of the recording media and record the same amount of detail typically seen by eye in average lighting and considered normal. From that baseline of normality using more or less fill will make shadows seem lighter or darker than normal which will cause the viewer to react differently, by inferring both environmental and mood clues from the tone of the shadows.
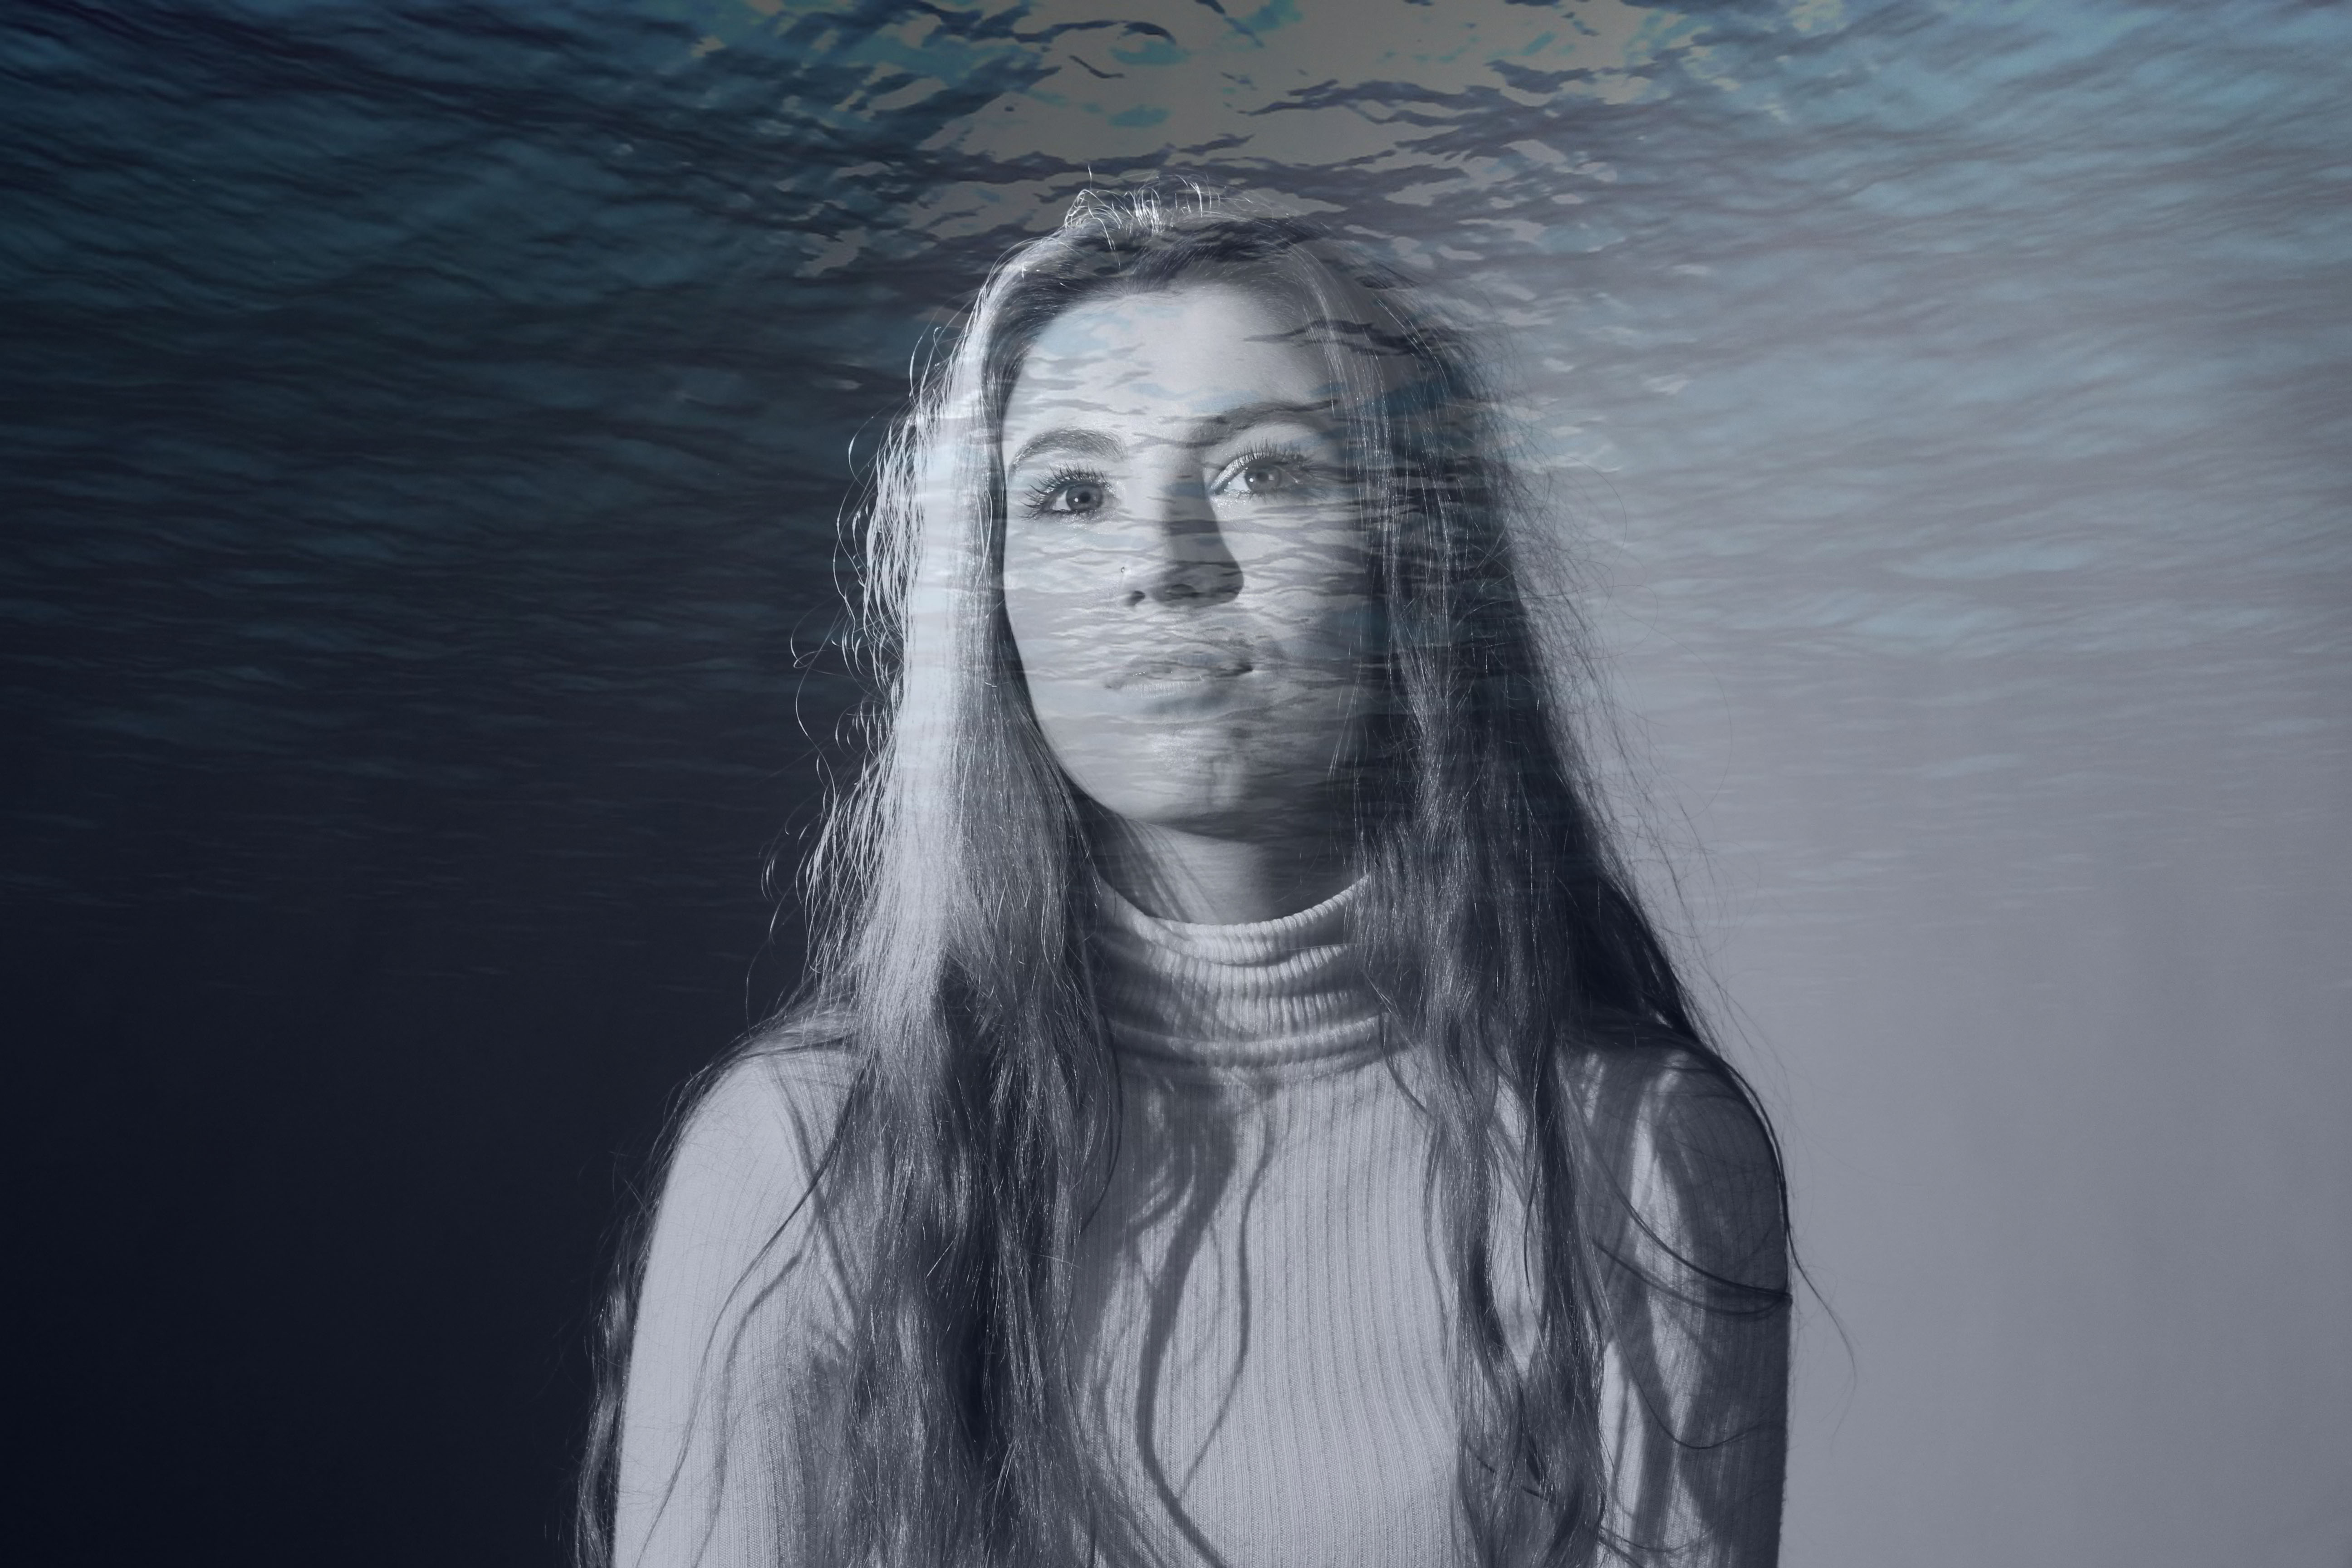
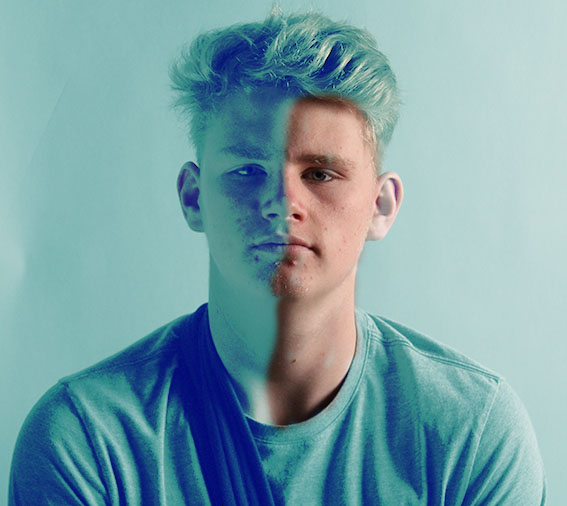
filllight1

Spill Lighting

Spill light or light trespass is the light that illuminates surfaces beyond the property line. An example is the light on a bedroom wall coming through the window from the ball field across the street.

figure10

The term “spill fill” refers to fill light which results from the footprint of light sources bouncing off surfaces in the shooting environment. It can, if not observed and understood, lead to erroneous assumptions about lighting strategies and modifier choices. For example, a difference between a soft box and shoot-through umbrella of identical size used in a small reflective space is that the soft box is designed to limit spill and the shoot through umbrella to maximize it. The umbrella will appear to “wrap” the light more, but in terms of actual cause and effect the “wrap” effect results from the light bouncing off ceiling and walls back into the shadows created by the key light from many different directions.
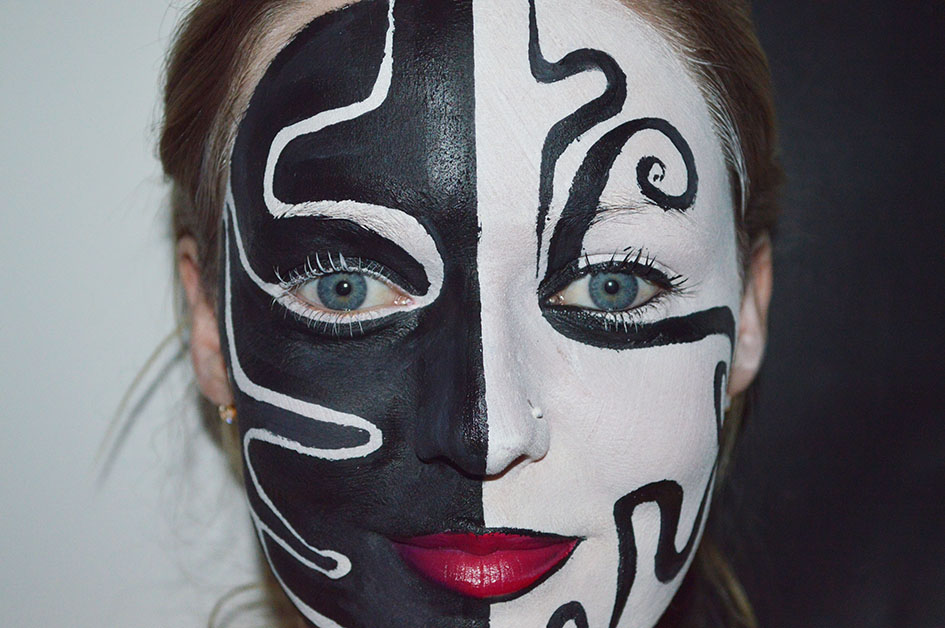
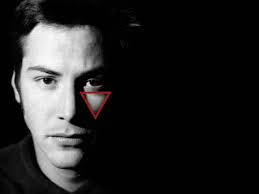
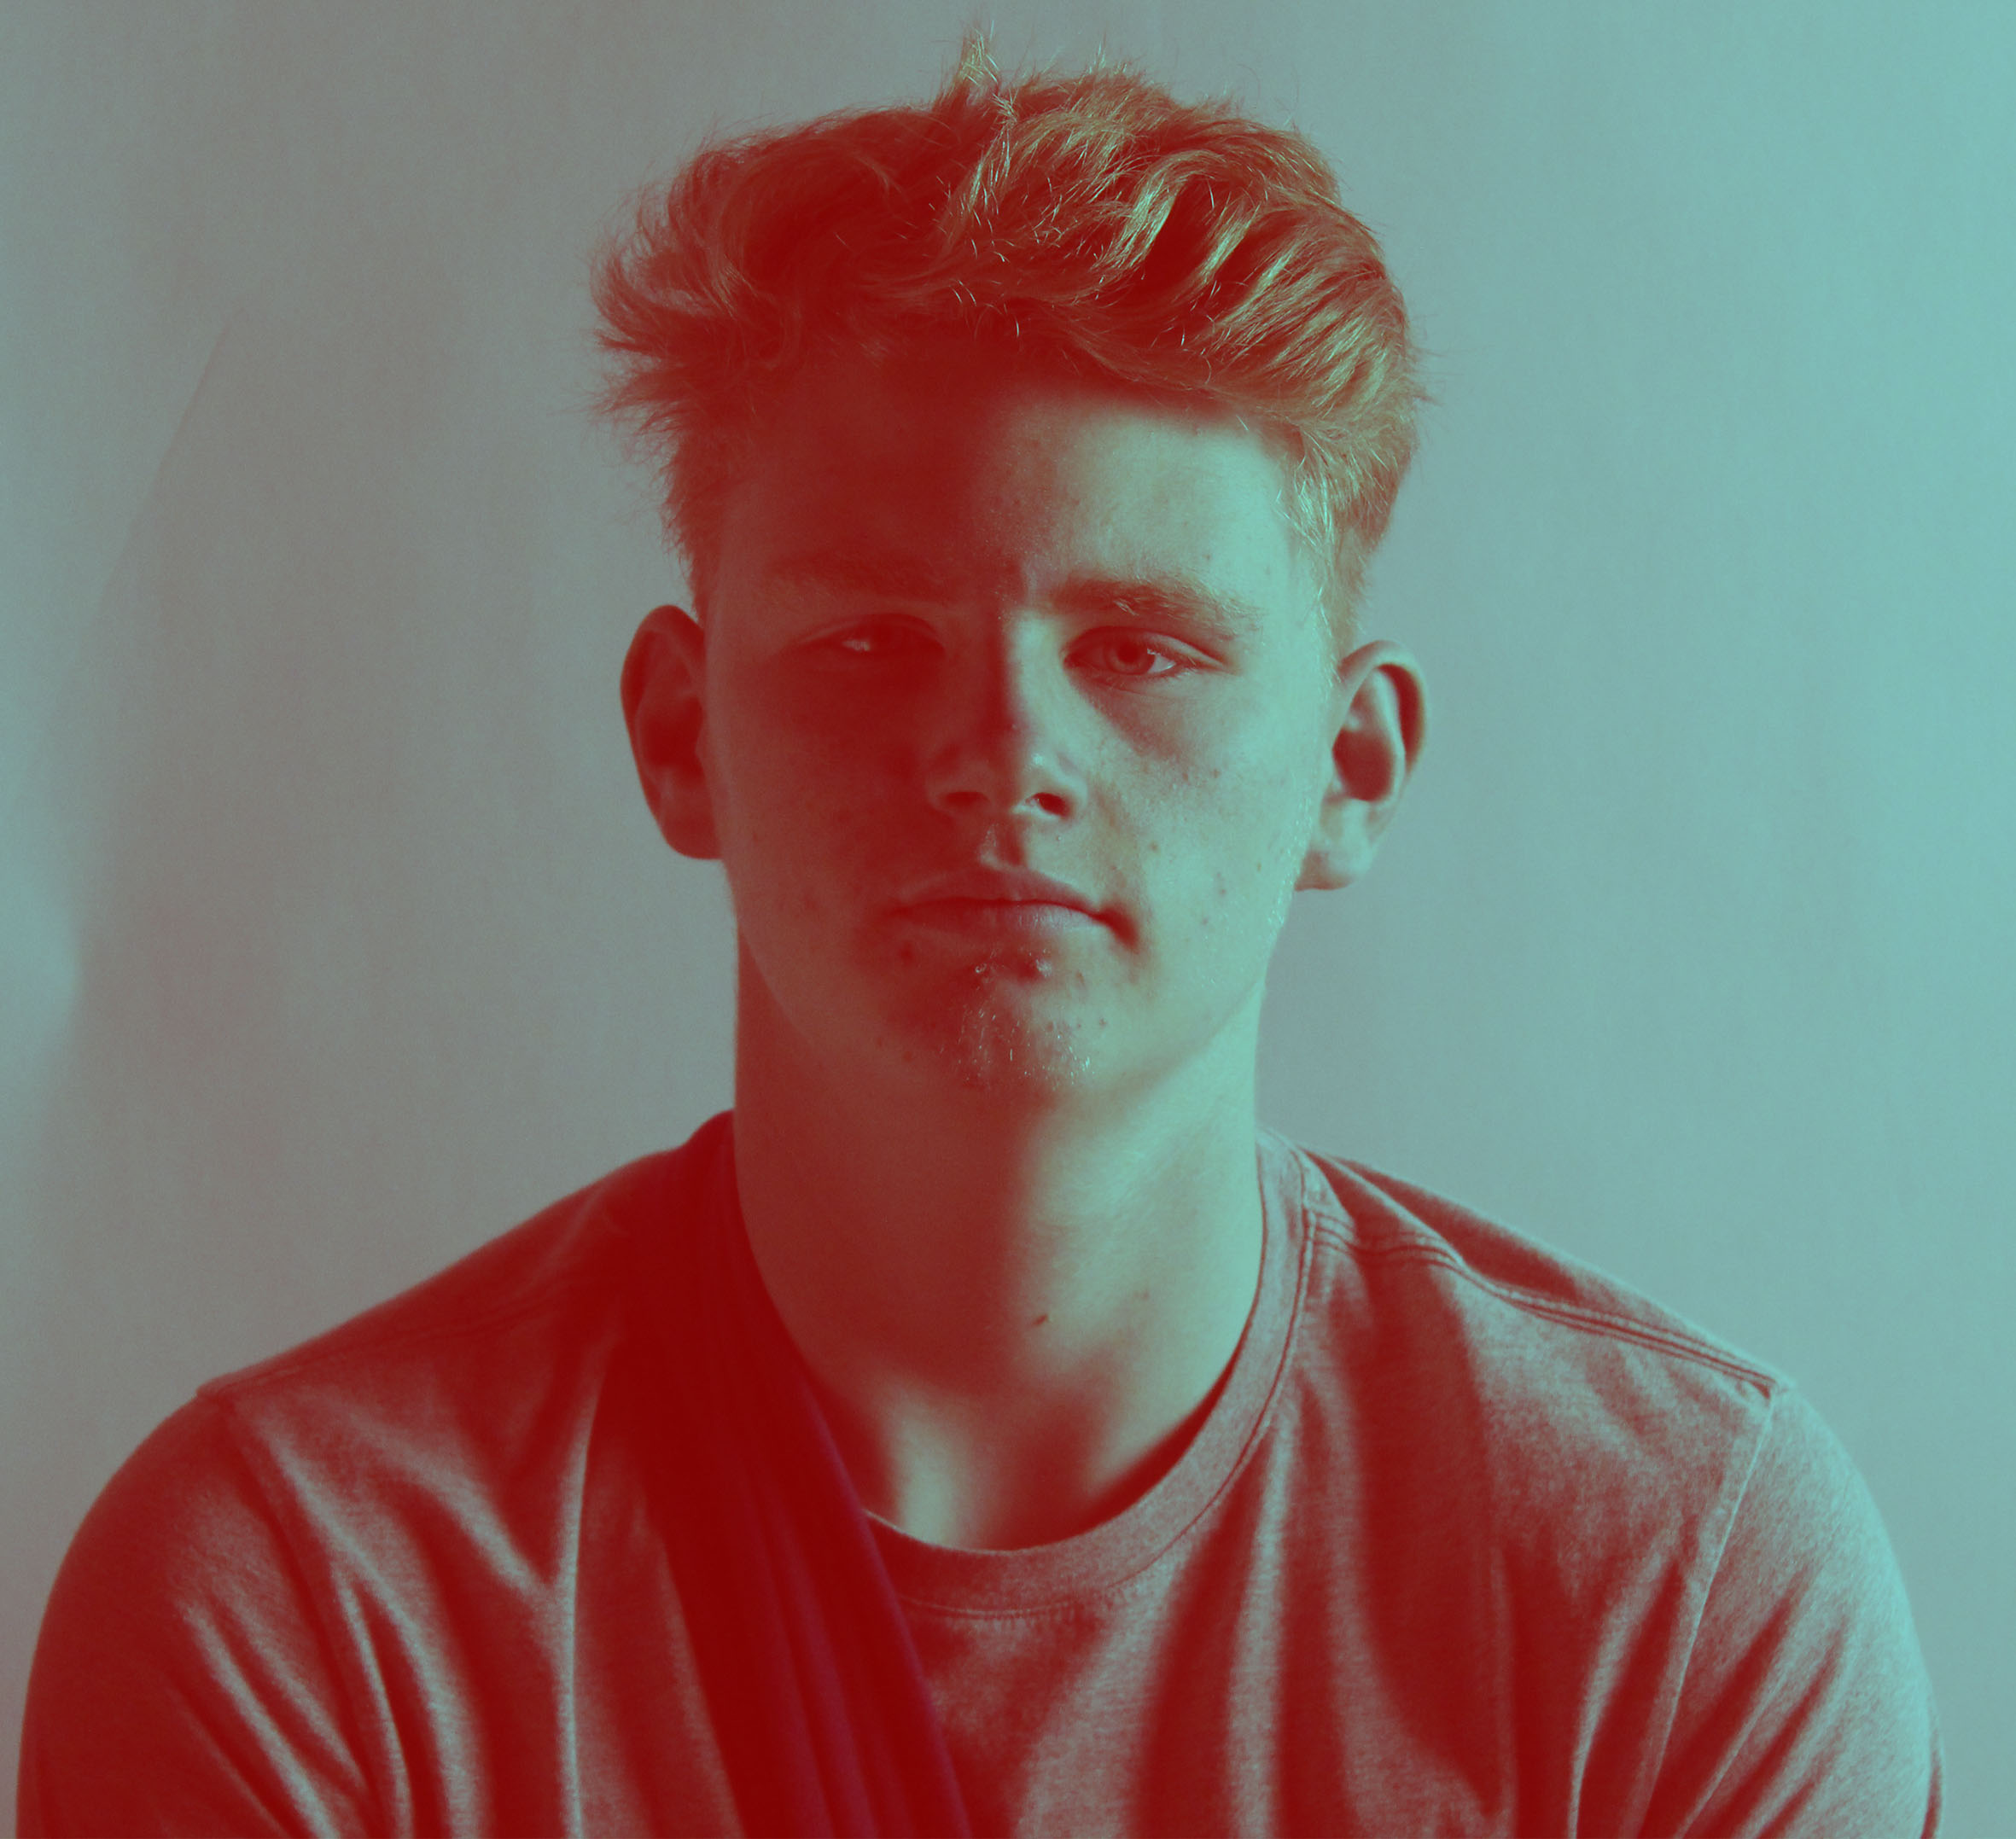
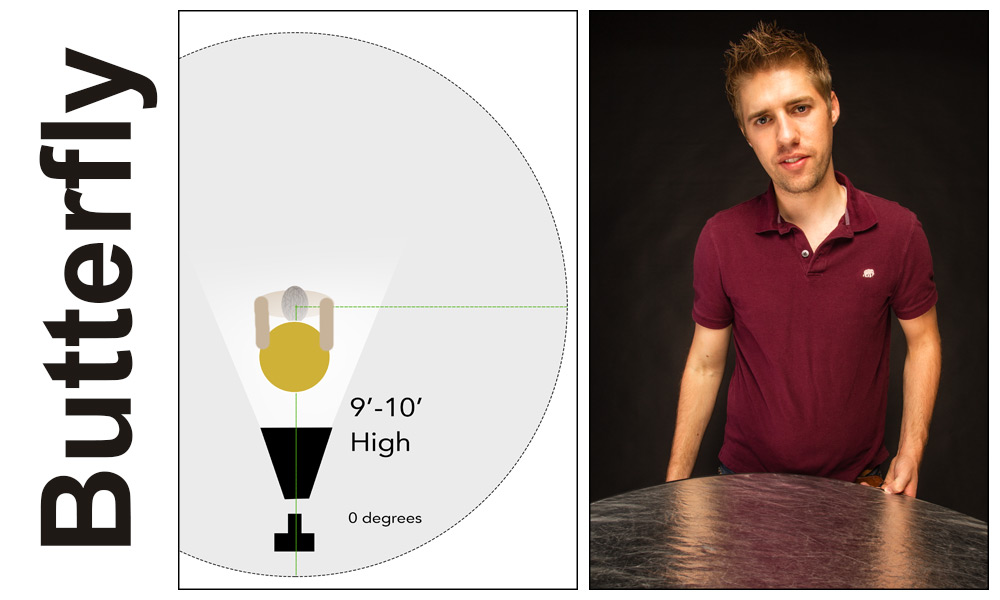
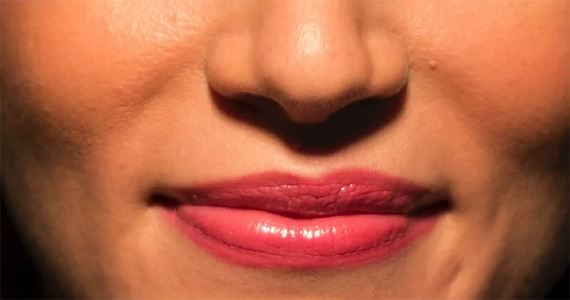
 

Butterfly Lighting

Butterfly lighting is one of the oldest techniques for lighting a subject. Butterfly lighting, also known as Paramount lighting, became a staple pattern for the Hollywood photographers of the 1930s.   This lighting is characterized by the butterfly-shaped shadow that it casts below the nose.  The butterfly  pattern can be quite useful for a variety of faces, but is at its best on lean subjects with high and pronounced cheekbones.  It is produced by placing the light source above the face (typically 25-70 degrees) and in line with the direction in which the face is pointing.
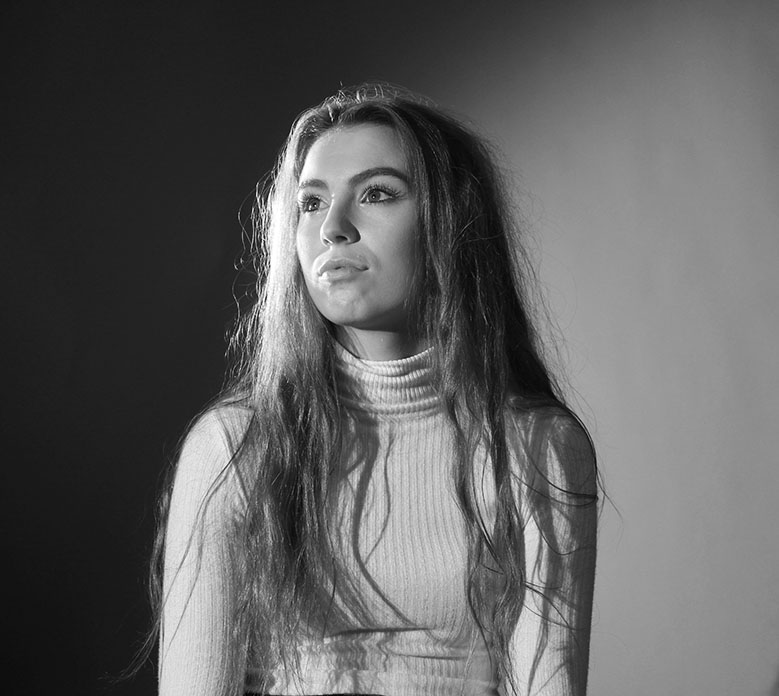
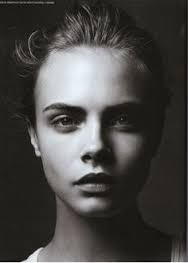
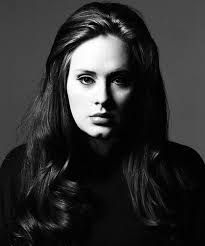
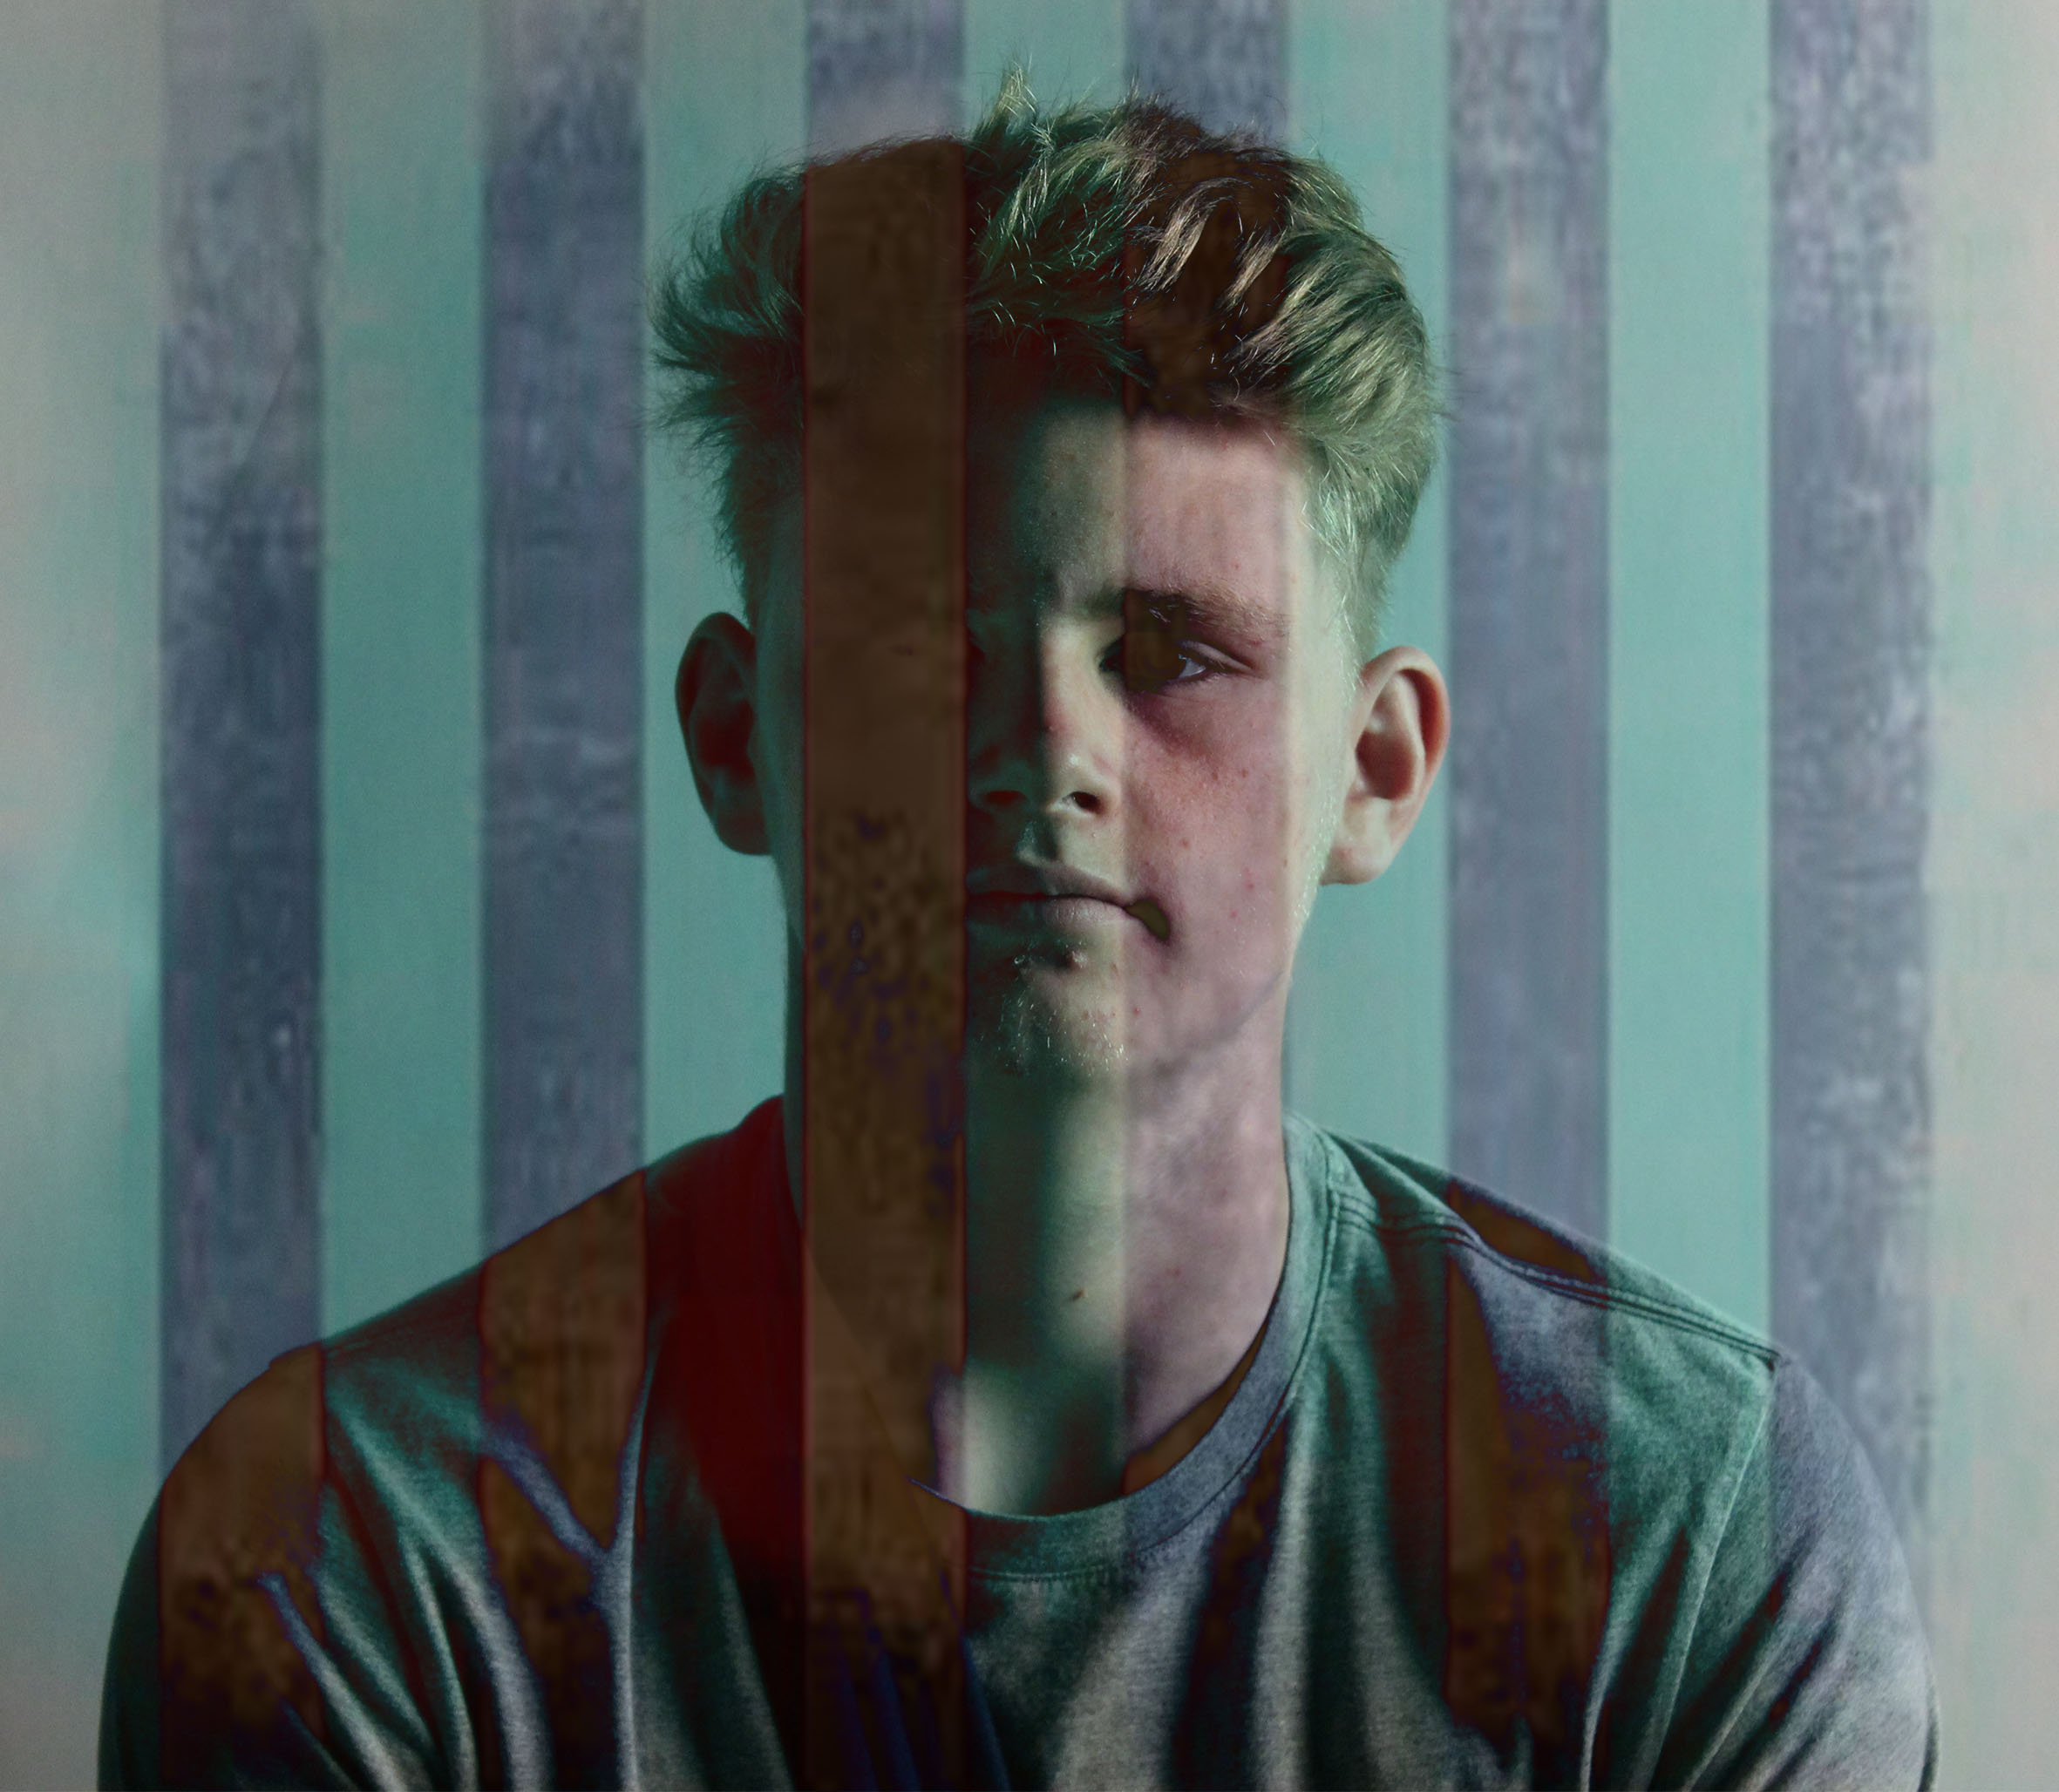
butterflysetup_lg
butterfly-lighting-1

Loop Lighting

Loop lighting, which is named for the loop-shaped shadow that it creates under the nose, is the most frequently-used pattern. It is considered to be a relatively flattering and adaptable pattern that lights most of the face while imparting a sense of depth.

p611459679-4


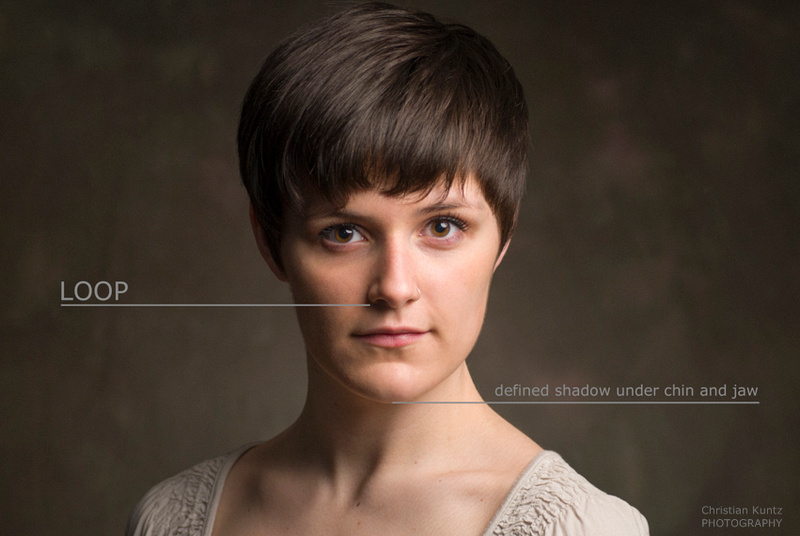
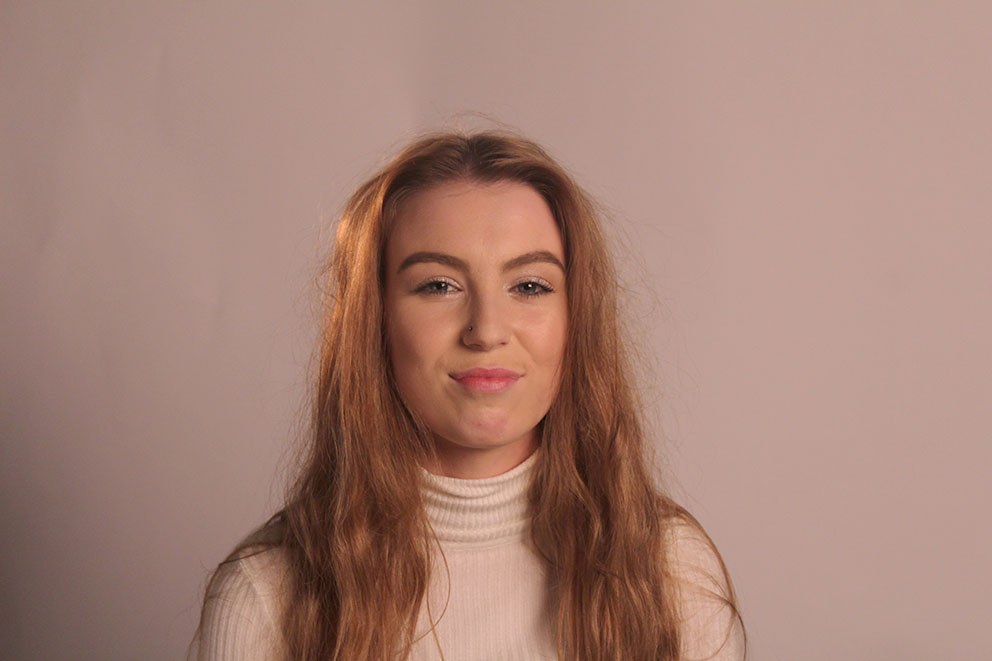
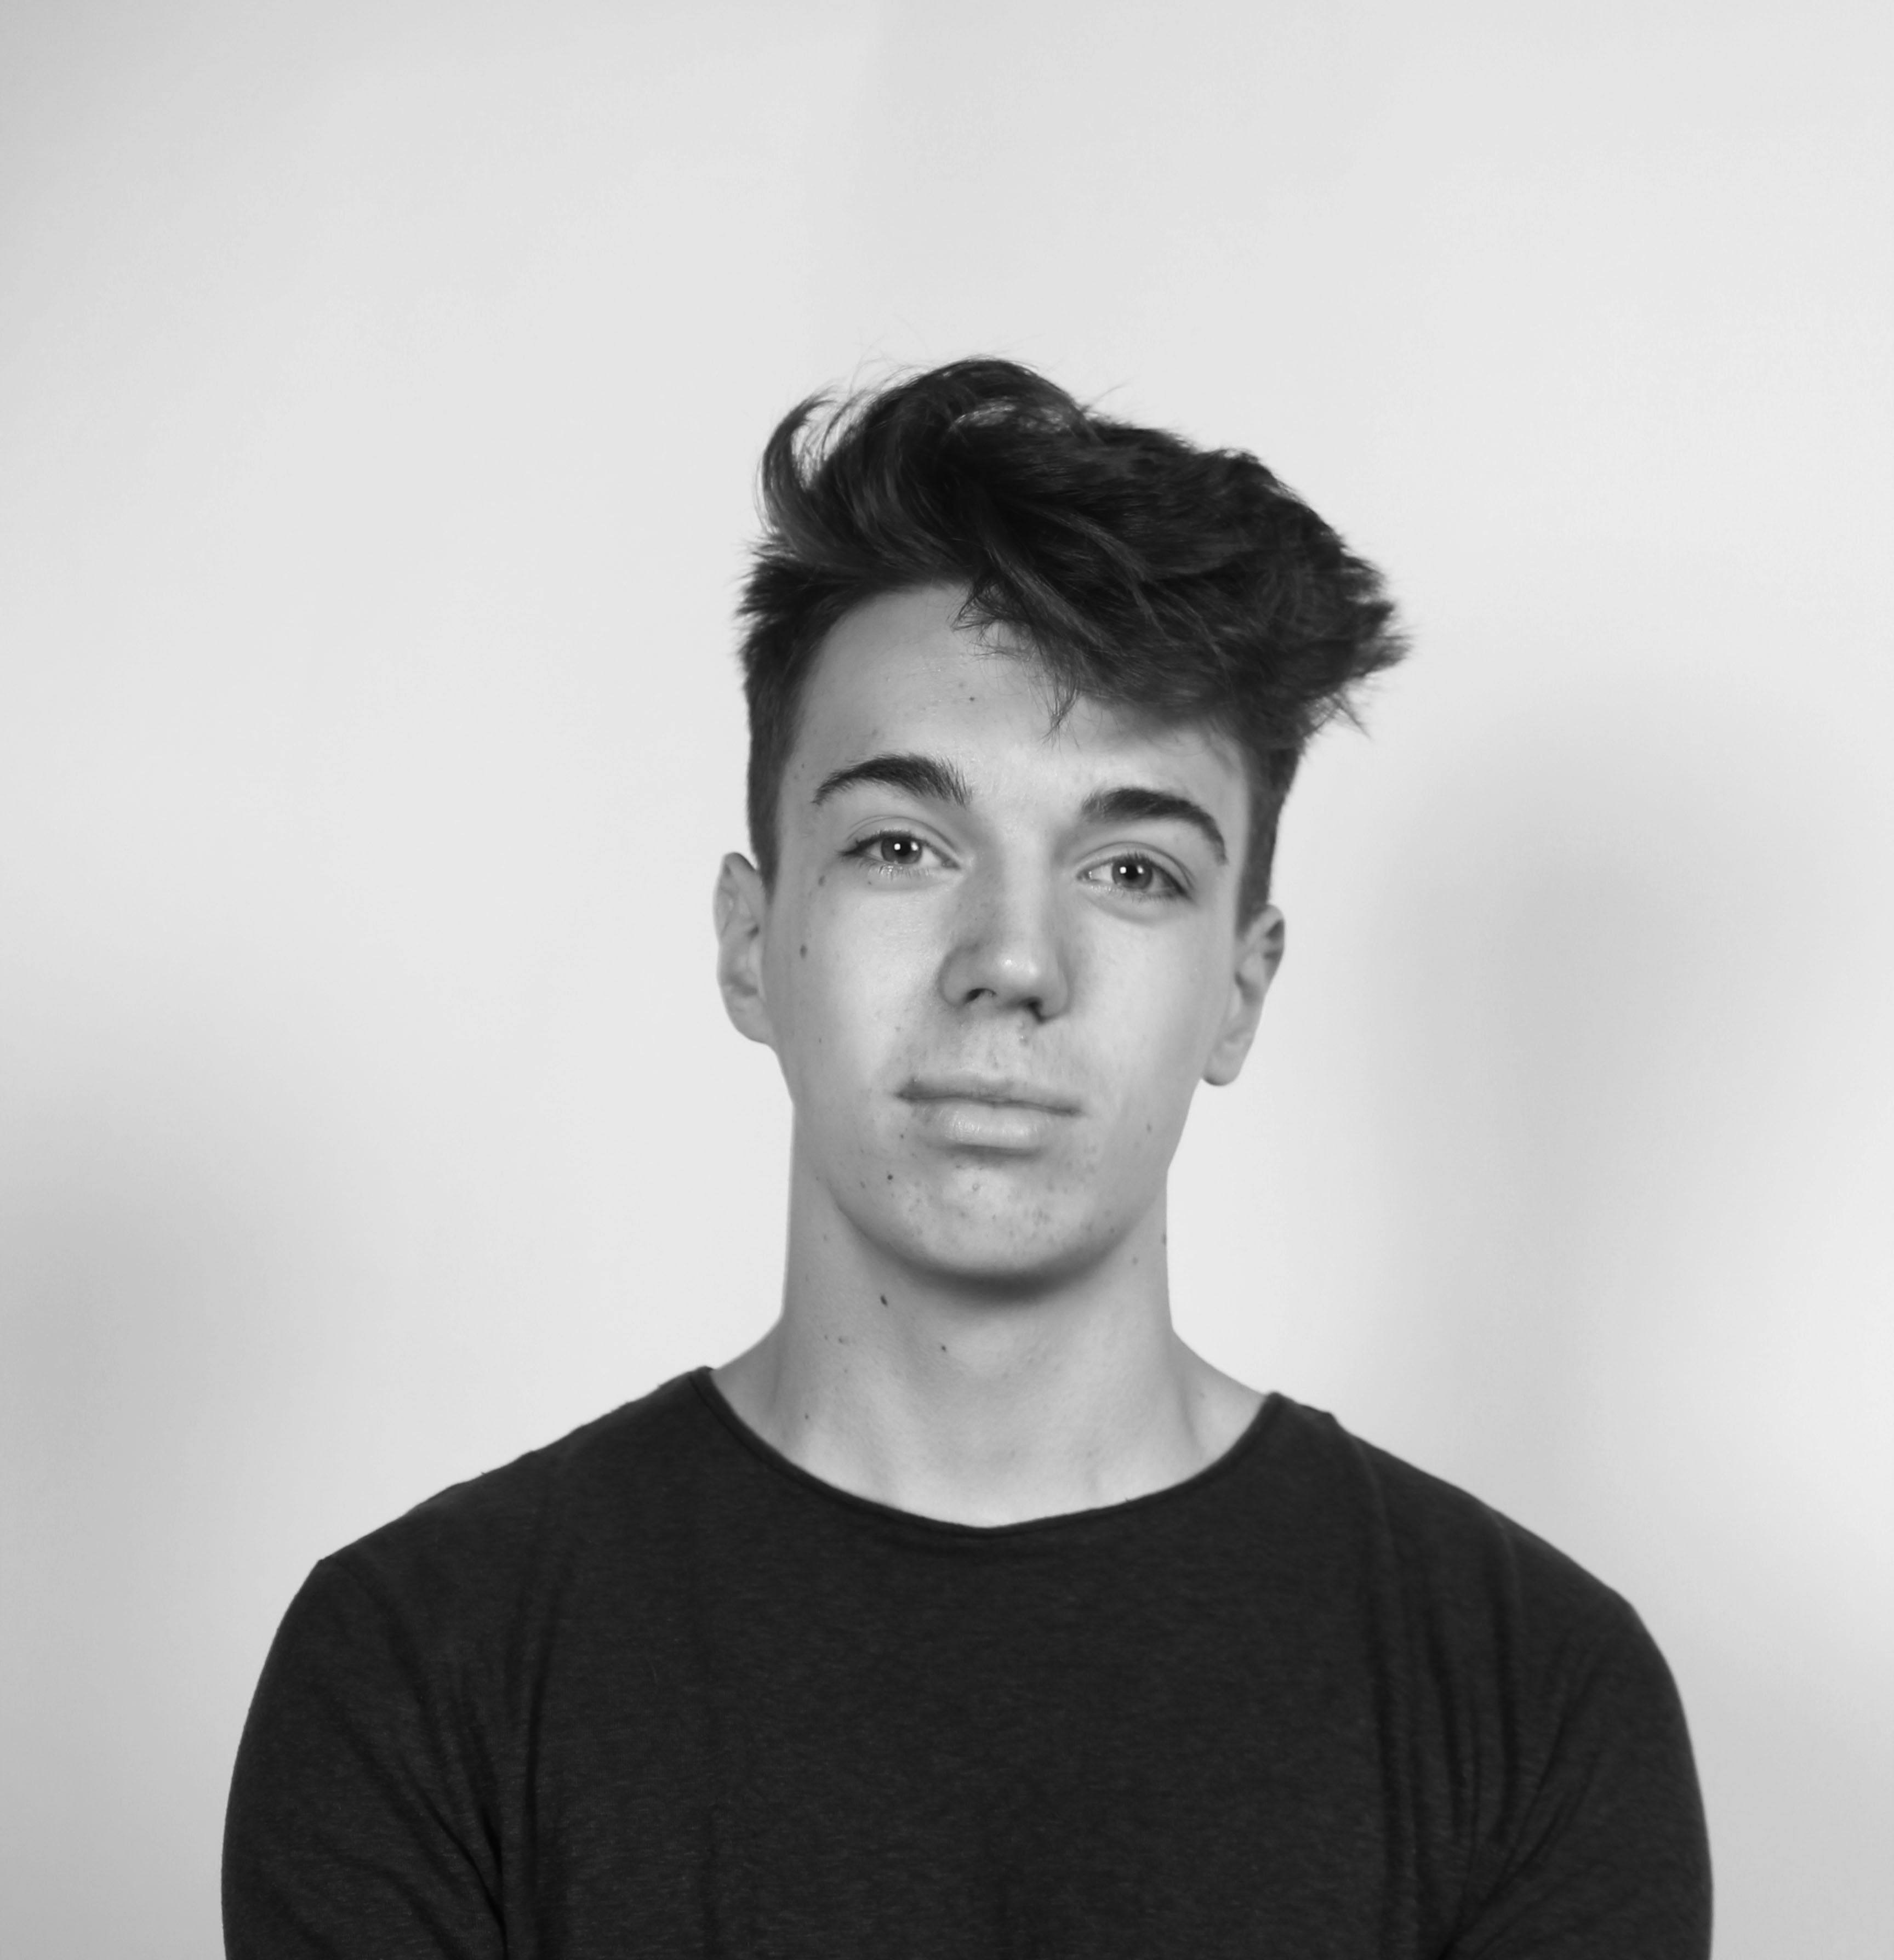
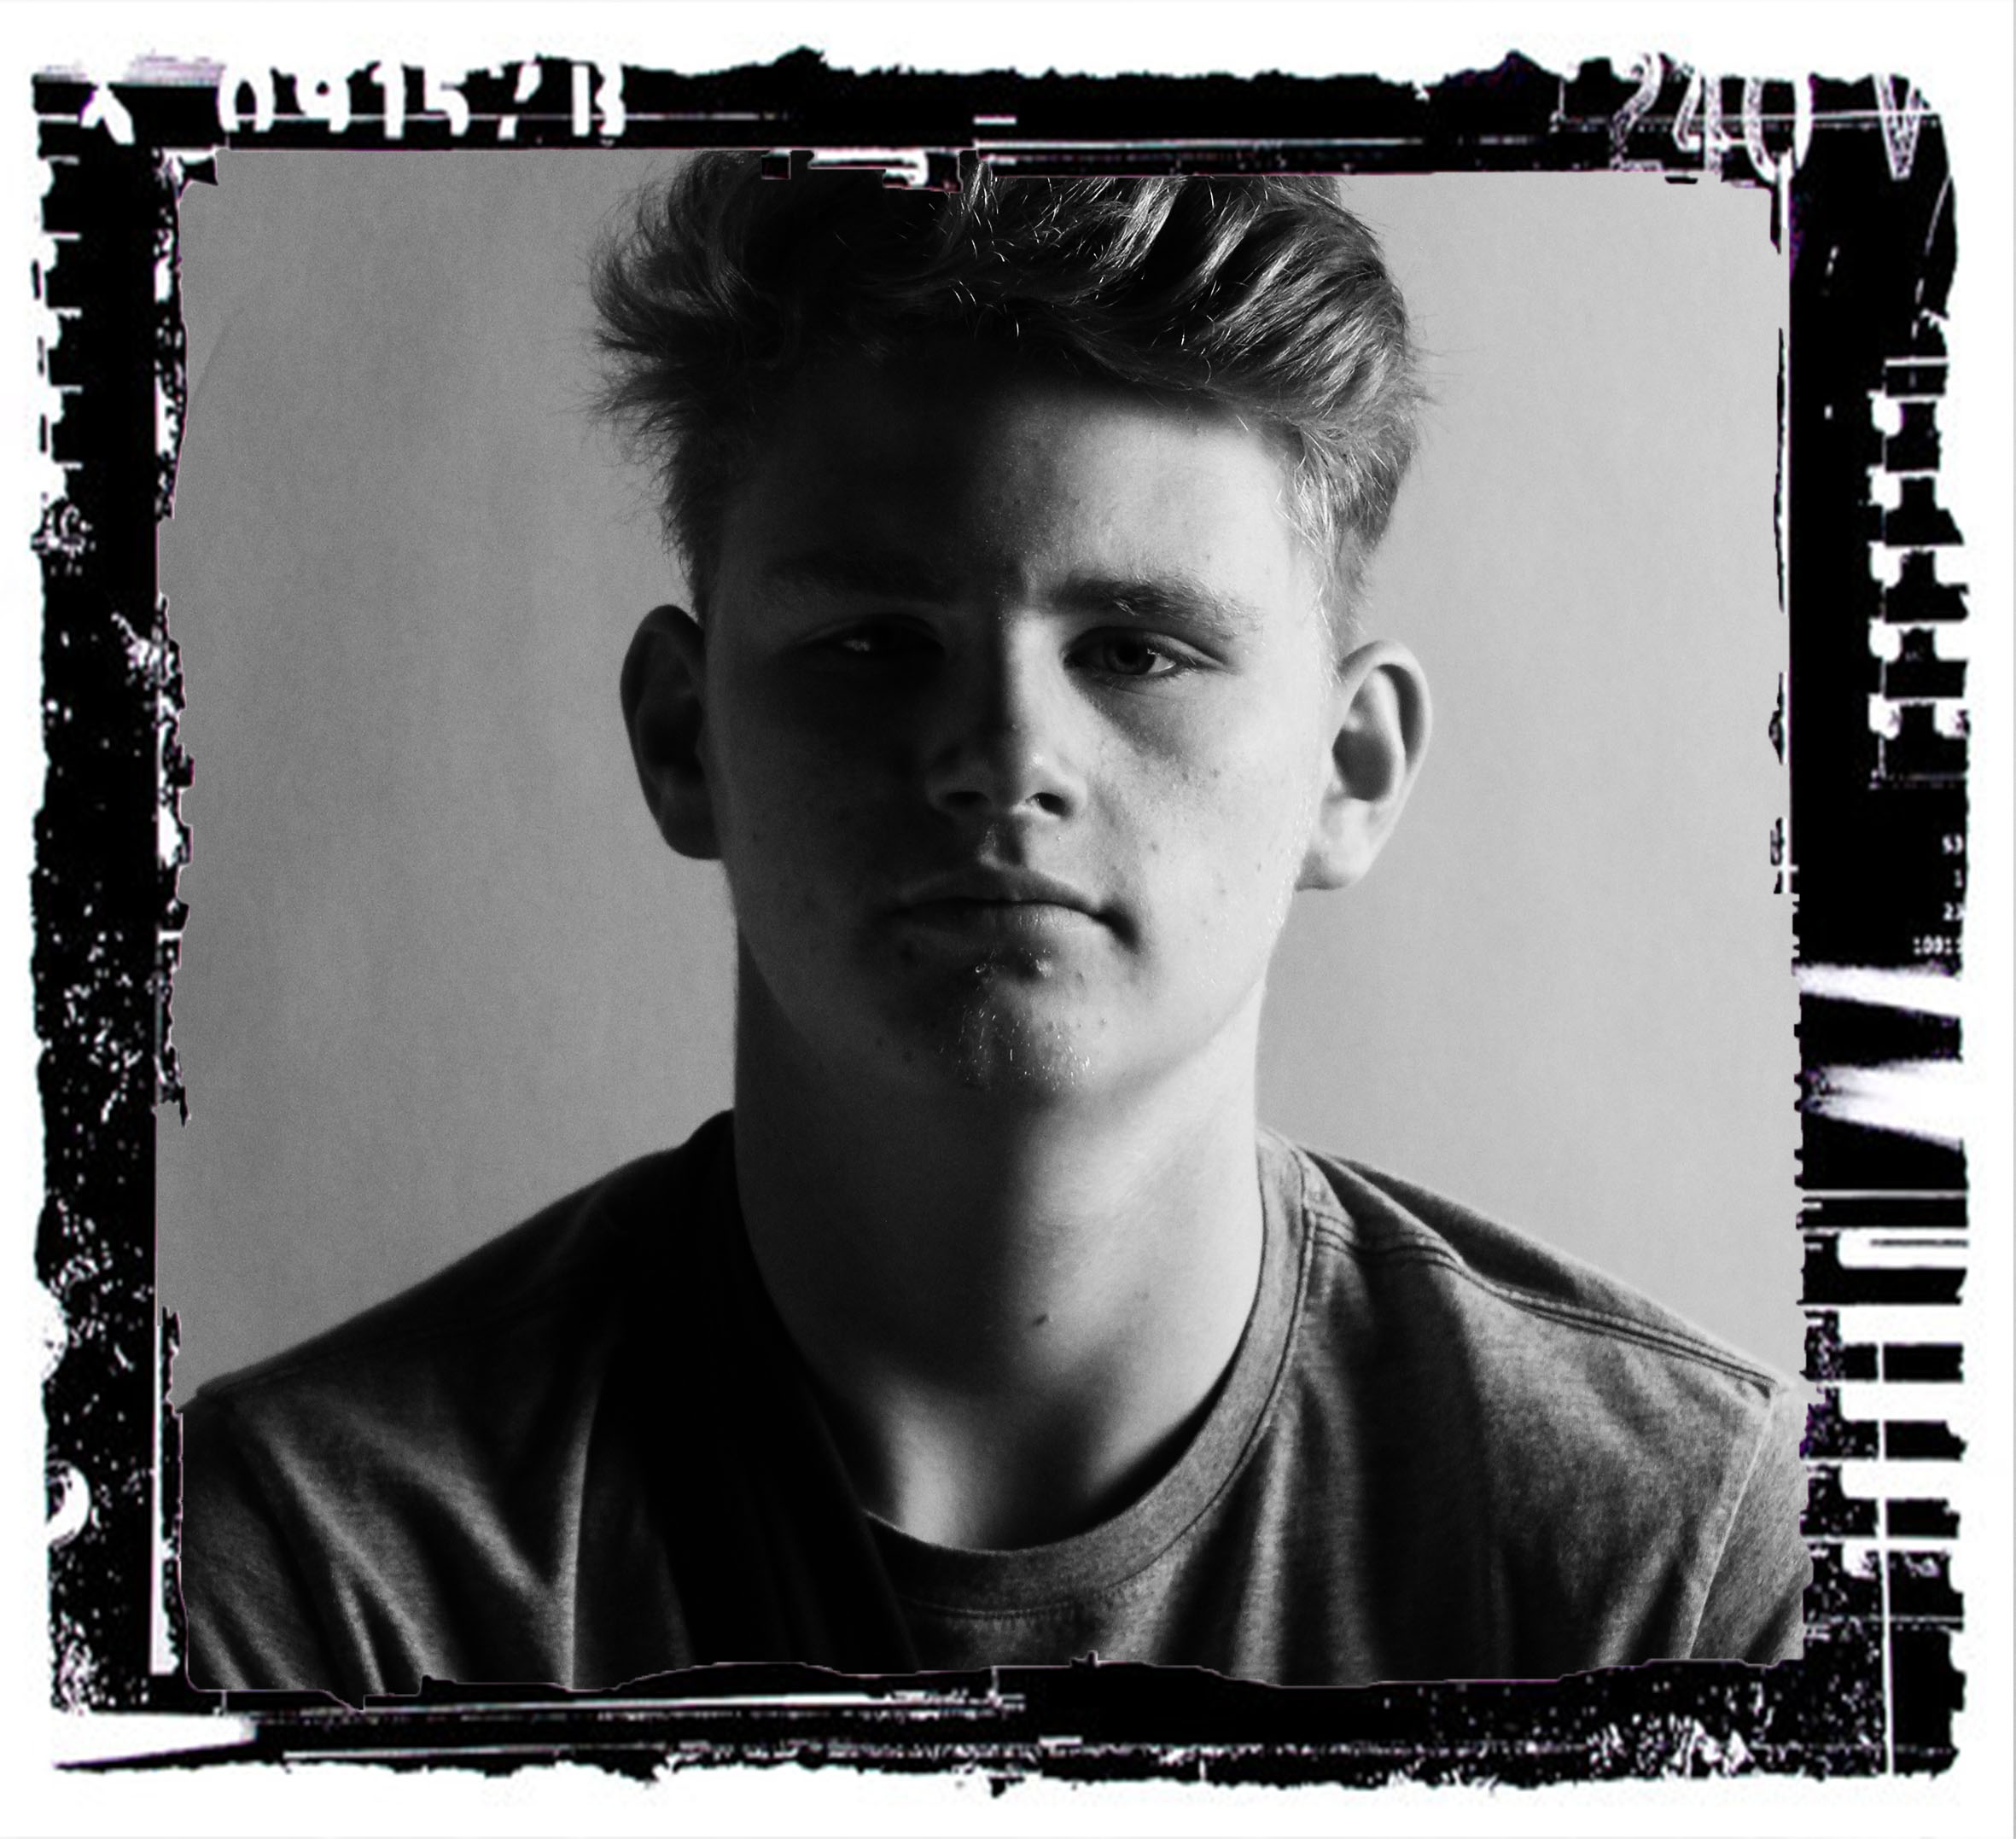
This is my image that i think i have manage to show loop light. You can see the shadow just under the nose of the left side.edit_3920


Rembrandt Lighting

Rembrandt lighting is a lighting technique that is used in studio portrait photography. It can be achieved using one light and a reflector, or two lights, and is popular because it is capable of producing images which appear both natural and compelling with a minimum of equipment.

images-42

Normally, the key light is placed high and to one side at the front, and the fill light or a reflector is placed half-height and on the other side at the front, set to about half the power of the key light, with the subject, if facing at an angle to the camera, with the key light illuminating the far side of the face.

The key in Rembrandt lighting is creating the triangle or diamond shape of light underneath the eye. One side of the face is lit well from the main light source while the other side of the face uses the interaction of shadows and light, also known as chiaroscuro, to create this geometric form on the face.

The triangle should be no longer than the nose and no wider than the eye. This technique may be achieved subtly or very dramatically by altering the distance between subject and lights and relative strengths of main and fill lights.

My Response to Rambrant Lighting:

contactsheet-001

img_0384

In the images you can clearly see a triangle of light on the left side of the face. To create the Rambrant lighting effect i used one key light source and that was a soft box at a 45 degrees angle so that most of the light was just on the right apart from the small triangle on the right.

Photoshop Experimentation and editing

Original image i used to edit

2-face-josh-before

Color Overlays, Texture Overlays and Framing

Here I have experimented and editing the same picture multiple times. The top left corner I have used the color solid tool, chosen a blue color, used the opacity tool to decrease to 45%, then used the color dodge tool that made those colors extreme and finally I used the brush to to bring back some of the original picture on half of his face.For the top right photo I used the color solid tool, chose a light red color, decreased the opacity to 50%, then selected the difference tool. These are both types of color overlays.  For the picture at the bottom left corner I got a picture of old stripped vintage wallpaper that I placed on top of the picture, decreased the opacity to 65%, used the difference tool and finally used the brush tool to bring back some of the original picture on his right eye. However, the opacity was 75% which allowed for only some of the original picture to be shown. This is is a type of texture overlay. The bottom right is my framed photo. For this photo I turn the original photo black and white then increased the contrast dramatically to match the black and white frame. I found the frame from the internet and copied it in, I then removed the background by making a new layer and deleting the original.