The Three Point Lighting Technique is a standard method used in visual media such as video, film, still photography and computer-generated imagery. The technique uses three lights called the key light, fill light and back light. The main principles of the technique are still doable whilst using two or even one light source.
The Key Light is the main light. It is usually the strongest and has the most influence on the look of the scene. It is placed to one side of the camera/subject so that this side is well lit and the other side has some shadow.
The Fill Light is the secondary light and is placed on the opposite side of the key light. It is used to fill the shadows created by the key. The fill will usually be softer and less bright than the key. To achieve this, you could move the light further away. You might also want to set the fill light to more of a flood than the key.
The Back Light is placed behind the subject and lights it from the rear. Rather than providing direct lighting (like the key and fill), its purpose is to provide definition and subtle highlights around the subject’s outlines. This helps separate the subject from the background and provide a three-dimensional look.
We did our own photo shoot using the three point lighting technique. For the Light sources we used continuous lighting as it was easier to position the lights in the right places. The set up of our shoot was very slimier to the image above. Our model was placed in the center of all the lights to begin with. We had our Key light facing the right side of the models face. Our fill light was facing the opposite side, with the back light coming from directly behind the model.
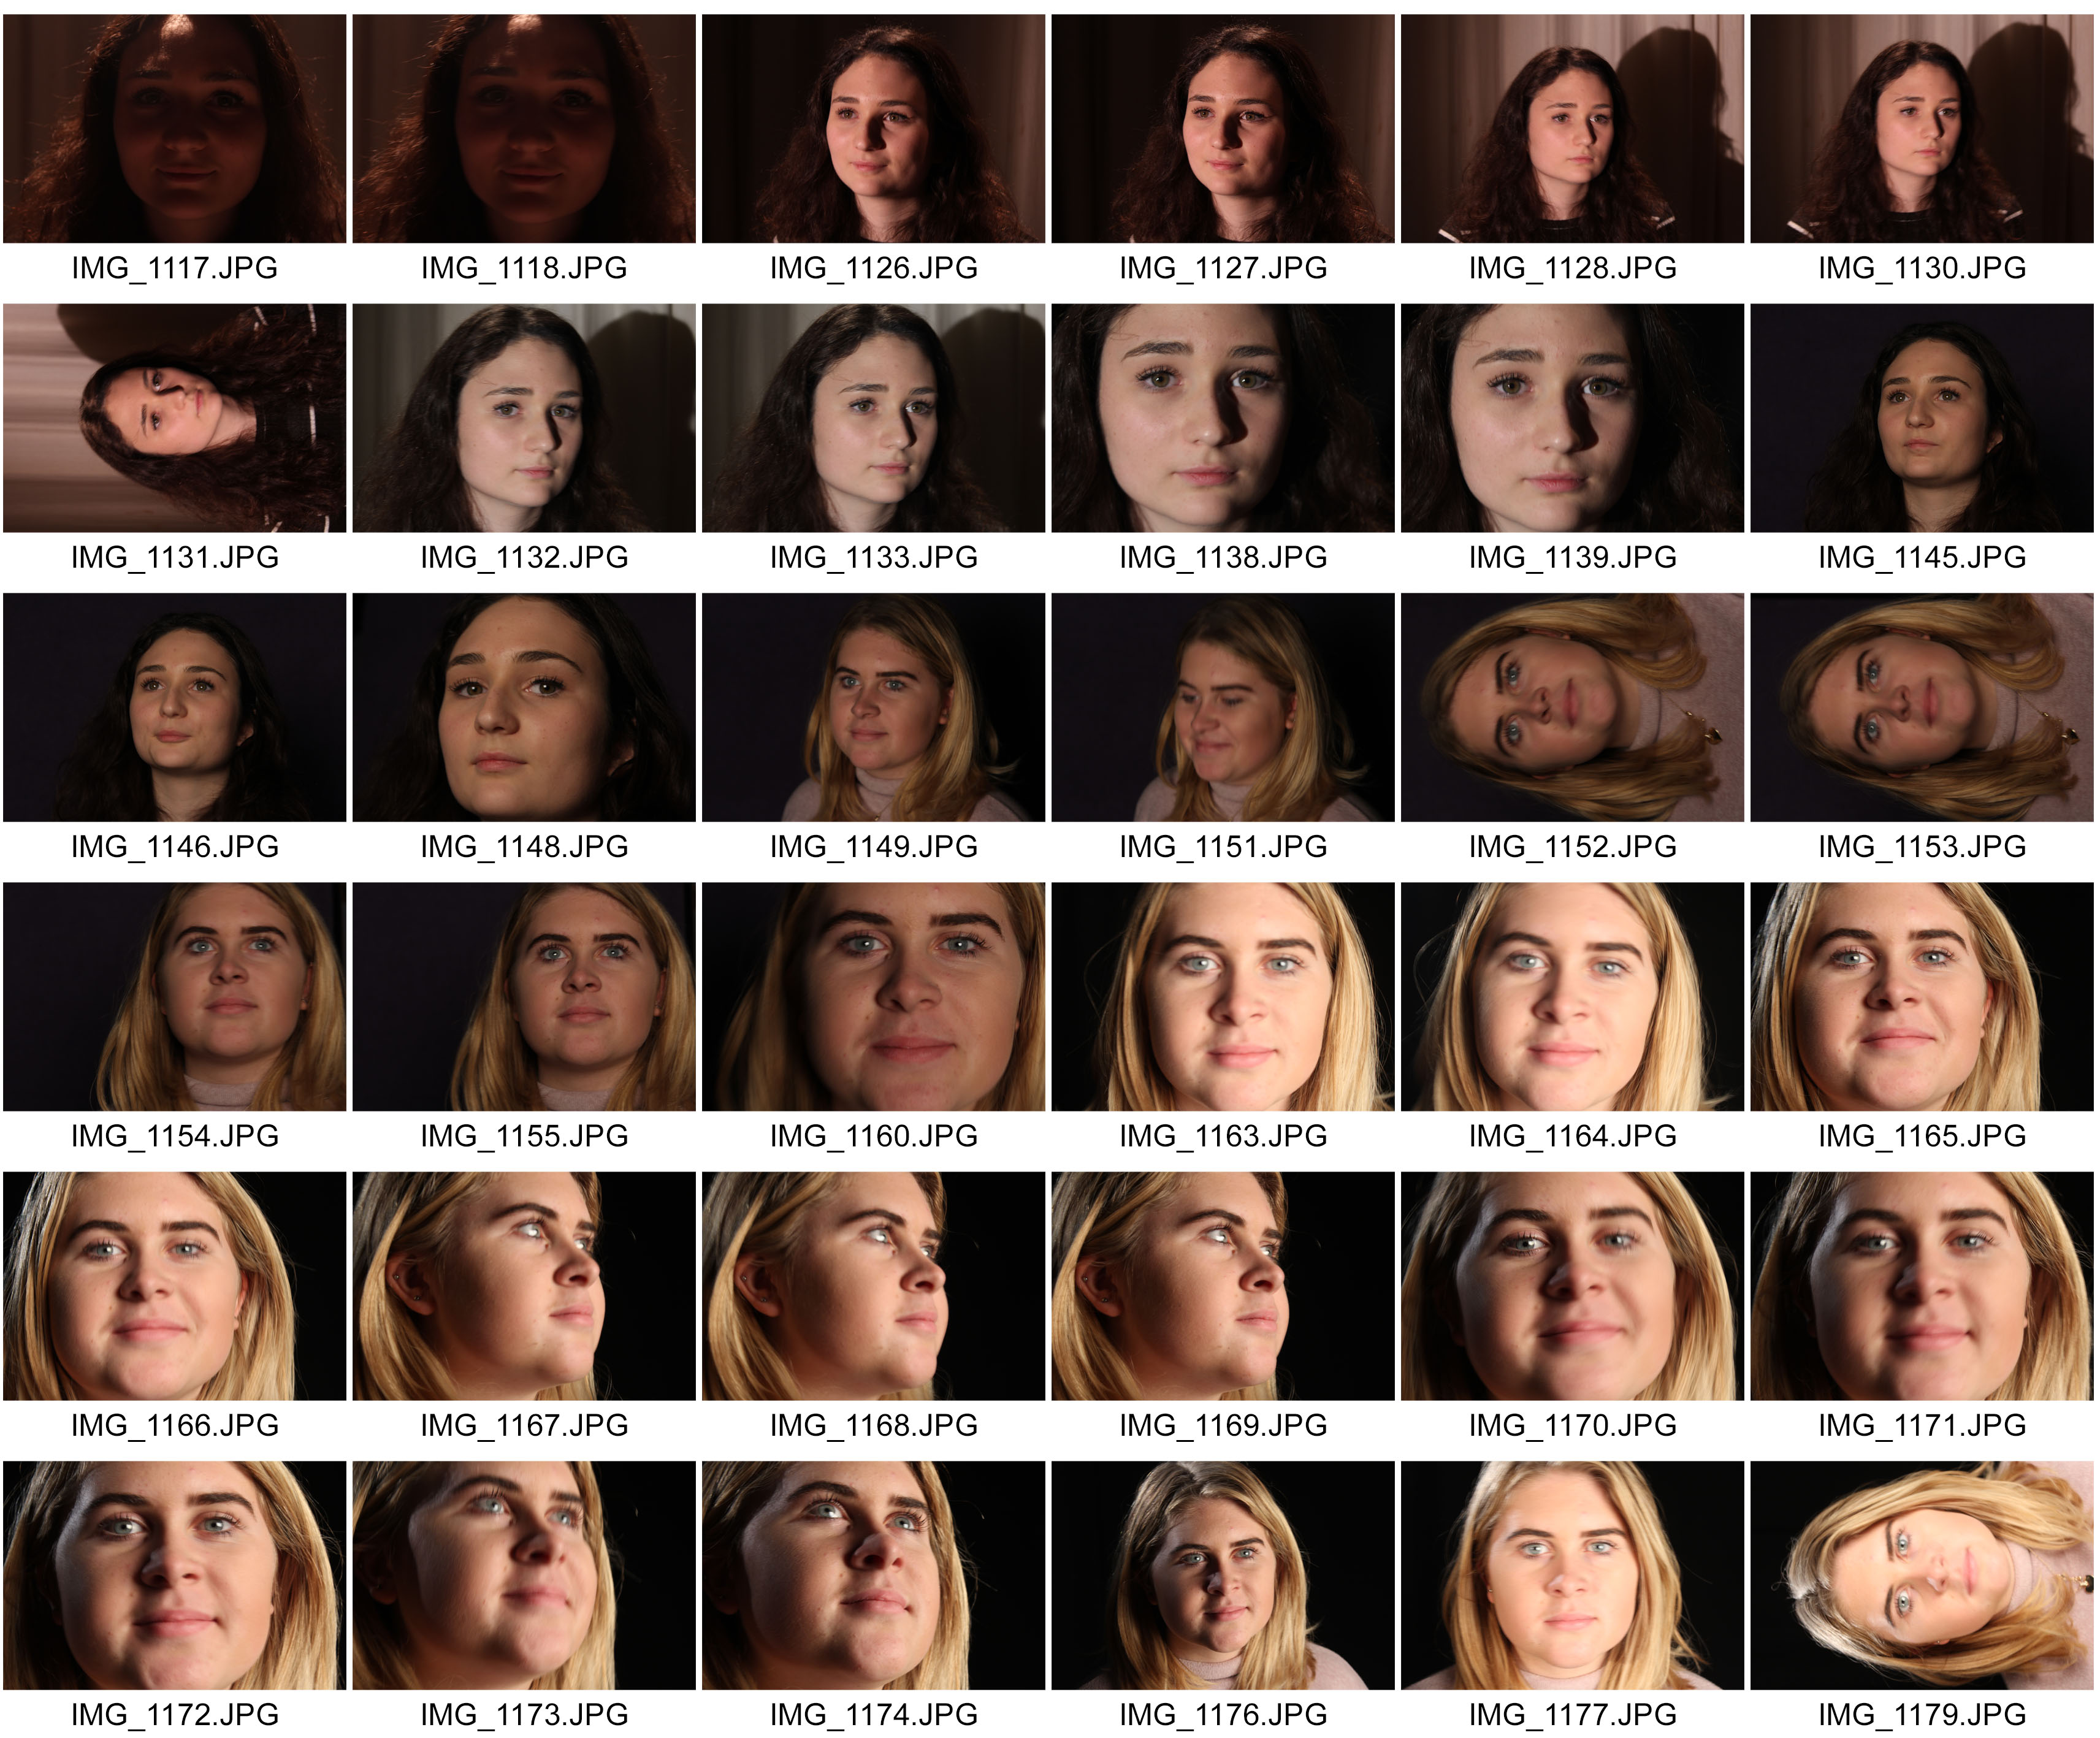
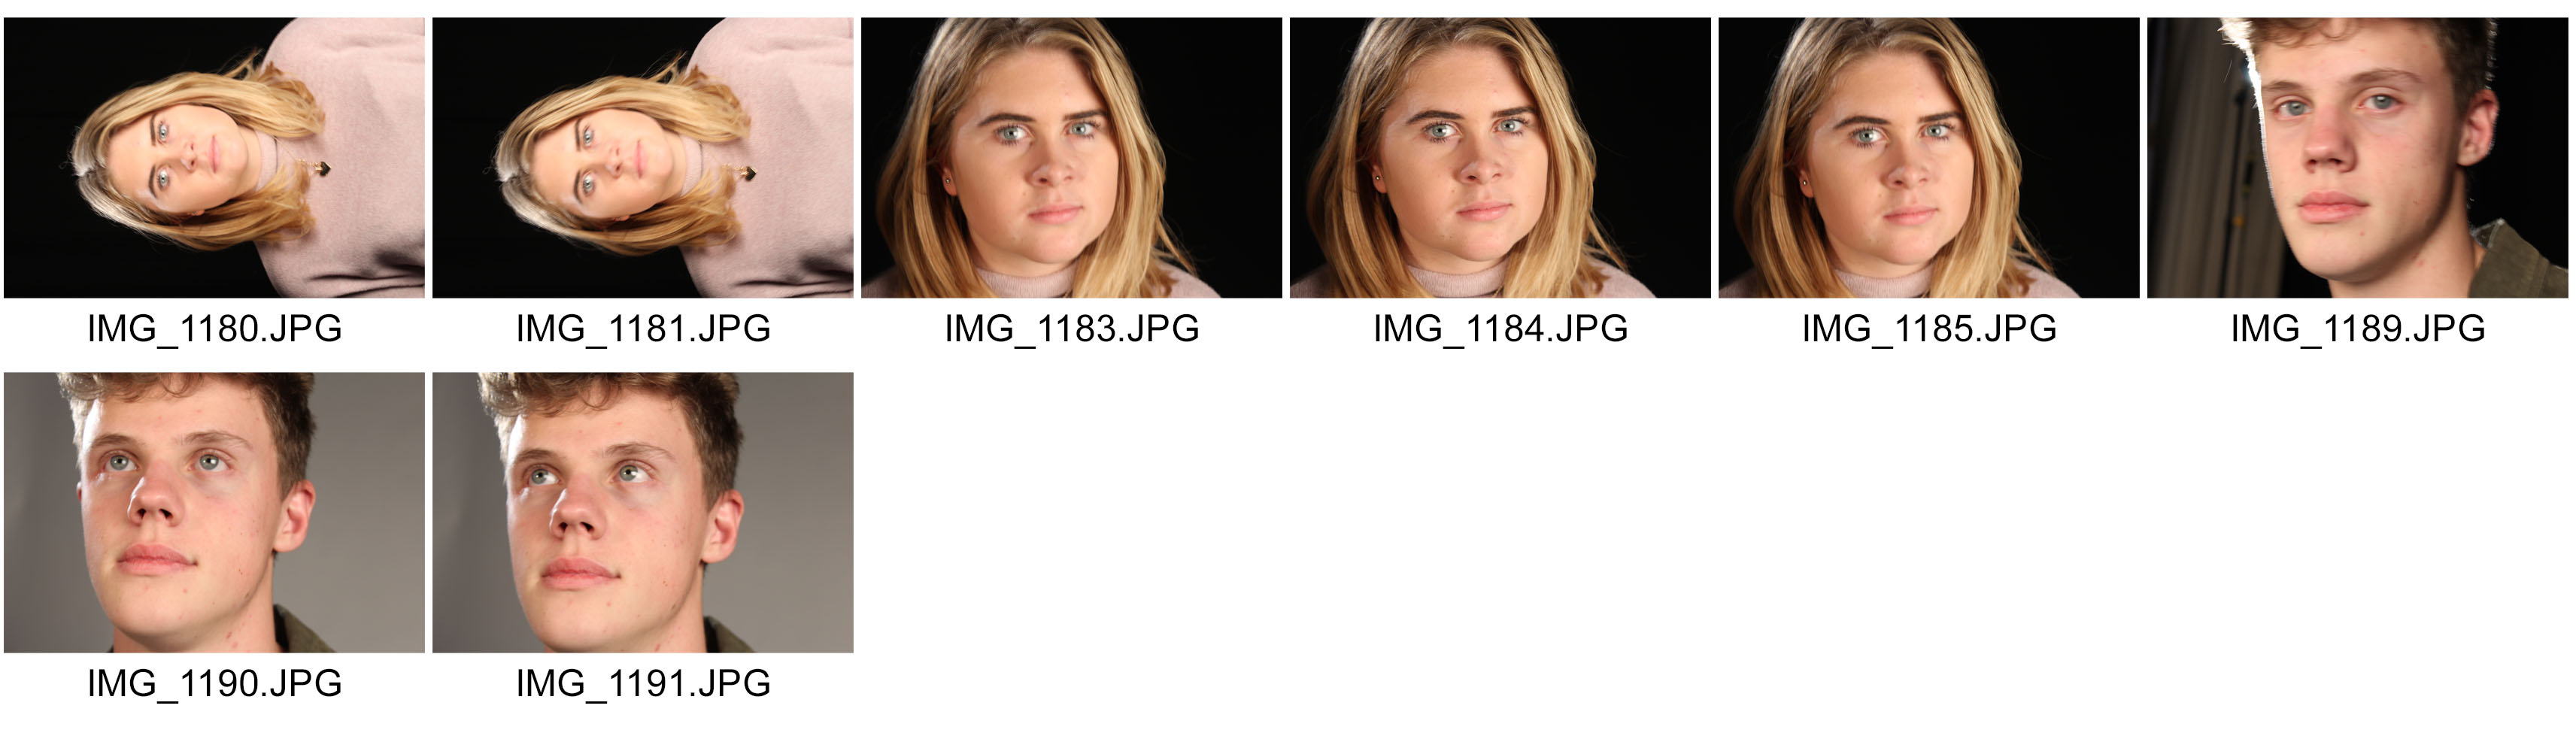
My camera settings throughout the whole shoot was set on 1/80 shutter speed. The ISO was on 100, the f/ was on 5.6 and the white balance was on tungsten. Here is the Contact Sheet for the photo shoot.
During the shoot we experimented with the lighting by changing the brightness and gradually changing the position of each light source. For the first couple of images, we only had the Back Light on to see what effects we could create.
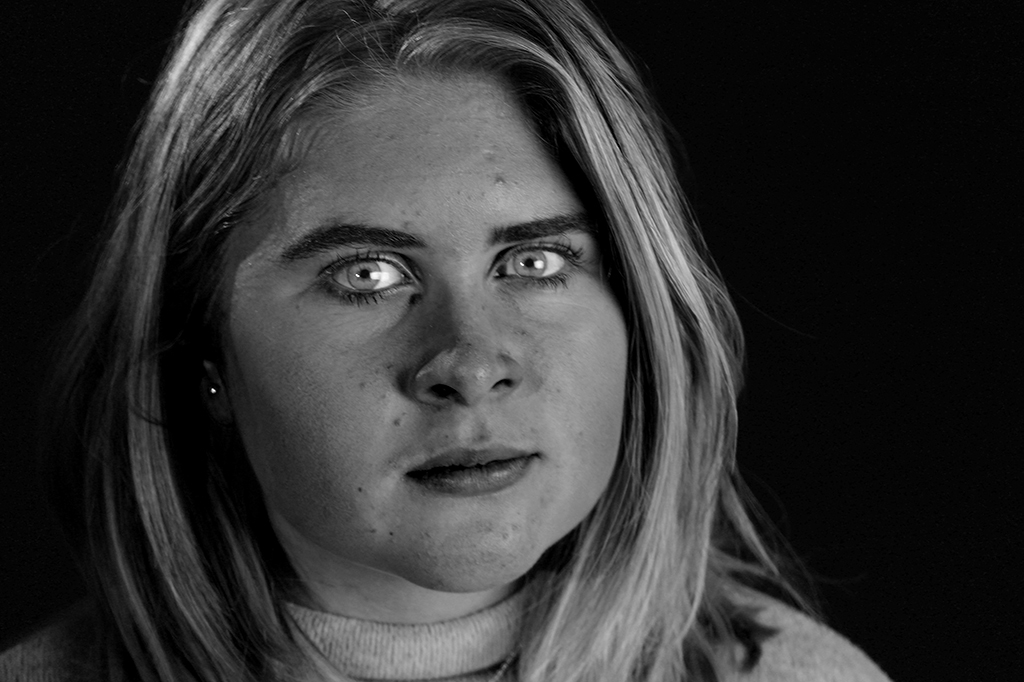
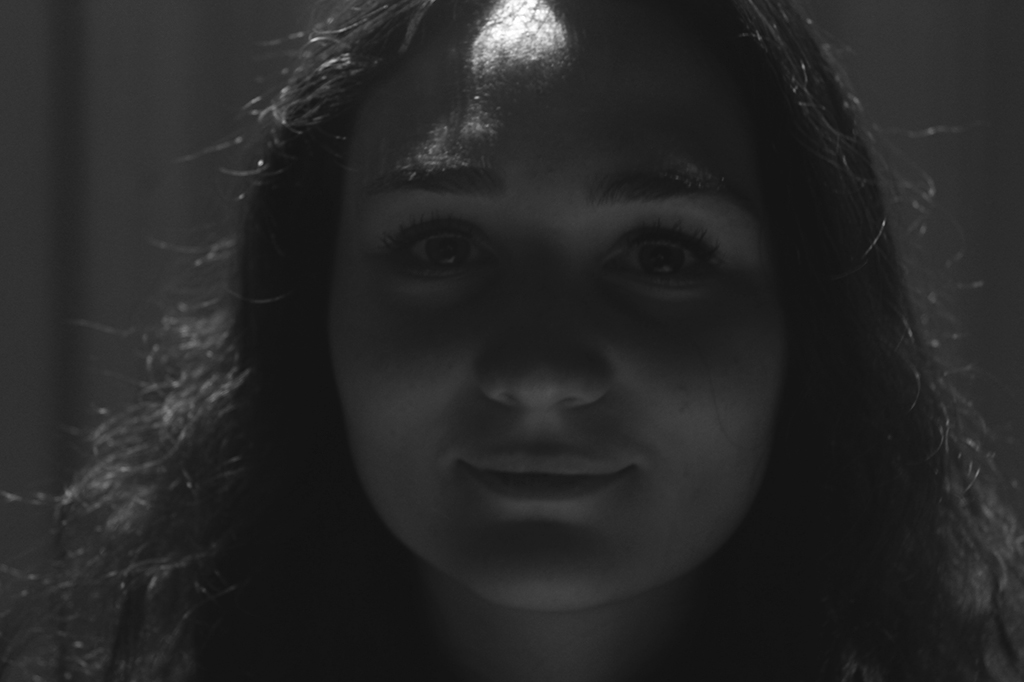
This is one of the edited versions of the image created by only having the back light on. The light is coming from behind the model, so her face is not illuminated properly. The contrast between the light and the shadow is poor, and there is no definition of her features. We decided to add the Key Light as well as the Back Light to see how this would improve the quality of the image.
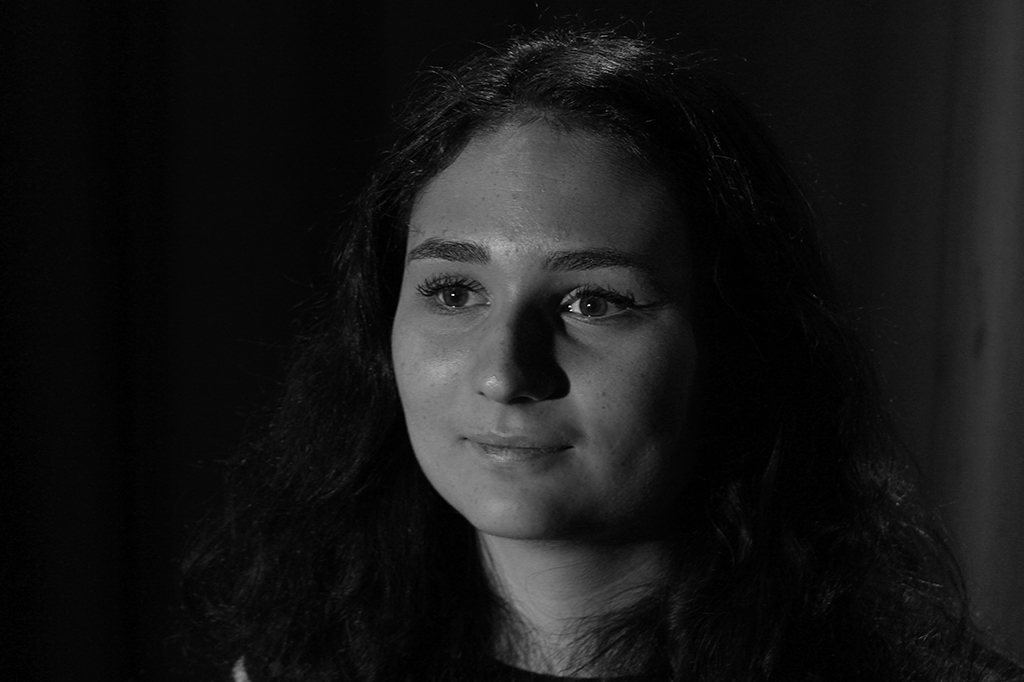
Here is the image taken when using the Back Light and the Key Light. The models face is illuminated much better, and there is a greater definition of her features. There is a clear difference between the dark and the light, and we are still capable of see the mode’ls portfolio as Back Light is illuminating the back if her head. However, the Key Light is creating shadows on the Left side of the model’s face, and to eliminate that we need the Fill light.
Here is an image taken using all three Light Sources. The Model is clearly separate from the background because the Back Light has highlighted the model’s back to create more depth. The features of the model are highlighted on both sides of her face because the Key Light and the Fill are both being used, and therefore shadows that would be created by the Key Light, are being diffused by the Fill Light.
Overall, I think the image that was taken with all Three Light Sources was the best outcome, and now that I have experiment with different ways of using the three point light technique, I will be able to use it in future shoots.