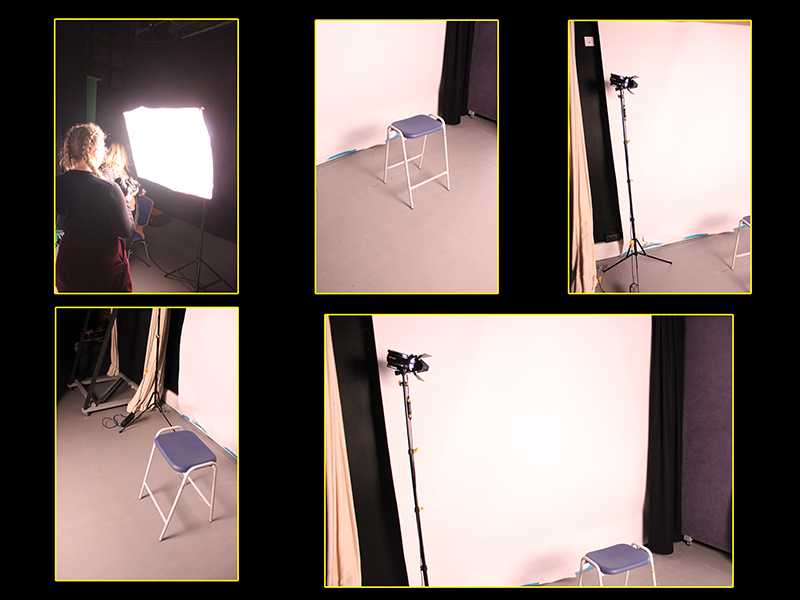
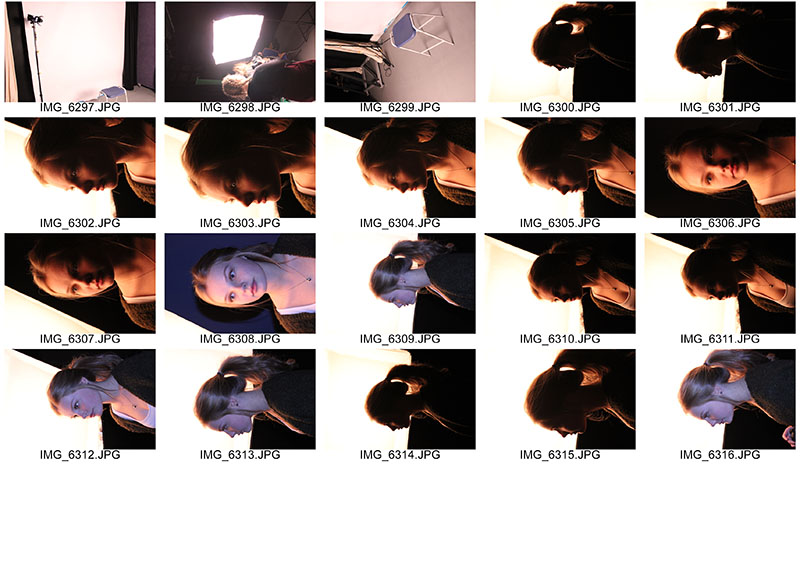
 In today’s lesson, we experimented further with studio lighting and in particular, hard and soft lighting and its effect on the photograph.
- Hard light casts shadows onto the subject; the shadows produced will have ‘harder’ edges with less transition between illumination and shadow.
- Examples of hard light sources are spotlights, direct flash and overhead fluorescent lights.
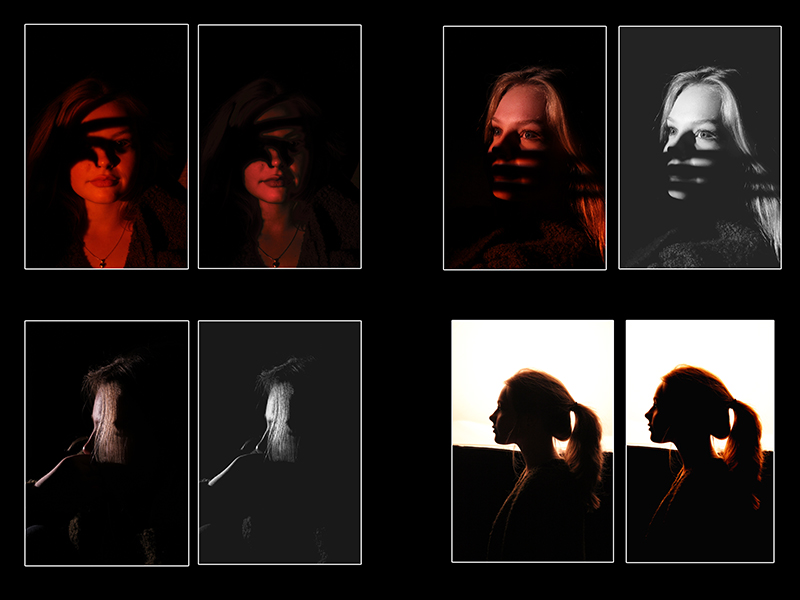
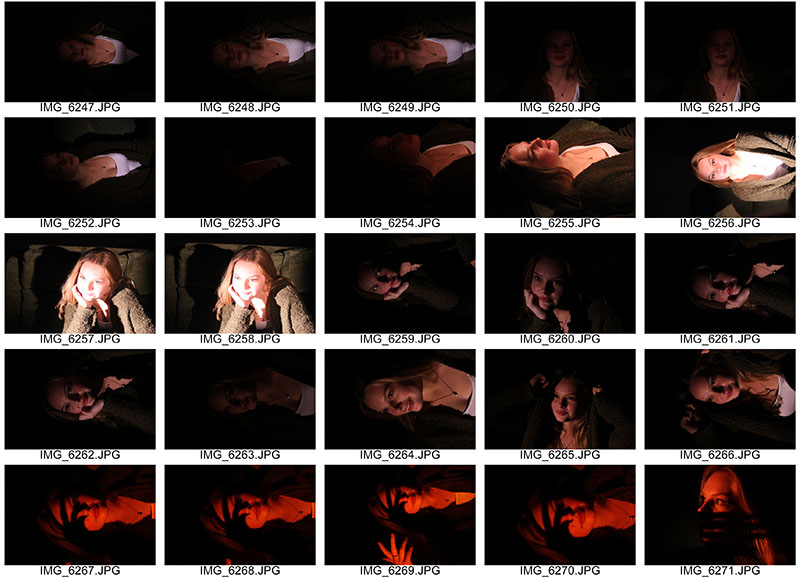
- If you are trying to create a scene that is moody, edgy, or with a lot of contrast then hard light is probably what you want to use and this is what we used today as you can see in the first 45 pictures.
- In the second half of the lesson, we experimented with soft light also.
- Soft light is light that tends to “wrap” around objects, casting diffuse shadows with soft edges. Soft light is when a light source is large relative to the subject.
- Examples of soft light are: a cloudy day, a light with a shade, sunlight coming through a white curtain, indirect light.
- The general rule for soft light is that the larger the light source is the softer it is. Soft light is the most flattering type of light for portraits.
Hard light: we used a black backdrop and a two sources of studio light to cast shadows and contrasts on the models face. This created silhouettes of one side of her face and created a moody atmosphere. We then asked the model to use hand gestures to create more of a character for the images and the gestures she made cast shadow on to her face which had a great effect. Furthermore, we also used coloured gels over the source of light to make it more eye-catching and I much prefer this effect because it looks more fun and obscure. At first, we used two studio lights – one at either side of the model, however, we soon realised that this wasn’t providing us with the result we wanted because we couldn’t get the right contrast and so we removed one of the lights.
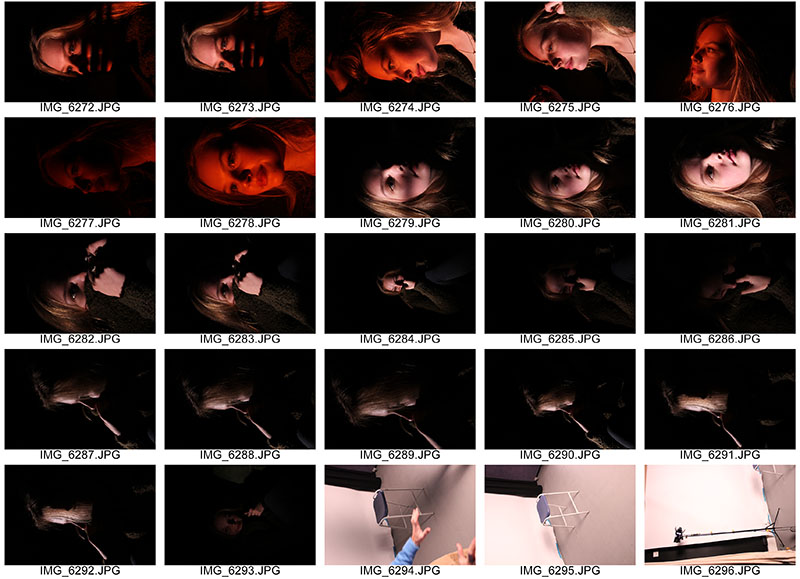
Soft light: provides a much more forgiving look compared to the hard light and the light is not as harsh-looking and therefore is not as much of a contrast which, in a way, I prefer because the mood of each image is less edgy and is more warming mainly due to the orange/brown colours achieved from this soft light.
When experimenting with soft light, we also used flash to see what the affect would be on the images. Using a flash gave an even spread and distribution of light across the subject and around the frame which also gave it less of a moody atmosphere and makes the image seem more pure due to the white spread of light. You can see the difference between hard light and soft light very evidently and they both give off very different tones and atmospheres so can be used for completely different purposes.
However, I really like the use of hard light over soft light because of the contrasts between blacks and the lighter colours of your subjects face. When using hard light, you can experiment with shadows and this is what we did in the shoot. It turned out really well and looks really effective, especially with the different colour lighting.
Overall, I am happy with the turn-out of this shoot because it has given me a better understanding of the terms soft and hard light and how to use the in photography but if I was to do it again I would look further into soft light and try to get better results because I didn’t get a great chance to capture shots with this technique. My knowledge of Chiaroscuro, Rembrandt and hard light is more advanced because they can all come under one skill as they are similar.
