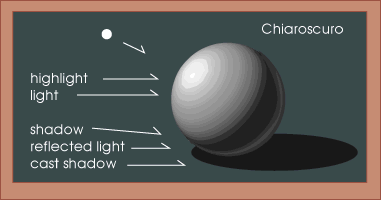
What is chiaroscuro lighting?
It is an effect of contrasted light and shadow created by light falling unevenly or from a particular direction on an object.
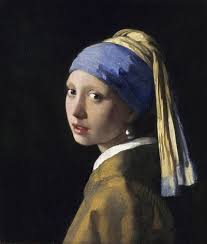
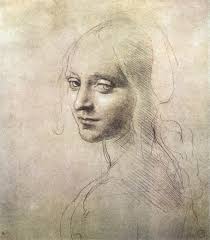
The term chiaroscuro is derived from the renaissance times; it is an oil painting technique, developed during the Renaissance, that uses strong contrasts between light and dark to model three-dimensional forms, often for a dramatic effect. An artist known for developing the technique is Leonardo Da Vinci.
In photography, chiaroscuro can be achieved with the use of “Rembrandt lighting”. This technique may be termed “ambient/natural lighting”, although when done for effect, the look is artificial.
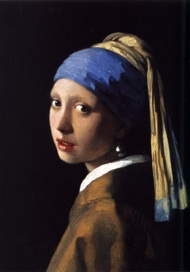
Here are some chiaroscuro drawings and oil paintings:
In today’s lesson we experimented with chiaroscuro lighting and its affect on photography, especially portraiture. We looked at examples of chiaroscuro lighting in photography as well as drawings and paintings because oil paintings is how the technique was developed. Looking at the history of this technique helped me understand what I wanted to achieve when we went to the studio.
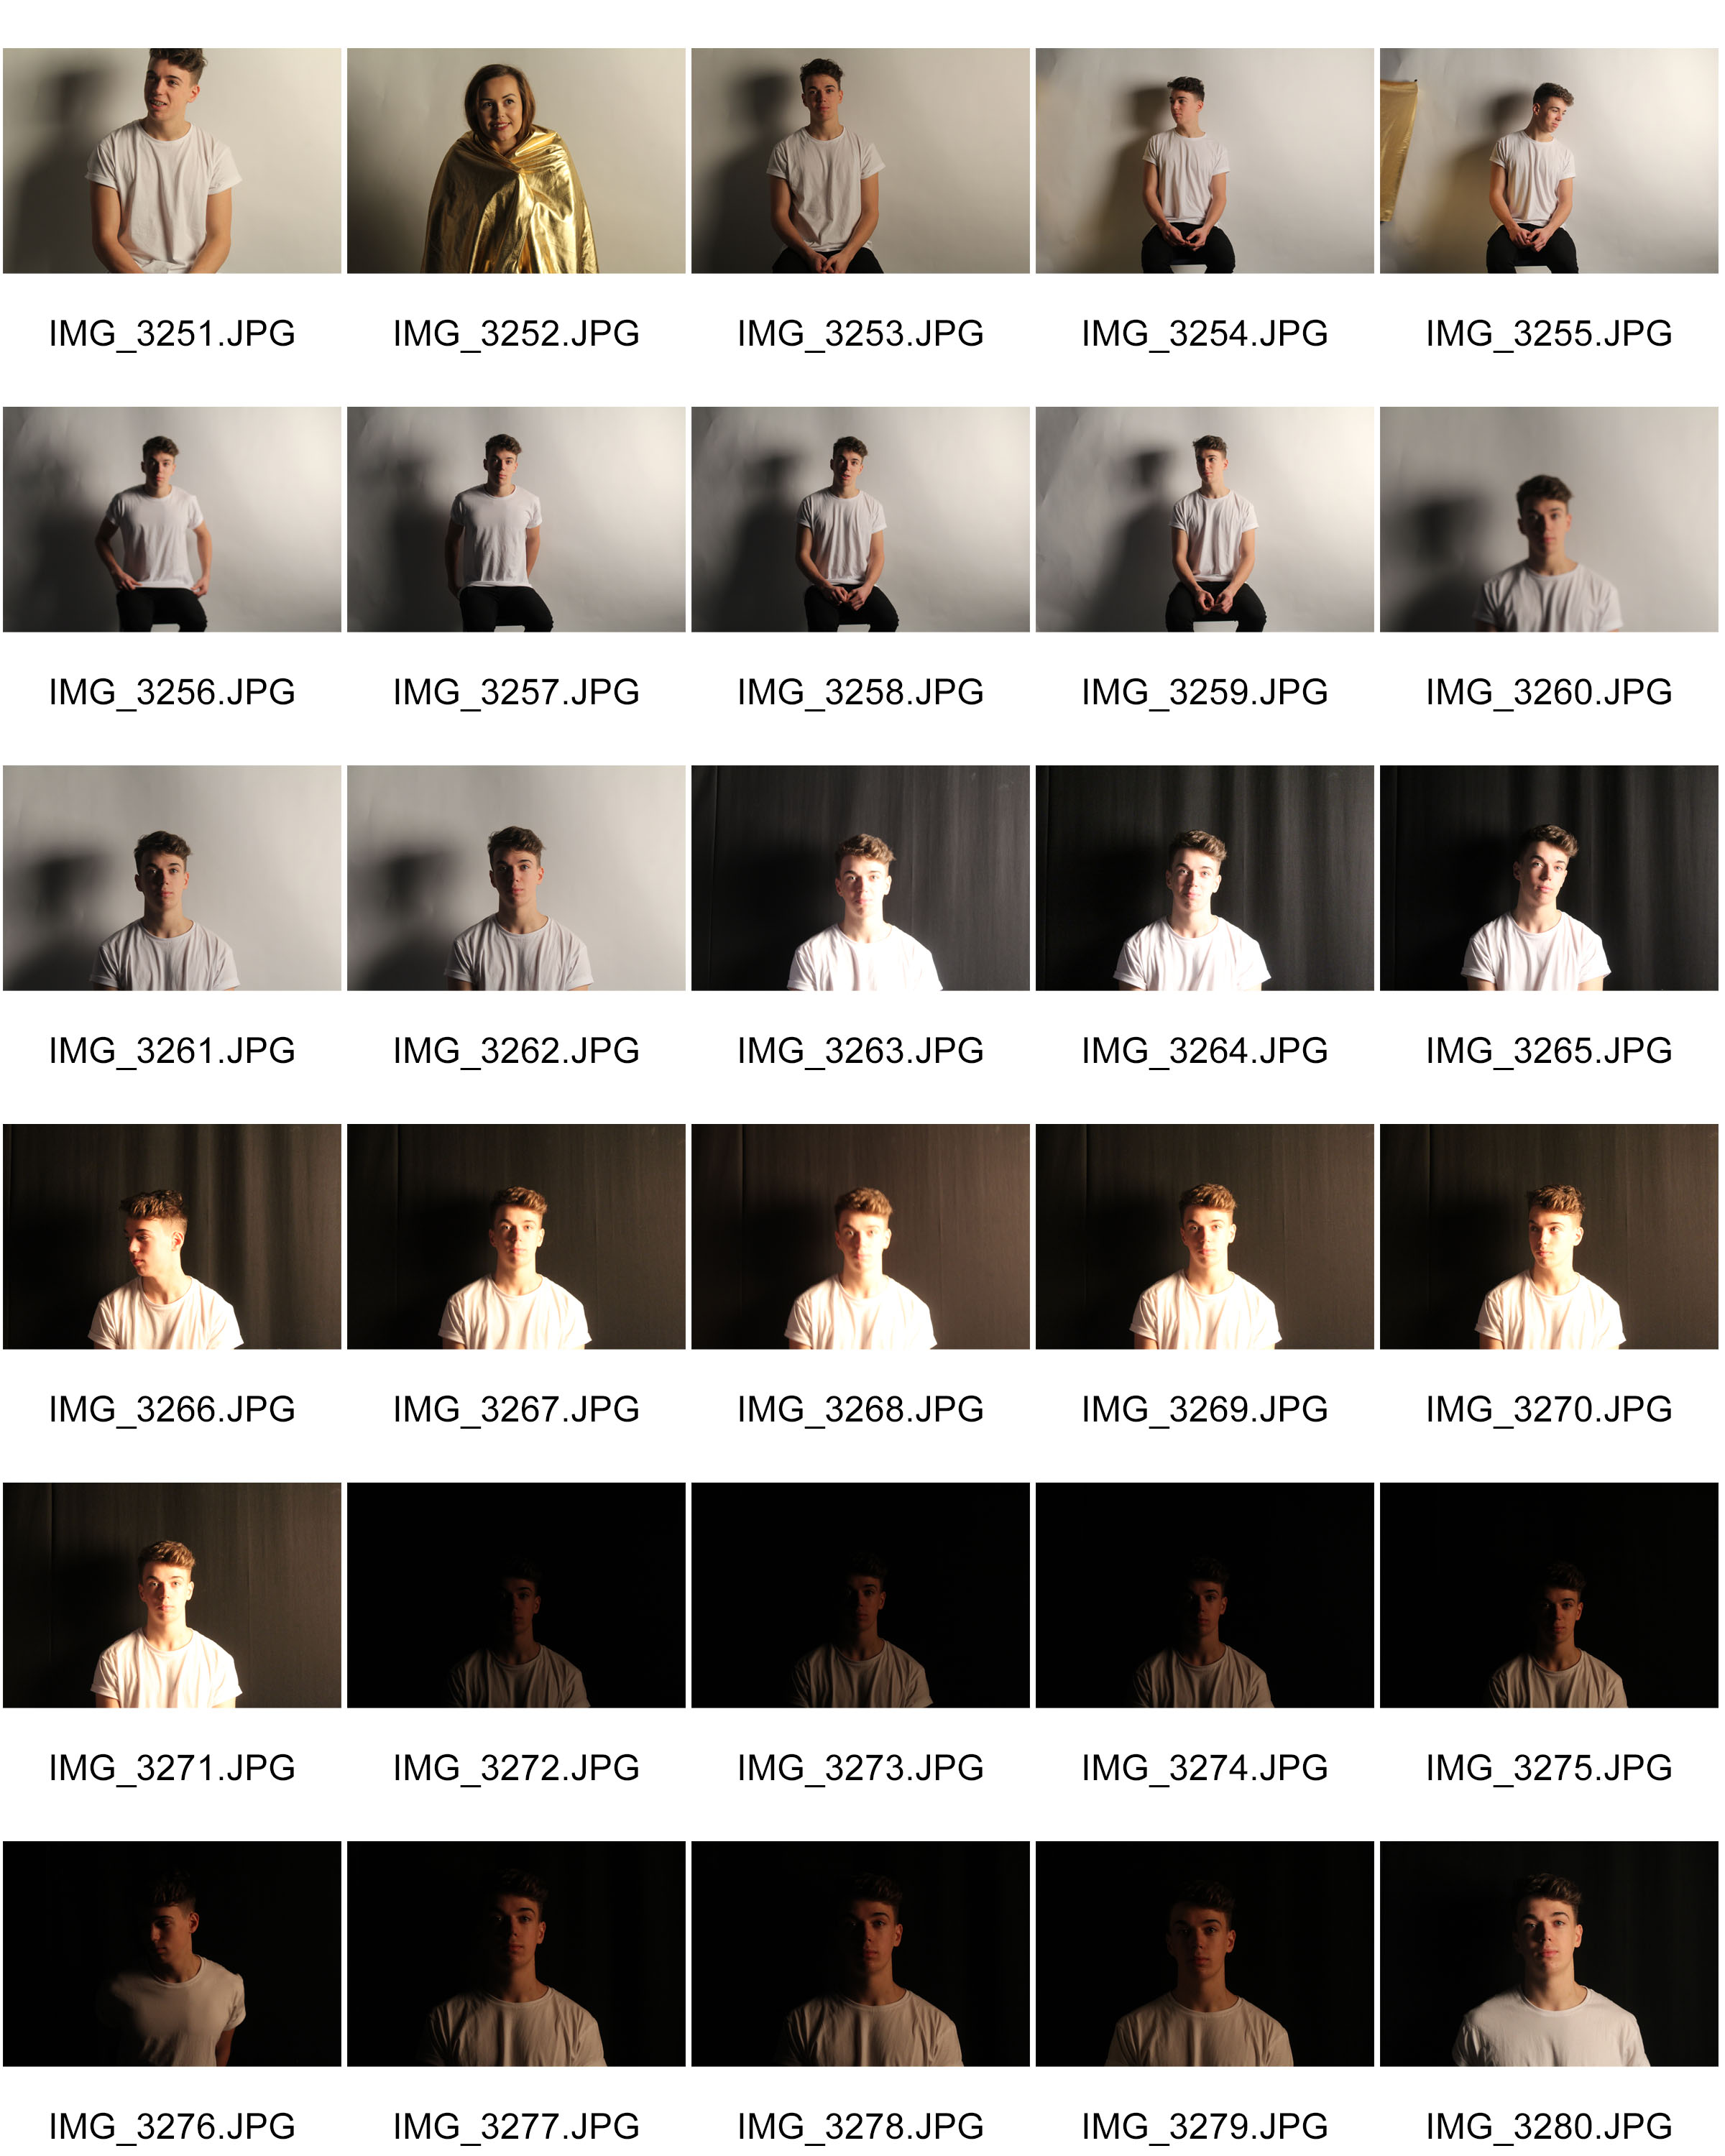
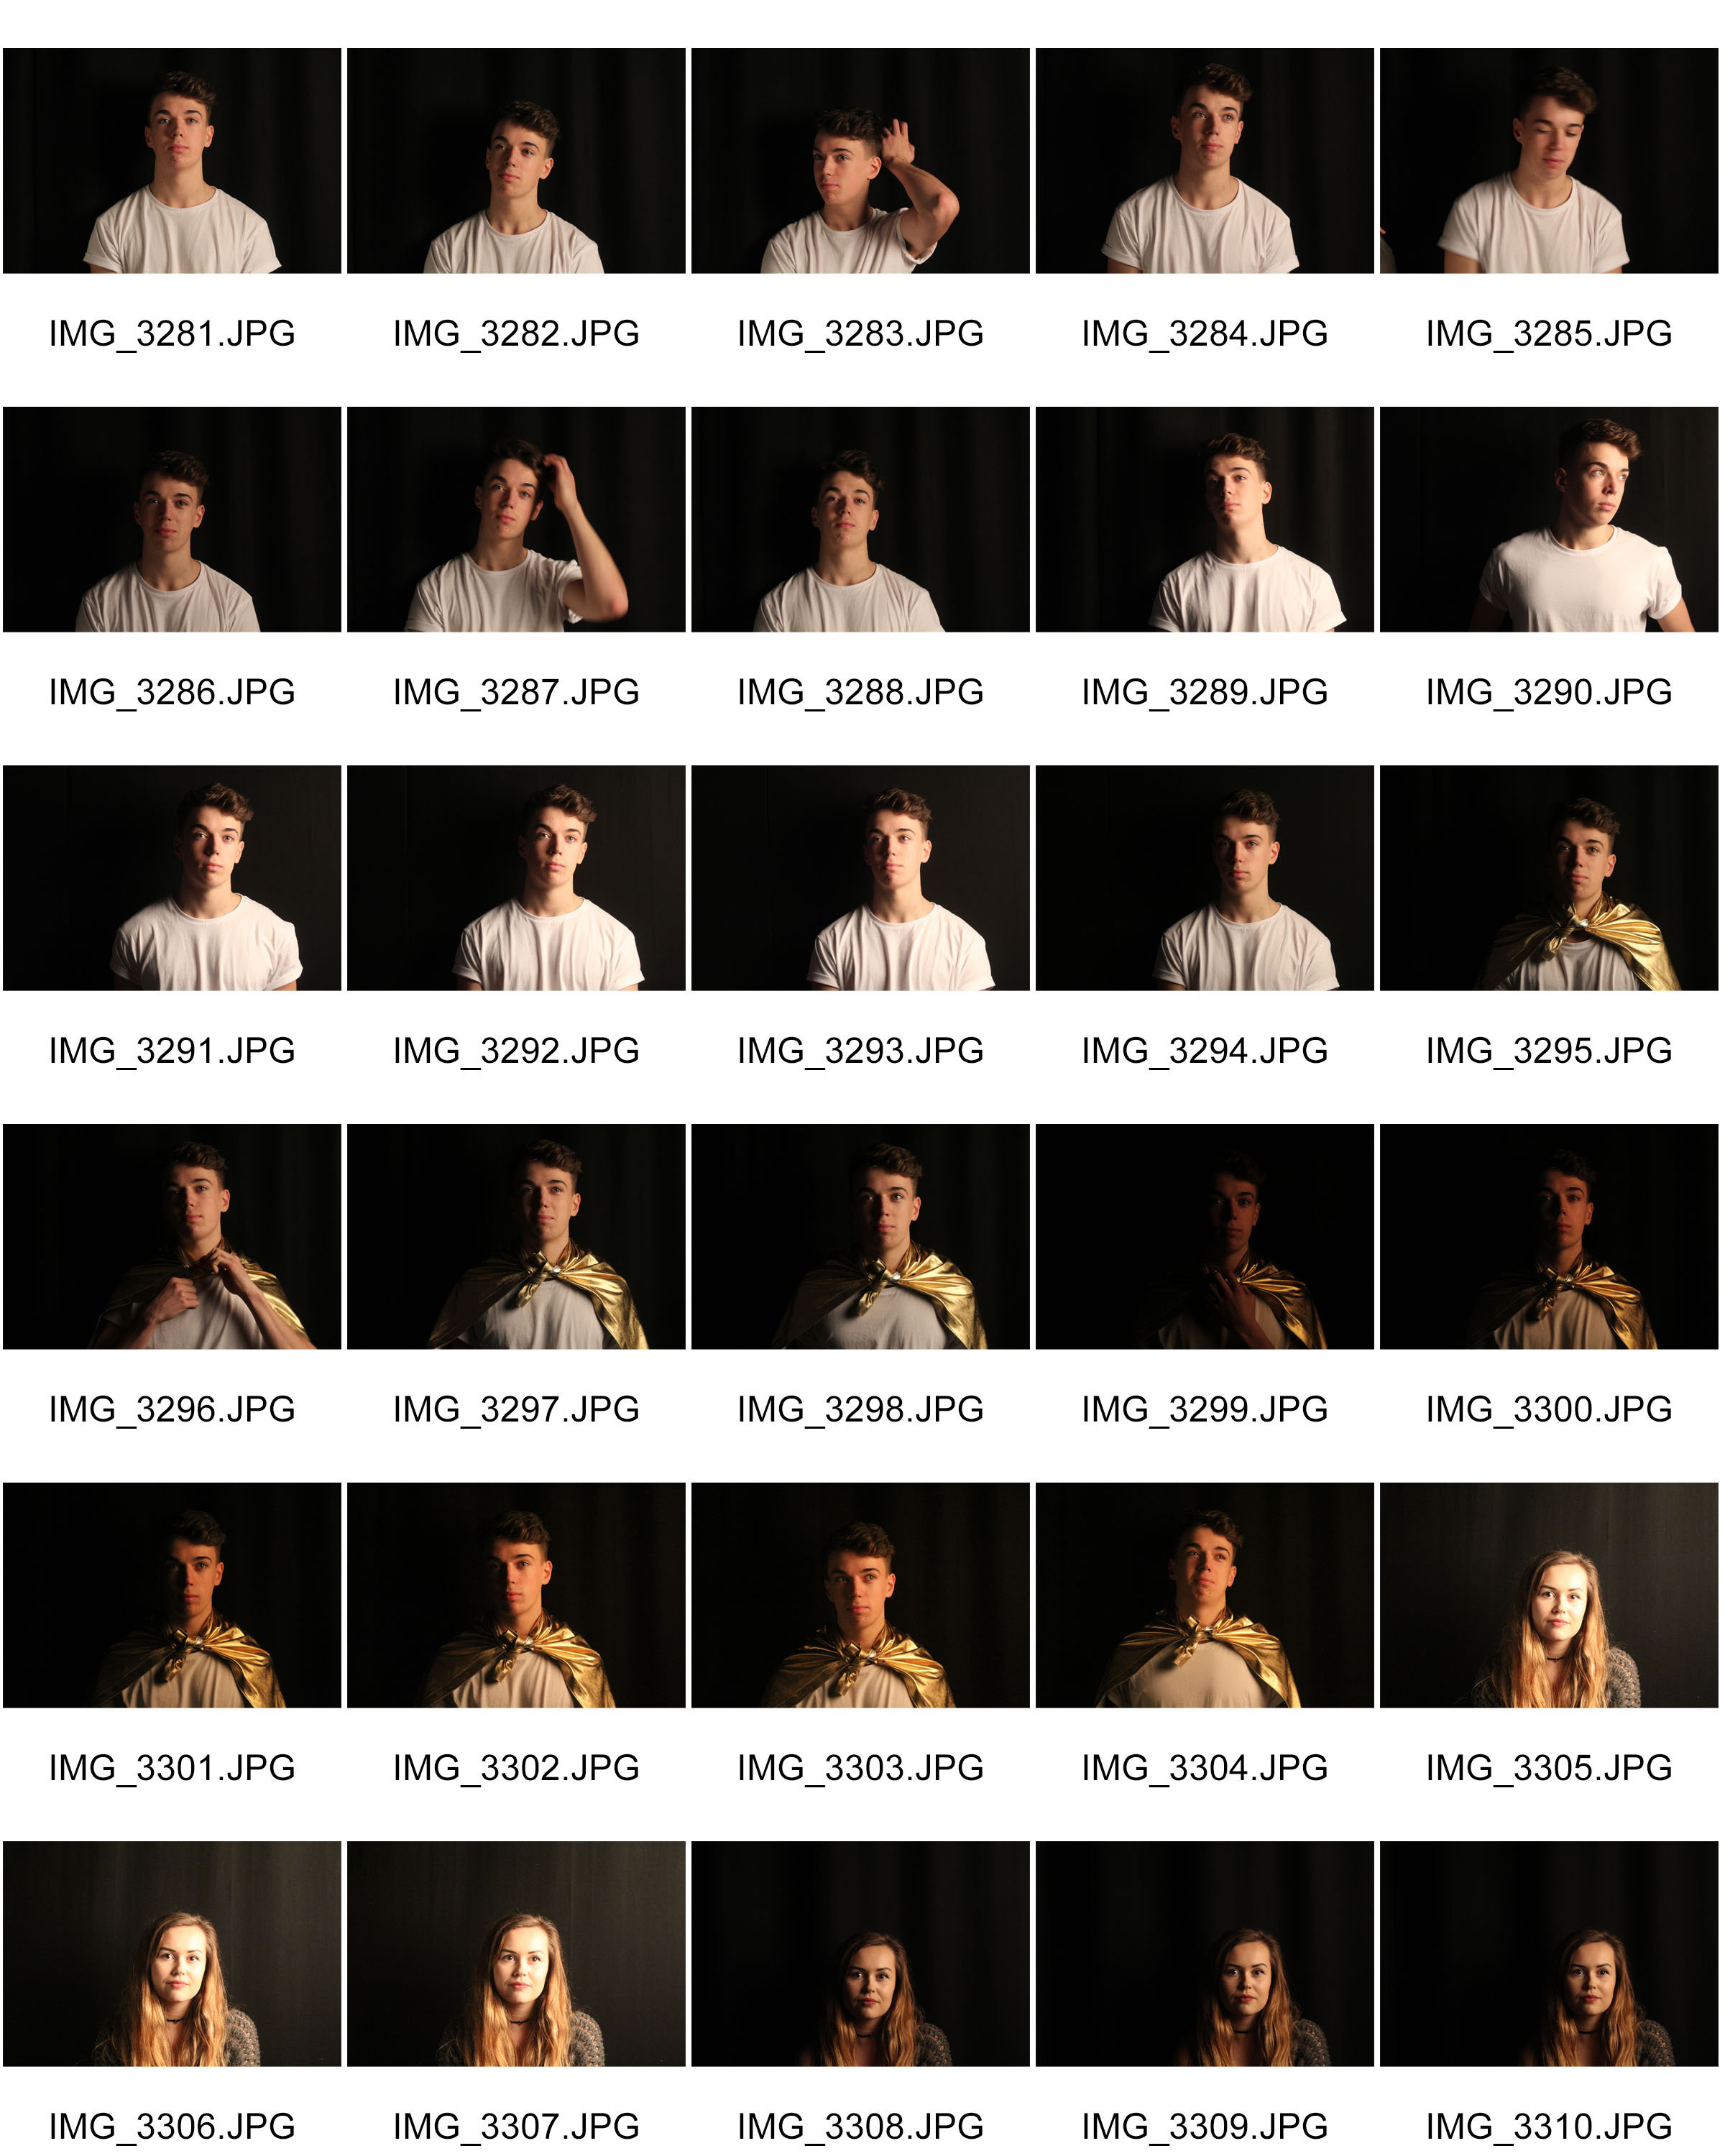
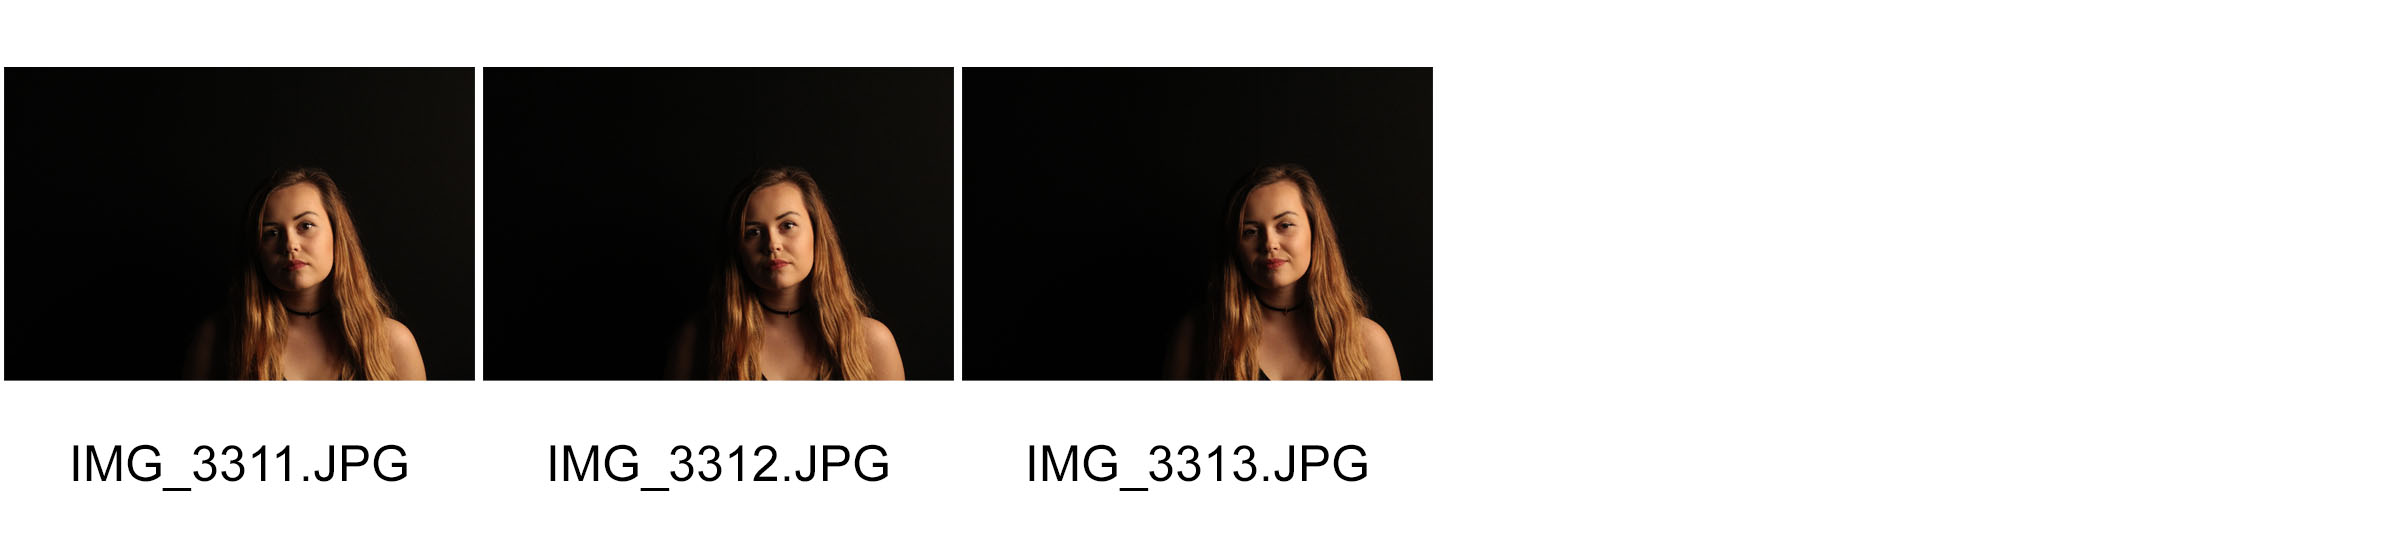
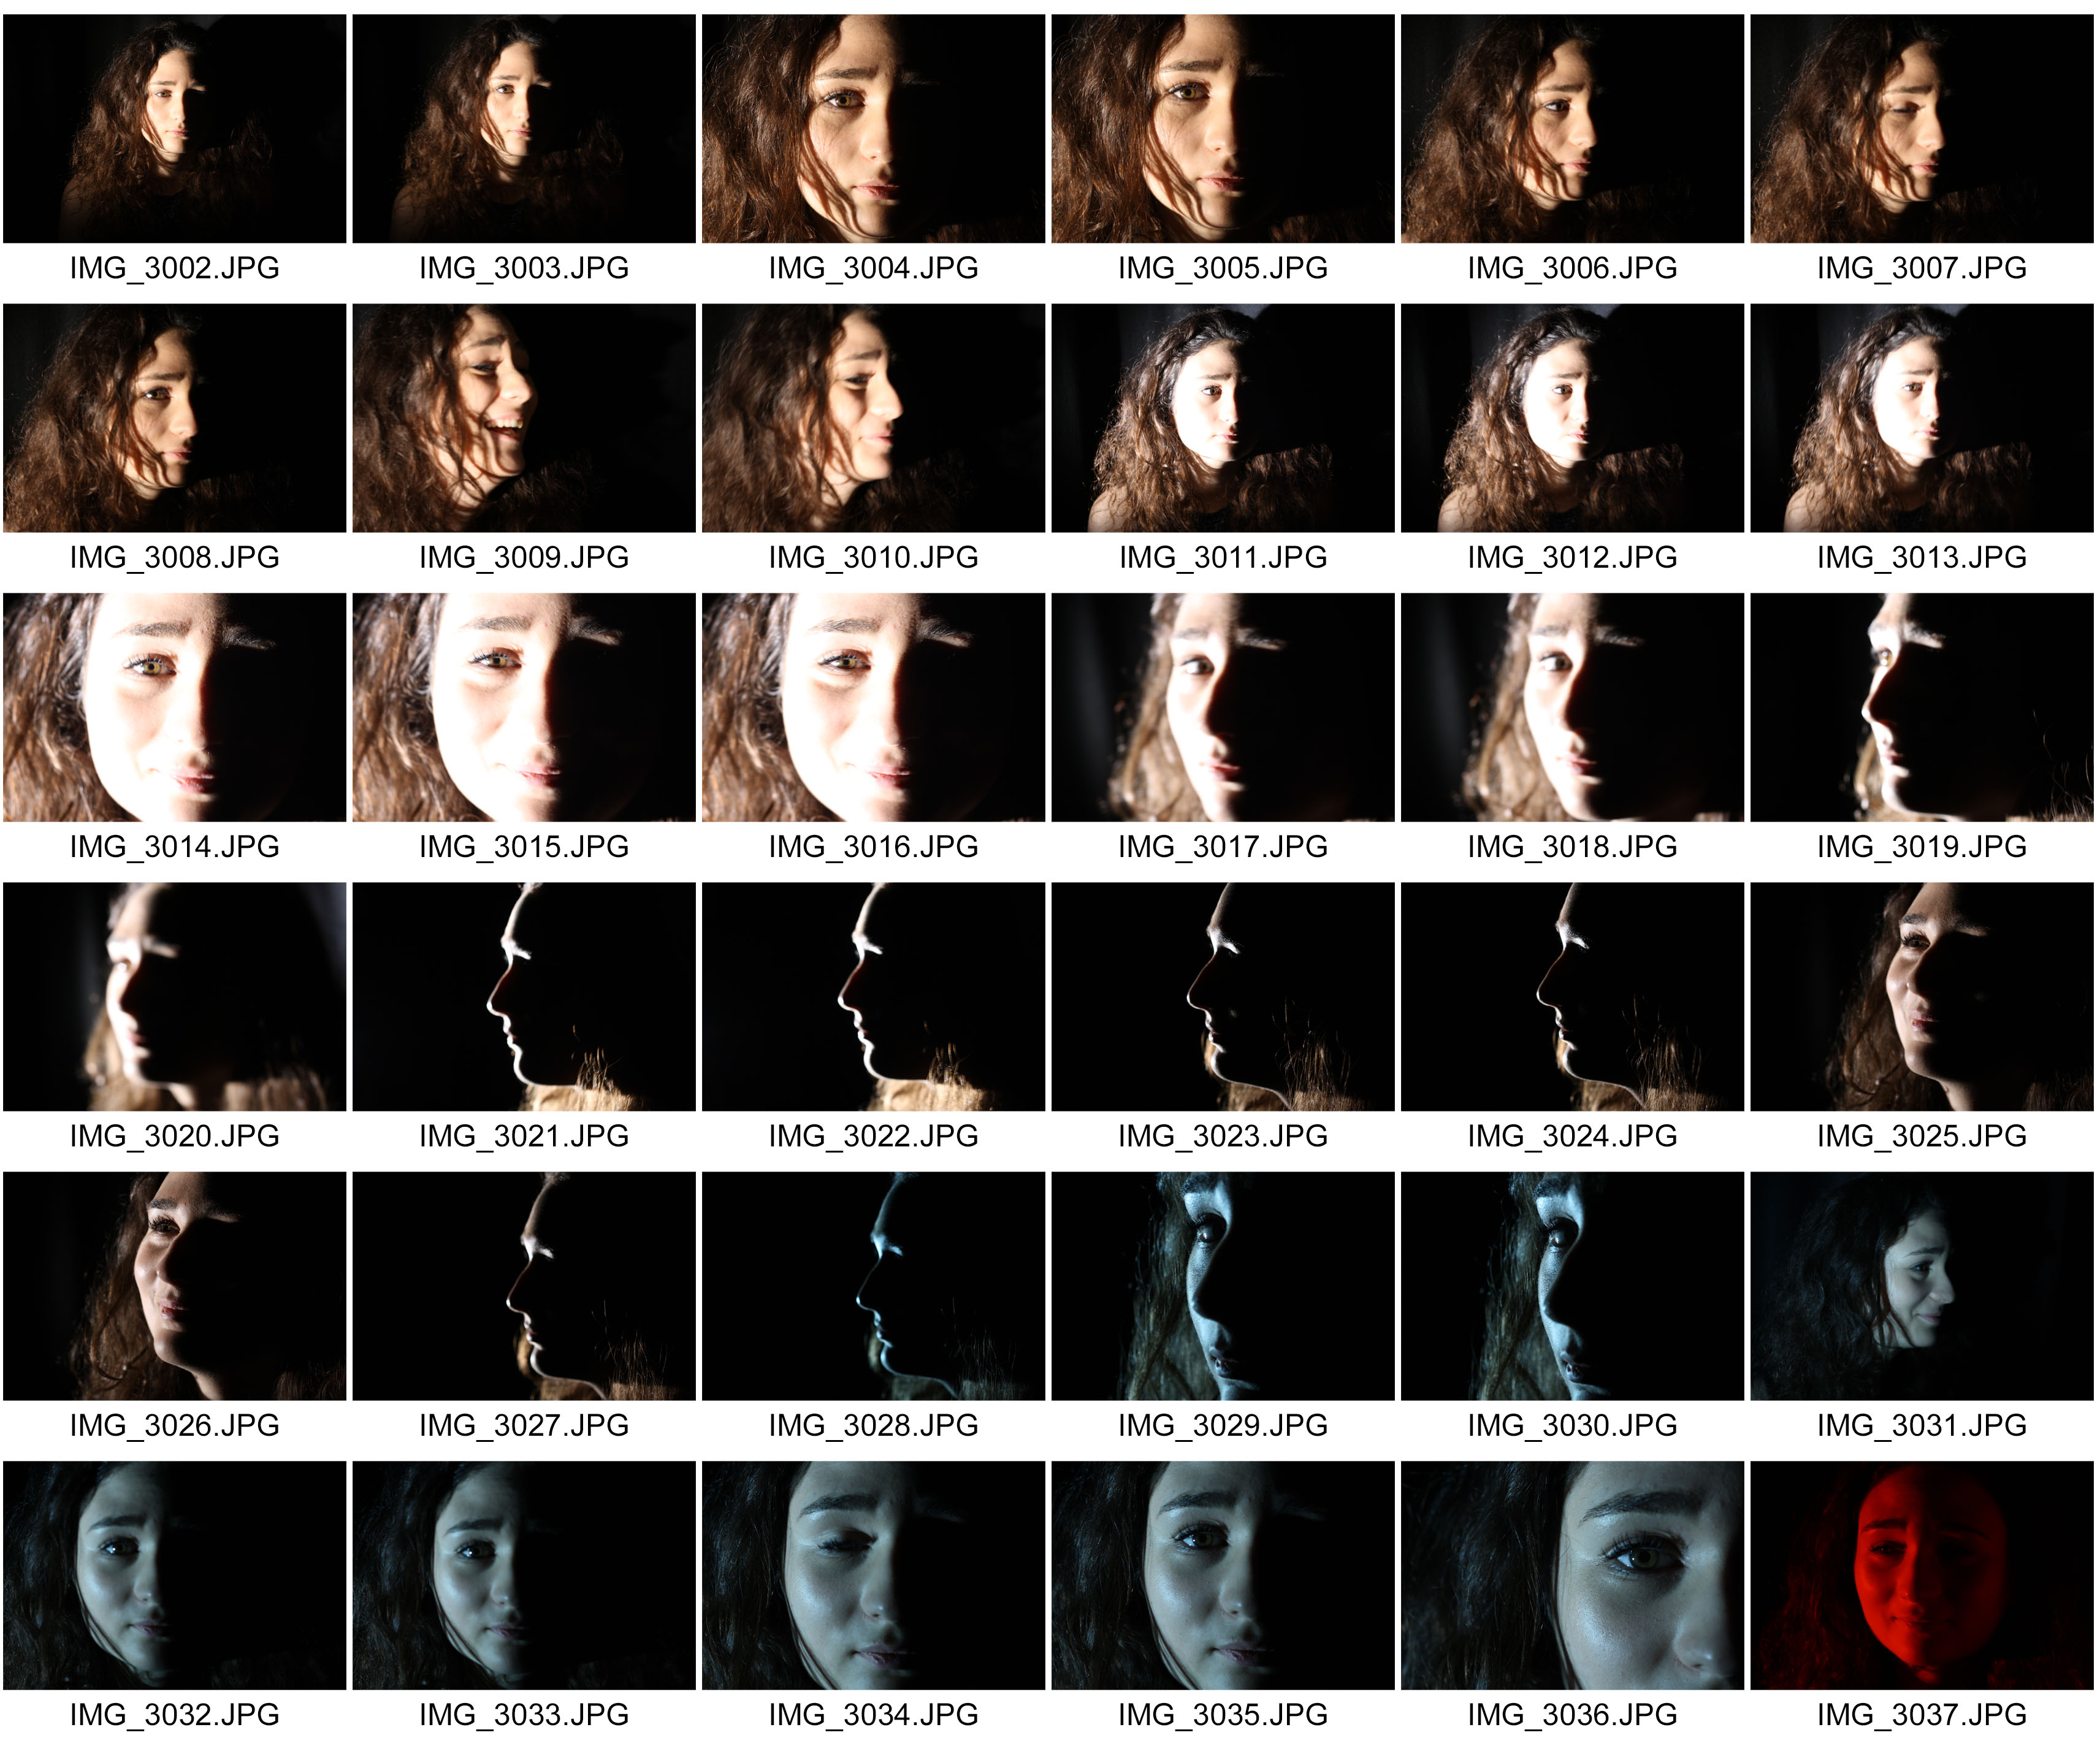
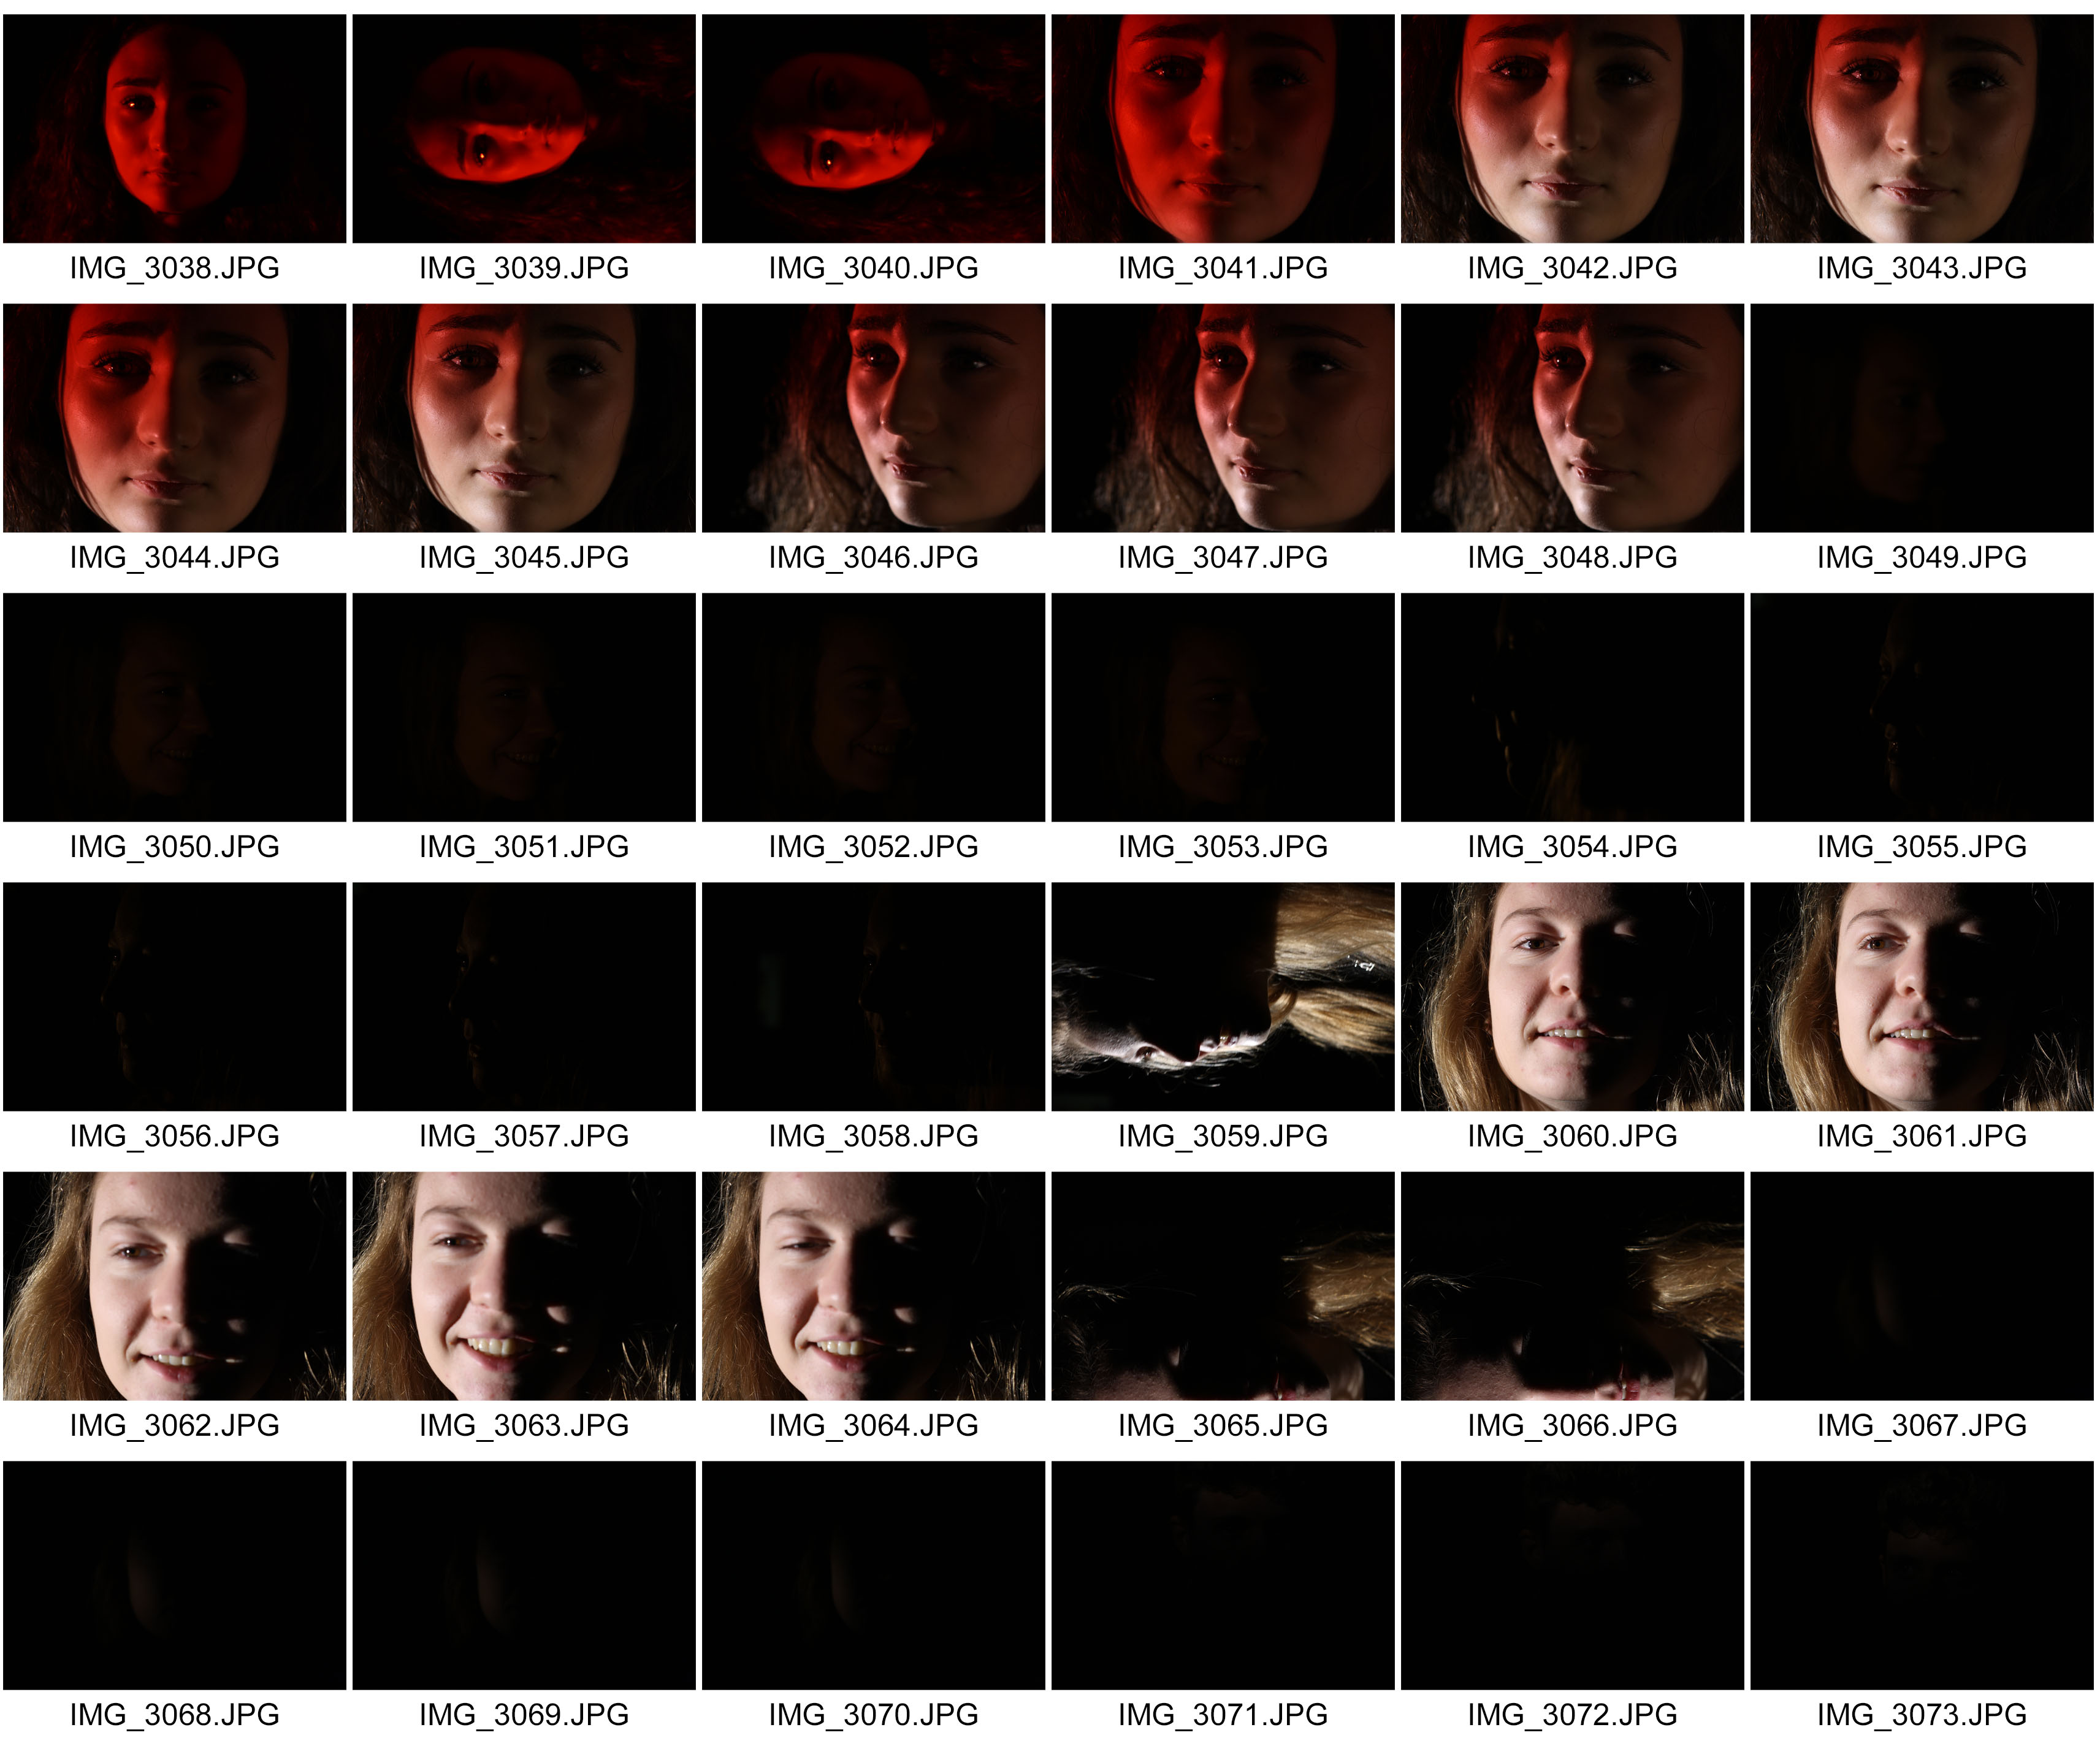
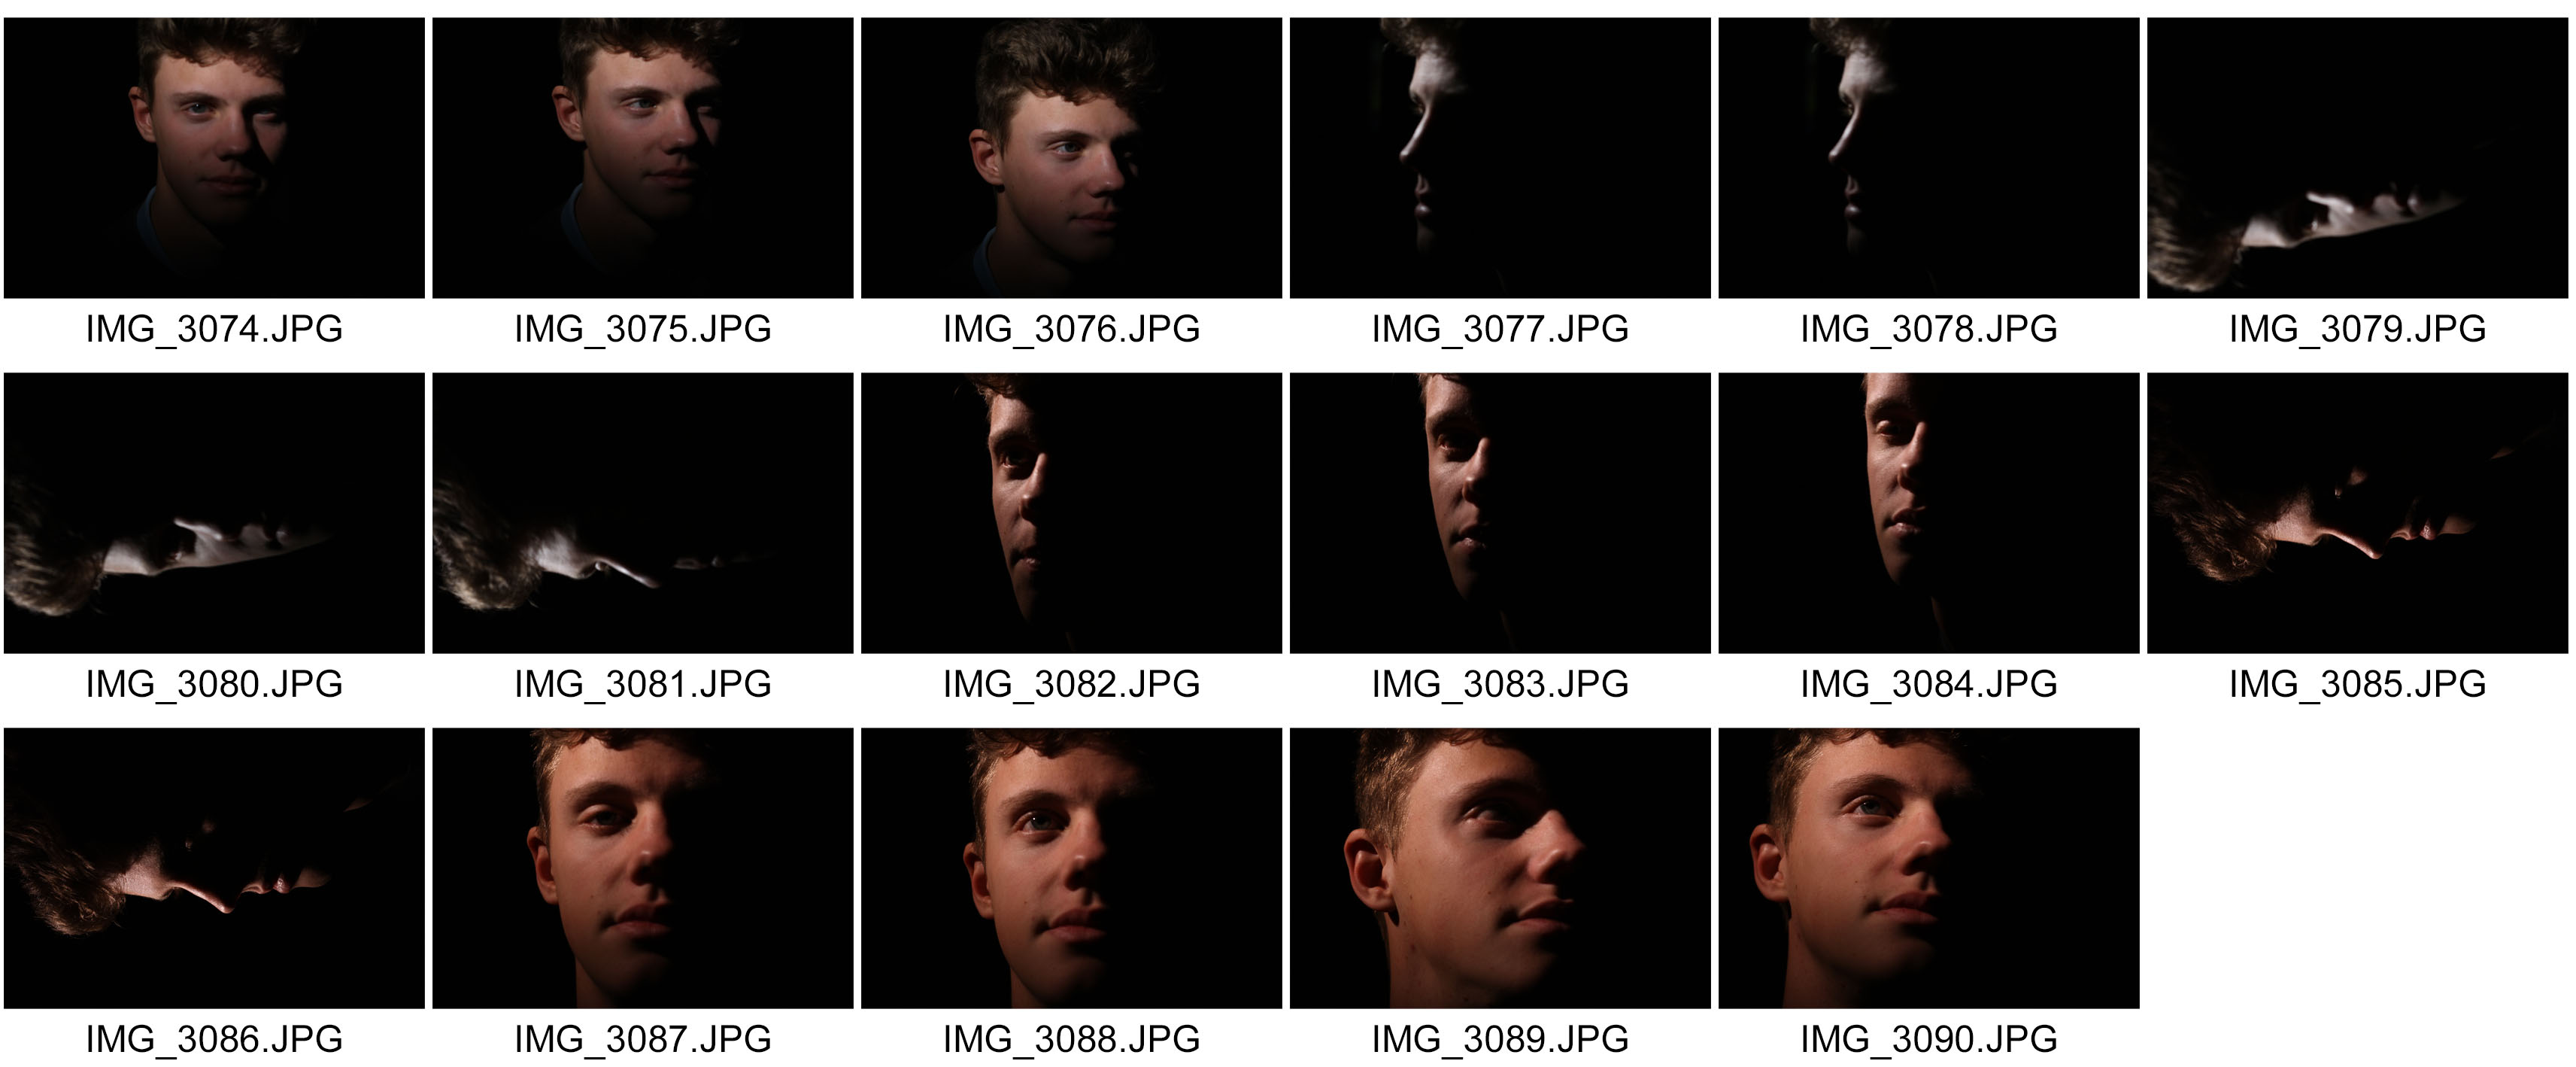
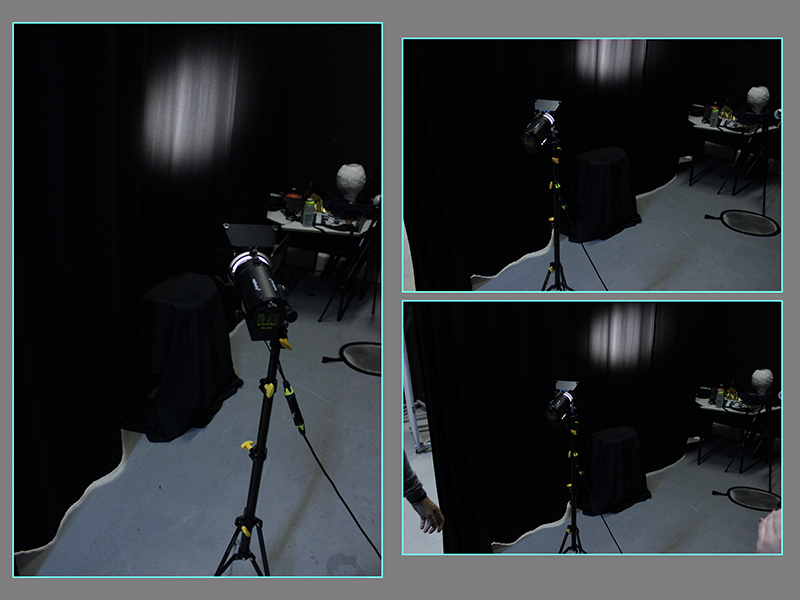
Here is the set-up of the shoot we carried out to give you an insight into how we achieved the final outcome.
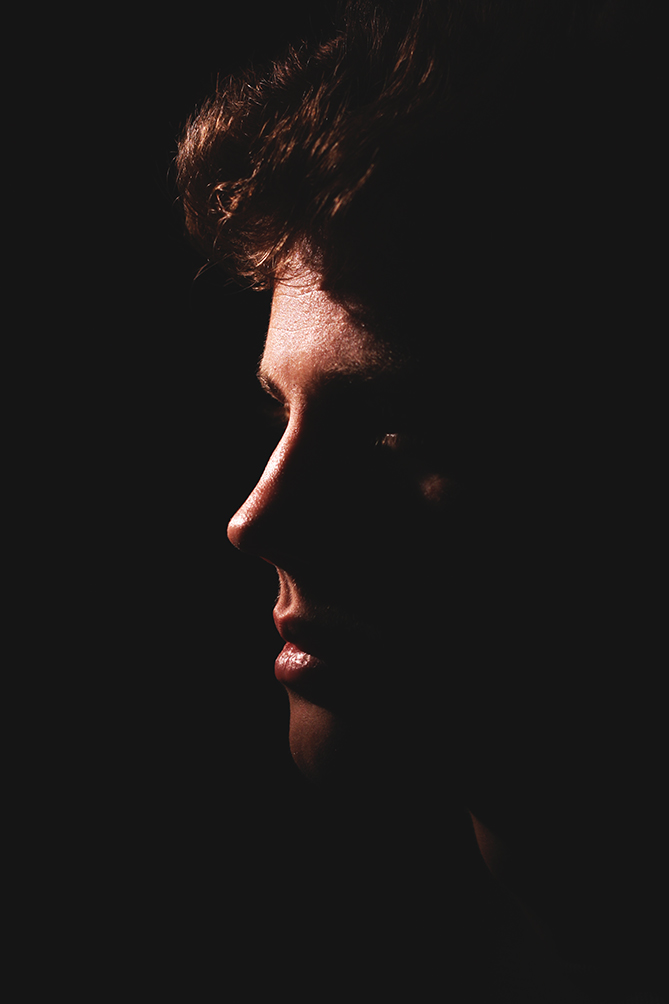
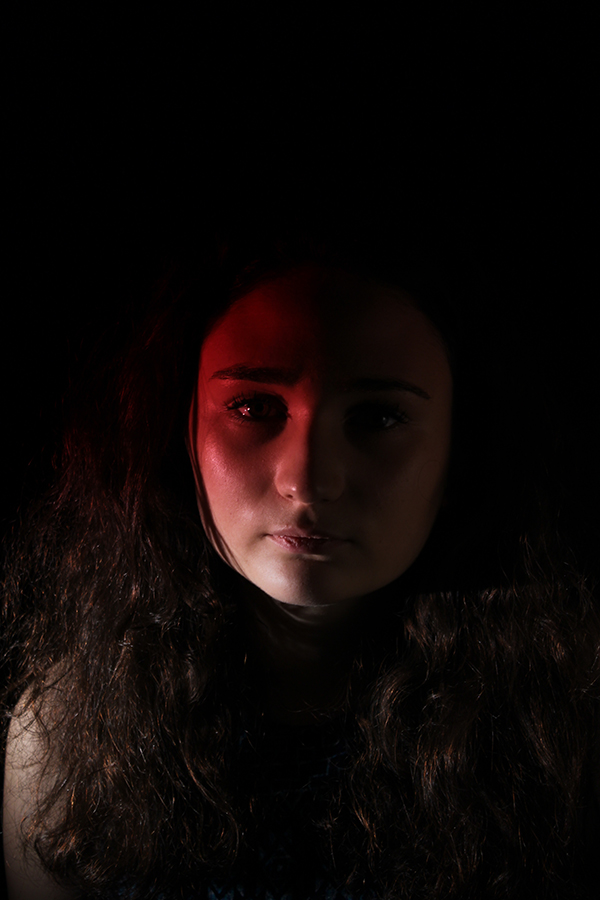
We used a black curtain so the white light would be as clear as possible against it. We also used a stool for our model to sit on but covered it in a black sheet so you couldn’t notice it was there. This made the set-up look sleek and sharp and more professional. All the main lights were turned off and we were left with the continuous studio light which we would use to create chiaroscuro. You can see the light is on the black curtain but when the model was positioned on the stool, we would tilt the light to point at the subject’s face and the light would stand to one side of the model so one side of the face was illuminated and the other in darkness to blend in with the background, and, in-turn create a chiaroscuro effect.
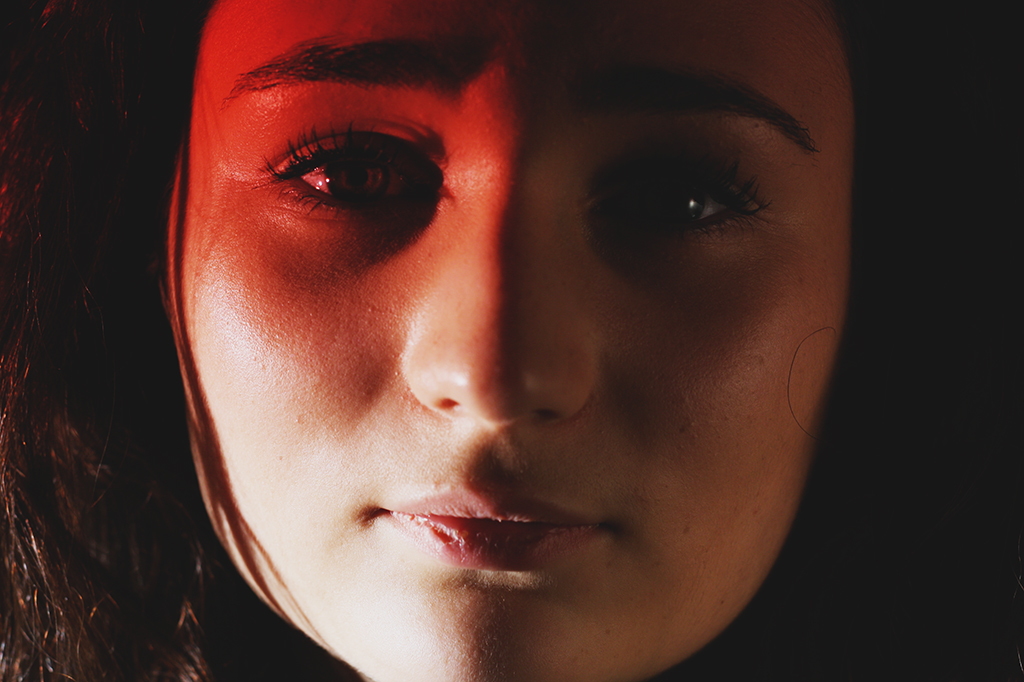
We also experimented with different coloured transparent sheets of plastic over the light to change the colour of the model’s face which had a really nice effect as an alternative to the white light.
Camera settings used:
Manual setting for adjustments / ISO 100, 3200 / f4.5 / shutter speed 1/100 / white balance 4000K (white fluorescent), 3200K (tungsten) / no flash
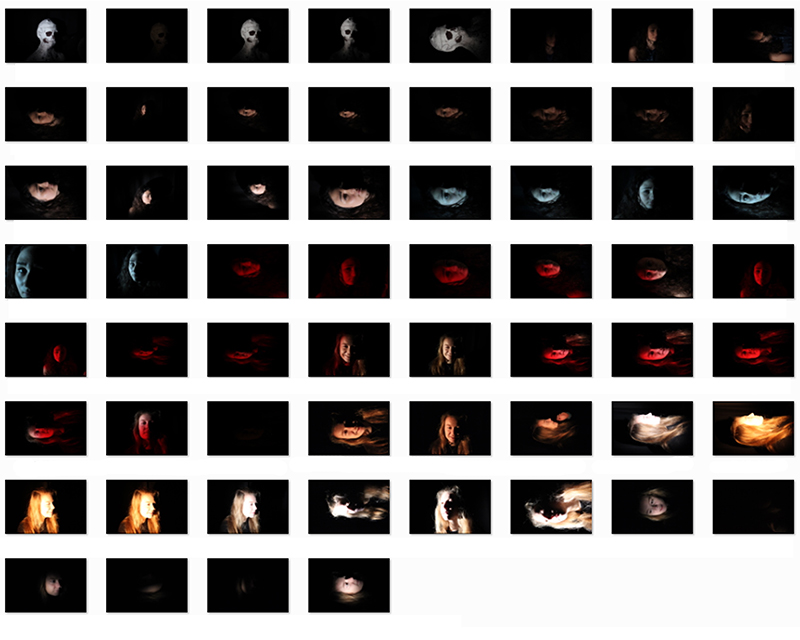
I am really pleased with how the shoot turned out. I think our experiments with lighting has shown chiaroscuro really well and I now have a better understanding of it because I have done it practically. I think the different colours of lighting used worked out very well. However, I do believe that the first 30 worked out the best because after that, I began to experiment more with white balance and I changed the light intensity more which lead to some mistakes and some not as good outcomes but overall, I think I’ve covered the criteria and made it my own by being creative with the reds and blues of light to add more character.
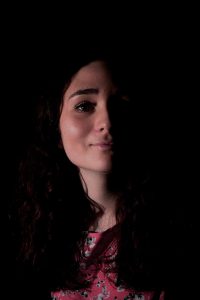
Best image:
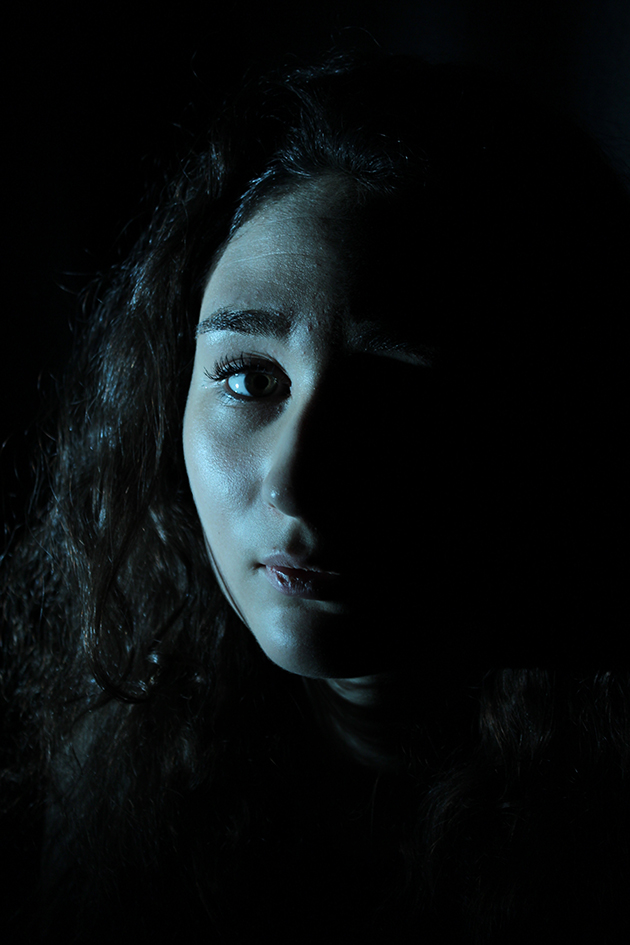
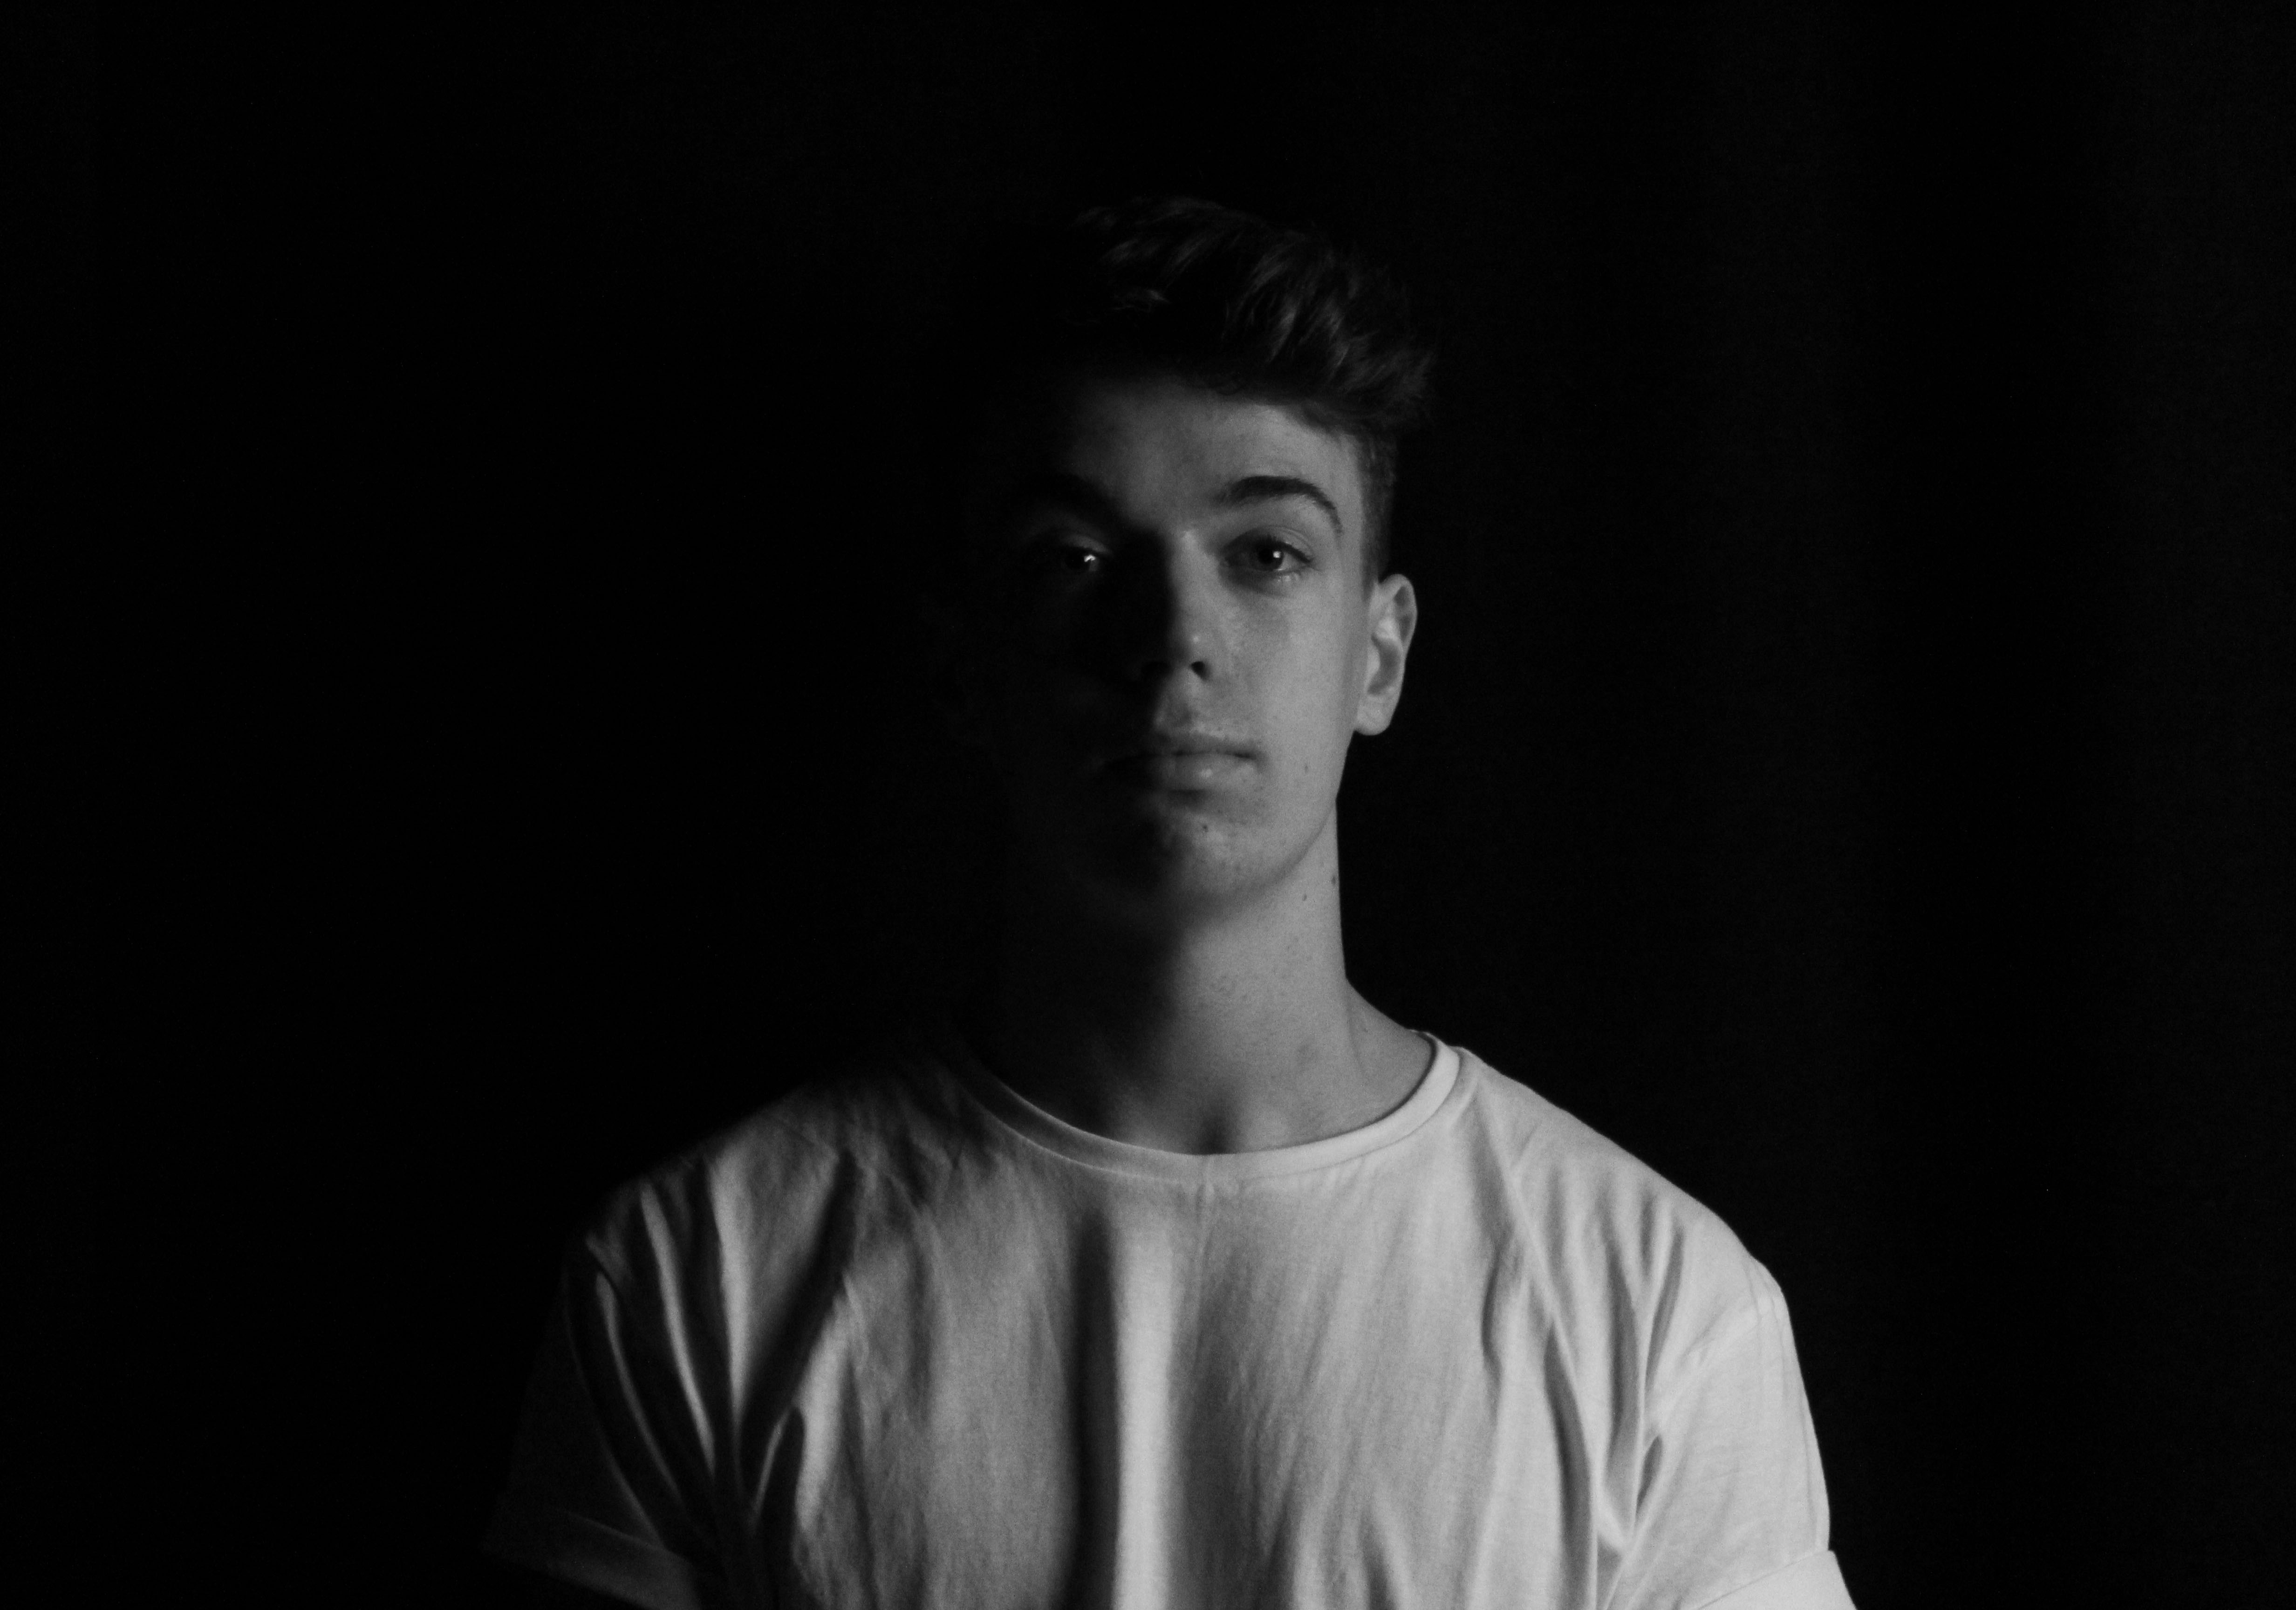
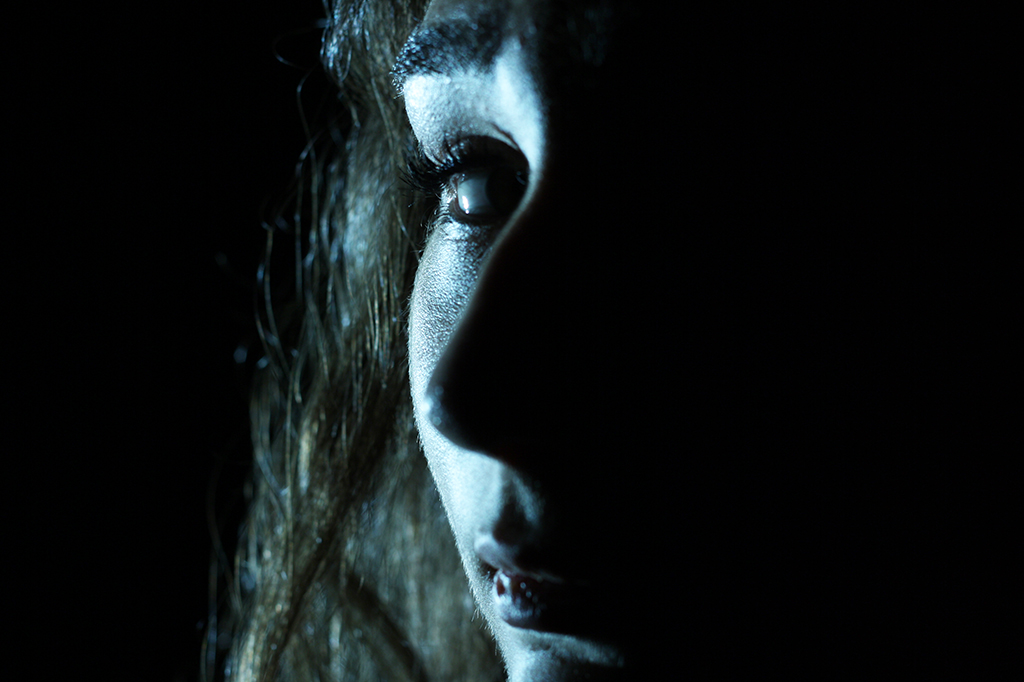
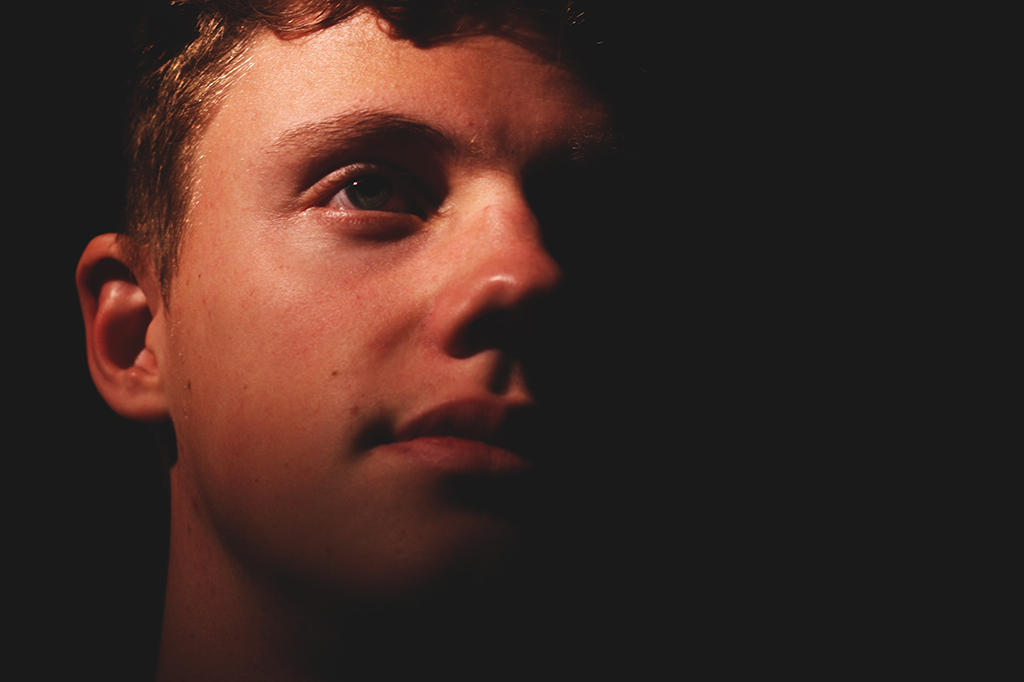
I really like this image because of this personality of it. It is very close-up which gives it a personal and interactive sense with the audience, especially because the subject is looking straight into the camera. It is obviously has the chiaroscuro effect and this can be seen very evidently because the right side of her face is illuminated with the blue, cold light coming from the continuous studio light set up away from the frame and the left side of her face is in the shadows and cannot be seen, her facial features blend in with he background which I really like. Out of all the images, this one is one of the most sharp in terms of quality of the image. The seriousness from her facial expression also adds some formality and character to the photo, unlike if she was smiling because this expression would not match the scene of darkness and fading away.
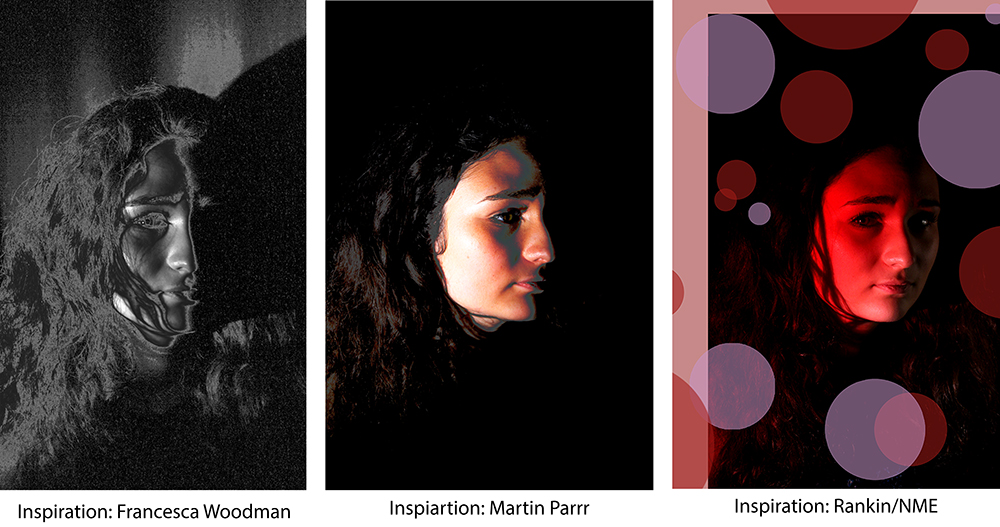
If I was to do this shoot again, I would change a couple of things. These include changing the angle of the light source. I would perhaps move the light to a lower or higher position to illuminate a different part of my model’s face to flaunt other particular features instead of just the same side of her face over and over. I would also try out different camera point of views and get my subject to pose in a rang of different positions to add variety and to tell more of a story and keep the audience interested. This would reflect Rankin’s style of work more so.
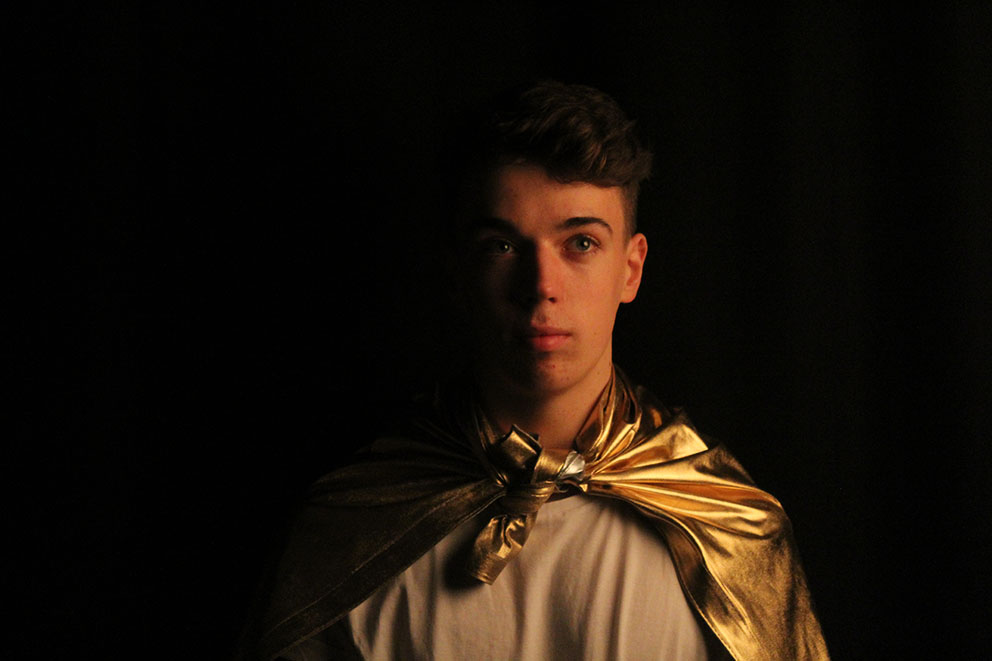
Best edits:
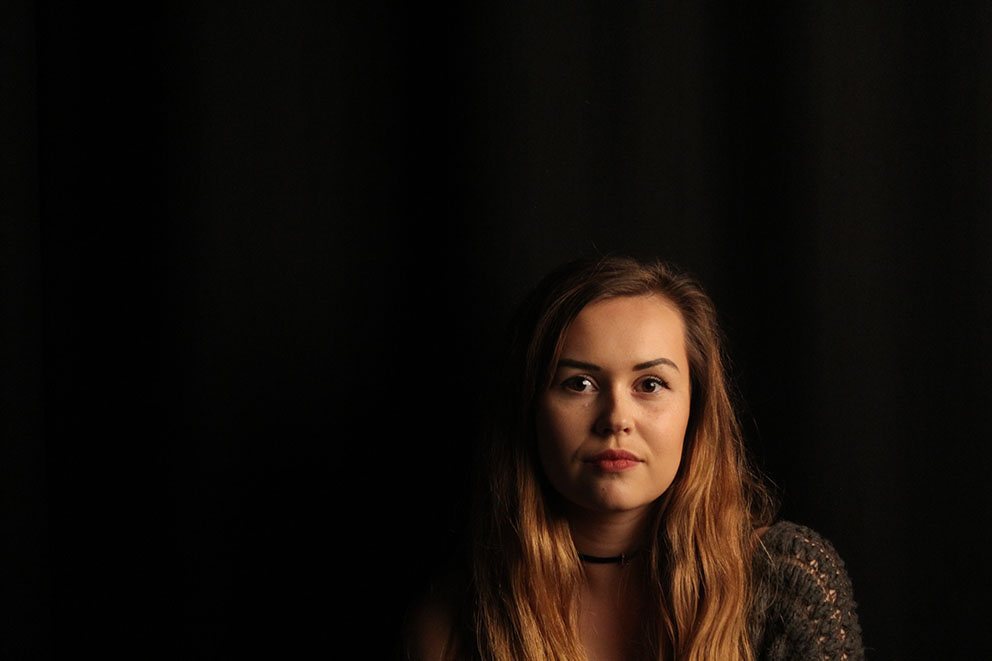
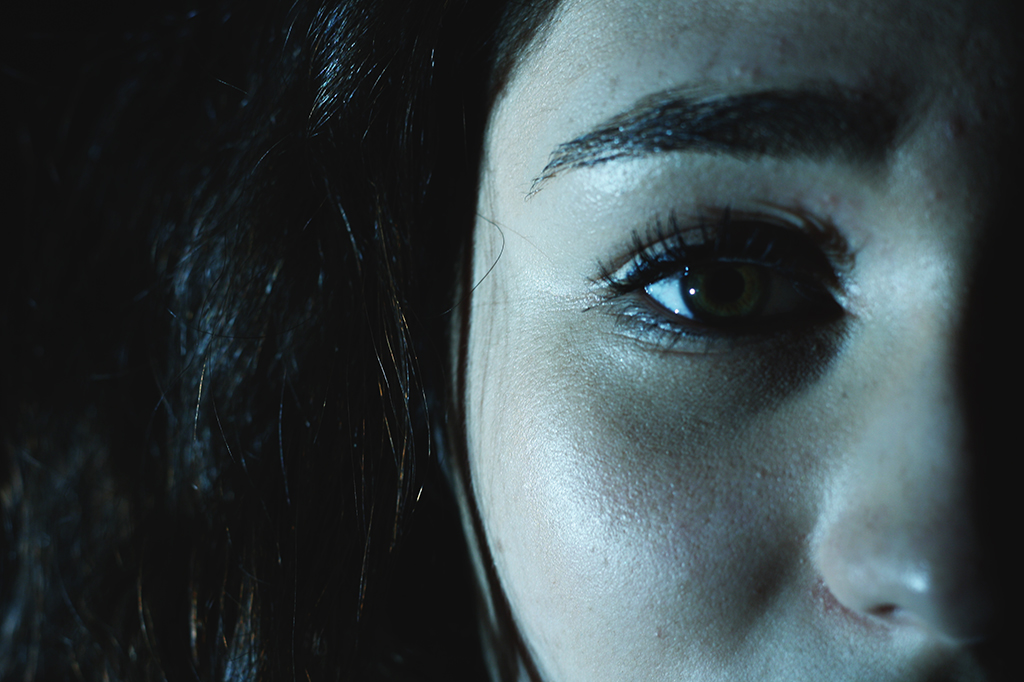
Example of Rembrandt lighting:
Rembrandt lighting is a well-known lighting setup that is used for portrait photography. To achieve this look one half of the models face will be in full illumination whilst the other half is in partial shadow; different to chiaroscuro lighting because the in chiaroscuro lighting, one side is illuminated and the other in full darkness, blending in with the black background but in Rembrandt lighting, you can identify all facial features. Rembrandt lighting was derived after the master himself, Rembrandt, the famous Dutch painter in the 17 century, who used this lighting technique in his art.
I achieved this affect by positioning the camera so it covered just the corner of my models face yet cast light on the whole of her face but it was soft light. I only discovered this to be an example of Rembrandt lighting after doing the shoot so it was a happy accident because I didn’t originally plan to experiment with this particular technique.