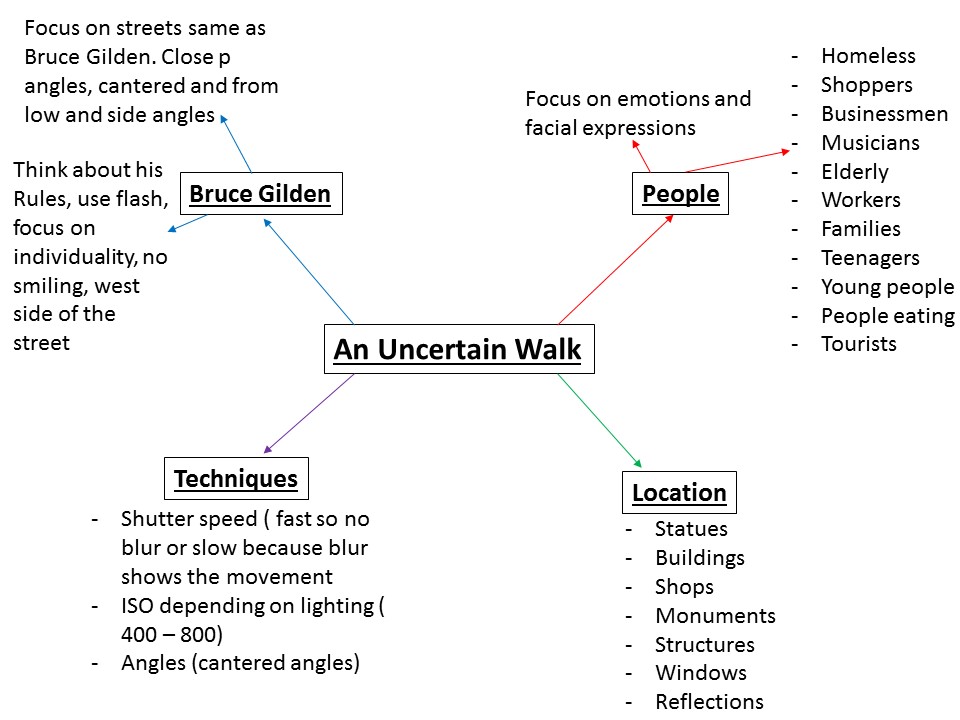
After analysing my artist references Photo i planned how my ‘uncertain walk’ would go. I thought about all the things that i could photograph in town and thought about how i can try an interpretation of Bruce Gildens photographs in my own style. I plan to take these style of photographs by going into town on the 14th of october and walking quickly around town capturing photographs with the flash on.
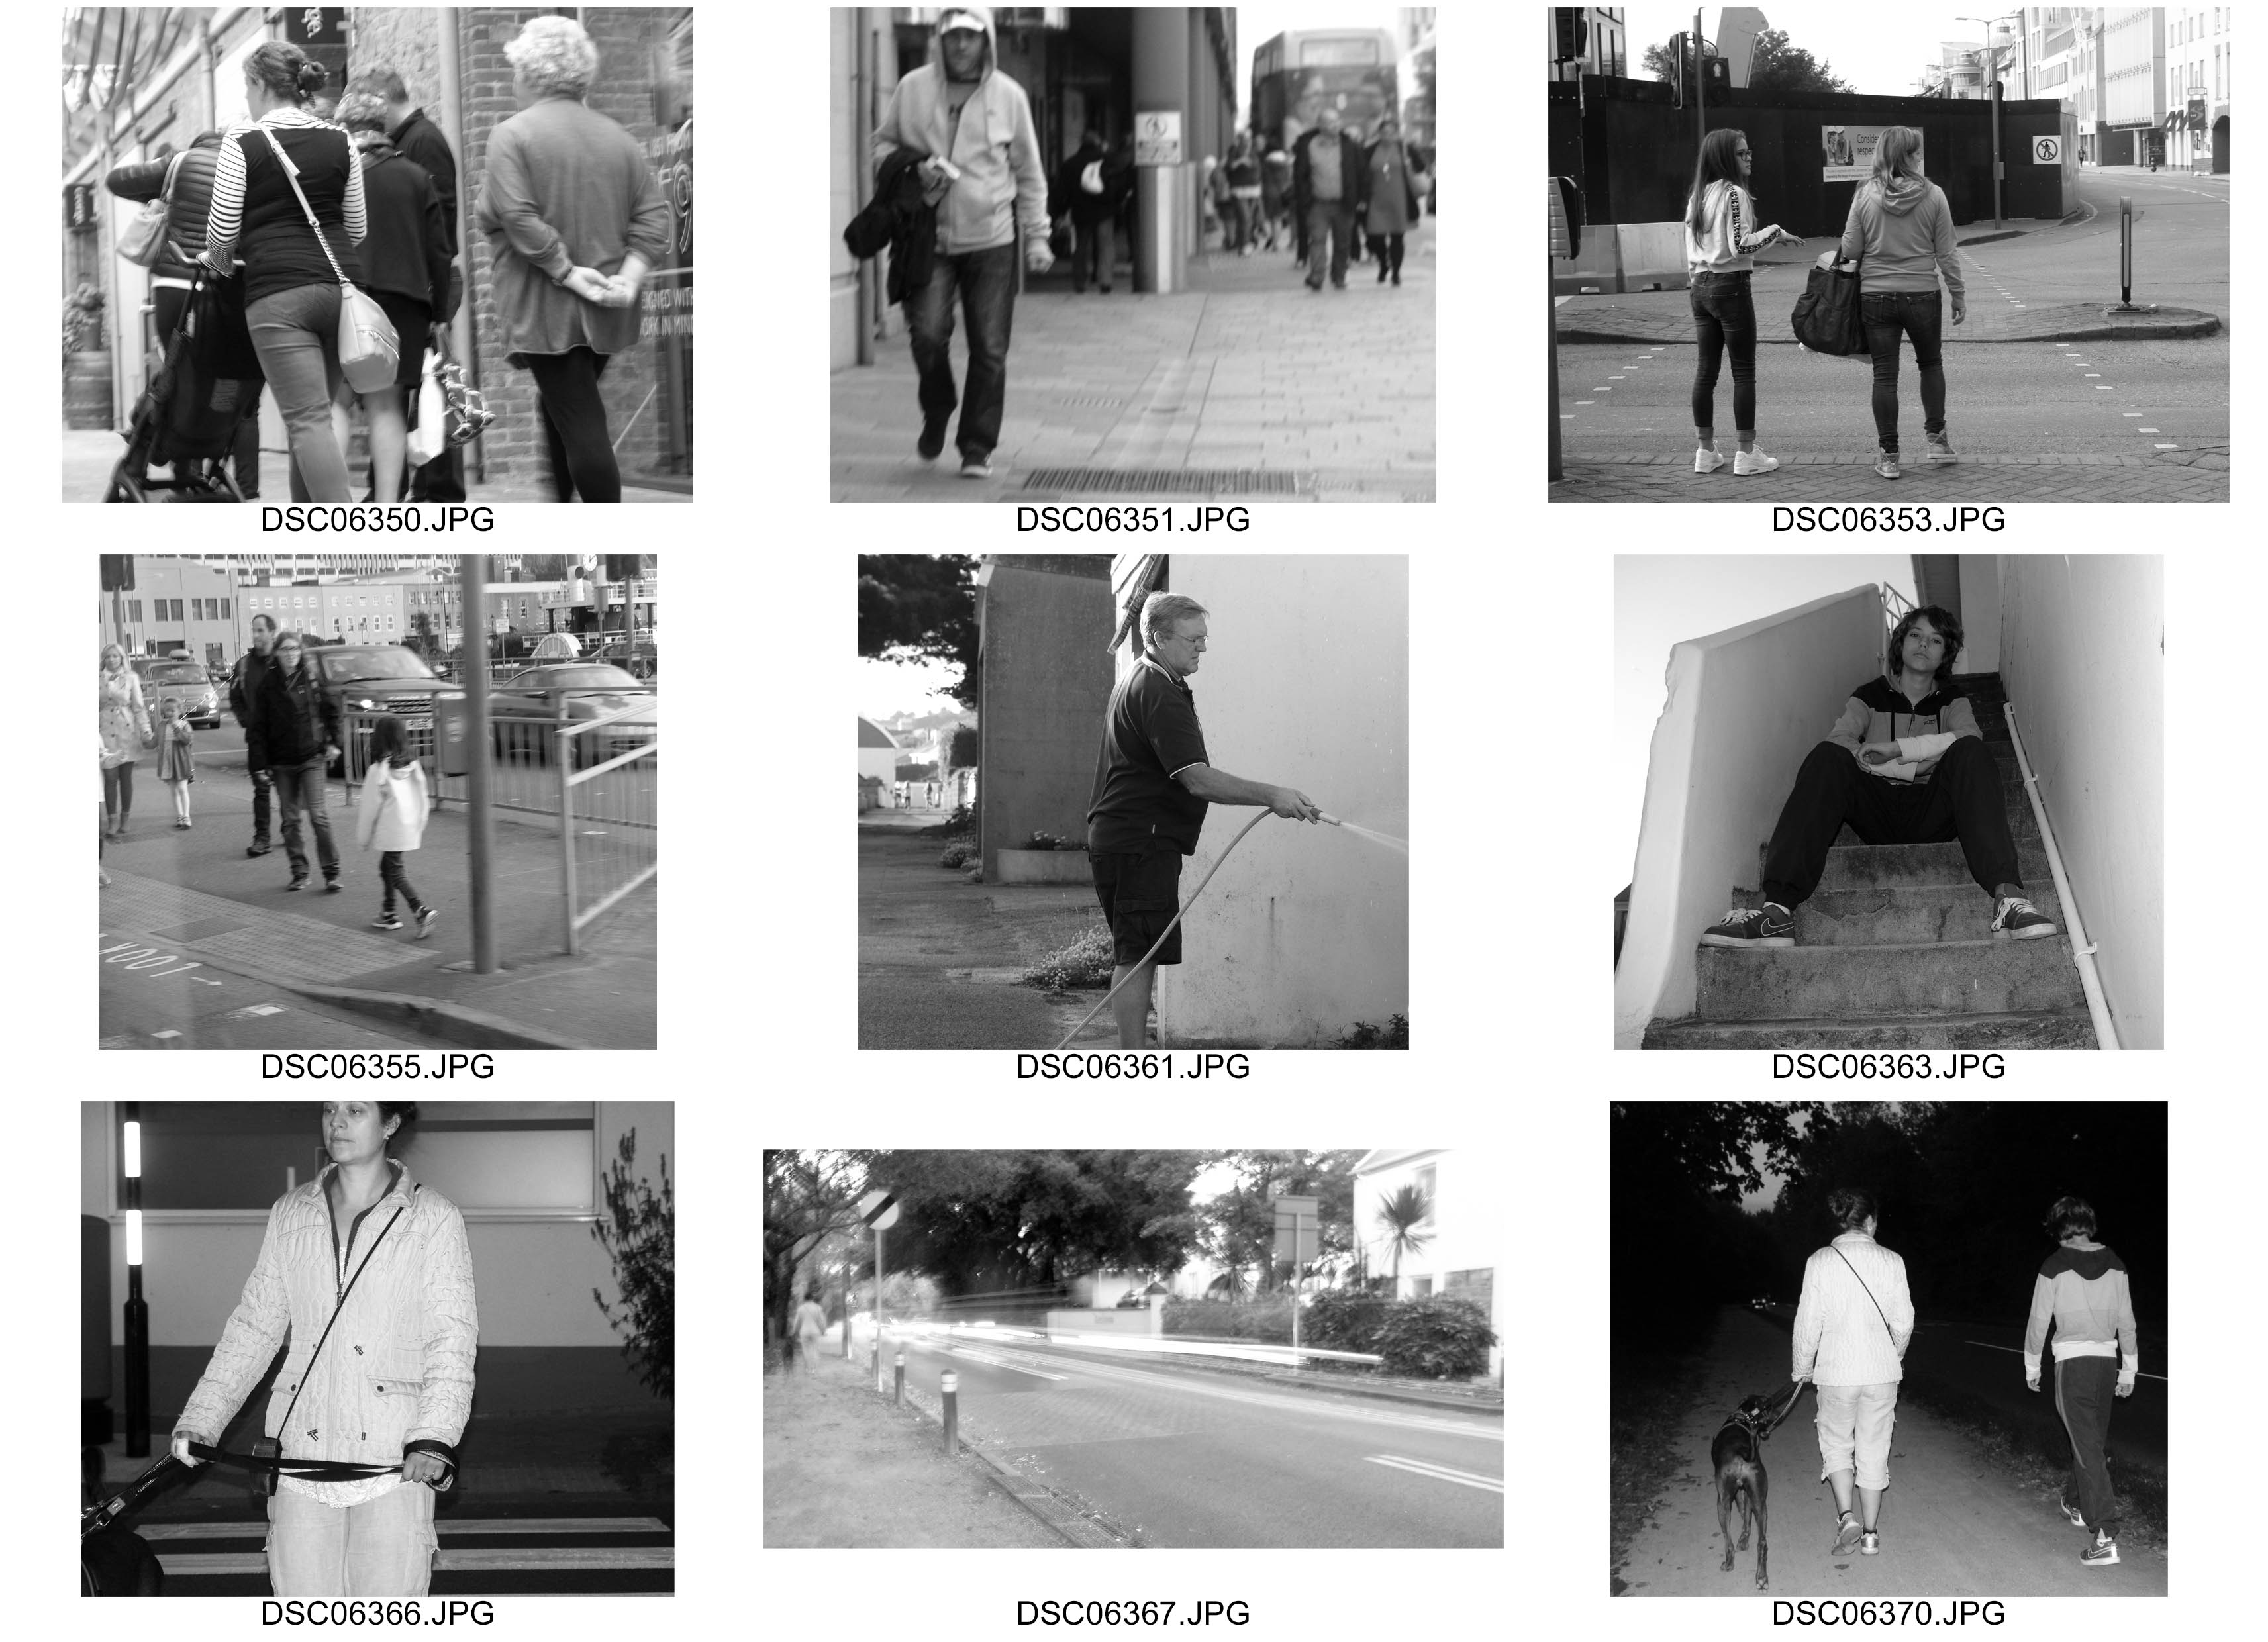
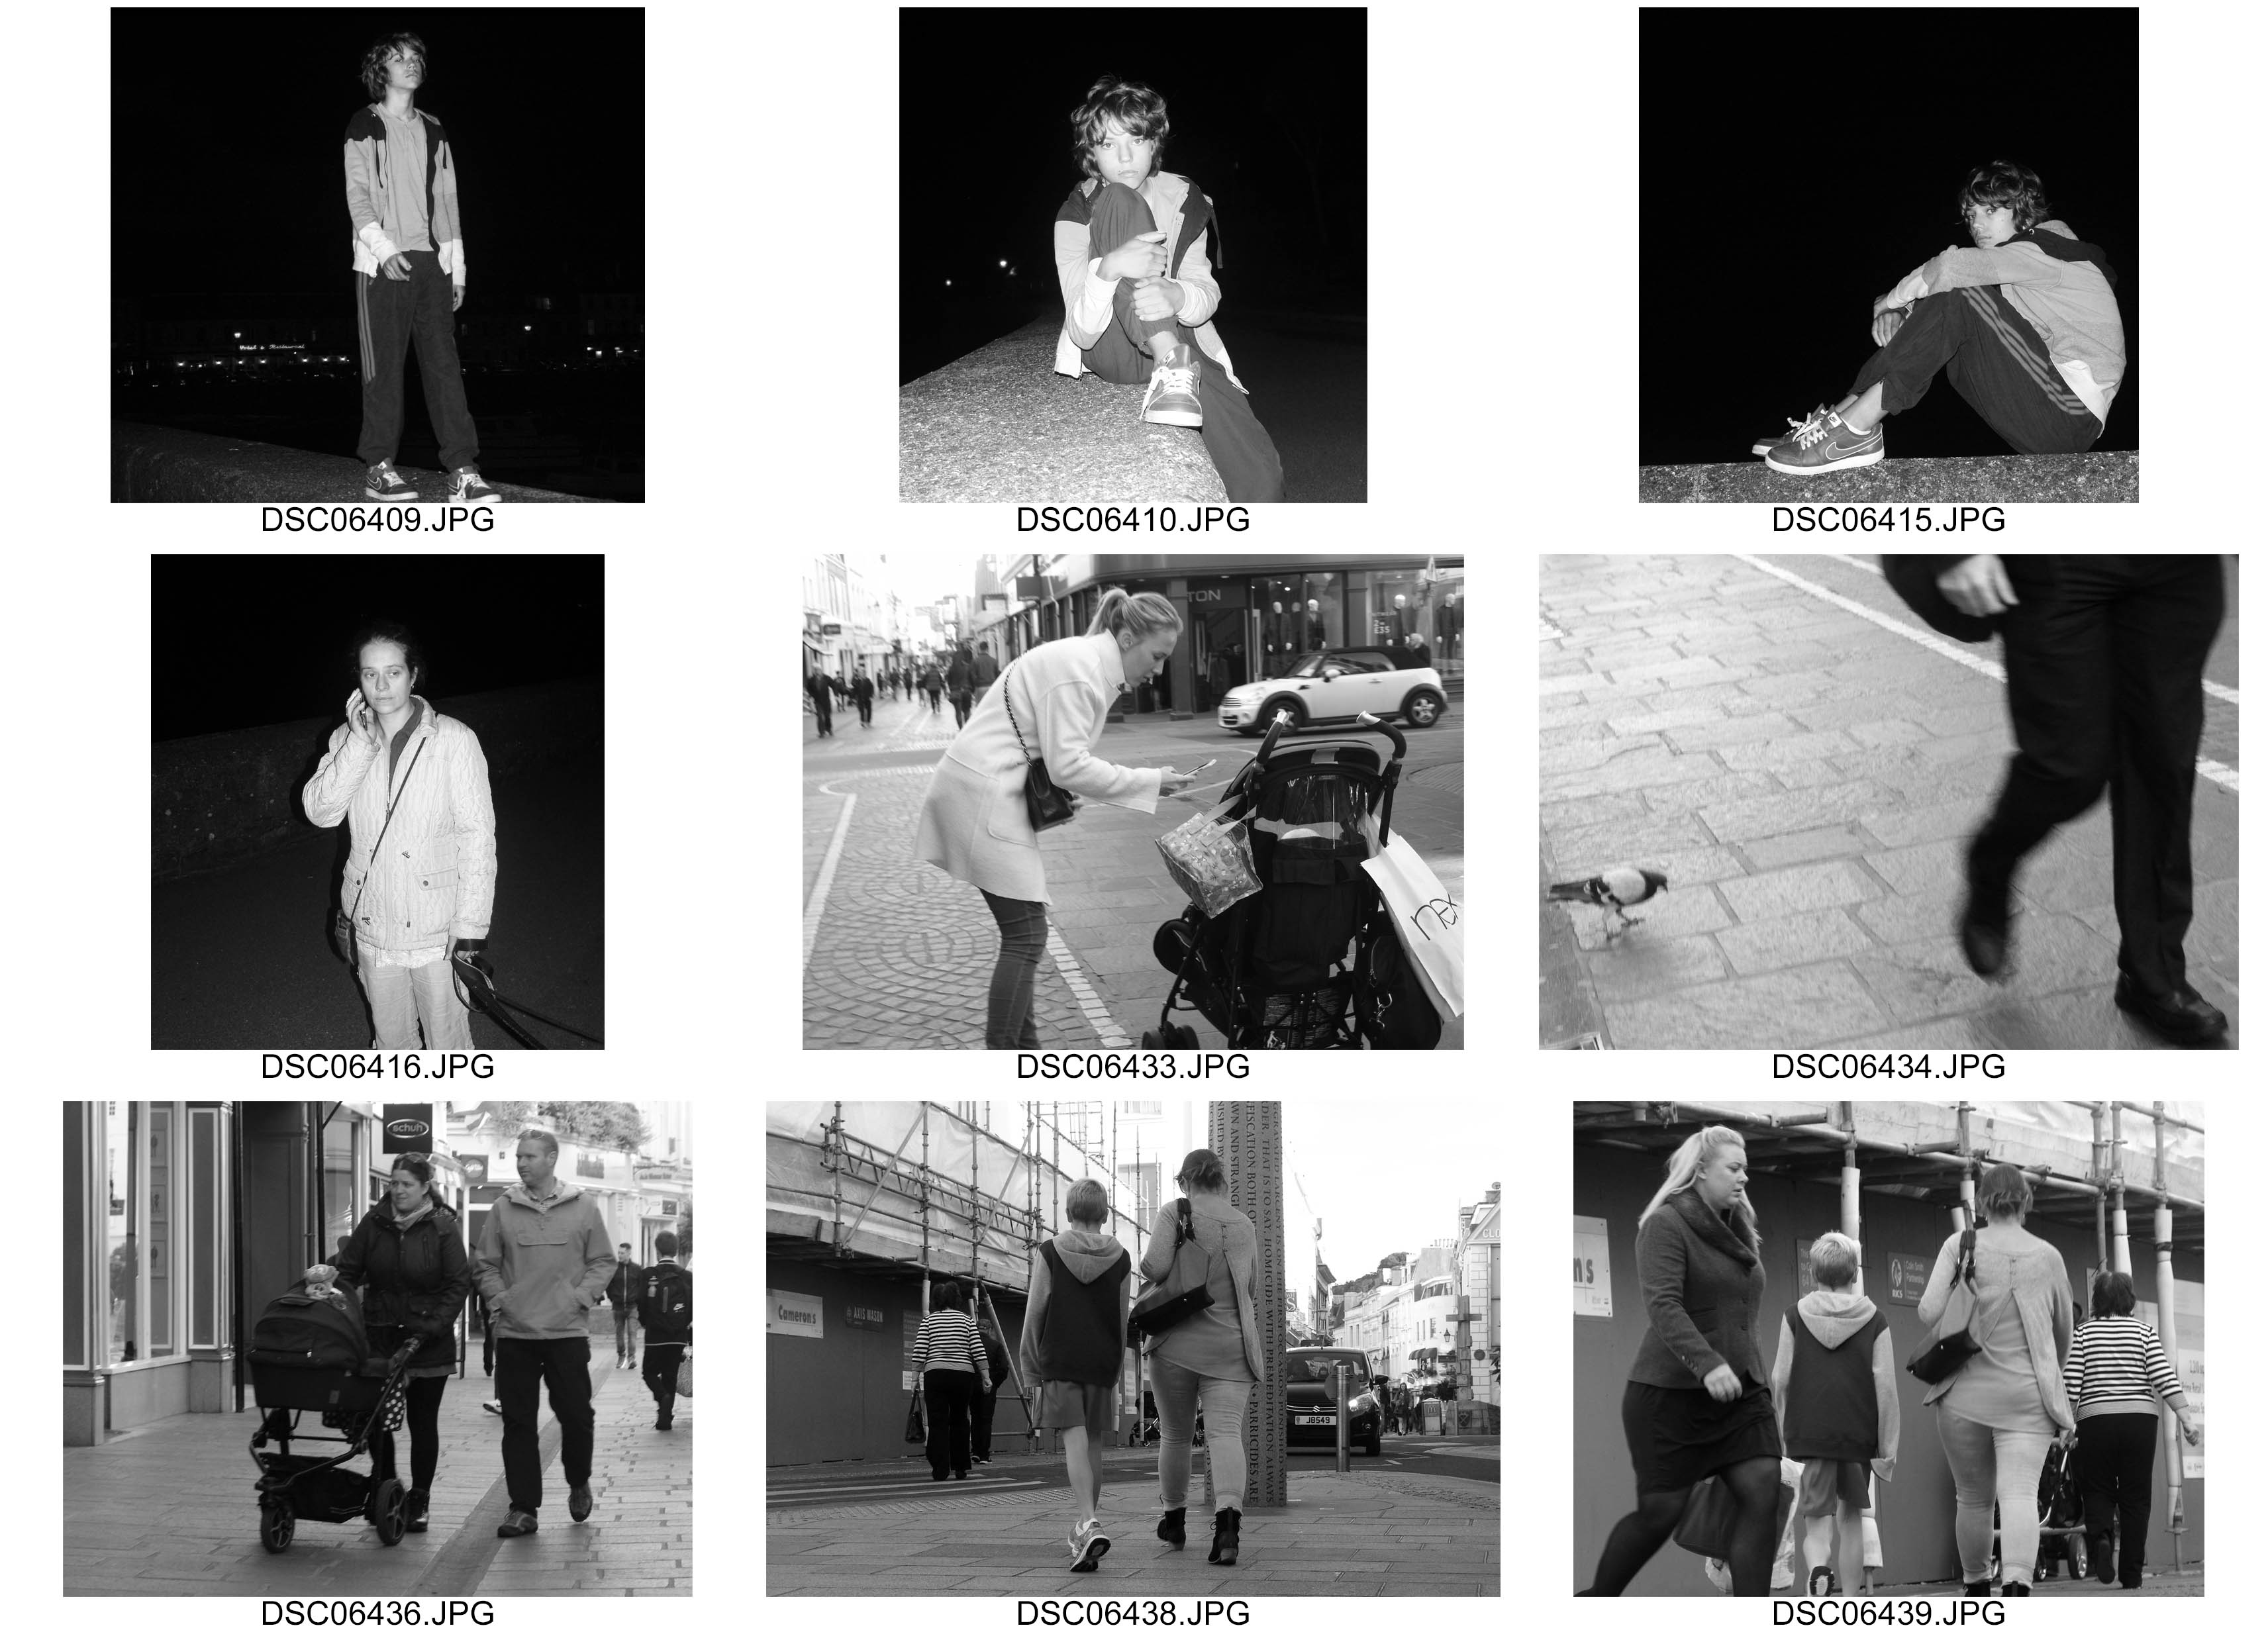
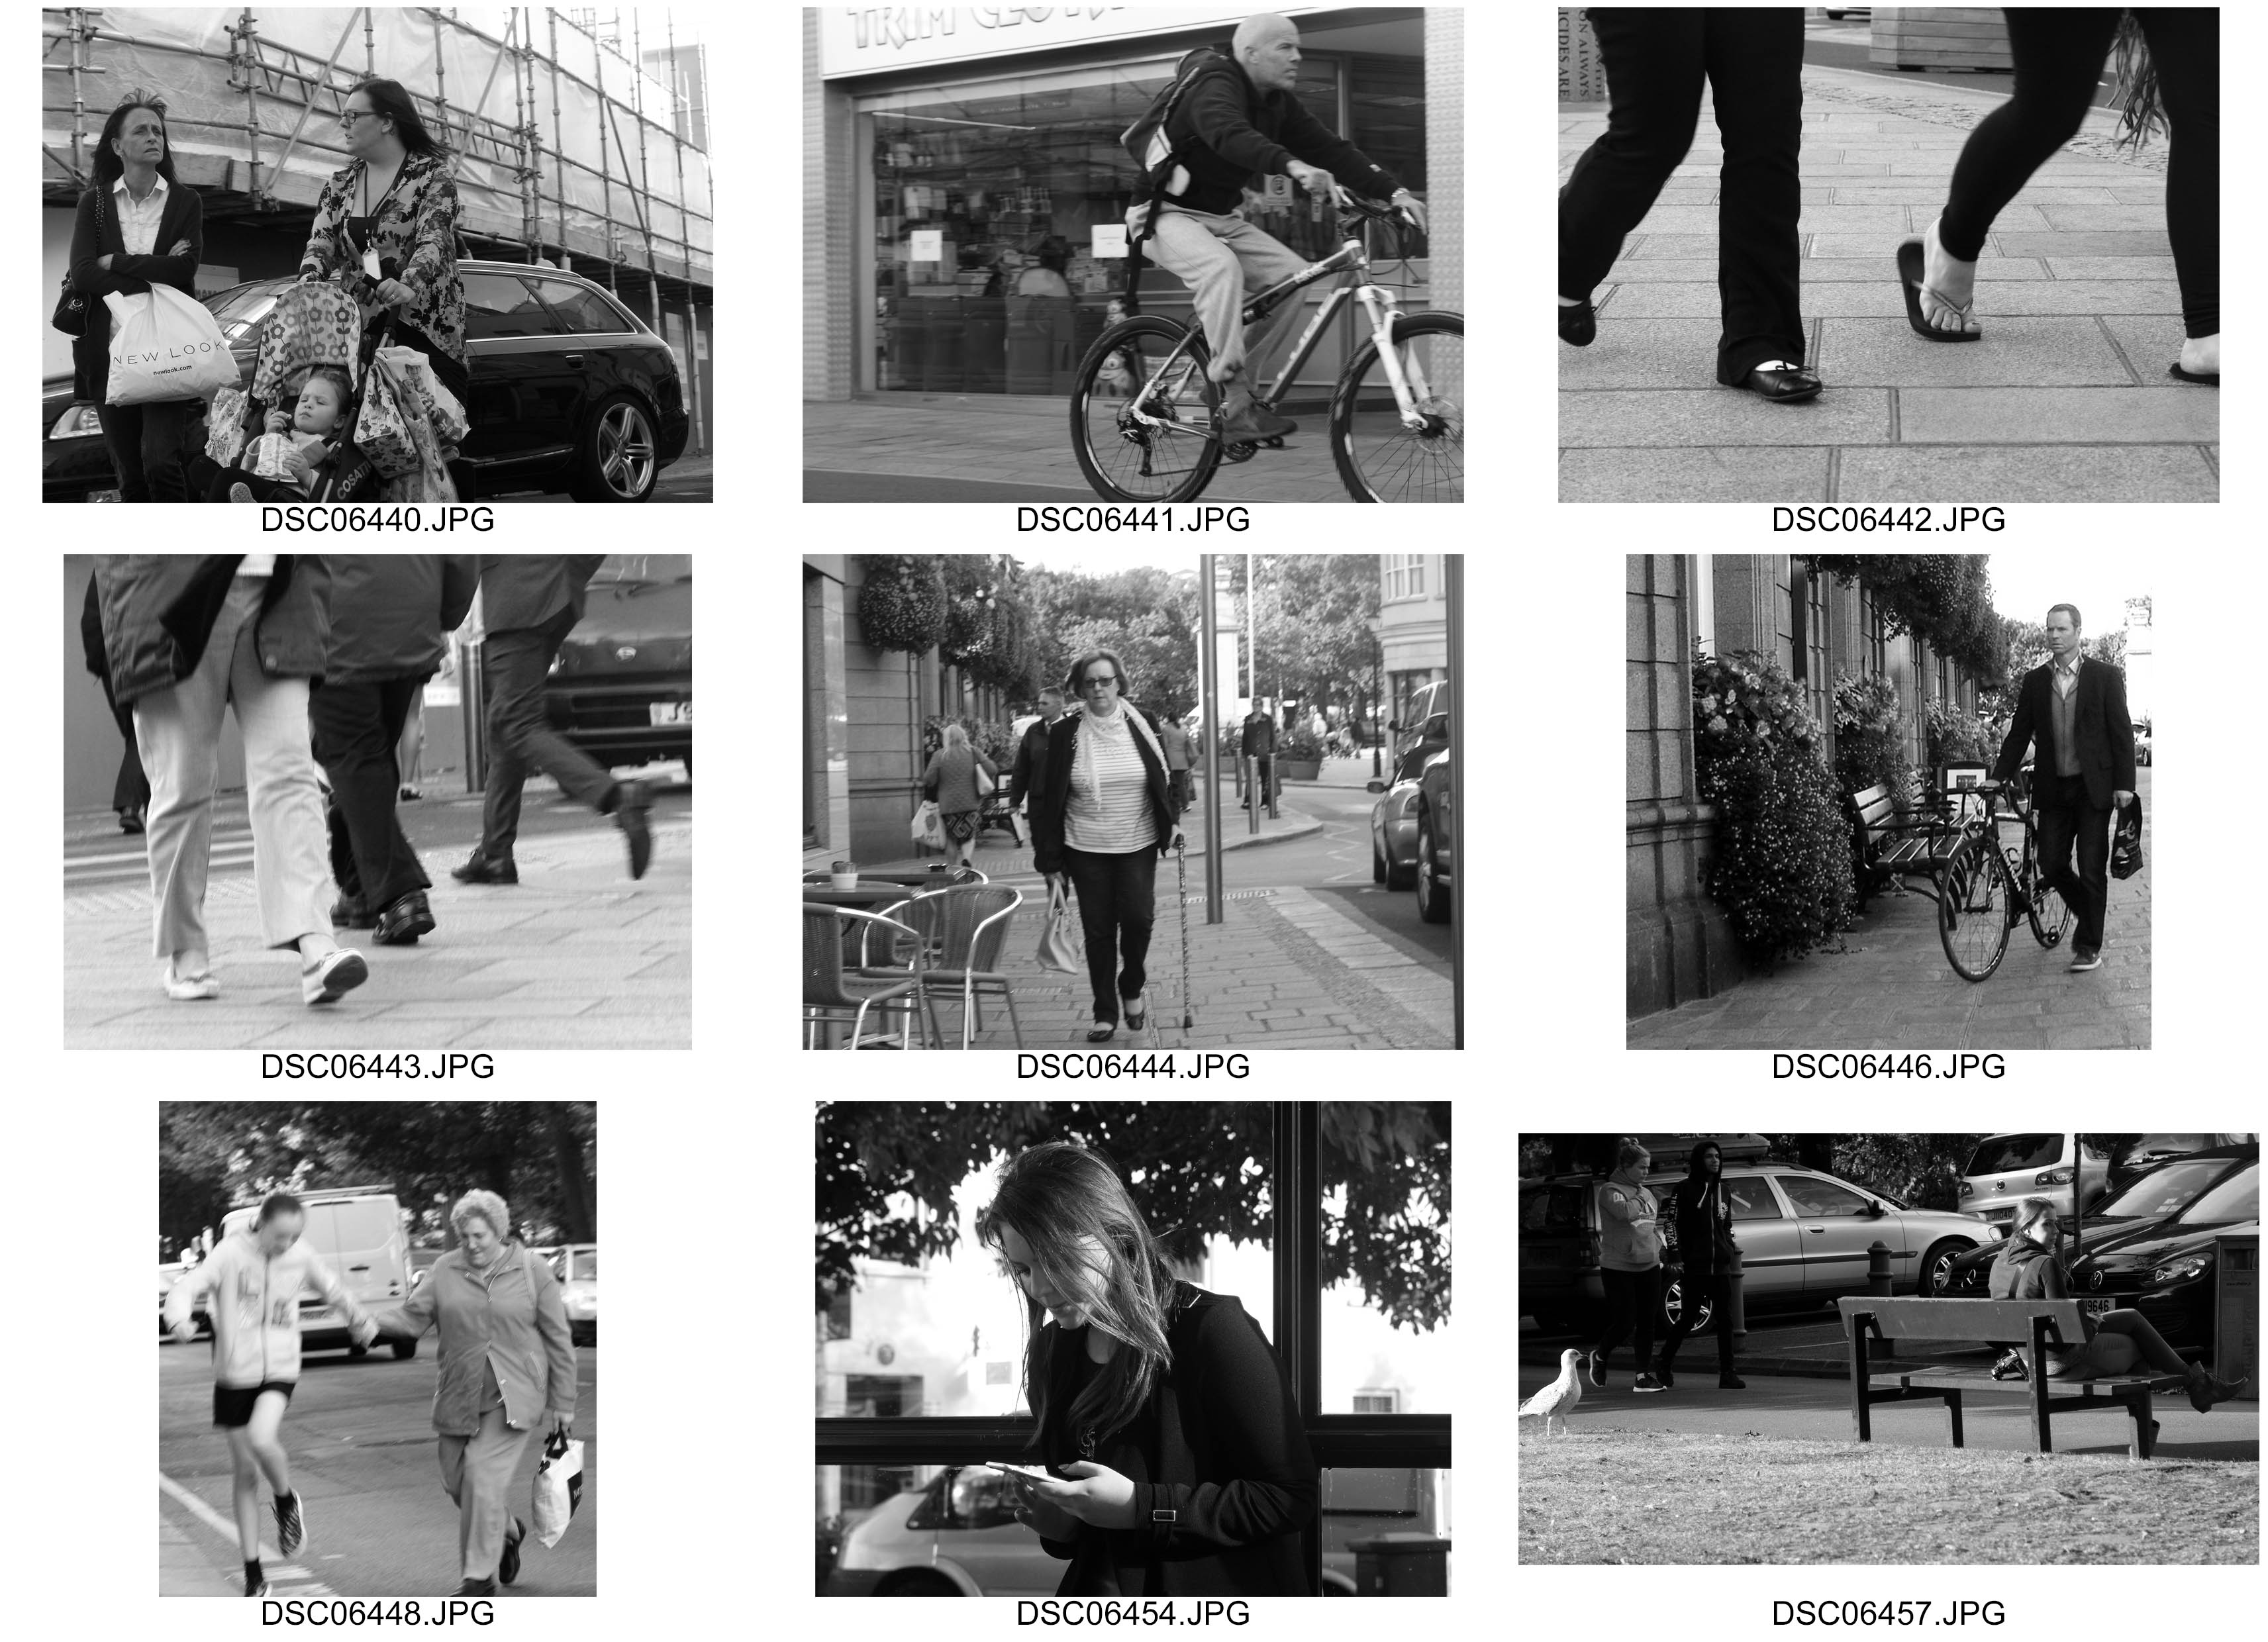
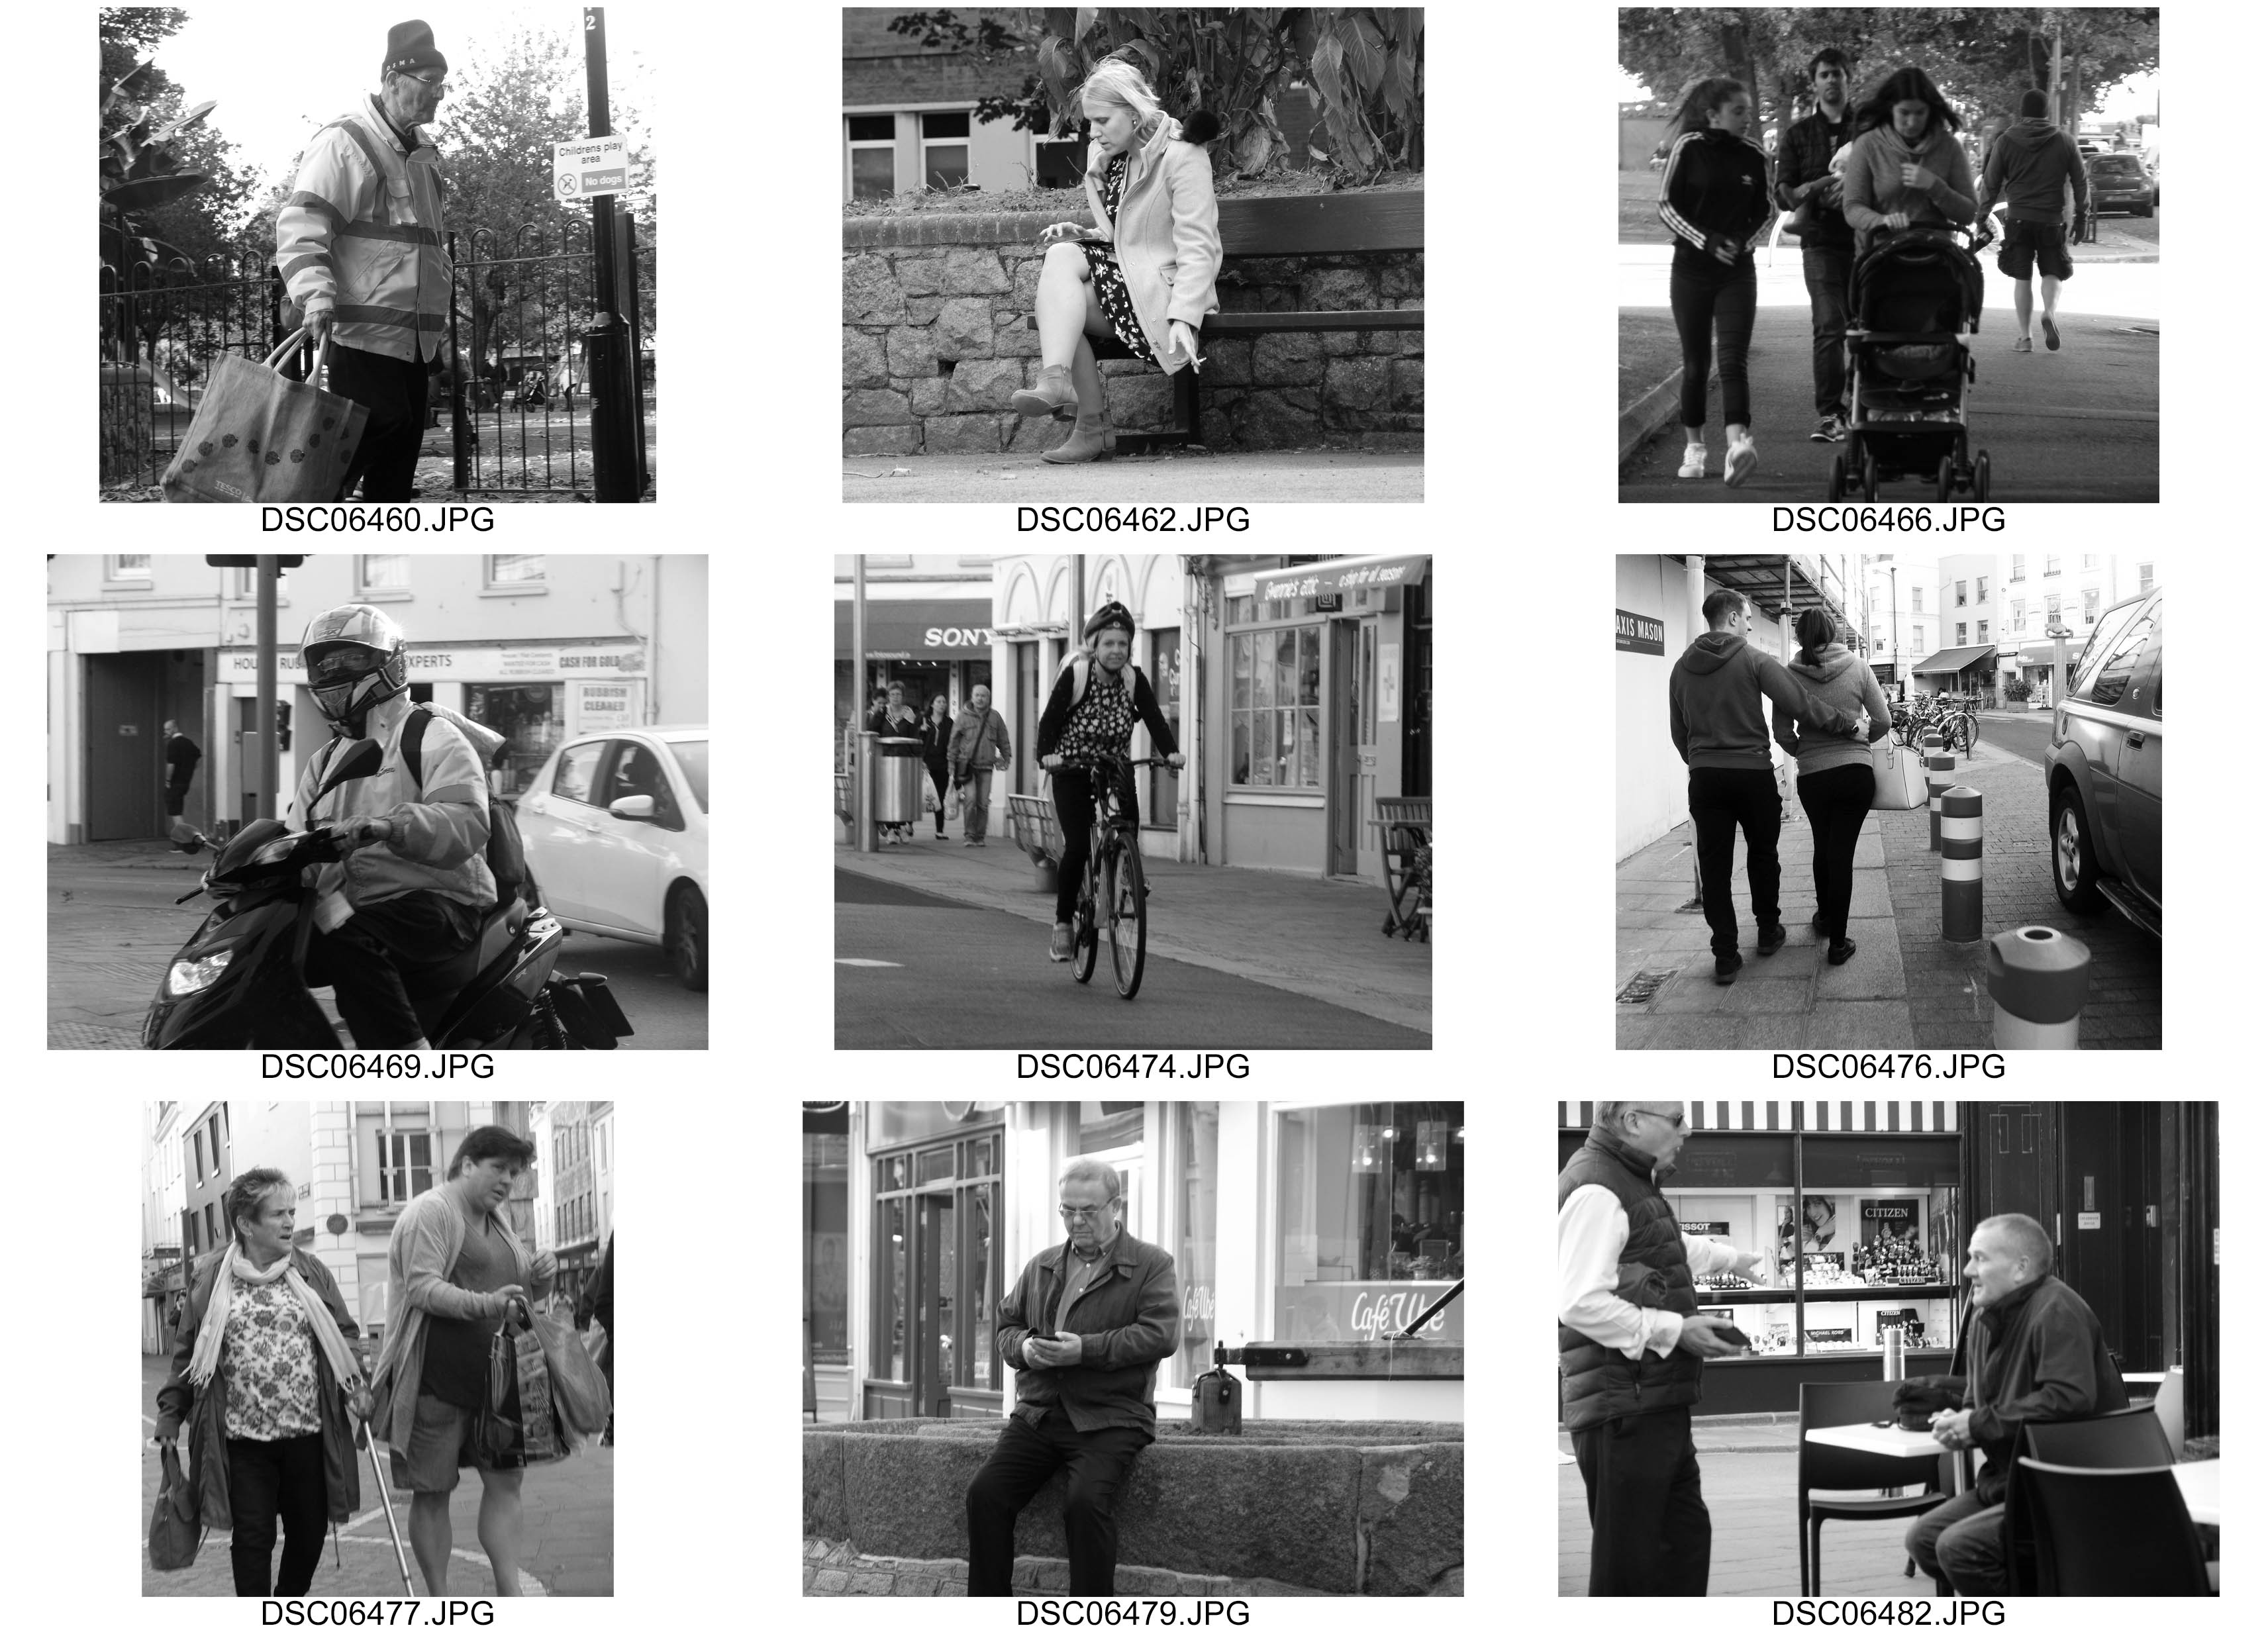
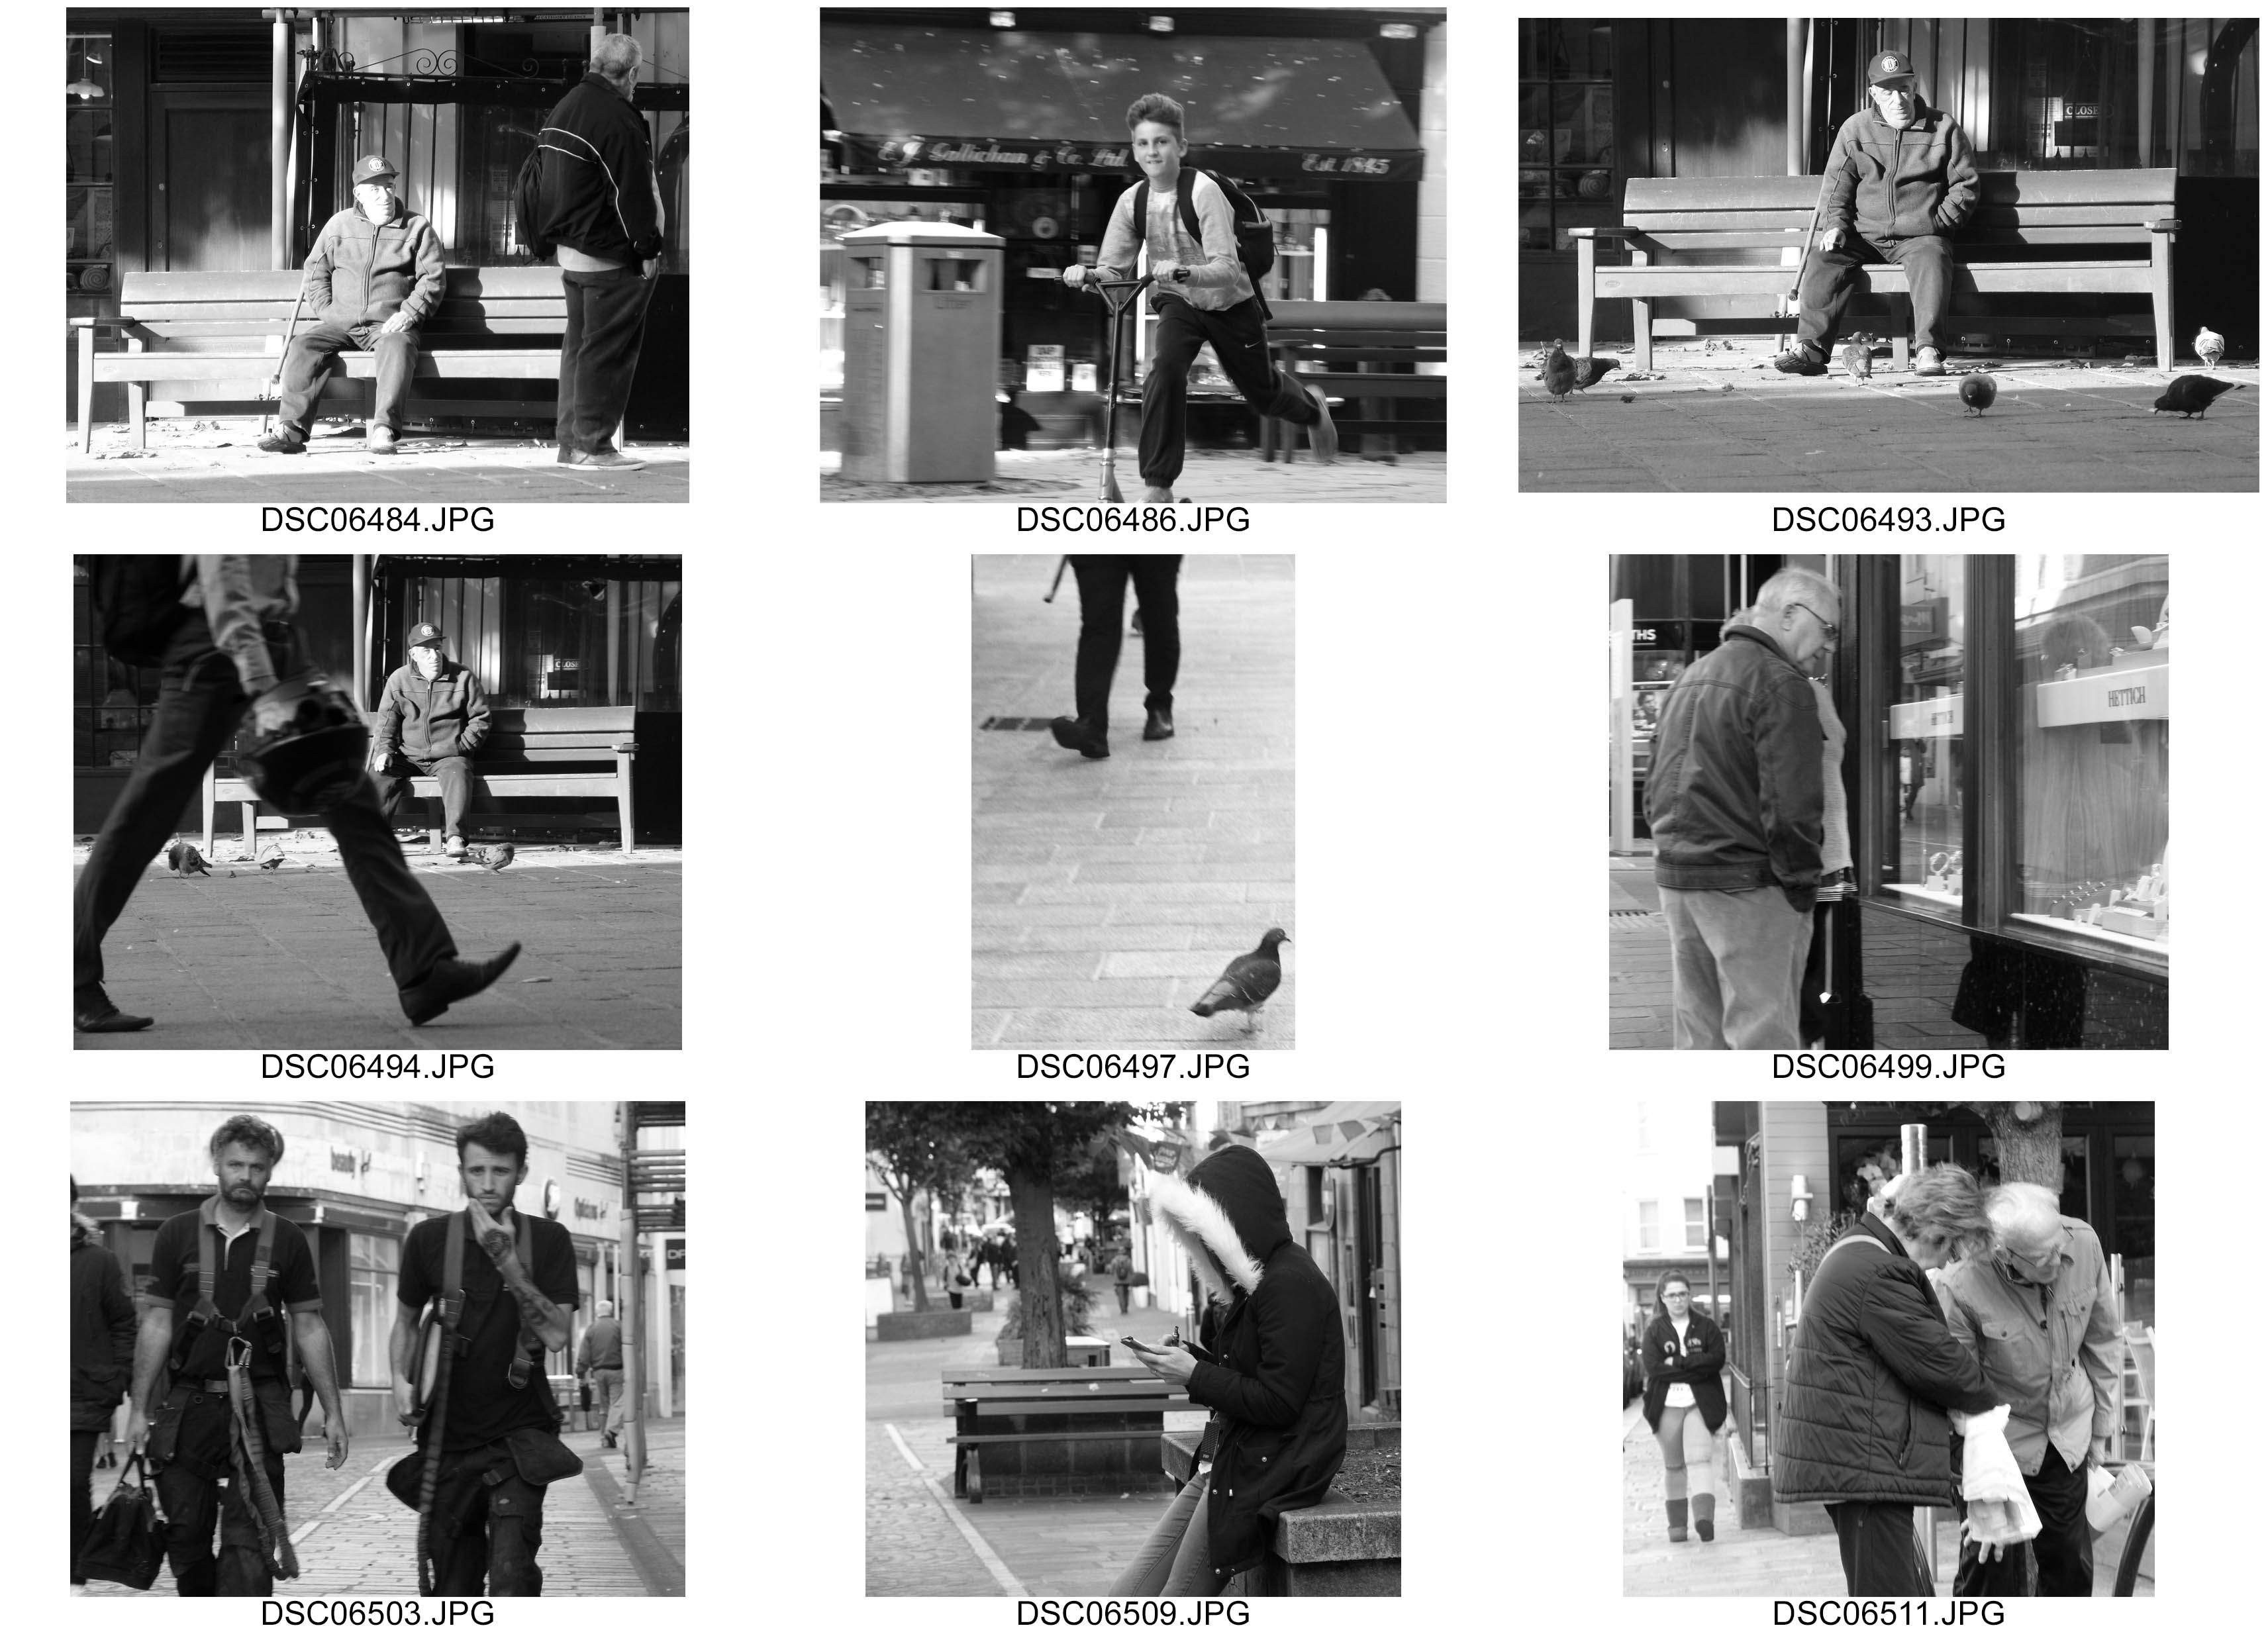
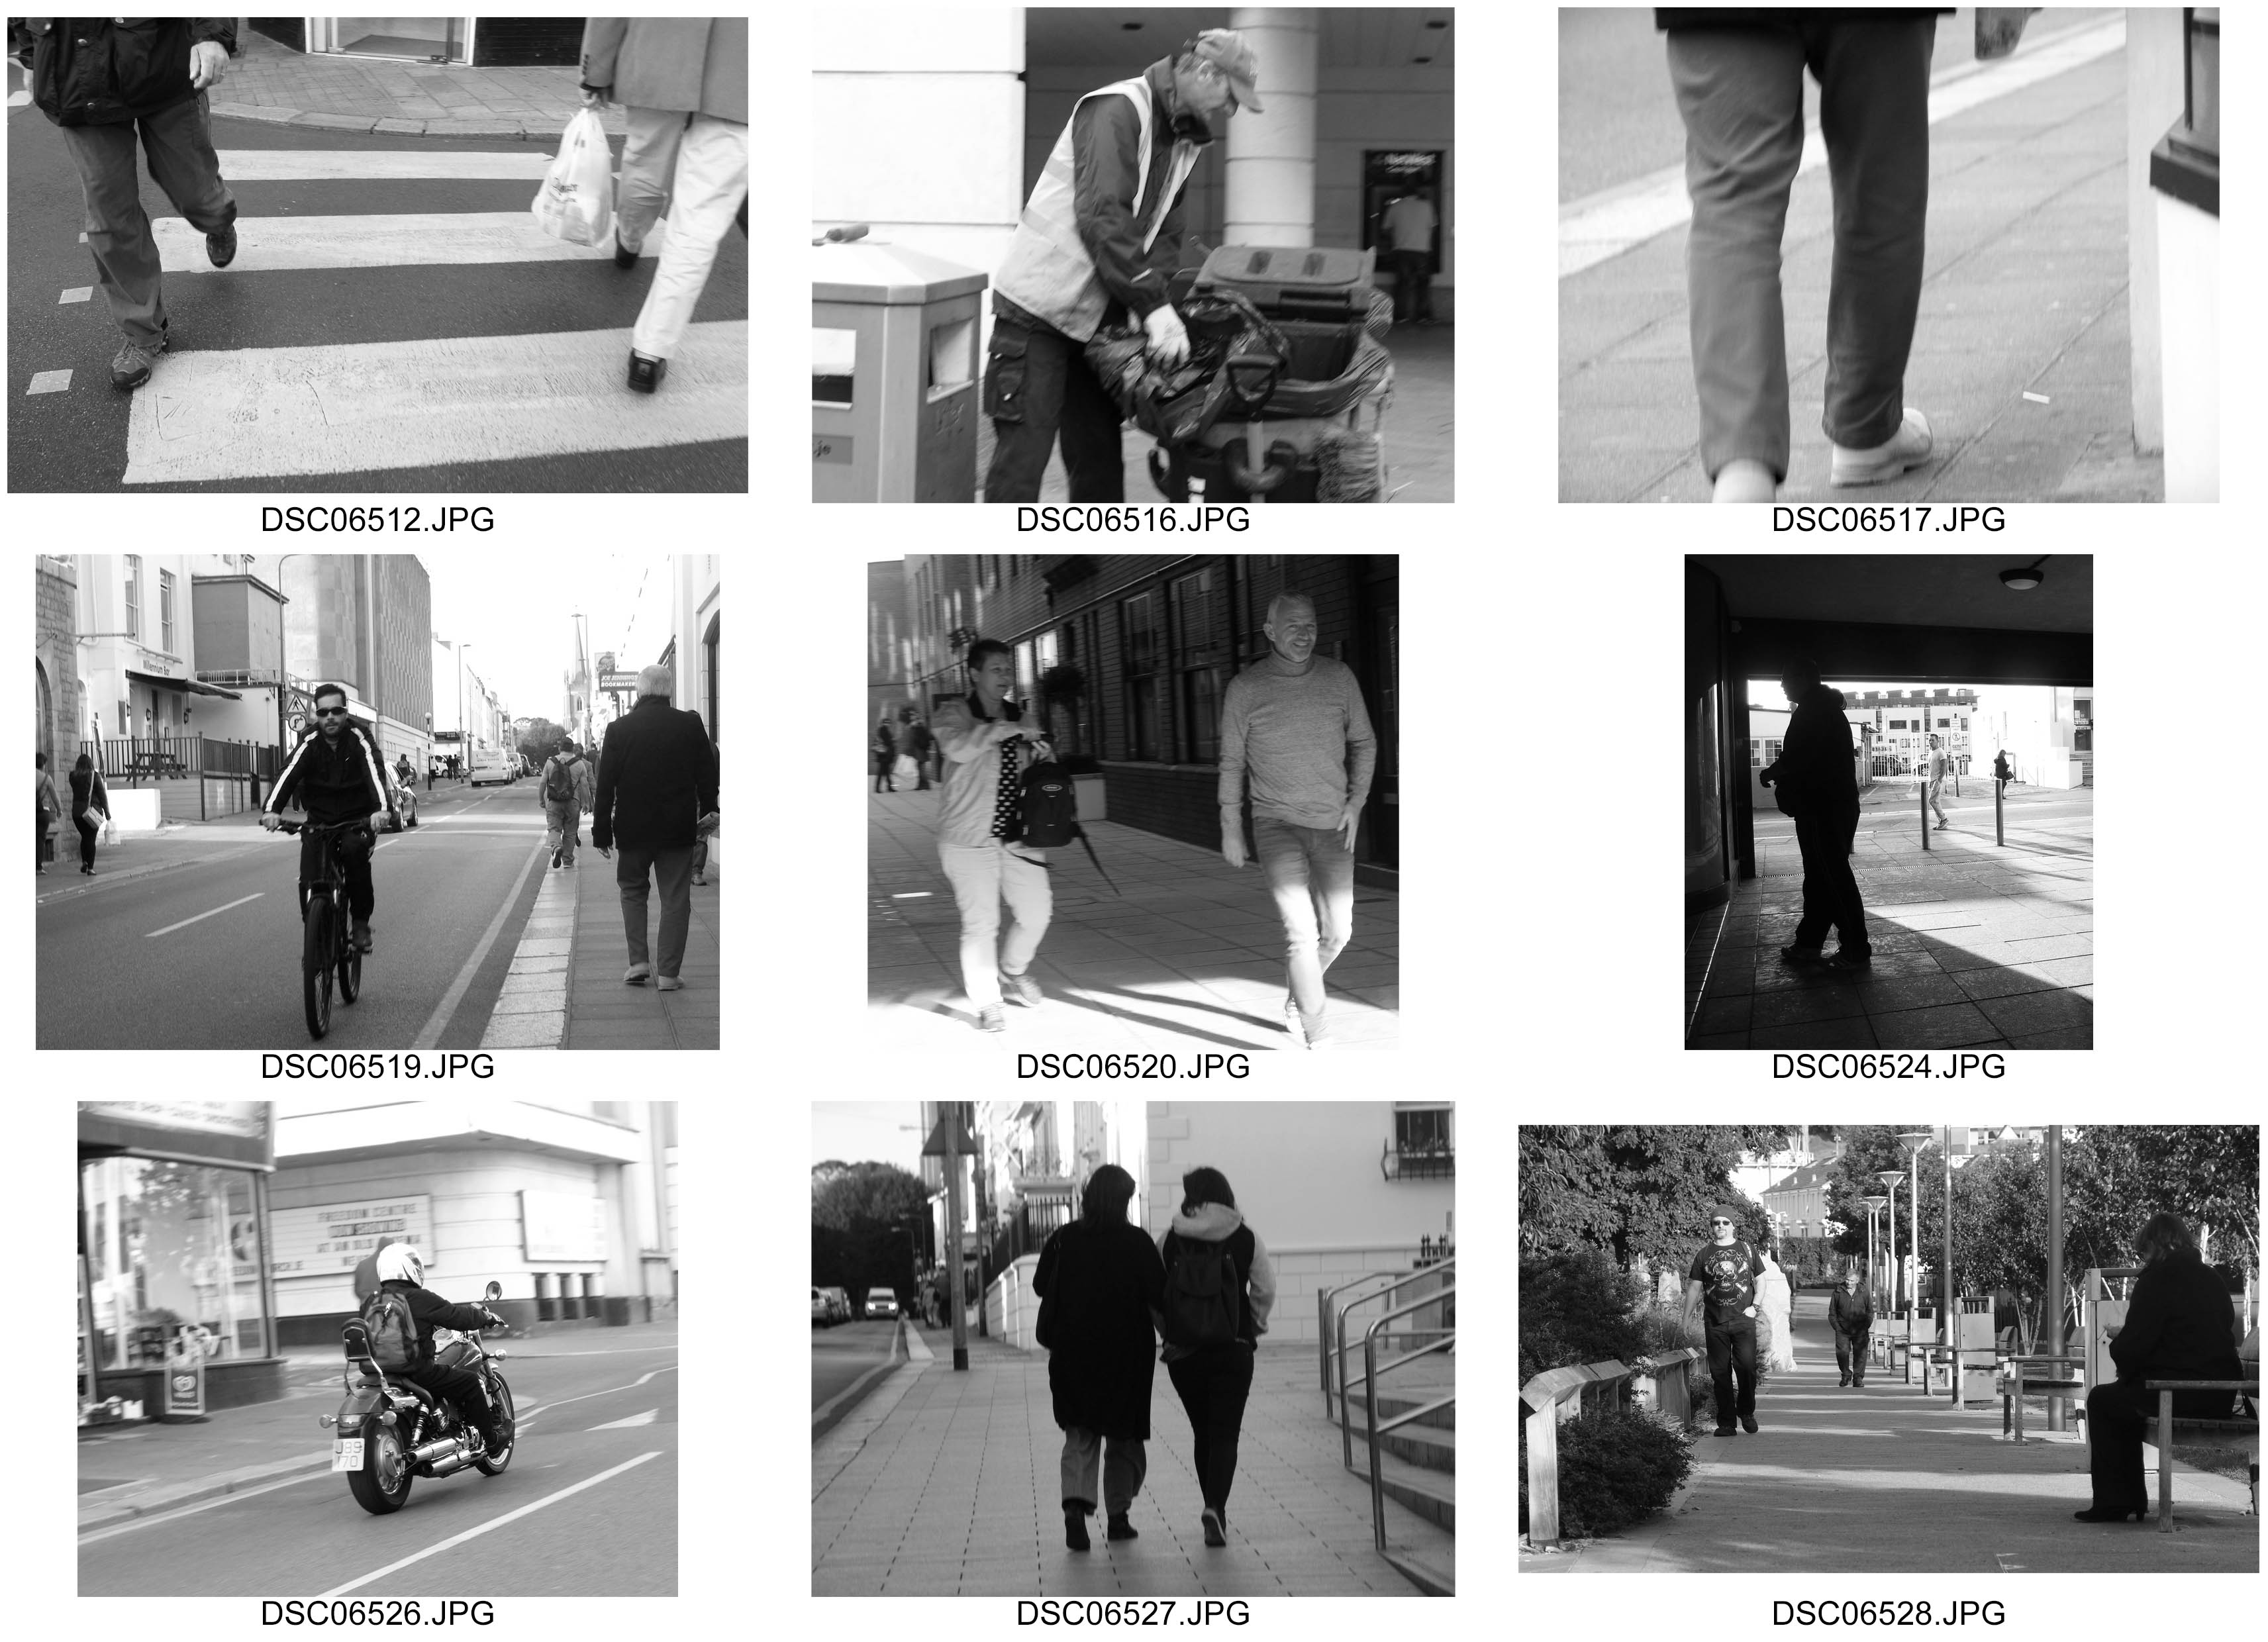
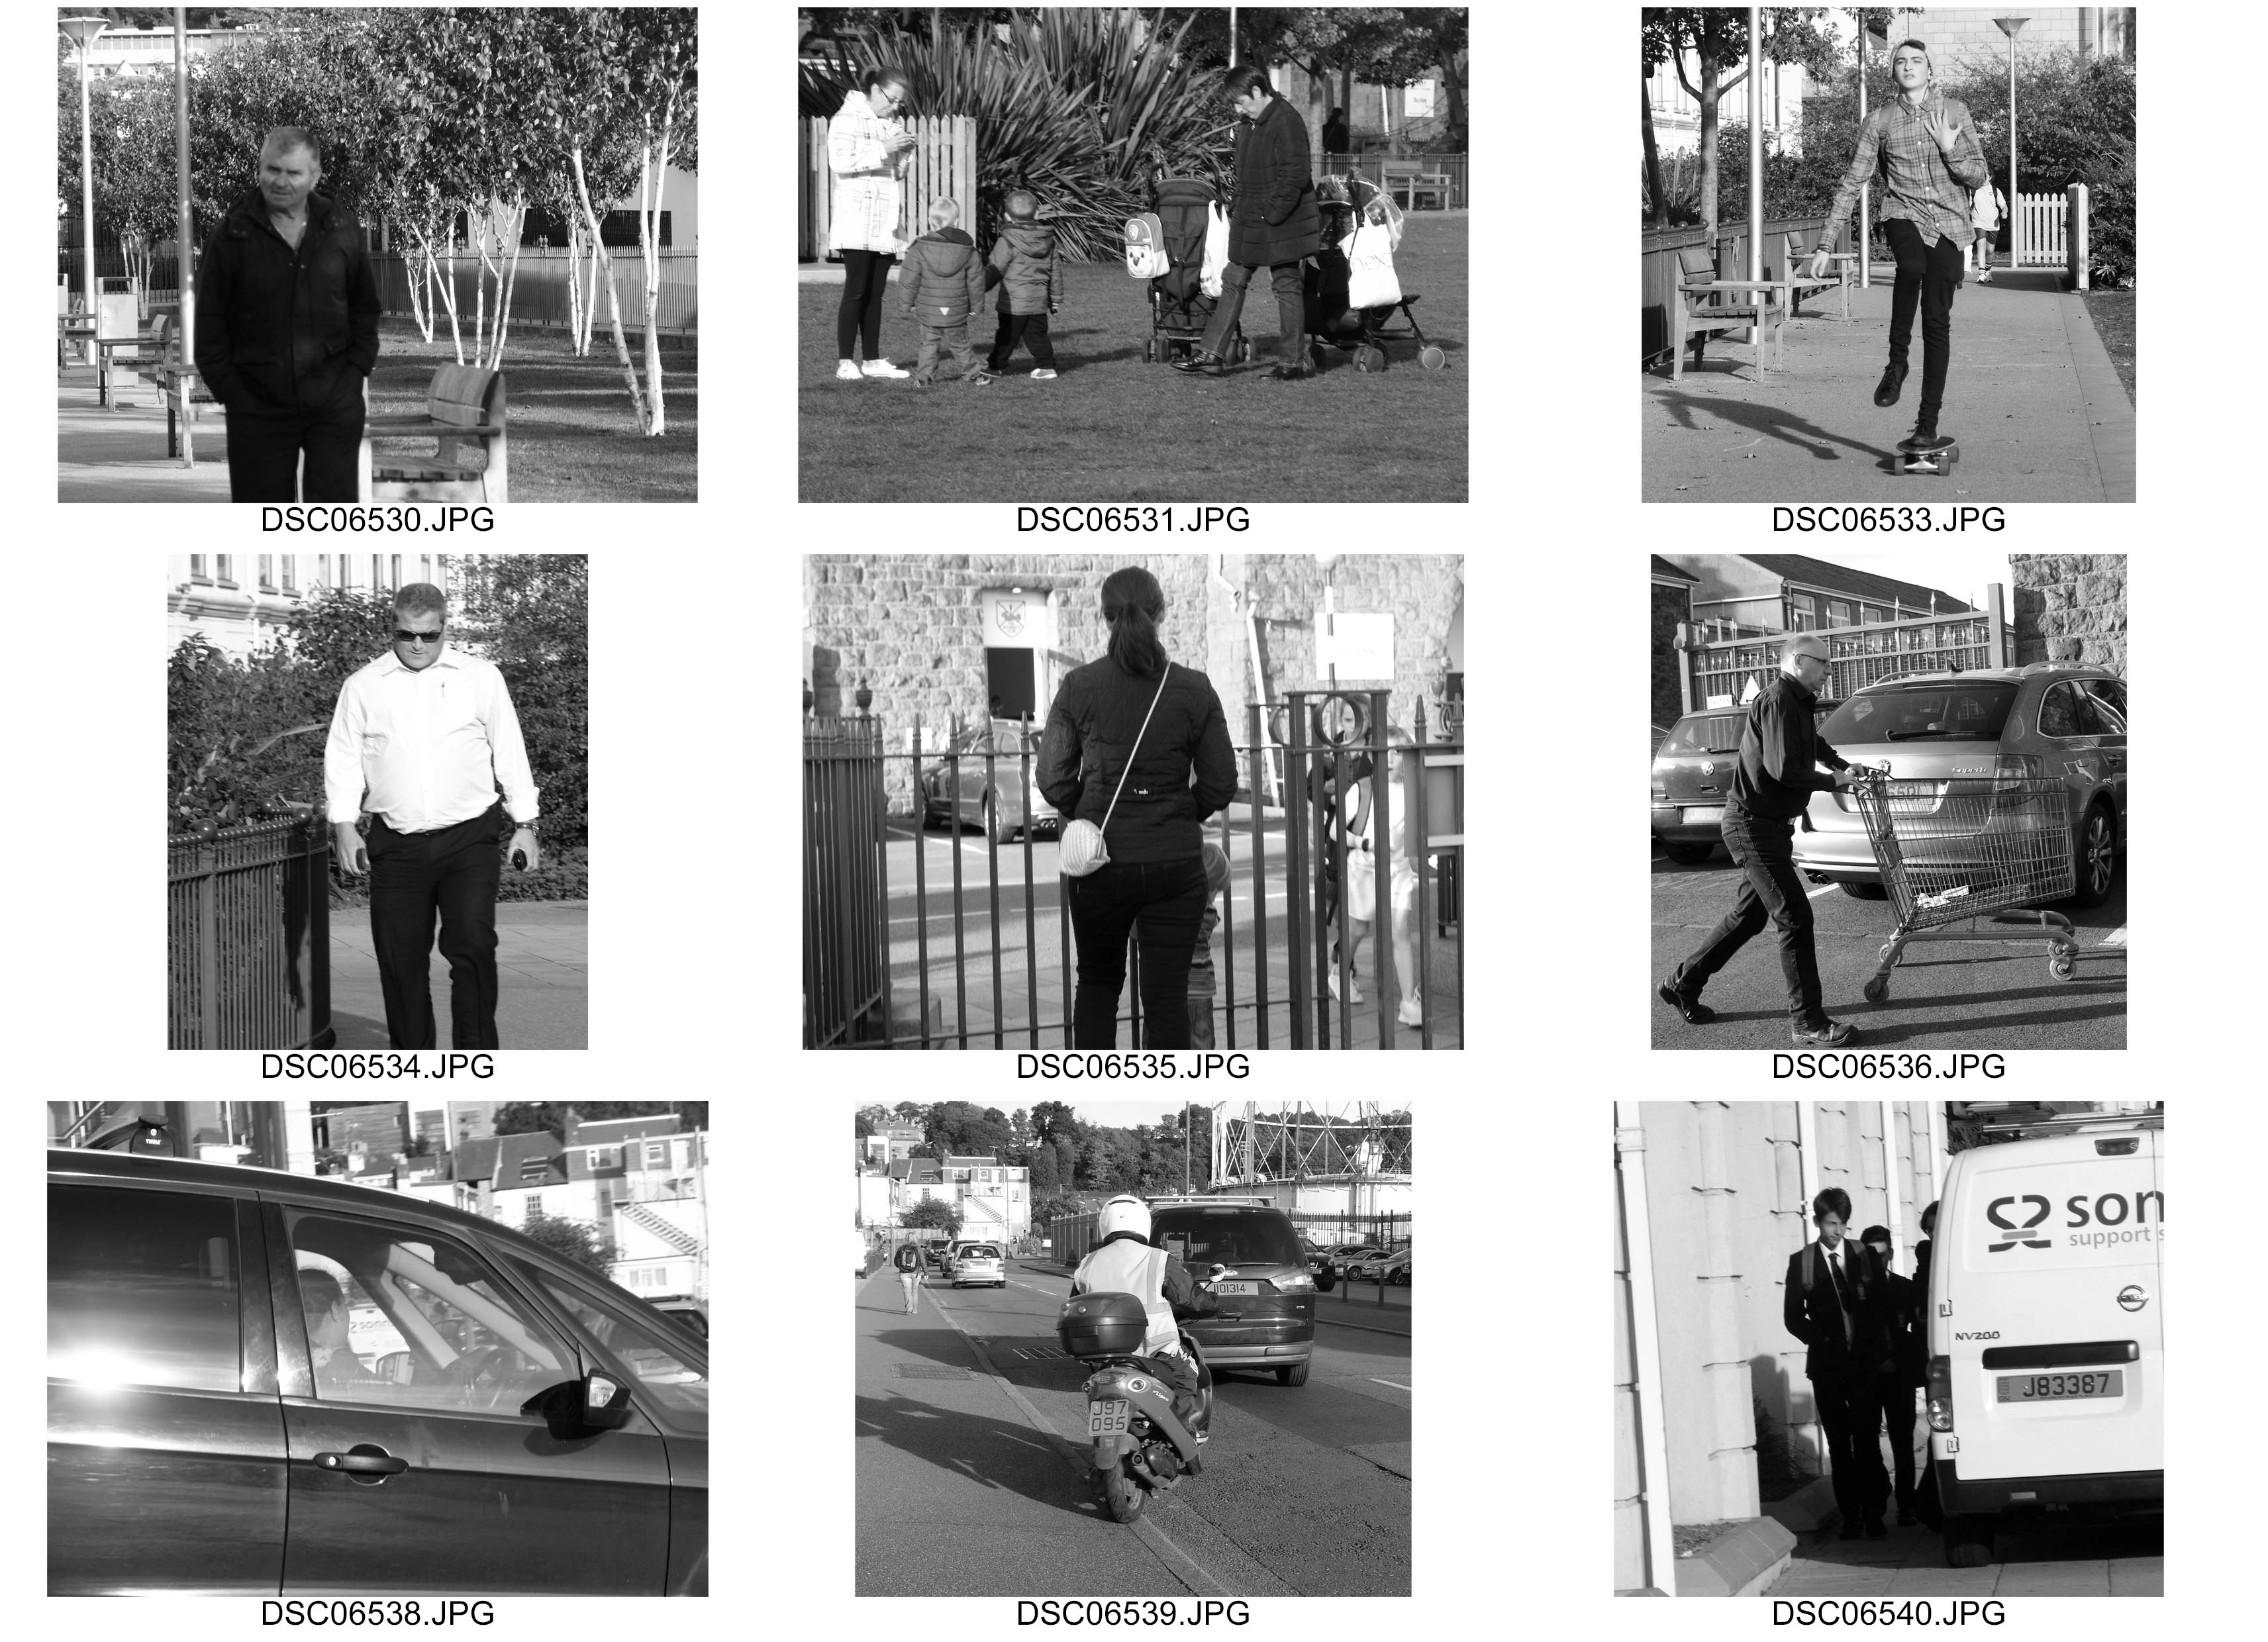
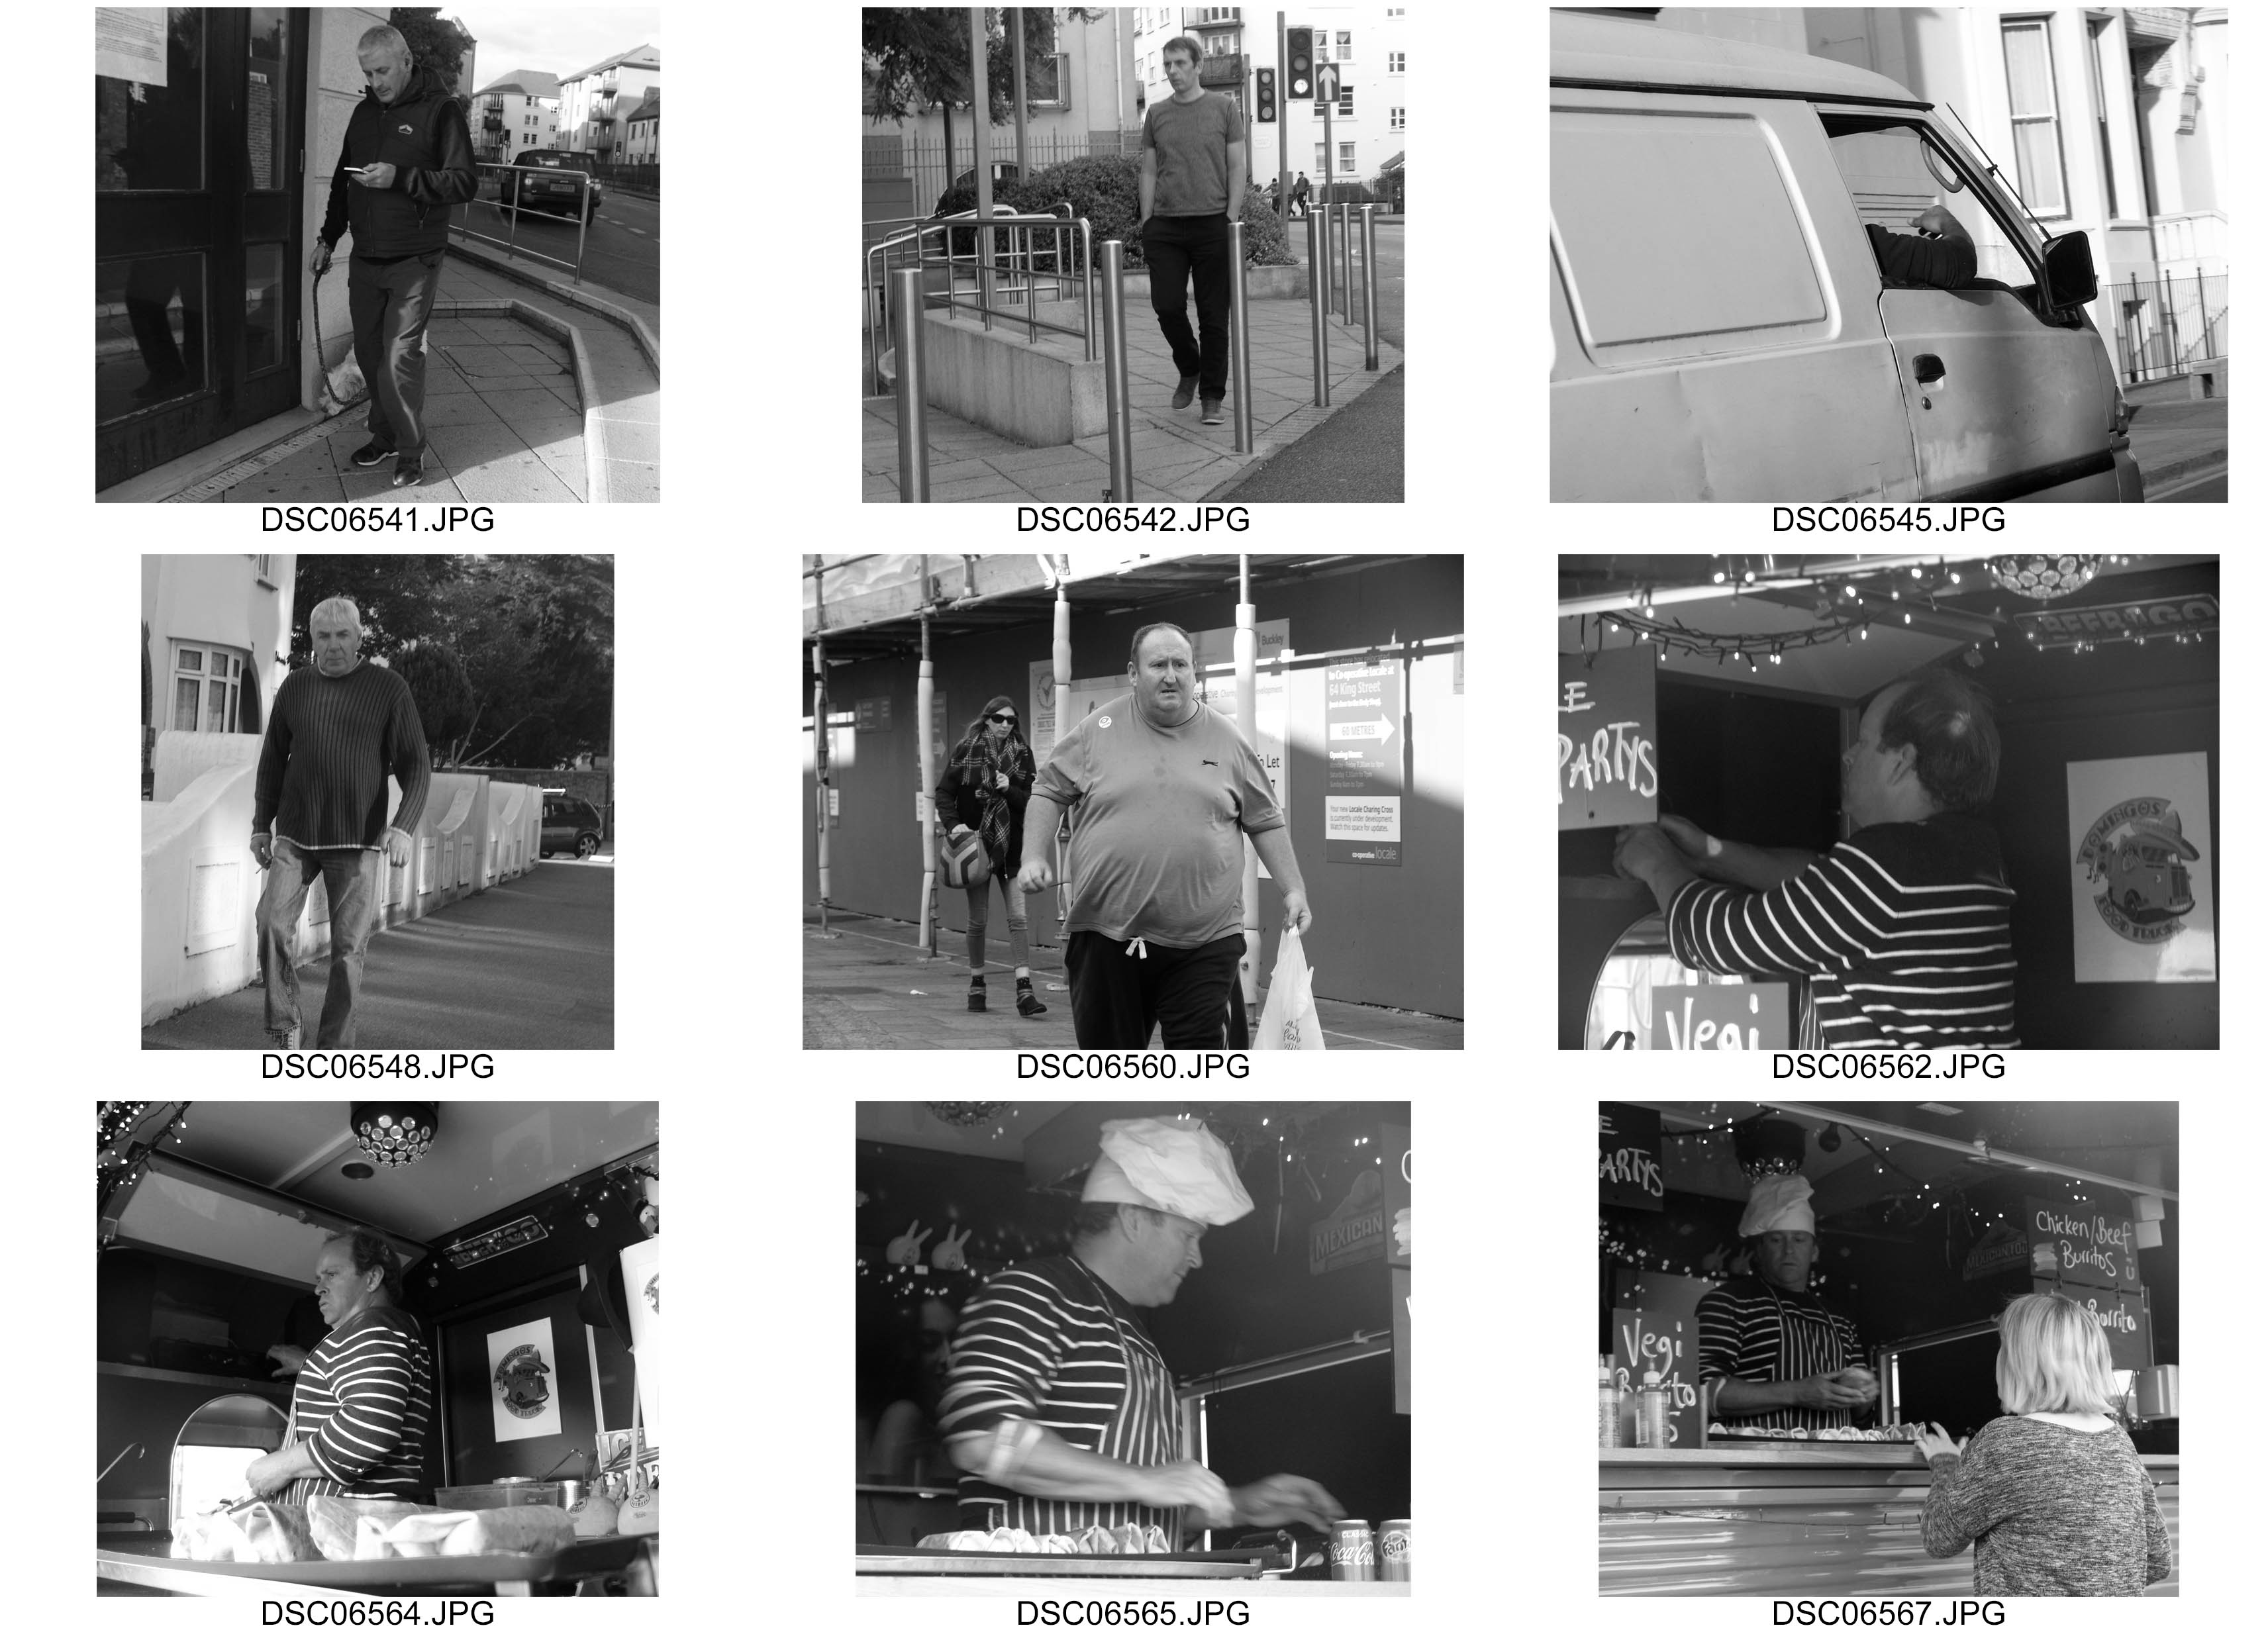
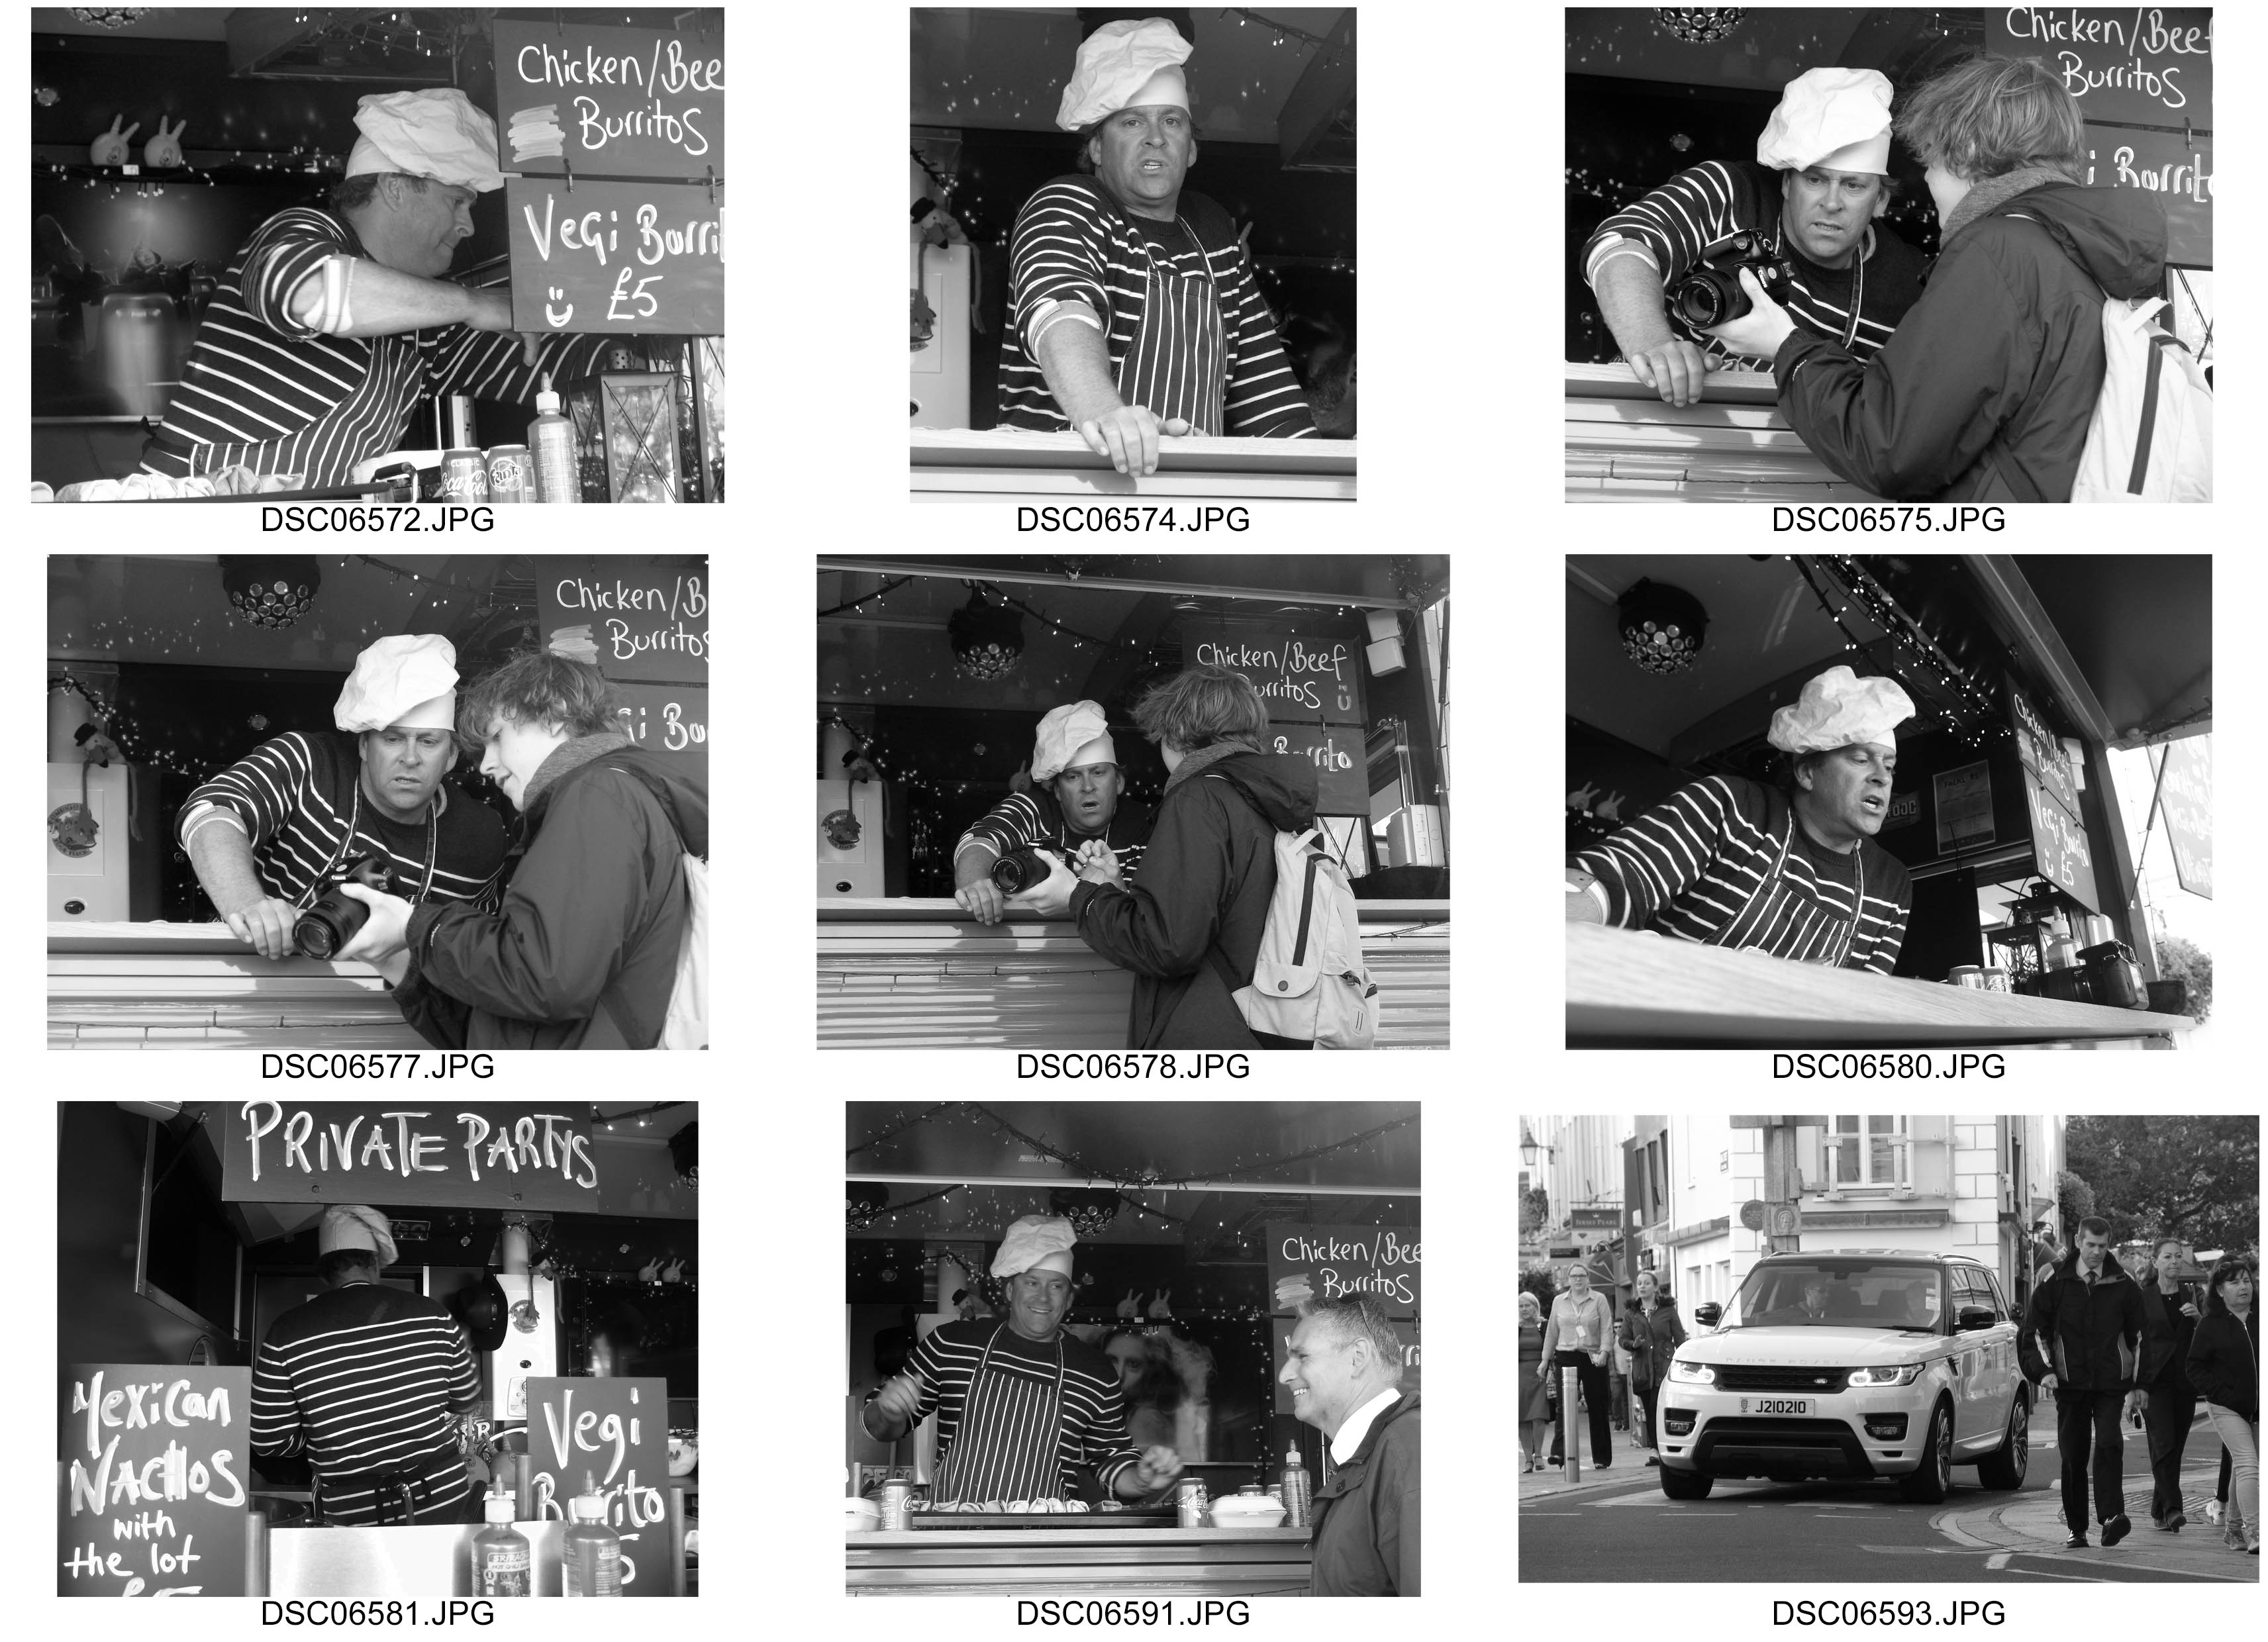
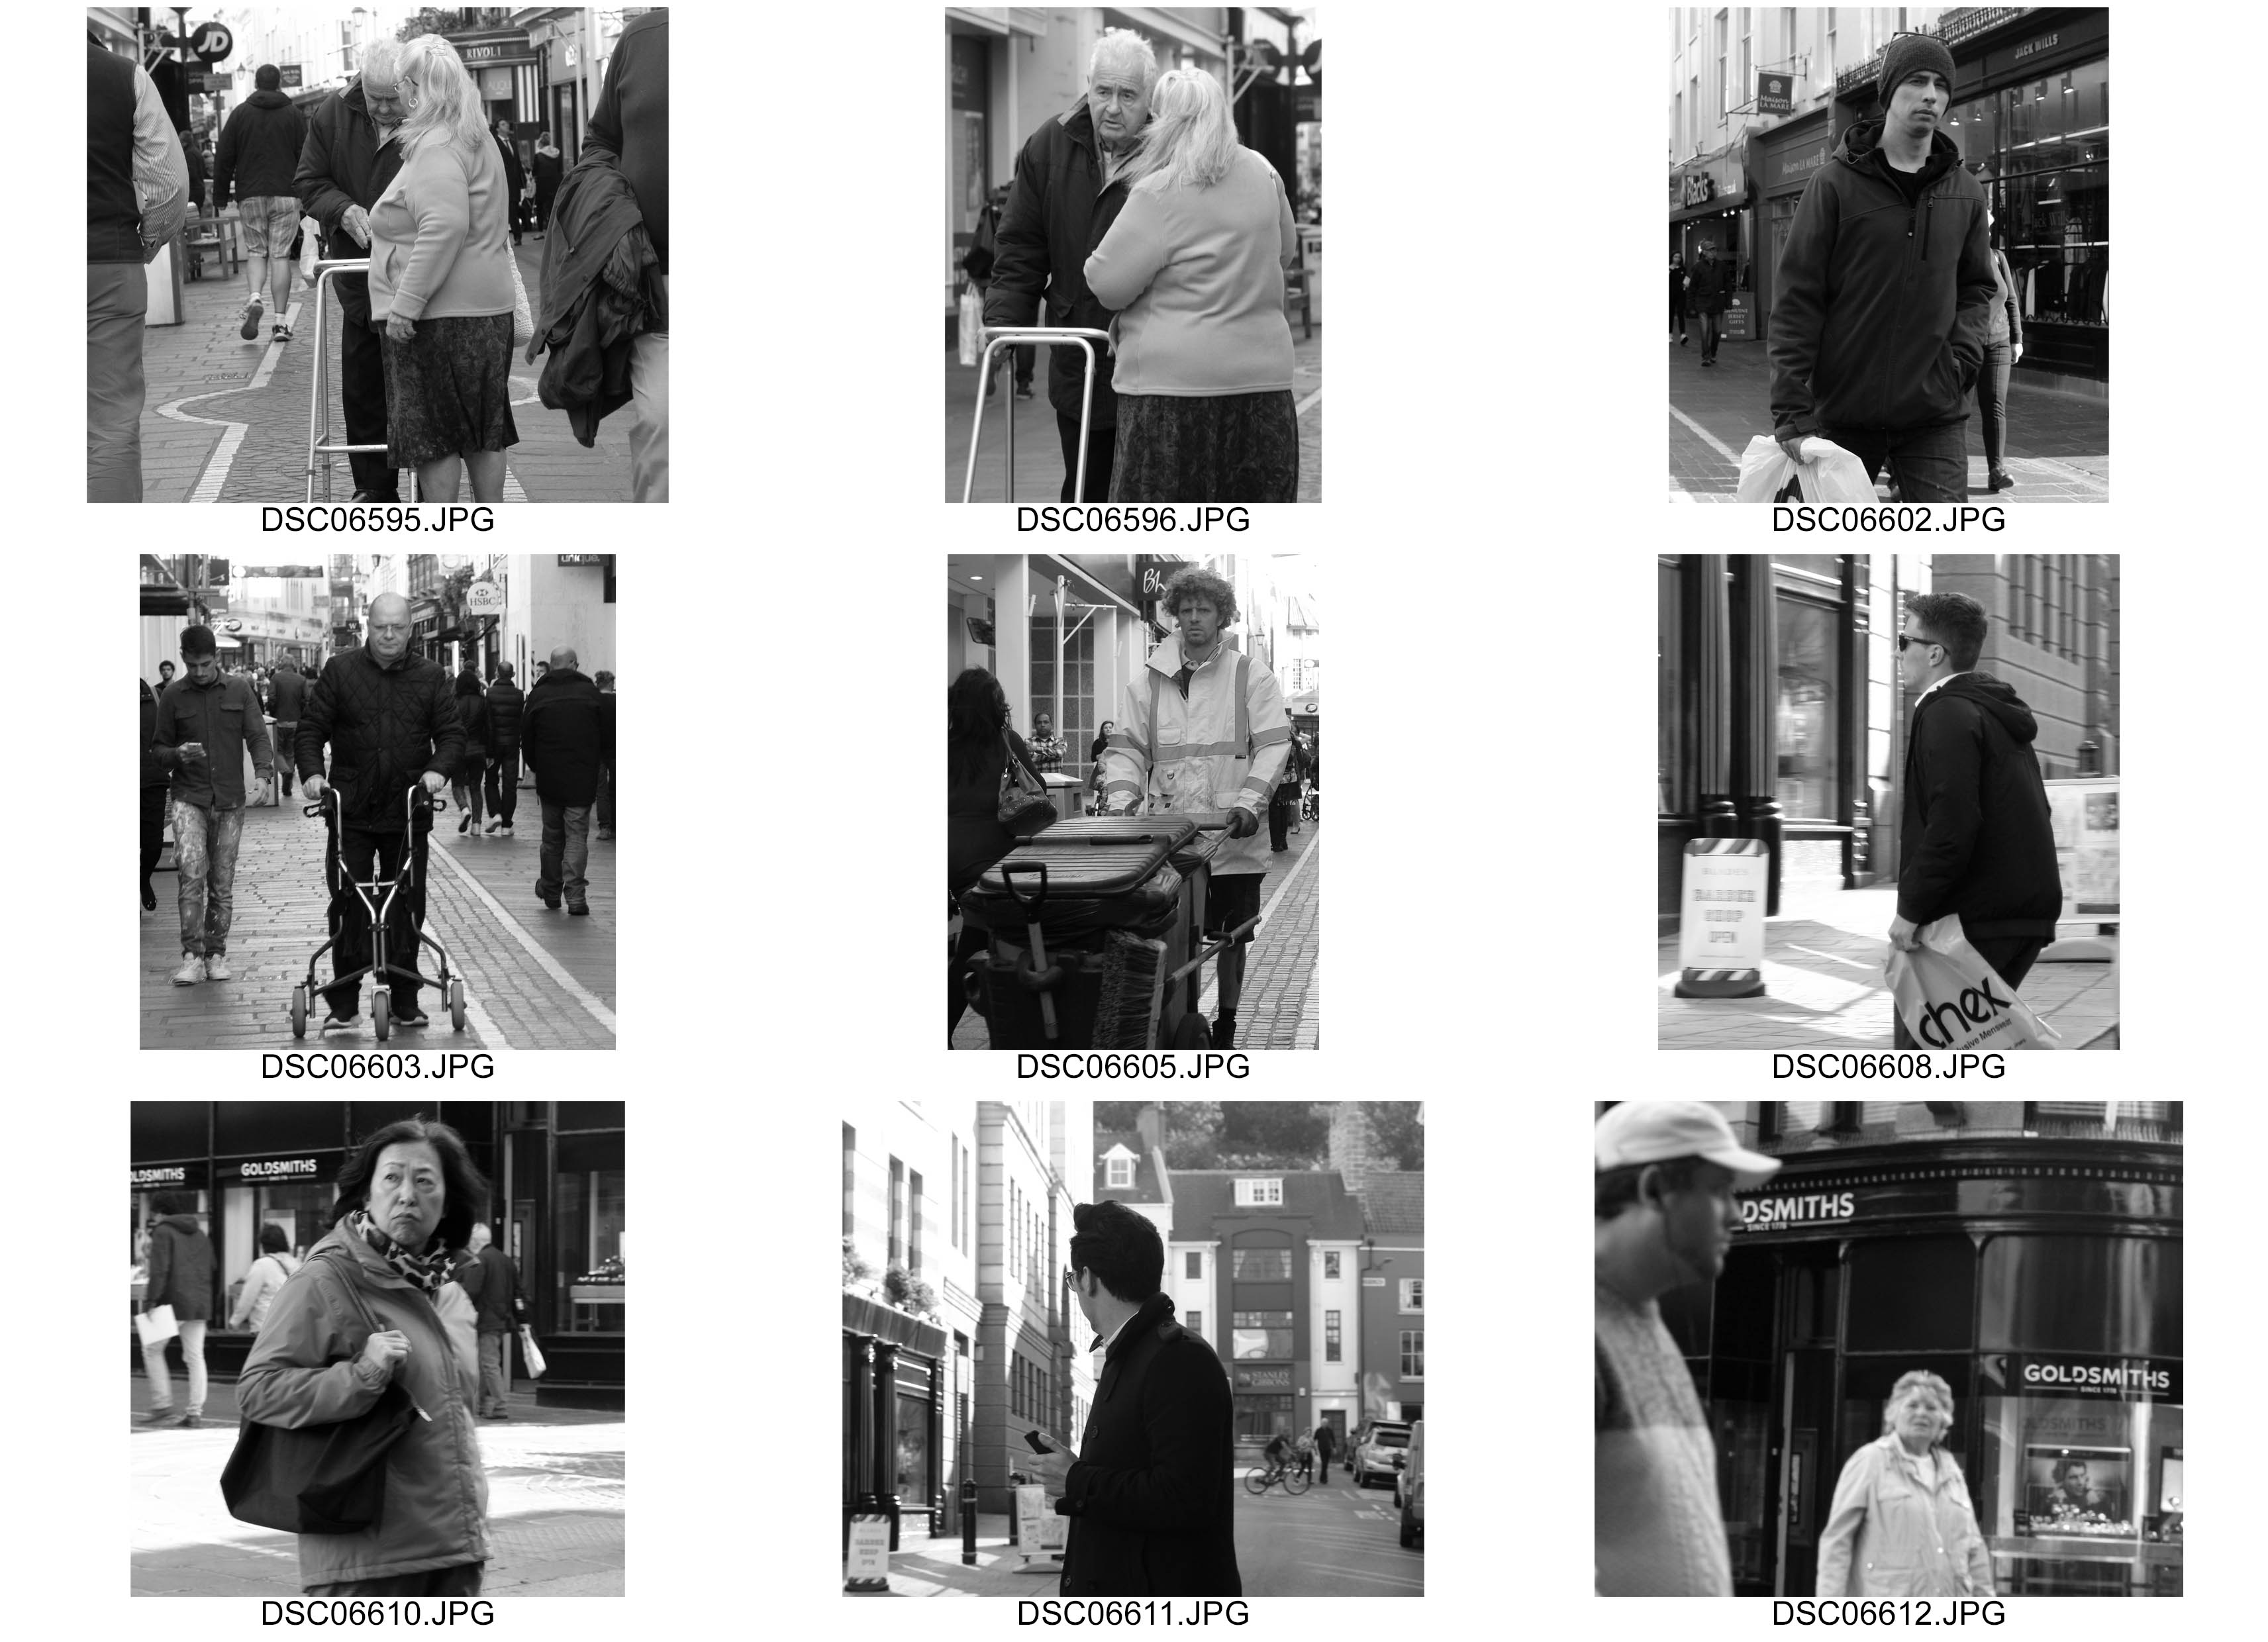
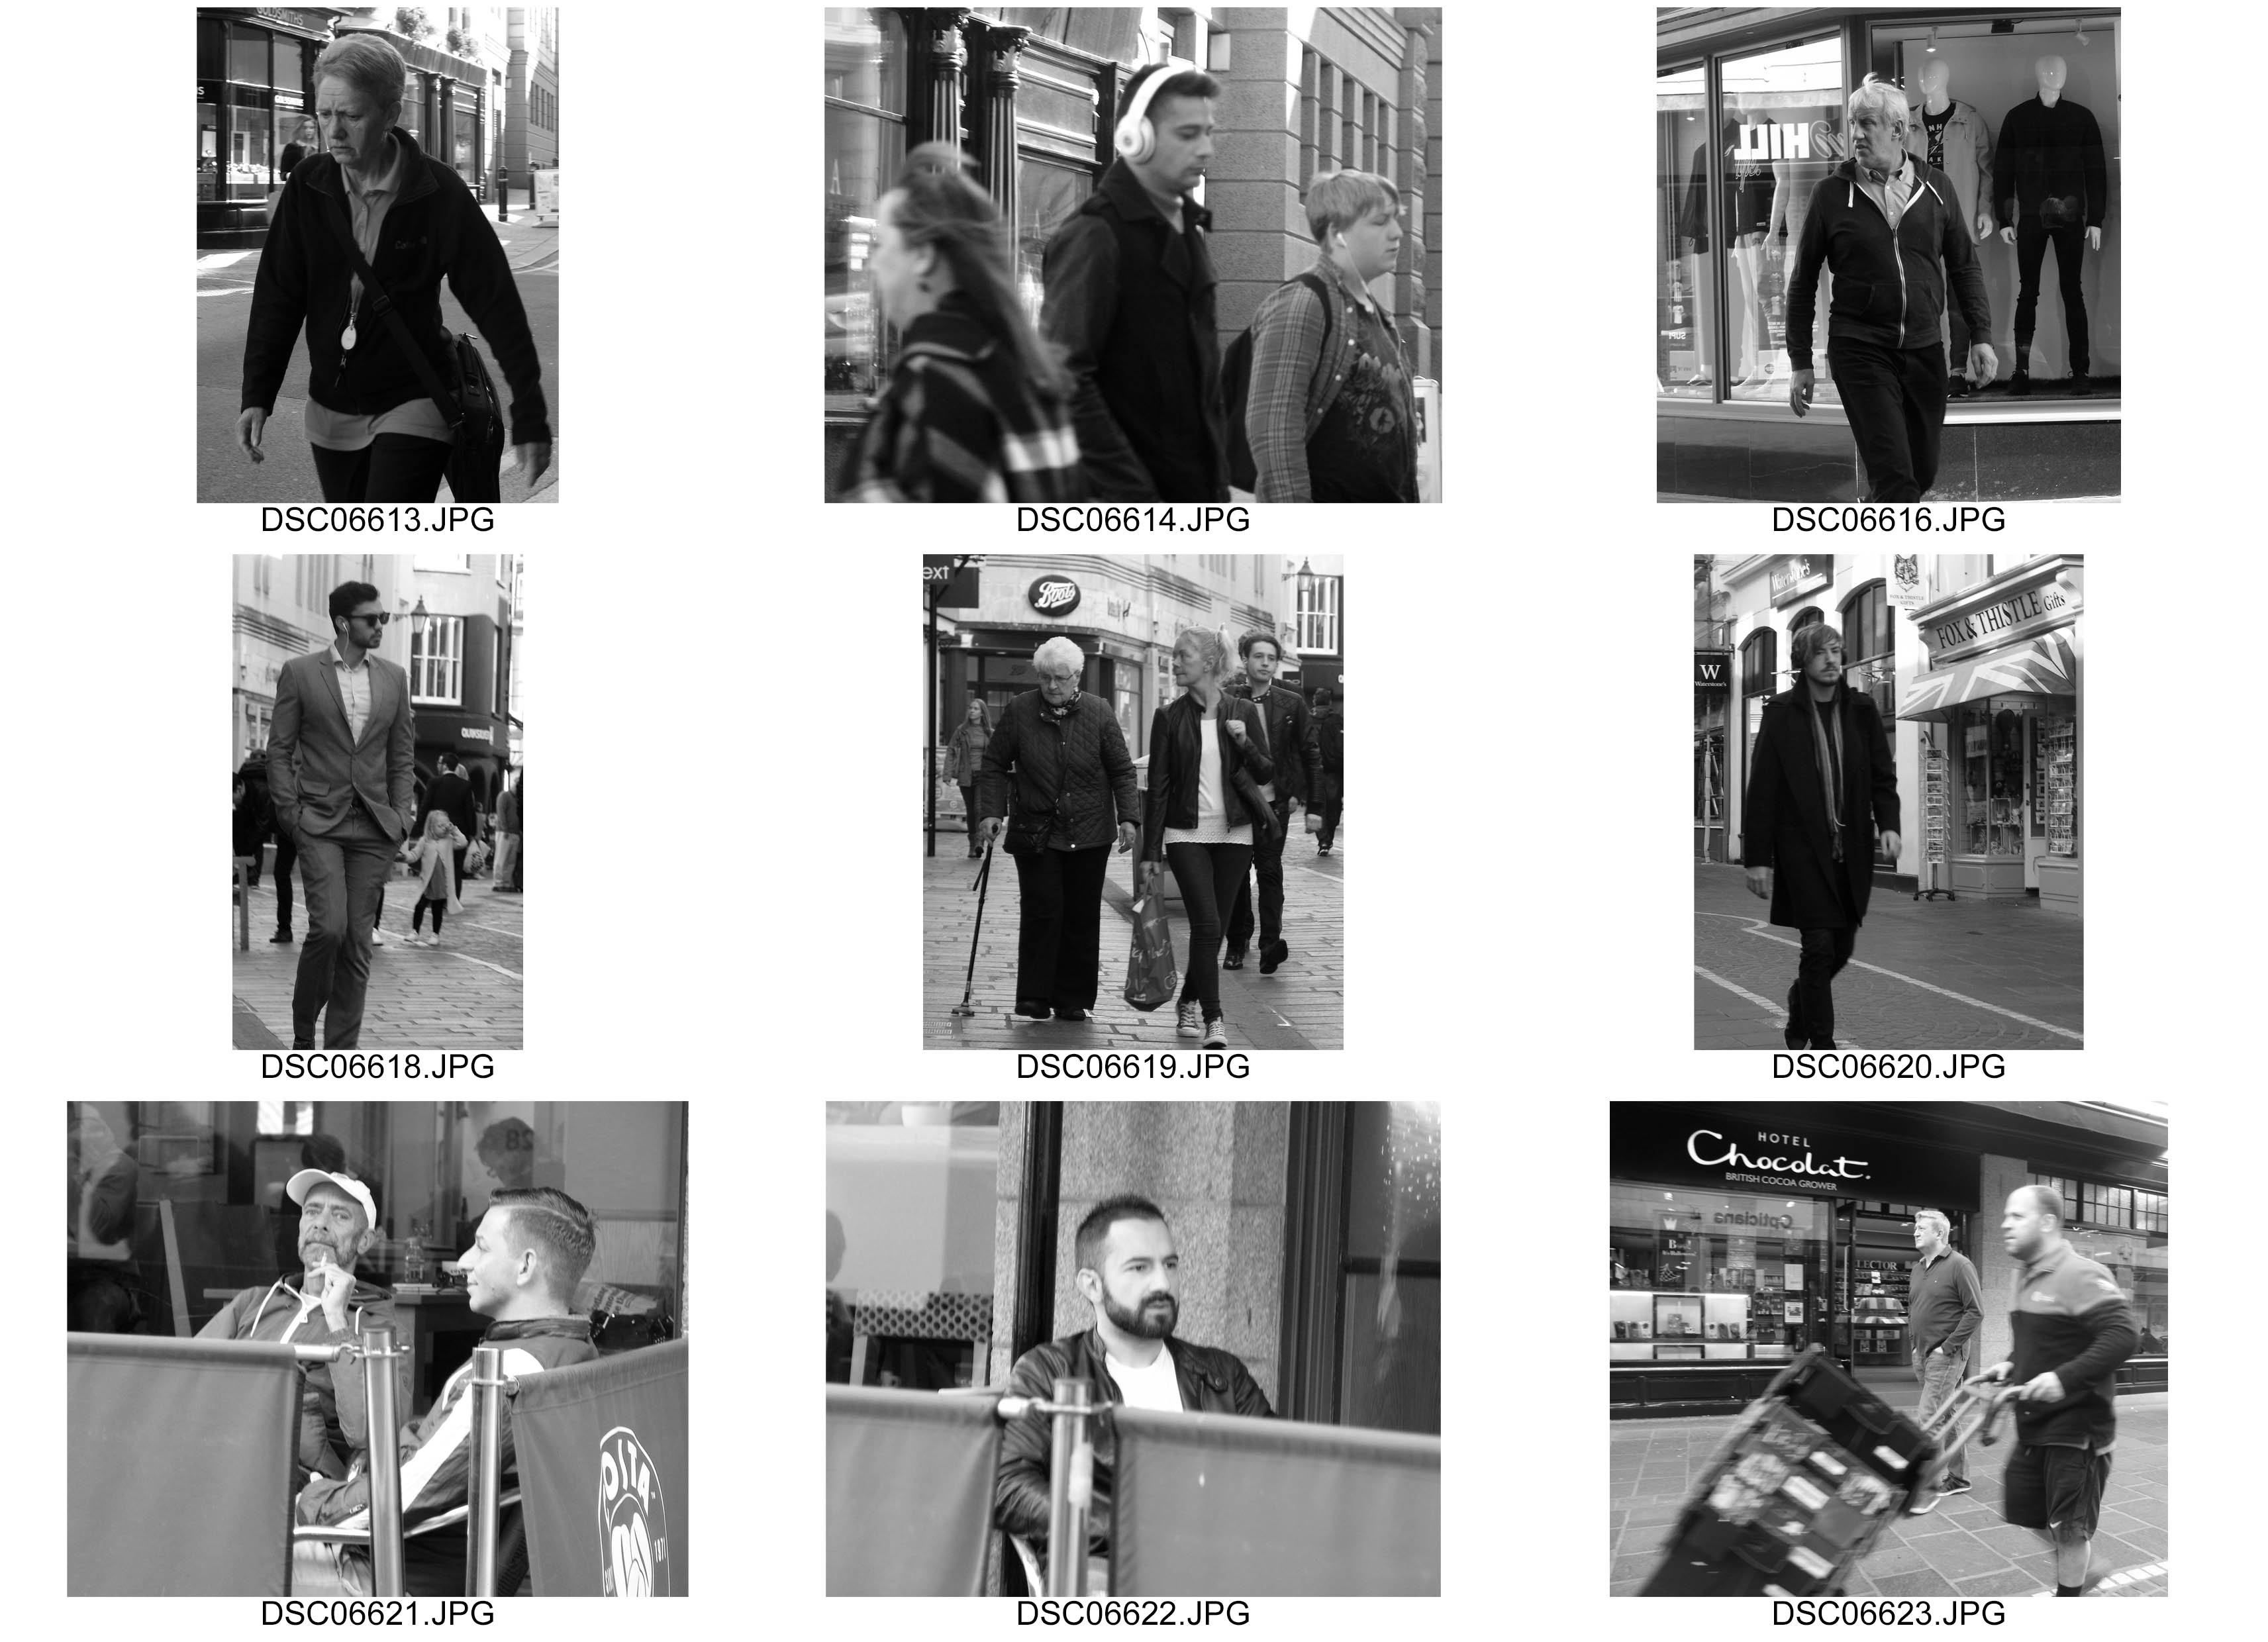
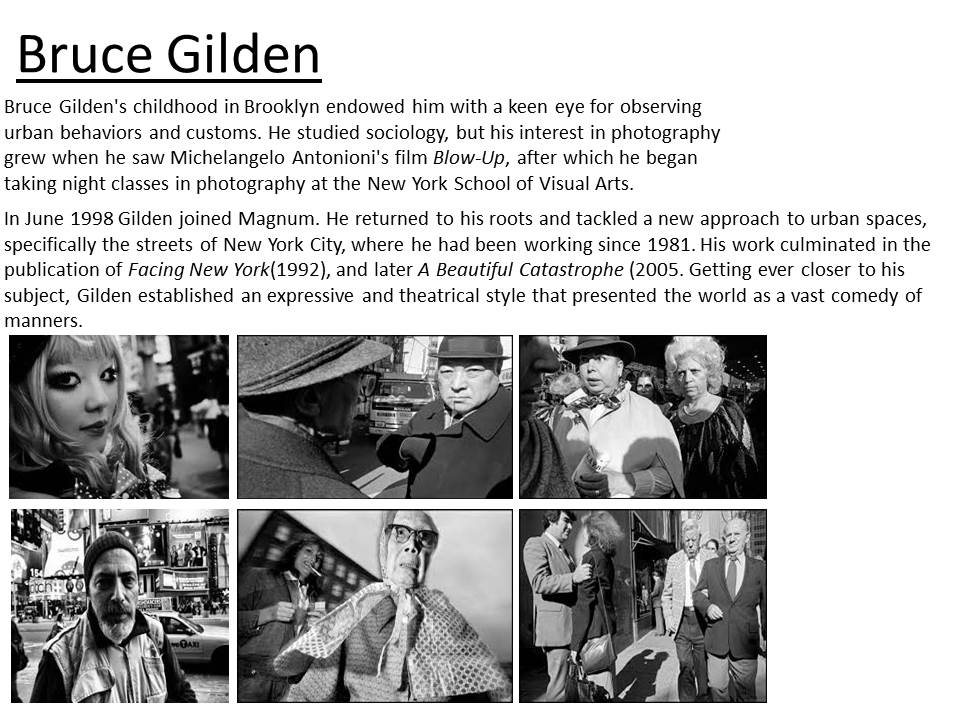
Contact Sheets
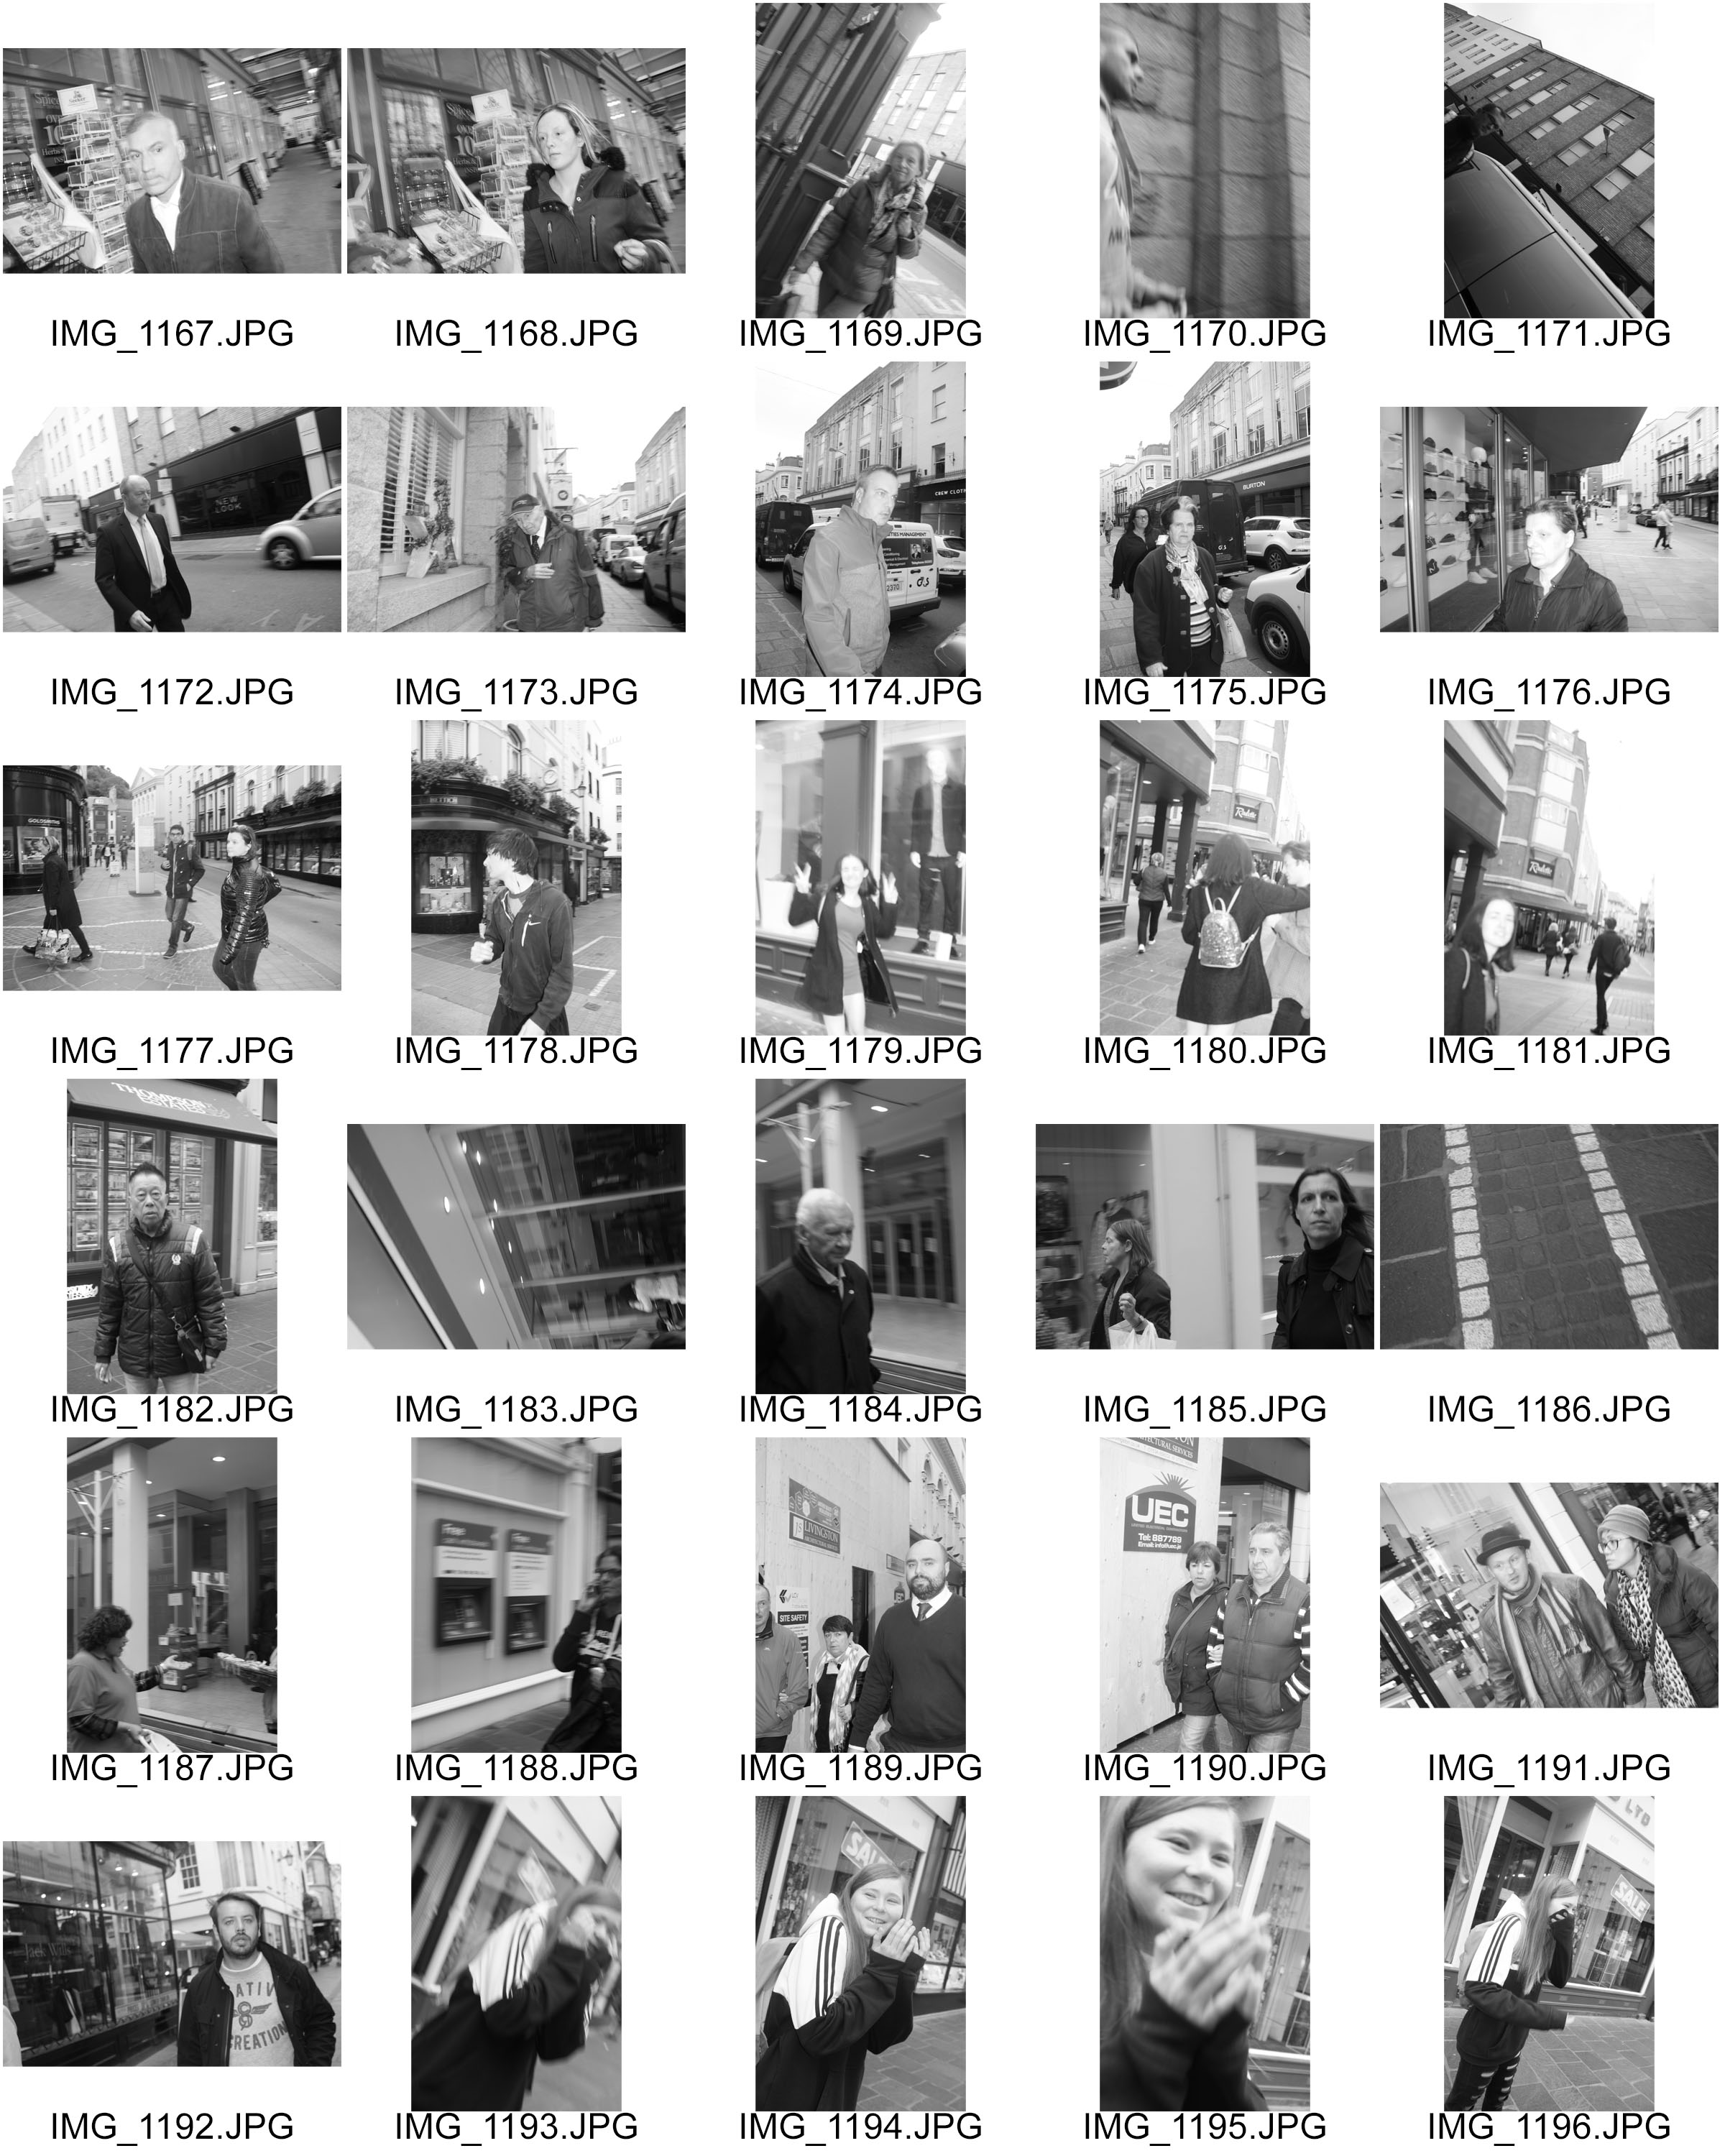
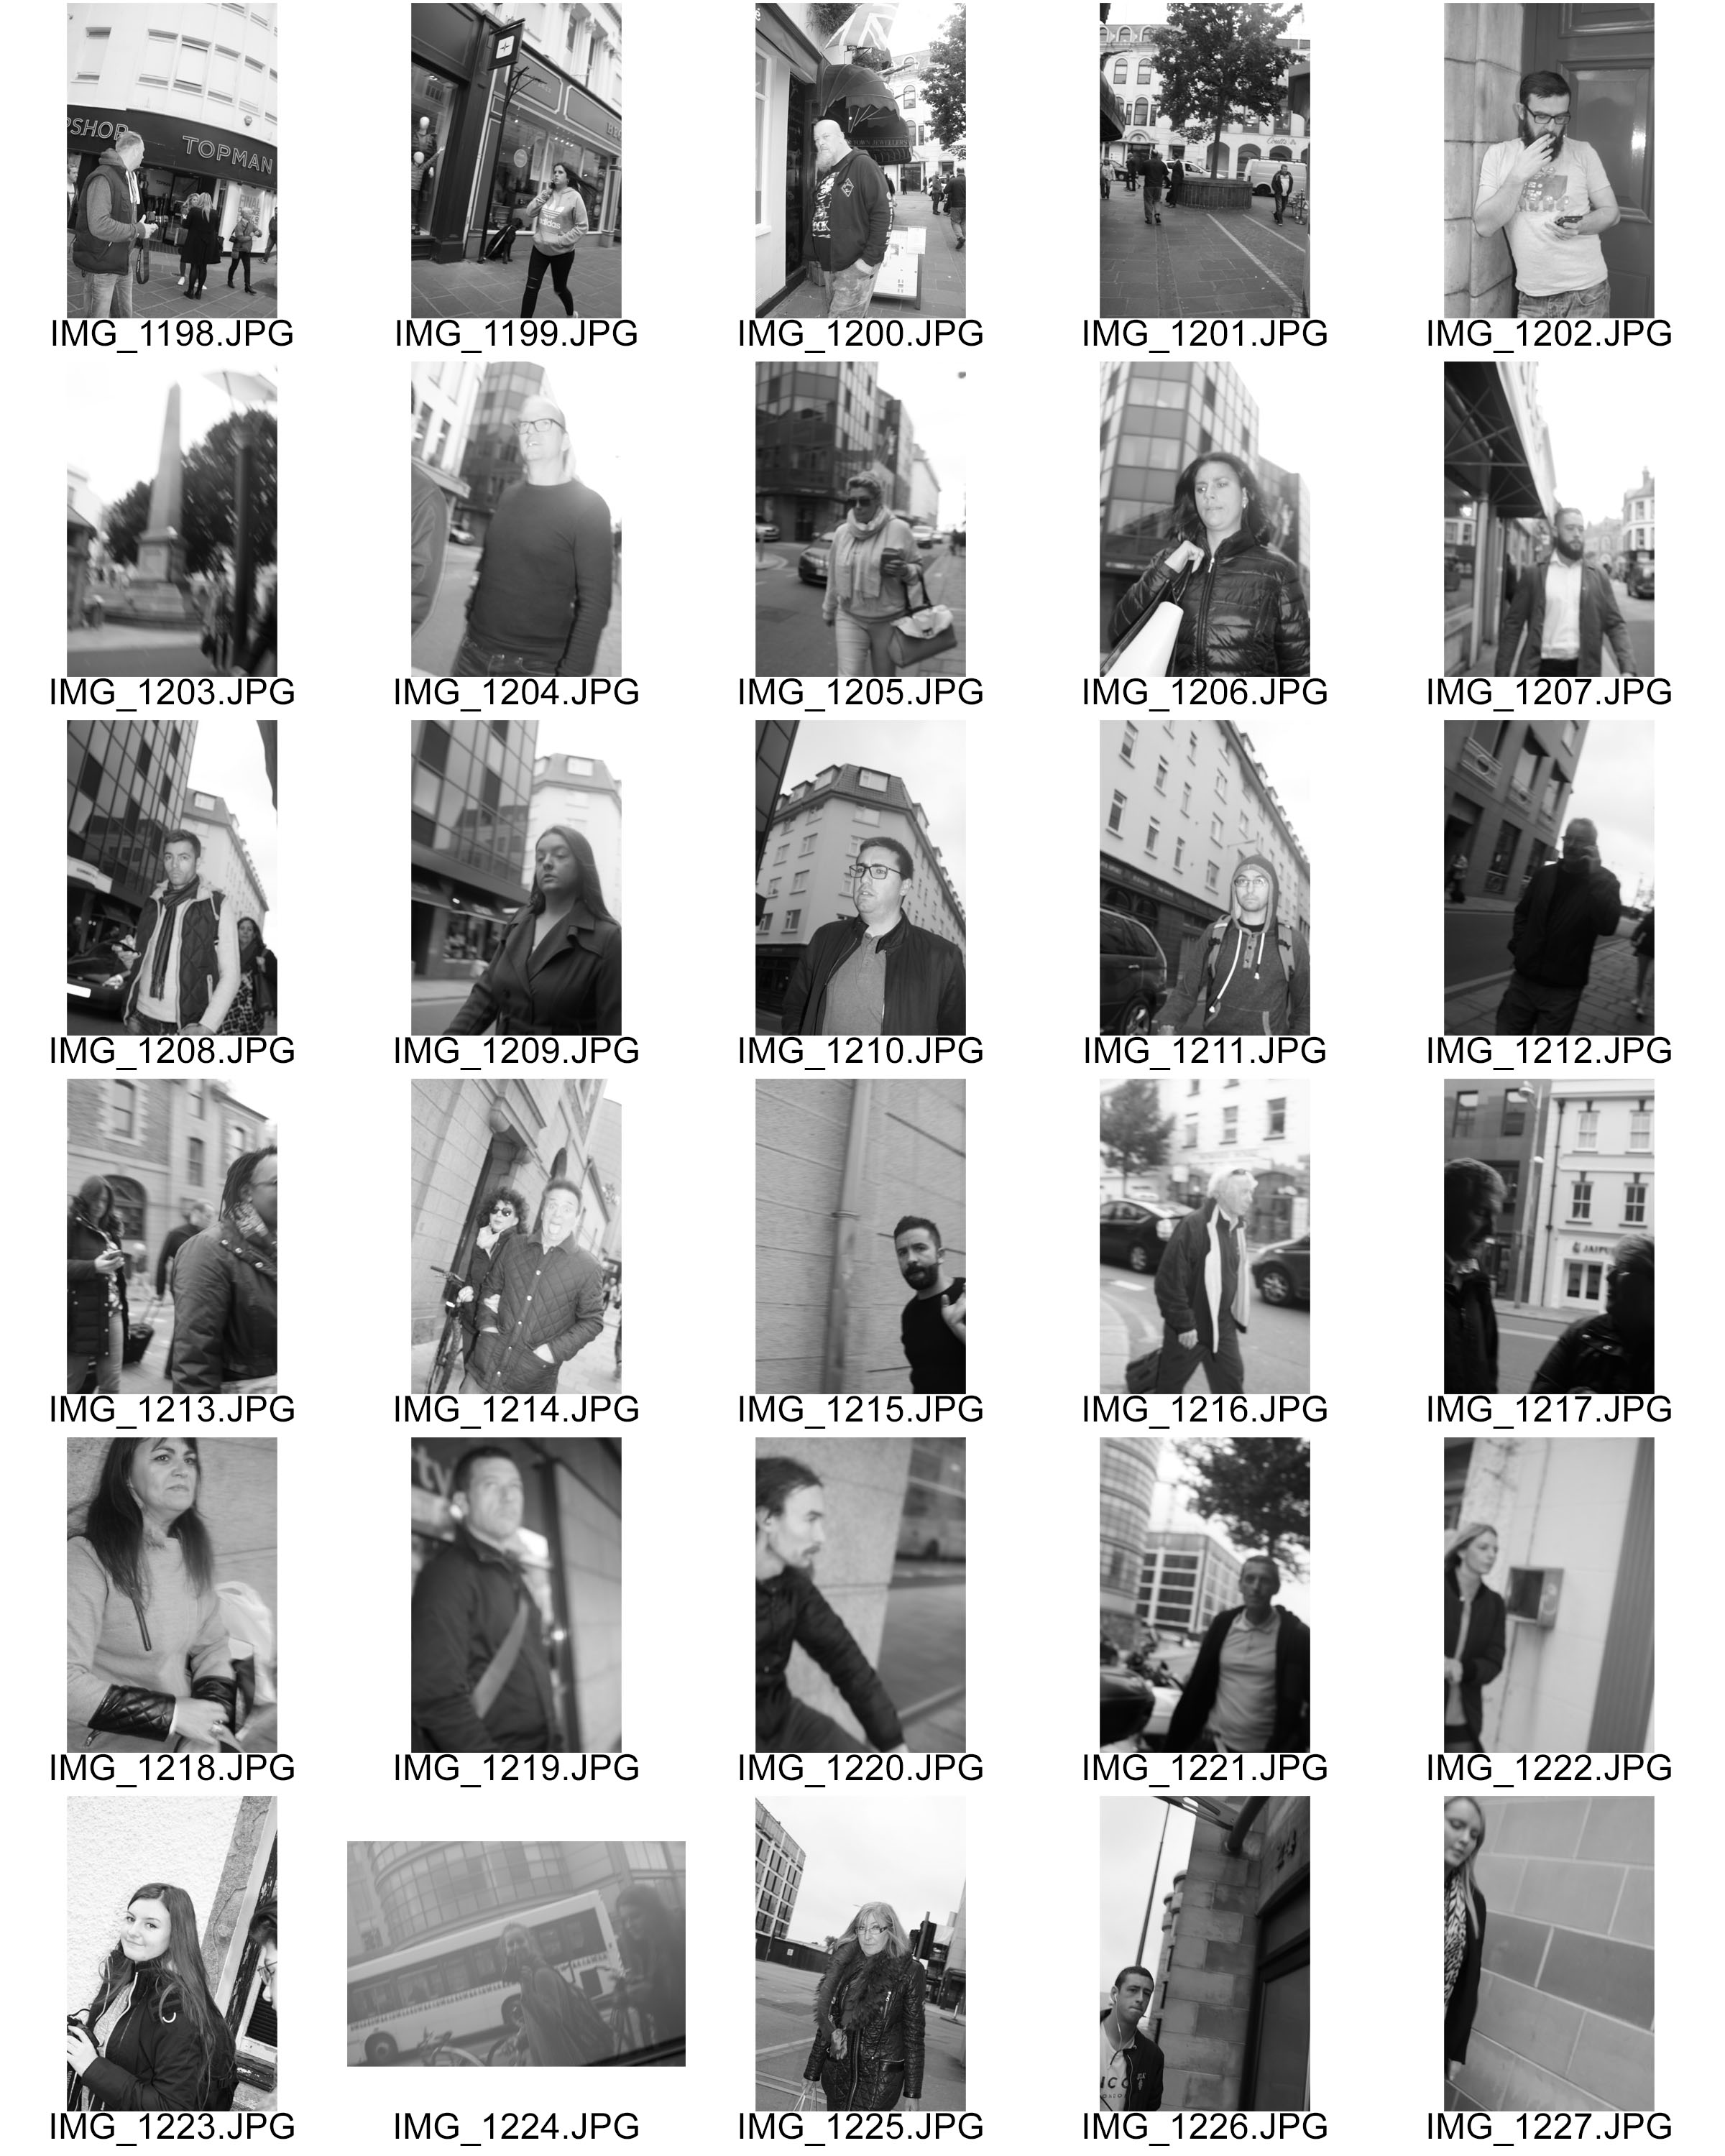
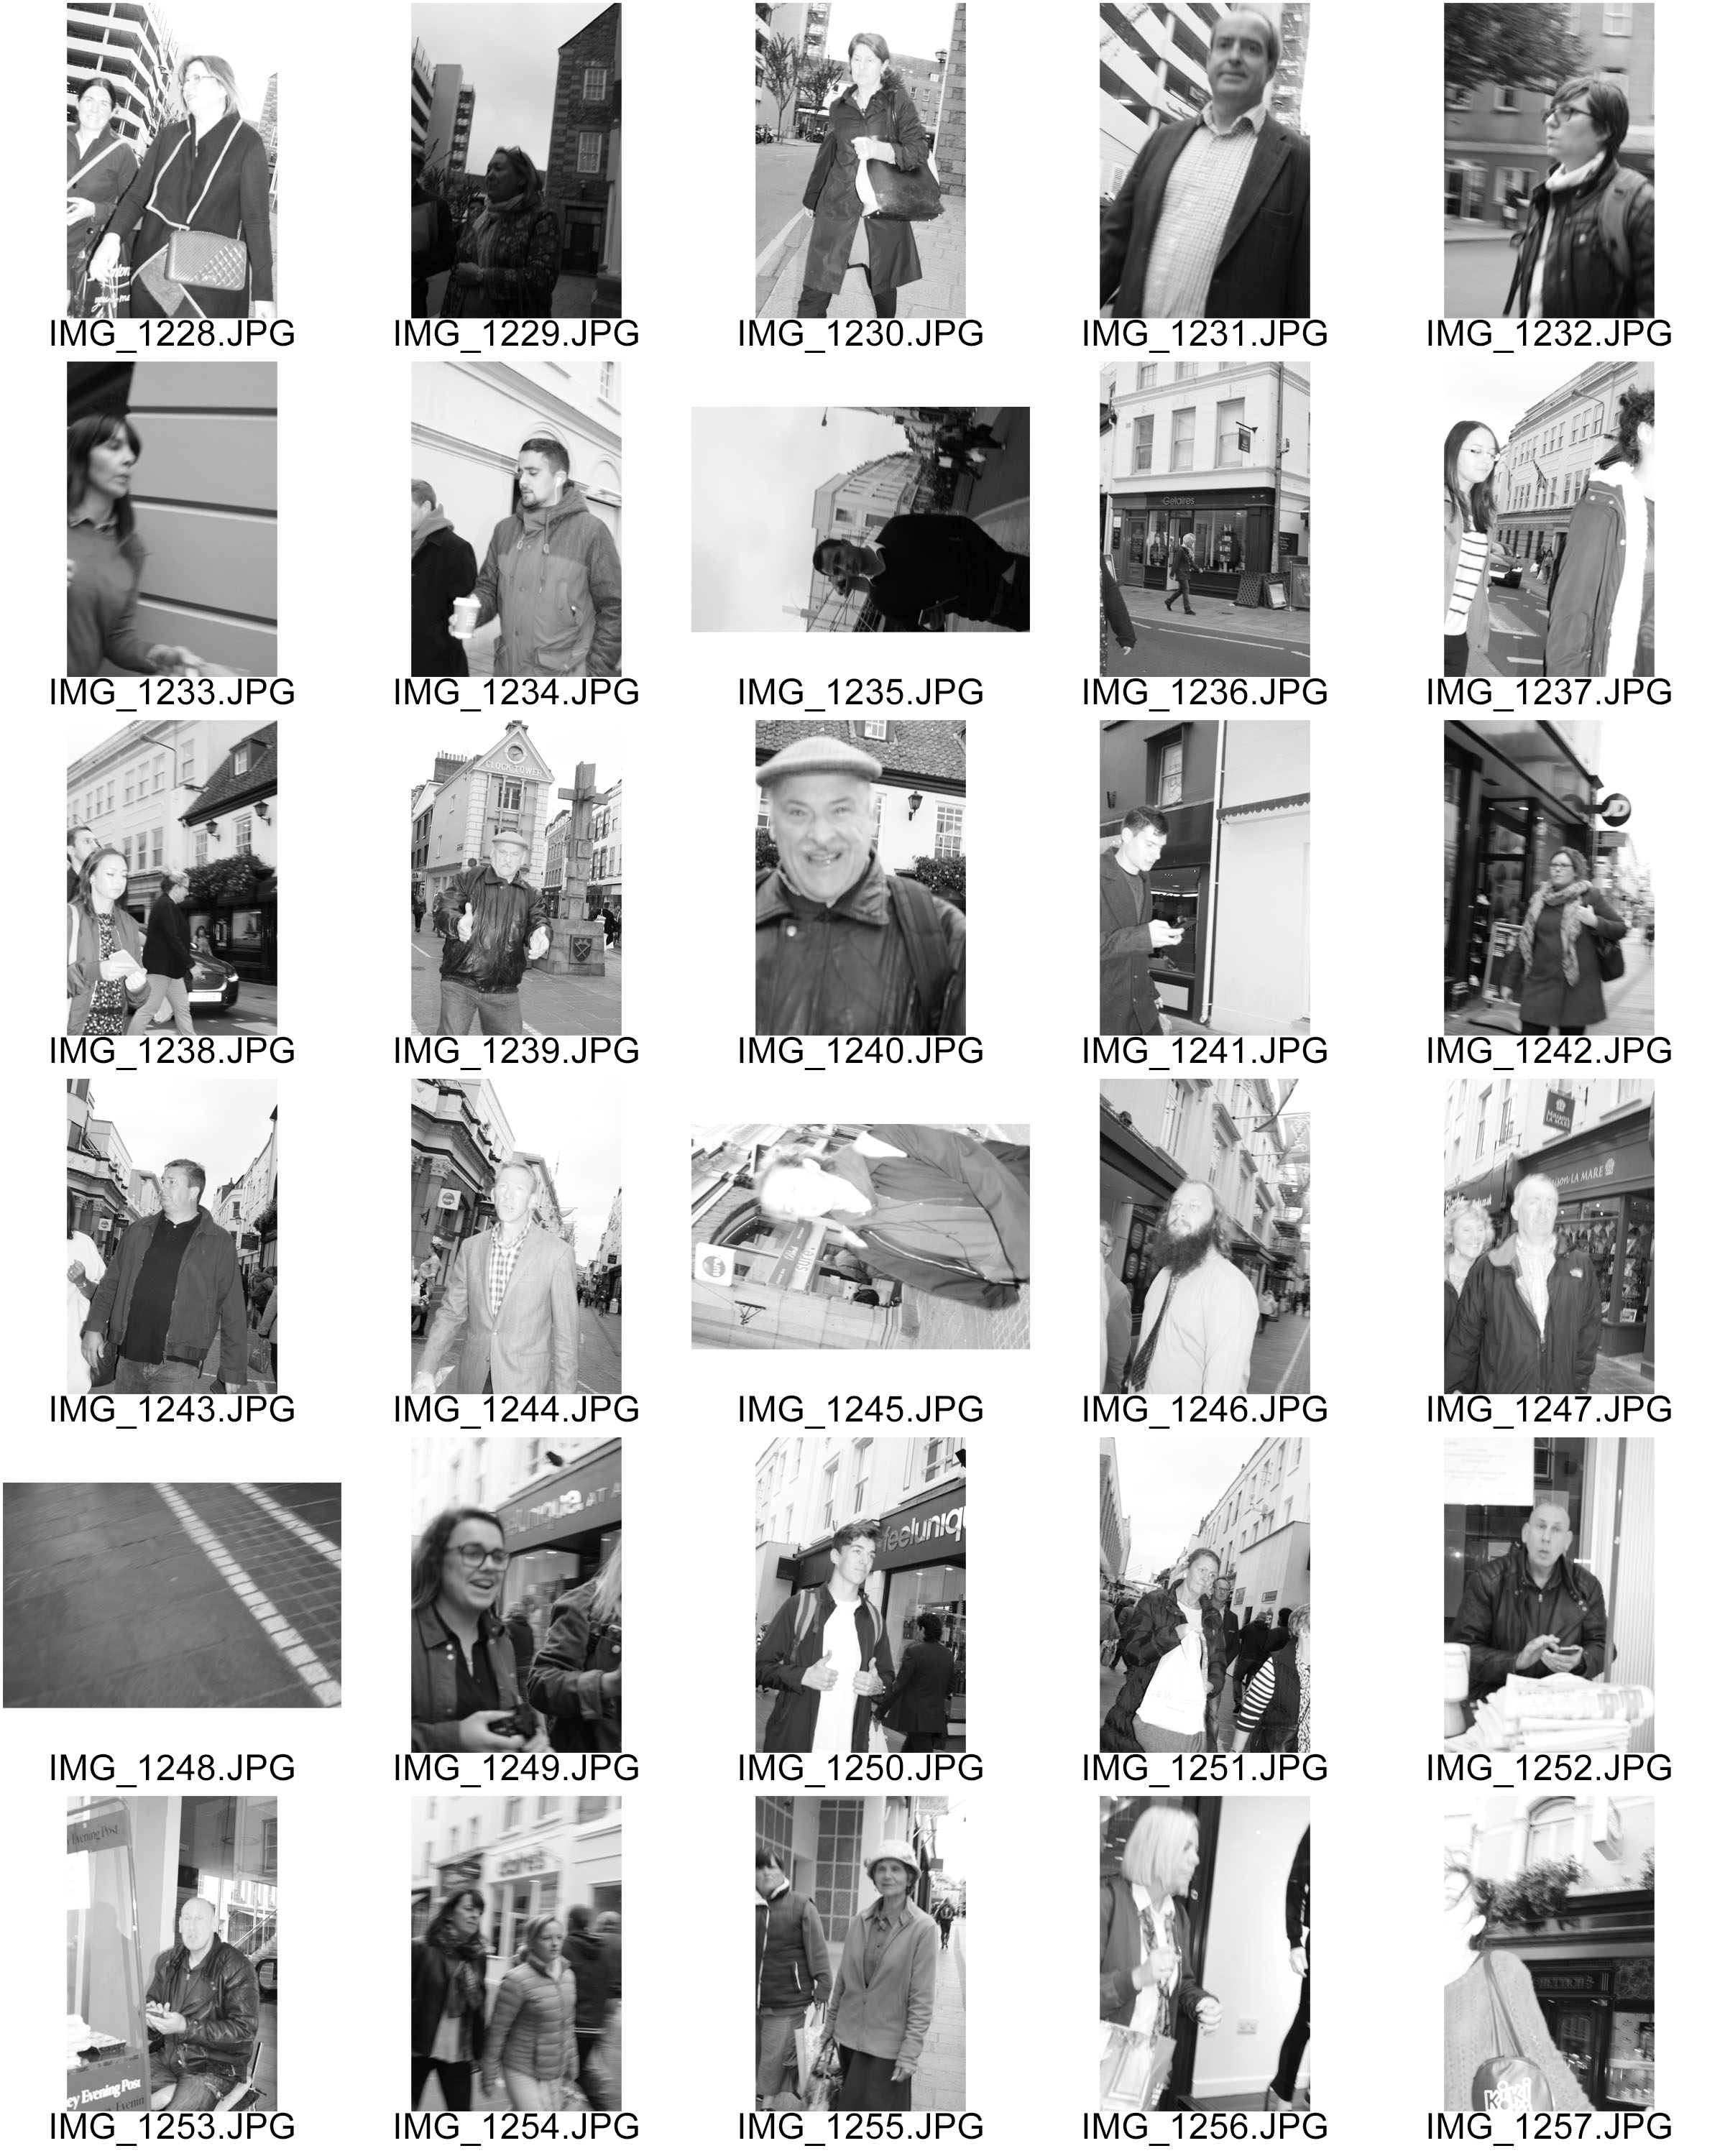
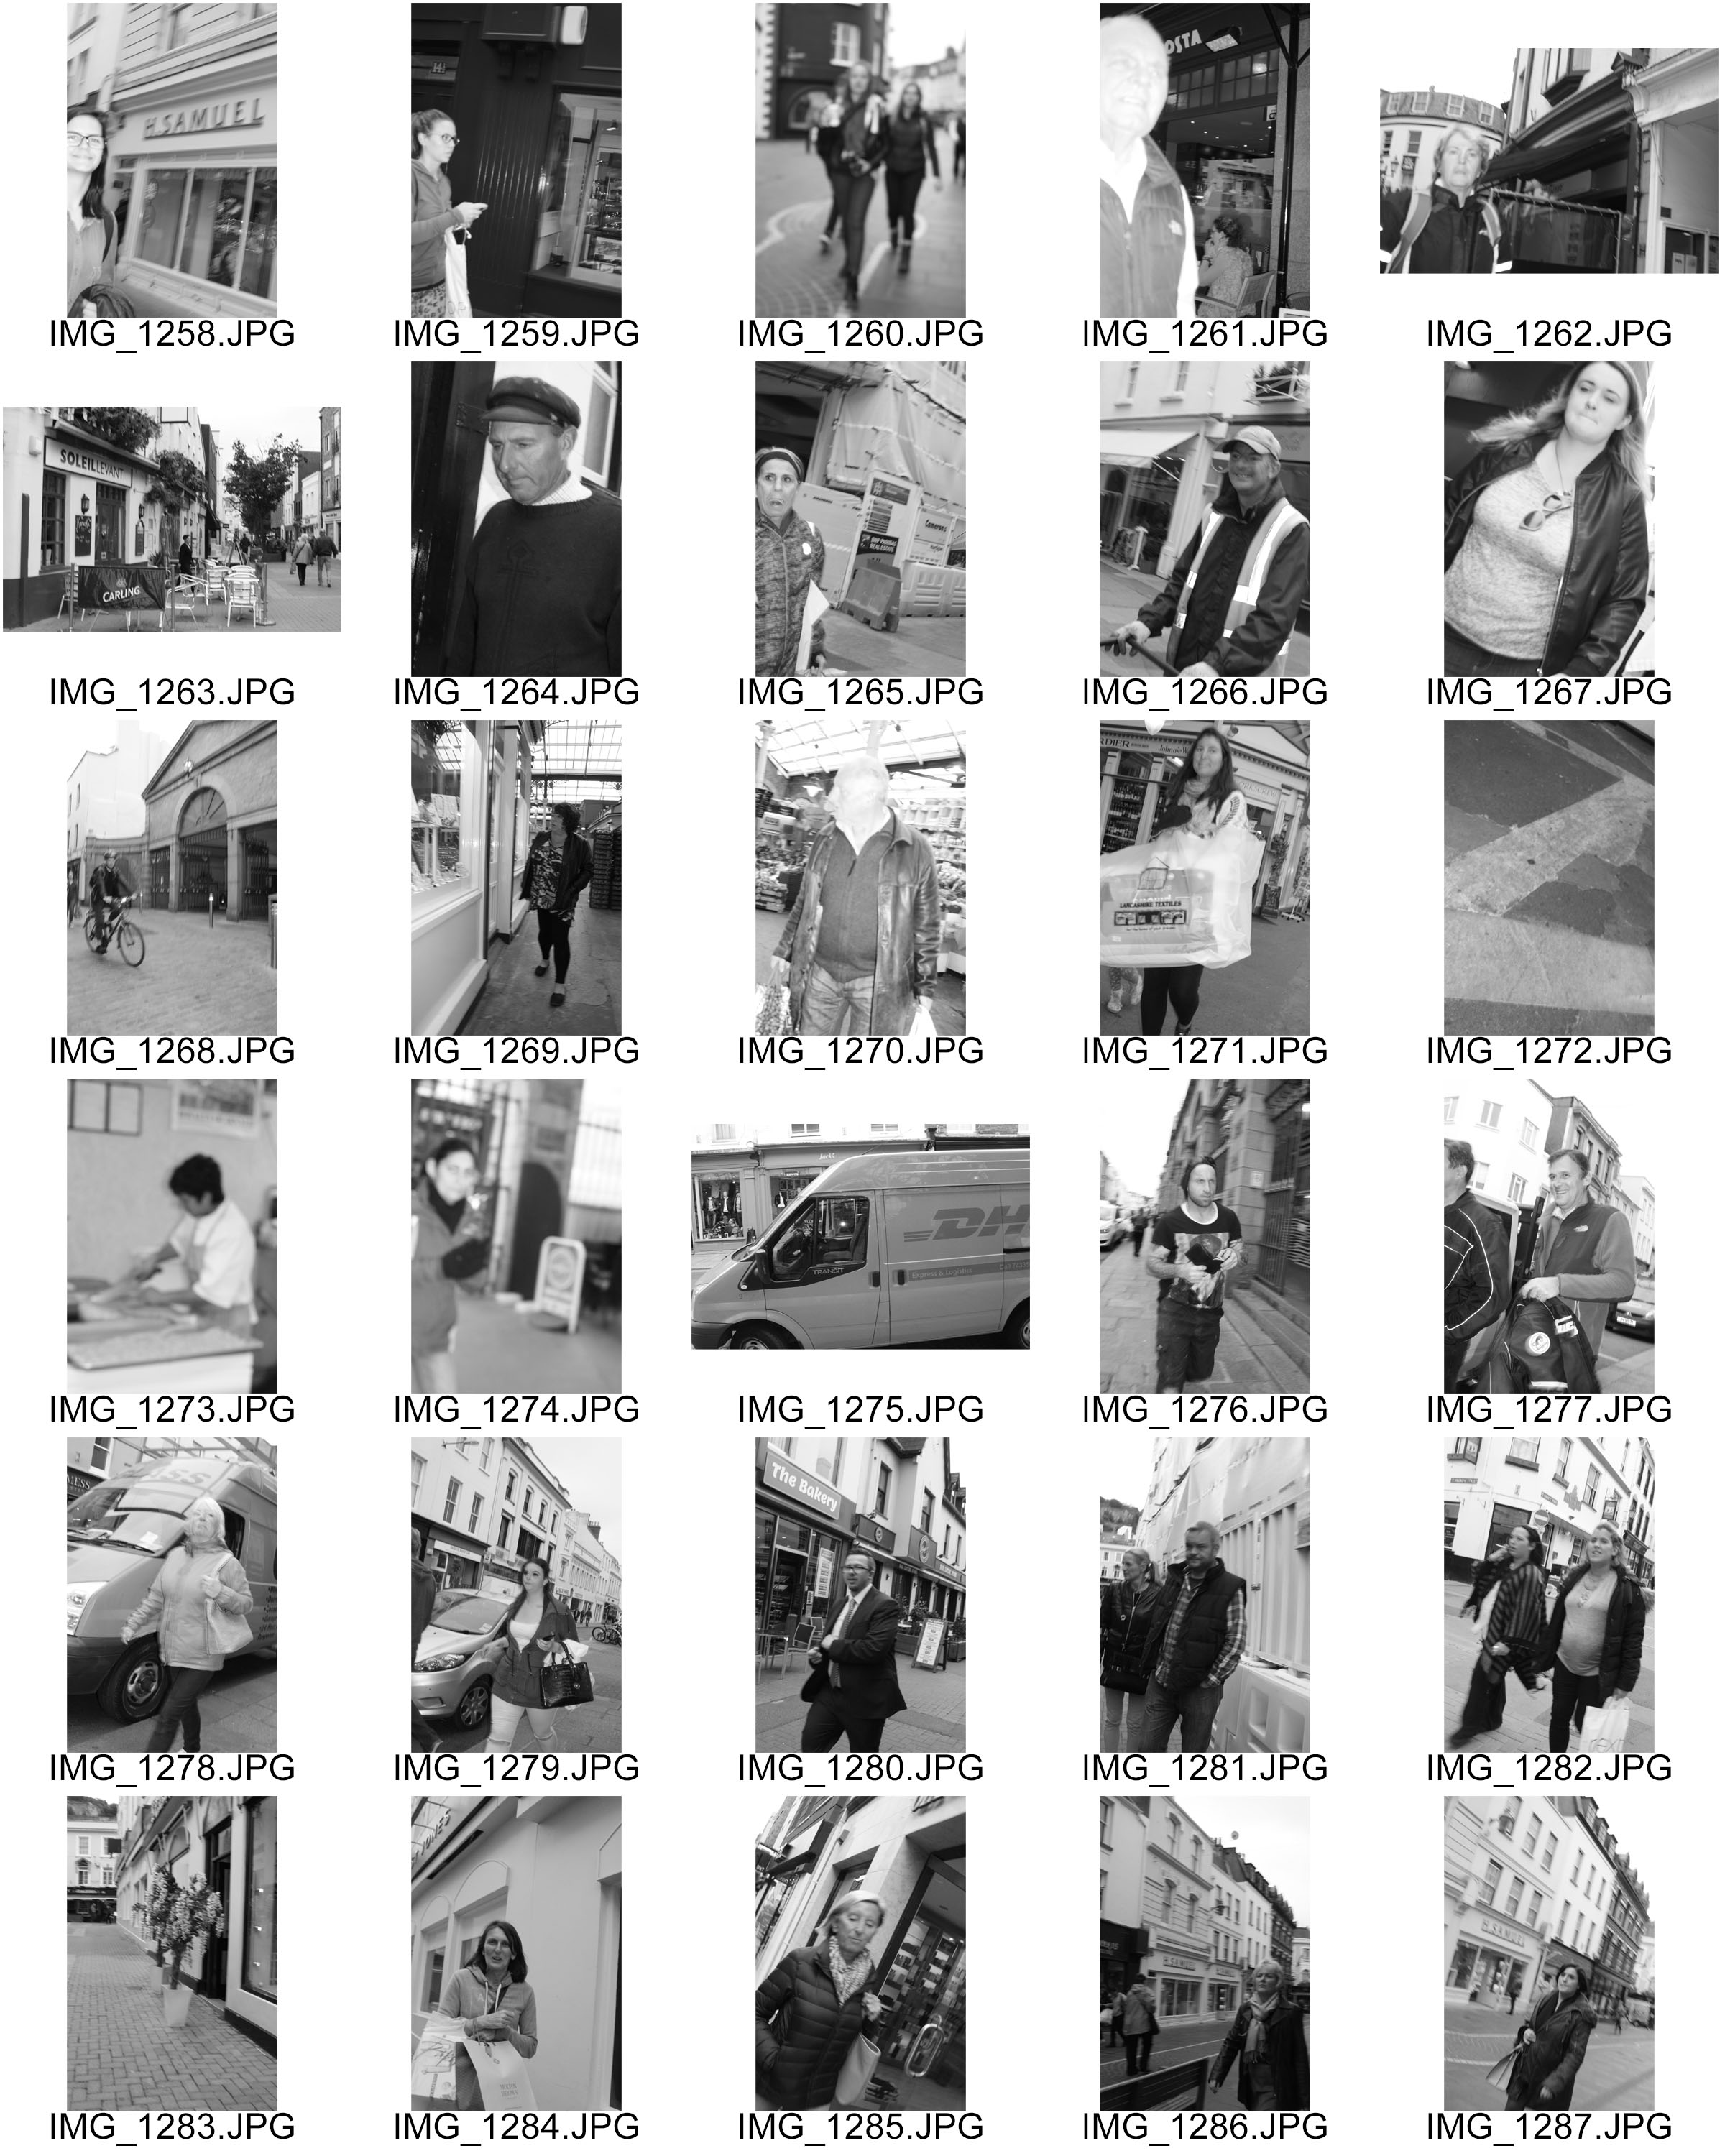
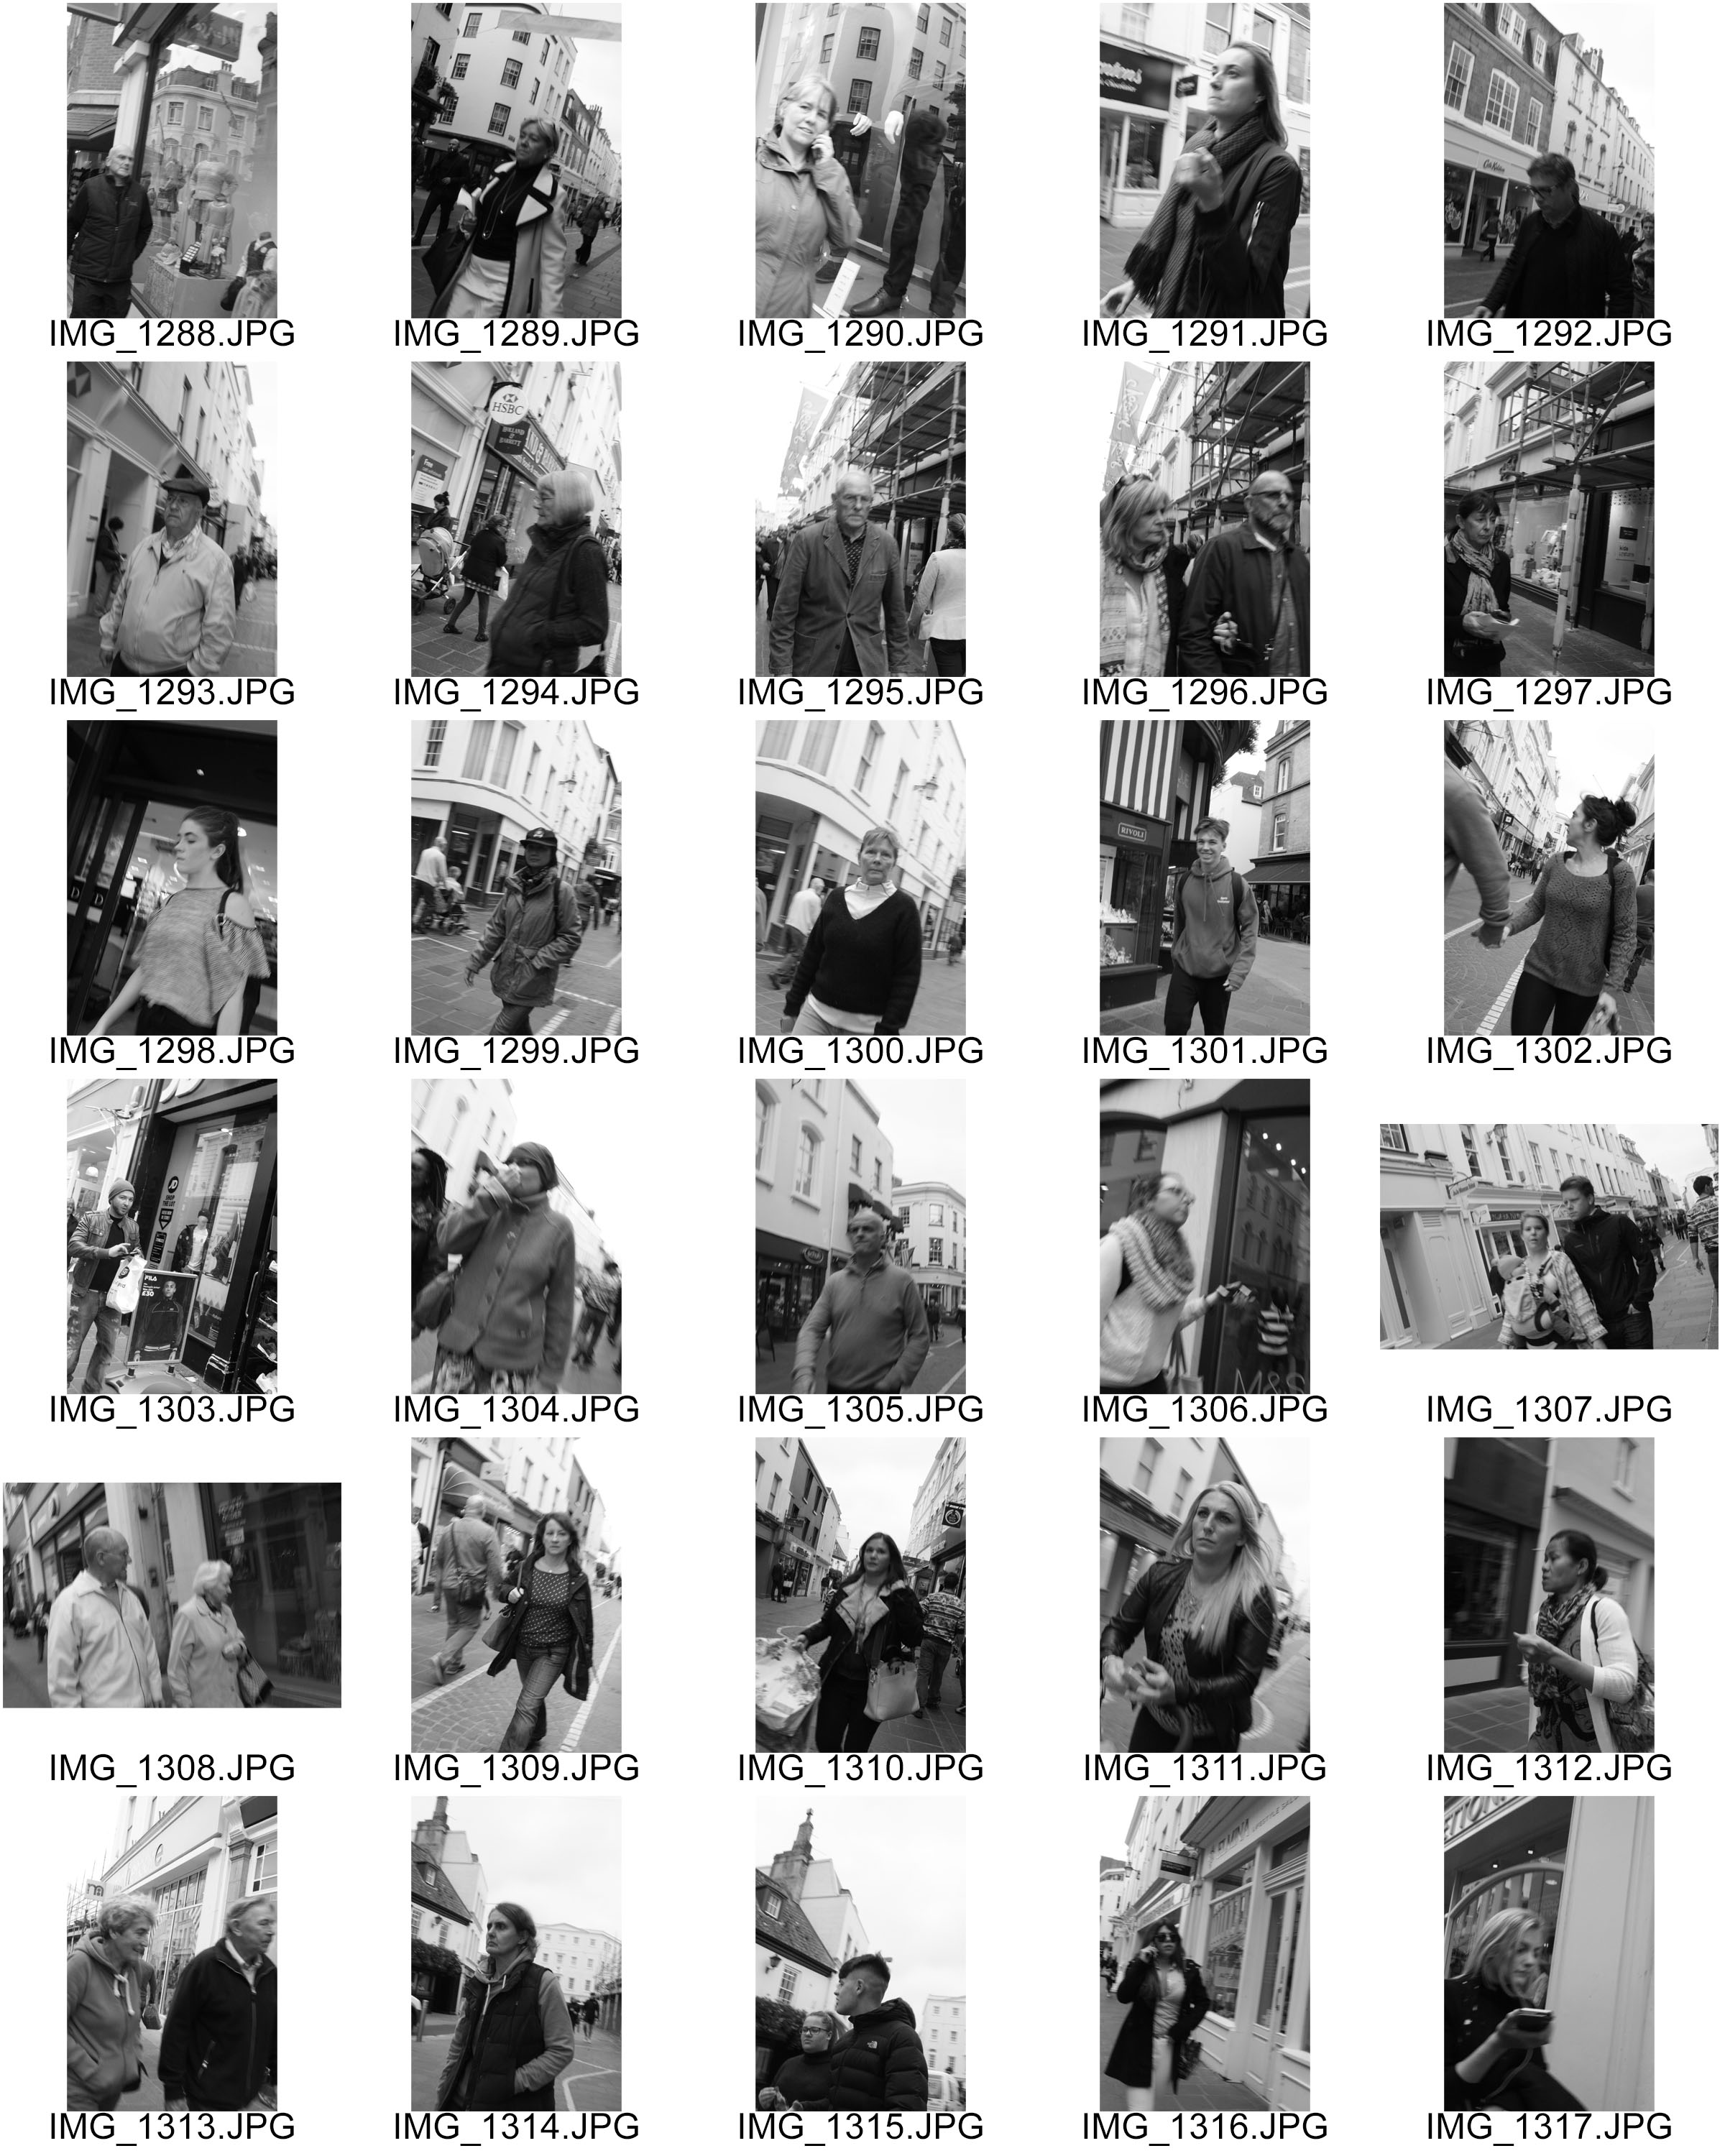
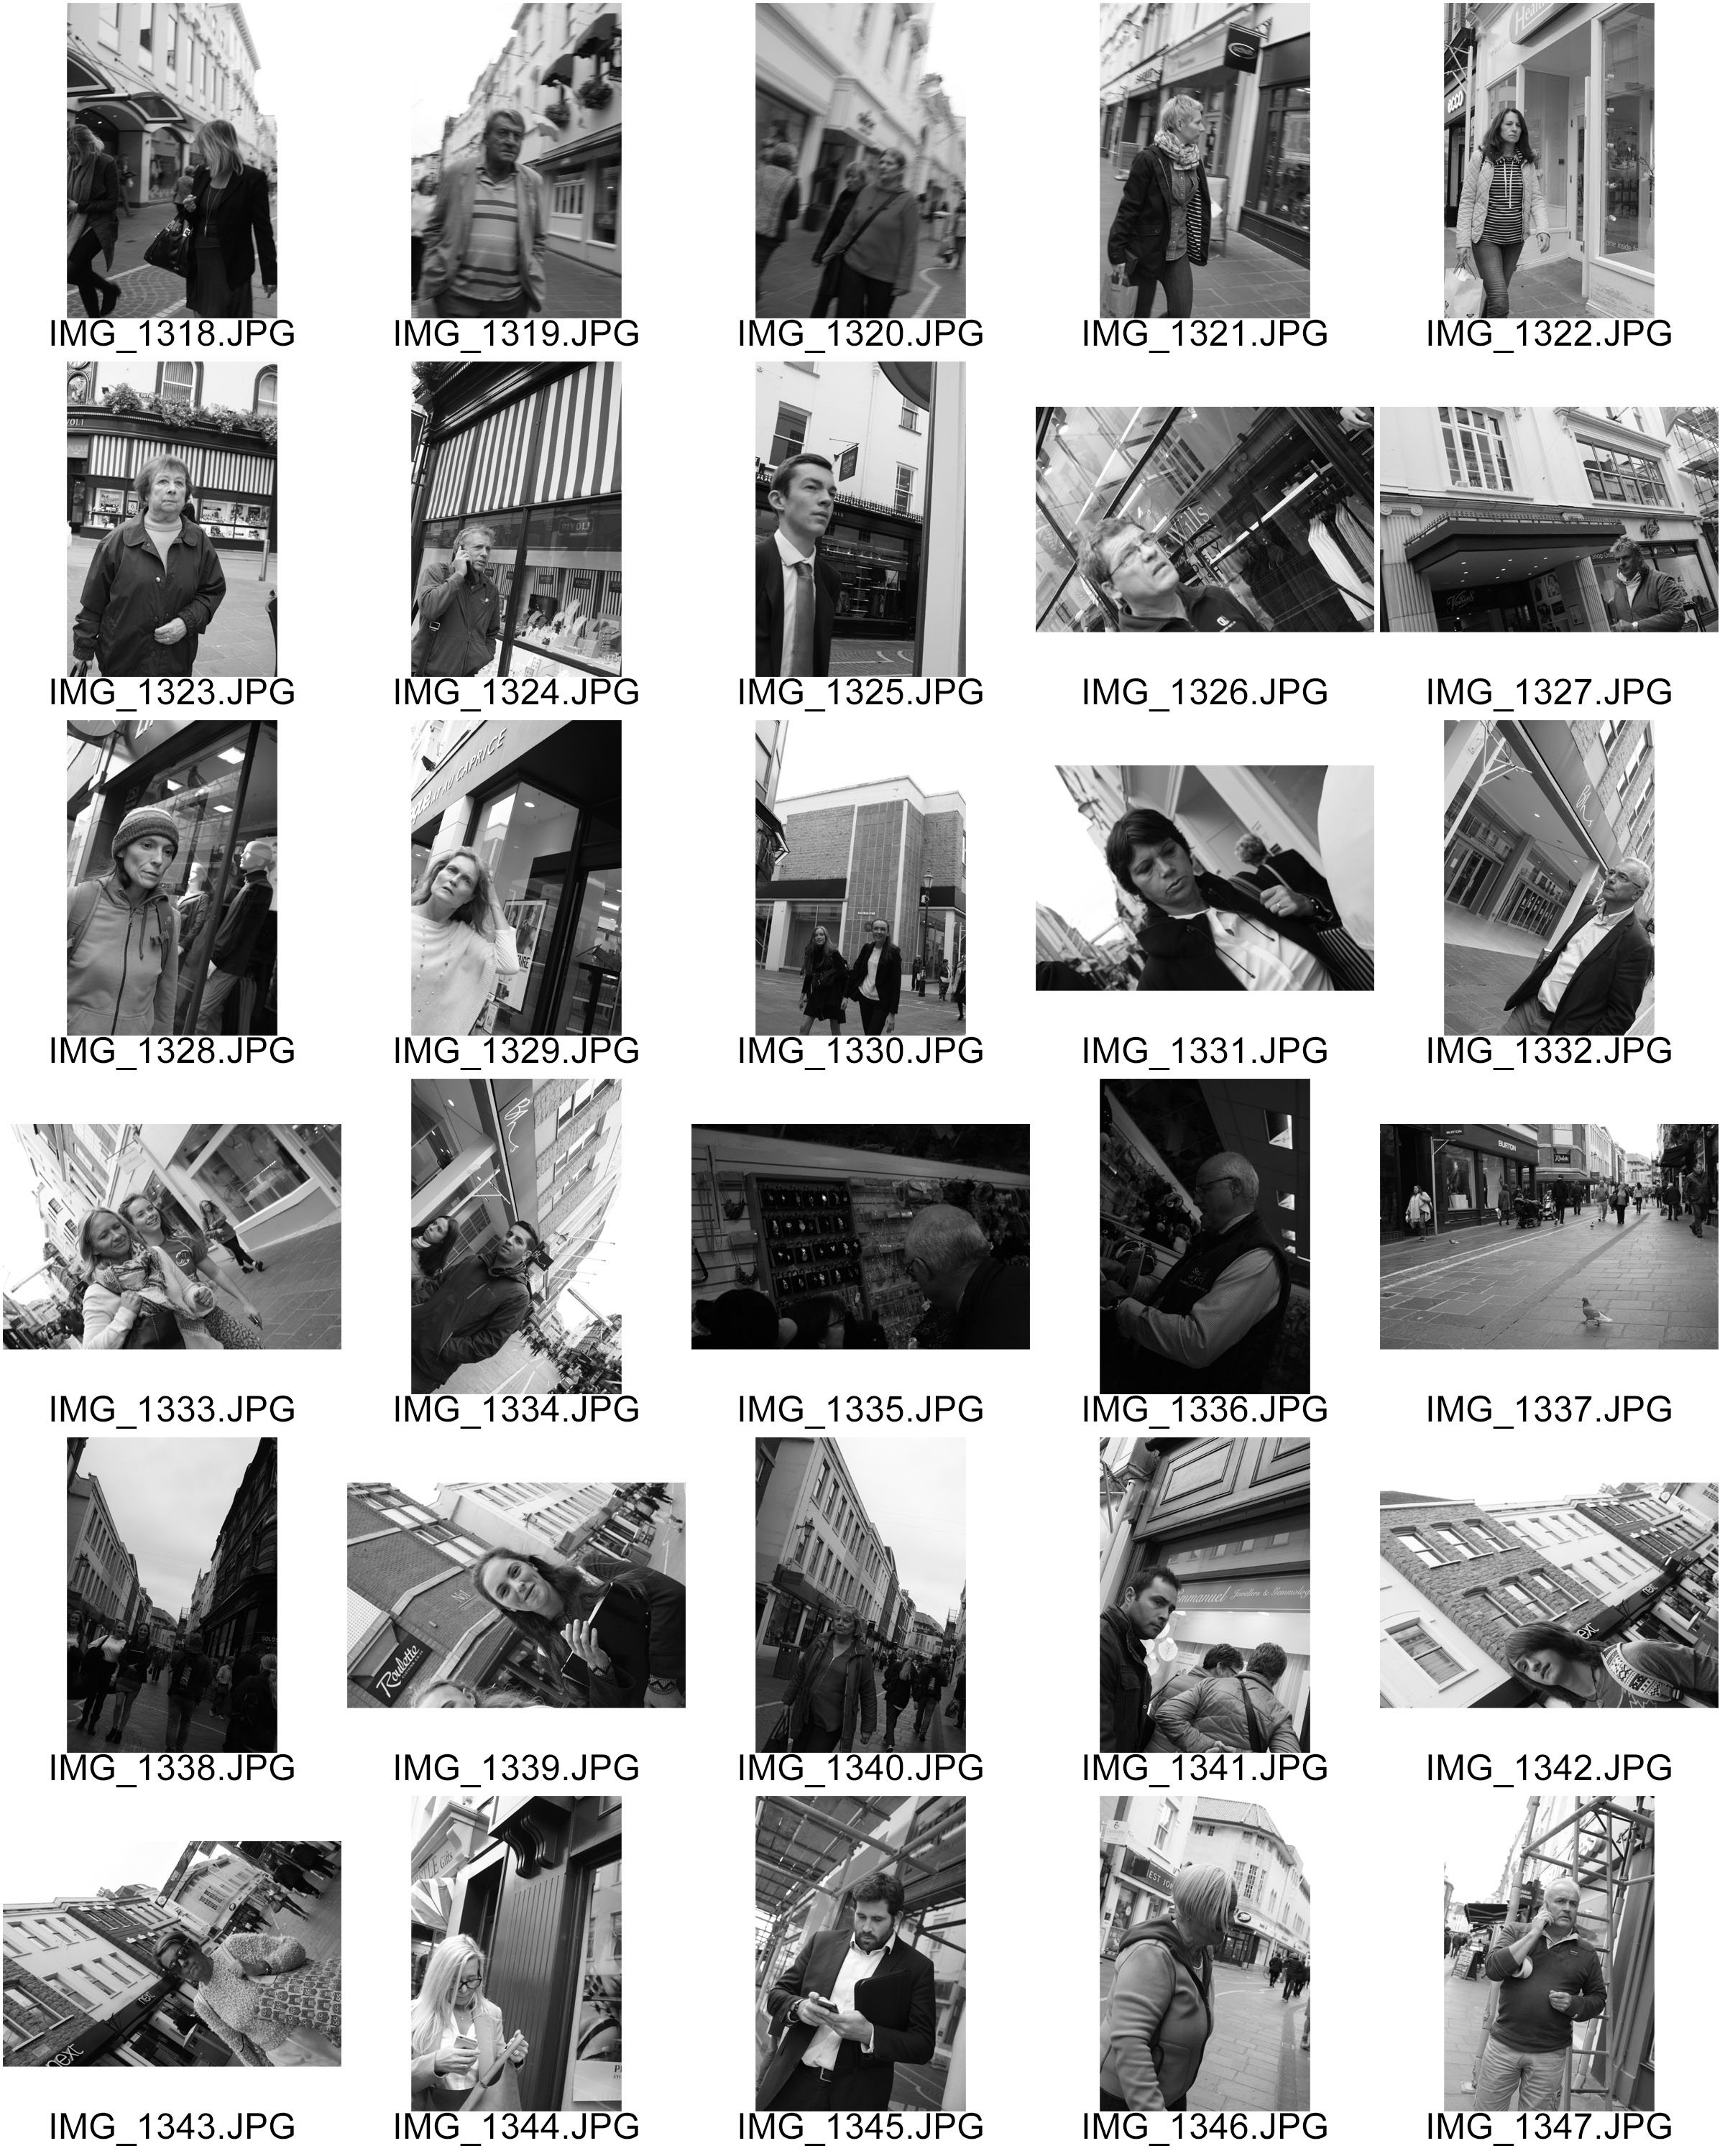
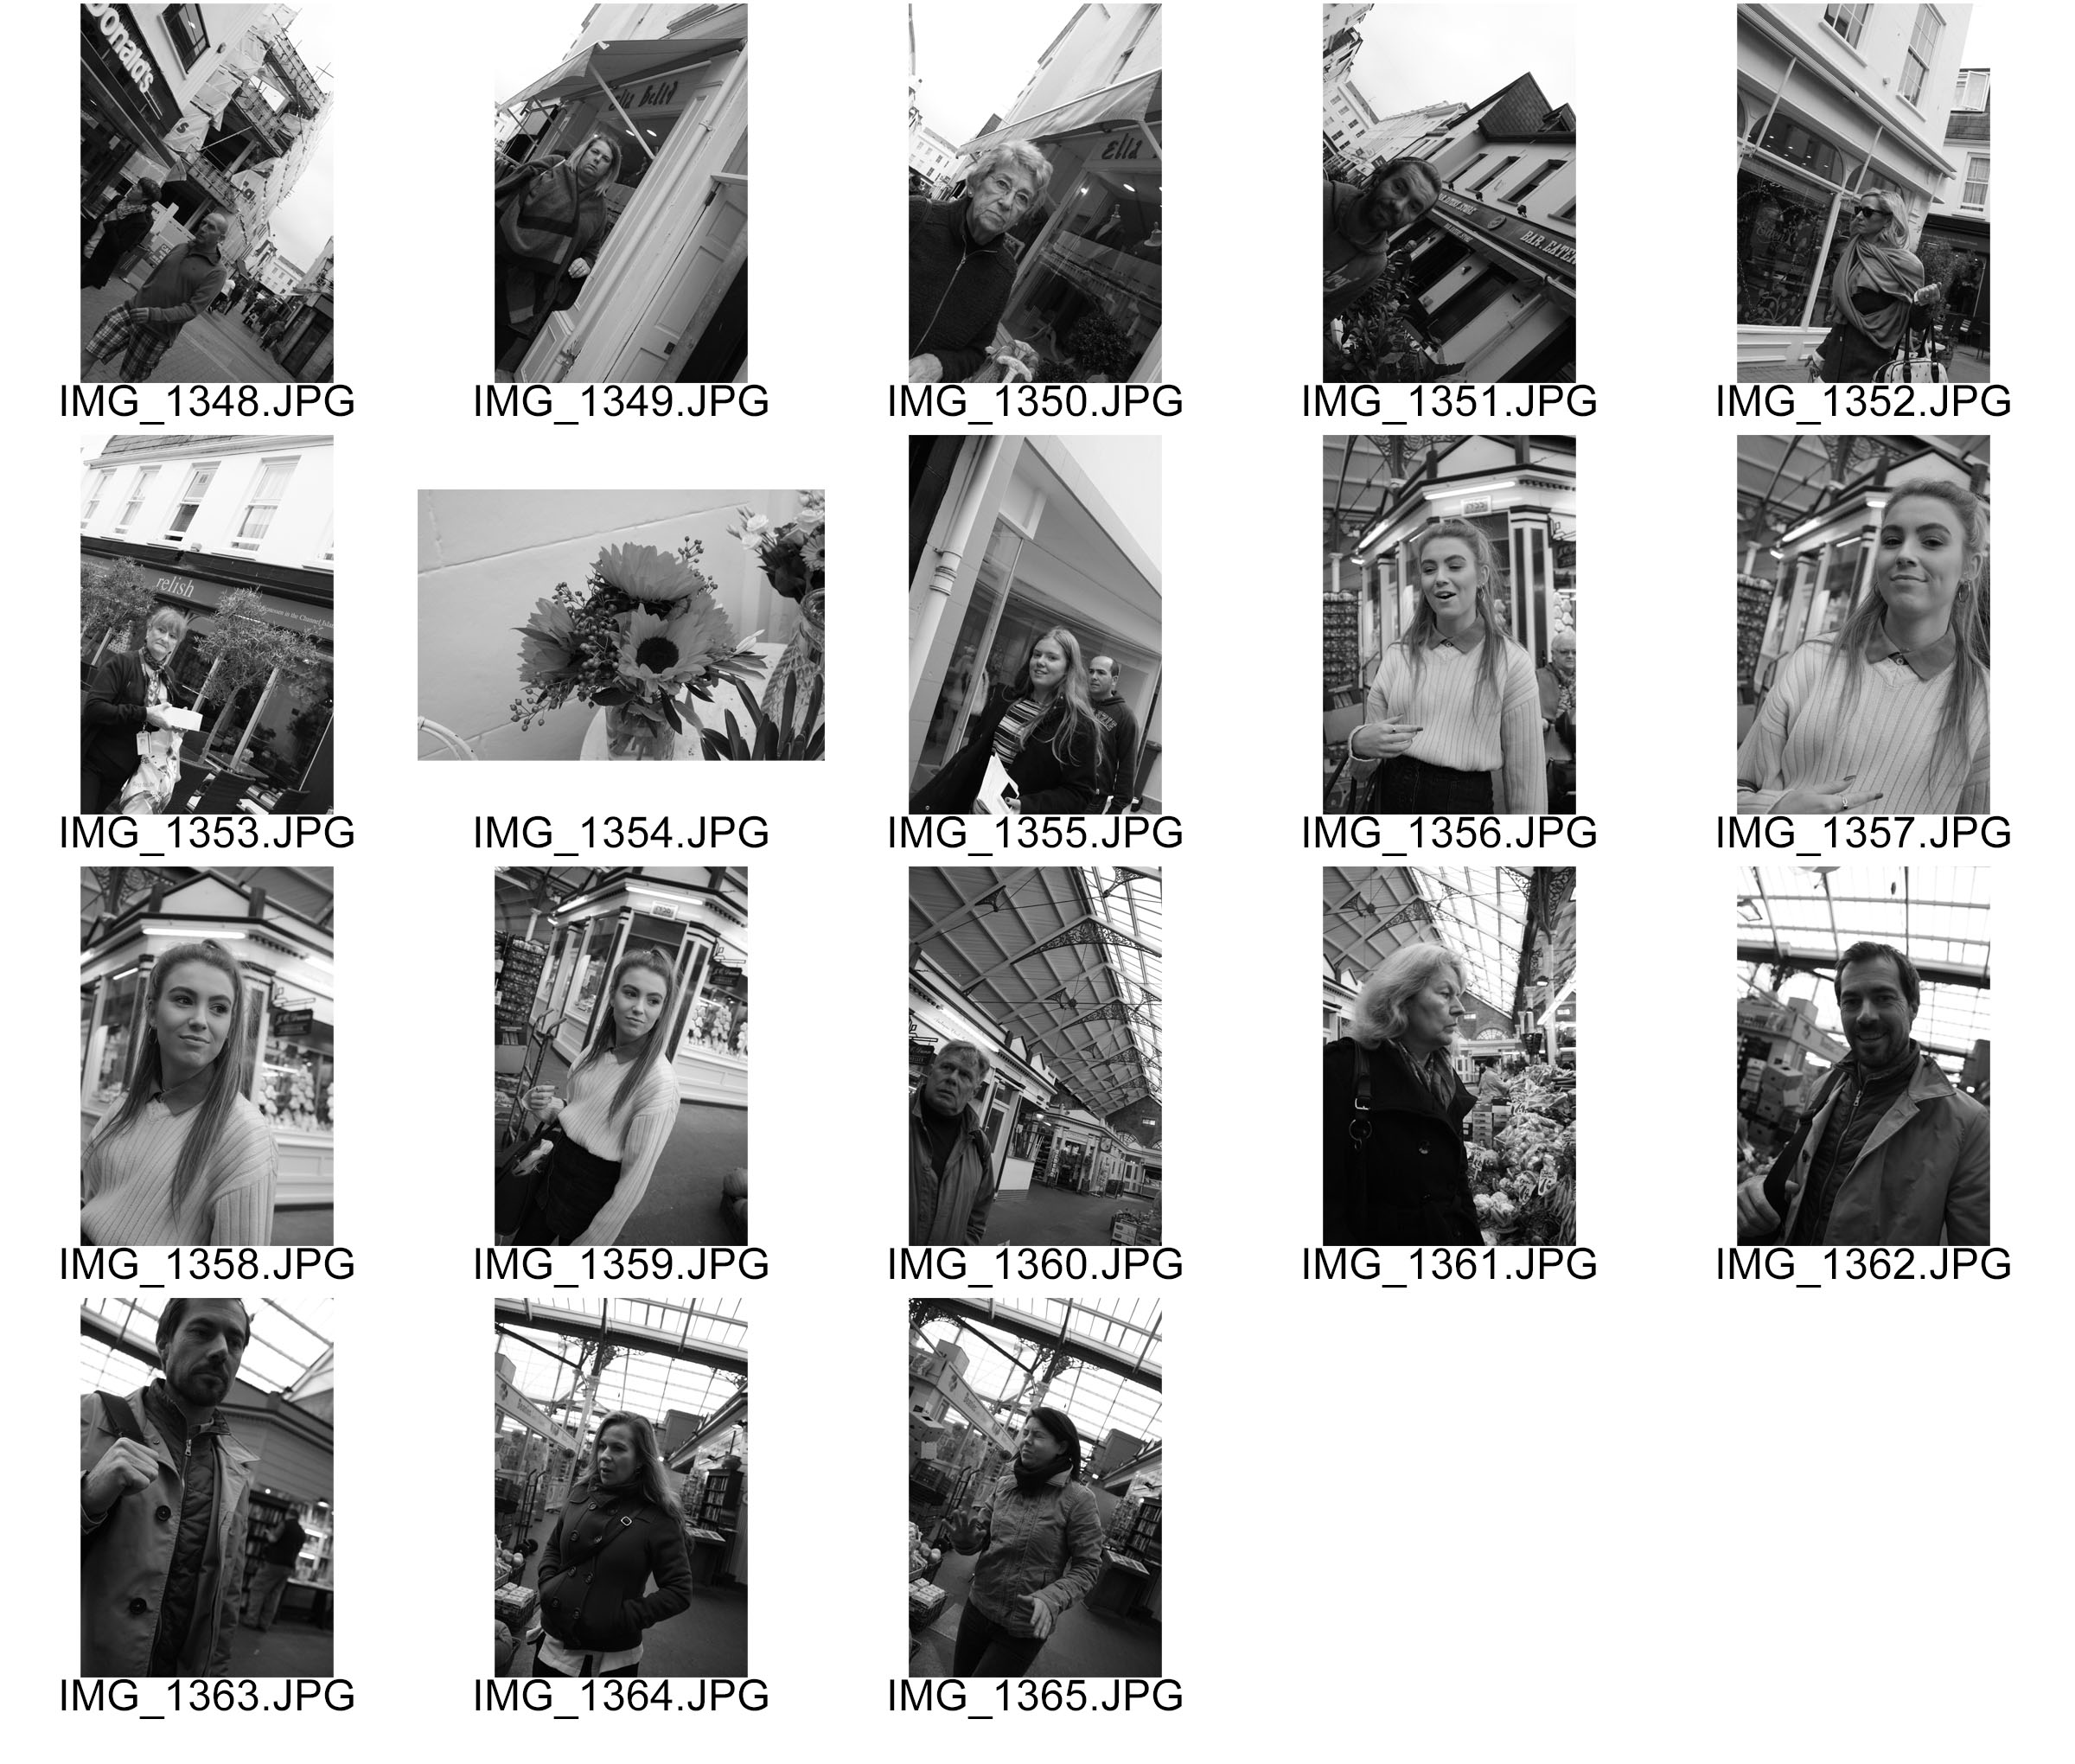
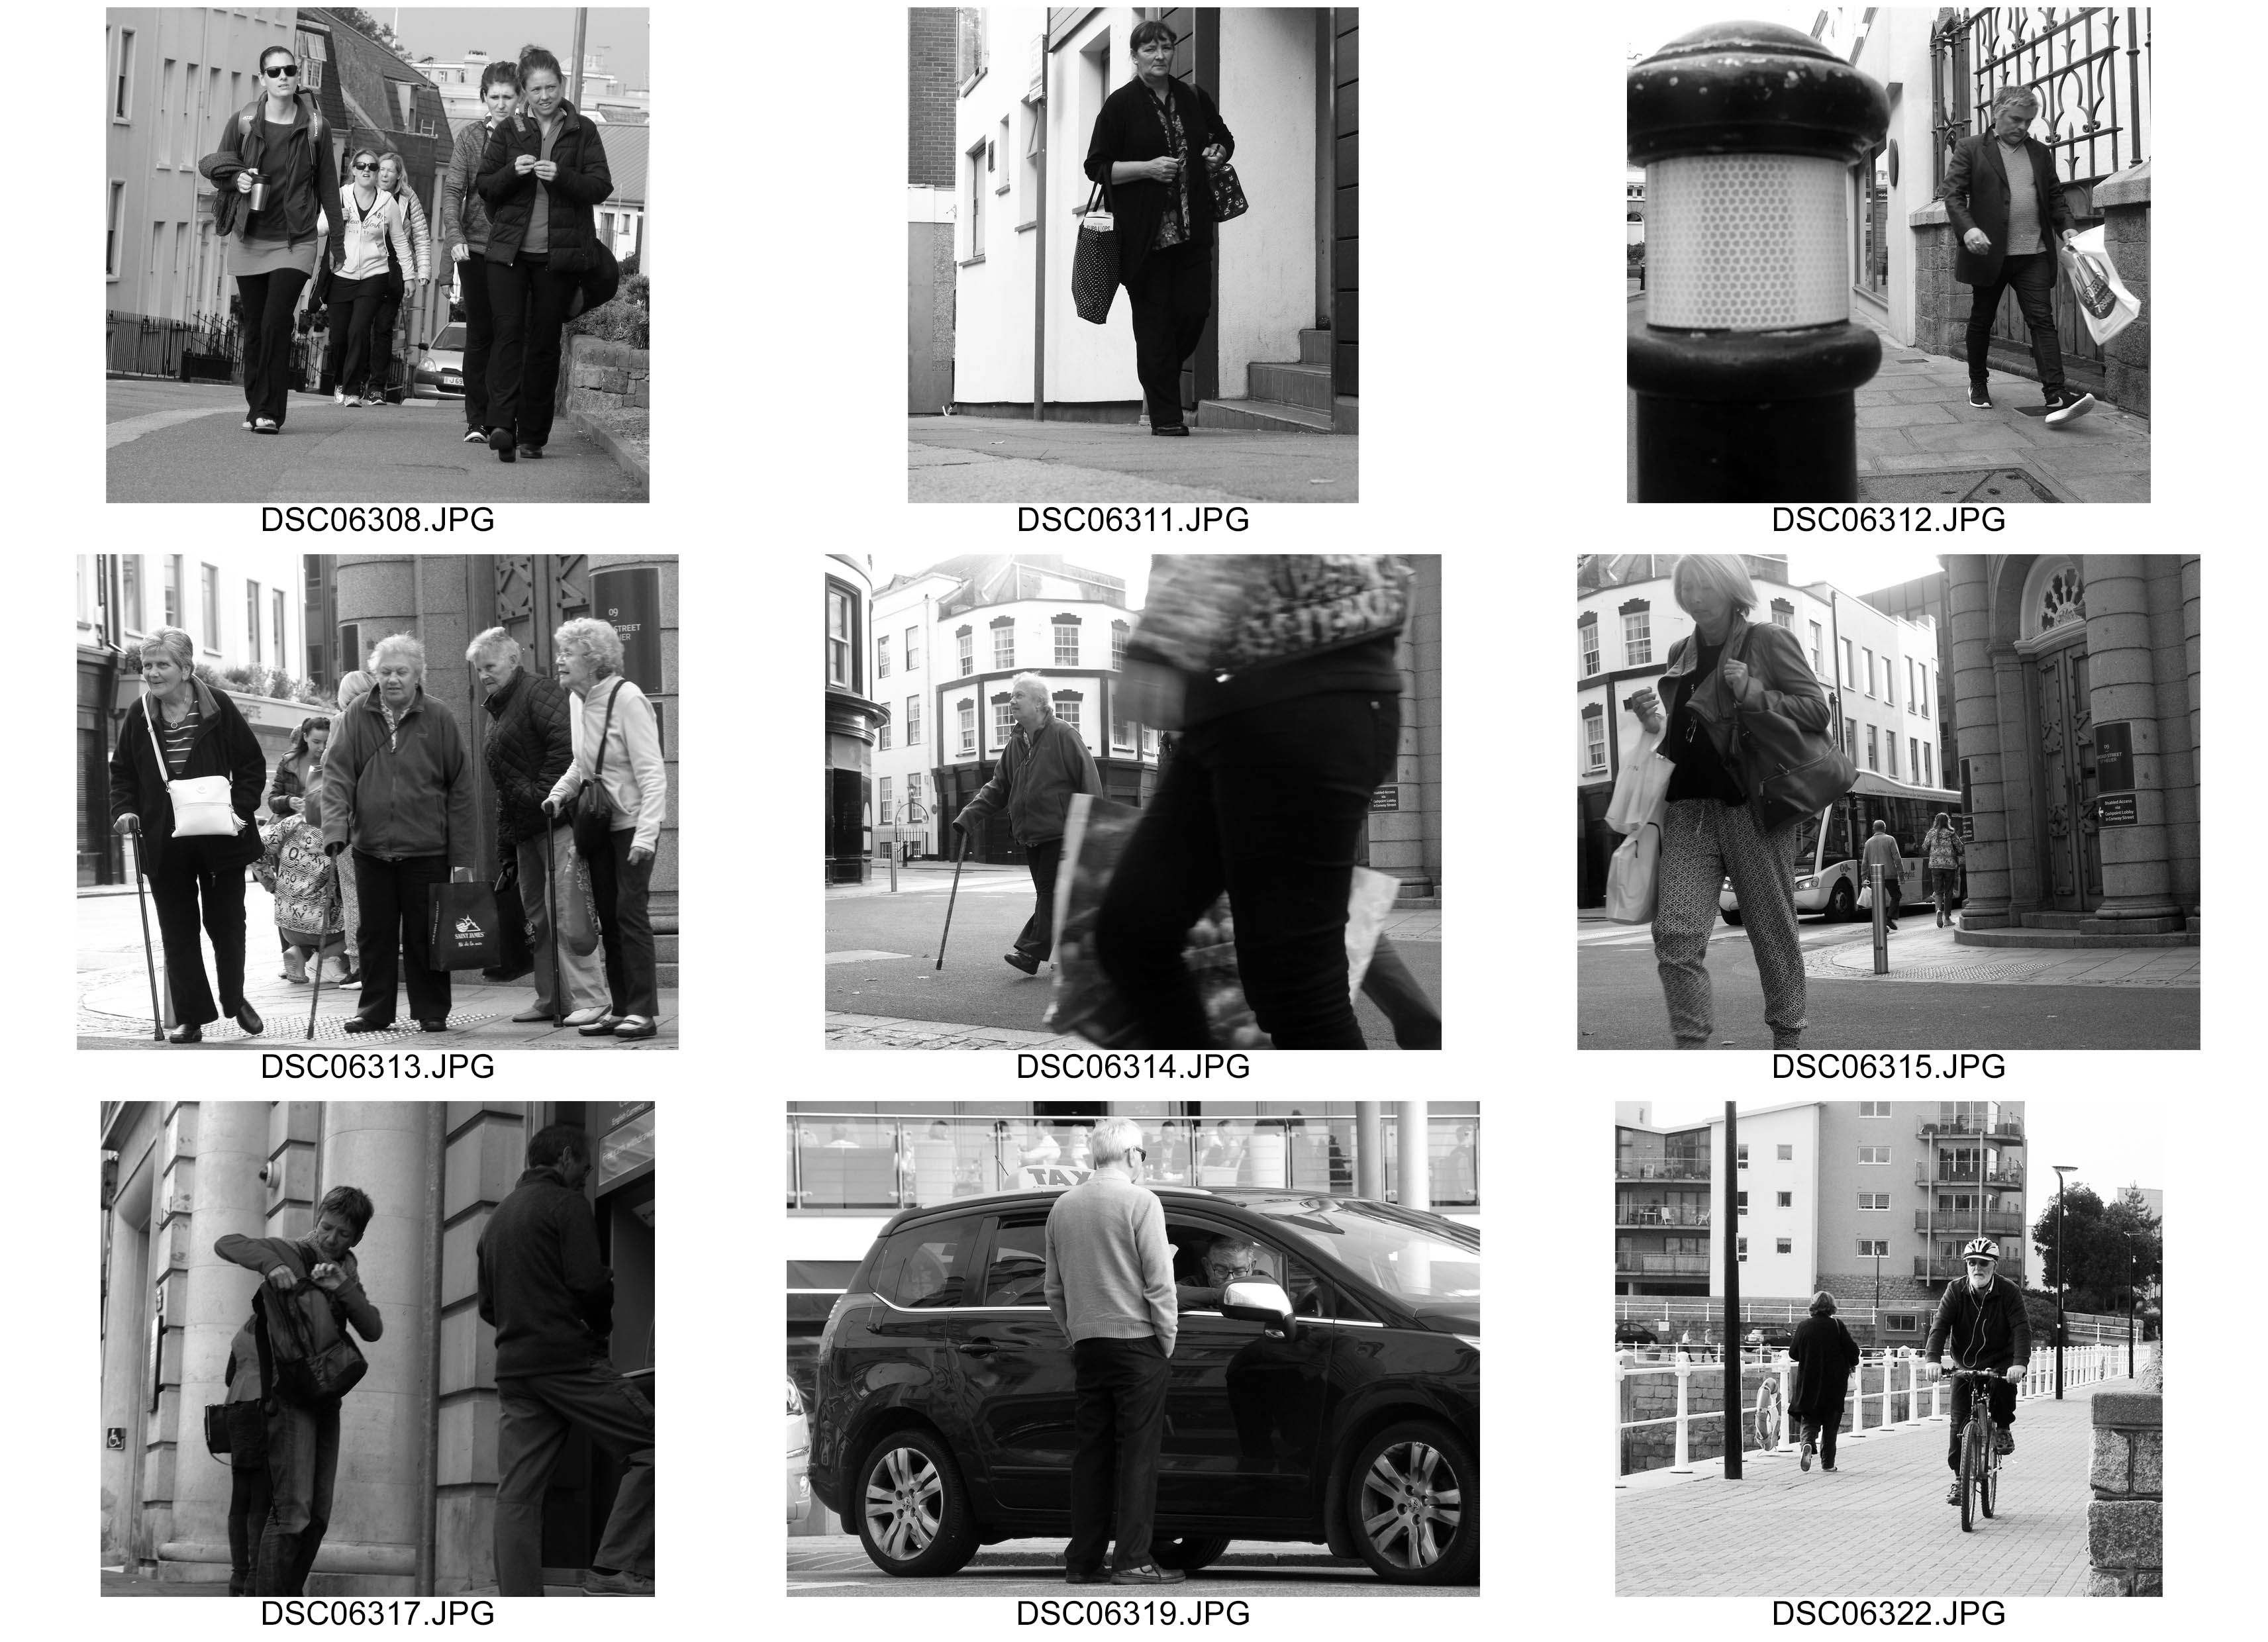
The contact sheets from my street photography shoot show that i made a good attempt at trying to use similar techniques to Bruce Gilden. I focused on peoples faces close up and did not use the zoom i just went close to them and with the flash on took a photo. in the contact sheets you can see that it took a while to get the correct settings on the camera. I had to put the ISO higher to prevent over exposure but all think about the shutter speed so that the person was in focus but the background had a slight blur to it. All together i took 198 photographs. this gives me a range of photos to pick the best ones and adjust them slight to replicate Bruce Gildens work further.
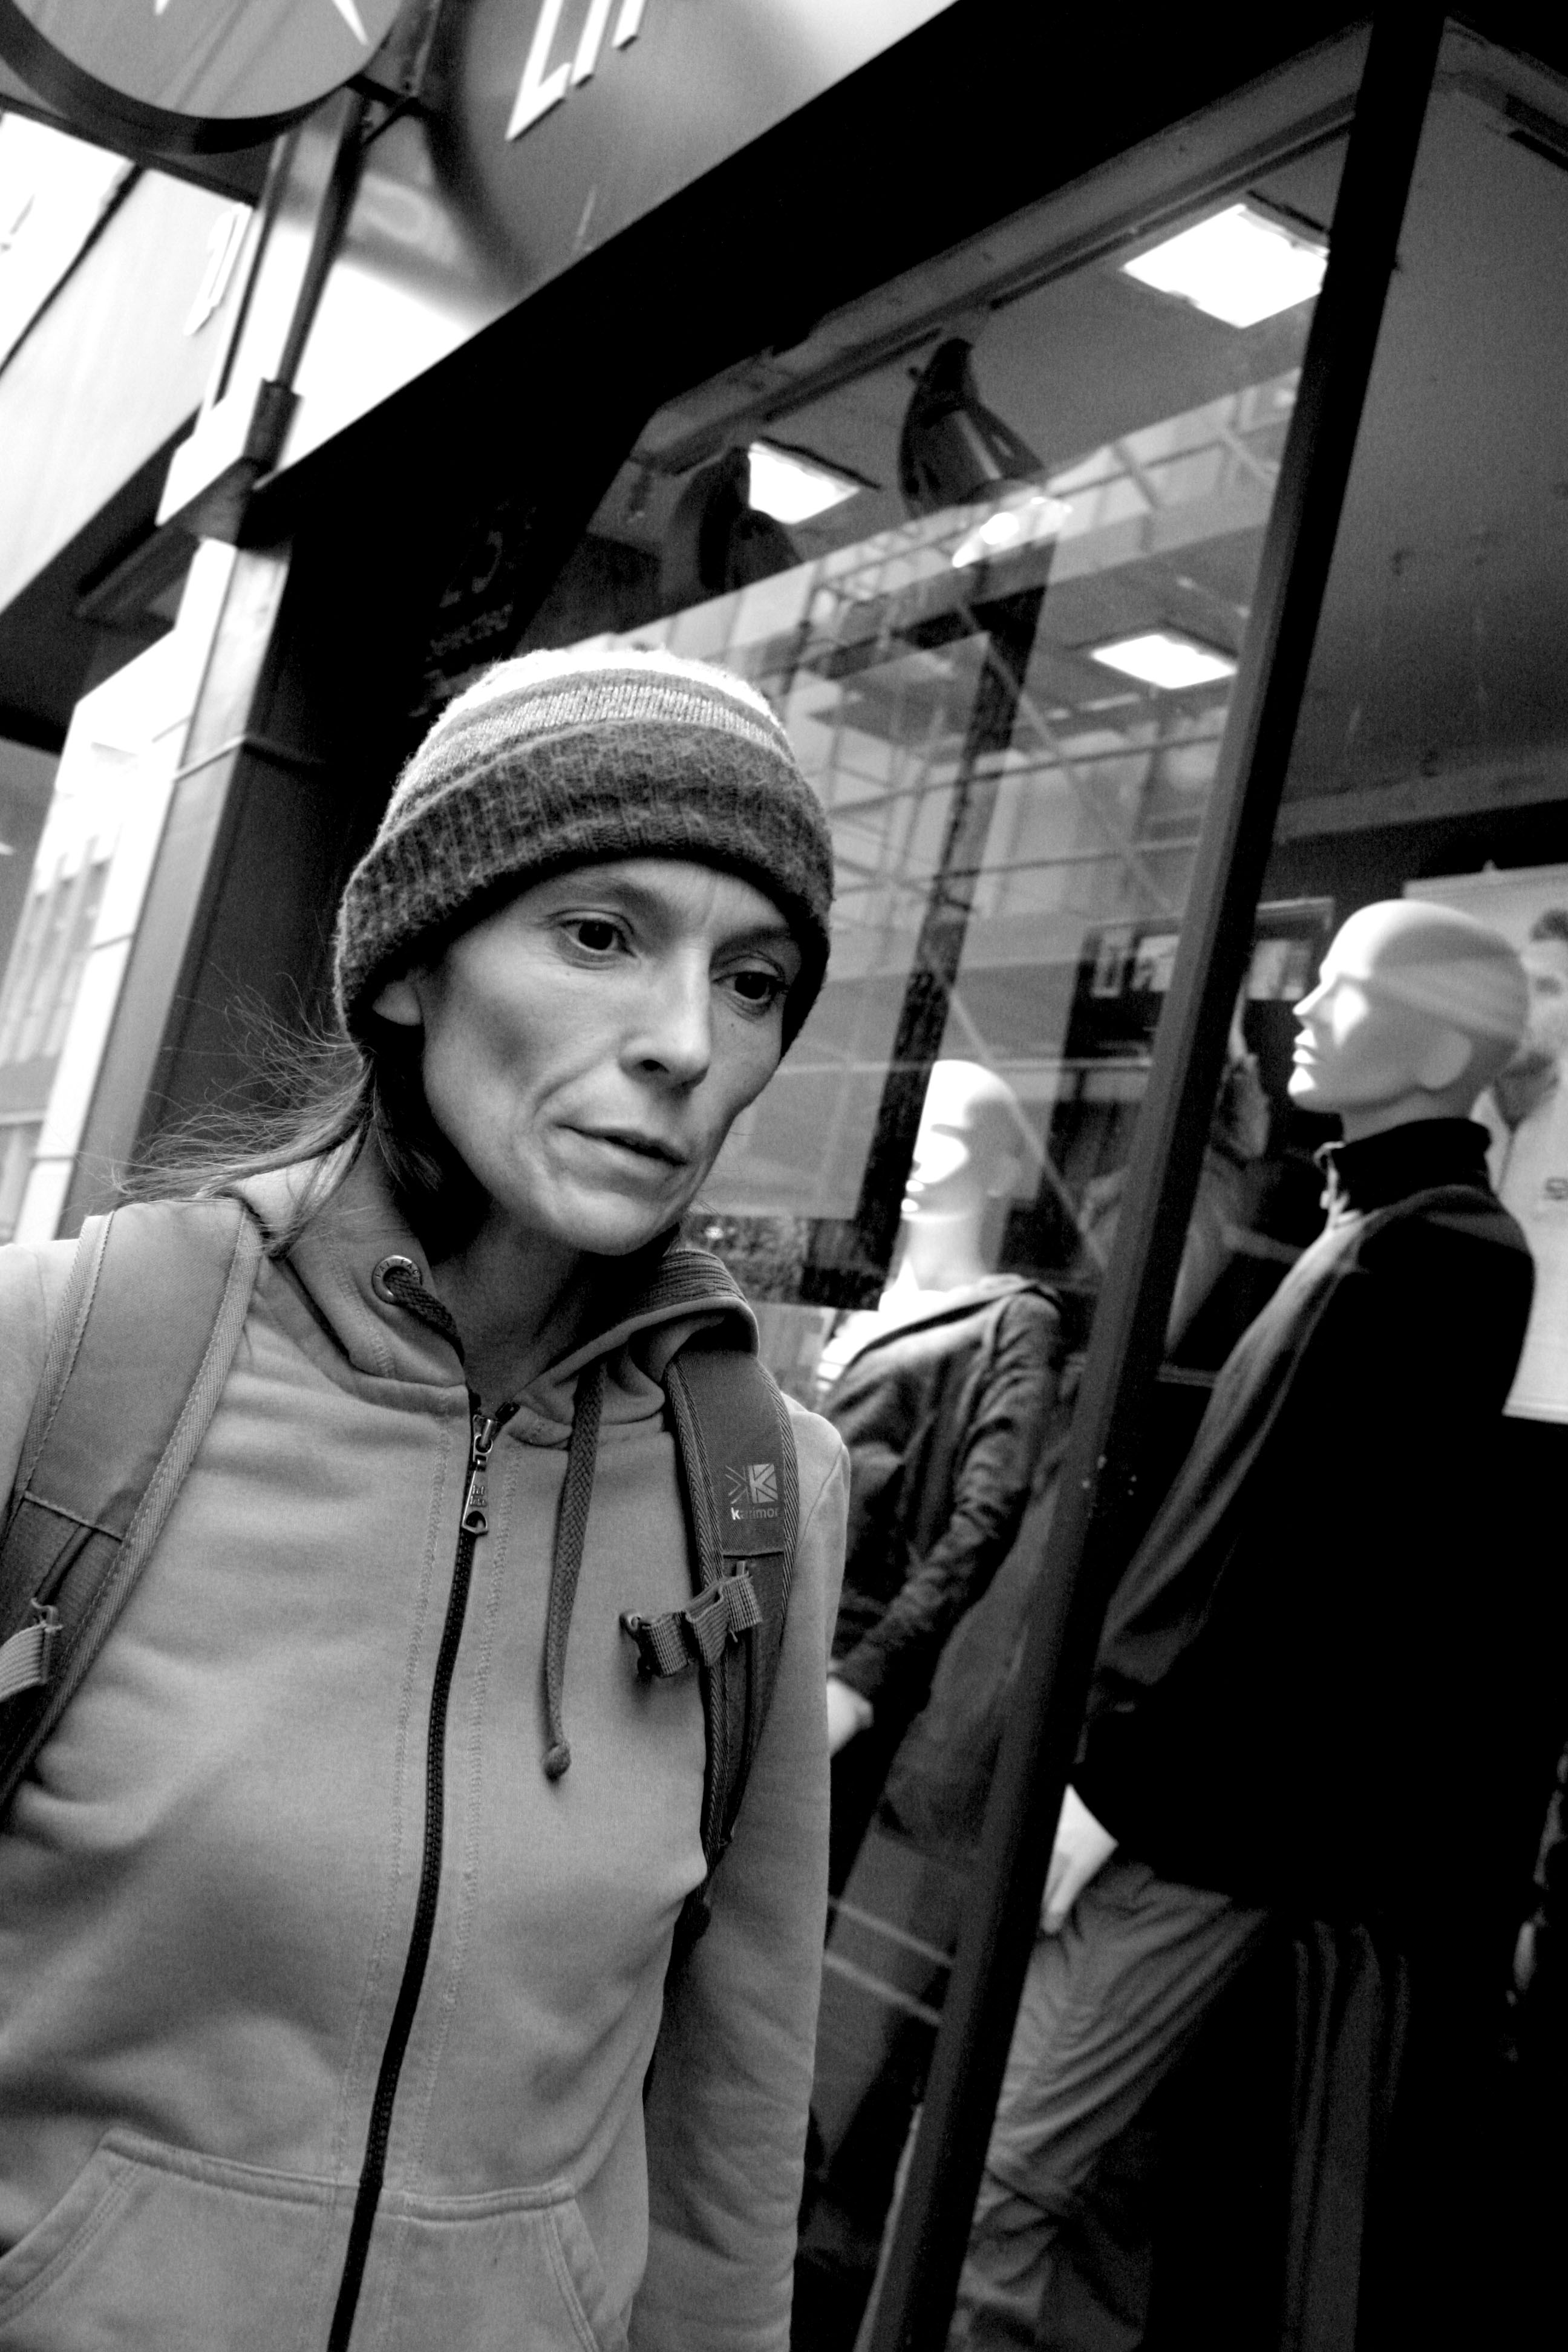
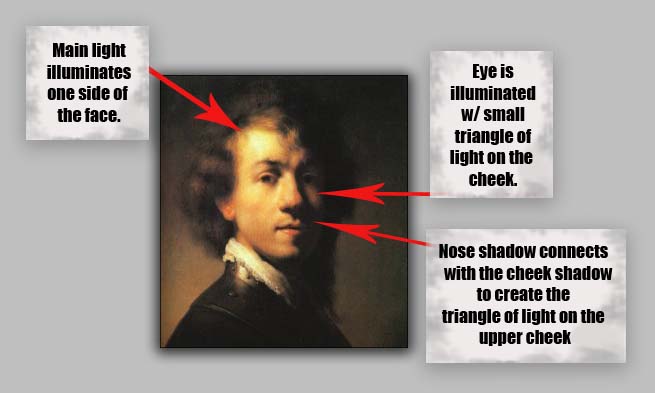
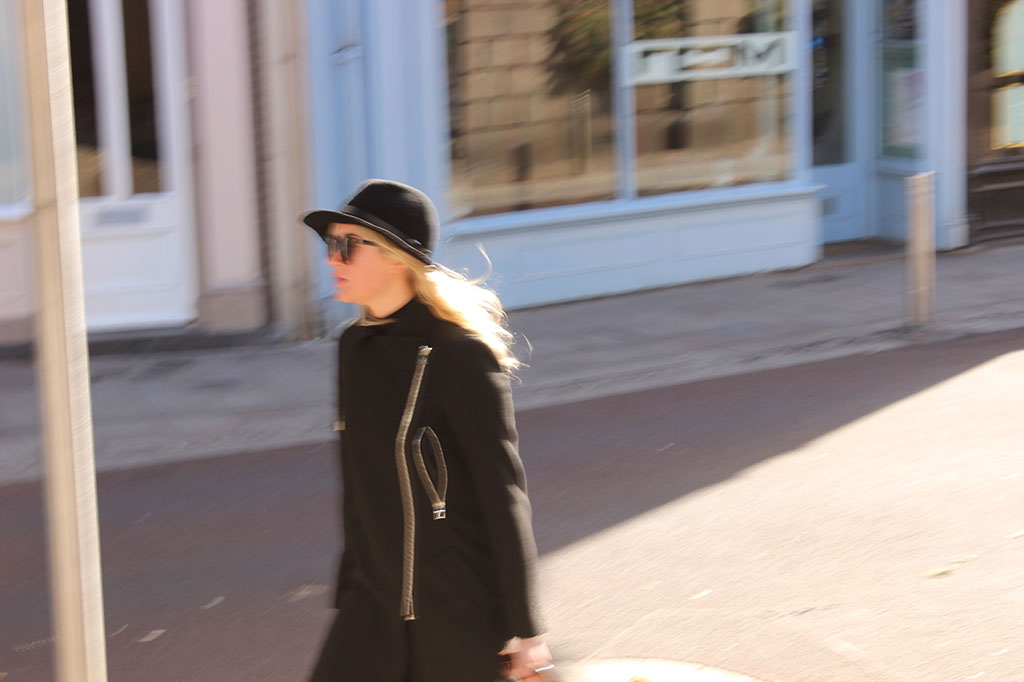
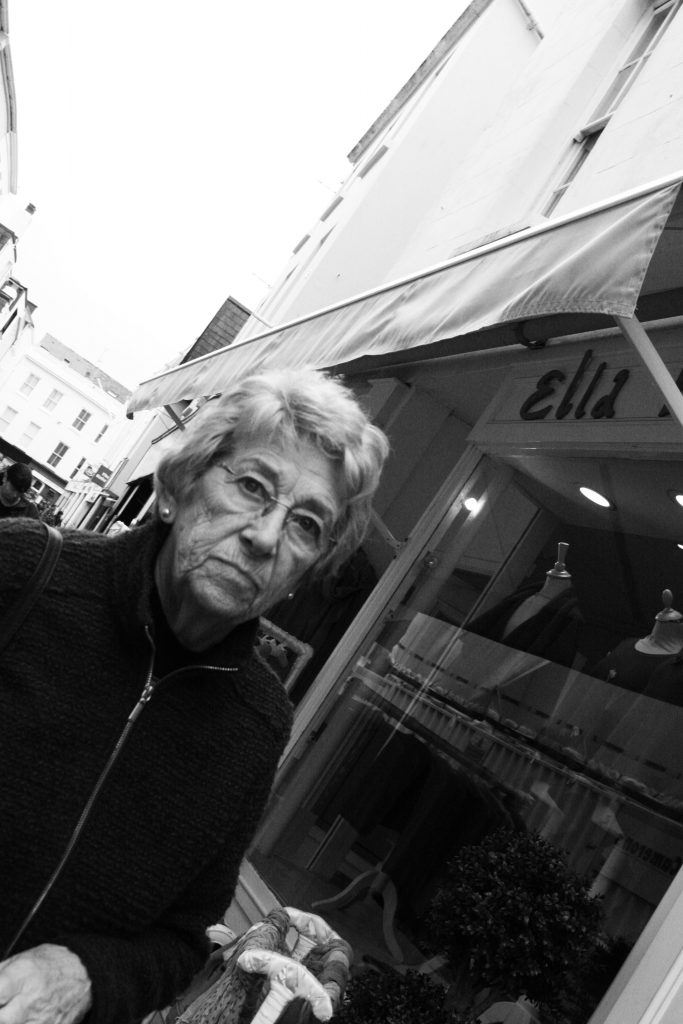
This image is of a lady walking through town. the woman is focused on what she was doing and didn’t even realise i was photographing her. The meaning that is conveyed in this image is from the black and white of the photograph. it suggests that the photograph is documentary photography telling us about the person. the photograph is also street photography as you can see the image has been taken on the high street, original street photography were all black and white as it conveys the idea of documenting something for example like you would in a newspaper. Taking this image was very technical trying to get the it in the same style as Bruce Gilden. For this particular image the shutterspeed was on 1/80 of a second, the ISO was 800 because is was a bright day but i was also using flash as Bruce Gilden does but i didn’t want to over expose the image. The focus was on auto as the images were taken quickly and it was the best way to avoid blurring on the subjects face. To take the photo i walked along and then stepped in front of the lady and crouched down so i was slightly looking up on the subject. As i was taking the image i noticed that the manikins in the background made an interesting contrast to the real life subject i was photographing. Rule of thirds wasn’t considered when i was taking the image because it was taken on the move, i just focused on trying to get the model to fill 2/3 of the image. The use of leading lines in this image in my view is created by the zip on her jumper, it leads your eyes up the image and to the face which is the focal point of the image as i am still focusing on portraits. The cantered viewpoint of this image shows that is was an unstaged photograph. the quantity of this image is bright die to the flash reflecting off the subjects face, this does make the image slightly over exposed but it captures the detail in the subjects face and also replicates that of what Gildens photos are like. This also makes the lighting quite a harsh hard like therefore making the image bold and striking.
This is not my favourite image from the shoot because i do not feel an emotional response from the image. The image makes me feel negative. i think this is because it is quite a cold image therefore does not have a positive impact on me. The mood and tone of the image is somewhat dull and this is emphasised by the woman in the the photograph having an unemotional facial expression.
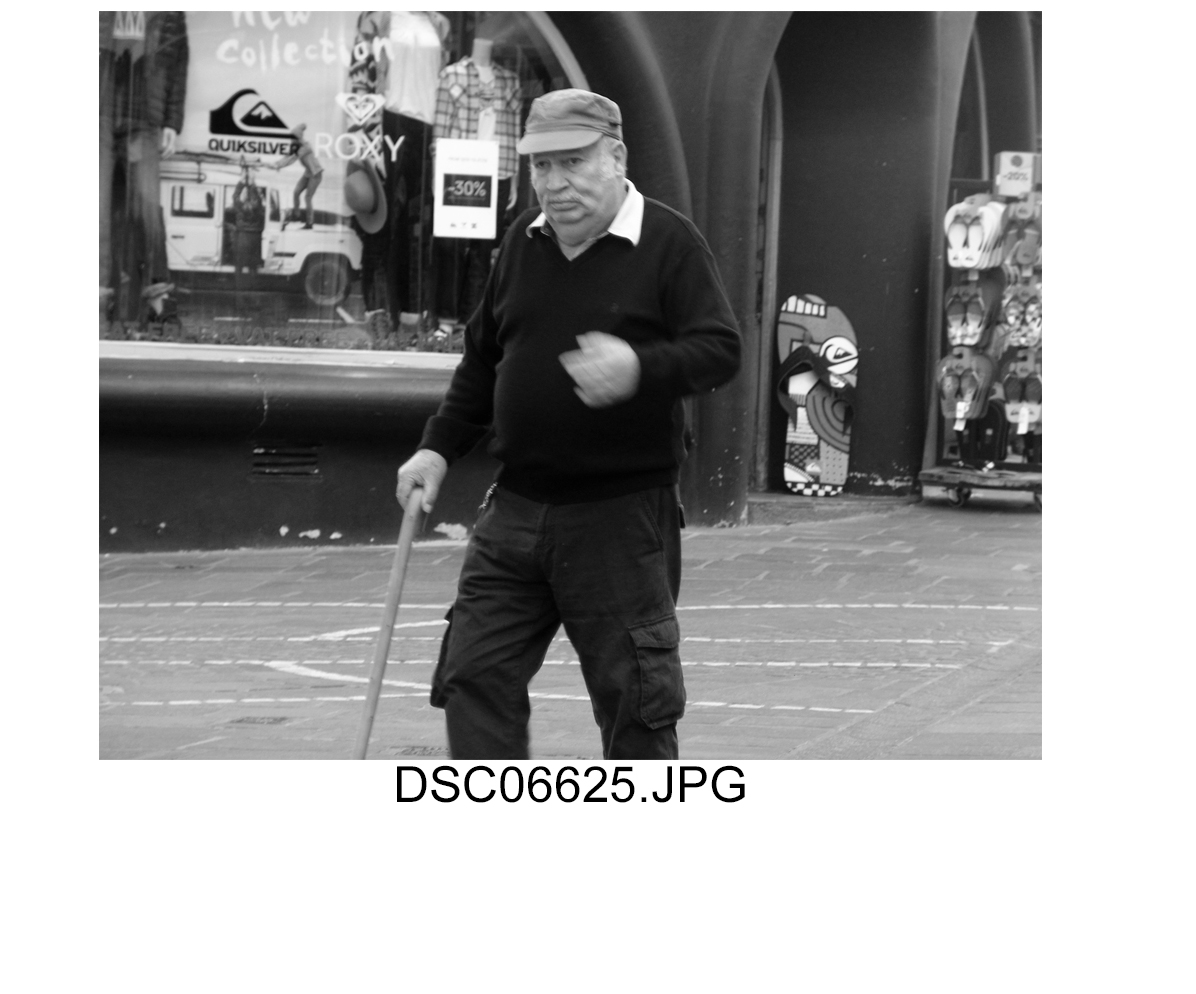
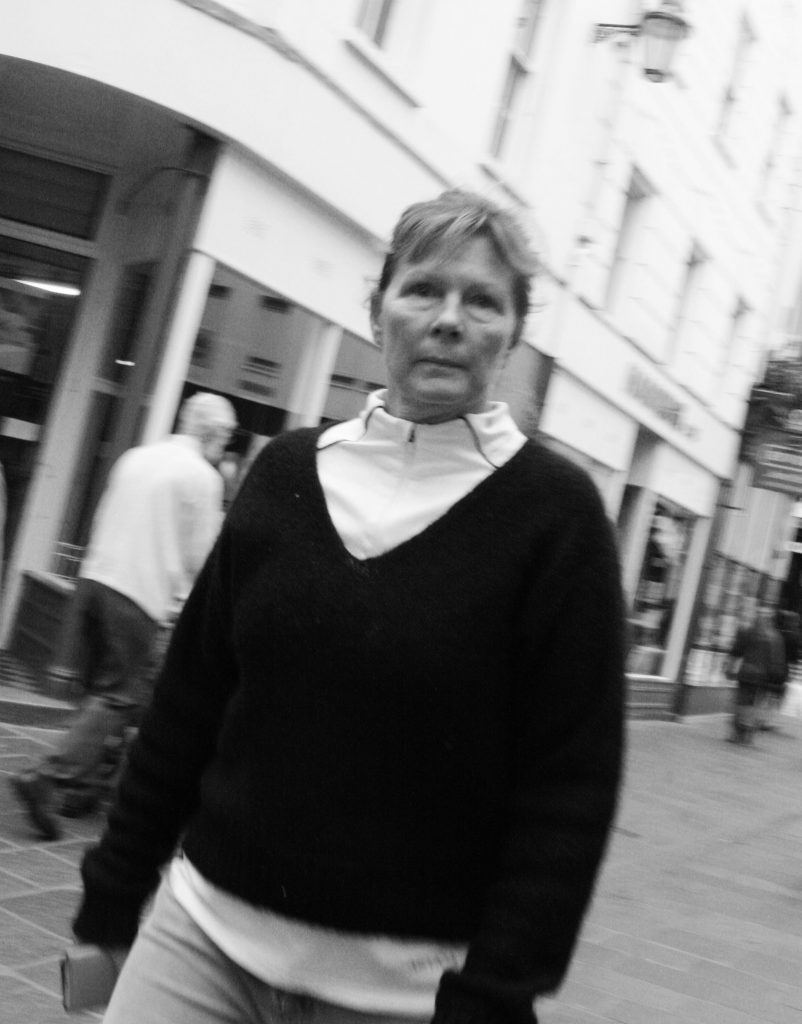
As i was moving into the position i wanted to be in to take this image the man realised and looked shocked i still took the image even though he had jumper slightly back it actually conveys more of a story than just unemotional faces. I think that this unstaged capturing of this moment makes the photograph one of the best photos in terms of documentary street photography from my shoot. Again the image is black and white with high contrast between light and dark due to the flash. i feel that this image even more so than the others shows the subjects personality and in this case makes the image seem like an old outdated street photography image, although the image was digitally manipulative everthing else about the image was natural and had the sense of luck that Bruce Gilden manages to capture in his images just being in the right place at the right time.
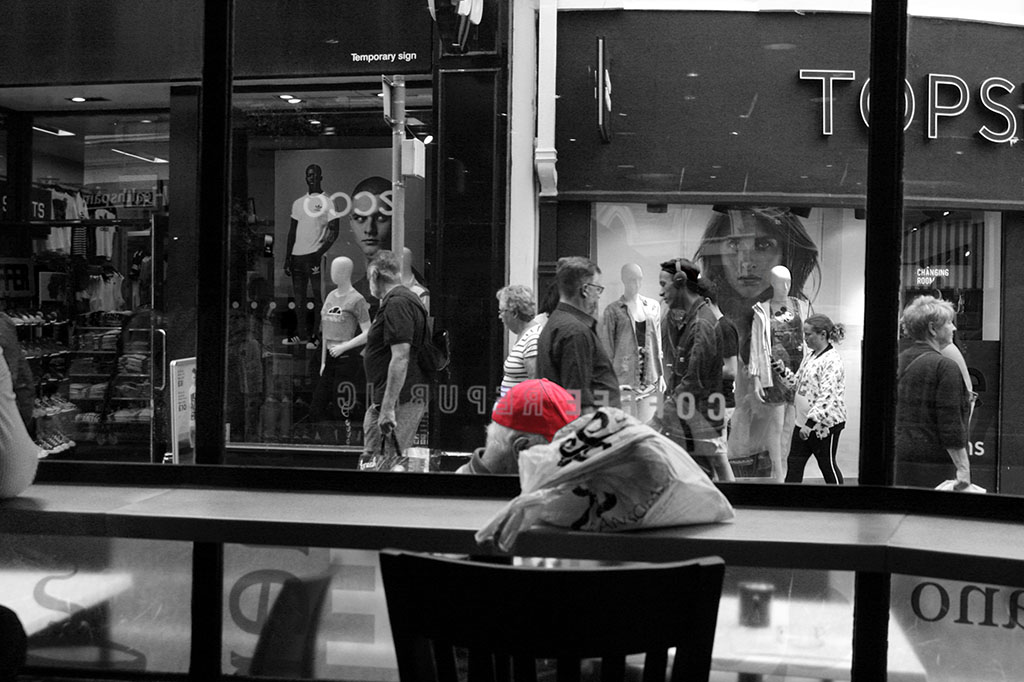
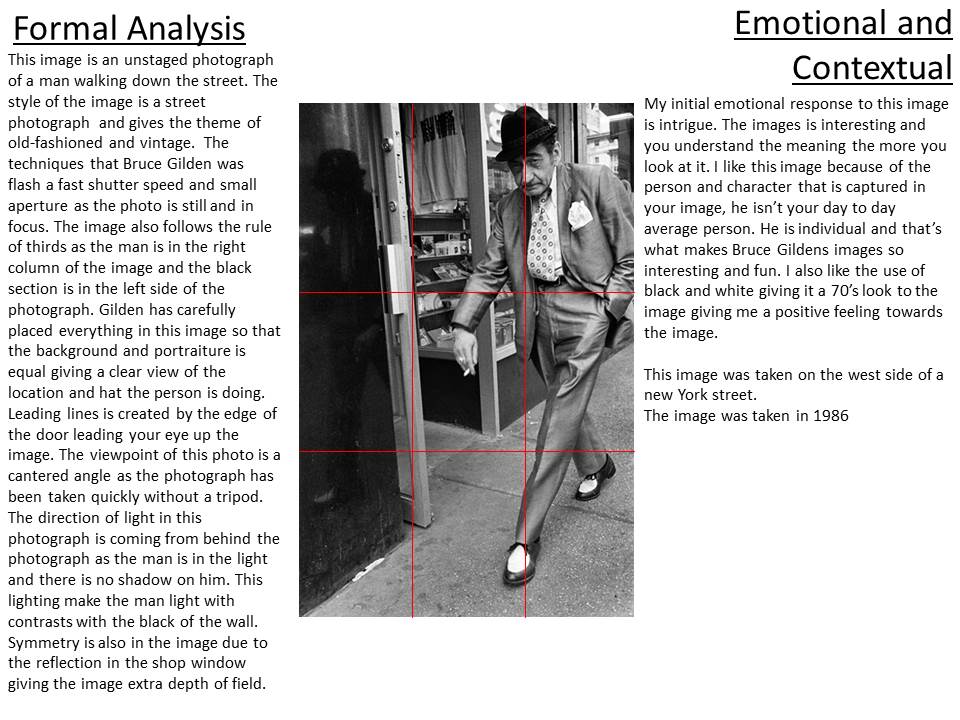
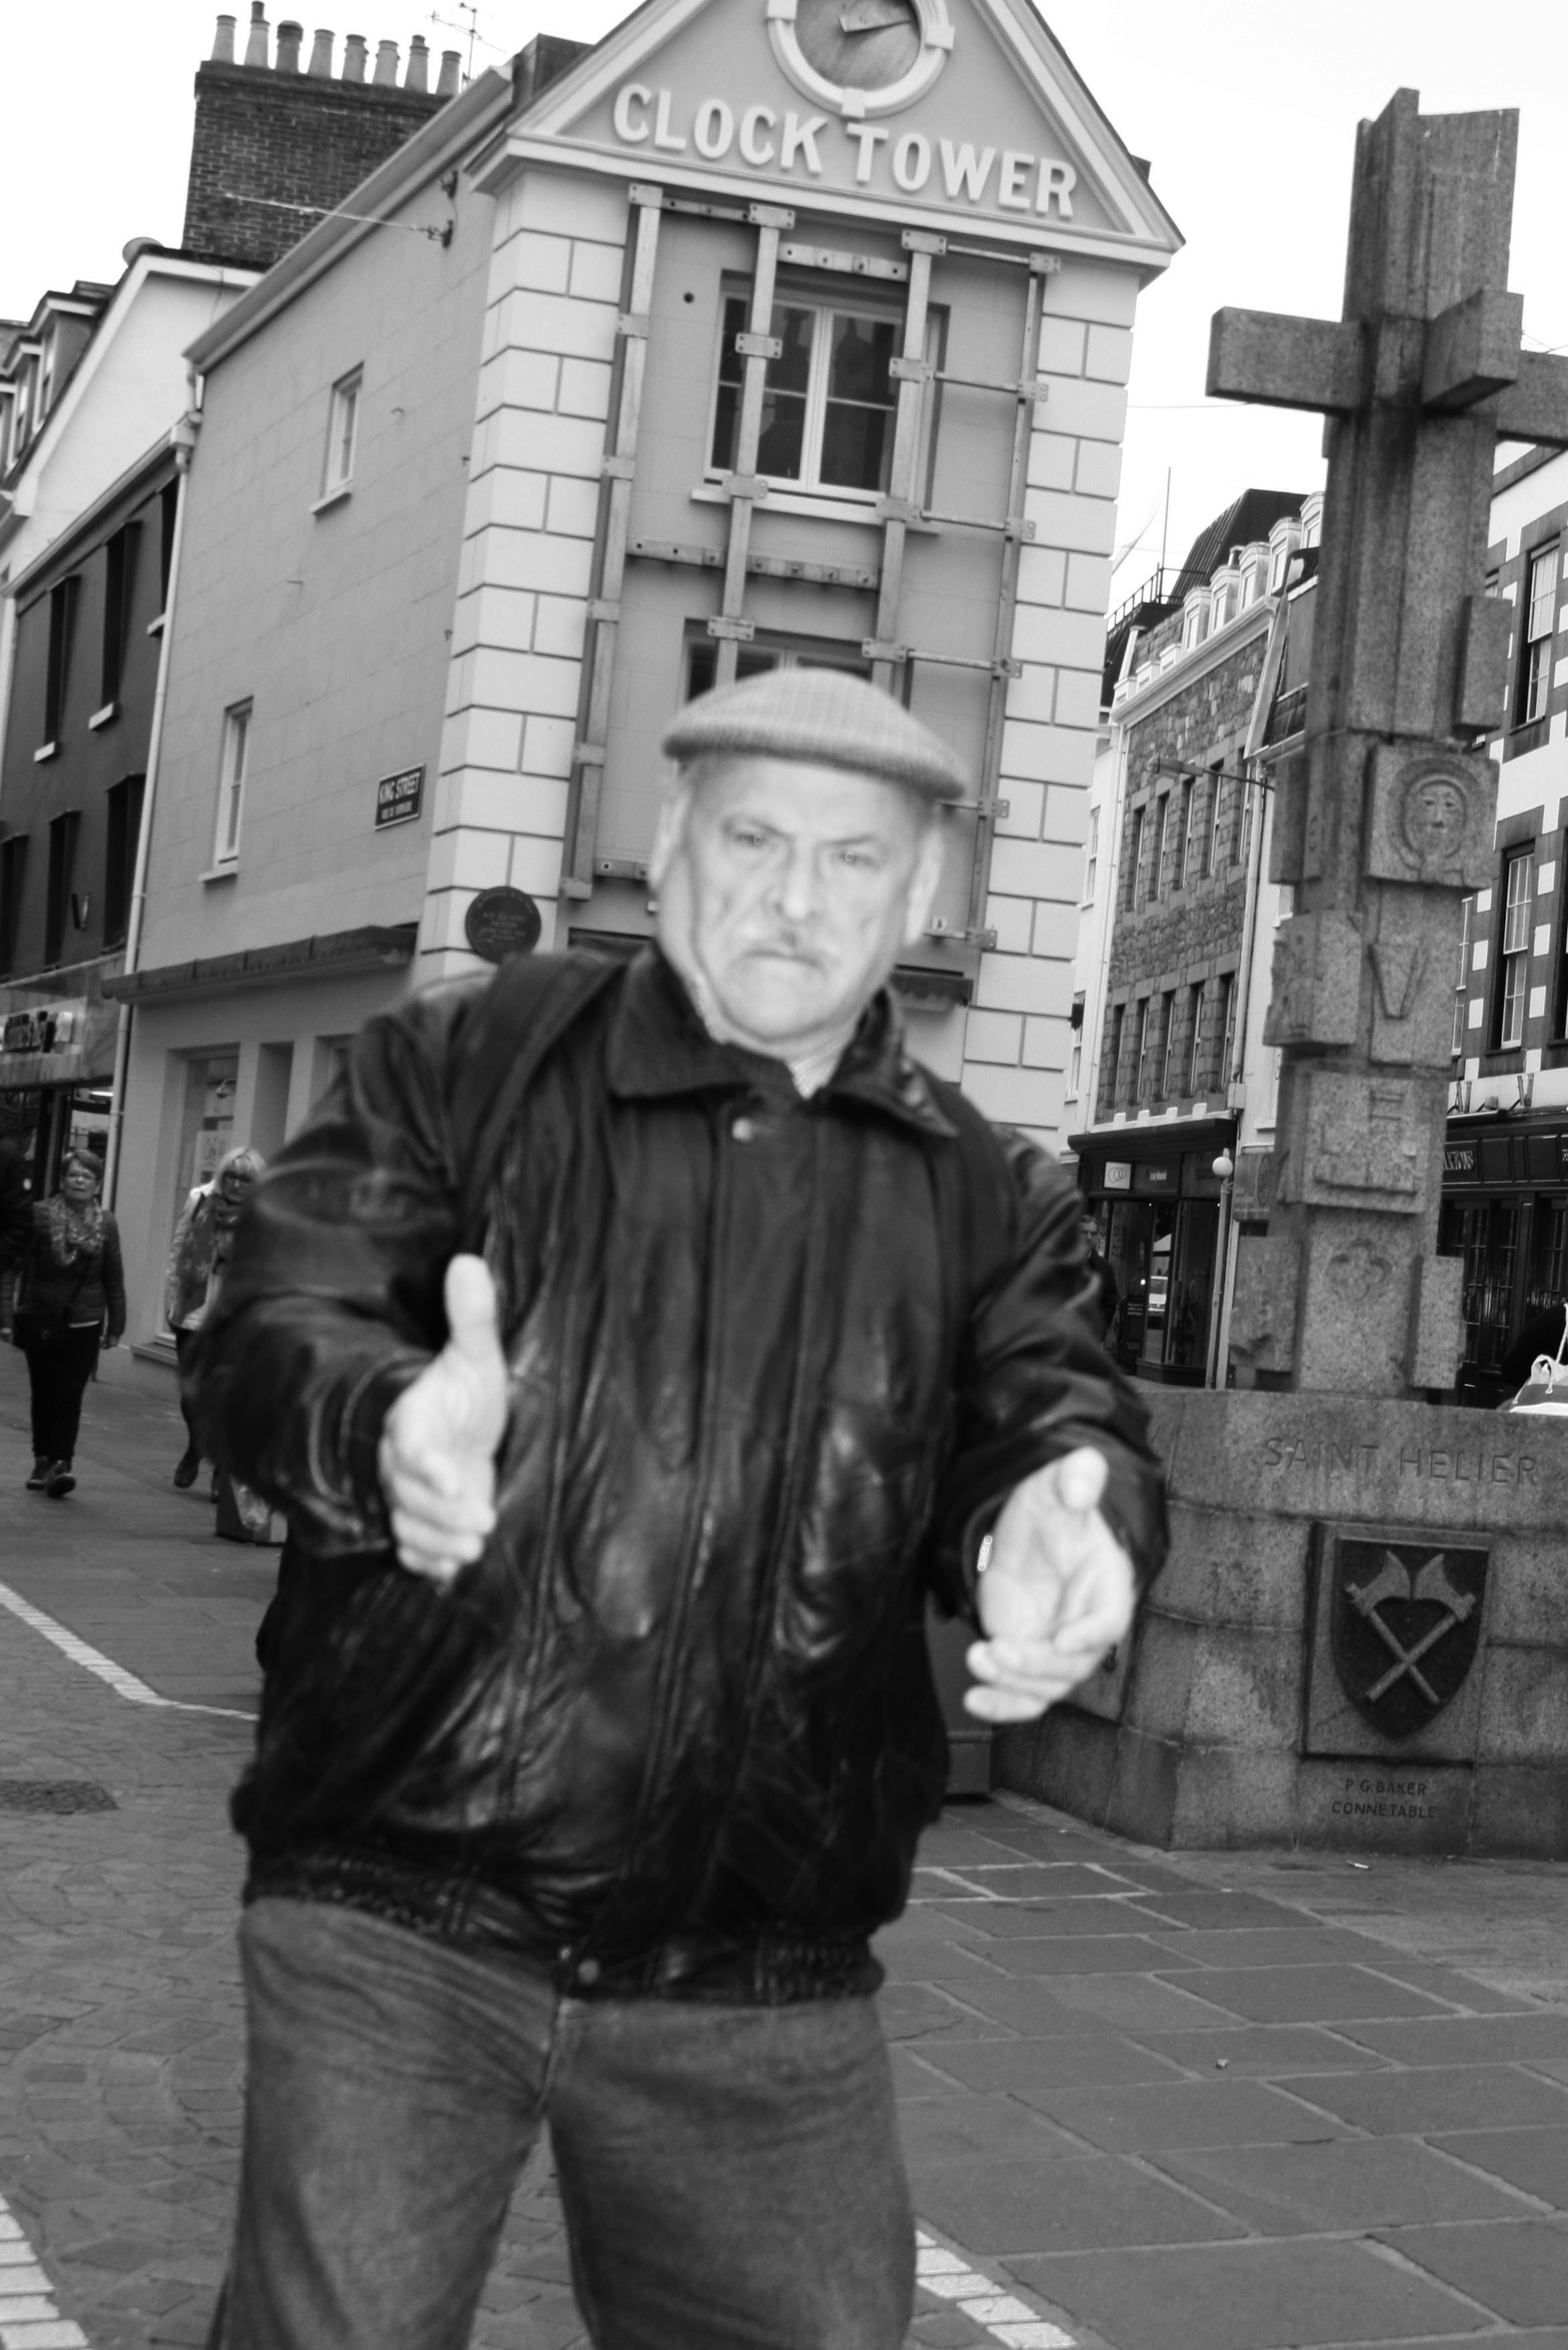
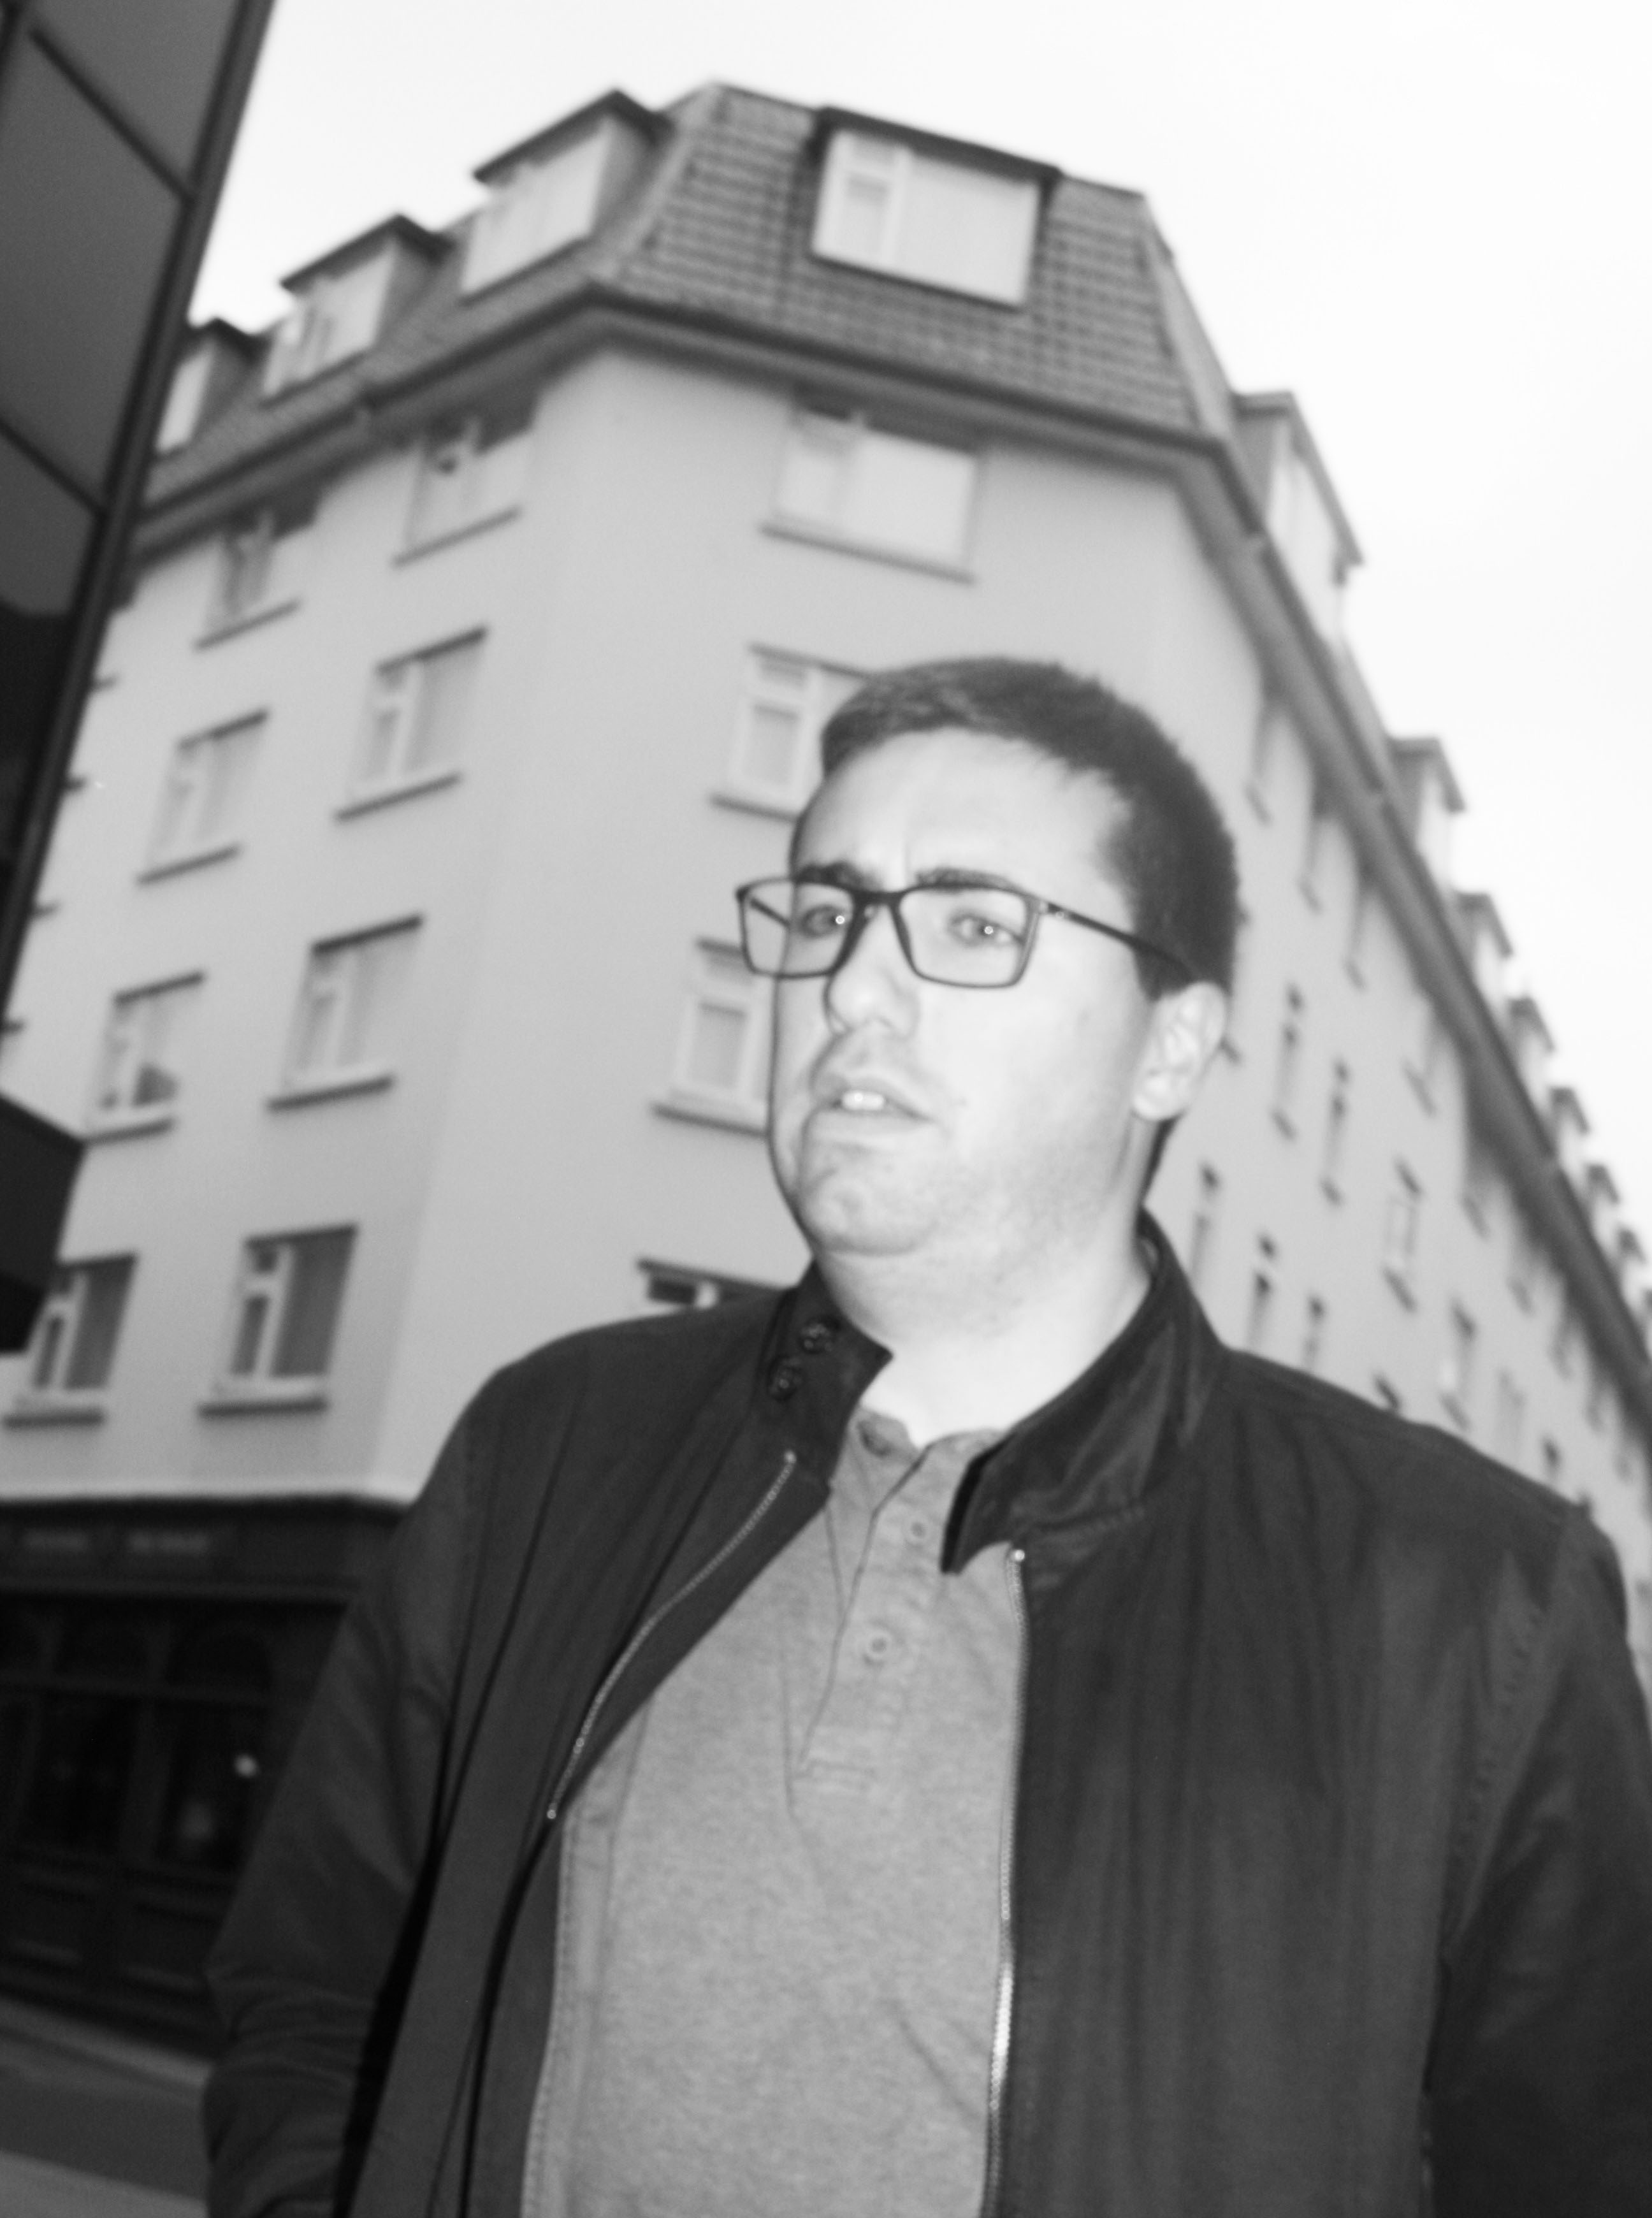
When taking this image i had stopped the man walking in front of me so i had actually planned that i was going to try and get him in the middle of the photograph for the reasons that you could see his outfit to show more about his personality. the image follows the rule of thirds as the man is in the centre of the image so your eye is immediately drawn to him making him the focal point of this image. Depth of fiield is an important aspect in this image to make it the successful photograph that i think it is. The man is creating the fore ground of the image helping to make him the focal point and then the clock tower building creates mid ground and also leading lines taking your eyes through the middle of the image and then the background is the members of the public and far away shops. For this image i tried a different angle and did a straight angle shot. i feel that it worked in the sense of capturing lots in the image but as it was a full bodied shot the image ended up being over exposed with an uneven balance of pure white than pure black, this issue was created from the flash as instead of illuminating the face to get detail it lightened most of the image.
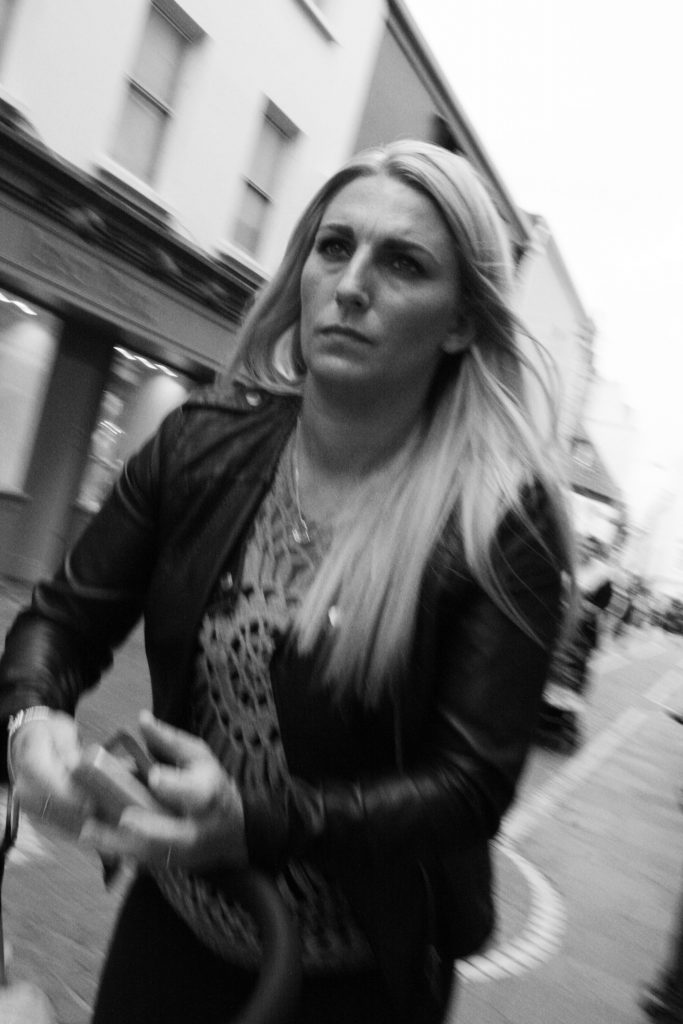
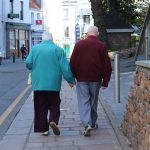
I decided on my shoot to dedicate a certain block of time (10 mins) to focus on women. I wanted to capture images which showed the different generations of woman and how there style conveys a message of who they are and what the are about. This was a more in depth idea during my photoshoot which specifically focused on documentary of who people where and what a quick portrait can tell us about certain people on our first impression. However i was still following my artist Bruce Gilden in the angles and uncertainty of what i was going to be photographing
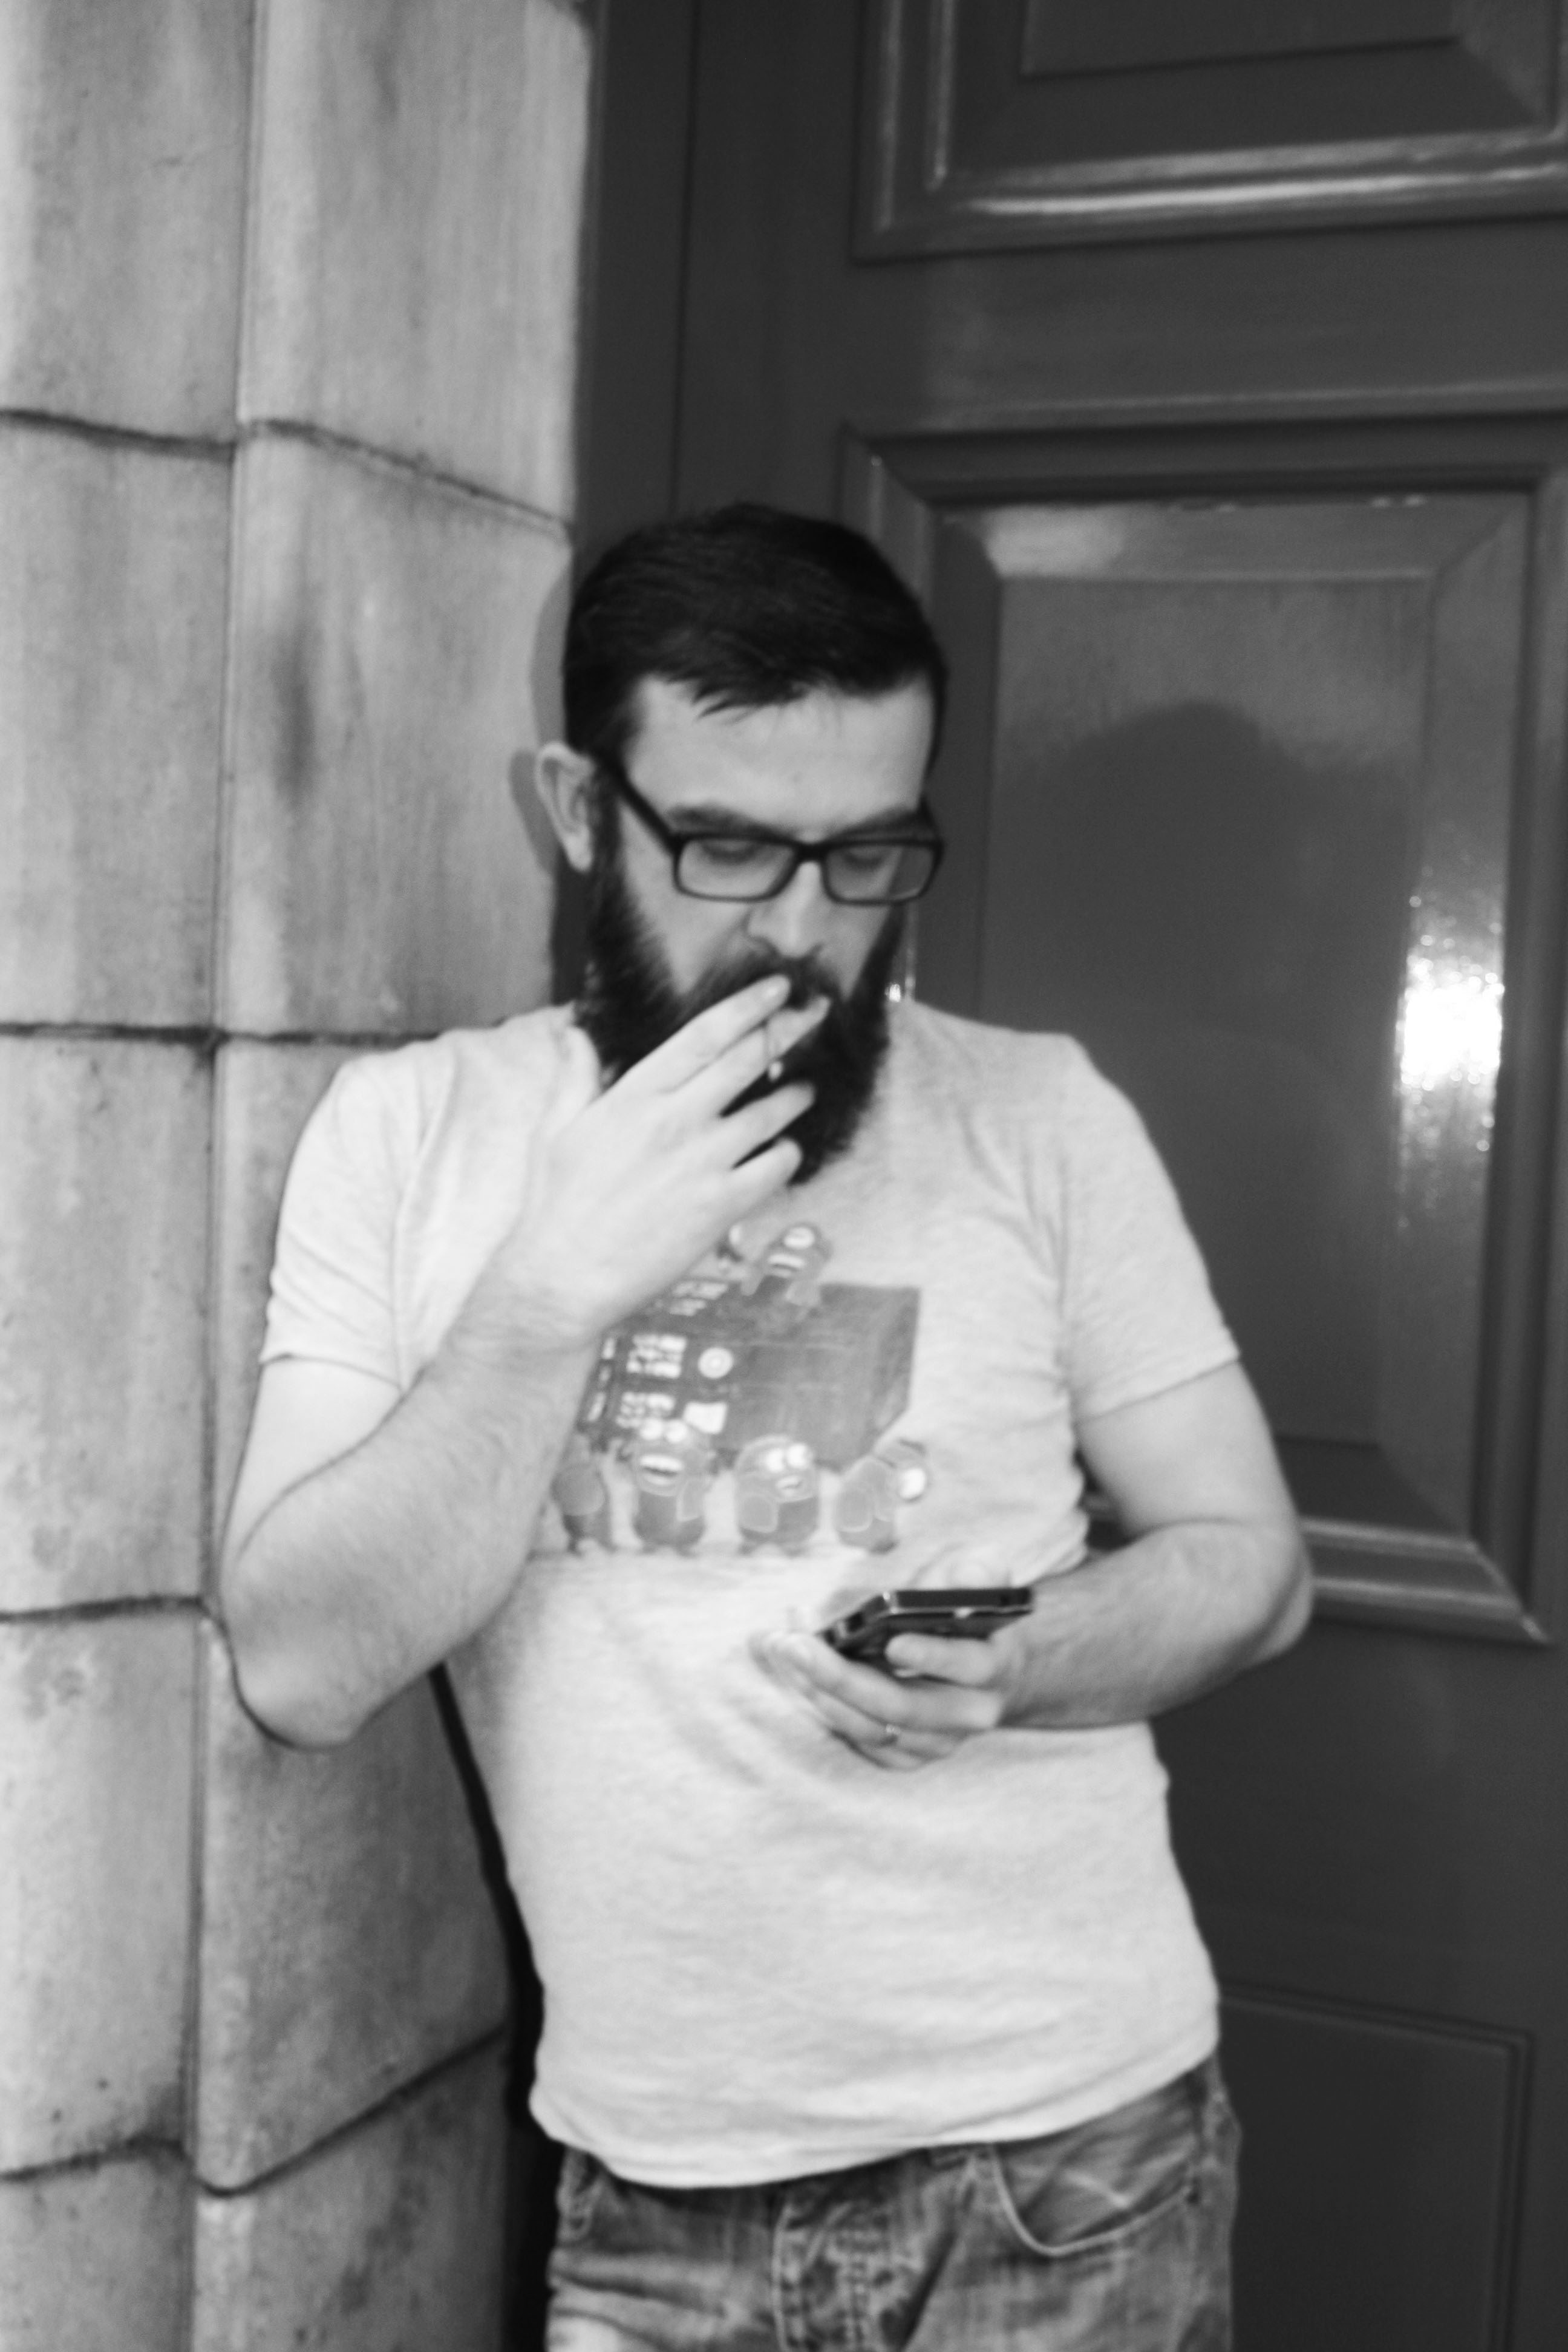
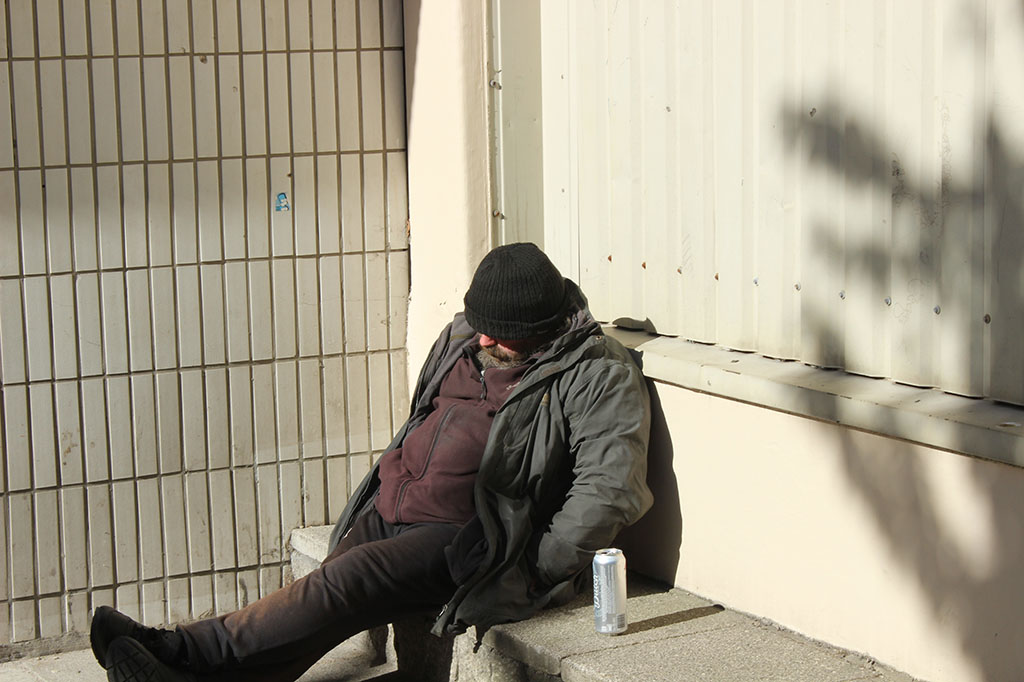
I have a very negative emotional response to this image as the subject i photographed was both on his phone and smoking giving the impression of both being unsociable but also not caring able his health. This image was also off topic of things i was trying to photograph as i wasn’t moving when i took the photograph and neither was the subject this makes the image more stage than i wanted. None the less the image is still an interesting street photograph.

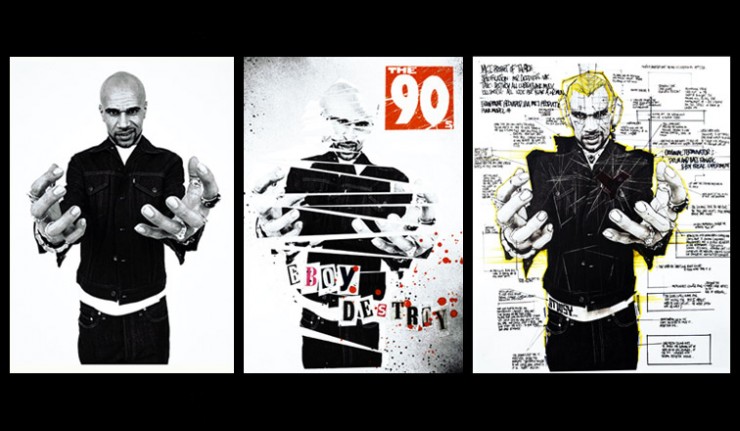
The image of the left is Bruce Gildens image and then the image on the right is my interpretation of his work. There are similarities and differences between our street photographs. A similarity is that they have both been taken at a cantered angle focusing on a persons face however Gildens image is a more extreme angle than mine. The images are also both in black and white however the flash is more visible in Bruce Gildens work that mine. The flash has created a harsh direction of light looking straight onto the woman’s face making the features have slight shadow on the side. My image is over exposed due to the flash however it was more of a soft quantity of light meaning the face is not as bright as Gildens work. Another element of both images that shows a similarity is the use of buildings to create depth of field, this is done by both images where the person is the focal point of the image being in the fore ground and then buildings going into the distance making the image less flat. The colour also comes into the idea of how bold or flat the image is. My image has less of a contrast making the aspects of the image not as bold as Bruce Gildens image yet still has the same idea of making sure there is both light and dark in the image.

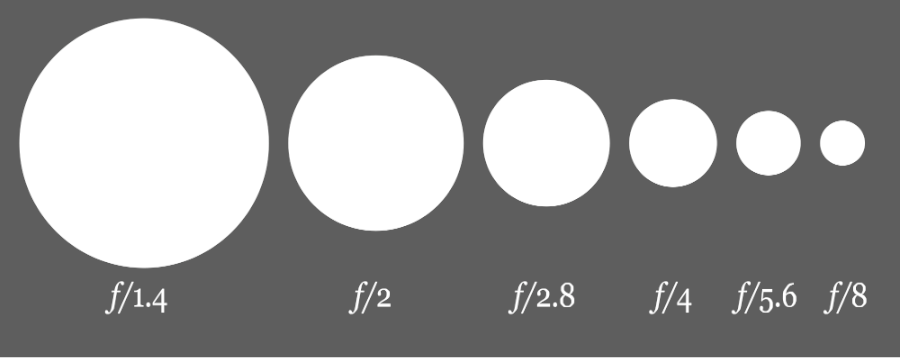
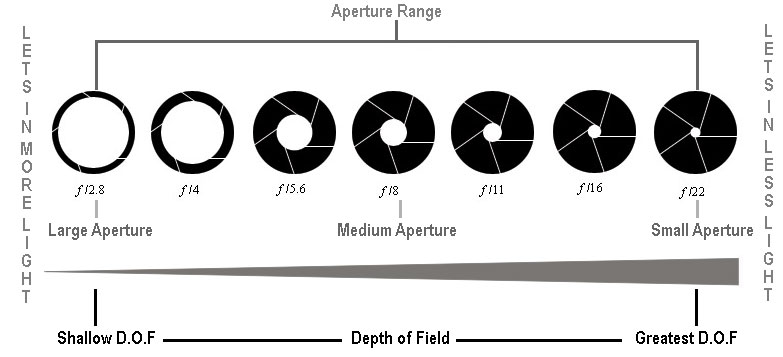
 I experimented with different apertures and f/stops to see what the impact is of adjusting them first-hand. However, I realised that also adjusting the ISO is important as well, otherwise you will get a grainy look to the image if the light hasn’t been taken into consideration. If I was to do some further experiments, I would use a person as my subject as this would provide me with an outcome easier for me to see the significance if changing the aperture.