
An aperture is an opening or a hole but in photographic terms, aperture is a space through which light passes // Depth of field is the distance between the nearest and the furthest objects in an image -essentially the foreground, mid-ground and background that give an image judged to be in focus in a camera.
Using the aperture (f-stop) of your lens is the simplest way to control your depth of field as you set up your shot.
Large aperture = Small f-number = Shallow (small) depth of field
Small aperture = Larger f-number = Deeper (larger) depth of field
For example, using a setting of f/2.8 will produce a very shallow depth of field and make the foreground of your image – the subject crisply in focus and as you look further into the photo, more of the aspects will be out of focus. While f/11 will produce a deeper Depth of field and make more of your picture in focus.
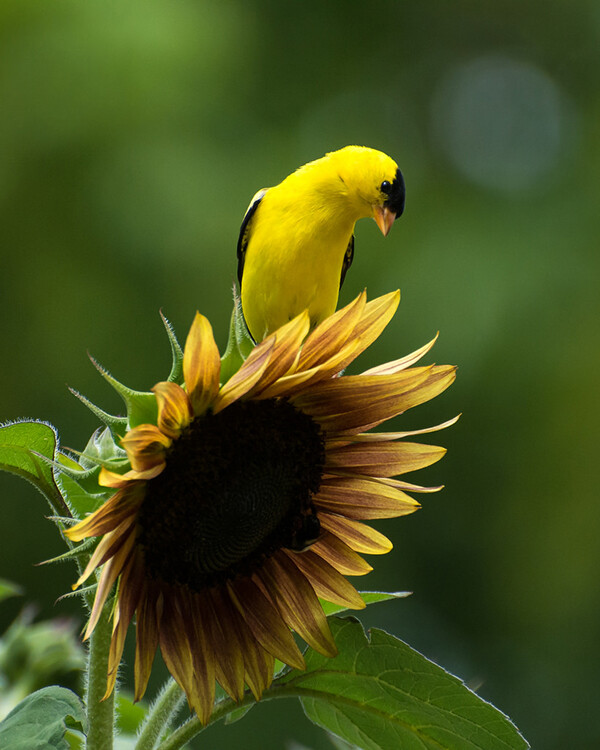
TIPS FOR WHEN TO USE SHALLOW DEPTH OF FIELD: Using a shallow depth of field is a good way to make your subject stand out from its background and is great for portrait photography. Shallow depth of field can also be useful in wildlife photography, where you want the subject to stand out from its surroundings.
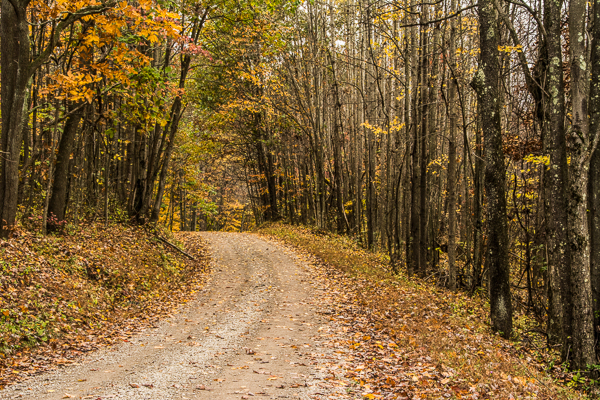
TIPS FOR WHEN TO USE DEEPER DEPTH OF FIELD: In landscape photography it is important to get as much of your scene in focus as possible. By using a wide angle lens and a small aperture you will be able maximize your depth of field to get your scene in focus.
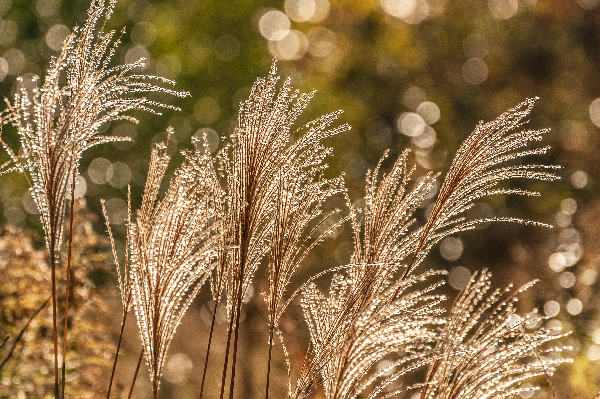
Bokeh comes from the Japanese word meaning blur. Bokeh commonly refers to the circle shapes caused by the shape of the lens aperture. Usually created when shooting with your aperture wide open, such as f/2.8.
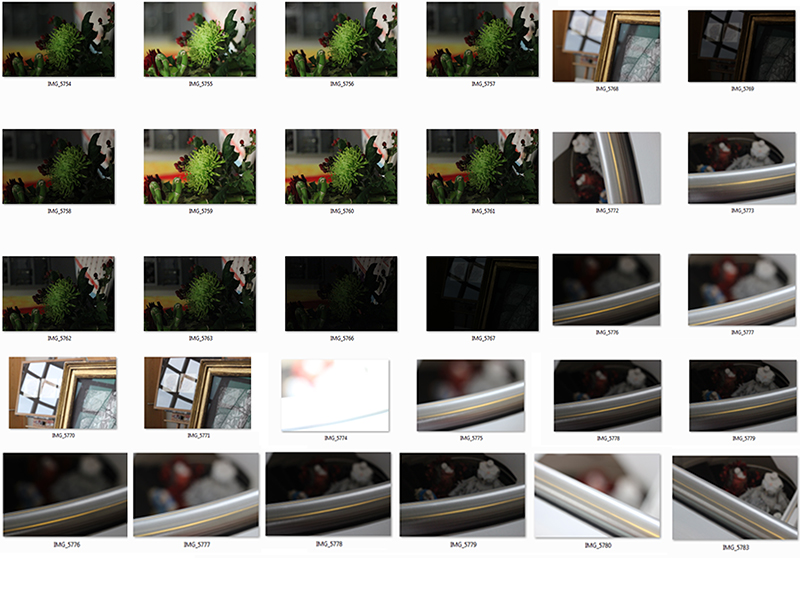 I experimented with different apertures and f/stops to see what the impact is of adjusting them first-hand. However, I realised that also adjusting the ISO is important as well, otherwise you will get a grainy look to the image if the light hasn’t been taken into consideration. If I was to do some further experiments, I would use a person as my subject as this would provide me with an outcome easier for me to see the significance if changing the aperture.