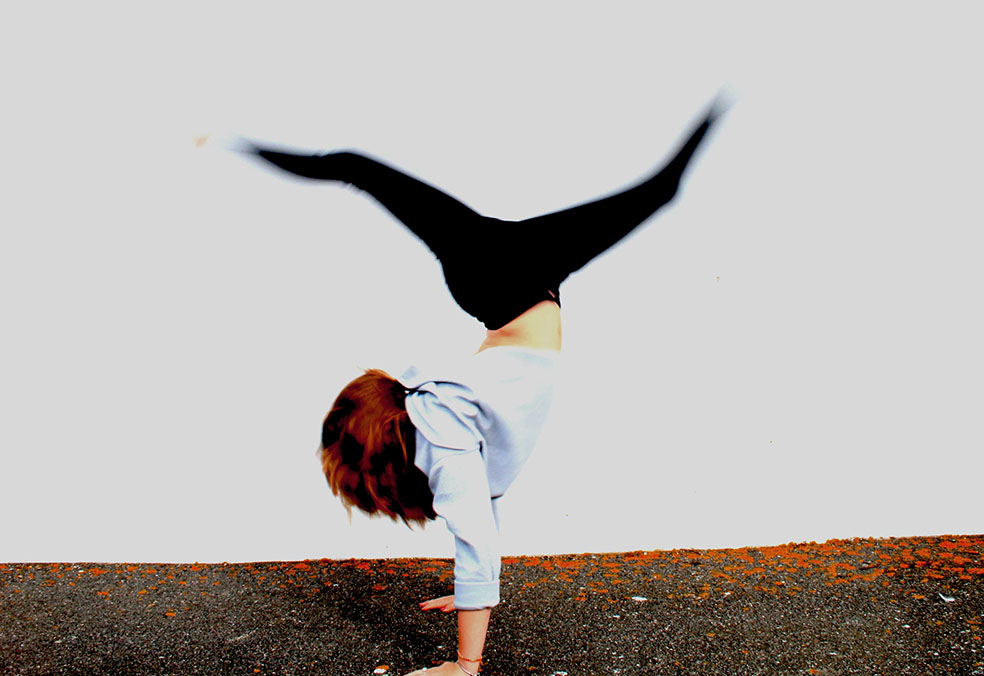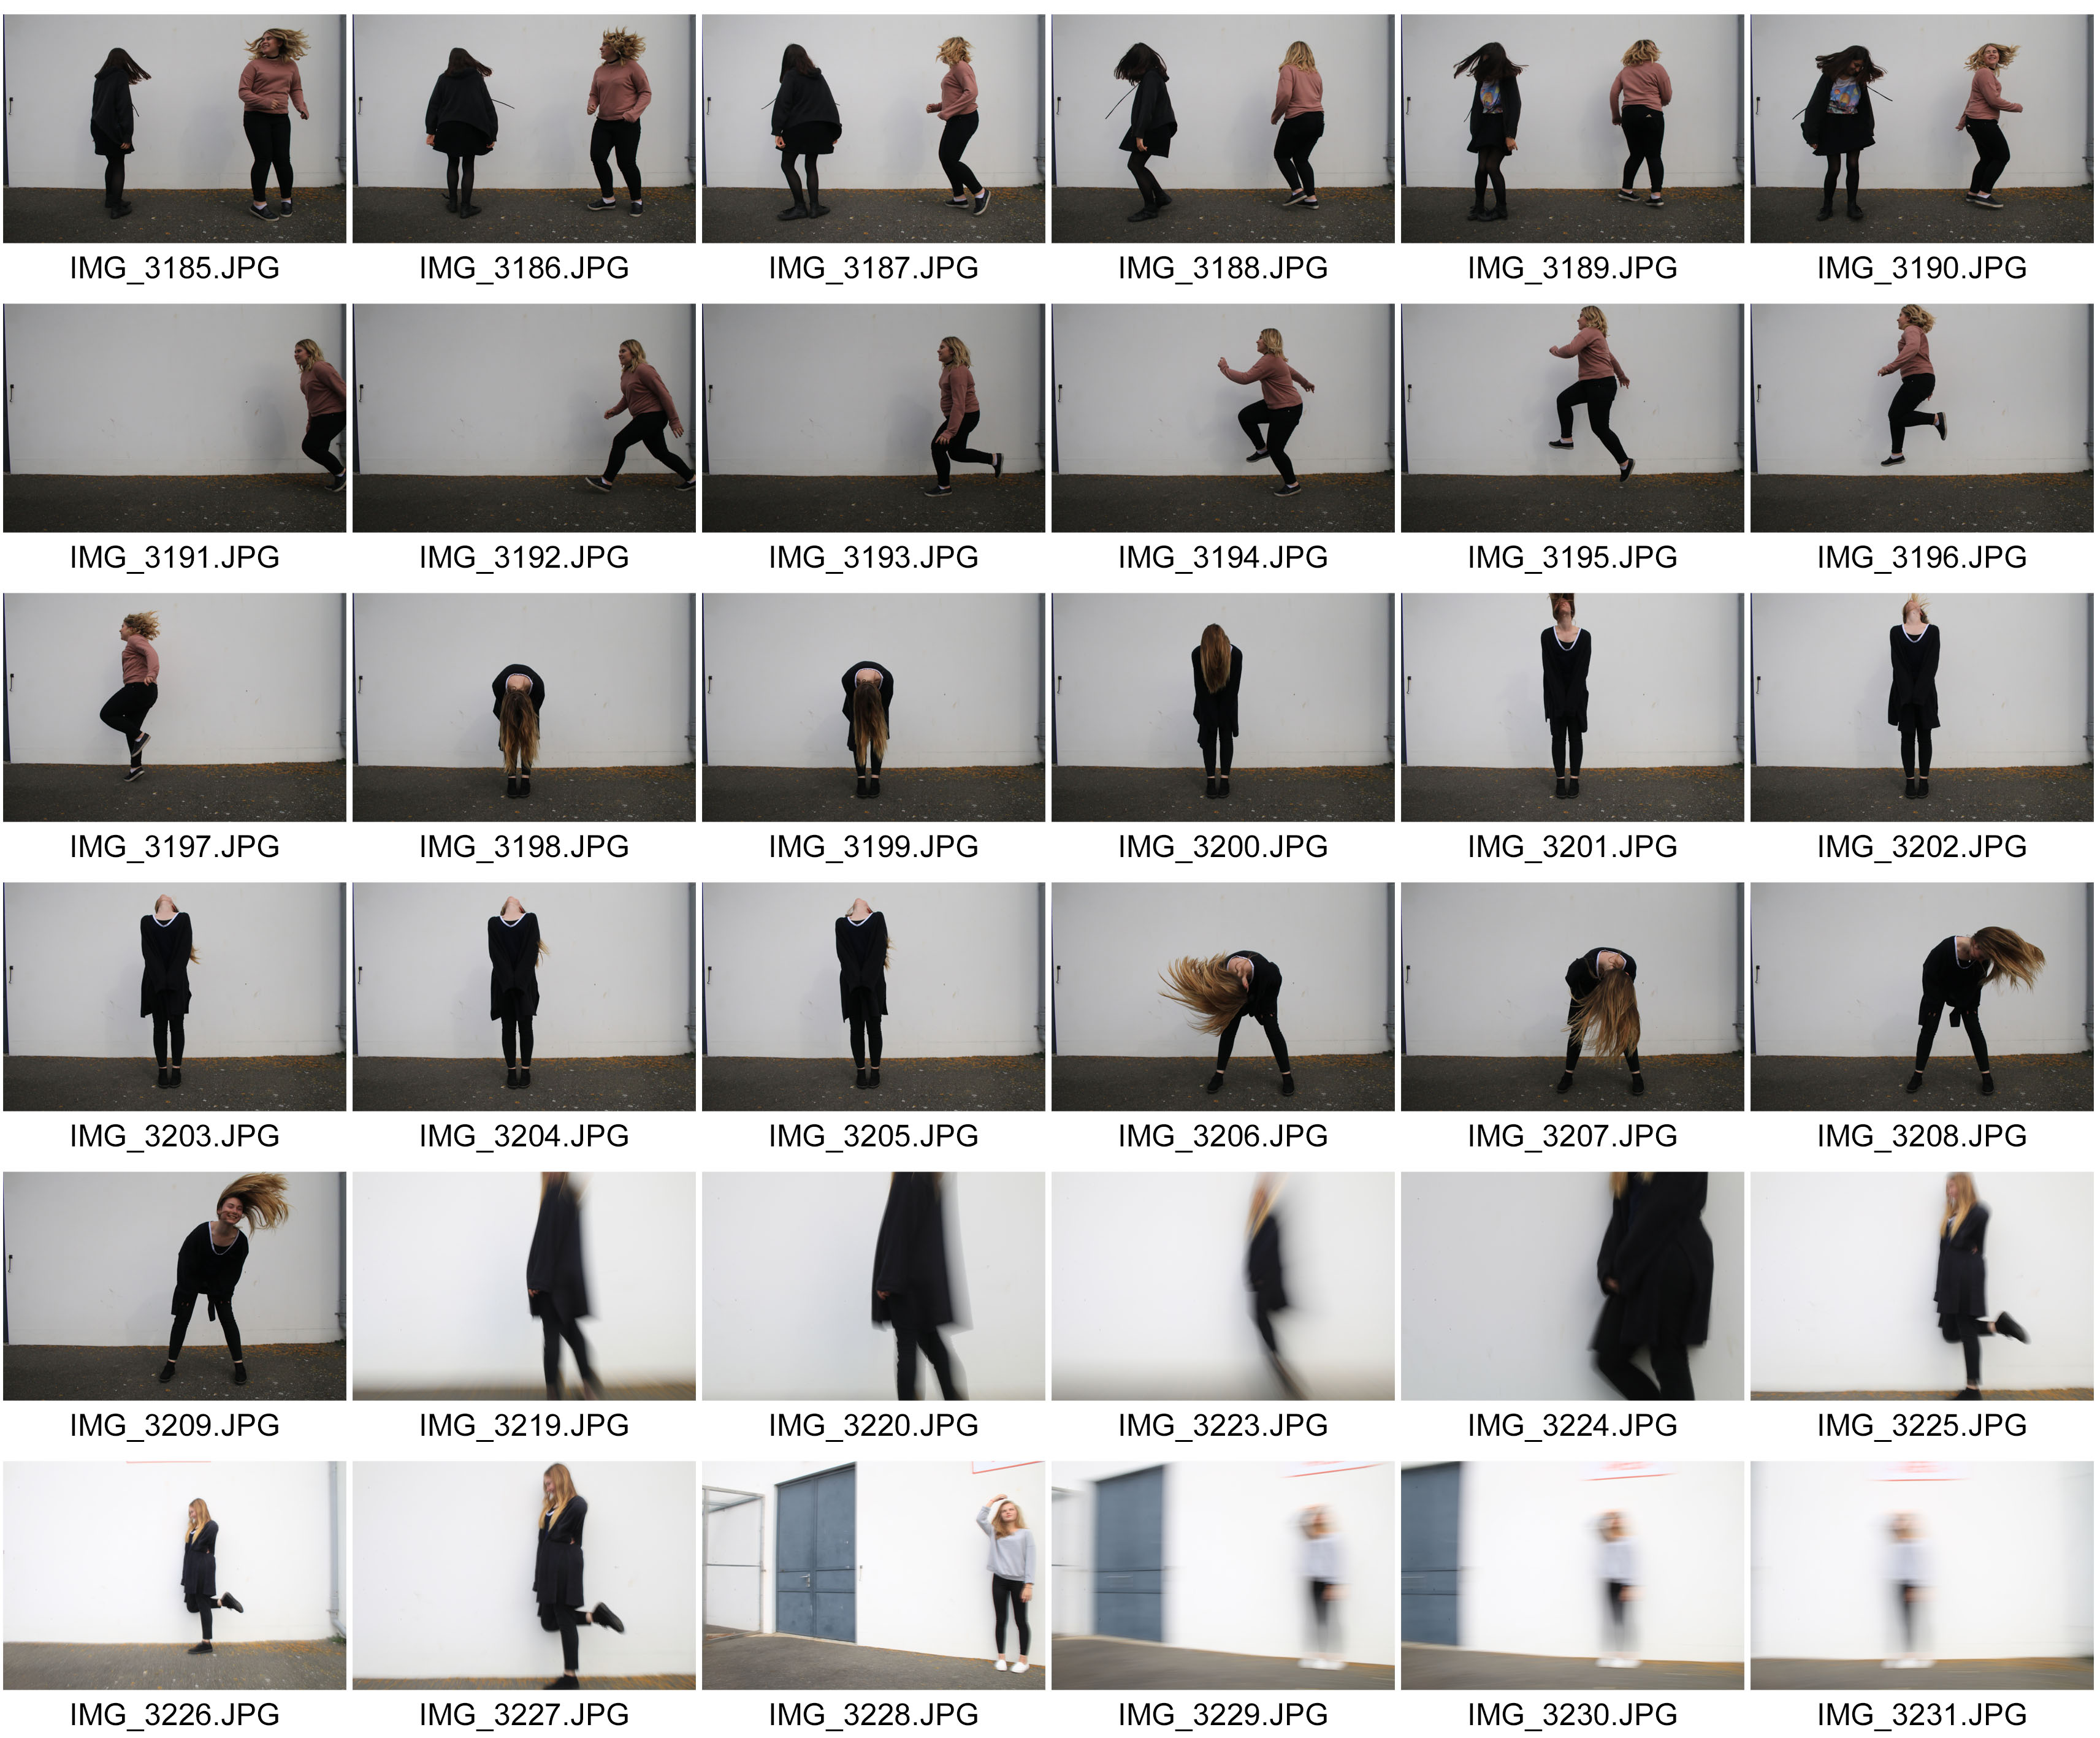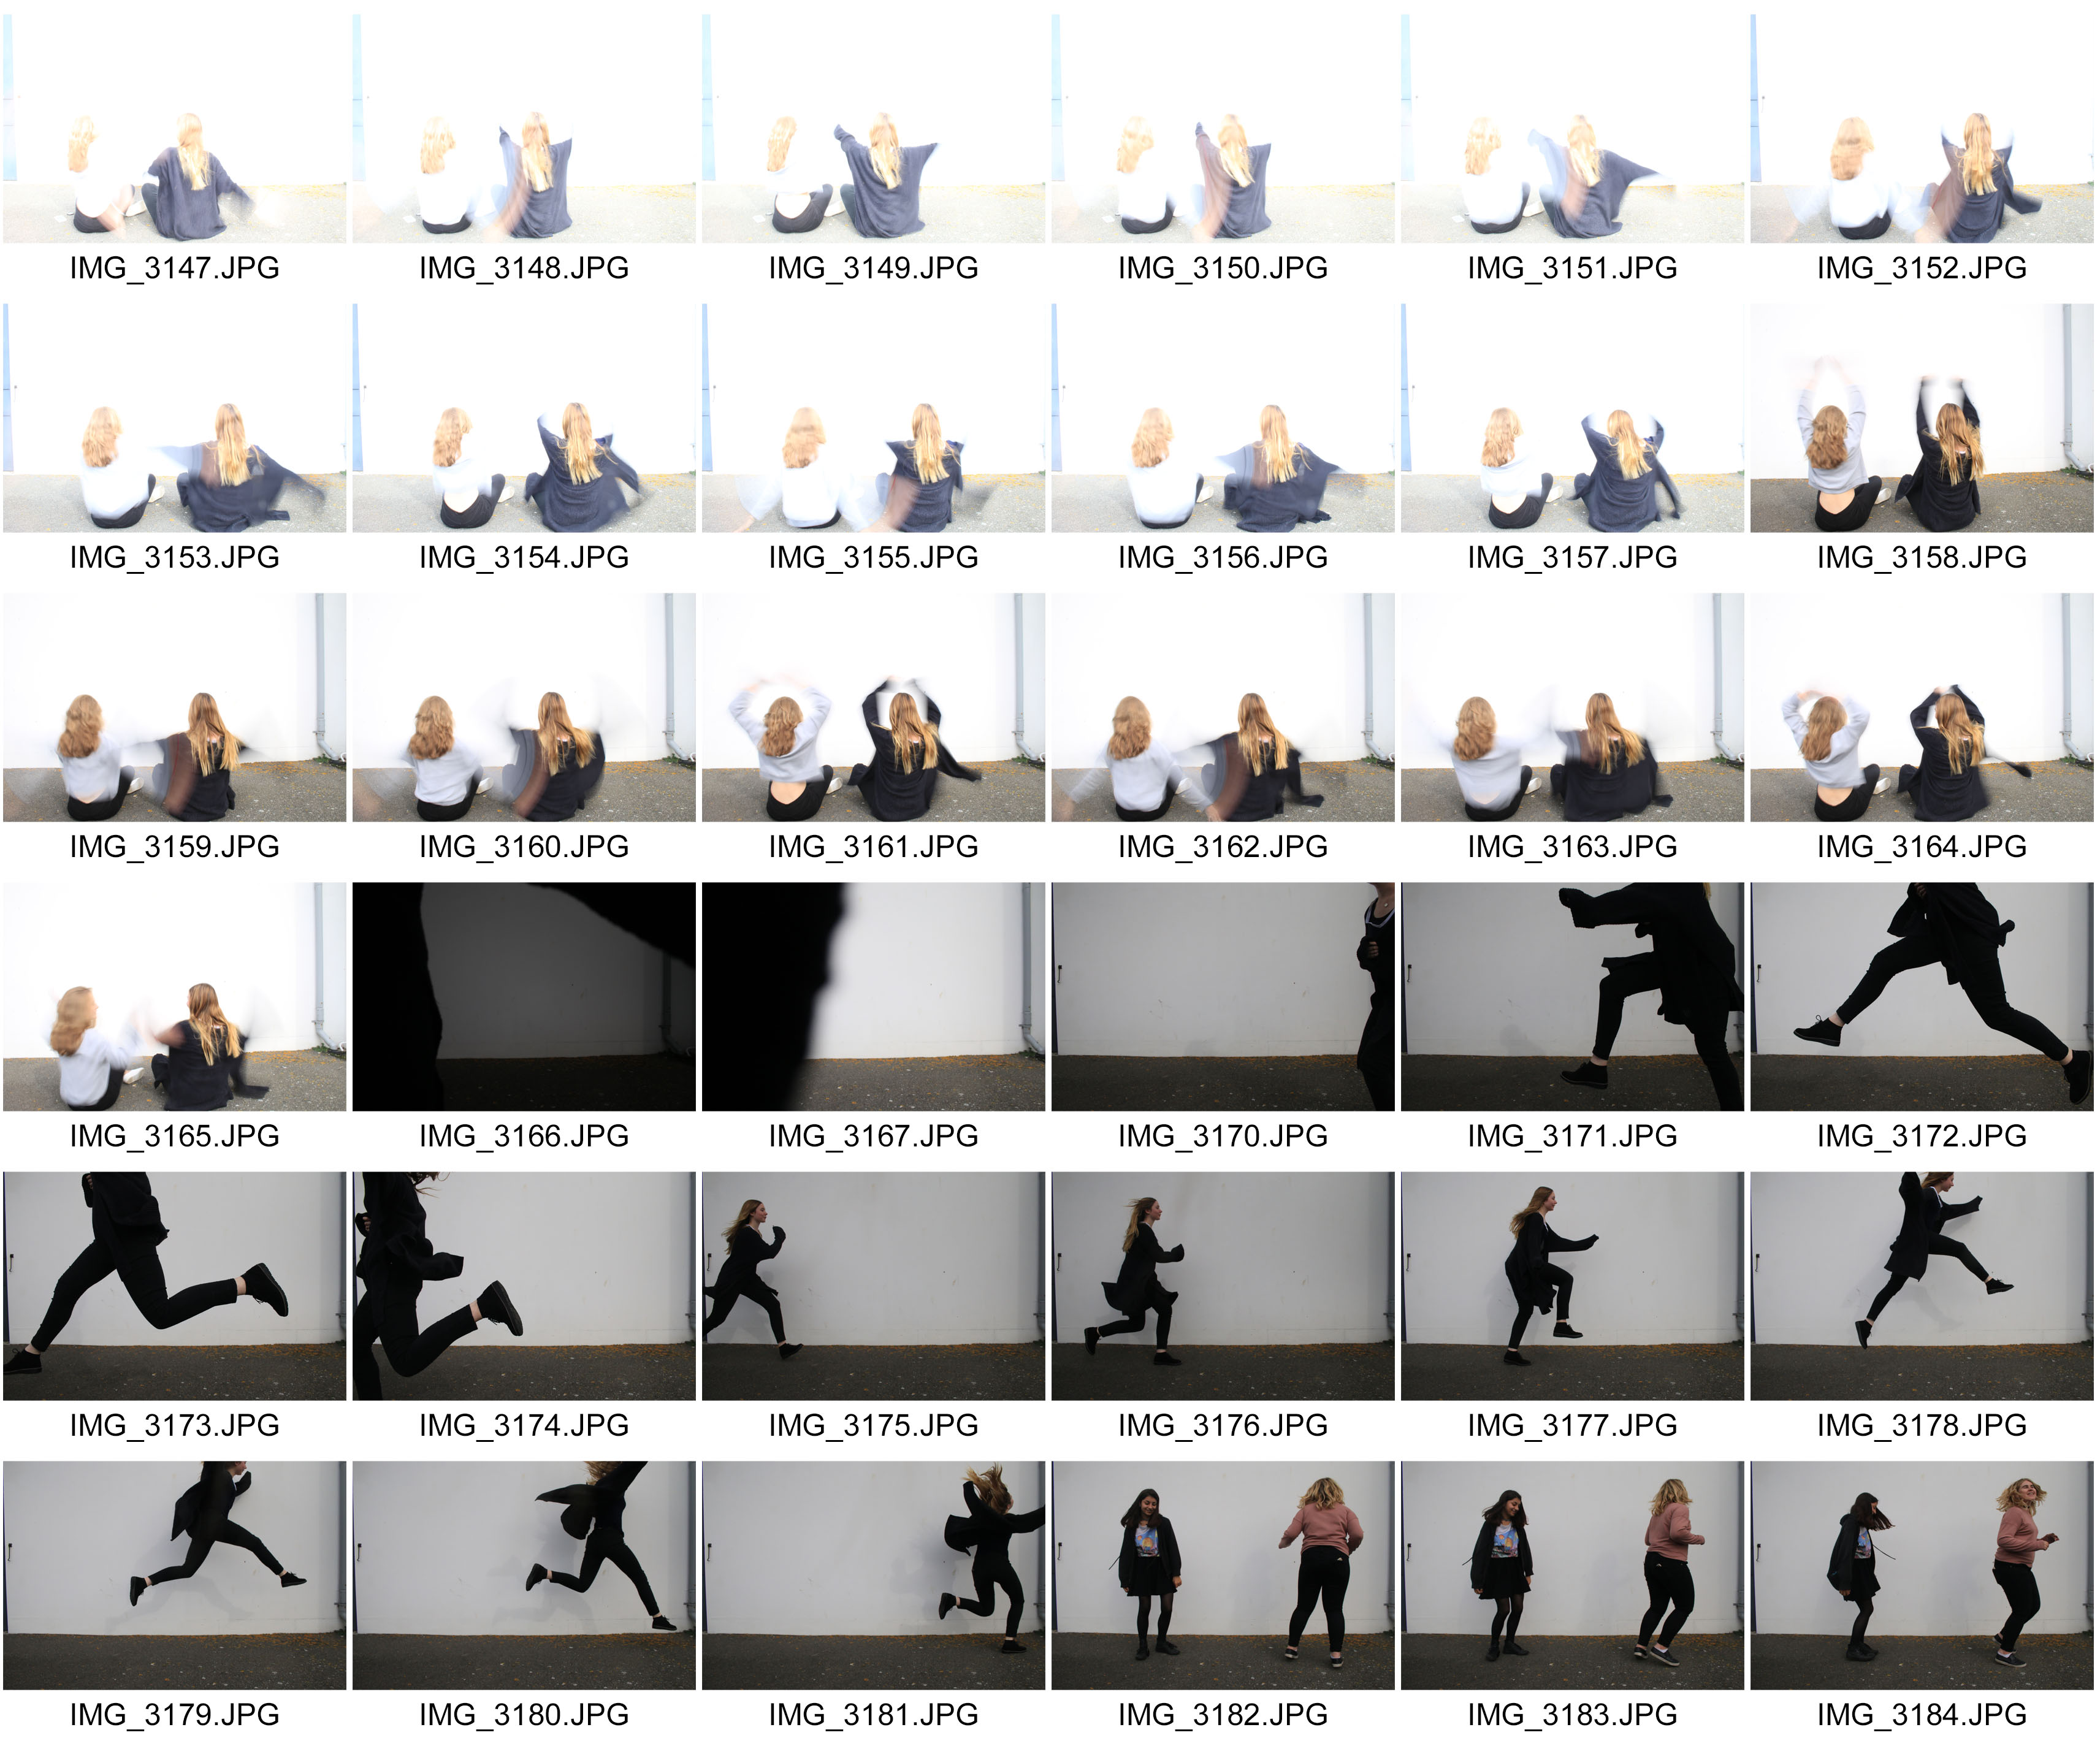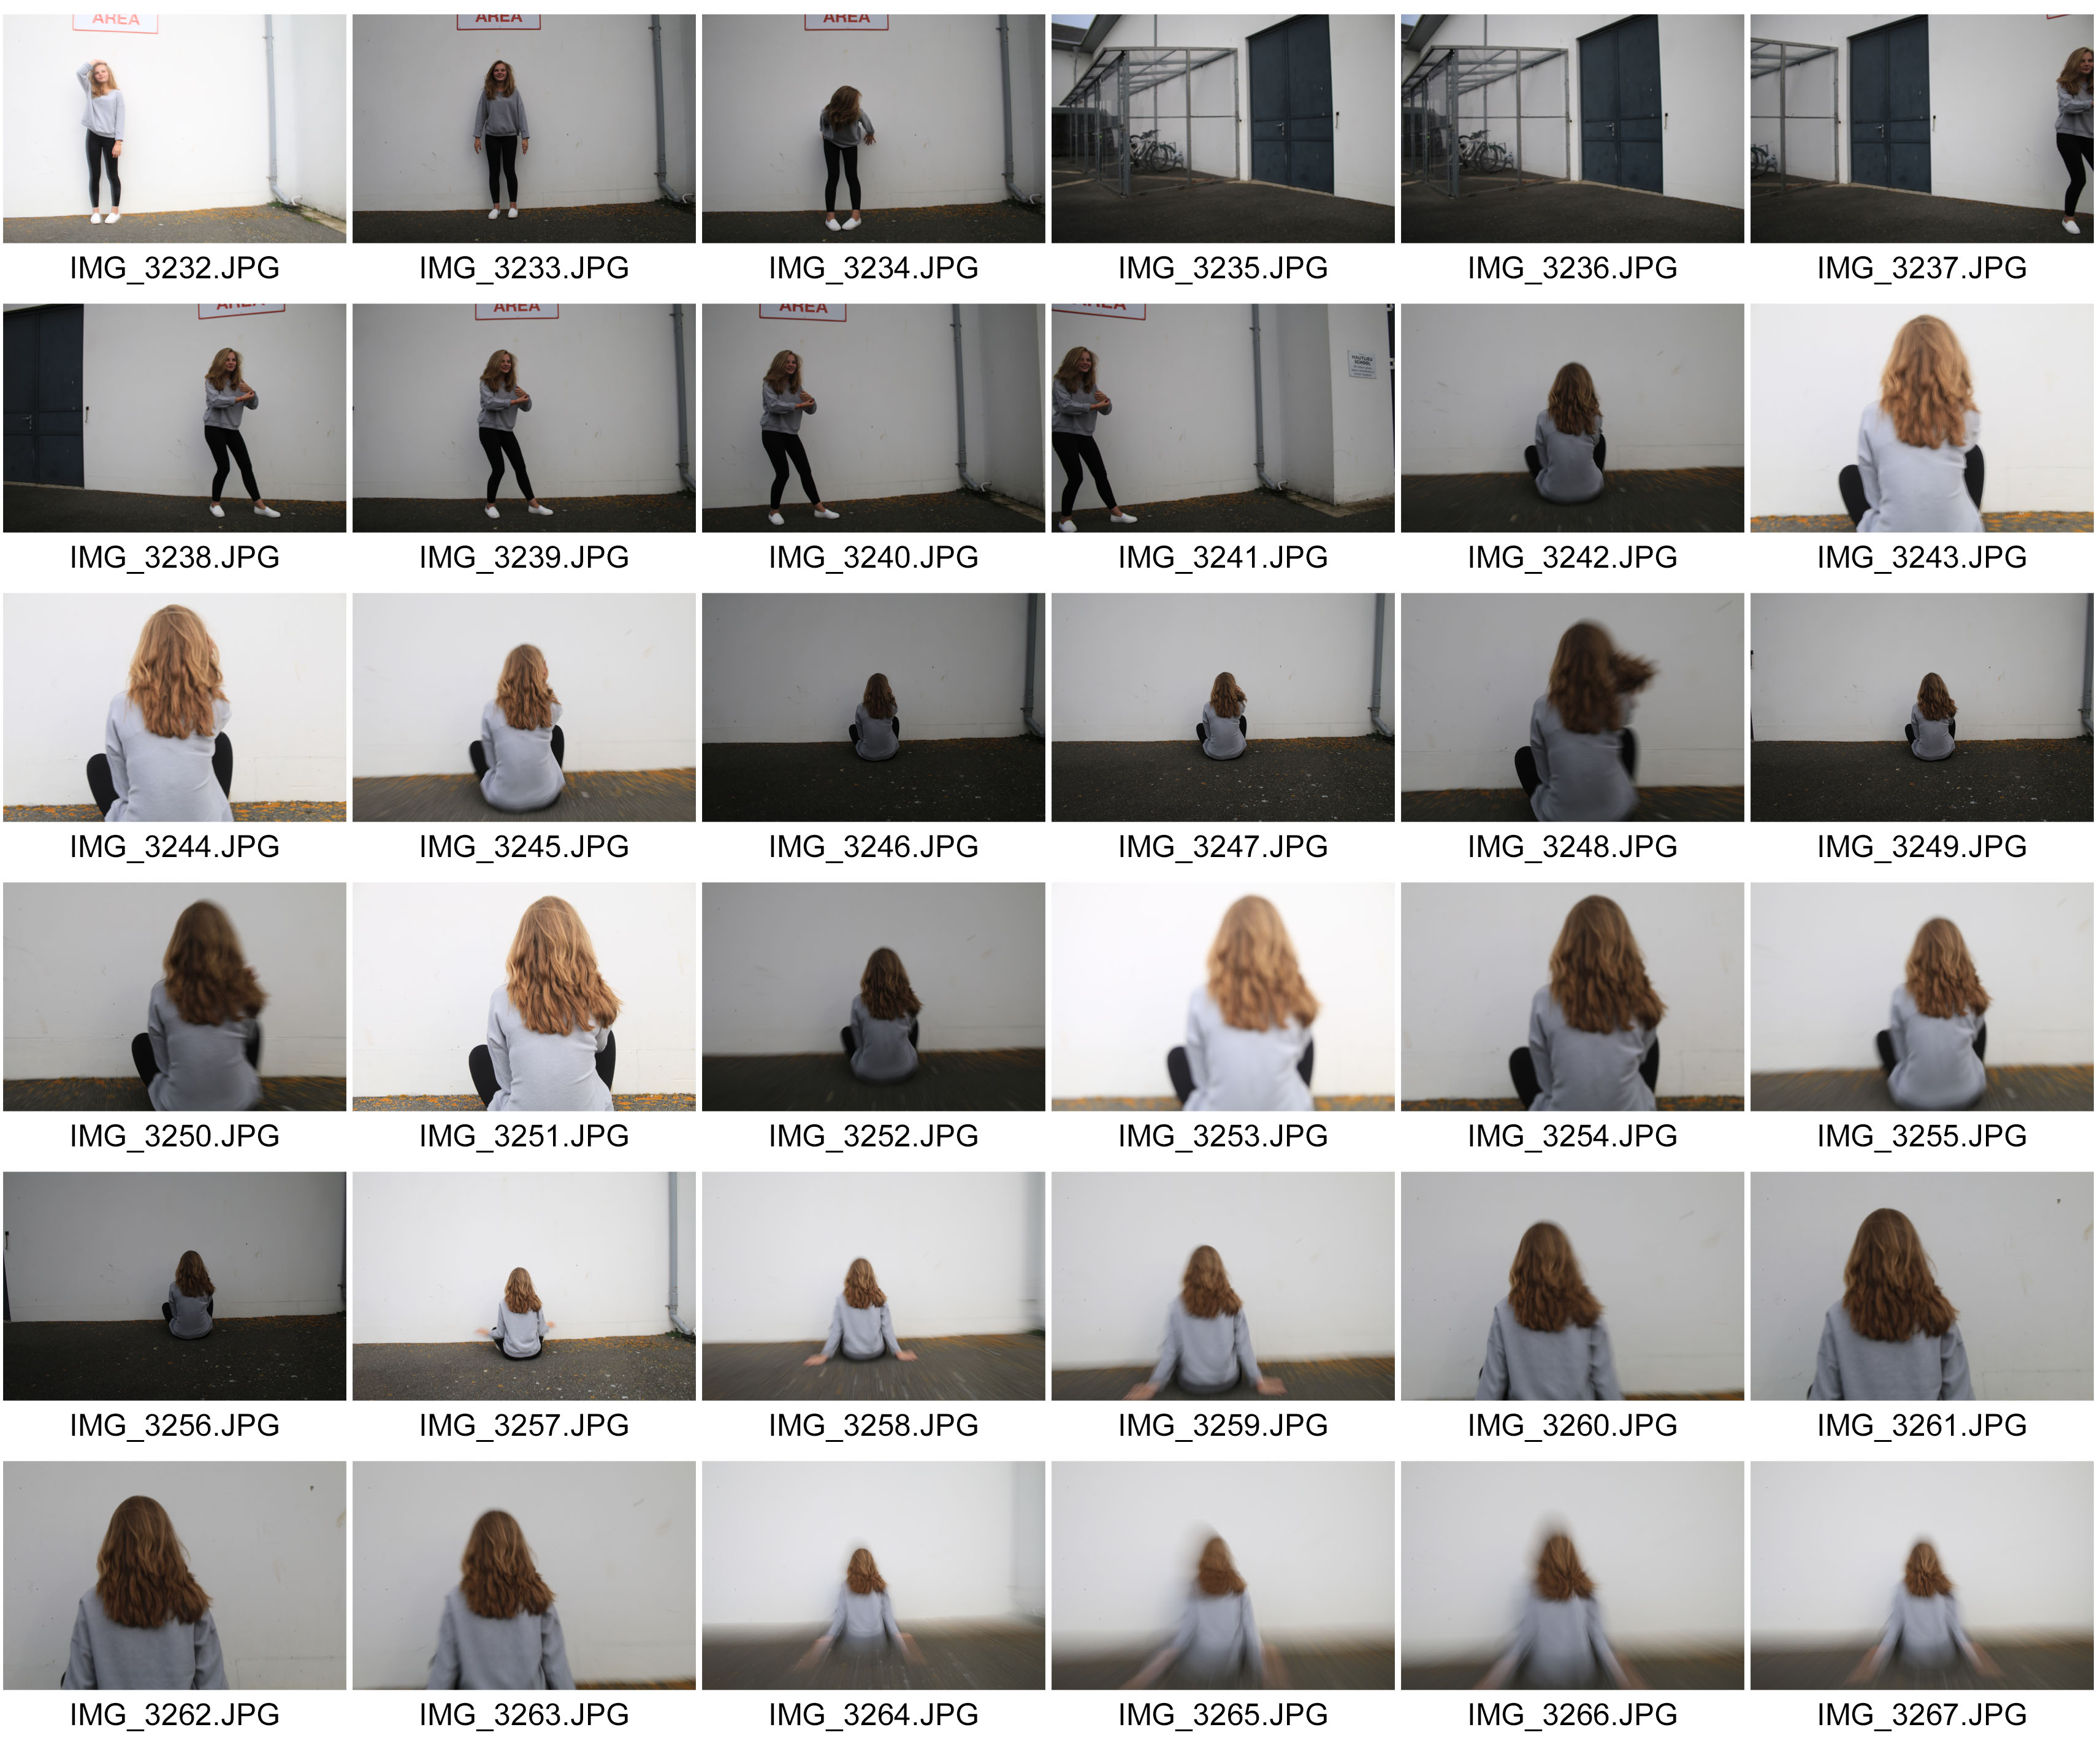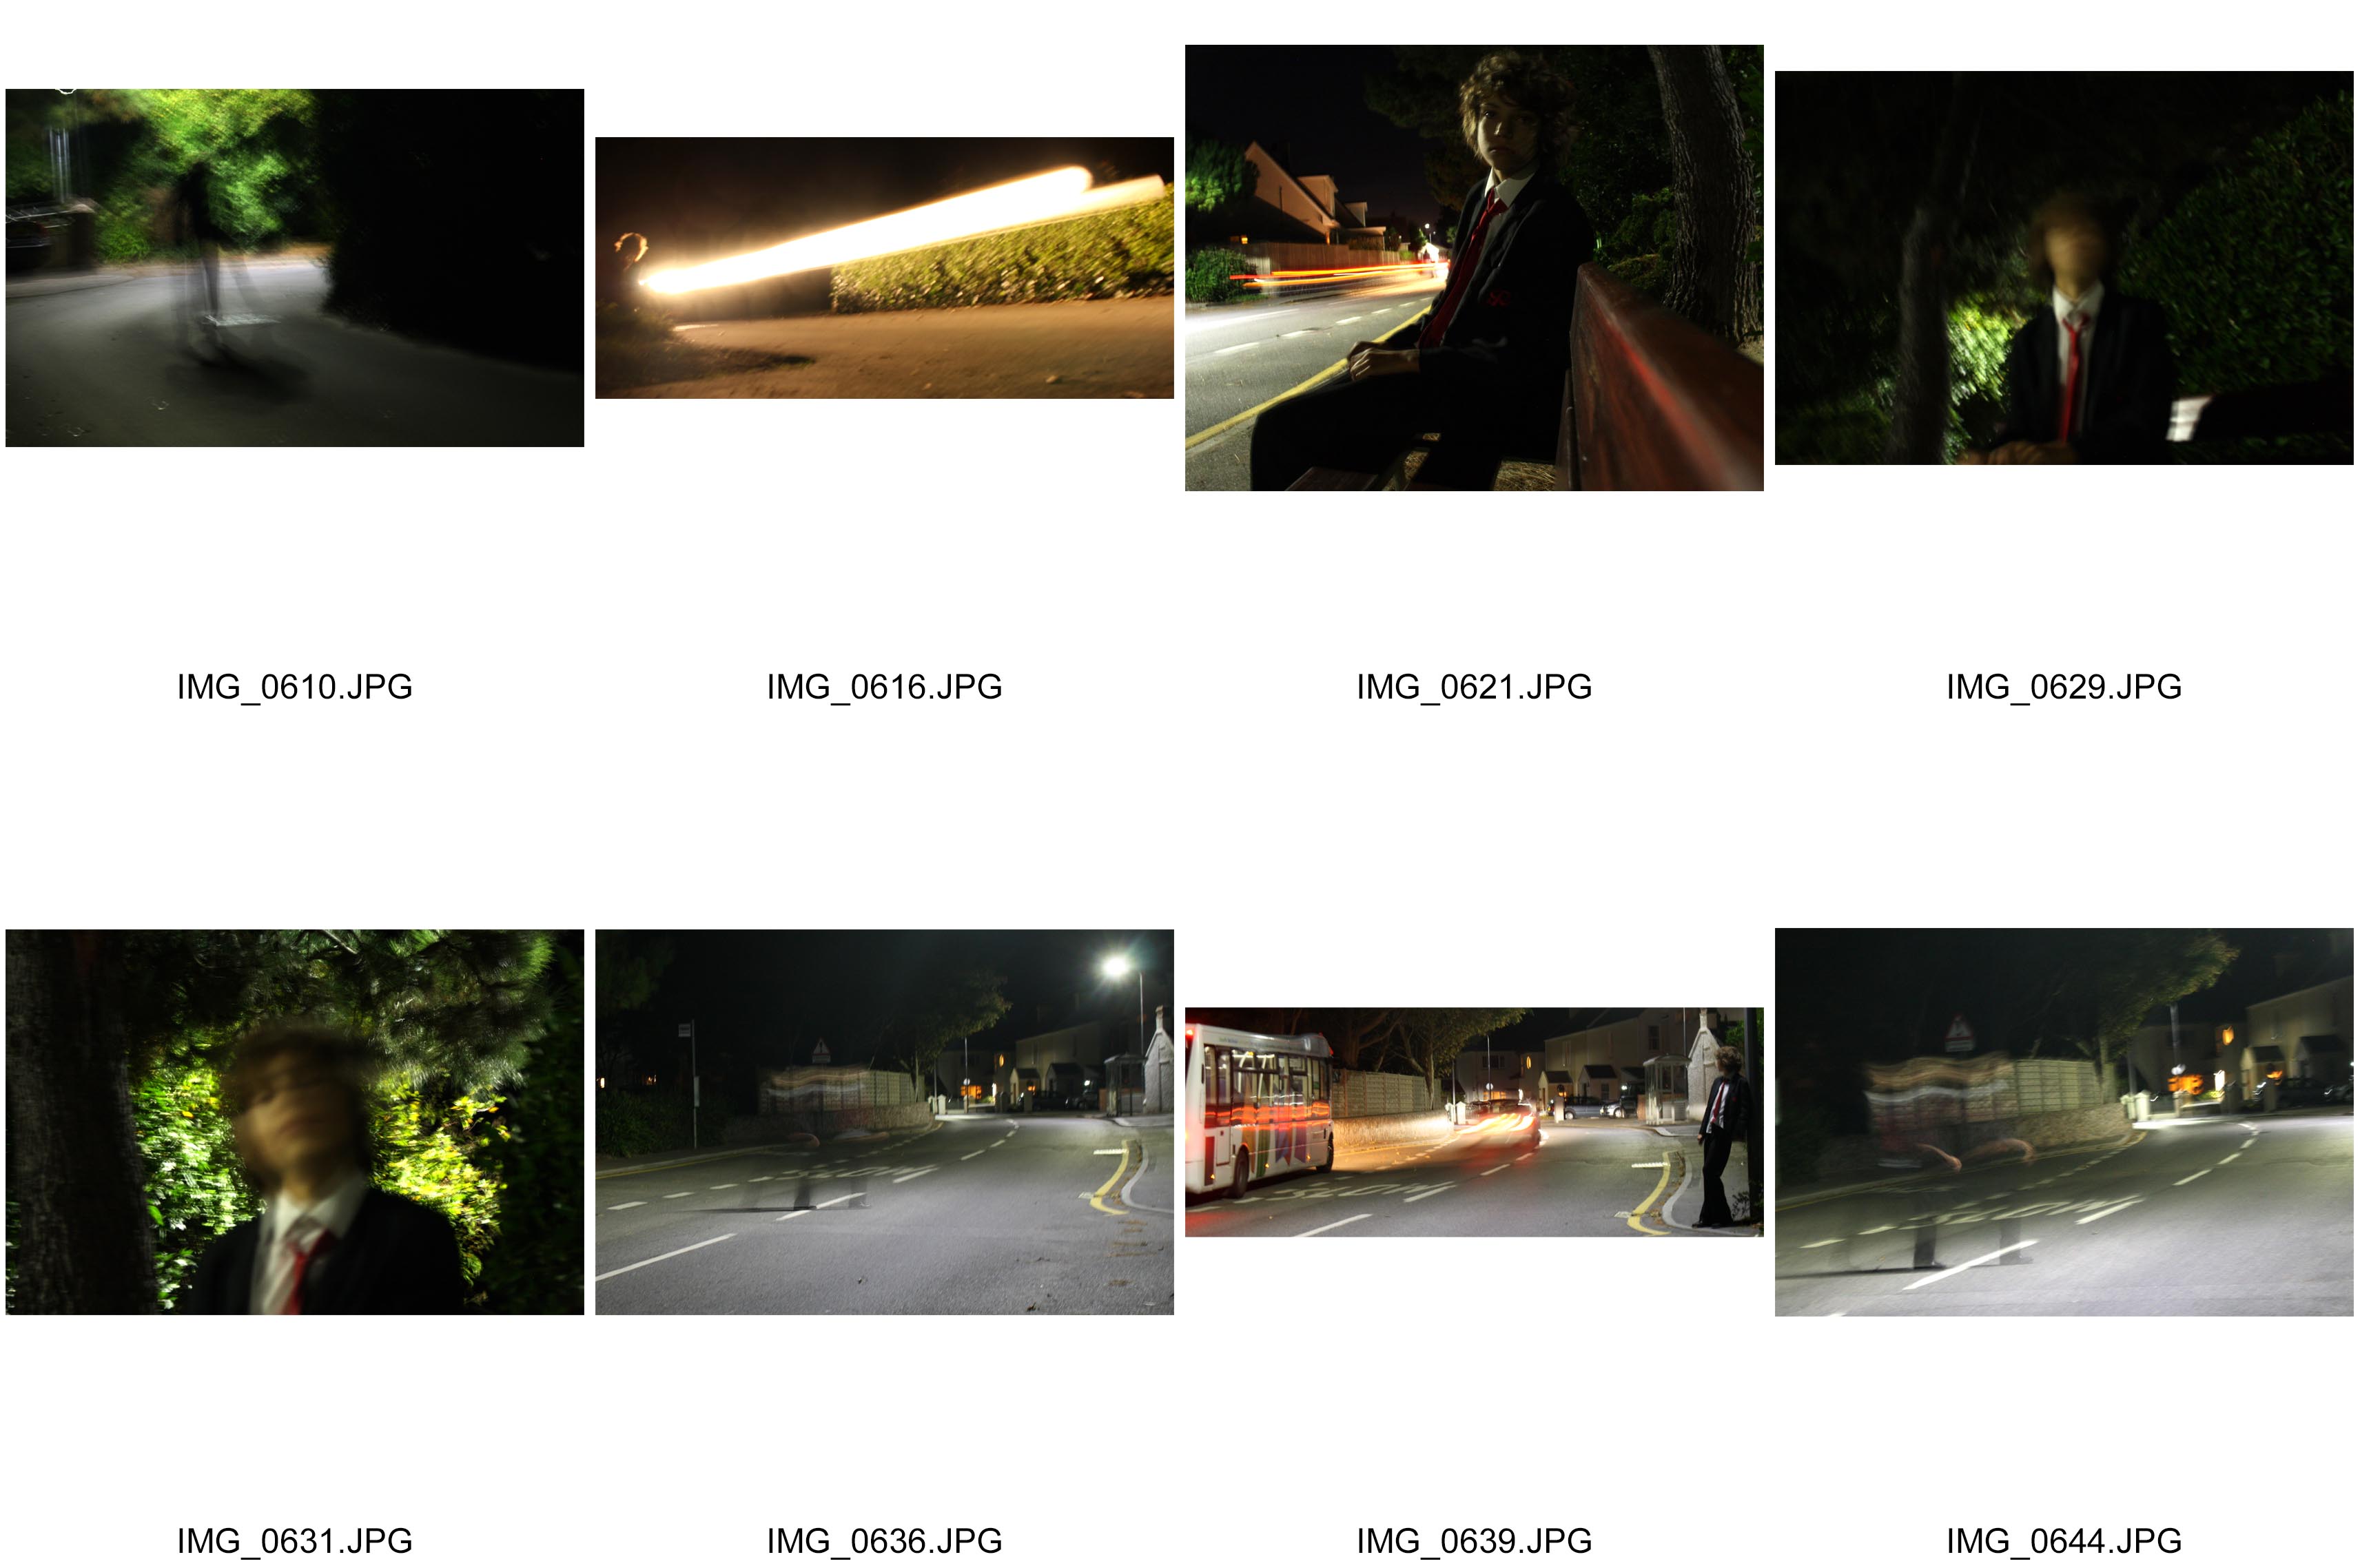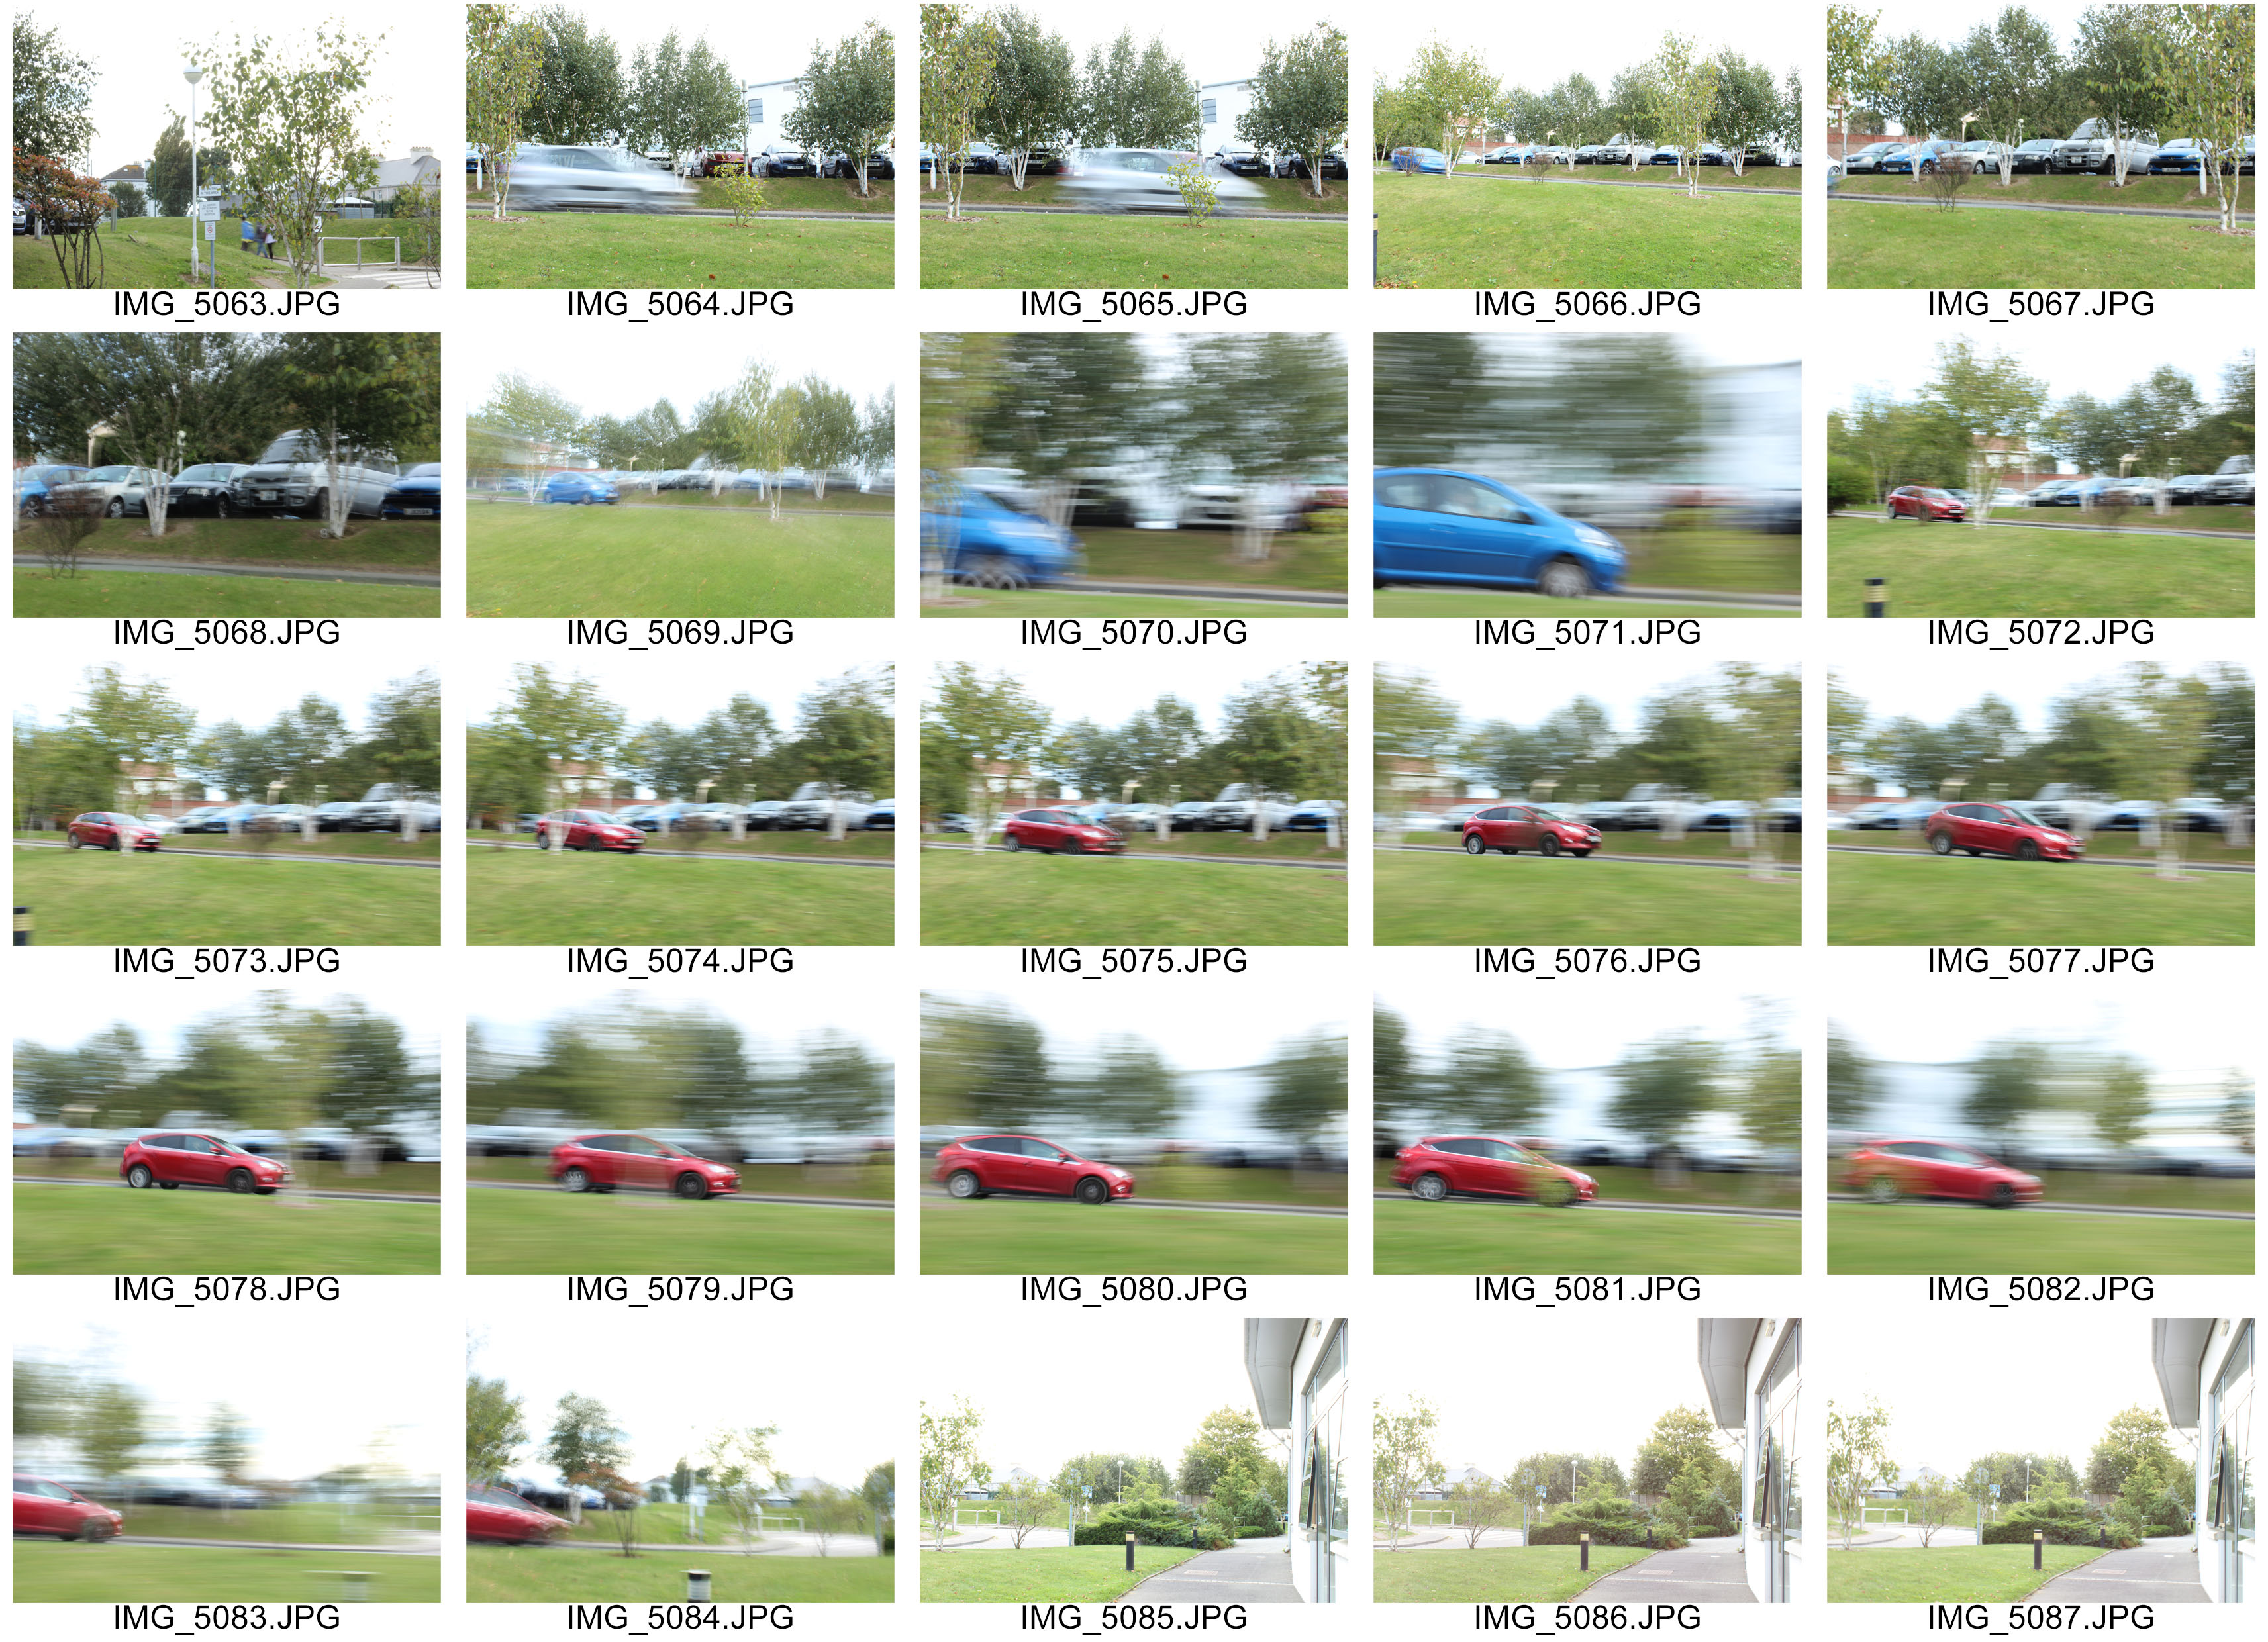
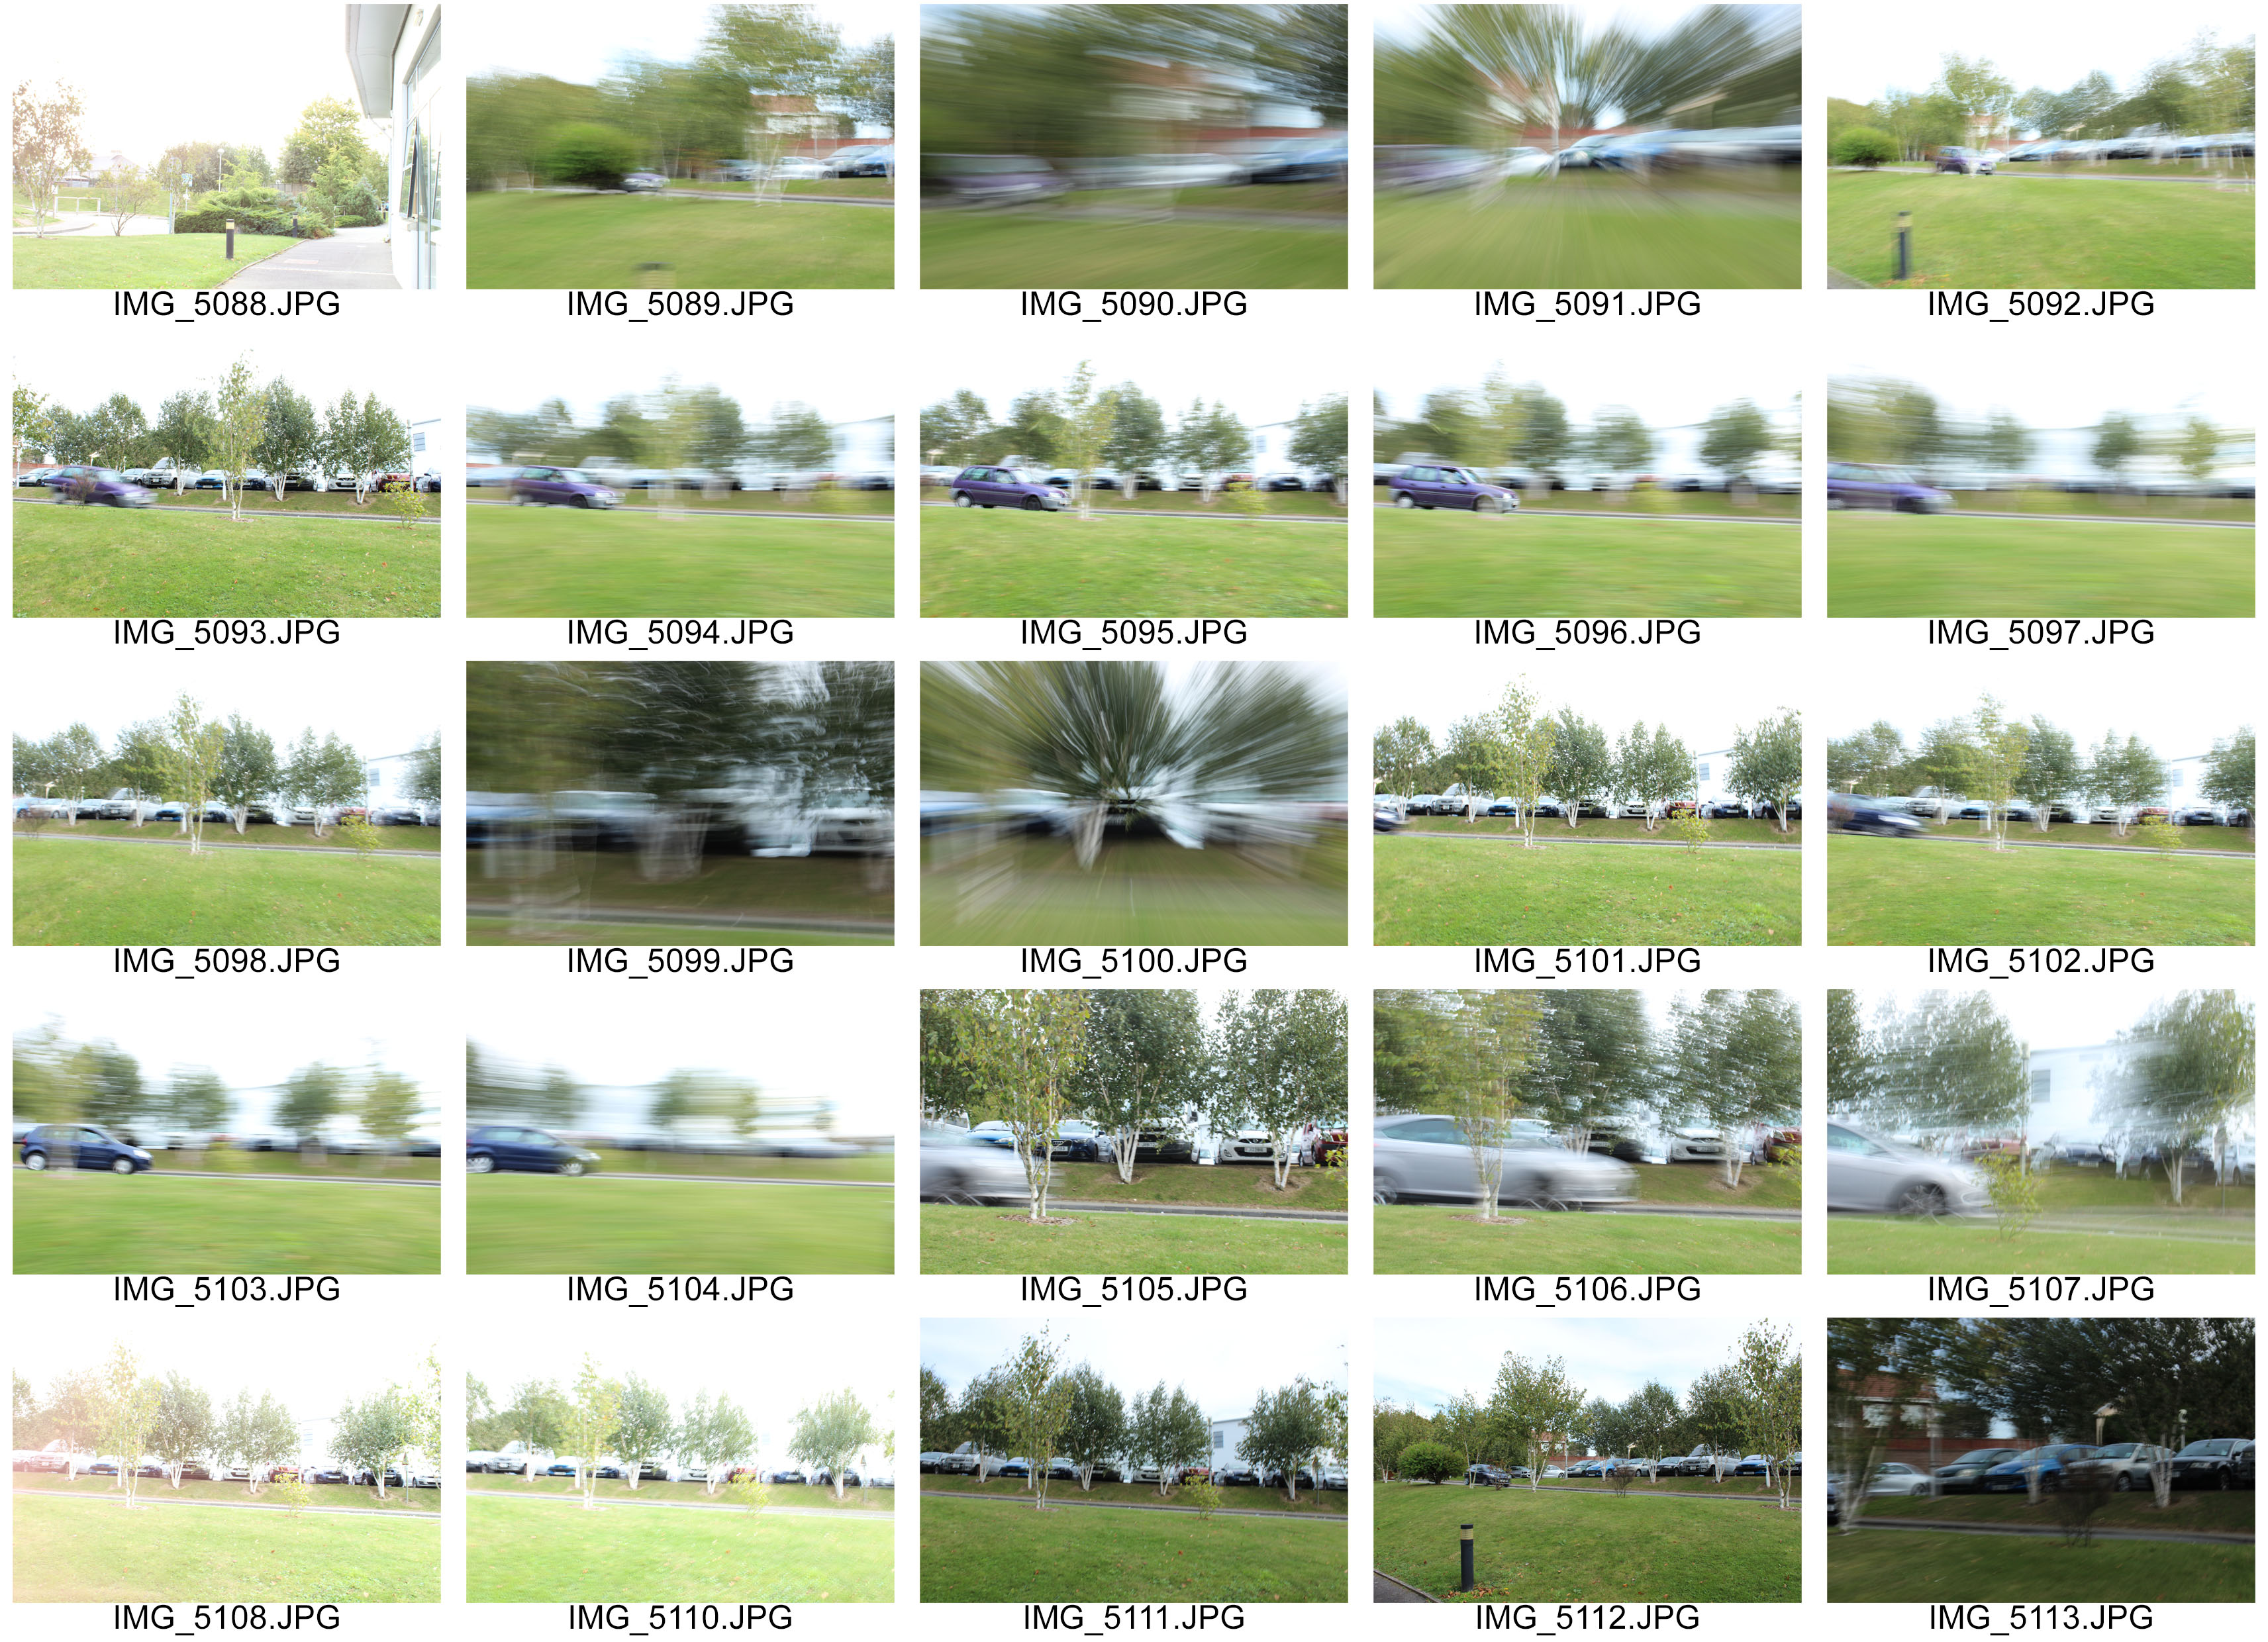
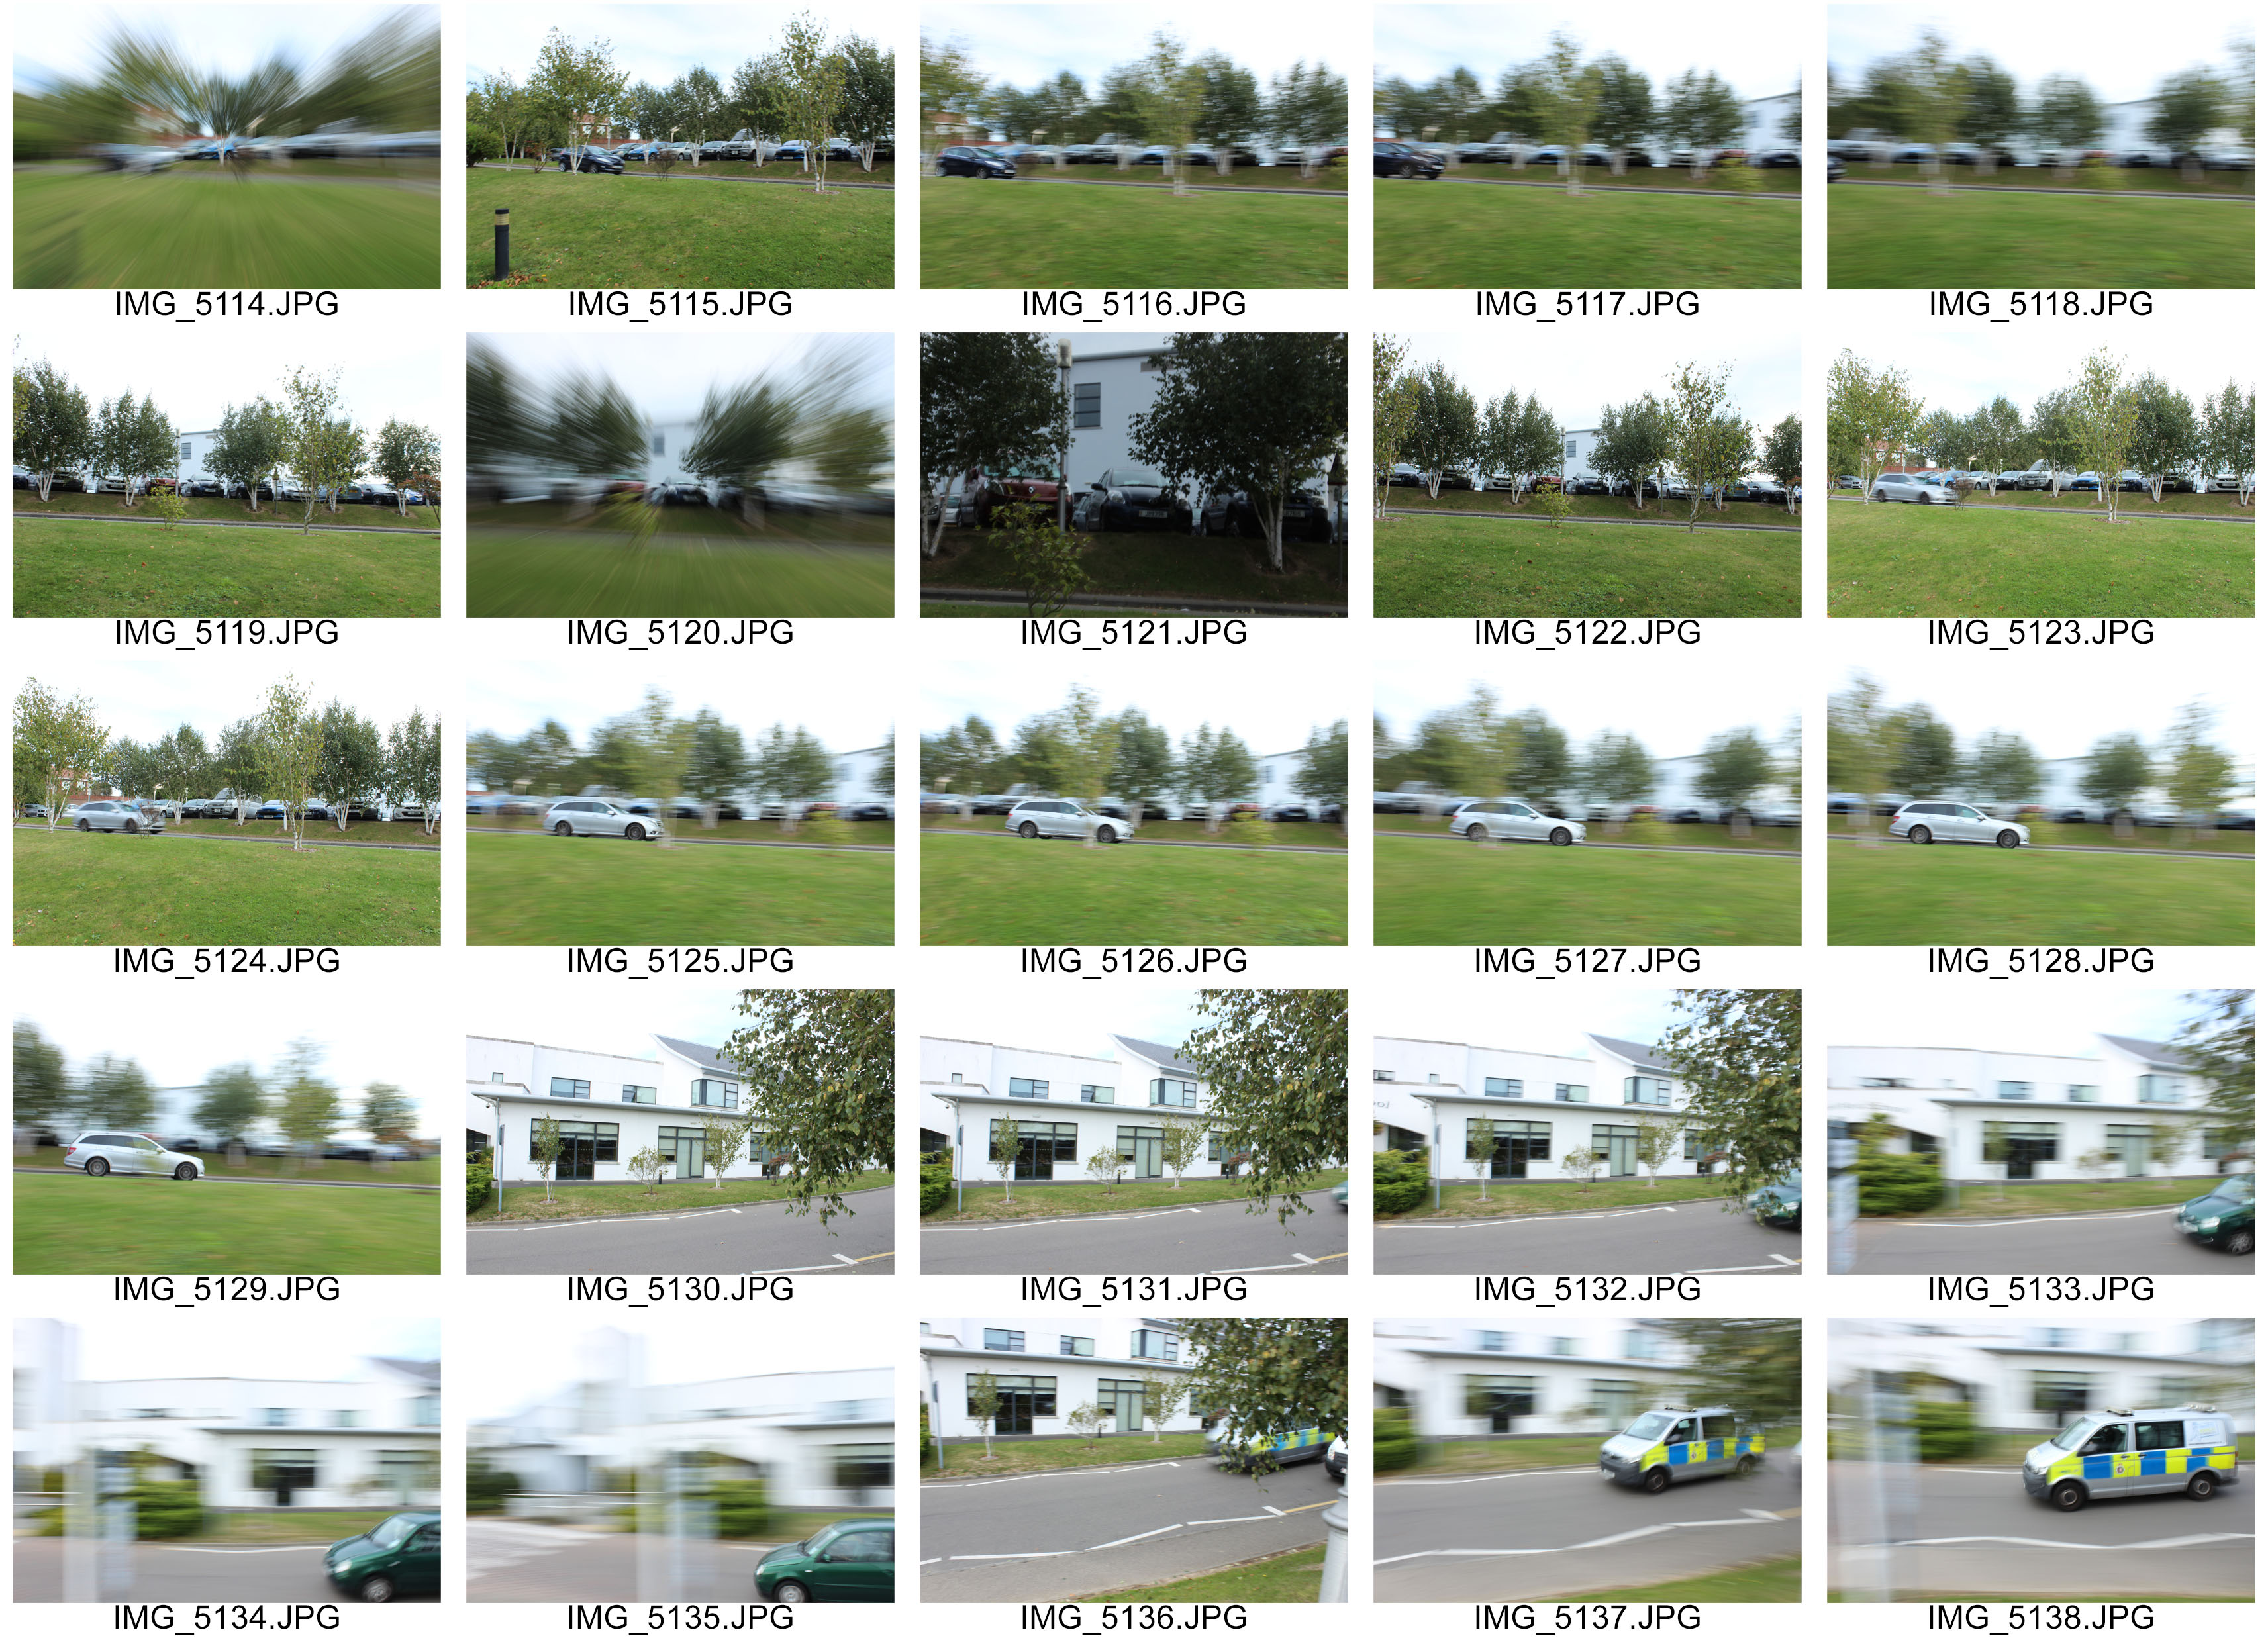
In today’s lesson we experimented further with shutter speed. This allowed me to hone and enhance my abilities with this particular skill in photography. I was able to plan and think out what I wanted to achieve more thoroughly than last time which proved beneficial as the outcome is of higher quality.
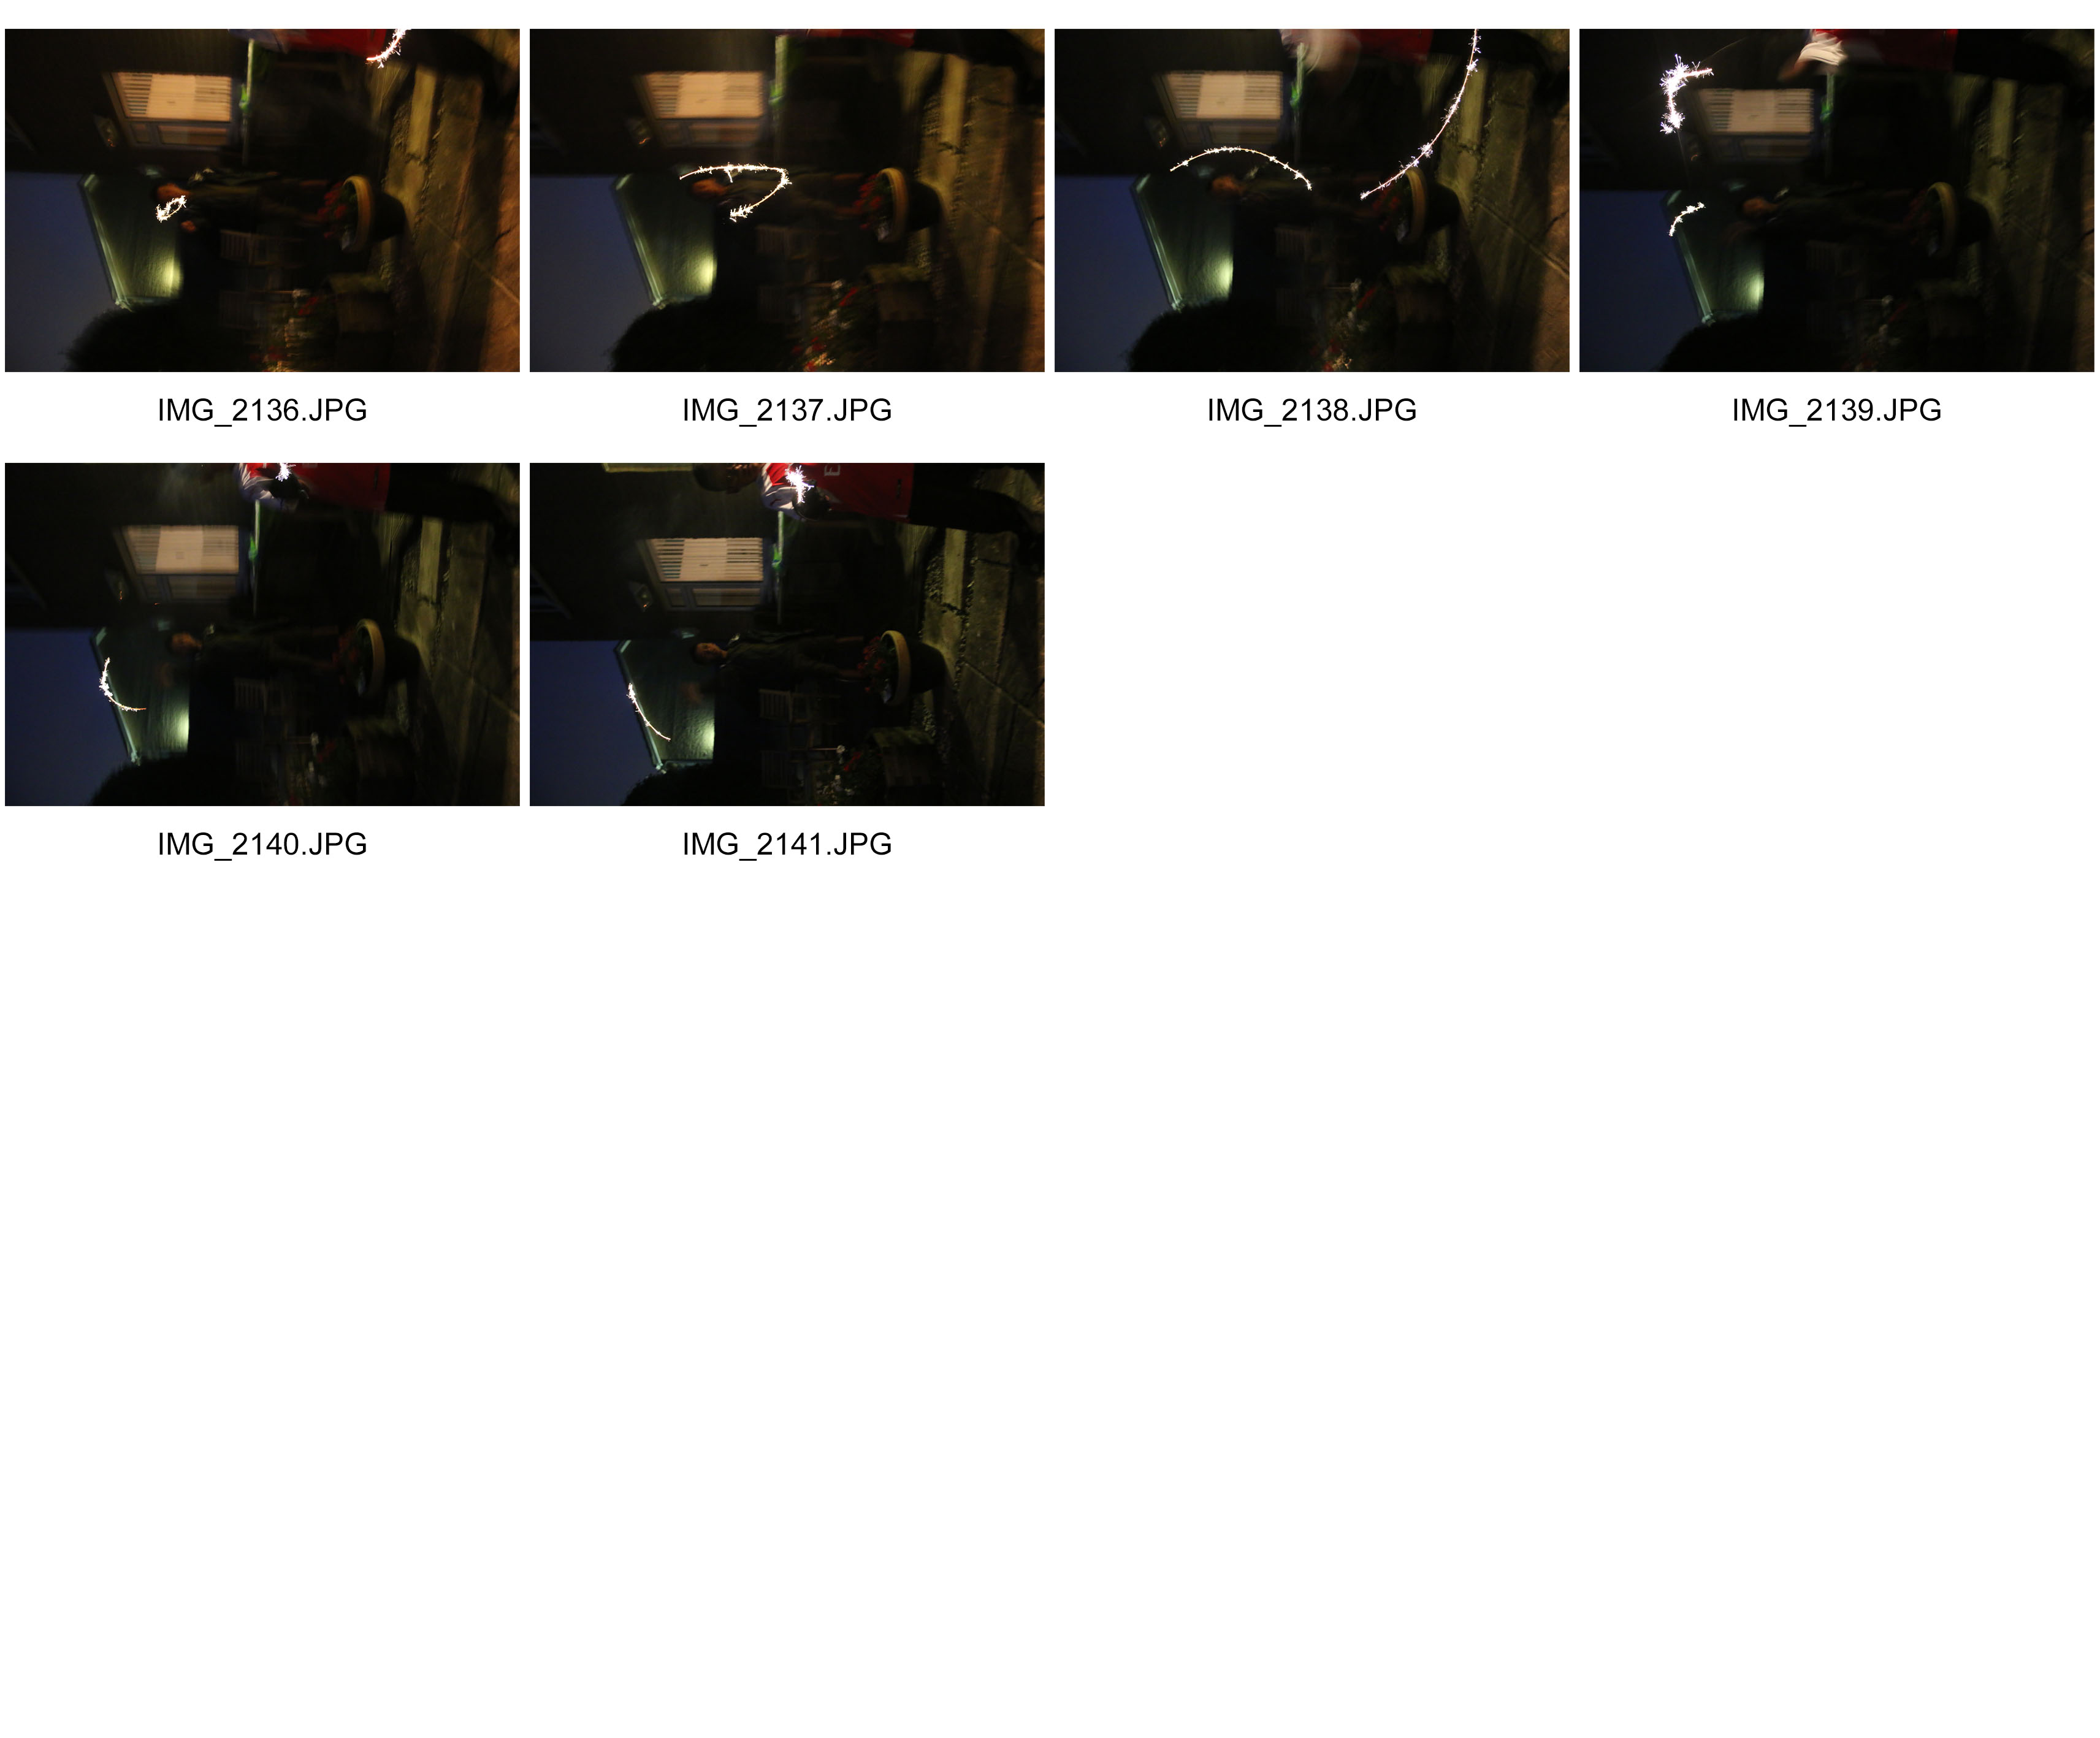
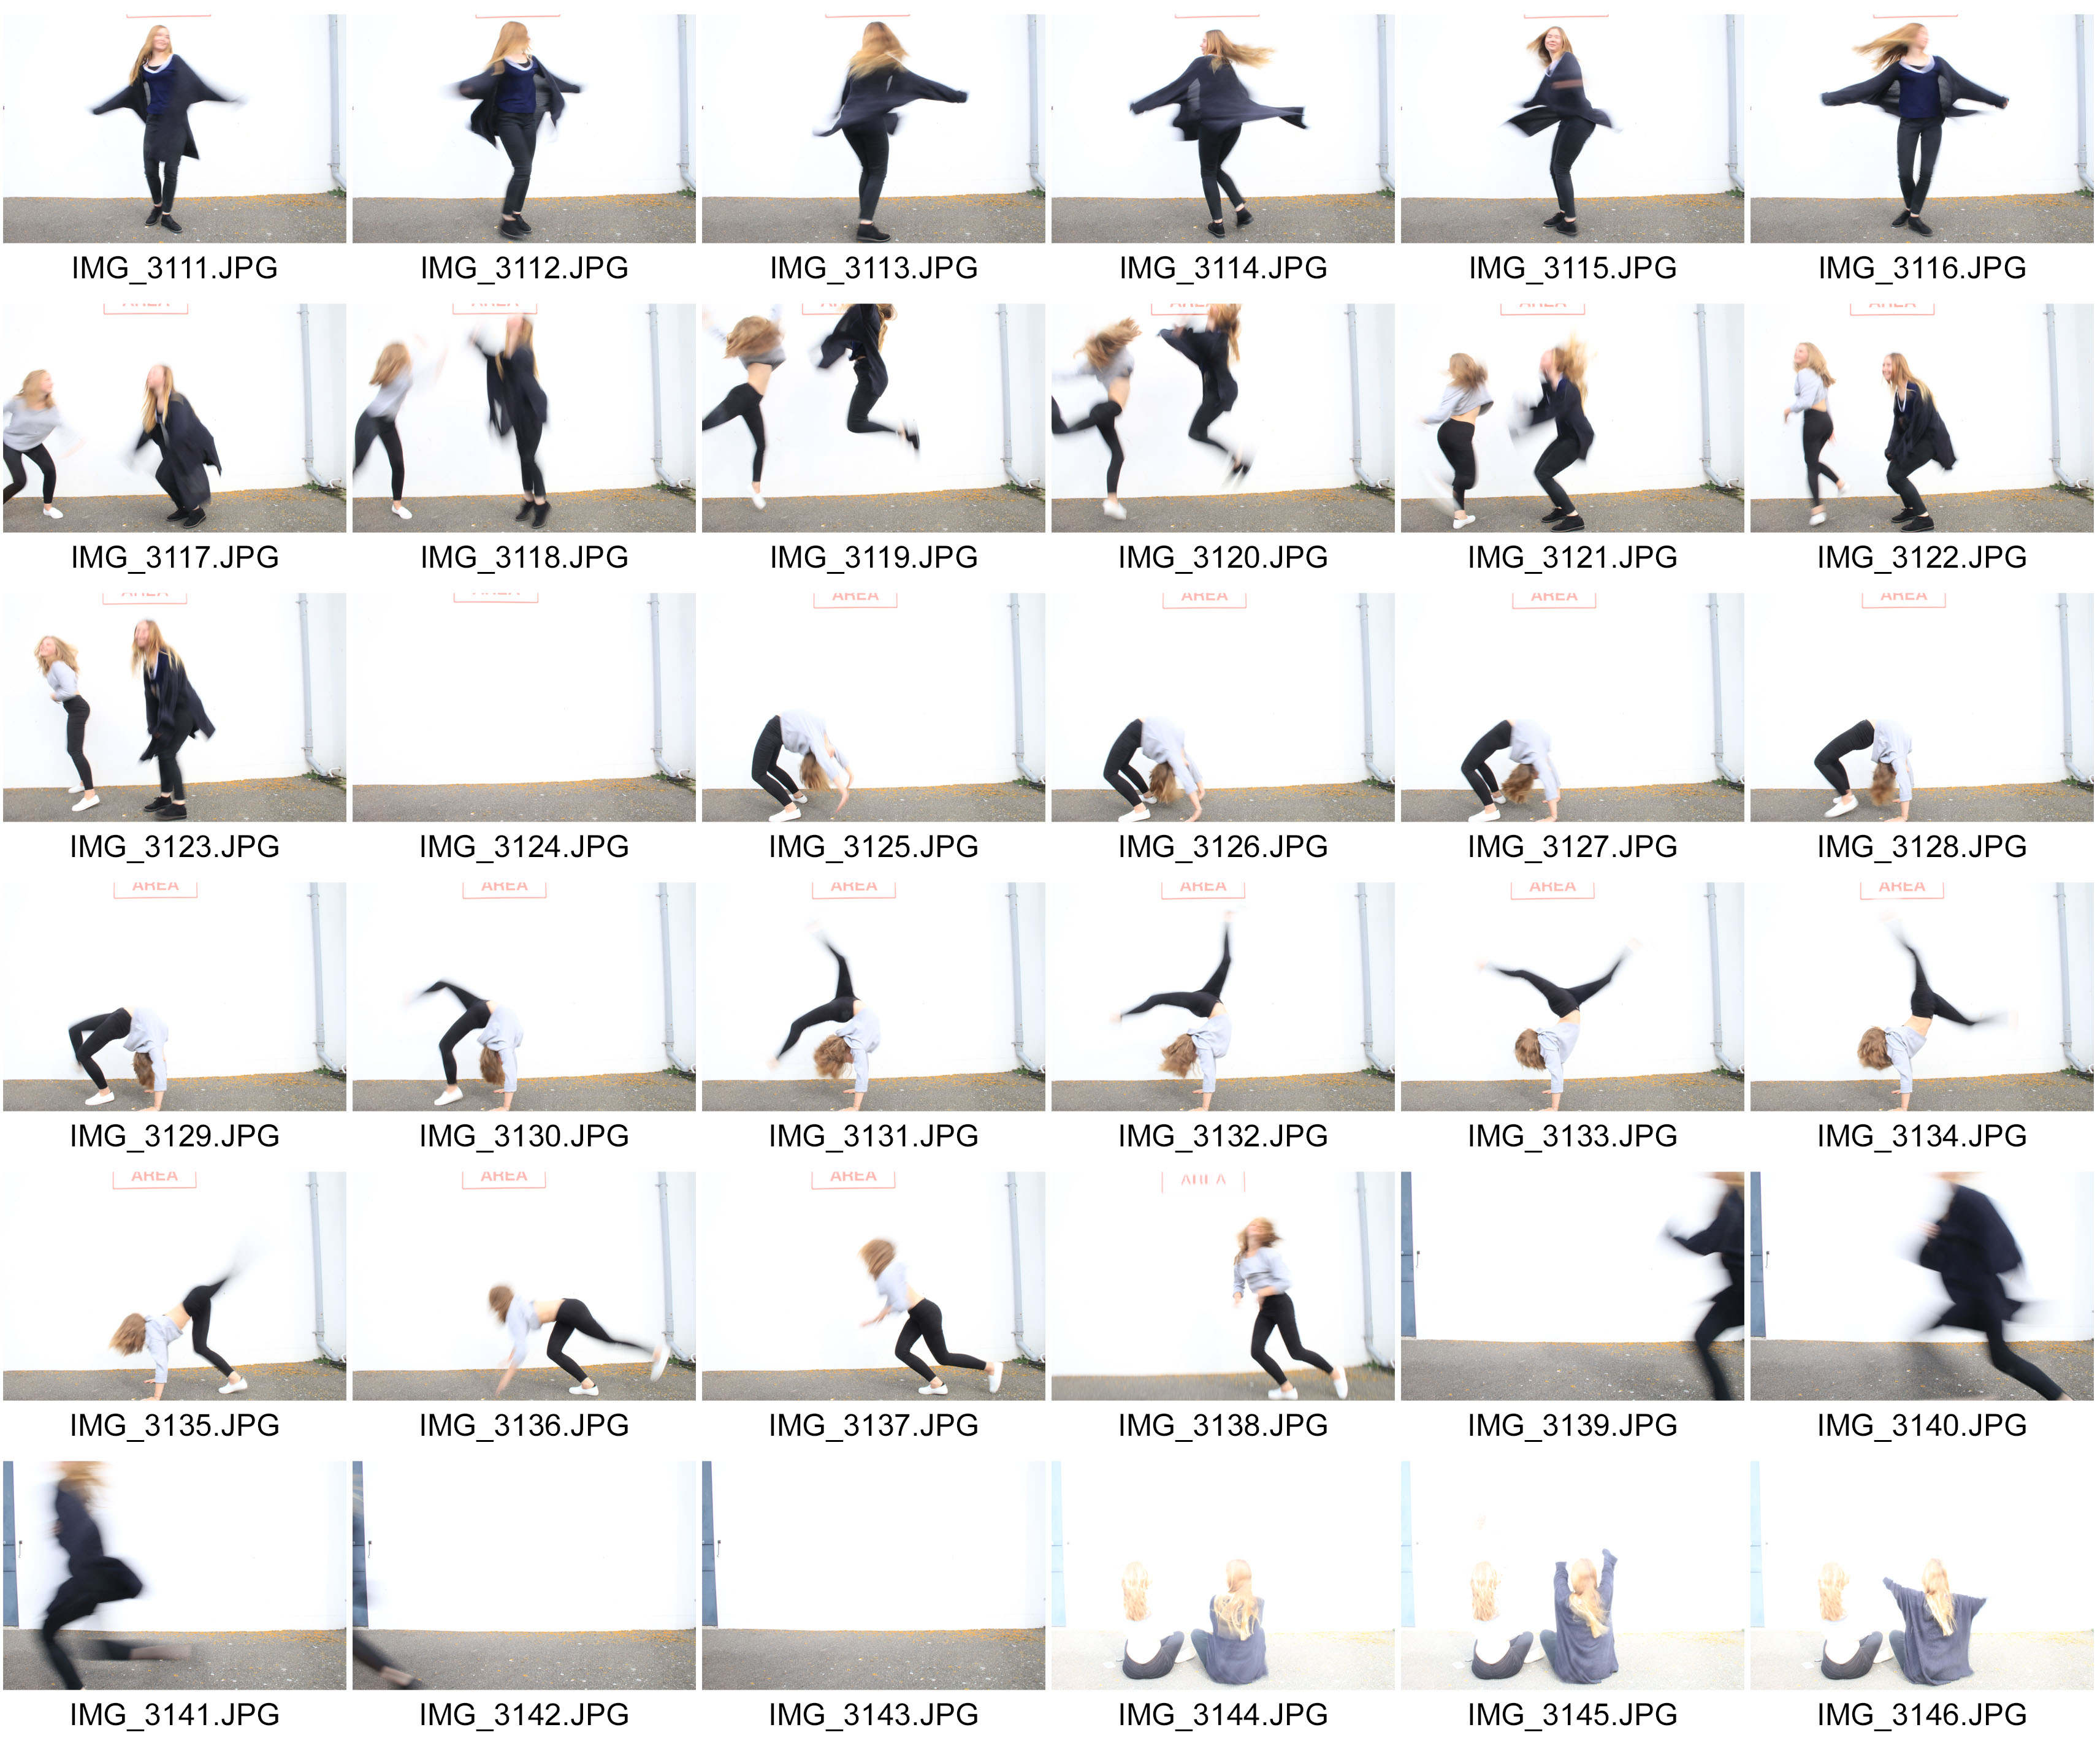
From the shoot, I created three contact sheets which allows me to display them to you in a logical order and helps me evacuate my work as I can see the images all in one place.
I attempted to use the zoom pan and whip pan in this photoshoot also and in my opinion, it worked out well and complements the shutter speeds.
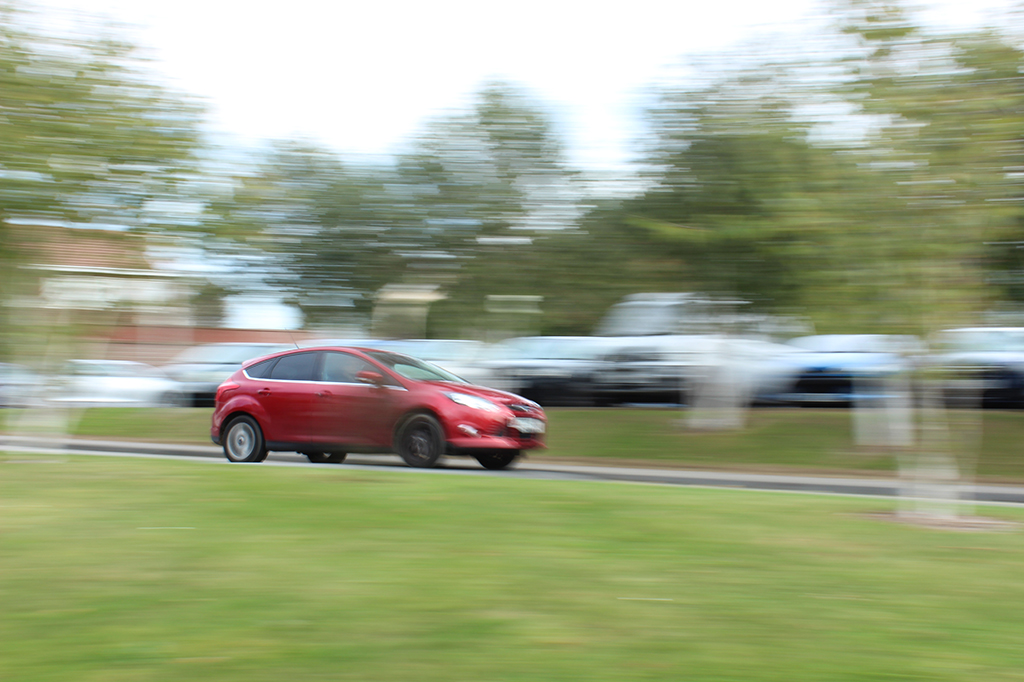
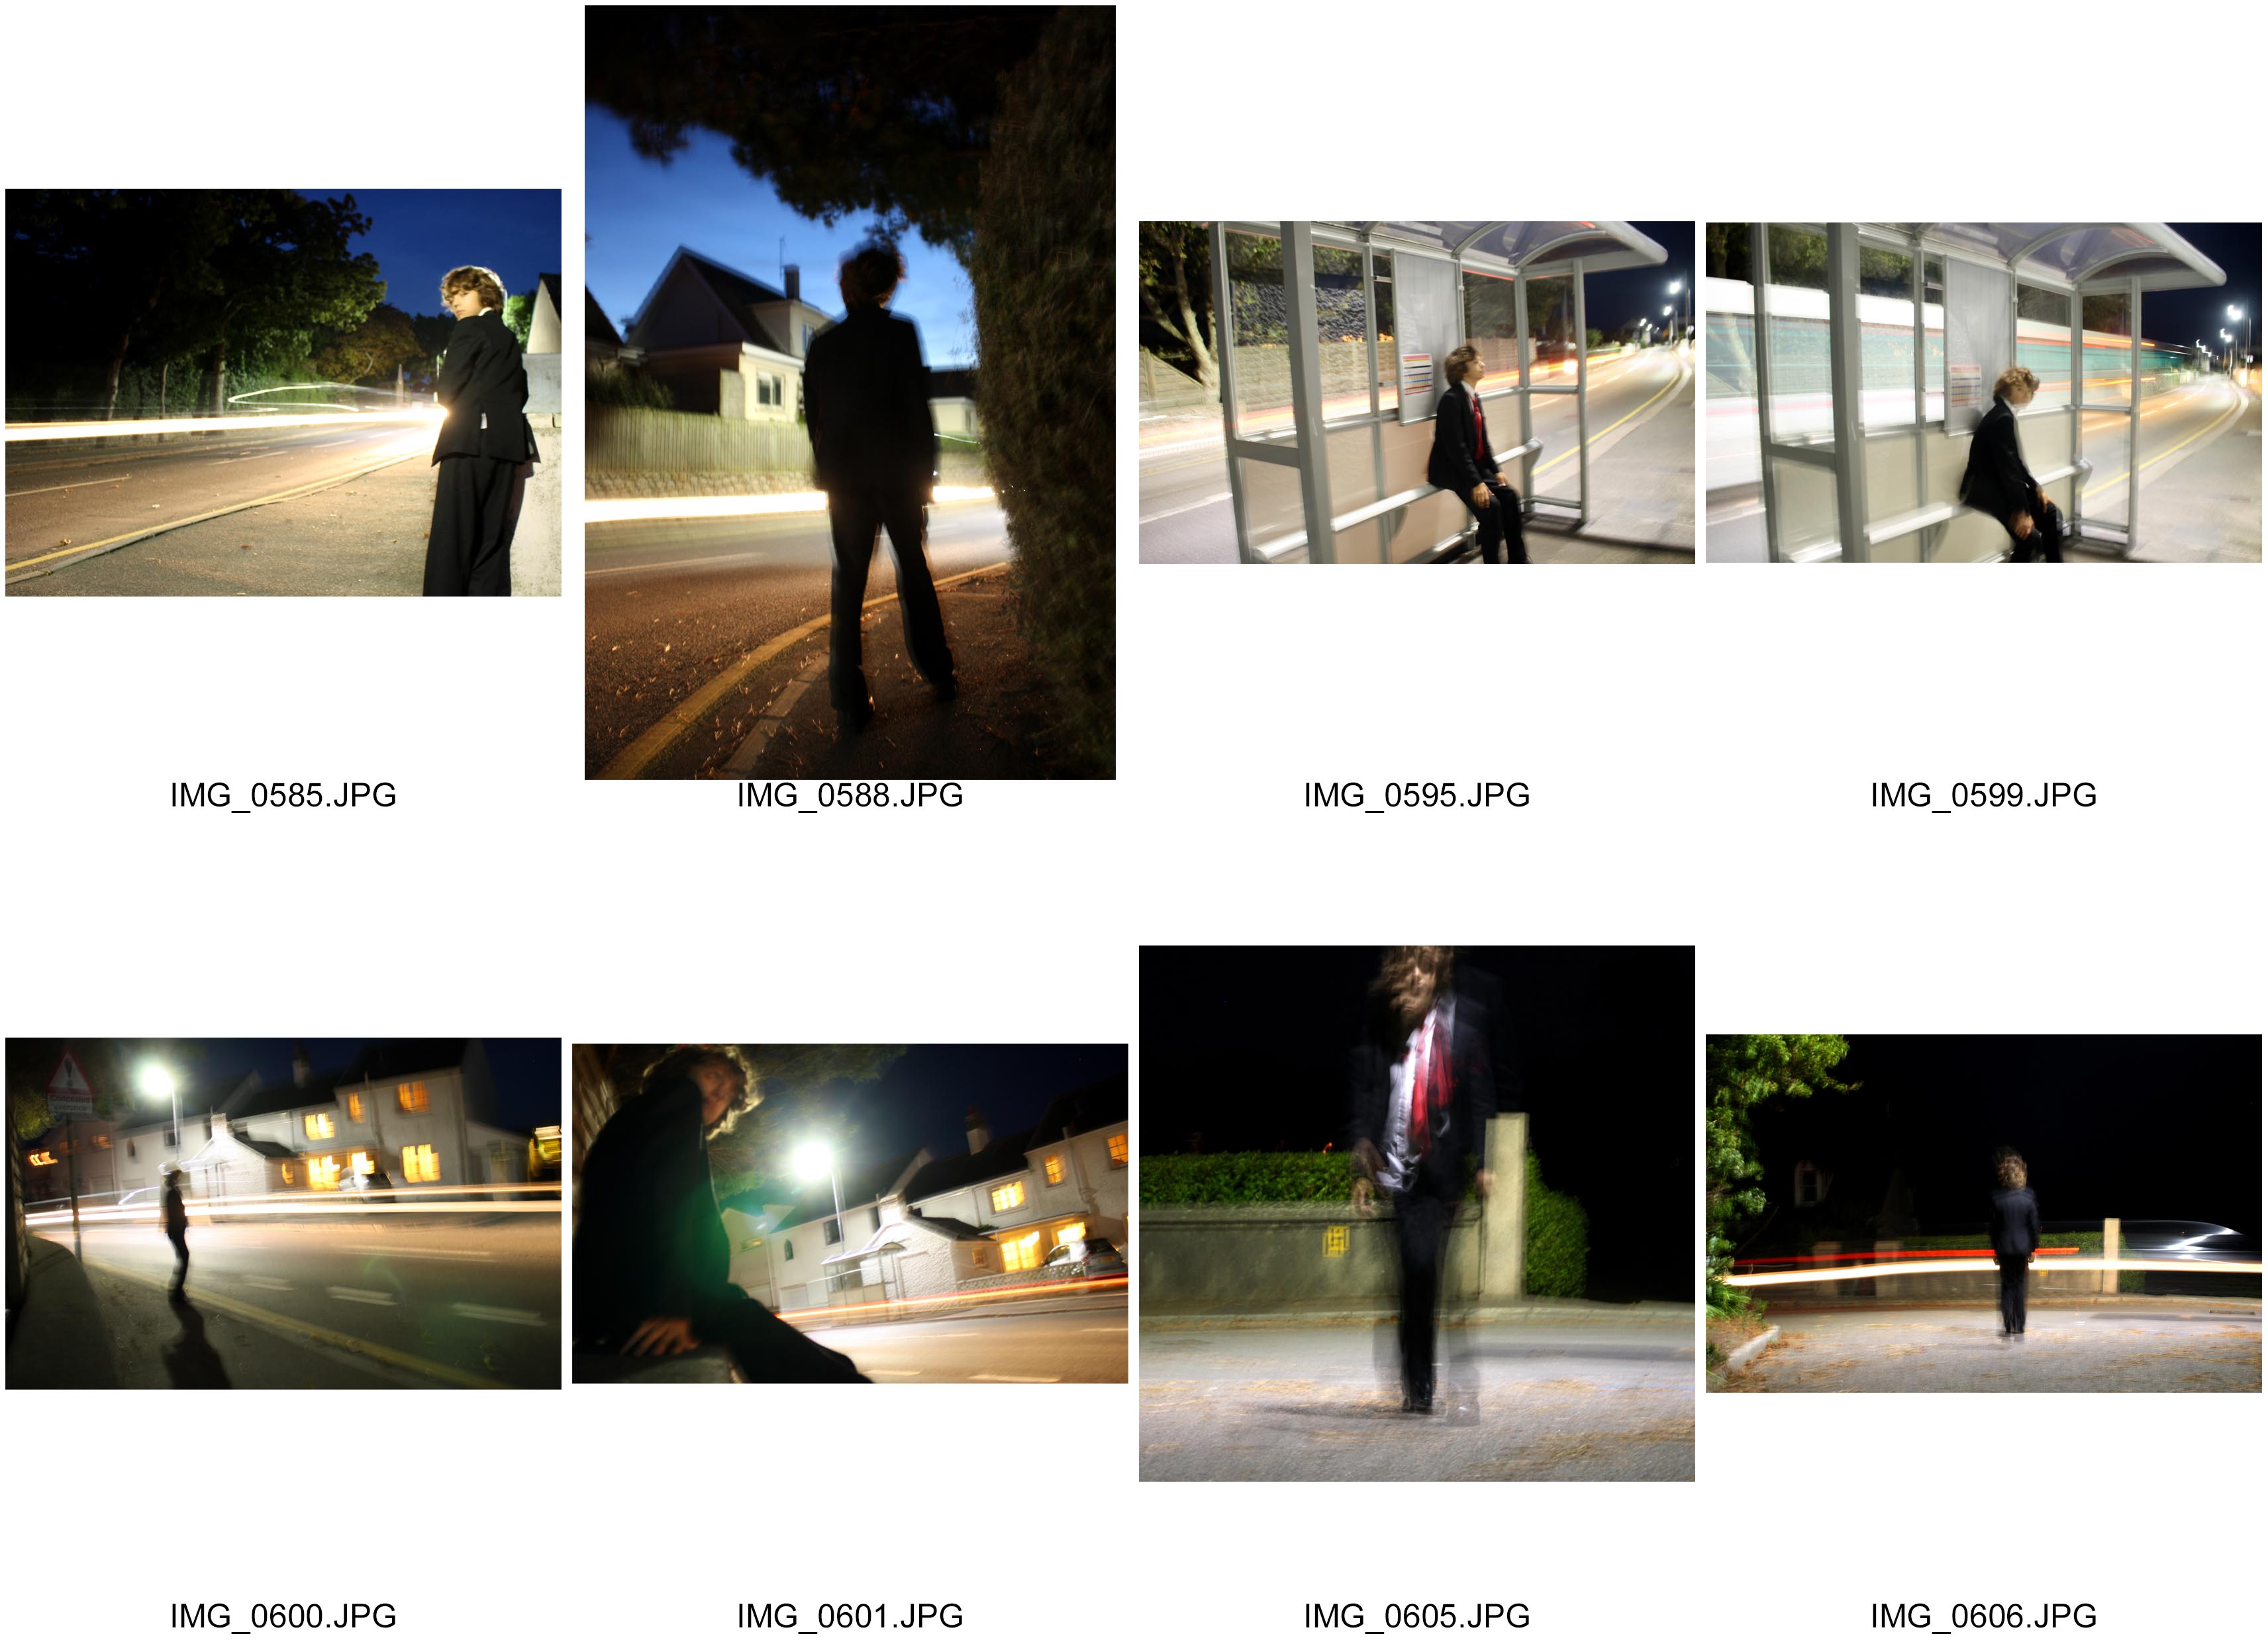
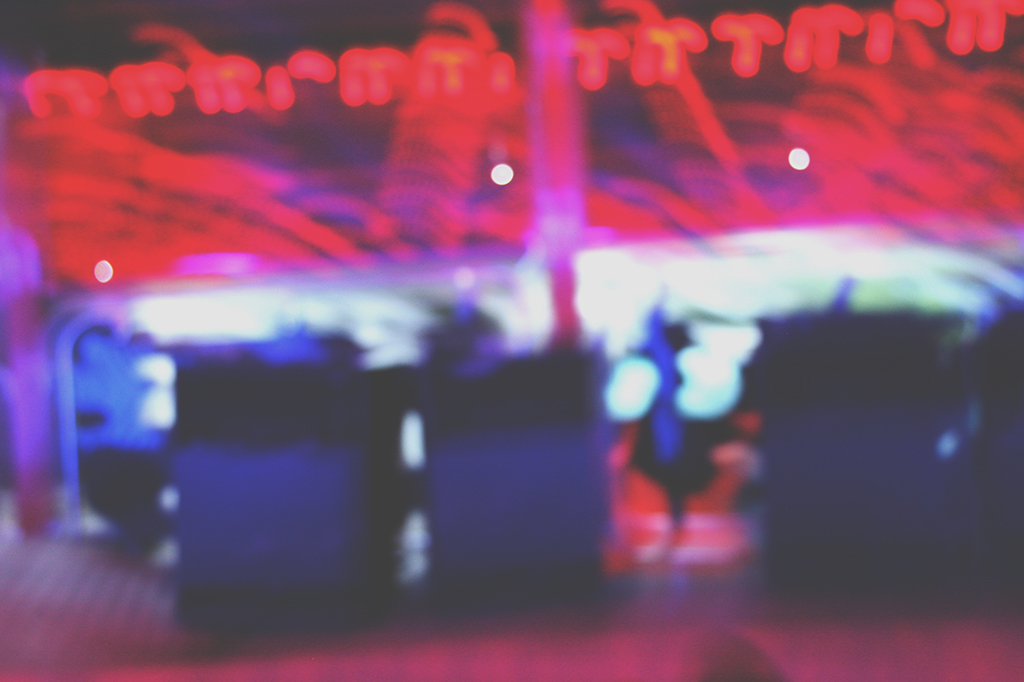
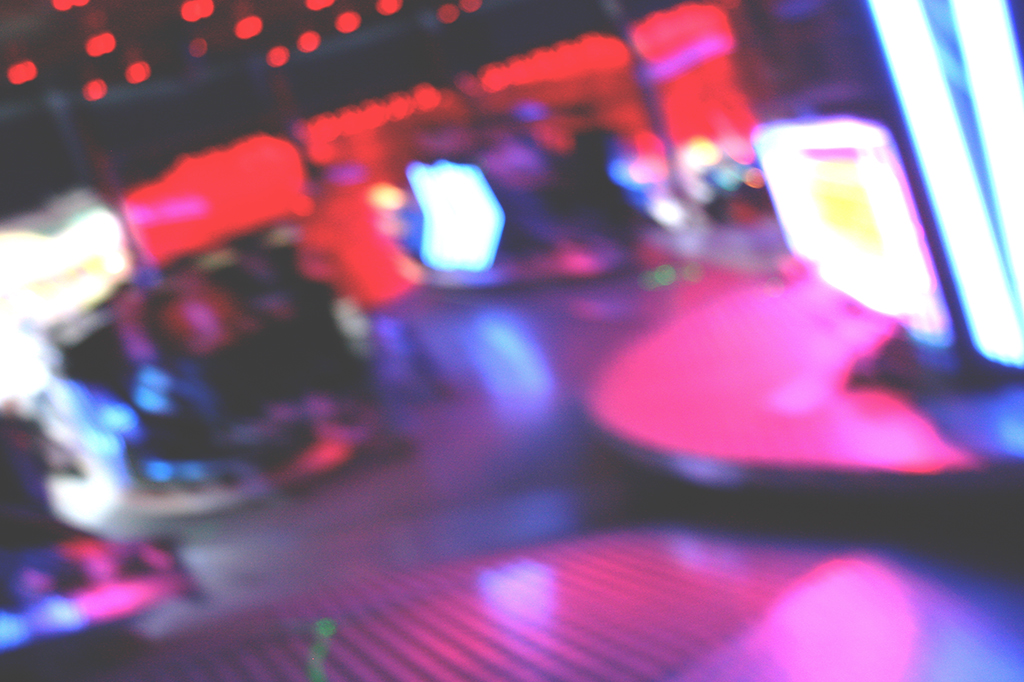
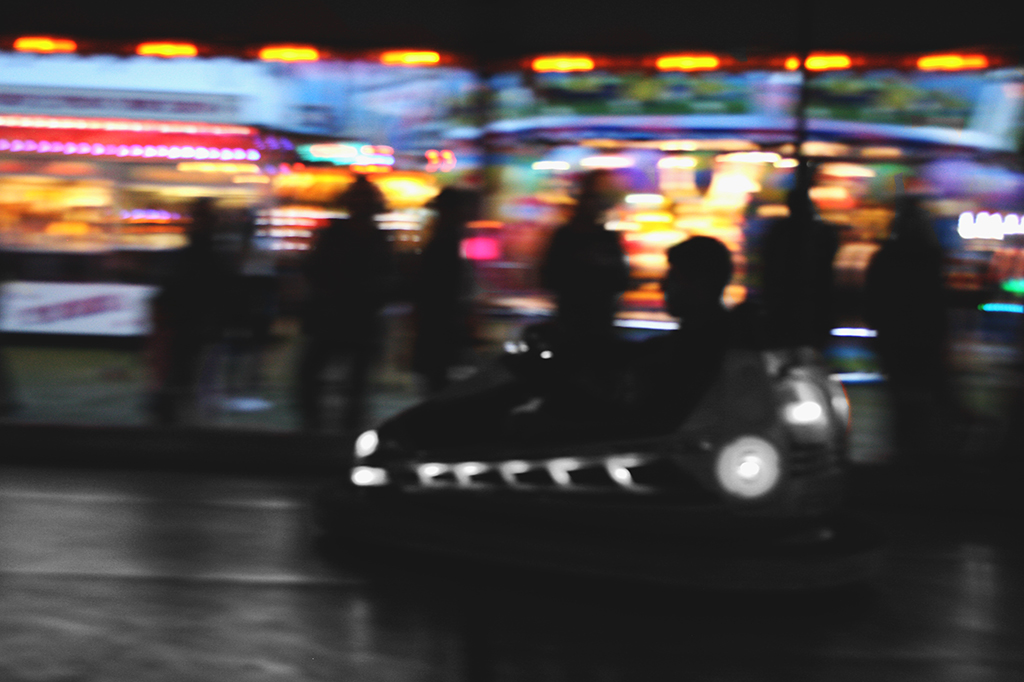
This time around, I focused on the outside environment, and cars in particular. Their fast movement paired with a slow shutter speed made for a great outcome! There are only handful of good ones from the shoot and just one or two great ones but these are noticeable as the best ones have the car in focus and the background as a blur which was what I aimed for!
The bright colours of the cars against the plain, green background makes them stand out. Your eyes naturally are tempted to follow the path of the car across the photo.
If I was to do a photoshoot on shutter speed again, I would focus on a different subject; perhaps portraits again to develop my skills in that area.